Deano
Part of things
 
Posts: 93
|
|
May 30, 2022 21:42:19 GMT
|
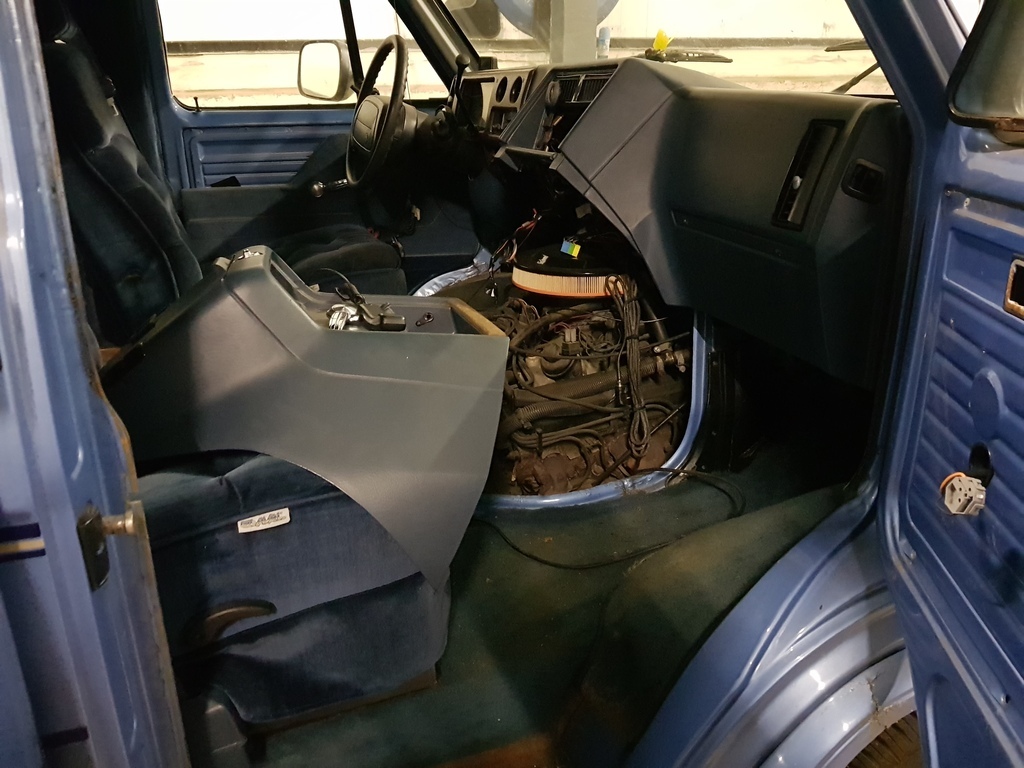
Hi everyone, I've became very settled in Retro Rides and have had a great response regards to my 2000 Ford Fiesta which I recently completed at the start of this month. So now I wanted to post some updates about my current ongoing project that I've continuously back burner'd till a fortnight ago. 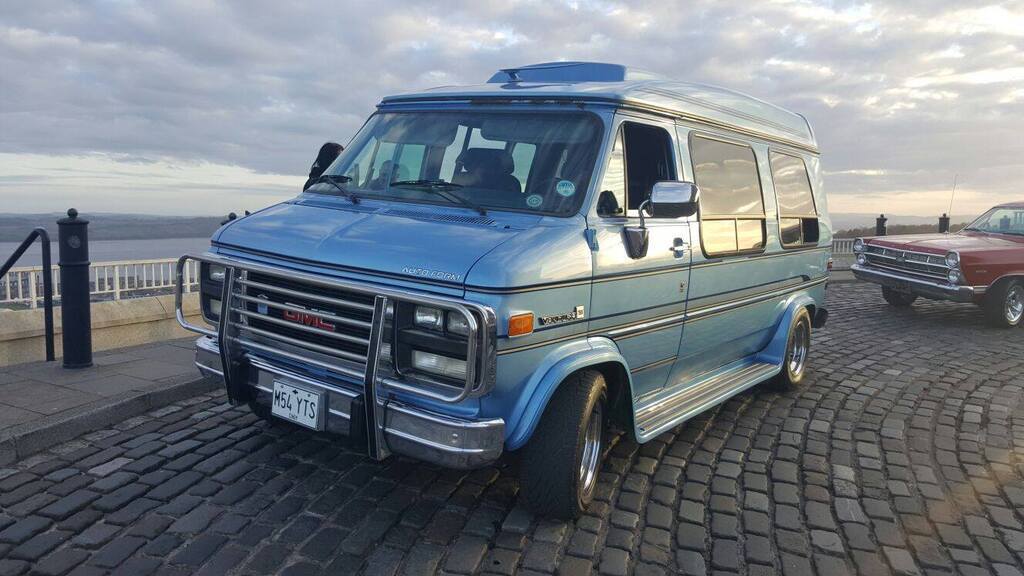 Old picture by the way, dating back to 2015. A wee bit of some background, this is Cindy. My Mum had bought her back in 2006 / 2007 and she was the first owner when Cindy finally came overseas from Germany and took up permanent residency with us here in Scotland. More or less, she was in very active use and I spent a lot of my childhood growing up and going for drives in this van. Unfortunately, for some reason which I'll never know why, she went off the road for over approximately 3 years, sat in my gran's garden on grass and under trees. Not good at all, and I solemnly swore to my Mum that she give me her when I'm old enough to fix her. At the time she went off-road, I was still in primary school so I had no control over being able to do anything about her other than go out and give her a clean whenever I was visiting. It did drive me banana's and I was frustrated to watch it deteriorate and still remain helpless. Jump forward to 2016, she was moved to a shared storage facility for approximately a year. Come 2017 we moved out the city into the country and later on in the year found a private unit for rent. At 16 years old after securing an apprenticeship, my Mum finally handed the reigns over to me. After stripping some of the interior out not long after moving into that unit, I was pushed back as I didn't know how to progress as I'd never worked on cars at all and how I would deal with the rot. But when I acquired my 2002 Ford Fiesta in May 2018, little did I know that was about to change... everything. Now jump to present day, where I've done a full engine rebuild, overhauled brakes, suspension and steering components, welded, painted, fitted new panels, repaired dents and everything else that comes close to a full nut and bolt restoration all single-handedly, the dream to bring Cindy back to life and fix her is well underway. I've since moved unit as of January 2022 to somewhere more local as I moved back to the city in 2019. I've just about stripped out the interior ready for cutting the rot out. I will add some pictures later on of what has been achieved so far versus what I'm also up against. It's going to be one hell of a journey, but the motivation to see this van back out saying "I fixed her" is something I'll never forget. |
| |
Last Edit: Jul 11, 2022 20:50:30 GMT by Deano
|
|
|
|
Deano
Part of things
 
Posts: 93
|
|
May 30, 2022 22:16:36 GMT
|
|
|
| |
Last Edit: May 30, 2022 22:17:33 GMT by Deano
|
|
Fossilfish
Part of things
  Thank fossils for fuel!
Posts: 653
|
|
May 30, 2022 22:34:13 GMT
|
|
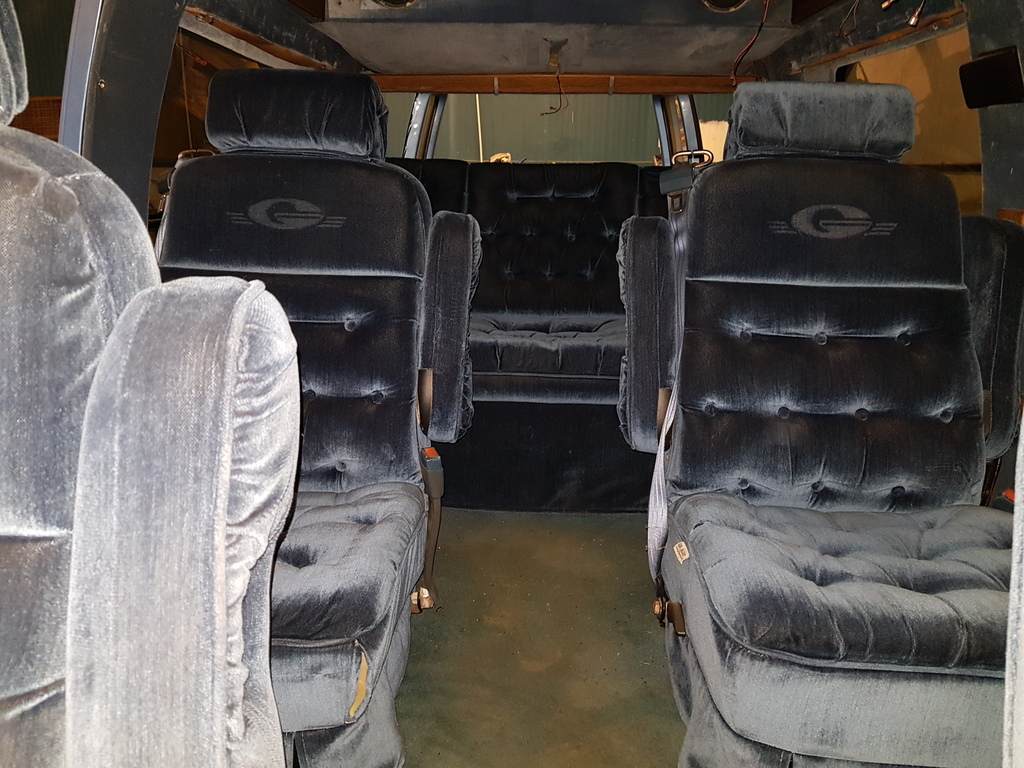
Those seats are so plush.
Looking forward to more updates 🙂
|
| |
Thank fossils for fuel!
1996 Jeep XJ Sport 2.5 Manual
1975 Scimitar 3.0 V6
|
|
CaptainSlog
Part of things
 
Posts: 510
Club RR Member Number: 180
|
|
|
|
|
Looking forward to see this progress - what is the milage?
|
| |
|
|
Ritchie
Club Retro Rides Member
Posts: 771  Club RR Member Number: 12
|
|
|
|
|
Great project, I don't think I would be able to resist the A-Team replica urge!
|
| |
|
|
|
|
|
|
|
|
Well done on that.
Looking forward to more updates.
|
| |
|
|
Deano
Part of things
 
Posts: 93
|
|
|
|
Thanks for all the feedback guys! I'll be sure to post more updates in due course as I only get a few hours a night after I finish work unfortunately lol. Looking forward to see this progress - what is the milage? She's sitting at just over 161K fella, I presume miles but for some reason a few previous M.O.T's are down as kilometres. |
| |
|
|
Deano
Part of things
 
Posts: 93
|
|
May 31, 2022 19:49:08 GMT
|
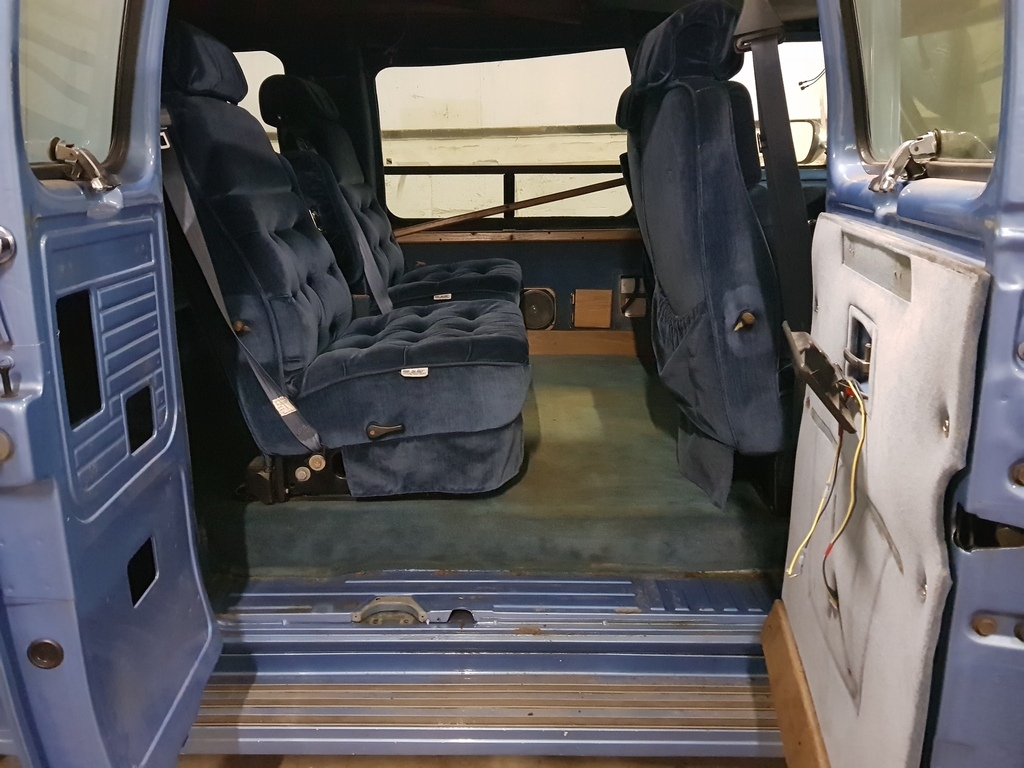
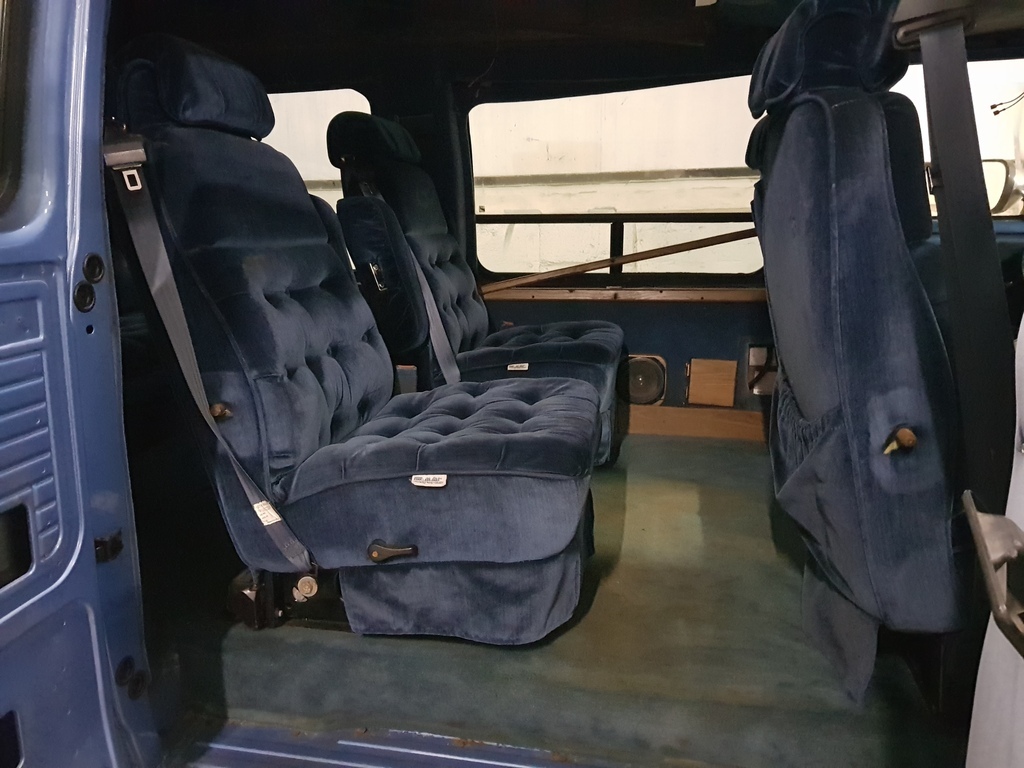
Back with another update! I'm in the process of removing the seat bases and rear bench seat/ folding bed base so I can lift up the carpet. The bolts securing them are a nut and bolt on both sides of the floor and with the amount of rust on the underside, there was no way I was even going to attempt undoing them manually. Went and bought 2 cutting discs for my grinder from The Range as the one I was using shattered, got torn right in and started cutting the heads off the bolts. All in it must have taken about 45 minutes to remove the 2 front seat bases, they were the easiest compared to what comes next! 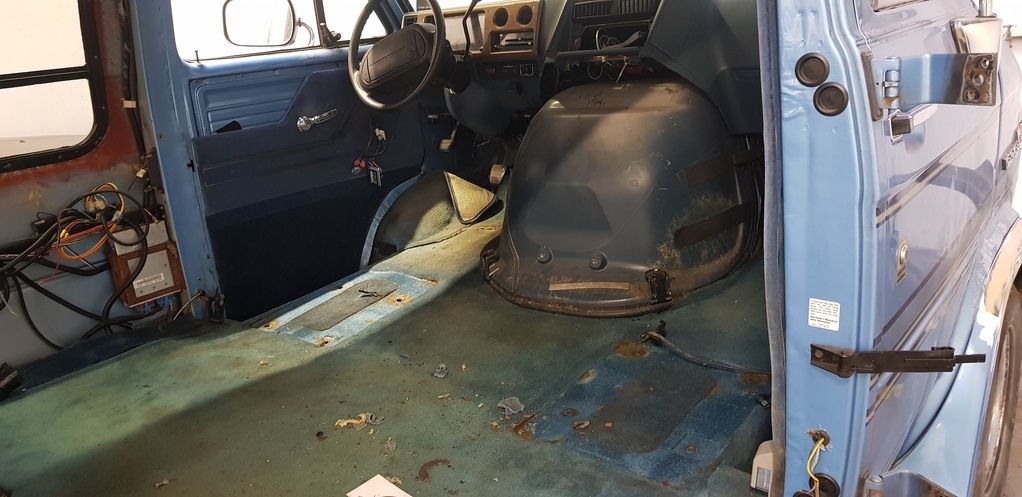 The middle seat bases have a recess for the bolts and is the same with the rear. This is quite difficult, but I'm taking my time to ensure I don't end up cutting into the actual base. 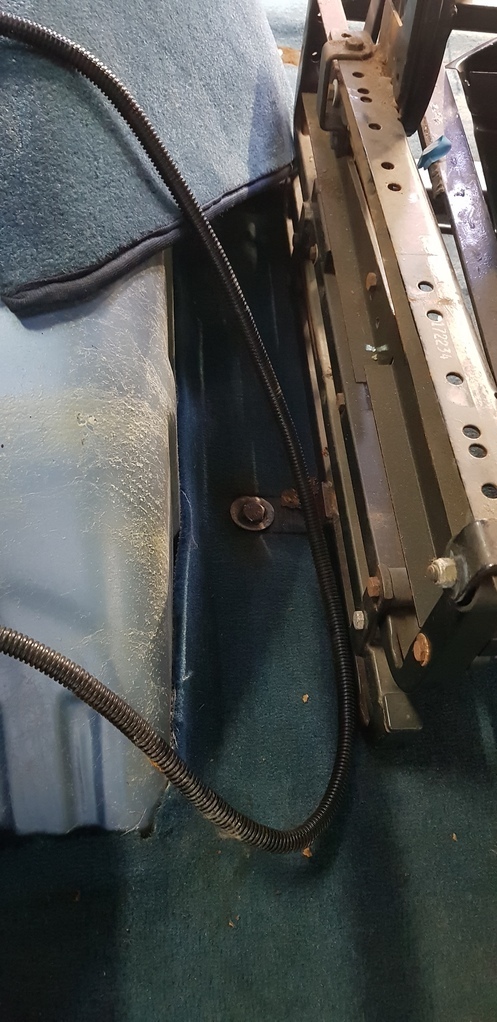 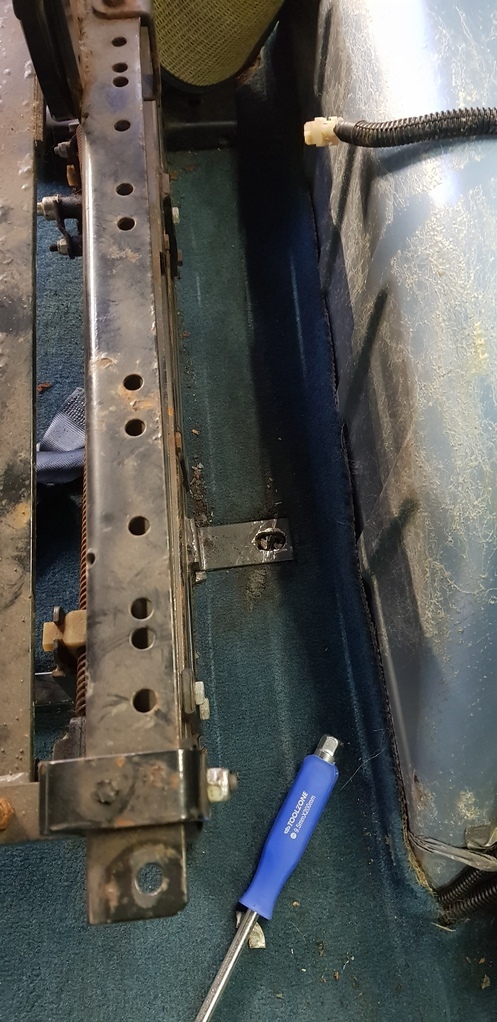 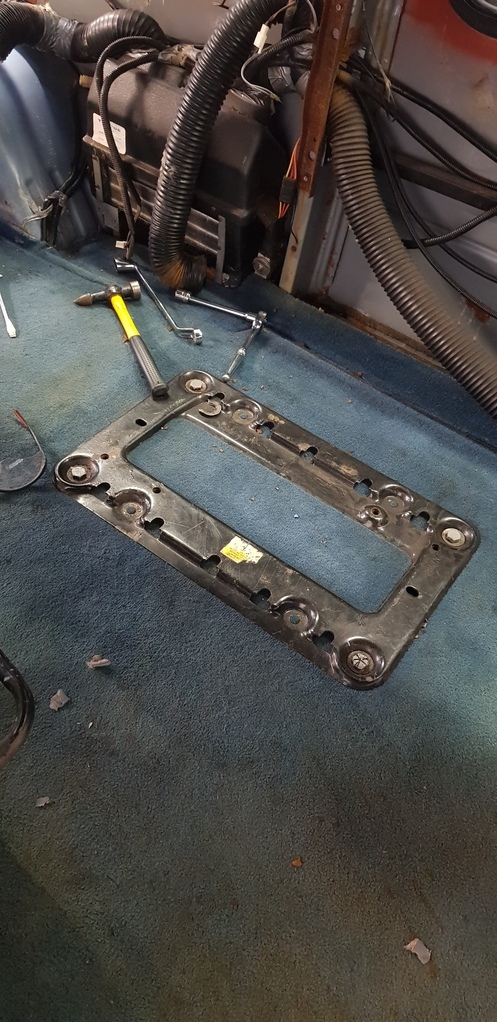 So far for tonight, I only got one bolt cut off the rear base, the middle one I attempted to make an incision on and the 2 front seat bases I managed to cut the remaining 5 bolts and remove them. |
| |
|
|
misteralz
Posted a lot
   I may drive a Volkswagen, but I'm scene tax exempt!
Posts: 2,495
|
|
May 31, 2022 19:52:07 GMT
|
|
Top of the Law!
|
| |
|
|
LAndy
Posted a lot
  
Posts: 1,061
|
|
May 31, 2022 20:08:33 GMT
|
|
Love these style vans! Looking forward to more progress!
|
| |
Previous retros: 92 AX GTi 92 Scirocco Scala 94 80 sport 87 Golf Cab GTi Current retro: 1965 Clark Cortez YouTube Website Instagram |
|
|
|
Deano
Part of things
 
Posts: 93
|
|
May 31, 2022 20:45:34 GMT
|
Cheers again guys! Indeed that first picture was taken there, very good observation! |
| |
|
|
Deano
Part of things
 
Posts: 93
|
|
|
|
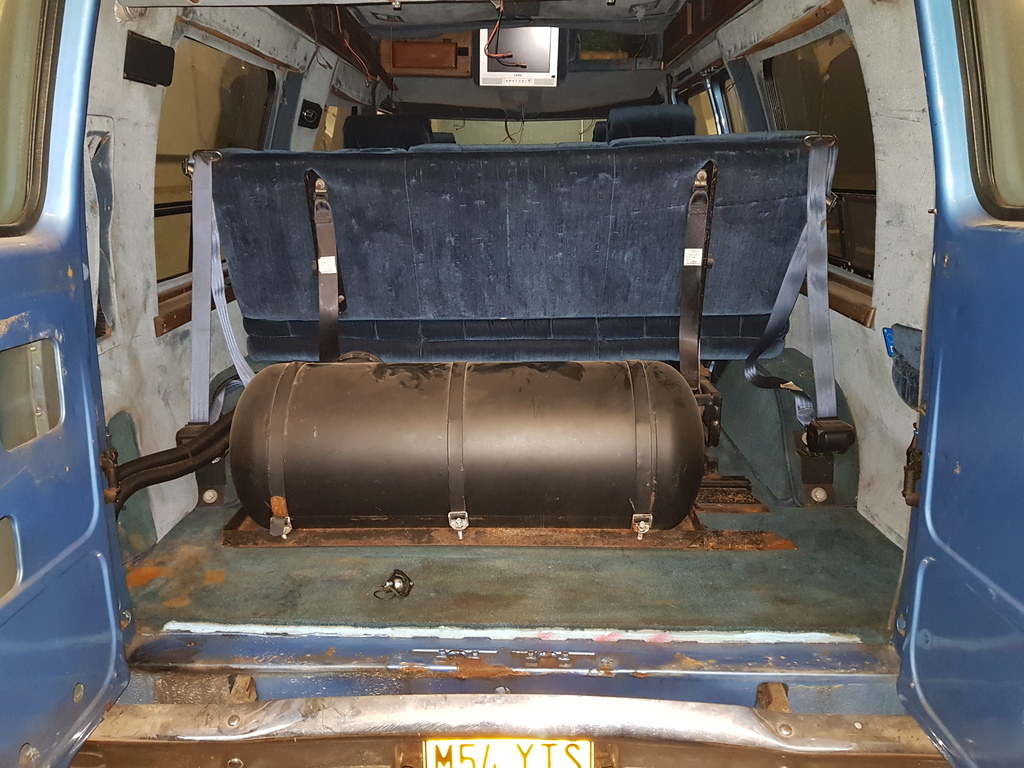
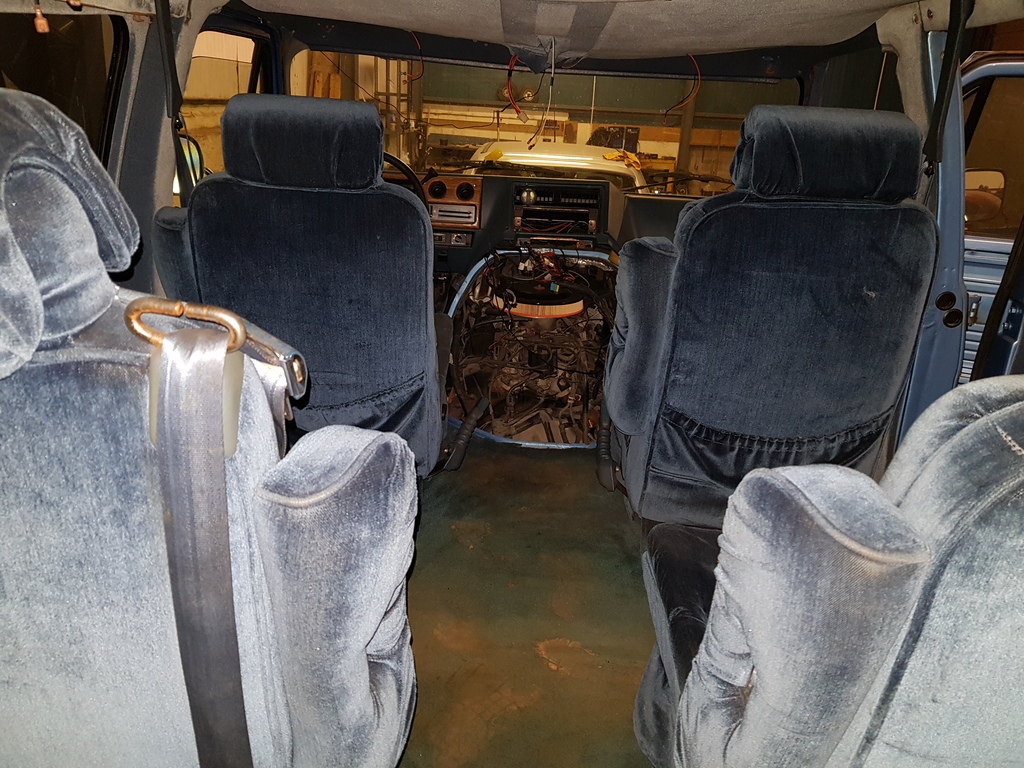
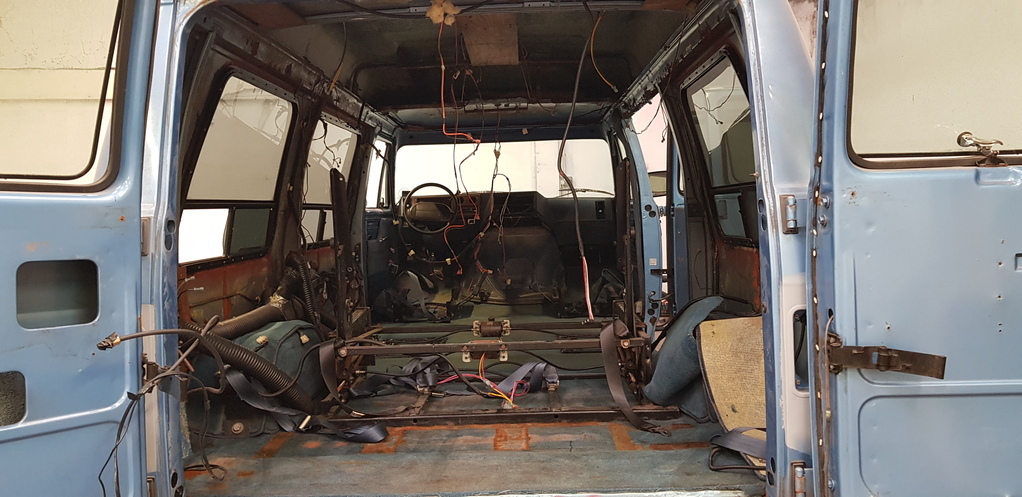
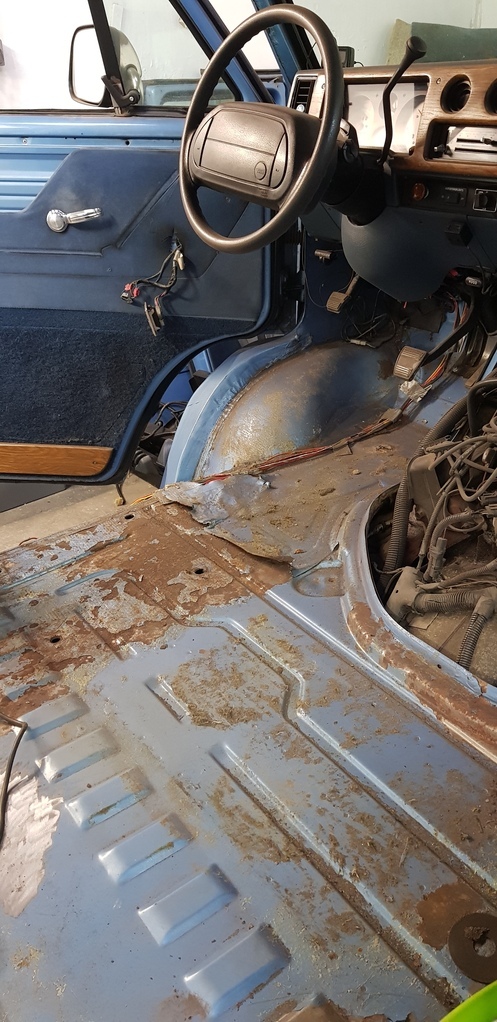
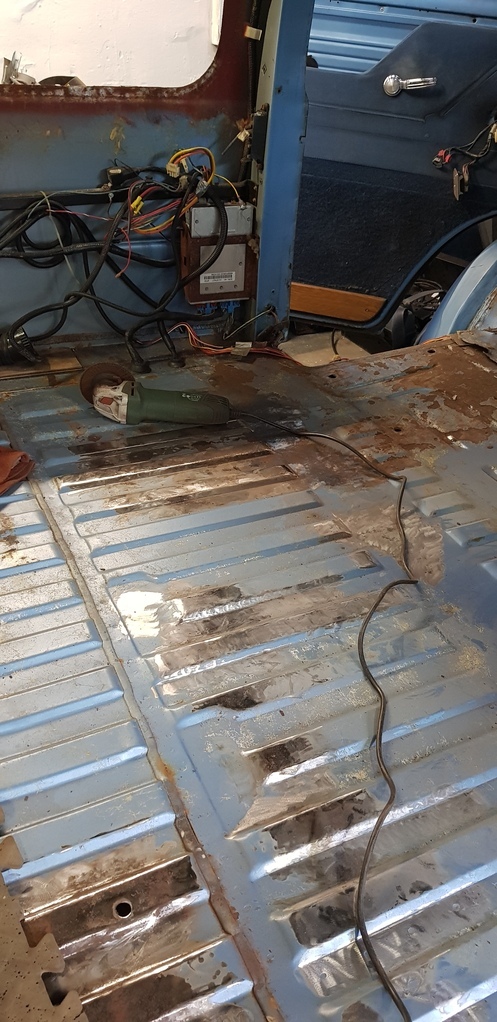
Update time again! Tonight was just cutting off more bolts, resuming with the rear bench seat frame / folding bed. I forgot all about the seatbelt anchorage points for the rear as they are holding the carpet cut outs that go around the wheel tubs. 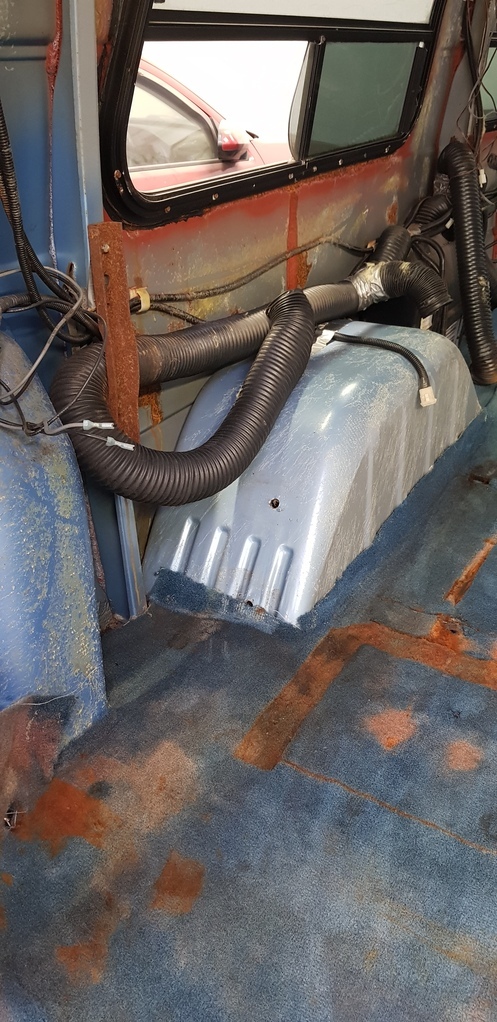 Those 2 holes vertically parallel to each other are where the seatbelt bolts are secured. 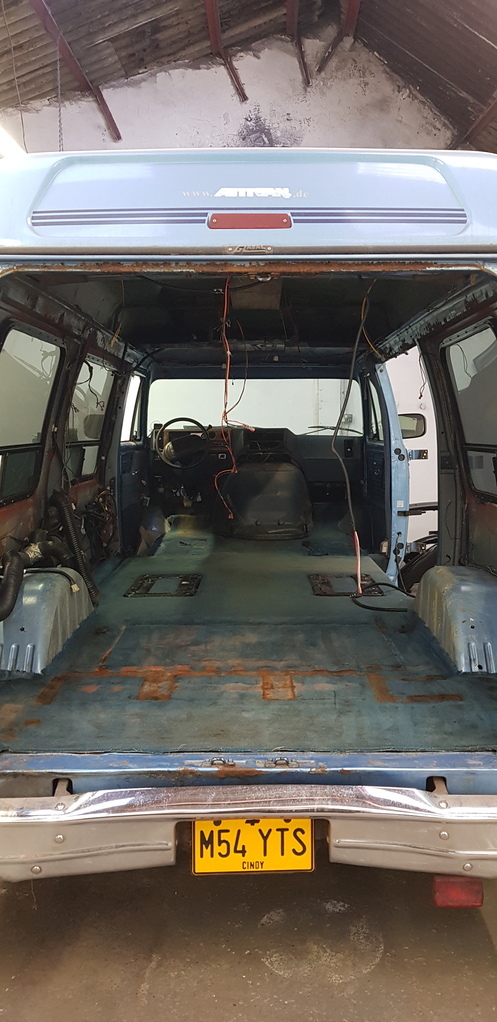 This is how the interior stands now, all that's left is to cut the middle seat base bolts out. I lifted up the fabric at the rear to see how that side of the floor is fairing. 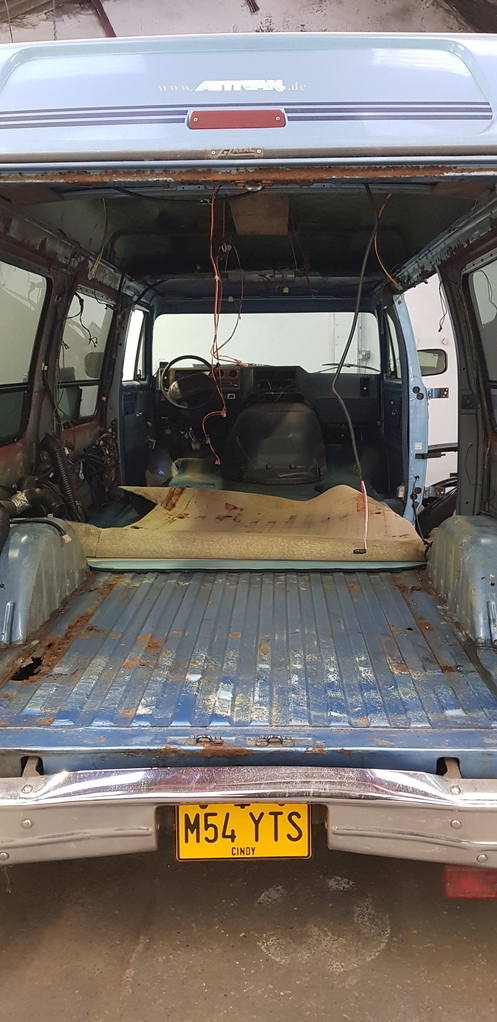 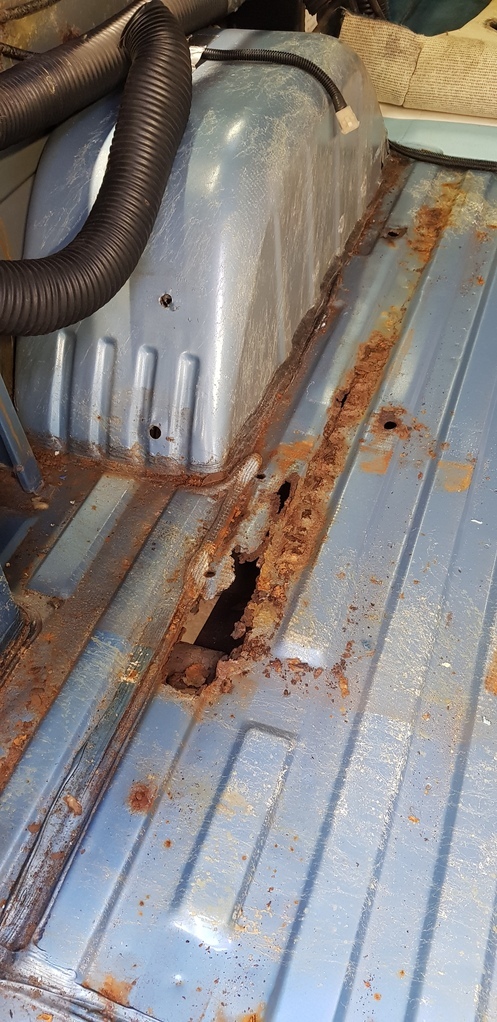 I was actually pleasantly surprised, I know there's a few crispy bits but that wee bit is absolutely nothing that's going to be a challenge for me to weld up. Hopefully tomorrow night should see the removal of the carpet and the condition on the rest of the floorpans revealed. |
| |
|
|
Deano
Part of things
 
Posts: 93
|
|
|
|
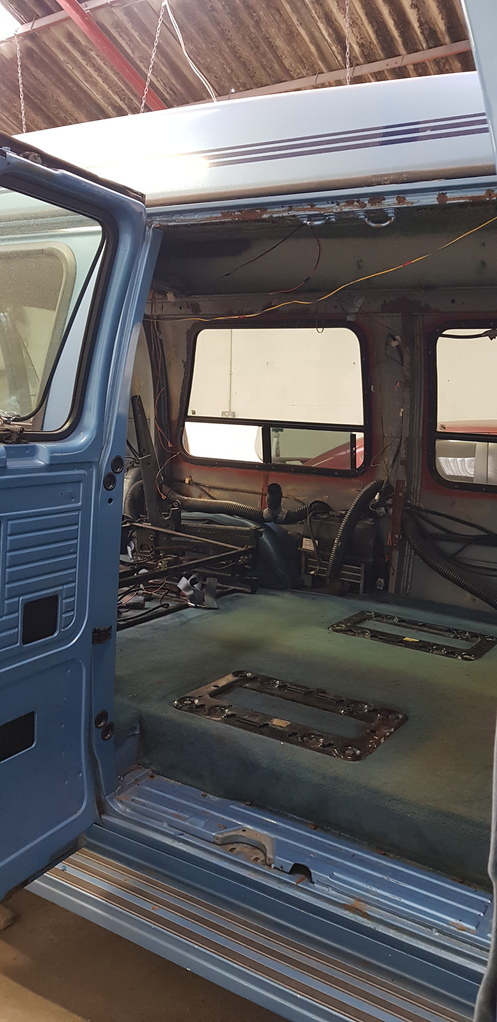
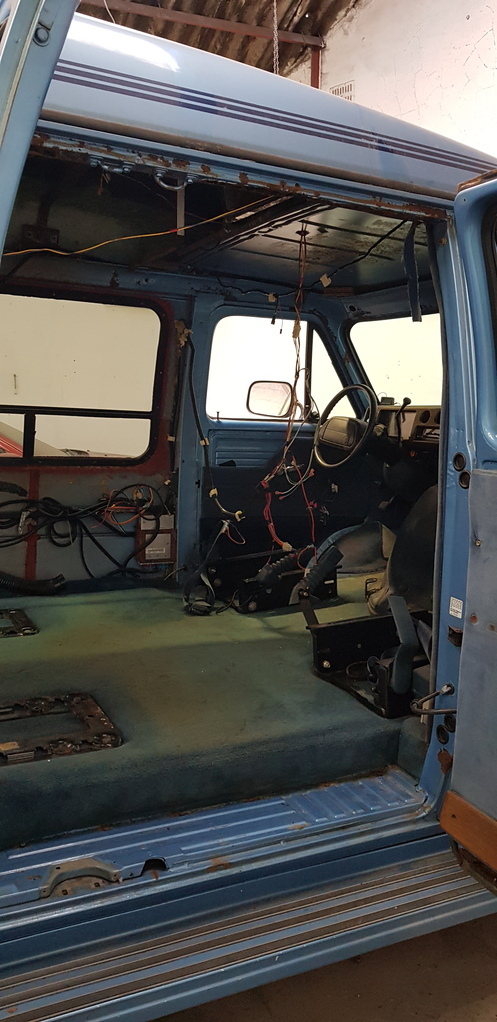
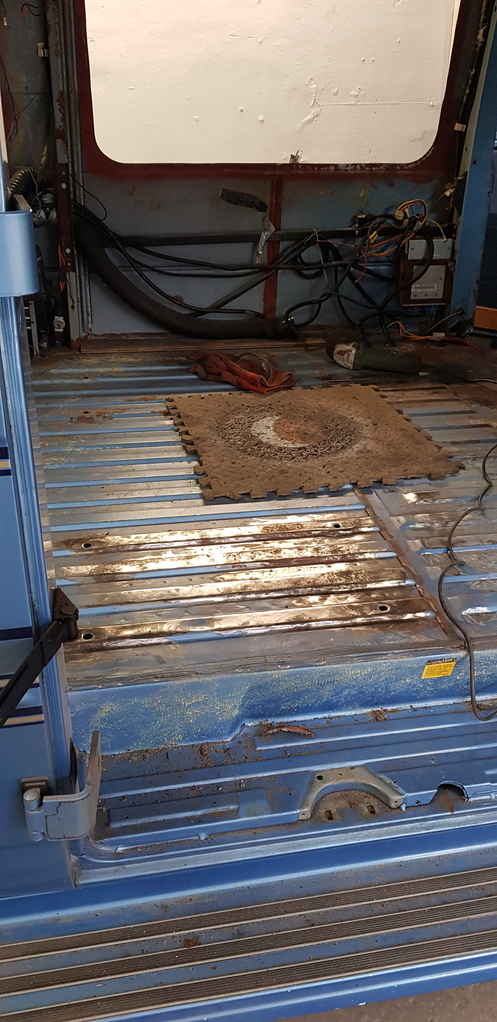
No updates last night as I was getting a bit frustrated that cutting the middle seat base bolts were doing very little! Finally got a day off to get cracking on. After making about 10 incisions per bolt followed by the struggle of chapping the fragments off, I managed to hammer them out through the floor and the seat bases were finally free! Here's a quick picture of the inside before carpet removal. 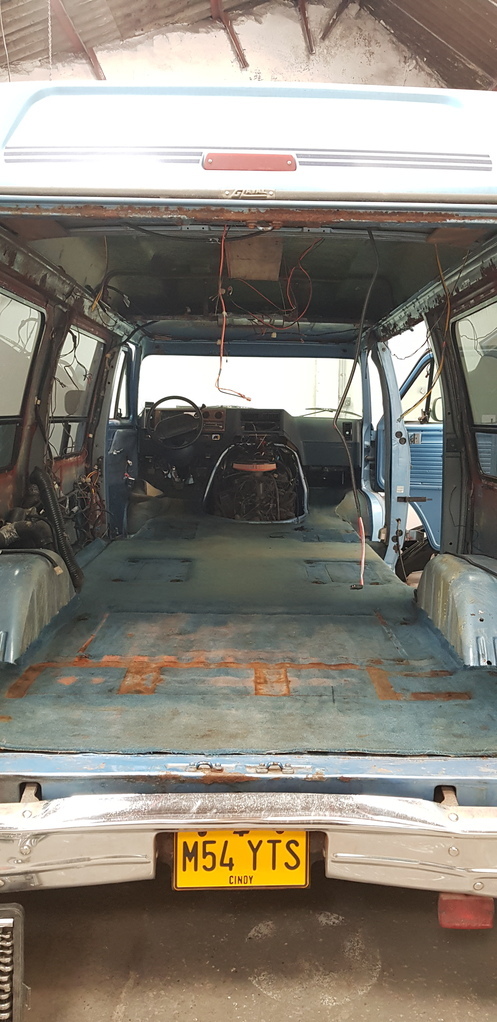 I got my wee Brother to remove the carpet with me as he insisted on coming to my garage and helping, once removed I sent him around the floorpans to hoover up any loose debris, ready for me to get cutting and welding. 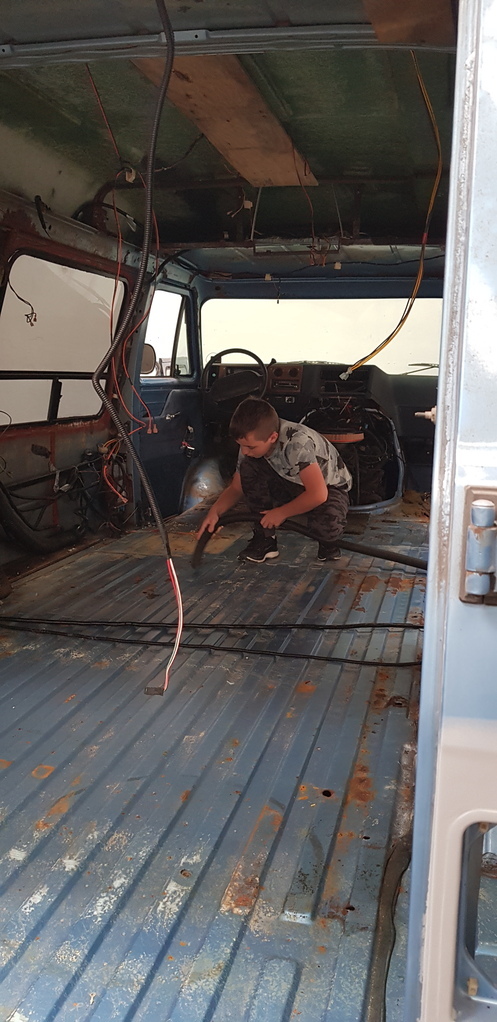 The inner window fascia was also removed, there was actually quite a few bolts holding it in. 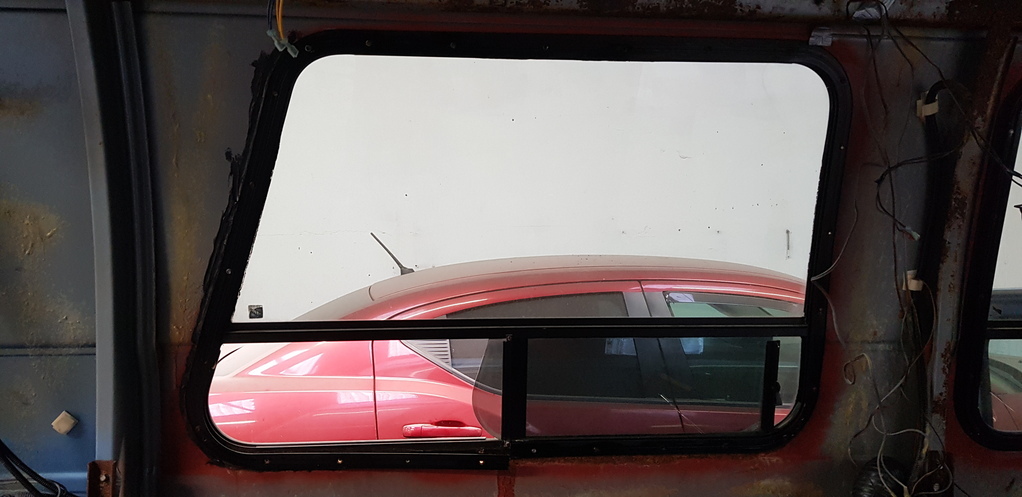 Just a pre-removal picture there, highlights how many bolts there actually was!! Next and final step is to remove the windows and prepare for making the first cut 😁. |
| |
|
|
CaptainSlog
Part of things
 
Posts: 510
Club RR Member Number: 180
|
|
Jun 14, 2022 13:25:42 GMT
|
|
That will be the deepest one
|
| |
|
|
Deano
Part of things
 
Posts: 93
|
|
Jun 16, 2022 22:03:38 GMT
|
|
|
| |
|
|
Deano
Part of things
 
Posts: 93
|
|
Jun 26, 2022 17:12:12 GMT
|
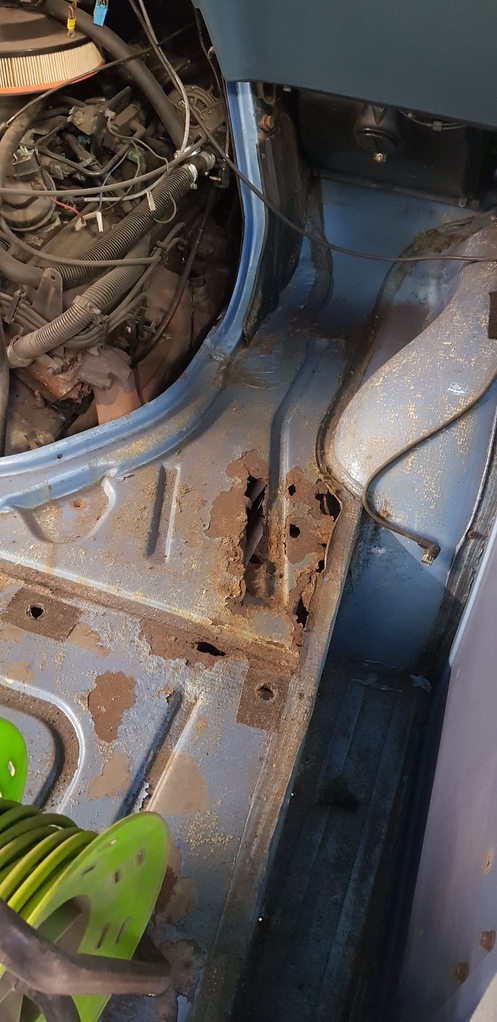
I seem to be losing all my spare time these past few weekends due to being unwell or downing a few alcoholic beverages  Anyhow, this weekend after playing catchup from last weekends antics, I made another bit of progress on the bus. I started cutting out the rot at the front right floorpan and also at the rear left just where the tub meets the floor. 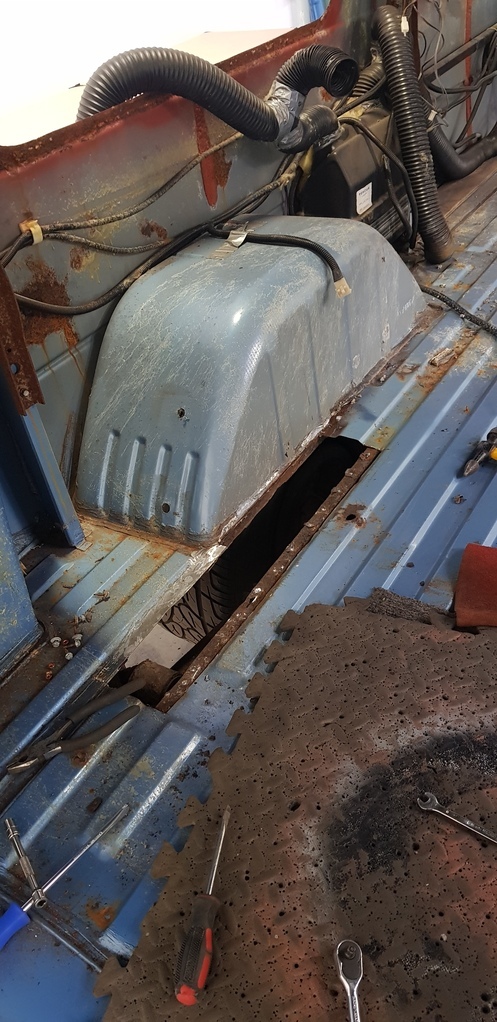 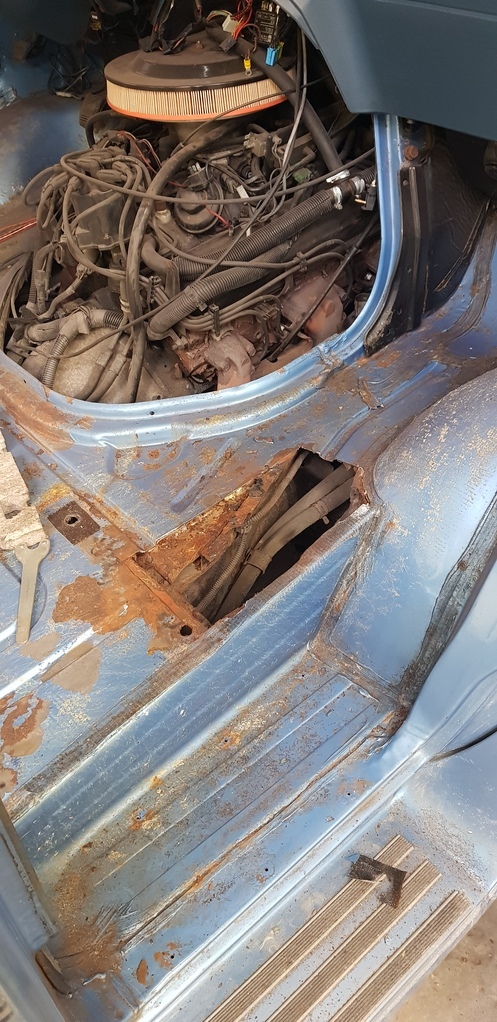 Isn't it amazing how you think you've got an area confined then trying to chase back to good metal throws it all to pot? After my MK5 Fiesta you'd be wrong to think I'd learned! I'm also removing the remnants of the LPG filler neck, seems as though next to no effort was put into protecting the bare metal in that area and has rusted around it. 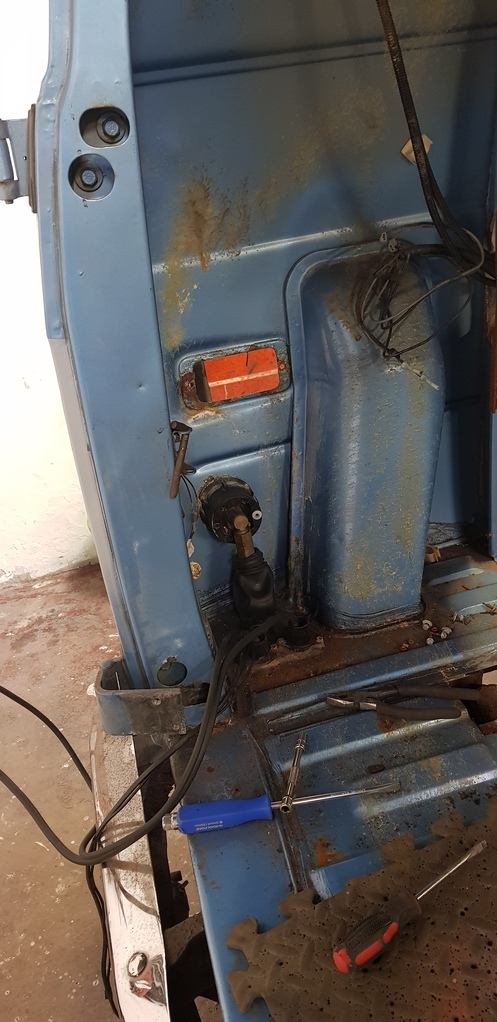 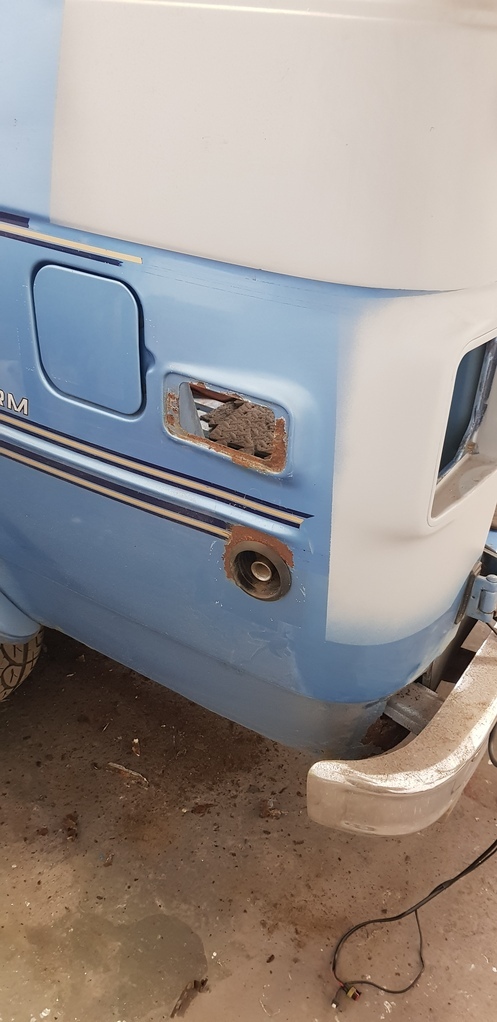 Unfortunately, that's all I've done this weekend. Having a night out this Friday coming so hopefully get a Sunday update in providing I'm not too hungover  . |
| |
|
|
Deano
Part of things
 
Posts: 93
|
|
|
|
Manage to get some buckshee time tonight, and to be honest what I got done is a big step forward. Started off that I wanted to get in about the inner guttering around the fibreglass hightop and the only way I was going to be able to do that was if the hightop came off! So needless to say I unscrewed the screws holding the top in via a centre crossmember and the rest was merely going around and digging out the old sealer. Time consuming however not strenuous for a change  .   Gently prying the hightop upwards with a screwdriver wedged in at several points helped aid disengagement of the sealer without stressing the fibreglass too much. Nothing appears to have been broken off or damaged and no stress marks / cracks either. All that I'm struggling with at the minute is freeing off the sealer at the back left corner. After a lot of prying the back right did seperate eventually. 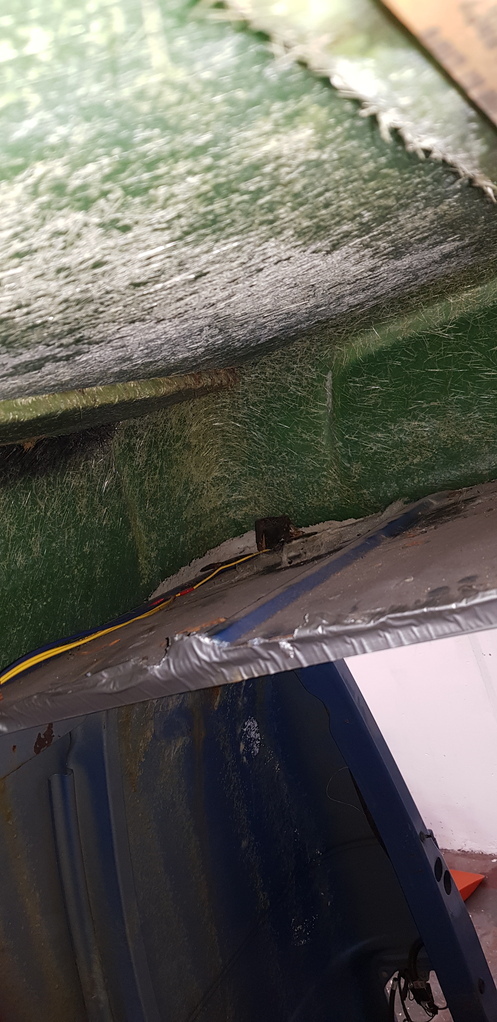 so once I can get a hold of a few bodies to help me she'll theoretically be ready for liftoff! |
| |
|
|
Deano
Part of things
 
Posts: 93
|
|
Jul 11, 2022 20:50:00 GMT
|
Still have the hightop on as we speak, the sealer is now free from it, just waiting to get available people on hand! Despite the dreaded Sunday after a wild Saturday night, I have done work on her regardless, not much in the way of an update but something to keep you interested. I started yesterday by trying to remove the rear bumper. The normal story, 27 years worth of rust on a never-touched nut or bolt? First guess probably gets it right! 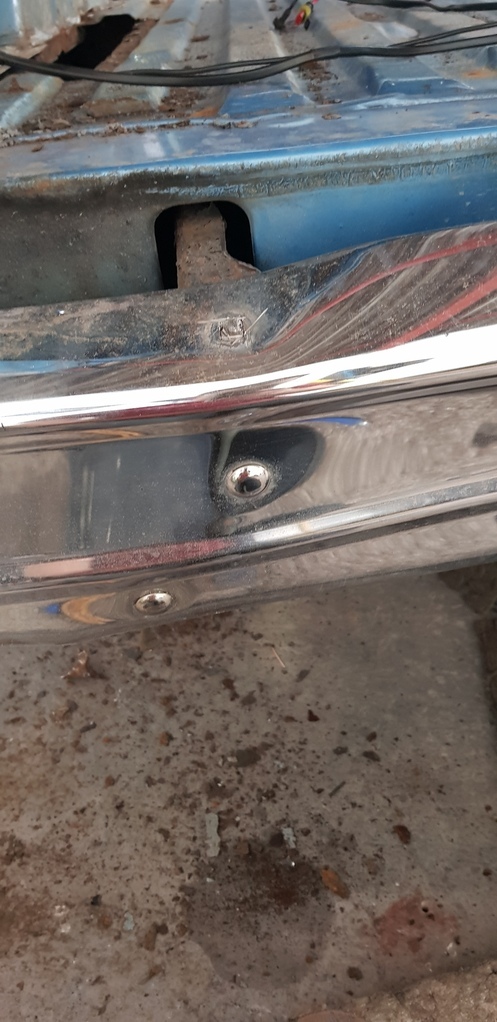 These are how they started off, and this is how it ended 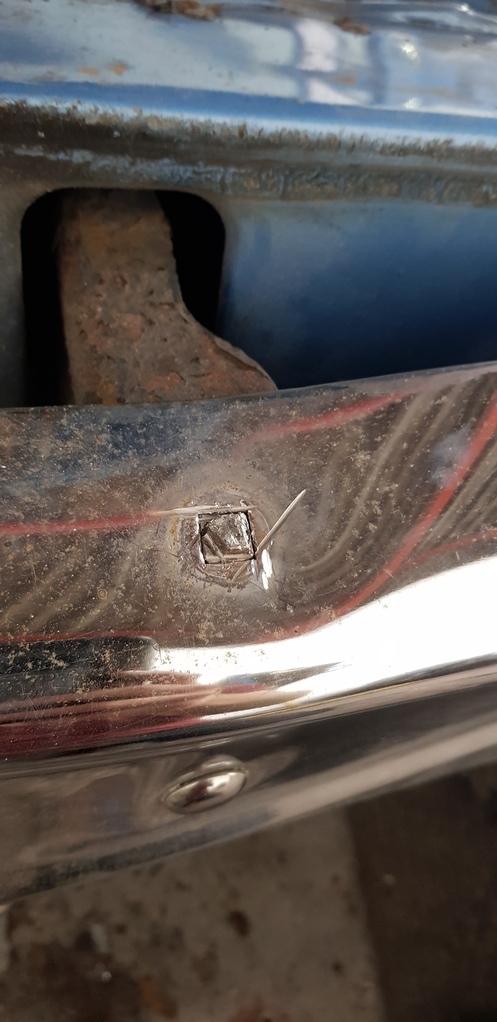 Tell tale marks on that picture, but desperate needs call for desperate measures. I'm on the hunt for a replacement anyways as the rear had a wallop, the bumper may be savable but I'll continue to search. After removal of the bumper, the extent of that bump was revealed, it did do some serious damage however I'm going to see if I can fix it best I can at my work with the dozer. 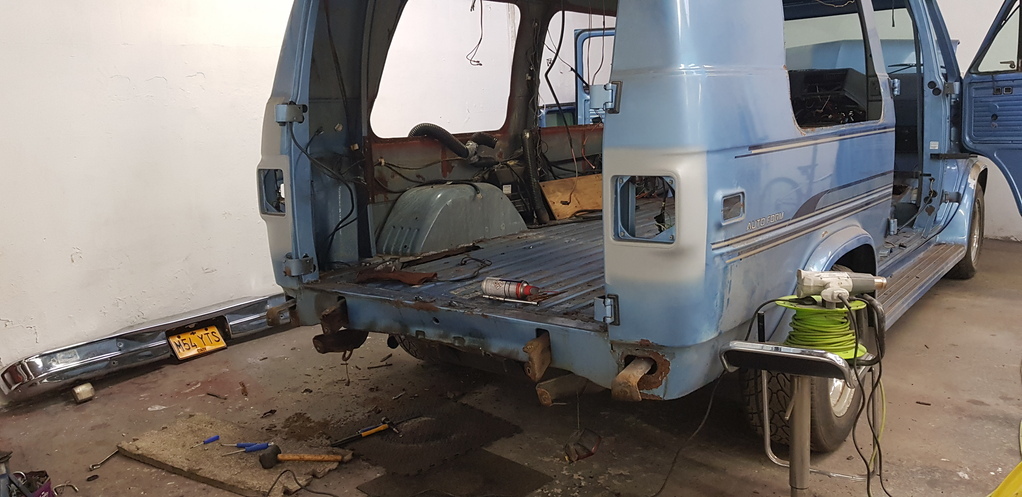 I took it upon myself to also start removing bits off the front. First off was the bull bar. 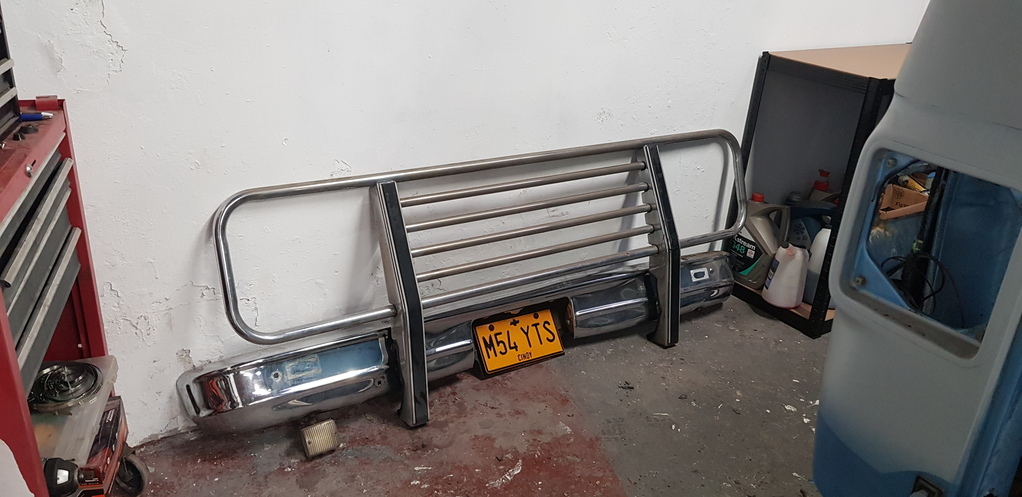 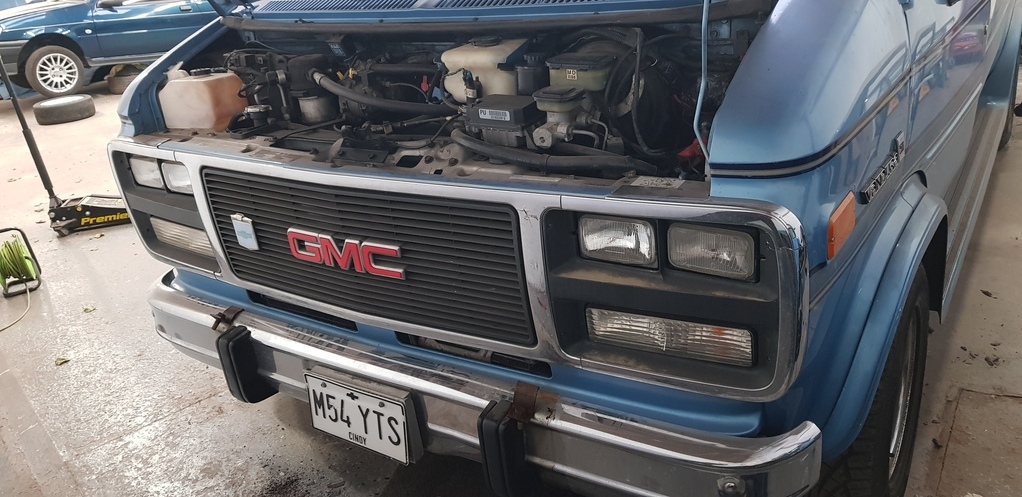 I think she looks far better without the bullbar  . That's all I've gotten round to doing so far. A nice sober weekend working away at her is on the cards, I will of course still be working on it some nights this week too after work so progress won't stop! |
| |
|
|
Deano
Part of things
 
Posts: 93
|
|
Jul 12, 2022 20:12:15 GMT
|
Another micro update  . With the bull bar now being off, I wanted to get the front bumper removed too. Naturally speaking, easy is always an understatement by now. 2 Bolts at each corner of the bumper, followed by 4 at the near centre left and another 4 at the near centre right. I must have spent a solid 2 hours just trying to get them undone as they were monster tight as well as being very very awkward to get to. After a fair amount of muscle stretching and getting jagged from shrapnel on the floor, the bumper was finally off. 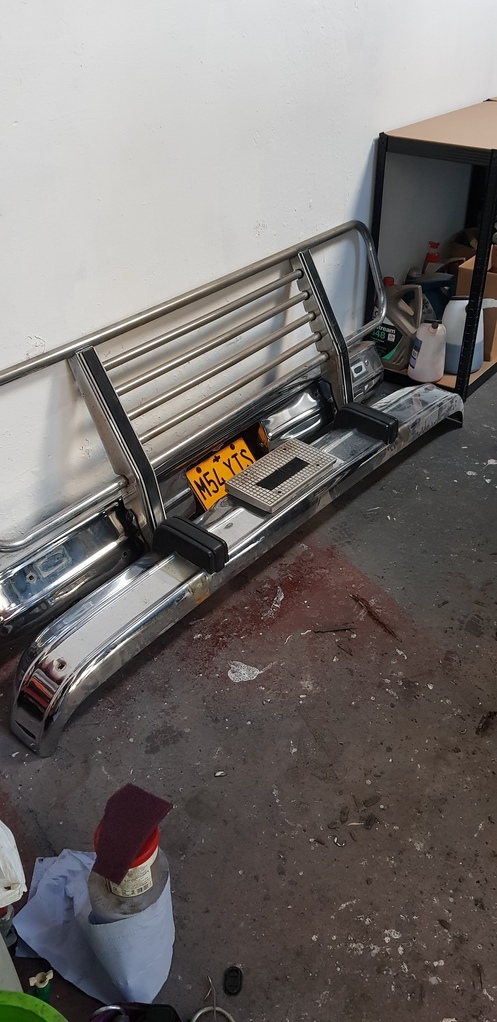 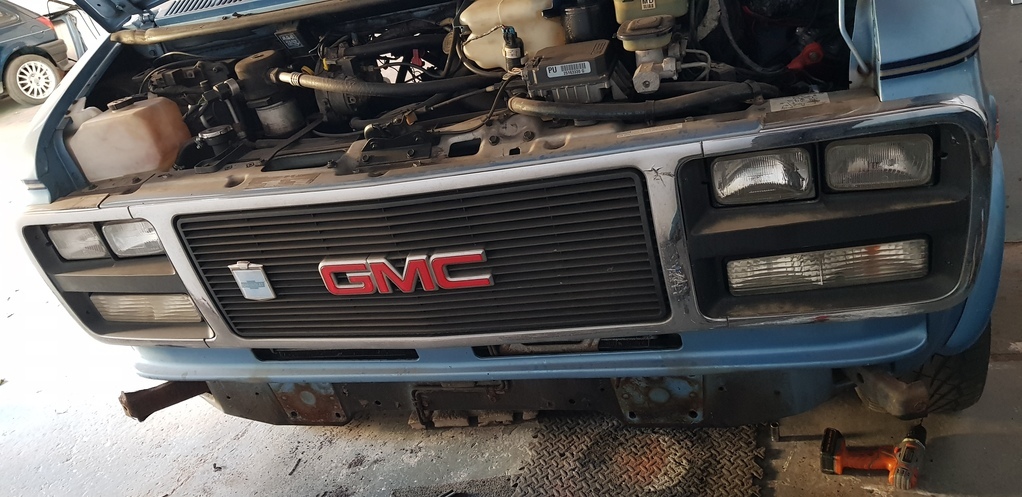 I learned to support the bumper with my knees before removing the final bolt. I ended up with the rear bumper fall on me last night after I broke it free and now suffering a bruised waist, so a bit of pain did give me some gain  . |
| |
Last Edit: Jul 12, 2022 20:13:22 GMT by Deano
|
|
Deano
Part of things
 
Posts: 93
|
|
|
|
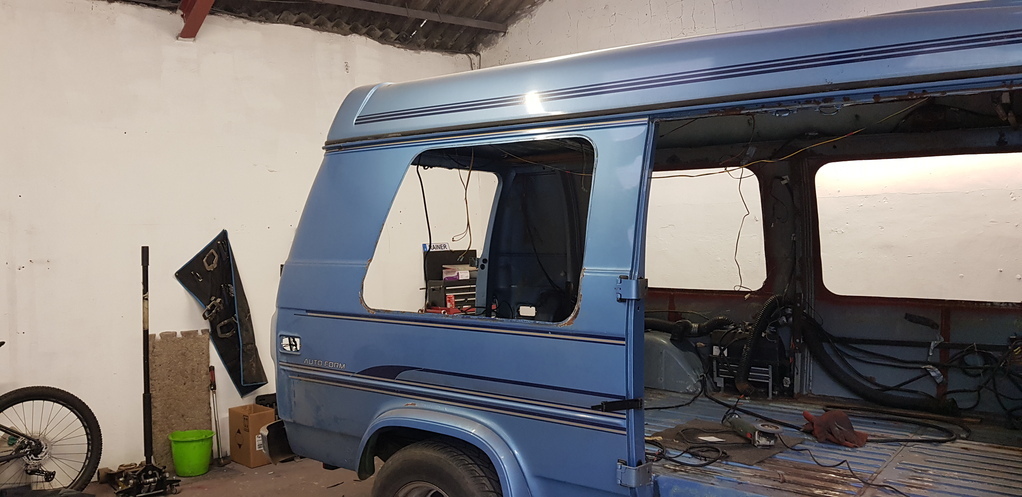
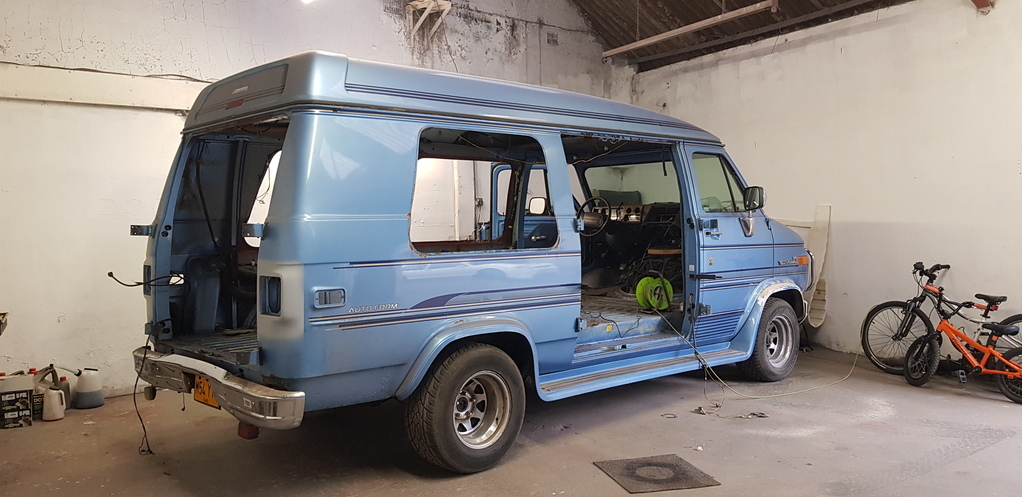
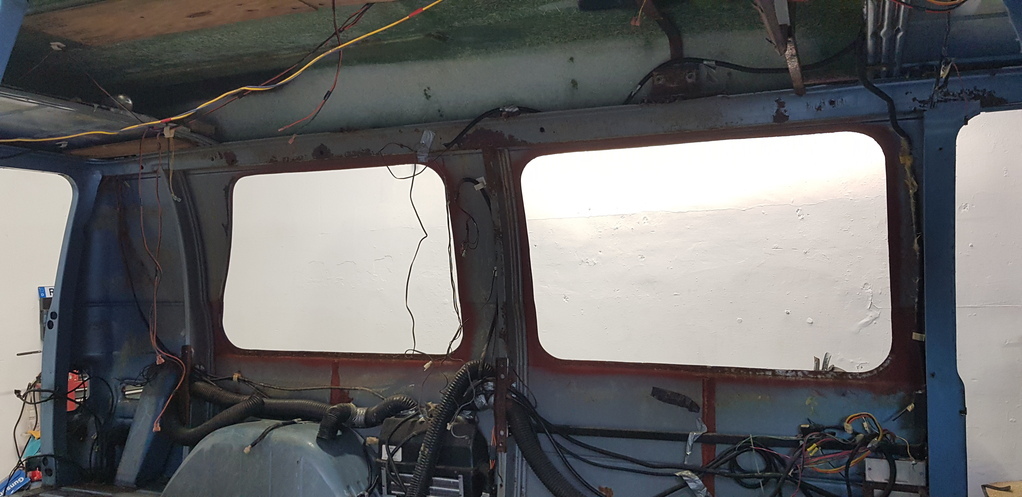
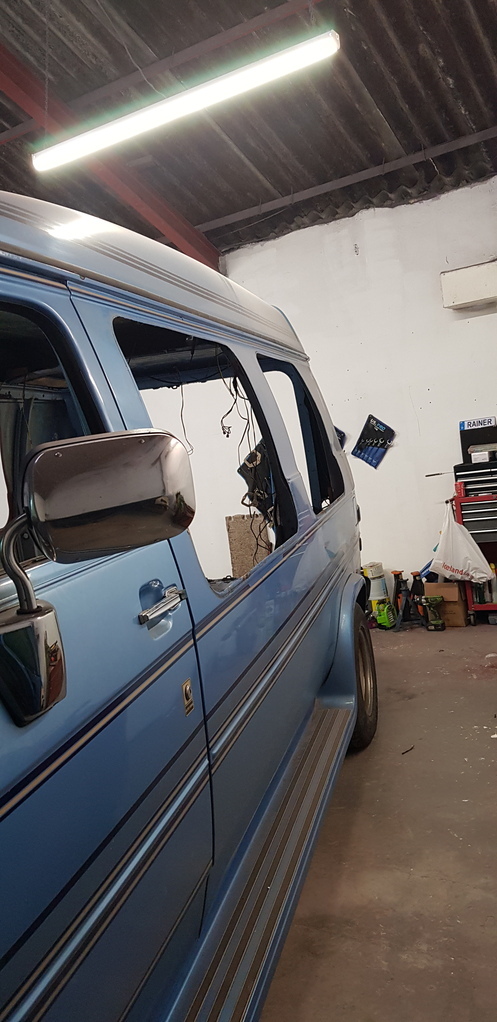
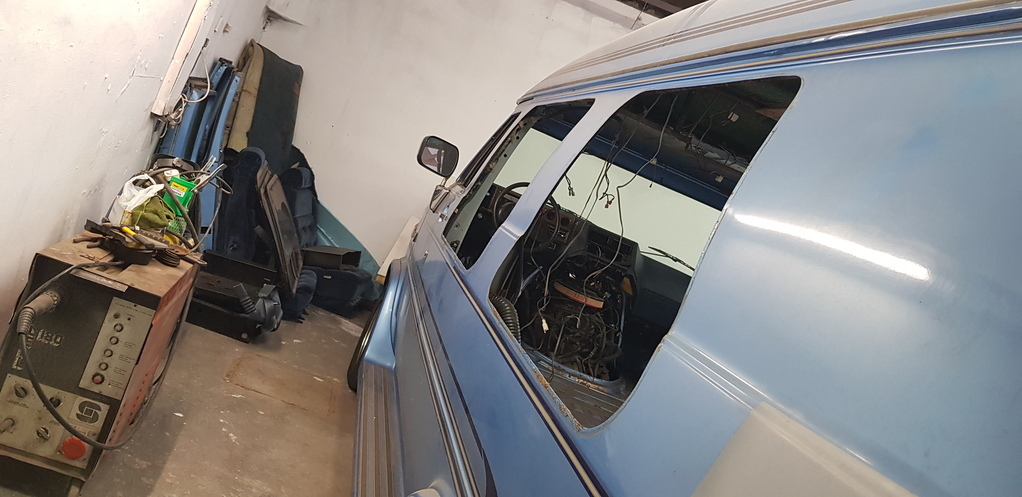
Where does one start? The lower rear back panel that sits behind the bumper! So firstly I really wanted to get this straightened out for a start. My old deary's ex who couldn't drive managed to crease the back end which affected both bumper and back panel, and constantly seeing it reallyyyyy grated on me. My work has this dozer puller contraption that I've had some use of in working time but not enough to know what I'm doing solo, what better way to learn than to stay after working hours and give it a shot? So I took Cindy out the garage and along to my work (Just literally at the end of the road), buffed back to bare metal and then welded on a few plates for pulling the damage out with. 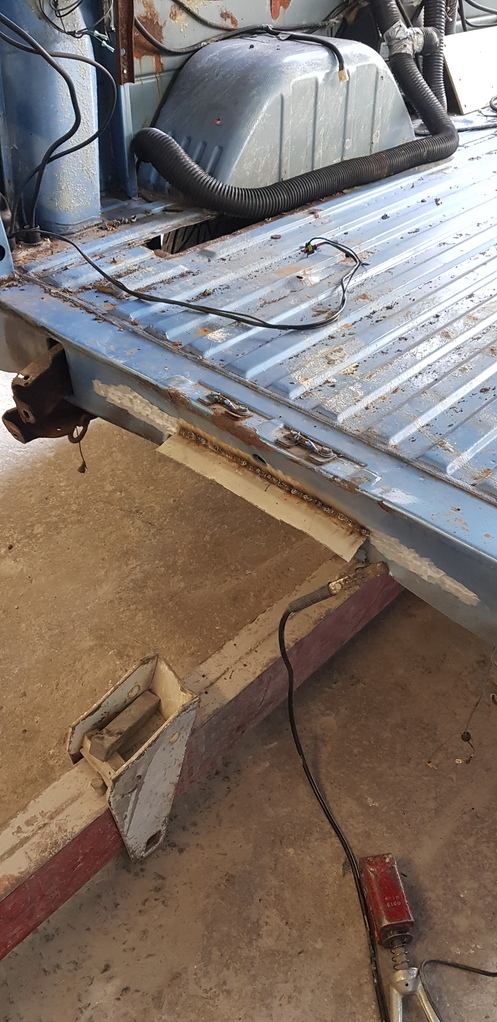 (Crappy welds as the work's Mig run out of gas) The welds didn't hold as the gas had just run out, so the end of night one walking away defeated this was how it looked 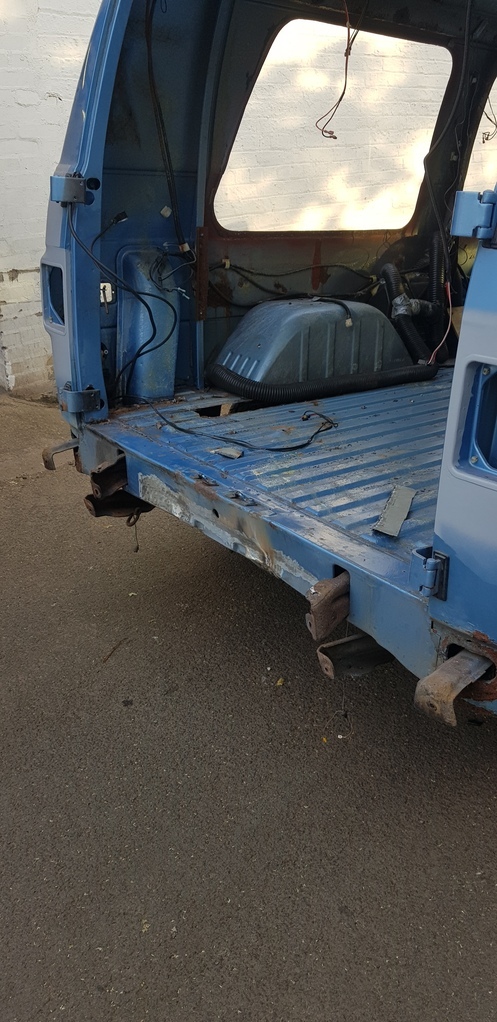 Not to worry though, I learned how to properly setup and use the dozer so it was a learning curve. Friday night came and I was ready to try again, now I had a better understanding I had it setup in no time. Welded on plates for pulling again, the welder now had gas and the difference for penetrating is second to none. 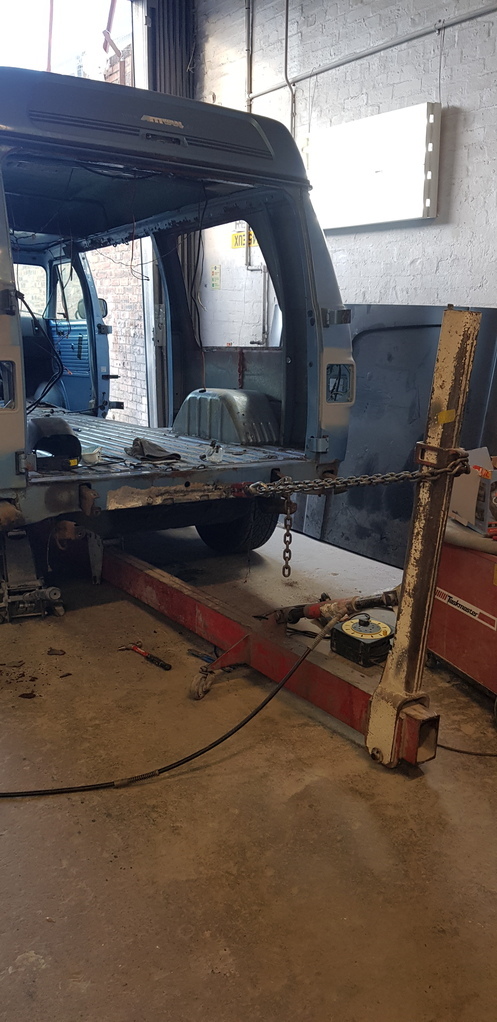 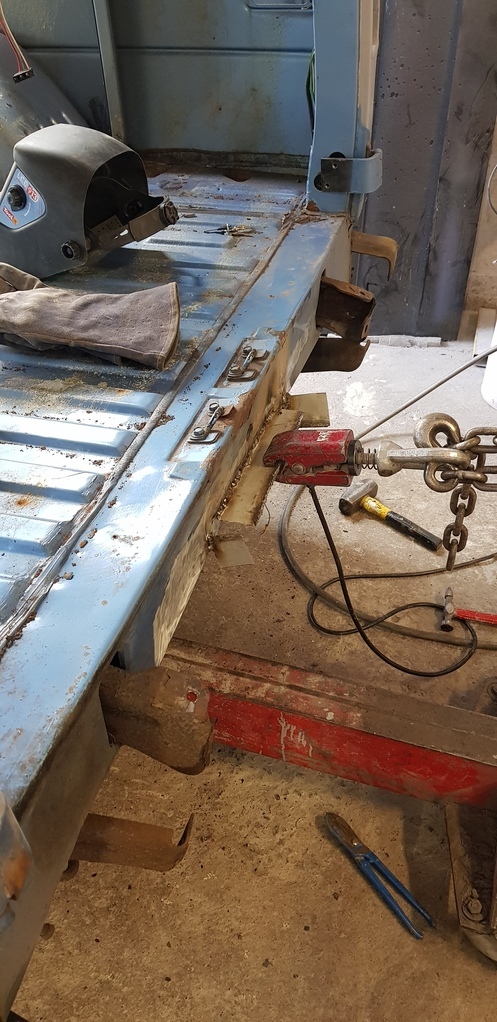 Here's some extra pictures of progression in the process 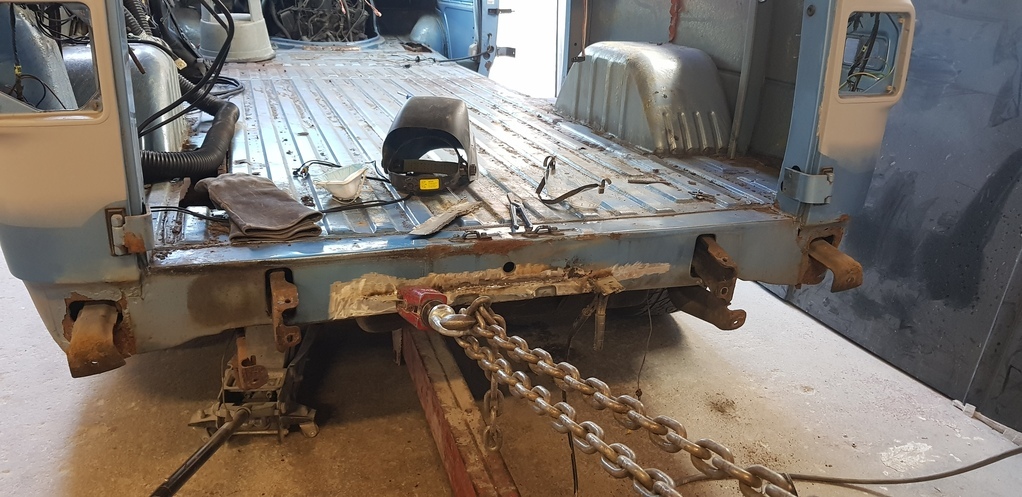 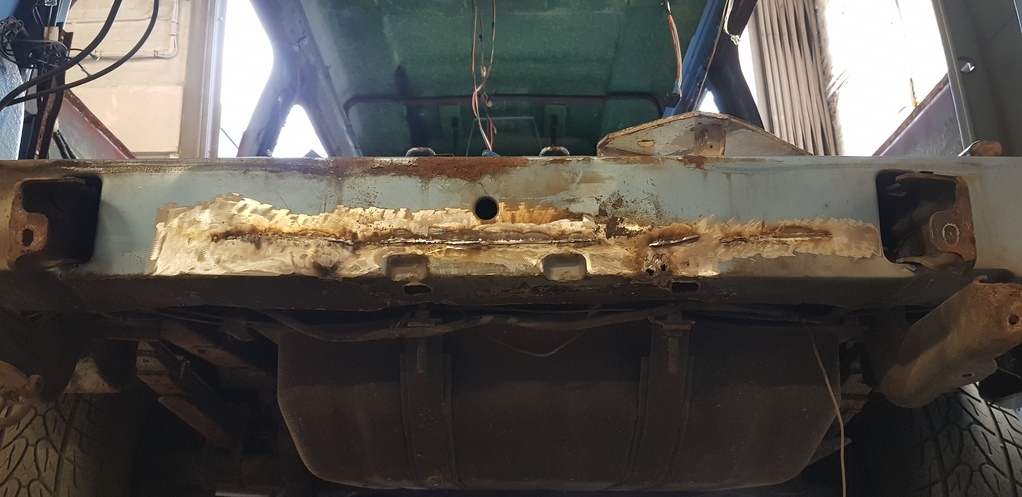 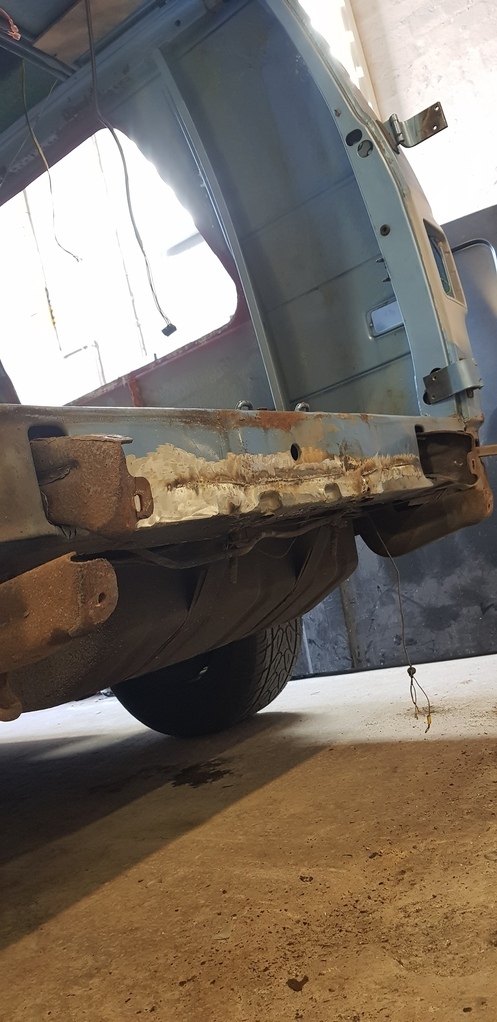   And now finally after a few hours of hammering and pulling, I had an end result which isn't 100% but I'm really happy with. I took her back to my garage and flatted all the welds down there yesterday morning (Saturday), this is the end result  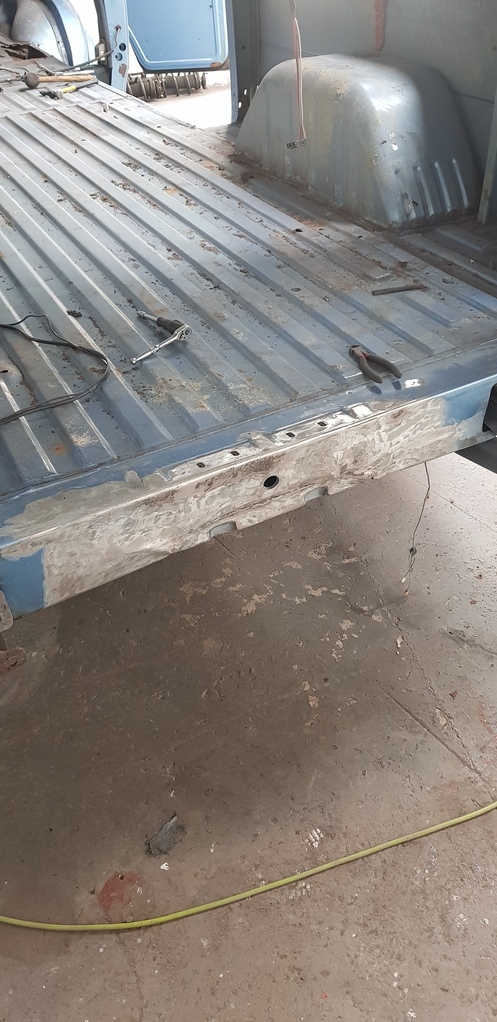 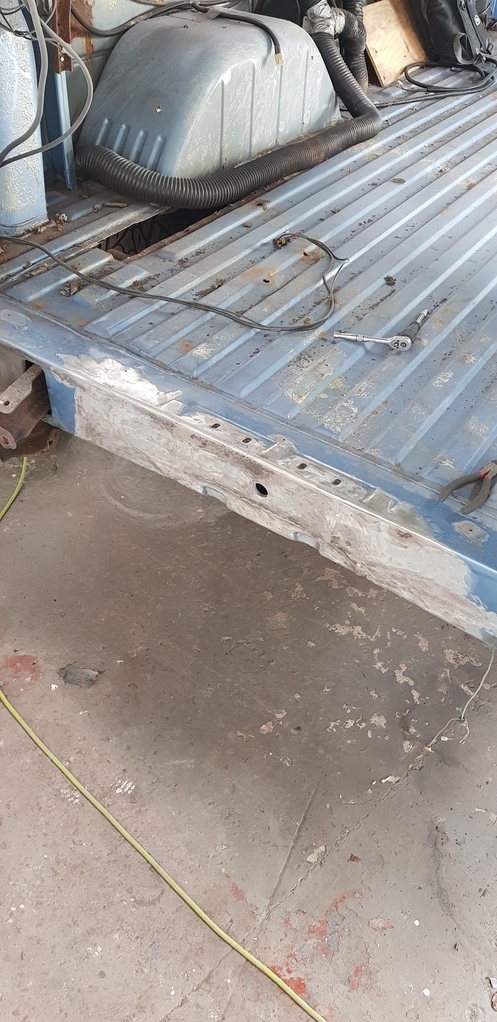 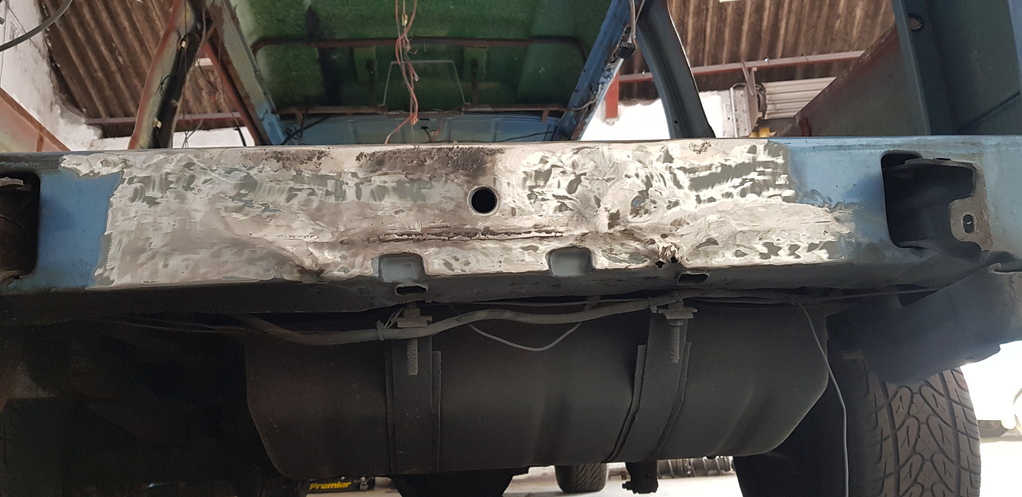 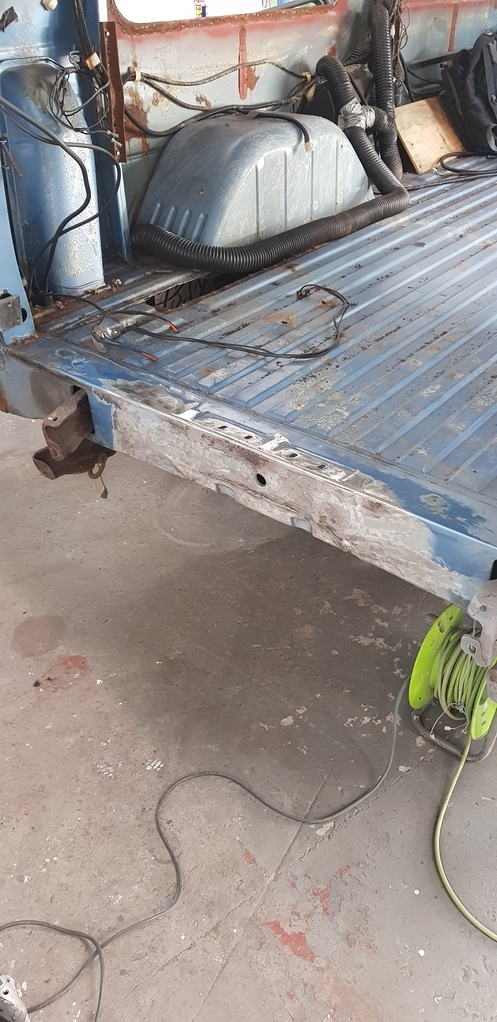 Once all the welding is completed, a bit of filler should have that looking so much better. I also removed the running boards as well as the front doors so everything is out the way for welding. 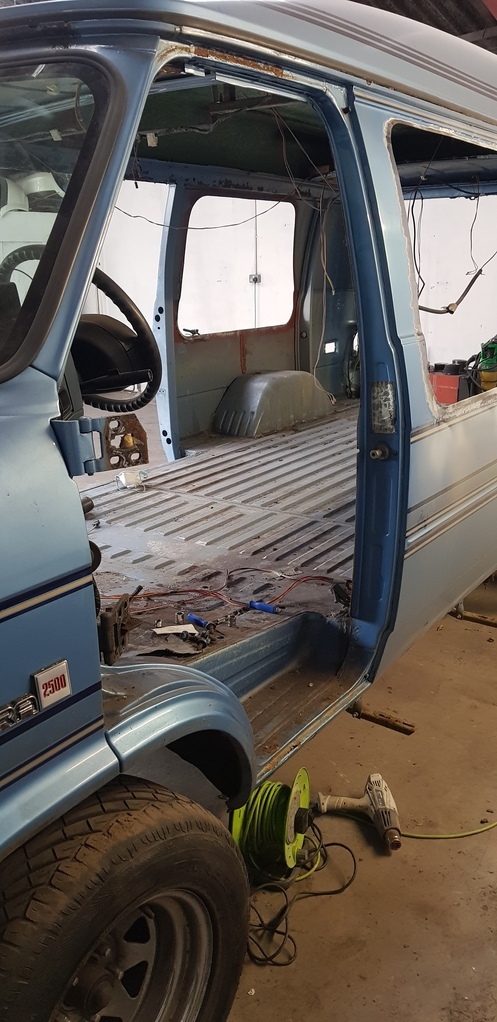 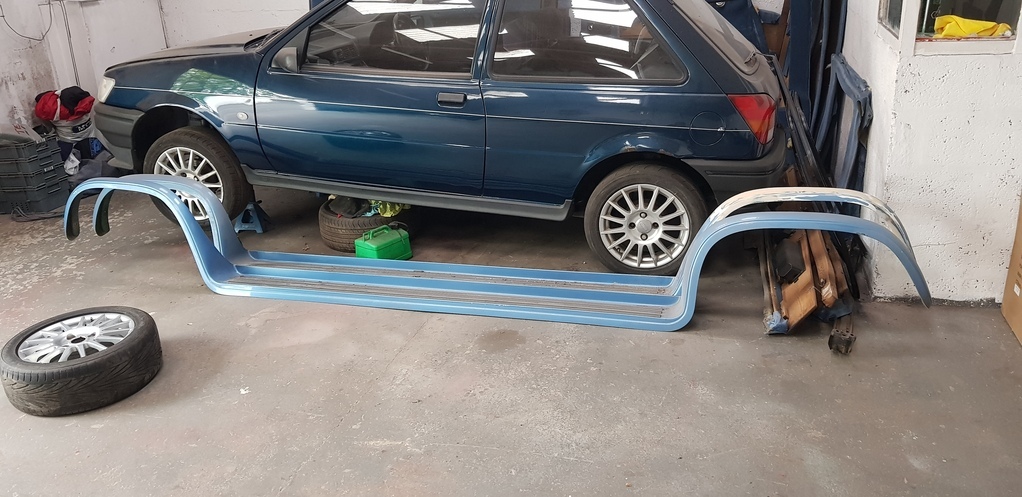 Finally, I also started to buff down the rust surrounding the big windows and there's no rot whatsoever. 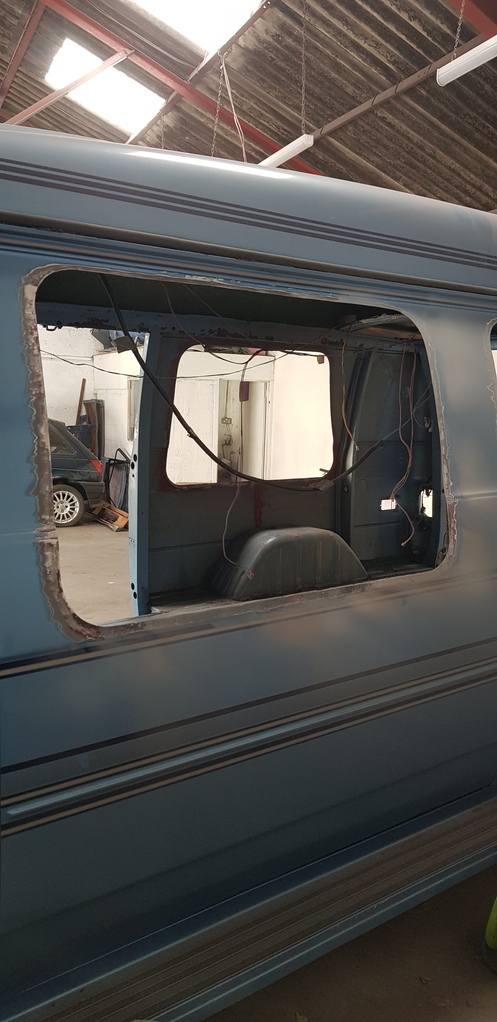 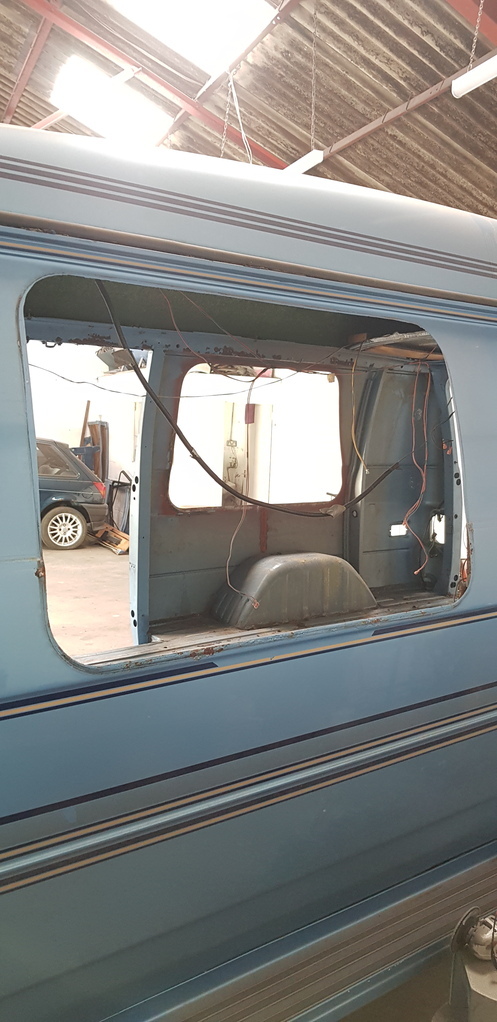 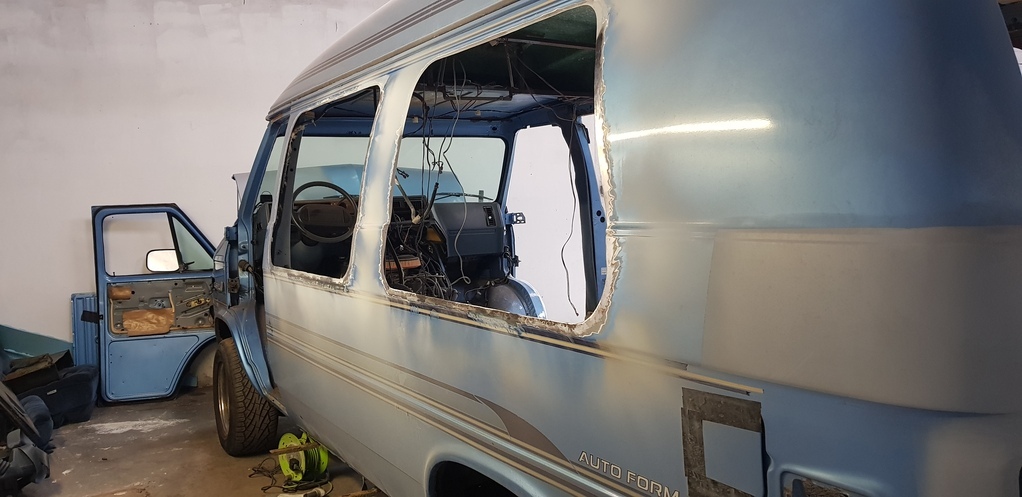  I may cut the bad bits out however I found lack of paint had caused this problem so it should be fine once properly covered! Anymore progress I shall report back! |
| |
|
|
|
|






 .
.


