|
|
|
|
|
Not much to report on the car. Went down to my mates garage and changed all the oily fluids on the car. Gave me the chance to look round it properly underneath which I’m dead chuffed about poking about in the bits I couldn’t see which the rear up in the air. 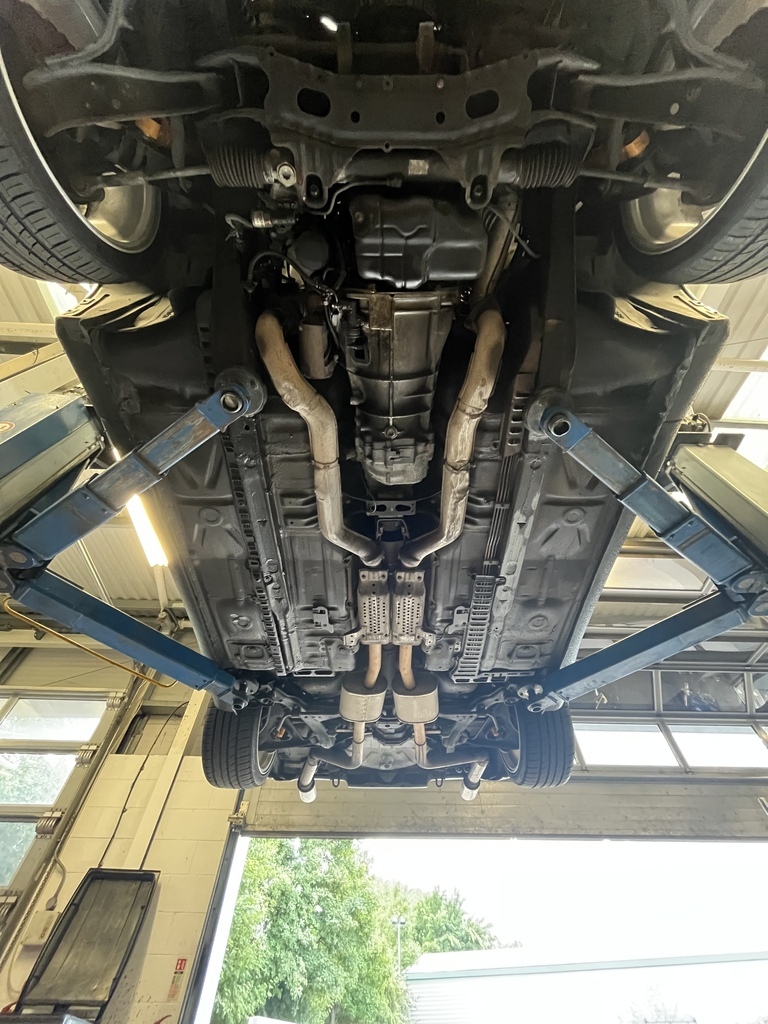 Changed the engine oil, filter, gearbox oil and diff oil. Diff oil was absolutely stinking but the rest seemed sound. Just tracking down a balance tube o-ring set and a fuel filter then I can do that and the plugs. Till next time |
| |
|
|
|
|
|
|
|
|
|
|
|
| |
Last Edit: Aug 6, 2022 17:35:47 GMT by louishavo
|
|
zeberdee
Club Retro Rides Member
Posts: 1,041  Club RR Member Number: 2
|
|
|
|
|
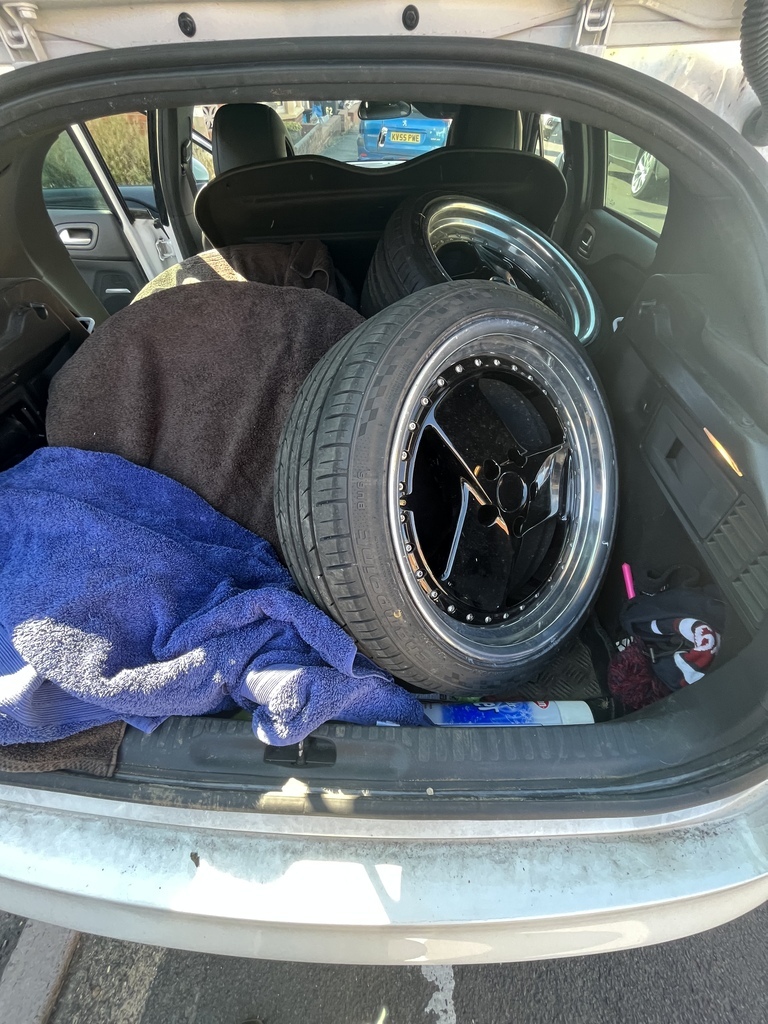
Interesting choice .
Looking forward to seeing them on .
👍
|
| |
|
|
|
|
|
|
|
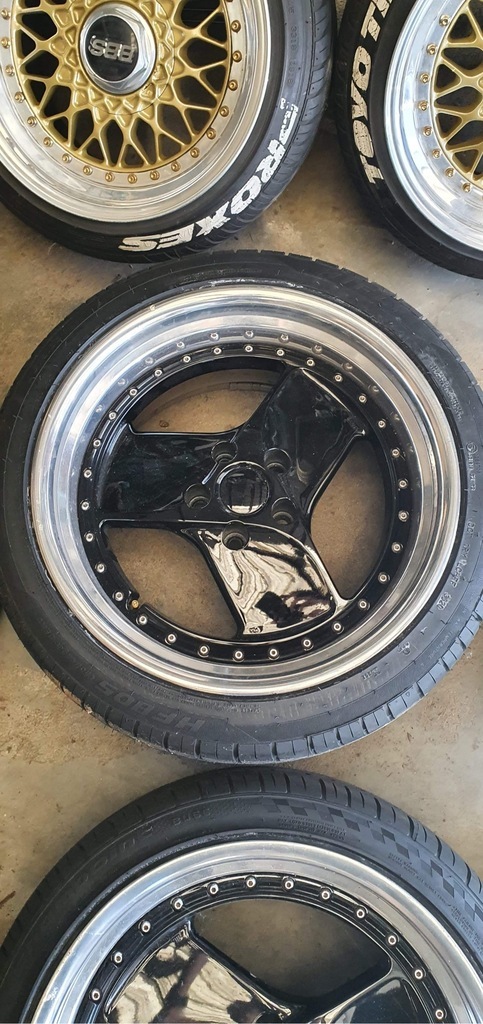
3 spokes for the win!!! Excellent work, carry on  |
| |
|
|
LAndy
Posted a lot
  
Posts: 1,061
|
|
|
|
|
OH F**K YEA! LOVE 3 SPOKES!
|
| |
Previous retros: 92 AX GTi 92 Scirocco Scala 94 80 sport 87 Golf Cab GTi Current retro: 1965 Clark Cortez YouTube Website Instagram |
|
|
|
|
|
|
|
|
|
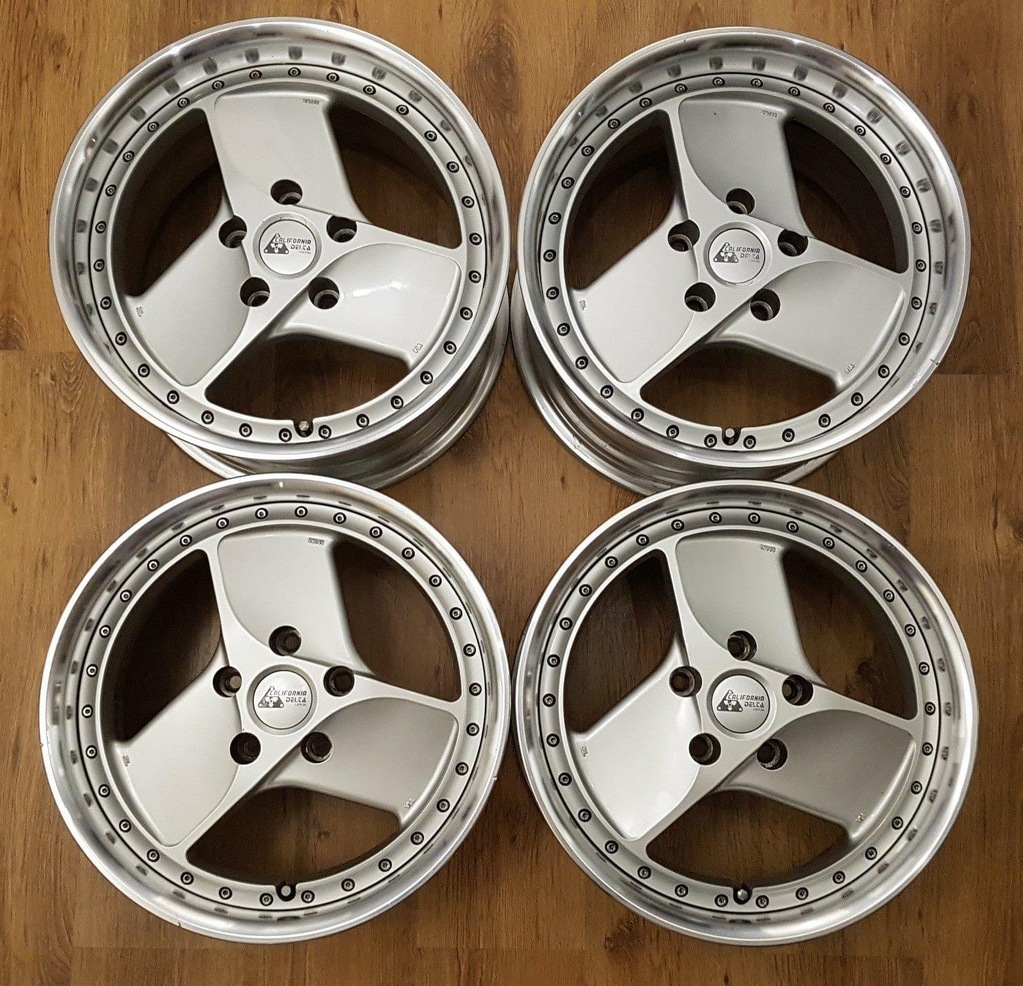
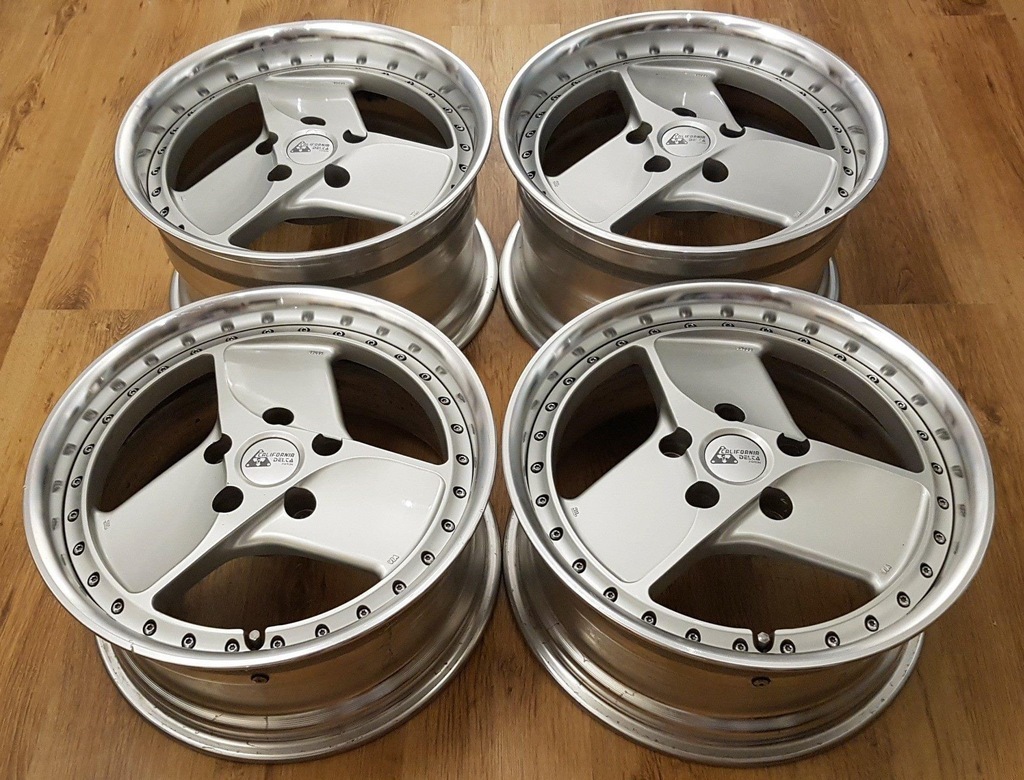
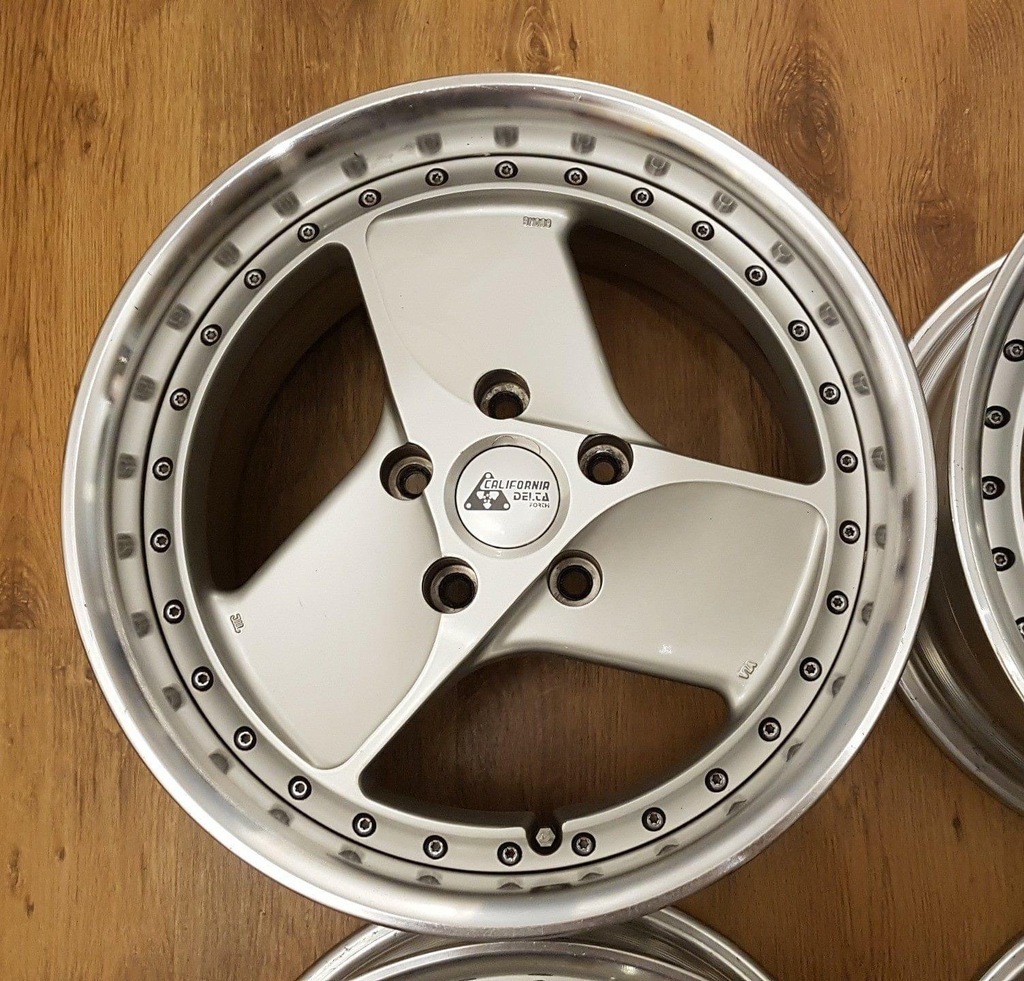
Thanks all! Looking forward to getting them looking smarter and painted silver again. Always had a soft spot for 3 spokes but never had the car to put them on so 🤞🏻
|
| |
|
|
|
|
|
|
|
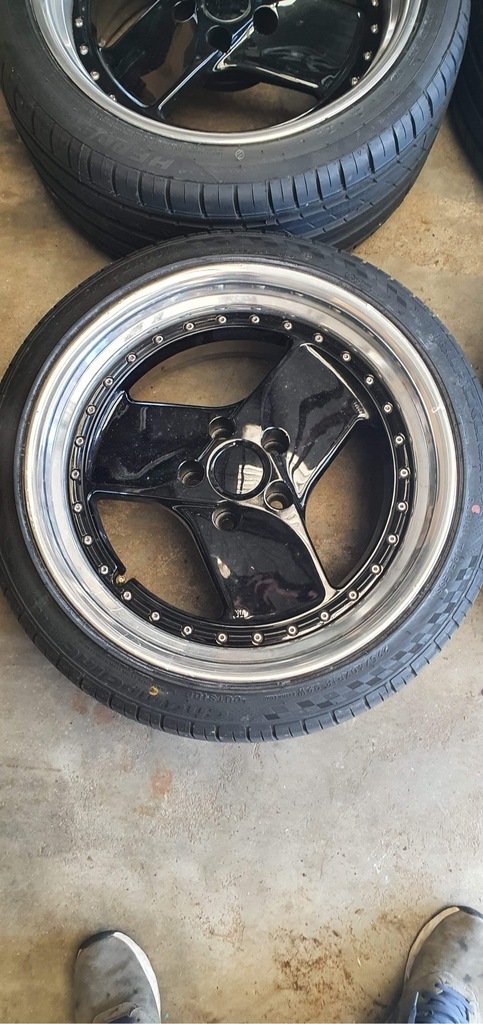
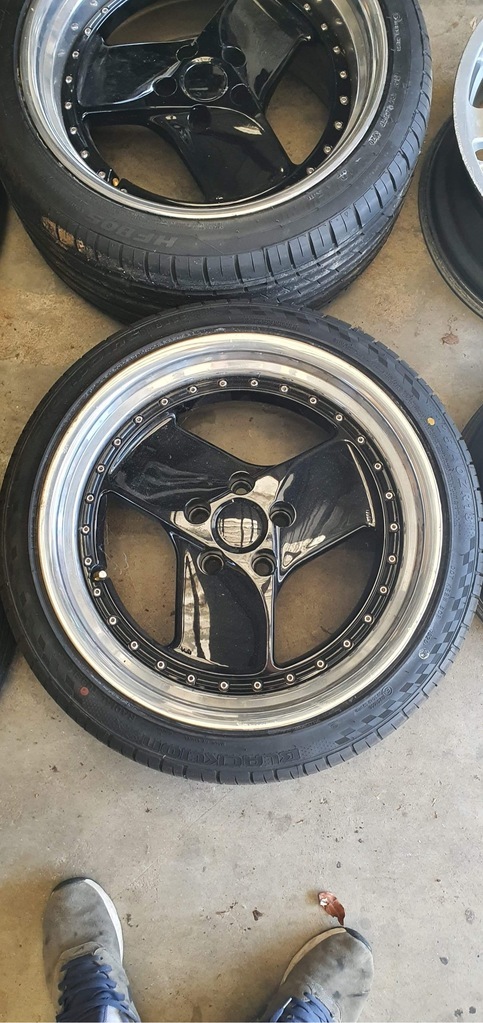
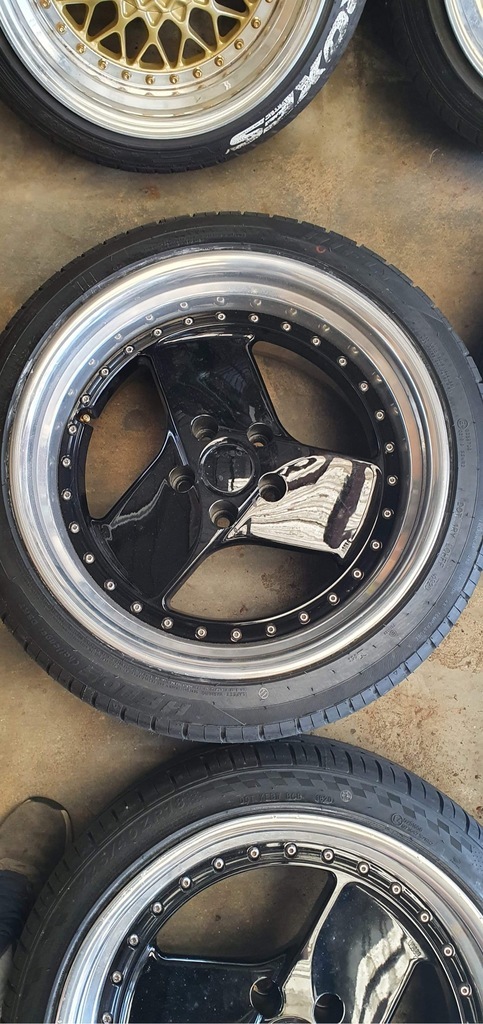
Cracked on now the wheels are home, got them split down last night. 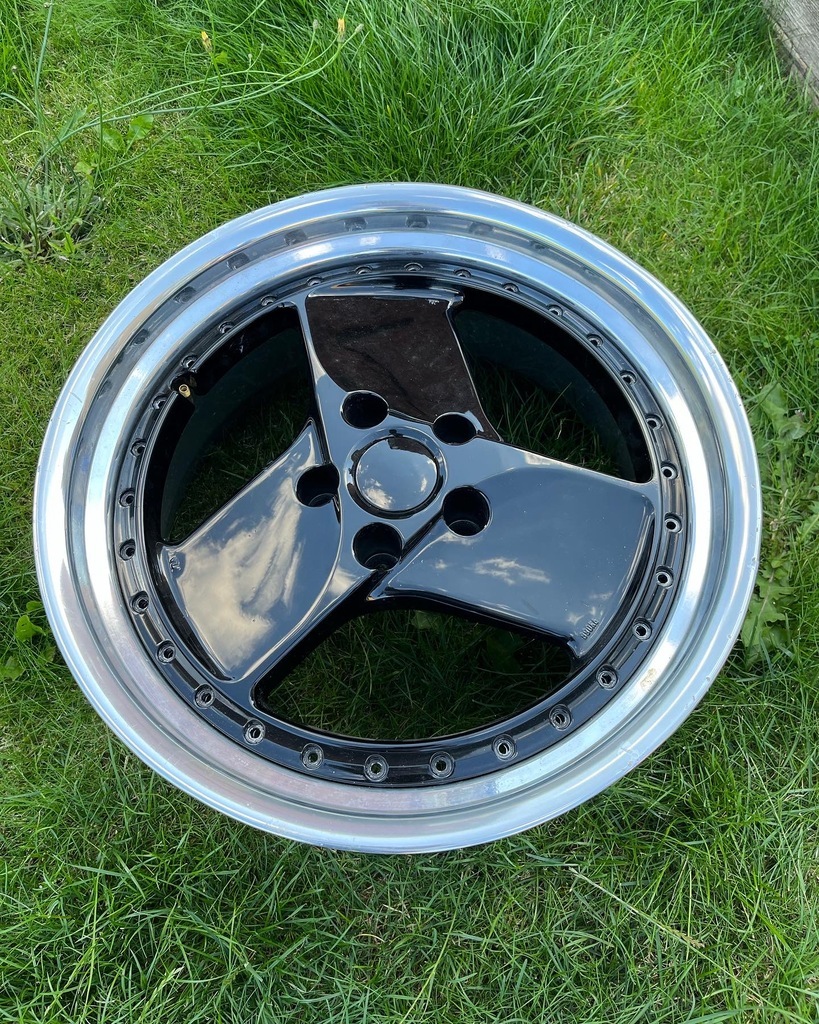 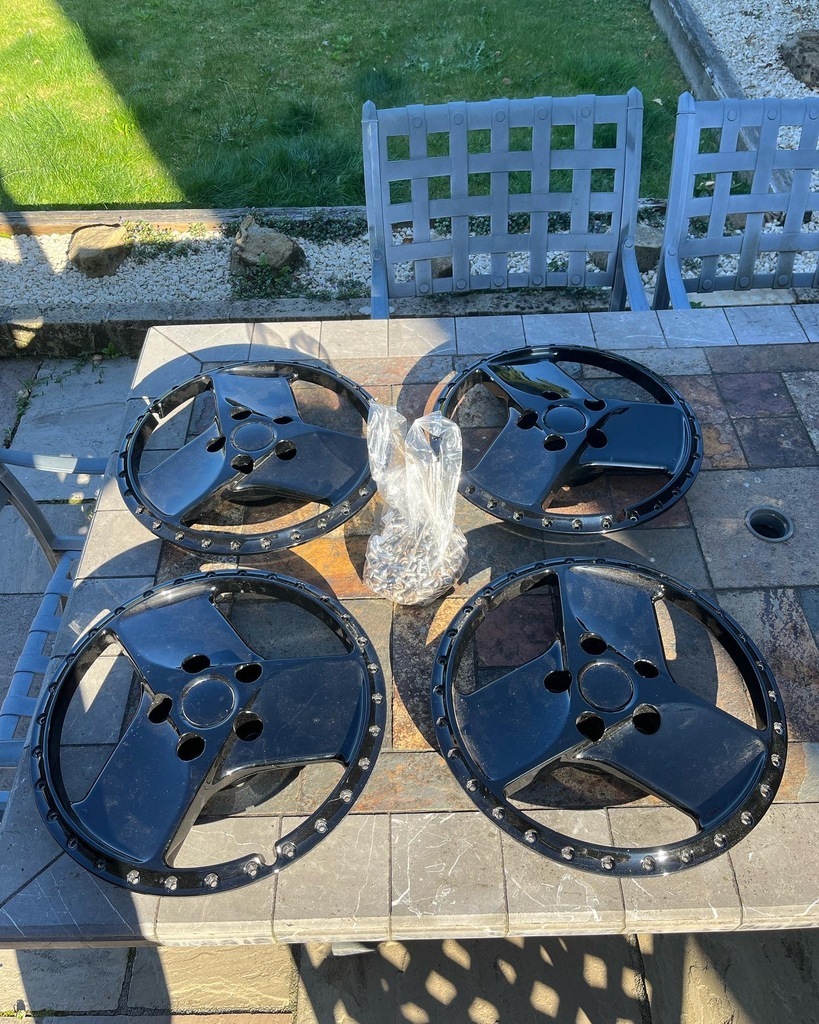 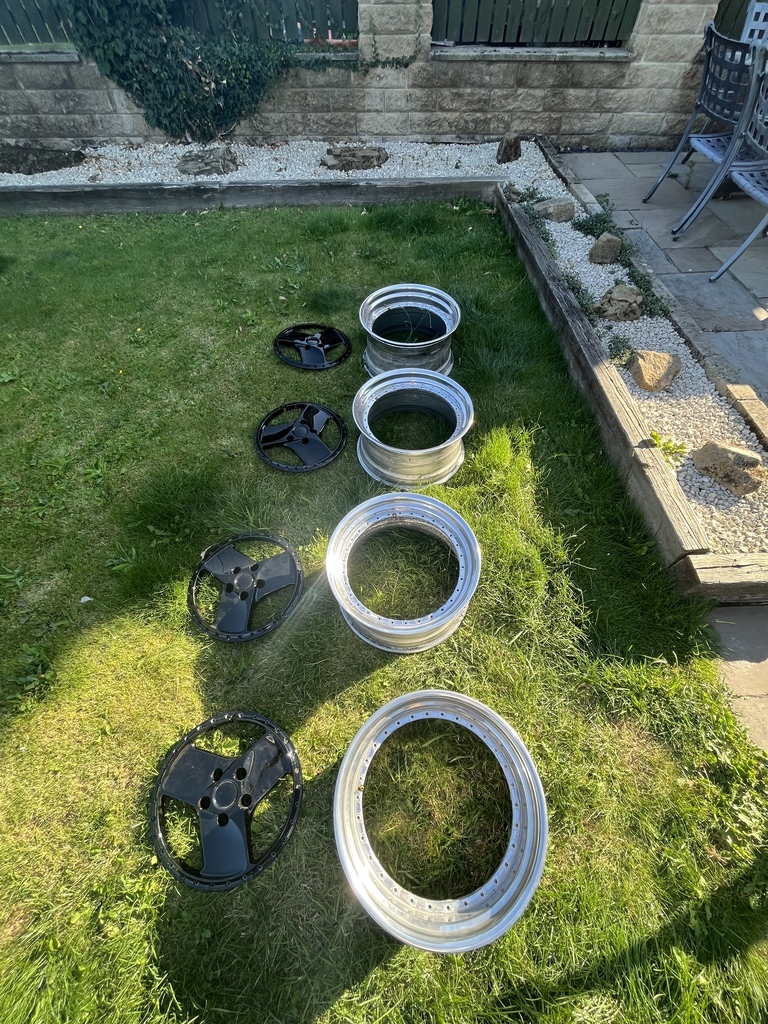 Took them to a local place to get them dipped, I refrained from having them blasted cause I didn’t know how crazy they’d go or how careful they’d be, got the jetwash on them when I got home to clean all the schmutz off and they’re ready for paint. 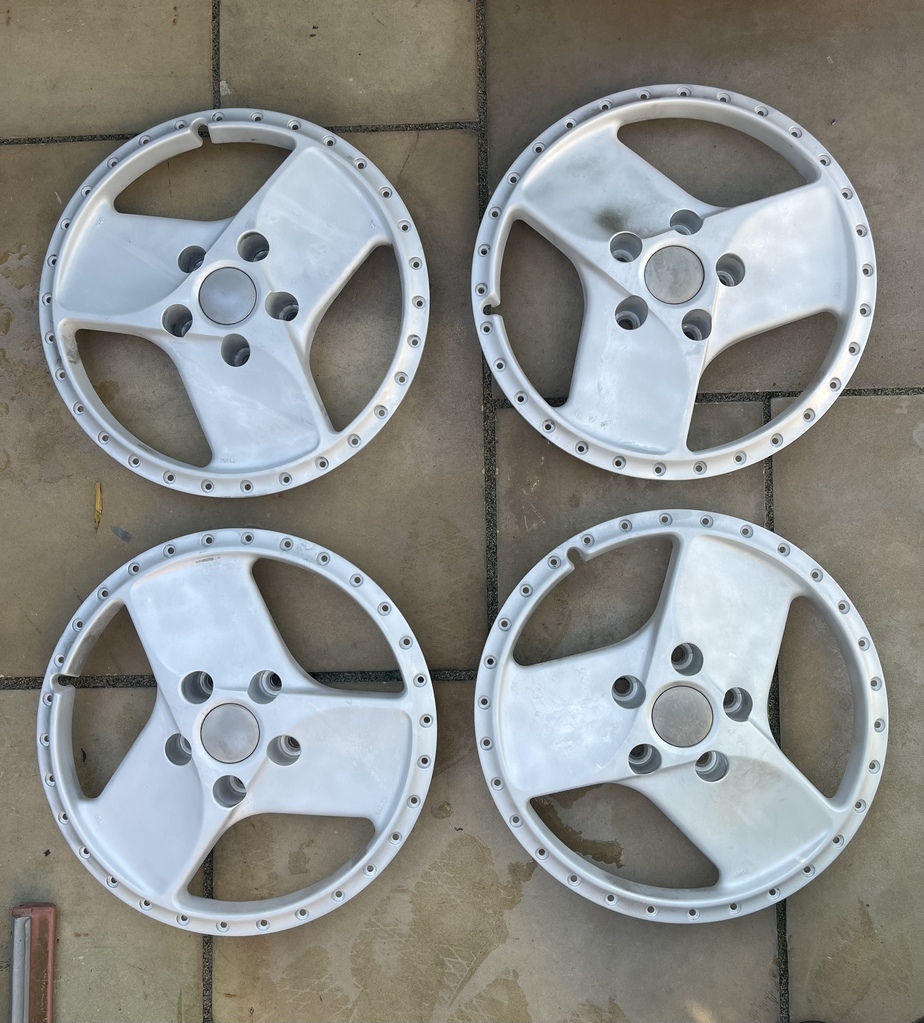 I’ll not get the chance to take them for paint till Thursday so I’ll better crack on with cleaning the lips and barrels up 🤙🏻 Cheers! |
| |
|
|
|
|
|
Aug 13, 2022 17:54:36 GMT
|
Dear diary, another day another way of tryna smarten these wheels up by not breaking the bank. borrowed the little toothbrush polisher and went to work on the lips after I’d cleaned them with some degreaser inside and out. they’re not perfect but 90% and I don’t wanna be sucked down that rabbit hole of spending £££ and them only getting rid of a couple of knicks and marks. 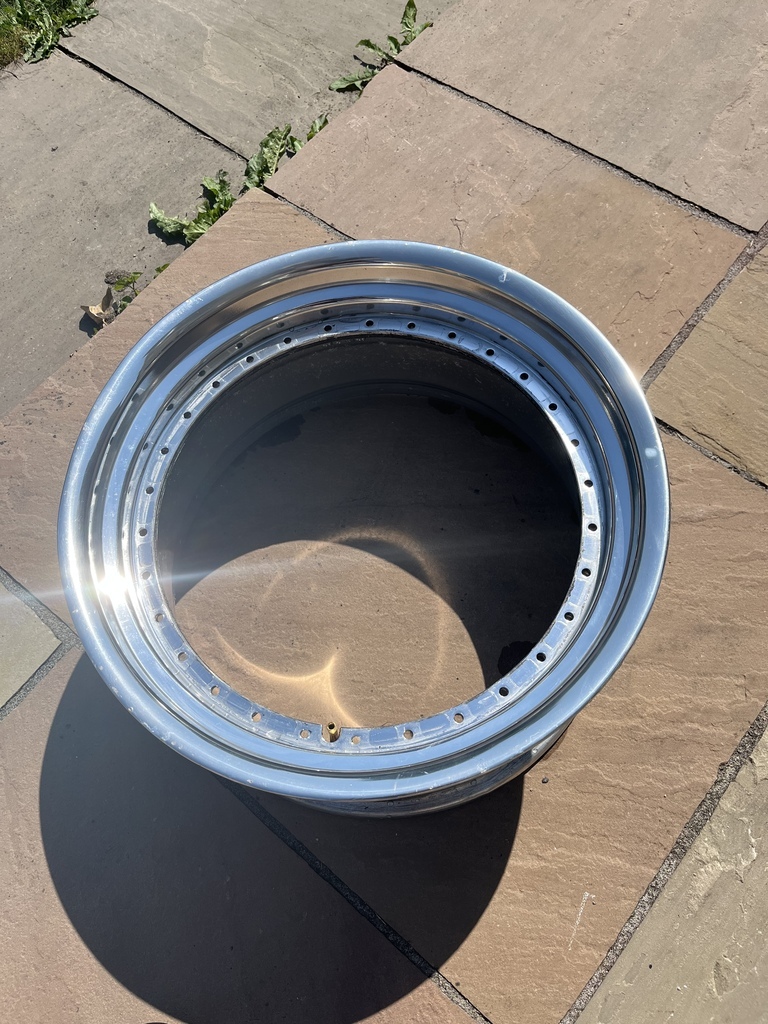 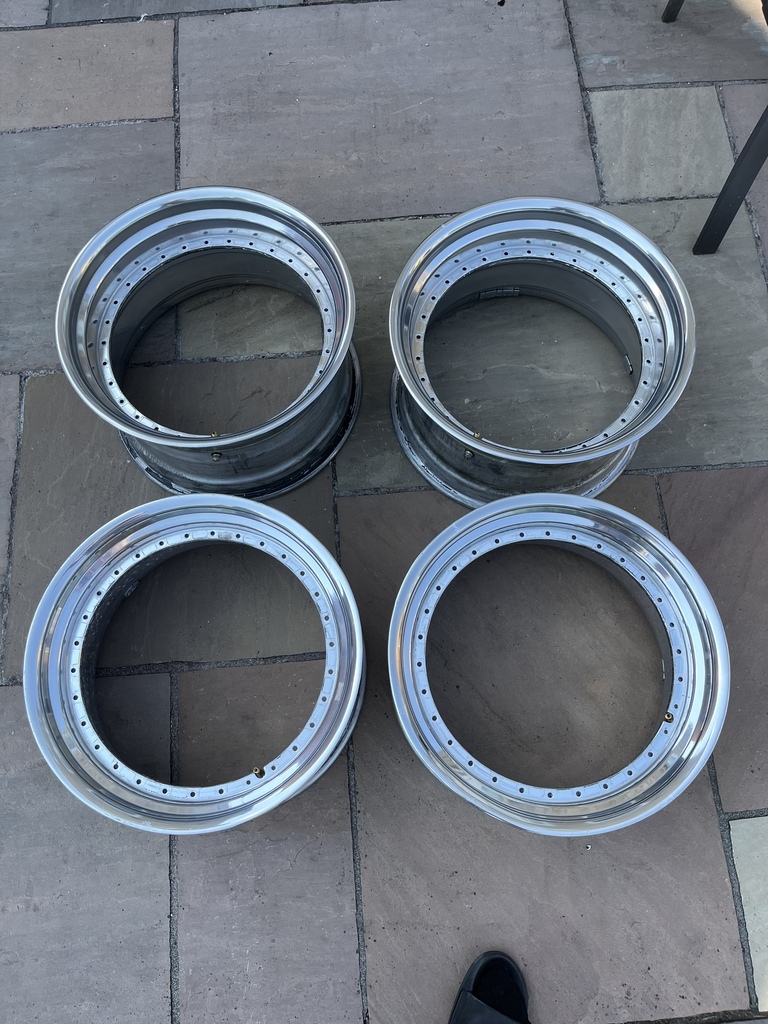 dropped faces off Thursday at the painters so should be back with me mid next week if they squeeze them in between jobs. Kinda using them as a gauge for how nice they’ll do my car but I’ve only seen great work from them in the first place so I hope it’s just more of the same of what my friends have had. Also stuck all the bolts in the ultrasonic cleaner our gurt usually uses to clean her jewelry, banged them in with some degreaser, worked 7/10 and took some scrubbing but another mate in engineering says they use theirs with IPA to clean stuff up with great results so maybe use that next time, I’ve got some for panels when I’m detailing but it didn’t even cross my mind to use it. 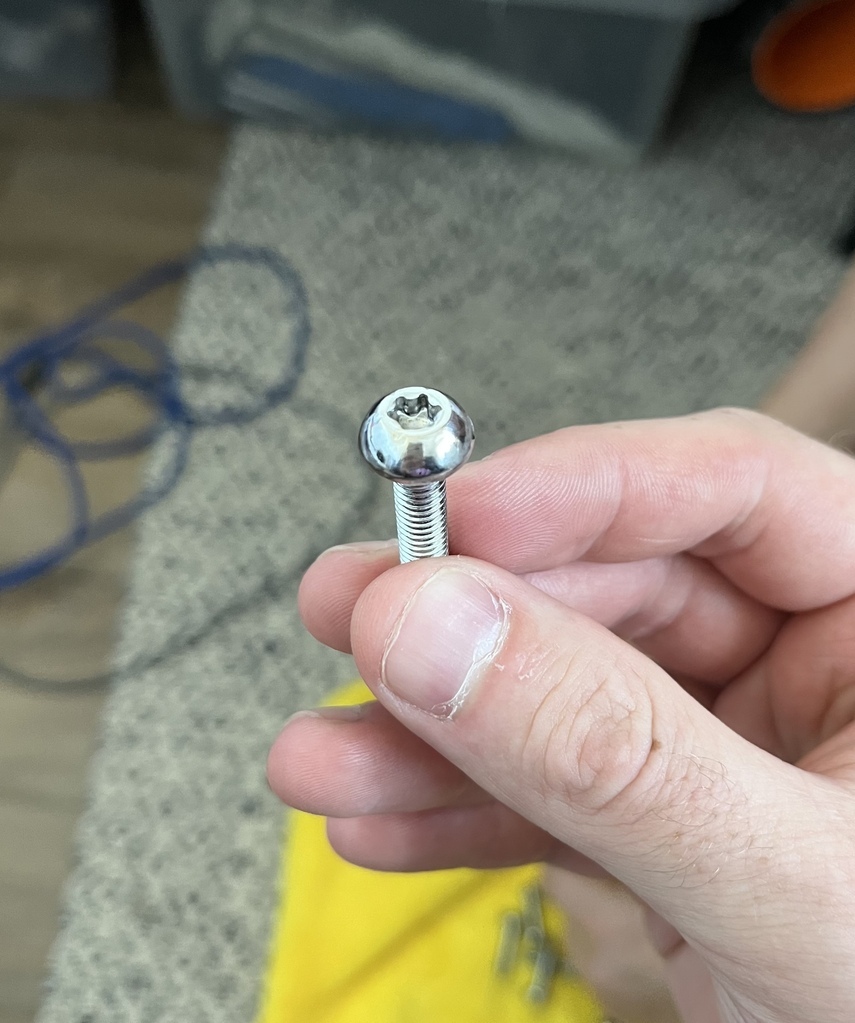 till next time, cheers! |
| |
|
|
|
|
|
Aug 13, 2022 19:21:43 GMT
|
|
They are going to look stunning,
Nigel
|
| |
BMW E39 525i Sport
BMW E46 320d Sport Touring (now sold on.)
BMW E30 325 Touring (now sold on.)
BMW E30 320 Cabriolet (Project car - currently for sale.)
|
|
|
|
|
|
|
Aug 13, 2022 22:49:12 GMT
|
They are going to look stunning, Nigel Fingers crossed! Thank you mate |
| |
|
|
|
|
|
Aug 15, 2022 18:49:19 GMT
|
Well this happened a lot sooner than I thought! Need to just get all the old sealant off the barrels and lips and reseal/rebuild the wheels with the new faces now they’re painted 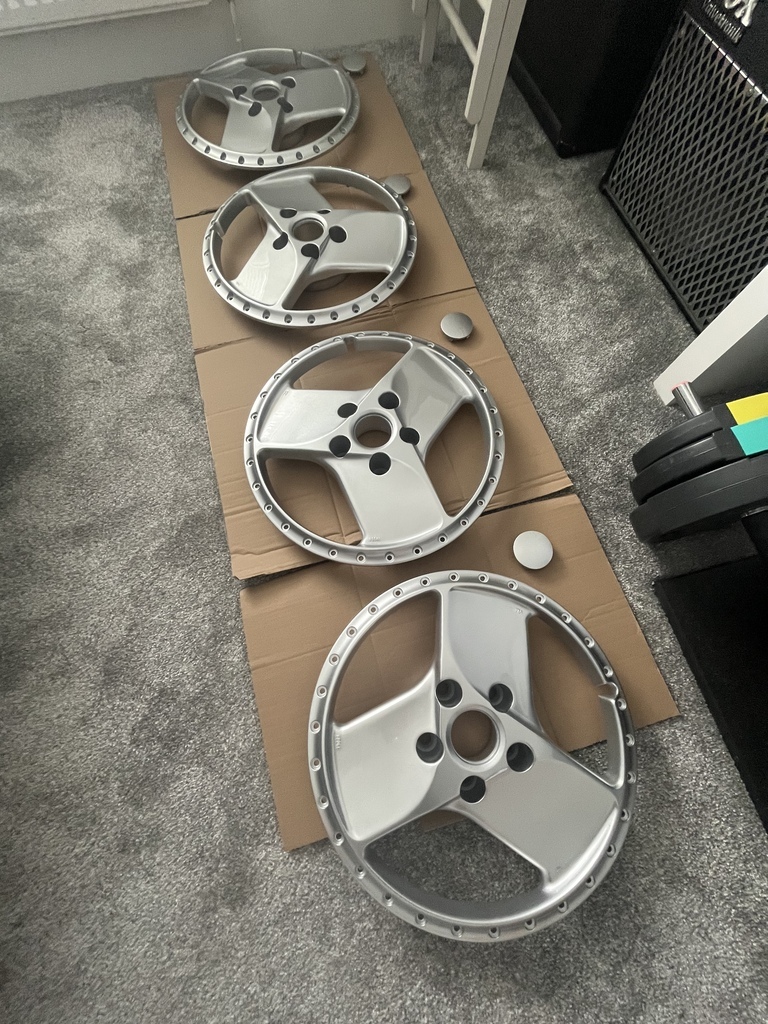 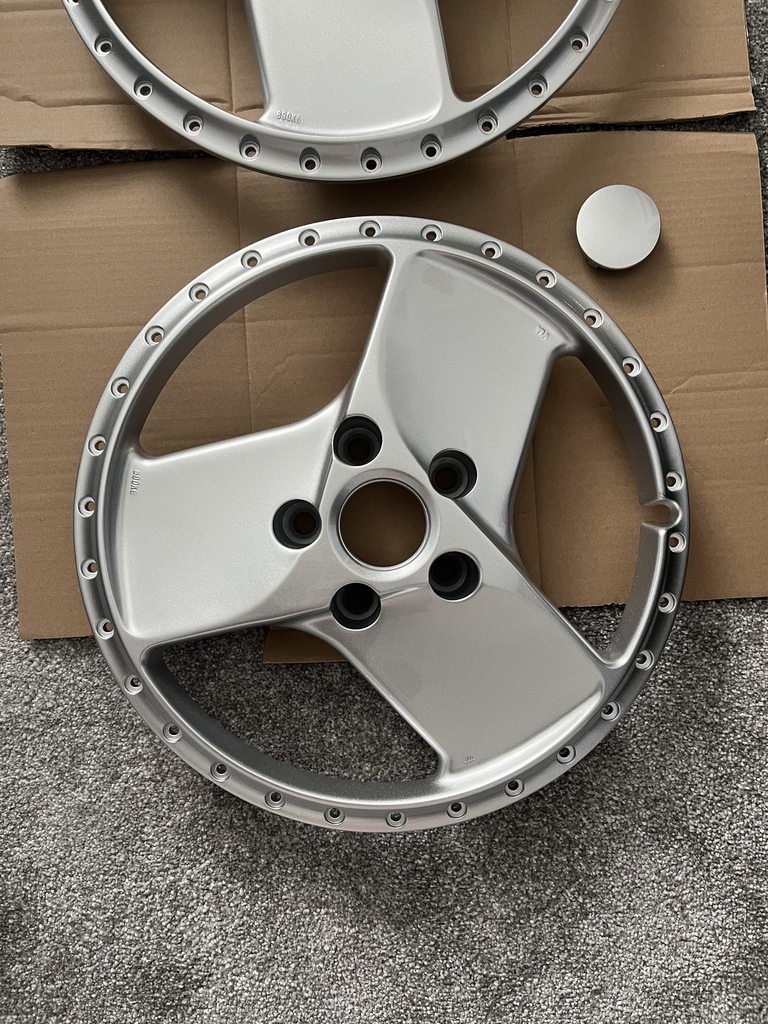 cheers! |
| |
|
|
|
|
|
Aug 21, 2022 18:21:26 GMT
|
Howdy again, Cracking on with the bits and curse word to get the wheels back together. Though these are technically 3pc by construction they’re also welded. Luckily it doesn’t bare me any inconvenience as they’re going on in the spec they are but needed some cleaning up. The old sealant might have been original and easily just rubbed off (in places). Cracked on rubbing it off with some thick rubber gloves and then giving it a key/final clean with the brass brush. 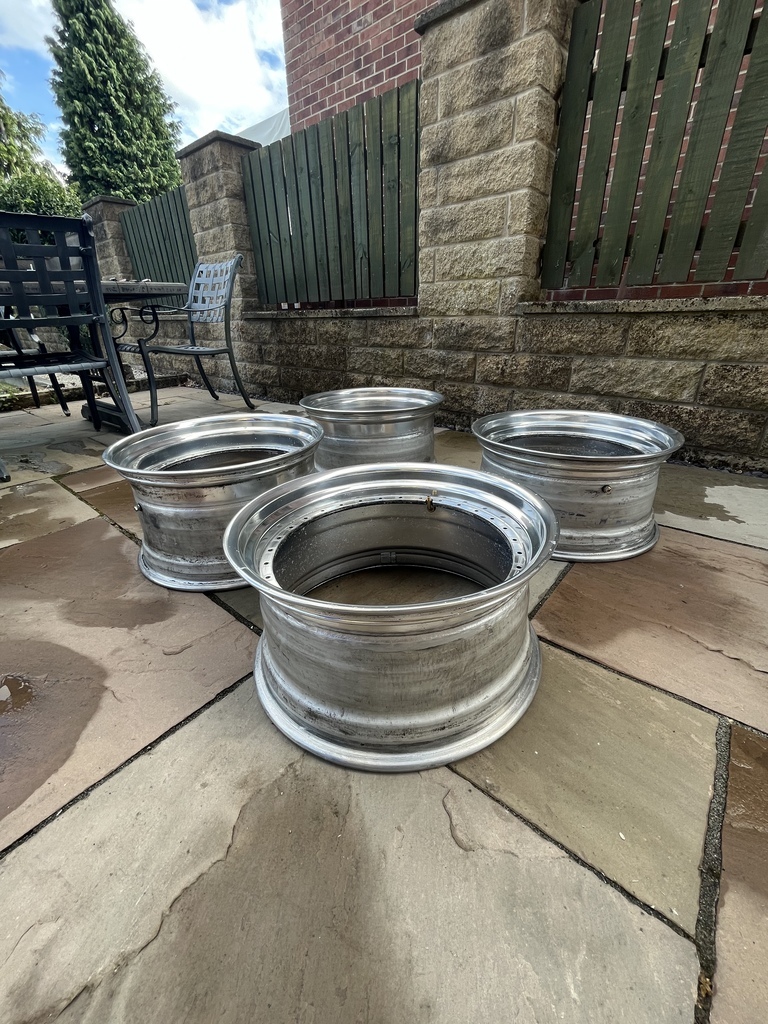 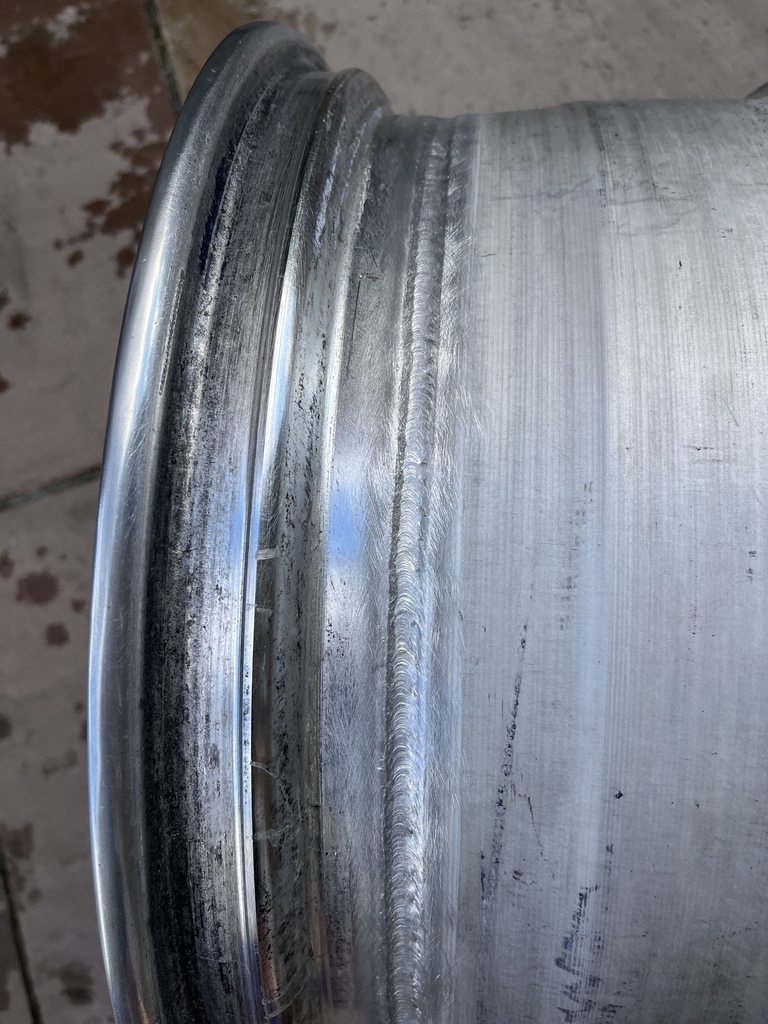 Gave them one last clean with acetone and then masked them all up. 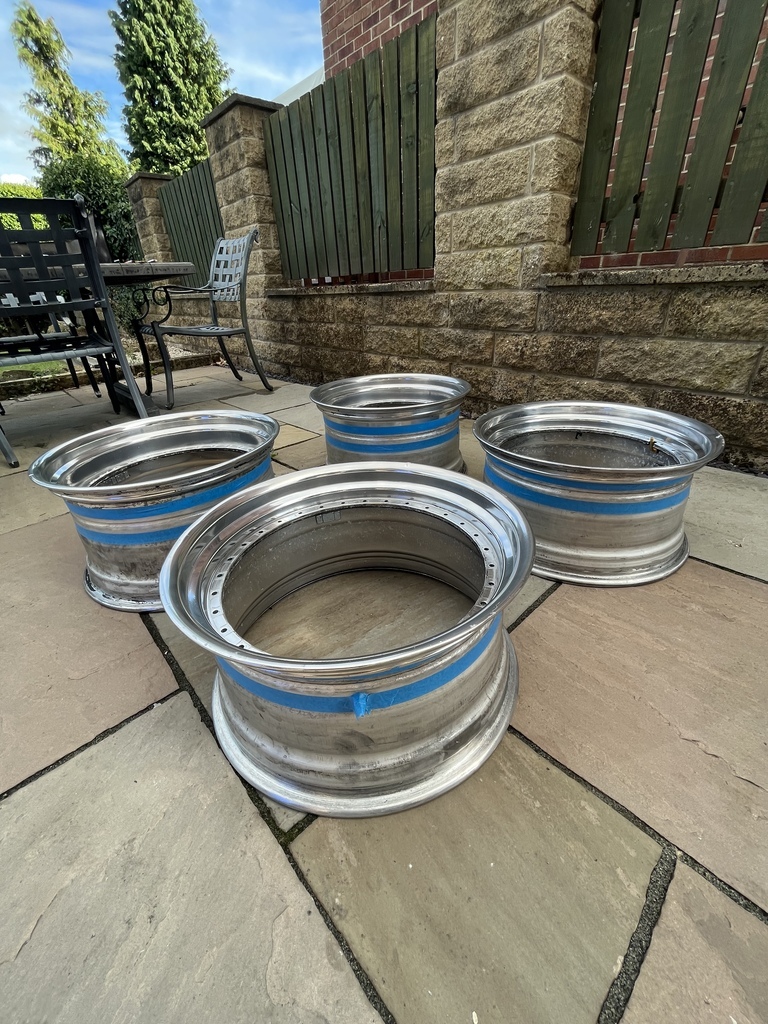 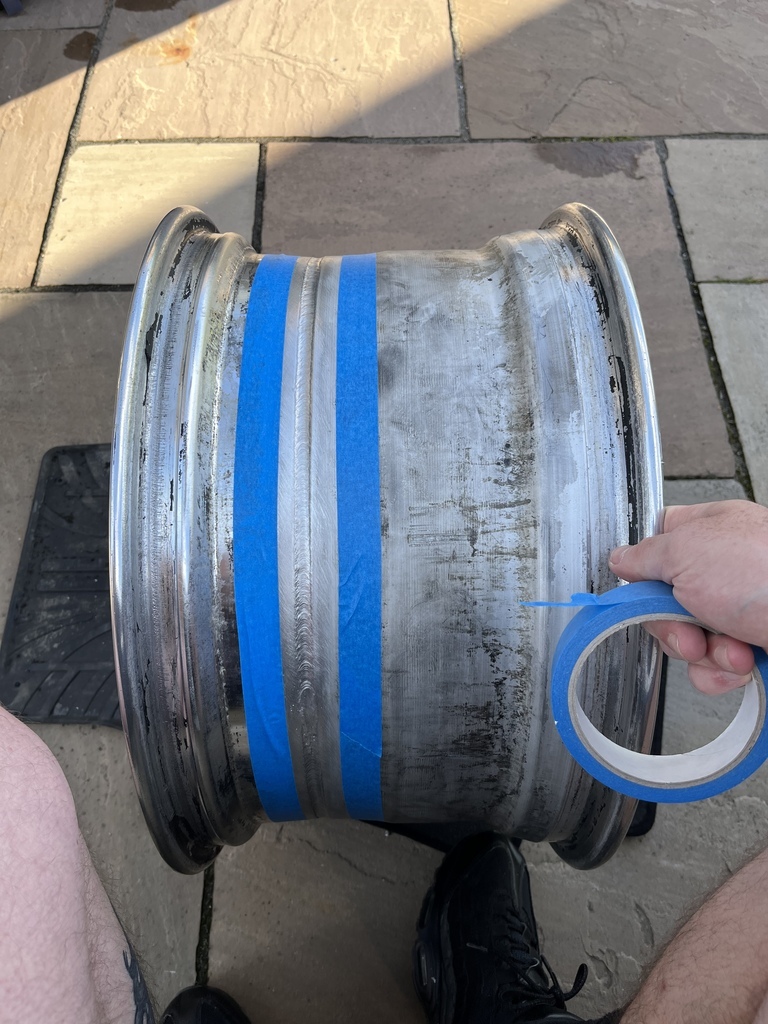 Got the sealant schmood on as an insurance policy and used the same stuff I usually do when rebuilding/re sealing any of my other splits in the past so should be good in the respect. 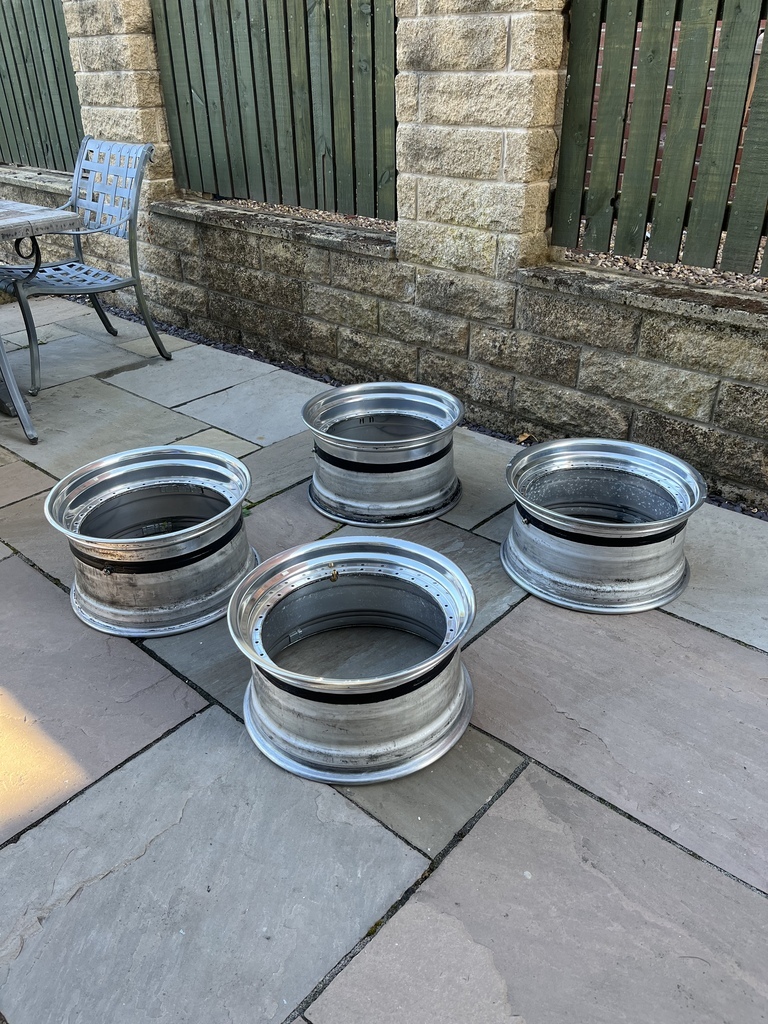 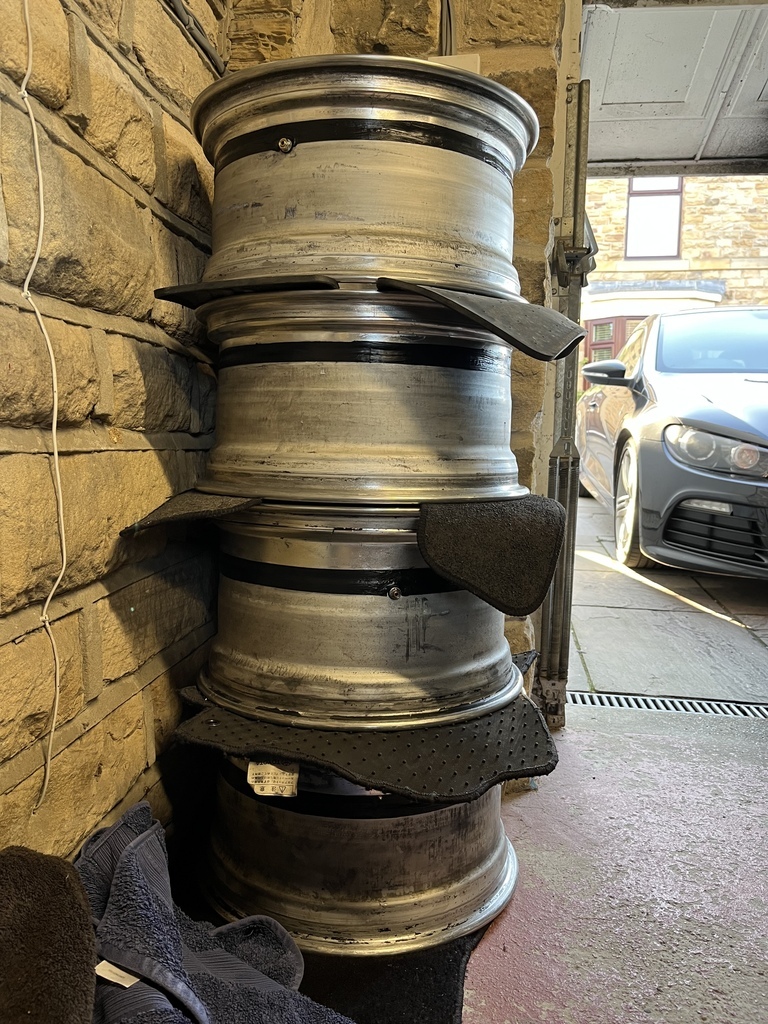 Just got the lips and faces to ceramic coat one the faces have had a bit more time to gas off and cure. Till next time. Cheers! |
| |
Last Edit: Aug 21, 2022 18:22:29 GMT by louishavo
|
|
|
|
|
|
|
|
Always loved these ever since they arrived during the grey-import days of the 90's. Looks like you have a great attention to detail so looking froward to the updates/progress.
|
| |
|
|
tom13
Part of things
 
Posts: 571
|
|
Aug 25, 2022 10:07:24 GMT
|
|
Love the new wheels three spokes are my fave.
|
| |
|
|
|
|
|
Aug 25, 2022 10:37:11 GMT
|
|
Nice! Never seen these before.
Really want a square set of SA3r's for my Yaris but cant justify the cost lol.
|
| |
|
|
|
|
|
Aug 28, 2022 16:07:33 GMT
|
Always loved these ever since they arrived during the grey-import days of the 90's. Looks like you have a great attention to detail so looking froward to the updates/progress. Thank you mate! |
| |
|
|
|
|
|
Aug 28, 2022 16:07:57 GMT
|
Love the new wheels three spokes are my fave. Me too mate, thank you! |
| |
|
|
|
|
|
Aug 28, 2022 16:09:04 GMT
|
Nice! Never seen these before. Really want a square set of SA3r's for my Yaris but cant justify the cost lol. I’d never seen them before I bought these, I got offered a set of advan version 2s but they were up for over 2k which I allow as beyond my budget at the time!! |
| |
|
|
|
|
|
Aug 28, 2022 16:38:55 GMT
|
Another day, another fix. Had a little drip from the drivers side t-top when it rains torrential and also a rattle from the window when I have it half up kinda thing which was starting to get a little annoying. I’d read up that because the door window is frameless and also curves a lot, it runs and slides up and down on 3 seperate channels. On the window it has metal pins with plastic discs on the end that slot into those runners and keep it in a place. Got the door car stripped off, the b-pillar trims off inside and out (these are in the door rather than the car itself). 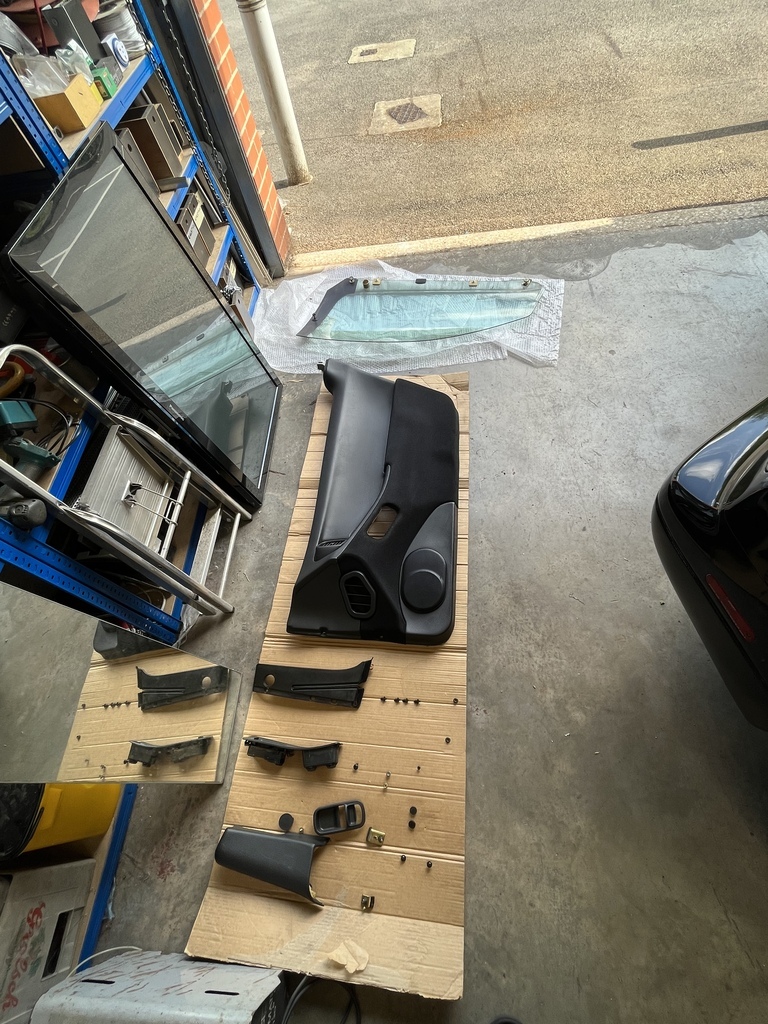 Here you can see one of the pins attached to the door glass. Usually they’re missing but mine all seemed in tact. The base plate has a pin that is threaded and is clamped to the door with a threaded washer to spread the load. This was a little loose so I tightened it up and then fit the new pin with plastic disc because I had it and thought the old one might be worn and on its way out. 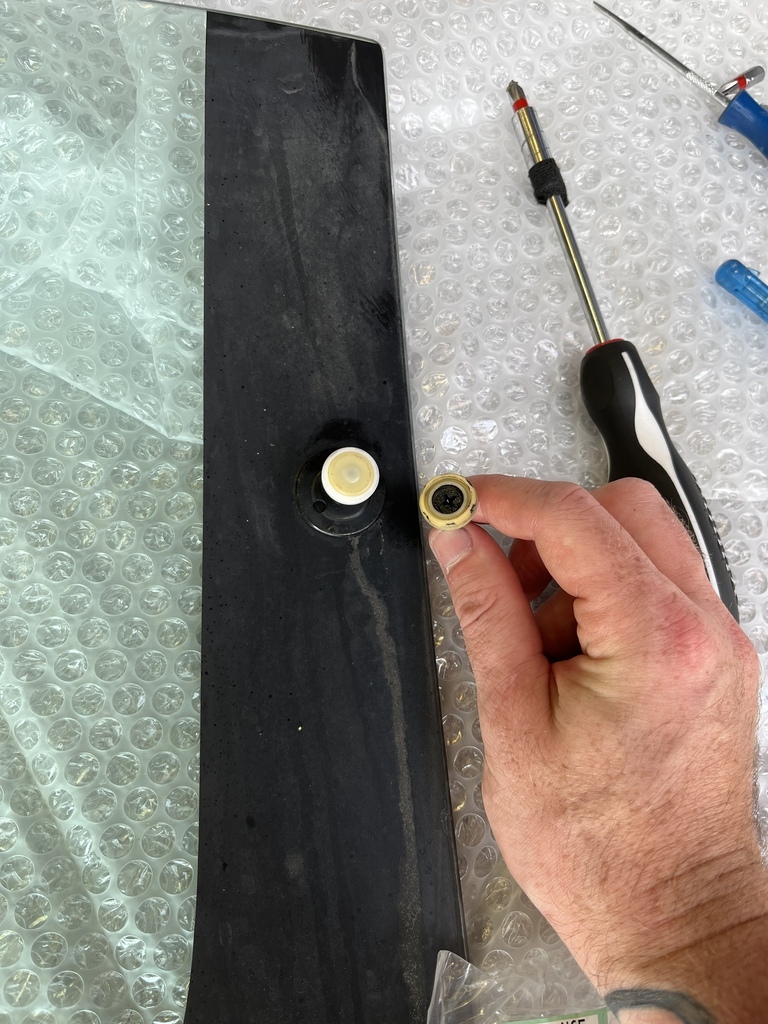 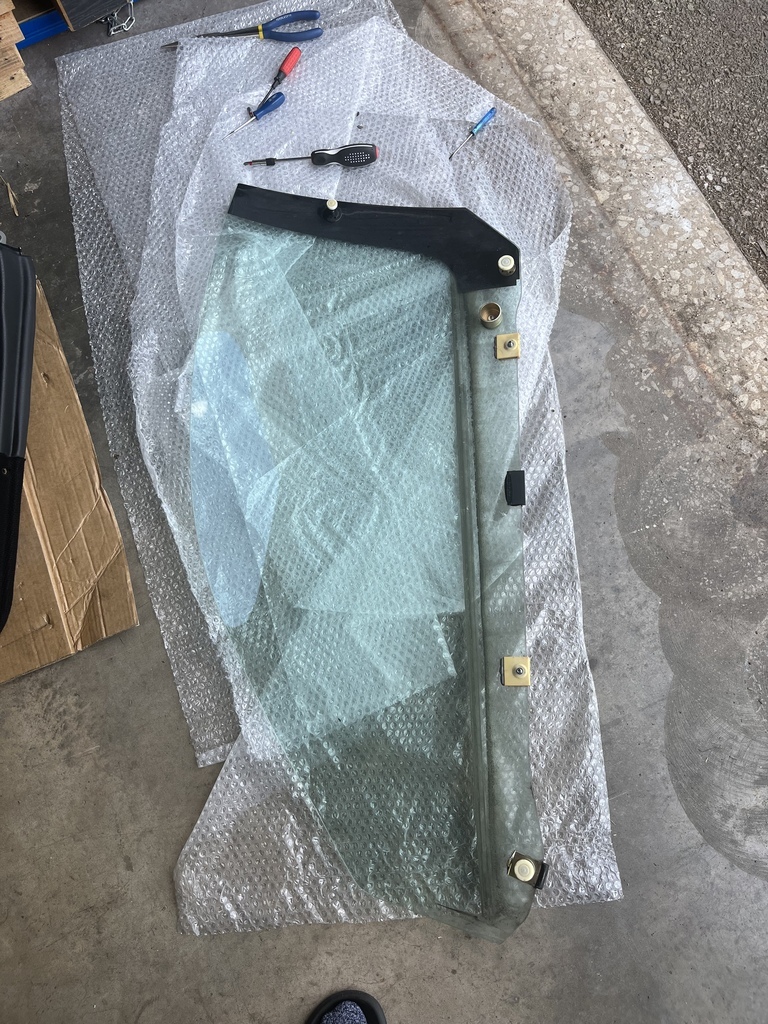 Here you can see one of the Chanel’s that the top window pin lives in, i cleaned them out and re greased them for good measure. 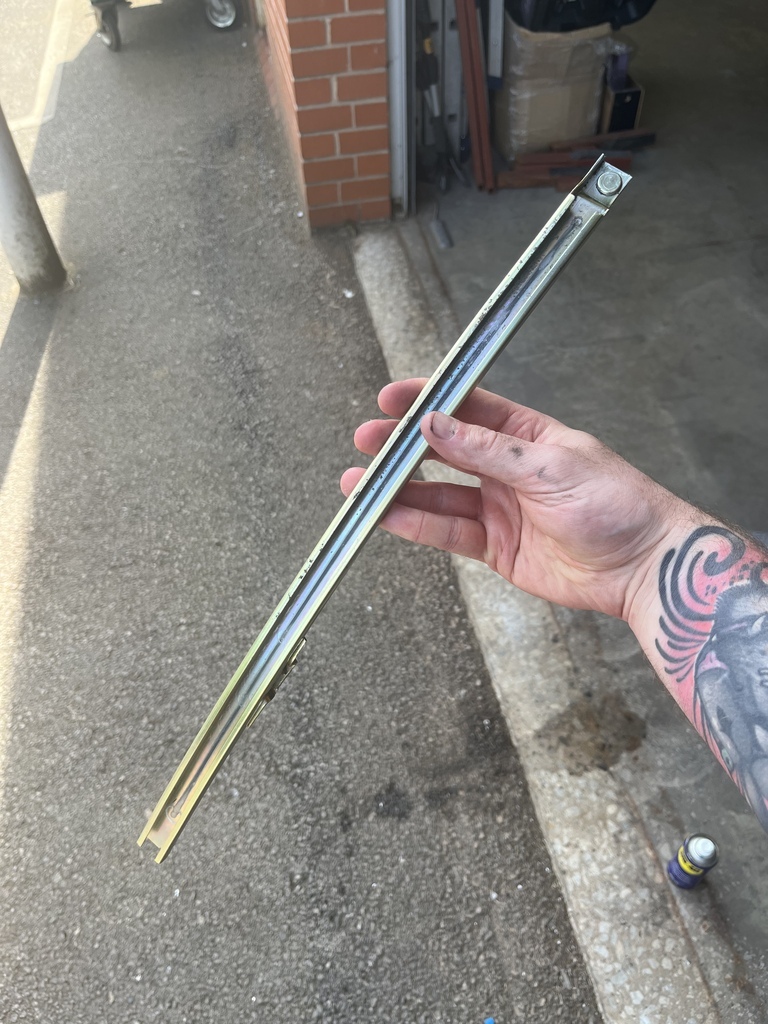 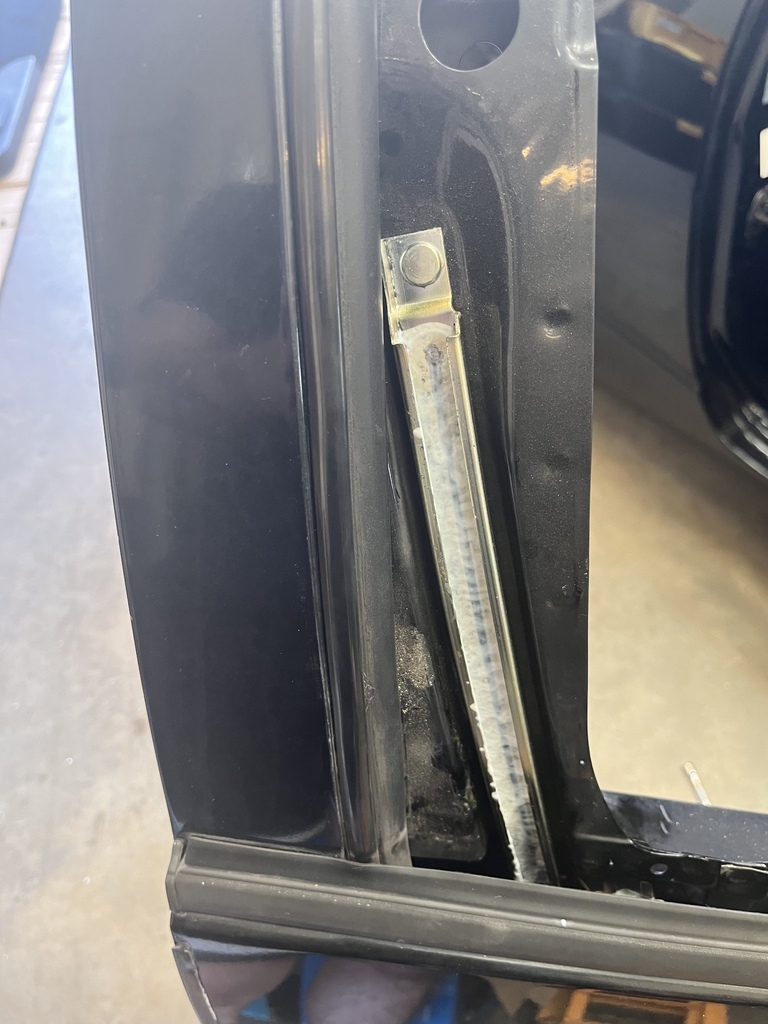 While I was in there I re adjusted the door membrane and got it spread out and stuck down nicely because it was all jacked up. 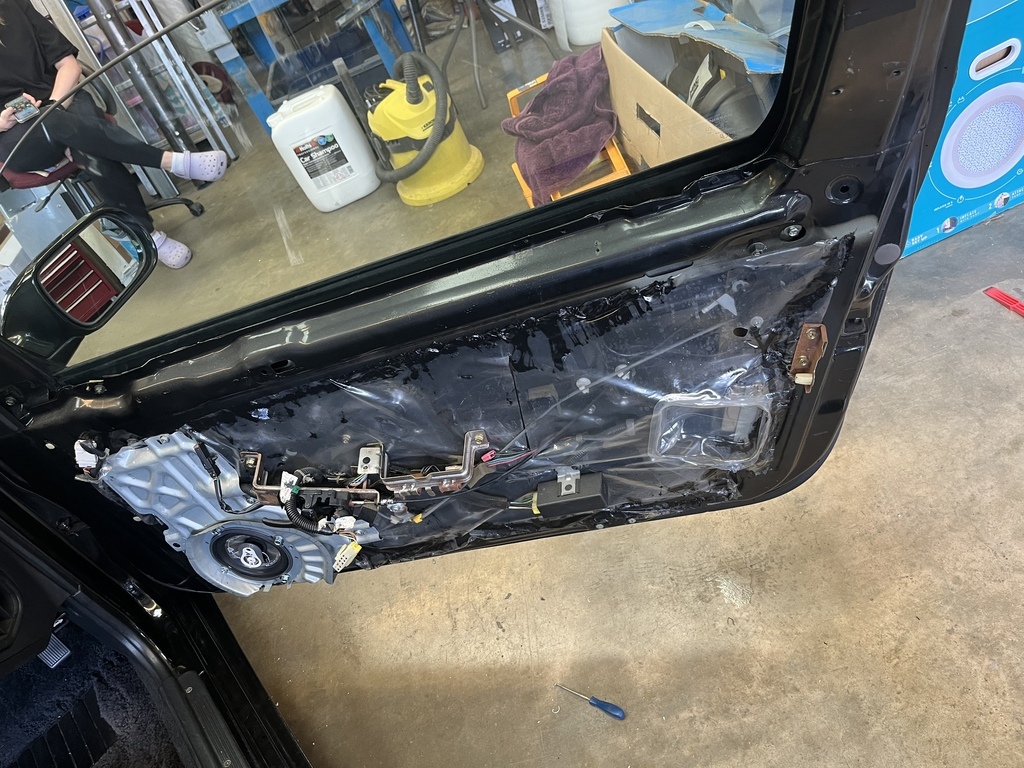 Adjusted the stops on the runners to the top position just to make sure that the window has as tight a seal on the rubbers as it can in the up position. Lubed up all the clips and bolts and got everything back together. No more rattle on the window half down which is nice! Just got to wait till it rains to see if it’s snugged the window up enough yo stop the drip. Cheers! |
| |
|
|
|
|


