|
|
|
Feb 10, 2022 16:28:40 GMT
|
So, one of the reasons work on the Jag has slowed down somewhat is that I've finally bitten the bullet and bought a place with my other half!  Front half's a thatched cottage from the 1500s, back half is an extension from the 1990s. Terrible, terrible idea but I love the place, and it's one of the only ways to get this in our price-range and area:  Space for a proper garage! Eventually anyway, plenty to do beforehand (new kitchen, gas tank underground so we don't spend £400pm on heating, insulation so we don't spend £400pm on heating, get the AirBnB up and running so we can afford £400pm in heating until the other two get done). Luckily, there's already a rather neat brick-built garage on site. Half of which has been converted to the AirBnB, but the rest is free real estate  Starting with a little walk-through on the day we moved in: Little corridor partitioned into two: 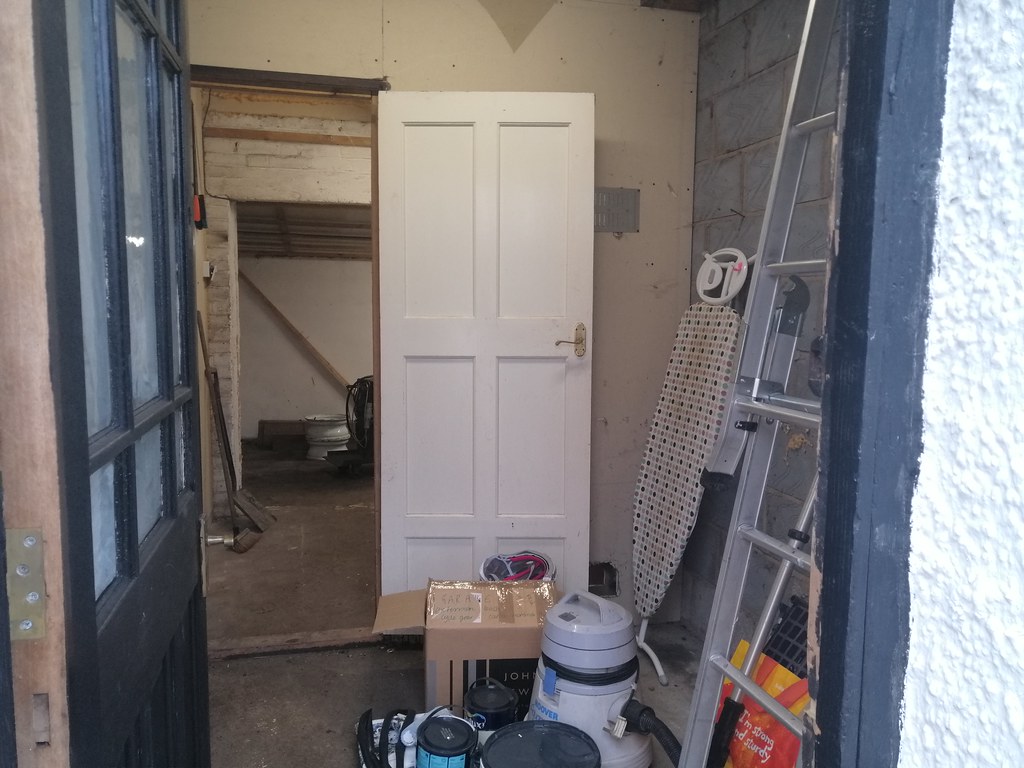 Second little partition:  Garage section big enough for a car:  First order of business was gutting the timber partitioning wall in what will eventually be the workshop area, being careful to recover as much timber as possible as I'm skint! 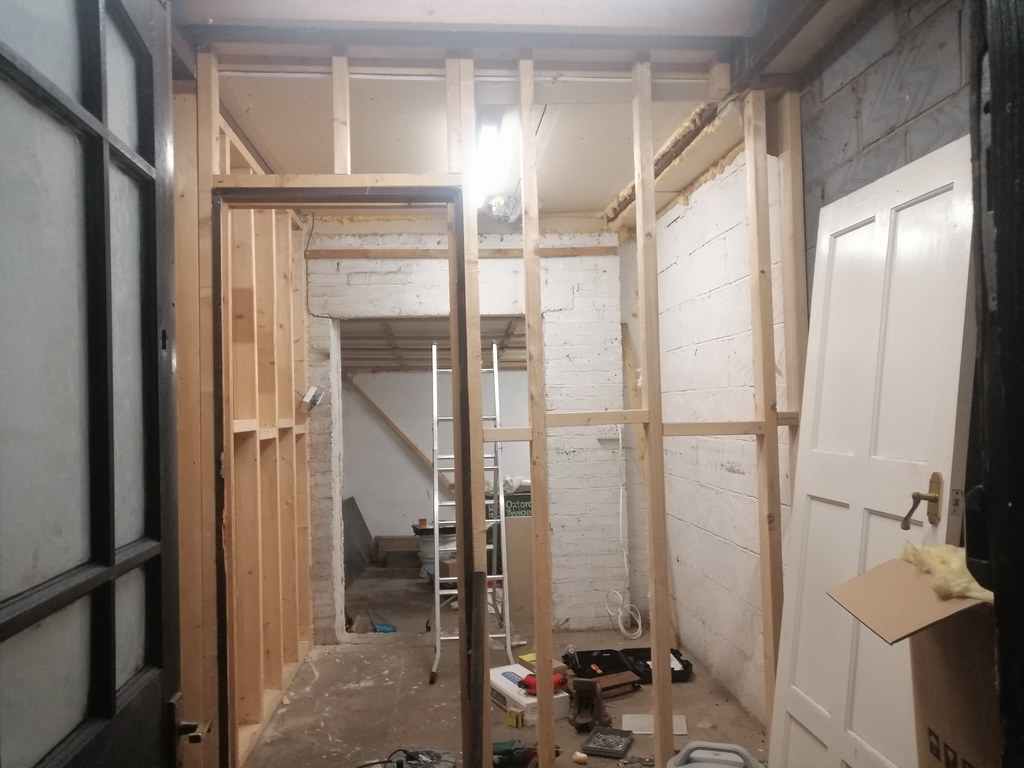  Part of the reason for taking all of this down was that the stud wall on the left was inset a fair way and unnecessarily narrowed the workshop by about a foot! 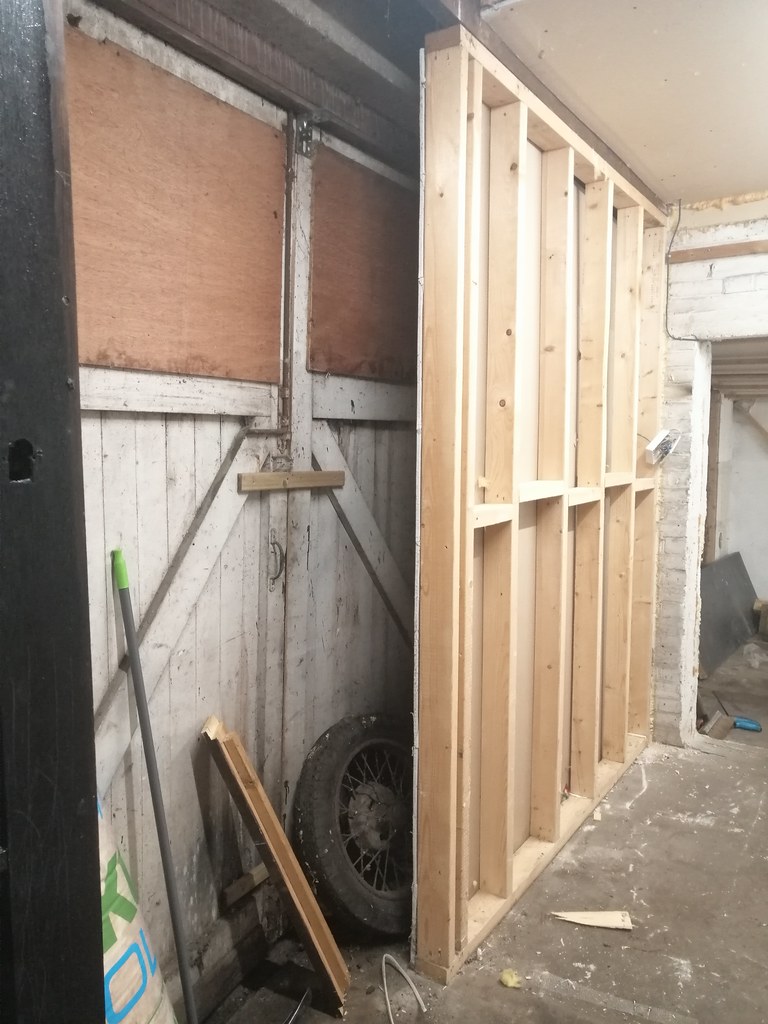 As the back wall backs onto the AirBnB I wanted to try and soundproof it as much as I could. You can buy dedicated sound deadening boards, but the more I read about their construction the more they sounded like plasterboard and yoga mats. I had a load of plasterboard I needed to get rid of (horrible stuff) and yoga mats are a couple of quid each on FB Marketplace, so that was the plan of action!   Can't really say how successful it was, but it's better than nothing  Ended up re-using some of the stud walling to sit in front of the breezeblocks. Partially to put a bit more distance between me working and the wall, and also because I much prefer making stuff out of timber. Far easier to just screw stuff to it rather than faffing about with rawl plugs and crappy plasterboard.  Behind that went all of the rockwool I'd pulled out of the old walls, plus a couple of bags we've had lying around for yonks.  The top of the stud wall got nailed to one of the roof crossbeams, supporting that a little, and the bottom got bolted to the concrete floor using epoxy stud fixing goo.  Next up was to run the wiring. I'd actually forgotten about this step and jumped the gun on fitting the OSB to the face of it, and had to take all that off and go again!   There's a 2.5mm T&E cable going to an existing breaker for the higher plugs which will sit above the workbench, and a 6mm T&E cable which will eventually get plumbed into another breaker for the under-bench plugs. The idea is that the top ones will be used for movable stuff and pillar drills and the like, while the under-bench ones will be for compressors and the irritating washing machine (whose location I've lost the discussion around...). I also get a little bugged by havig angle grinder cables trailing over the workbench while I'm doing stuff, so they can stay plugged in underneath and just be brought up for use. After that the boards could go back on and it was starting to come together!   That'll do for an initial update, but there's plenty more to come  |
| |
|
|
|
|
|
|
|
Feb 10, 2022 17:02:40 GMT
|
|
you will regret clipping that cabling in behind the OSB if you ever need to modify it
But great work and a great project
|
| |
Last Edit: Feb 10, 2022 17:03:08 GMT by henspeed
|
|
|
|
|
Feb 10, 2022 17:20:28 GMT
|
|
Yep I expect you're right!
I figured it was worth it considering I've definitely clipped the conduit protecting the cabling in my old garage with an angle grinder...
Worst case scenario I suppose I could re-wire it to have conduit outside of the OSB and drag the old cabling out.
|
| |
|
|
|
|
|
Feb 11, 2022 15:19:40 GMT
|
|
chances are you wont need to touch it
|
| |
|
|
|
|
|
Feb 14, 2022 16:07:05 GMT
|
Fingers crossed! Next up was making a start on the workbench   Can't remember the height exactly but it was sized to fit the washing machine under the open bit to the right, perhaps alongside a small compressor. The gap at the left is sized to fit the beefy old Oxford MIG welder I've picked up. The main frame is reclaimed 4x2 from the stud walling the PO had put up, but the shelf is 38x63 CLS studding from Wickes. Must say I'm not amazingly impressed as it's quite prone to splitting if there isn't a pilot hole drilled, and thanks to some mishmash of Brexit and Covid they charge you through the nose for the privilege! Lucky there was so much left here for me to repurpose! I did have some short bits of 4x2 left over so I made an extra beefy vice post. Not that I've had any trouble with workbench strength before, but it's nice to have a really solid foundation.  Last of the reclaimed timber was some 18mm ply that was lying around the garden, which when dried out made for quite a nice worktop.   Needs sanding and varnishing to protect it a bit, but that will do for now! |
| |
|
|
joda
Part of things
 
Posts: 675
|
|
Feb 15, 2022 11:55:20 GMT
|
|
|
| |
Last Edit: Feb 15, 2022 11:56:25 GMT by joda
|
|
|
|
|
Feb 16, 2022 13:46:46 GMT
|
Thanks for the links, very interesting! Looks to be primarily the new metal-framed stud walling which I tend to have a pretty dim view of in terms of sound proofing, but it's possible I've mainly experienced it in the cheaper end of new build housing. It's also possible I've missed a whole section of the website! Very good point on the fire safety of the place. At the moment there's a clear opening over the eaves which I'll block up with fire resistant material before it's let. Thanks for that! Next job was to do something about the ceiling in the garage area. The headroom left something to be desired, being 1.78m at the critical point where the ceiling would touch the roof of a jacked car (about a third of the way in from the outer wall). I reckoned that at least some could be clawed back by removing the stacked layers of batten underneath the plasterboard. You can sort of see the construction here:  Some further poking about showed that the plasterboard was actually backed by 50mm celotex, and screwed onto yet another layer of batten before the roof rafters started.   Was left with a bit of a conundrum of how to take the battens down that were holding the insulation up inbetween the rafters. Solved with liberal application of duct tape!  Roped in some props and the other half to help stick some 9mm OSB up, re-routed the lighting so that it shouldn't be in the way of a jacked car, and that was another job jobbed   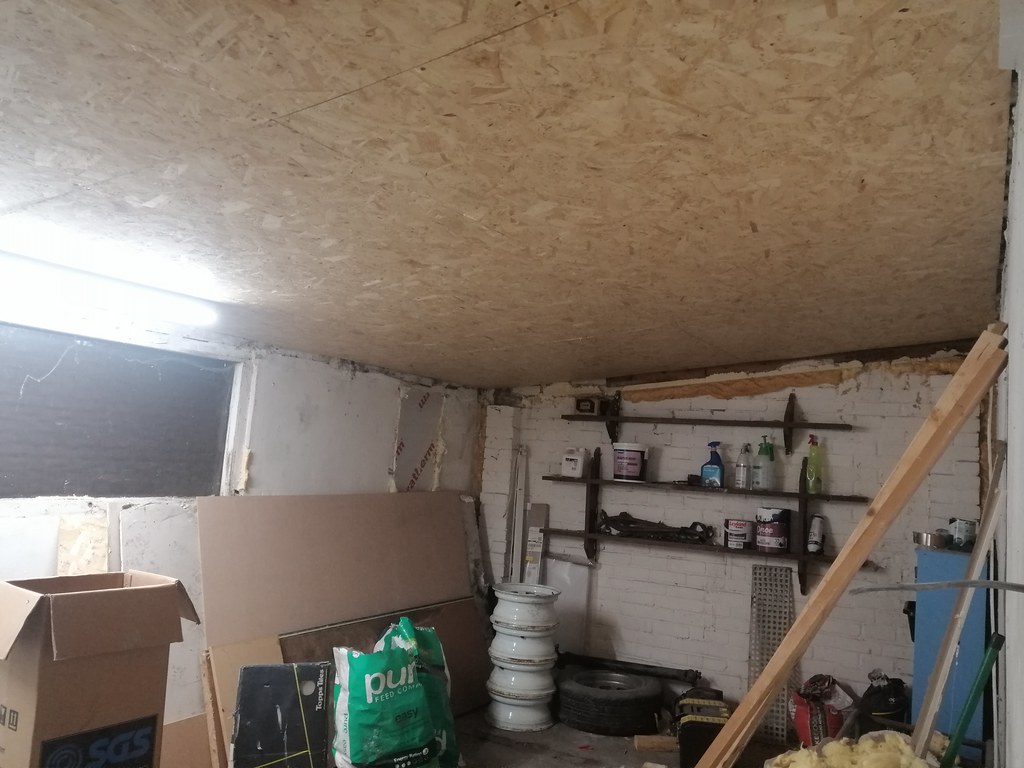 After all that I'd gained 19cm of headroom! Result. Still not exactly generous at 1.97m, but starting to be just about workable. Despite the price difference I'm much happier with using OSB than plasterboard. The ability to screw things into it at any position is just so much more useful, and it doesn't disintegrate if you accidentally knock it with something. |
| |
Last Edit: Feb 16, 2022 13:51:42 GMT by biturbo228
|
|
|
|
|
|
|
Next job was to clear the floor in the actual garage bit to paint the floor. Used up some more reclaimed timber to make a shelf above the doorway, sized for oil bottles but will do for other stuff for now!   Lots of ferrying stuff aroudn and we went from this:  ...to this:   Had a go with some concrete acid cleaner to get the years of oil and muck off the top of the concrete base (actually a patchwork of different concrete slabs).  Huh, there's actually some different colours under there! Even some bricks.  Took forever to rinse/brush down and get all the remaining acid off, but man is it effective. I spent a while looking at different garage floor paints, but eventually I found a big 20l tub of Floormaster mid-grey for well under market price so that made the decision for me! 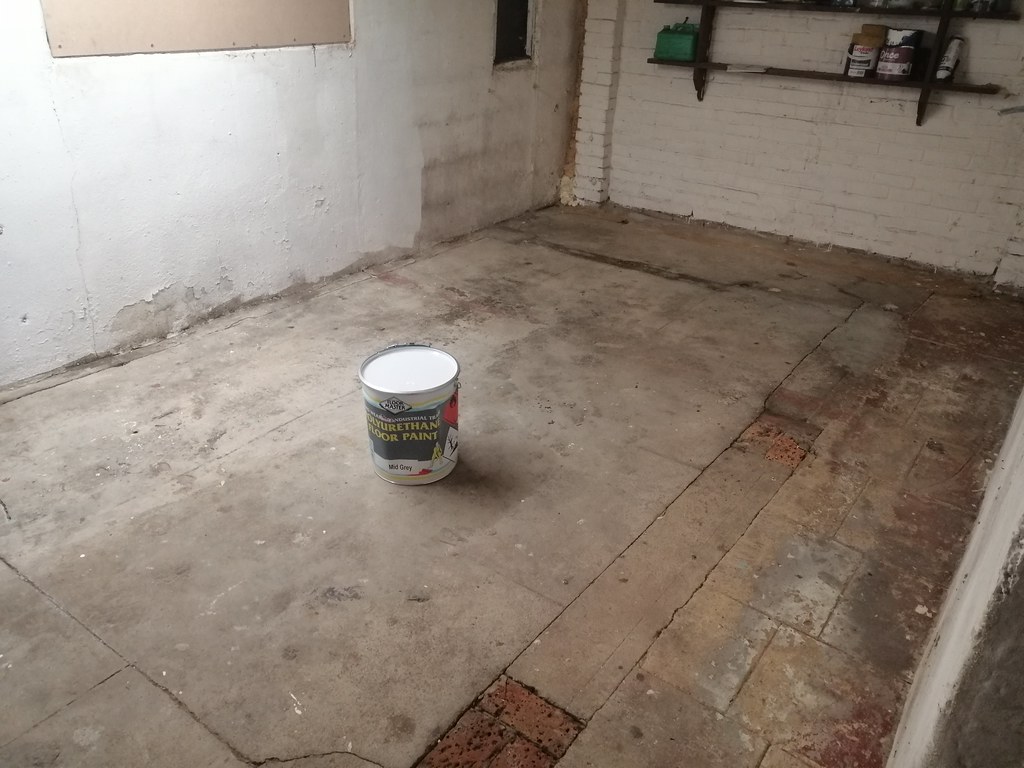  Coverage is great, and seems to have dried to a decent toughness. There's a few sections where the damproof has clearly broken and tracked up cracks or joins in the pad, and with it being flatland in East Kent the water table is quite high. It's threatened drying out enough a couple of times, but never fully, so I'll probably end up painting it in the summer sometime. Amazing what a coat of paint does to make it look like a proper garage though! |
| |
|
|
|
|
|
|
|
|
In for the ride!
Dunno about over there, but here, only habitable spaces/housing units need fire separation?
Ie, unit + garage is ok
|
| |
|
|
|
|
|
|
|
Thanks man! Work on the garage has been a bit sporadic as we've pulled up the kitchen floor to stick underfloor heating under it, and a new kitchen to follow! In fact, the only thing I've done since then is put up a shelf with some leftover bits of timber (big fan of having an enormous amount of storage available).   I've made tall enough to be able to fit oil bottles up there, after the wheels have sold. Should keep them out of the way  Oh, and fire separation will be needed as the garage adjoins a little Airbnb flat thing. Even though it won't be a permanent workshop it's still quite a good plan I think! |
| |
|
|
thomfr
Part of things
  Trying to assemble the Duett again..
Posts: 694
|
|
|
|
|
Psst, I wonder if the foam in yoga mats has a F(ire) R(esitant) component added. Sorry for being a party p.
Thom
ps: easiest way to find out is to torch a spare one (outside).
|
| |
73' Alfa Giulia Super
64' Volvo Duett
65' Volvo Duett
67' Volvo Amazon 123GT
09' Ford Focus 1.8
20' VW ID4
71' Benelli Motorella
65' Cyrus Speciaal
The difference between men and boys is the price of their toys
|
|
|
|
|
Apr 11, 2022 14:49:59 GMT
|
Well it took forever and a day but I managed to get the DIY sound proofing out. Pig of a job now that I'd built stuff over it! But as you say, worth it in case of fire. Came across the first issue with the low ceiling of the garage recently. Went to collect a £60 Rover 2600 engine (seized so probably no good, but if I plan to do development work on them it's useful to have a few scrap engines to investigate stuff). Getting it in was fine, but getting it out was trickier! 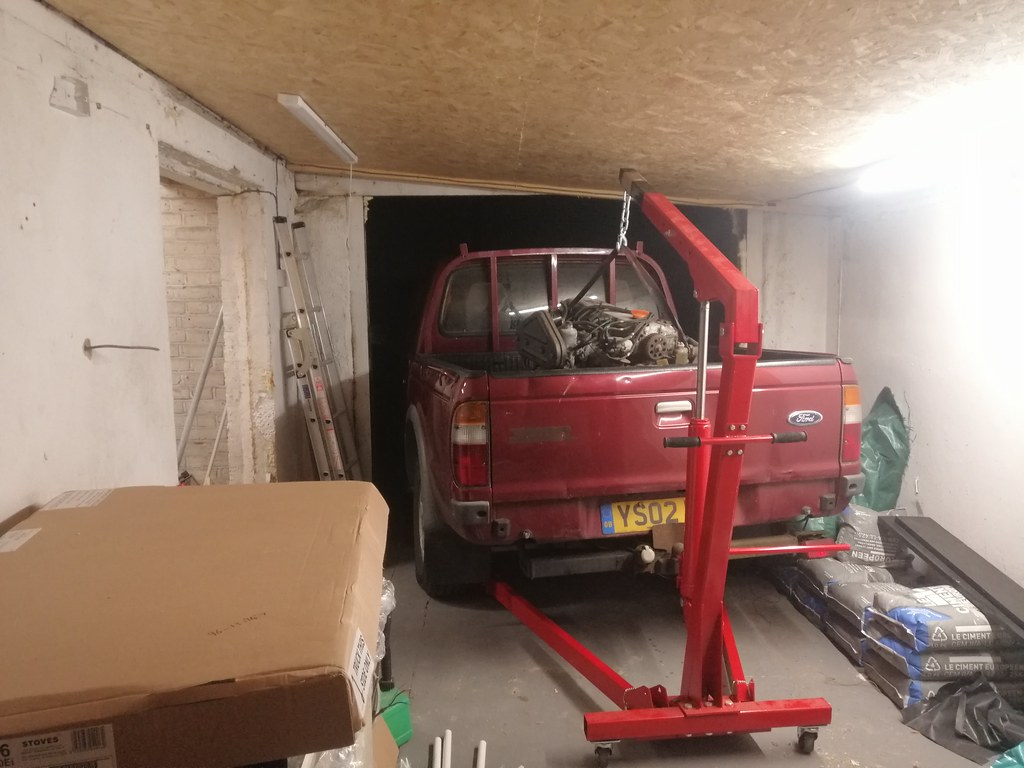 The arm hit the ceiling before it picked up the engine! Could have been solved by shortening the strap on the engine, but as a quicker solution I piled the bed full of cement bags and got the other half to stand in it   That'll do! Just  engine swaps are going to be interesting here... Next up was lighting. I'd cleared the storage area in the eaves and stuck a light up there:  ...and popped two extra ones in the garage area.  Hopefully that will give me a decent amount of light, while avoiding restricting headroom where cars will be jacked. Also, I bought the Sylvania LED lights from screwfix which I wouldn't particularly recommend. They're affordable, but not designed to be chained together (the bit where the wires clip in is only big enough for one set). To get them to work I had to half-inch a junction box from some of the 'legacy' wiring in the rest of the garage. Also sorted has been the dreaded washing machine:  Ordinarily I have very firm opinions about appliances in garages (garages are for car stuff, not washing machines or freezers or bikes or lawnmowers), but this will eventually get converted to a utility room so it made sense to plumb this in now. That necessitated finishing the under-bench wiring. I'd already run some fat 6.5mm2 T&E cable behind the stud walling and out into the garage area, so popped some plugs onto that and fed it into a spare 32A breaker in the consumer unit. 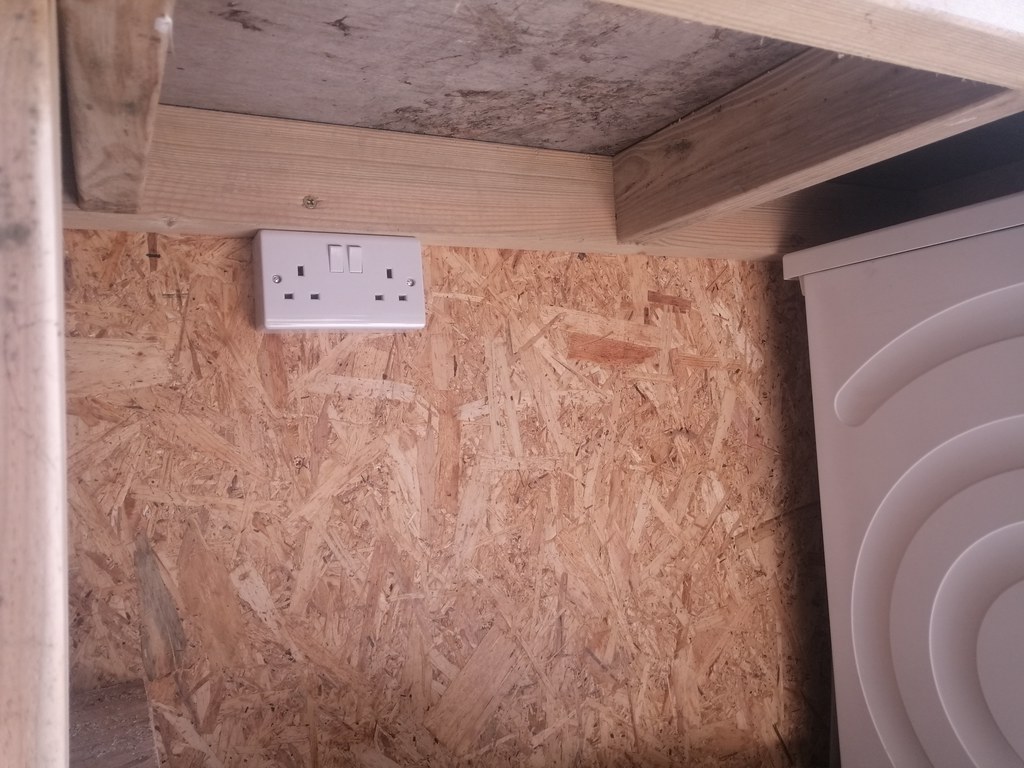   The idea with these (especially the one on the end of the workbench) is that I find it mildly annoying having angle grinder cabling draped over the workbench as I'm doing something, so figured I could plug it in under the workbench and keep it out of harms way. As the grinders will hang on the end of the bench, I could even leave them plugged in while they're stored which would be the height of decadence as far as I'm concerned  Lastly, I found another piece of ply sequestered about the place and decided to build another floating workbench with it as I don't have enough shelving yet.  The horizontals are more bits of leftover timber, and the legs were reclaimed from a trellis structure we've dismantled in the garden (hence the green). Eventually I'll pop some casters on the bottom, but for now I've made it the same height as the existing workbench in case I need to do anything that needs to span the two:  Still haven't got a project car that's made the journey yet as the garage bit is now full of new kitchen, but hopefully it's not too far away now! |
| |
Last Edit: Apr 21, 2022 12:23:24 GMT by biturbo228
|
|
|
|
|
Apr 21, 2022 12:41:19 GMT
|
Some little updates on getting the new workshop up to scratch. First off is some little painting hooks repurposed from some bailing twine from the horsey lot and some reclaimed nailgun nails from all the studding I've removed:  Secondly, and most importantly, I now have a vice! Makes it feel like a proper workshop   I've got a Record 23 in the old garage which is what I was looking for for the new one, but this Record 25 popped up for a similar price to the other 23s in the area. I figured it might have something like an inch wider jaws or something like that, but nope! It's an absolute monster! 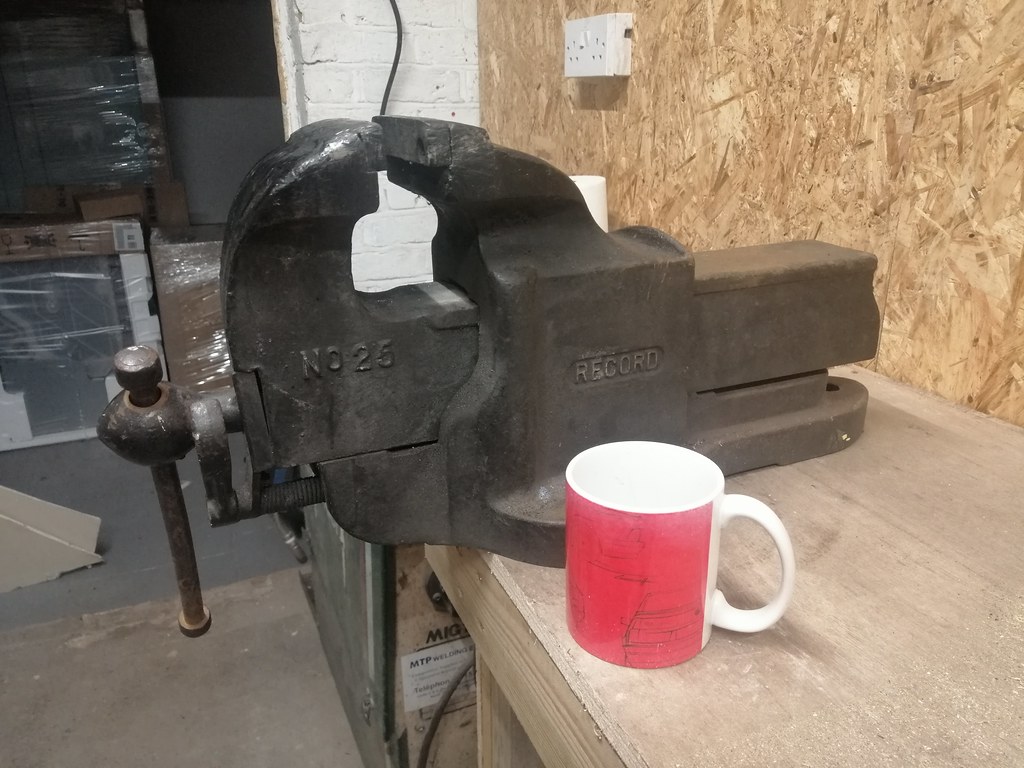 Much bigger in every dimension. 1.5" wider jaws, 1.2" deeper throat, and 1.75" extra extension. Right beefy thing. So much so that I should probably have made my workbench an inch or two lower to get the working height at the vice right... Next up was sorting the grinder storage. I've always been bugged slightly by having them all bundled up in a drawer, so I mounted some hooks on the side of the bench so they're easily stowed:  Haven't come up with a clever idea for the cables yet (possibly some sort of bin beneath the grinders to drape them into), but that's on the list to stop them trailing over the floor everywhere. Tool wall's coming along as well, with a nifty little idea for using PVC pipe for cable tie storage I pinched from a Finnegan's Garage video.  Not a great deal of planning's gone into it, other than a vague idea of what I want close to the vice/garage area and planning out an area for spanner storage. Beyond that it's just been fitting stuff where it seems to fit neatly around other stuff. Once it settles a little and I've worked out a layout I like I'll go around the outline of each tool with a sharpie so I can tell at a glance where stuff goes. Lastly, and speaking of spanners, I picked up this job lot recently from the ol' FB Marketplace. It's a bit light on 13mms, but there's a good variety otherwise and some nice quality spanners sprinkled in there (including some snap-on ones!). Not bad for £30  Still on the lookout for other job lots mind. There's plenty of rusty stuff out there which I was wondering how tricky it might be to de-rust and get rechromed... |
| |
|
|


