|
|
|
|
|
I'm probably not doing a very good job documenting this build. That may be because it wasn't really supposed to be a full on build. I was just going to get it running and do some sheetmetal work. But first the engine needed some work, then we started talking about paint ( which escalated in having it blasted first), and then fully upholstered cab, airconditioning ( and a heater...  ), new windows & seals. I wasn't happy about the stance. To correct that the rear had to come down I made new lowering blocks, and bought new U bolts. And then it got new wheels. ( the wheels it had are real Halibrands, which are going on another car now ) The truck now has a staggered set of American Racing 5 Spokes ( one of my favorite style wheels, and pretty much the cheapest set of "nice" wheels you can get  ) 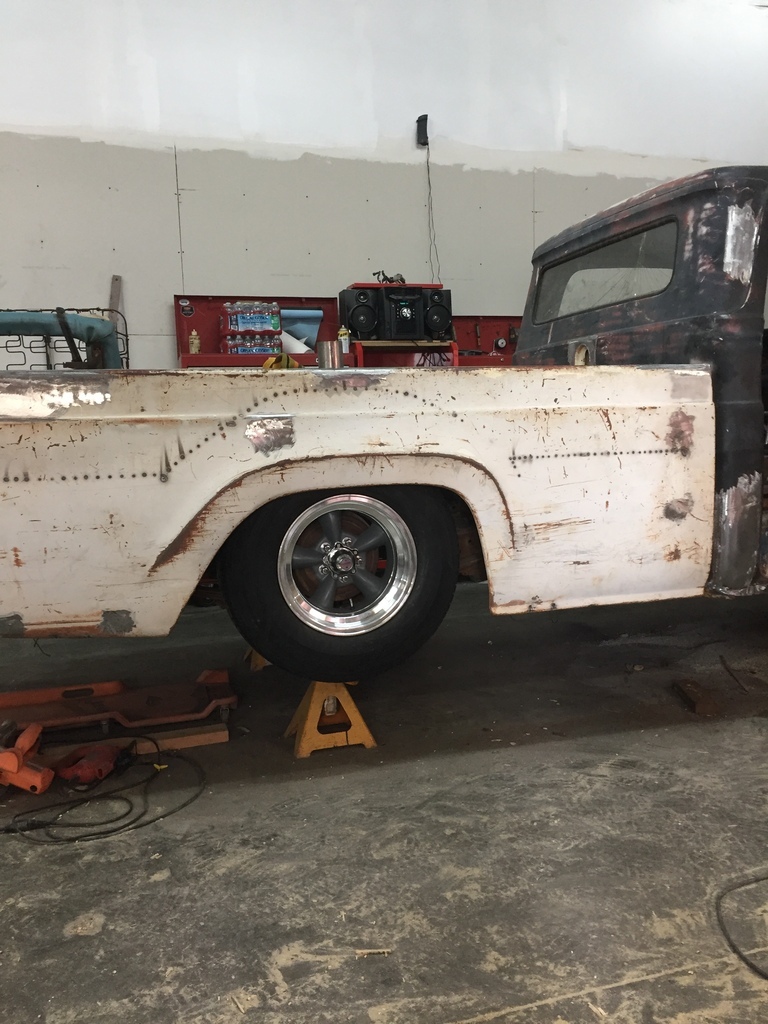 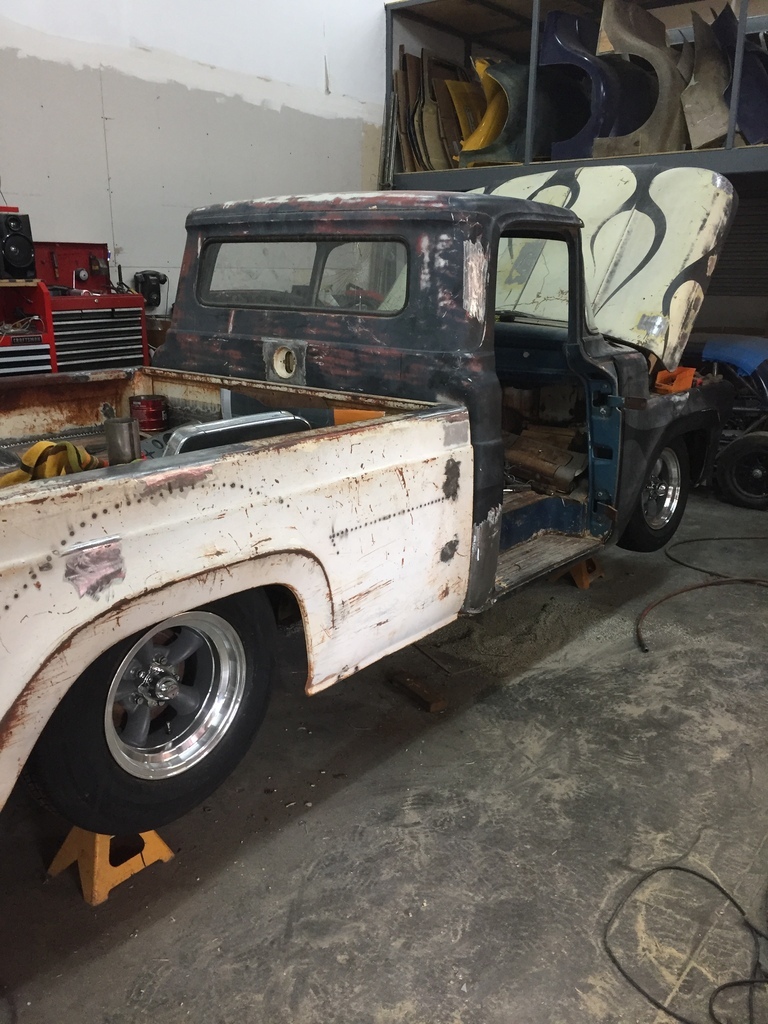 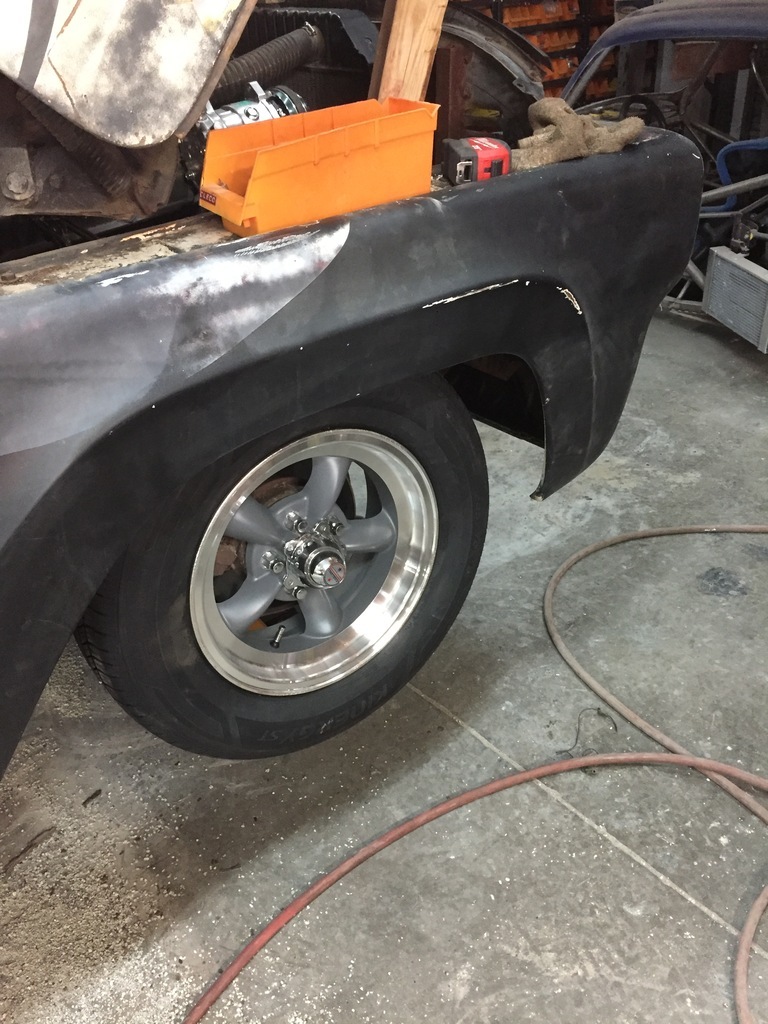 Big silly grin when I see this. Liking the wheels. |
| |
|
|
|
|
|
|
|
|
|
A little sneak peek at the next project ( or one that is down the road...) The one that got the Halibrands. Its not a build yet, its just a mockup to get the dimensions & parts selection right... 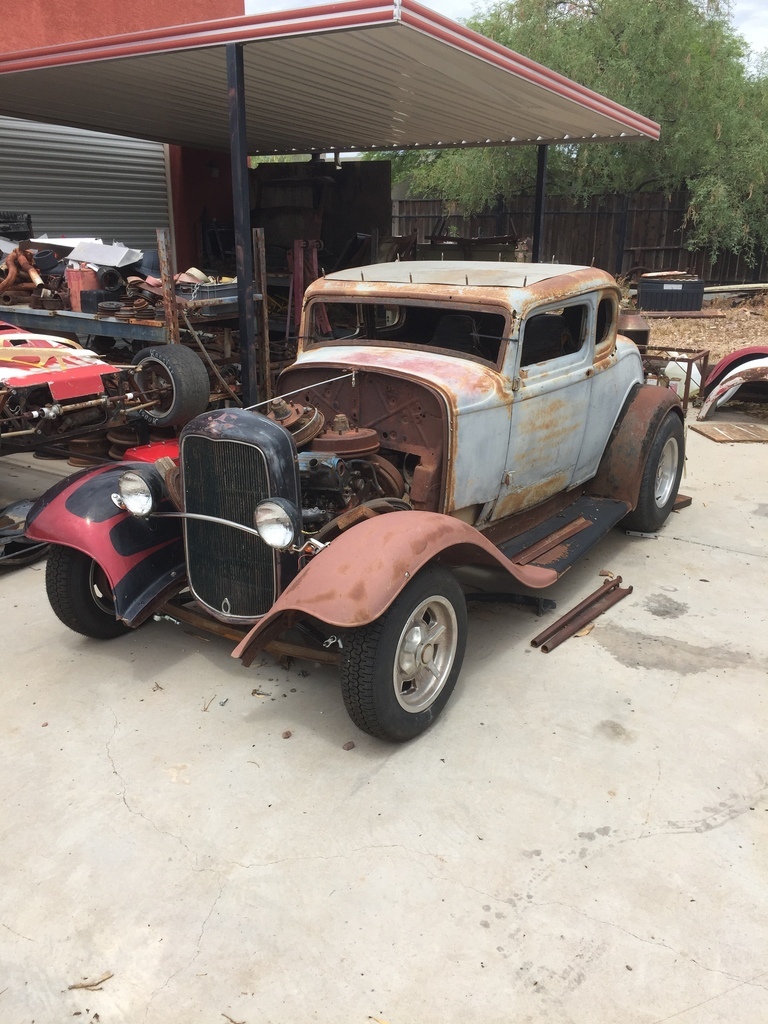 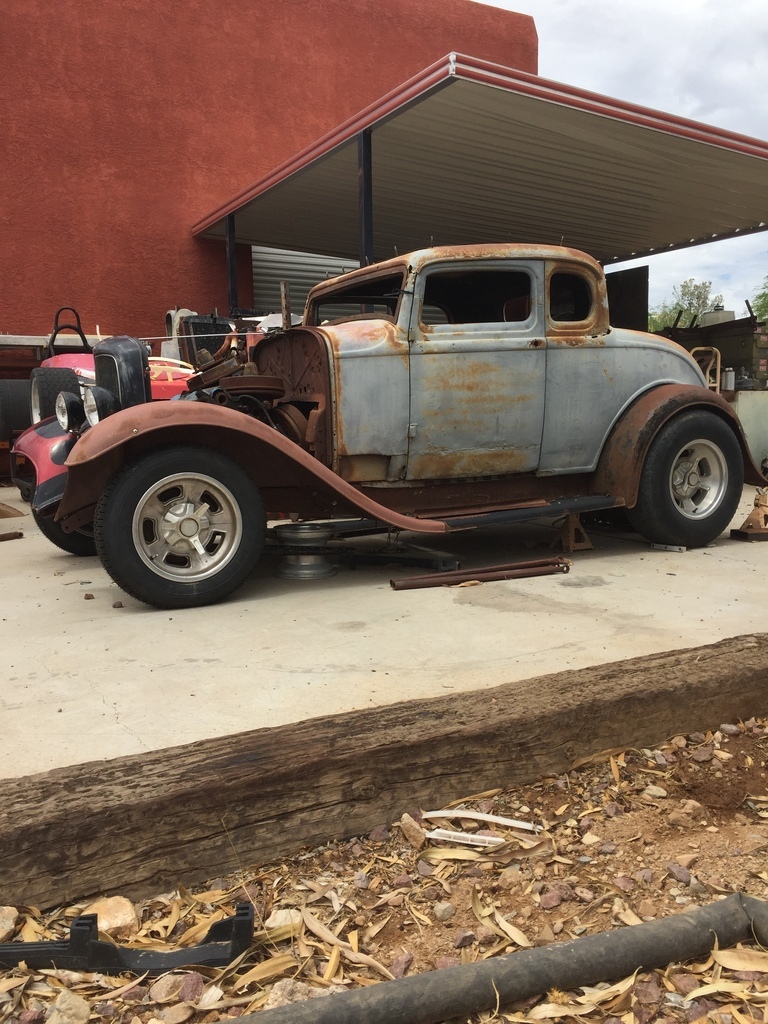 Mine too.  Its been a dreamcar of mine for a very long time. But then after I found this one ( just a body and a grille ), I had to wait until I could afford to build it. And then other projects happened, and before you know it , its 10 /15 years later... ( I still picked up parts for it when I came across something good ) 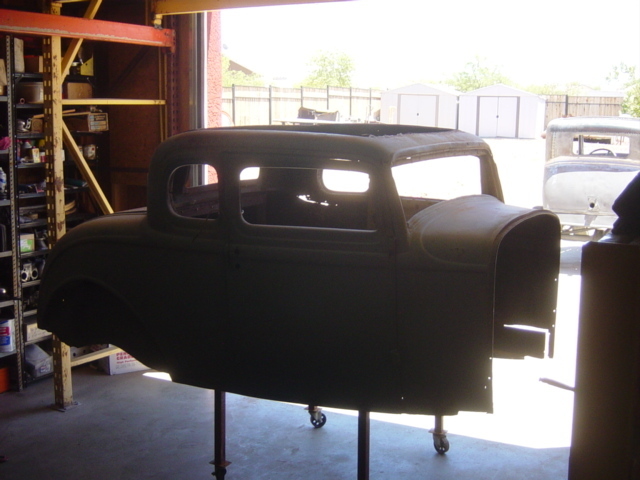 Hopefully, if everything goes well with the truck and some key parts I'm still hunting down for the '32, I can start a buildthread for it soon... Quoted just bring to the next page. Real hotrod material. That is lovely. Not sure if I would fit in one. |
| |
|
|
|
|
|
|
|
Sure you would grizz. I'm 6'2", and I'll make it fit...  Thanks guys  |
| |
|
|
|
|
|
|
|
|
Looking forward to seeing that along with updates on this thread,
Superb work as usual,
Nigel
|
| |
BMW E39 525i Sport
BMW E46 320d Sport Touring (now sold on.)
BMW E30 325 Touring (now sold on.)
BMW E30 320 Cabriolet (Project car - currently for sale.)
|
|
|
|
|
|
|
Thank you Nigel. I want to put seatbelts in this truck. It never had any, and I'm fine with that. But I'd like my wife to be comfortable with using it, if she'd ever want to. To determine where the seatbelt anchors are going to be, I'd have to first rough in the interior panels. Specifically, the sailpanels. Which in turn means the entire headliner. There are a surprising number of options available. Ranging from original ( thick cardboard, with a embossed pattern on the side that shows, in gray), ABS plastic, and several versions of vinyl ( gray, black, leather pattern, perforated) But not what I wanted, which was perforated headliner vinyl in black. Price was kind of steep too, for what it was. And there would have been extra charges for oversize shipping. 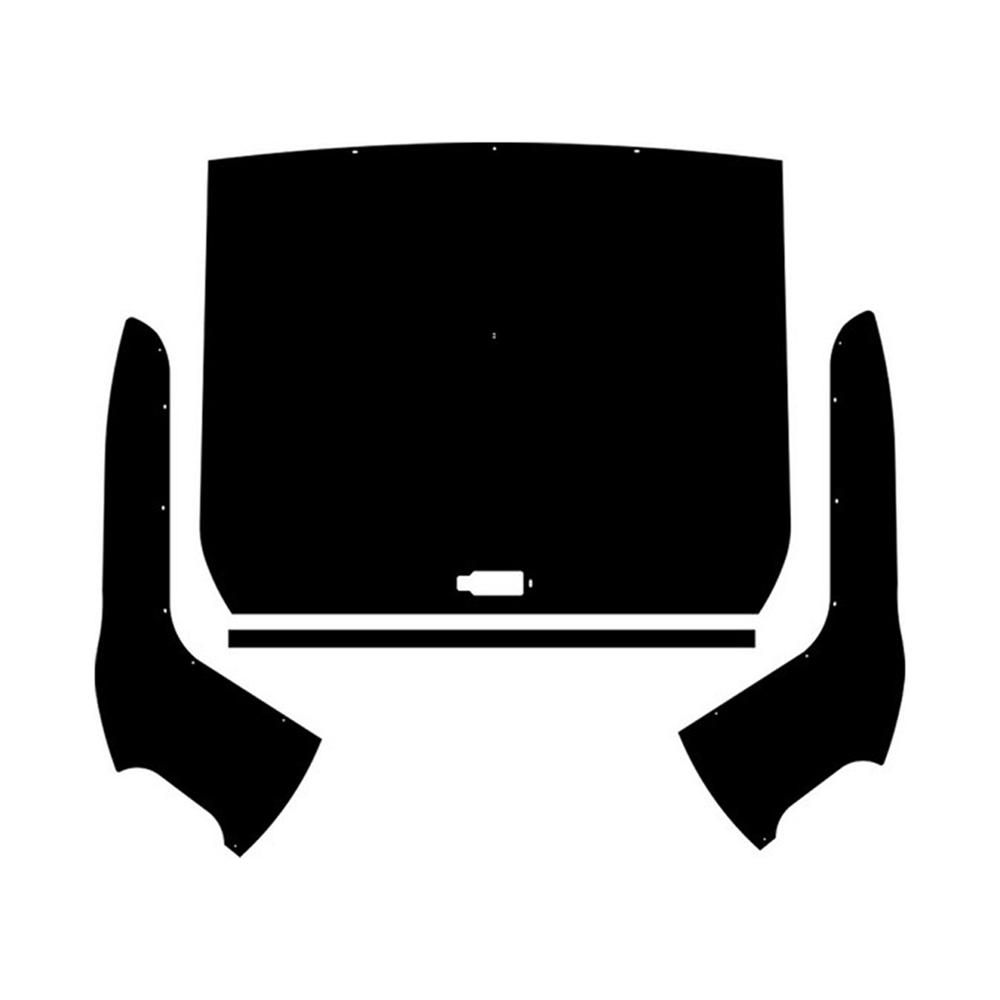 I'm not using the original location for the fueltank ( behind the seats, inside the cab ), so that had to be finished off too. There is a kit for that as well, but again not cheap. So I figured I'd make my own. When I make interior panels, I like to use aluminum. So I used up cut-offs and scraps I had lying around. 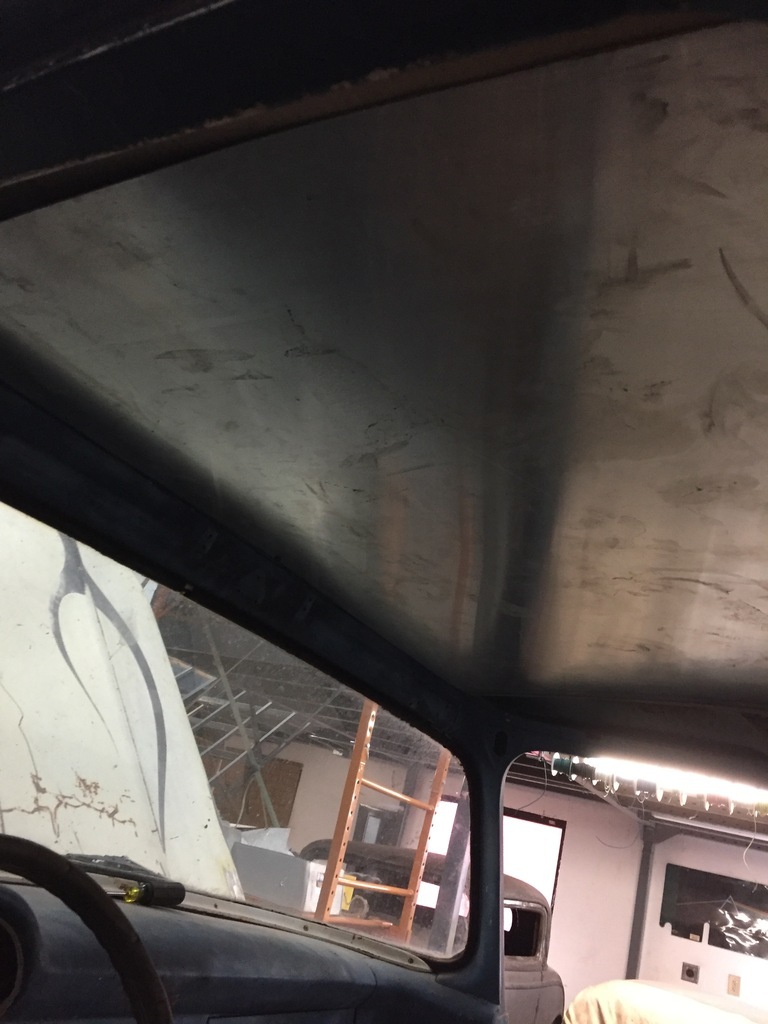 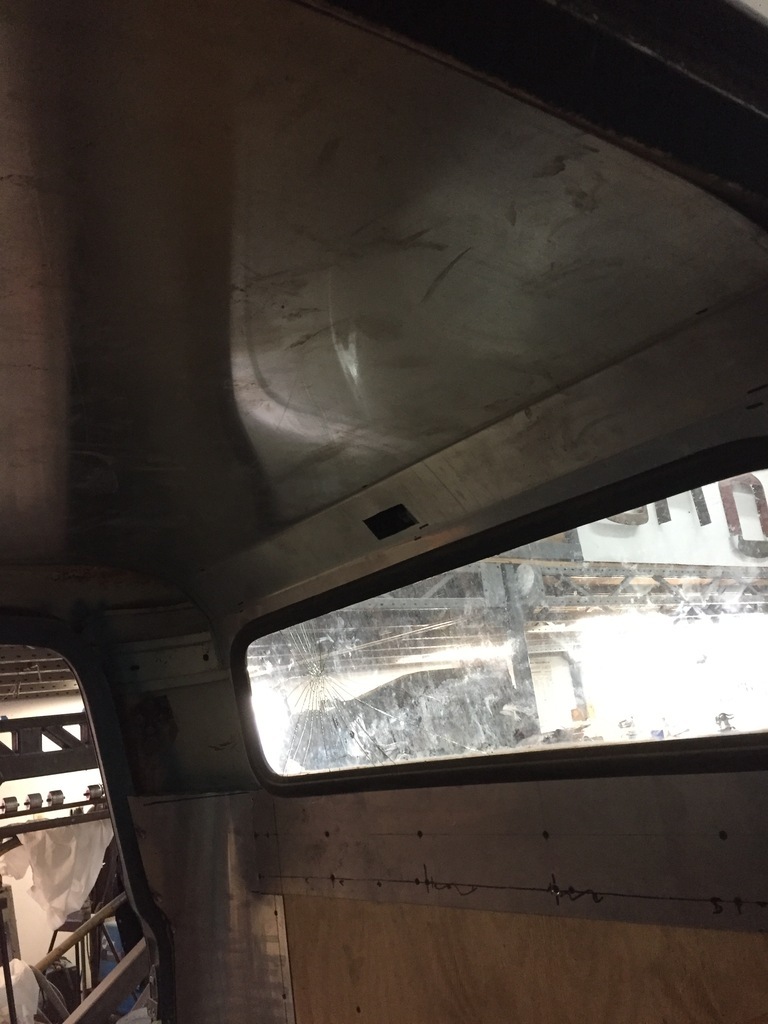 For the back panel I used a piece of plywood ( to keep it from buckling and to give a nice surface if I want to put in a set of speakers ) 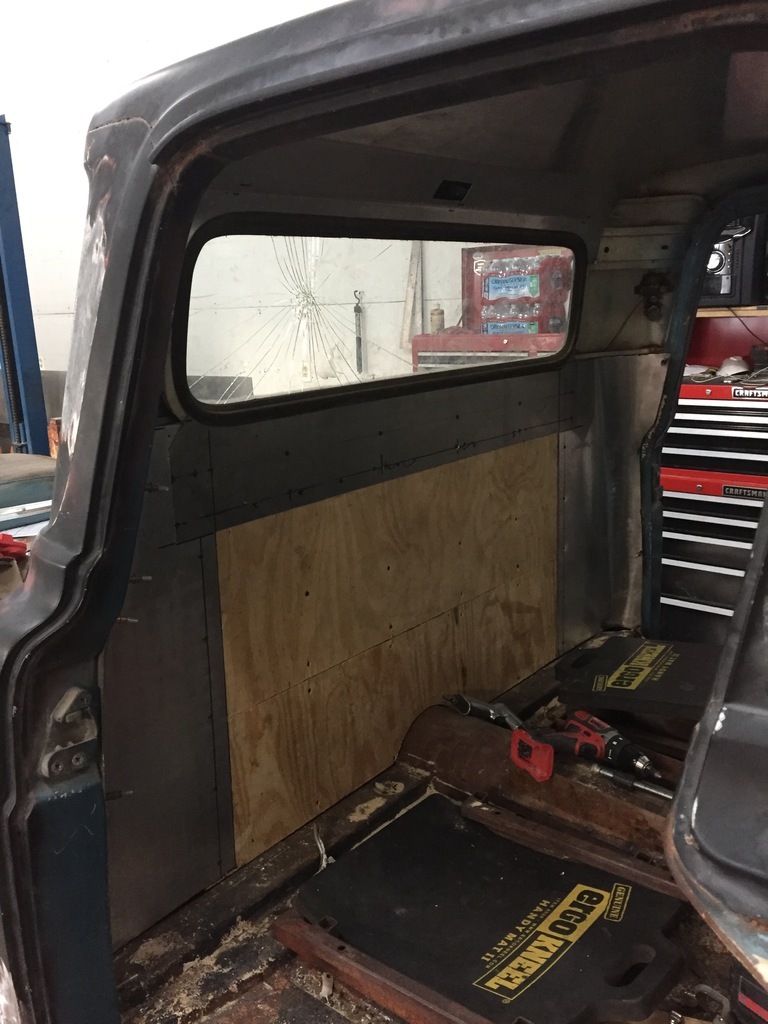 The corner pieces are screwed to the wood, and all of it will be covered in foam and vinyl later. The sail panels/ side pieces of the headliner are the only pieces that have a compound curve in them. And I made them in 2 pieces. I blind riveted them because those are stronger than poprivets, and are flush on the side that matters. 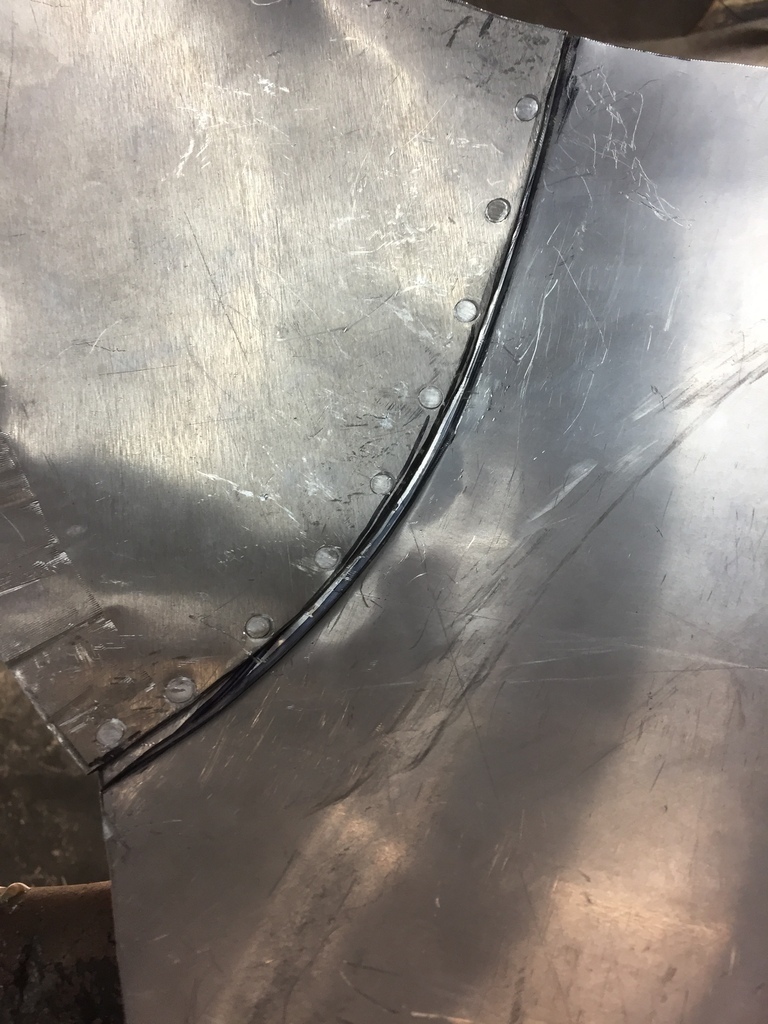 And don't stick out as much on the side that matters less. 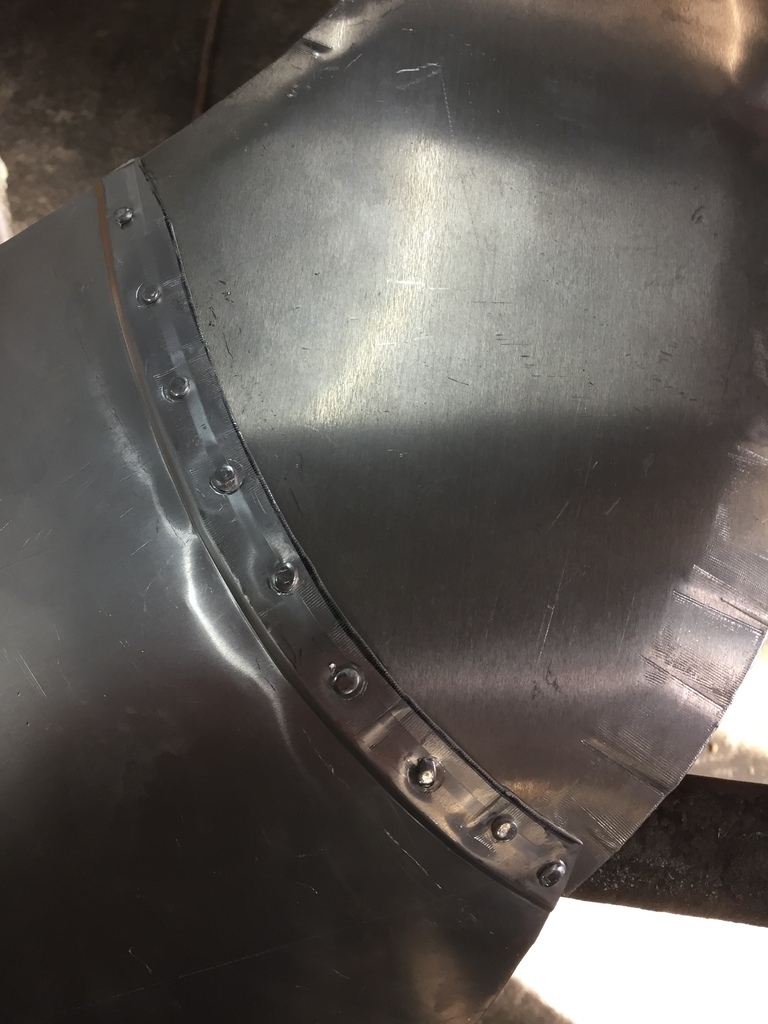 Everything is mounted in place with Cleco's, so the panels can come out easily while I'm while I'm working on it. 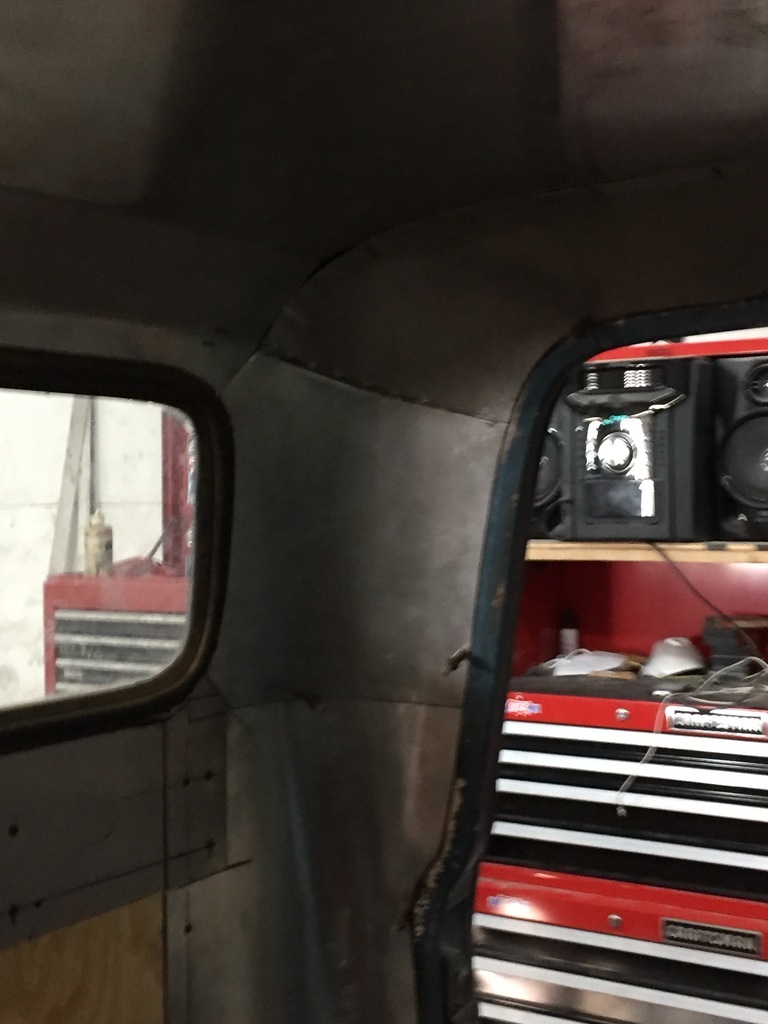 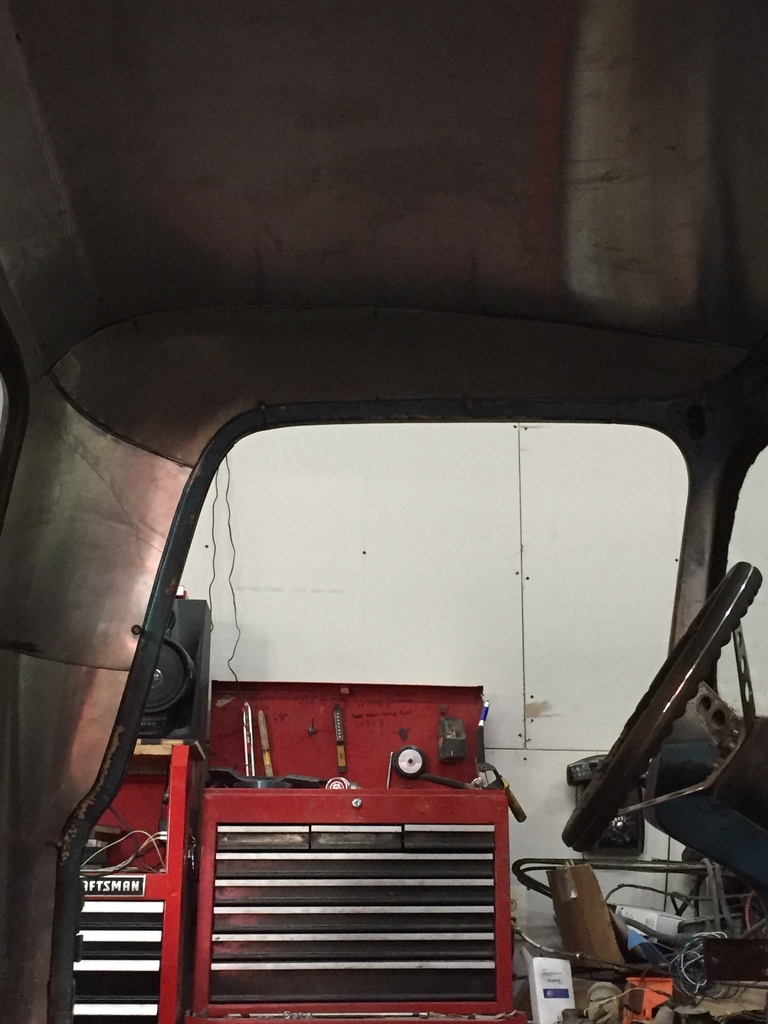 |
| |
|
|
braaap
Posted a lot
  
Posts: 2,744
|
|
|
|
Nice work as usual. But please tell me You are going to sound-deadening those tin panels. Btw. I always wondered, what took a dutchman to arizonas deserts? I already suffer from occasional (but growing number of) 30+ degrees celsius over here in germany, no way I would like to live permanently in such temperatures! And with rattling pets in the neighbourhood.  |
| |
|
|
|
|
|
|
|
Thanks man. Yeah, there is going to be insulation behind them, and foam & vinyl on top. Should be quieter than it ever was...  I moved to Arizona because of a girl... I love the desert. I can take the heat, I weld in 100+ ( F ) degree weather. But I was miserable in the cold Dutch winters. Scared of snakes though... |
| |
|
|
|
|
|
|
|
|
Excellent update and problem solving, as expected.
I do like the fact you blind rivetted the pieces.
That angled curved/fold above the rear glass is absolutely lovely.
Watching with interest.
|
| |
|
|
|
|
|
|
|
Thanks Guys grizz . Good eye... Yeah, that fold/bend has a radius to it. I'll take a pic tomorrow of the tool I did it with.  |
| |
|
|
|
|
|
|
|
Thanks Guys grizz . Good eye... Yeah, that fold/bend has a radius to it. I'll take a pic tomorrow of the tool I did it with.  Detail Detail Detail Detail…………. And that is where subtlety adding effort builds winners. Great job. |
| |
|
|
|
|
|
|
|
Jun 28, 2022 21:15:15 GMT
|
Pics for grizz. Its a cheap Lobuck brake that I bought from my former employer. For a while, I bought pretty much any tool or machine from him when he upgraded the equipment in the shop. I guess he thought he had found a sucker for all the stuff he didnt want anymore, not realizing that I was actually working on my future independence from him by staring my own deal...  It was OK for what it was, as long as you were careful to not ask too much of it. 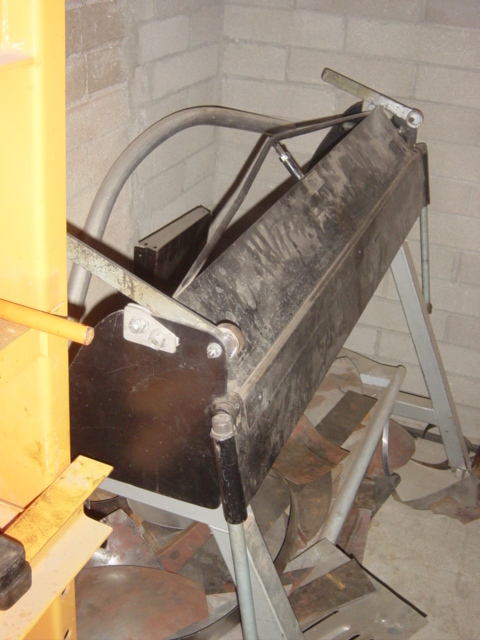 I used it like that for a couple of years until I was able to get a professional fingerbrake of my own, and I didnt need this one anymore. But instead of selling it, I welded a thick walled pipe across the top, so now it does radius bends with a smooth transition. Which looks nice for interior work, etc... 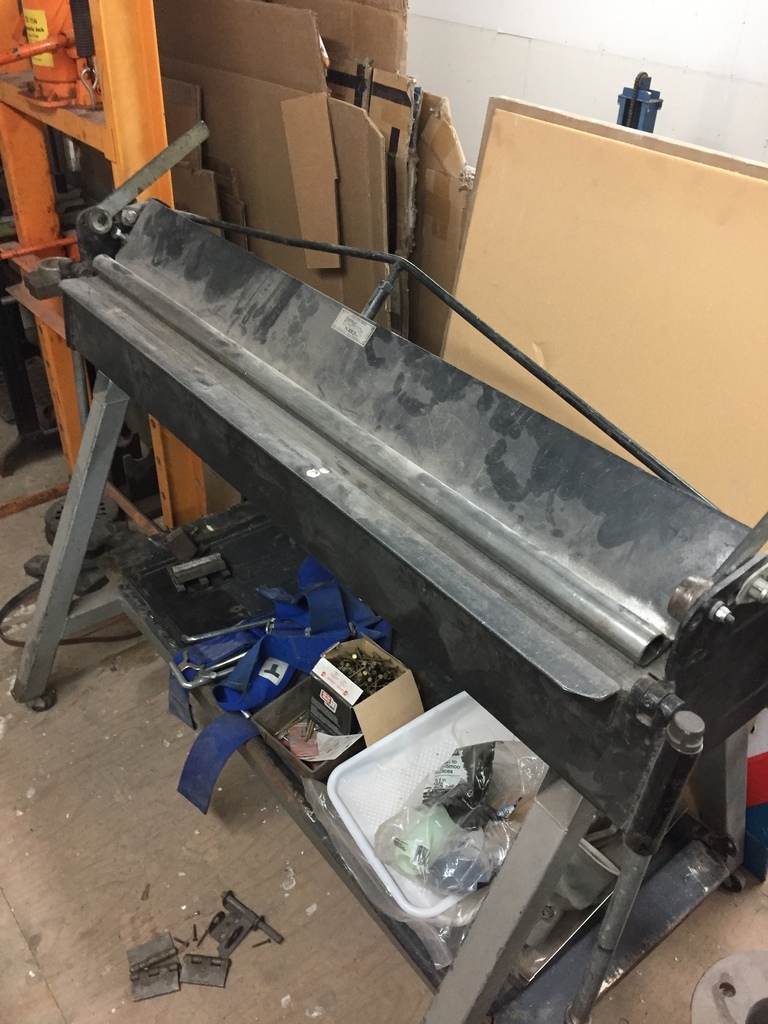 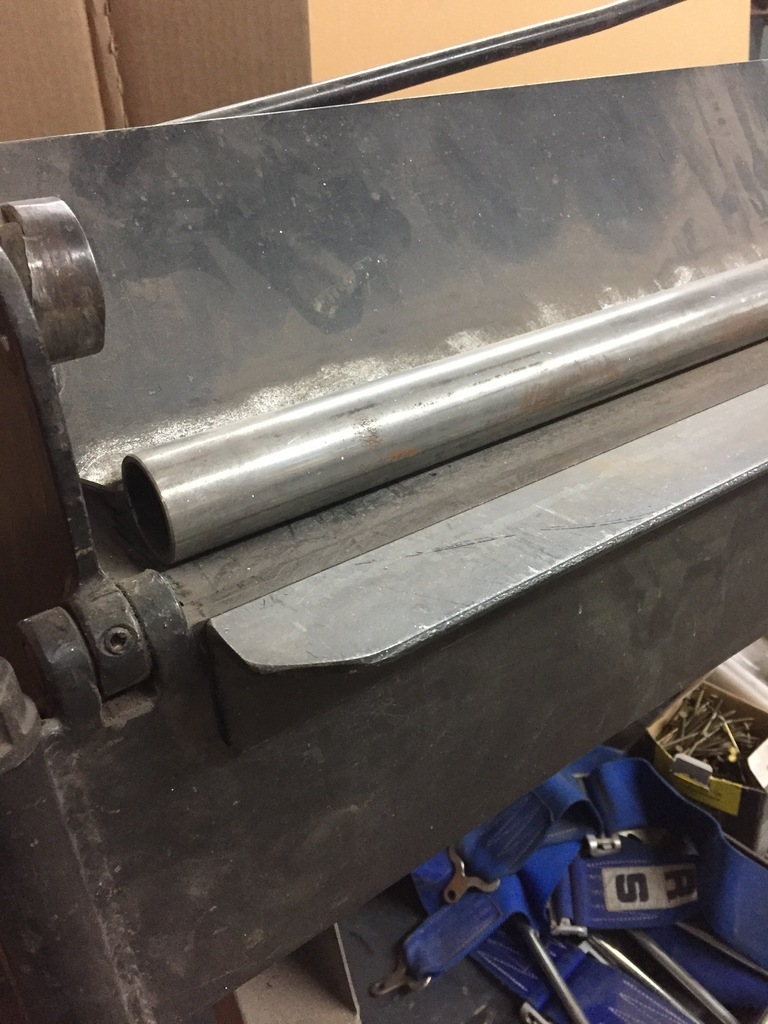 |
| |
|
|
|
|
|
Jun 28, 2022 21:23:48 GMT
|
|
Love your long term plan and thinking.
Making a unique tool from a tool you upgraded……. Priceless.
Also makes your inventory that much bigger.
|
| |
|
|
|
|
|
|
|
I'm going to do the dashboard soon. But I'm waiting on some parts and since I'm also preparing / collecting parts for the '32 dash, I thought I'd take a little break from the truck. I got this gauge cluster for the '32. A nice old piece, with vintage Stewart Warner gauges in it. 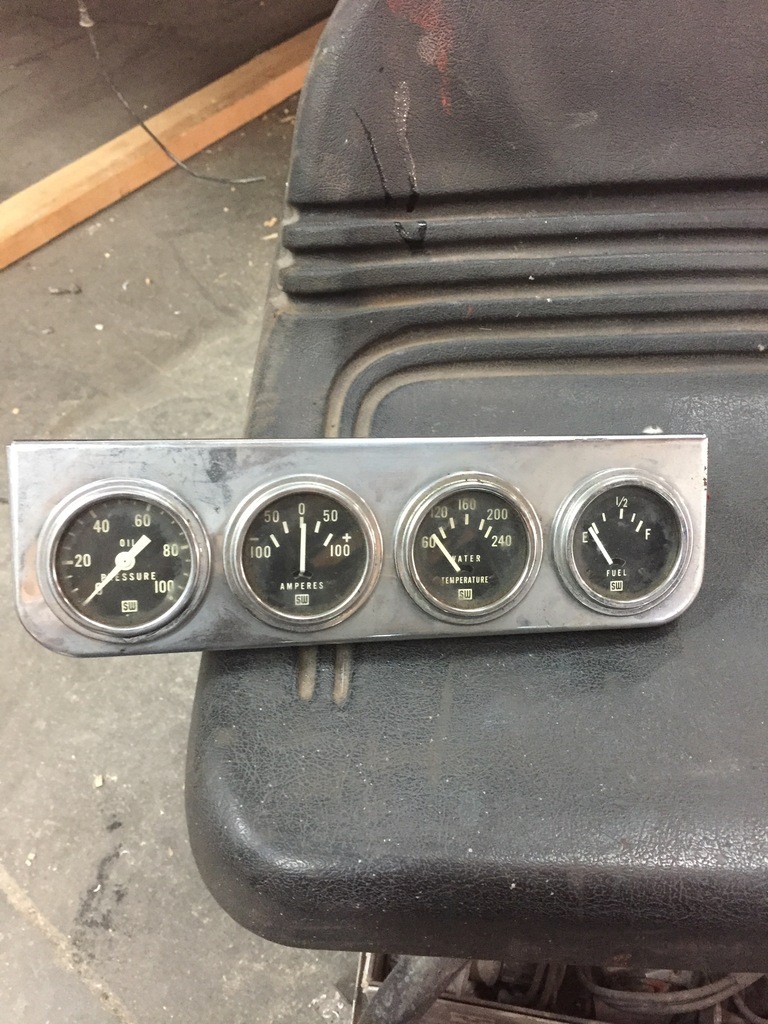 Because of the limited space, it will have to sit on the pass side of the dash. But then the gauges will be pointed at the passenger, not me. So I thought I'd use some of these angled rings from a '70s Alfa Romeo to point them my way. 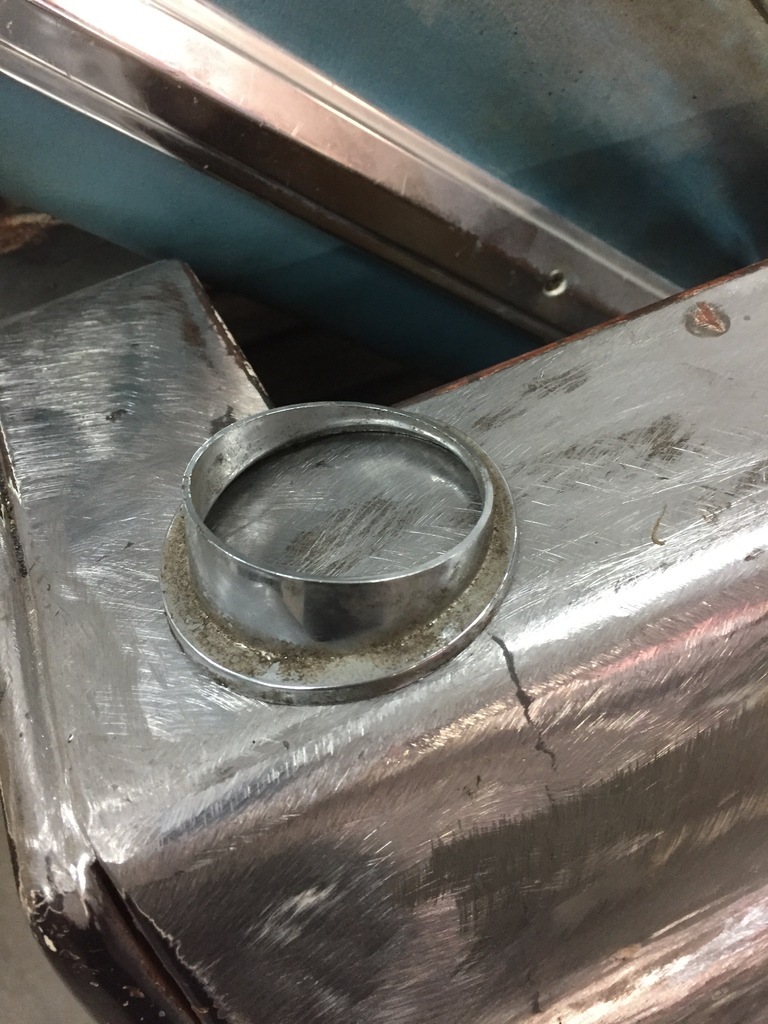 I only have 2 and need 4, but they are available reproduction from Alfa specialists. Couple of things wrong with them: They are plastic ( not ideal since I'd have to modify them ) , and the inside dia isn't big enough to accept a vintage SW gauge. So I got a piece of 2.5" dia aluminum bar stock. 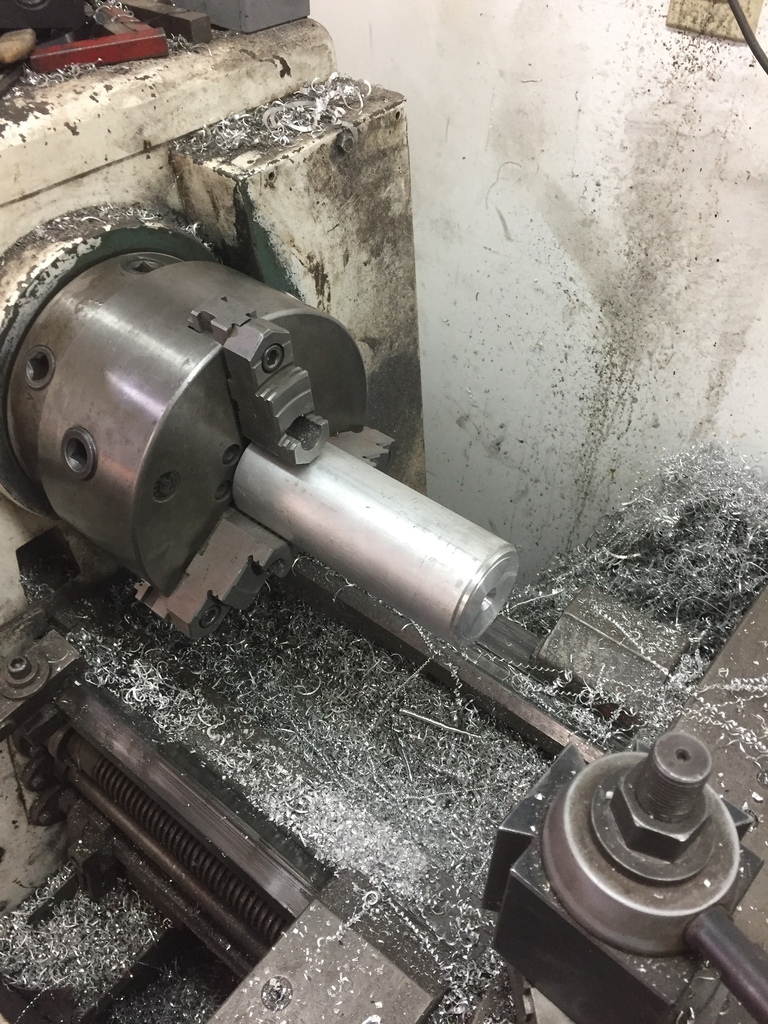 Which I cut to the right inside and outside dia's to match the gauges. 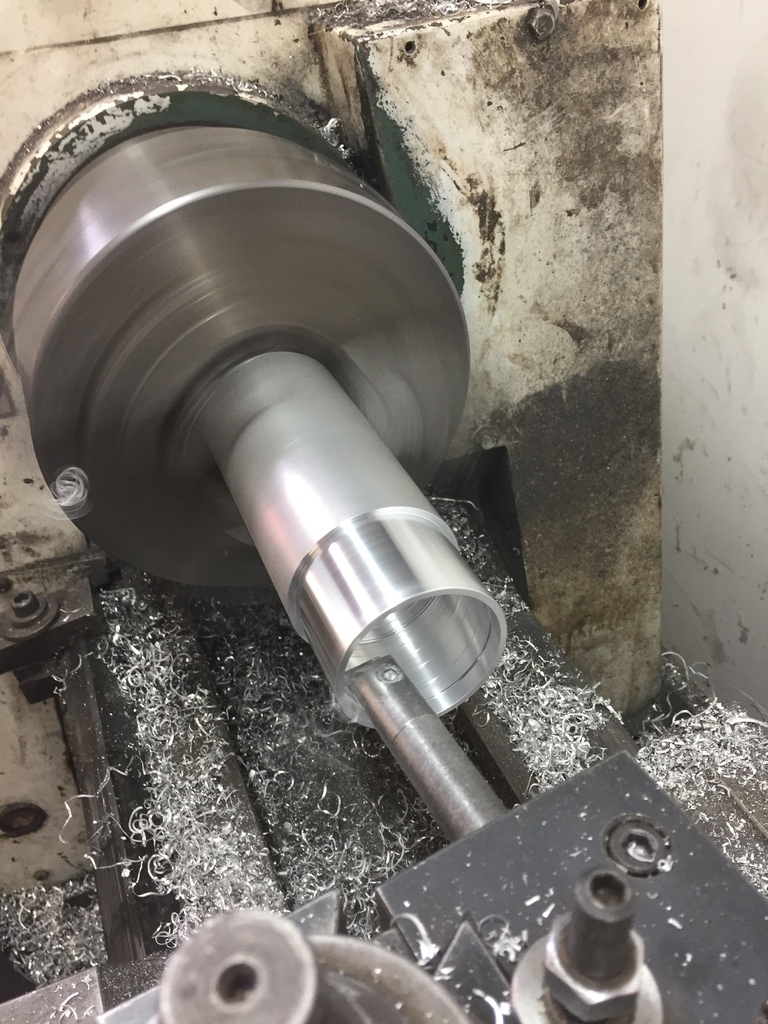 And then I rough cut it to about the correct angle ( with some extra meat to get it precise later ) 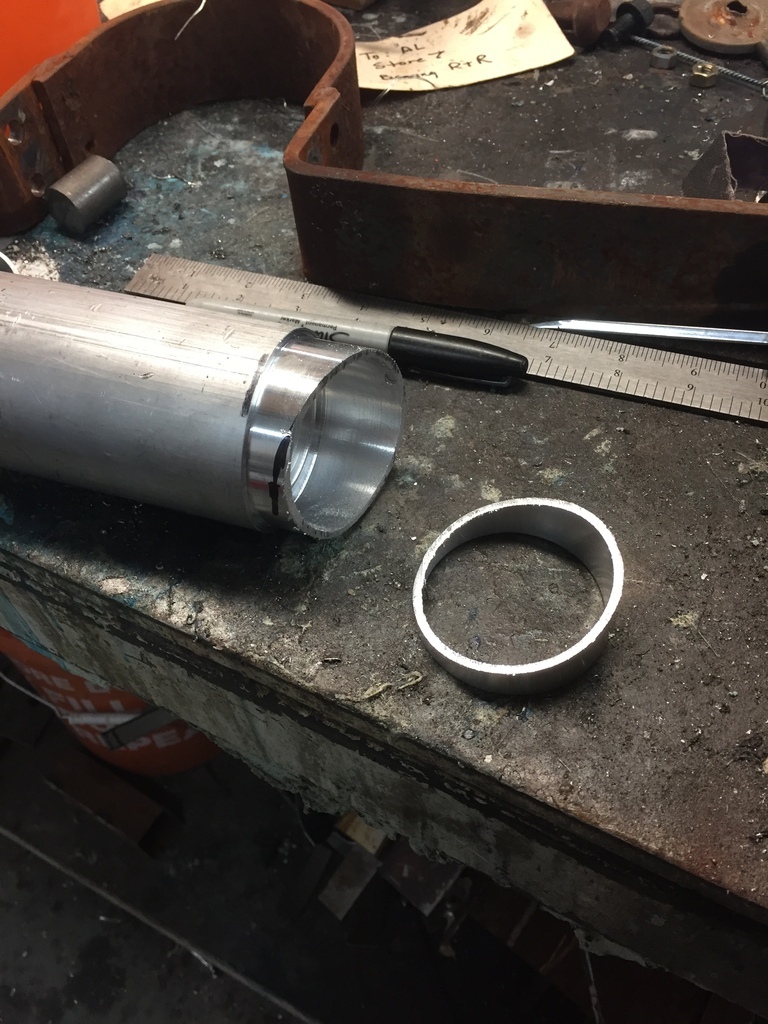 |
| |
|
|
|
|
|
|
|
To do the angle machining I made this holder. 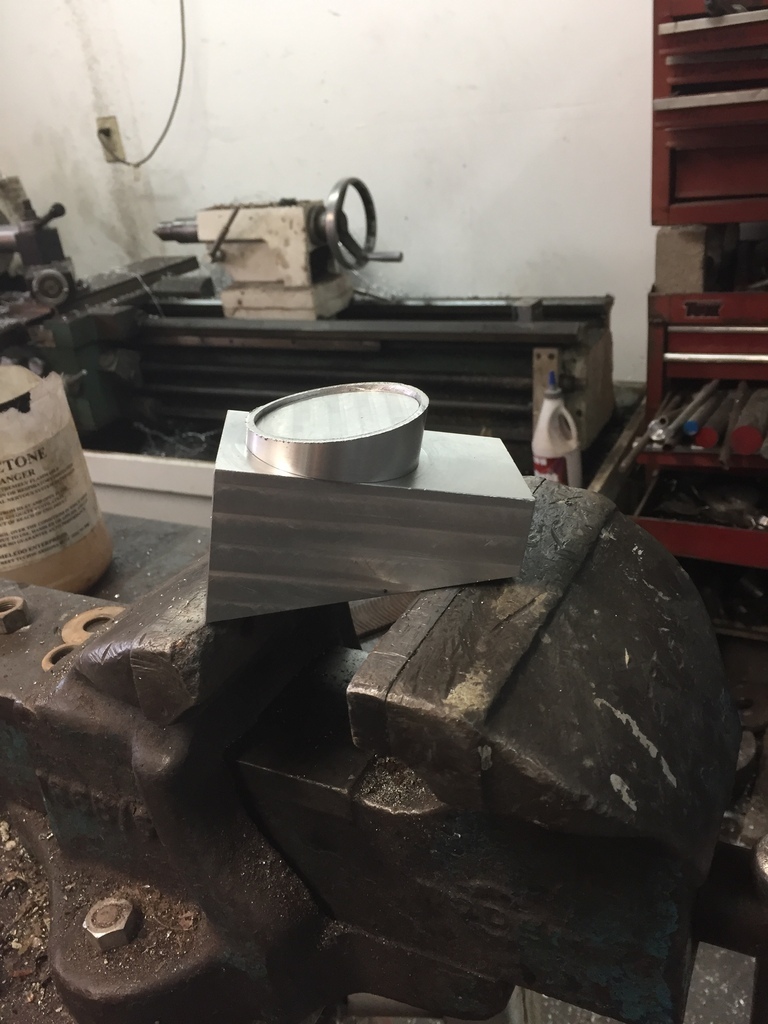 This will allow me to hold the ring without crushing it, gives me the exact 15 deg angle I want, and a total height of the ring that I can accurately reproduce ( since I have to make 4 of them and if they are not exactly the same it will look terrible ) 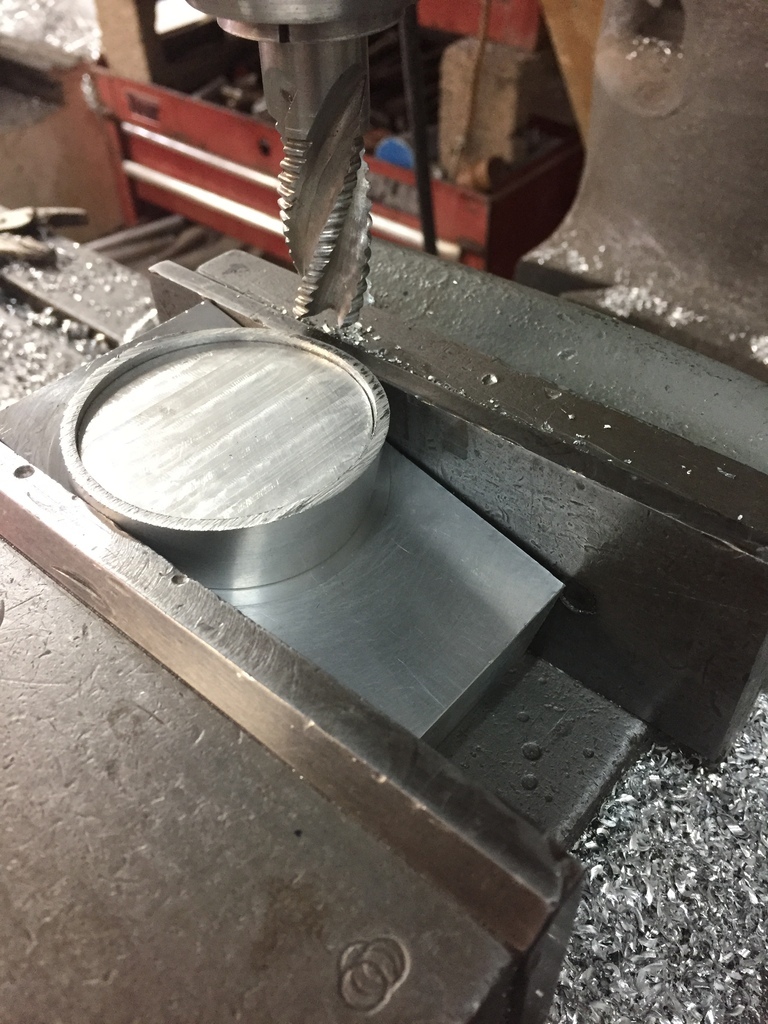 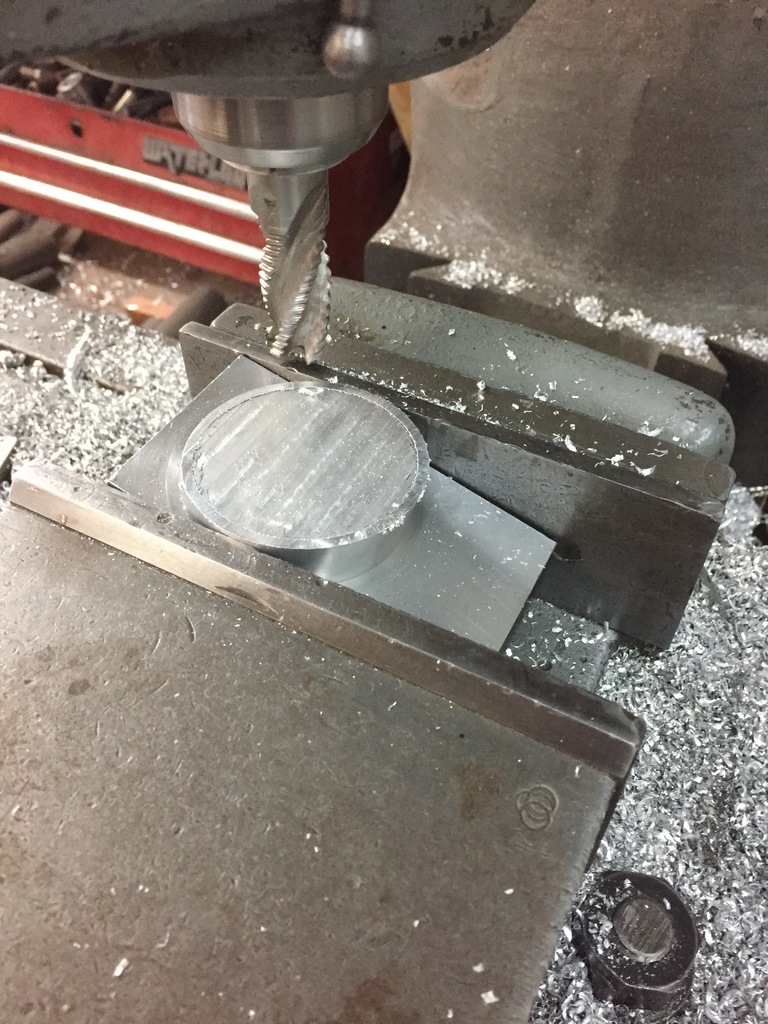 So now I have 4 rings that are exactly the same. 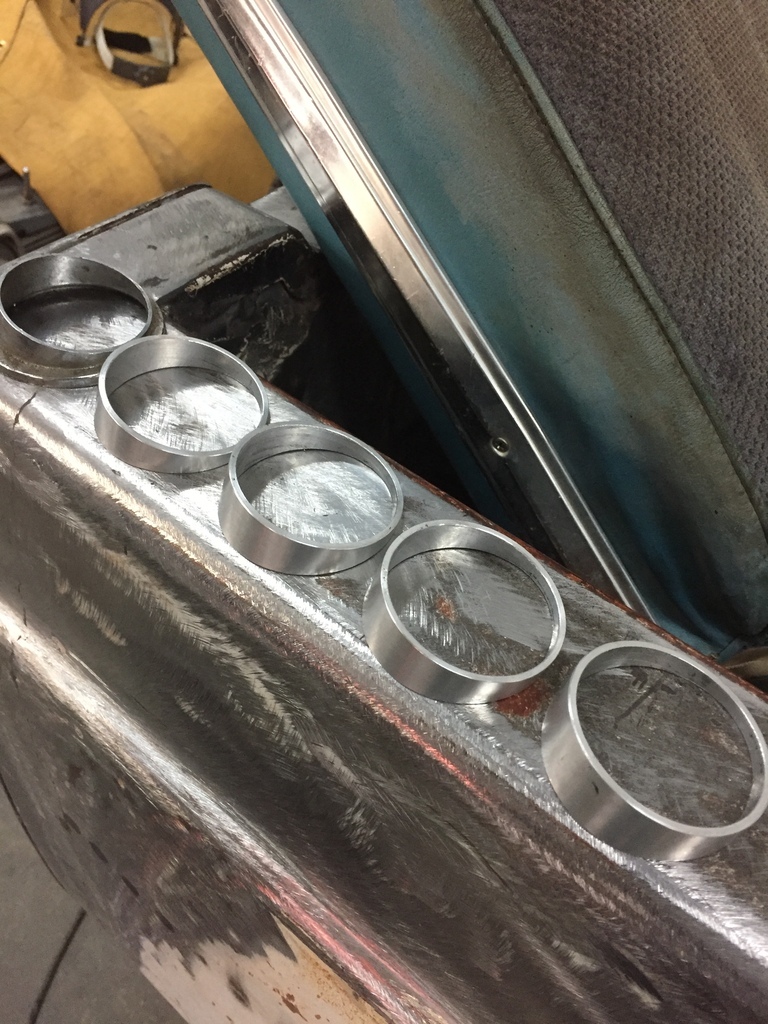 And here it is all put together... 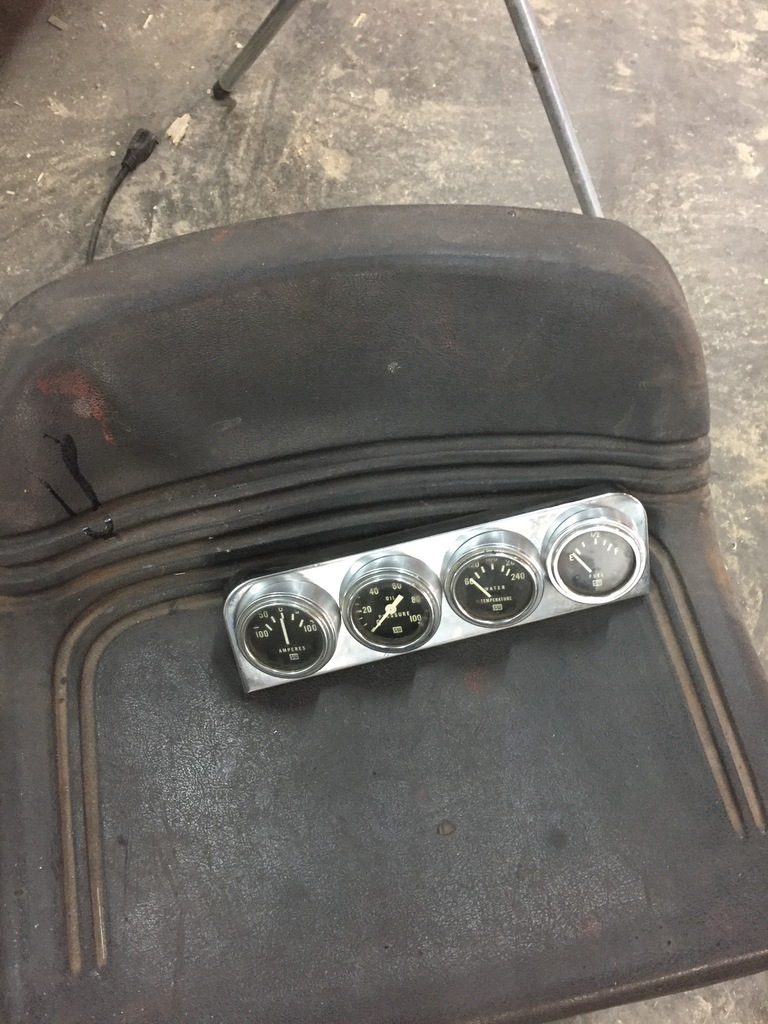 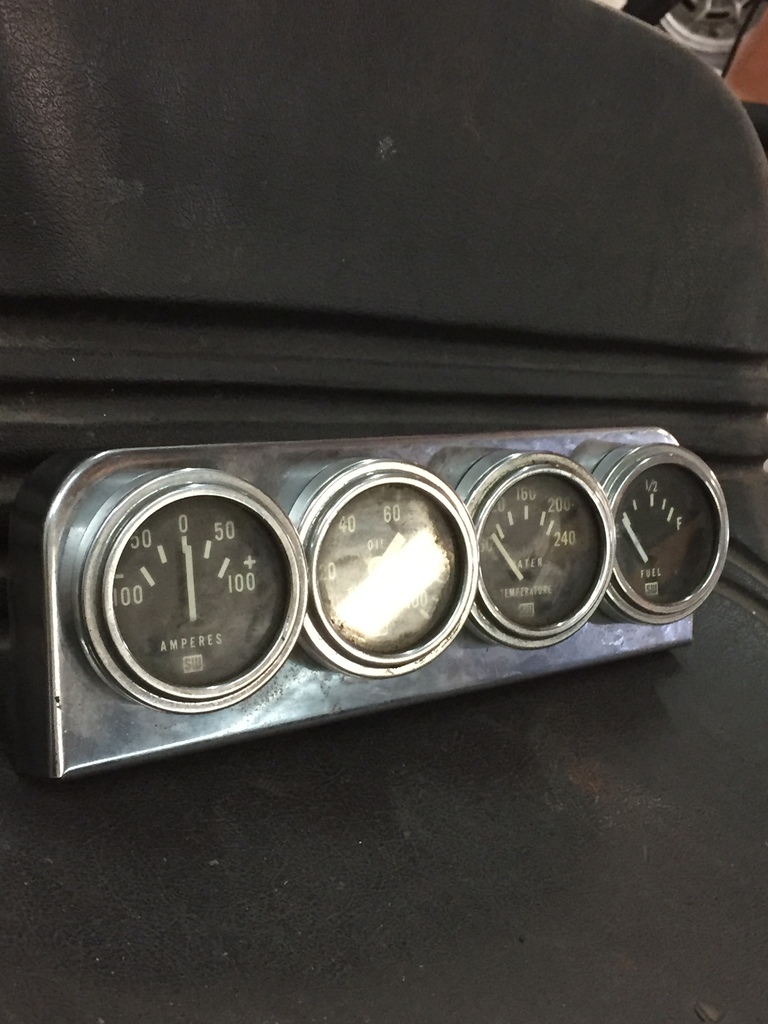 |
| |
|
|
|
|
|
|
|
|
You do keep producing them…..
Nice result there.
|
| |
|
|
|
|
|
|
|
These old SW gauges are not lit in the usual way. The bulb is mounted outside of the gauge, and there are slits cut in the housing to let the light in. 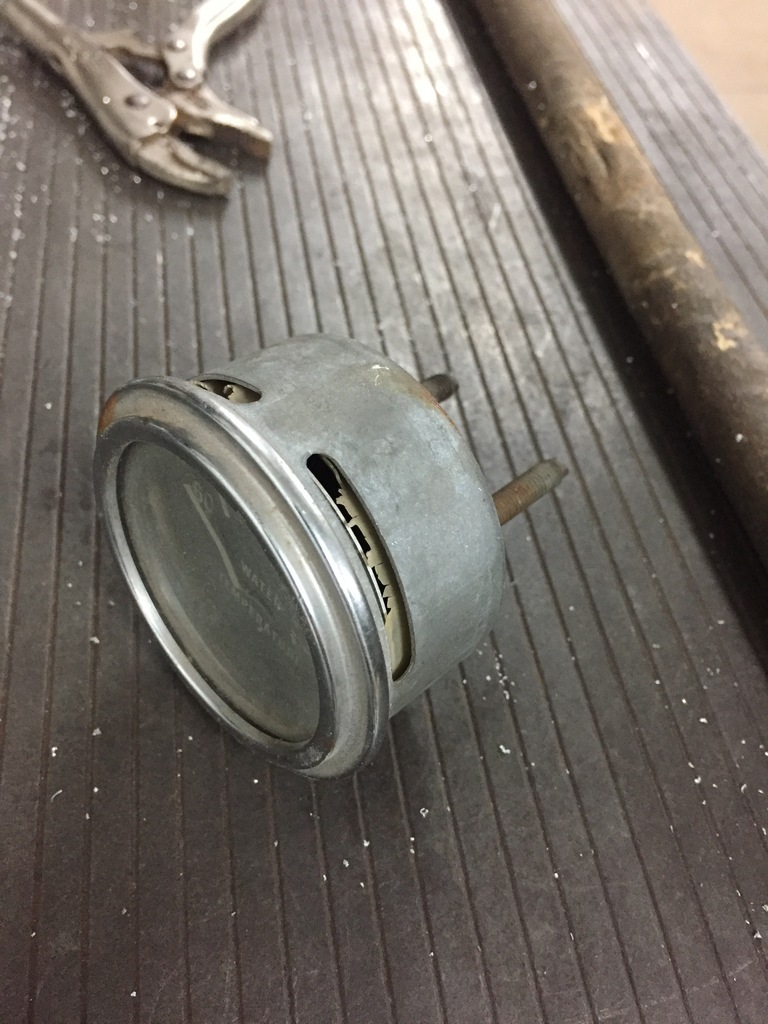 On the backside of this there are little pockets to mount the dash lights, and they line up with the slits in the gauges. 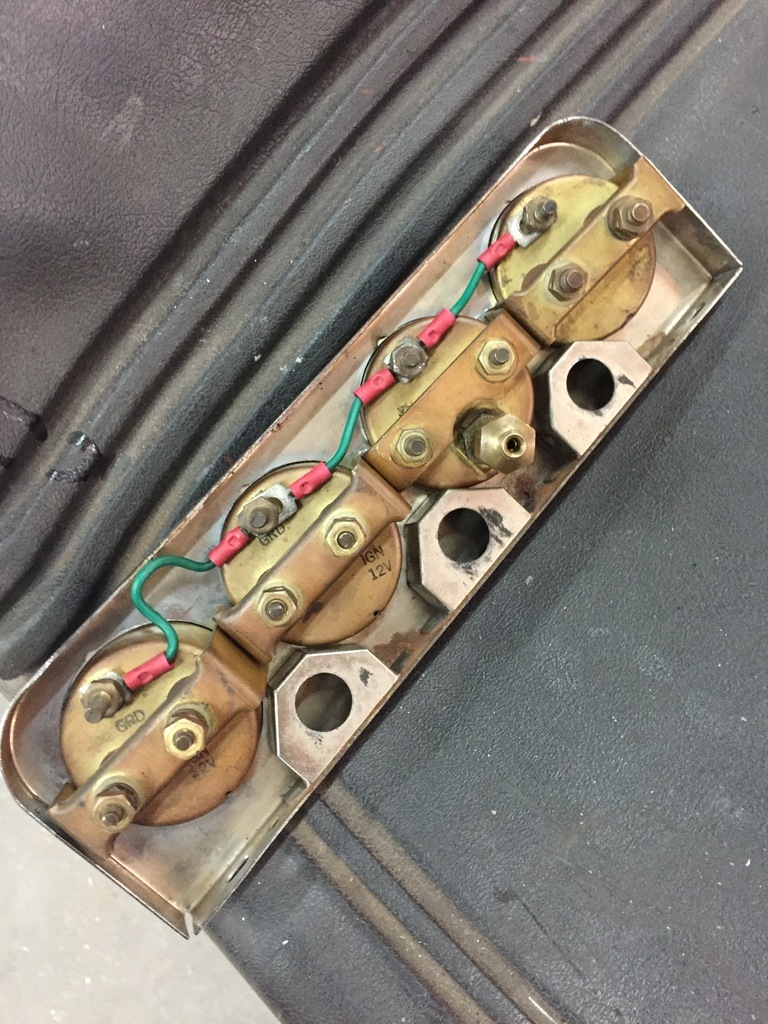 That works fine, unless somebody spaces the gauges out with 15 degree angle spacers. So nothing lines up anymore, and the gauges are no longer lit.  What I needed was another way to light the gauges without blinding me, giving reflections on the windshield, not too crazy complicated to make, and hopefully look OK. This is what I came up with. 1 inch bar stock. 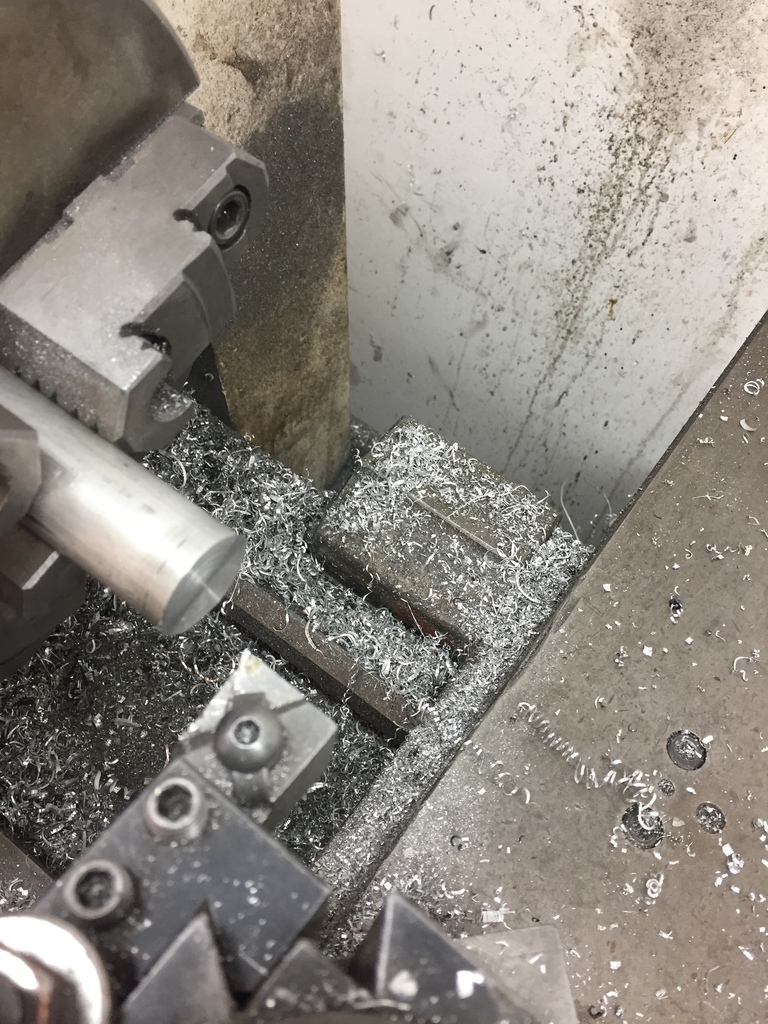 A 3/16" raised 1/2"dia end, with a 1/8" hole in the middle. 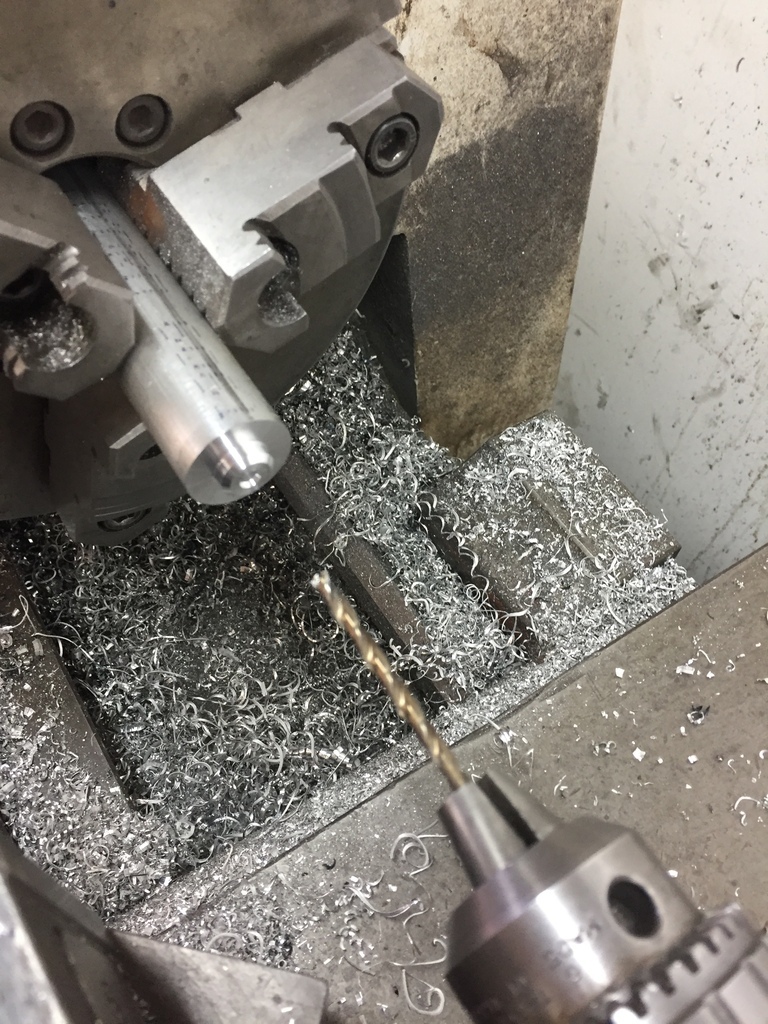 I milled a flat on one side. 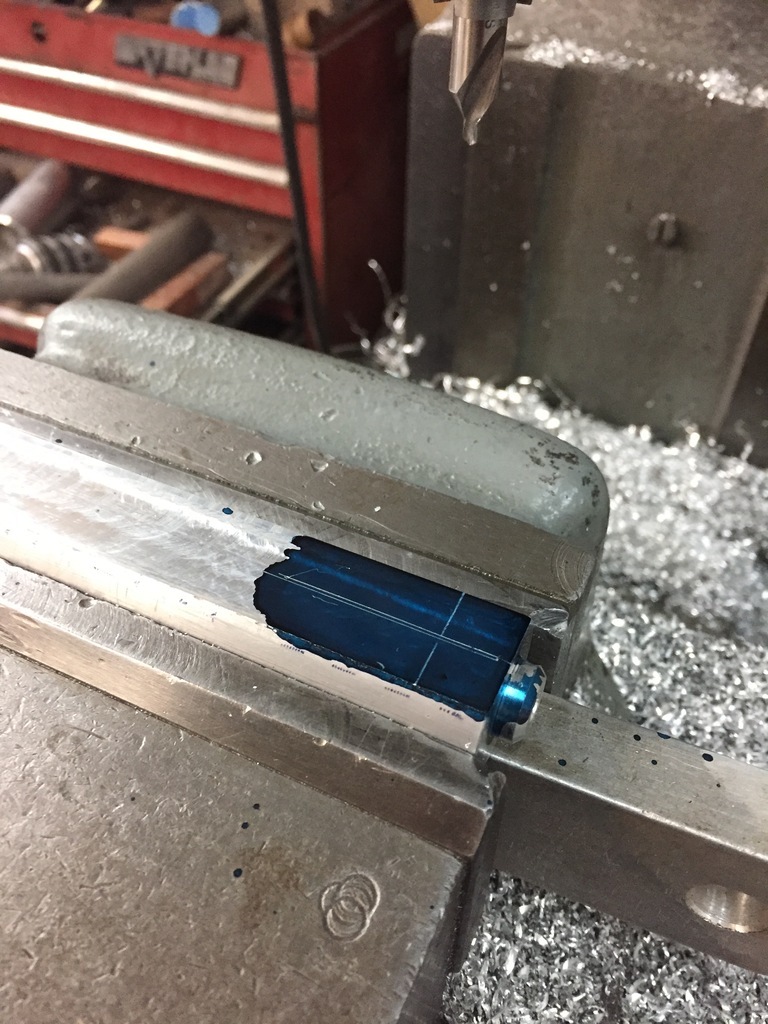 With a 5/8" hole all the way through. 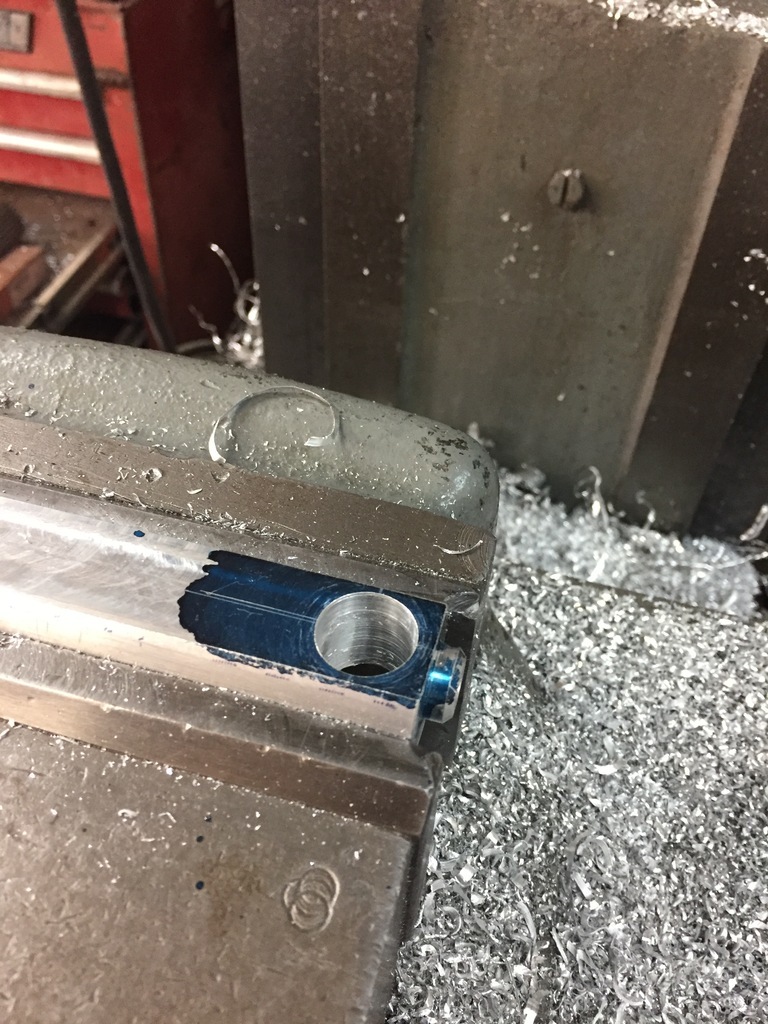 |
| |
|
|
|
|
|
|
|
3 more times. 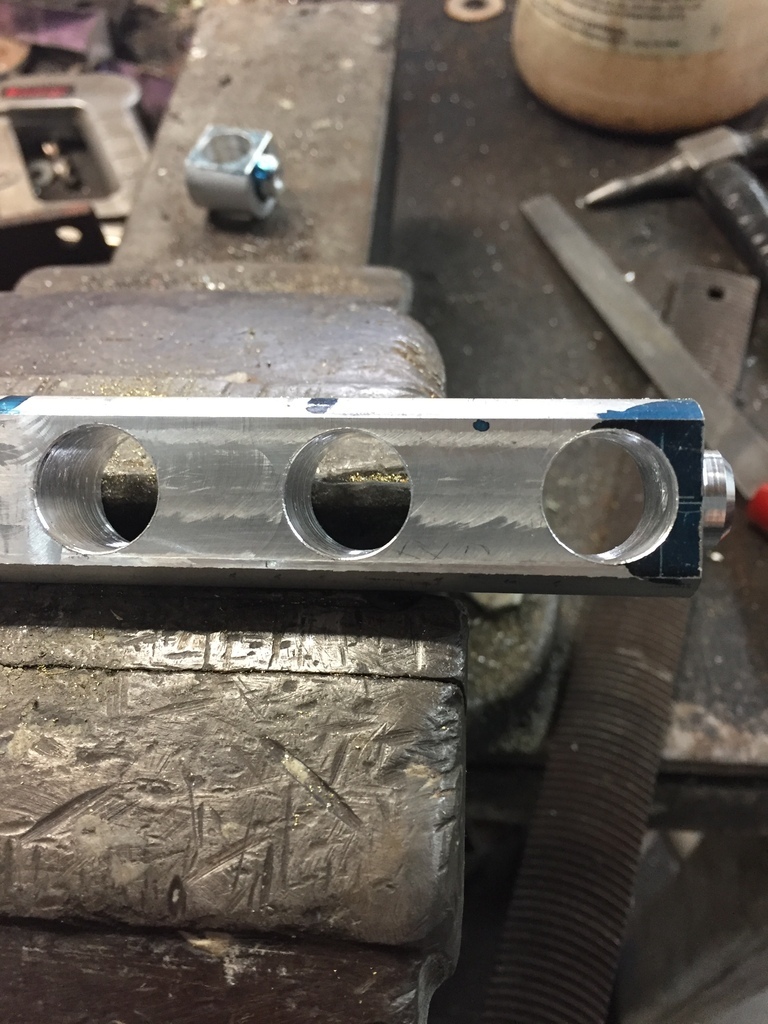 With some more flat sides machined on them and finished they look like this. 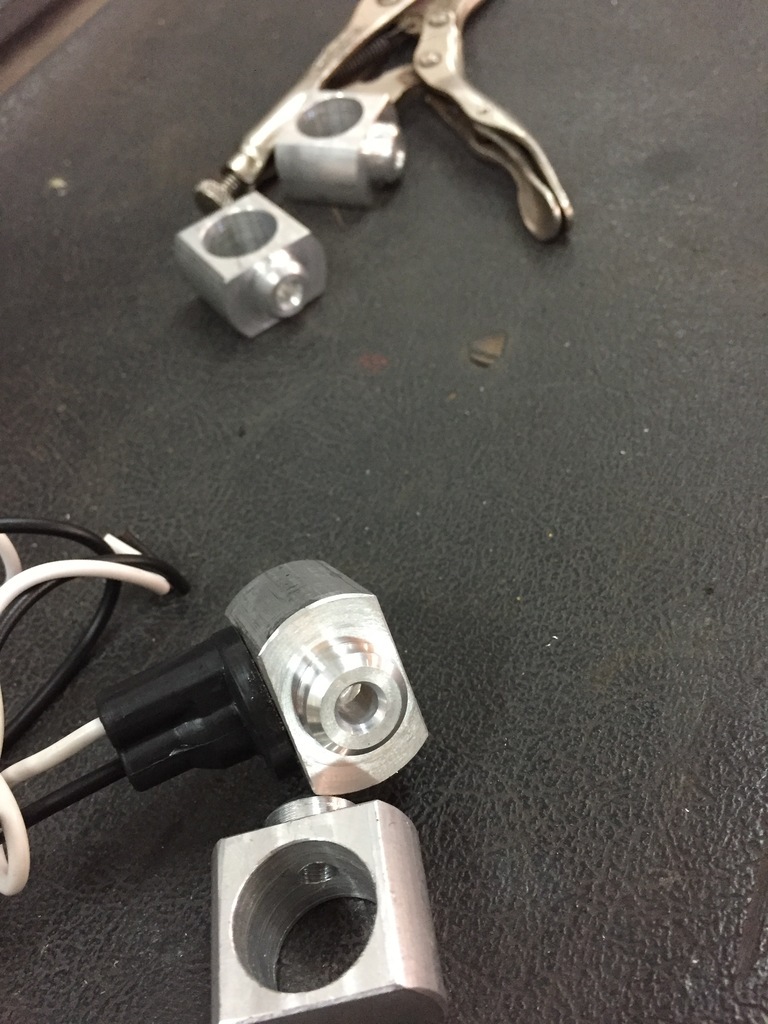 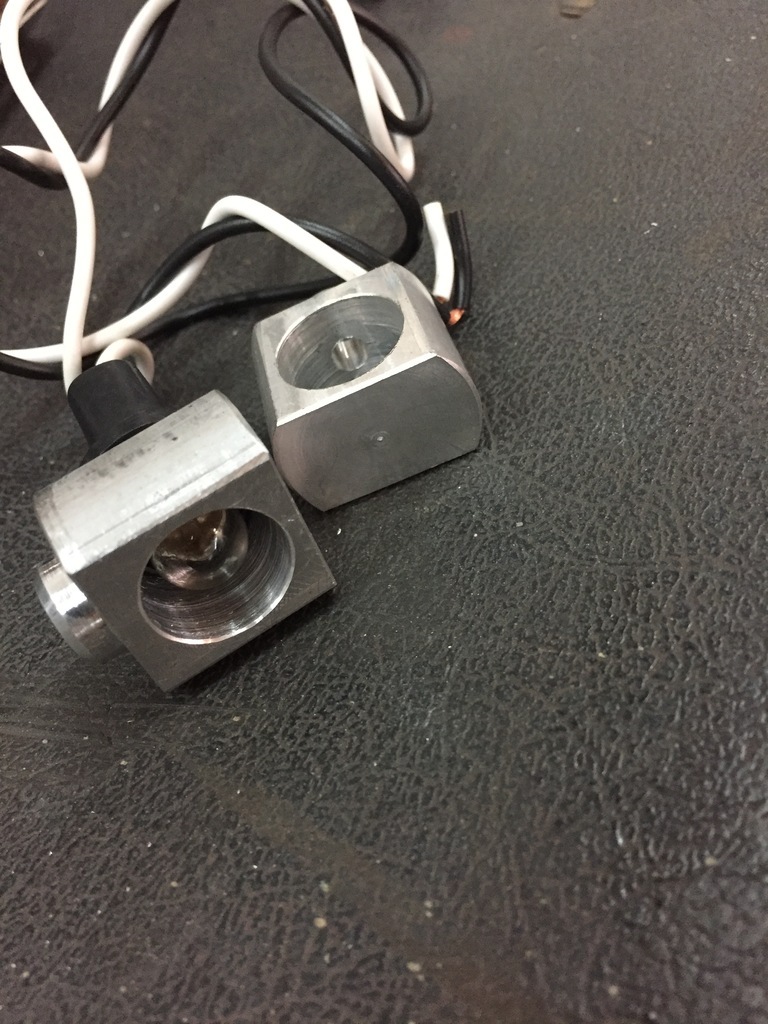 |
| |
|
|
|
|
|
|
|
The gauge cluster will have to be mounted recessed by about 1.25". with a 1/2" hole cut in front of each gauge. This piece of sheetmetal is to see what it will look like, and to measure how dep the gauges will have to be recessed. 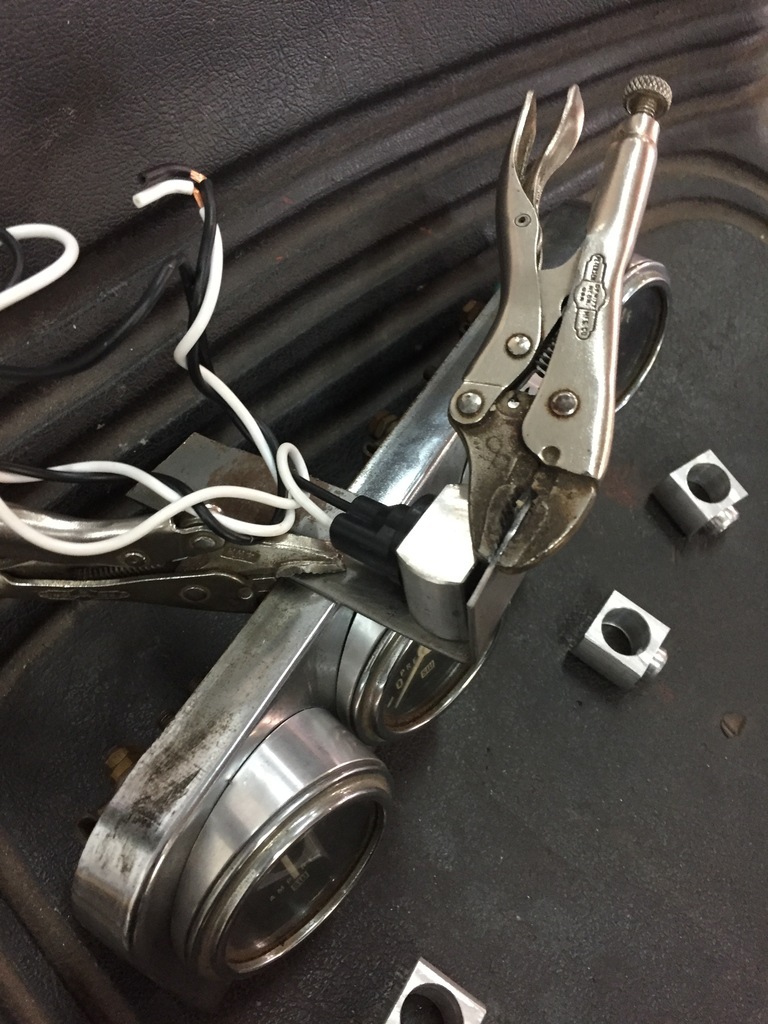 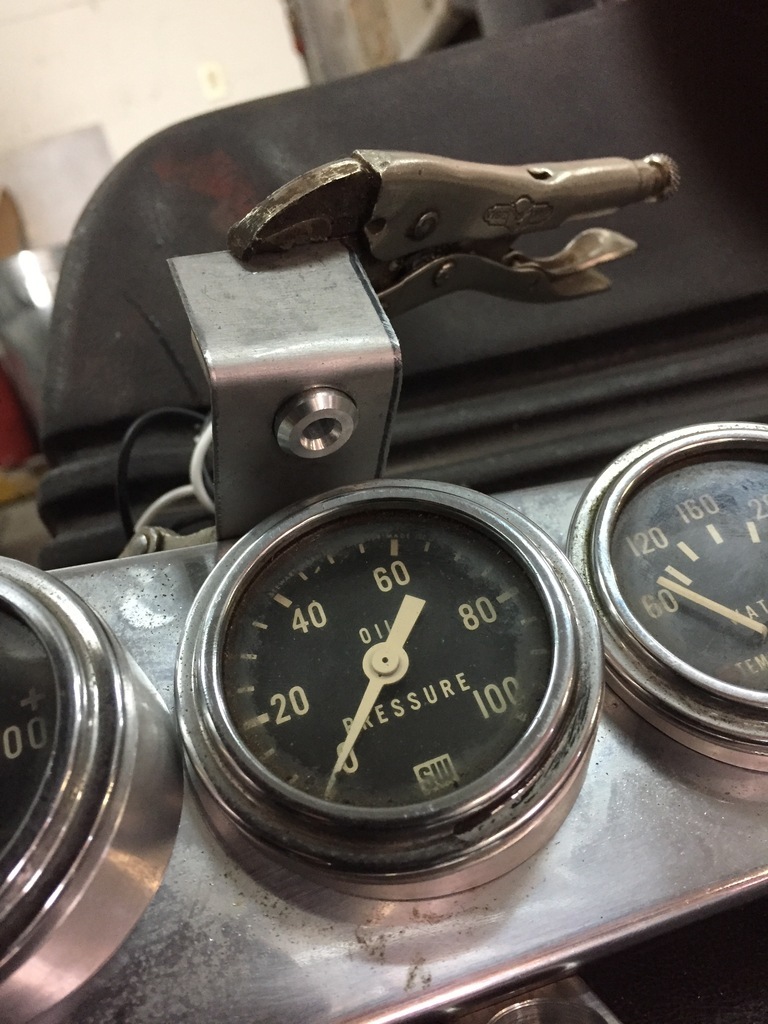 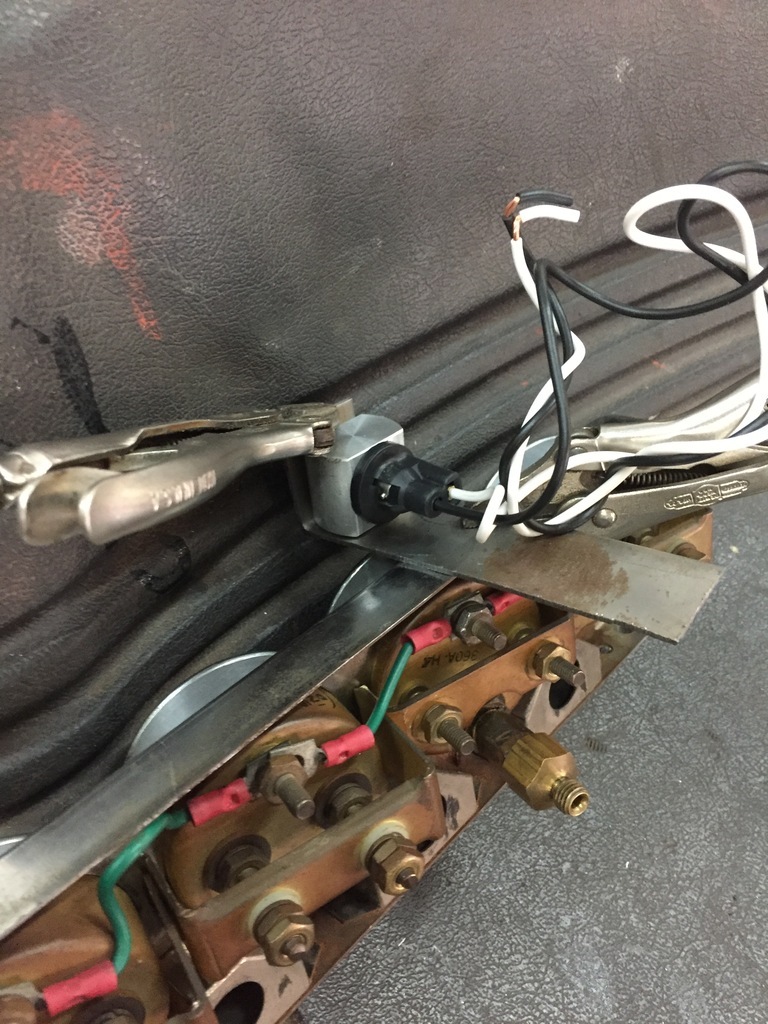 When the sheetmetal work to the dash is done, I'll JB weld the light holders to the back of it. |
| |
|
|
|
|
|
|
|
|
Only one number counts today…..
Happy 4th of July, regardless of your origins.
|
| |
|
|
|
|
|
Jul 11, 2022 10:58:45 GMT
|
All the paneling inside the cab is done ( to be upholstered later ), seatbelt anchors are done. 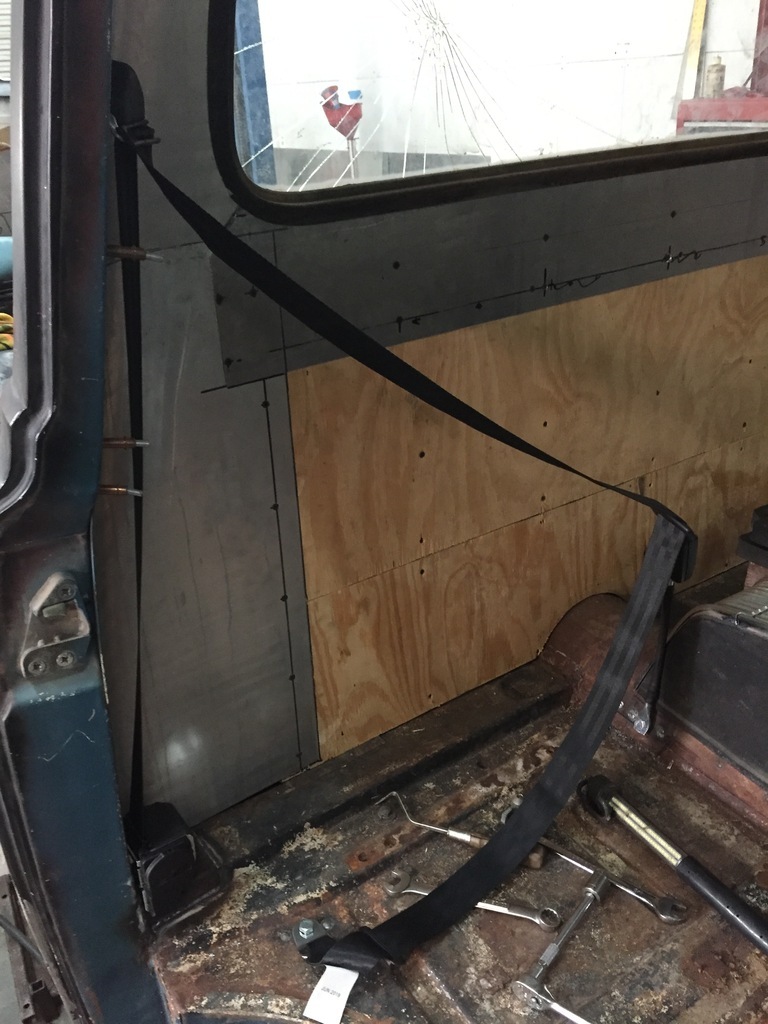 I put some speakers in the back panel. 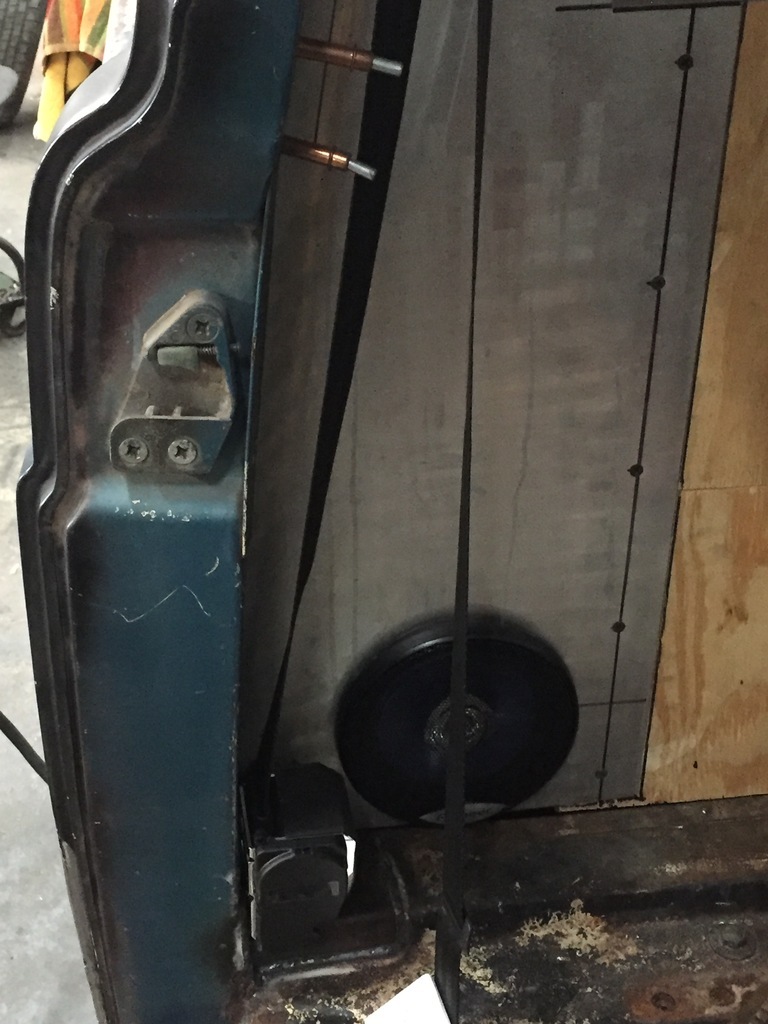 The seat risers did exactly what they needed to do ( raise the seats by about 4" and a slight angle back ), but they didnt look good. So I paneled in the sides. The cowl vent blows air into a vent next to the driver and the passengers leg ( one on each side ) I don't remember that working very well, so I cut out the vents inside the cab ( the resulting holes will be paneled over, and I hope to connect the cowl vent to the airconditioning, when I get it, - its still on backorder ) So then I started on the dash. I've never been a fan of the dash in this truck. 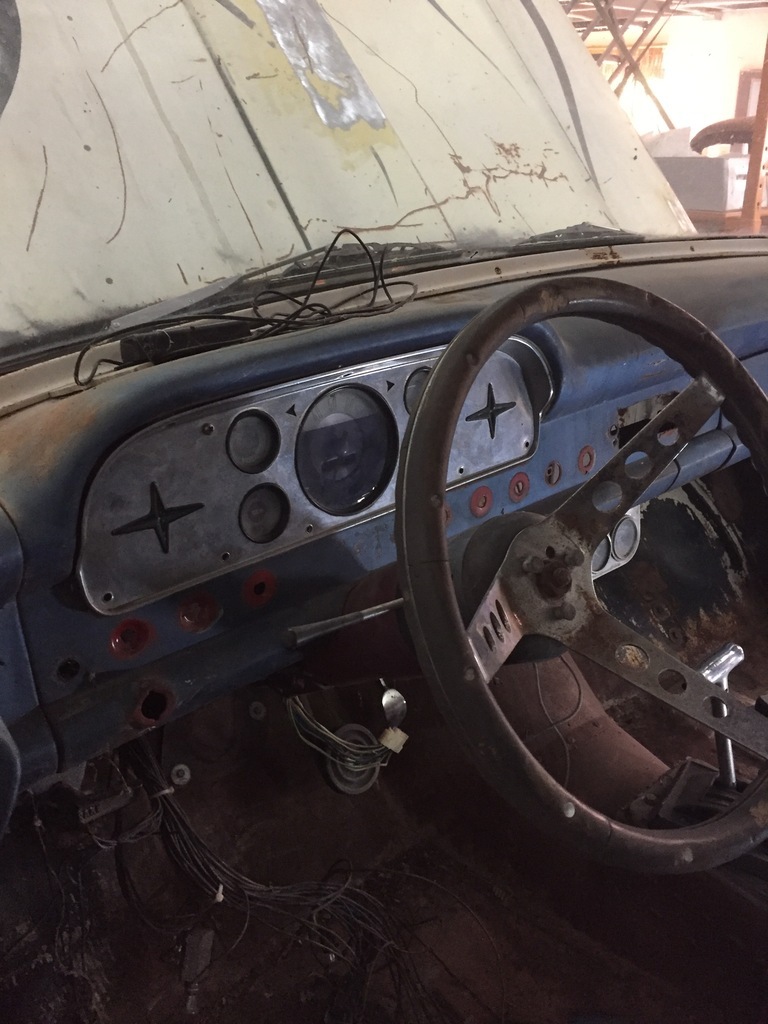 The cluster doesnt fit very well, and it limits the options for aftermarket ( better ) gauges. So the plan is to keep the original dash, but clean it up a little. First thing is getting rid of the original gauge cluster. 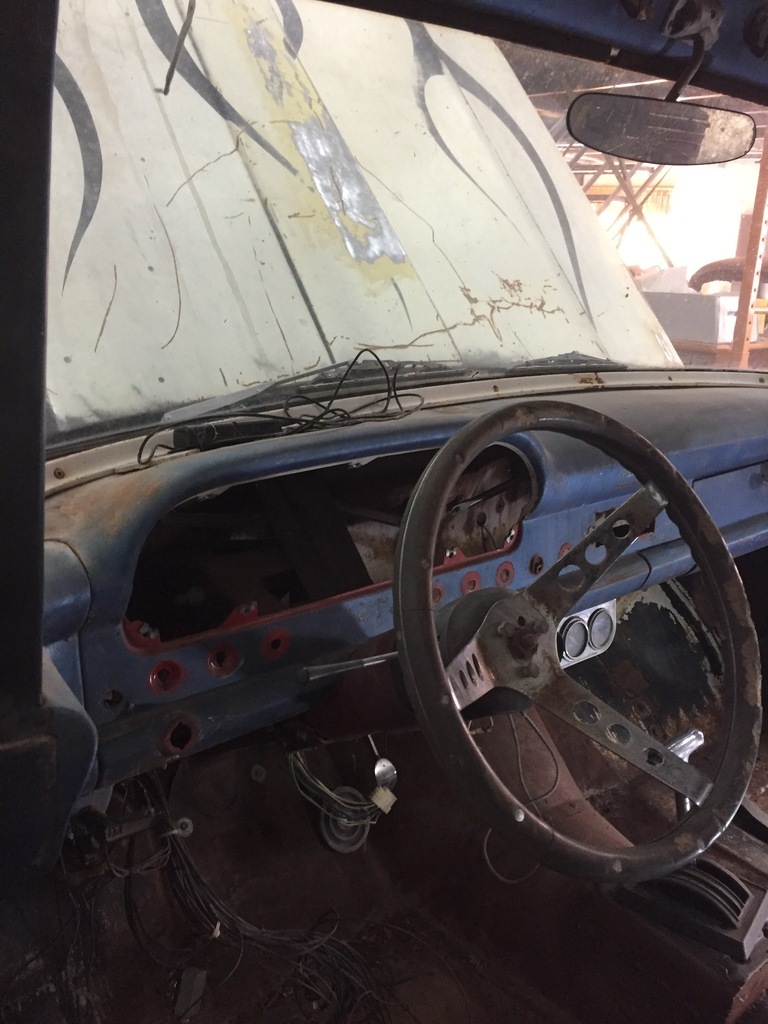 And the sheetmetal that will have to be replaced. 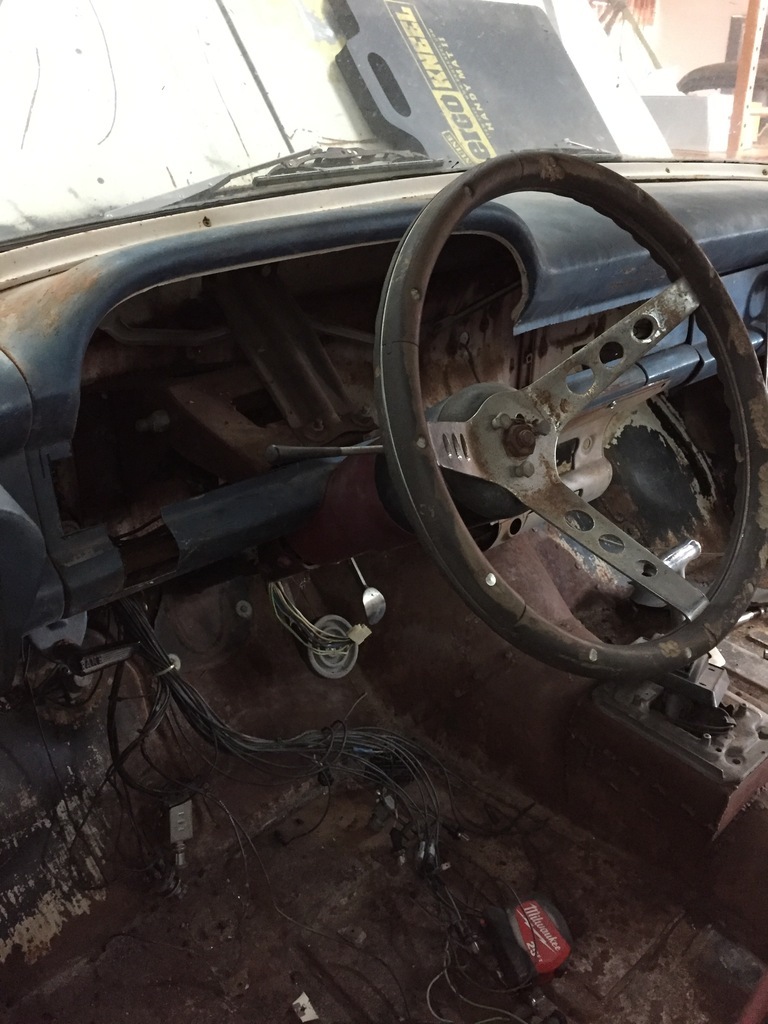 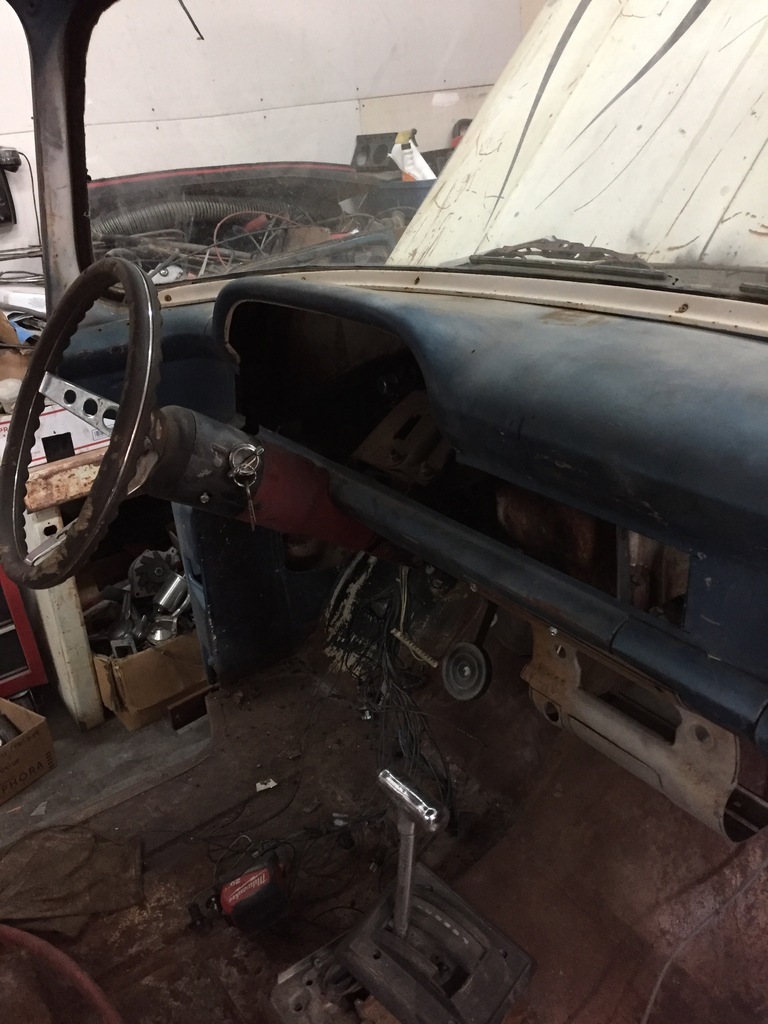 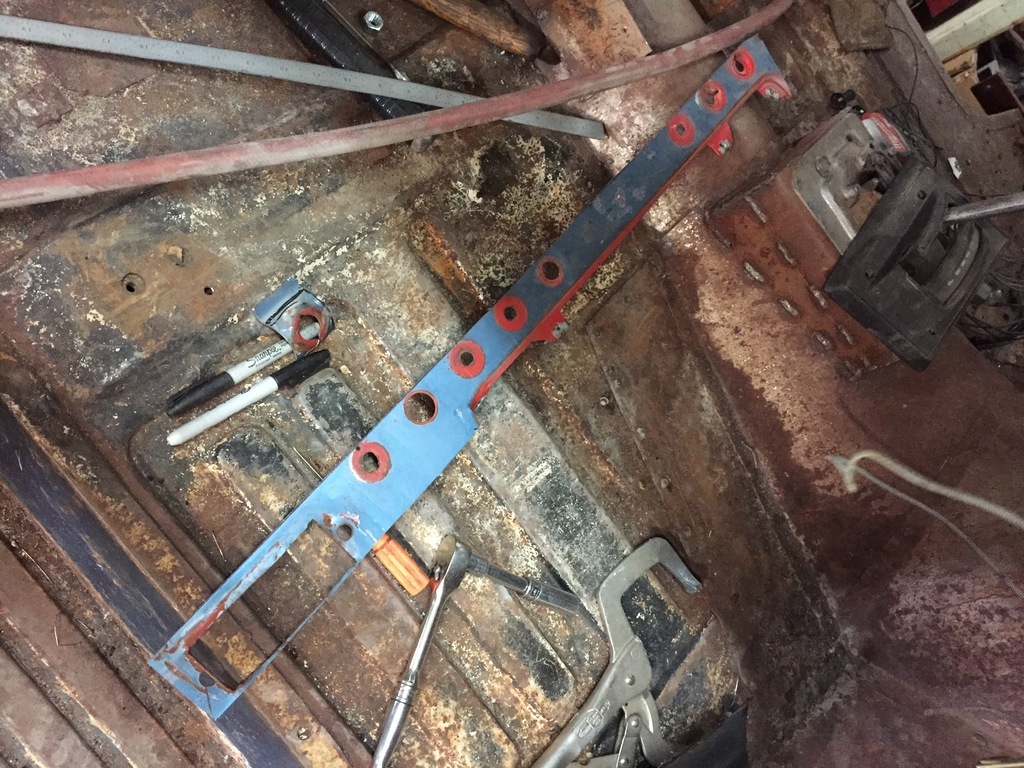 More later...  |
| |
|
|
|
|
 ), new windows & seals.
 )
)


