|
|
|
|
|
|
I always thought you could pretty much put a second front end, facing backwards on the rear side of those cabs.
Swap the bench seat out for a swivel chair. The only challenge is the dual pedal system!
|
| |
Last Edit: Mar 2, 2022 1:21:03 GMT by varelse
|
|
|
|
|
|
|
|
|
|
Mega progress, i'm in the small back window camp, can't say the big window does much for me at all!
|
| |
|
|
|
|
|
|
|
|
Thanks guys.
Yeah, I think keeping the small window is the right decision.
Also, it will make it easier to put a seatbelt mounting brace in ( this truck never had any...)
|
| |
|
|
|
|
|
|
|
I cut the forward brace out of the old bed because the one out of the new bed stayed with the floor. And I made some modifications to it. 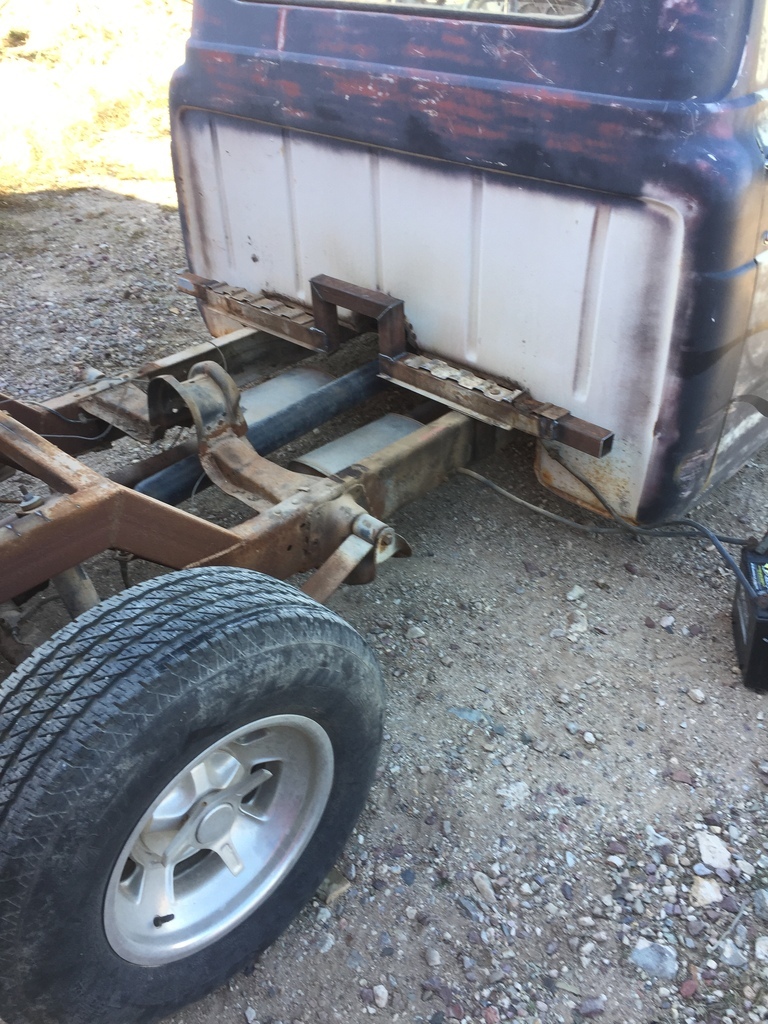 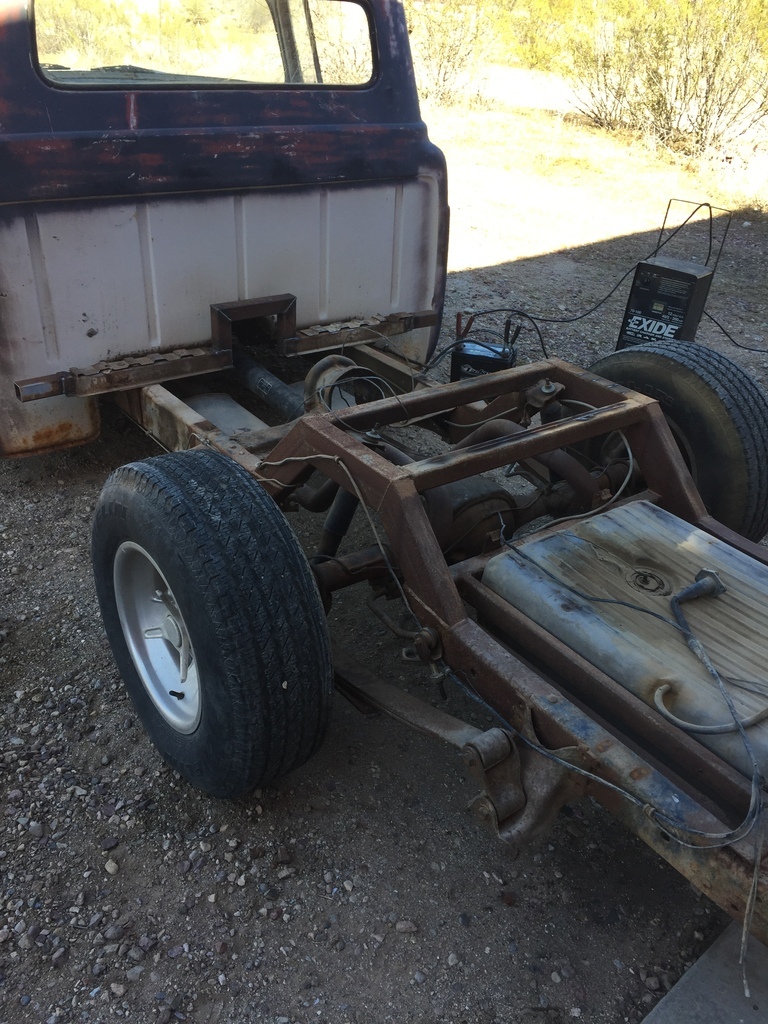 And after I cleaned up the cut lines of where I cut the floor out of it, I turned the bed sides over. 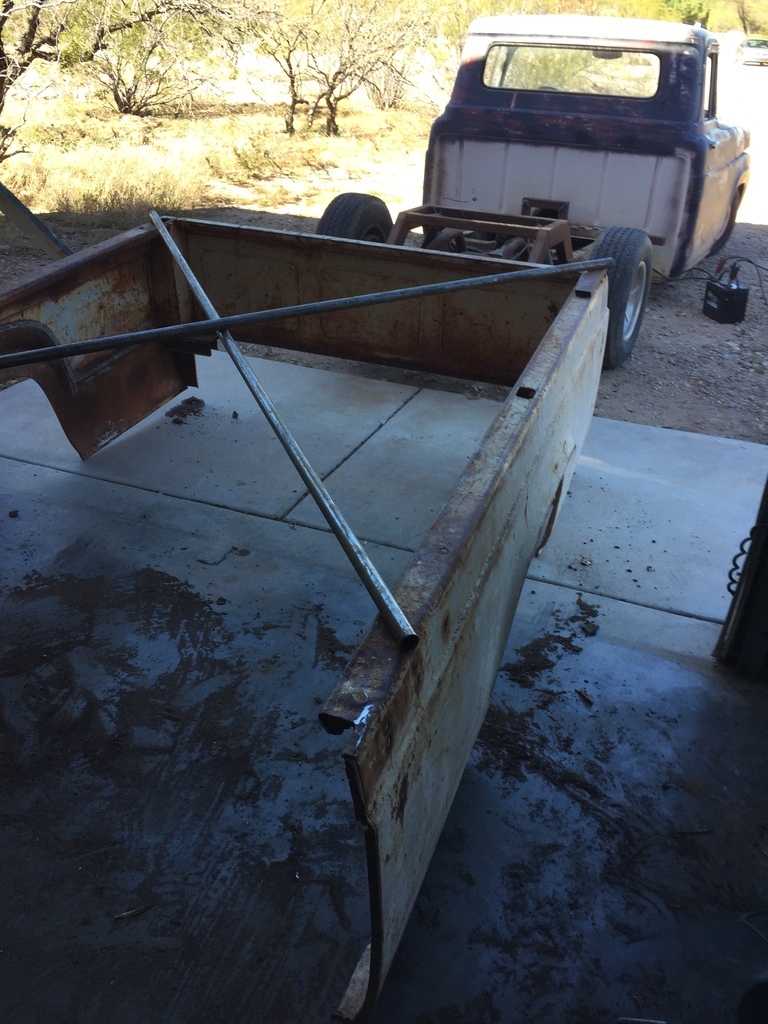 |
| |
|
|
|
|
|
|
|
And I hooked those onto the forward brace, on the truck. 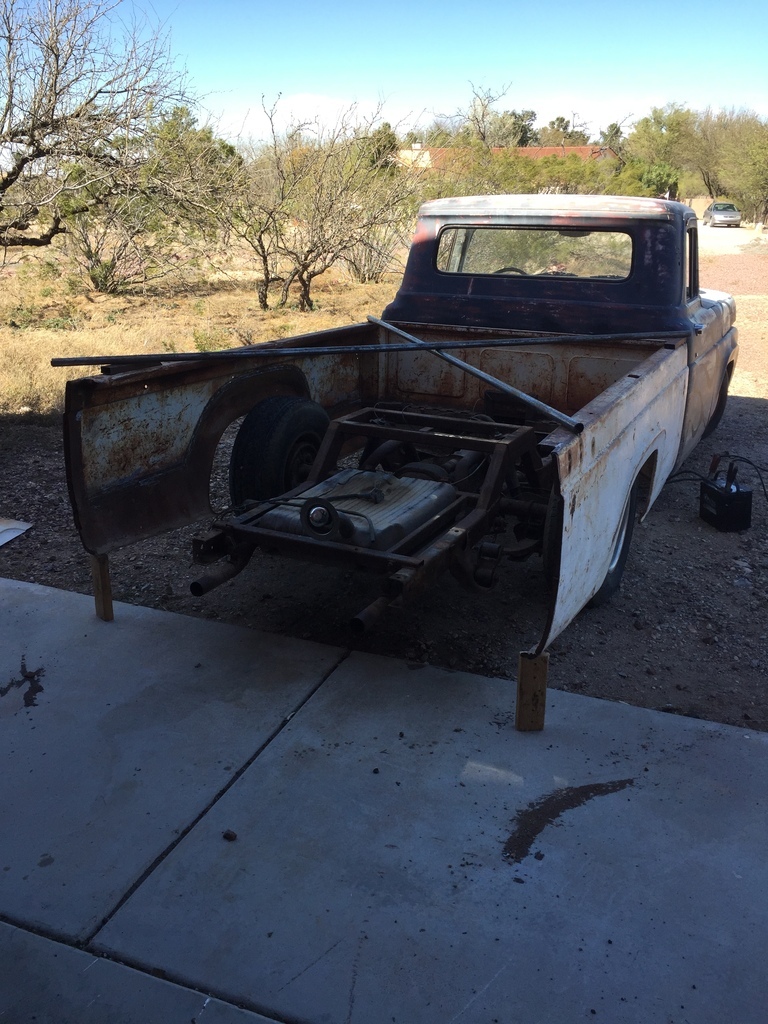 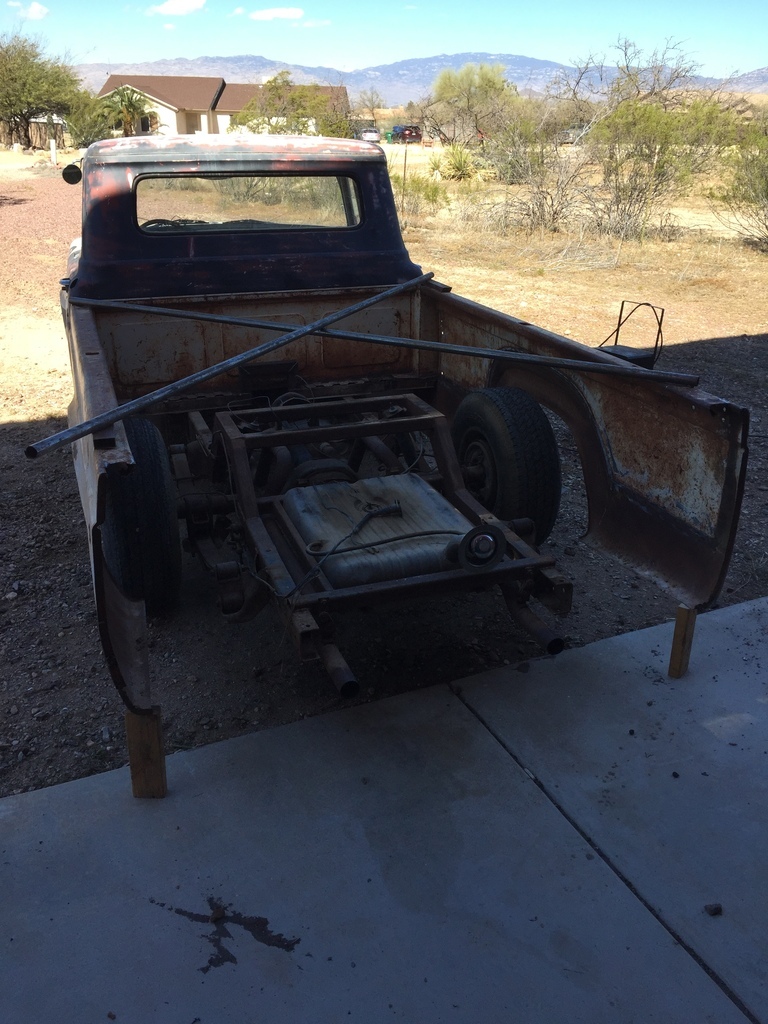 And I slid the floor back in. Some 8.5" higher than before. 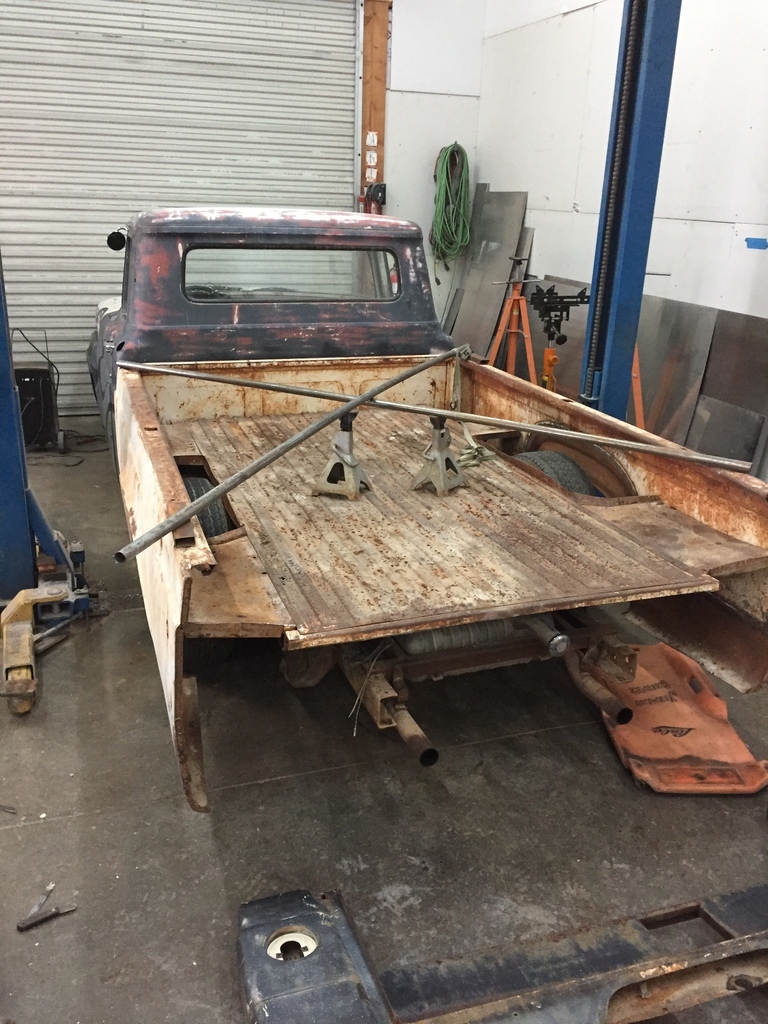 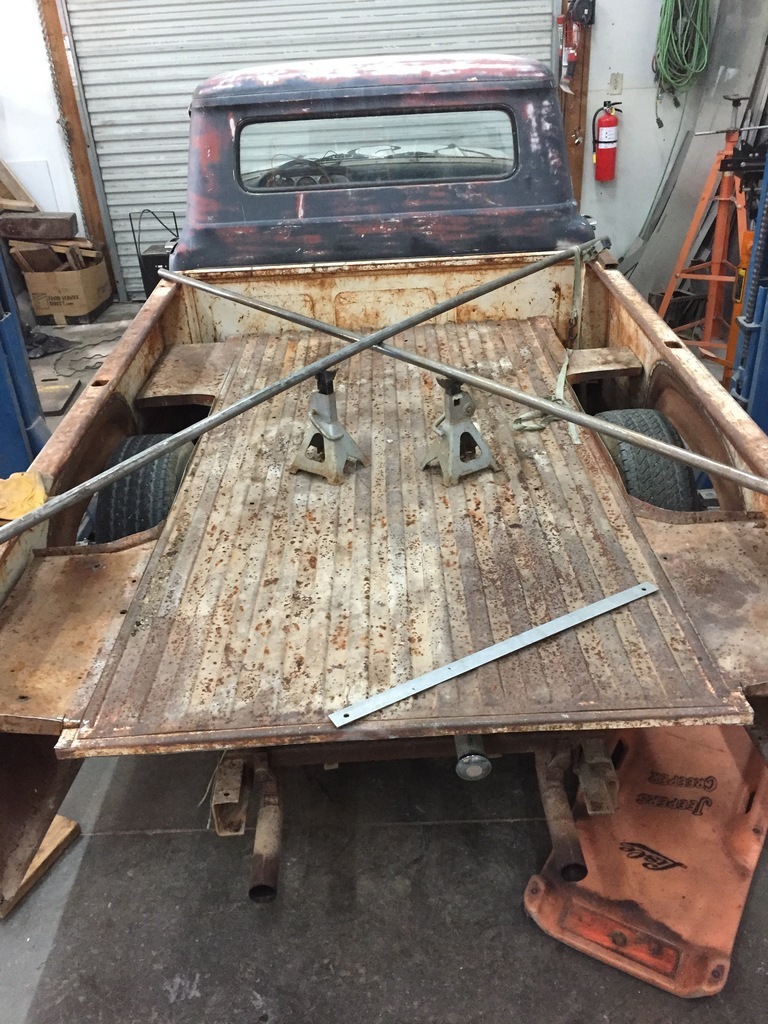 |
| |
|
|
|
|
|
|
|
|
Looks like progress.
Progress is good.
Also looks very dry out there, and a ton of space.
Raining here, but hopefully I will get some stuff done later when it gets lights outside.
,
|
| |
|
|
|
|
|
|
|
Thanks grizz. Today's progress. Cleaning up the back panel off the old bed. 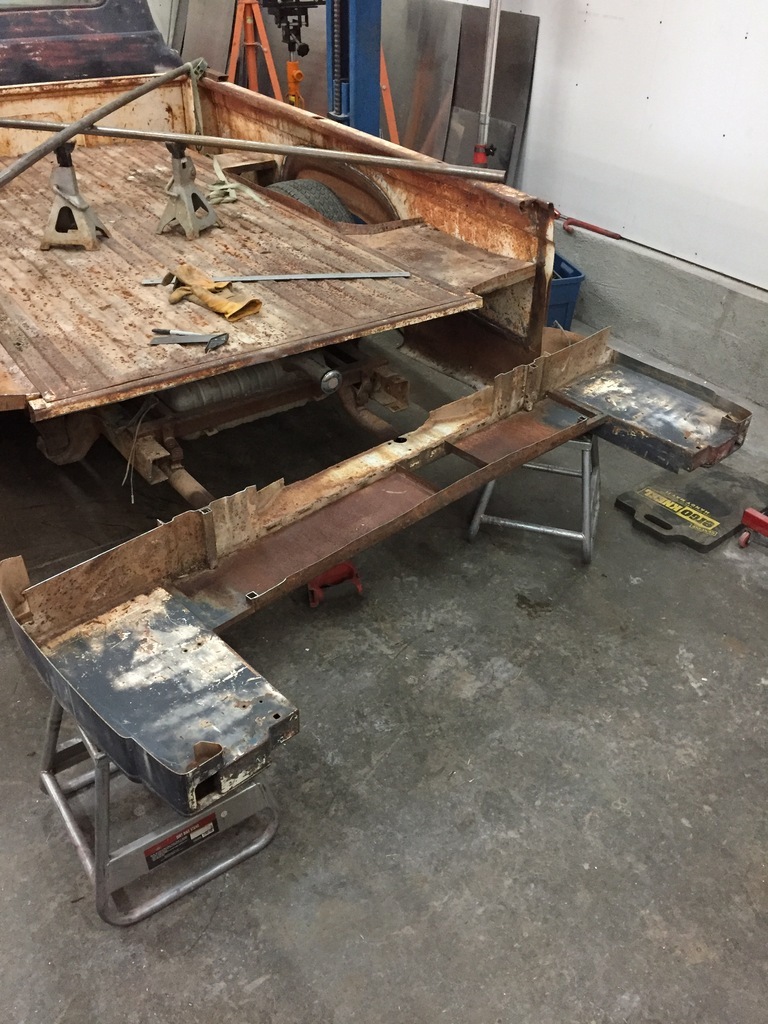 And the first test fit to the new bed. 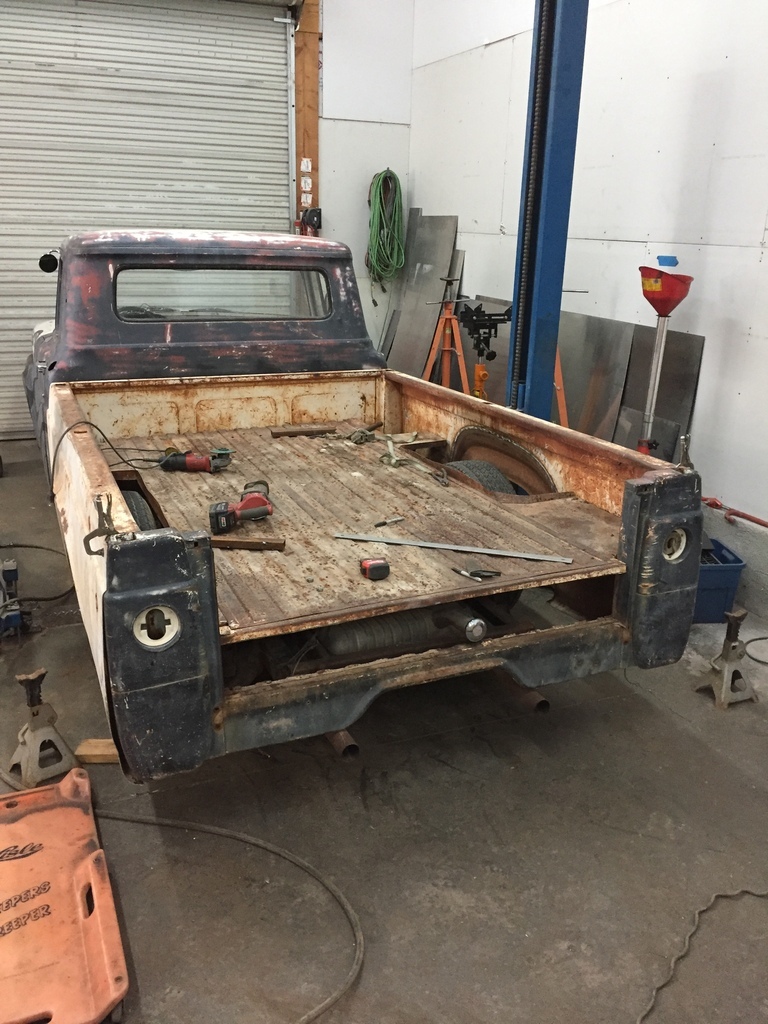 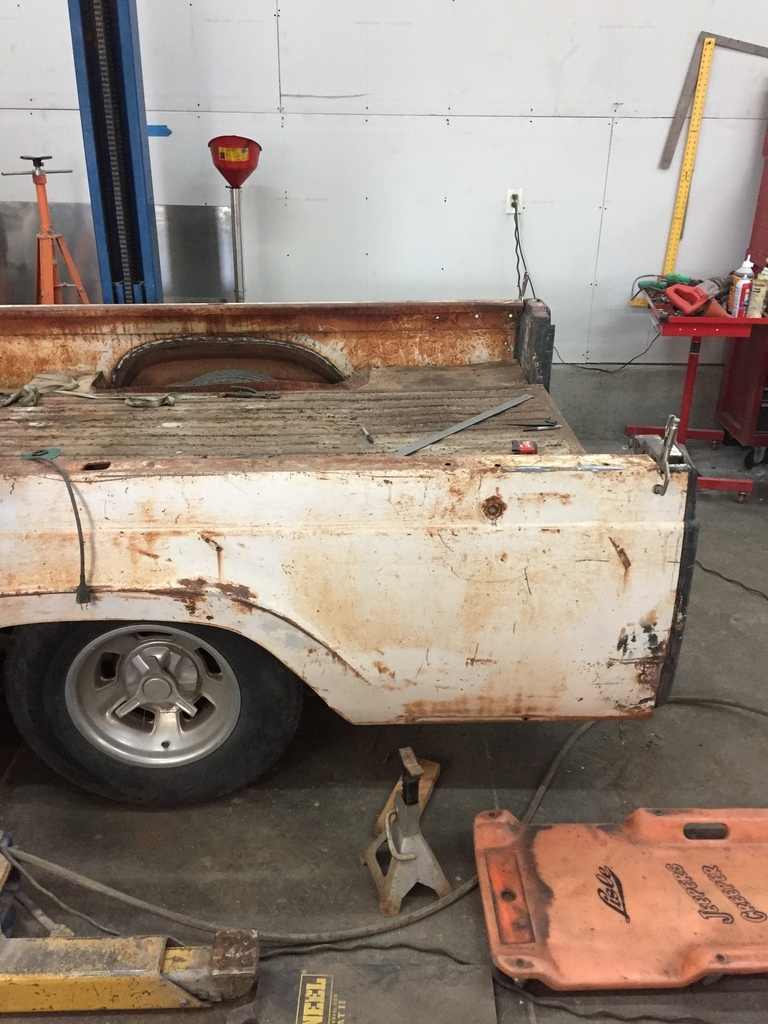 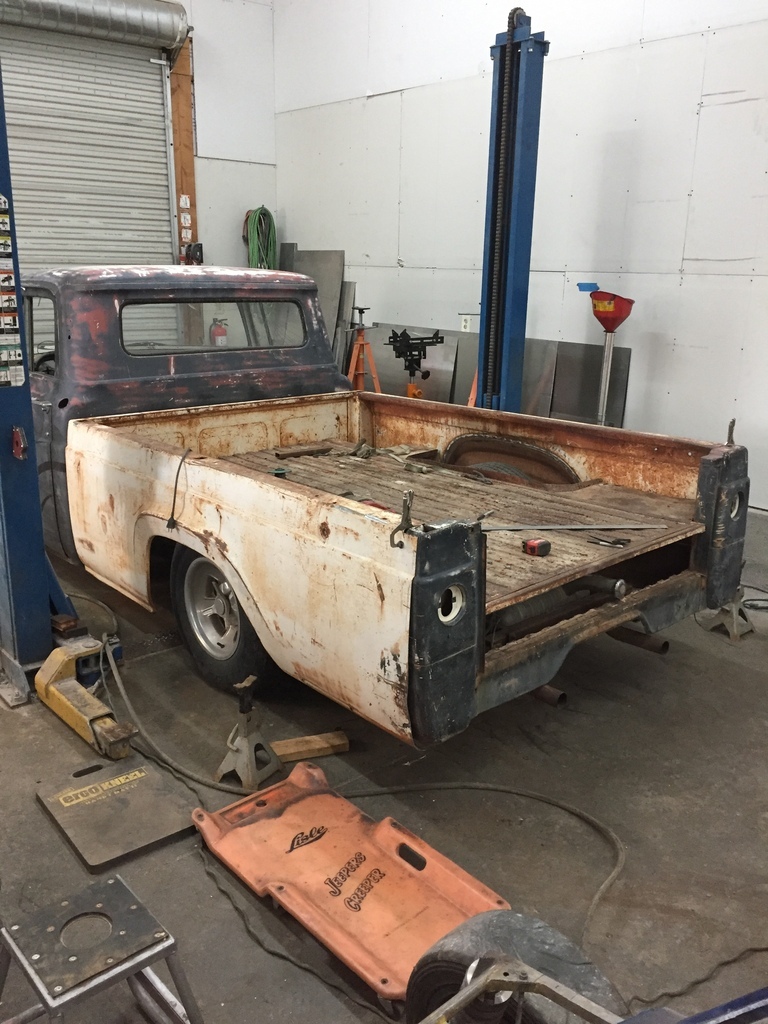 I still have a lot of trimming and fitting to do, but its starting to take shape...  |
| |
|
|
|
|
|
|
|
|
That bed depth looks about right for a kiddies paddle pool.
But rock hard for a slammed truck.
Just headed out to the garage, I cooked the chicken for tonight already, so less chance of just a cheese sandwich (which I love) for dinner.
|
| |
|
|
|
|
|
|
|
|
|
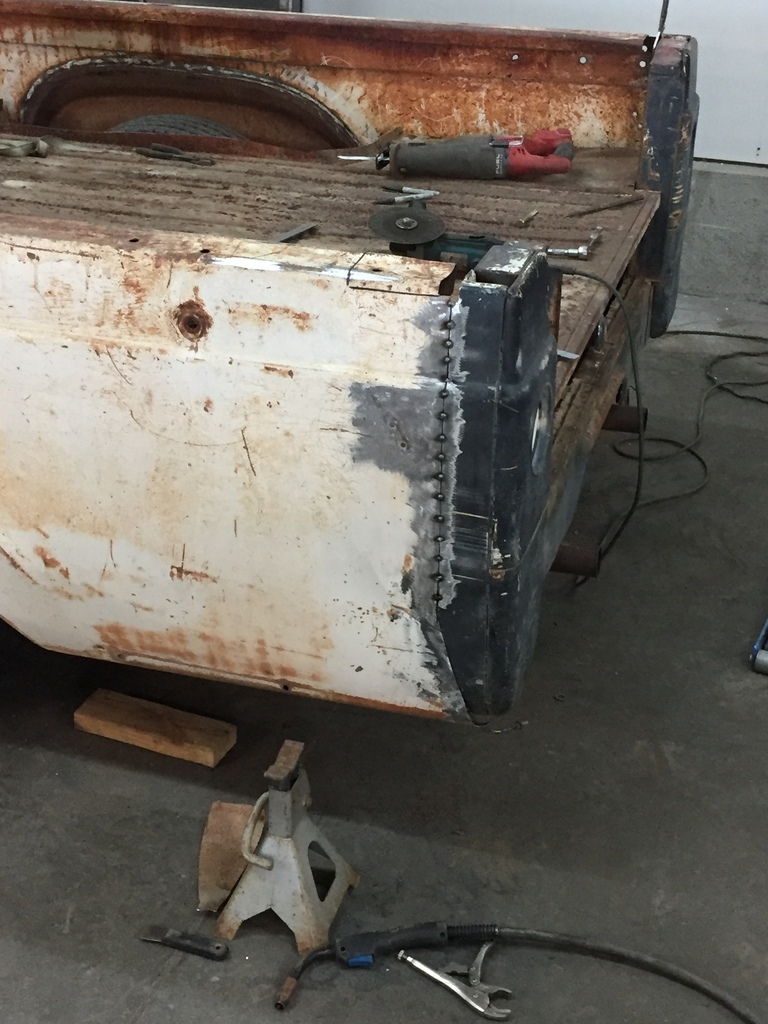
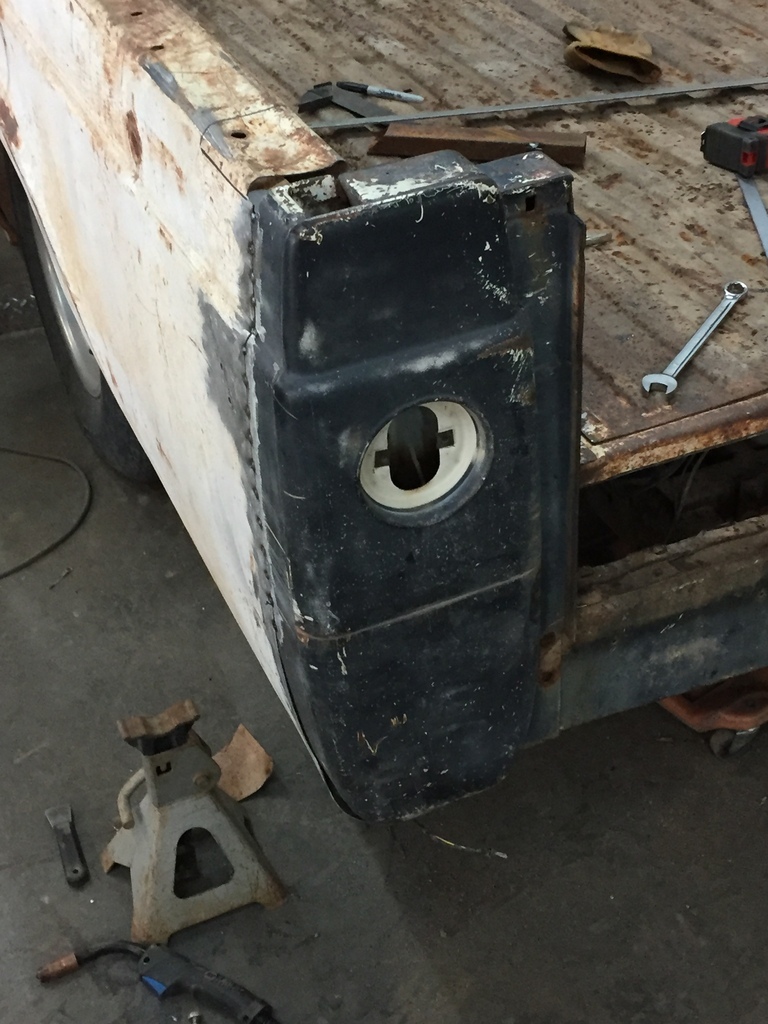
Still working on it. Progress seems slow, but it is a lot of work. The bedsides and the bed ( floor ) of the white P/U bed were the best ( floor was a bit beat up, but not bad at all for 60+ years old, specially for a truck...), but the rear had some rust damage, and the tops of the sides were bent and dented. Also, there were extra holes for big lag bolts through the sides, and hooks for a tonneau cover. All of that needed to be repaired, and I filled the stake pockets. I used the best parts of 3 P/U beds to do it. Its not show quality perfect, but it doesn't need to be. I just want it pretty straight, with a decent paintjob. For a truck that I can still use as a truck and tow vehicle. 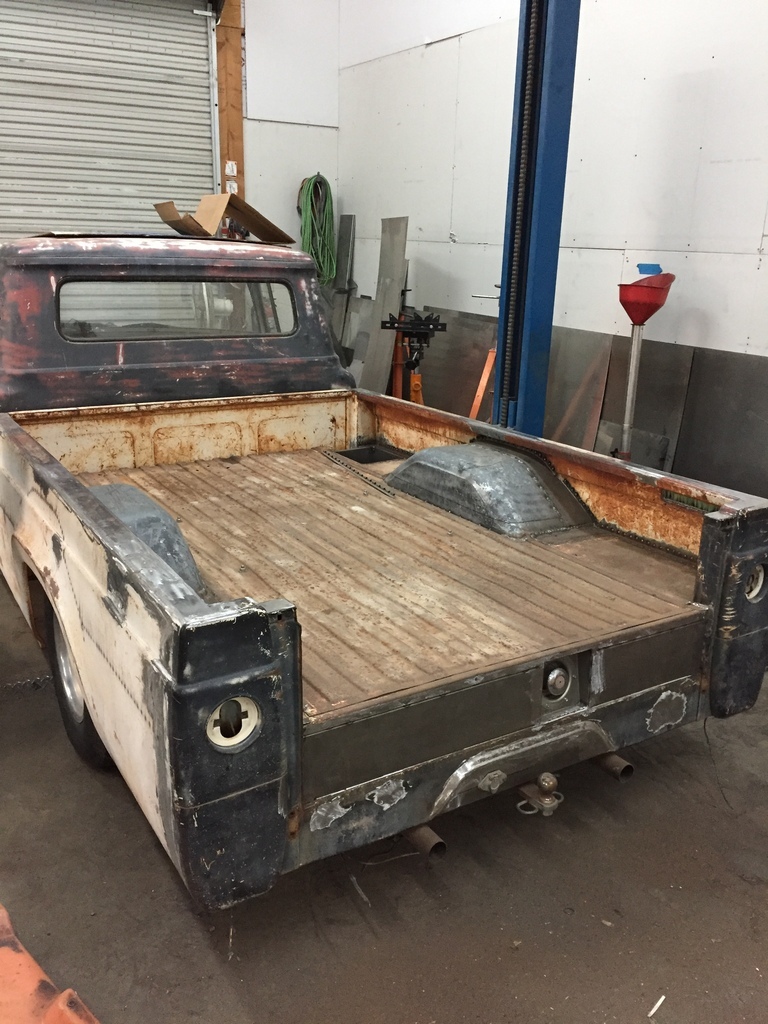 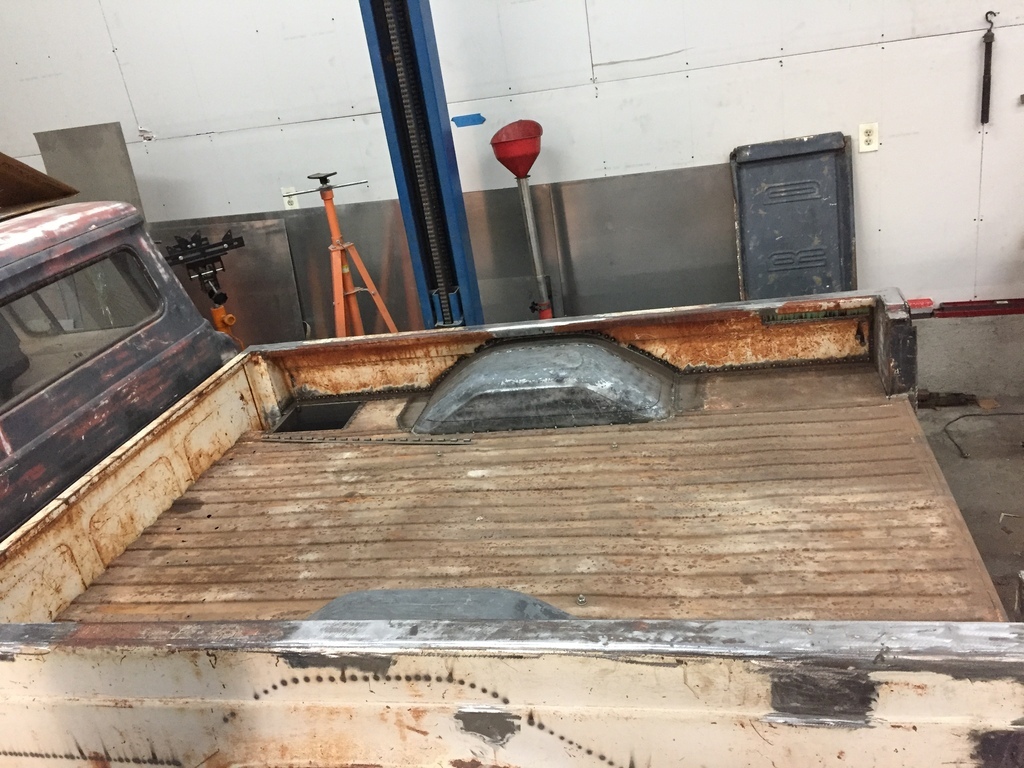 Usually, I try to not get too far ahead with the welding and switch it up with the grinding. That was not practical this time, for all of it. So I'm almost done with the welding, but then I have a lot of grinding to do... |
| |
|
|
|
|
|
|
|
May 26, 2022 10:32:46 GMT
|
|
Still working on it.
In between other stuff...
Like the improvements to my garage.
More than half of the lights were burned out, so it was getting too dark to work.
The ceiling is at 16Ft, so I wasnt going to do that on a ladder.
I found a cheap scaffolding, which meant I could now do the lights.
But, since I now had the scaffolding, I thought I might as well insulate and drywall the ceiling first.
A buddy helped me with some of it, which made it go really quick.
I did the walls too.
Then the lights.
Then, since I was working on the garage anyway, I figured it would be good to extend the mezzanine with some shelving.
To put all the fiberglass panels in, and get some of my floorspace back.
So that is now all done ( except for some taping, mudding & painting of the drywall)
All that made a big difference, and the garage is a much nicer place to be in.
|
| |
|
|
|
|
|
May 26, 2022 10:42:13 GMT
|
The body is pretty much done. I have to go back and re-do 1 cab corner. But other than that, its pretty much ready for the painter to take over. All the extra holes for badges, trim, emblems, mirrors ( it looks like it has had about 4 sets ), etc, are filled. 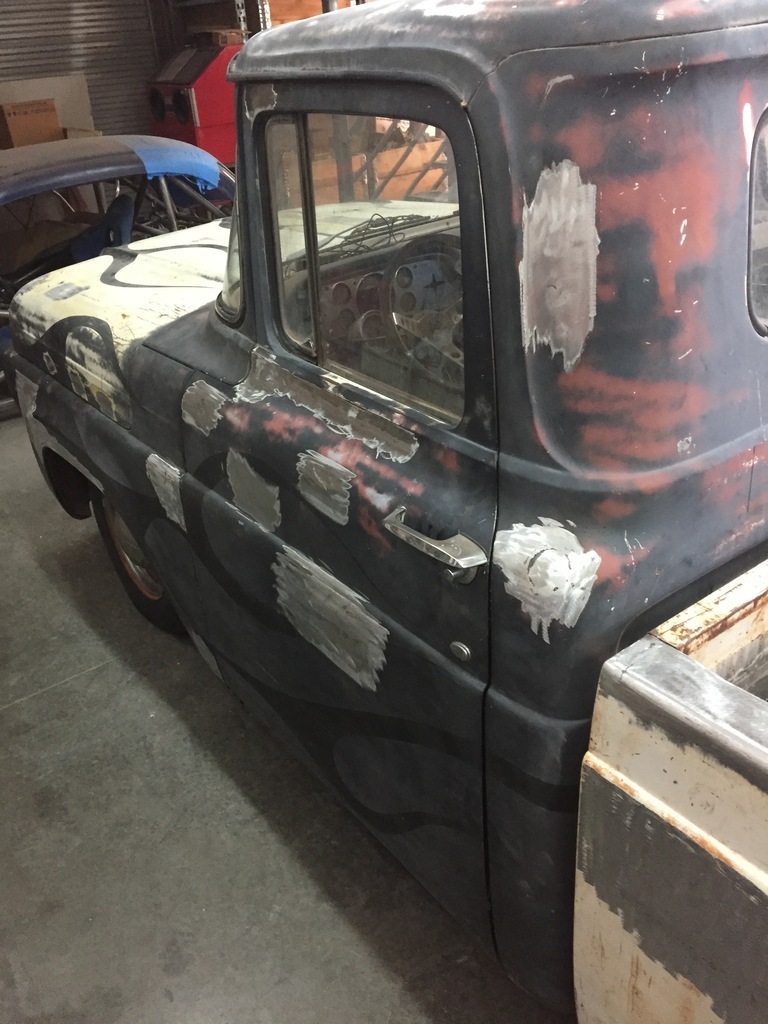 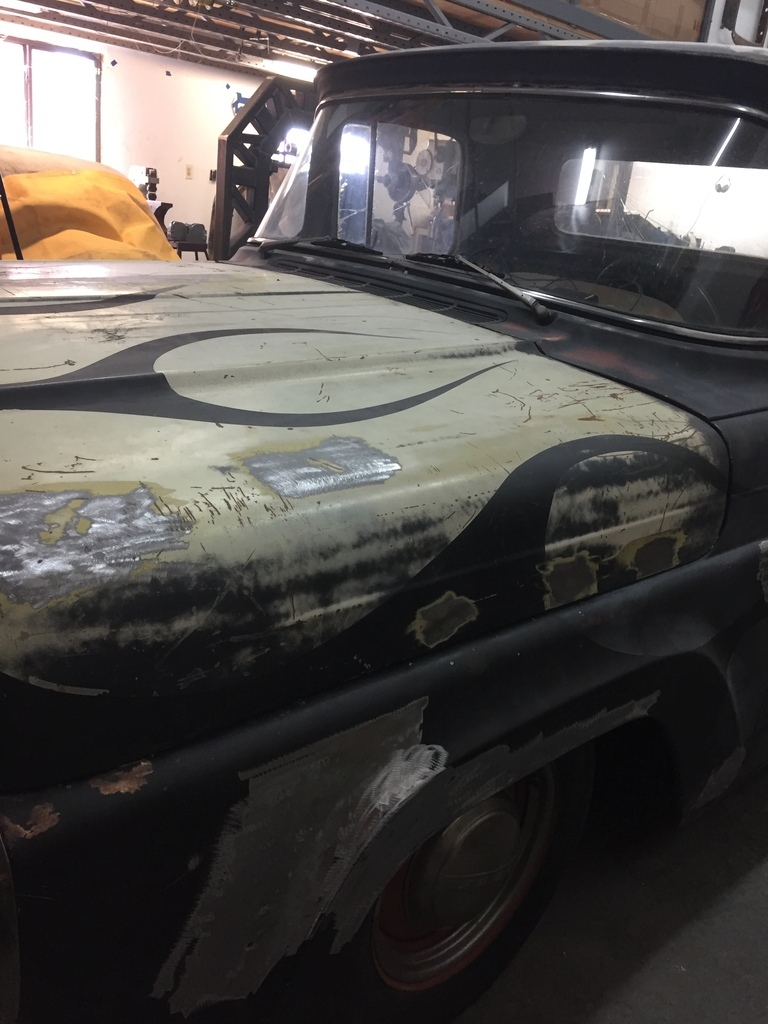 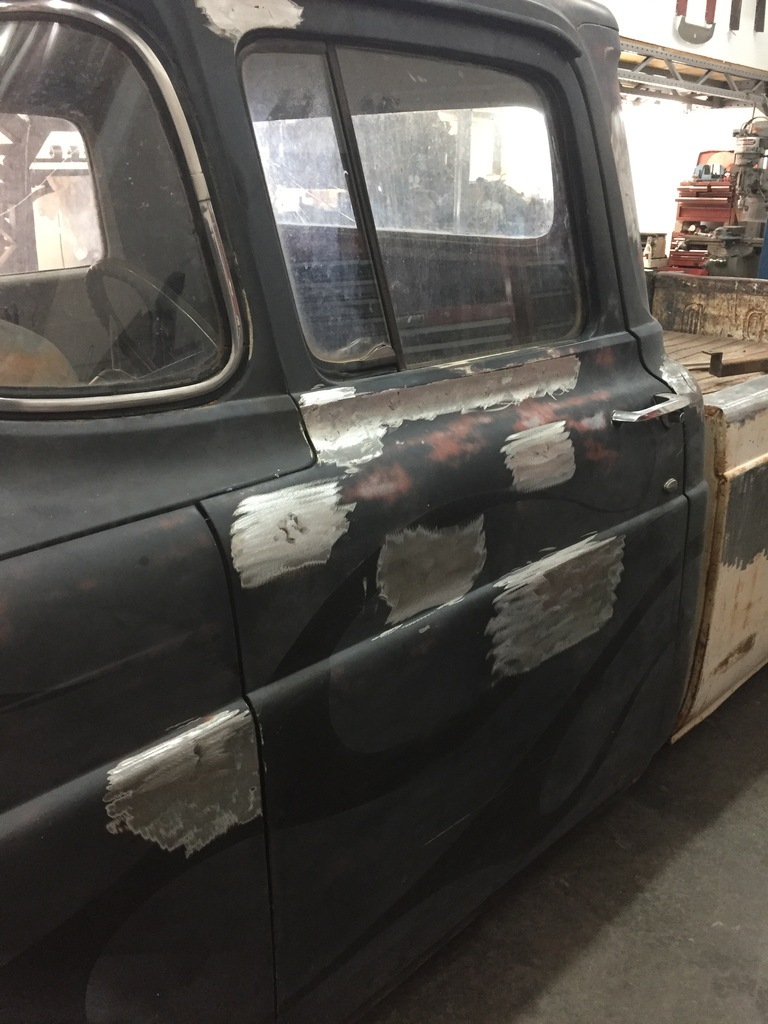 And I made a rolled pan ( apron?) for the front ( out of a Mk1 Capri decklid that was too beat up to use on a Capri...  ) 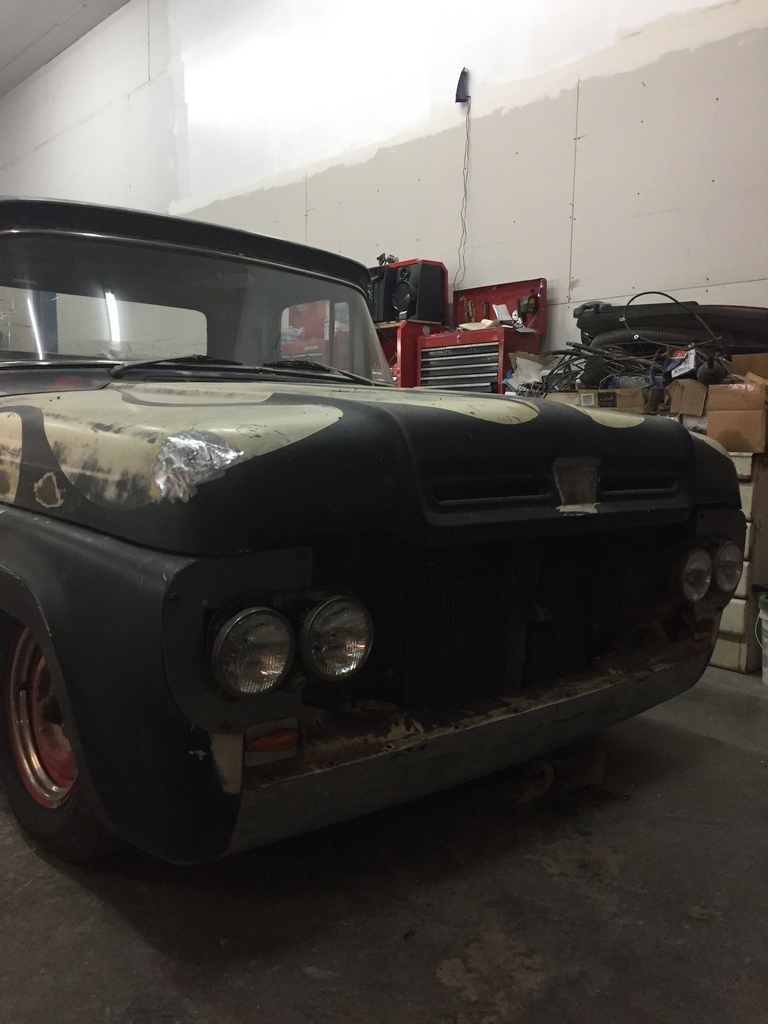 |
| |
|
|
|
|
|
May 26, 2022 10:58:56 GMT
|
I detest having to put 3rd brakelights on classic cars. I think they look wrong and out of place. But drivers have gotten so bad, I think its probably best to put one on anyway. So I try to make it look like it belongs, and isn't an afterthought. I bought some 1950 Pontiac taillights ( a popular Hot Rod item, so they are available reproduction ) I got the version with LED lights in them because they are brighter, and because they are shallower ( the light socket doesnt stick out on the back ) Eventhough the version with the bulb looks more authentic... The Pontiac lights are about the same 4" outside dia as the original Ford truck taillights. But because they have a chrome bezel, and because of the shape of the lens, they have a much more finished look to them. But, because of the shape of the cove for the original taillights, they didnt fit very well... After some time on the lathe to modify the bezels, they fit nicely...  Hard chromed pot metal is tricky to machine... 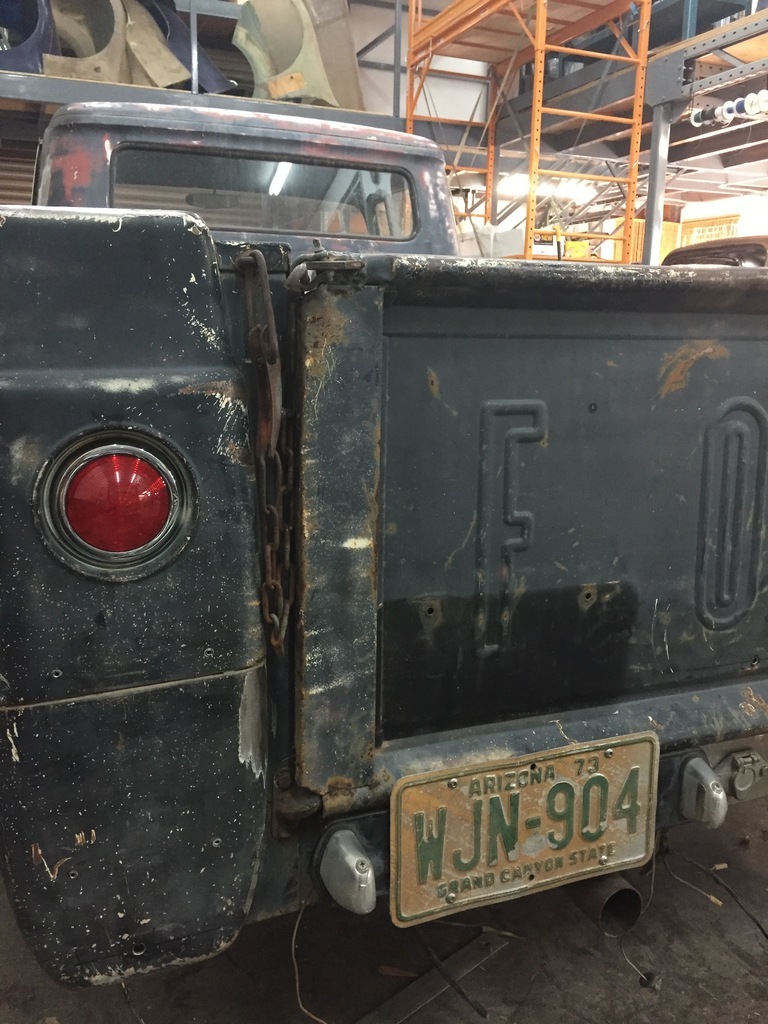 In this pic you can also see the new location for the license plate. I had it too low at some point, which resulted in a $142 ticket. The bracket and lights are more Mk1 Capri parts, which I had laying around... All nice and legal, now. 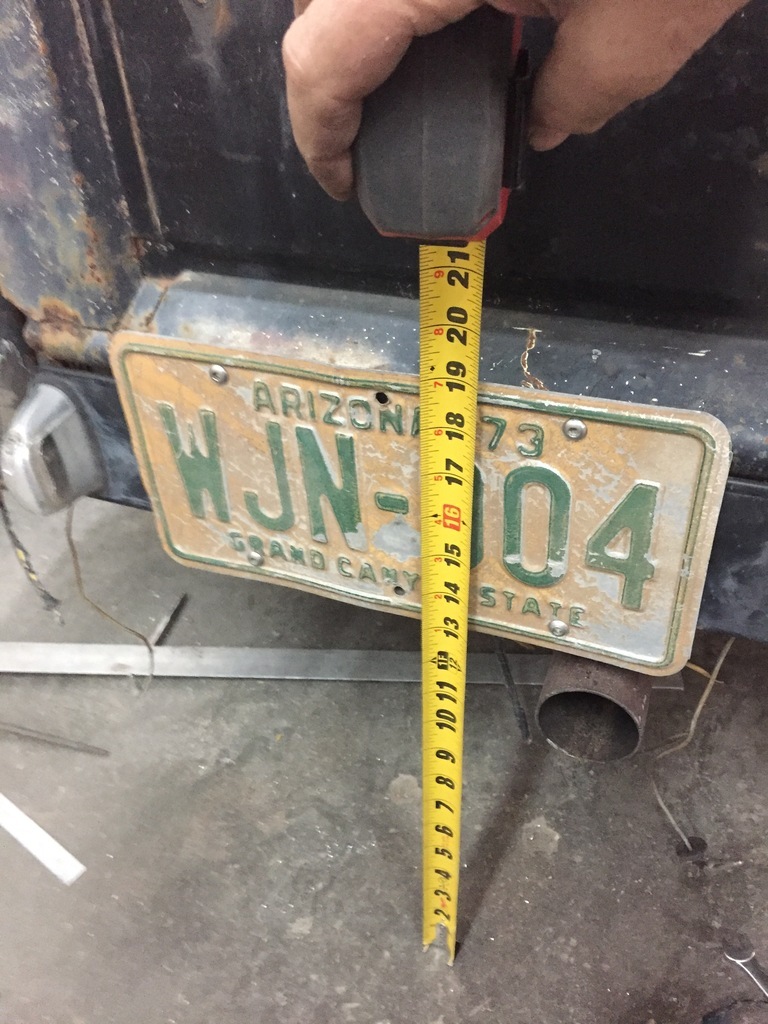 |
| |
|
|
|
|
|
May 26, 2022 11:08:27 GMT
|
So... The 3rd brakelight... I thought of some different options. Like for example a vintage rear fog light, wired as a brakelight. But the ones I liked were expensive ( old Bosch and Hella ), and they would still look like an afterthought. But I had some extra parts left over from the different pick up beds I cut up to make my 1 good one. Which included the parts that house the taillights. So that is what I did... 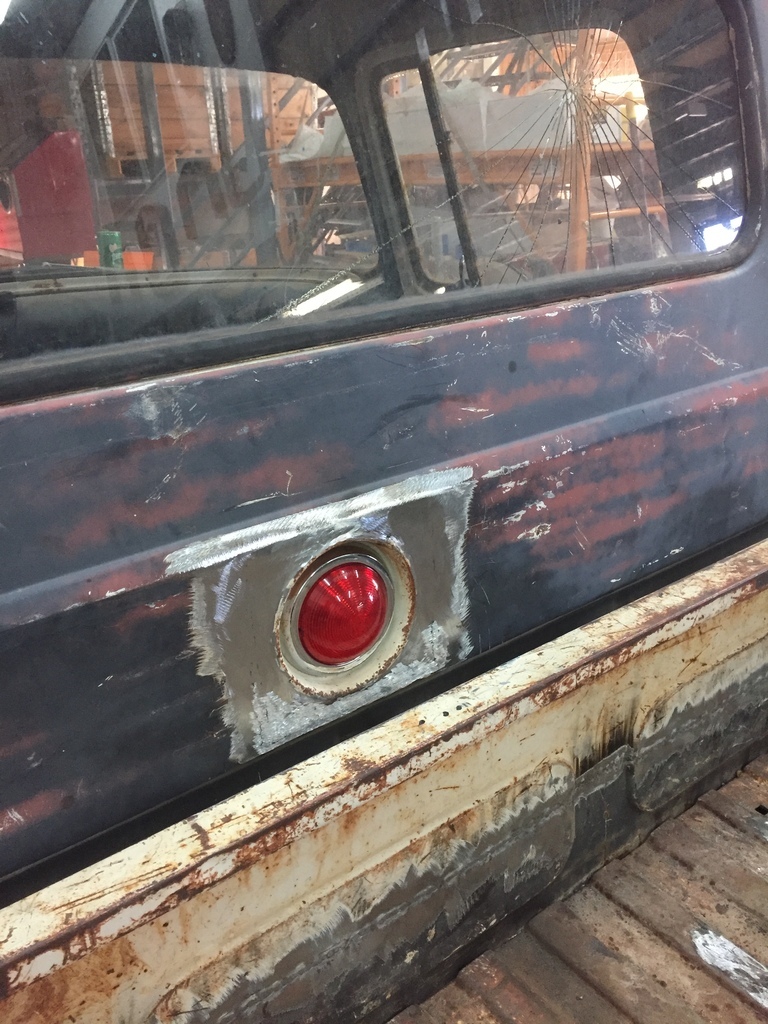 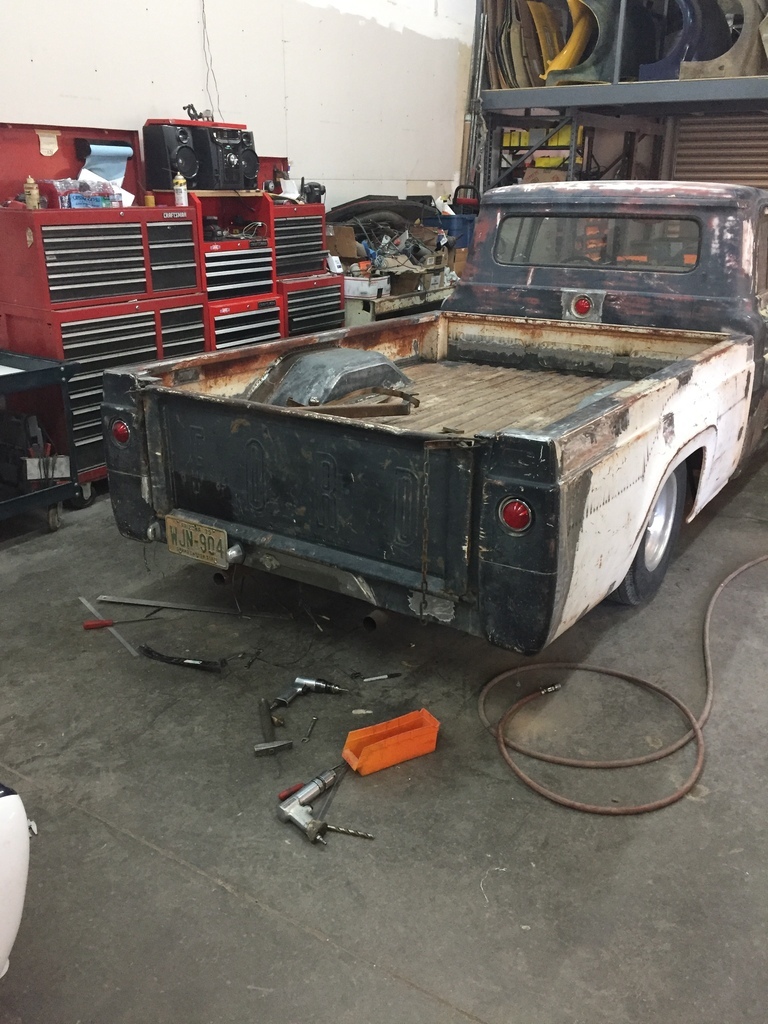 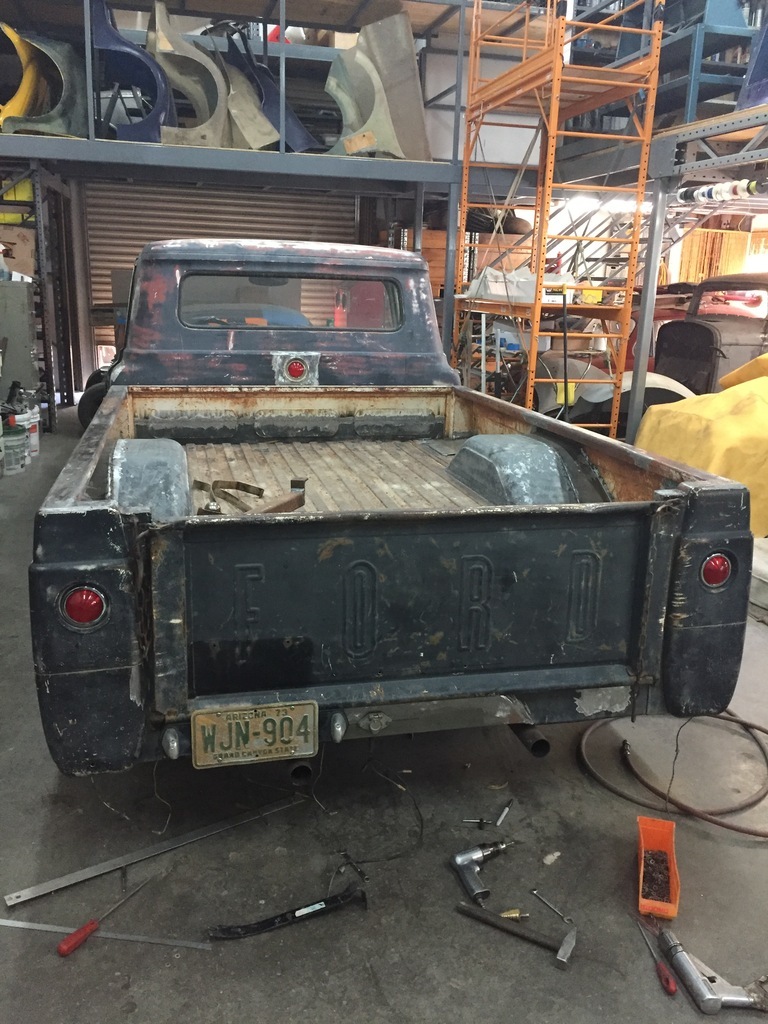 And it doesnt stick out too far, so it wont interfere with my elbow room inside the cab. 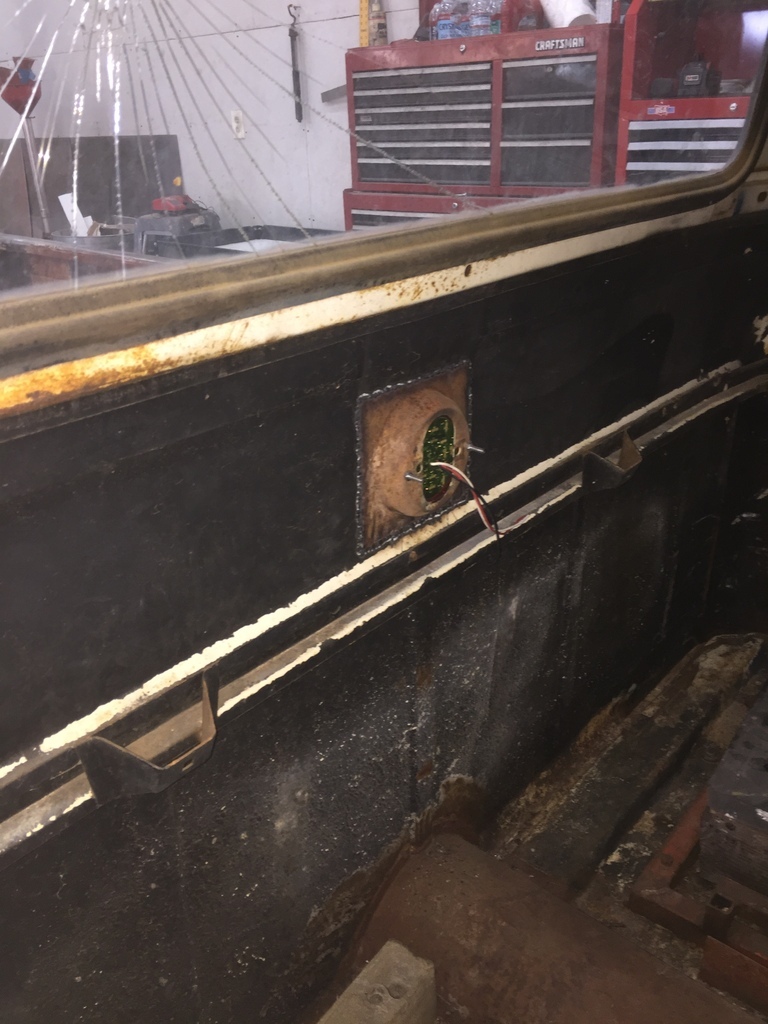 |
| |
|
|
|
|
|
May 26, 2022 11:13:24 GMT
|
|
Looking mega, where are you planning on fitting the 3rd brake light? Does that need to be in the rear window or up high?
|
| |
|
|
|
|
|
May 26, 2022 11:17:55 GMT
|
|
Excellent addition. I have leaned toward the clear LED options, thinking that they disappear unless lit, but that works really well.
|
| |
|
|
|
|
|
May 26, 2022 11:31:59 GMT
|
Thanks guys  Ralph Ralph.Wrecked.It , I will wire the Pontiac light on the back of the cab to work as a brake light only. Usually, on modern trucks, the 3rd brakelight is mounted much higher ( above the rear window). I think that is probably so it doesnt get blocked when there are taller loads in the truck. But I put it below the rear window. Because that was the only area of sheetmetal that could fit that shape and size of light. And putting the light in the line of sight of distracted/texting drivers barreling down on me was probably the best option... @the Rascal King, I did the red light to match the taillights to try and hide it in plain sight. ( it doesnt try to blend in or disappear, it just copies what is already there...) Kind of like they could have built them that way, if they'd put 3rd brakelights on trucks in 1960... |
| |
|
|
|
|
|
May 26, 2022 11:46:18 GMT
|
That was what I was thinking on the 3rd brakelight on the '58 Fiat 500 as well. ( hopefully it kind of works...  ) 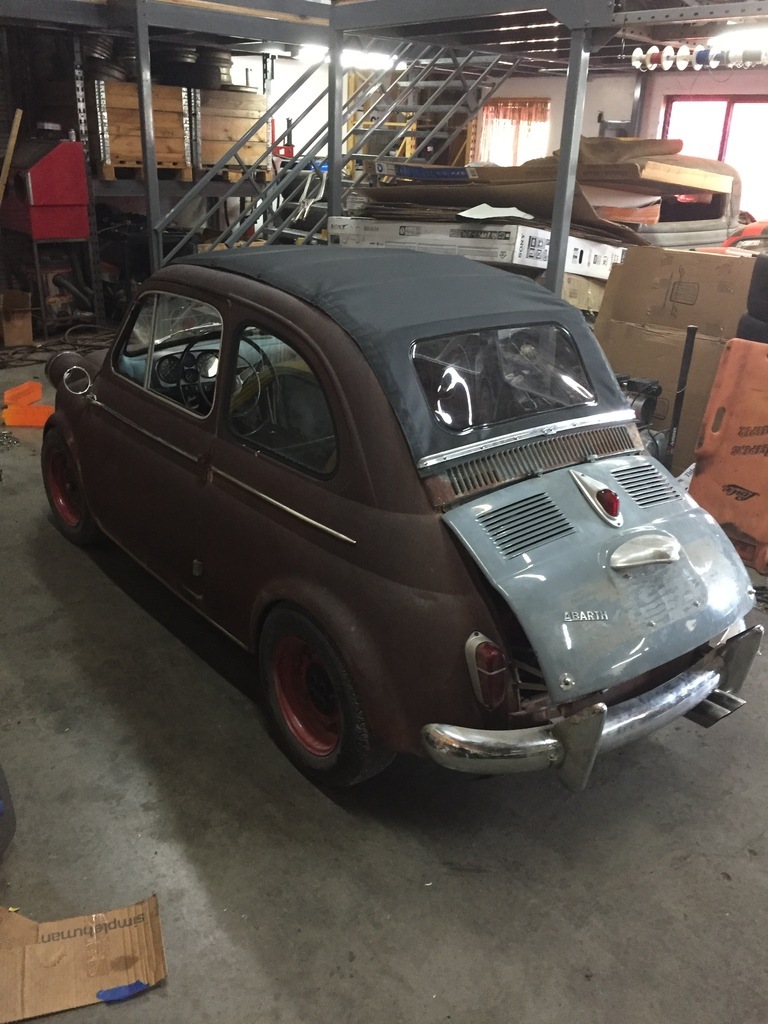 |
| |
|
|
|
|
|
May 26, 2022 12:38:05 GMT
|
|
That'll teach me for not waiting for the next post, I hadn't seen your next update! haha looks cool there, I like it. Hopefully it does the job as intended!
|
| |
|
|
|
|
|
May 26, 2022 12:43:00 GMT
|
|
Looks 'factory' so that's a win from me.
|
| |
|
|
|
|


