pptom
Part of things
 
Posts: 475 
|
|
Nov 14, 2021 15:55:36 GMT
|
That's got more filler than one of those US Custom shop rebuilds you see on TV. It will be an interesting resto, haven't seen one on the road in an age, thought they'd all dissolved away. Thing is, I can't complain about the previous repairs, yes, it's not how many would do them, but it's kept this thing on the road. My Midget had way more filler (15mm on one of the sills), so I'm counting this as a win! 👍 On the one hand, the nice flat panels will be easy to make repair sections for, on the other, it will warp like mad when welding... |
| |
|
|
|
|
vulgalour
Club Retro Rides Member
Posts: 7,285
Club RR Member Number: 146
|
Daihatsu Taft F50 vulgalour
@vulgalour
Club Retro Rides Member 146
|
Nov 14, 2021 16:02:36 GMT
|
|
Unless the bodywork is like a mountain range underneath, the amount of filler in this doesn't make much sense. That said, it's far less crusty looking so far than the filler would suggest it should be. Looking forward to seeing your progress on this one, it's got bags of potential.
|
| |
|
|
pptom
Part of things
 
Posts: 475 
|
|
Nov 15, 2021 16:03:13 GMT
|
I'm so staggered, I've had to post this straight away.. Removed the windscreen, not too much bother just cutting out the old sealant, had a bit of an investigate on the frame where someone had added a sort of backing frame to glue the glass to. This was fairly ropey and just tack welded on + smoothed over with filler, moisture had got in in places and I was thinking of ways to save it when I decided to have an exploratory hammer and chisel session. My god, the original window frame is hidden under about 1/2" of filler and looks to be in good condition. I can't quite believe it. The glass appears to be the correct size and a typical land rover seal would do the job, but for some reason someone has decided to go to a massive amount of effort so they could glue the glass in? 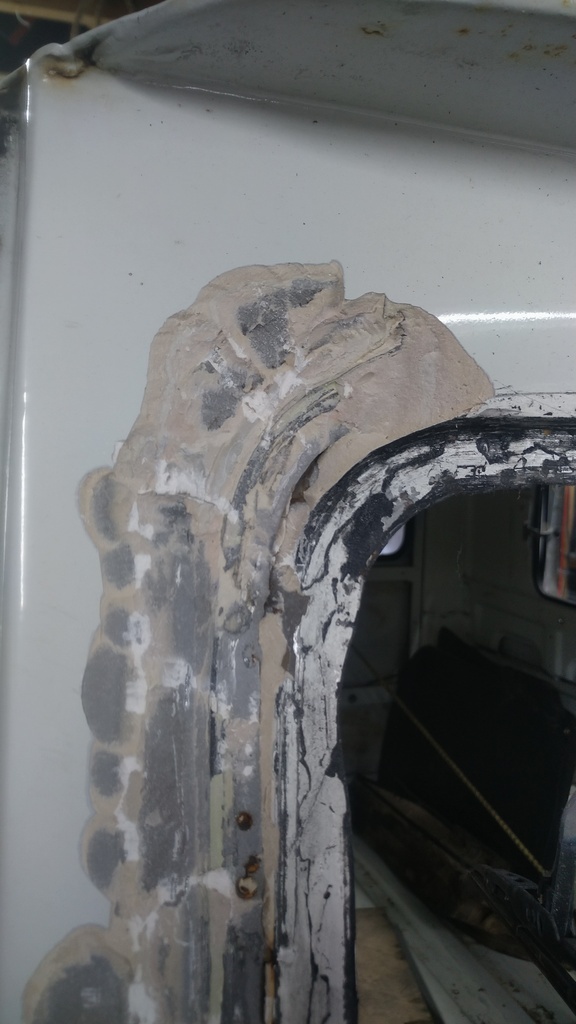 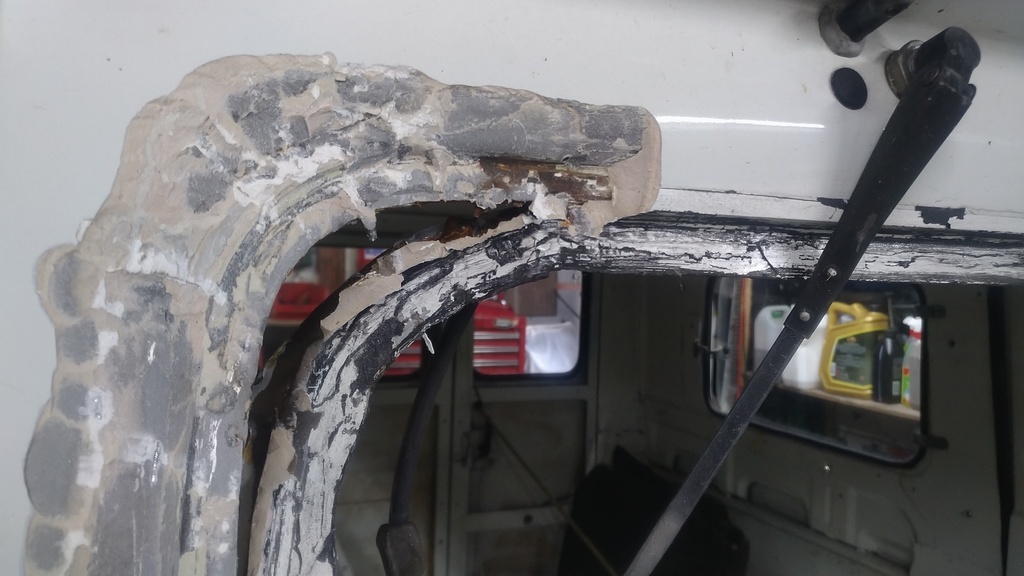 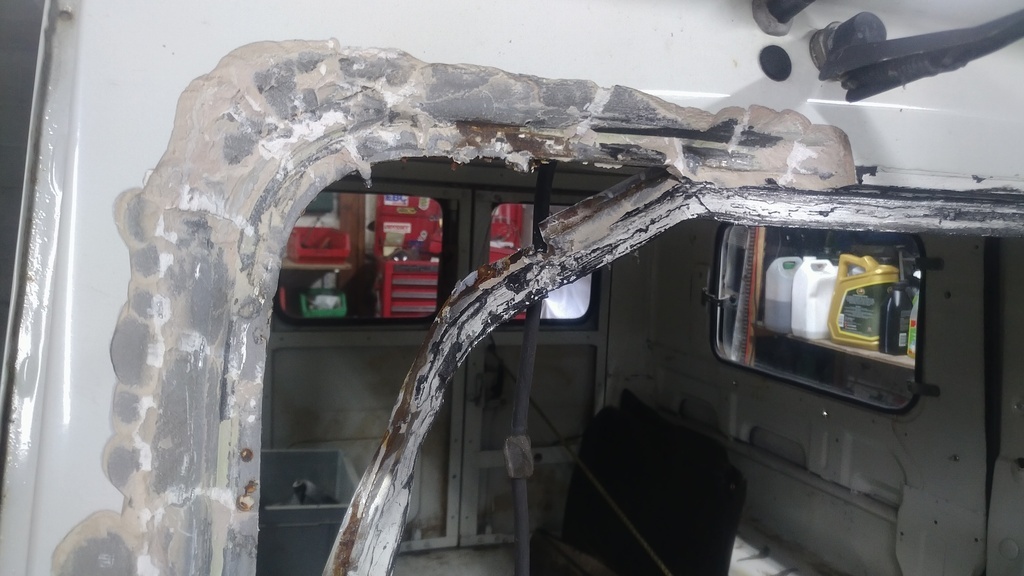 Even if the glass is wrong and they have done all this to fit something from another vehicle, it's just a flat piece of laminated glass, so I can easily get something else cut to match. I was a bit worried about the frame, but now I'm pretty happy 👍 |
| |
|
|
vulgalour
Club Retro Rides Member
Posts: 7,285
Club RR Member Number: 146
|
Daihatsu Taft F50 vulgalour
@vulgalour
Club Retro Rides Member 146
|
Nov 15, 2021 17:36:07 GMT
|
|
How bizarre. Maybe they wanted a flush fit look? That's weird. Hopefully the rest of the frame is as good.
|
| |
|
|
pptom
Part of things
 
Posts: 475 
|
|
Nov 15, 2021 17:41:44 GMT
|
The rubber sealant was a poor job. The filler on the other hand was awesome, much better than anything I could do, we're talking perfectly straight edges and a perfect profile all around, shame as it's all in my bin. It's quite satisfying chiseling off filler in chunks, we'll, until you've been doing it for an hour. 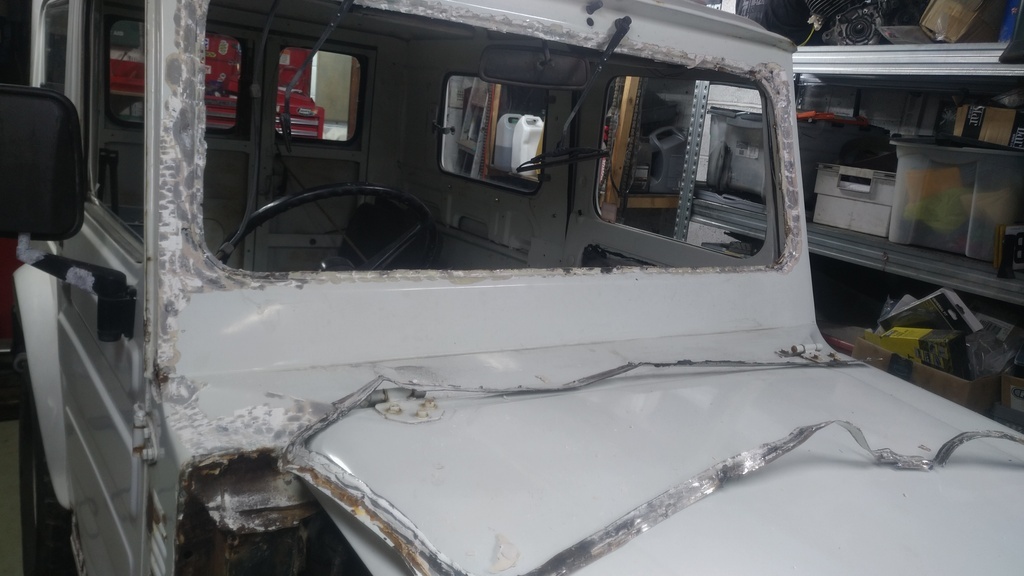 Only thing I'm not looking forward to is getting this all down to bare metal, it's going to be dusty! |
| |
|
|
|
|
|
|
|
|
I like these but the only one I've ever seen was at Chesterfield motor auctions and it was pox rotten in the early 90s, never seen another one in the flesh!
Good luck with the rebuild, if I remember correctly you used to be able to buy a complete fibre glass body to replace the original.
|
| |
|
|
vanpeebles
Part of things
  I am eastbound in pursuit of a white Lamborghini, this is not a recording.
Posts: 980
|
|
|
|
I wonder how much weight is in all the filler? Looks well thick in places round the window!  |
| |
|
|
|
|
|
Nov 17, 2021 23:44:20 GMT
|
|
Be interesting to weigh it and find out.
|
| |
|
|
pptom
Part of things
 
Posts: 475 
|
|
Nov 18, 2021 17:06:17 GMT
|
Be interesting to weigh it and find out. I agree, but that's definitely not going to happen! |
| |
|
|
pptom
Part of things
 
Posts: 475 
|
|
Nov 18, 2021 17:15:14 GMT
|
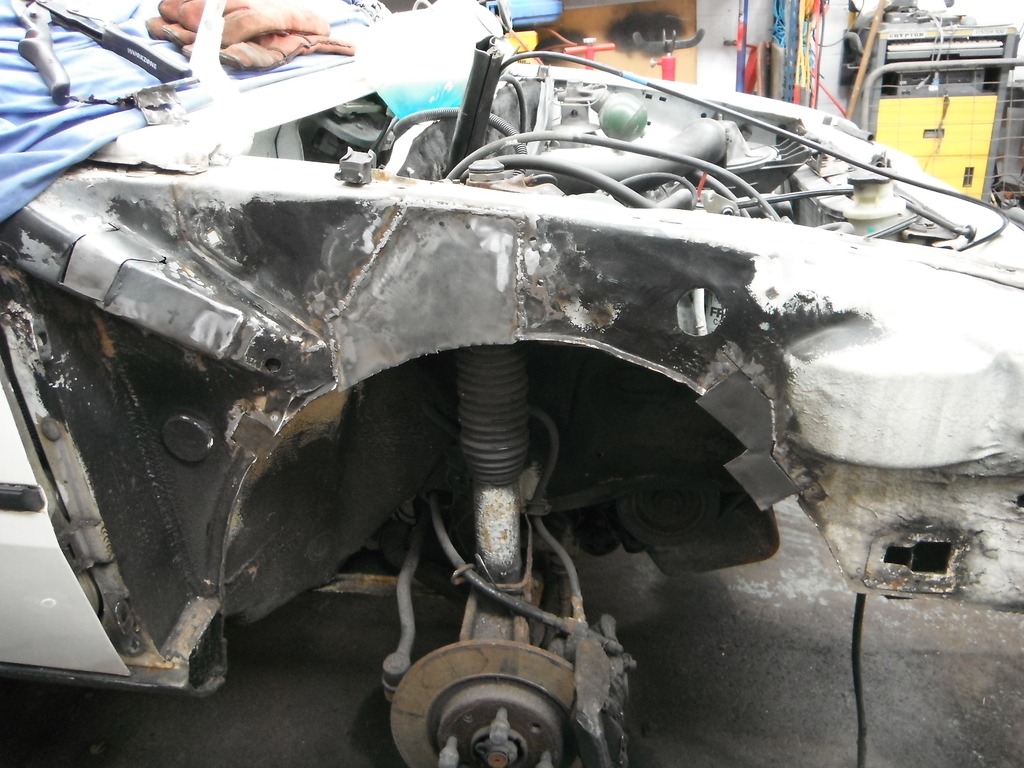
Bit more work on the screen frame, it's down to bare metal now, no rust. What is obvious is that all 4 corners have been replaced, these alone required a fair bit of filler. I'd like to be able to make new ones as it's a skill that I definitely don't have at the moment, shall have a good look through the panels thread, but if anyone has any ideas, please feel free to chime in. Was thinking something like a wooden form to hammer / shape them over? The actual seam that the seal slots onto is good and original I think. 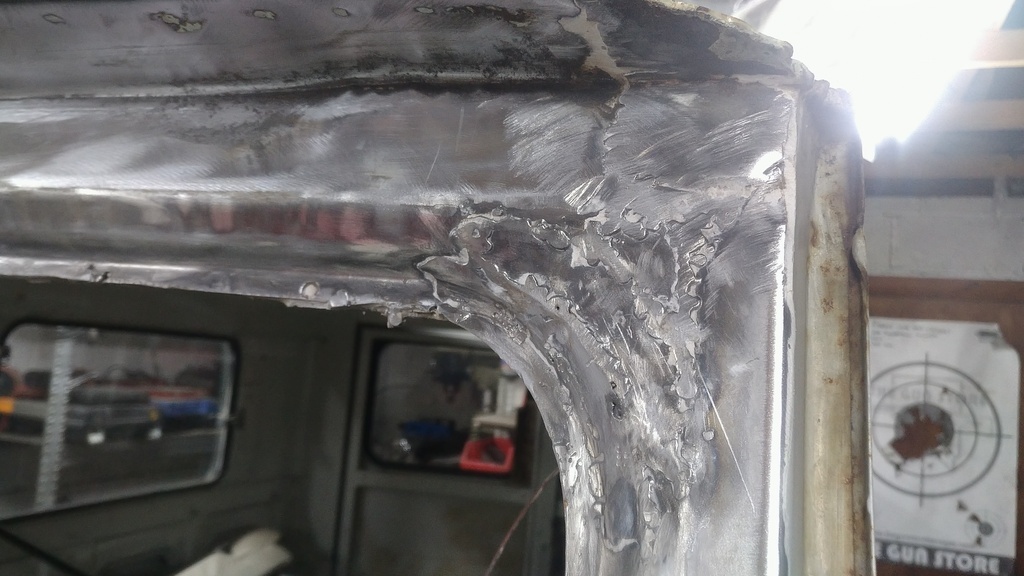 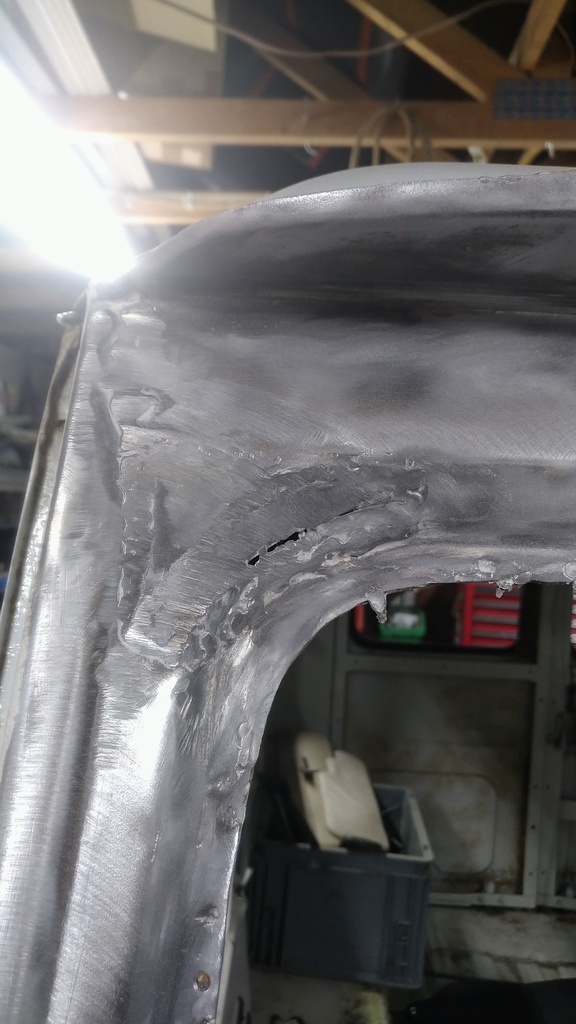 Also been digging various other areas of heavy filler out, only where it's cracked and there is a trace of rust seeping out. I'm not going to remove it all, just want to nip all of the rust in the bud and make it good for years to come, I'd quite like to keep this for a long time. |
| |
|
|
|
|
vulgalour
Club Retro Rides Member
Posts: 7,285
Club RR Member Number: 146
|
Daihatsu Taft F50 vulgalour
@vulgalour
Club Retro Rides Member 146
|
Nov 18, 2021 19:53:41 GMT
|
|
If you get yourself a shrinker-stretcher, you can make a better repair panel since you should be able to do it all in one piece that way. It'll just take practice if it's not something you've done, I really out to get one myself but I always find a suitable repair section in my scraps bin that I can modify to suit.
At least you've got a lot of metal to work with there and don't look to be battling rust. That and the simple profiles are a massive help in getting a nice smart repair.
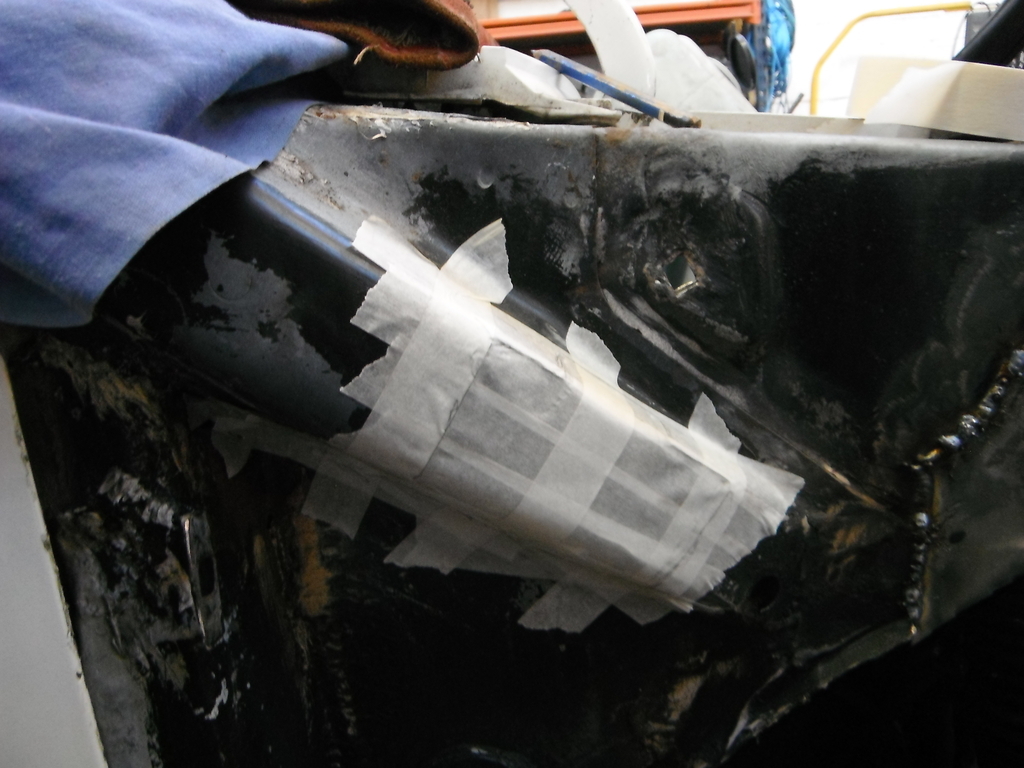
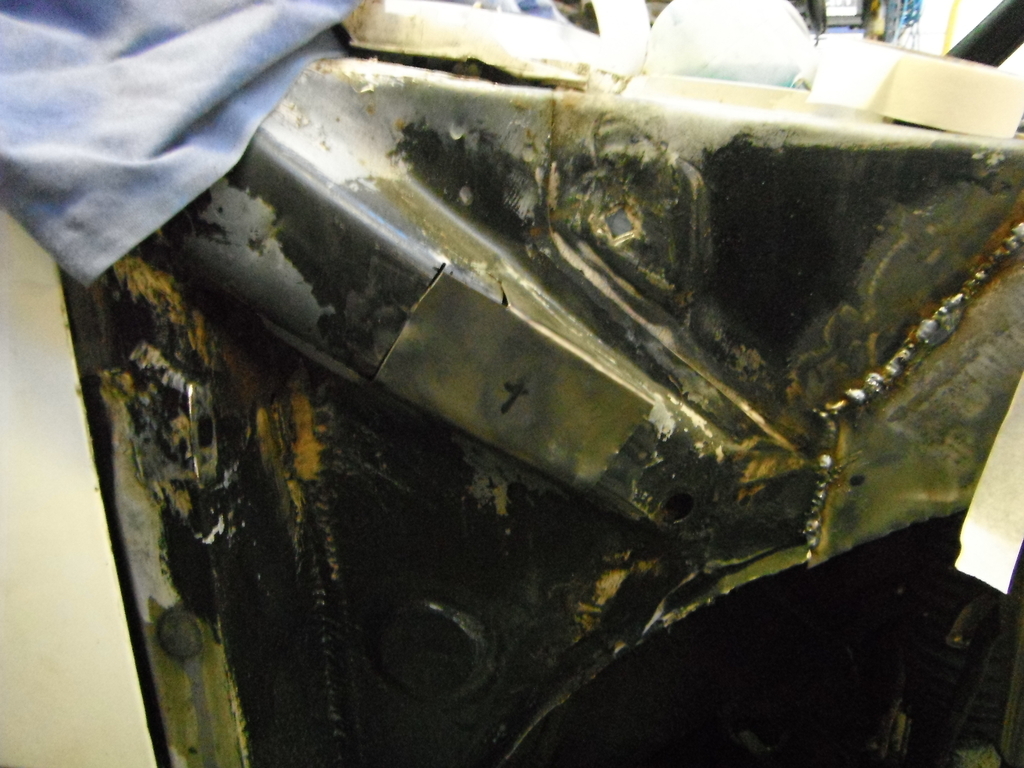
If you only have more basic tools - hammer, tin snips, welder - for making a pattern, masking tape is your friend. Lay some down over the area you want to repair, overlapping the edges of the tape, then lay another layer at ninety degrees to the first in the same way. Keep the corner of the first piece of tape you put down loose so you can peel the whole sheet up in one go after. With the tape down, use a pen or pencil to sketch out the fold lines for the bit you want to repair, and then peel it off the panel. This should give you the proper shape quickly and easily.
Then you can snip into the tape until it lays flat, depending on the shape you end up with will depend where you snip, and that in turn will give you a flat pattern you can trace onto some steel and fold accordingly. Weld up the snips to make it a whole panel again and you've got a repair section. A little hammer and dolly work will smooth out the worst bits and a bit of filler will hide any remaining sins. It's a bit of trial and error on this one, you want to shape the metal repair and offer it up to the bodywork to be sure it fits before welding, and as you weld it up, so you can make sure the heat from welding isn't distorting it.
You can then either draw around the repair panel onto the original bodywork to see what to cut away, or sparingly tack your repair panel in place over the old bodywork and cut through the edge of both repair panel and original bodywork to get a matching hole and repair section. After you've done the first corners, the other three will go much faster since you'll know what method suits you and the piece you're working on.
Halfass Kustoms comes to mind for some of this sort of work, he does a bit of it on one of his recent builds. There's other videos he's done that go into the process in a bit more detail, probably in the Dodge or Plymouth roof chops videos he's done, but if you're after a solution with more ordinary tools and materials, he's a pretty good place to start to get an idea of what I'm trying to describe above.
|
| |
|
|
pptom
Part of things
 
Posts: 475 
|
|
Nov 18, 2021 20:27:50 GMT
|
|
Wow, thanks very much, that's a very detailed reply 👍
I'll definitely experiment with the masking tape method, sounds like a quick and easy way to do some trial and error.
|
| |
|
|
|
|
|
|
|
Nov 18, 2021 22:33:27 GMT
|
|
There is a gentleman on YouTube- Old Guys Workshop, who is making panels for a Suzuki LJ80. I’ve only watched episode 6 (I don’t know why), but he’s making complete wings etc. Worth a watch for some ideas as from what I can see of the vehicle, it’s quite similar in construction.
|
| |
|
|
Dez
Club Retro Rides Member
And I won't sit down. And I won't shut up. And most of all I will not grow up.
Posts: 11,790
Club RR Member Number: 34
|
Daihatsu Taft F50 Dez
@dez
Club Retro Rides Member 34
|
Nov 18, 2021 23:08:01 GMT
|
|
None of those bits are particularly easy to make for a beginner. A lot of ‘professionals’ wouldn’t be able to do em from scratch.
I’d suggest maybe getting someone with some experience and skill to fab the repair sections, then you let them in? Realistically you’d be needing to buy a shrinker stretcher and a bead roller to do them, so it may actually work out more cost effective.
I think chopping the arches back altogether and going for bolt on will be the best option, those arches are going to be hiding a lot.
|
| |
|
|
pptom
Part of things
 
Posts: 475 
|
|
Nov 19, 2021 15:21:43 GMT
|
Good lord, I did want a project and I did want to learn more about sheet metal, looks like I have brought the perfect vehicle 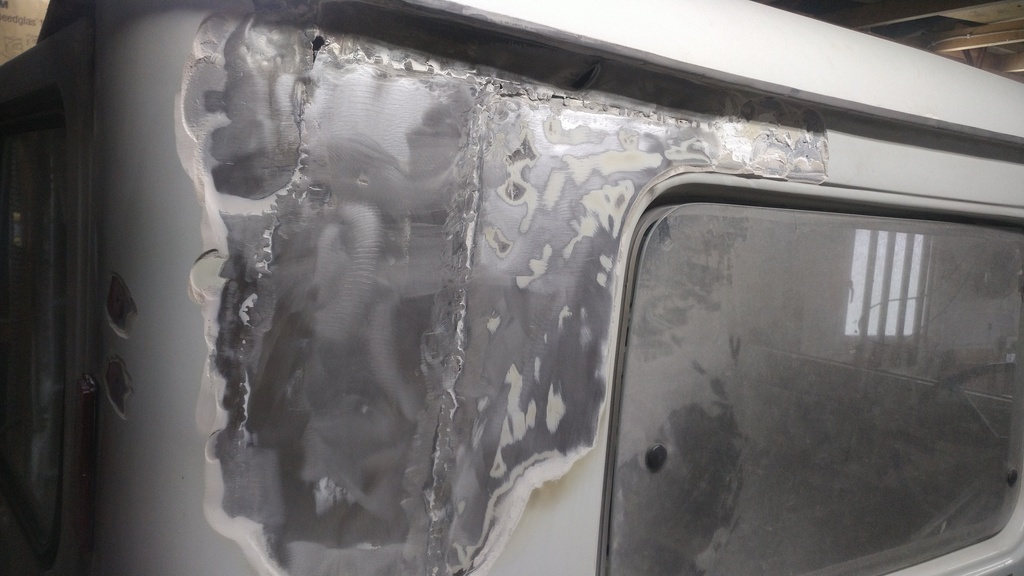 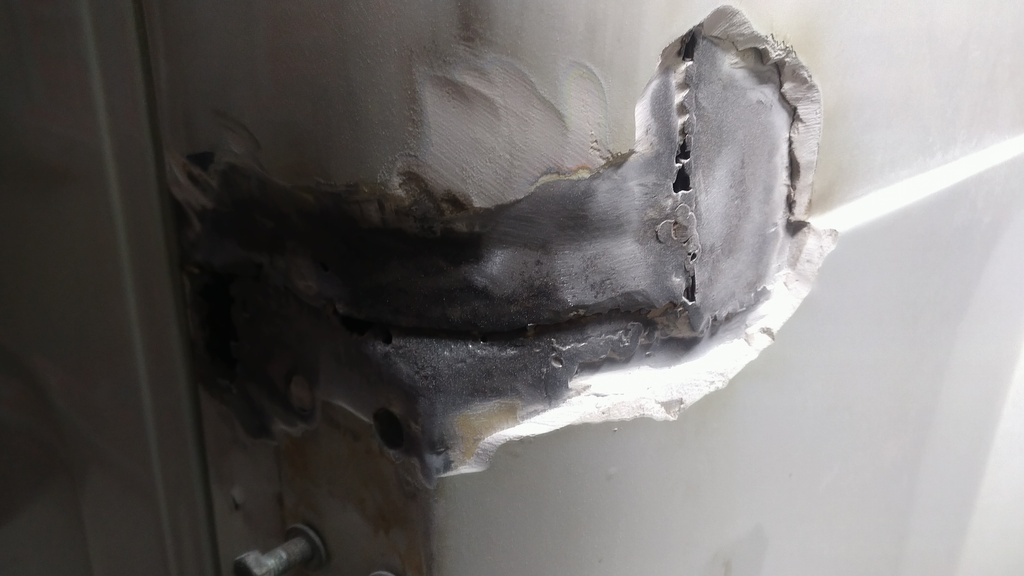 It's had loads of patches, every blemish in the filler is over a welded seam and the seams aren't fully welded, looks like I will be taking off a fair bit more filler and watching quite a few to youtube videos! That lj one is pretty good, also links to another lj rebuild in Yorkshire. Fortunately I see this as an opportunity rather than a complete nightmare 👍 |
| |
|
|
skinnylew
Club Retro Rides Member
Posts: 5,716
Club RR Member Number: 11
|
Daihatsu Taft F50 skinnylew
@skinnylew
Club Retro Rides Member 11
|
Nov 19, 2021 16:14:41 GMT
|
|
wow that's going to be a ton lighter after this with that amount of filler!!
|
| |
|
|
pptom
Part of things
 
Posts: 475 
|
|
Nov 19, 2021 17:38:58 GMT
|
|
Someone had some serious patience, time and skills to do all of the filler work, there's no doubt, shame about the Frankenstein's monster underneath!
|
| |
Last Edit: Nov 19, 2021 17:41:02 GMT by pptom
|
|
Mark
Club Retro Rides Member
Posts: 2,097
|
|
Nov 20, 2021 10:06:26 GMT
|
|
I can't believe the amount of filler you've uncovered! Whoever did it is an artist of the wrong kind!
What's your approach, tackle it bit-by-bit or bring the whole thing back to bare metal and see where you go from there?
|
| |
|
|
pptom
Part of things
 
Posts: 475 
|
|
Nov 20, 2021 13:13:28 GMT
|
There isn't really a plan yet, but stripping filler off is free and I'm waiting until the end of the month for more cash, so I guess I'll continue. I think I should have been an archaeologist, it's really interesting stripping back the layers and making discoveries. This is an hour or so of filler removal this morning 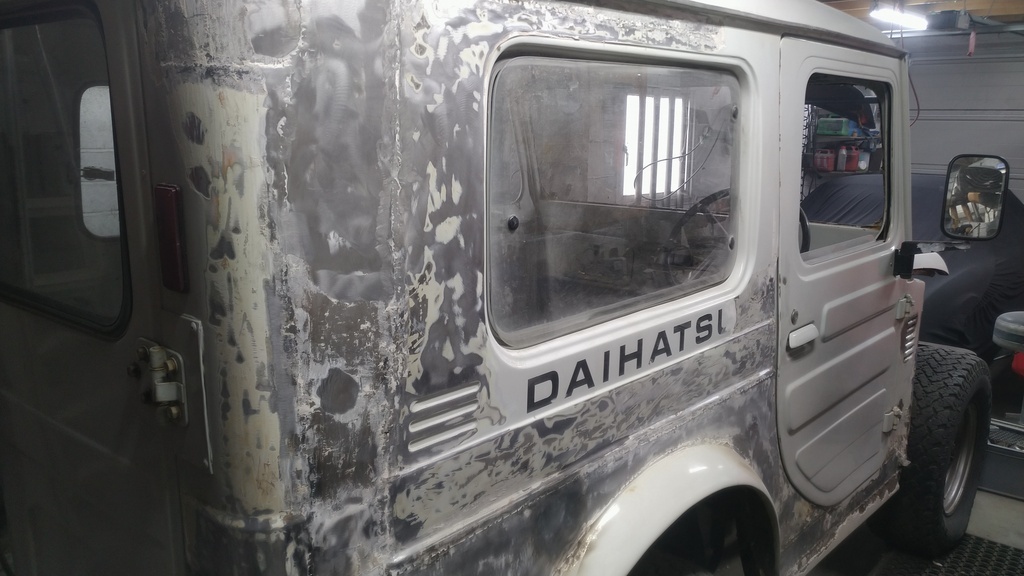 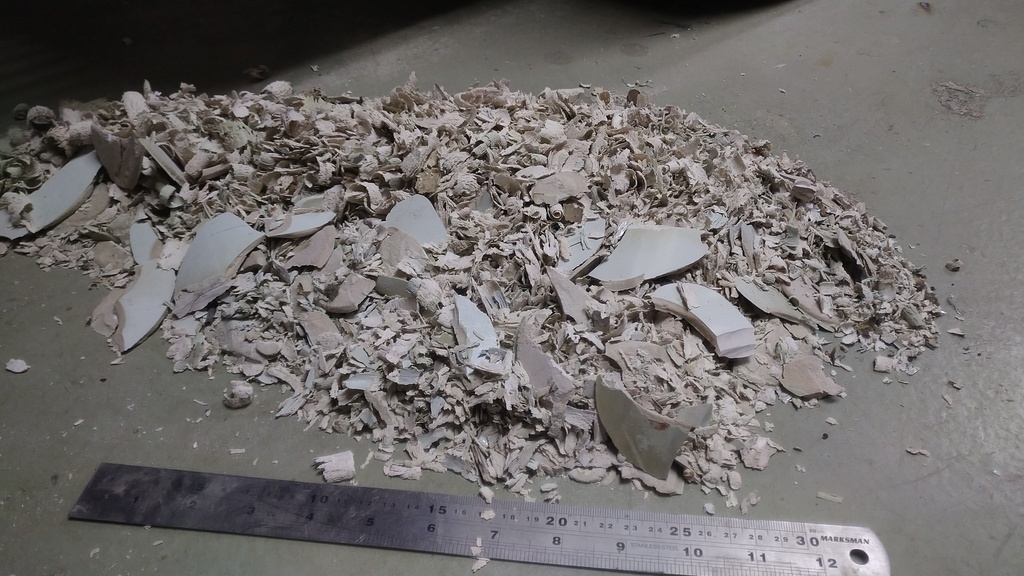 One thing that was bothering me were the swage lines below the rear side windows. They just weren't right, despite looking at loads of Taft pictures. I eventually found the original panel under the filler and it pretty much tied in with the filler profile. Off to do a bit of digging and found this  So the rear screen and swage lines are from a sj410! The bit below the swage lines wheel arch area / sill is 'custom', the rear doors and frame are original and there are various infill patches taking up the extra spaces. Most panels have some degree of warpage from welding |
| |
|
|
|
|




 Ax GTi Turbo

