|
|
|
|
|
I have really enjoyed reading this and have to say i really admire your tenacity in keeping this thing 'running'. You are obviously touched in a good LR sort of way. I would have turned it into a smouldering pile of scrap long ago with all the issues it kicks up, good effort and look forward to more LR adventures, an oddysey by Gusman_2286 Thanks, I should probably do a heap more preventative maintenance to avoid the issues I get but I'm actually really lazy/dealing with all the other trainwrecks life throws my way. Glad it makes for a good read! Regarding your engine mount, looks like you are missing the wedge shaped spacer that sits between the rubber mount and the chassis. Without it the mount will tear itself apart. Part number 272506. I do have the wedge to fit, previous to the tip being welded back on there was only one bolt securing said wedge and there was evidence it had been moving about! |
| |
|
|
|
|
thomfr
Part of things
  Trying to assemble the Duett again..
Posts: 694
|
|
|
|
Series III Land Rover fastener types: BSW, BSF, BA, UNF, UNC (clutch slave bolts) and metric. Also various odd plumbing sizes like BSP and NPT which I don't understand because I'm a car mechanic, not a plumber. You need a lot of sockets and spanners for one of these. They where most likely engineered by the English part of the family who designed in Sweden the Volvo PV and Duett series. UNC, UNF for the body and mechanics, nicely mixed with some normal and fine thread metric and American tractor style for the rear axle (which came from Rockwell), but the brakes are UNC again.. A lot of crawling under it and back again to the toolbox if you are working on it.. Thom |
| |
73' Alfa Giulia Super
64' Volvo Duett
65' Volvo Duett
67' Volvo Amazon 123GT
09' Ford Focus 1.8
20' VW ID4
71' Benelli Motorella
65' Cyrus Speciaal
The difference between men and boys is the price of their toys
|
|
|
|
|
Jan 24, 2023 22:06:49 GMT
|
Nearly a year on from my last update and the activity in this thread has almost matched the real world landy activity, I've done very little with it. The engine did go back in but is still to be plumbed in fully. Part of the lack of activity has been other projects, we've a heap of shed/field/electrical work needing done around the house and the useful vehicles also needed running repairs.  One job I'm pleased with (from a distance) is I got the Massey Ferguson loader mounted to my Nash, it took me a few months of weekends to get it sorted as it really wasn't a close fit, much welding required! 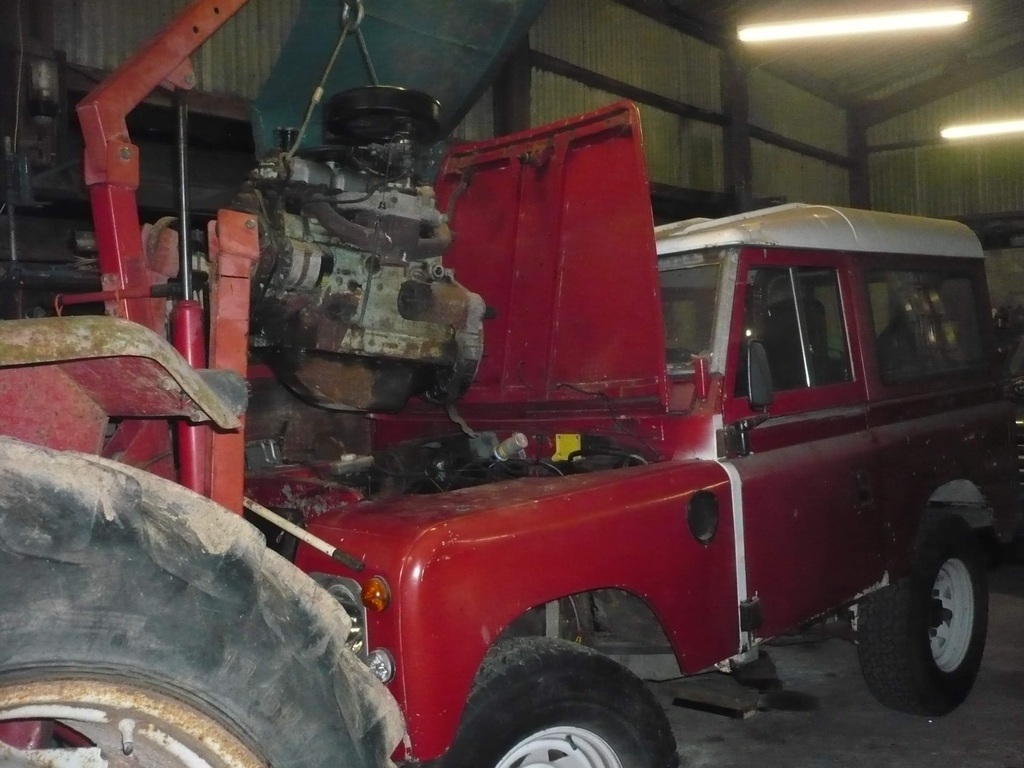 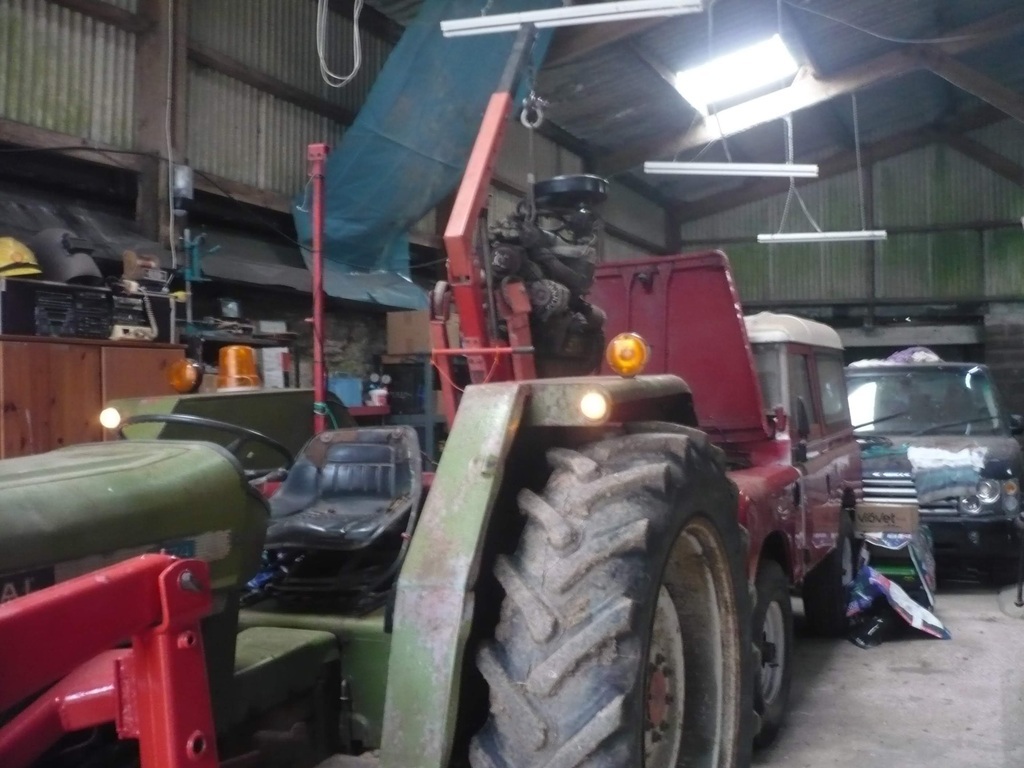 It was August before I tried to fit the engine using the tractor mounted engine hoist. If I'm totally honest this isn't my greatest invention, you can't "wiggle" the engine into position. If you want to move the engine you either have to start the tractor (much smoke and noise) or, as I ended up doing, move the whole landy up to the engine! The engine would not go in on the first attempt, I abandoned the job for a few weeks/months to have a think. The problem was the gearbox wasn't in the right place as the mounts were still broken. I'd given up on the mounts as I thought they would be easier to fix if I had the engine in place to lift up the gearbox. While fixing the one broken gearbox mount I found the other side was also completely unattached, so that got changed out for another spare I had. 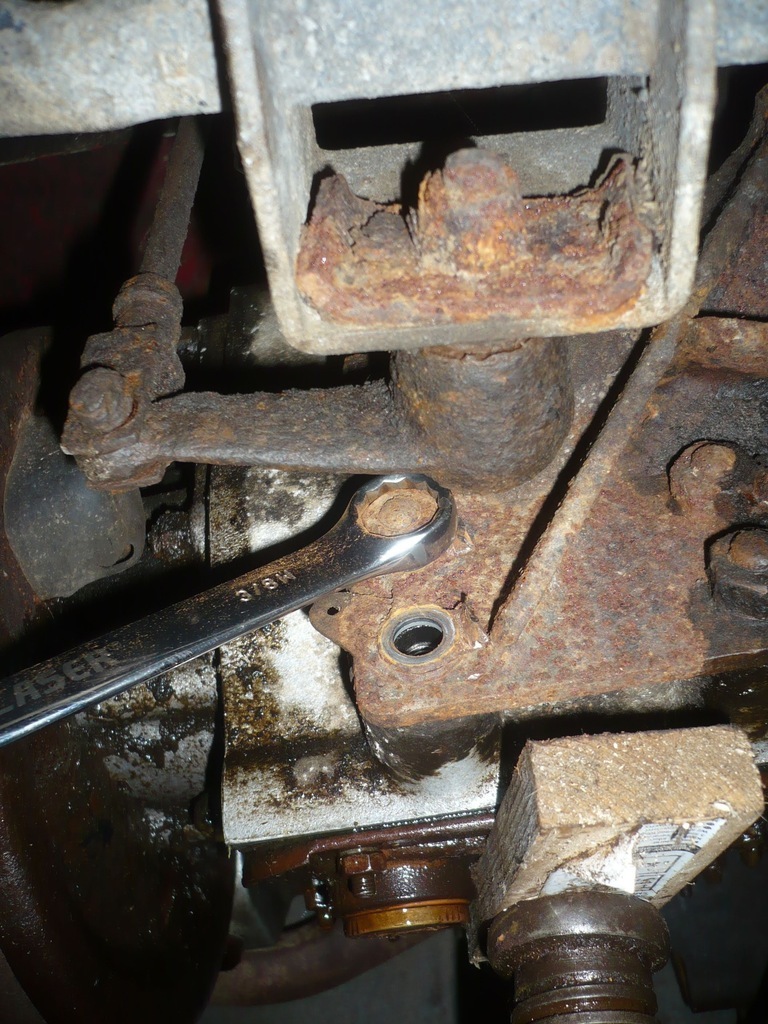 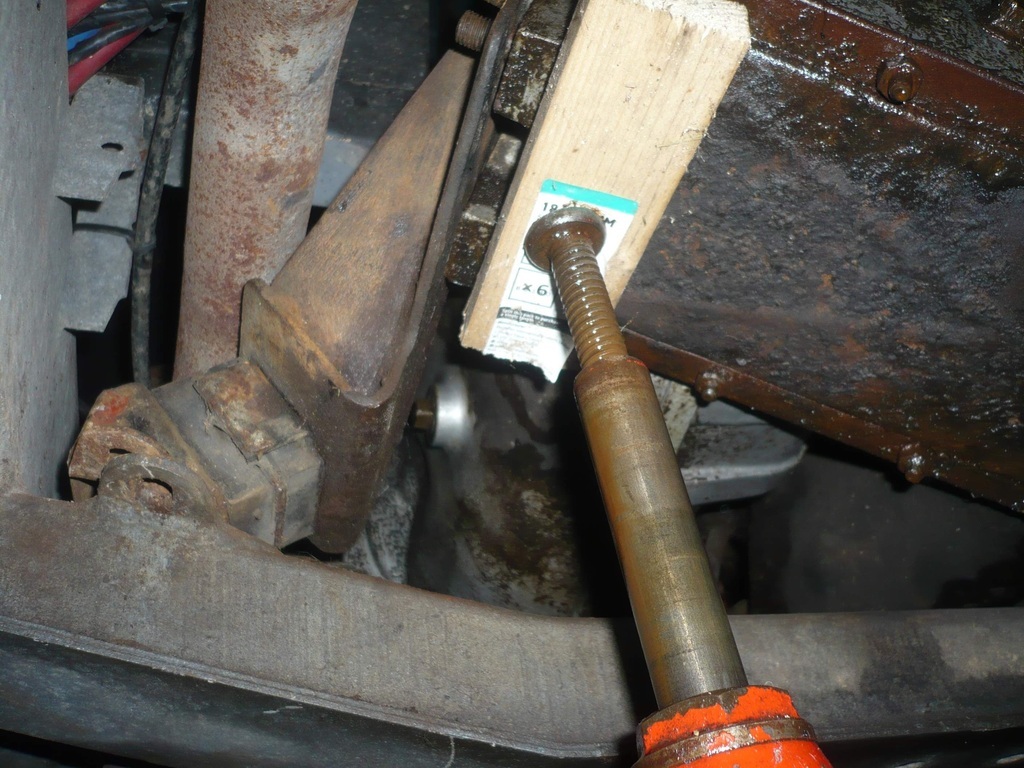 This car is a mix of nicely galvanised bits, the odd shiney clean part, manky oilly bits and some superbly crusty original bits! 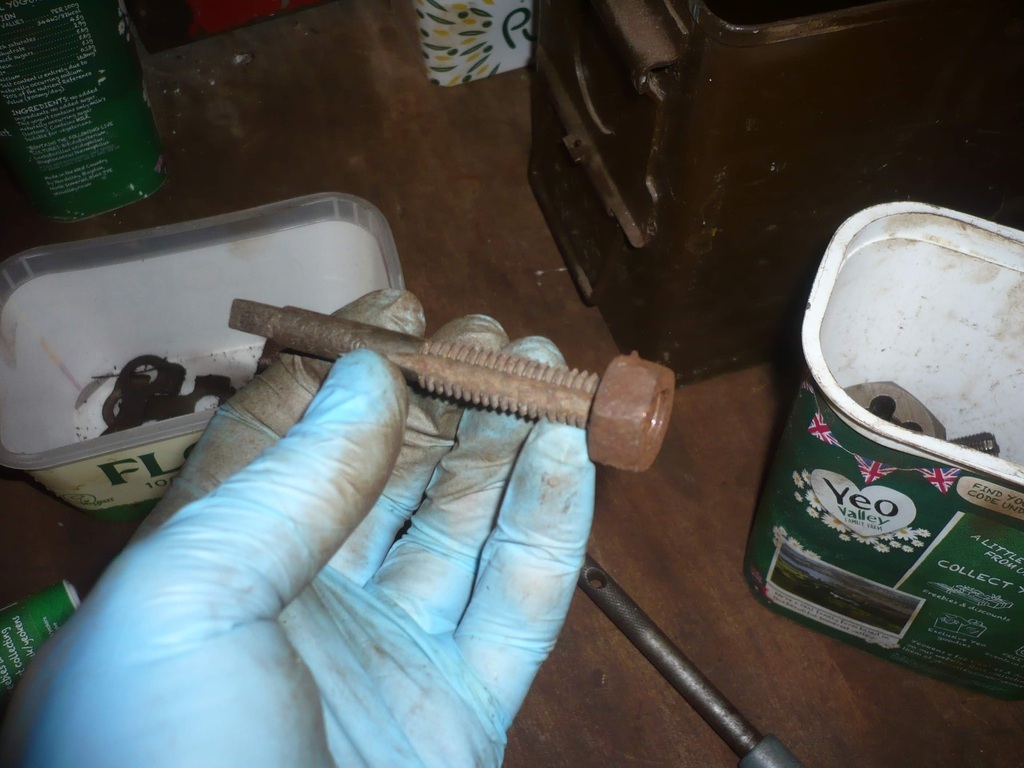 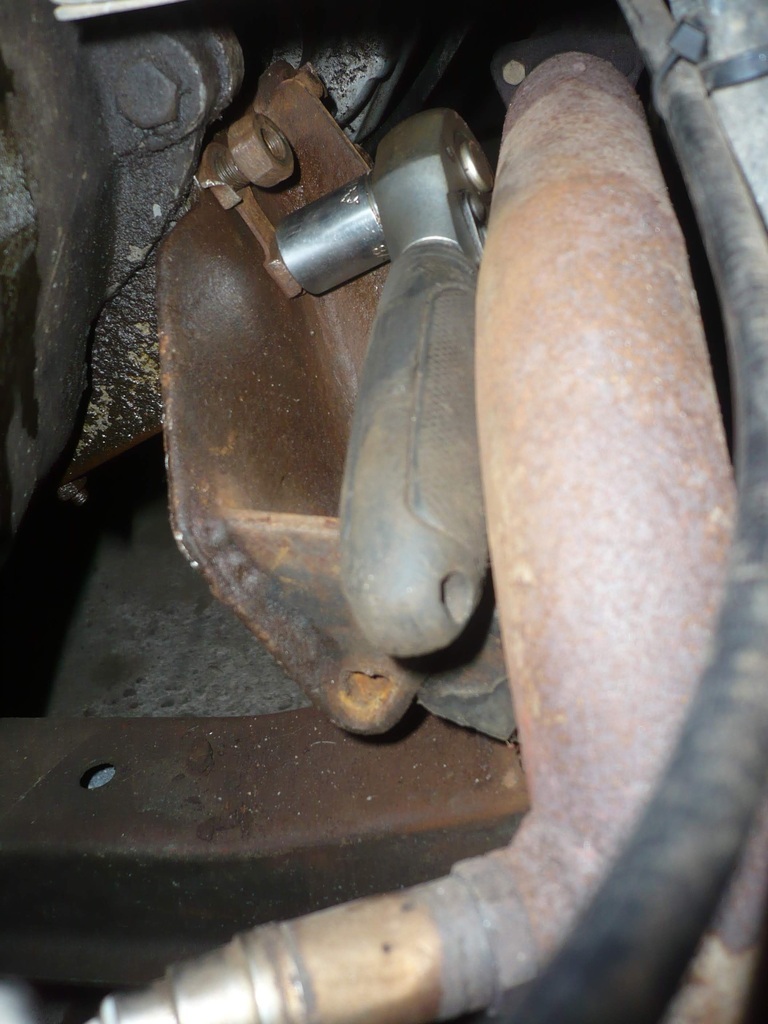 Awkward access as per usual. The gearbox mounting bolts are back to the Whitworth sizes, I have a set of taps as well to clean up the nuts, these are held on with locking tabs which are super awkward to bend back when you need 3 elbows to get in and have about 10mm to swing a hammer. With the gearbox back in I went for another go with the bad decision crane, bumper removed this time. 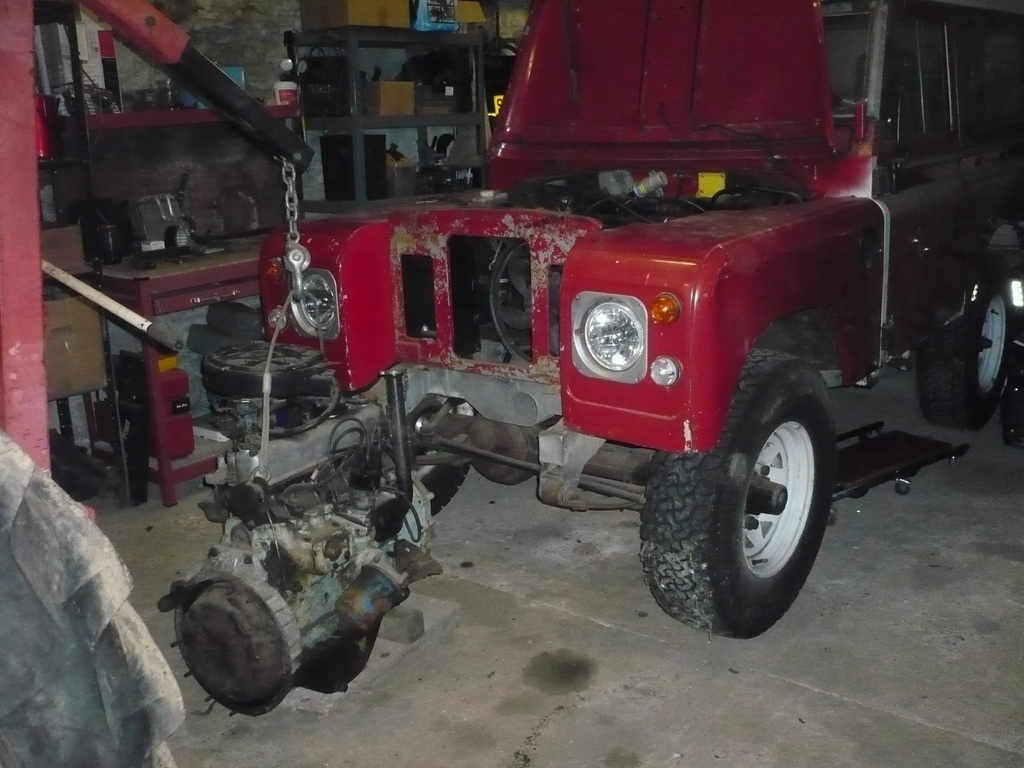 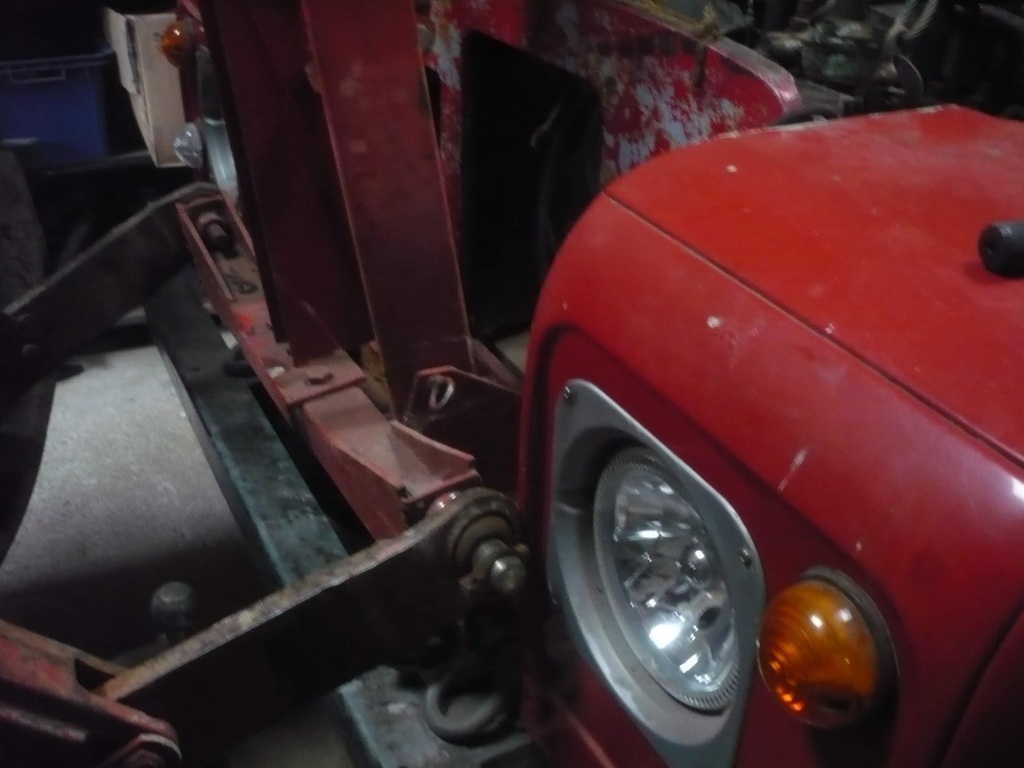 Previous attempt had the pins rubbing the paint... Much annoyance. 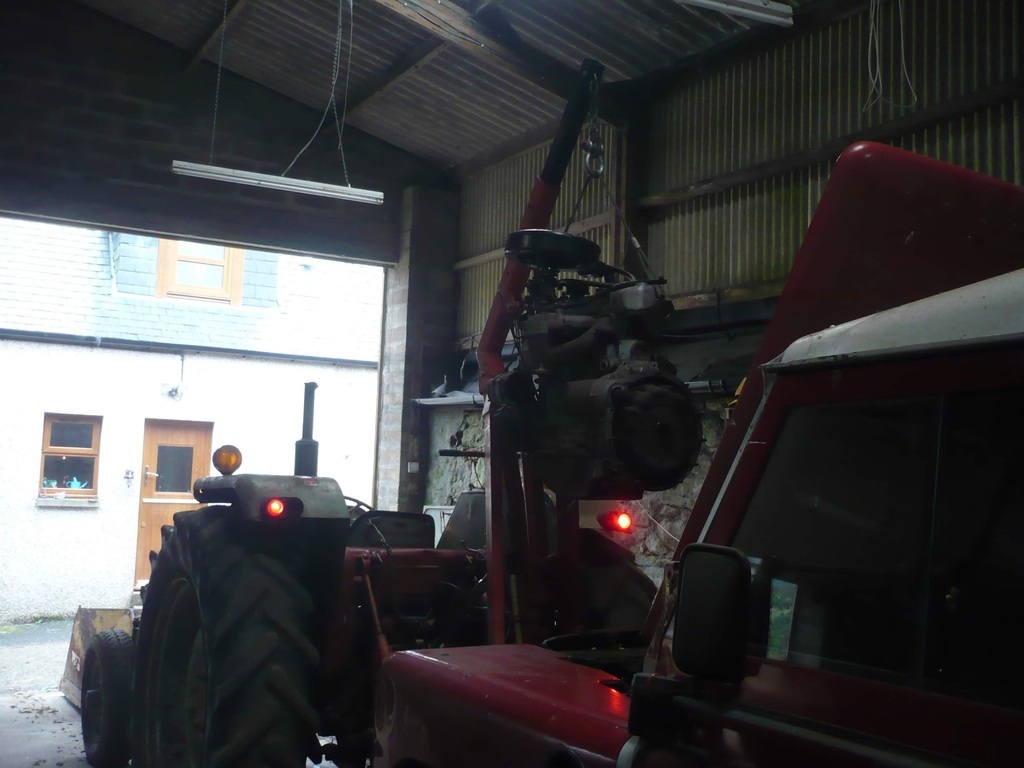 The lift height is pretty good, reach not so. I had to screw out the top link on the tractors linkage to the max. 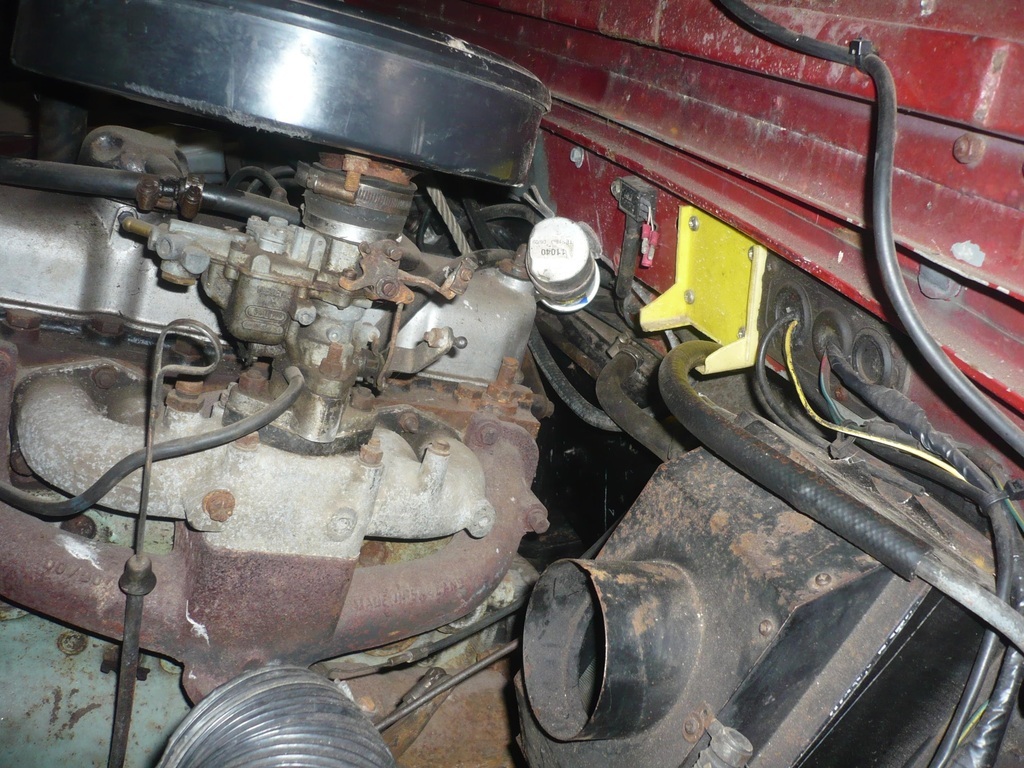 Then I had a OOOOCHA YA BAASSAA moment lowering the engine after a brain fart I turned the release screw on the hoist the wrong way and dropped the engine into the bay. The ignition coil tried to catch the engine on the way down but was mortally wound so I'll need another coil... 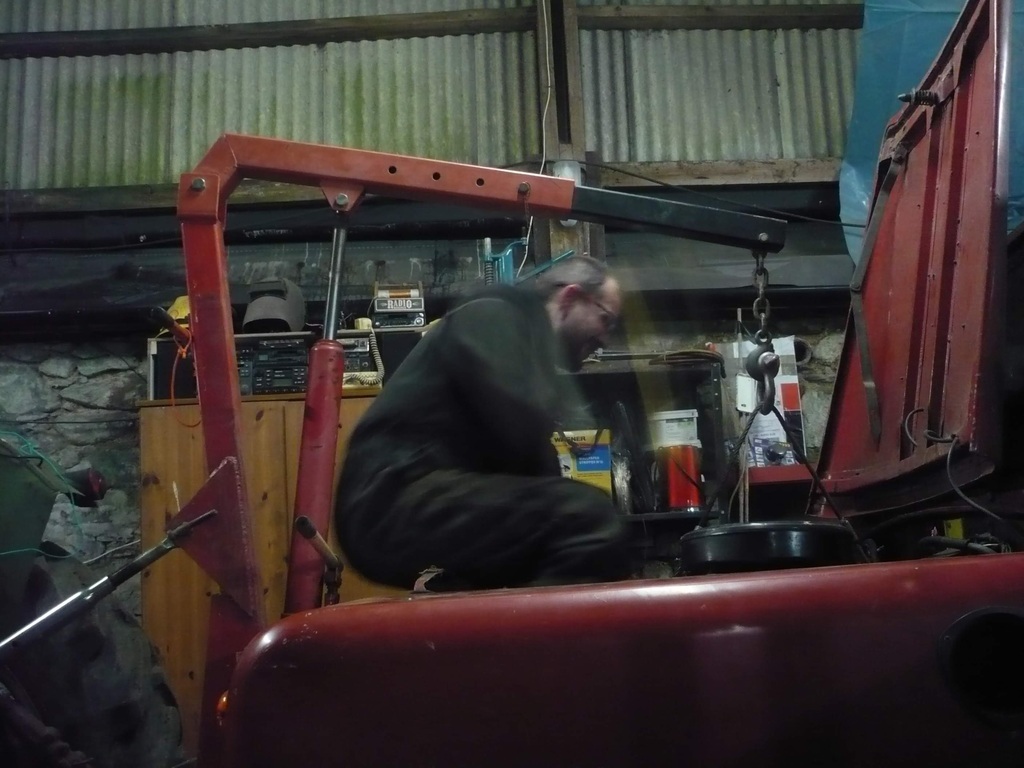 A rare action shot, after much much trying (5 in and outs with the engine and leaving it a week) the engine and gearbox joined up. |
| |
|
|
jamesd1972
Club Retro Rides Member
Posts: 2,921  Club RR Member Number: 40
|
|
|
|
|
Your trials here told me that taking the wings and front rad panel off was the easier option when we swapped out a bit back.
Mostly as the lift we had wasn’t high enough but probably only 2hrs to get the front off and on again with two of us as everything had been off and on pretty recently. Saying that you’ve got to be in it to win it and I liked the idea of the tractor hoist.
My understanding is that as a general rule everything on the gearbox is whitworth as it’s a lovely 1930 design….
Progress!
James
|
| |
|
|
|
|
|
|
|
|
I found taking the front panel off and leaving the wings was the easiest option, buy some new nut plates first though most will probably shear off.
|
| |
|
|
|
|
|
|
|
|
Totally agree, taking the wings and front panel off would have made thing way easier. I didn't take them off partly due to the fact that last time they came off they didn't go back on again for 10 years!
|
| |
|
|
jamesd1972
Club Retro Rides Member
Posts: 2,921  Club RR Member Number: 40
|
|
|
|
Totally agree, taking the wings and front panel off would have made thing way easier. I didn't take them off partly due to the fact that last time they came off they didn't go back on again for 10 years! I usually have good reasoning like this as well ! Need to fix up the rear crossmember on ours. I know taking the tub off is the preferred route, but if we do that then need to sort out the tub, and everything else at the back end ! Progress is progress however you get there. James |
| |
|
|
|
|
|
|
|
I usually have good reasoning like this as well ! Need to fix up the rear crossmember on ours. I know taking the tub off is the preferred route, but if we do that then need to sort out the tub, and everything else at the back end ! Progress is progress however you get there. James Breaking any of the bolts holding aluminium to steel is just asking for trouble! Not envious of that job, I've seen the white powdery remains of the tub and wings fall away as the bolts come out! |
| |
|
|
|
|
|
Jan 27, 2023 21:58:04 GMT
|
Slightly our of sync post, this was pre-engine install. Part of the delay to refit the engine was me creating jobs that needed to be done before the engine was refitted and then never making any attempt to complete these jobs. The engine refitting blocker was fitting a hand throttle/suicide cruise control. 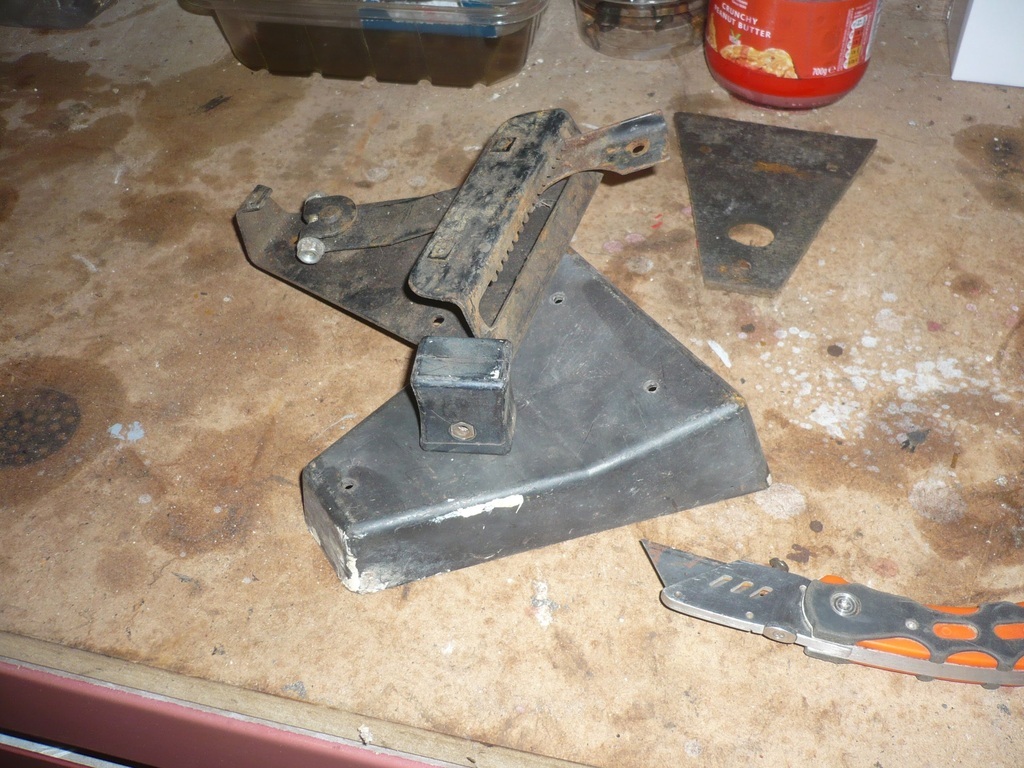 This came off my old diesel Landy and was part of the PTO optional extra package. Noob level Landy nerds often mistake these for "rare" items but they are relatively common apparently. I wanted to fit it so I can raise the idle on cold days to keep the blooming engine running while I scrape the frost off the outside and inside of the windows. There is a choke but when idling while cold the engine will slowly slow down until it conks out. 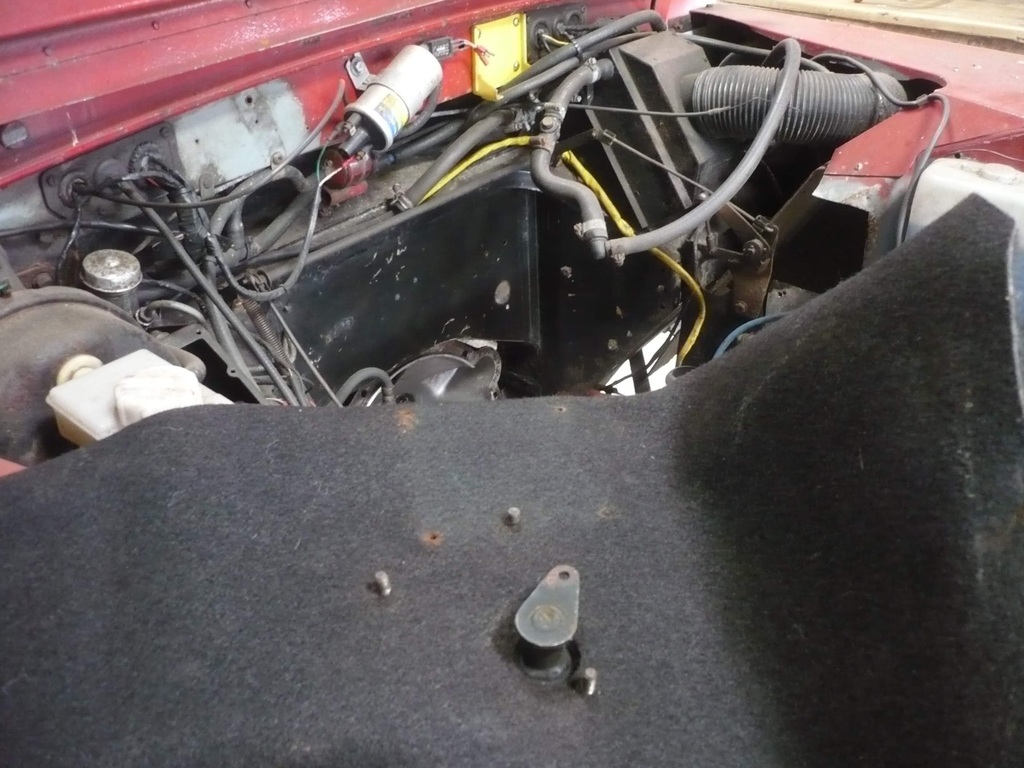 First off, as I have a posh carpeted model I popped out the blanking plugs on the bulkhead and marked the carpet where the holes were. I then cut holes (slightly in the wrong place, wep wep weh). The rectangular shape and holes were for the ID plate which now needs relocated. 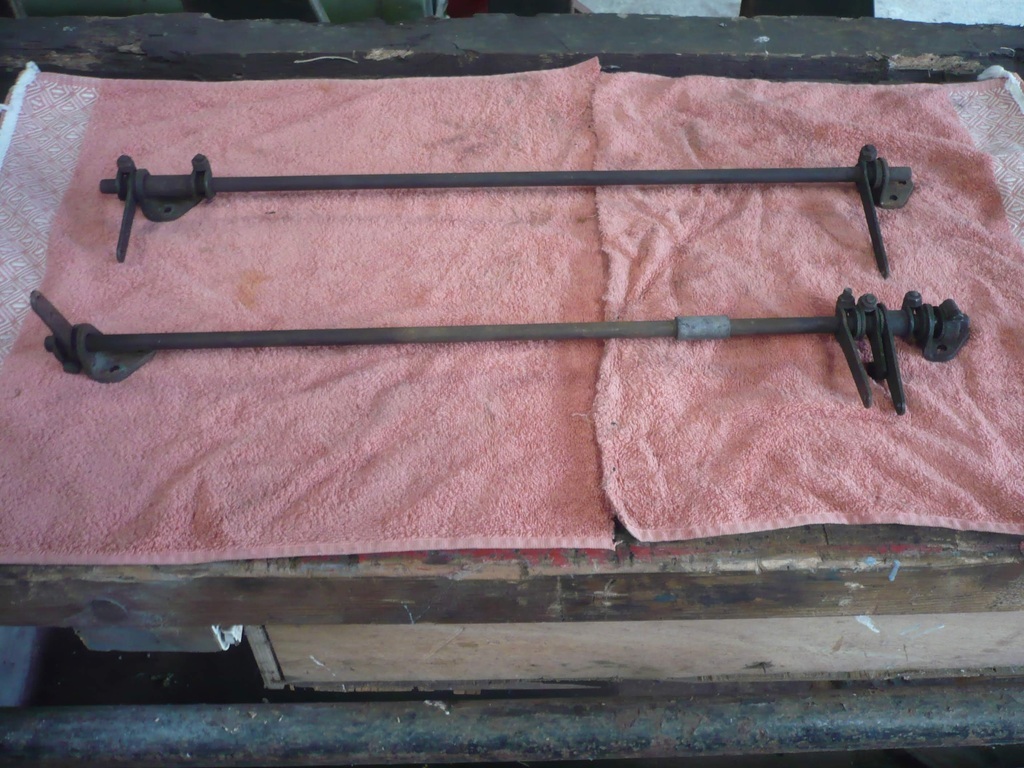 With the handle fitted I needed to swap the throttle rod for the set with a 3rd arm. This you'd think would be super simple but in actual fact you need 6ft arms to reach into the car with one spanner while you are in the engine bay holding the nut. 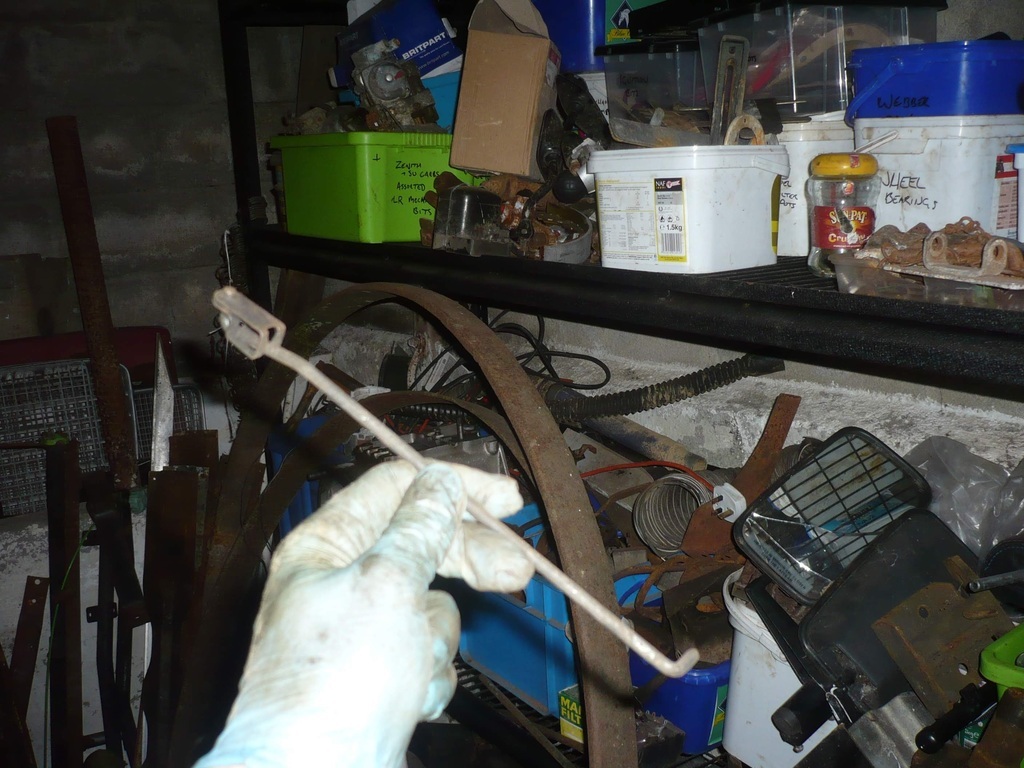 With the rods and handle fitted I found I was missing a vital link that joins the two. This should have been with the throttle but had gone astray in my super organised storage dump. After a whole evening going through boxes I found the missing link. 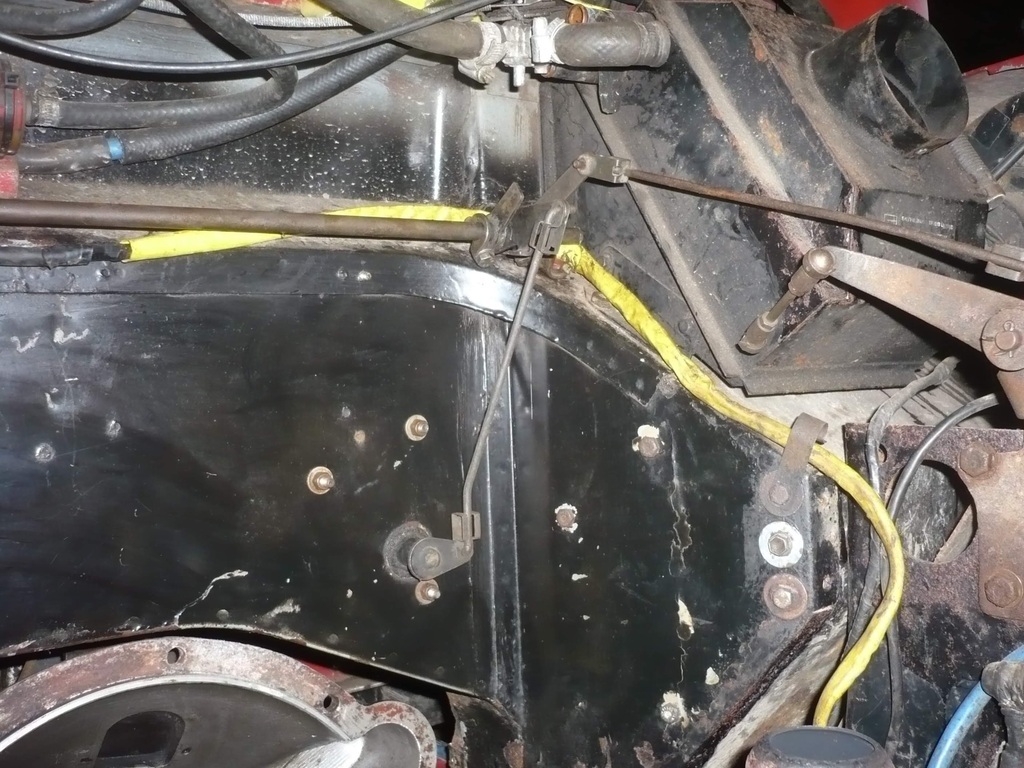 The complete set of rods all fitted. 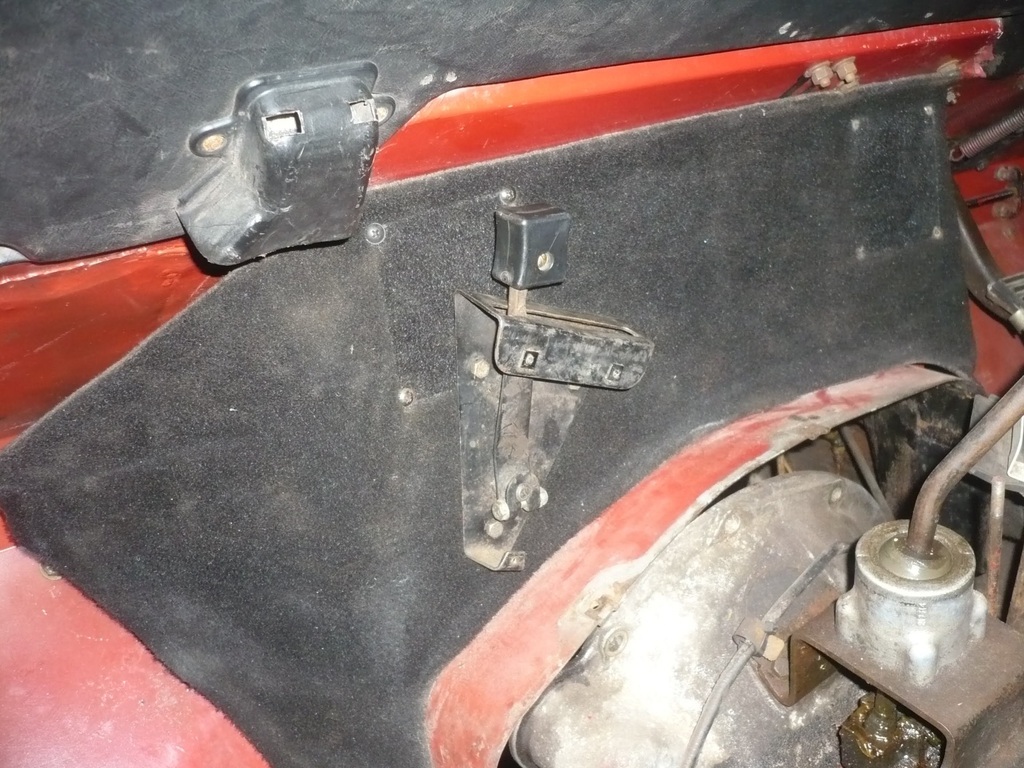 Hand throttle fitted, Land Rover ergonomics places the throttle at a long stretch from the drivers seat and out of reach if you are leaning in the drivers door which I thought would be pretty annoying if you were running PTO driven equipment. Another job I had planned was replacing the fan blower and heater matrix with units scavenged from other cars. I had the nerds approved Peugeot fan blower, a Ford Mondeo unit or a Volvo unit to choose from which I had been hoarding for many years. 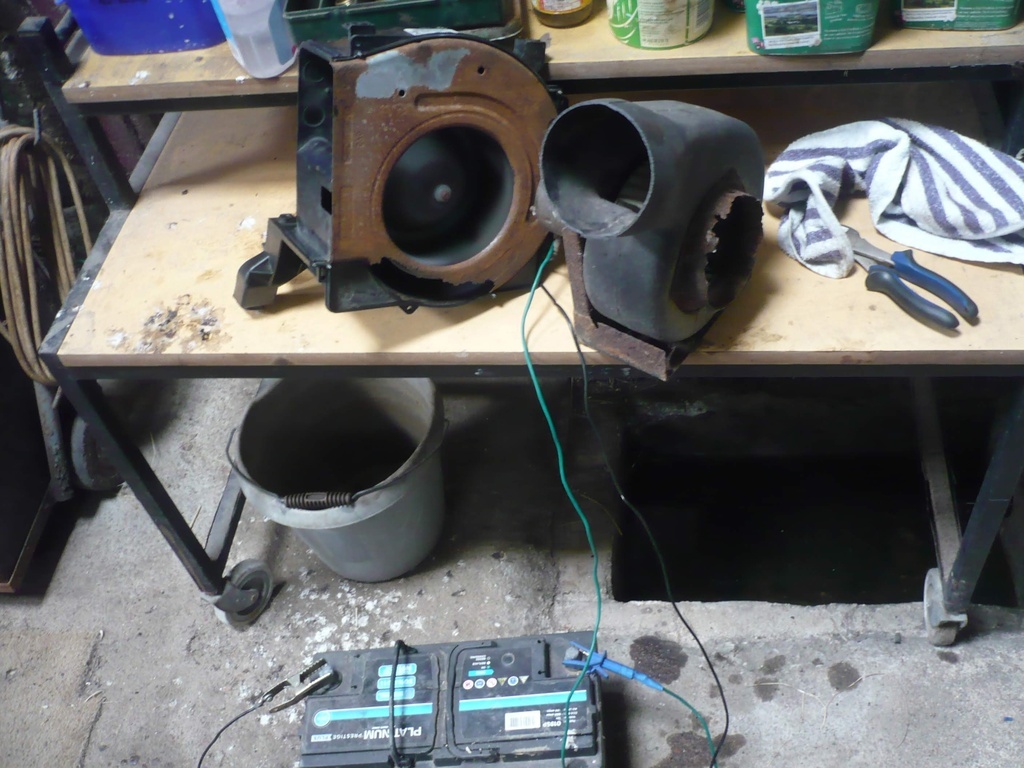 The Peugeot and Ford turned out to be seized and the Volvo one partially rotted... Being a mad hoarder I initially put these back in my store before having a word with myself and throwing the seized units in the scrap! Me and the wee lad had some fun blowing rags about with the Volvo fan, it has so much more puff than the old Smiths blower! That was as far as the job went, the standard kit is still fitted. 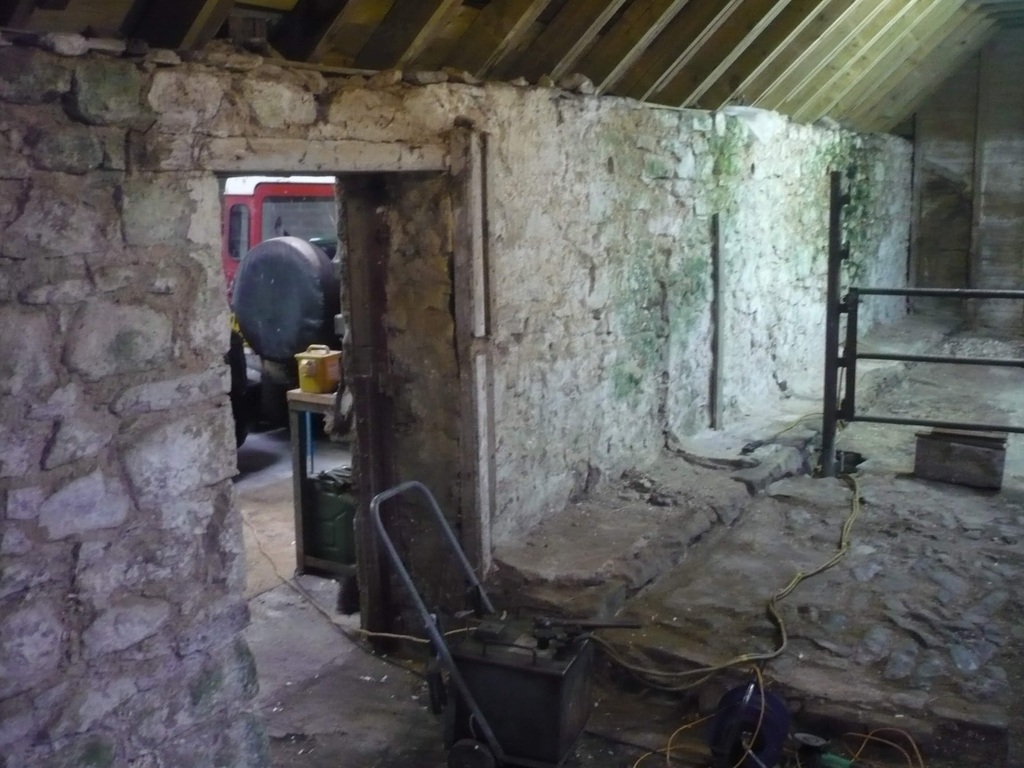 One distraction in the summer was the wife had requested a gate/partition in the next door shed, I wasn't sure what to do here as the walls are super crumbly lime mortar and I didn't have much funds for anything fancy. This building is on the first Ordnance Survey maps from 1863 (along with the house and a another even older shed) and appears to have been repurposed a few times. I dug a 3ft hole through the old concrete over cobbled floor and sunk the steel post that was originally in the cattle court portion of the shed. The post was post-creted in and I welded some rings to the steel gate that also came out of the cattle court. I then filled the gap to the wall and made a not completely terrible door out of boards reclaimed from raised planters. |
| |
|
|
|
|
|
Jan 31, 2023 15:03:09 GMT
|
|
weird air cleaner, is the engine out of a sherpa van or something ?
|
| |
|
|
|
|
|
|
|
Jan 31, 2023 16:11:21 GMT
|
weird air cleaner, is the engine out of a sherpa van or something ? It's a Ford air filter, off some super crusty 3 box Ford, I wanted to lose the standard hose and elbow as I'd read somewhere that those were one of the limiting factors on air flow. And I'd chopped off the mount for the standard filter back when I did the engine swap so was easier to slap that on. I have the screen wash bottle from the same Ford fitted, that probably does as much for performance as the air filter! |
| |
|
|
|
|
|
Mar 26, 2023 19:24:37 GMT
|
The Final Decision Time for an update, I've not done much work on my Landy as I've been busy with just about everything else. I've done a good bit of thinking though and come to the conclusion that I'm going to sell my Series 3. Not today like, but some time in the future. There are a few reasons I've come to this conclusion, one being when I took it off the road in December 2021 I said to myself "but I like working on it more than driving it so this is ok" then I only worked on it a few times in 2022. ...And I only did that because the engine was getting in the way all the time so it was easier to put it back in that store anywhere else. Here's the current state: 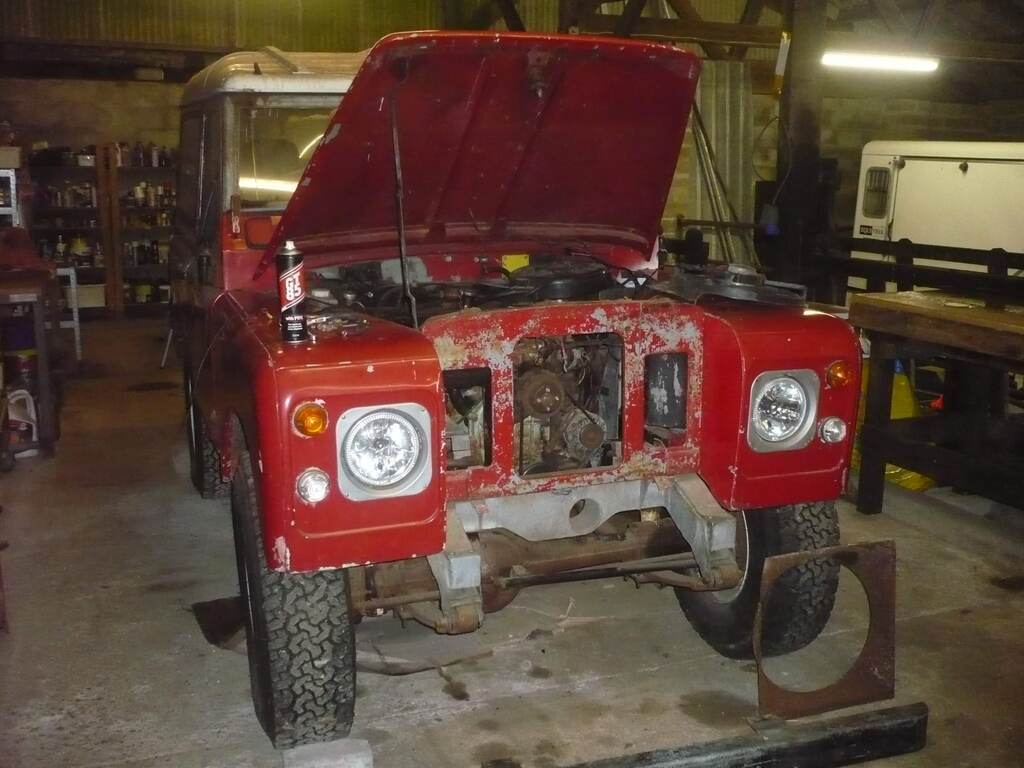 Another reason for selling came where I cleaned up my "parts shed" and realised that I have most of another Landy in there. I also have another slightly more whole Series 2 else where so I'm not short of projects to ignore. 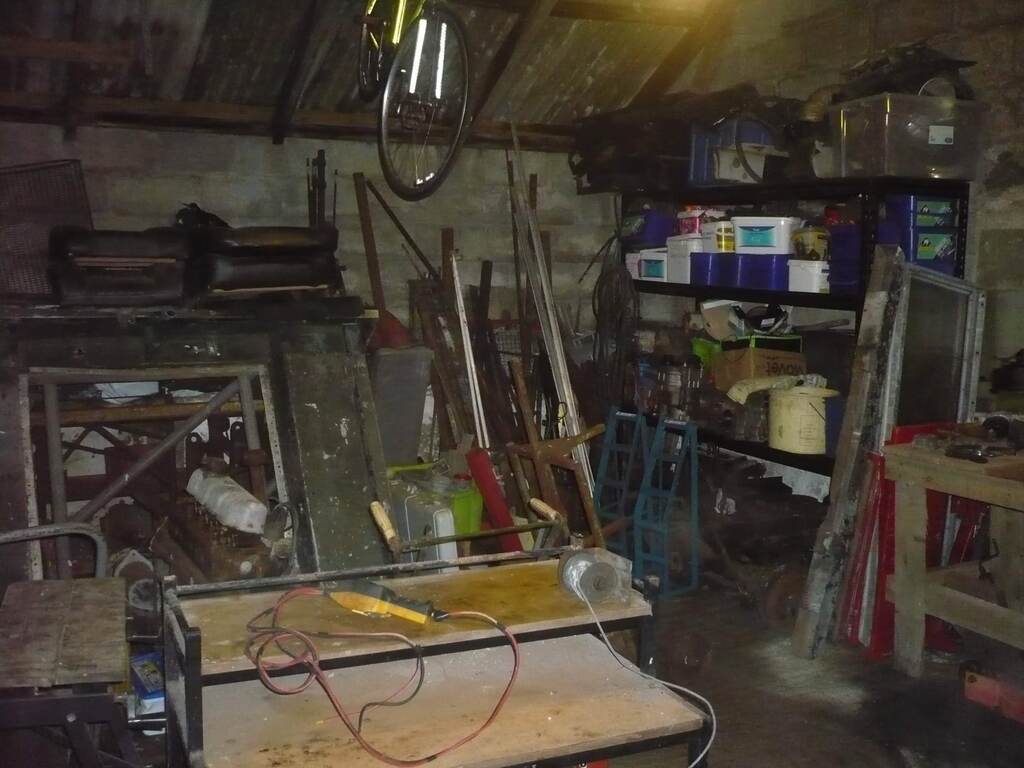 Only the most hopelessly optimistic people can spot a Land Rover in this picture... The plan for the Series 3 is to put as much of it back to standard as possible as over the years I've added my own weird and wonderful touches which I don't thing add anything that any sensible person would like. For starters there is the wiring, this is just a small part of my additions, there are 3 relays for the electric fan, 1 switched by the temperature controller at the radiator, one to switch it on manually and another one which I cant remember the purpose for (hence the removal of all this stuff). Also in this mess is the relay for the O2 sensor, relocated starter solenoid and an extra fuse box, including a fuse for the inverter in the rear. 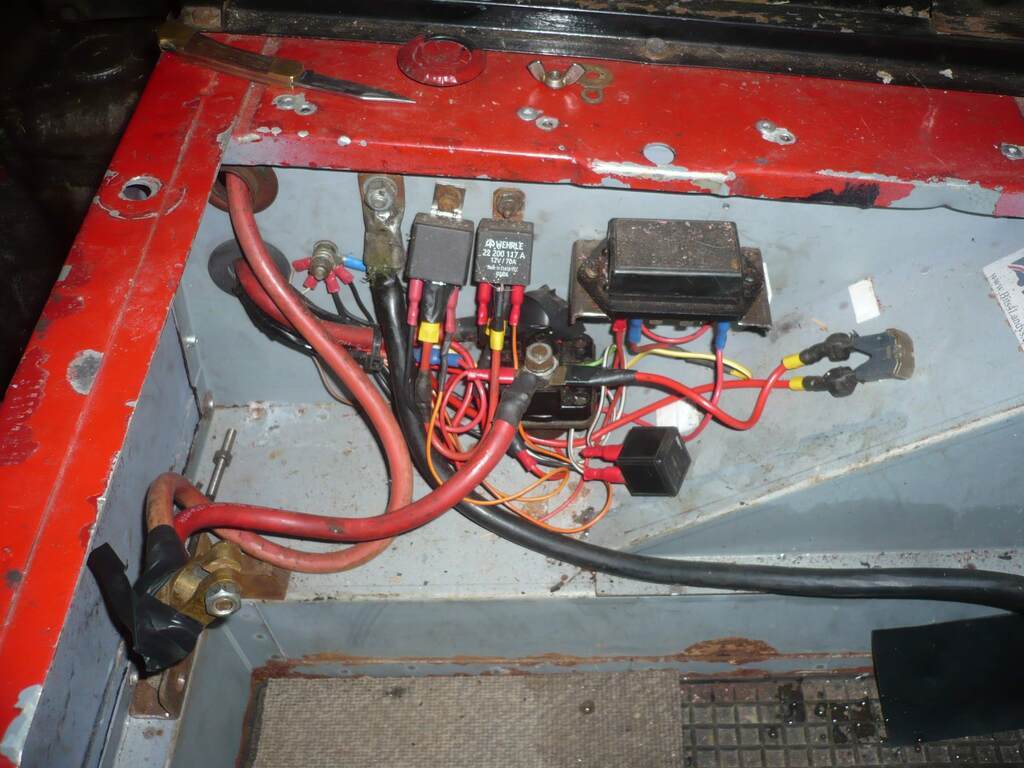 Being an absolute wally I found that I had wired the noisy electric fan in without any plugs or sockets so the whole fan and wiring loom had to come out at the same time. 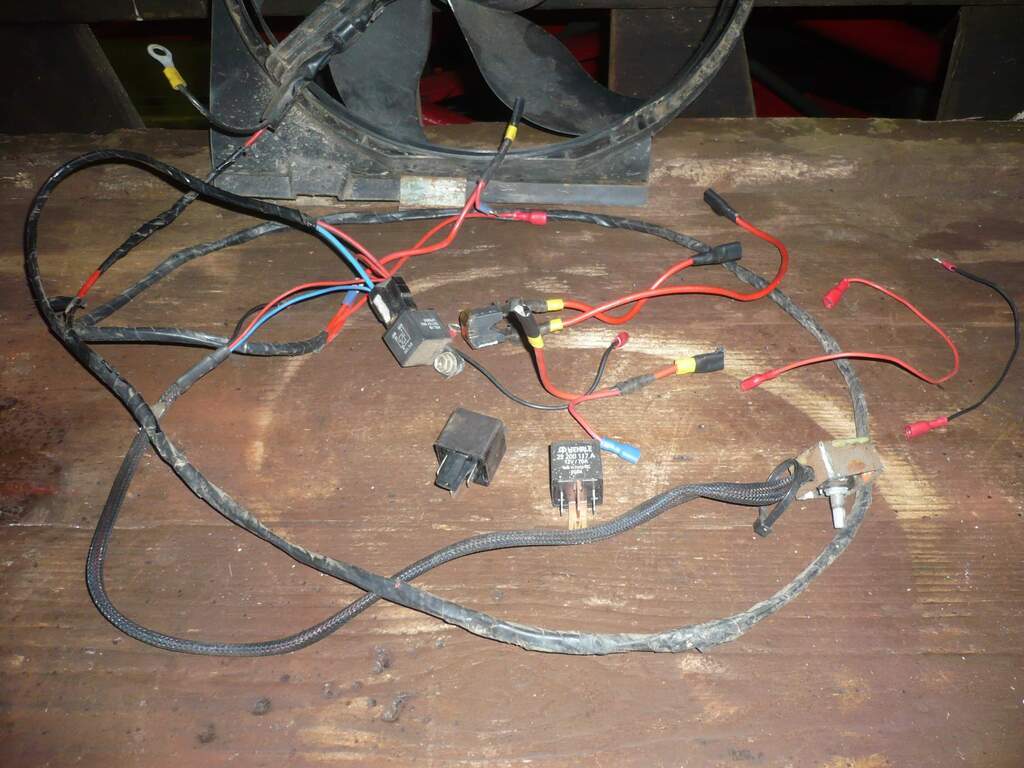 As I'm mad hoarder I have all the original parts to put back in so I'm not going to have to buy anything, just find it in the stash. I definitely have the 4 garden trowels mechanical fan somewhere. Next up on the list was to take out this rear seat. I made up the a frame to hold a standard Land Rover unsecured cushion and fold-down back rest but I've never been happy with the seat belt arrangement so it's never been used in anger. It was made in time for the last trial I did where the Landy clutch broke and I used the L200 instead so it missed it's one chance! 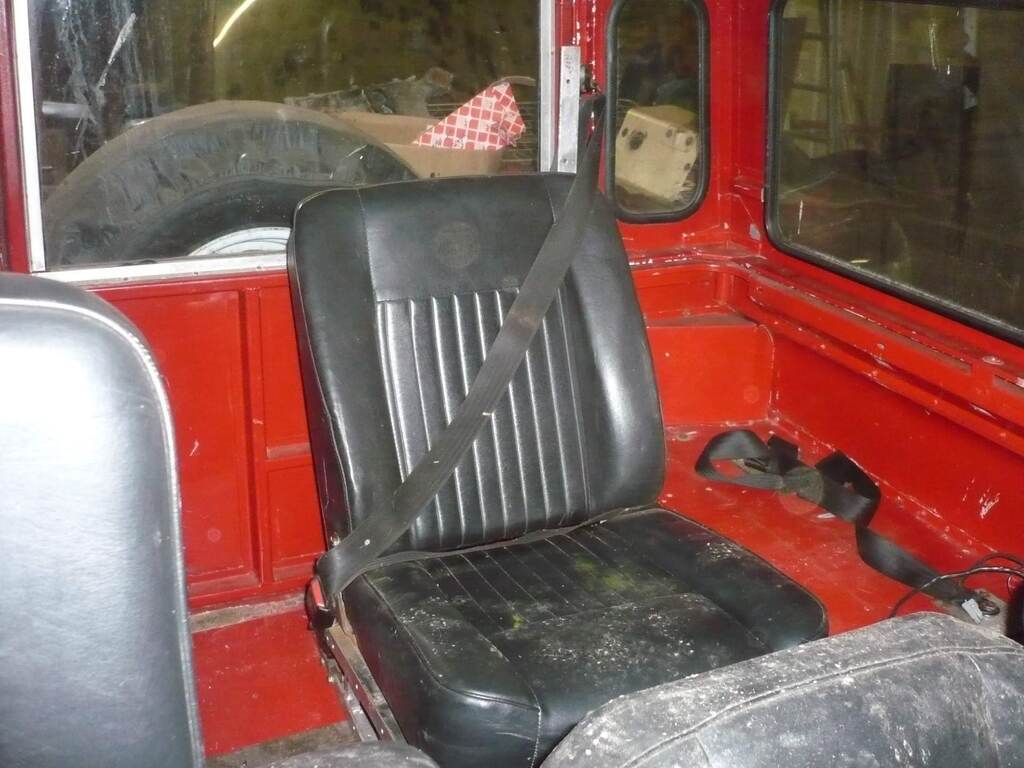 Kinda annoyed that I've drilled 6 holes in the floor for nothing now but happy to remove this. After that I'm going to remove this electric fuel pump and it's wiring and replace with a refurbished mechanical pump, it was only installed as the mechanical one was leaking and I had this to hand. The original battery tray will also be welded back in so I can fit the original air cleaner mount. 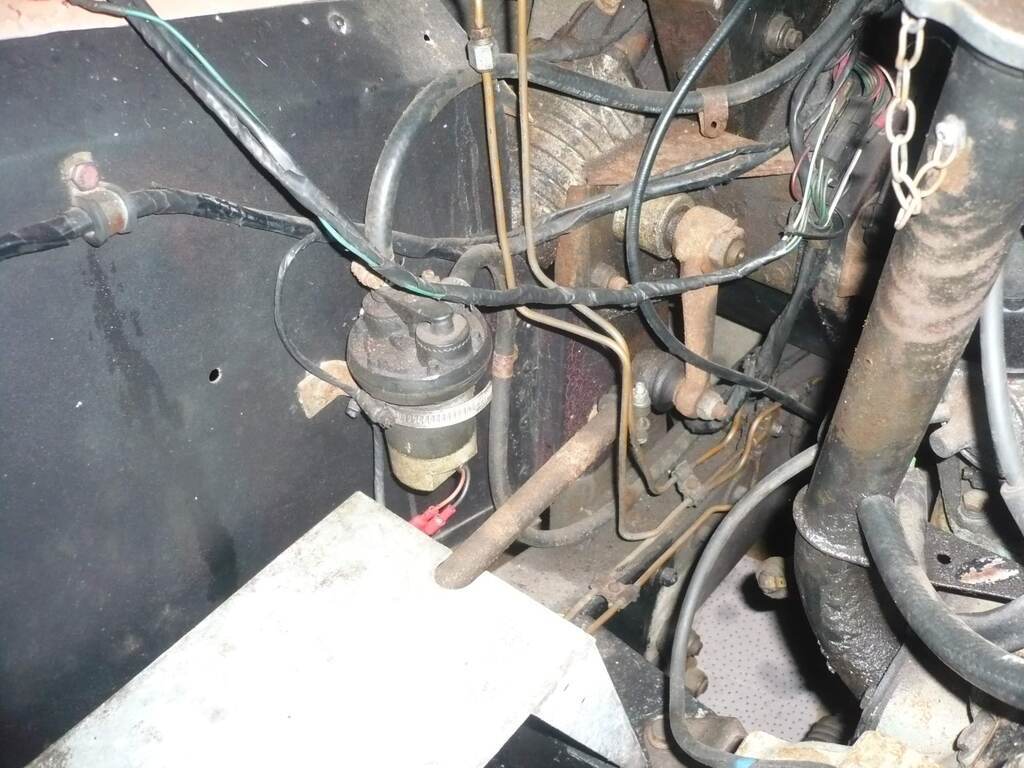 Restoring it back to standard has given me some motivation to work on the thing again as I was kinda stuck with what I wanted to do with it. On one hand I wanted a tidy car with a decent radio (I have added wiring for more speakers and a sub woofer) and the other I wanted an off-road toy but with carpets and a decent heater. I also wanted a "farm truck" but have now realised that the modern L200 is actually the spiritual successor to the Series Land Rover, it shares so many of the bad point of a Land Rover it's uncanny! The paint is pretty scabby these days so eventually I'll get on to that too. I'll probably still own the thing this time next year but I have a goal that I am working towards now so feels better than just having a large lump sitting in the shed gathering dust. |
| |
|
|


