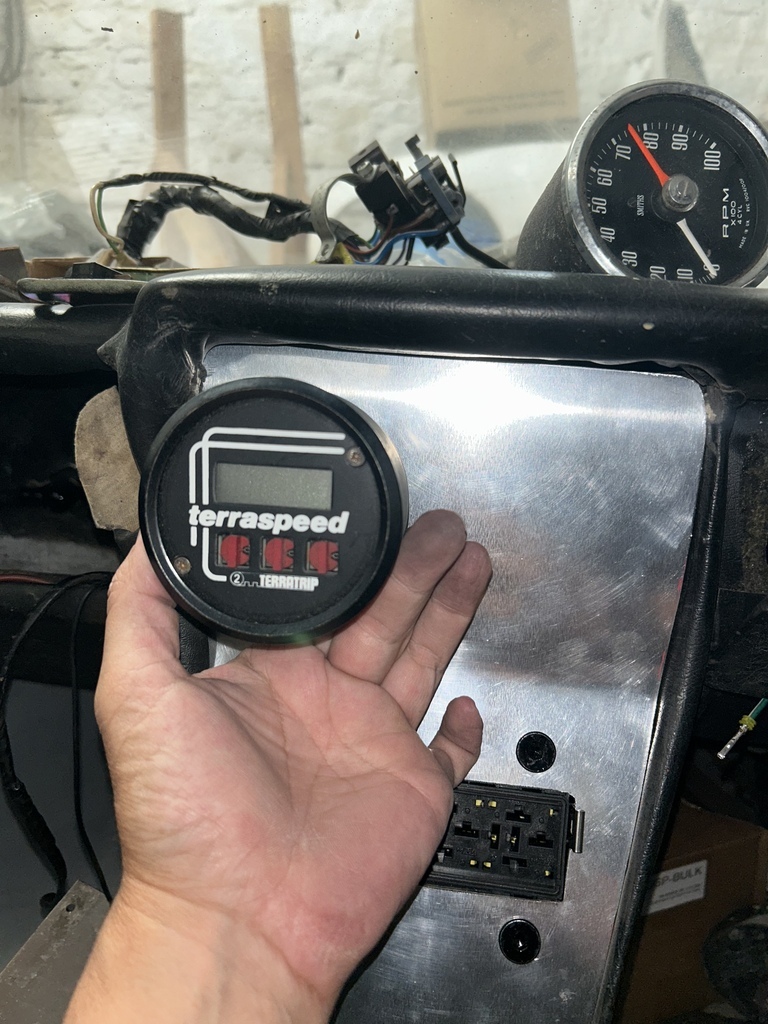
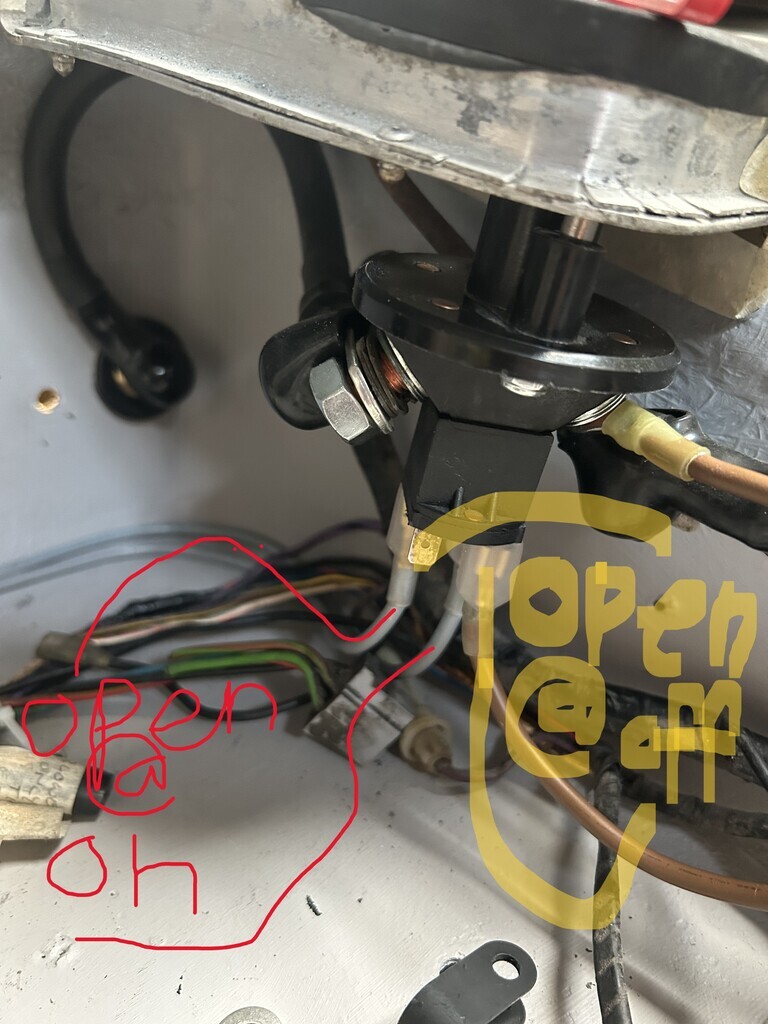
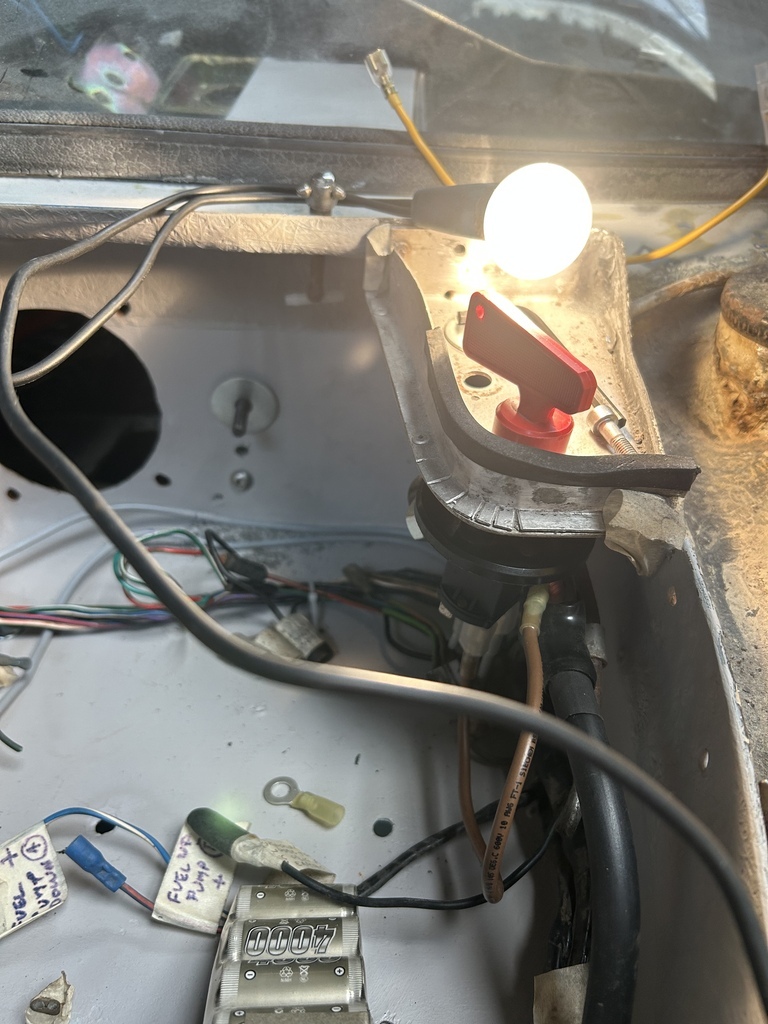
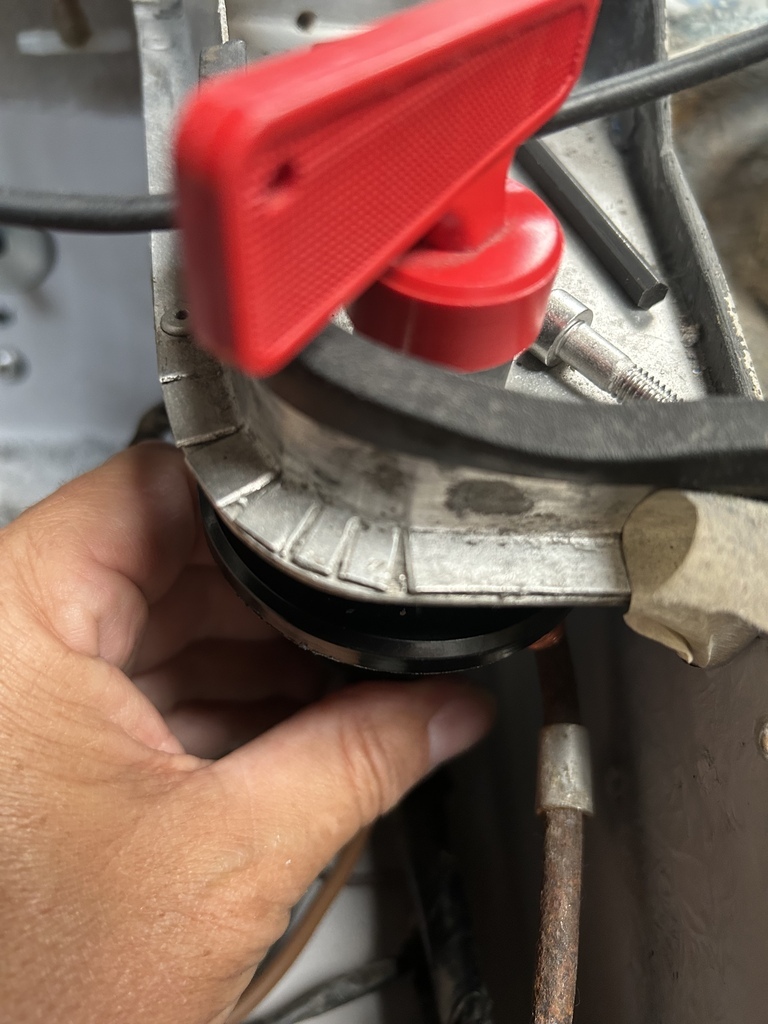
Continuing with my cheeky-half-pint rapid-fire bite-sized updates....
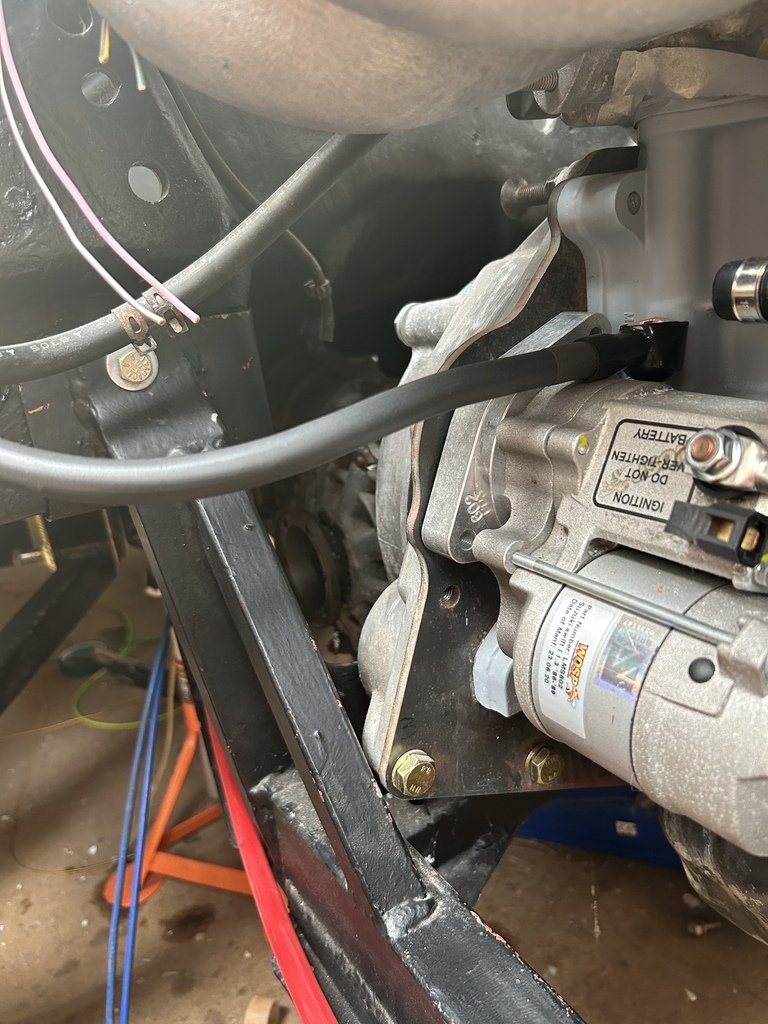
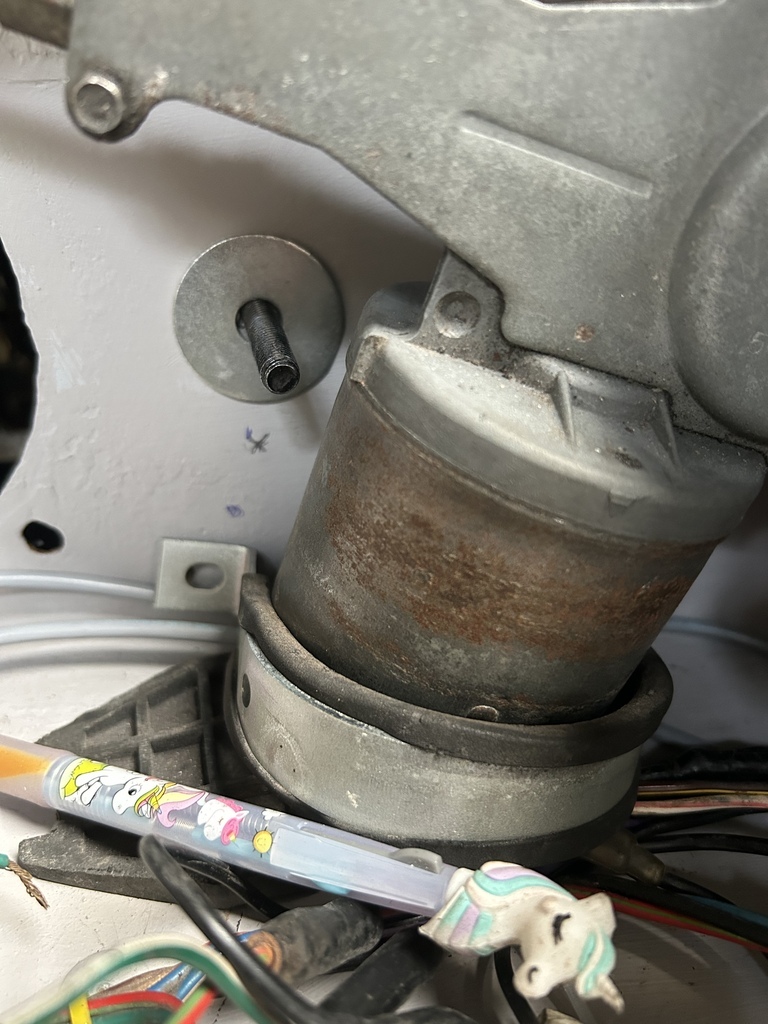
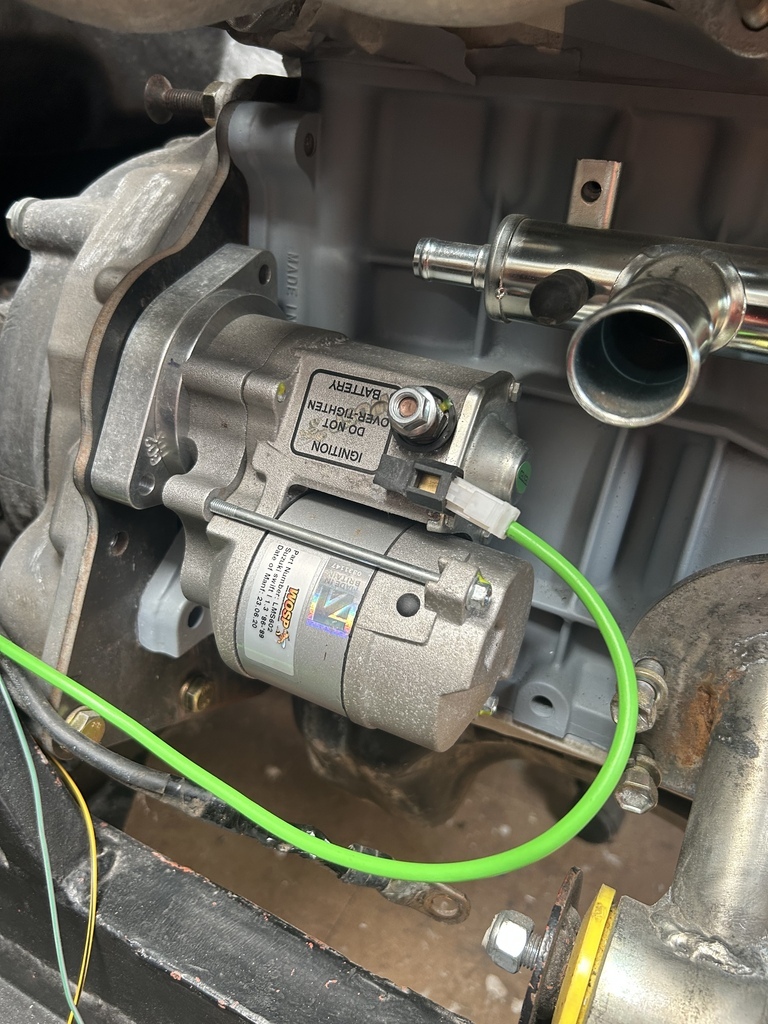
As far as the starter motor mount sat, I was here:
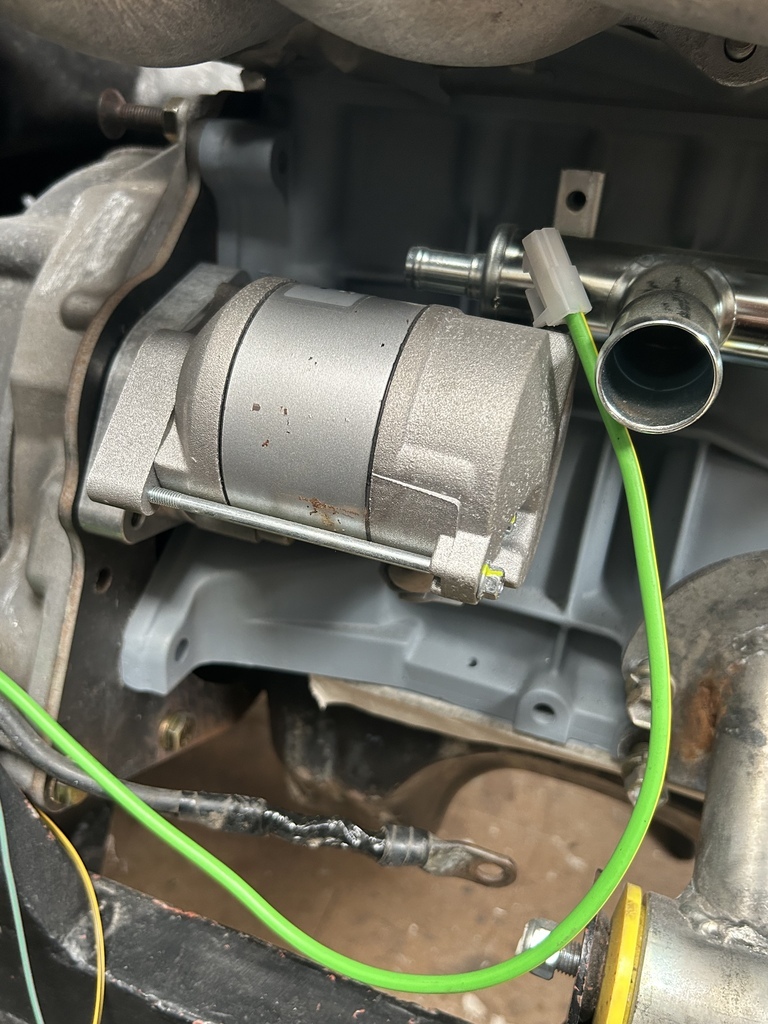
Here the starter was as originally supplied, with threaded mounts. I hadn't 'clocked' it around any of its muli-hole adjustment positions, as I don't think I knew where it was going to sit ref the large water rail arriving from the right hand side of the engine. The mount flange was threaded, and I had specced this to work with OE spec dowels. It was a really nice fit, but as it proved, was not really going to work in the layout if I wanted the starter motor to be detachable without taking apart the bellhousing etc.
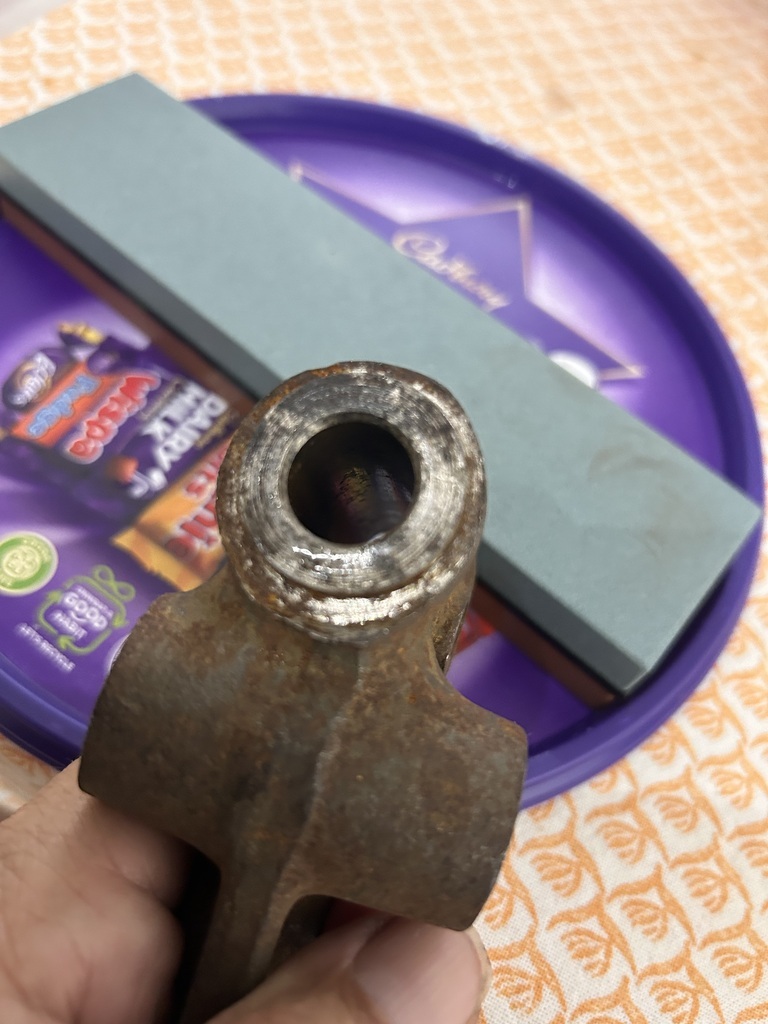
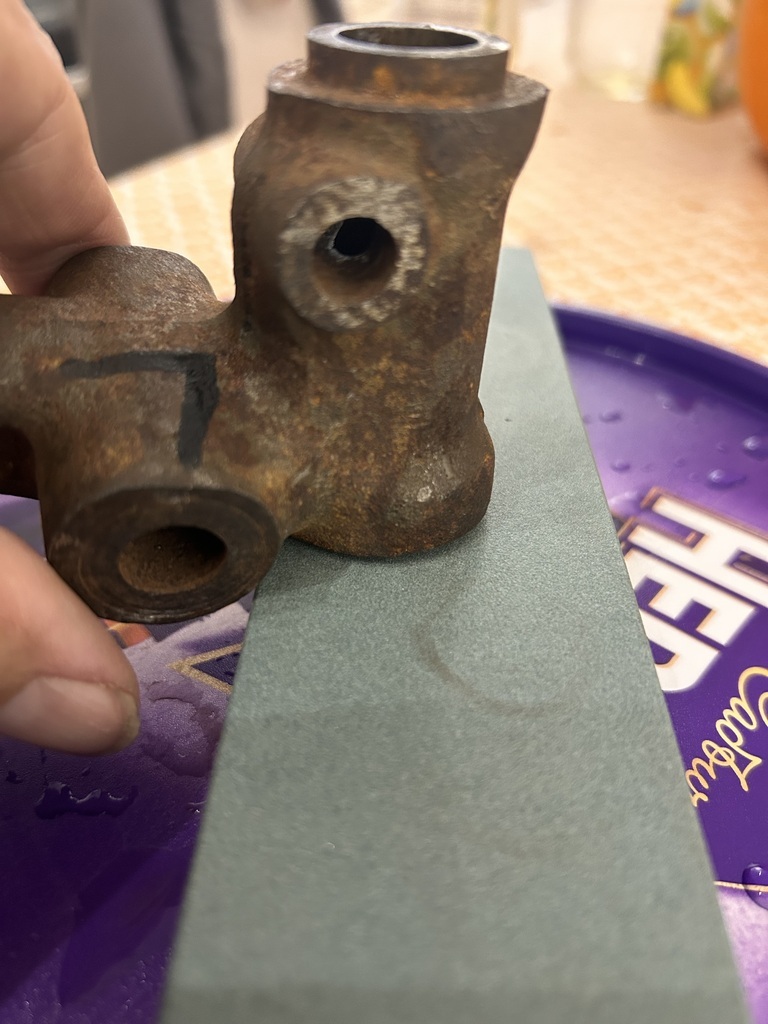
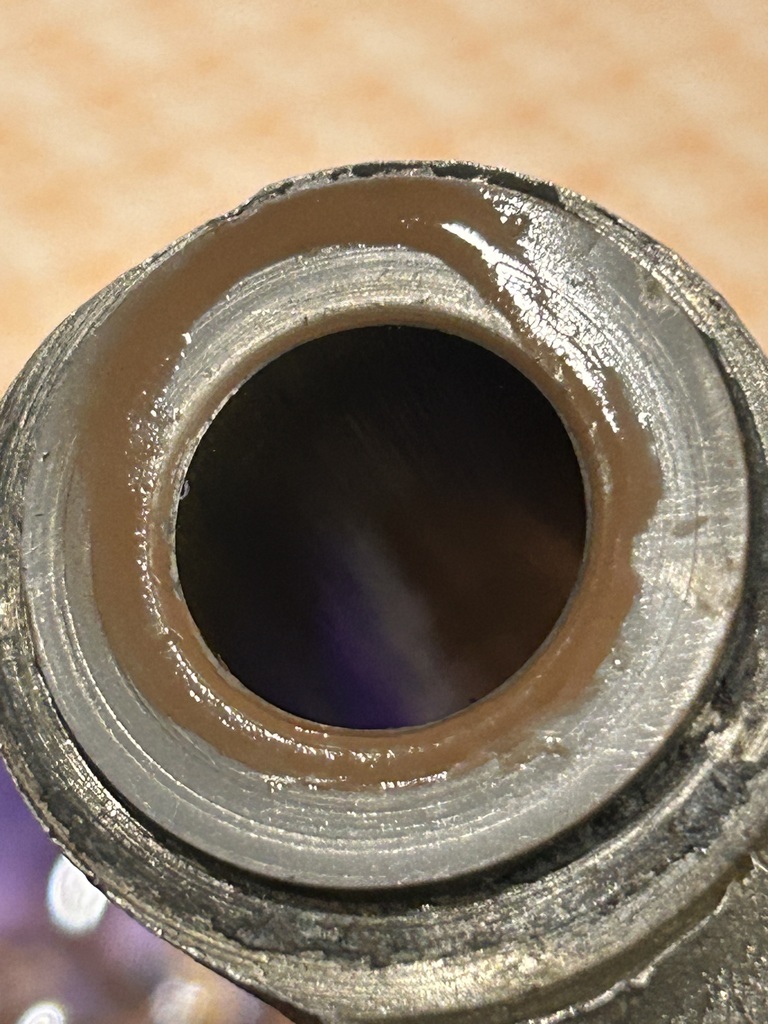
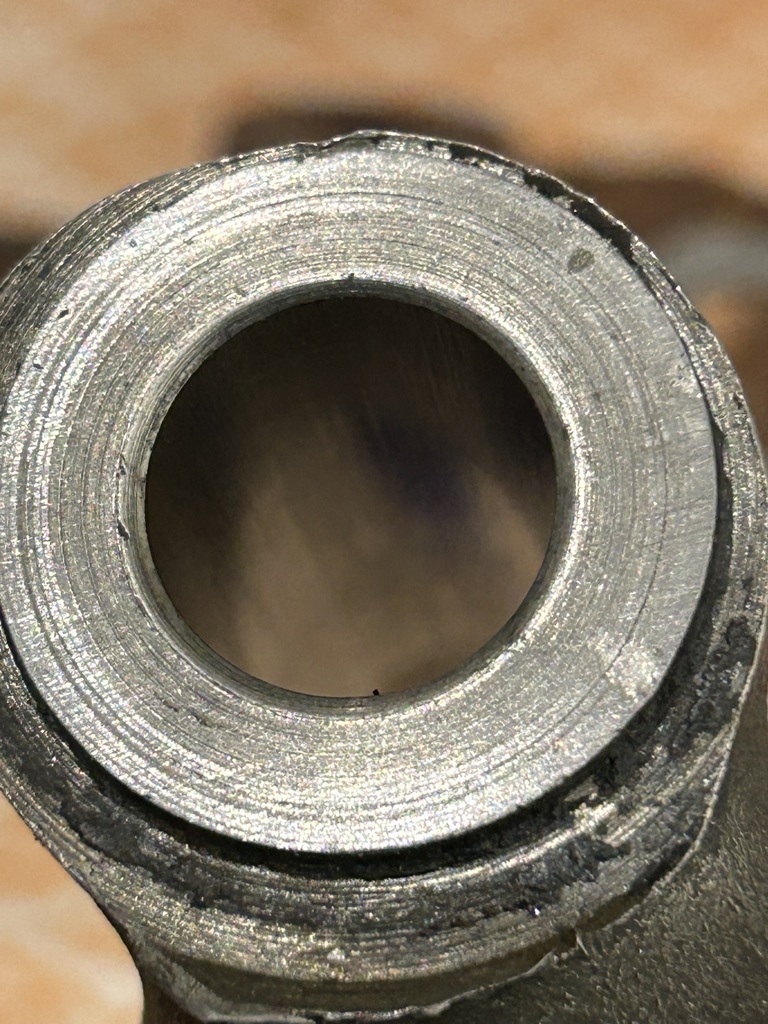
So, first job, remove original flange:
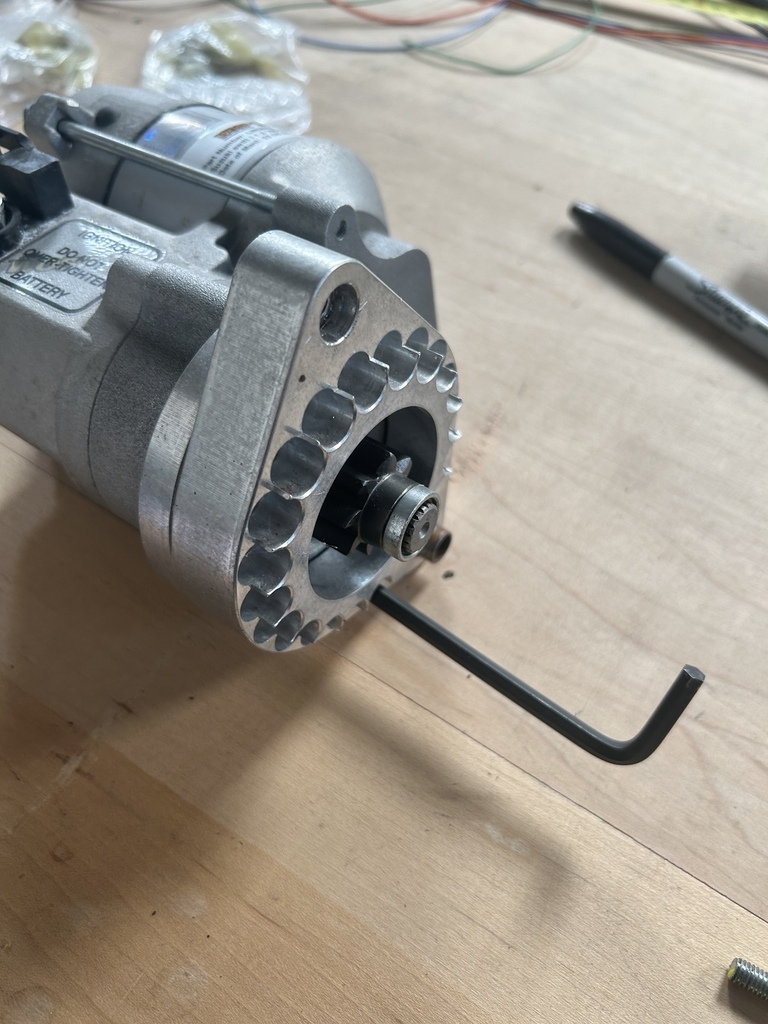
To get here
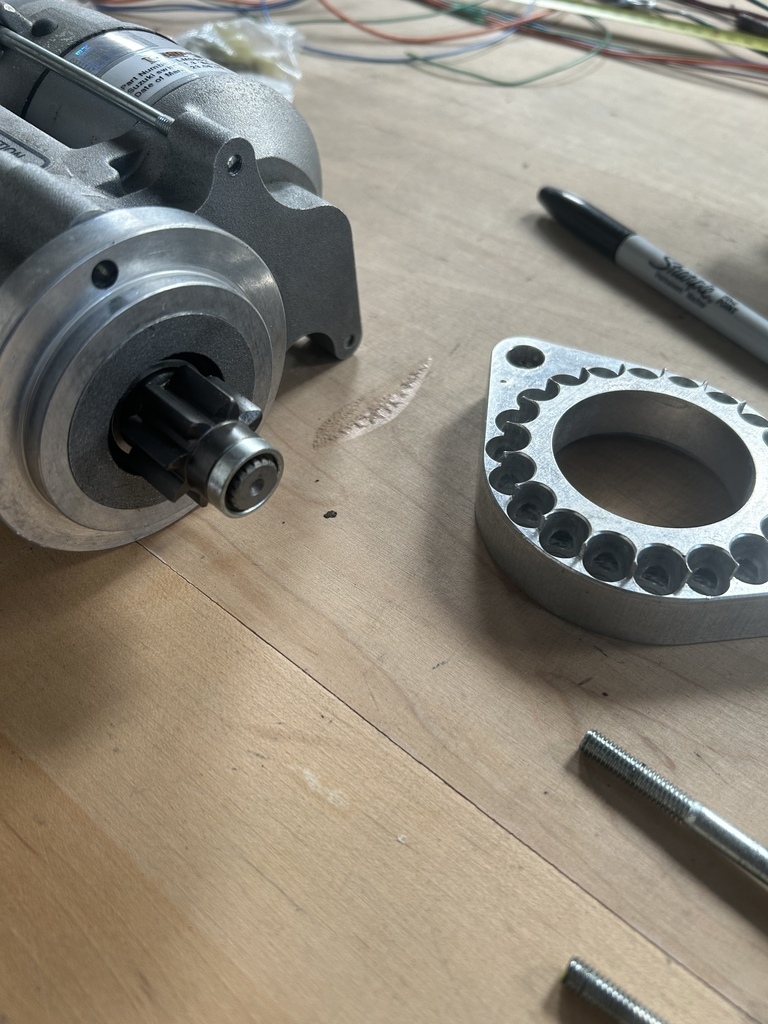
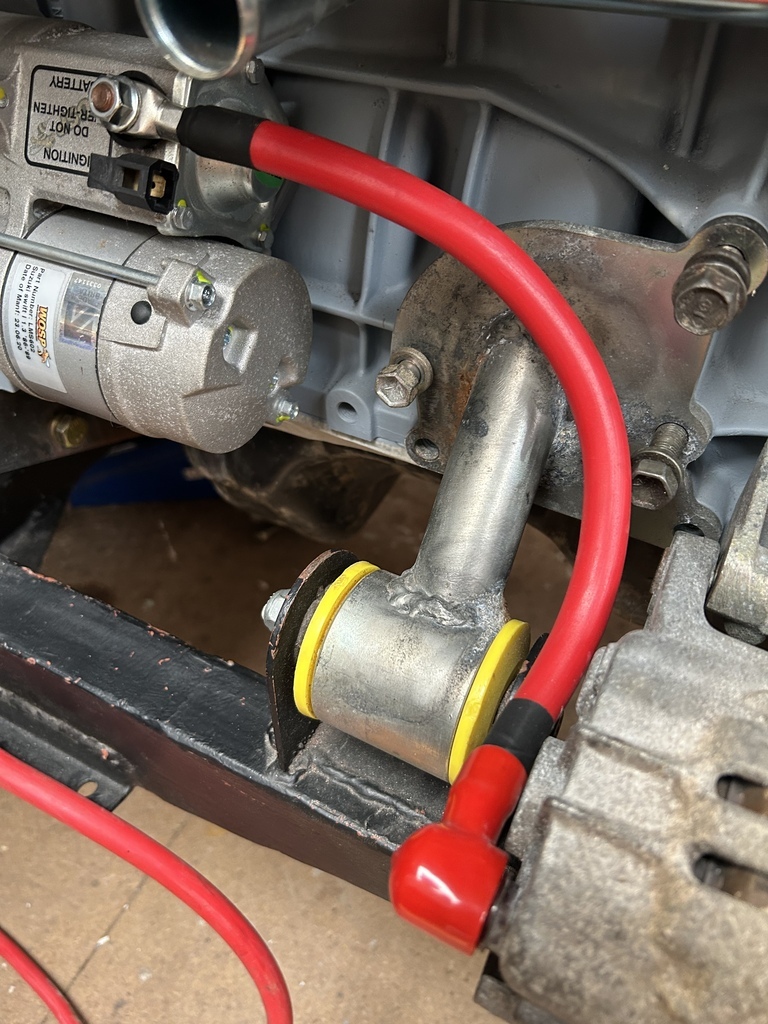
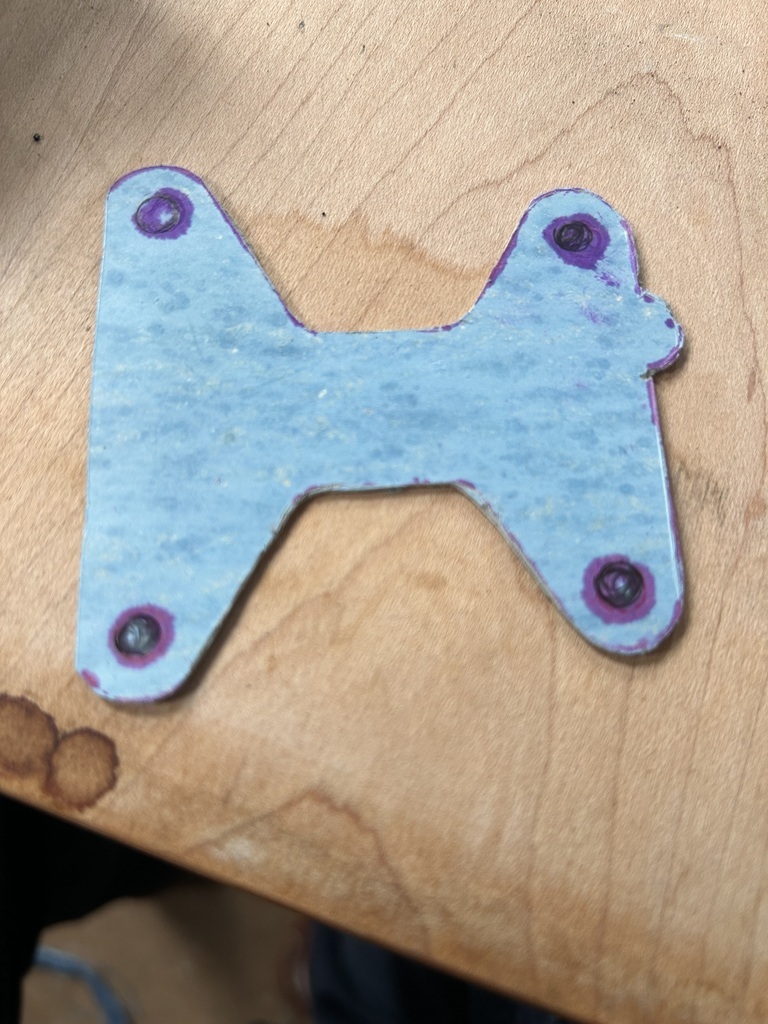
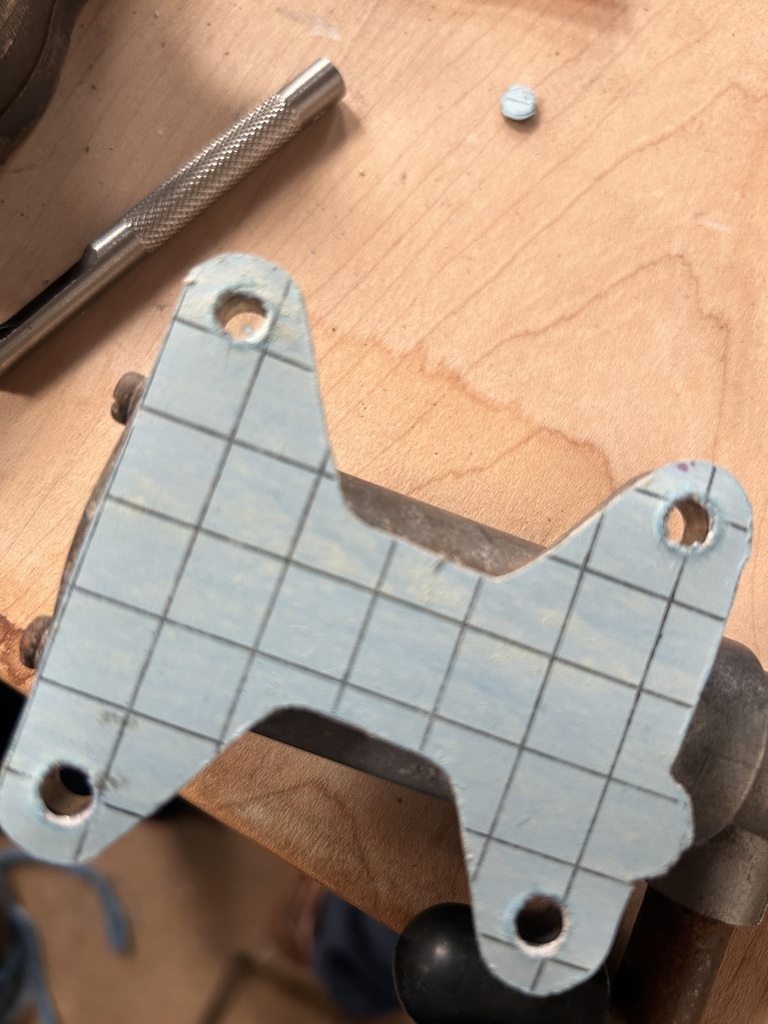
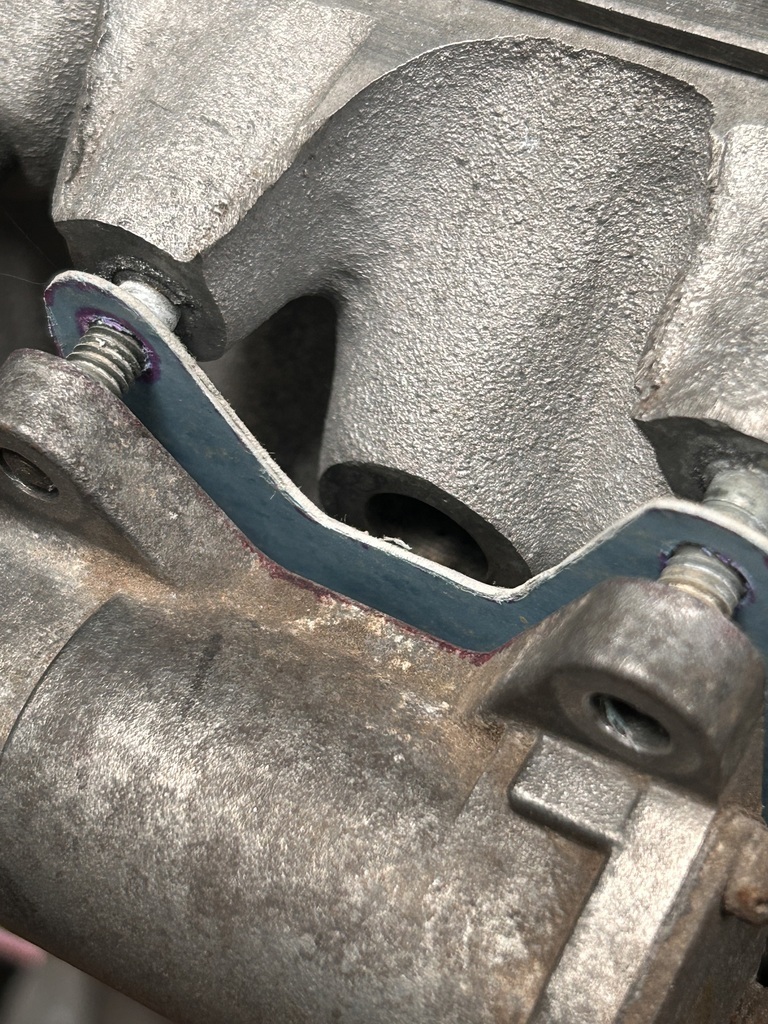
Sizing up new replacement flange with non-threaded mounts to work with an new system of fixed studs and threaded positioning spacers. Here it is on the block
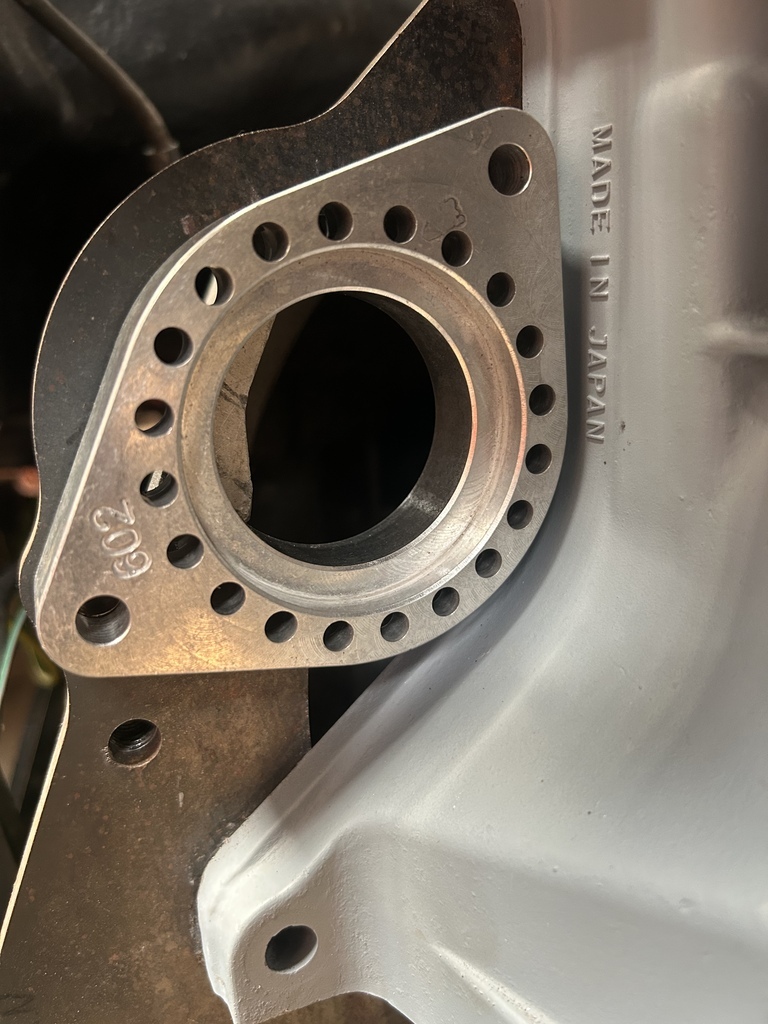
And after a little bit of faffing clocking the starter around to what seems to be a good 'starting position' 

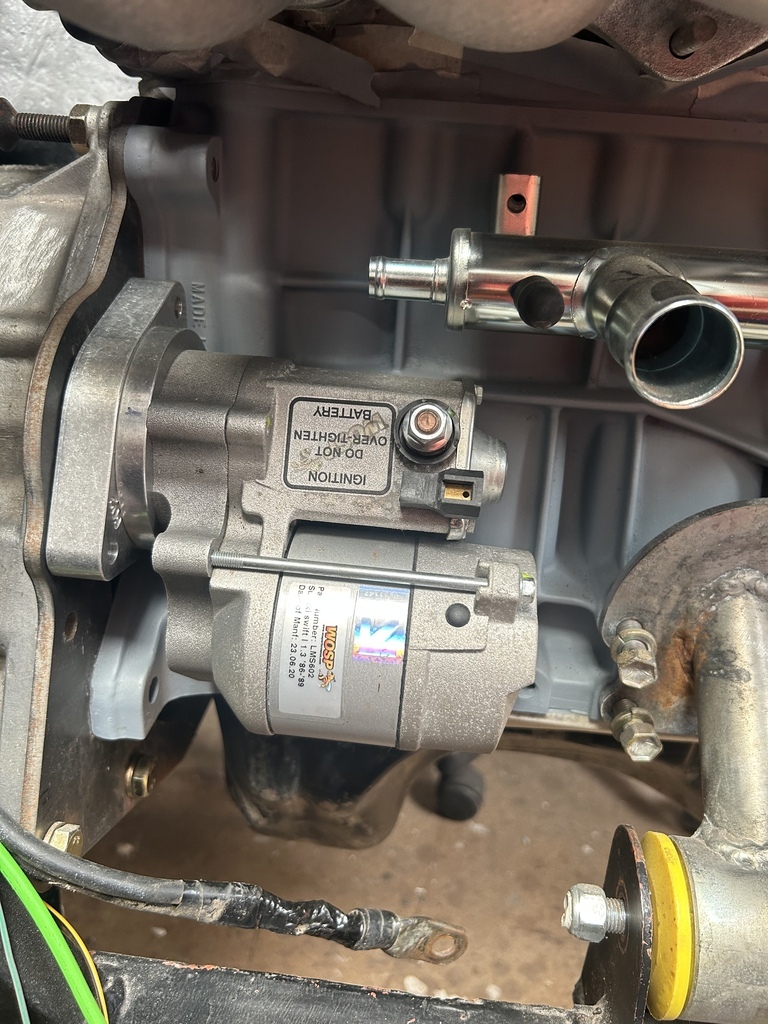
Gratuitous second angle
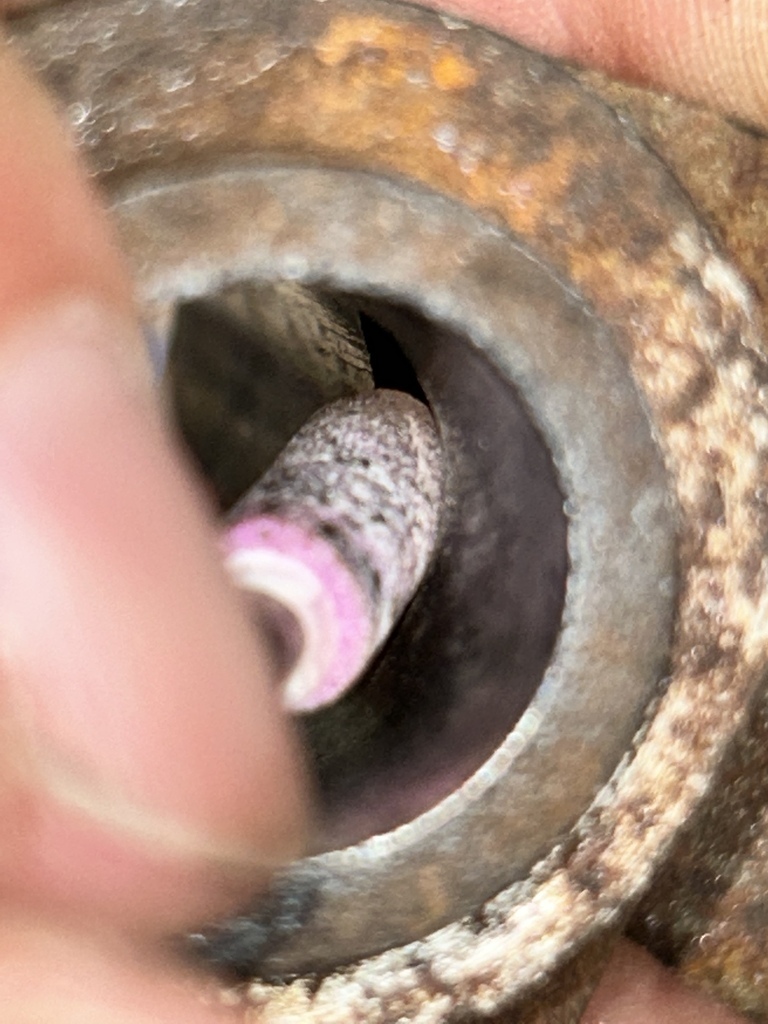
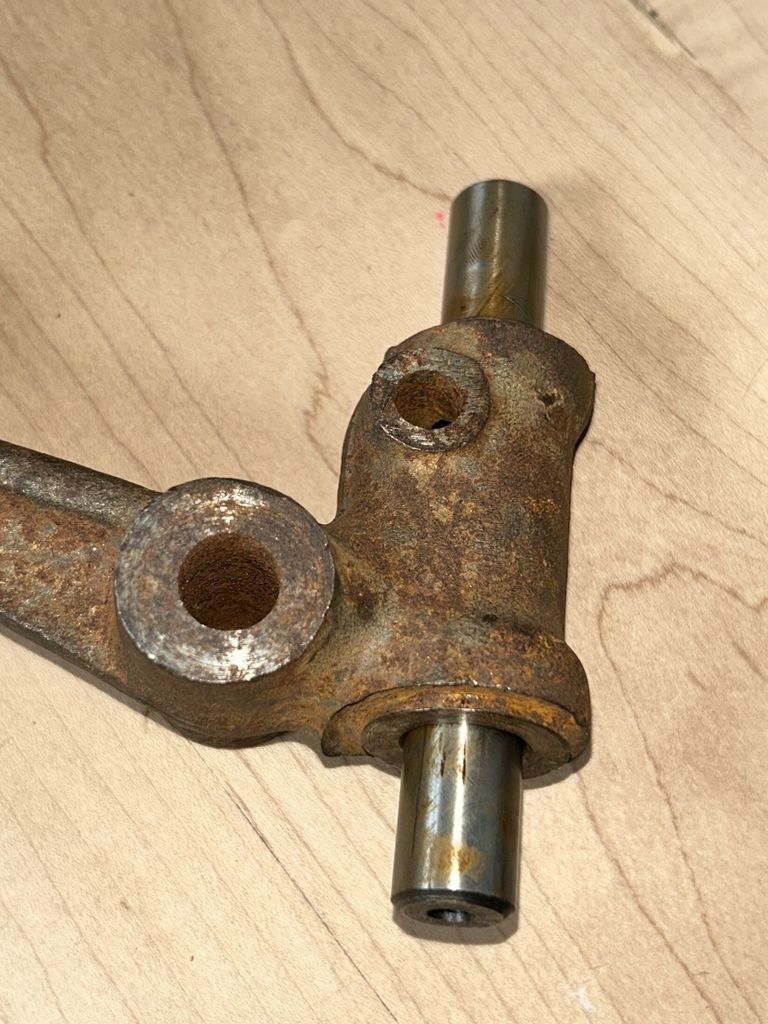
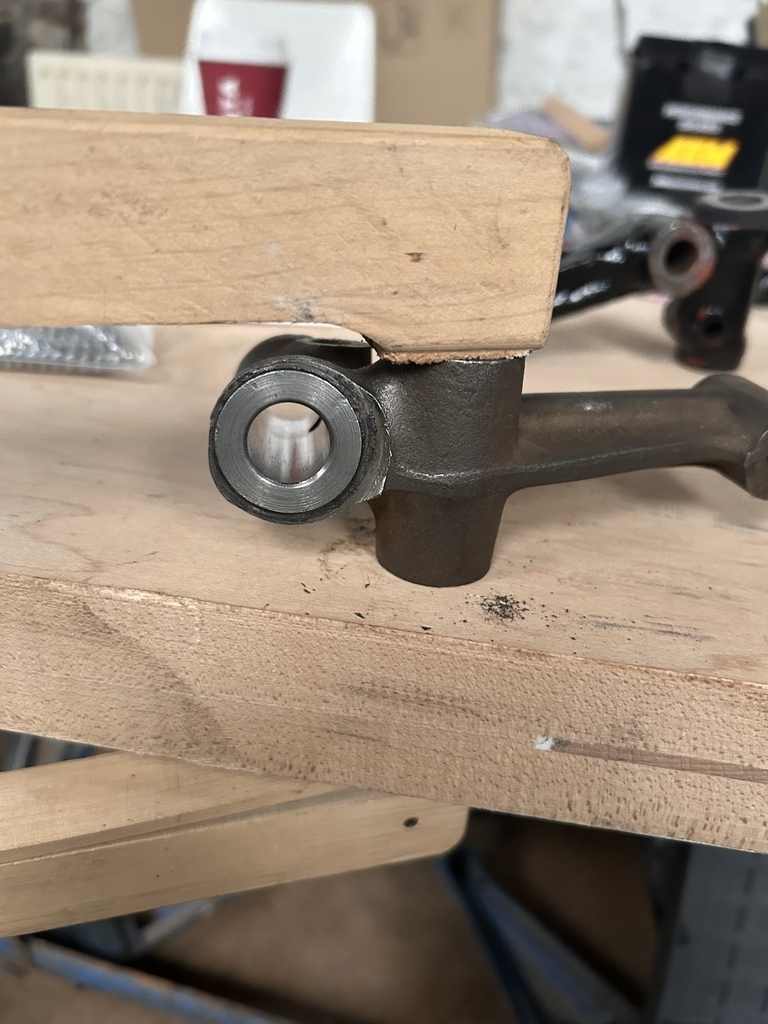
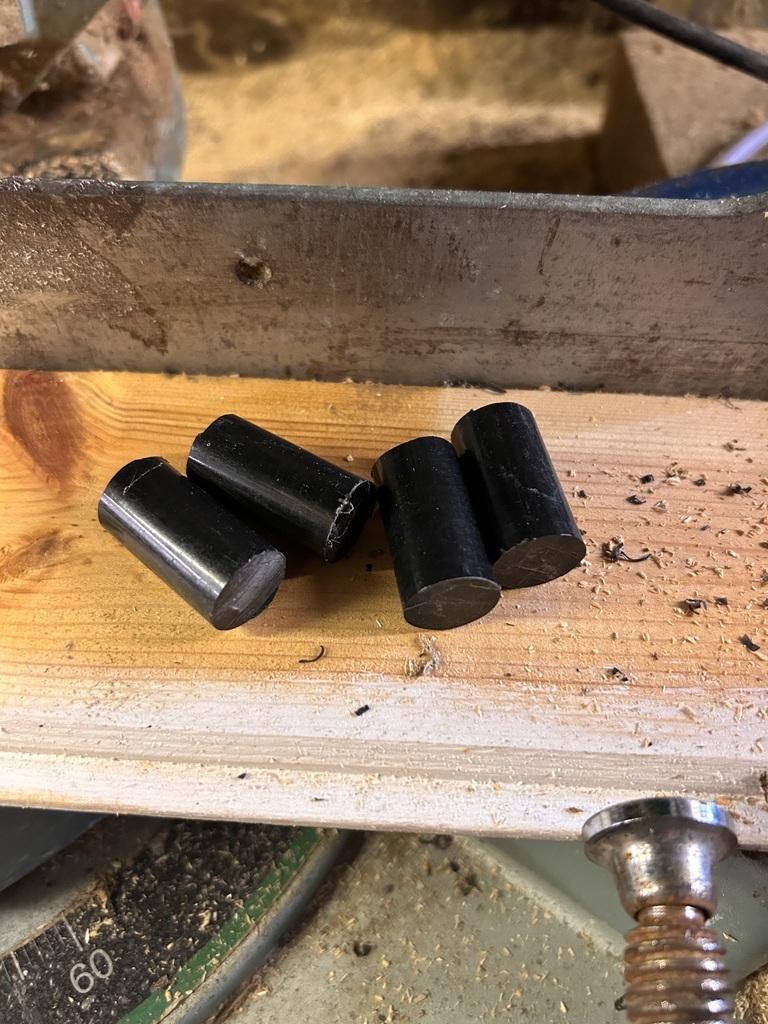
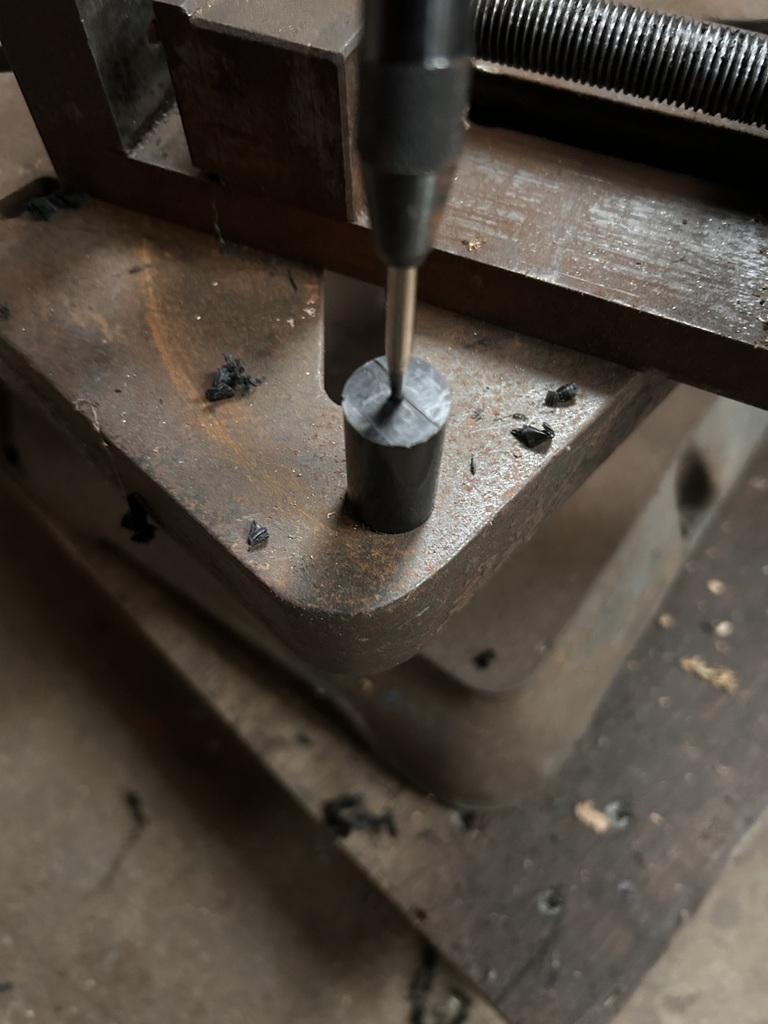
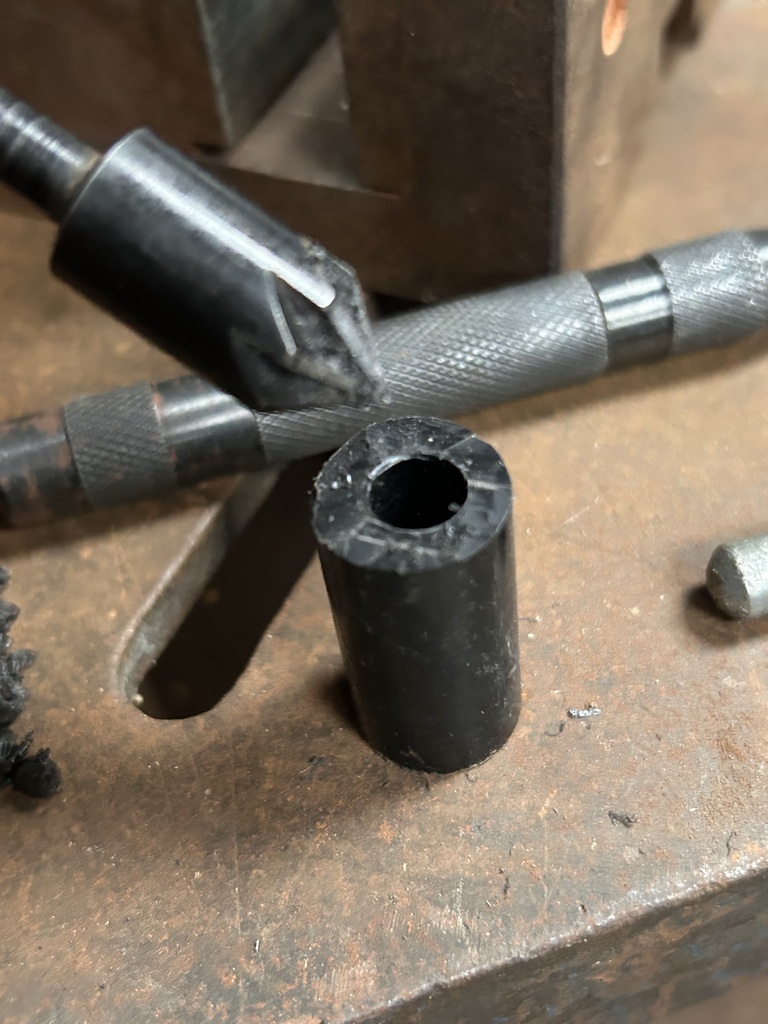
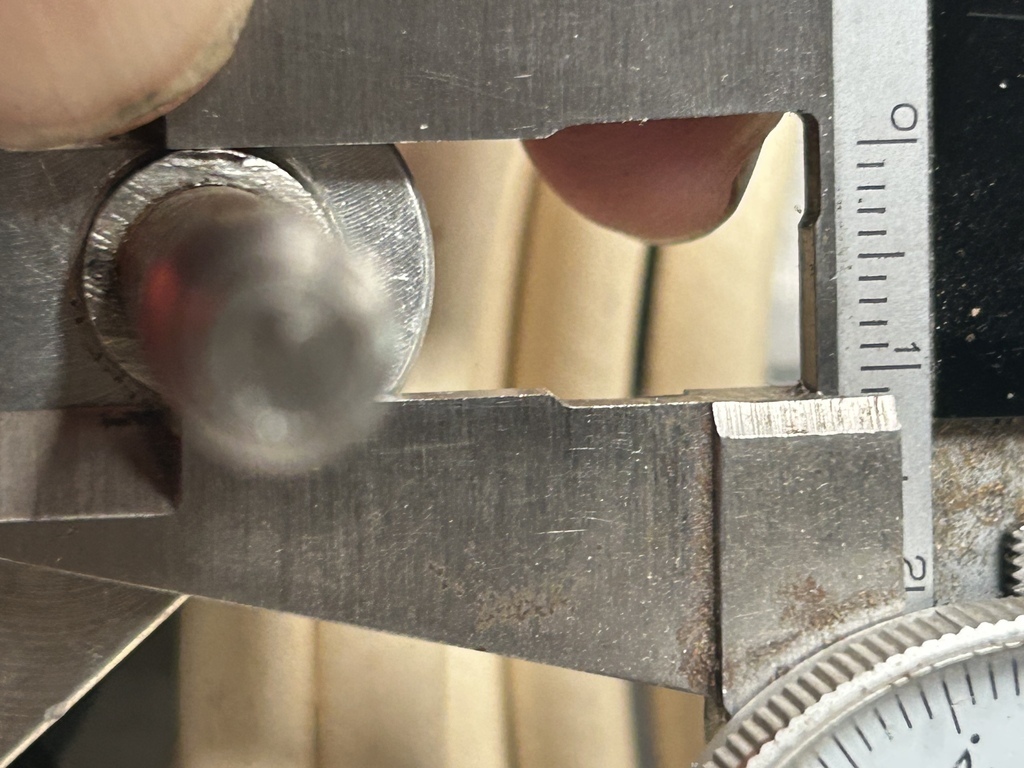
I wasted a good few minutes looking for the second 8mm stud that should have been in the revised adapter plate to mount the starter, and its corresponding sleeve spacer thingy, but no go. So I took a quick measurement and ordered up a replacement. This is just sleeved bar, M8 thread and as measured (again) below at 11mm OD which happens to be the size of the dowel its replacing. Well not quite just happens, this is the kind of stuff I like to waste spend time poring over to find an off the shelf option in the absence of a lathe, or buying a custom spacer:
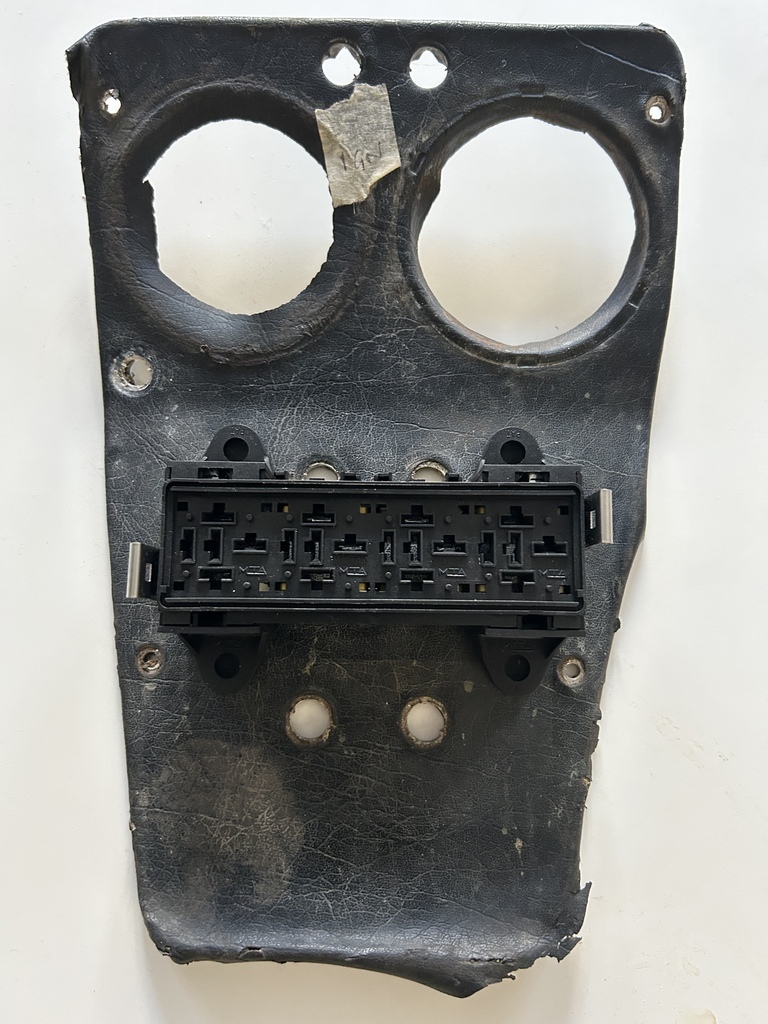
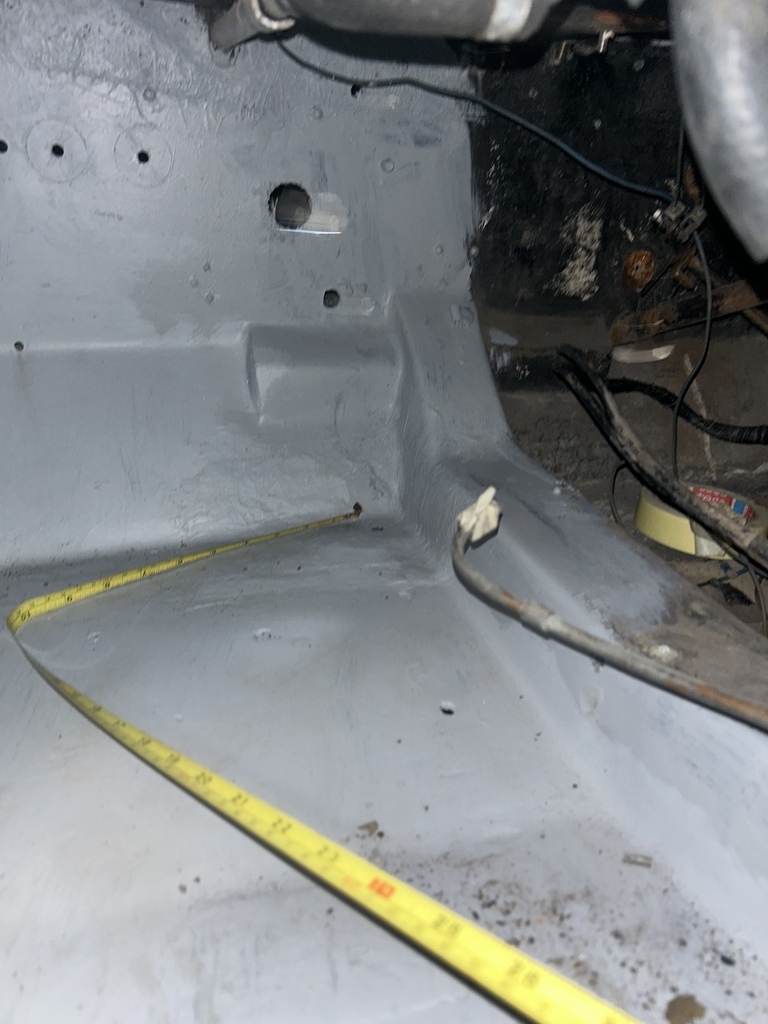
So with another bit of threaded rod on order I decided to turn my attention to prepping up the glovebox area in the passenger side dash.
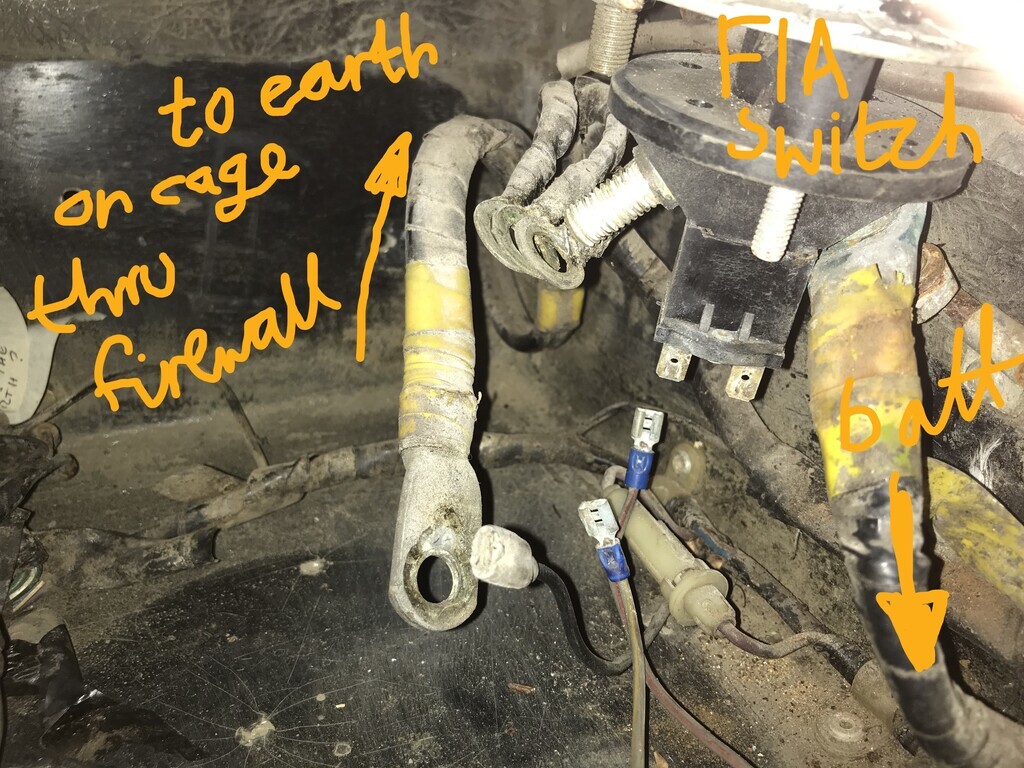
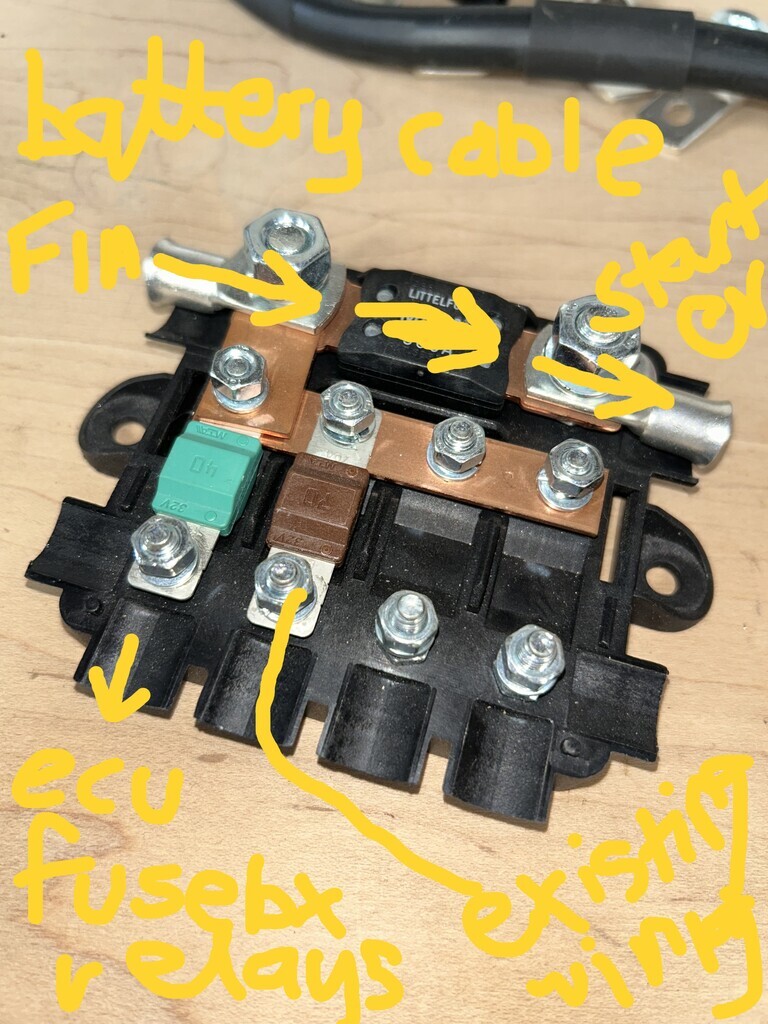
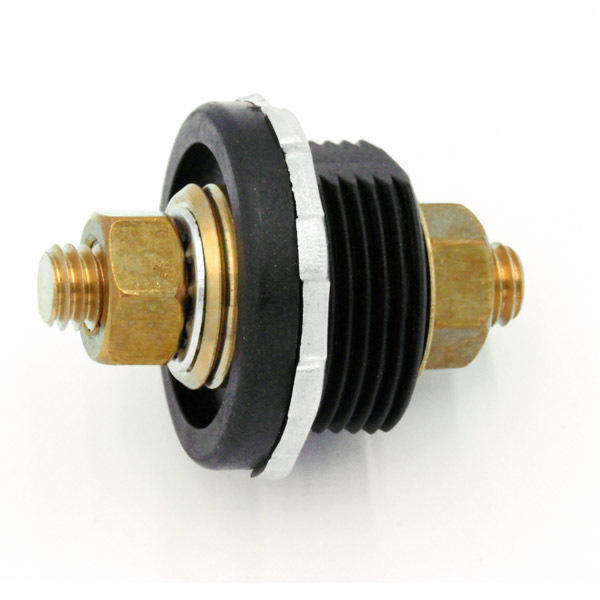
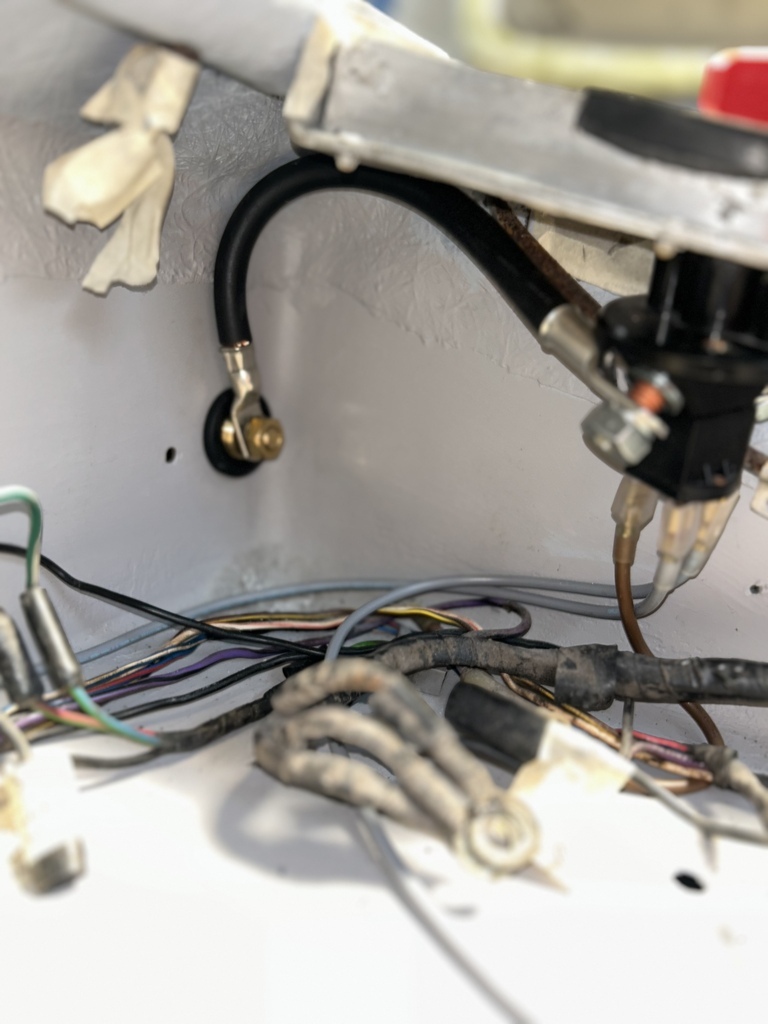
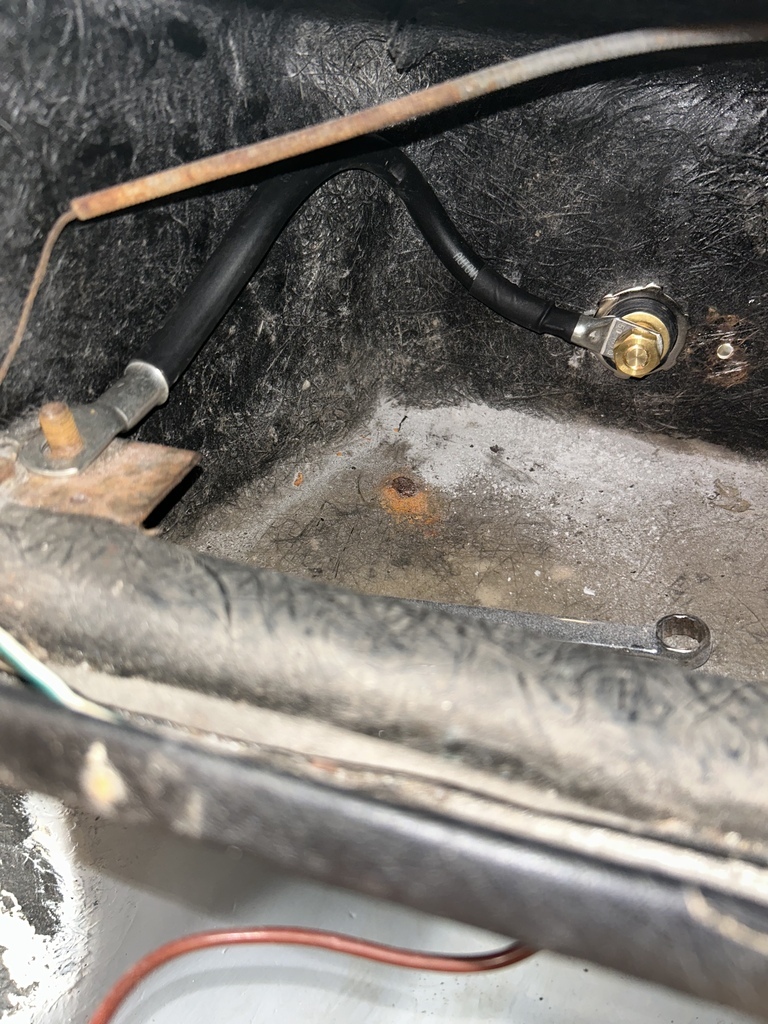
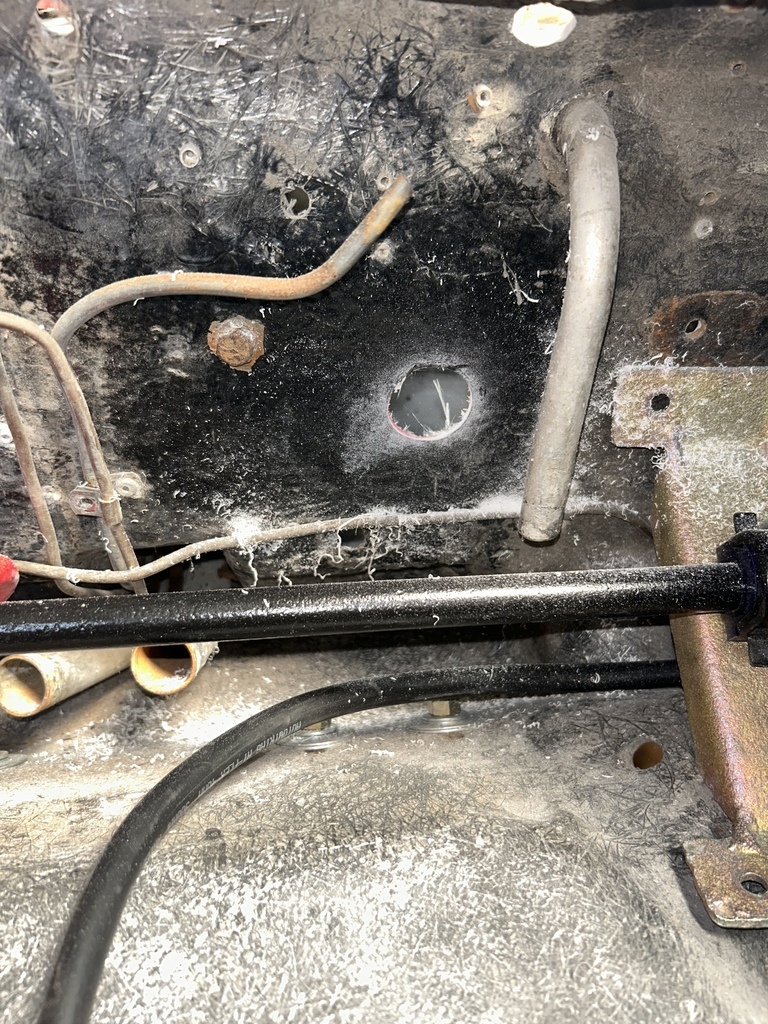
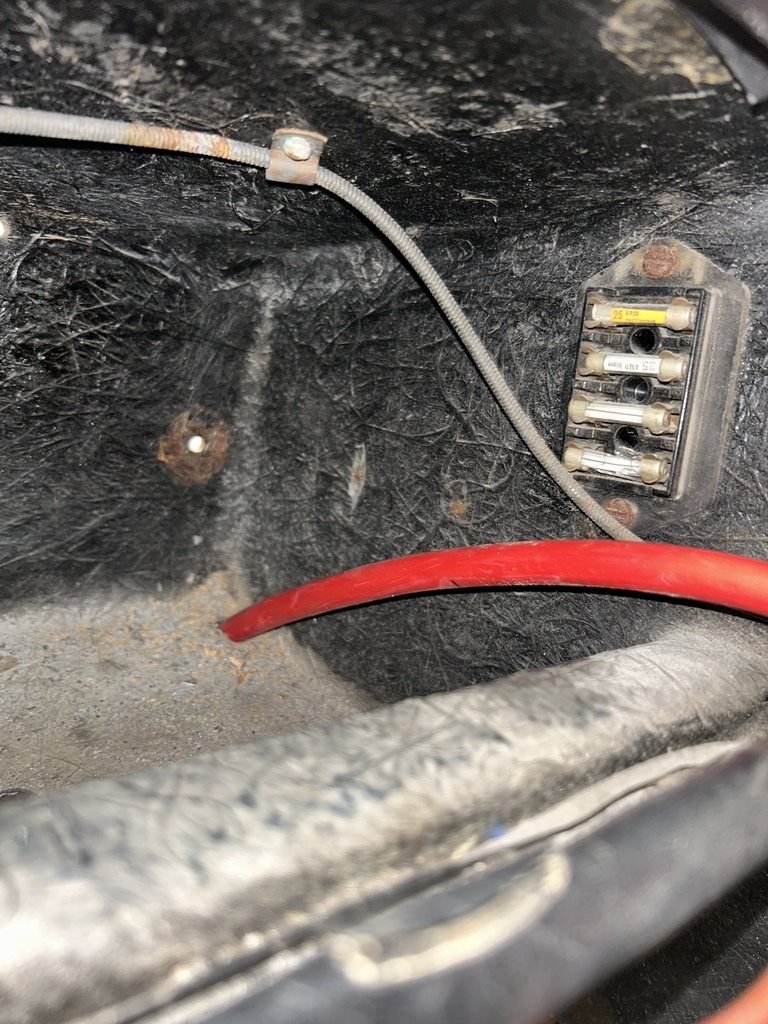
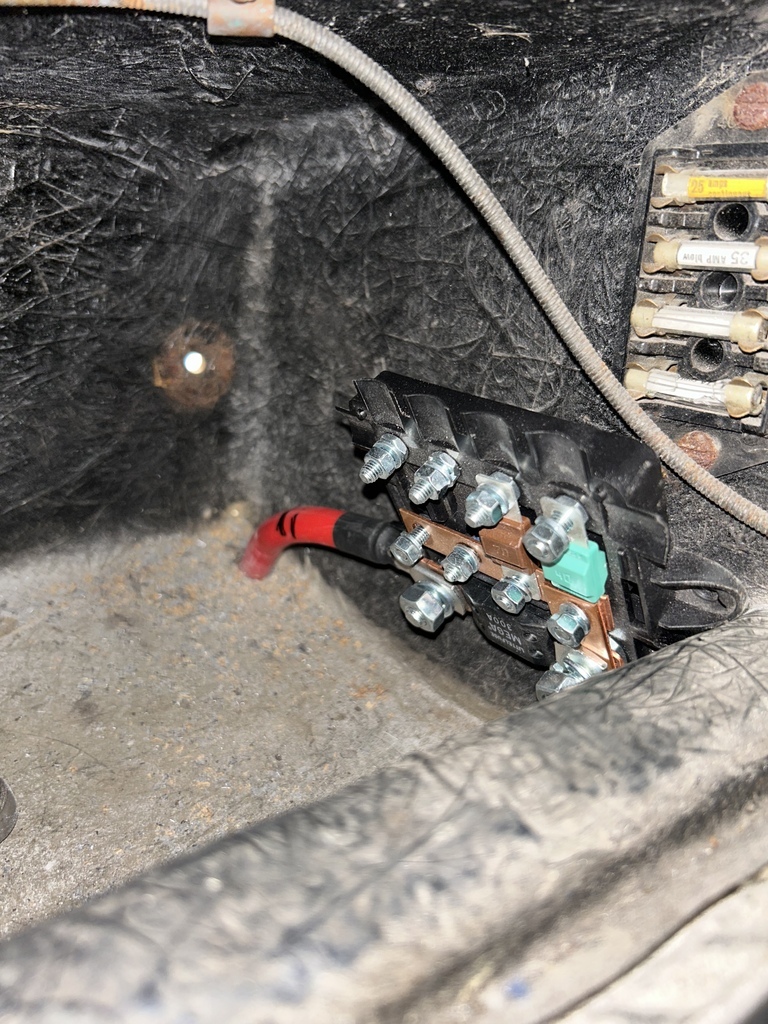
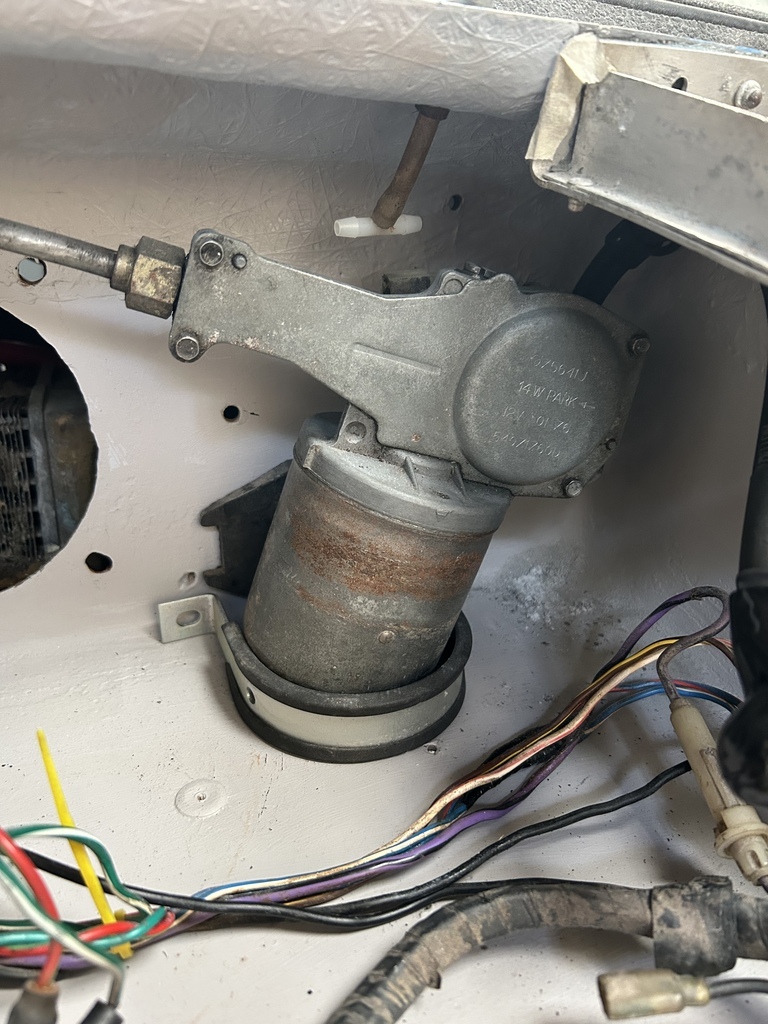
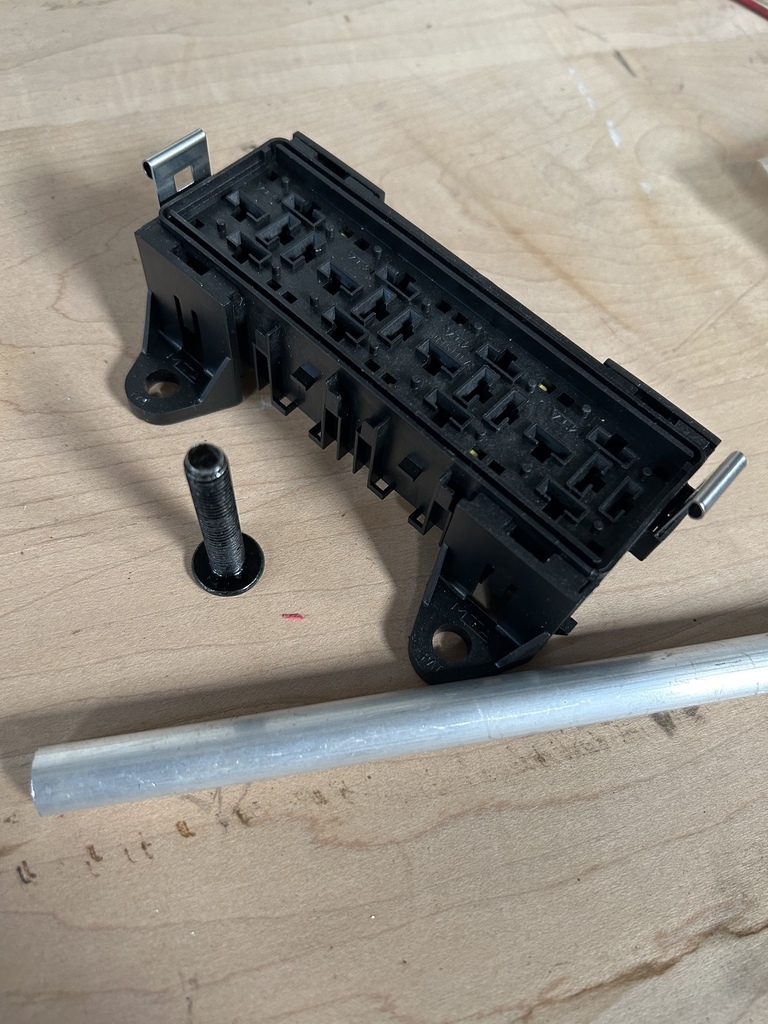
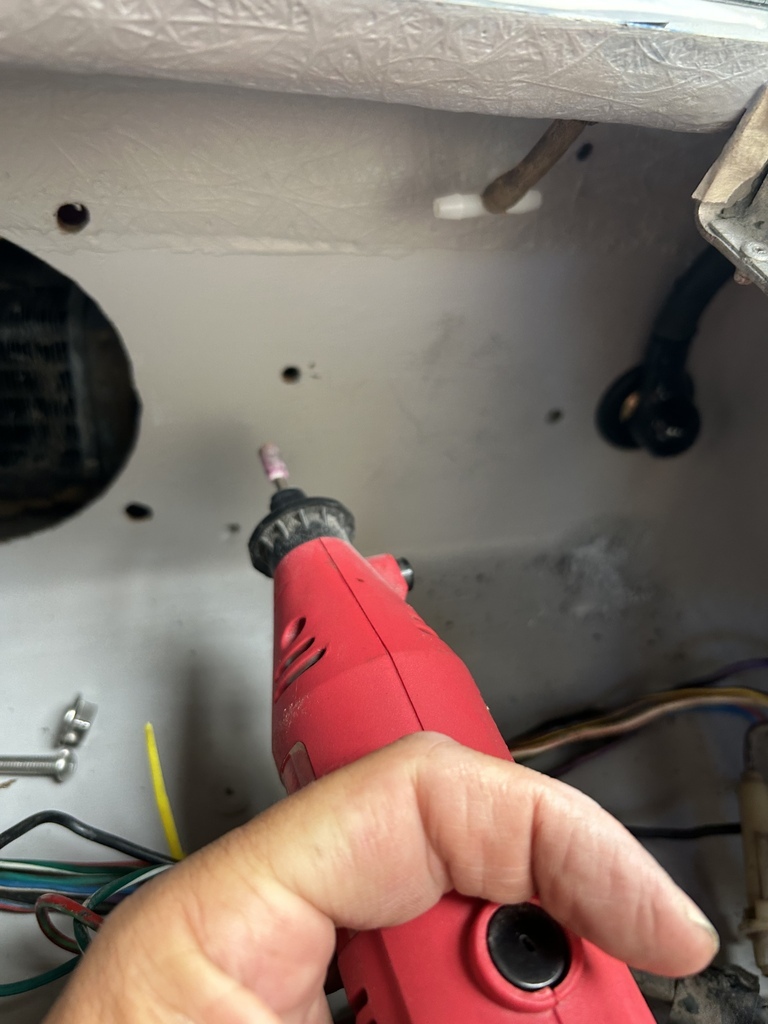
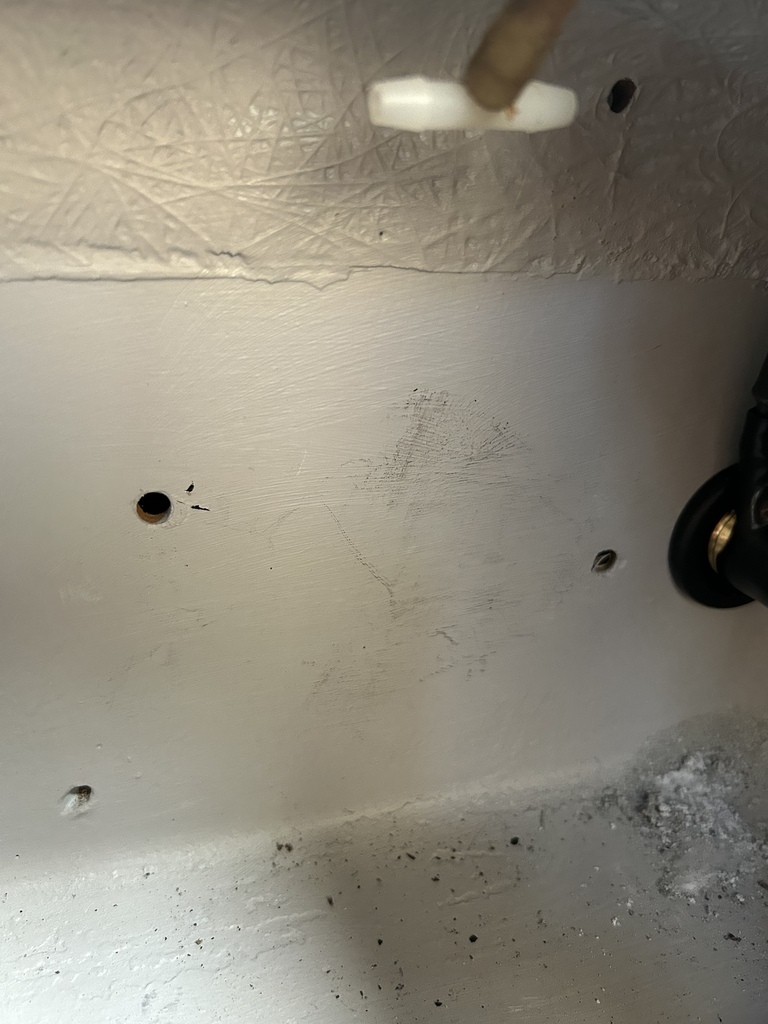
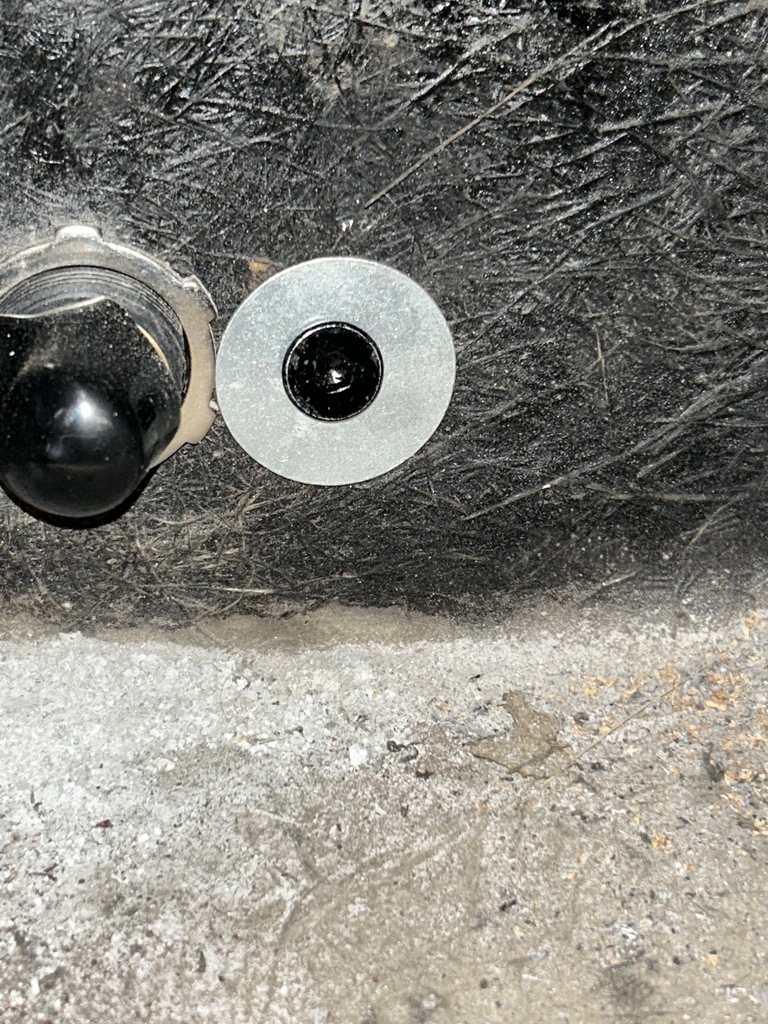
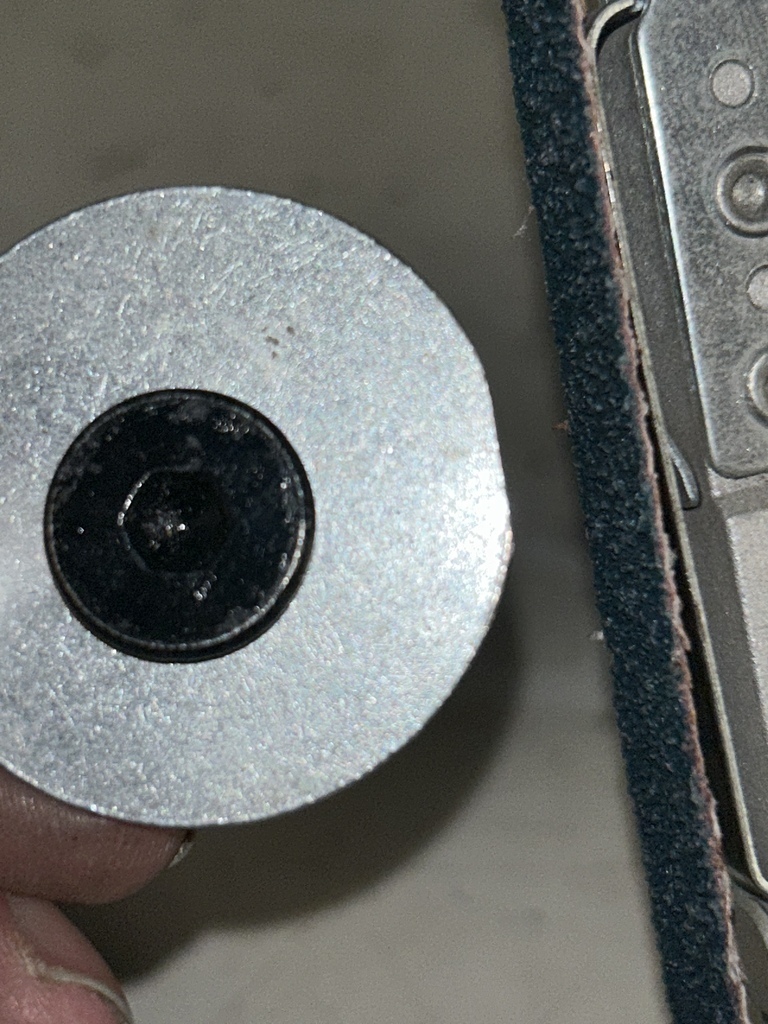
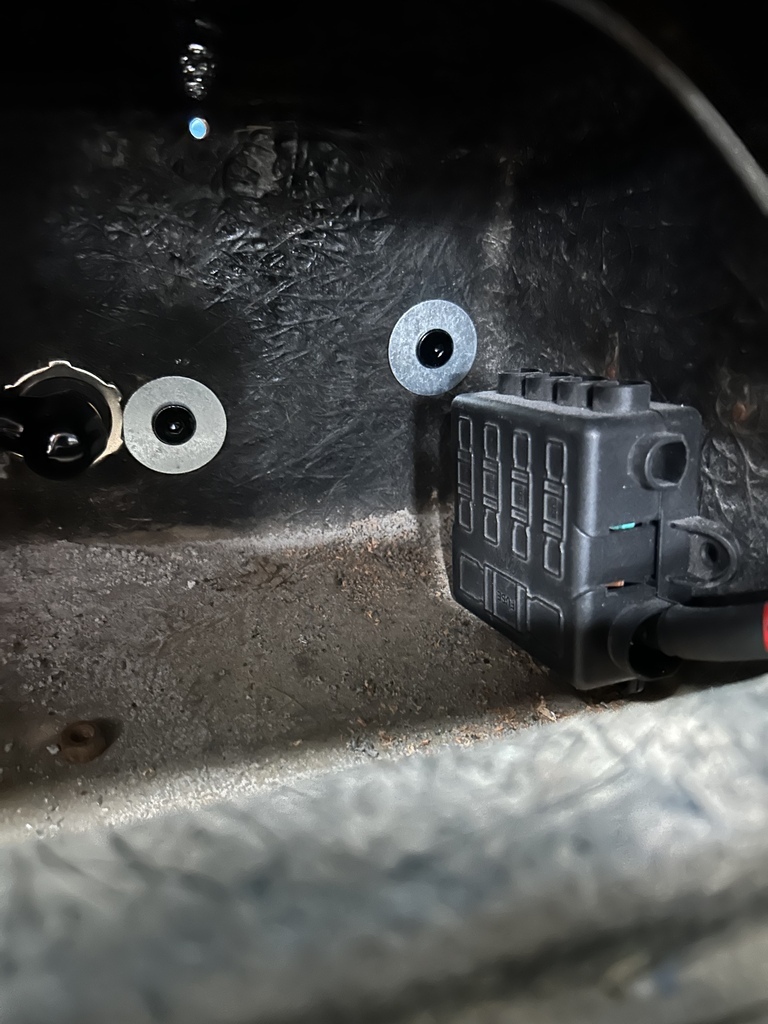
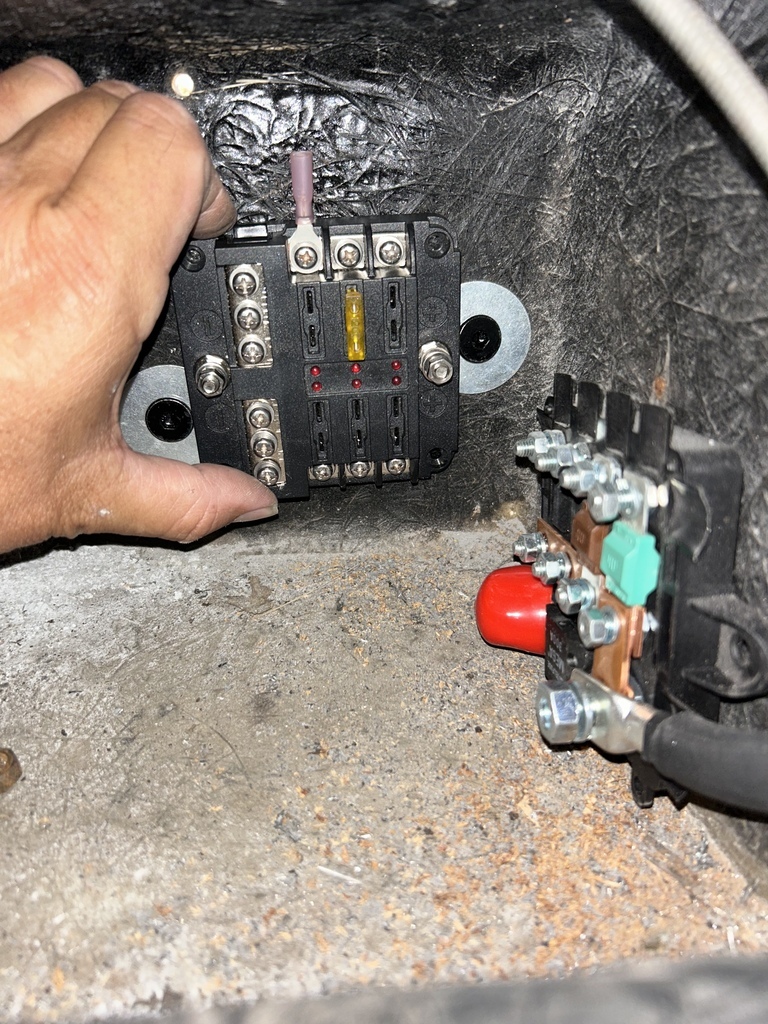
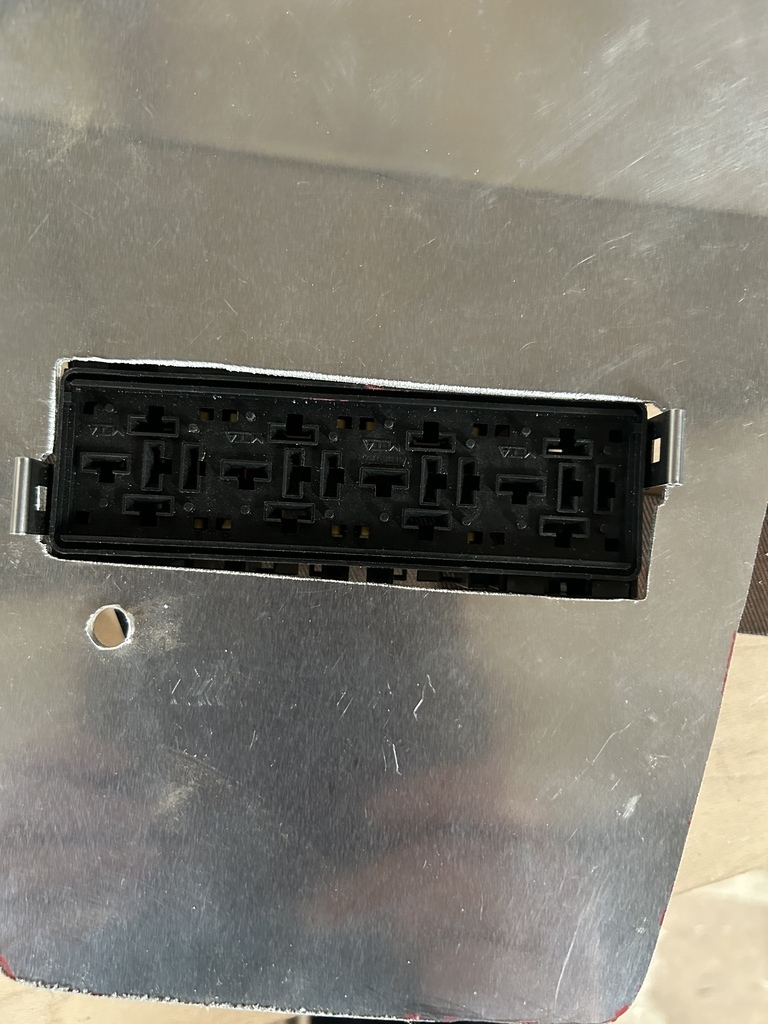
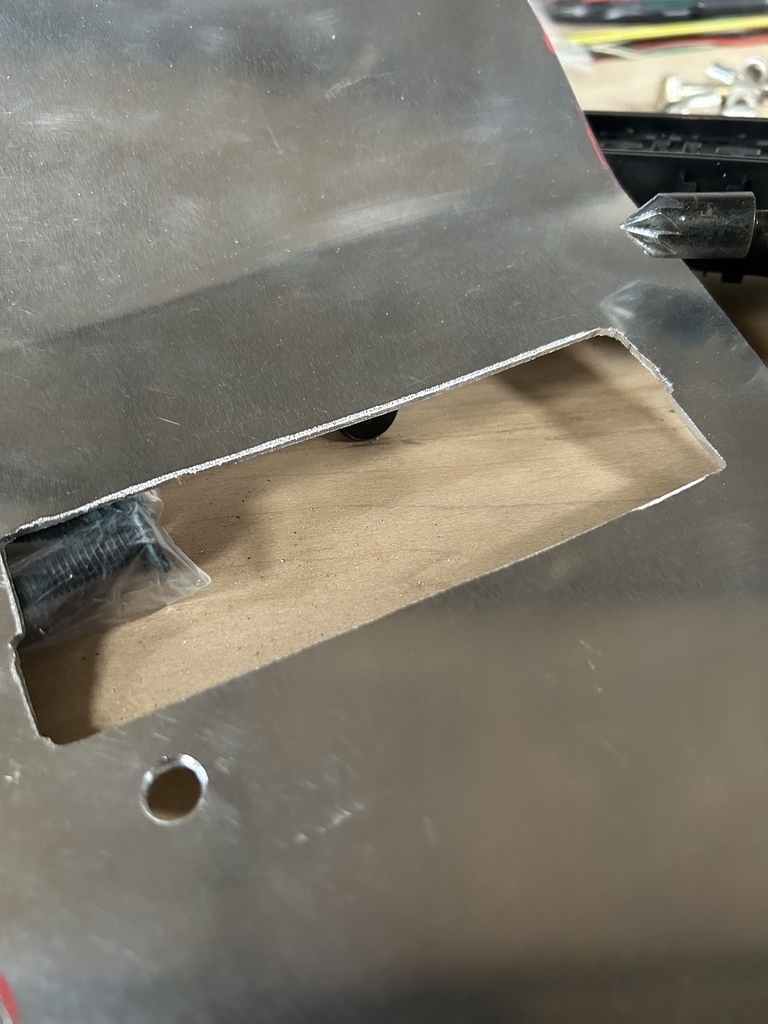
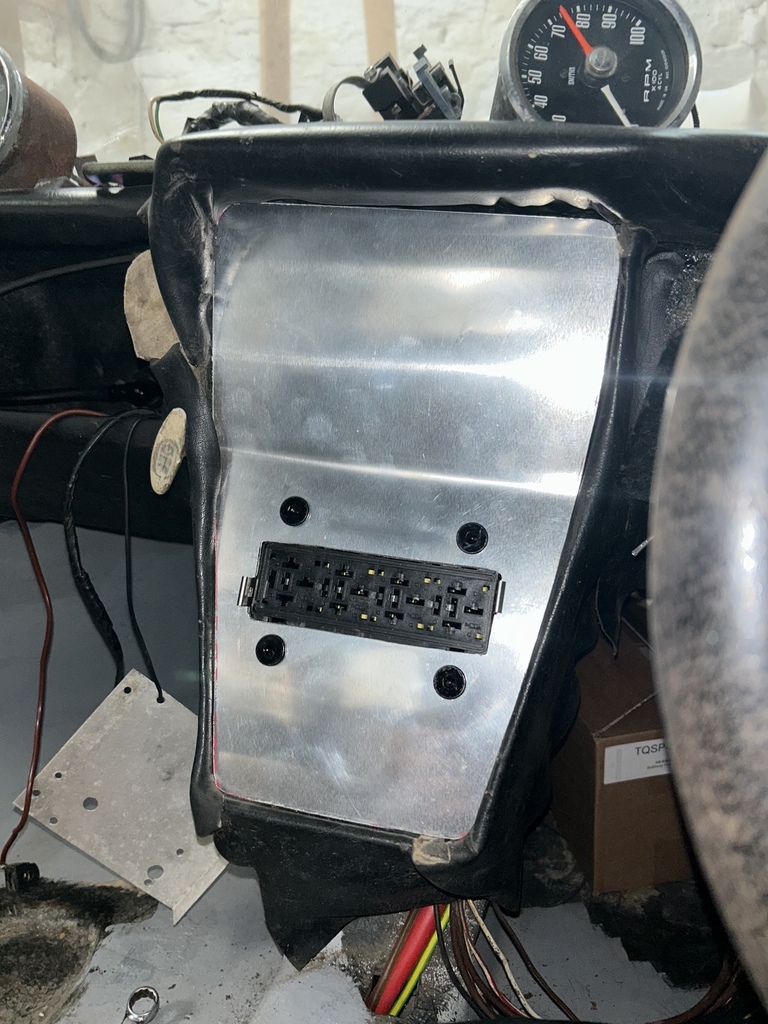
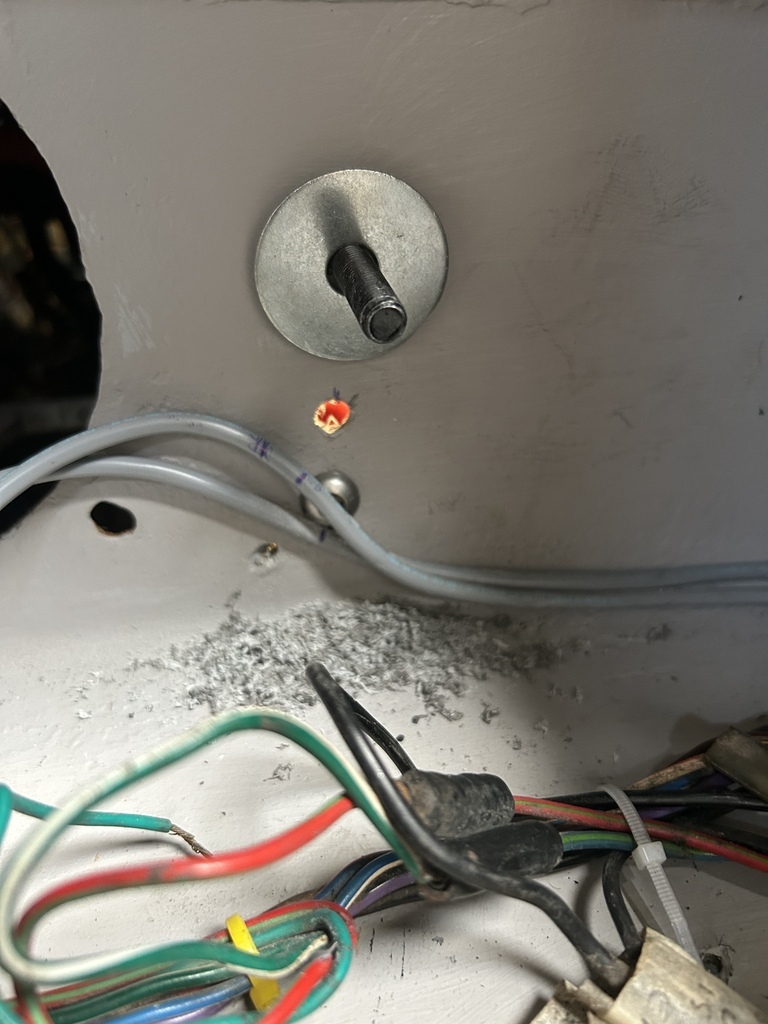
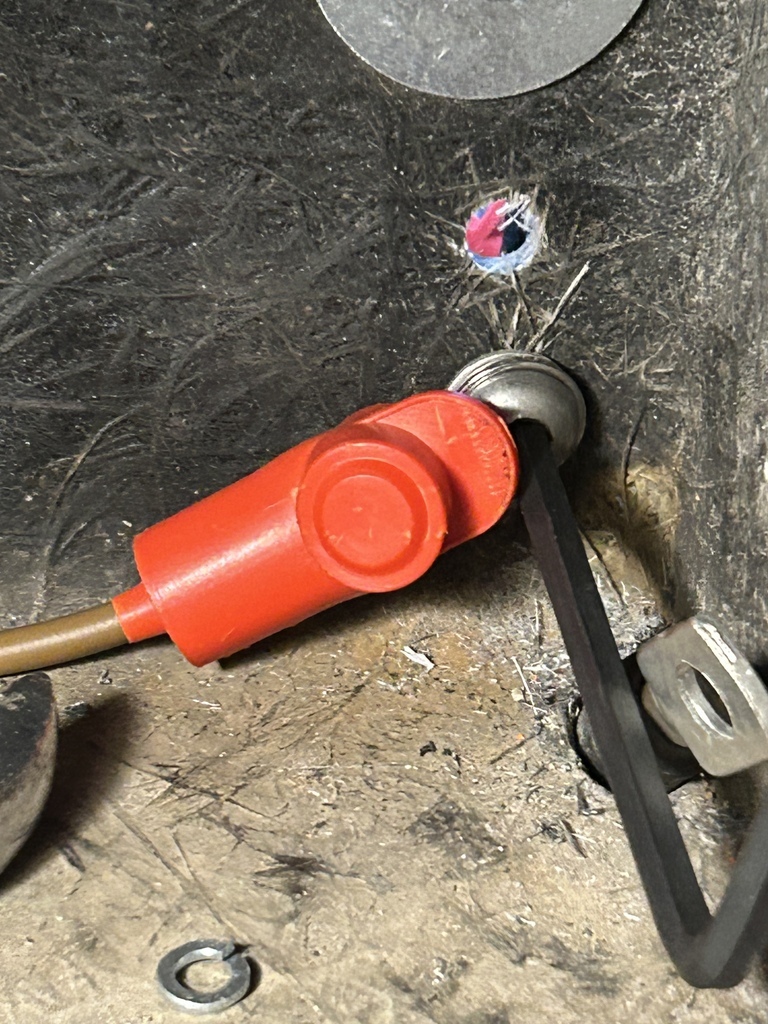
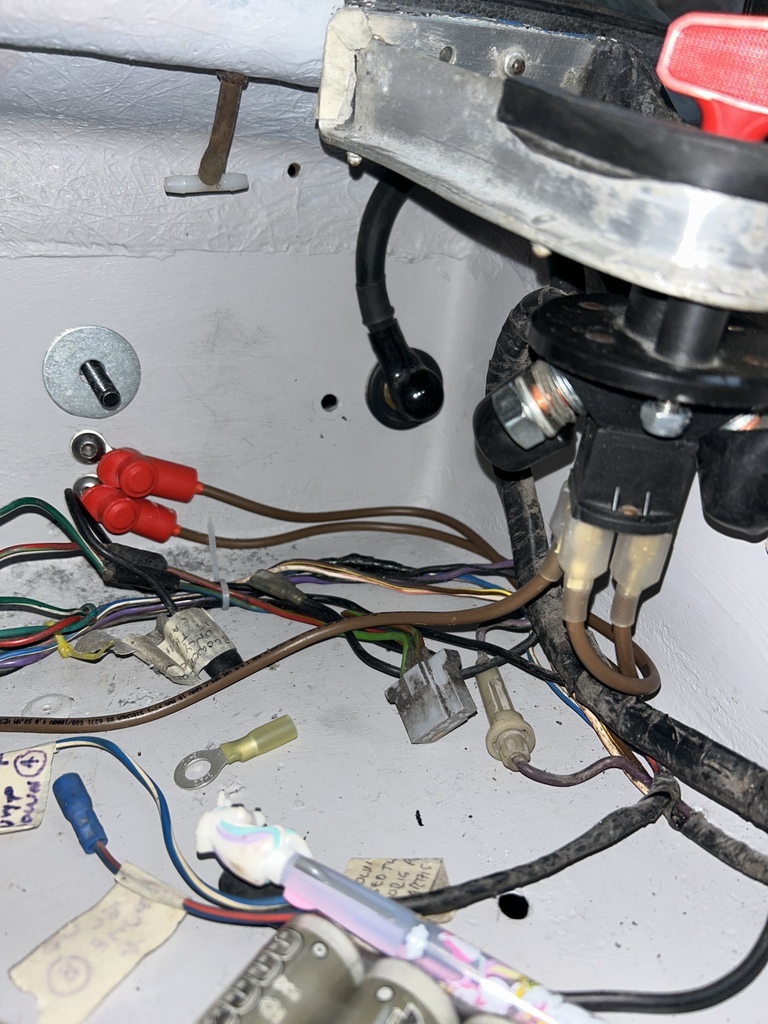
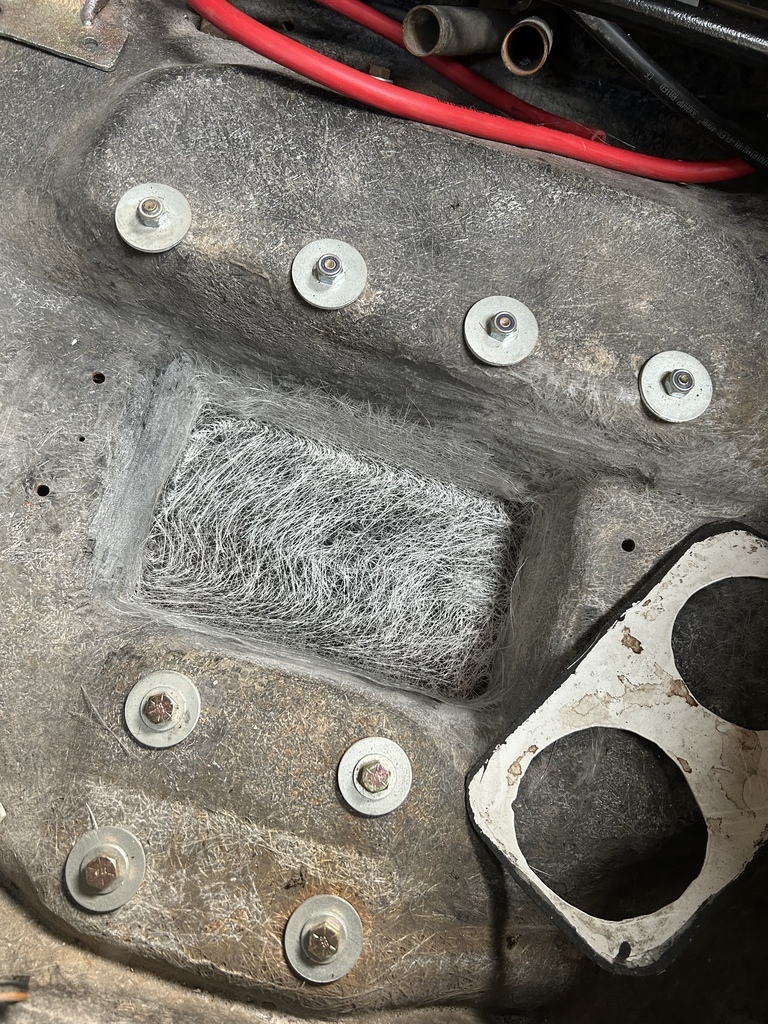
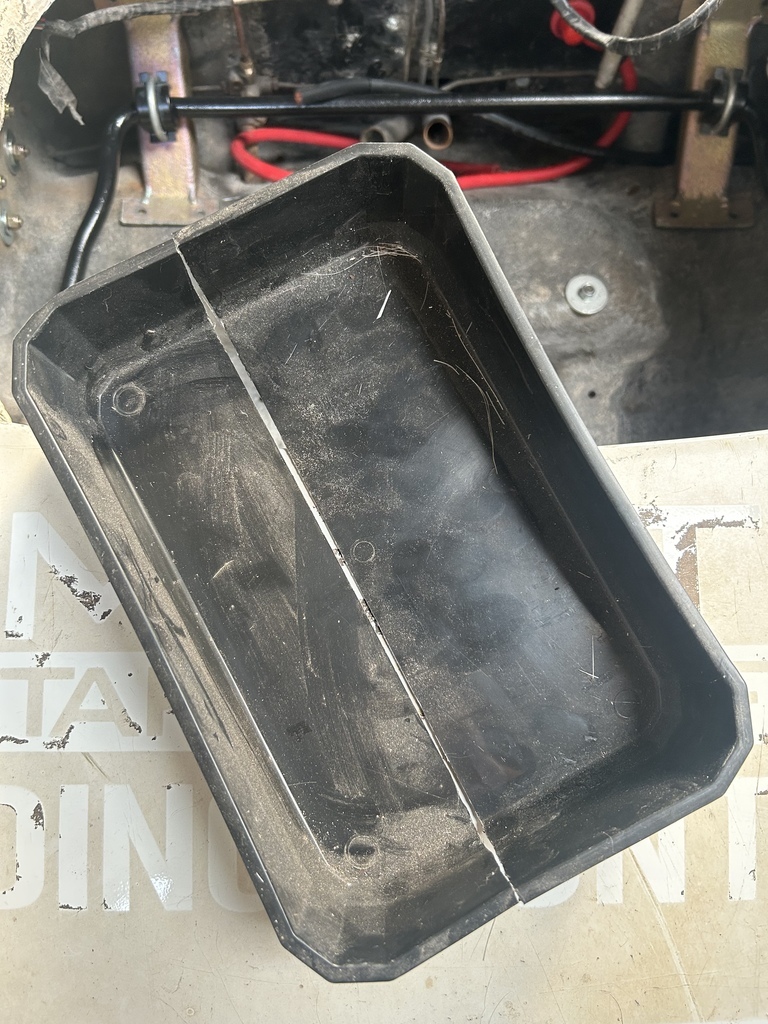
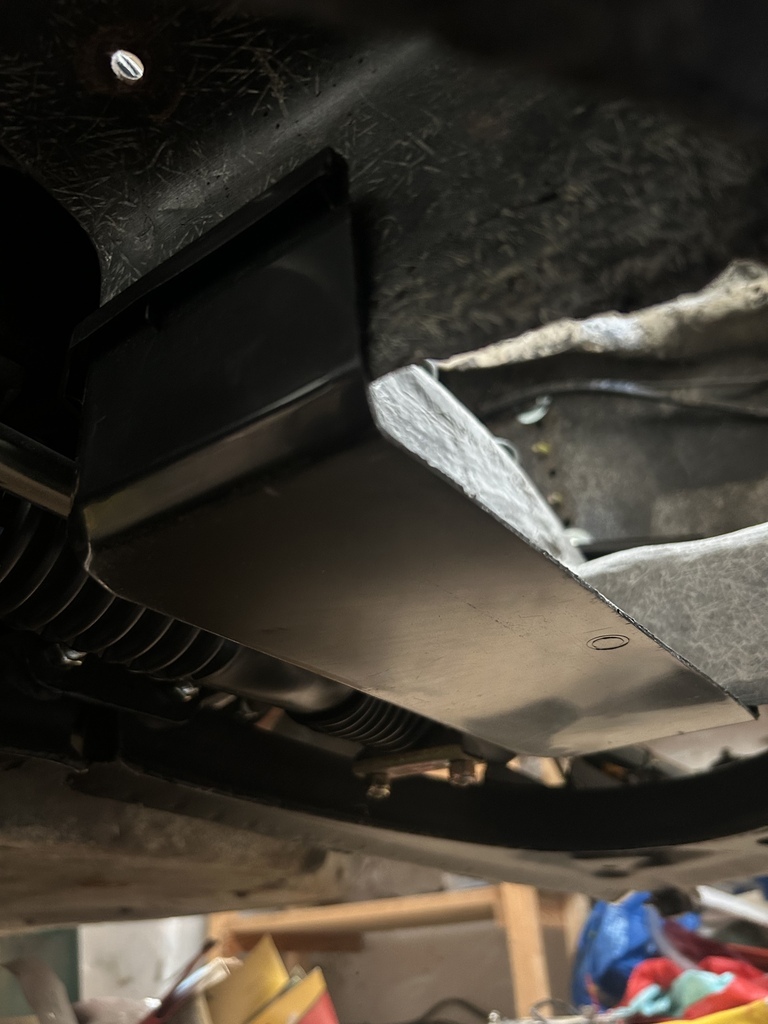
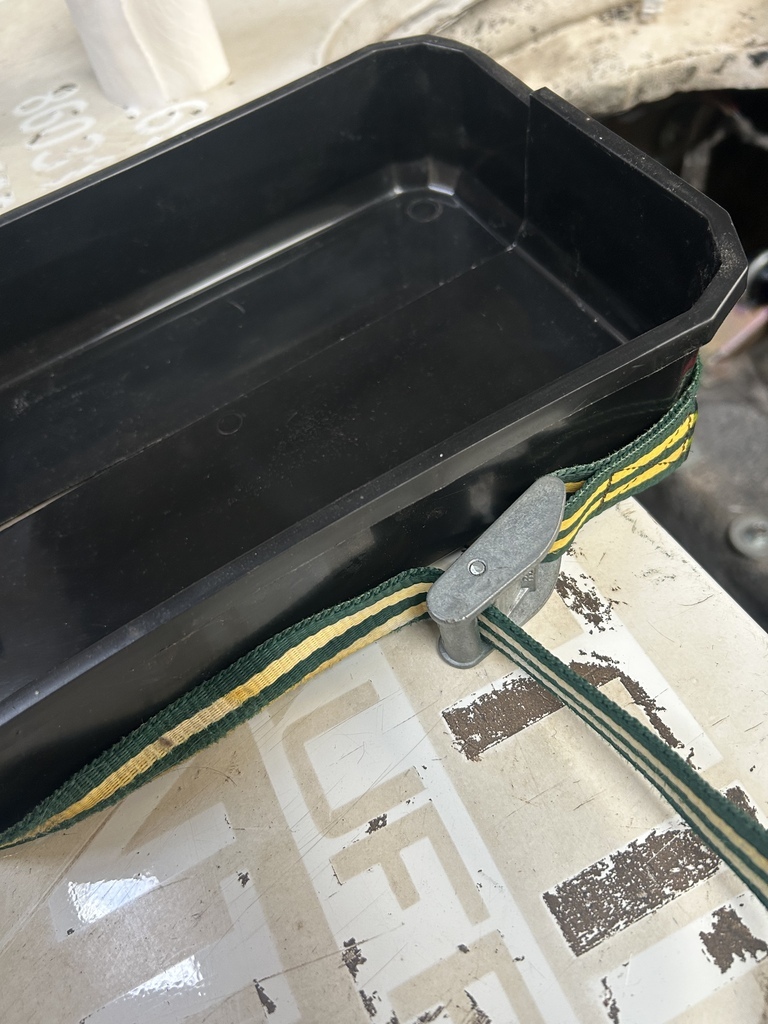
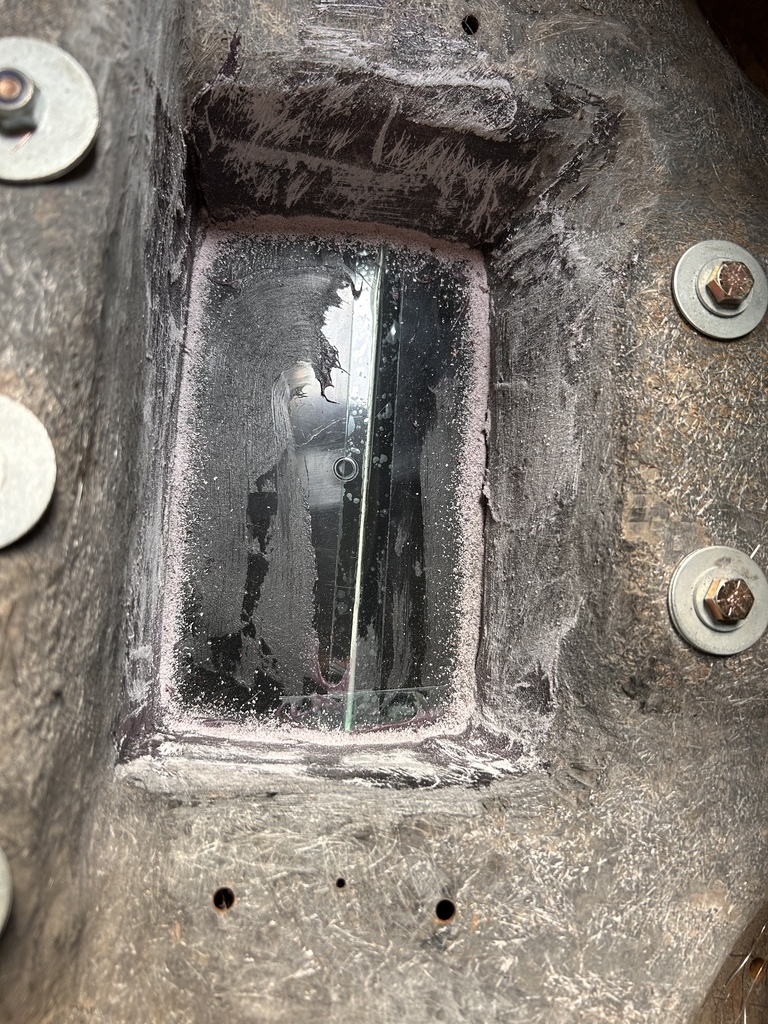
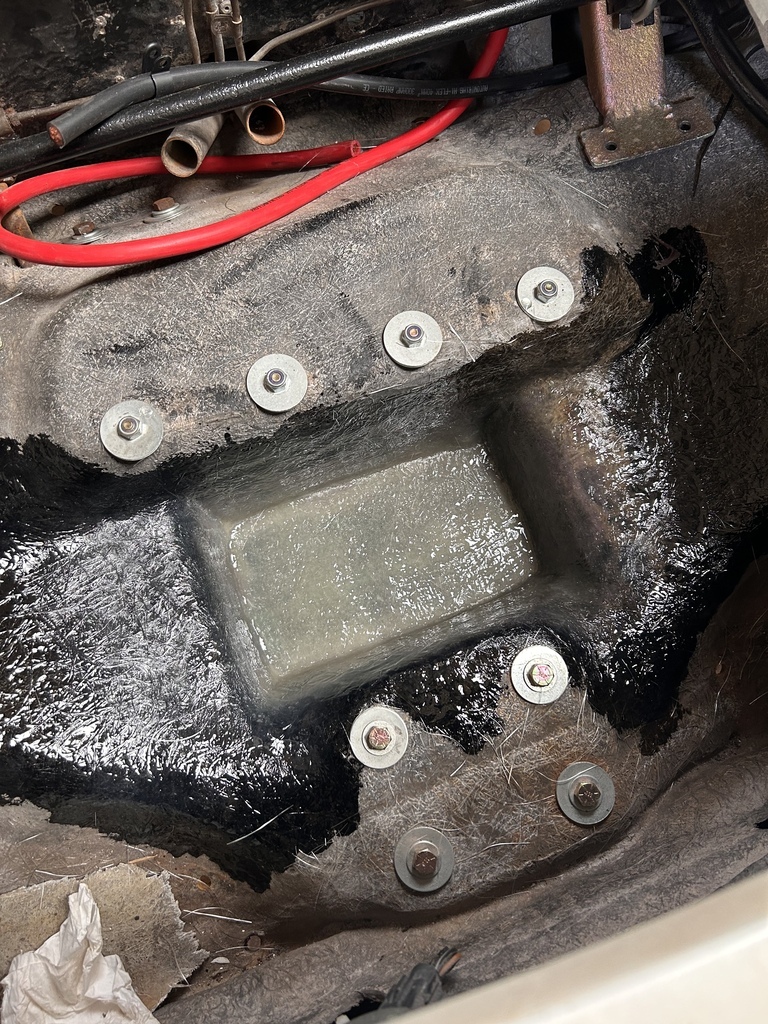
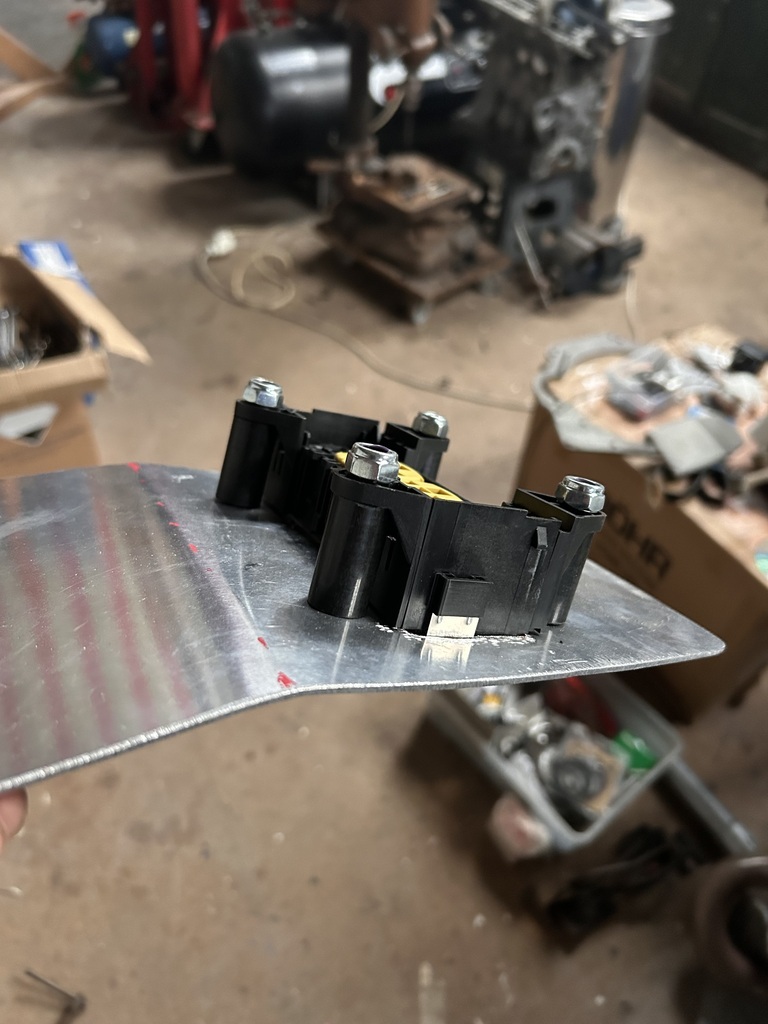
This bit of space is destined for great things, I'm planning to mount my ecu and its related fuses in here. This also happens to be where the car's major forward earthing point has been located, with a the negative cable simply being poked through a hole in the bulkhead here. Scrutineering back in the day doesn't seem to have minded the fact that a cable could just go through a hole in the bulkhead then? Who knows. My plan is to use a Chineesy bulkhead cable fitting, not strictly necessary as the shell it plastic of course, but in the case to make use of the already oversized hole in the bulkhead.
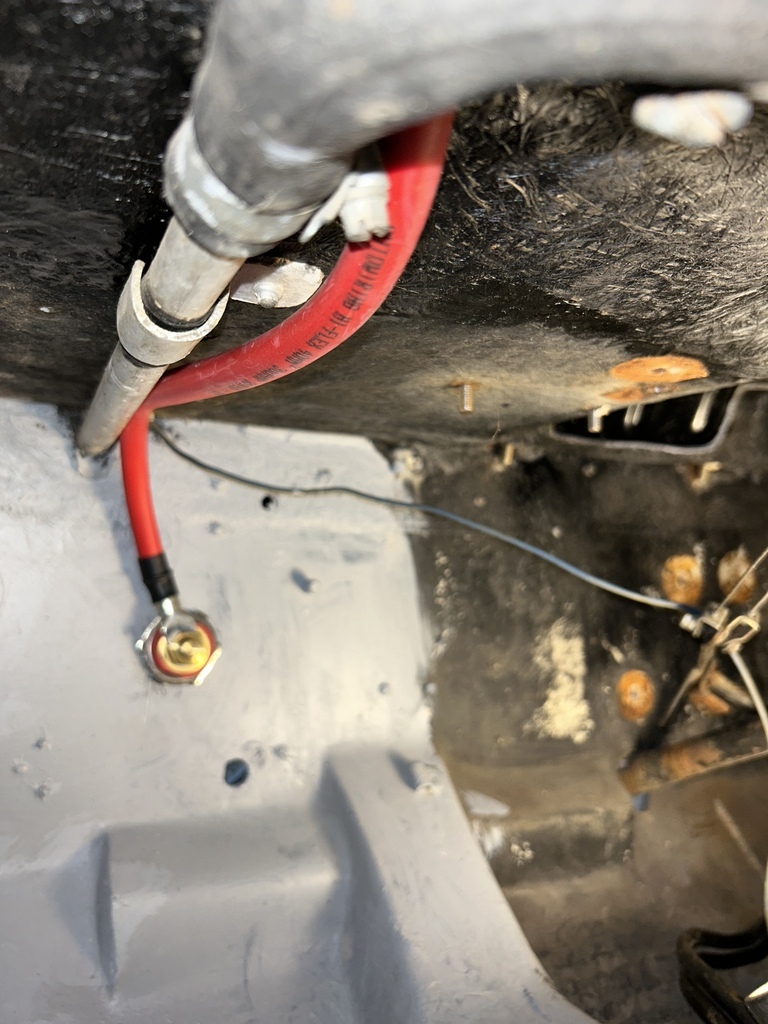
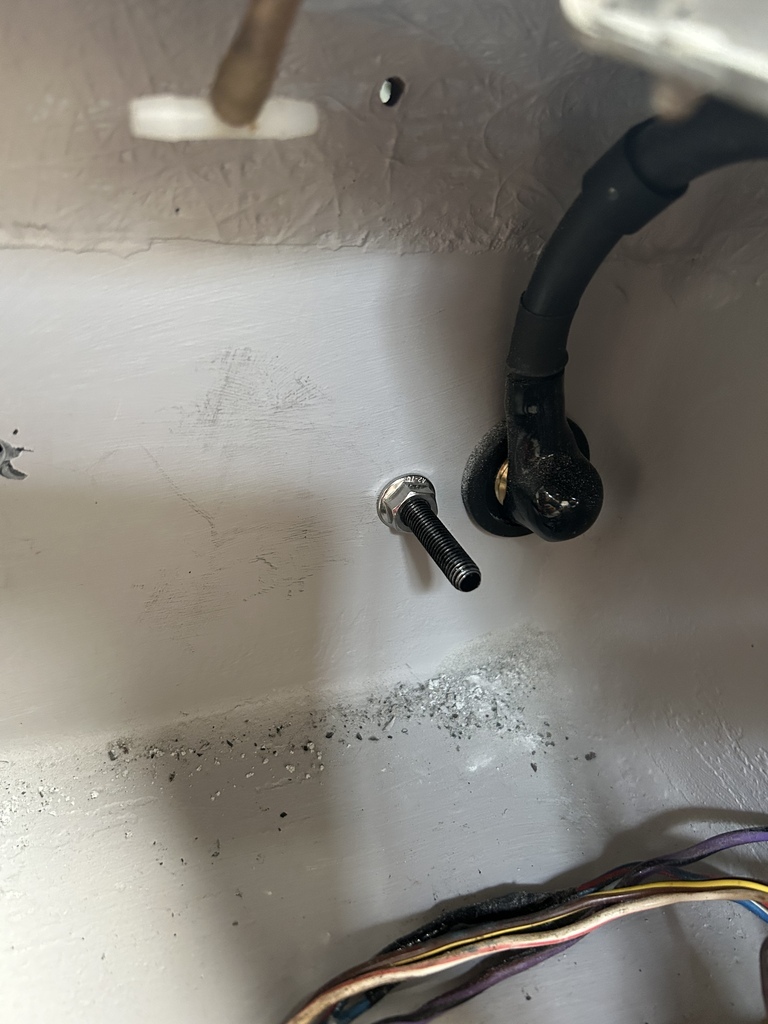
First step, remove that FIA switch to earth section of negative battery cable, this bolt was heinously tight, perhaps a sign of how important it is to get a REALLY good earth connection here. It's actually fited to a crosspiece of 1" mild steel box that runs across the dash between the two forward legs of the rollcage that are bonded in beside the screen pillars
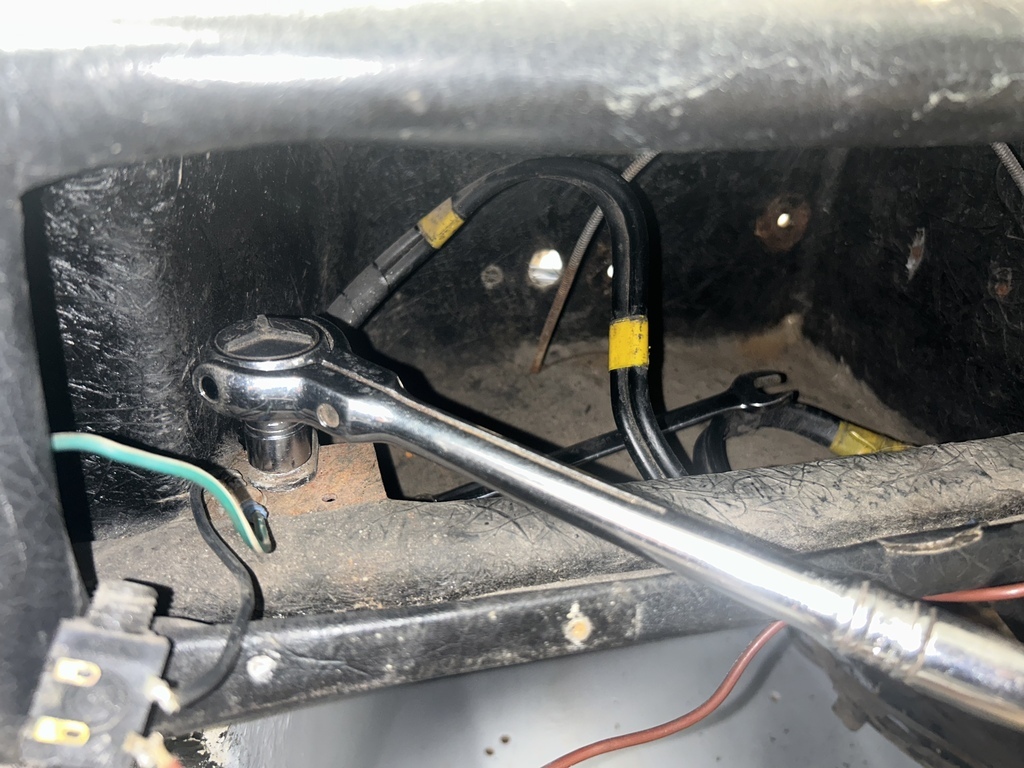
Area freed up a little
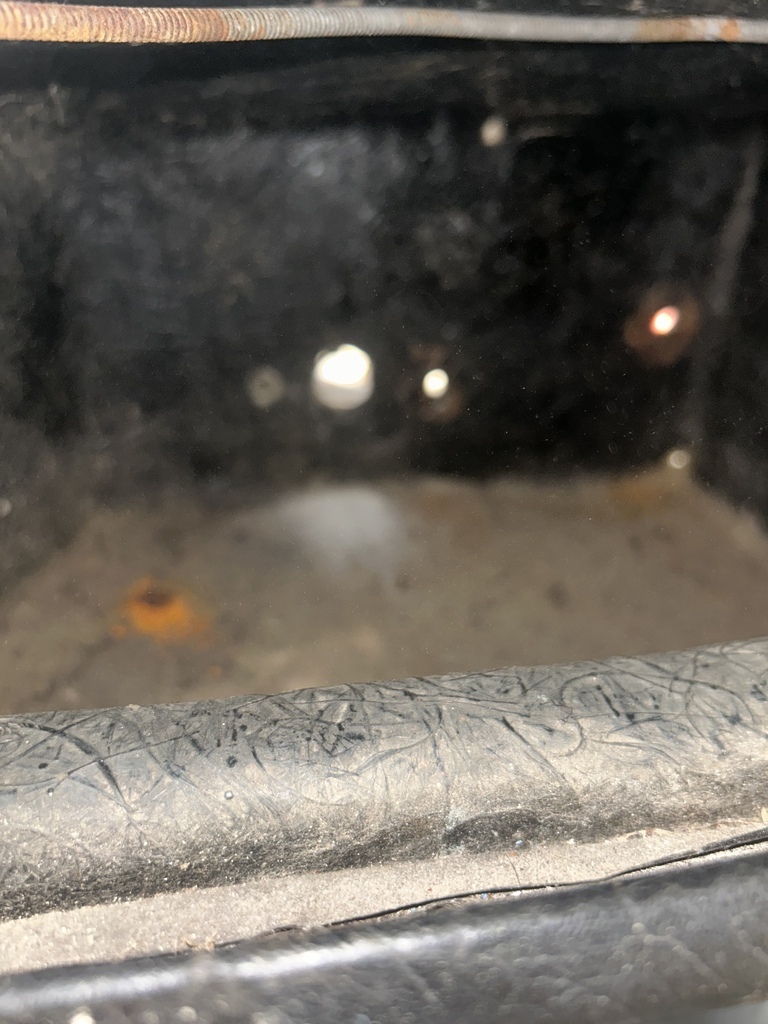
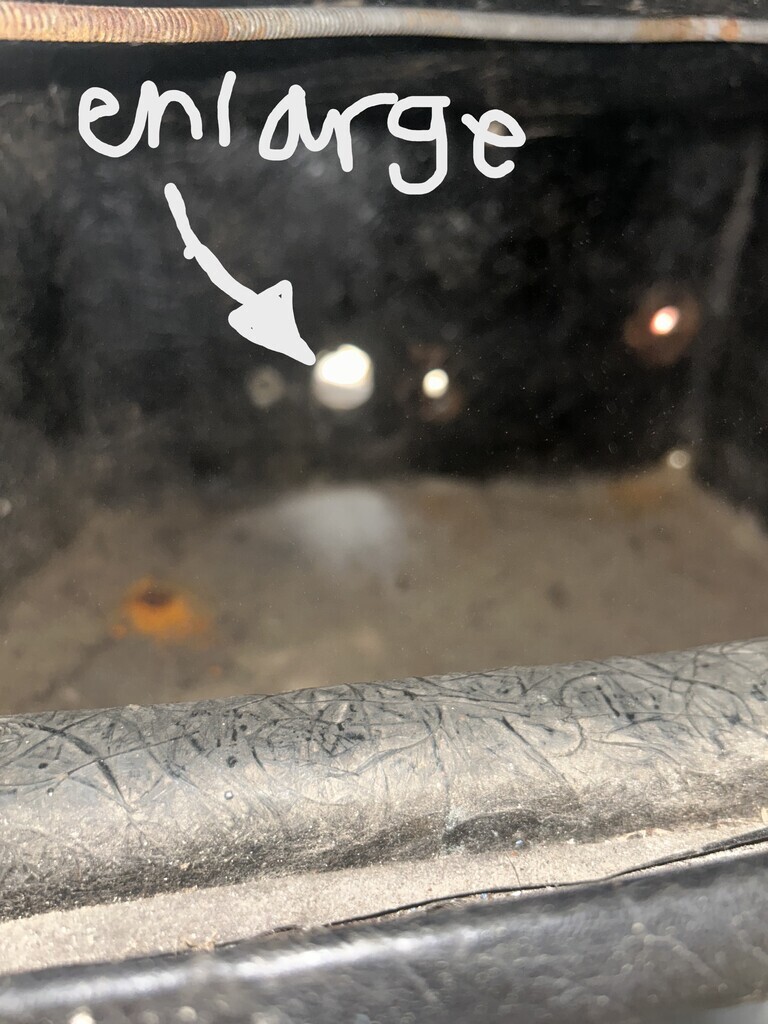
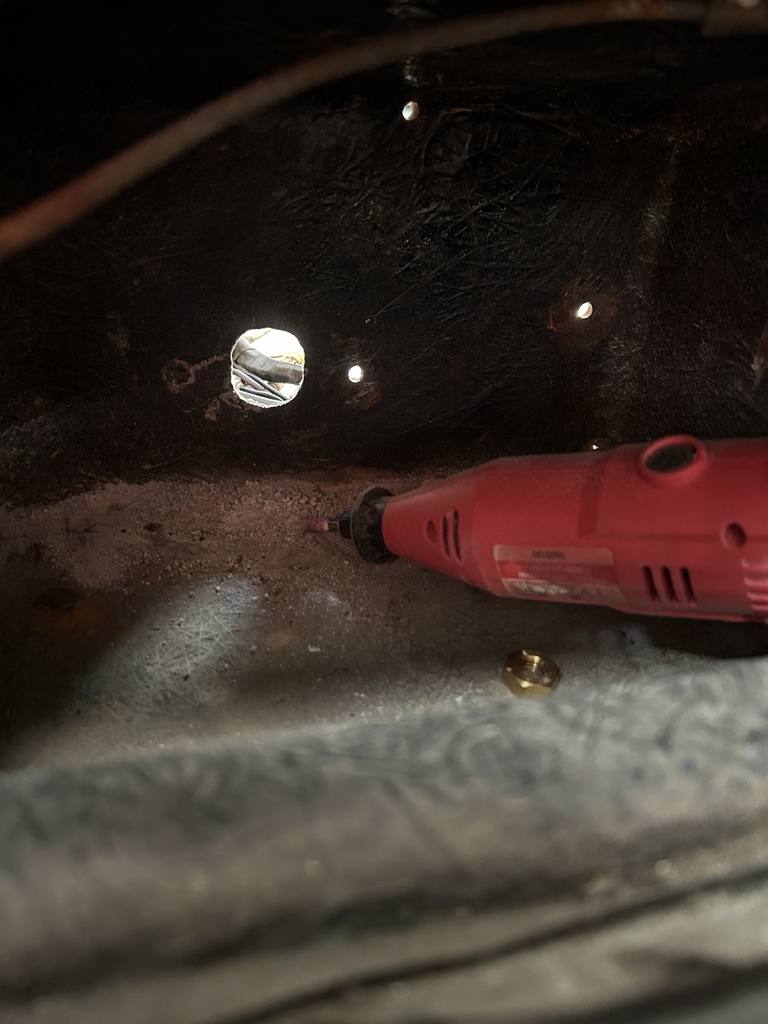
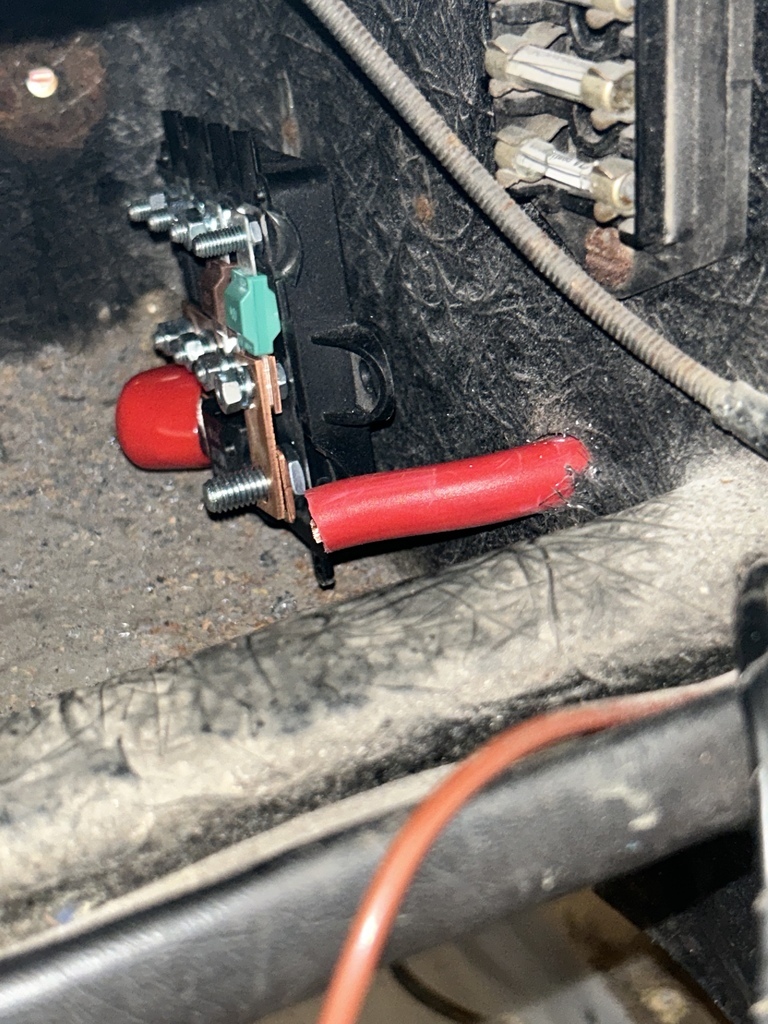
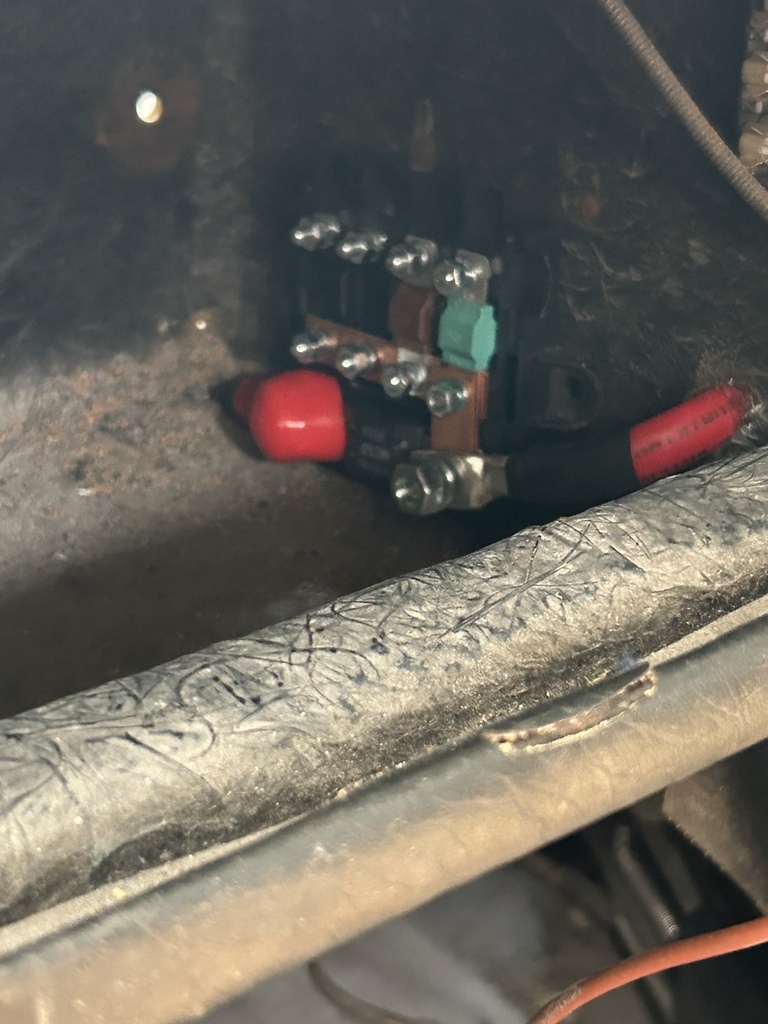
Next job was to think about making up a sectioon of new earth cable to run the short length from the bolt hole over to the the back of the glovebox where the bulkhead terminal is going to sit in an enlarged version of the hole that is visible in the photo above.
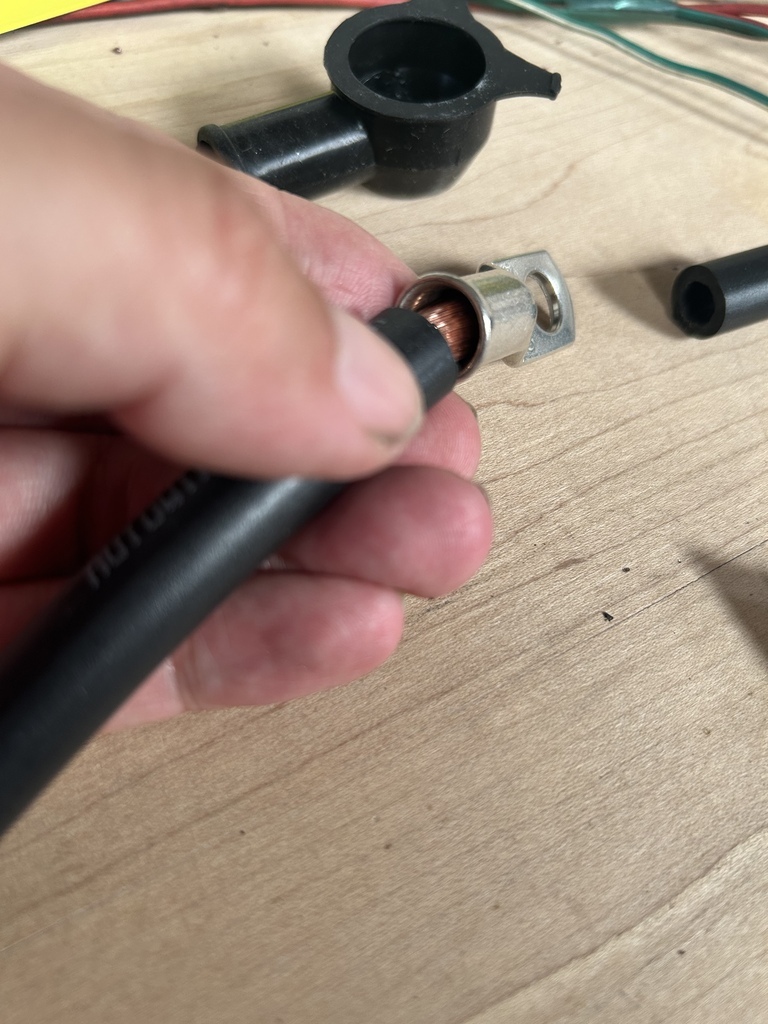
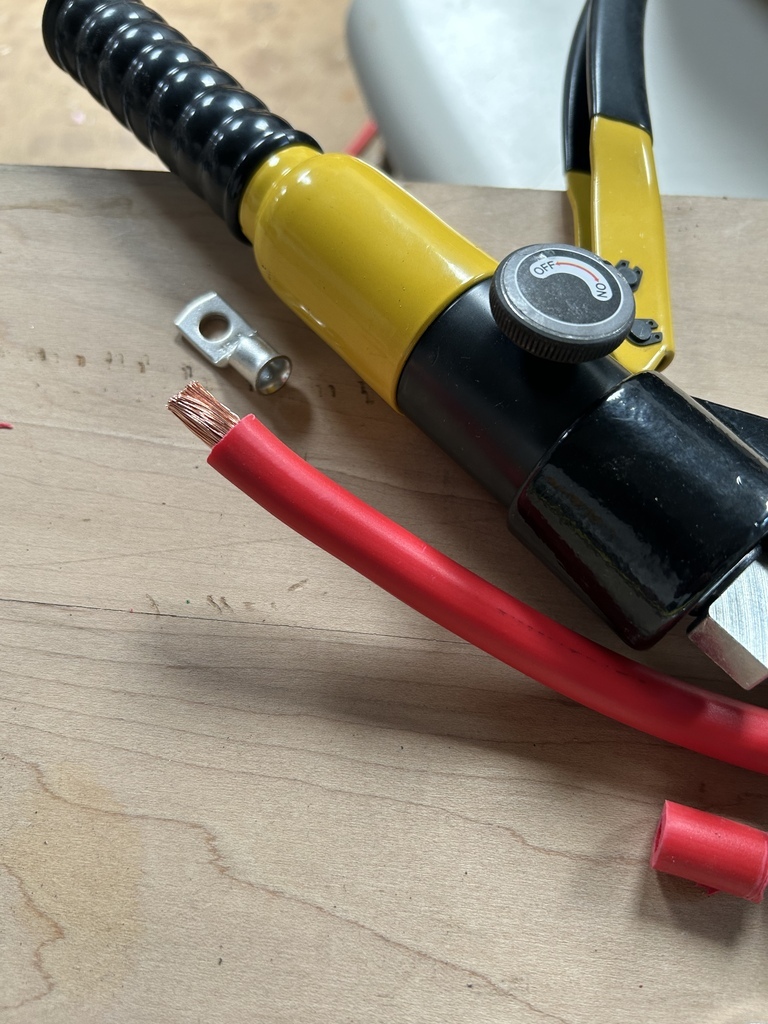
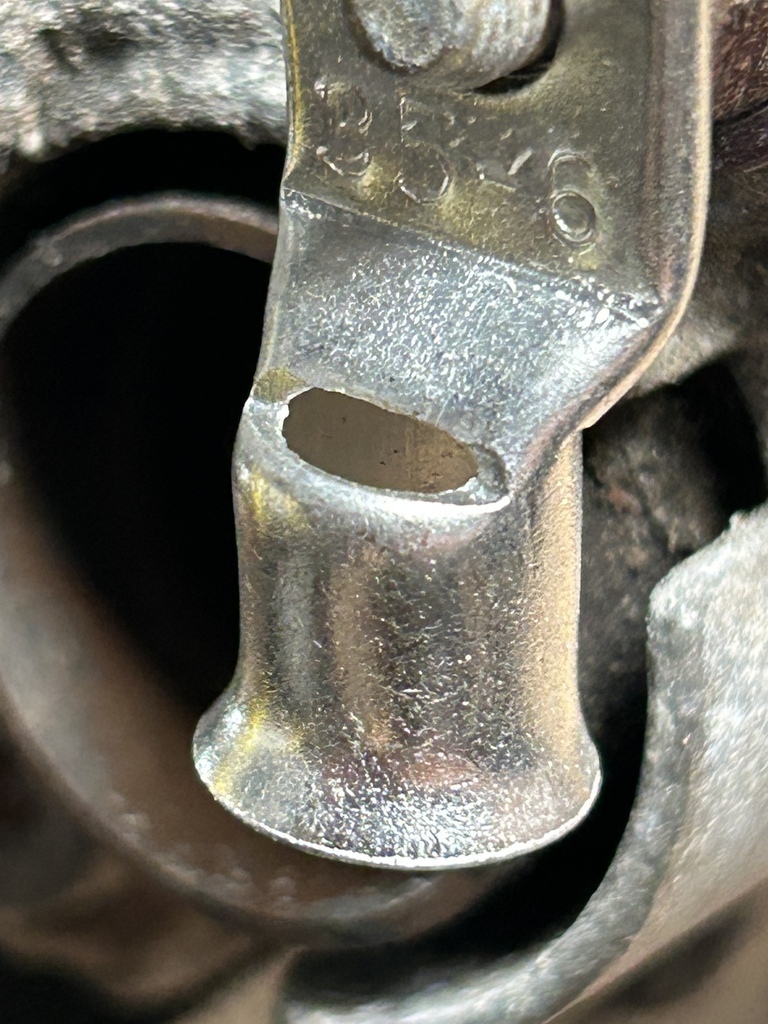
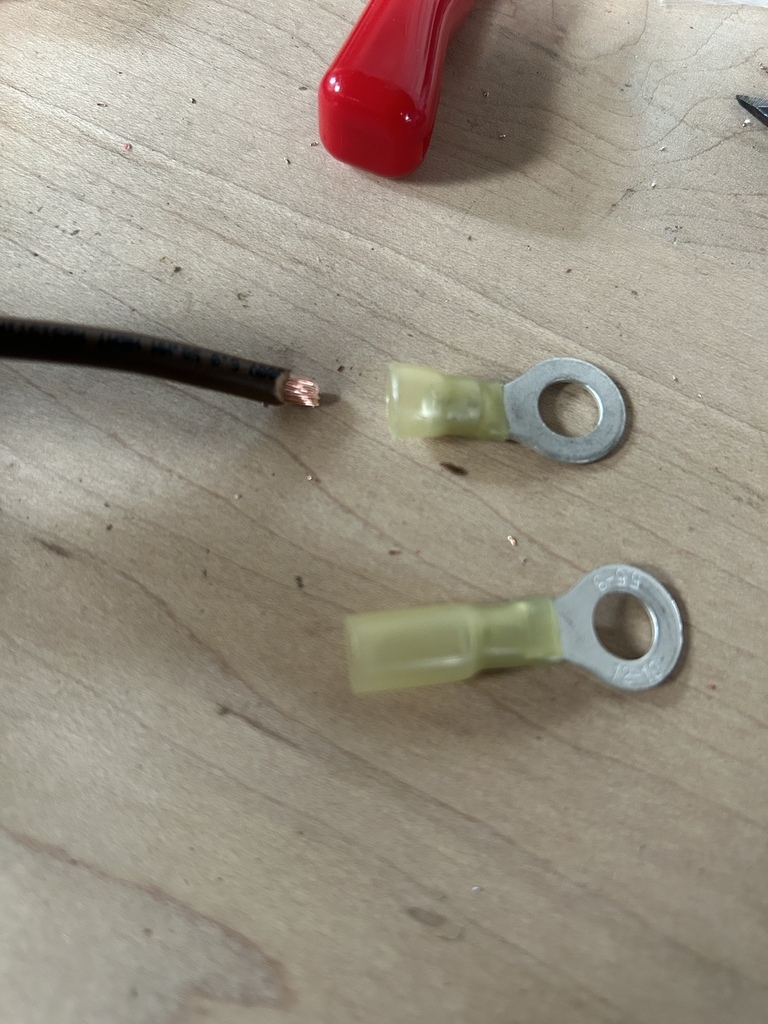
In an attempt to save a little money I had opted for 40mm2 battery cable. It wasn't until this had arrived until I realised that the larger size crimps are only available in 35mm2 and 50mm2 options...
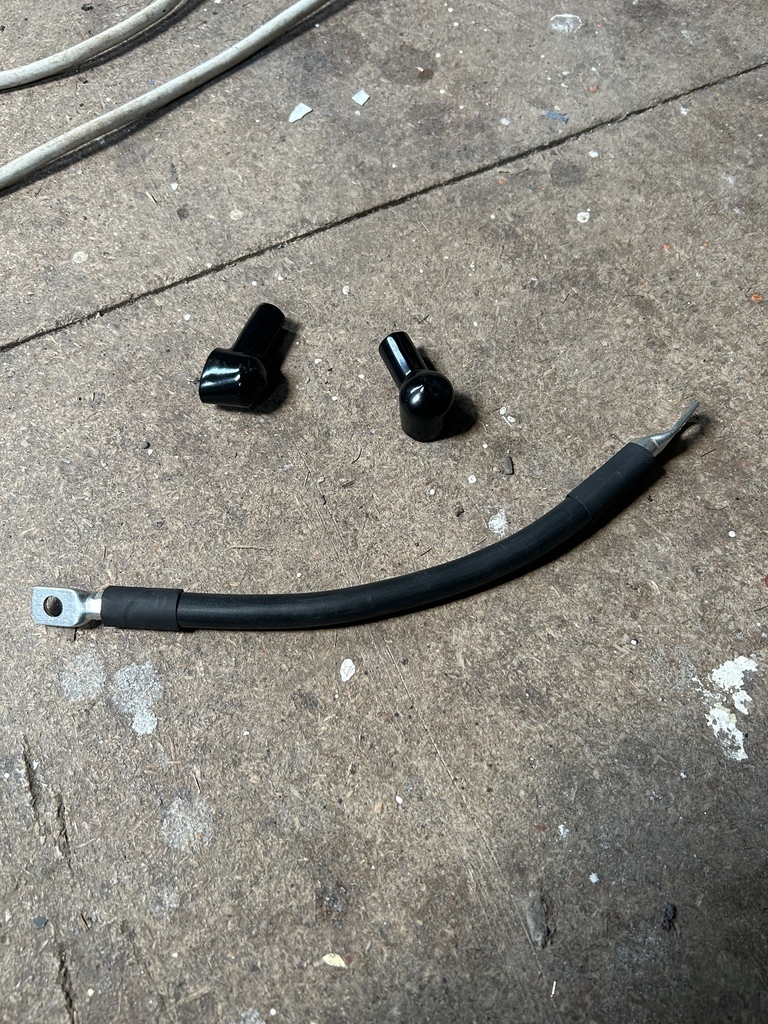
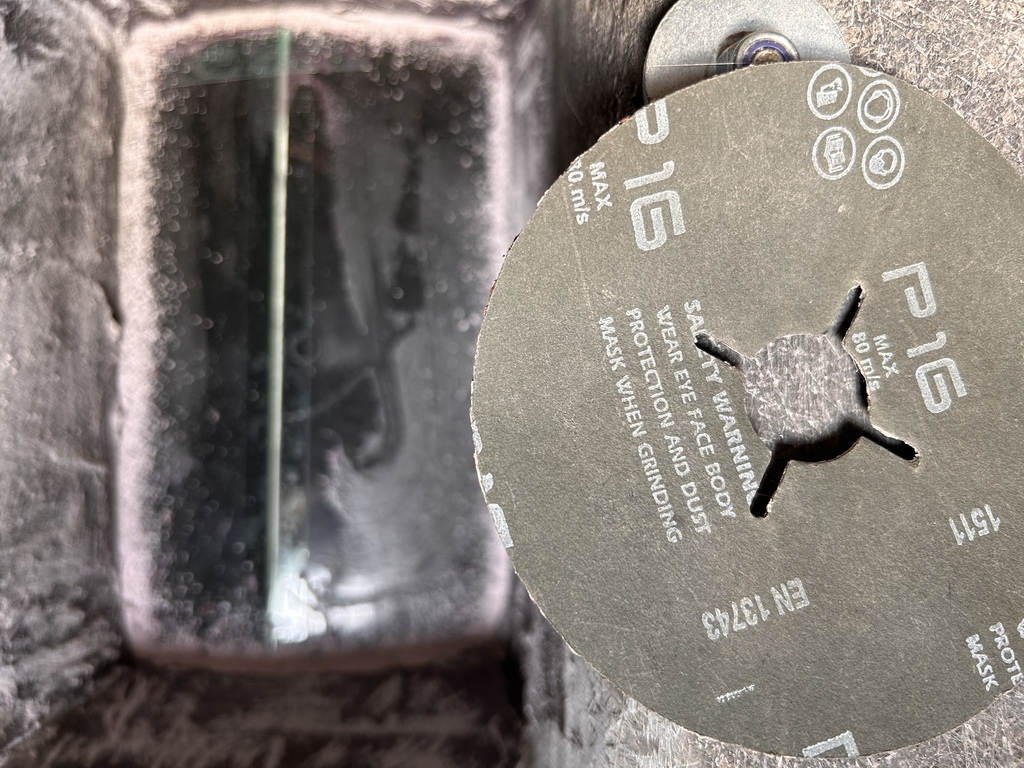
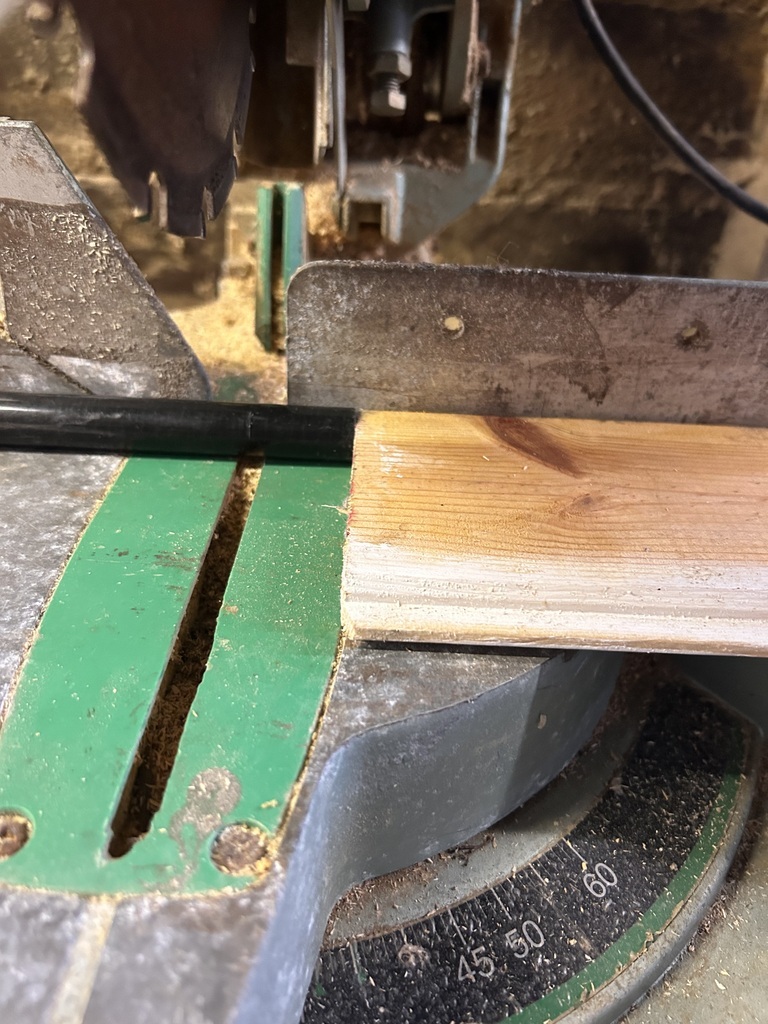
Anyways, not having anything remotely suitable for cutting cable of this diameter except my grinder, I used my grinder, taking care to go in at an angle of attack that would result in the end being a nice perpendicular cut (after a couple of failed attempts)
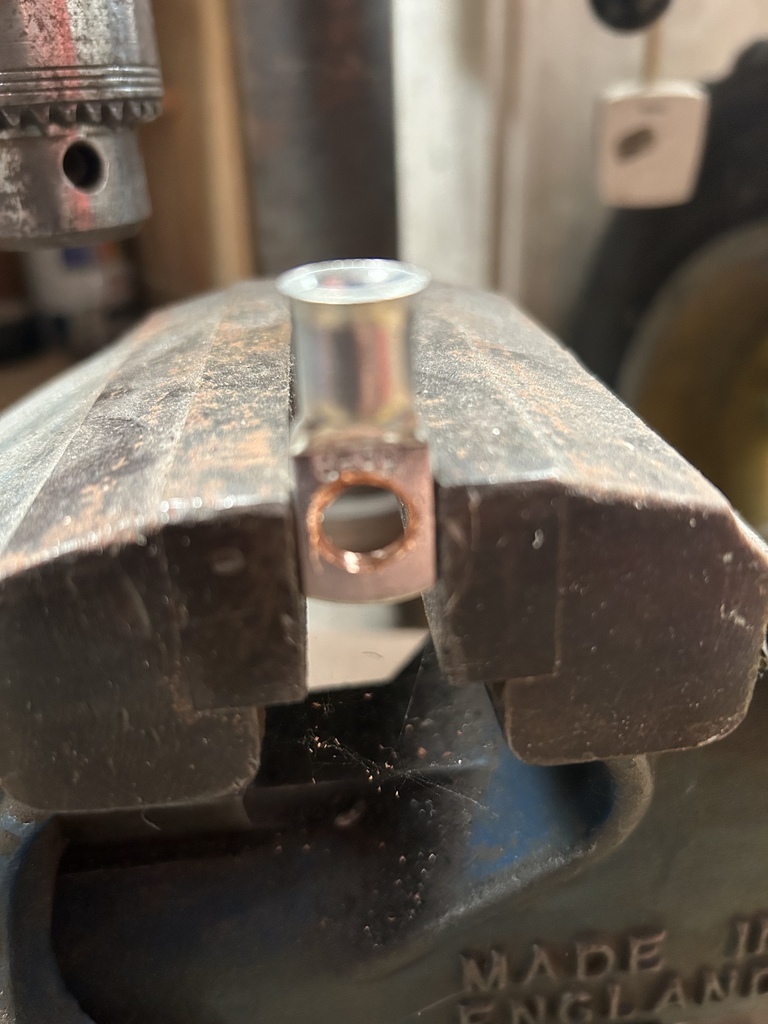
Cable GENTLY nipped up in the vice
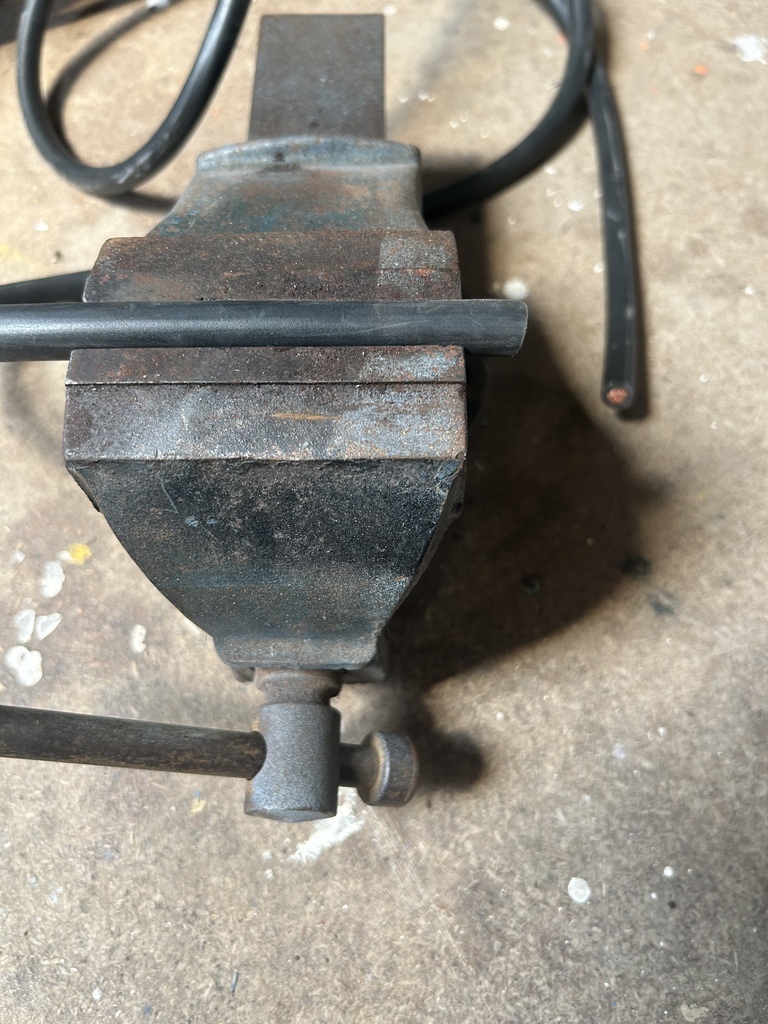
Siliced
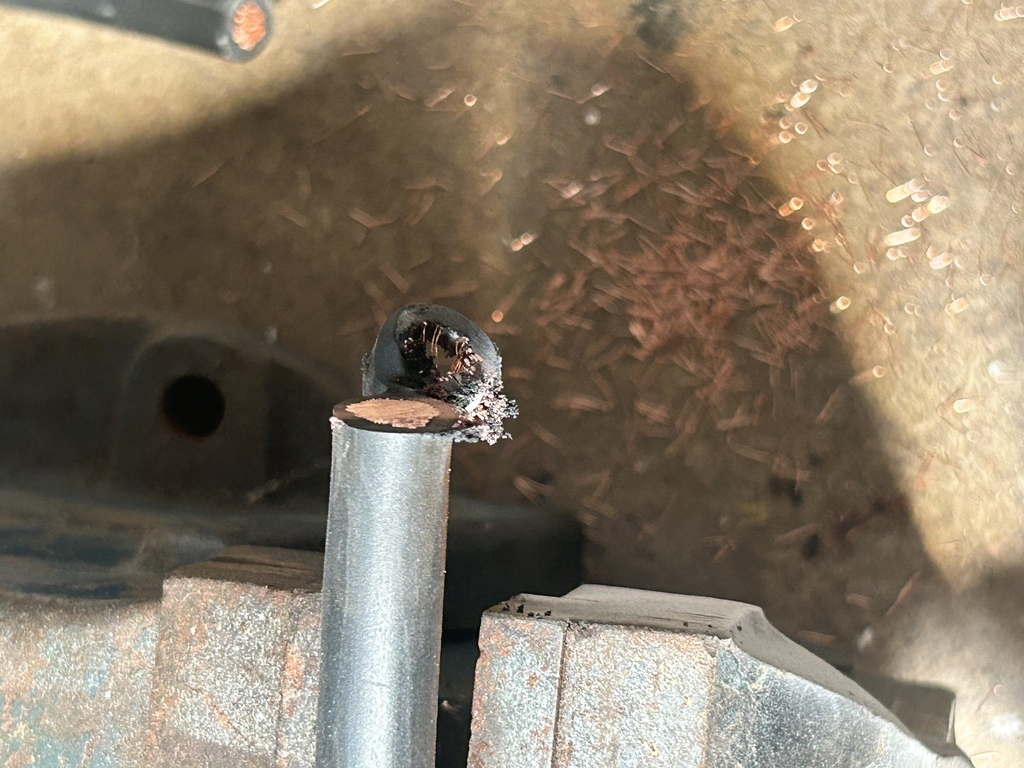
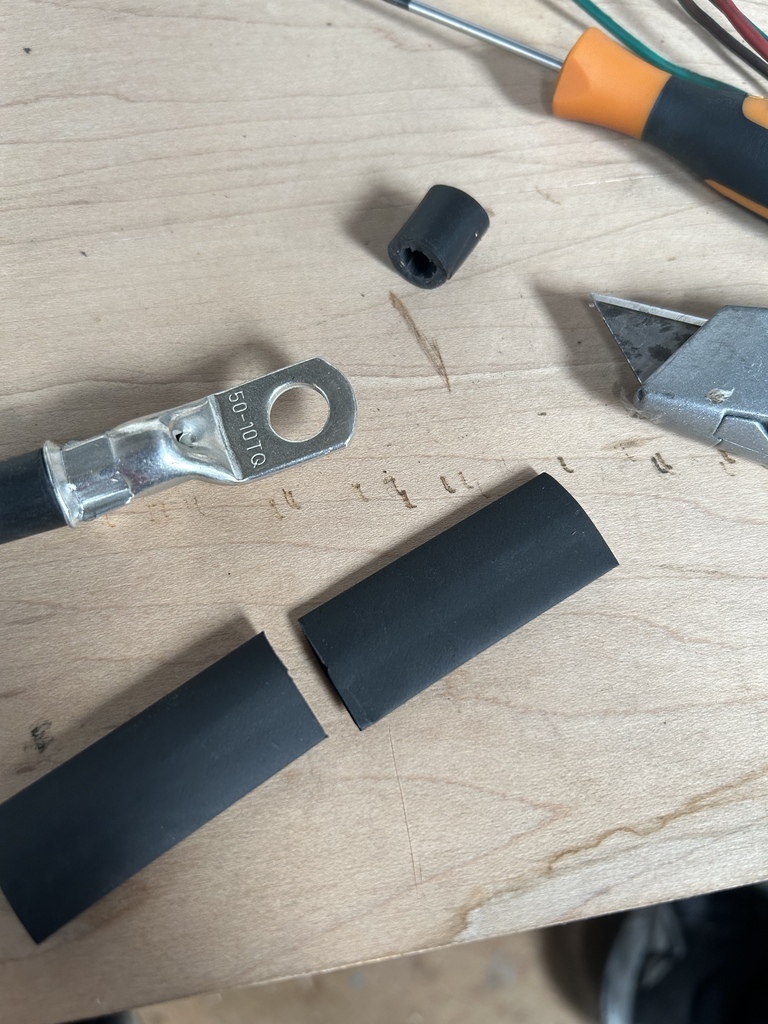
Trimmed. In the absence of a bespoke de-insulatorizer, I wielded the Stanley v v carefully
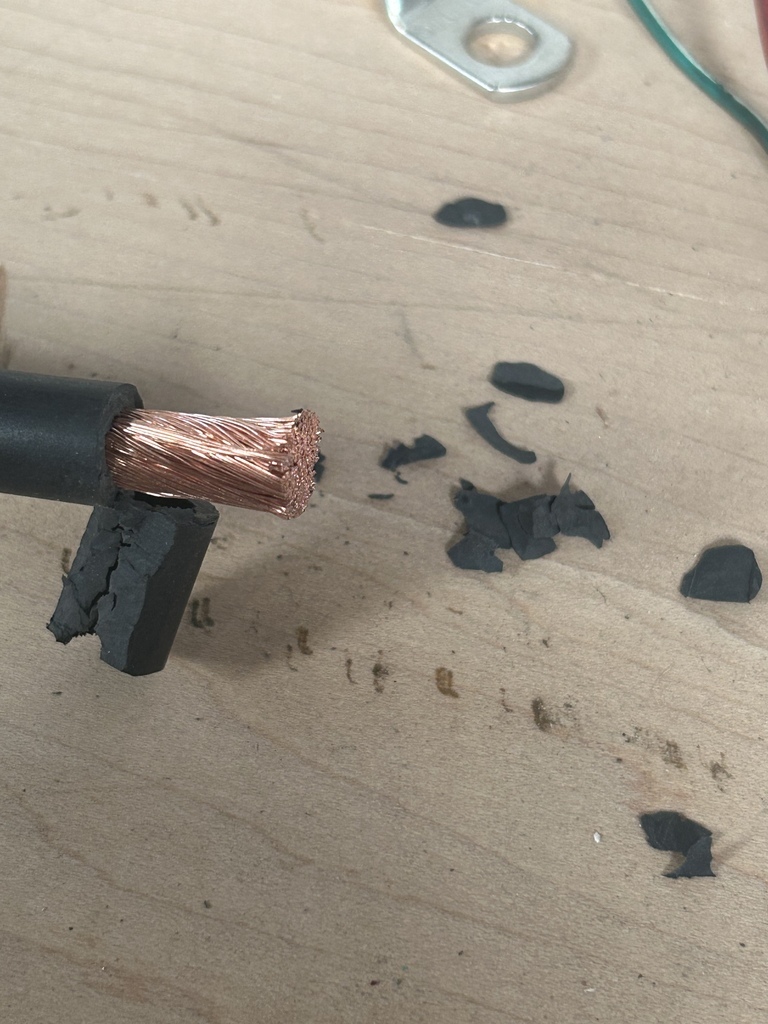
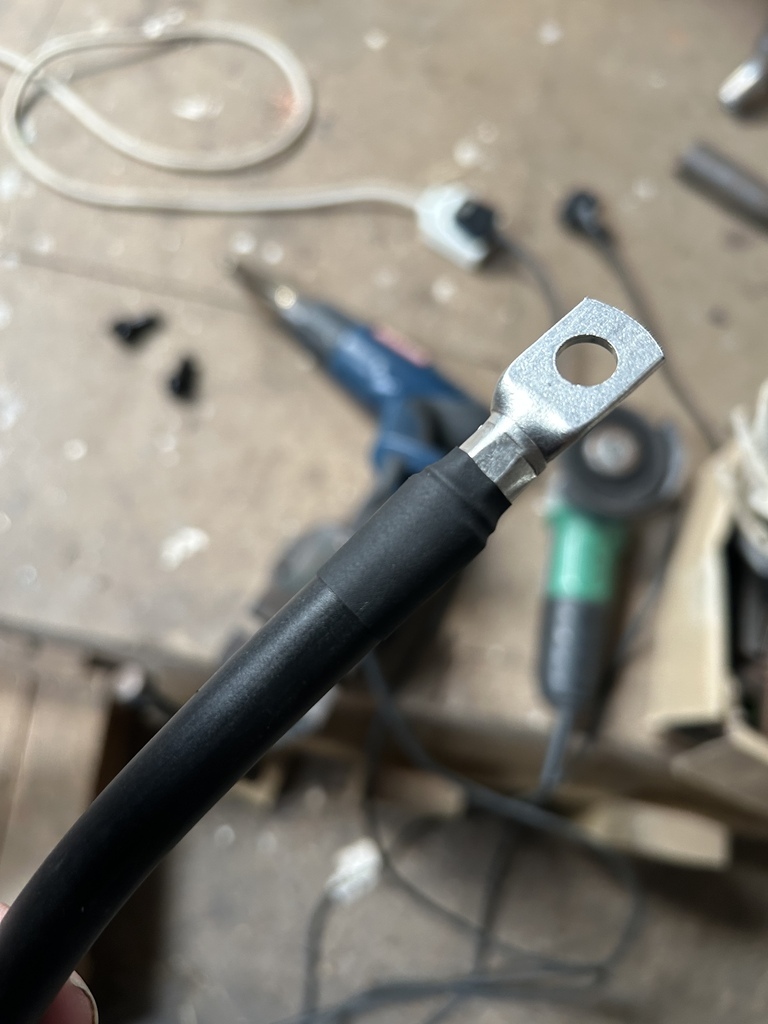
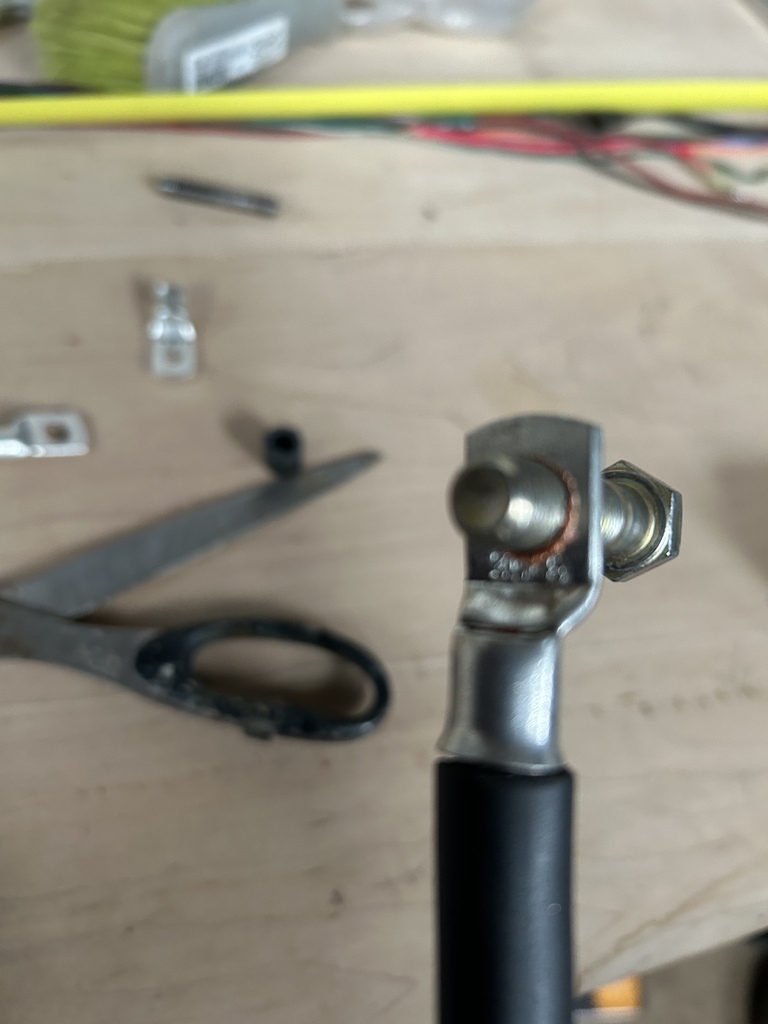
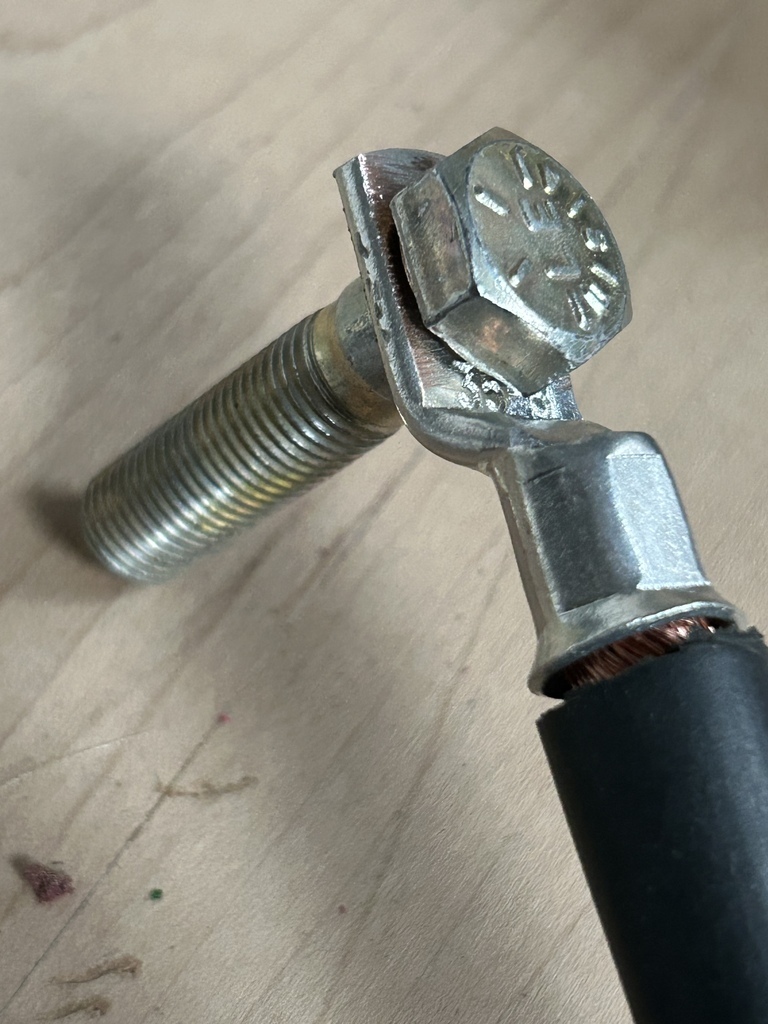
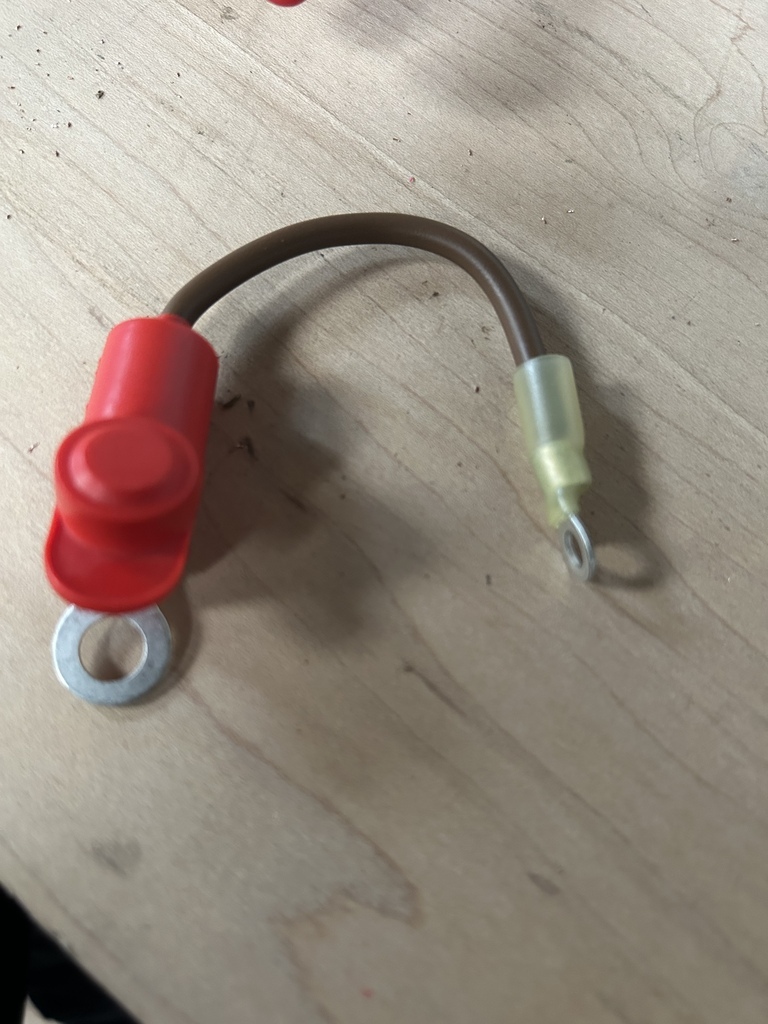
Crimped with ye-olde-hidrawlick crimper
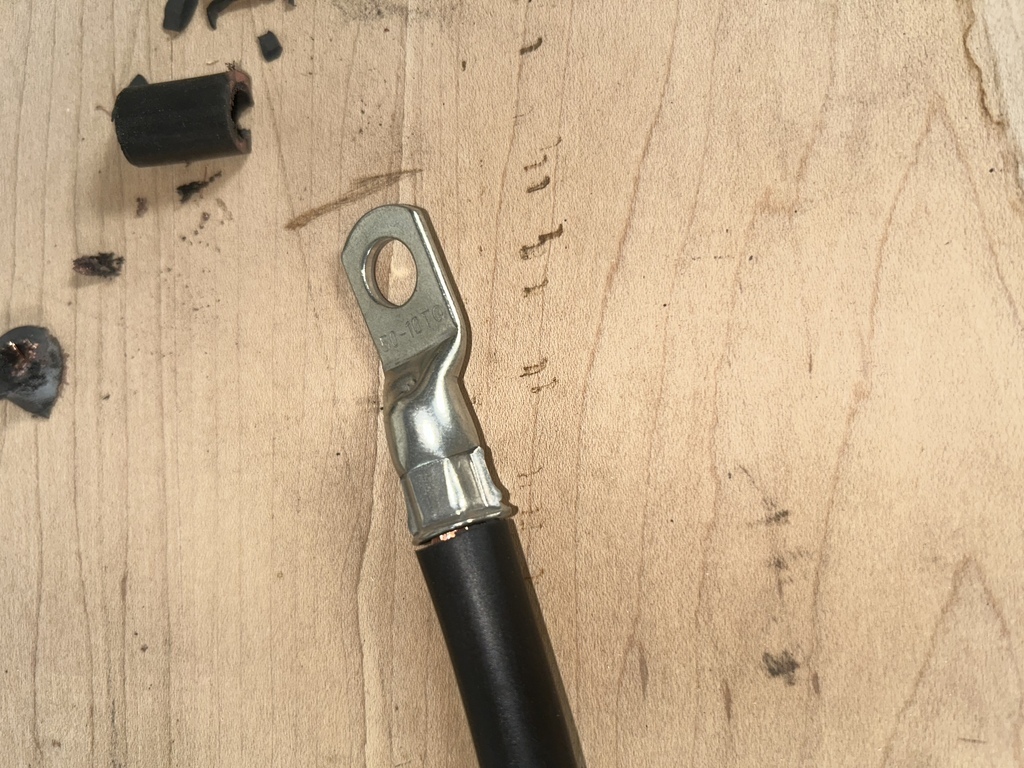
Except that after using the 50mm2 dies in the yeoldechineezycrimper thingy with a 50mm crimp but 40mm cable, the inevitable happened and the crimp was nowhere near tight. So, I popped the 35mm dies in the crimper and huffed and puffed till the thing cried enough and voila!
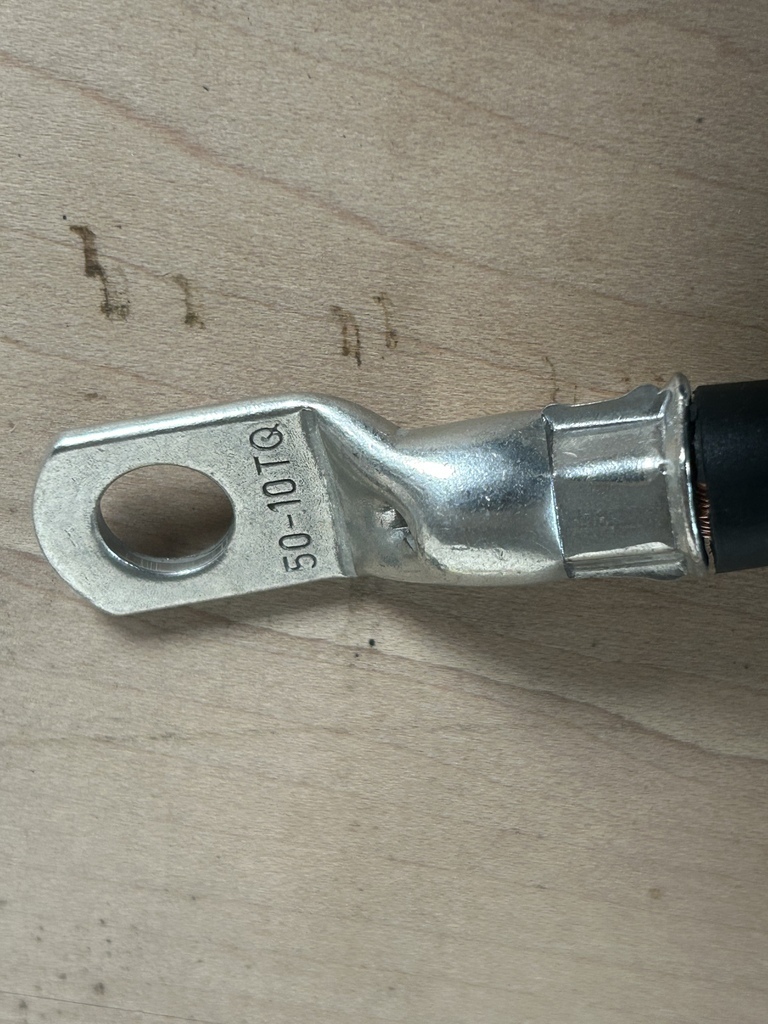
More to come in the coming days, in the meatime, thanks for taking another look...


