|
|
|
|
|
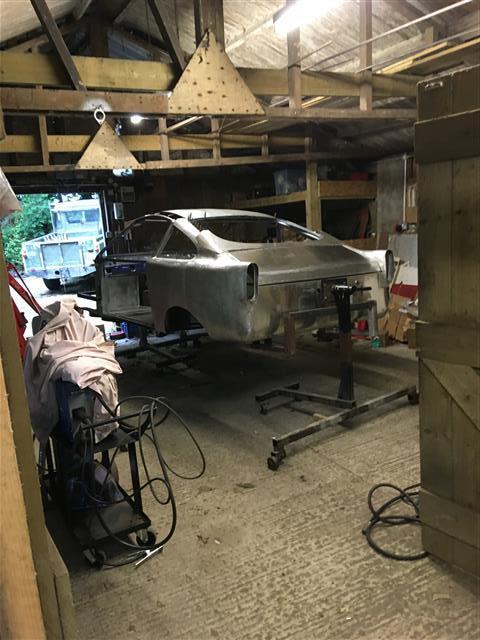
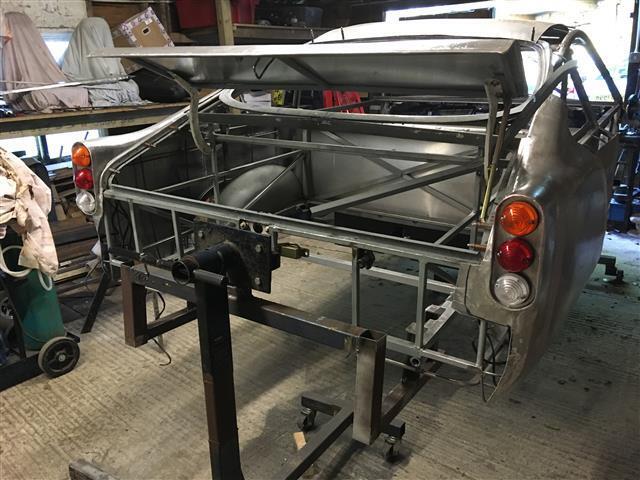
Following on the aircon saga, although as yet haven't place an order, I've decided on the Vintage Air Gen11 Mini together with the plastic mock-up unit which will be a help in finding the best position to put it and also arranging the mounting points. I was also going to use their rotary knob control panel until my friends at RetroPower led me to the Dakota Digital site. They offer an automatic climate control unit fully interfaced for the Gen11 Mini and since then all thoughts of the rotary knobs vanished into the distance. This is just what I want and certainly won't let down the appearance of the dashboard. 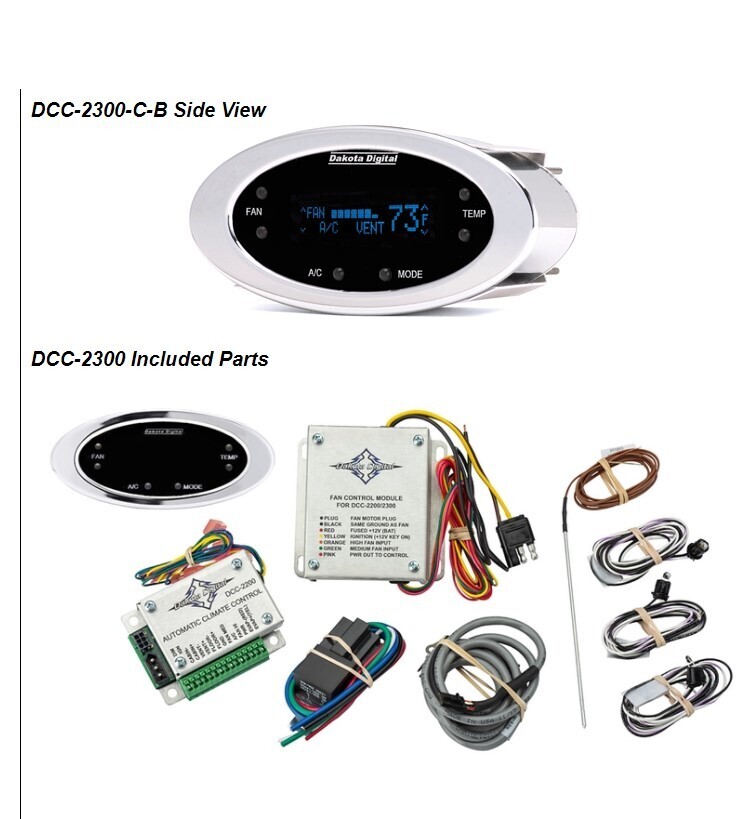 Meanwhile work is progressing on the boot lid having finally finished the rear quarter light panel to an acceptable finish. 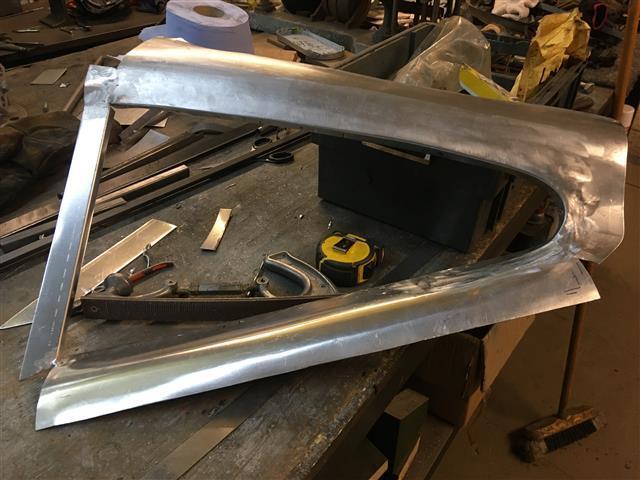 I hope I'll have a few photos over the next day or so. |
| |
|
|
|
|
|
|
|
|
|
|
This really is going to be an amazing little car when it's finished,
It'll be brilliant for you when people ask what it is to be able to tell them that you built it from scratch !!
Nigel
|
| |
BMW E39 525i Sport
BMW E46 320d Sport Touring (now sold on.)
BMW E30 325 Touring (now sold on.)
BMW E30 320 Cabriolet (Project car - currently for sale.)
|
|
|
|
|
|
|
|
A long way to go yet Nigel but I'm loving every minute of the journey. The planning and seeing how the project is evolving is hugely satisfying.
|
| |
|
|
|
|
|
Sept 4, 2021 18:39:55 GMT
|
It is for us too!  |
| |
1968 Mini MkII, 1968 VW T1, 1967 VW T1, 1974 VW T1, 1974 VW T1 1303, 1975 Mini 1000 auto, 1979 Chevette, 1981 Cortina, 1978 Mini 1000 1981 Mini City, 1981 Mini van, 1974 Mini Clubman, 1982 Metro City, 1987 Escort, 1989 Lancia Y10, 1989 Cavalier, 1990 Sierra, 1990 Renault 19, 1993 Nova, 1990 Citroen BX, 1994 Ford Scorpio, 1990 Renault Clio, 2004 Citroen C3, 2006 Citroen C2, 2004 Citroen C4, 2013 Citroen DS5. 2017 DS3 130 Plenty of other scrappers!
|
|
|
|
|
Sept 5, 2021 15:59:31 GMT
|
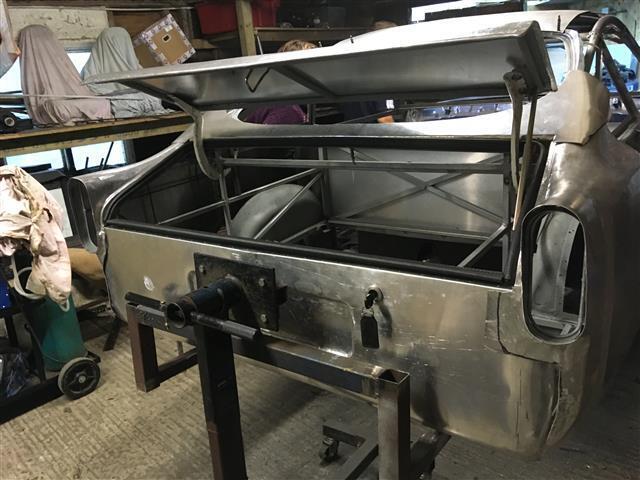
The boot frame is now finished with the steel strips welded onto the tube. The aluminium skin will be wrapped round or to use the proper term, clenched as with a door skin. I've gone for a generous 8mm gap all the way round and once the boot lid skin and the bodywork are in place this should be around the 5mm gap that I'm hoping for. The boot seal was fitted and joy of joys it compressed as the boot lid shut and it locked shut on the catch. 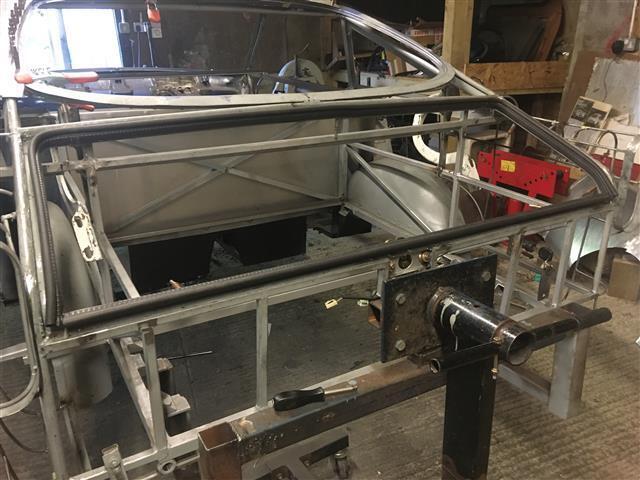 The last thing was to make a couple of brackets and fit the sliding stay. It should have been on the left hand side but I fitted it when the body was upside down so it is on the right hand side. I don't think it matters greatly. The release catch is still easily accessible. 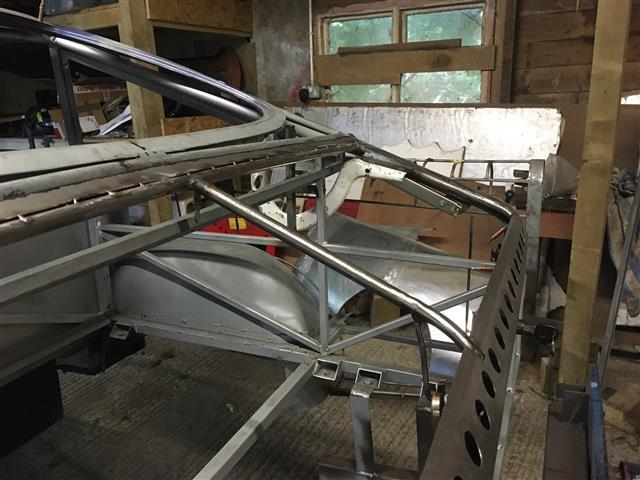 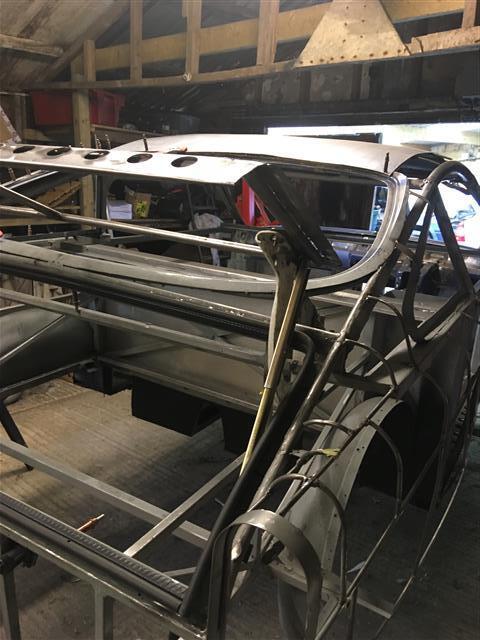 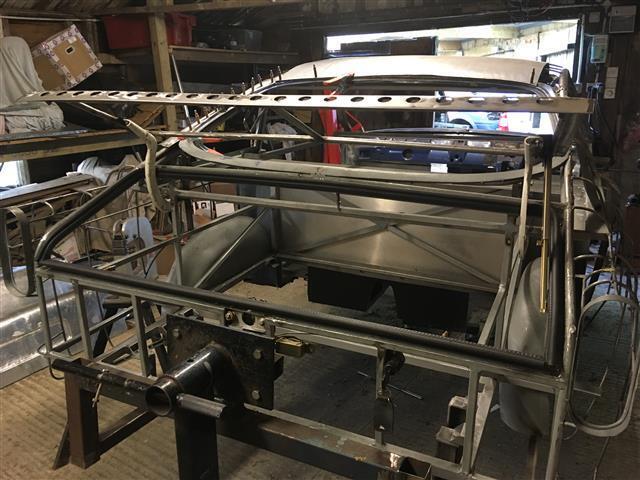 |
| |
|
|
|
|
|
|
|
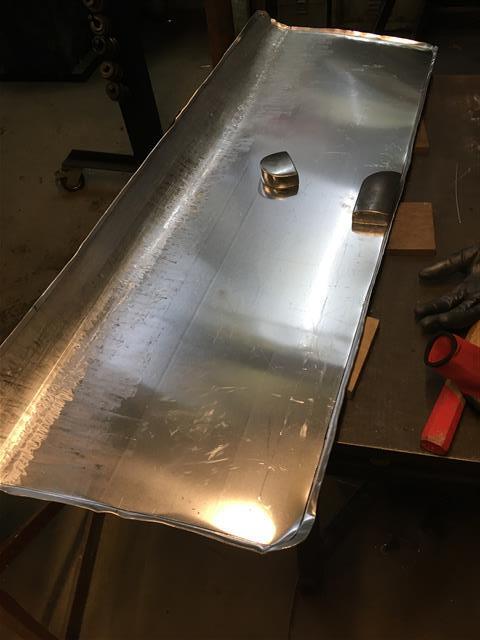
You know the saying "Fail to prepare, prepare to fail". Sadly the case with the boot lid skin. It is actually more complicated than I had thought and it all went horribly wrong. I was working under the concept that it is a single curvature panel. A straight curve for two or three inches above the rear lip and a transverse curve following the profile of the rear window aperture on the top edge. First I put in the lower curve using the wheeling machine with a rubber band on the top wheel. 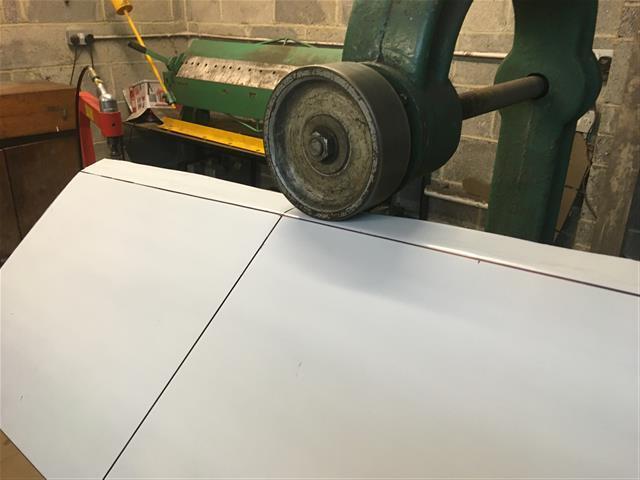 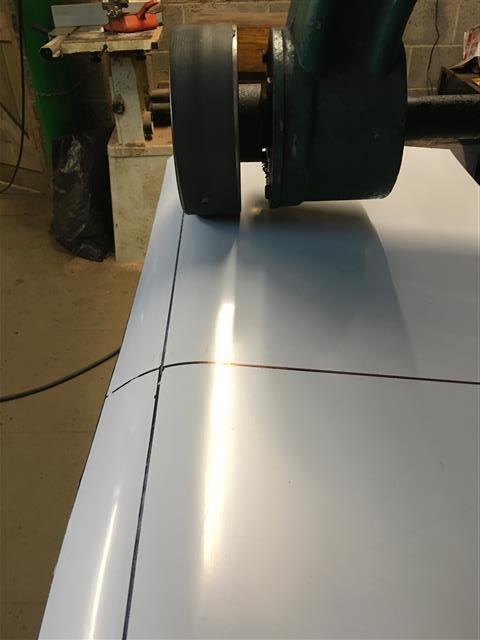 That went well. Next with the rubber band still on and with a flattish wheel I wheeled front to back which I was hoping would produce the correct single curvature. I ended up with this, a real dog's breakfast. 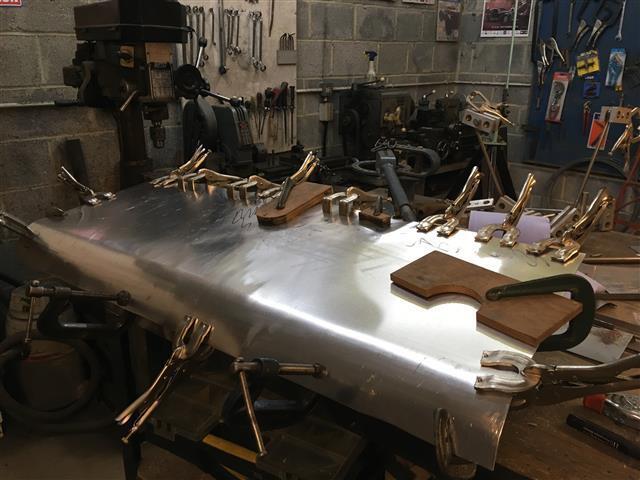 What I had overlooked is the transition from curve to flat which means that material will need to be lost at the edges of the horizontal curve. I'm afraid this panel is beyond recovery but the material will come in for other pieces. I wish I had given it a bit more thought before ploughing on. |
| |
|
|
|
|
|
Sept 7, 2021 14:01:44 GMT
|
|
this is fascinating work and I am really interested in this apparent witchcraft of shrinking and stretching metal.
So what's the answer for this panel, shrink the edges first?
|
| |
|
|
|
|
|
Sept 7, 2021 17:27:10 GMT
|
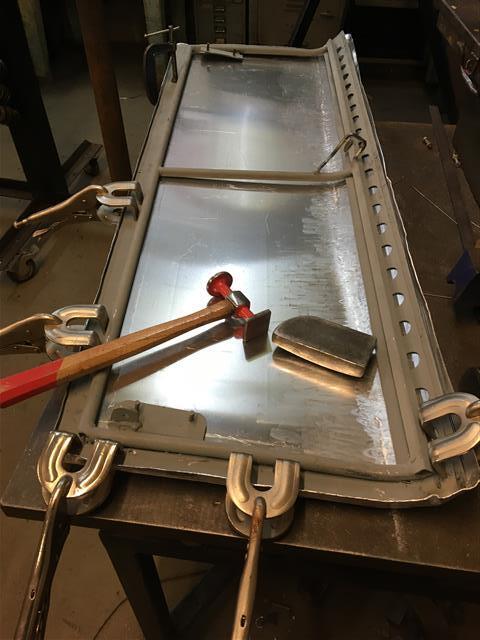
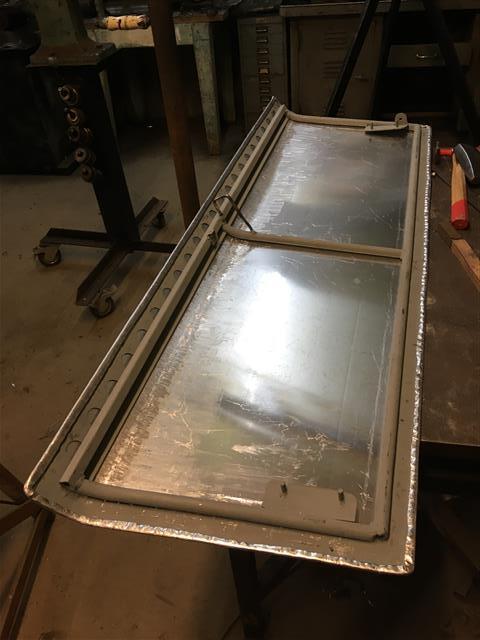
Ha, I'm not sure how a professional would go about it but this is what I did. First, I cut off the bottom three inches of the panel which sits nicely on the frame. The distorted section which is the greater part of the panel is ready to fight another day. 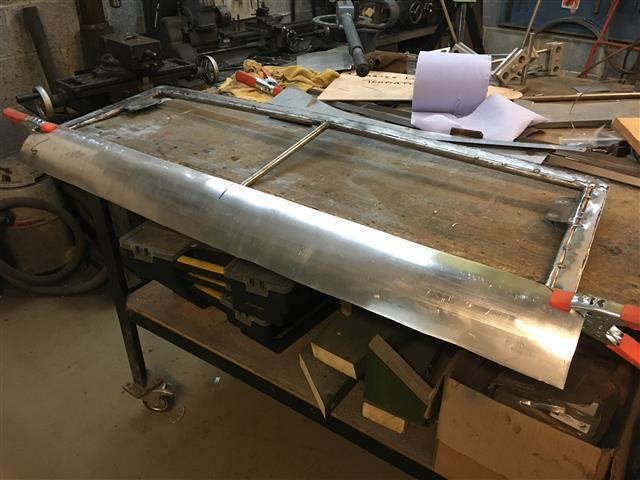 My thinking is that by clamping the main part of the panel to the frame so that it takes on the required curve and superimposing the edge onto the straight curve the profile will be correct and the transition from one profile to the other is accommodated by the joint. And it does seem to have worked. This has to be the longest TIG weld run that I have ever done. It's not particularly pretty but overall it went without any problems and there is only minimal distortion having put the joint very close to the curve. Penetration is a bit erratic but I've adopted the technique used by the Americans of putting a fusion weld on the backside and that certainly ensures a sound weld. 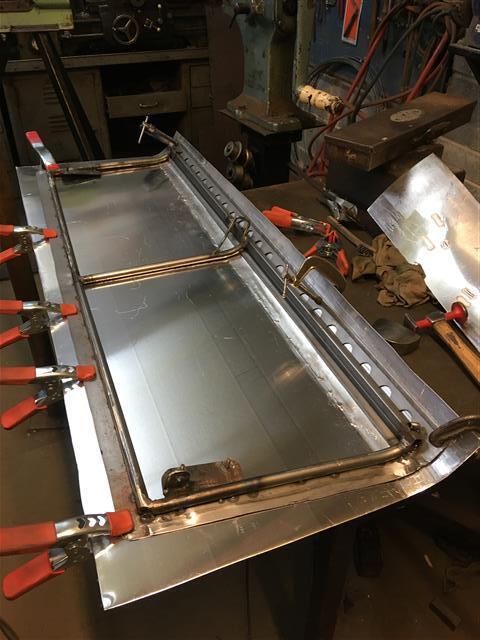 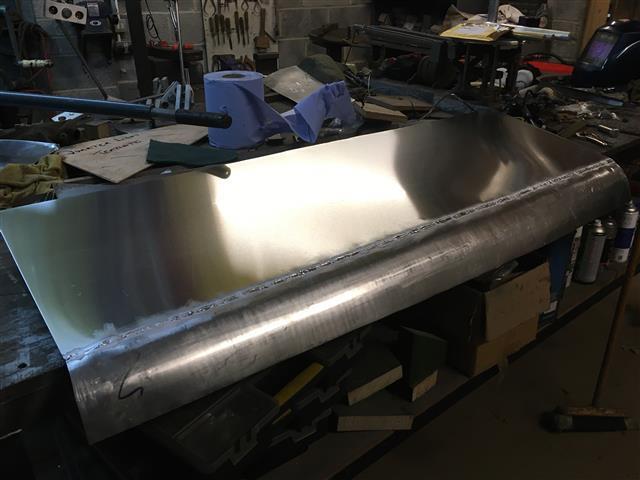 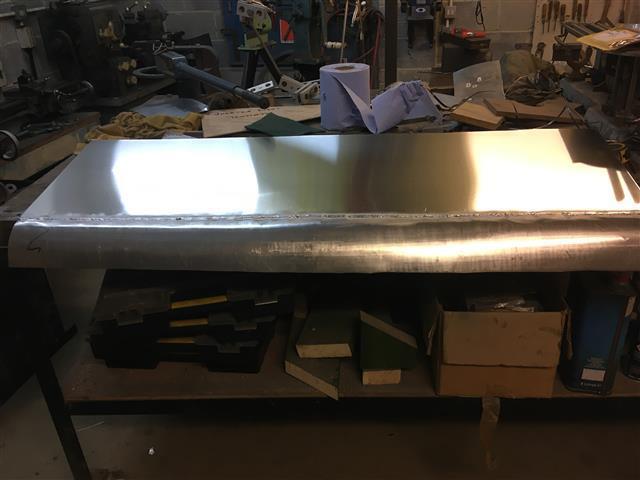 The straight edge shows that we have a CROWN which is very encouraging. 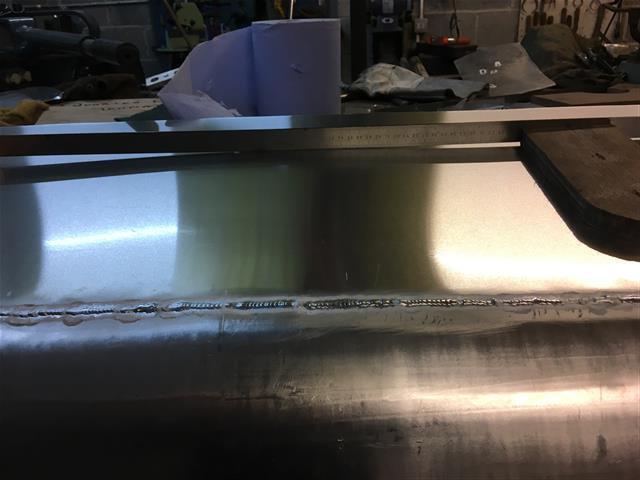 |
| |
|
|
75swb
Beta Tester
Posts: 1,052
Club RR Member Number: 181
|
|
|
|
|
Nice fix!
|
| |
|
|
|
|
|
|
|
Thank you. I'm hoping so. The panel sits on the frame nicely so, today I'll be tidying up the frame and giving it a couple of coats of zinc rich primer and then trimming the boot skin to size. |
| |
|
|
gazzam
Part of things
 
Posts: 740 
|
|
|
|
|
Nice workaround John. The apparent simplicity of a panel like that can be very deceptive.
Car is coming along very well.
I have much admiration for the taking on of a project like this. I know how, even on an existing car where someone has done the design work, everything influences everything else. That must be multiplied one hundredfold when you’re starting from scratch.
|
| |
|
|
|
|
|
Sept 9, 2021 16:43:36 GMT
|
|
|
| |
|
|
|
|
|
Sept 9, 2021 19:28:13 GMT
|
Very nice johnbonnett. I keep checking for new updates on this project as it develops. As another guy who has played with a superleggera build, this is massively impressive to me. |
| |
|
|
|
|
|
Sept 9, 2021 19:39:50 GMT
|
Very nice johnbonnett . I keep checking for new updates on this project as it develops. As another guy who has played with a superleggera build, this is massively impressive to me. Thank you and I feel much the same about your project, the Breadvan. I love it. |
| |
|
|
|
|
|
Sept 10, 2021 12:46:33 GMT
|
|
bloody hells bells john ...that looks like a car ! and with a lovely shape too .
|
| |
|
|
|
|
|
Sept 20, 2021 16:27:36 GMT
|
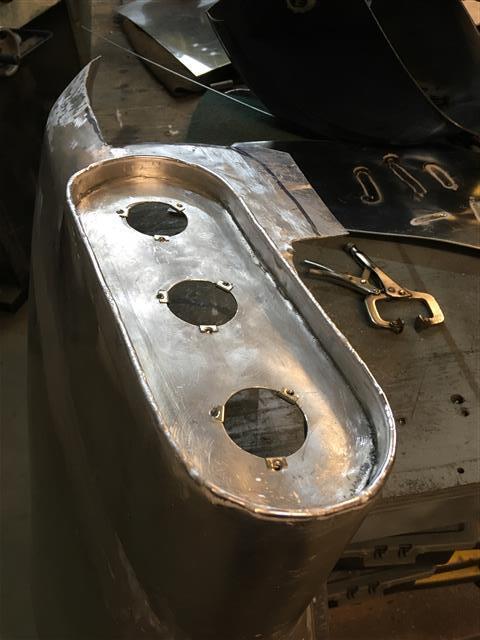
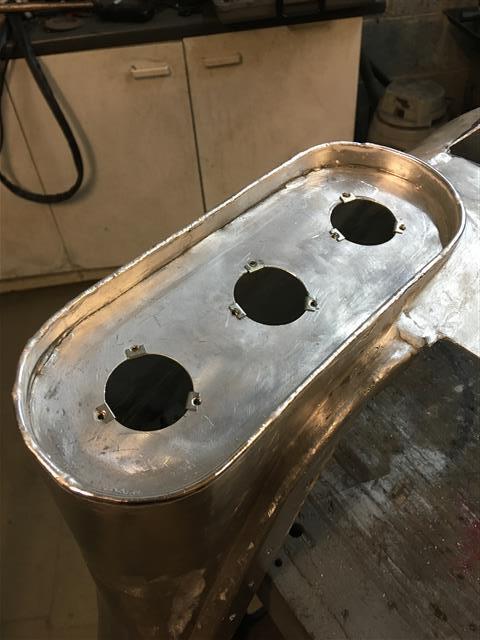
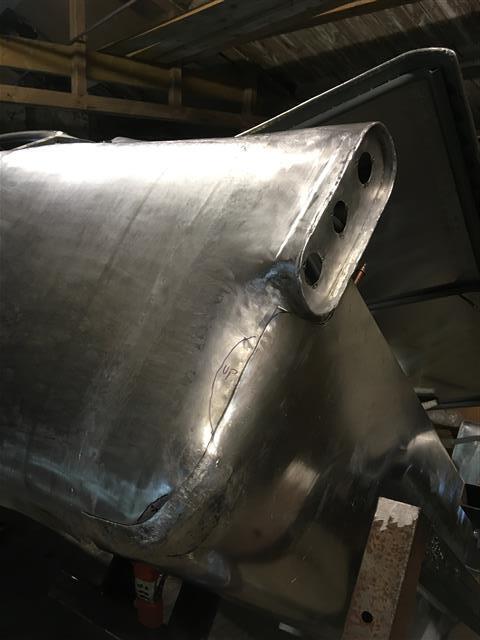
Just back from a delightful few days in Wales, fully charged and ready to continue the battle. The next job is welding in the rear lamp housings which is not something I've been looking forward to. It's an edge to edge weld so first I had to convince myself that I could do one. This turned out well because being a test piece there was no pressure or any worries about damaging the panel and most important of all I could sit in a comfortable position which is fundamental to achieving a good weld. 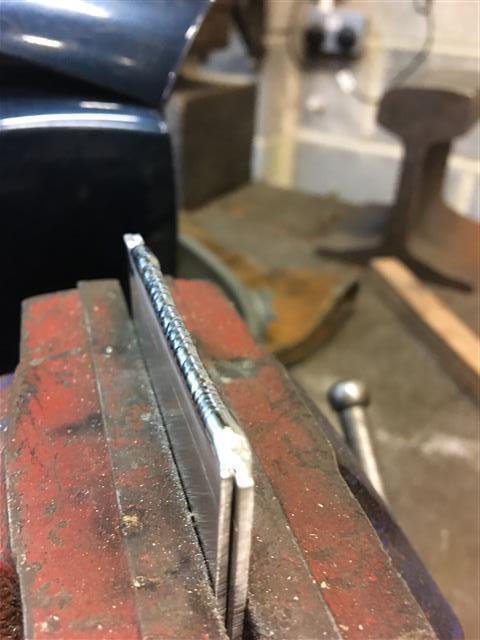 I always like to weld horizontally (the job, not me you understand) and with the rear wing on end approaching four feet long this was always going to present a challenge. I ended up sitting on the bench with the foot pedal on some steps. It wasn't ideal by a long way but for most of the job I was able to run a nice fusion weld which was pleasing. Things only went wrong when I lost my balance with the inevitable touch down. But a reasonable successful outcome, one down and one to go. 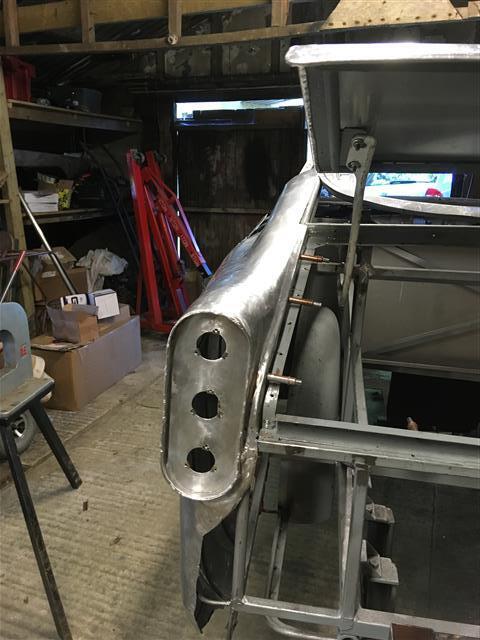 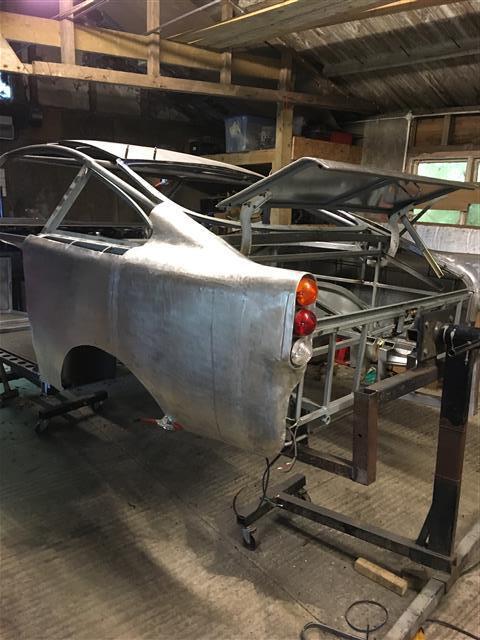 |
| |
|
|
|
|
|
Sept 21, 2021 16:41:07 GMT
|
|
|
| |
|
|
gazzam
Part of things
 
Posts: 740 
|
|
Sept 21, 2021 17:41:31 GMT
|
|
You should be well pleased with this. It’s looking very good.
|
| |
|
|
|
|
|
Sept 21, 2021 18:55:11 GMT
|
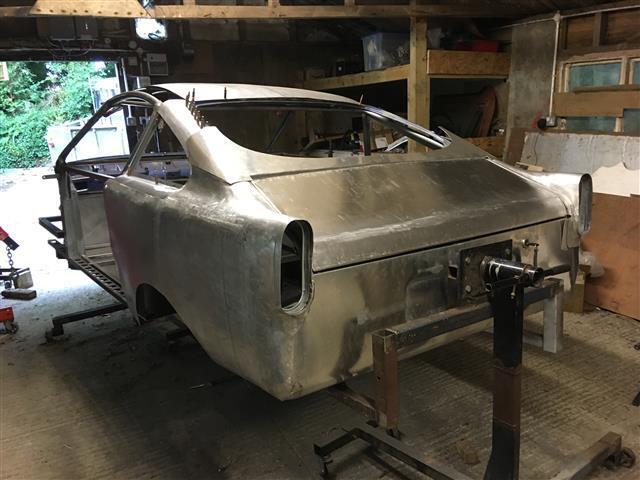
You should be well pleased with this. It’s looking very good. Thank you Gazzam, Yes I am and very encouraged that, with the amount of practice I'm getting tig welding aluminium, the more comfortable I feel when I'm doing it and good to see a definite improvement in consistency and in the quality of the welds. Gas or tig welding aluminium isn't easy but does get less difficult the more one does. I've gone through stages of dreading it, not looking forward to it to now when I view it as a challenge that on a good day I know I can conquer . Looking at the big picture which is something I generally try to avoid because of the enormity of the build and the fear of being overwhelmed and disheartened, the project is actually progressing rather nicely with many of the major panels made and not long before the rear end will be complete and all welded together. The boot lid is a large panel and once that was made and fitted, it filled a large hole and immediately the rear of the car looked very much more finished. For sure, down the line there's going to be a lot more head scratching and the occasional Devon wind suck when things go badly but I am much more confident now that I will be able to finish the car and hopefully be able to take it on a road trip to France with our little group of old gits. |
| |
|
|
|
|
|
Sept 22, 2021 10:44:08 GMT
|
Looks brilliant John  I've started using your thread as a good gauge of progress on my project. If I can't put a car back together before you can build an entire new one from scratch I'm not working fast enough  |
| |
|
|


