|
|
|
Aug 12, 2021 20:21:54 GMT
|
|
A grand day out and a fine excuse to exercise the GT6 🙂
I was pleased with how it turned out. Can handle the fabrication stuff, but that wheeling thing….. that’s magic …….
Luckily the visor disguises how much greyer I am in real life compared to my avatar 😛
Nick
|
| |
1967 Triumph Vitesse convertible (old friend)
1996 Audi A6 2.5 TDI Avant (still durability testing)
1972 GT6 Mk3 (Restored after loong rest & getting the hang of being a car again)
|
|
|
|
|
|
|
|
|
|
Read this from start to this point over the past day and a bit..awesome work!
The new door aperture tubes look like they will have the desired effect on the overall shape/finish of the car.
Look forward to more progress,
Liam.
|
| |
|
|
|
|
|
Aug 25, 2021 19:11:44 GMT
|
The last week or so has been like trying to run in treacle, lots of effort but not much headway. I cannot remember if I mentioned that I have had to bin my homemade boot lid hinges and opted instead, for a pair from a MK2 Escort. Not an easy matter to find the optimum mounting points which involved several false starts before finding the best ones. Even so, the body mounts encroach into the parcel shelf and will need to be boxed in at some point. But on the positive side, although they are fairly massive the hinges do the job and most importantly the boot lid opens smoothly. I'll be using a sliding stay from a Midget to keep the lid open rather than gas struts which might be too strong and cause distortion. 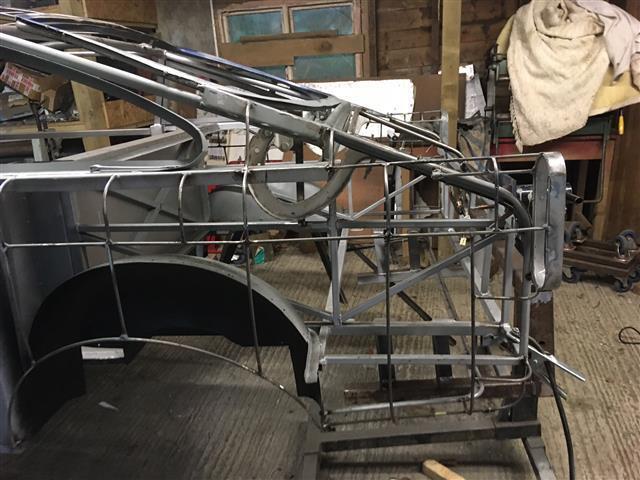 The latch mechanism works nicely on the key with the lid being pushed clear by the spring loaded boot popper. 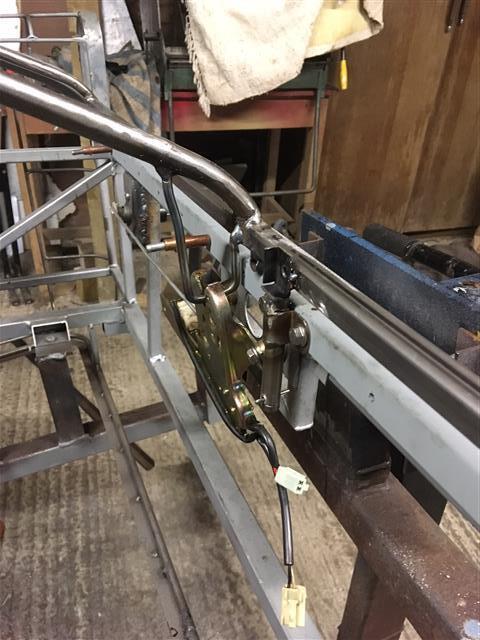 In order to finish the boot lid it was necessary to continue the curve down to the rear panel and to do this I formed a piece of 1mm sheet steel drilled for lightness and tacked in. This is where it all starts to get a bit tricky because the lower edge determines the finished shut line. I shall be trying for a 5mm gap but I'll be happy to go a bit more on the lower edge to allow a bit of room for the fingers when opening the lid. 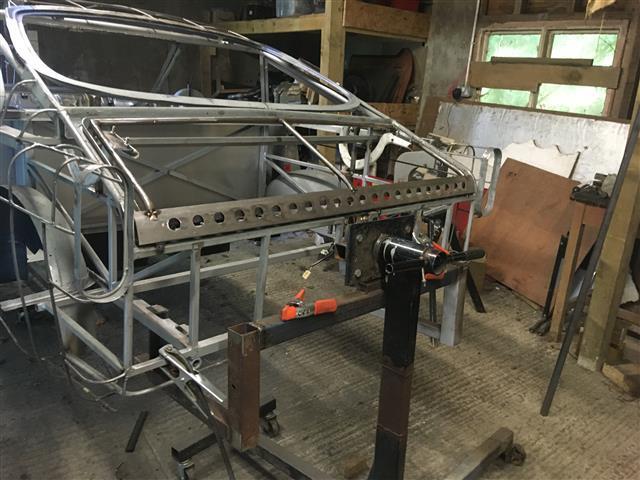 I've had to make provision for removing the lock which cannot just be withdrawn by removing the screws and pushing it forwards because of the way it is mounted. So it has been necessary to bore an oversize hole with respect to the diameter of the lock barrel so that the lock can be wriggled free past the mounting bracket. A 10mm larger hole in the back panel did the trick and the gap filled with a removable bezel machined from aluminium bar. 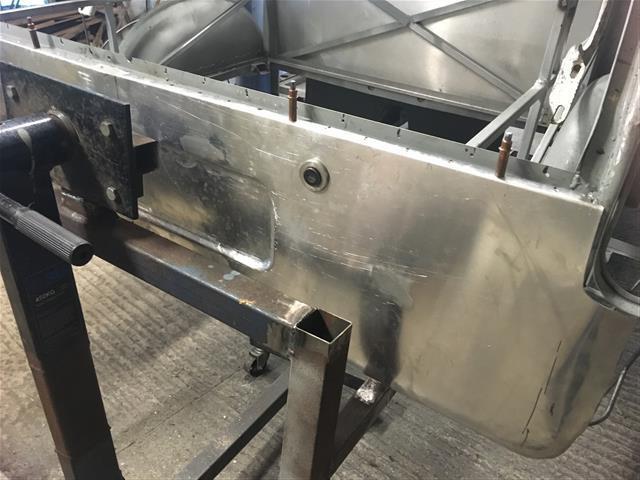 |
| |
|
|
nze12
Part of things
 
Posts: 193
|
|
Aug 25, 2021 19:23:39 GMT
|
|
Not only do you have to think like a master coachbuilder, you have to think like a car designer too!
|
| |
1986 BMW E30 refreshed to original spec
1973 BMW E12 520 converting to Motorsport 530
1982 XJS V12 converting to 5 speed manual
Many landscaping projects overriding above!
Cogito cogito ergo cogito sum!
|
|
75swb
Beta Tester
Posts: 1,052
Club RR Member Number: 181
|
|
Aug 26, 2021 10:23:38 GMT
|
|
Excellent progress as ever. Pleasure to read!
|
| |
|
|
|
|
|
Aug 27, 2021 10:20:26 GMT
|
|
Great work! Will the lip of the boot stick out a bit past the rear valence? Suppose it's the Triumph enthusiast in me but I've always liked that design feature!
|
| |
|
|
|
|
|
Aug 27, 2021 13:06:00 GMT
|
Great work! Will the lip of the boot stick out a bit past the rear valence? Suppose it's the Triumph enthusiast in me but I've always liked that design feature! Interesting point which I hadn't thought about and a nice feature. But my intention is for the edges of the boot lid and the rear panel to be flush but with a slightly larger gap than the target 5mm to allow a bit of finger room. Work on the boot lid has stopped because the MIG developed a fault. But credit to R-Tech who are a great firm to do business with it, was collected at their expense the next day and will be sent on a next day service as soon as it's fixed. But there are plenty of other jobs to get on with so no time is being lost. So I've started forming the aluminium that fits into the rear quarter light aperture. This was a straightforward matter of folding an angle section and stretching it to shape. I annealed it but I did mange to split it but this was no problem to weld up. 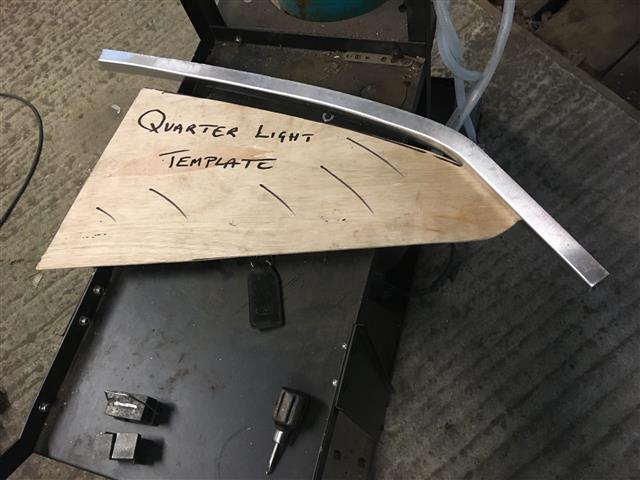 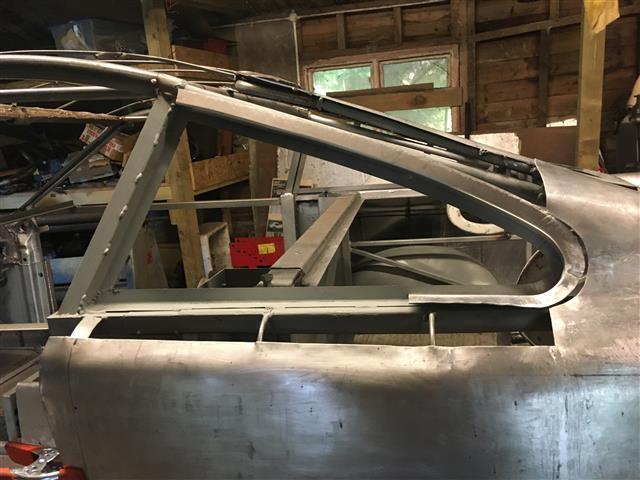 I used a rubber band on the top wheel and a sharp anvil to curve the adjoining section. The rubber prevents stretching in the longitudinal direction and the piece stays absolutely flat (no bowing) and the curvature follows that of the anvil. 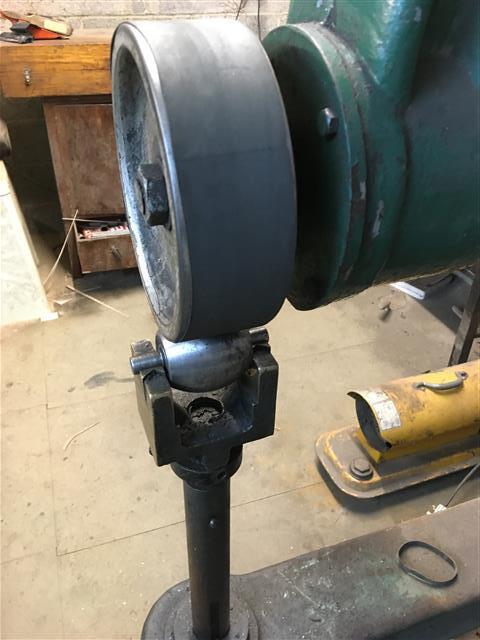 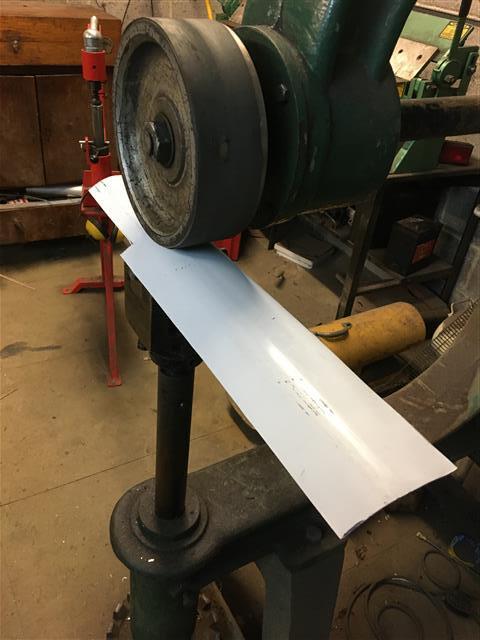 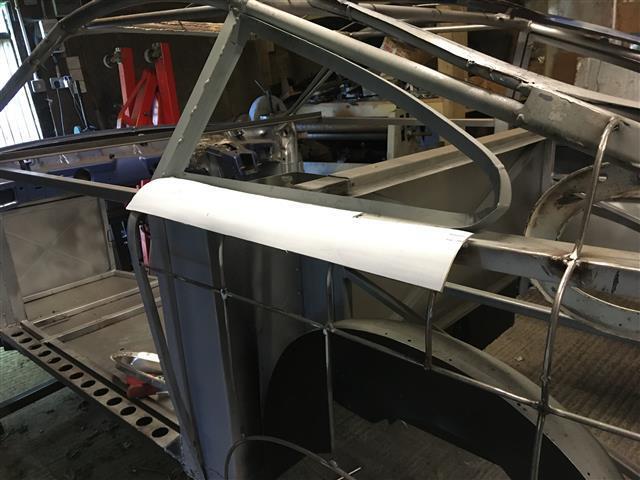 Although the car will resemble those of the 60s it will have as many refinements as I can get in including air conditioning, heated front and rear screens, reversing camera and an up to date head unit. Many parts although they will not be used until the car is near completion need to be sourced so that they can be accommodated, brackets made, and generally ensuring that fitting them will not clash with any other bits. All in an effort to avoid the law of unforeseen consequences. I needed the reversing camera and will need the radio for when I design the dashboard so no time like the present and a nice parcel arrived today. 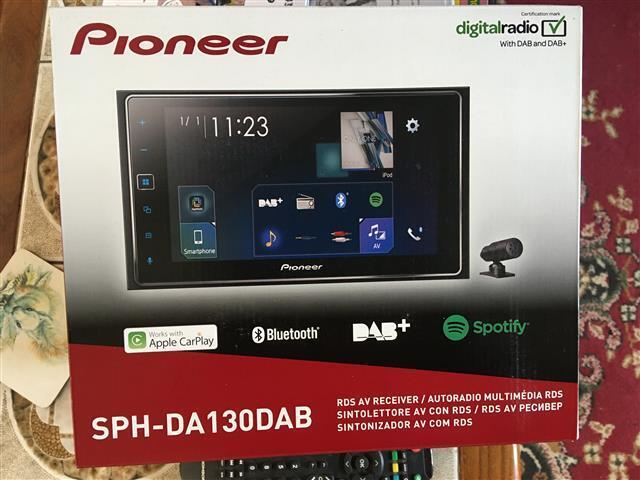 |
| |
|
|
75swb
Beta Tester
Posts: 1,052
Club RR Member Number: 181
|
|
Aug 27, 2021 21:55:41 GMT
|
|
How far are you with design of the dash/interior? Will the screen be visible or some sort of hidden panel? Can you use some sort of donor or is it going to be a full custom set up? Great progress as ever.
|
| |
|
|
|
|
|
Aug 28, 2021 22:20:19 GMT
|
|
Fantastic updates as usual. I love this thread!
|
| |
|
|
|
|
|
|
|
How far are you with design of the dash/interior? Will the screen be visible or some sort of hidden panel? Can you use some sort of donor or is it going to be a full custom set up? Great progress as ever. I envisage a hidden panel James Bond style, modern equipment in a retropackage, Brilliant progress . |
| |
|
|
|
|
|
Aug 29, 2021 15:00:24 GMT
|
How far are you with design of the dash/interior? Will the screen be visible or some sort of hidden panel? Can you use some sort of donor or is it going to be a full custom set up? Great progress as ever. I envisage a hidden panel James Bond style, modern equipment in a retropackage, Brilliant progress . Sadly no James Bond gizmos or gimmicks, just conventional modern-day upgrades that I hope will enhance the driving experience. The dash and console is an area I'm really looking forward to tackling. As with the body, it's all in my head and the hard bit is transforming it into reality. The transmission tunnel will merge into a platform (I can't think of a better word at the moment) containing the gearstick and then angle towards the vertical upwards to blend into the dashboard. It is in this section that the screen will be mounted. Unlike just about every classic that car I have worked on there should be acres of room under the dashboard to accommodate the heater/aircon unit and all the ducting. I'll probably fabricate an air distribution plenum in aluminium. The heater unit itself is giving me a bit of a headache because the Fiesta OE unit is huge and heavy, out of the question to use as is and the only UK sourced ones are simply crude by comparison and don't offer climate control. So if I cannot find a unit that allows the dried air to be heated I'll have to repackage the one from the Fiesta more or less as they did on Project Binky. Meanwhile, a bit more panelling which has gone really well. It was a long weld but accomplished without any problems. This fills the gap between the rear wind and the quarter light. 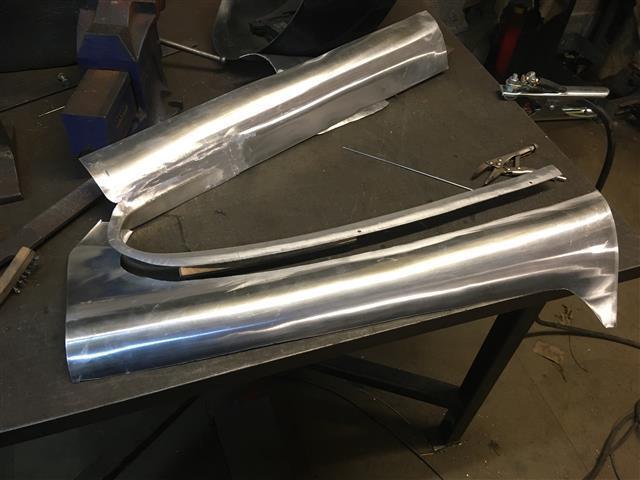 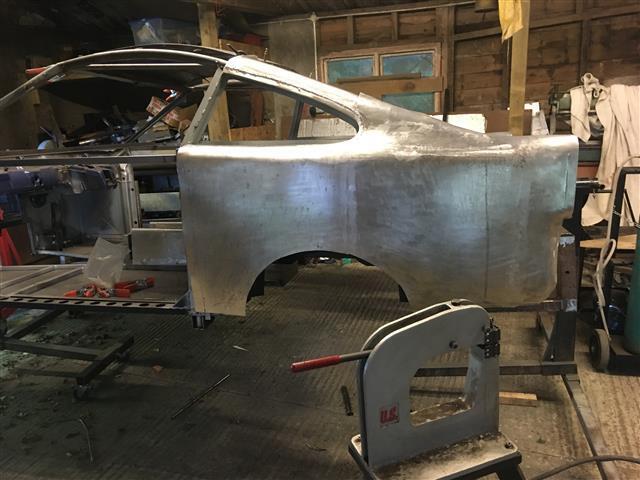 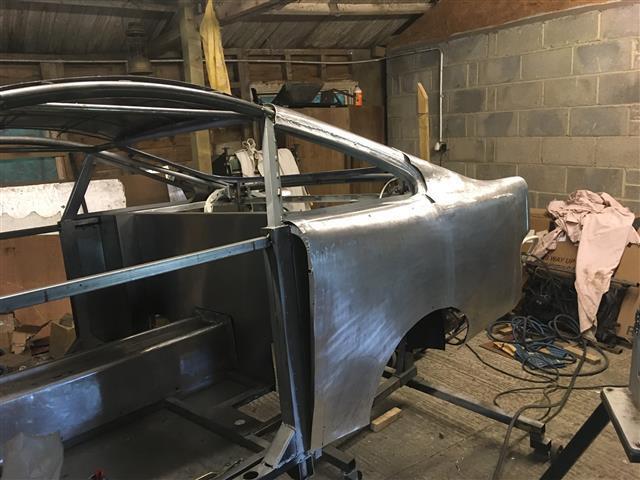 |
| |
|
|
bazzateer
Posted a lot
   Imping along sans Vogue
Posts: 3,653
|
|
Aug 30, 2021 18:17:24 GMT
|
Well if you build them yourself they will fit your car perfectly. Also if you make them in aluminum all you need to do is polish them, having steel parts chromed costs an arm and a leg in my experience. I would really enjoy seeing a step by step of you making the bumpers so please proceed  Nick Make them in stainless steel? |
| |
1968 Singer Chamois Sport
1972 Sunbeam Imp Sport
1976 Datsun 260Z 2+2
1998 Peugeot Boxer Pilote motorhome
2003 Rover 75 1.8 Club SE (daily)
2006 MG ZT 190+ (another daily)
2007 BMW 530d Touring M Sport (tow car)
|
|
bazzateer
Posted a lot
   Imping along sans Vogue
Posts: 3,653
|
|
Aug 30, 2021 20:06:41 GMT
|
|
This build is incredible.
|
| |
1968 Singer Chamois Sport
1972 Sunbeam Imp Sport
1976 Datsun 260Z 2+2
1998 Peugeot Boxer Pilote motorhome
2003 Rover 75 1.8 Club SE (daily)
2006 MG ZT 190+ (another daily)
2007 BMW 530d Touring M Sport (tow car)
|
|
|
|
|
Aug 30, 2021 20:34:32 GMT
|
Well if you build them yourself they will fit your car perfectly. Also if you make them in aluminum all you need to do is polish them, having steel parts chromed costs an arm and a leg in my experience. I would really enjoy seeing a step by step of you making the bumpers so please proceed  Nick Make them in stainless steel? Not a chance. I may be wrong but I doubt anyone could hand form bumpers in stainless steel. |
| |
Last Edit: Aug 30, 2021 20:45:13 GMT by Rich
|
|
|
|
|
Aug 31, 2021 19:16:04 GMT
|
|
|
| |
|
|
|
|
|
|
|
Looking good John! Have you considered one of these fellas for a compact heater solution? I'm not sure how much heat they produce, but they're certainly compact. |
| |
|
|
|
|
|
|
|
Looking good John! Have you considered one of these fellas for a compact heater solution? I'm not sure how much heat they produce, but they're certainly compact. Funnily enough I have used that exact model on the trials car and it works fine as a heater but I'm after climate control and that's where I've come unstuck in the UK. But I can get exactly what I want from Vintage Air who do a huge range of aircon systems. The one I'm going to order is the Gen Mini 11 which looks ideal. It is arranged so that dried air is passed through the heater matrix as on OE systems and will rapidly demist the windows. www.vintageair.com/builder-series/?subcat1=Gen%20II%20MiniI'll probably source the other bits, trinary switch, drier and unions from CBS who seem to be reasonably priced on these items. Although I have the condensing radiator off the Focus I may buy one from CBS which has the benefit of threaded union connections rather than trying to mate to the Fords ones. That only leaves the connection of pipes to the compressor which may involve TIG welding aluminium unions to the two stub pipes. |
| |
|
|
|
|
|
Sept 1, 2021 10:35:43 GMT
|
That does look neat! Very fancy  Glad to hear the other unit works well as a heater. I've got it marked down for the Triumph 2000 project to create some space where the old monster heater block normally lives... |
| |
|
|
|
|
|
Sept 1, 2021 10:47:46 GMT
|
That does look neat! Very fancy  Glad to hear the other unit works well as a heater. I've got it marked down for the Triumph 2000 project to create some space where the old monster heater block normally lives... Chris Sherrington had one in his Le Mans Spitfire and I know he was pleased with it. It has a single speed motor which is noisy so it could do with a speed controller in my view. |
| |
|
|
|
|
|
Sept 1, 2021 10:55:16 GMT
|
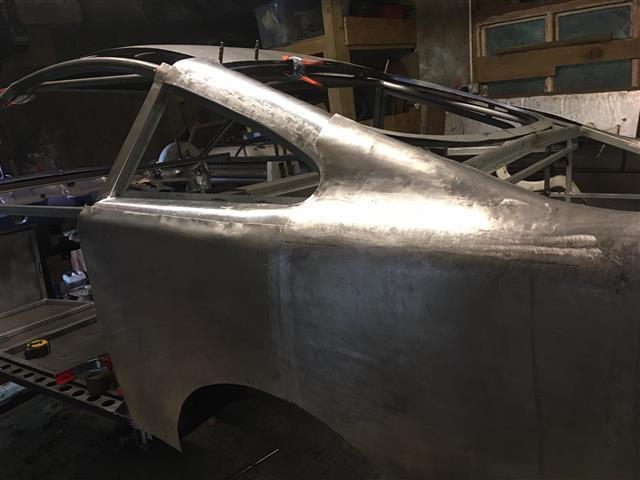
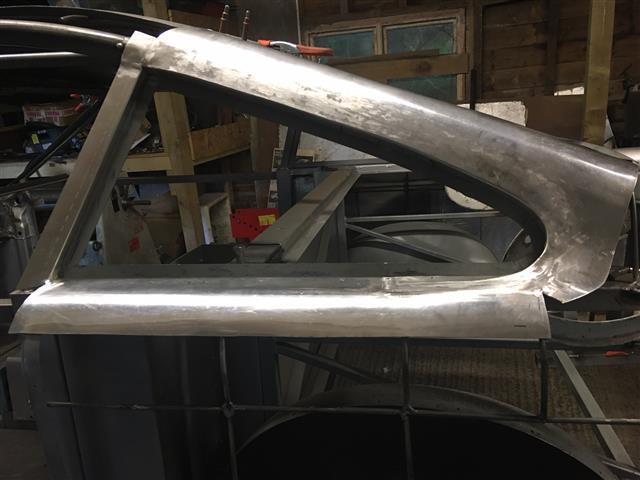
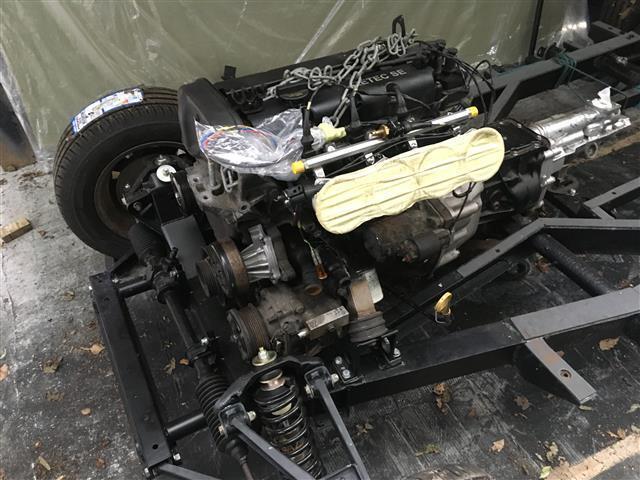
Ah useful piece of advice  was planning to use it for the Spitfire as well so will get a system rigged up for both  |
| |
|
|


 was planning to use it for the Spitfire as well so will get a system rigged up for both