|
|
|
Jul 10, 2021 15:29:24 GMT
|
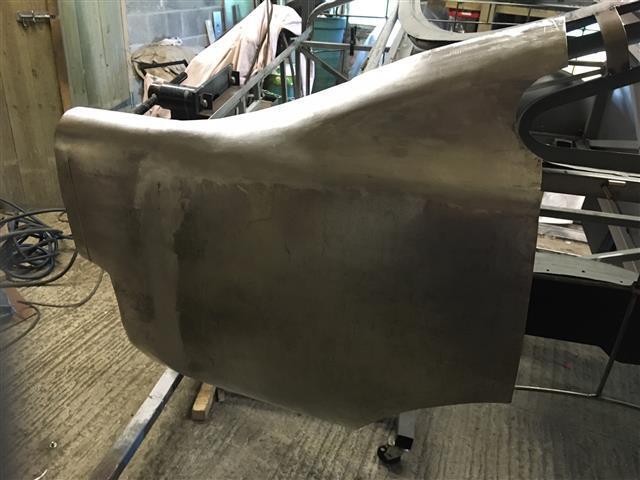
Coming together vey nicely. That rear end is looking quite stylish. I’ve had a bit of a revelation on the TIG front. I noticed that the earth clamp was getting quite hot. Tried unsuccessfully to get a better connection where the lead attaches to it. So I replaced the clamp and it’s a different machine. I don’t know how I didn’t spot it before this, I suppose I had gloves on. Anyway, might be worth checking on yours. Gazzam, I've just checked the earth clamp and it gets sufficiently hot to melt the insulation so a new clamp on order. I'm indebted to you for the heads up. Tank you. 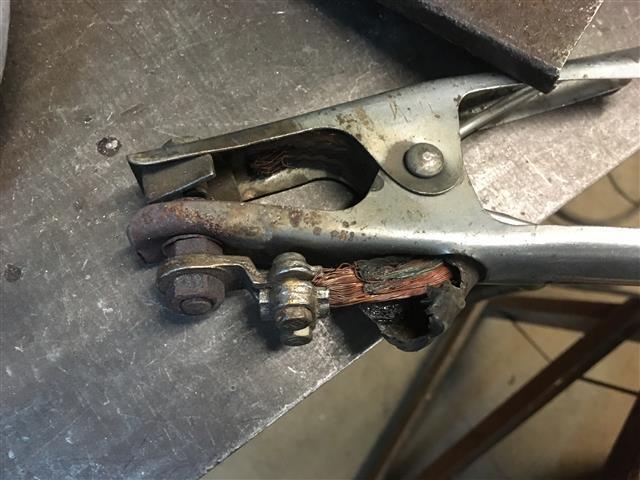 |
| |
|
|
|
|
|
|
|
Jul 10, 2021 19:24:58 GMT
|
|
I normally advise anyone to get a better earth clamp as normally the supplied ones are poor quality.
Makes a huge difference to your welds.
|
| |
|
|
|
|
|
|
|
|
completely agree with that , i fitted a mega powerful springy one from radio spares ,and it doubled my welders power ..ish .
|
| |
|
|
|
|
|
Jul 11, 2021 12:39:13 GMT
|
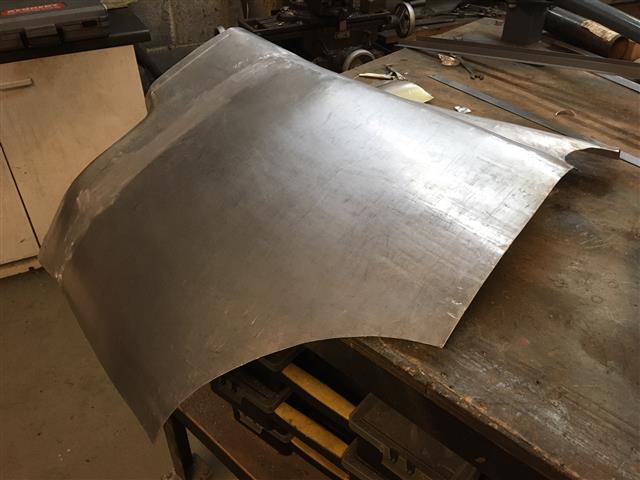
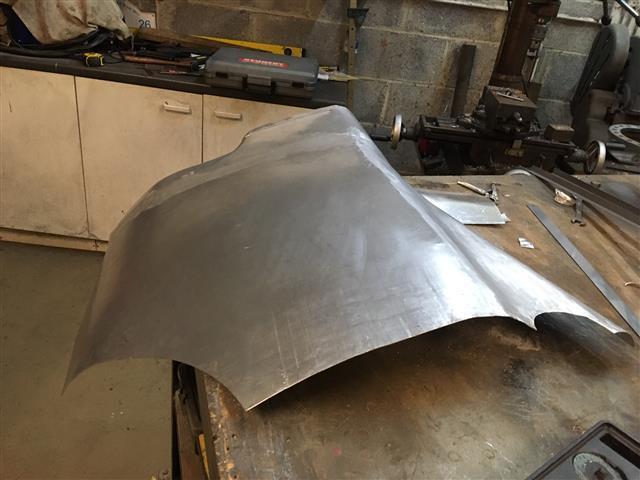
The righthand quarter panel is now welded up and the shape is very pleasing. I've cut a series of sweeps replicating the curve of the left-hand panel at different points back to front. Wile the shape of the new panel is pleasing, it doesn't quite match its counterpart on the other side so some adjustment is needed. 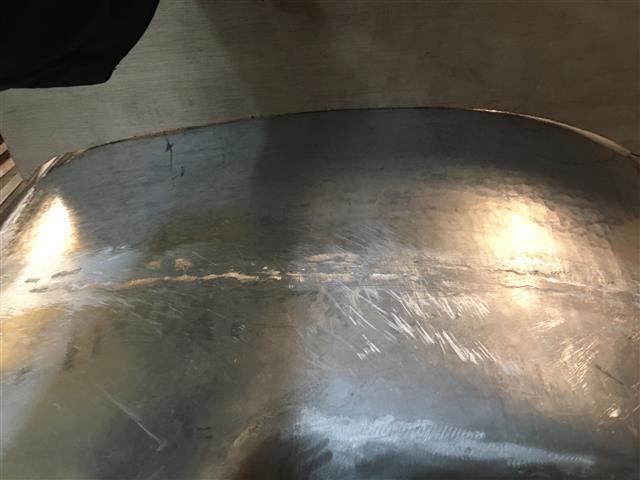 |
| |
|
|
|
|
|
Jul 11, 2021 21:25:19 GMT
|
completely agree with that , i fitted a mega powerful springy one from radio spares ,and it doubled my welders power ..ish . I've got one of the brass screw on ones for my mig and a HD clamp for the old lightning stick. |
| |
|
|
|
|
|
Jul 13, 2021 15:25:30 GMT
|
|
|
| |
|
|
|
|
|
Jul 13, 2021 15:54:20 GMT
|
|
Totally amazing
|
| |
|
|
|
|
|
Jul 13, 2021 23:38:16 GMT
|
Man that looks good! Great work  |
| |
|
|
75swb
Beta Tester
Posts: 1,052
Club RR Member Number: 181
|
|
|
|
|
I wouldn't even know where to start. Exceptional work
|
| |
|
|
gazzam
Part of things
 
Posts: 740 
|
|
|
|
|
Very nice. That’s a lot of shaping.
I may have missed it, but what gauge ally are you using?
|
| |
|
|
|
|
|
|
|
Very nice. That’s a lot of shaping. I may have missed it, but what gauge ally are you using? Thank you everyone for your kind words. I'm using 1050A which is pure aluminium 16 gauge or 1.5mm thick. TIG rods are also 1050A. My experience over the last few days trying to make a trivial adjustment that in the end turned out to be a major job just underlines how easy it is to accidentally put unwanted shape into the panel and how difficult it is to shrink it out. I have no idea whether this is an approved method of shrinking but I found that by heating the "Egg" with my blow torch until the Sharpie marks disappeared and then pressing down on the area with a damp cloth did actually do the job. I also heated it up and used a slapper followed by the damp rag and by a combination of these methods the shape slowly reduced. There are plenty of panels ahead so loads of opportunity to get the hang of it! |
| |
|
|
|
|
|
|
|
|
that looks so professional John , bloody well done.
|
| |
|
|
|
|
|
|
|
|
Shrinking is a very dark art!
Tried it on the lower (underneath) panel on my Pop, suffice to say it went wrong and it now has some little inverted 'V' ribs welded inside to pull it flat with a skim of filler on the outside to hide my miserable attempt!
|
| |
|
|
|
|
|
Jul 14, 2021 10:04:35 GMT
|
Shrinking is a very dark art! Tried it on the lower (underneath) panel on my Pop, suffice to say it went wrong and it now has some little inverted 'V' ribs welded inside to pull it flat with a skim of filler on the outside to hide my miserable attempt! Have you come across Trev's blog? I've never met him but he comes over as one of the nicest people you could ever wish to meet, very modest and a highly skilled panel beater. He does cover shrinking dents in steel in this video. |
| |
|
|
|
|
|
Jul 14, 2021 10:05:43 GMT
|
|
That it is! I've managed to get it to work on a panel that's stressed already so all of the edges are located and you can use those to push against. My only attempt to shrink a loose panel was the sunroof fillet for the Jag that I'd curved a bit too much and I gave up on that in the end! Bought another sheet and tried again.
|
| |
|
|
|
|
|
Jul 14, 2021 12:00:36 GMT
|
|
Not seen that John, (not much of a youtuber) but will watch that later.
|
| |
|
|
|
|
|
Jul 16, 2021 15:30:27 GMT
|
In between working on the bodywork, I've been thinking about plumbing the fuel lines now I have the tank and and with the prospect of the engine going on the dyno next week and being back here soon. The first problem is mating aftermarket fittings with the OE connections on the Focus in-tank fuel pump. I have come across Torques_UK www.ebay.co.uk/str/torquesuk who sell the adapters which is great news. I'm not going to fall foul of the ethanol in modern fuels so I've decided to use braided Teflon pipes, using AN6 hose and fittings for the feed and AN8 for the return. I'll be using a standard Focus fuel filter after the pump made possible by the OE adapters once again. It's not a cheap route but what price reliability? Hopefully it will be a fit and forget exercise. |
| |
|
|
|
|
|
Jul 16, 2021 16:26:53 GMT
|
I managed to get the adjoining panel formed today and tacked up. Not the greatest of tacks, I don't really know why but there is good penetration and they'll do their job holding it all together and in shape during final welding. I've now fitted the replacement earth clamp which remained cold during the job but did nothing to improve my welding. 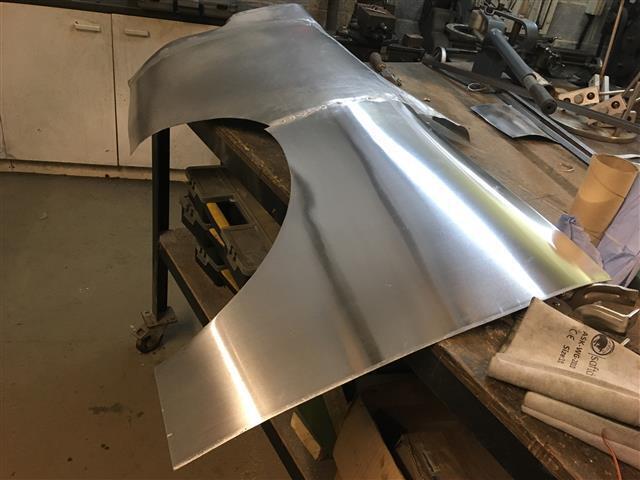 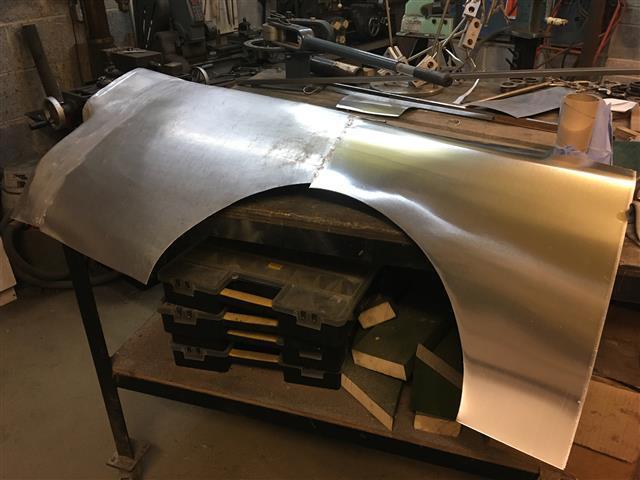 |
| |
|
|
gazzam
Part of things
 
Posts: 740 
|
|
|
|
|
I was hoping you’d report a ‘road to Damascus’ moment. Plenty of practice to come!
|
| |
|
|
|
|
|
Jul 17, 2021 10:11:09 GMT
|
I was hoping you’d report a ‘road to Damascus’ moment. Plenty of practice to come! Ha ha, yes that would have been nice. I'm scrupulous about cleaning the aluminium including the rods but there are other factors that are super critical when welding aluminium including torch angle, distance of tungsten to the job and not the least being comfortable. Must remember to breathe  It was the work of a few minutes to fully weld it although each time I came to a tack I could see that there was oxidation and the weld stopped flowing. I had sanded the tacks right down but once there's oxidation in the weld I don't think it can be easily removed. Between tacks the weld pool flowed easily so somehow I managed to oxidise the tacks yesterday and I think it can only have come from the rod. Anyway all done now and I've started knocking up and filing down the weld bead. Here is photo showing the progress to date with the various panels that I've made just laid in place. 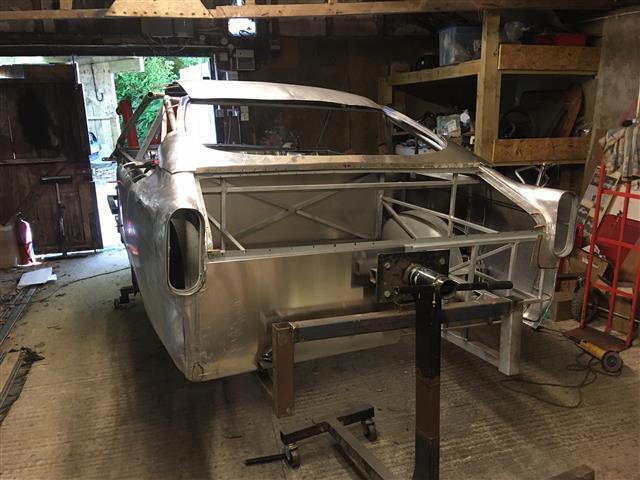 |
| |
|
|


