Ian
Part of things
 
Posts: 977
|
|
Jan 18, 2022 10:26:05 GMT
|
|
I thought you had deleted the indicators for a minute, then realised its an import.
Are you going to keep the side trims silver again, or colour code them this time?
Rev 3 tail lights would look good on this!
|
| |
|
|
|
|
|
|
|
Jan 18, 2022 18:13:54 GMT
|
I thought you had deleted the indicators for a minute, then realised its an import. Are you going to keep the side trims silver again, or colour code them this time? Rev 3 tail lights would look good on this! I'm thinking ill keep the silver side trims they give it a bit of a different look. I like the later lights but not particularly bothered about swapping mine over. Especially when you see the price some people are charging for them now. |
| |
|
|
|
|
|
Jan 18, 2022 19:26:14 GMT
|
|
Man, this thing is amazing. Well done- excited to see more.
|
| |
1985 Volvo 760 "Jurbo"
|
|
|
|
|
Jan 27, 2022 13:14:06 GMT
|
Slow changes. I have been making progress on the side skirts. I needed to add some fiberglass to the top to hide the plate that was bonded on earlier and then a bit of flexible filler to smooth it in. i did all of that and got everything looking rather good.  You might notice masking tape on the car so i don't cover it in filler or fiberglass.  And then i fitted the door as a final sanity check. Turns out its a mile off and catches the skirt even with the door as high as it will physically go which puts all the trim out of line. So i went in and ground a load back out of the skirts. It still wasnt enough so i went for a cup of tea and a bit of contemplation, this involved me deciding whether to just throw the damn things away and stop wasting time on them. Unfortunately you cant buy new ones or copies of these skirts and i have so much time invested into them now i couldnt bring myself to get rid. Therefore i had very little choice other than getting medieval with the doors instead.  Yep the doors i spent time repairing properly reinstating the original flange ect i have now ground a few mm off the bottom. This separates the skin and frame, removing the flange so once i had it trimmed down to the correct height i waved the gun over it and welded the skin to the frame. This means the skin isnt quite as easy to remove later on but i cant see why i would ever need to anyway.  With the door refitted we can see enough gap has now appeared and with a bit more tweaking it will look even.  Now just to fix all the areas i had ground out in a feeble attempt to get the doors to fit, before accepting my fate and taking it out on the doors. We need a way to fix the lower back edge of the skirt and stop it flapping about. The usual way of doing this is a self tapper into the back of the sill . . . Thats not going to happen. I have a particular aversion to self tapping screws along with a strong desire to physically maim anyone that uses them to attach a part on their car. Violent tendencies aside, i made a couple of little stand offs They are stainless and fix inside the skirt to make use of the oem bolt hole for the side vent.  Bit of PU adhesive to hold them in place and then fiberglassed over.  With everything now having clearance i could take it all off the car and get the shell back onto the ground.  Its such a change seeing it on the floor again. You really forget how small/low they are. Anyway she has now been pushed out the workshop and into the garage where it will be safe and i can get on with painting all the other bits without working around the shell.  Now i can get a few panels out to work on i need another stand, i looked online but they are an extortionate price so ill make one. Going a bit more sturdy than wood this time and using up some of the inch box that i ordered way too much off for the horsebox project.  Ill make another one later but i didnt have enough chain so just one extra for now is all i'm getting.  |
| |
|
|
|
|
|
|
|
After a couple of weeks running around like a blue nose messenger imp i have finally found an evening to sit down with a strong drink and update you all. When I last left it was time to get on with the doors and bumpers. There was some filler needed on the doors where the new sections have been welded in just to make sure the profile matched properly.  Also a little bit needed on the front bumper where it had been repaired  And the rear bumper where the spats are blended on. I also spent a bit of time stripping the engine lid, not the easiest thing to get into the rain trays and sand but i got it good enough in the end.  With those bits done i could clean the workshop down again, sheet the walls, don a new straight jacket and get painting.  High build primer  Lots of sanding and then cleaning ensues. Followed by more primer, colour and lastly the lacquer goes on   ![]() I'm pretty happy with all of those bits. I did have a slight issue where the heater blew bits all across the wet paint on the underside of the engine lid but i think ill live with it. I had some thoughts on making a custom one in the future anyway  I gave them a day or so to harden before moving them to the back and sheeting over to stop any overspray. There has of course been more but ill leave it there for tonight. |
| |
|
|
|
|
|
|
|
|
That truly is beautiful work going on there and the colour is stunning,
This will definitely be as good, if not better, than new,
Nigel
|
| |
Last Edit: Feb 12, 2022 9:41:23 GMT by Alpina99: Grammar correction,
BMW E39 525i Sport
BMW E46 320d Sport Touring (now sold on.)
BMW E30 325 Touring (now sold on.)
BMW E30 320 Cabriolet (Project car - currently for sale.)
|
|
jimi
Club Retro Rides Member
Posts: 2,226 
|
|
Feb 12, 2022 21:16:46 GMT
|
That truly is beautiful work going on there and the colour is stunning, Zircon Blue (8J2) one of the best MK2 colours I.M.O.  |
| |
Black is not a colour ! .... Its the absence of colour
|
|
mat88
Yorkshire and The Humber
Posts: 1,542
|
|
|
|
|
Well this has moved on a fair bit since last time I checked in! Looking mega, going to be pretty special this when it's done!
|
| |
|
|
|
|
|
Feb 13, 2022 22:04:56 GMT
|
Well this has moved on a fair bit since last time I checked in! Looking mega, going to be pretty special this when it's done! Thanks for checking in. There is more already done I just need to sit down and do some typing. I'll be coming down to your neck of the woods a fair bit over the summer once it's done so will have to drop in and see your lexus. |
| |
|
|
|
|
|
Feb 13, 2022 22:08:40 GMT
|
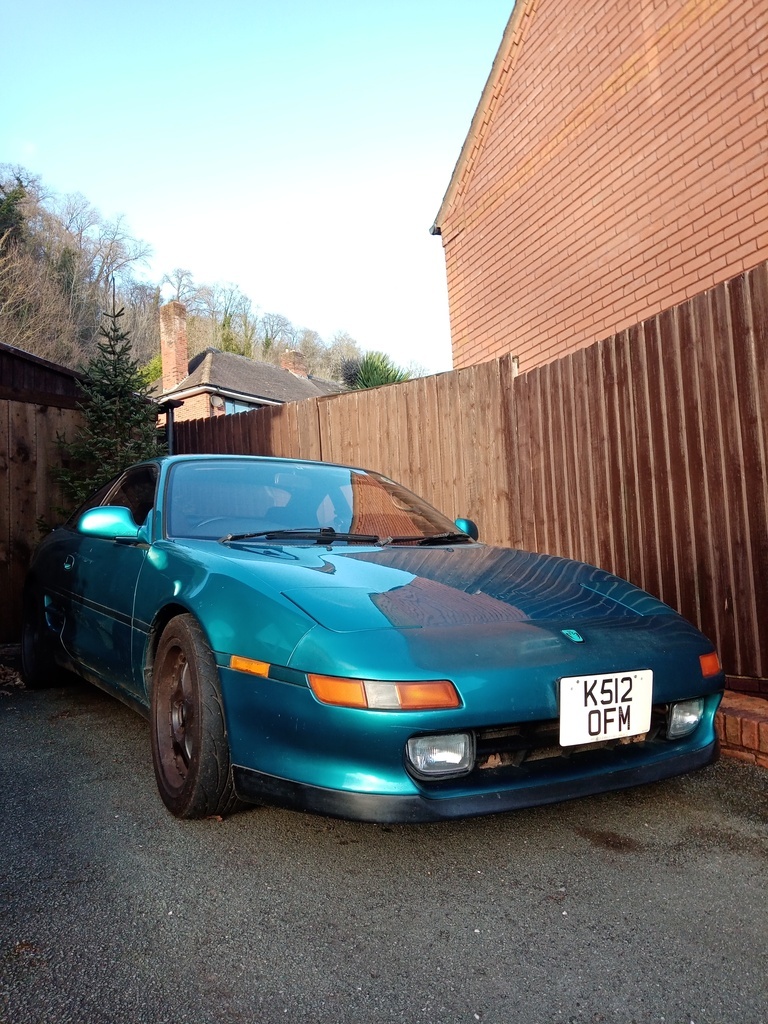
That truly is beautiful work going on there and the colour is stunning, Zircon Blue (8J2) one of the best MK2 colours I.M.O.  That's my opinion too  I think a close second is the turquoise 746 |
| |
|
|
|
|
jimi
Club Retro Rides Member
Posts: 2,226 
|
|
Feb 13, 2022 22:49:46 GMT
|
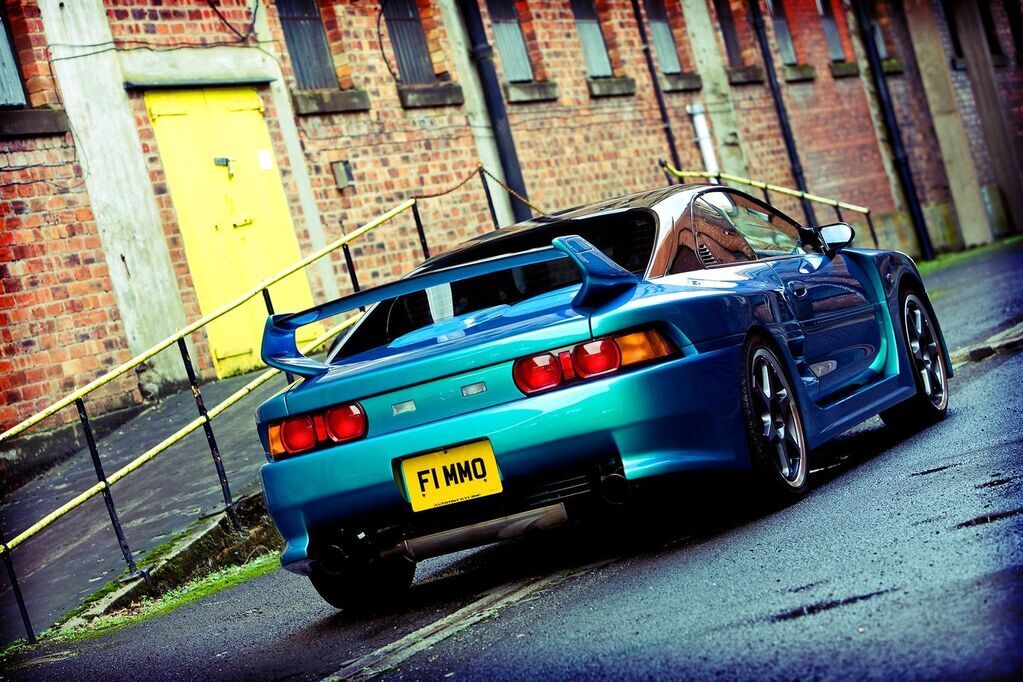
 I think a close second is the turquoise 746  This is a friend of mines TRD replica (also a V6, although it started life as a 3S-FE  )  |
| |
Last Edit: Feb 13, 2022 22:56:04 GMT by jimi
Black is not a colour ! .... Its the absence of colour
|
|
|
|
|
Feb 13, 2022 23:20:15 GMT
|
 I think a close second is the turquoise 746  This is a friend of mines TRD replica (also a V6, although it started life as a 3S-FE  )  Hmmm that looks clean, a v6 trd is ringing bells has he put it up for sale ove the past few years? I'm sure i have seen it on some of the groups. |
| |
|
|
jimi
Club Retro Rides Member
Posts: 2,226 
|
|
Feb 13, 2022 23:52:41 GMT
|
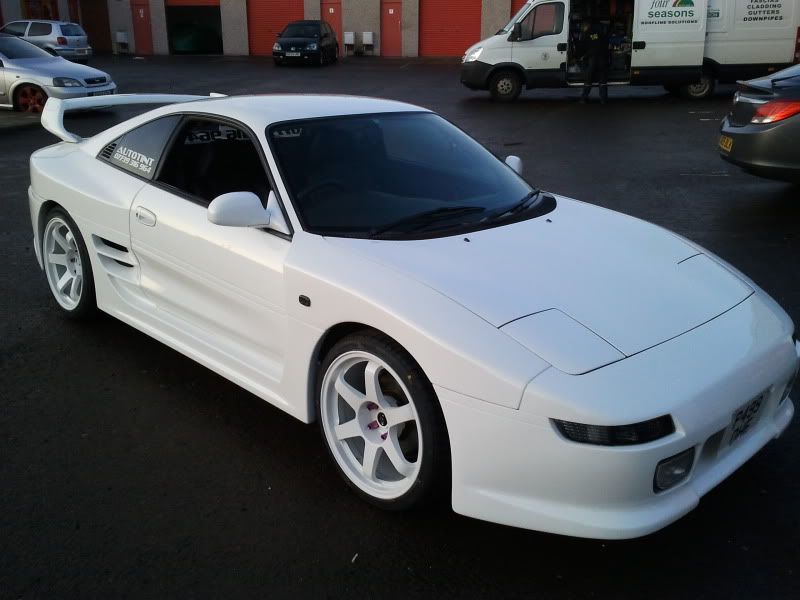
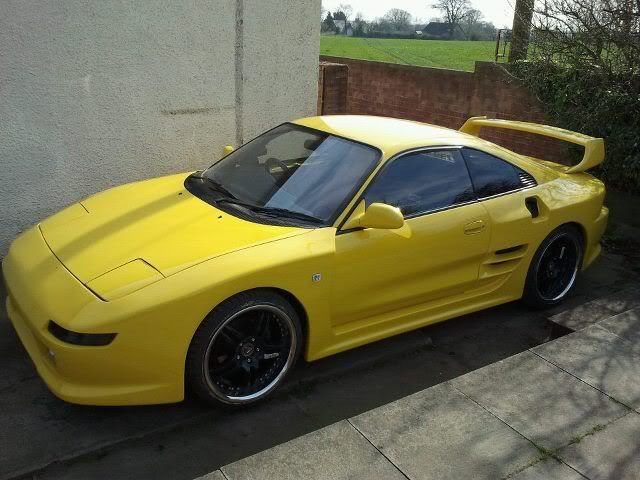
AFAIK not that one, he's always said he would never sell it. From memory he had 3 TRD's at the same time, the one above, a white one and a red one he sprayed yellow IIRC one was a V6 and the other an NA or it might have been a Turbo & an NA  . I should have pics somewhere.   Apologies for littering your thread with TRD's  |
| |
Last Edit: Feb 13, 2022 23:55:06 GMT by jimi
Black is not a colour ! .... Its the absence of colour
|
|
|
|
|
|
|
AFAIK not that one, he's always said he would never sell it. From memory he had 3 TRD's at the same time, the one above, a white one and a red one he sprayed yellow IIRC one was a V6 and the other an NA or it might have been a Turbo & an NA  . I should have pics somewhere.   Apologies for littering your thread with TRD's  I looked it up and the one i was thinking of was a darker blue. Have to say i have never been so keen on the trd's i think they are slowly growing on me but wouldnt build one myself. i think its the huge step down from the wing to the door that bothers me most. |
| |
|
|
jimi
Club Retro Rides Member
Posts: 2,226 
|
|
|
|
|
I know the white one (it was a turbo) was sold to Chris (OC member) who eventually sold it years later to get a guy in Germany, don't know what happened to the yellow one, next time I see him I'll ask.
I'm not keen on the Rev5/TRD wing, I much prefer the Rev3/4 wing
|
| |
Black is not a colour ! .... Its the absence of colour
|
|
|
|
|
Feb 14, 2022 12:58:36 GMT
|
If your bored of watching me paint then great news. I have been doing some more painting. don't worry too much though I'm fed up of doing it too and soon it will be over in favour of some more interesting jobs. I got the "new" bonnet out and started cleaning up the underside.  Back when i took all the other bits off the scrapyard car i grabbed the boot lid and spoiler as it was a genuine later model whereas mine was the earlier one with all the holes filled in. Unfortunately when i started stripping it back i quickly found alot of issues with it, issue 1 being rust coming through in an odd spot.  And then i started noticing the filler.  The whole thing must have been buckled in a crash, partially straightened and then filled. The spoiler is also has damaged mounting points so would need work to be useable. After all that i best go and get my old one and tidy that up instead. Unfortunately someone drove into my shed wall and knocked a spare compressor pump off a shelf and it landed on my boot lid so i have a nice big dent to pull out.  Its not too bad. I had already tapped the lower crease out. I welded a slide hammer bit onto it and got a load more out of the dent.  Welded up some of the spoiler holes  And then added a thin skim of filler.  I prepped a few parts for high build primer.  And primed ![]() Spent a day blocking it all down.   I cleaned up and got the wet on wet primer on complete with dust and fish eyes so i put the gun down for a few days since i had other work to catch up with.  So then looking at it i figured the dust was probably coming off the roof sheets as i hadnt changed them since painting the shell. The fisheyes I'm not 100% sure but i think it was from the etch primer i had sprayed on some bare aluminium parts earlier. I had cleaned all the overspray off the panels but must have missed one or 2 specks and it reacted.  Regardless of how it happened a few days later i now need to sand a few of the panels back down and reprime,  Then colour and lacquer.  I'm not particularly happy with the bonnet and i might respray it at a later date. The primer didnt go on very smooth and the colour isnt very even but i have already had to buy another L of paint and i want to make sure i have enough to finish the rest of thebits before i worry about redoing any of it.  In some other news i picked up the front crash bar and my spare subframe from the local blasters. They don't fit in my cabinet and i couldnt be bothered setting it up outside with the wet nozzle to do them especially when he will do it for £20 each.  I had some epoxy mastic left over so i used that to put a nice thick coat on them  It will be getting a black topcoat too mostly as i don't want a grey towing hook sticking out my front bumper. |
| |
|
|
|
|
|
Feb 18, 2022 18:48:30 GMT
|
And now for something totally different, . . . Some more painting. After the bits had a day or 2 to harden off i flipped over the bonnet and boot lid and painted the underside. It all came up rather well.  Along with the mirror triangles and door handles.  The next day the paint was hard enough to start putting a few bits back together,   I made a mess and sprayed all the inside of the bonnet frame with dynax s50 just to keep those rust bugs out..  And new washer jets, these are a fan type instead of the original 2 little jets. And they came off a Volvo v70. I had to trim a little bit off the clips so they sat properly and put a very fine smear of adhesive underneath to make sure they don't move.  Another bit to get on with is hinges, the original ones for the bonnet were bent in the accident so i got new ones off the breaker. Of course they are the wrong colour so rather than painting them i decided to go a little different and do them in a chrome-ish powder coat.  Resplendent with new shiny bolts i of course did the hinges for the engine lid and boot lid too   There is a bit of a tale on the bolts as they would normally have a shoulder which coincides with a hole in the hinges, in some holes it will allow movement in one direction and some will have no movement.  My new shiny bolts don't have that step so i made a few little stainless fittings that thread onto the bolt and give the shoulder back.  Having that shoulder really does make lining all the panels up much easier. We could also go down the path that the head size is 13mm and not 12mm like it should be but best not to look into that rabbit hole as madness would ensue.  Since i had a bit of space back i hung the subframe and front crash bar up for a coat of black.  Its just done in chassis black so will see how well it lasts. Shouldnt be a problem for the front bar but i'll be keeping an eye on the subframe incase it needs touching up.  A brief interlude to rebuild a pair of calipers for someone else. Blasted,  Powdercoated,  And rebuilt  With those done i can get on with the last few pieces that need paint which is the skirts, spoiler and rear window surround. Mostly already prepped so i don't have loads of work to do. Just the final smoothing off and painting to get done.  |
| |
|
|
|
|
|
Feb 24, 2022 12:53:58 GMT
|
Last bit of painting, i promise. There isnt much to tell on these so ill keep it brief. Filler primer which was then rubbed down.  Then i cracked on with the wet on wet, colour and lacquer.   That is finally the end of the paintwork until i decide to respray any of the bits that arnt as good as i would like. Going to get it on the road first though. Despite the snow coming down heavily my heater kept the workshop nice and warm at nearly 20deg, i really need to insulate and fix my doors though.  The rest of the day was spent in the freezing shed with the blasting cabinet and powder coating gun. So the fan shrouds got finished.  And both headlight bowls with the adjuster plates.  Next day the paint was all dry enough that i could move a few things and begin to tidy up the workshop.  Very nice to finally shelve all the paints and associated paraphernalia. The car can finally be brought back in and finally some parts can be bolted back on hopefully for the final time.   |
| |
|
|
ads7
Part of things
 
Posts: 170 
|
|
Feb 24, 2022 20:59:41 GMT
|
Wow. Got to admire your dedication, what a great job on the paint. Makes me ashamed mine is off the road due to a few tiny holes in the sill, rusty front discs and a duff shock. Following with interest 👍  |
| |
|
|
|
|
|
Feb 24, 2022 21:16:41 GMT
|
|
interesting sub plot about TRD2000GT, ive been playing gran turismo 2 on a pc emulator over the last few weeks and won one the other day!
great work on finishing the paint
|
| |
|
|
|
|


 )
)

 . I should have pics somewhere.


 . I should have pics somewhere.