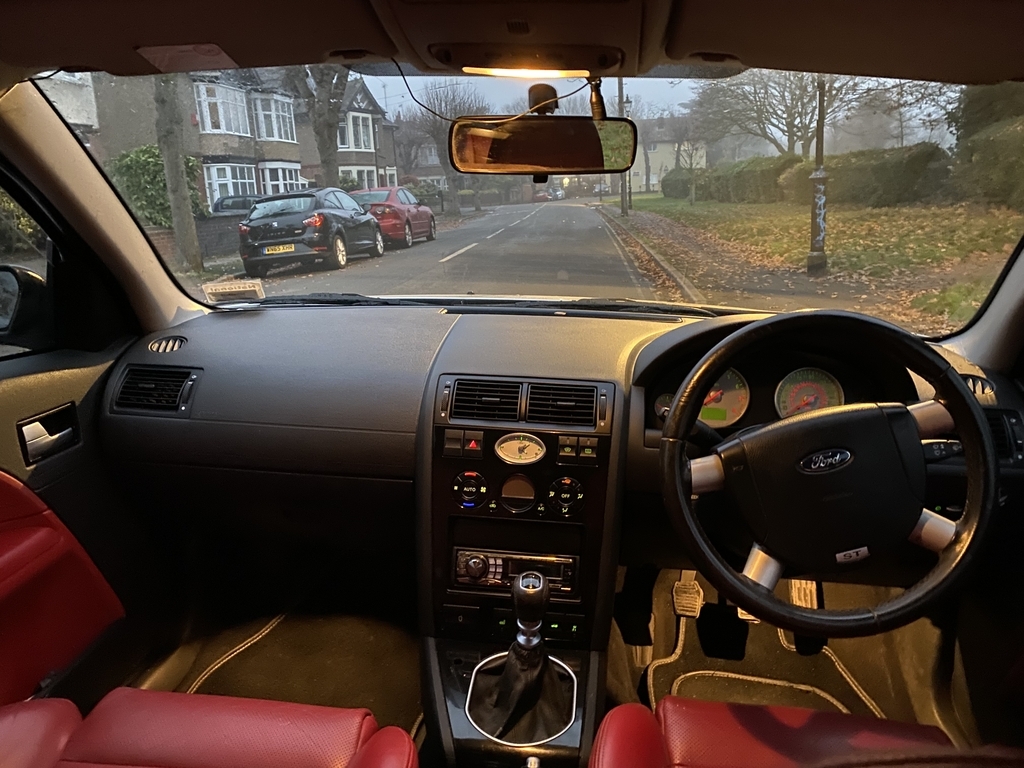
Well, a replacement for this, and another car in my stable came along! That won't be detailed here, as it really is a little too new.! I may mention it in one of my threads however! All I will say for now is it shares 4 things in common with the cars in my list. OK. not much of a clue! If folks want to hear more about it, they can.
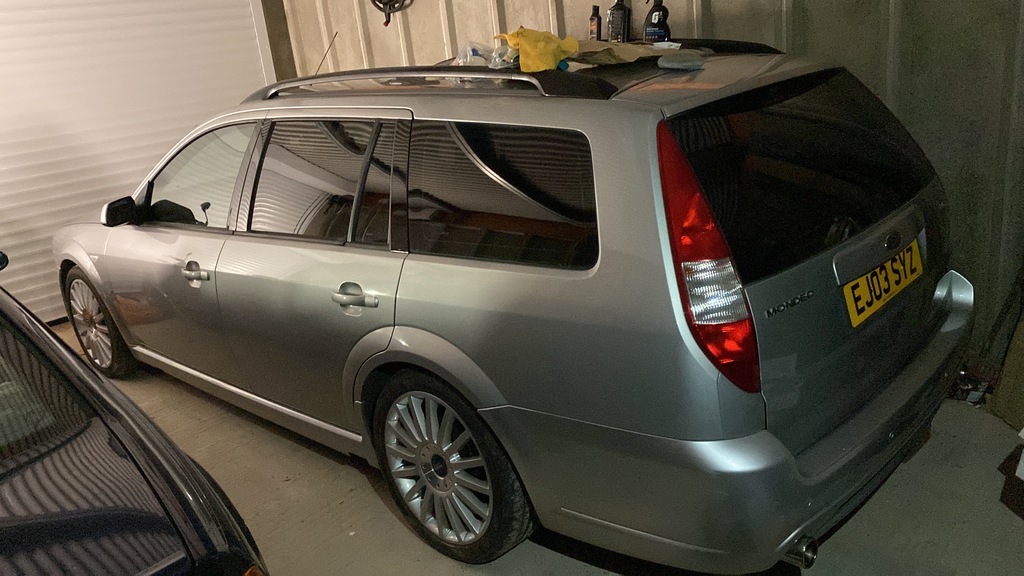
For now, I'll mention where the ST was and where it got to before it left the stable.
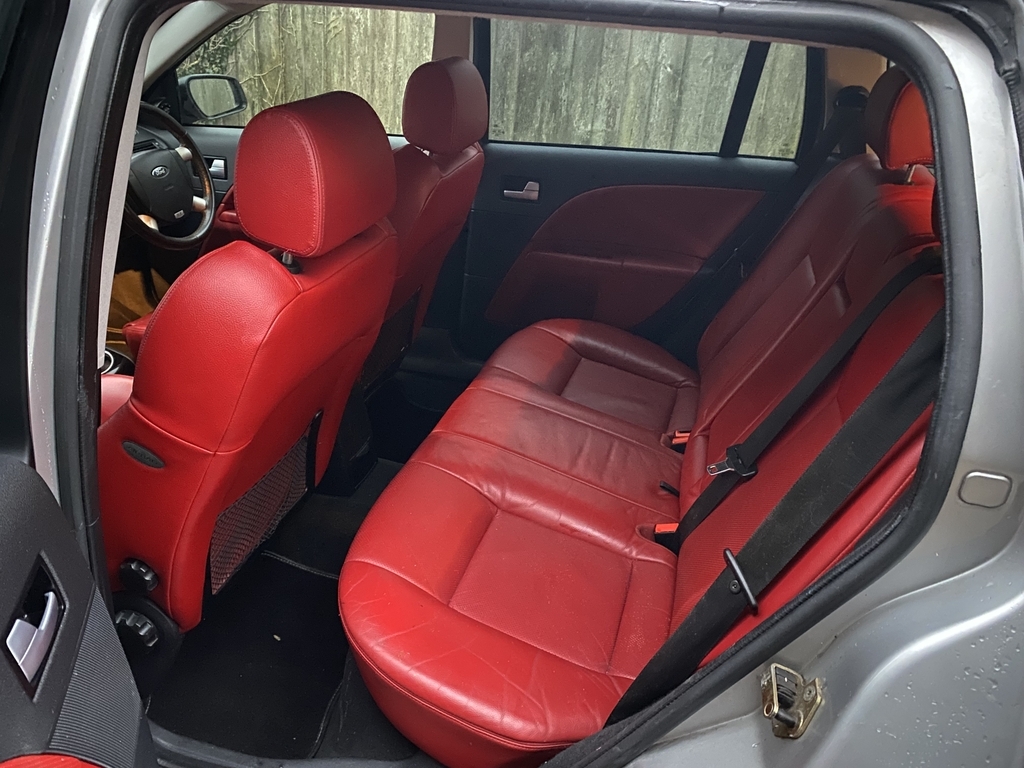
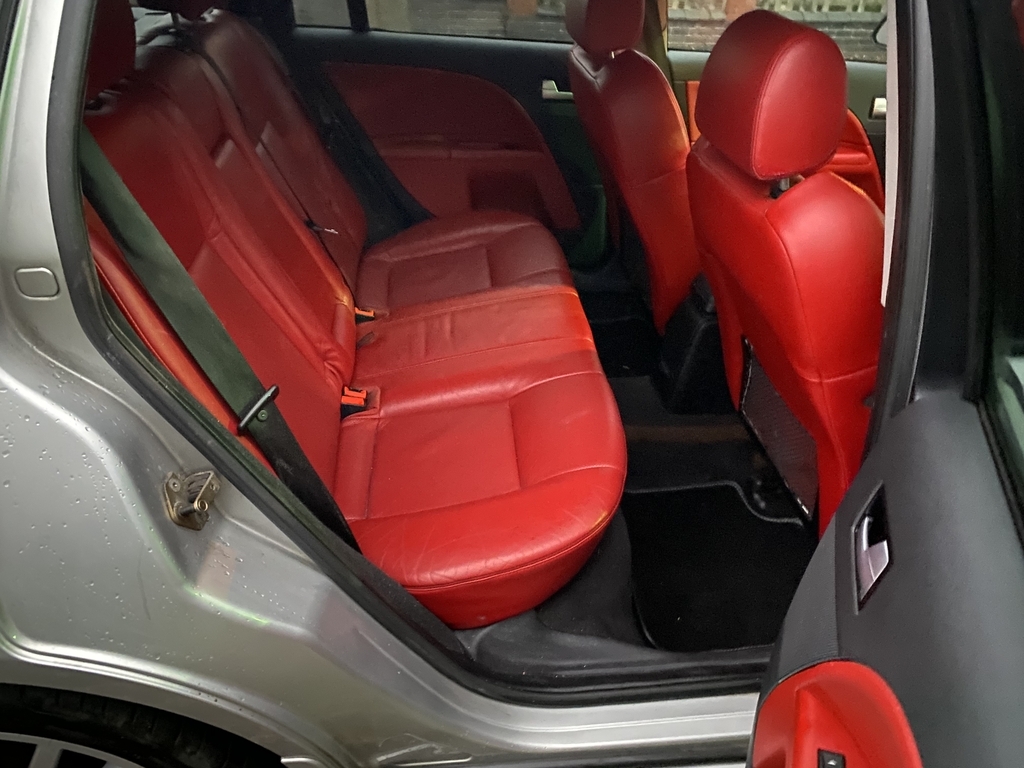
Firstly, I had to clean it. I am told prior to me getting the car, the interior was filthy, as it was a workhorse. However, it clearly had been cleaned with TFR inside. The leather was dry, chalky, and generally could be better.
There are alot of schools of thought on how to tackle sealed leather. These include
-As per normal leather
-Nothing at all. It is what it is
However, I have seen these uncoated coatings crack before, which can make a repair very hard. Furthermore, if they crack, it's basically refinishing the seat. Putting on plastic protectant would work, except you'd slide about everywhere in the seat. It's almost like a UV barrier is required on them, in addition to something to clean the seats out, when they get shiny.
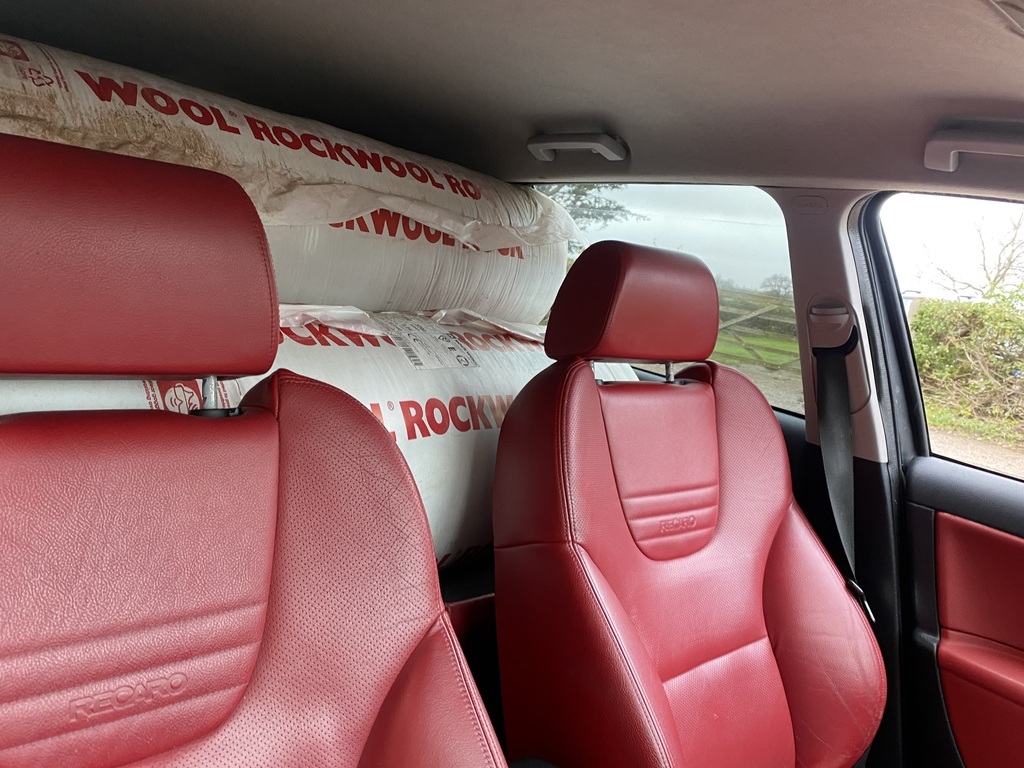
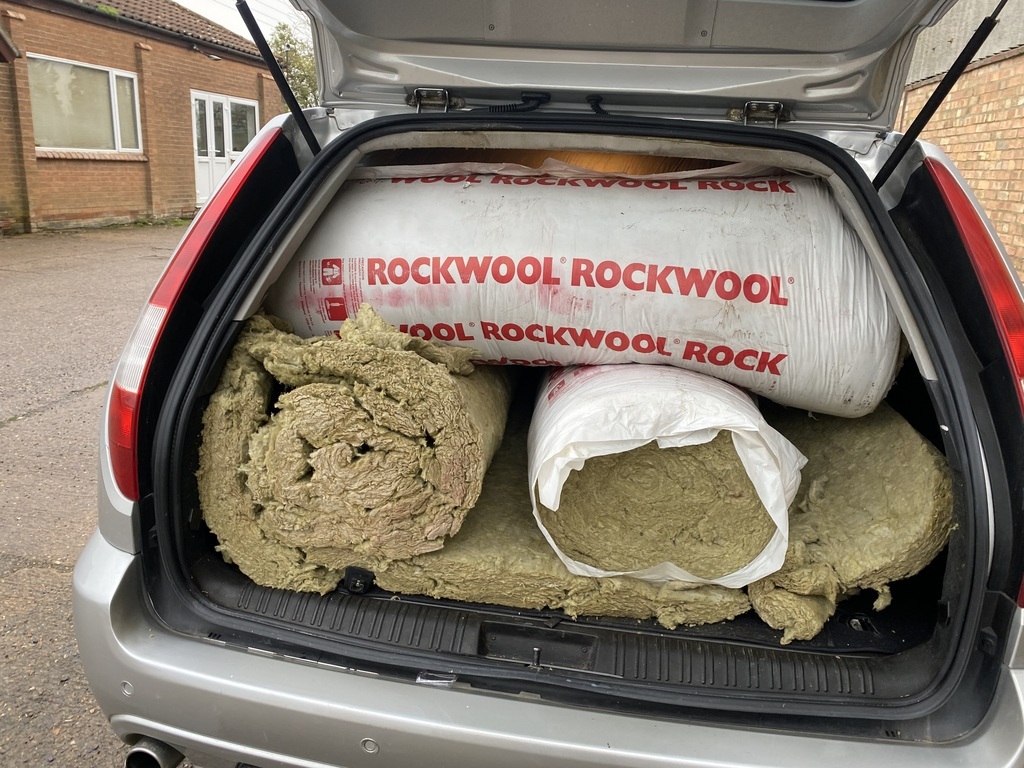
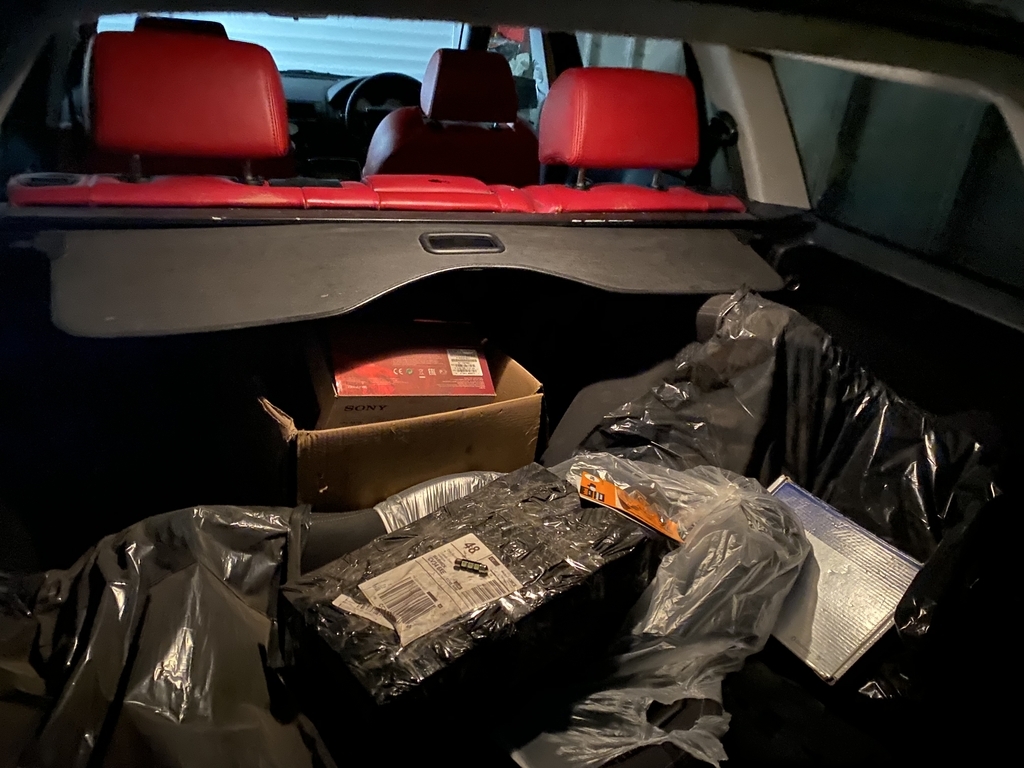
But let's see where I started from. OK, the car was a tip, as I did stop using it for a while and SORN'd it.
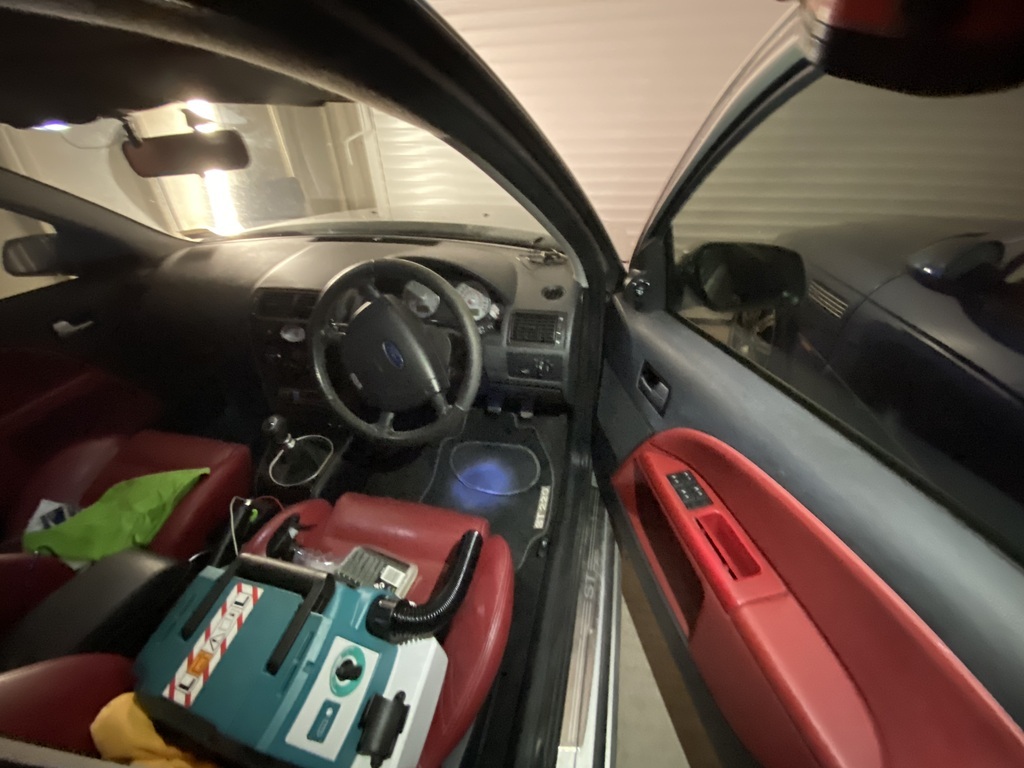
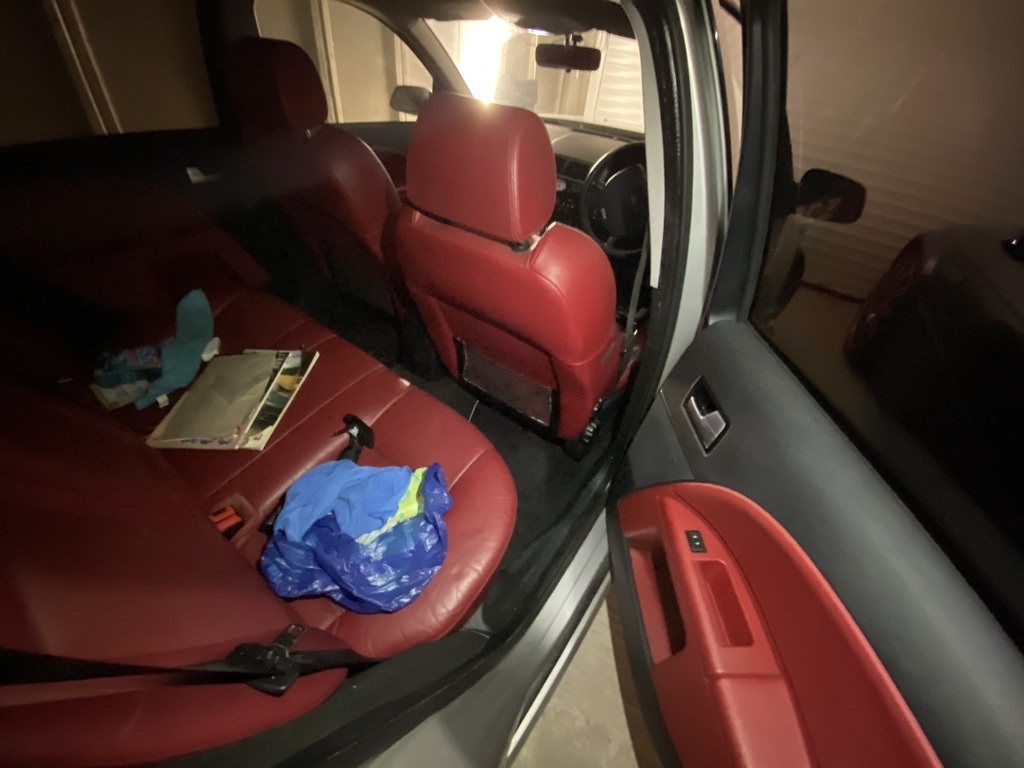
As a result, I did the following
-Cleaned it out so it was no longer a mobile storage unit
-Pears Soap to clean the seats - They were very grubby
-Meguiars 2 in 1 Conditioner. It's not quite Gliptone levels of feed, but it's handy and quick to use in my experience. Just what you need on a car you use.
But let's how it changed. Apologies for the phone photos. But it was a pretty busy time, as it seems things are now! Maybe I need to plan better or do certain things less!
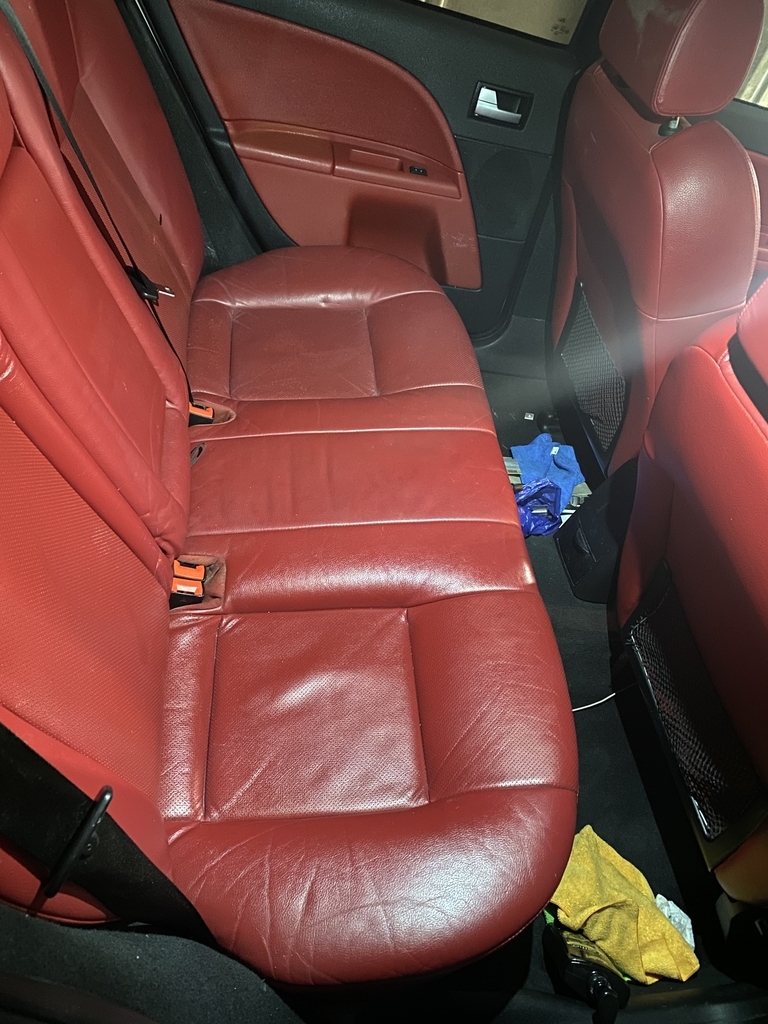
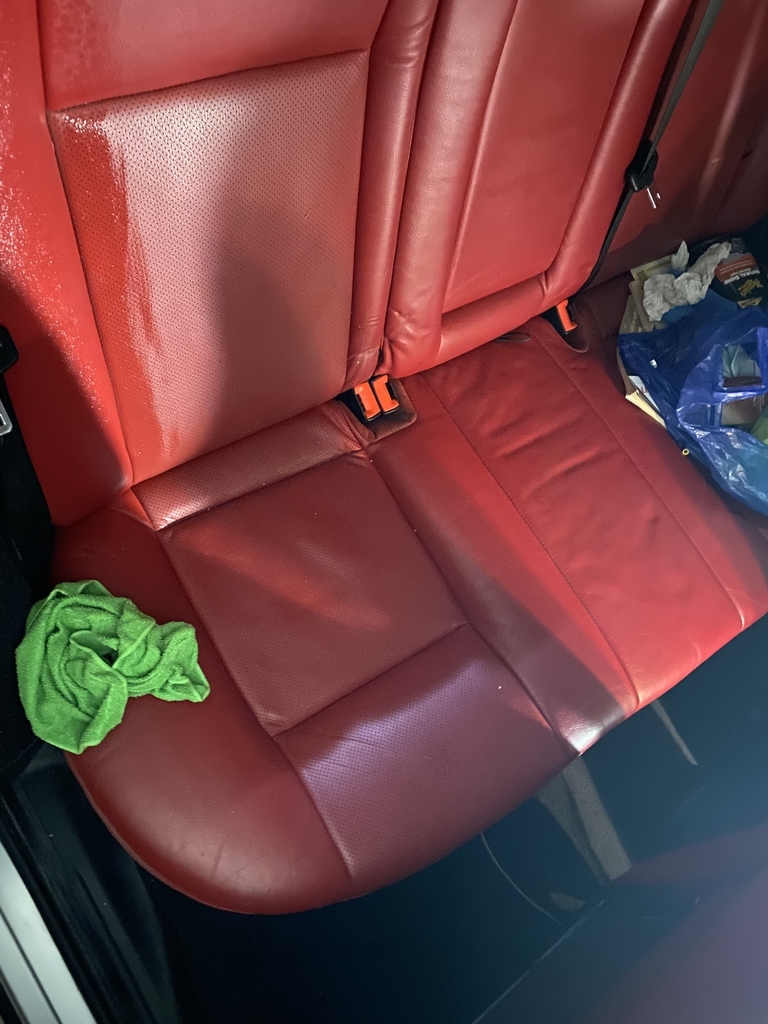
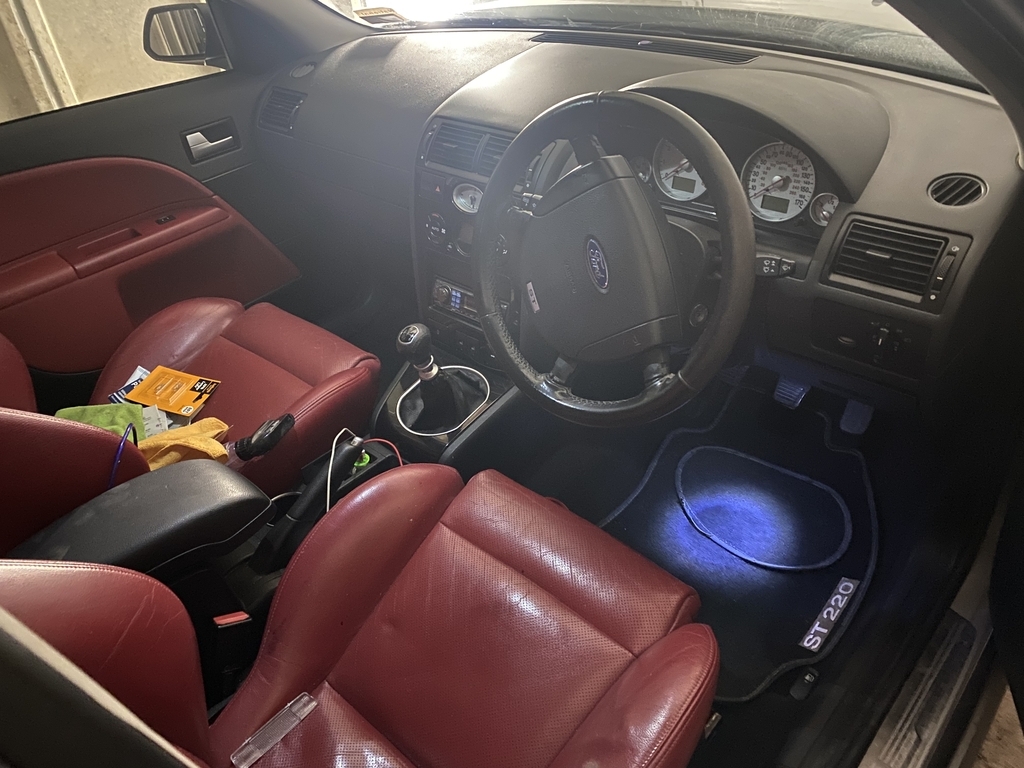
With this in mind, I hit the inside of the car. At the same time, I got rid of the cheap LEDs fitted and replaced them with tungsten bulbs. I know this is not to everyone's taste, but for me, it really helped improve the look of the car.
This was the last of the LEDs left.
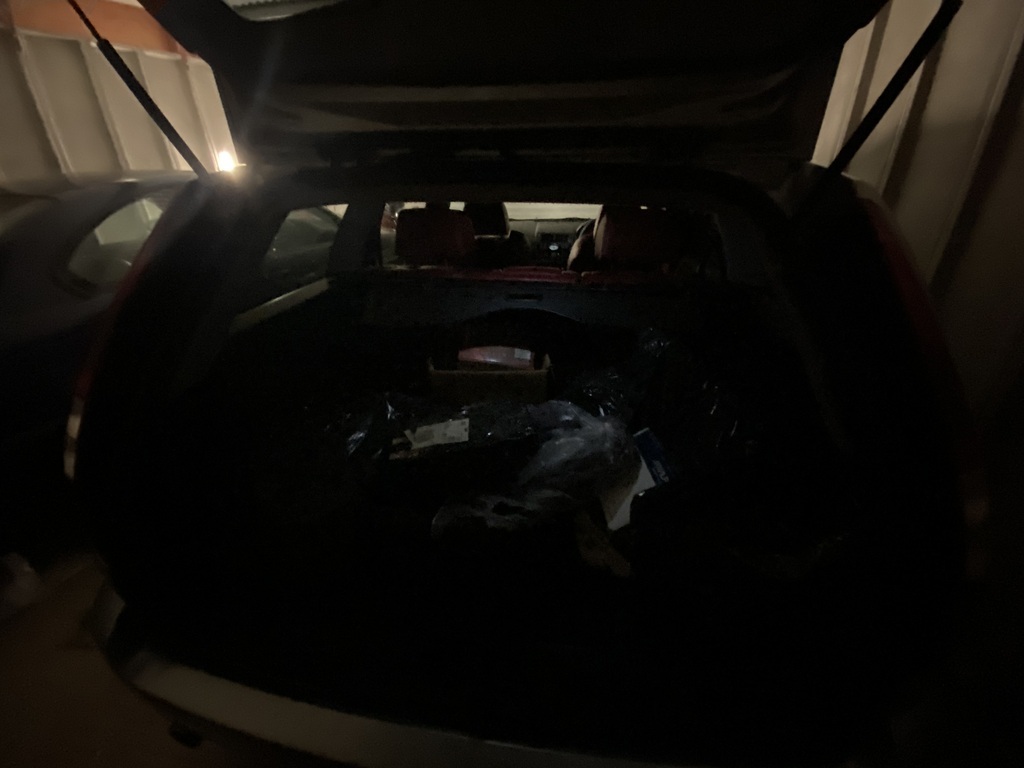
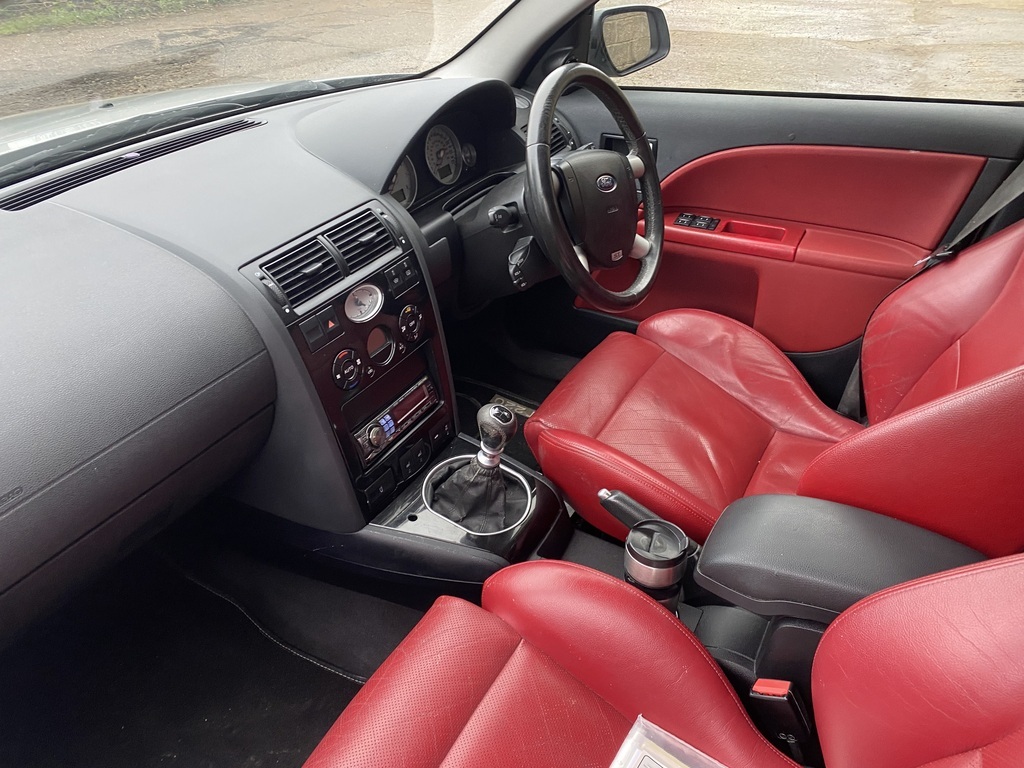
And now with an old school bulb and the clean completed.
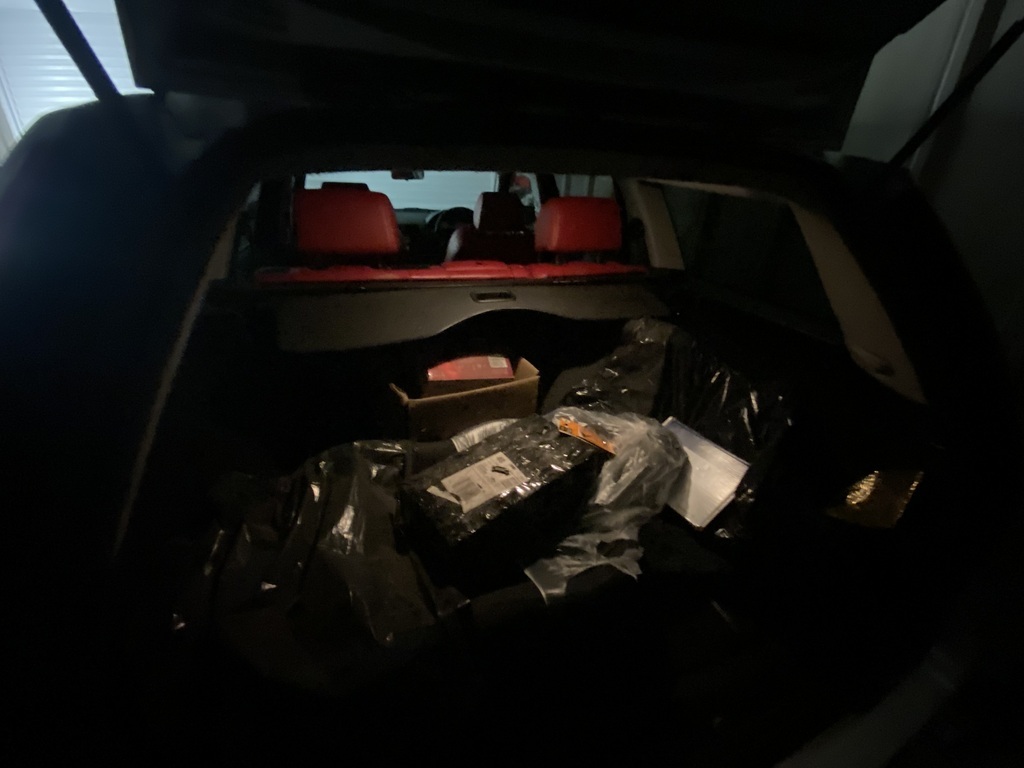
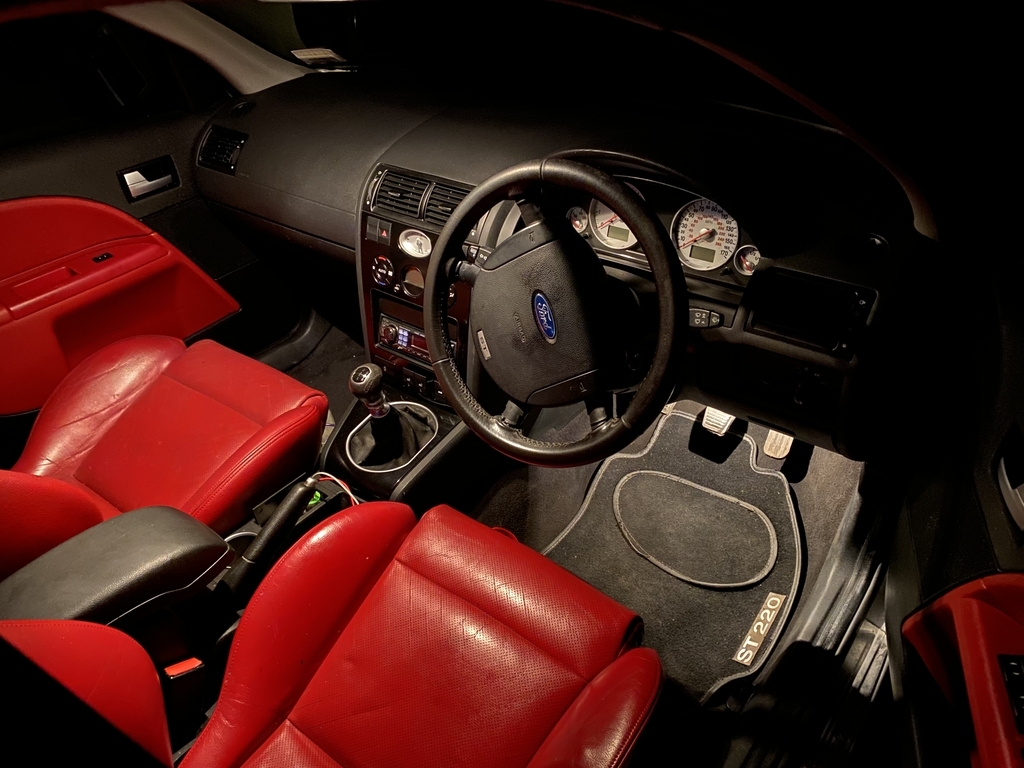
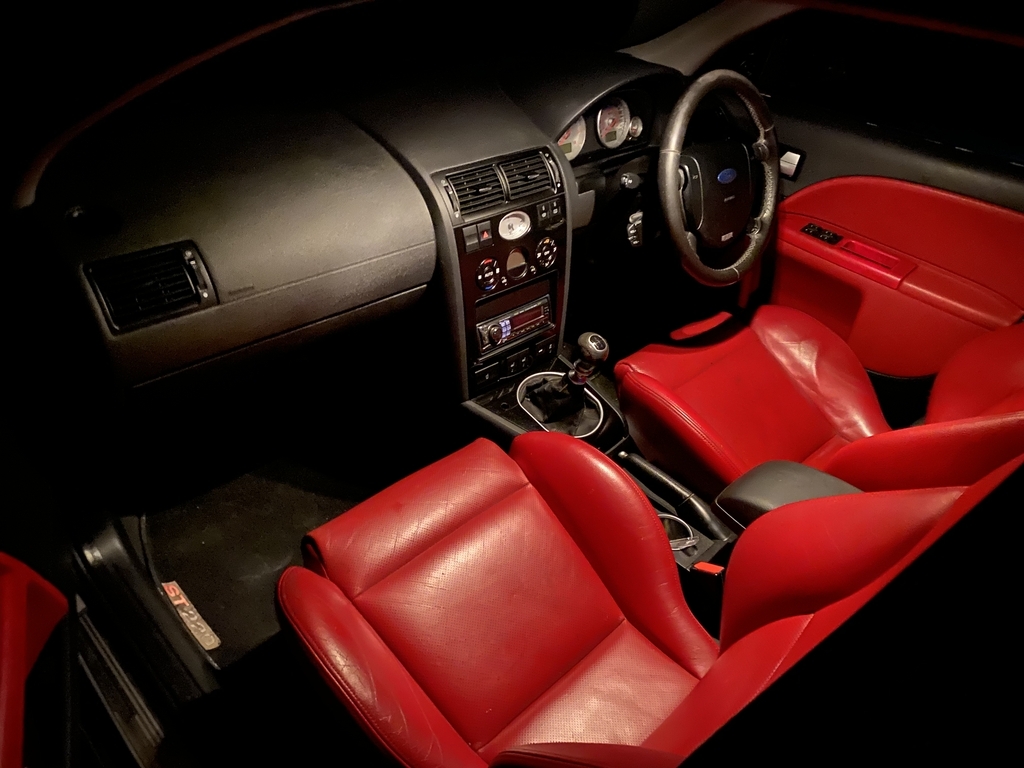
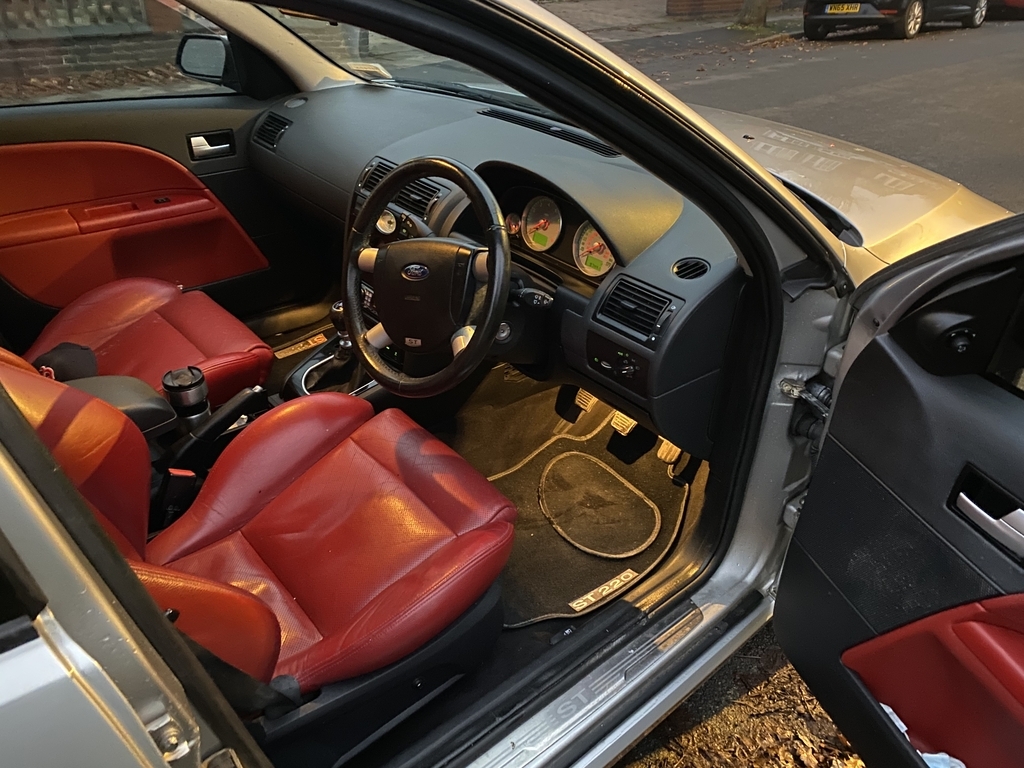
Quite a difference eh? The seats are not quite that bright in reality but certainly brighter! I was a little taken aback!
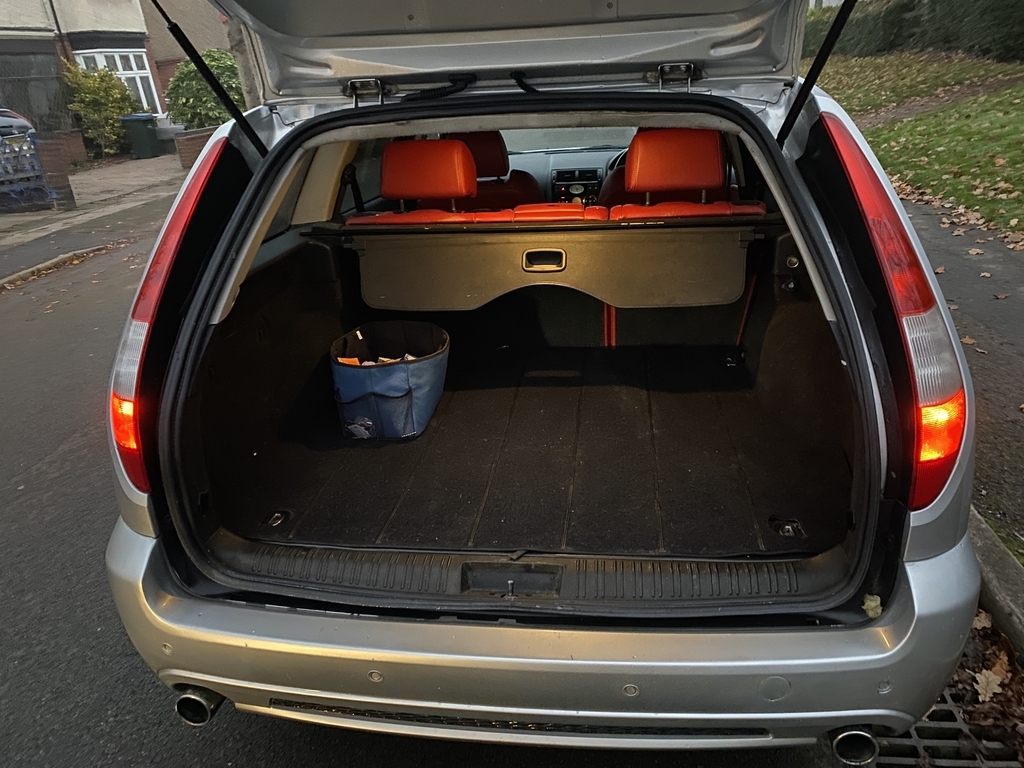
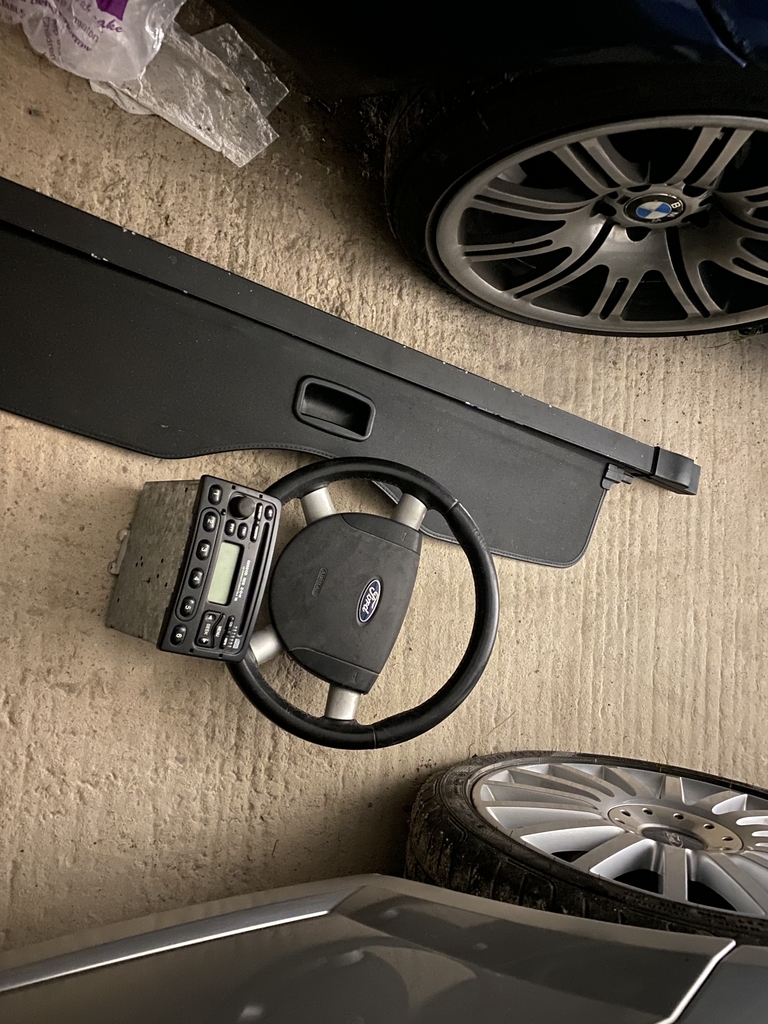
The keen eyed may have seen the steering wheel was missing the covers. I did take them off to repaint but I lost one annoyingly! So I got another steering wheel. One bonus was that the leather was in better condition that the one I had. As a result, I put the new item on, but with the ST220 airbag. At the same time, I got a load cover and a now never seen Ford 6000 radio. This car originally had a 6006 in-dash CD changer, However, for those who remember, they did used to play up a lot.
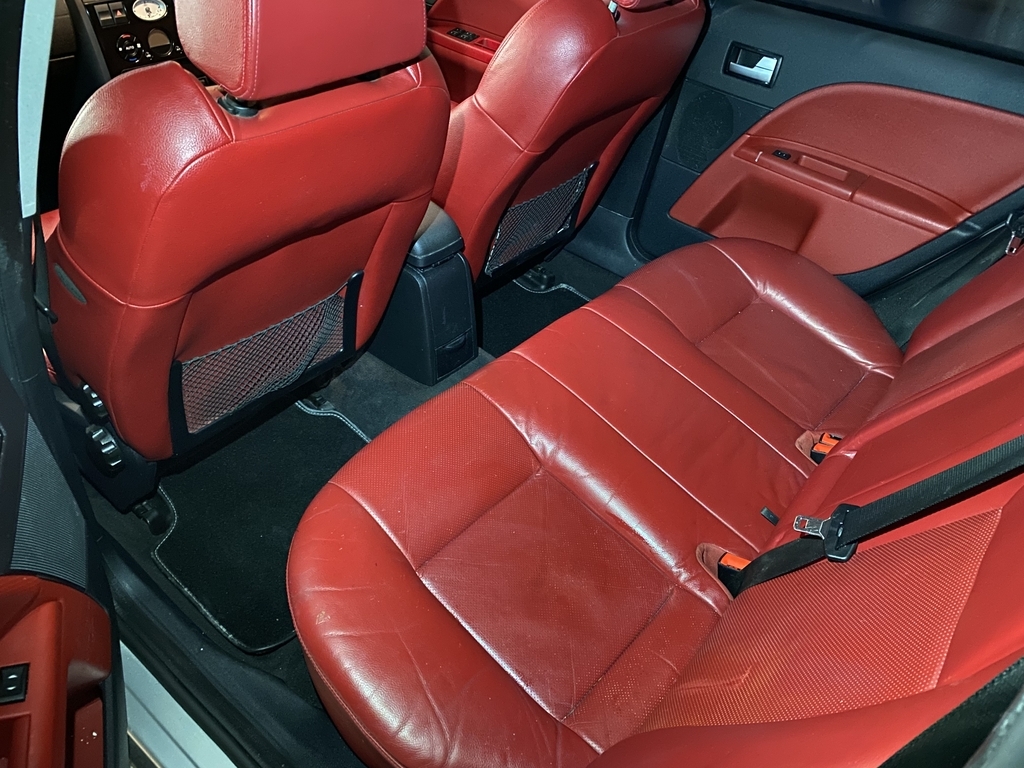
It looked great. However, that took probably about 3 or 4 evenings to do. OK I didn't spend all of the evening doing it as I had other commitments, but it still took time. You can now see why I used the phone to take alot of the shots! I will get the mirrorless camera out again one day!
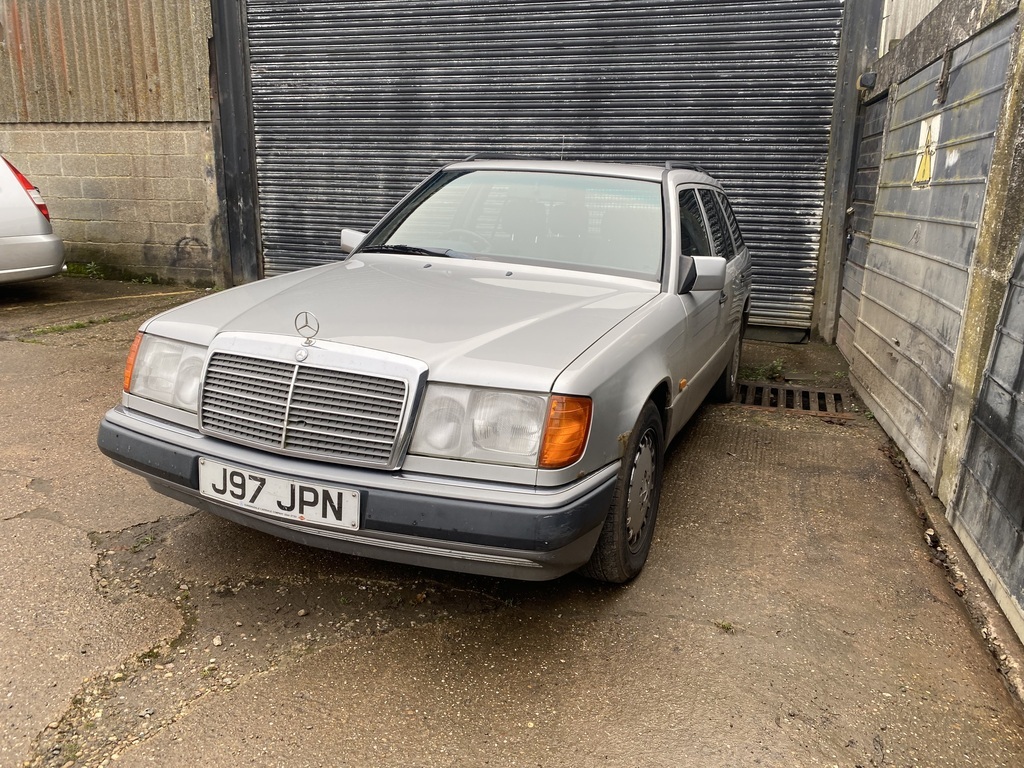
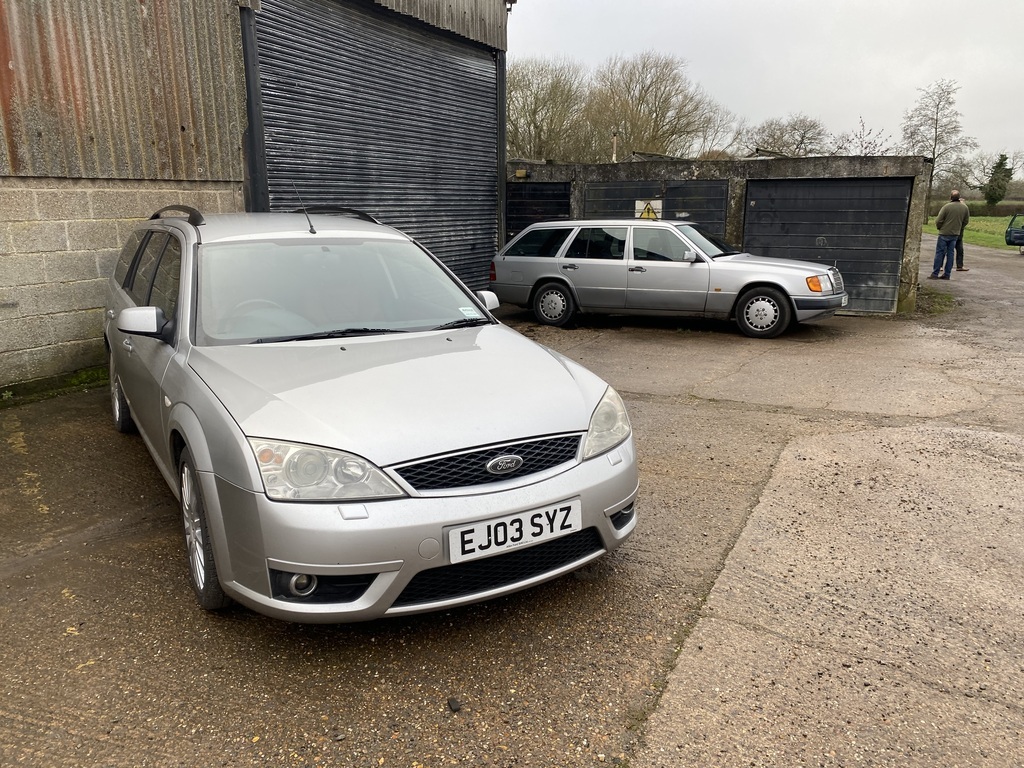
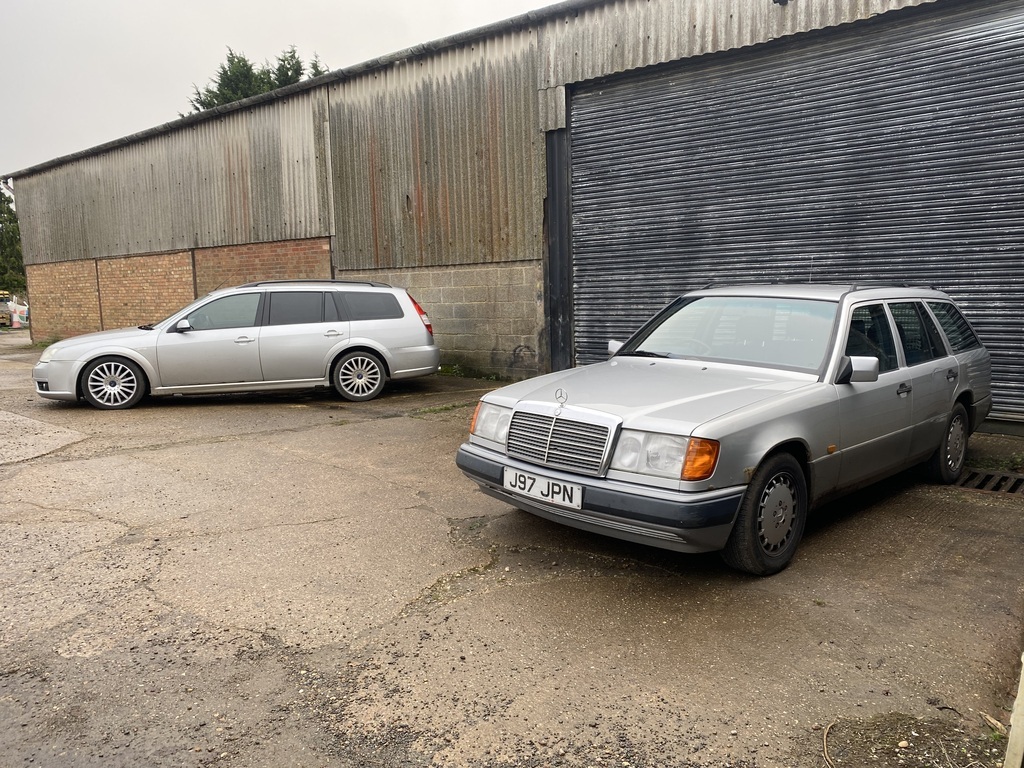
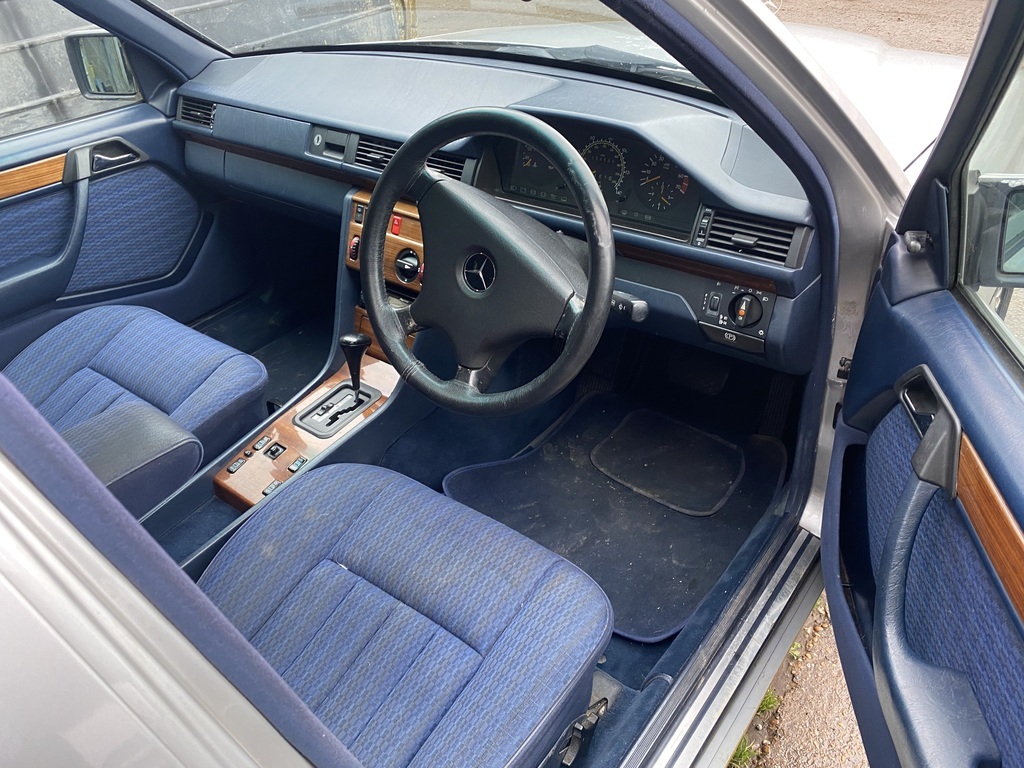
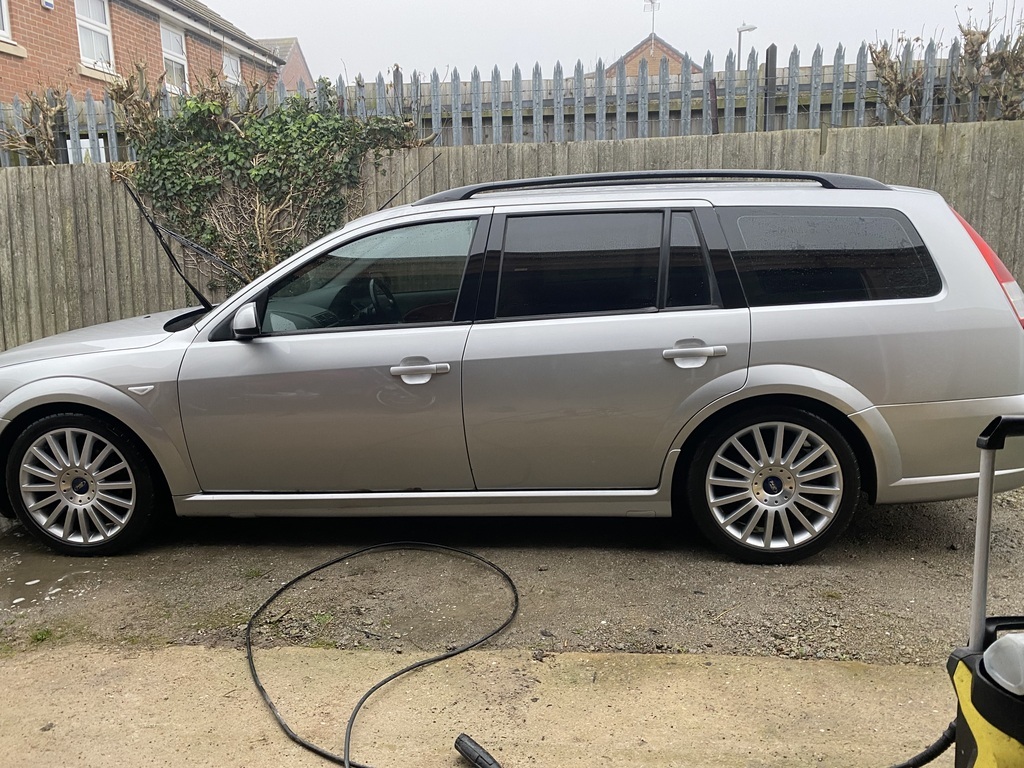
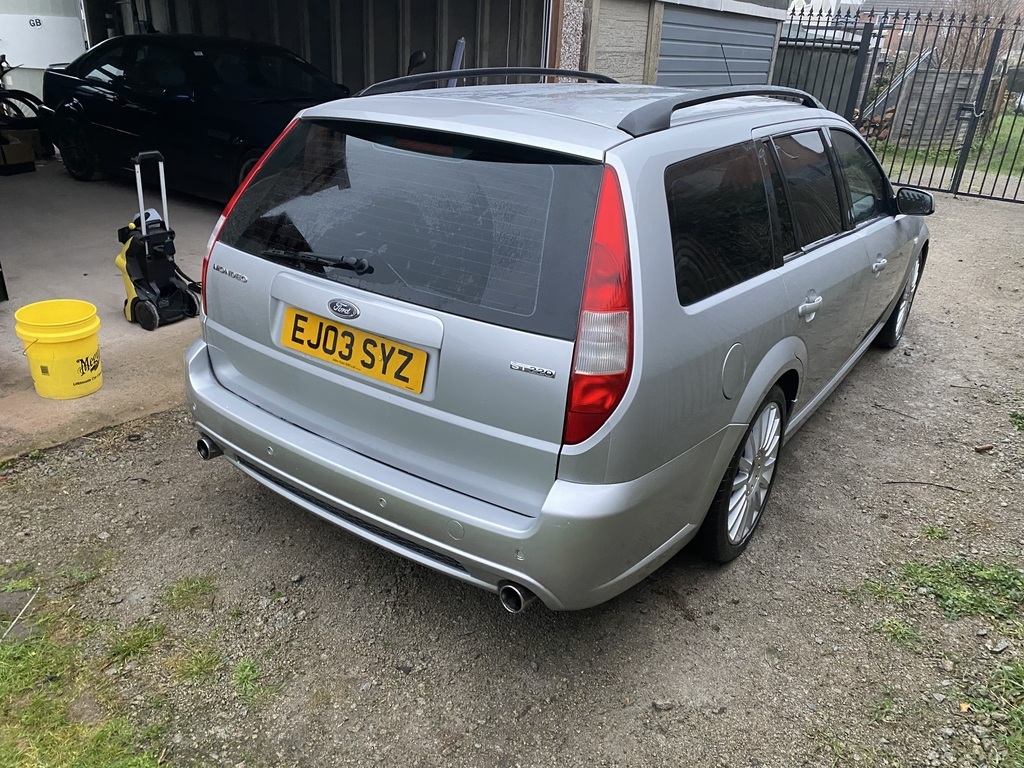
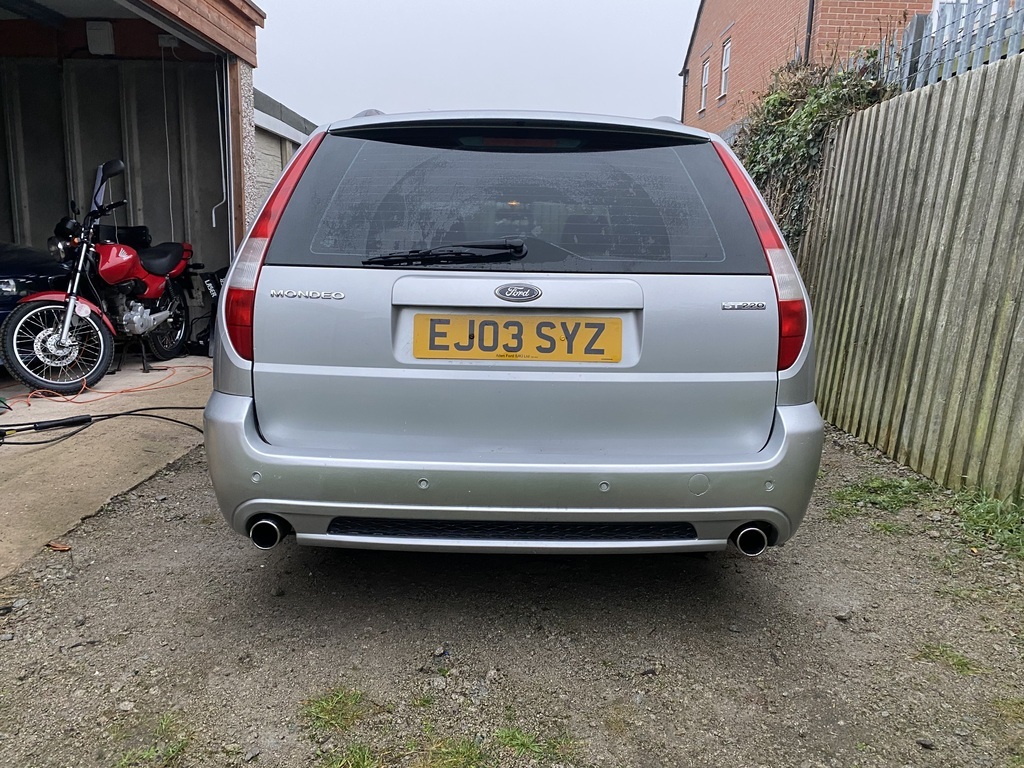
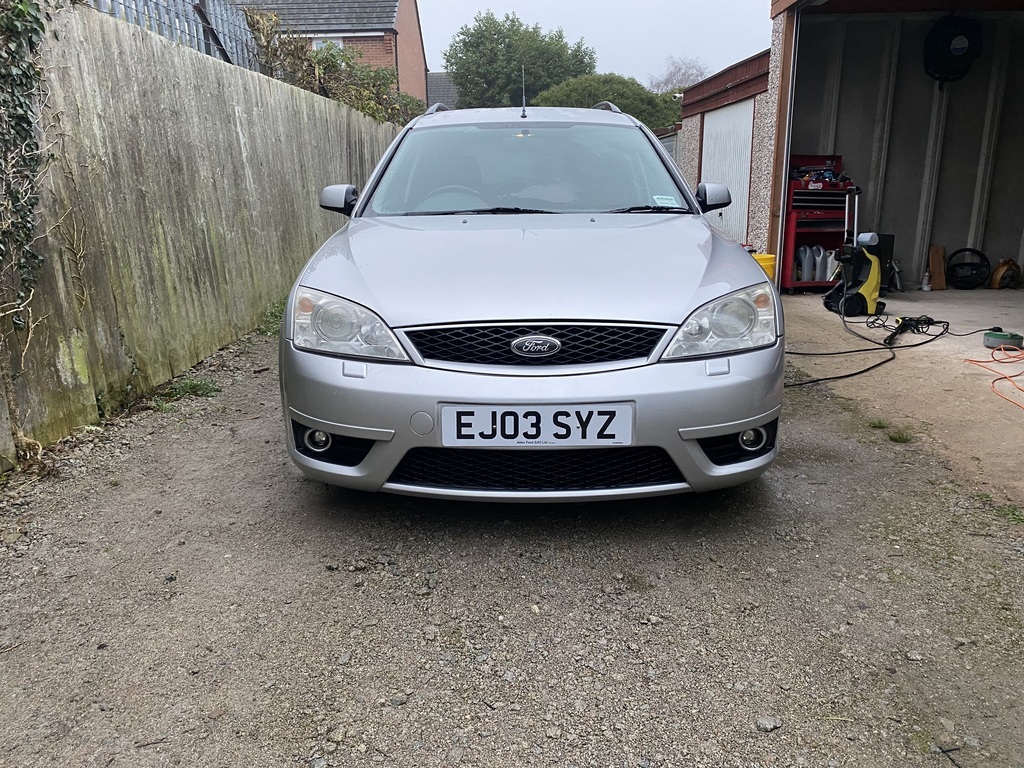
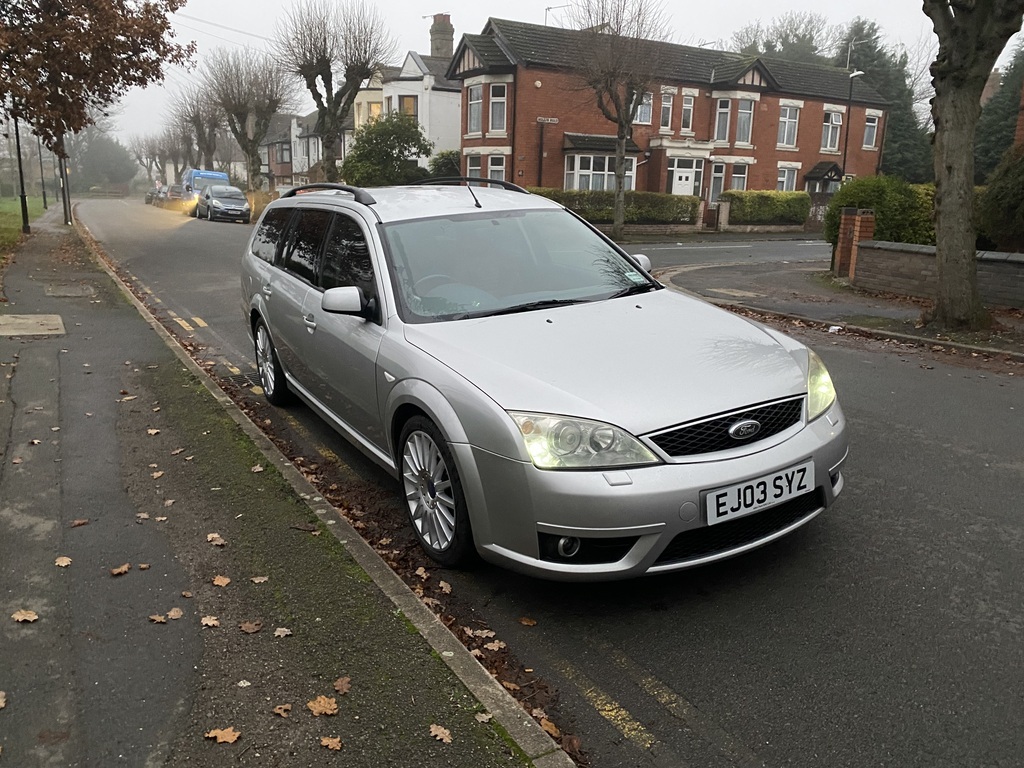
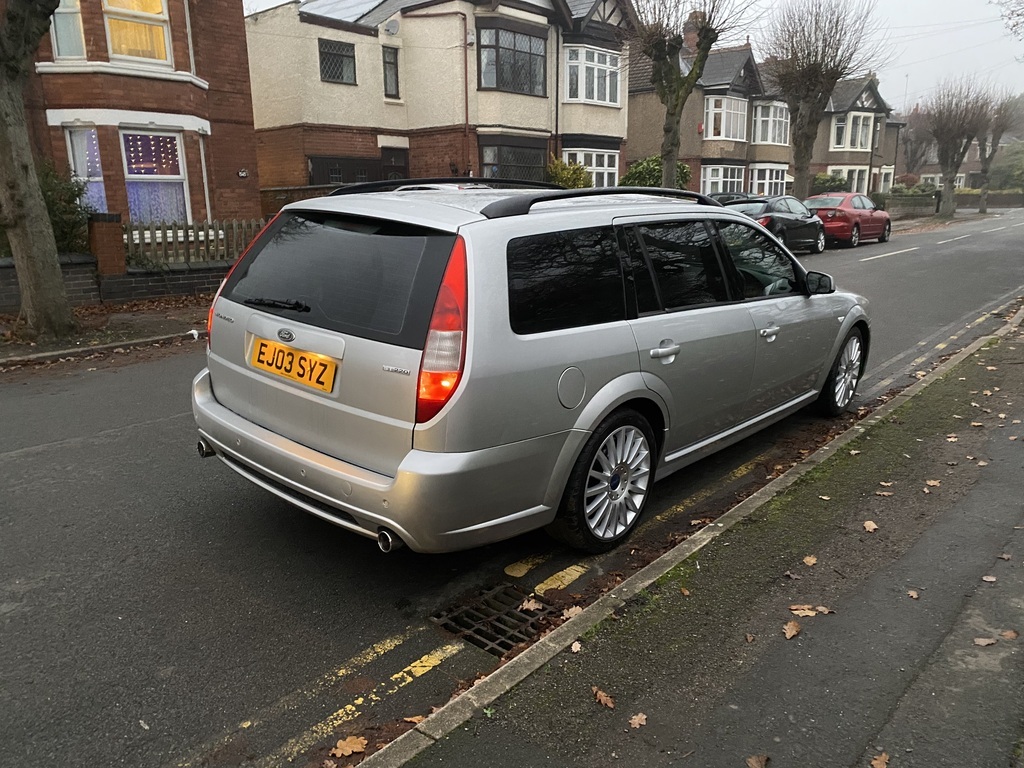
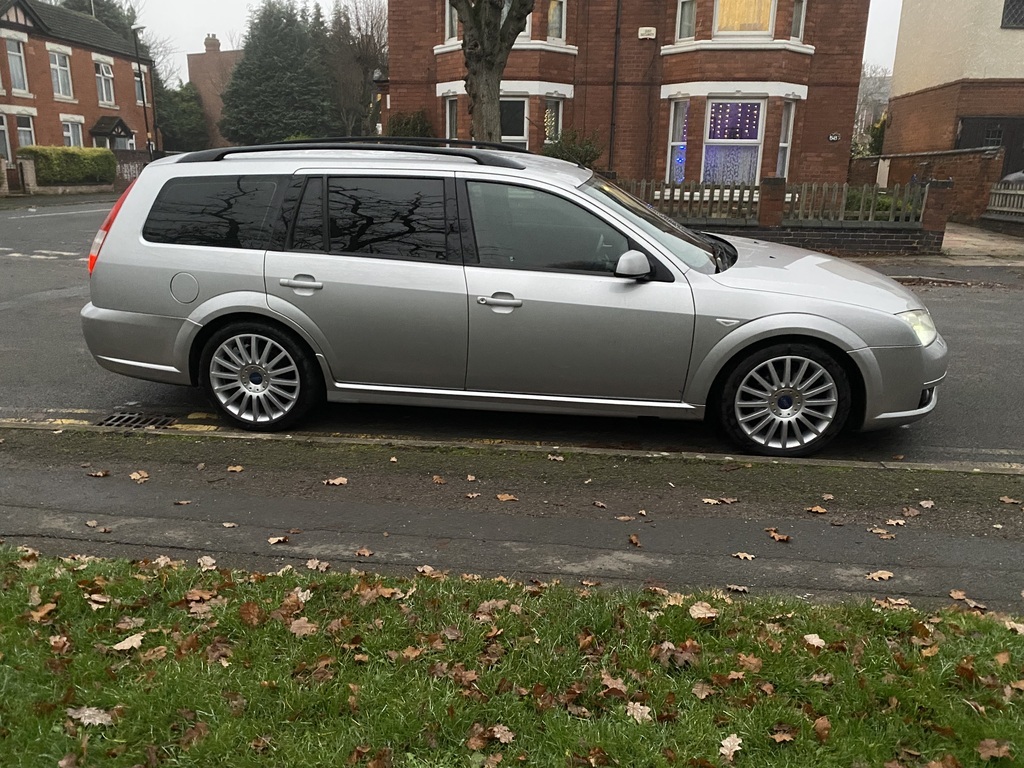
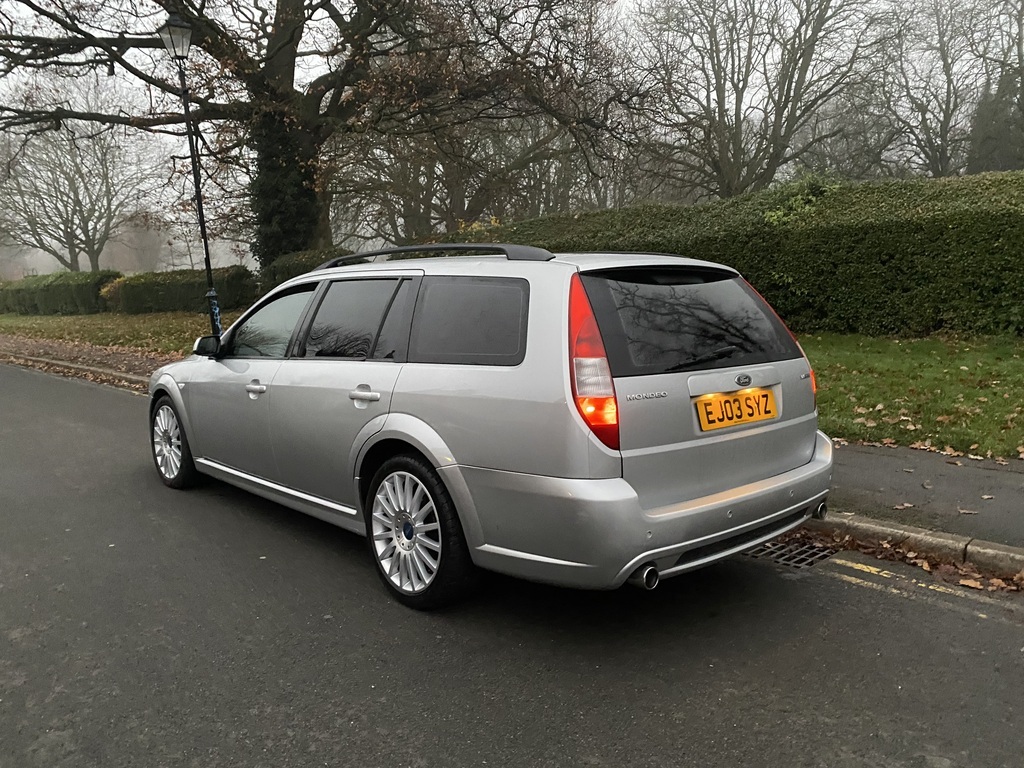
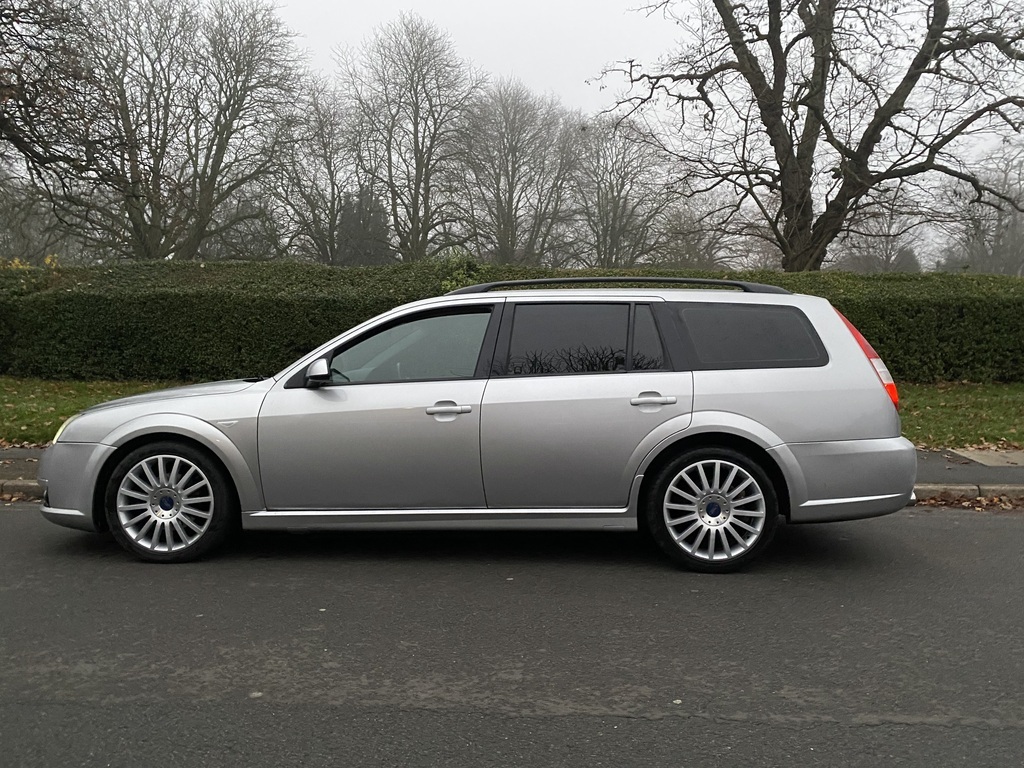
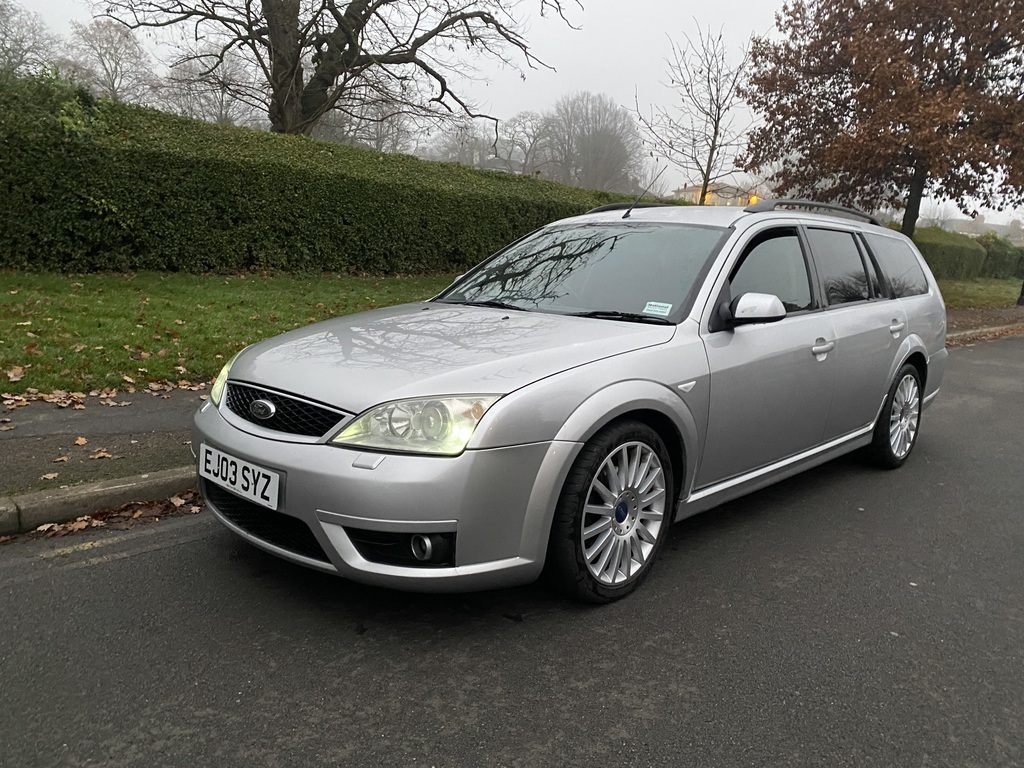
I would then make a start on the outside. This I did by just washing it down, and then parking it next to another 00's legend, or so Instagram and YouTube tell me.
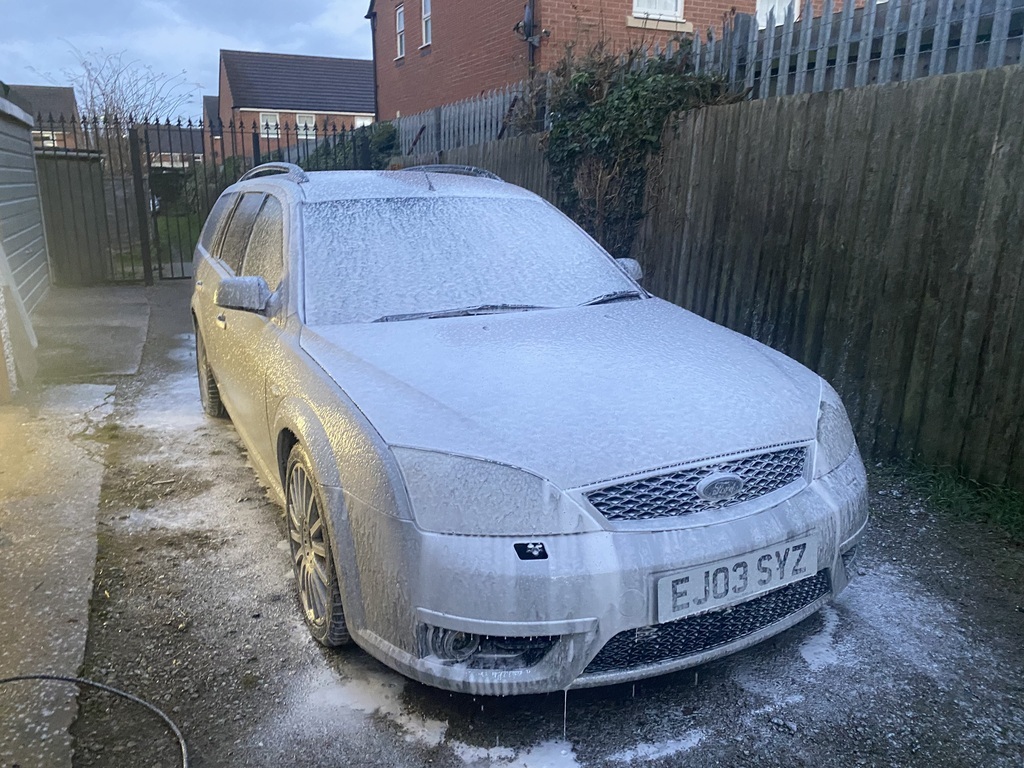
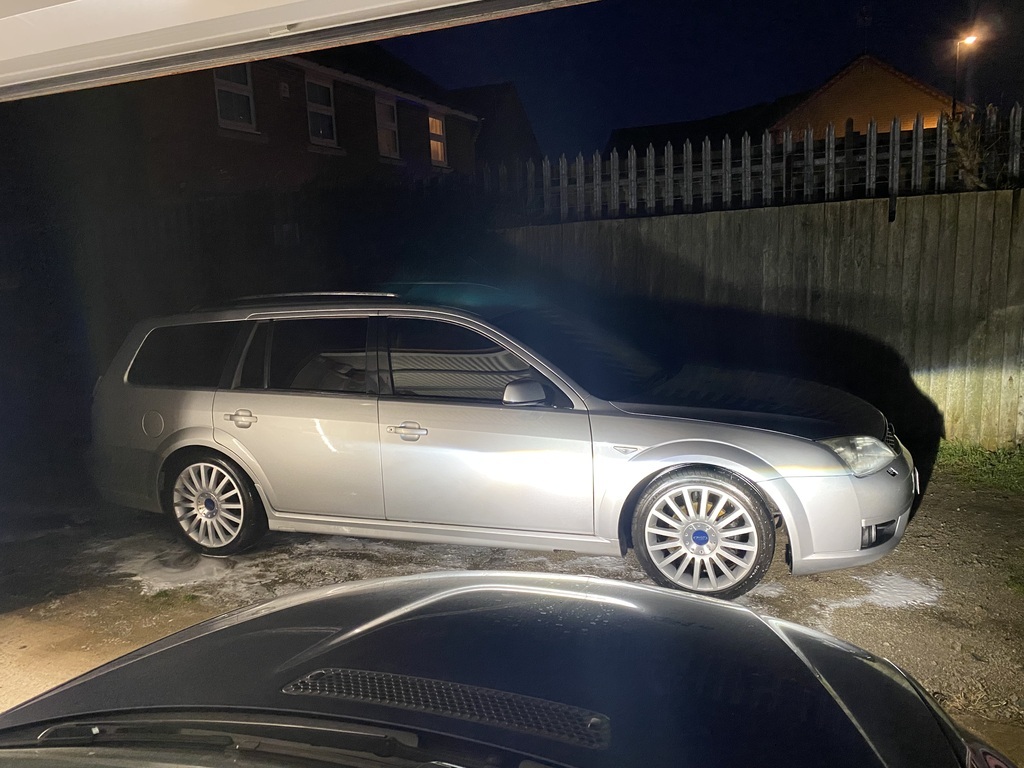
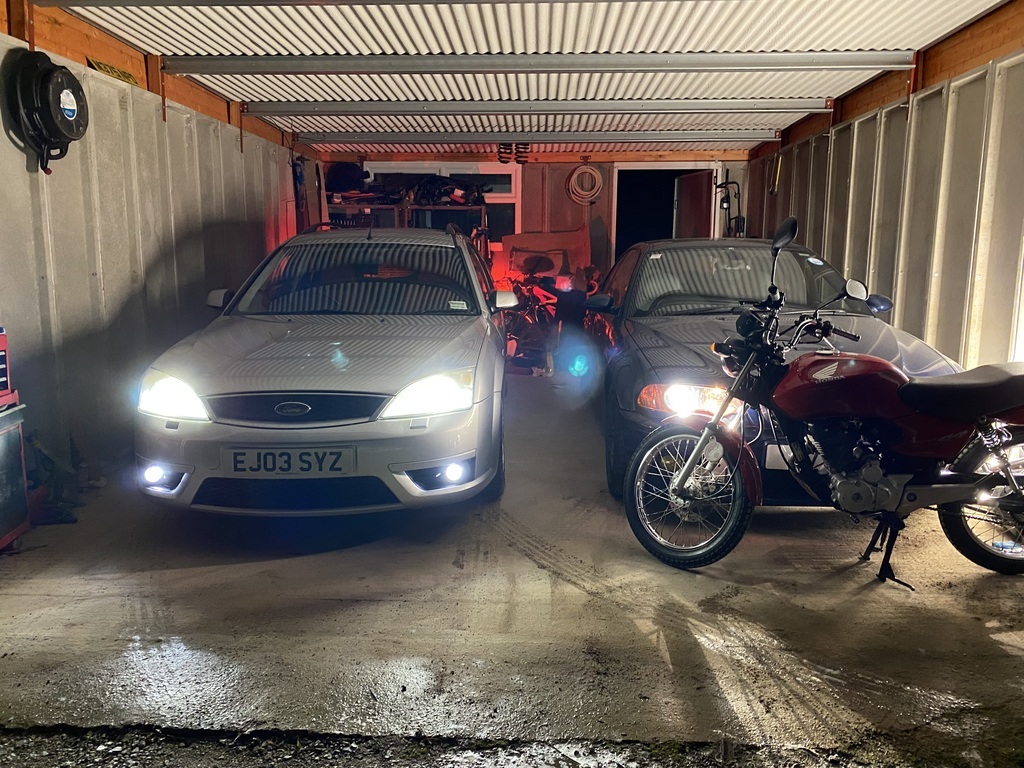
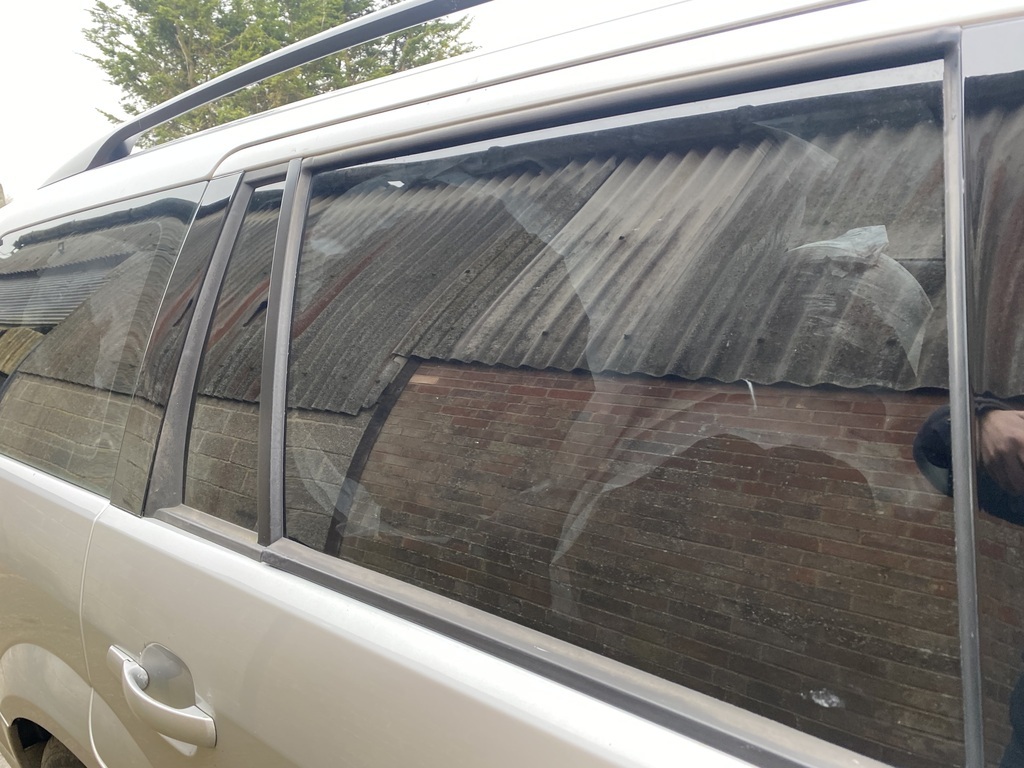
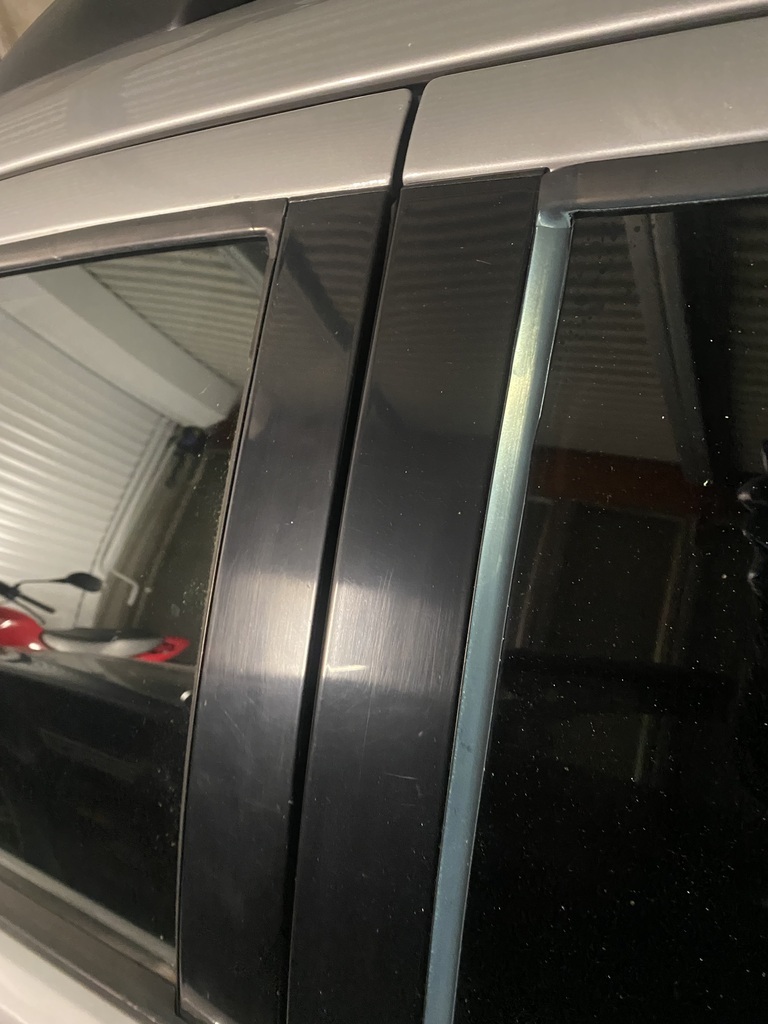
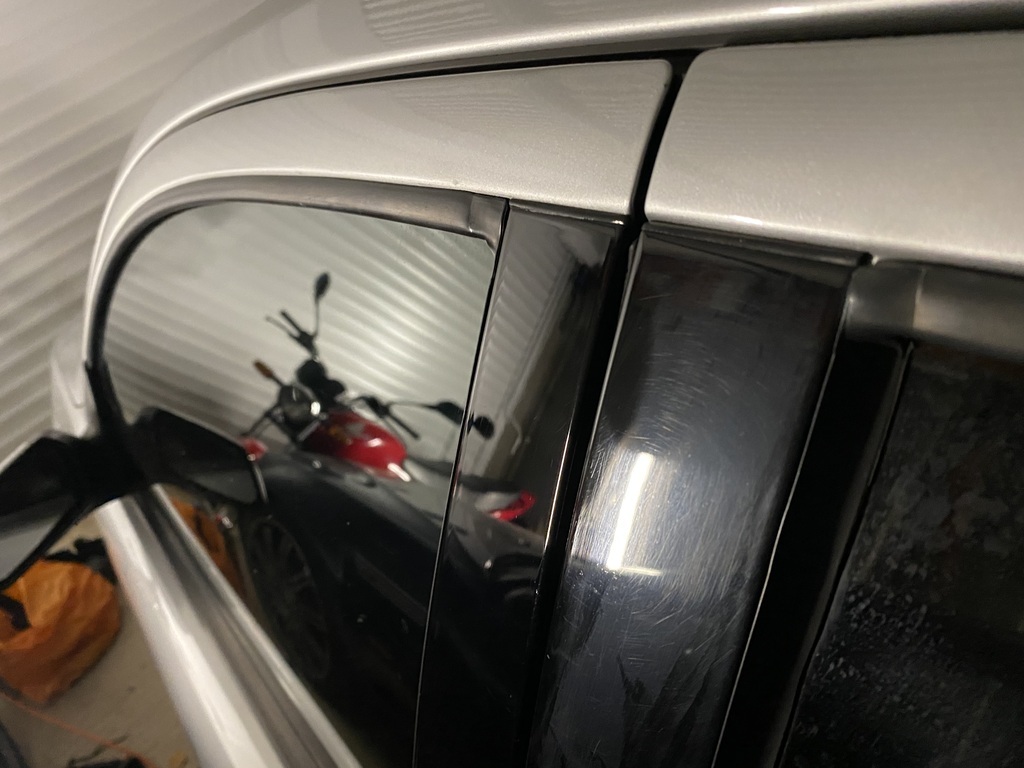
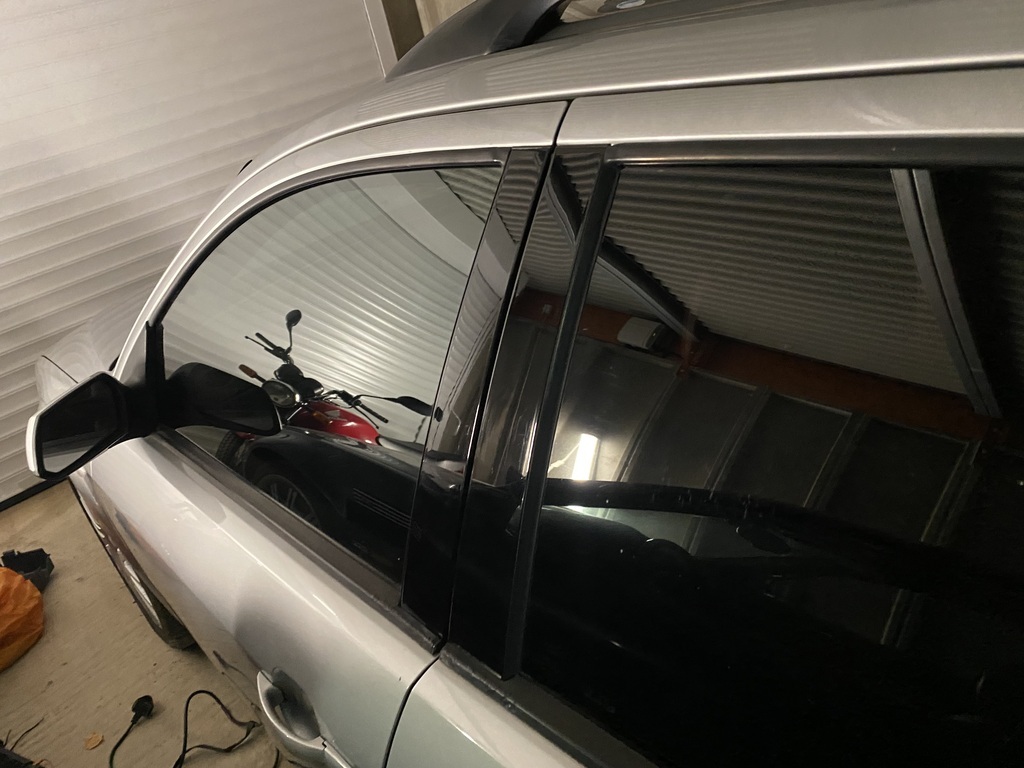
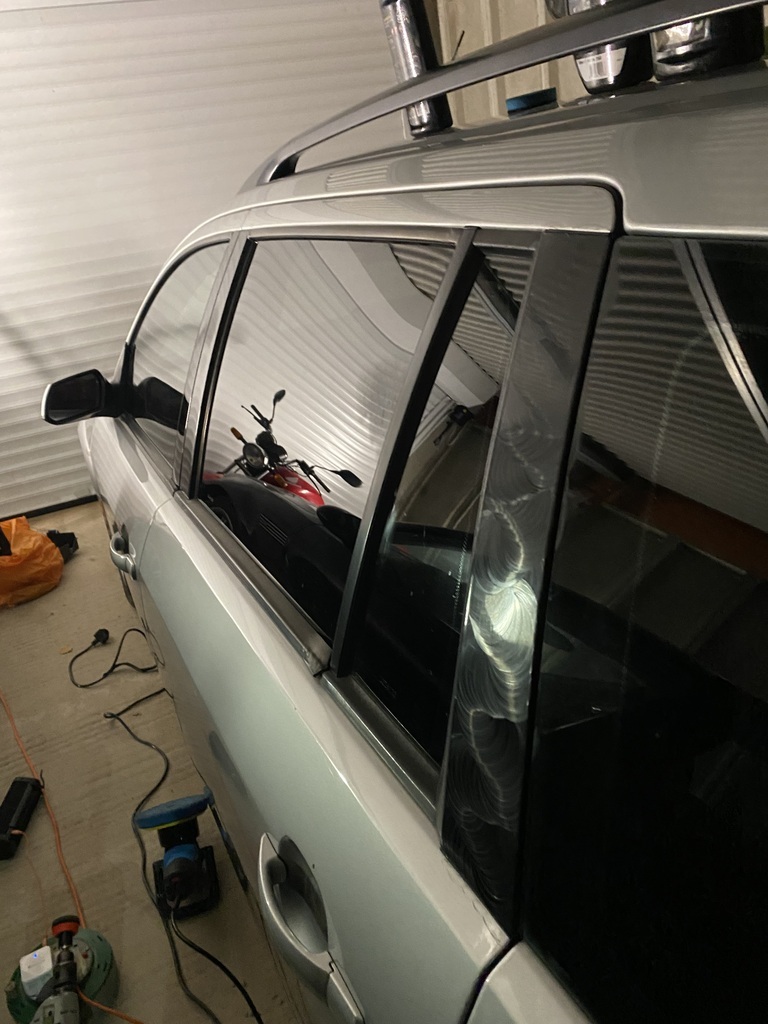
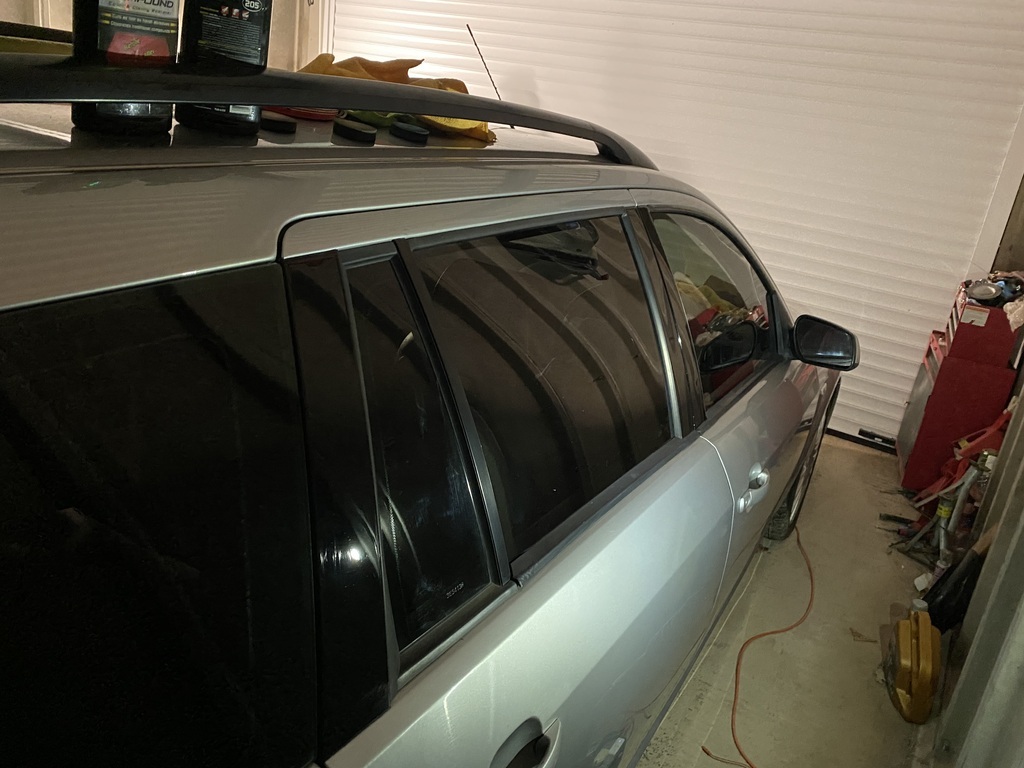
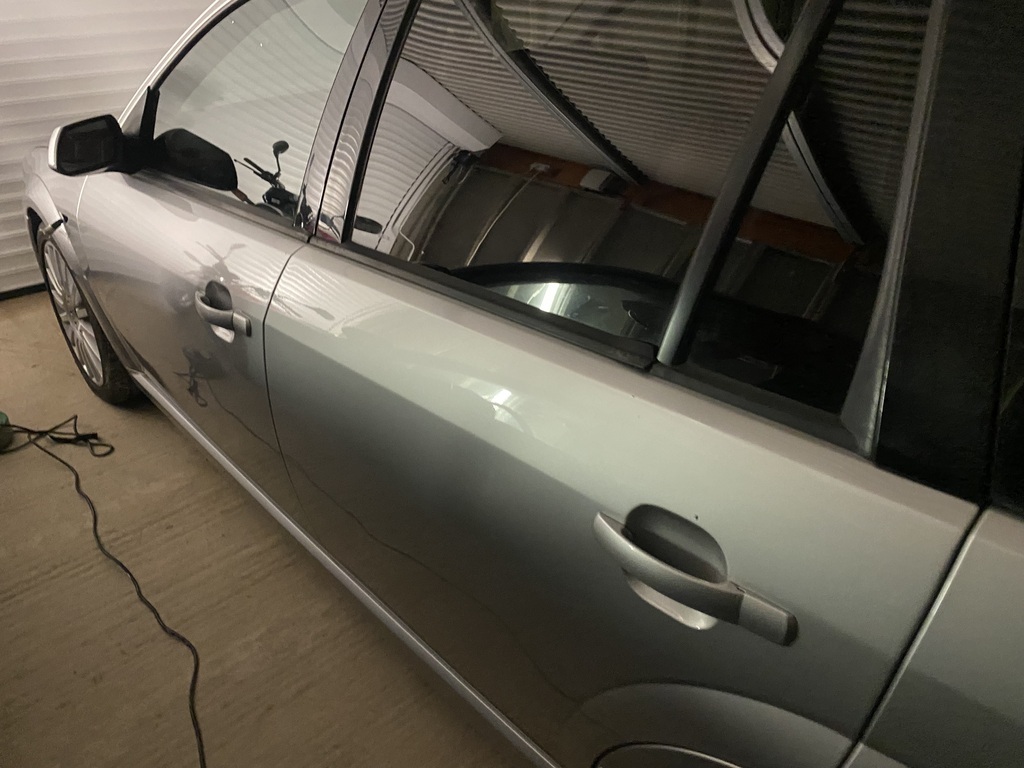
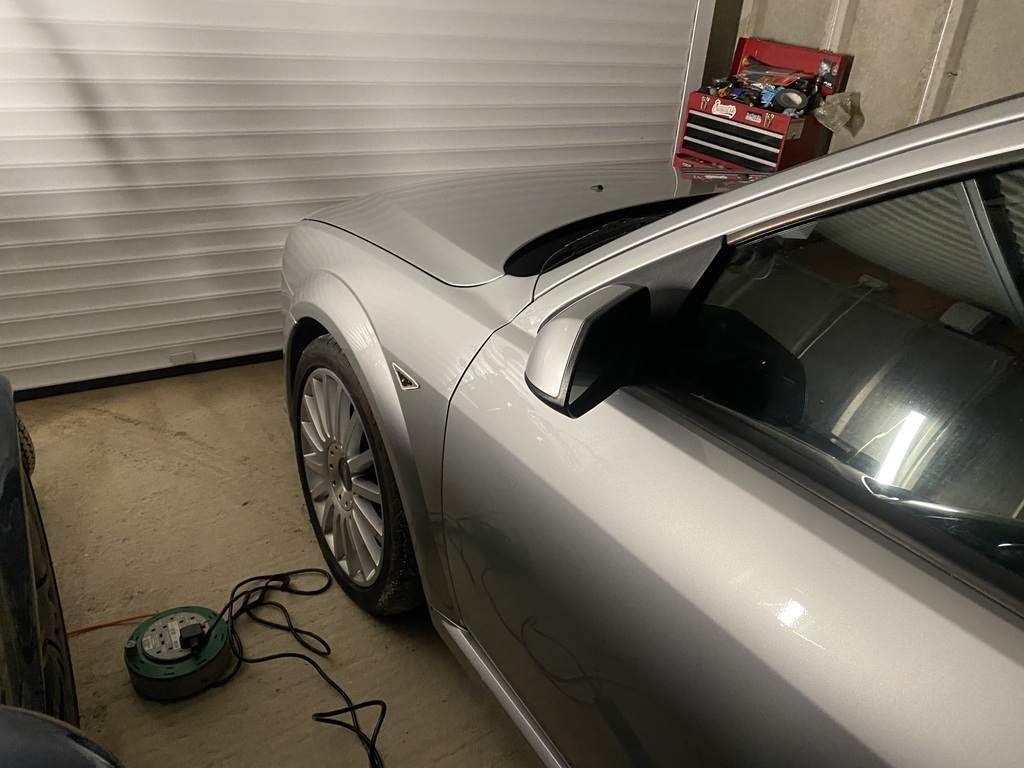
But for now, there was something else to tackle. The bodywork. I'll say more next time, but here is a taster of what I did. I may have to do a video for this, to show the before and after. I enjoyed working on this car, probably because the paint really did need a number of swirls taking out as opposed to a light once-over, and the fact that it could as I imagined, relive its glory days, especially as the ST220 has turned 20 this year. But I'll let you folks be the judge of how it turned out.
For now, I'll mention where the ST was and where it got to before it left the stable.
Firstly, I had to clean it. I am told prior to me getting the car, the interior was filthy, as it was a workhorse. However, it clearly had been cleaned with TFR inside. The leather was dry, chalky, and generally could be better.
There are alot of schools of thought on how to tackle sealed leather. These include
-As per normal leather
-Nothing at all. It is what it is
However, I have seen these uncoated coatings crack before, which can make a repair very hard. Furthermore, if they crack, it's basically refinishing the seat. Putting on plastic protectant would work, except you'd slide about everywhere in the seat. It's almost like a UV barrier is required on them, in addition to something to clean the seats out, when they get shiny.
But let's see where I started from. OK, the car was a tip, as I did stop using it for a while and SORN'd it.


As a result, I did the following
-Cleaned it out so it was no longer a mobile storage unit
-Pears Soap to clean the seats - They were very grubby
-Meguiars 2 in 1 Conditioner. It's not quite Gliptone levels of feed, but it's handy and quick to use in my experience. Just what you need on a car you use.
But let's how it changed. Apologies for the phone photos. But it was a pretty busy time, as it seems things are now! Maybe I need to plan better or do certain things less!


With this in mind, I hit the inside of the car. At the same time, I got rid of the cheap LEDs fitted and replaced them with tungsten bulbs. I know this is not to everyone's taste, but for me, it really helped improve the look of the car.
This was the last of the LEDs left.

And now with an old school bulb and the clean completed.


Quite a difference eh? The seats are not quite that bright in reality but certainly brighter! I was a little taken aback!
The keen eyed may have seen the steering wheel was missing the covers. I did take them off to repaint but I lost one annoyingly! So I got another steering wheel. One bonus was that the leather was in better condition that the one I had. As a result, I put the new item on, but with the ST220 airbag. At the same time, I got a load cover and a now never seen Ford 6000 radio. This car originally had a 6006 in-dash CD changer, However, for those who remember, they did used to play up a lot.


It looked great. However, that took probably about 3 or 4 evenings to do. OK I didn't spend all of the evening doing it as I had other commitments, but it still took time. You can now see why I used the phone to take alot of the shots! I will get the mirrorless camera out again one day!
I would then make a start on the outside. This I did by just washing it down, and then parking it next to another 00's legend, or so Instagram and YouTube tell me.


But for now, there was something else to tackle. The bodywork. I'll say more next time, but here is a taster of what I did. I may have to do a video for this, to show the before and after. I enjoyed working on this car, probably because the paint really did need a number of swirls taking out as opposed to a light once-over, and the fact that it could as I imagined, relive its glory days, especially as the ST220 has turned 20 this year. But I'll let you folks be the judge of how it turned out.


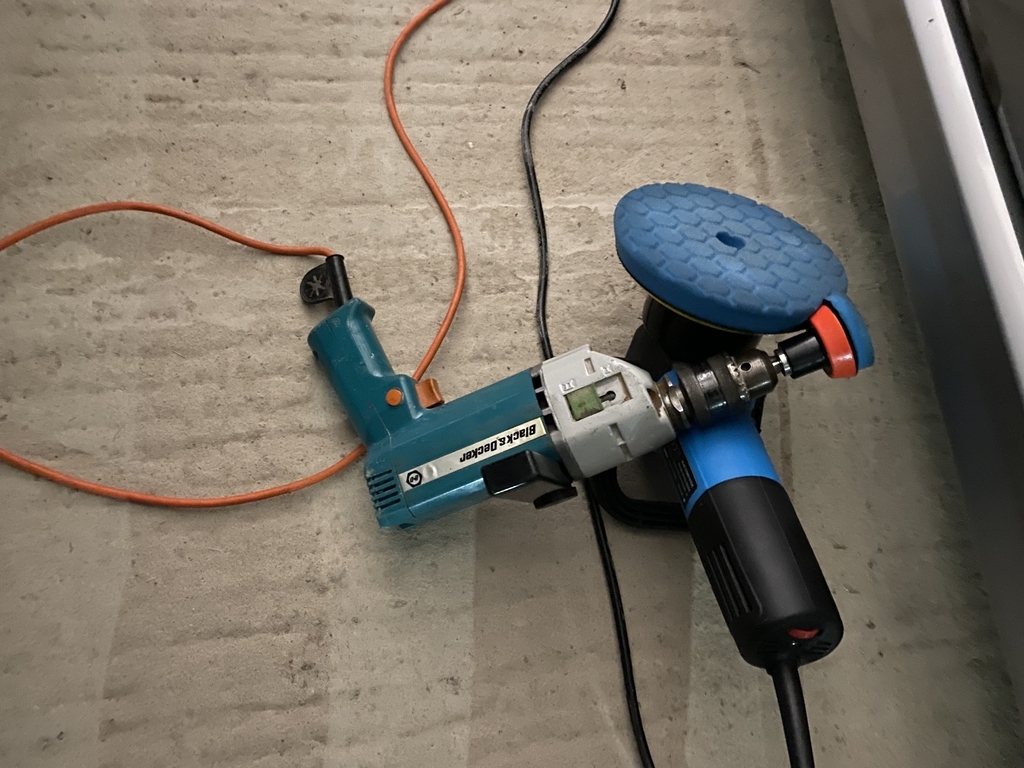
 ), I sorted out my garage to a degree as well as my house. I figured I may as well give this car its final updates. They are rough and ready, mainly due to time. Even for me to make the video above, it still took around 15-20 minutes of time, and that's before I get to writing this. I know it seems selfish not giving threads more time, but time really has been lacking for me lately, with me needing to do more as time goes on. Maybe 2022 will be remembered as the year of relentless for many, amongst other things going on elsewhere.
 .
.