In a couple of weeks, I would have owned the Marina for a year. That's a reasonably long time for me to own a car, so I needed something to mark that milestone.
I had a goal. I had some time booked off work for the end of Jan, which was meant to be set aside to get the Marina ready for British Car Day. Since the show was canned this year due to a stupid pandemic that just keeps lingering like a bad smell, motivation to do work on the Marina has been low.
All the time the
Tomcat has been taking up hasn't helped either. For a car that I had intended to only have short stays in the garage for servicing and minor repairs, that thing sure has wasted a lot of time and money.
Regardless, it was time to show the Marina some love. Heck, Project Marina wasn't even on the main page of TLP anymore, that's how long it's been sitting.
I last touched the car when I moved the Tomcat into the garage back in November. With my time off coming to an end, and only the Tomcat getting attention, I quickly pivoted and set myself a goal; for my Birthday, I wanted to drive the Marina. Not just back it up the drive again, but actually drive it, around the block.
Before I could do that I had to get the car a bit more roadworthy. The first port of call was to sort out the rear lights. I got them going
a while back but the electrics were as flaky as anything, the indicators weren't working, and the lenses were full of rubbish.
I picked up a spare LH a while back, which turned out to be in better condition than the one on the car, so refurbished that and the old one was used as spares.

You can see just how dirty the inside of the lenses are. Unfortunately there are a few cracks too


After removing all the screws in the back of the housing and careful prying with a plastic trim tool, the lenses slowly popped off one by one.

Revealing the horrors within

Interesting to note Lucas painted the reflectors silver, not chrome or polish them

The lights have a plastic surround, that used to be silver coated on the inside but had worn away. This was also filthy.

The housing after a quick clean. I used a citrus-based household cleaner, a bucket of water and my old toothbrush.

I took this opportunity to knock some of the mounting studs out of the spare light unit and replace a couple of broken off ones in this housing. Someone had replaced one with a screw they had glued into place (and since broken free). The studs are pressed into a square cutout.

A cleaned lens on the left compared to the filthy one on the right. I'll need to replace that corner lens as it's been glued back together many years ago.

The plastic frame cleaned up well too. The missing bits were later glued back into place.

The standard bulb holders ground by touching the body of the light unit. If the surface they touch is dirty, you get a bad connection. I cleaned all the holes up with a file and sandpaper

After all the components were thoroughly cleaned and dried, the lights were reassembled.

A little useless fact; the orange corner lens on these is useless, it provides no light. The housing is marked but not drilled for an additional bulb in that location but none is fitted.

This bulb is fitted on some lights, but only in the US market on the Austin Marina, where it is used with a red corner lens, as a running lamp.


Some have drilled that hole out, fit a bulb holder and used it with the orange lens as an extra indicator, which I will probably do at some point in the future.
In order to make them a bit more future-proof, I ran a #10-32 tap through all the nuts and a die over all the studs. This cleaned them up nicely, removing years of rust and crud from the threads.


The next job was to actually fit them to the car. Using a combination of the large washers the lights came with, and some smaller ones that fit the space, the lights were mounted with the best gaskets I had.


Now I needed to look into the wiring
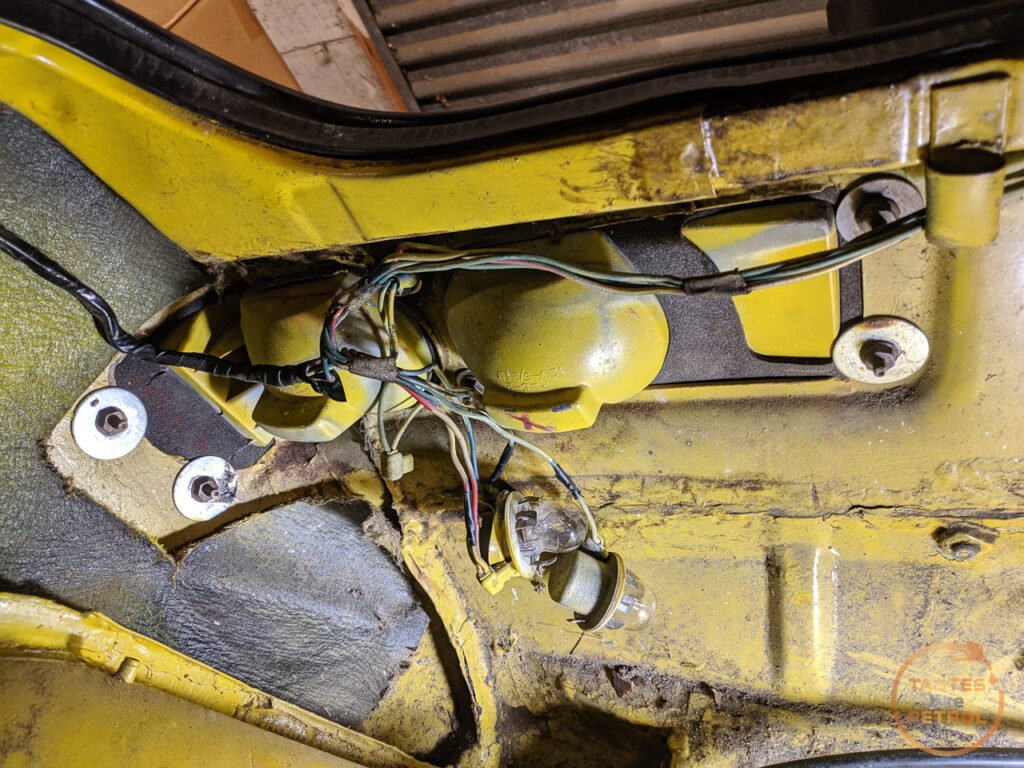
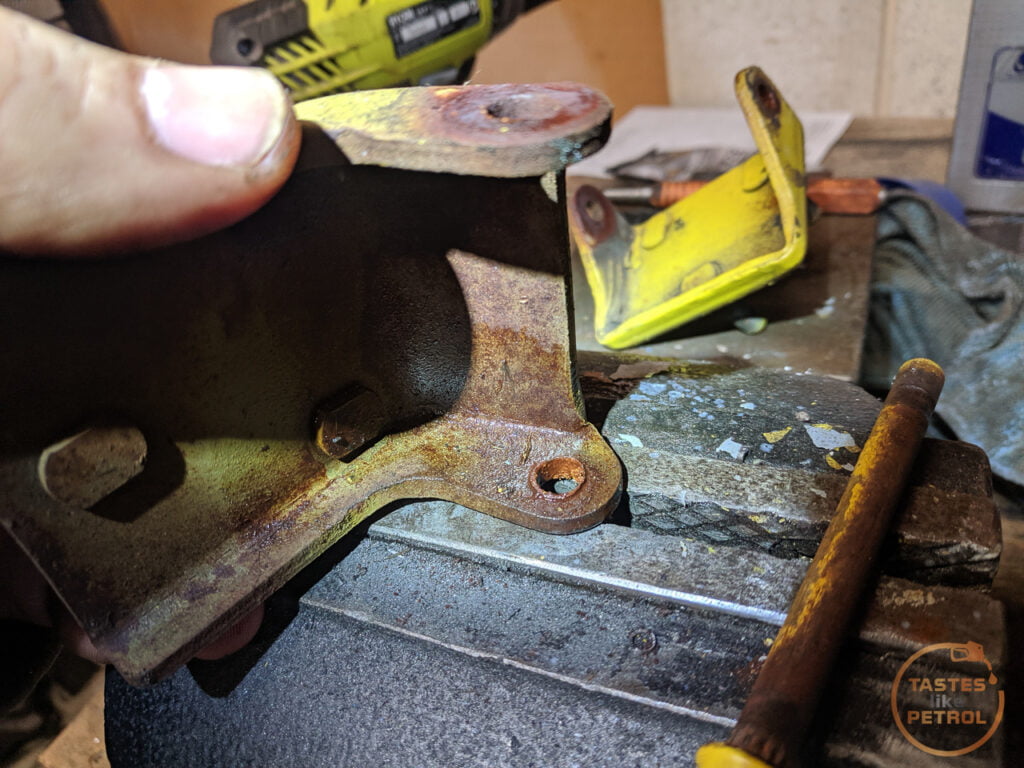
Ages ago, I did some research into grounded bulb holders and found that some Triumph 2500s use a three terminal, dual filament bulb holder of the same size and style the Marina uses (but standard only has two terminals). The three terminal holders have a dedicated ground terminal, so although they can ground through the housing like the Marina ones, a ground wire on that third terminal ensures perfect grounding to the bulb holder. I managed to pick a couple of these holders up, in good used condition.

Example photo, not my hand...
To use these bulb holders properly, I needed a dedicated ground. To do this I drilled out an existing hole on the boot catch support

And after removing a little paint around the hole, installed a rivnut into it

This allowed me to make up a couple of wires which would terminate at this screw

After a lot of testing with my test light, and reading of the wiring diagrams, I managed to get a tail light working

Which resulted in this lovely lit up lens

I carried that same work over to the other side too, and managed to get both tail and brake lights working.
Tail and plate lamp (lighting up the towbar)

And brake lights

It doesn't look it in the photos, but the brake lights are significantly brighter.
Next was to fix the indicators. These have a dual filament bulb standard, as one side is used for the indicator and the other for the reverse lights. Once again, after much prodding and probing, I had power but I couldn't get the bulb to flash. It turns out the previous owner had modified the wiring and instead of having one of the terminals to light up the reverse lights, he had changed that wiring to being a dedicated ground... but still using the two terminal dual filament bulb holders, which cant ground through that terminal.
I substituted a pair of single filament bulb holders instead. These ground through the second terminal only, not through the body of the lamp. This got the indicators working a treat. They still flash a bit fast, but I will look into the flasher unit later. Better fast than not at all.


Next on the list was to finally assemble and fit the cluster. This had been just sitting on place with no surround attached and the feed wire for the tacho running around the door jam into the engine bay, where it was clipped onto the coil with a crocodile clip.

I started by running this feed wire properly, using the proper coloured wire (white with black trace). I crimped a terminal on and attached it to the coil

And then tracing the path of the loom, ran it into the cabin

I also fed the speedo cable into the cabin. Turns out this needs to be on the LH side of the reinforcement in the dash with the three dial cluster, as it moves the speedo to the left.

Unfortuantely, I had an epic battle trying to fit the speedo cable to the cluster, until I realised that something was wrong. It just didn't go into the cluster far enough.
This is the speedo end of the cable. That grey section should be within the silver metal section...

So I thought, maybe the gearbox end wasn't seated properly, pushing the cable up at the other end.
I rolled under the car, undid the cable and tried to pull the cable inner down a smidge. Well, I pulled the cable down alright, down into my hand.

The square end on the left should be in the speedo drive in the gearbox, the other end should be a long cable that goes into the speedo dial. Damn. It had jammed and twisted completely off.
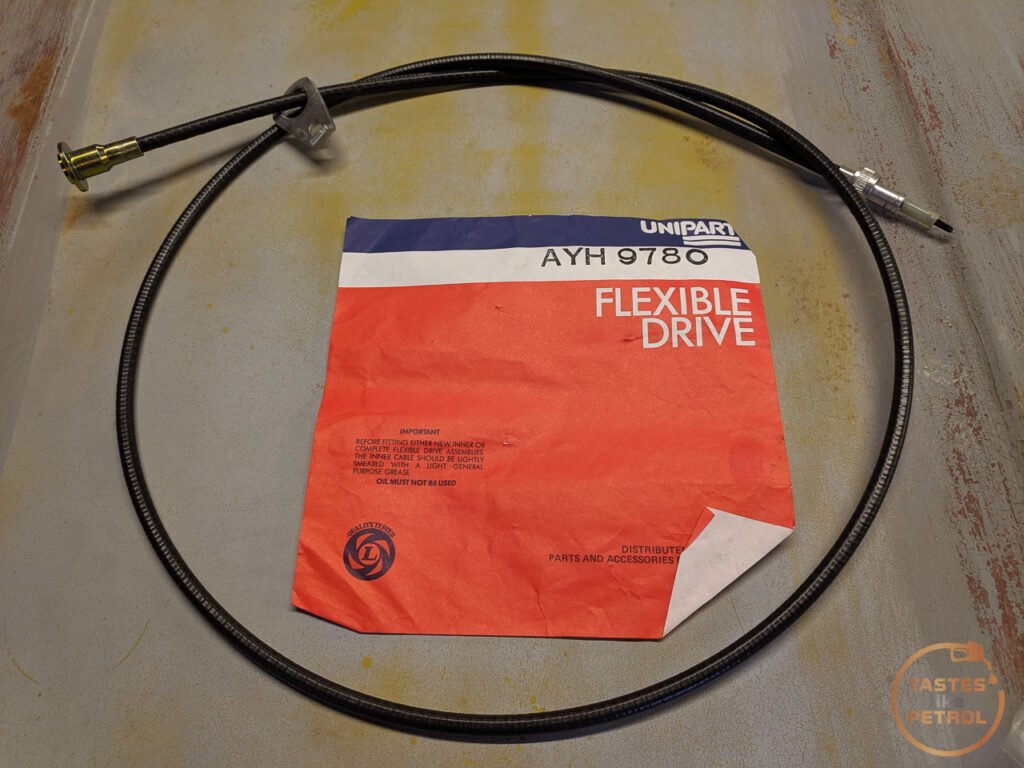
Thankfully a while back I saw a NOS speedo cable pop up on Trademe, so grabbed it as a spare

I tore that packet open good and proper

Mmmm fresh new cable. The instructions state to grease the cable lightly before fitting, so I pulled the inner cable out and ran a bunch of synthetic oil down the outer and wiped the inner liberally with it.

Feeding this through the car and securing it into the gearbox allowed me to try and fit the cluster again. This time it was a lot easier. With the cable on the left, I could reach in through the grille opening in the dash and screw it into the cluster that way.

For the first time since I got the car, and for the first time ever, it finally had a gauge cluster, and a triple dial one fitted, at that. I'm still waiting on some machine screws to arrive to screw it in, but that's secure enough for now.
Finally, I needed to fit the exterior mirrors. These haven't been on the car since even before I got it. The RH side mirror was cracked, so I had a local glass company cut and fit a fresh new piece of mirrored glass. These need a polish up, but they are a gorgeous period-correct accessory. The LH one is mostly useless, but looks so cool out there on the wing.


One final check revealed one other issue. I had noticed the past couple of times I had run the car that there was a noise coming from somewhere a the front of the engine. I had bad thoughts that it might be a failing waterpump or alternator. Nope, turns out the drive belt was loose. Why? The adjustment bolt on the bottom of the alternator was missing. I popped a new bolt in, tensioned the belt, and it's been quiet since. To test this I had to start the car for the first time in months.
I reconnected the battery (which has been sitting disconnected but not on a charger). The fuel filter was dry, so it took a few turns, but cranked nicely and fired straight into life and settled into a nice fast idle at partial choke. Sorting the engine grounds has worked wonders, I never could have started it without jump packs and a fully charged battery before. With the filter full, it starts on the button, every time now.
So, there was nothing left to do but clear the car off, and get ready to take the car for its first drive in about 27 years.
Getting back, my wife said she hasn't seen me smile like that for a long time.
There was a bit of clutch shudder leaving the garage, but that seemed to go away with some more use and the bite was nice and progressive and at a good point. Otherwise, the car performed perfectly. The steering is well weighted, if a little off center (needs an alignment), but tracked straight and the suspension felt great; No vagueness, no wandering and no bouncing. The engine pulled down low, but felt a bit flat up top (I haven't touched the carb tune). The gearbox went through all the gears nicely, with only a couple of minor crunches when downshifting, to be expected for synchros that have been dry for 27 odd years. No grinding or hard shifts. The blowing exhaust does make a racket though.
Although I haven't had a chance to bed the brakes in since the work I did on them, they pulled up nice and straight and didn't require as much force as I was expecting for an unboosted system. The pedal feel is very good.
All the gauges were working, including the speedo with its new cable. You'll also note in the video, if you look closely, that the indicators, front and rear, and the brake lights are working as expected.
Words can't express how happy I am with how it drove. I expected it should've been fairly good on the road after all the work, but it blew me away with how good it was.
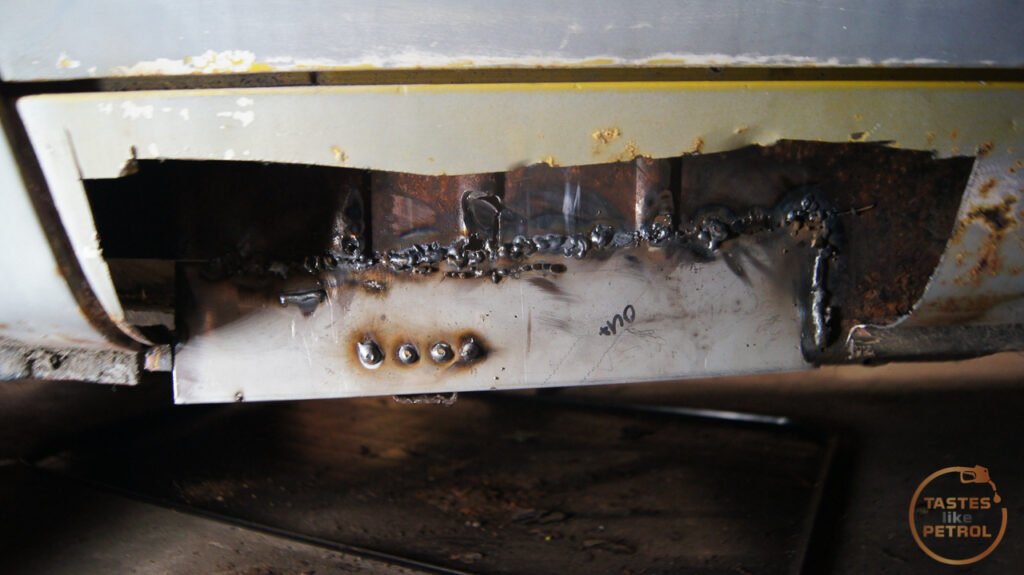
I'm hoping this is the push I need to do the serious work on it; the cutting and welding. With the Tomcat finally vacating the garage, there are no more excuses.

She's a keeper


 Example photo, not my hand...


