|
|
|
|
|
Good progress! Our old Mk2 estate used to have the clutch stick on when sat for a while. Dad just used to start it in reverse and "leap" it out of the garage until it would let go with a bit of a bang  |
| |
|
|
|
|
|
|
|
|
|
|
Yeah I tried starting it in gear and gunning it up and down the drive a few times, but I think the loose surface we have just means the wheels spin without putting that much force into the clutch.
Will see what it's like when I whip the gearbox off.
|
| |
|
|
|
|
|
|
|
|
It’ll probably be loose before you’ve even got the pressure plate all the way off. They are irritating like that…
|
| |
1967 Triumph Vitesse convertible (old friend)
1996 Audi A6 2.5 TDI Avant (still durability testing)
1972 GT6 Mk3 (Restored after loong rest & getting the hang of being a car again)
|
|
|
|
|
|
|
That is annoying. Must be careful of that with the Spitfire when it's done! So, a little more progress on the engine swap. Pulled the beefy old heater matrix out of the engine bay, which gives us 6" more room to play with, and will be replaced with a lightweight motorsport jobby tucked under the dash.   This is the master plan for shoehorning the AJ6 into the engine bay and under the bonnet (hopefully without an additional bulge). If I tuck the engine back into that recess, and find a radiator that'll mount the other side of the bulkhead at the front of the car I should have 98cm to play with. I've also weighed both of the engine and gearbox combos.   AJ6 is a heavy beasty! 324.6kg. That's with air con pump, big 110 amp alternator, starter, inlet, exhaust manifold and downpipe, stock dual mass and a getrag 290. Oh, and 10l of oil. Only thing missing is the gearstick and engine mounts. 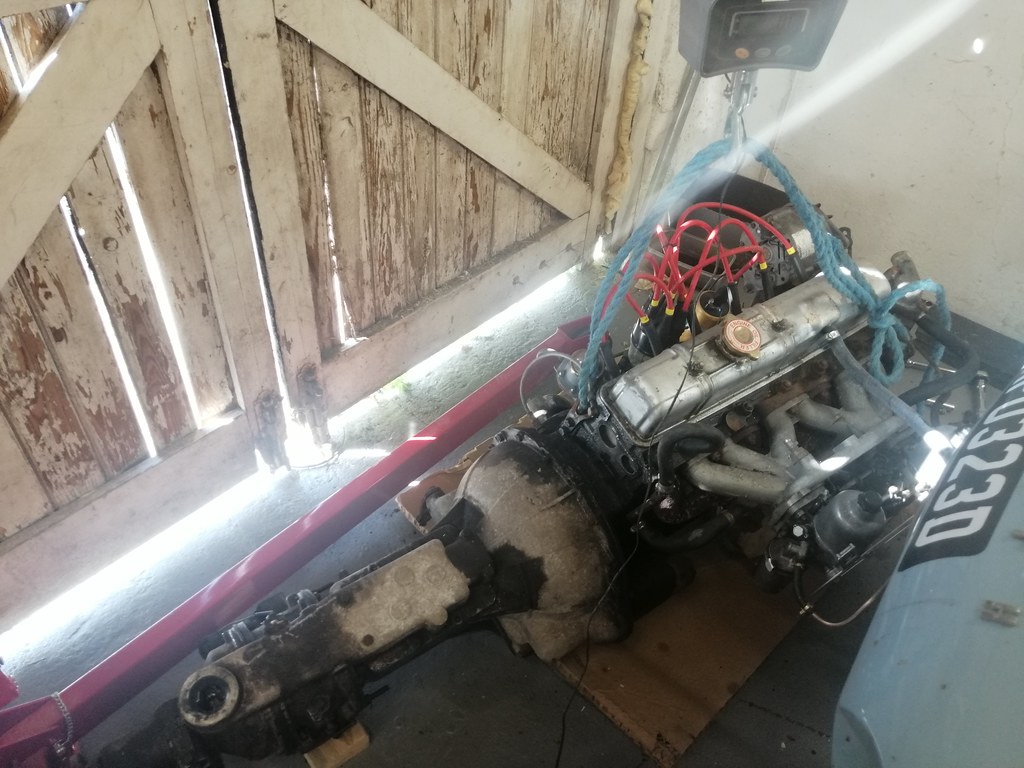 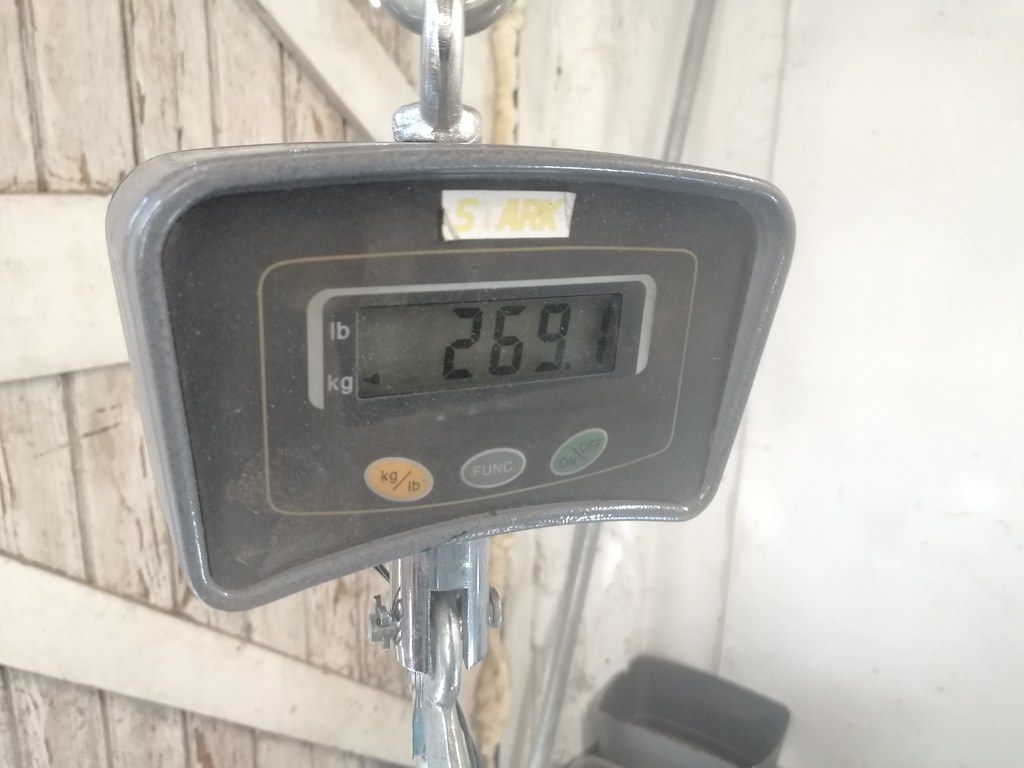 OHV is 269.1kg, plus 424g of viscous fan blades I forgot I'd removed. That's with alternator, starter, ps pump, inlet, exhaust manifold and an A-Type OD saloon gearbox. Only thing missing is the gearstick (again). That means about 55kg of lightweighting needs to be found on the front end. Feels doable! |
| |
|
|
|
|
|
|
|
No going back now!  I suppose I could go back seeing as I need to weld in repair sections here anyway, but it feels like a big step nonetheless  What looked like quite solid metal on one side...  ...was anything but on the other. 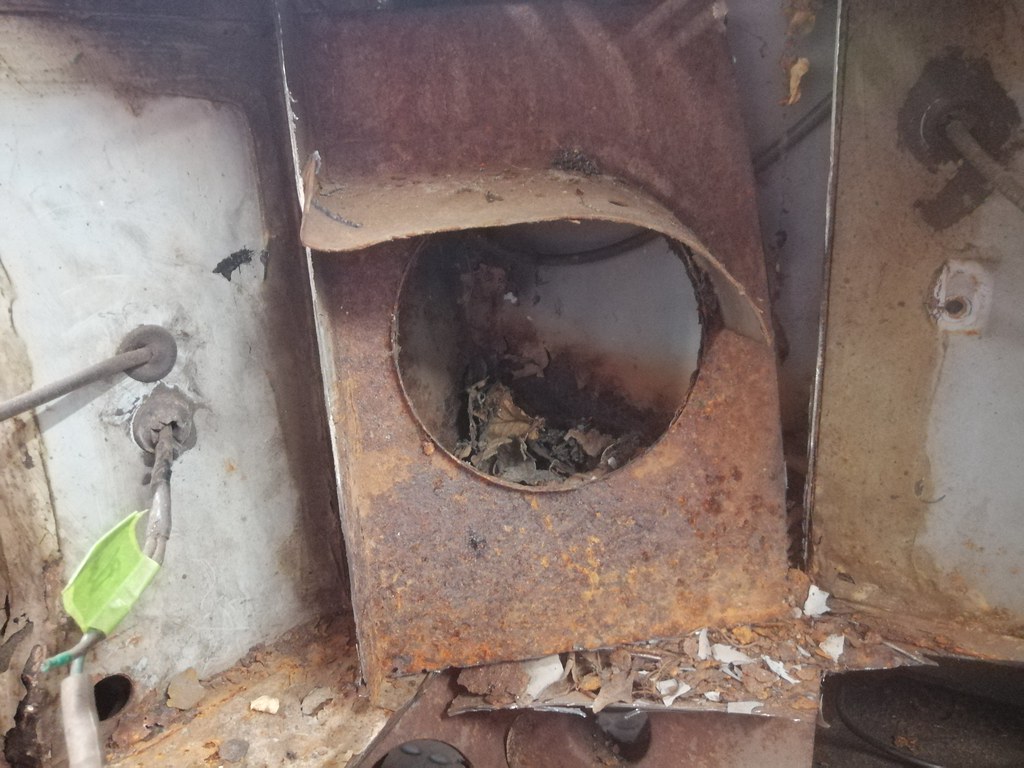  Might explain some of the soggy footwells though! There is oodles of space back here though. 6" easily carvable out of the little plinth the heater matrix sits on, then maybe an inch and a half out of the scuttle chamber (if I need it), then an inch or so before the gubbins in the dash start interfering. There's also space in the footwell to open up the transmission tunnel until it's flush with the chassis rails for a few inches, which will hopefully double up as a dead pedal. I'm rather liking working on another car that's designed before 'packaging' became a thing. I suspect if this was a modern an engineer of some sort would have shortened the whole car by 8" and been very proud of himself, with nary a consideration that someone 56 years later might want to fit a wholly inappropriate engine into the car and need the space  |
| |
|
|
|
|
|
Jul 11, 2022 10:47:54 GMT
|
Spent the afternoon removing the loom and various other bits from the engine bay. Although I'm planning to rewire the car I figured I'd label them anyway in case there's a change of plans/I end up selling the loom.  Labelling = therapeutic. Feeding the loom back into the footwell through two just-large enough grommet holes in the bulkhead = definitely not therapeutic  I'm interested to see if I can cut down some of the wiring weight. Lots of quite fat cables running the length of the thing! Might be a little while until I'm building a loom up again though. I also did some more cutting in the engine bay, and hopefully this'll be the extent that needs to go to get the AJ6 to fit nicely (barring anything that needs to happen to the transmission tunnel).  I'm a steering column and wiper motor away from having a stripped engine bay which isn't bad progress  I'm thinking Jag engine in to sort mounts and any clearance that needs to be made, sort out the rust and general modifications to the heater intake area, box the bulkhead back in, then engine back out to strip the whole lot back to de-rust and paint it. Simples  |
| |
|
|
|
|
|
Jul 15, 2022 12:43:31 GMT
|
Current thinking at the moment is whether at 1200kg-ish the Triumph will be too heavy for manual brakes on a twin master setup. I still have the working servo, but it's on single circuit brakes which I don't much fancy. Options are to find a tandem master cylinder or sort out a dual setup with a balance bar, which in addition to being adjustable for bias is also ~1.5kg lighter... Closest I've found online is a chappy converting an S1 E-Type 4.2 to manual brakes with a couple of different setups, where a 1" master and 5:1 pedal was a bit hard but a 7/8" master with a 6:1 pedal was pretty good. I've plugged the figures into my lightly terrifying brake bias spreadsheet and I think I can get roughly the same pedal effort and stopping power as that E-Type setup with twin 0.625" master cylinders, a pedal modified to a 4.8:1 ratio, Stag front discs (or Renault 21), MGF rear calipers and Mitsubishi Colt rear discs. Anyone else have any experience of manual brakes on a 1-ton+ car? |
| |
|
|
Paul Y
Posted a lot
  
Posts: 1,951
|
|
Jul 15, 2022 13:23:17 GMT
|
I had manual brakes initially in my 56 for packaging reasons - couldn't find a servo small enough to fit where the rocker covers of a big block wanted to be - so ran a MC from a late 60's Impala with disk front and drum rear. Not 100% certain I had the pedal ratio's correct but it did stop very well for a 3800lb (just under 2 ton's) car. Pedal was hard but gave great feedback. Changed to a small diameter servo, pedal pressure dropped - as you would expect - but lost the feel. Long way of saying with your set up and weight it will be fine! And if its not - just add a servo... P.  |
| |
Last Edit: Jul 15, 2022 13:34:30 GMT by Paul Y
|
|
|
|
|
Jul 20, 2022 11:04:00 GMT
|
Thanks man, that's what I want to hear! Adding a servo with a bias bar setup attached might be somewhat challenging as there's 29cm between the bulkhead and the strut tower, although a tandem master should fit fine. Probably doable if you sink the servo into the bulkhead a little though as there's plenty of room between that and the pedal. Made some decent progress over the past few days  I've been looking for a radiator that's both big enough to match the capacity of the original XJ40 radiator, but also compact enough to slot the other side of the front panel to gain a bit of length in the engine bay. The closest I'd found was two Golf Mk1 radiators welded together, but having ordered those I stumbled upon a triple core radiator for a Porsche 944 which is pretty much spot on (apart from the inlet and outlet being the wrong way round). Here it is in the engine bay:  Little bit of shaving on the sides, and a sliver off the top of the front bulkhead and it slots through nicely  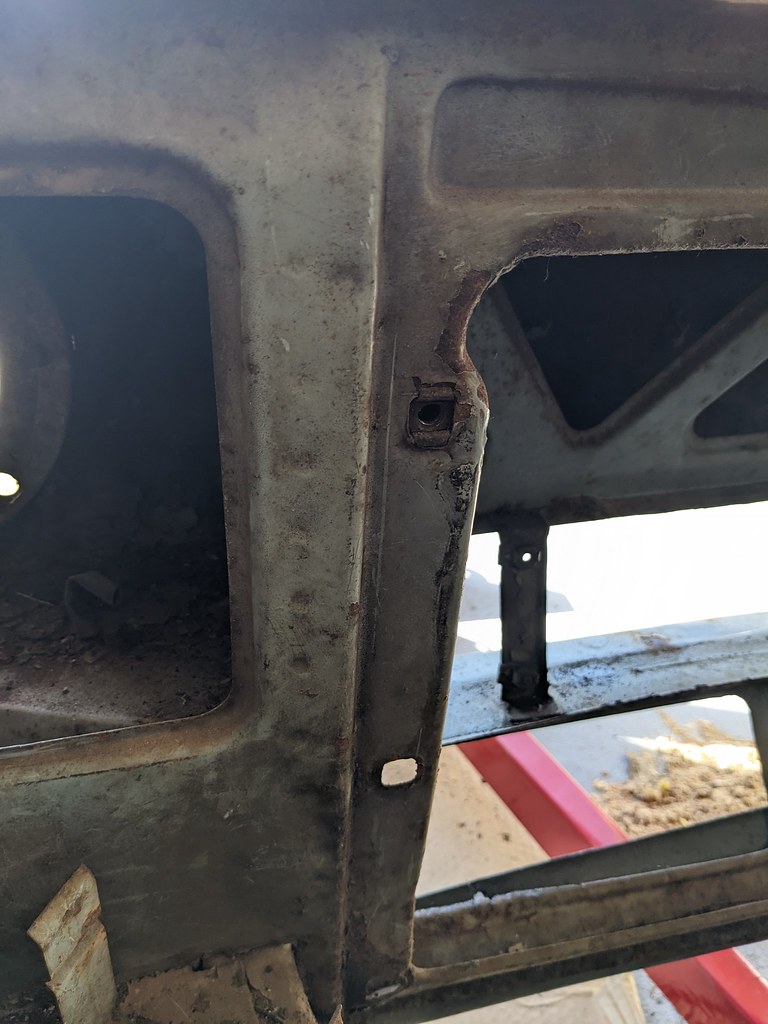   In a very timely set of circumstances, my mate has just cracked alloy welding so swapping the inlet and outlet is now within our grasp! Next up was to get the OHV engine and gearbox out of the way. Built a little caster trolley from some scraps of plywood... 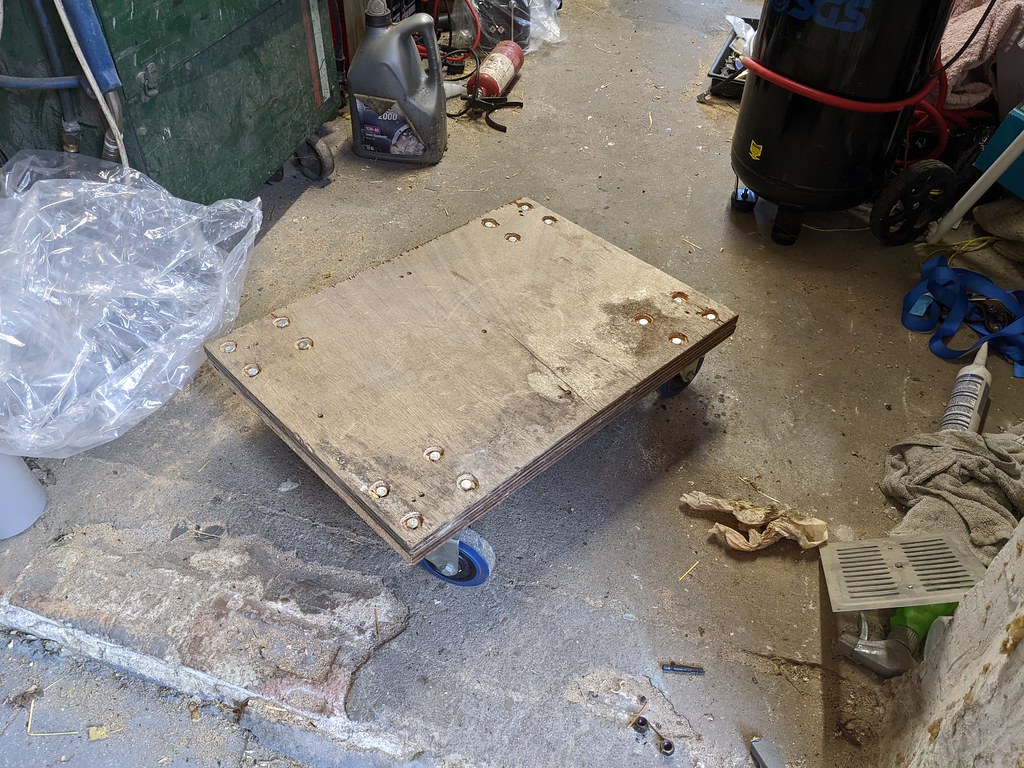 ...split the gearbox...  ...and tucked the engine away. 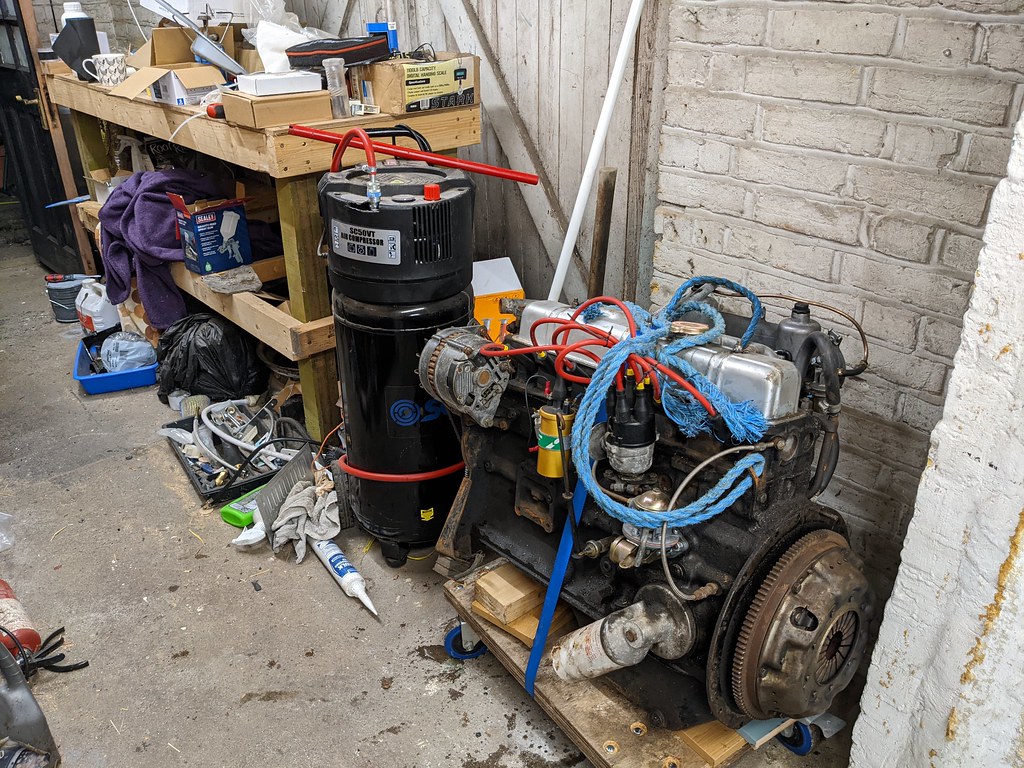 Then, I decided that the hottest day the UK has ever experienced would be a good day to get the Jag engine into the Triumph   As the Jag engine and 'box is so heavy, and the tarmac of the driveway isn't particularly strong, the plan was to wheel it into position on the trailer, lift it up and whip the trailer out from underneath it, roll the Triumph under the engine, and drop it down without having to lug the crane around too much. It nearly worked!  we ended up having to take one front wheel off as the legs of the crane wouldn't fit between the front wheels in the right orientation. In a rare moment of me making a smart decision, I hooked the hoist up 180 degrees out so as it came out of the trailer it span round to the right orientation   Out came the Triumph. and I pulled off the air con and alternator as they looked like they'd be troublesome. 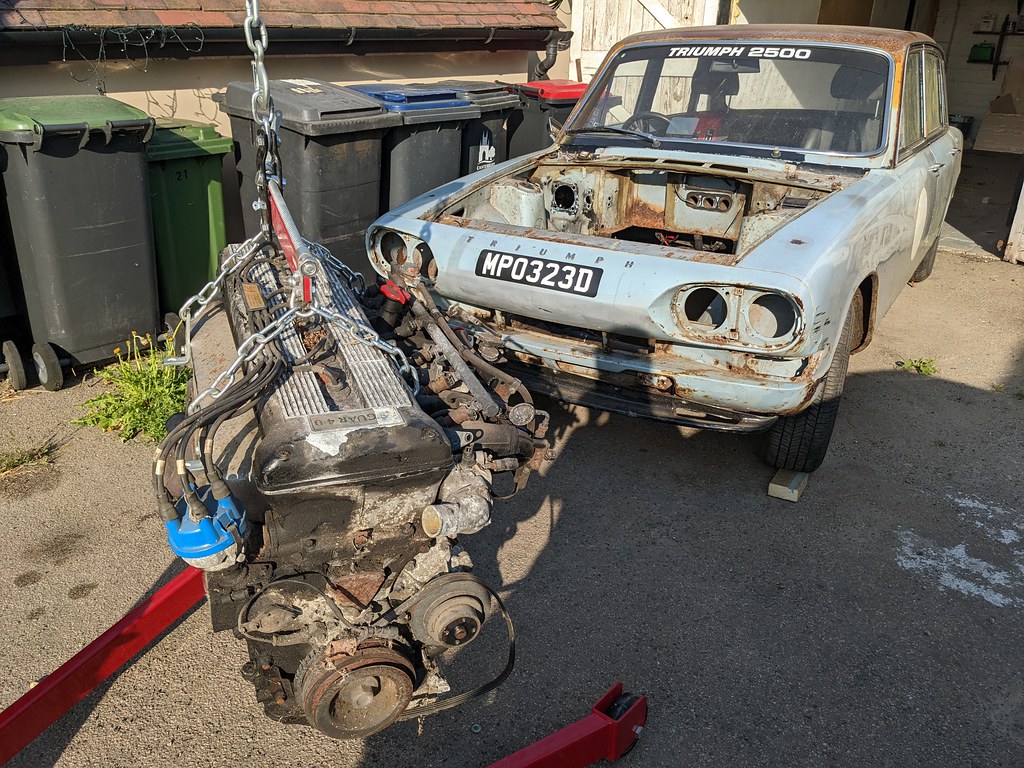 Luckily at this point my other half's fam came around for dinner so I roped her brother and dad into helping manouever! Picture of it wedged in position with a useful helper  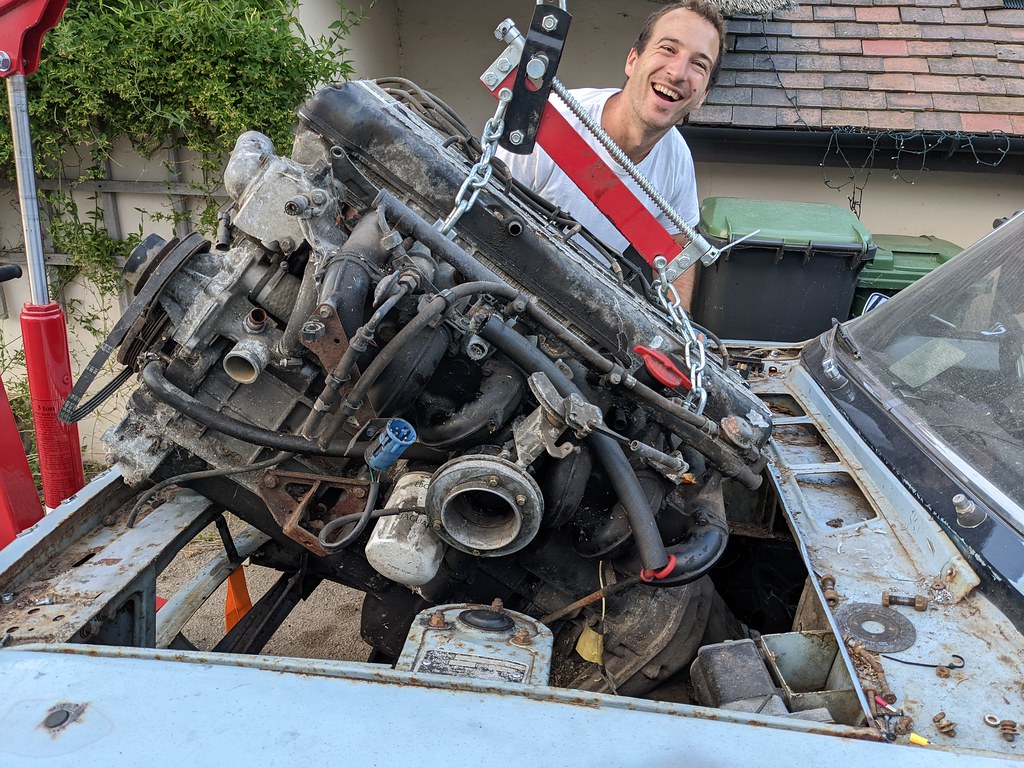 As proof that I can only make one smart decision per job, I'd thought for a while that I'd need to make the scuttle panel heater intake thing removable to get at the rear spark plugs but for some reason didn't do it before trying to get the engine in, so that needed to come out...   That let it get a little further in, but there's a rather unhelpful lump on the front of the Jag's sump that caught on the front of the slam panel so that'll get replaced with a boltable section: 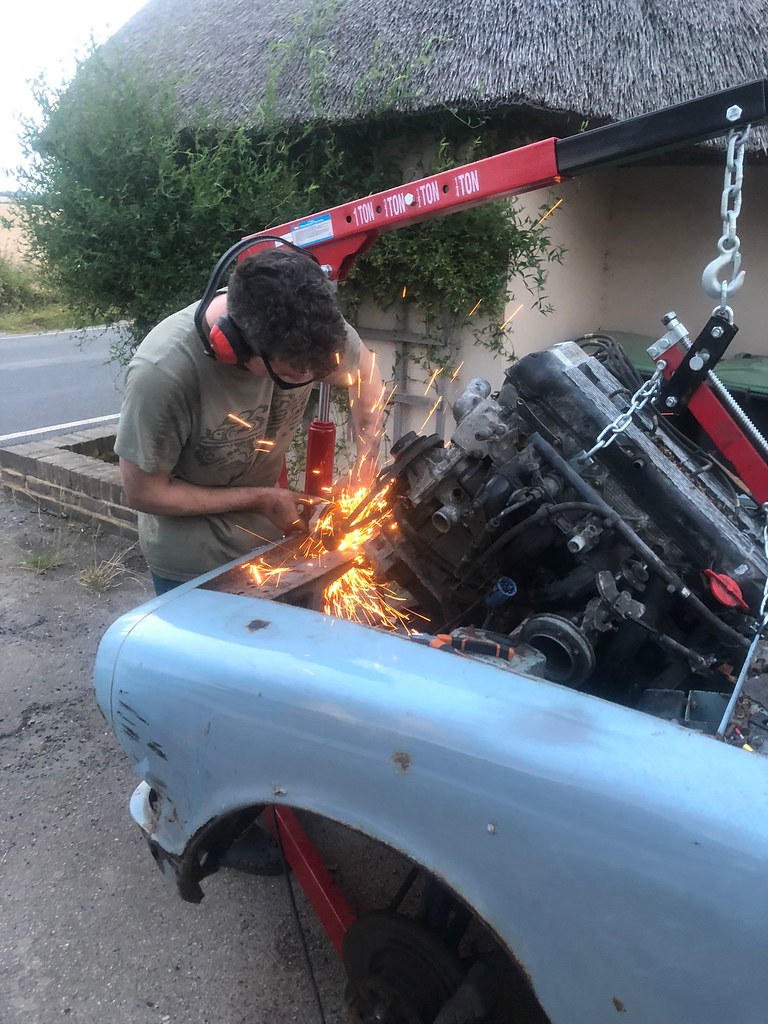  At this point we were starting to lose the light and I'd kept our guests for far too long! We shoved a block of wood under the sump and a ratchet strap around the gearbox and pushed it back into the garage, but technically it's in (even if it doesn't look like it!)    |
| |
Last Edit: Jul 20, 2022 11:20:38 GMT by biturbo228
|
|
|
|
|
|
|
|
Yep just shut the bonnet and drive away. Jobs a good un.
|
| |
|
|
|
|
Carsie
Part of things
 
Posts: 127
|
|
|
|
|
Hottest day of the year, angle grinder with thatch roof behind...whatever could possibly go wrong? lol!
|
| |
|
|
|
|
|
Jul 21, 2022 10:27:44 GMT
|
Yep just shut the bonnet and drive away. Jobs a good un. Yeah just shut it really hard and it'd be fine  Hottest day of the year, angle grinder with thatch roof behind...whatever could possibly go wrong? lol! Haha hadn't thought about that! Not my smartest idea  Although in my defence I've found it's actually quite hard to set light to things with angle grinders that aren't petrochemicals (those go up quite readily though!). A bit of jiggery and pokery last night had the engine sitting a little lower. The main thing stopping it getting any further was the relatively low transmission tunnel. The Triumph gearbox sits quite low in the car, at quite a slant, and the Jag gearbox is bigger (surprise surprise). So that had to come out. I tried to cut it on the vertical surfaces so I can just let in an inch of metal or so and re-use the formed portion of the tunnel.   This is where we started:  ...and this is where we ended up:  There's still a fair way to tuck it back and level it out:   ...but the thing that's stopping it is a box section that joins the two chassis rails horizontally across the gearbox tunnel.  This is not far from being the last man standing stopping the car folding inwards a little after I've cut out the bulkhead, gearbox tunnel and slam panel. I figure I should probably weld in some bracing before chopping it out! The other thing I hadn't quite appreciated was that the engine cradle brace (which will need to be modified to clear the timing gear bulge at the front of the sump anyway) and the steering rack are a couple of inches higher up than the front suspension subframe:   That might limit how low I can get the engine in the bay. Hopefully it's enough to tuck it under the bonnet bulge, but if it isn't I'm thinking I could drop the rack and flip the balljoints round to the other side of the steering arms: 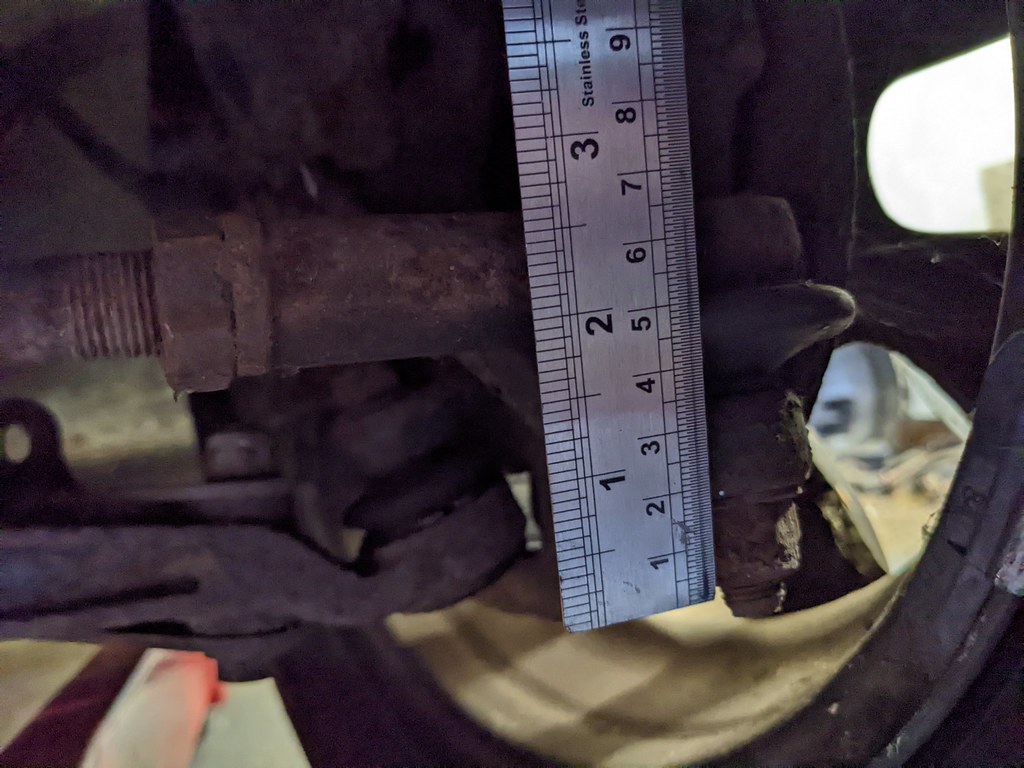 But other than that it looks promising  steering column should fit fine:  Reasonable amount of space for an alternator (even if it is shifted back):  Might even have been able to keep the air con compressor (if it didn't weigh 10.3kg!):  Shifting it 5" back in the engine bay should sort out some other component clashes at the front with the pulleys/radiator:  ...and the throttle body/strut tower:  So yeah. Seems like it should work! |
| |
Last Edit: Jul 21, 2022 10:35:28 GMT by biturbo228
|
|
|
|
|
Jul 21, 2022 12:39:59 GMT
|
|
That seems like the appropriate angle. Few UJs, a dry sump conversion. Done
|
| |
|
|
|
|
|
|
|
A dry sump conversion would make things a hell of a lot easier! I've managed to get my welder up and running which has helped nudge things forward. It was tripping the breaker as soon as I touched the trigger, which was pointing towards the diodes in the rectifier bridge (according to google, no idea what a rectifier bridge looks like!). A bit more playing around found that it only did it on settings 4, 5 and 6 so perhaps it's a surge of current just as all the electrical gubbins engages as it's quite an old welder! 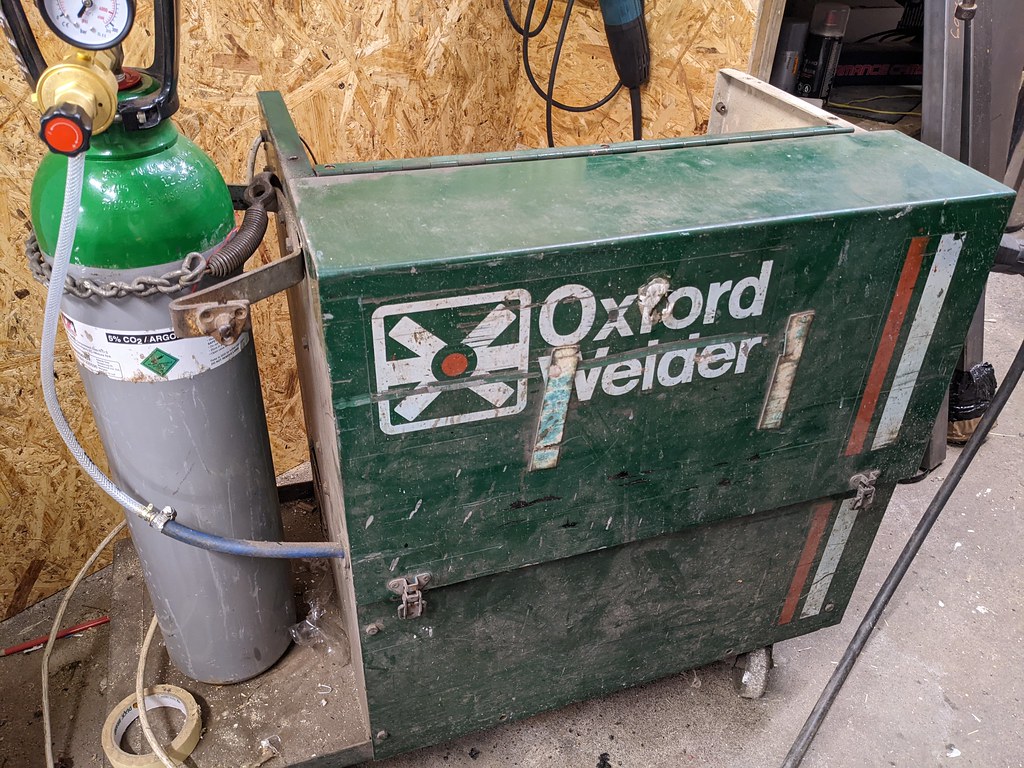  Apparently you can get 'C-Type' breakers which are a bit more resistant to startup surges. Still, it worked ok enough to tack in a brace across the floor of the Triumph: 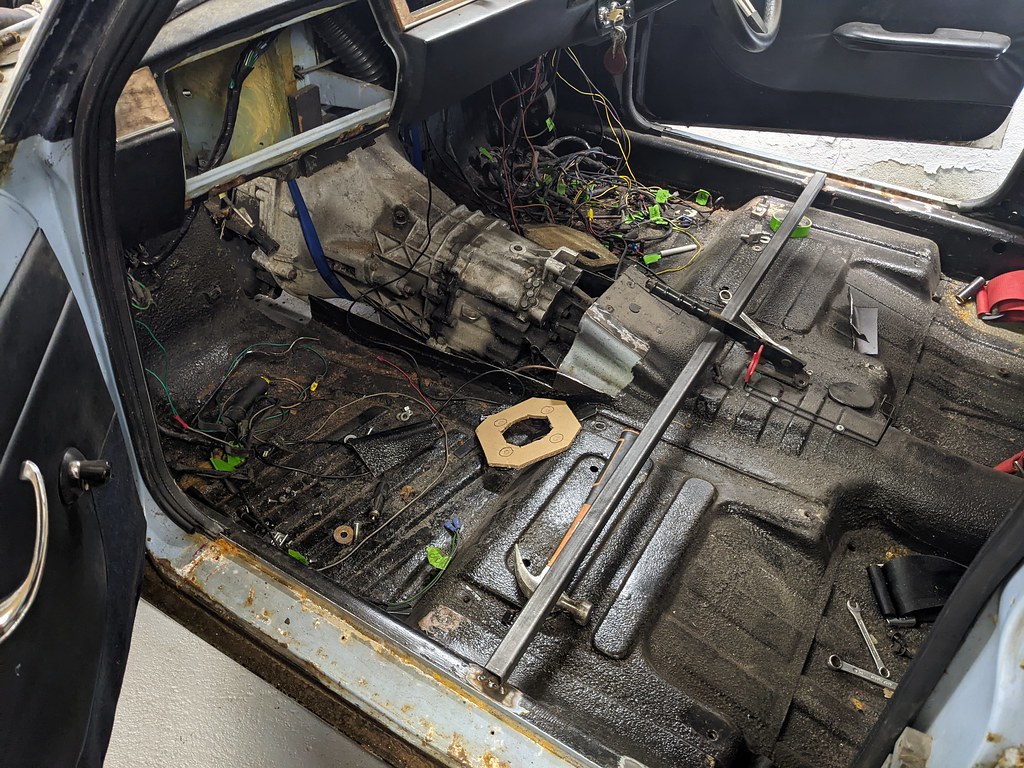 ...which let me chop out the cross brace:  I also dropped the front engine bay crossbrace and the steering rack so it's sitting on the lower, main subframe. Getting closer!  It's going to be a tight squeeze! There's 10cm poking out the top and I've got about 5cm of bonnet bulge to play with... |
| |
|
|
|
|
|
|
|
|
loving the progress, whats the overall weight looking like vs. the Triumph powertrain?
you also have a DM regarding bias pedal box
|
| |
|
|
|
|
|
|
|
Thanks man! We started off at the Jag engine and 'box being 55kg heavier than the Triumph setup. Currently sitting at about 10kg heavier on the front end after some initial lightweighting, which isn't too bad! Stuff that's either been done or is on the list and has been weighed is: - Air con removed - 10.3kg
- Battery in the boot, including the tray - 18.8kg
- Porsche 944 alloy radiator - 2.8kg
- Viscous fan removed - 2.4kg
- Kubota 60a lightweight alternator - 3kg
- Twin master setup (est.) - 1.5kg
- Lightweight horns - 0.7kg
- Lightweight heater matrix - 6kg
- Single mass flywheel (very est.) - 2kg
The rest has come from little bits and bobs being removed like the separate solenoid for the Triumph starter and some beefy old-school relays for the headlights. I'd love to find a lightweight starter and a lightweight flywheel setup that doesn't cost the earth, but I'm still on the hunt for those. I've found a couple of options for flywheels. Simply Performance do a single mass conversion kit for ~£1400 which annoyingly does include useful stuff like a taller release bearing carrier to match the deeper bellhousing of the Getrag 290 vs the 265, but otherwise is the same as the 265 single mass. TTV also do a lovely superlight flywheel (presumably for the 265) which probably won't cost £1400, but is a little too aggressive for street use with the motorsport clutch it needs. I'll probably end up whipping off the stock dual mass, taking some measurements and asking TTV to make up a custom jobby using the stock clutch (or better still, using a clutch that's more readily available). |
| |
|
|
|
|
|
|
|
|
Interesting stuff. I guess you must be the first person to put a Jag motor in ones of these?
|
| |
|
|
Darkspeed
Club Retro Rides Member
Posts: 4,878
Club RR Member Number: 39
|
1966 Triumph 2000->2500->4000Darkspeed
@darkspeed
Club Retro Rides Member 39
|
|
|
TTV will make a flywheel to suit your specification and will do a quote for you based on what you want - I have just had a quote done for the C27A flywheel based on the fast road 215 clutch Mine is a full bespoke build so had to provide lots of dimensions for the quote and send a full flywheel and clutch for manufacture - As it looks like they have the 3.6 info on file matching a flywheel with a fast road clutch should be no issue for a quote and you can state what weight flywheel you would like. |
| |
|
|
|
|
|
|
|
Interesting stuff. I guess you must be the first person to put a Jag motor in ones of these? Interestingly I'm not! The whole idea was kicked off by a post on here of a chap's neighbour who had one in his Mk2: 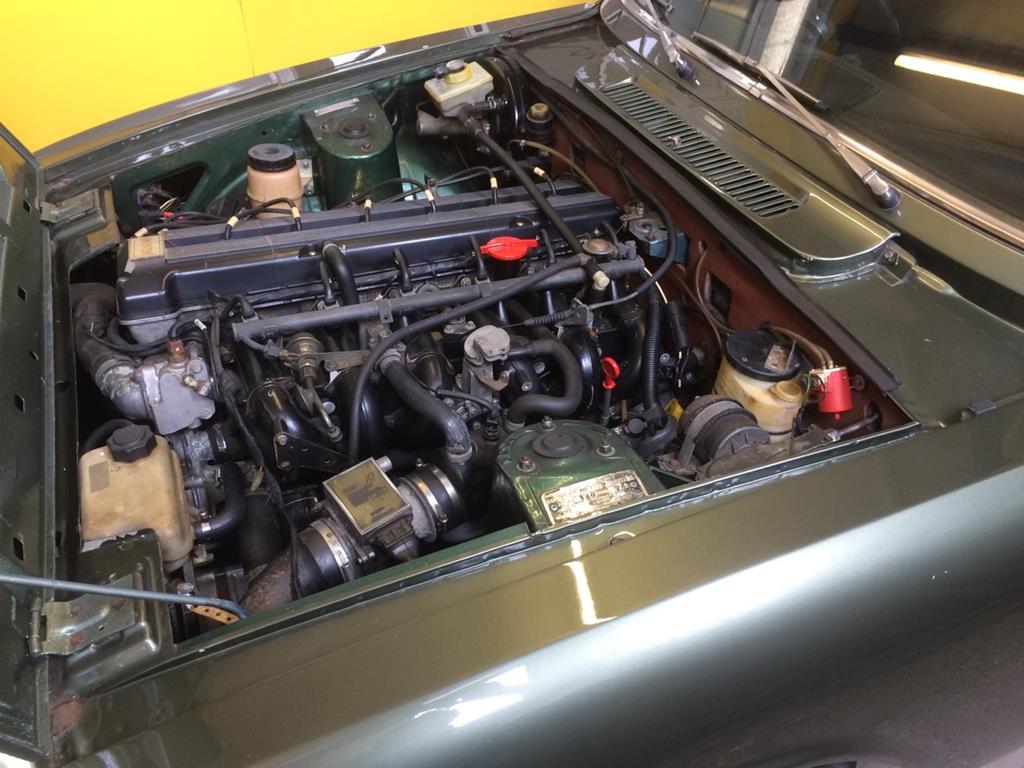 It looked like he did it by removing a lot of the structure at the front and fitting a bonnet bulge to clear the nose of the engine. A bit easier on a Mk2 as the nose is a few inches longer meaning you can fit a radiator way forward. One of the reasons I went for a Mk1 is the bulkhead area looked easier to cut back to set the engine back instead, and they already have a bit of a bonnet bulge. TTV will make a flywheel to suit your specification and will do a quote for you based on what you want - I have just had a quote done for the C27A flywheel based on the fast road 215 clutch Mine is a full bespoke build so had to provide lots of dimensions for the quote and send a full flywheel and clutch for manufacture - As it looks like they have the 3.6 info on file matching a flywheel with a fast road clutch should be no issue for a quote and you can state what weight flywheel you would like. Interesting! That lightweight clutch looks a lot like the one in the Simply Performance kit. Wonder if I can get a similar setup for a little cheaper by forgoing the taller release bearing plinth and instead pushing the flywheel mating surface out a bit further (the 290 dual mass flywheels have the mating surface a little further out than the 265 solid mass ones, hence the taller release bearing). Out of interest, how much did the quote come to? I'd guess they vary a fair bit depending on how much machining needs to be done, but a ballpark figure would help! ------------------------- Another evening's work and we're millimeters away! First issue was that I'd welded the cross-brace in just the wrong position to get the engine back to where it needs to go:  The tail of the gearbox needed to be in the box section, so I tacked another one in behind it and removed the original:  That let me nudge everything back a little further and into position:  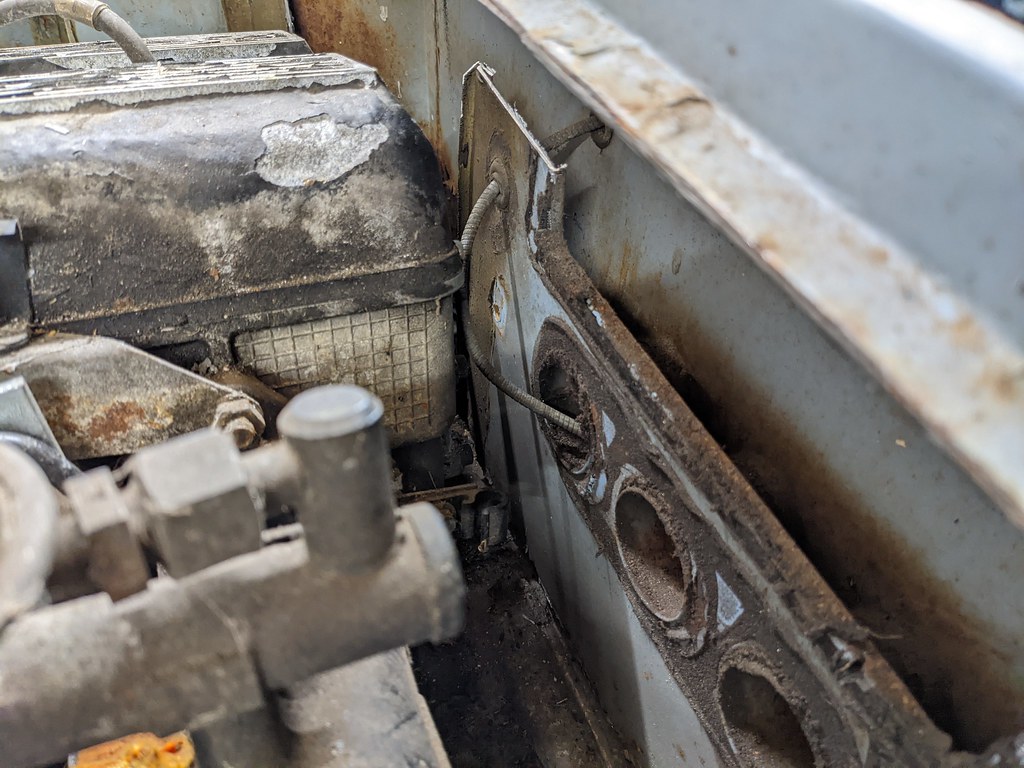 Realistically this is about as far as it'll go. I could chop out an inch more of the bulkhead without any issues, but that weird knobbly bit on the front of the sump will start interfering with the steering rack. Might still do at this point, but it looks like it'll just about fit. I also swapped out the 18mm wooden block it's resting on for a 9mm one. The sump now pokes down by 3-5mm below the chassis rails which isn't ideal, but I don't plan on lowering it so hopefully should be fine.  Question is...does it fit?  Just about! Woohoo!  Unfortunately it does actually touch the top of the cam cover, and there's something up with the mounts on my bonnet as it sits 5mm proud on the leading edge.  There's a little more levelling to do which might help a little bit, but I might also need to drop the clearance to the subframe even further to get it to fit. That'll put the sump even lower, but I'm currently deciding if I prefer that to raising the bonnet bulge by 5mm or so... Oh, and there's this little fella on the fuel rail that'll need rotating round a bit:  But yeah. Promising stuff  |
| |
|
|
Darkspeed
Club Retro Rides Member
Posts: 4,878
Club RR Member Number: 39
|
1966 Triumph 2000->2500->4000Darkspeed
@darkspeed
Club Retro Rides Member 39
|
|
|
All in - Bespoke design flywheel, 215 fast road clutch assembly, release bearing, delivery - a little over a grand. Which I justified to myself by looking at the amount someone on here spent having a stock clutch replaced on a 328 BMW. 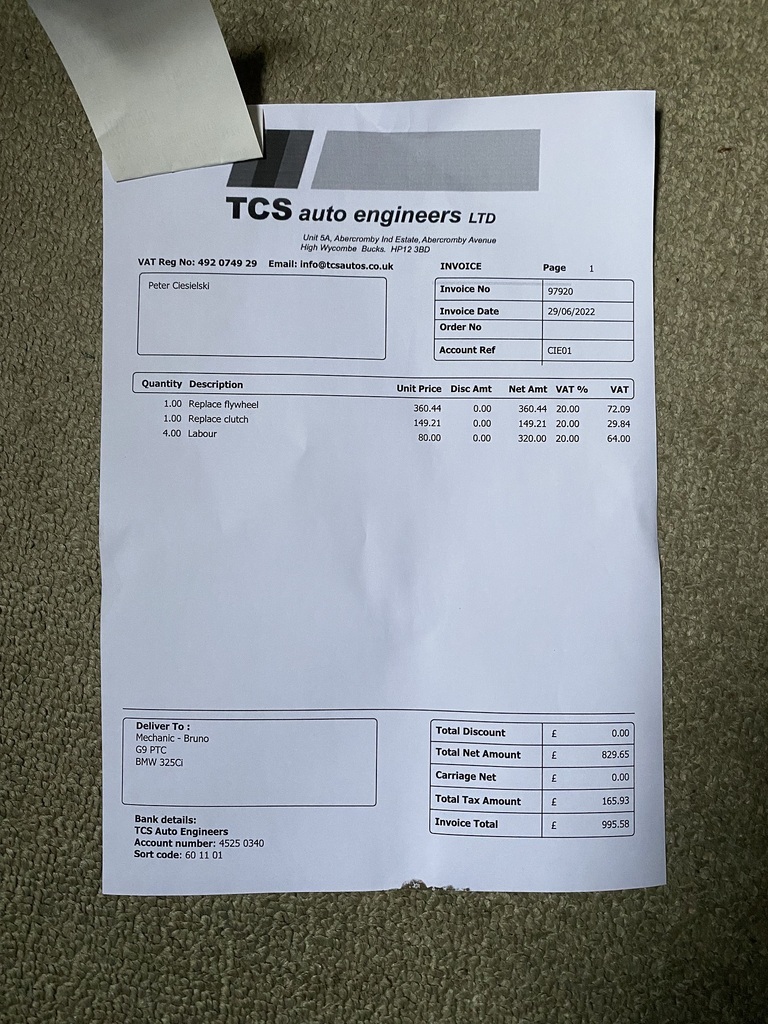 I also had little option as the lightweight one with it was to my mind too dangerous and the stock one a bit on the lardy side. |
| |
|
|
|
|


 I'm thinking Jag engine in to sort mounts and any clearance that needs to be made, sort out the rust and general modifications to the heater intake area, box the bulkhead back in, then engine back out to strip the whole lot back to de-rust and paint it. Simples


