|
|
|
|
|
|
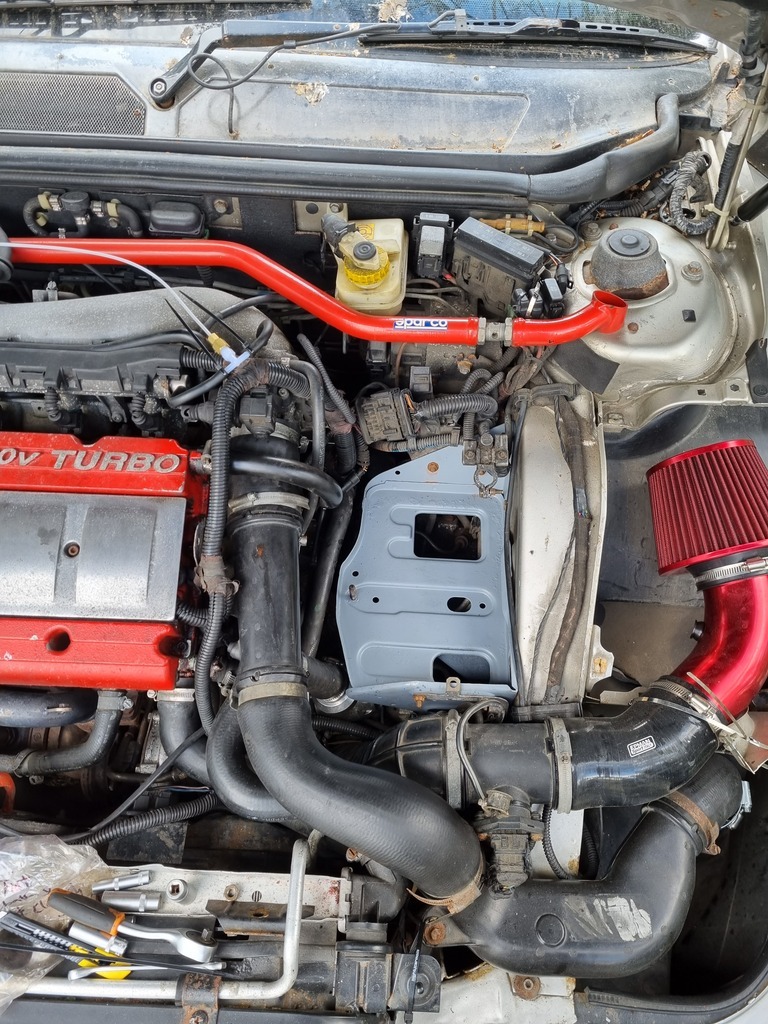
I worked at fiat when these were new. I ended up being the designated mechanic as everyone else hated the compactness under the bonnet. All wanted to drive them once fixed though.
Can’t remember the official book time for a clutch but it was easier to take the engine out than the gearbox. Only marginally easier to work on than the integrales we looked after.
The workshop foreman had a very tasty Sparco limited edition one that really went well. I must admit these fell off my radar and I never owned one myself. Well done and good luck.
|
| |
|
|
|
|
|
|
|
|
|
Taking the engine out seemed to be the default answer to everything  Cam belts could be done with it still in the car |
| |
|
|
|
|
|
Feb 25, 2021 10:22:31 GMT
|
I worked at fiat when these were new. I ended up being the designated mechanic as everyone else hated the compactness under the bonnet. All wanted to drive them once fixed though. Can’t remember the official book time for a clutch but it was easier to take the engine out than the gearbox. Only marginally easier to work on the the integrales we looked after. The workshop foreman had a very tasty Sparco limited edition one that really went well. I must admit these fell off my radar and I never owned one myself. Well done and good luck. Cheers, yeah it's pretty tight in there but getting used to taking a dozen pieces off before every job! |
| |
|
|
|
|
|
Feb 25, 2021 10:26:42 GMT
|
Taking the engine out seemed to be the default answer to everything  Cam belts could be done with it still in the car Haha well I've got those jobs to look forward to! Clutch is fine at the moment bug getting a little high so it'll be a job in the next year I reckon. Gonna attempt the cambelt and water pump etc myself this summer once I've got the triumph out of the garage (reduce the time pressure when I inevitably break something). Watched a video on doing a cambelt and it looks like it'll be a sweary job... |
| |
|
|
|
|
|
Feb 25, 2021 16:34:00 GMT
|
|
I changed mine for the first time just before xmas. I was expecting it to be a pig but I took my time and it was nowhere near as bad as I expected. However I had already changed all the engine mounts so had no surprises when revisiting - if they have never been touched, bank on changing them too.
Make sure you have the ally cam "locks" and preferably a DTC gauge for finding TDC. The cam locks don't actually lock the cams but allow you to check for perfect cam timing, mine had the exhaust out by a few degrees.
The guide on fccuk is a good place to start.
|
| |
|
|
|
|
|
|
|
I changed mine for the first time just before xmas. I was expecting it to be a pig but I took my time and it was nowhere near as bad as I expected. However I had already changed all the engine mounts so had no surprises when revisiting - if they have never been touched, bank on changing them too. Make sure you have the ally cam "locks" and preferably a DTC gauge for finding TDC. The cam locks don't actually lock the cams but allow you to check for perfect cam timing, mine had the exhaust out by a few degrees. The guide on fccuk is a good place to start. Ah great ok, that gives me a bit more confidence. I don't think the engine has been out in a long time (if at all), not checked what condition the mounts are in, will take a look cheers. Yep saw I'll need the locks. Did you sort the timing when you found exhaust was out? Fccuk is good you're right, that guide is detailed. Thanks! |
| |
|
|
|
|
|
|
|
|
Got the boost gauge plumbed in and working as it should. I see 1 bar of boost in 1st/2nd gear (14.5psi), increases to 1.2 bar in 3/4/5 (17.4psi). As standard it was 1 bar, with 1/2nd gears being limited (not sure by how much though).
The gtec chip I have (but not installed) increases it to 1.2 bar across all gears (removing the 1/2nd gear limit).
The FC Performance chip I have (but have no history on) seems to allow 1/2nd to still be limited but at a higher level than standard, then bumps it up to 1.2 bar from 3rd onwards.
In 1st and 2nd frankly I don't need more boost, plus seems probably a bit safer to limit in those low gears, so I think I'll leave the current chip in (plus I think it was a proper rolling road map done at FC, so will be better than a generic gtec. Could be wrong though!!).
Not had a car with a boost gauge since about 2005 (Fiesta RS Turbo s**tbox), forgot how fun/distracting it is to have a gauge to look at constantly.
HKS blow off valve is hooligan-loud, the whistle type rather than the hissing style. I really love it, the village I live in less so...
|
| |
|
|
|
|
|
|
|
Mar 17, 2021 16:53:32 GMT
|
Fixing the dash centre console has been on the list since I got the car, trying to bodge in buttons with glue and it just isn't working as I'd want. Always hunting ebay, and found a good looking centre section in the same finish as mine, and miraculously it has not a single broken screw hole at the back! Bought it immediately and have now swapped everything over. Interior starting to look like a better place to be. Before: 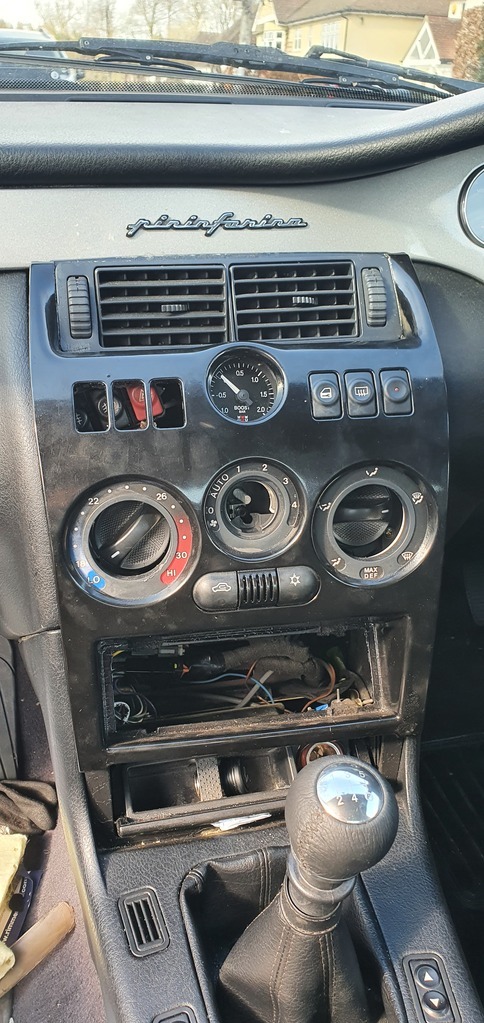 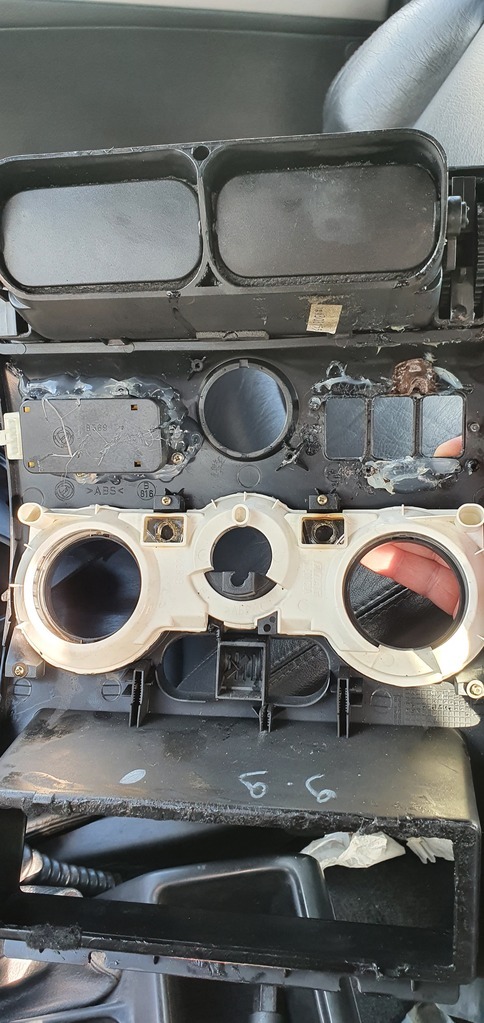 Replacement: 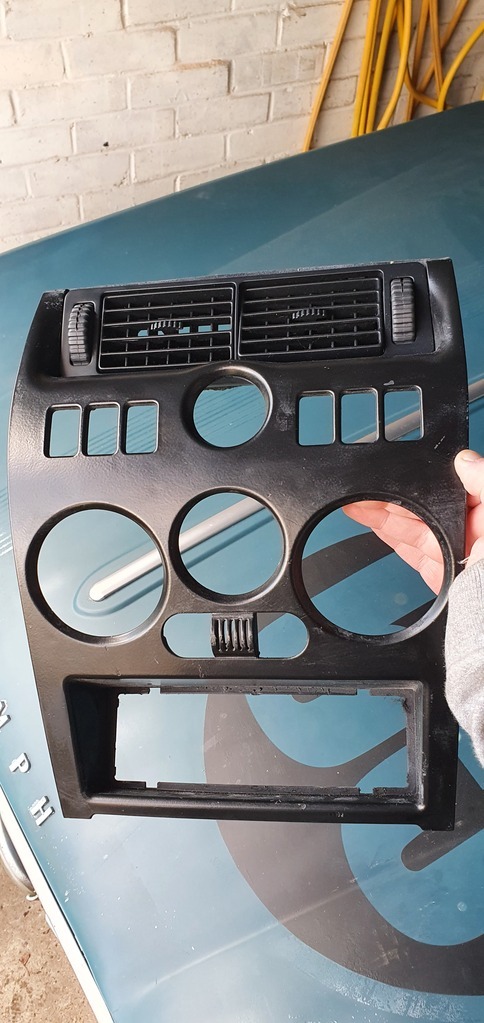 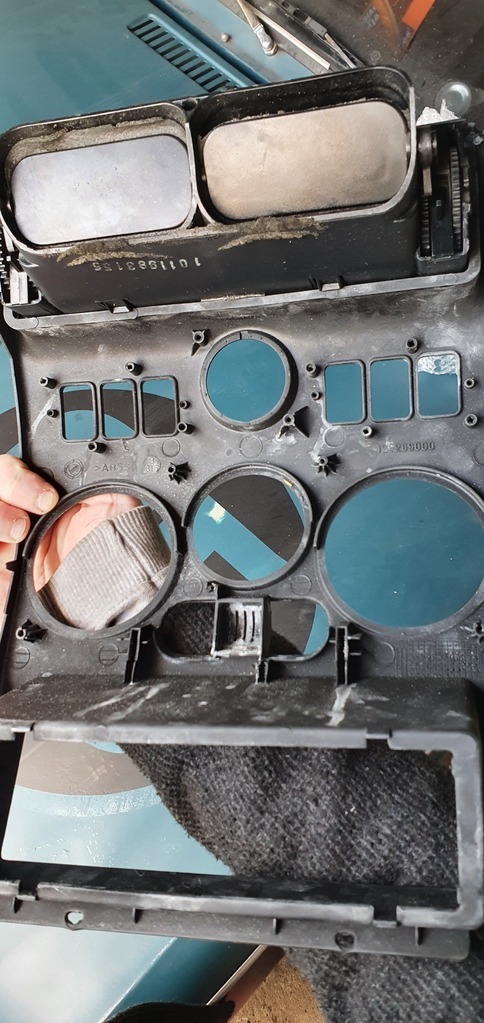 Fitted! 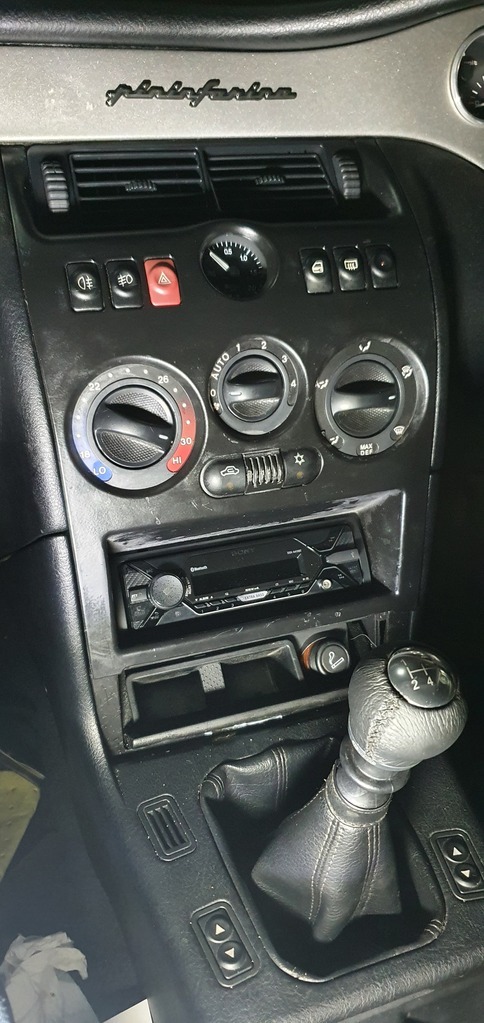 |
| |
|
|
|
|
|
Mar 17, 2021 19:55:21 GMT
|
|
Good find. Those plastic up-stands for the screw fixings are hopeless once they break. I managed to build mine up with epoxy mastic but it was touch and go. Also there are tales of ham fisted MOT men pushing in the buttons too far and breaking the fixings...not me guv!
|
| |
|
|
|
|
75swb
Beta Tester
Posts: 1,052
Club RR Member Number: 181
|
|
Mar 17, 2021 23:43:12 GMT
|
|
Love a good ebay win!
|
| |
|
|
|
|
|
|
|
Good find. Those plastic up-stands for the screw fixings are hopeless once they break. I managed to build mine up with epoxy mastic but it was touch and go. Also there are tales of ham fisted MOT men pushing in the buttons too far and breaking the fixings...not me guv! Haha that's exactly what happened to me, spent ages melting in plastic and glue, got it all attached and looking good. Then promptly pushed the hazard light button as a test and all 3 buttons disappeared. Hopefully resolved now... |
| |
|
|
|
|
|
Mar 18, 2021 11:16:47 GMT
|
|
i ended up making a steel bracket behind that panel to hold the hazards switches etc as it was such a rubbish design
|
| |
|
|
|
|
|
Mar 20, 2021 22:09:55 GMT
|
i ended up making a steel bracket behind that panel to hold the hazards switches etc as it was such a rubbish design See that's the way a true engineer does it! |
| |
|
|
|
|
|
Mar 20, 2021 22:22:19 GMT
|
The exhaust has always been a little blowey and it was starting to irritate me so popped to the exhaust shop locally for them to see if they could bash it till it fit properly again. Could see a couple of the hangers looking rough too. I hate doing exhausts at home... They were legends (Merityre, Little Chalfont) and ended up spending a couple of hours pulling the whole system off, cleaning it up and fitting it properly (it hadn't been fitted properly originally it seems). They did confirm it is a powerflow stainless exhaust mid and back section, and an aftermarket cat. Good to know the exhaust is decent at least. 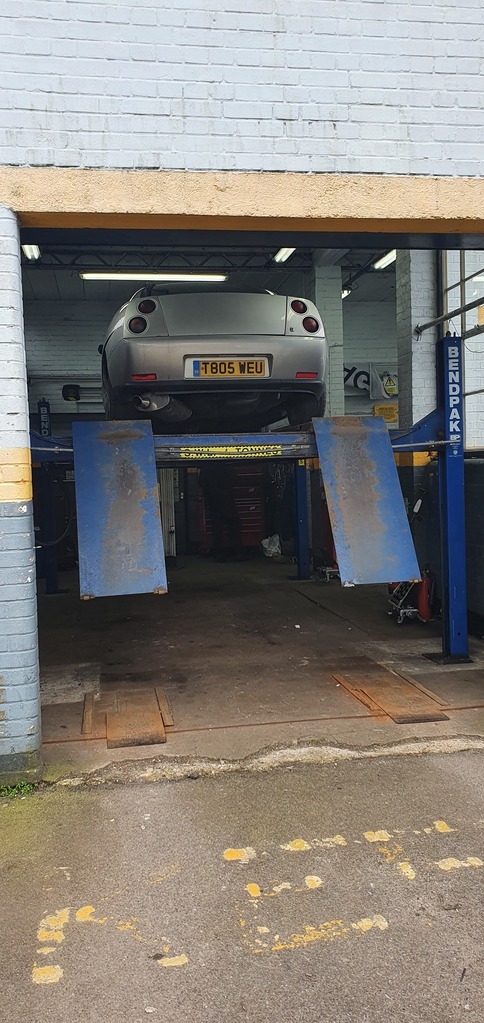 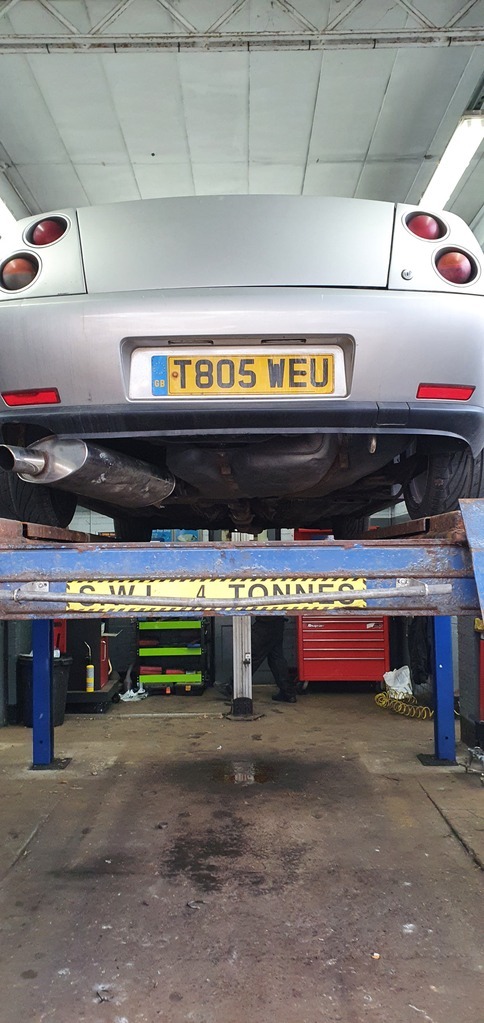 Had a nose around and took some photos of the underneath too, first time I've seen it on a ramp. Generally doesn't look bad at all, floor is solid and recently done. A few areas need some attention but is surface rust. Good ol wire wheel and fresh paint should sort it. 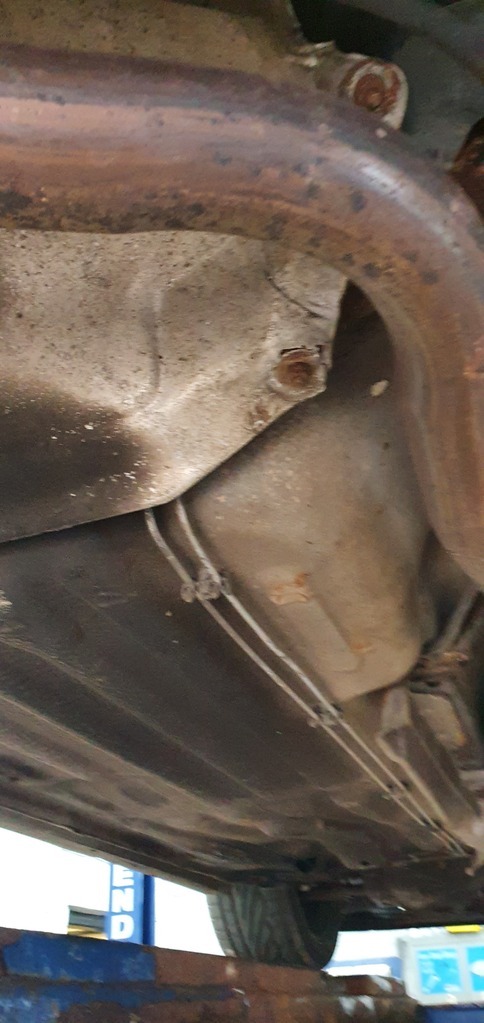 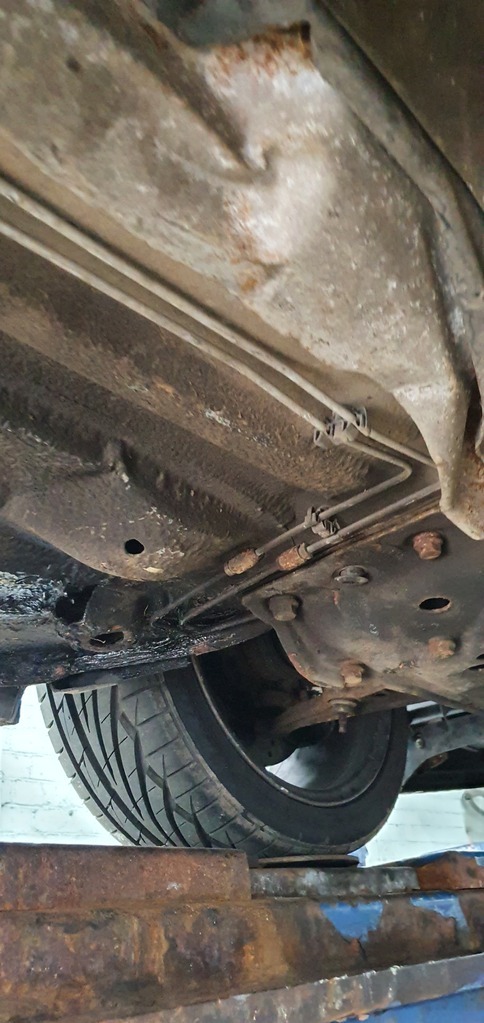 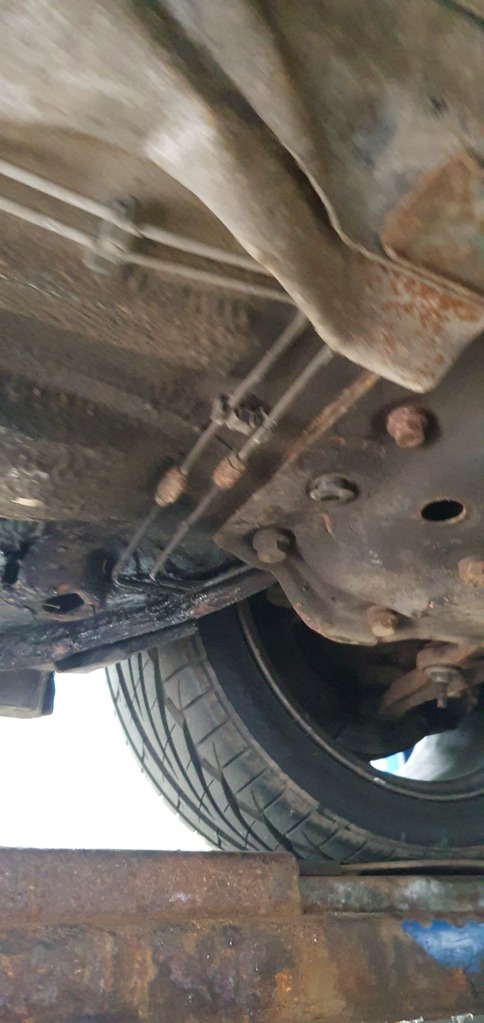 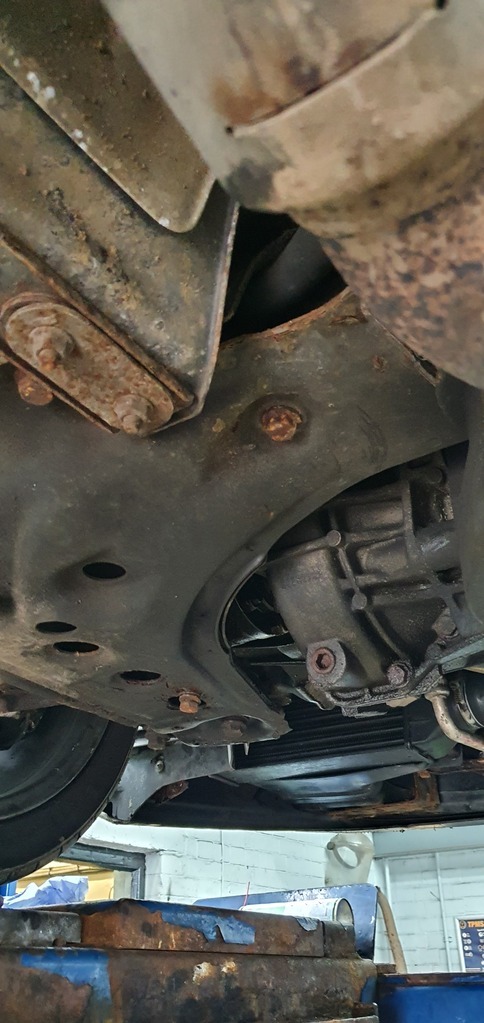 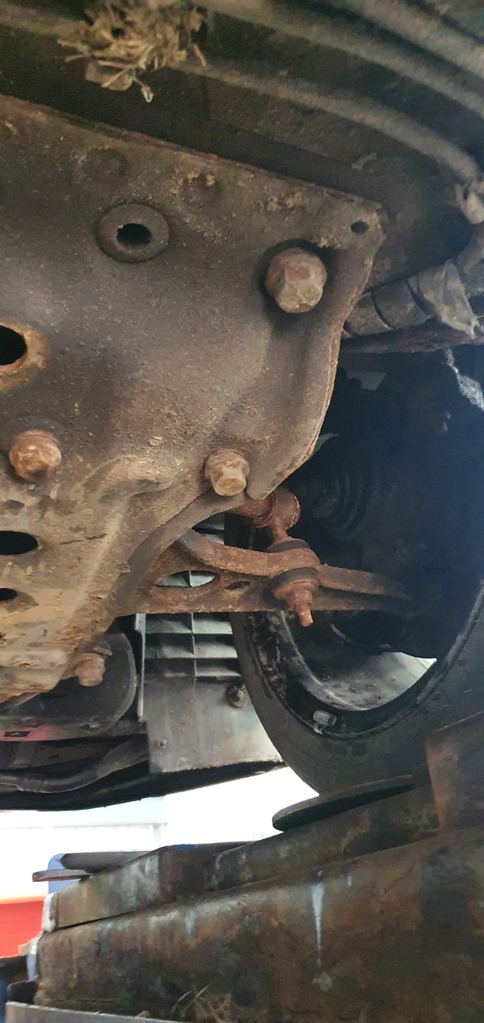 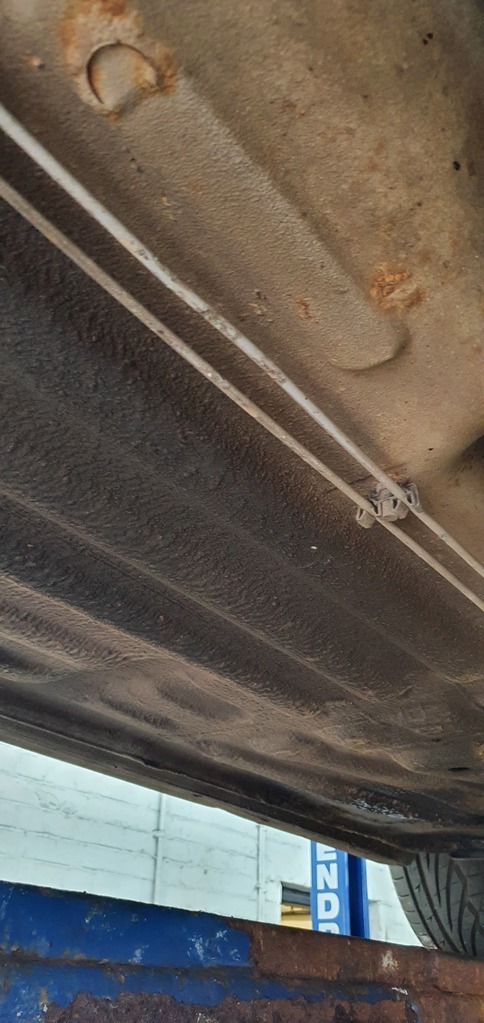 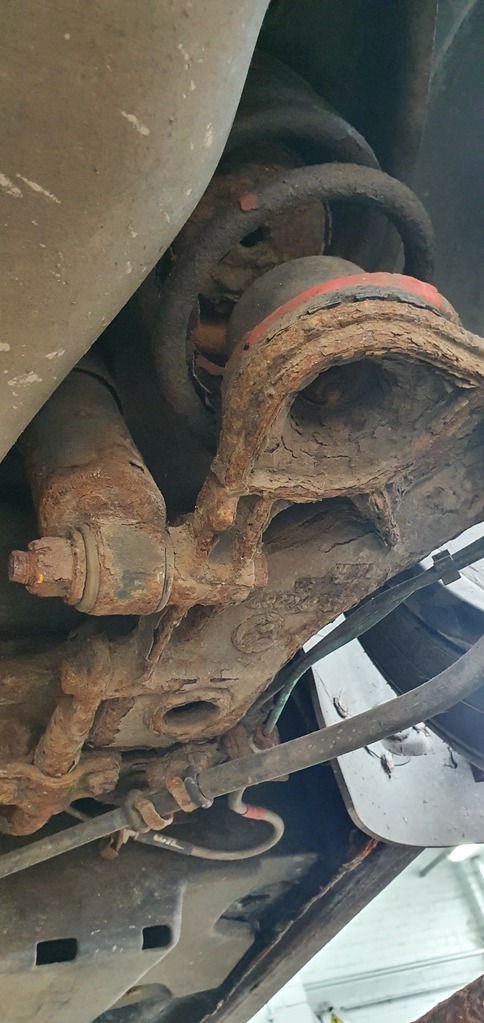 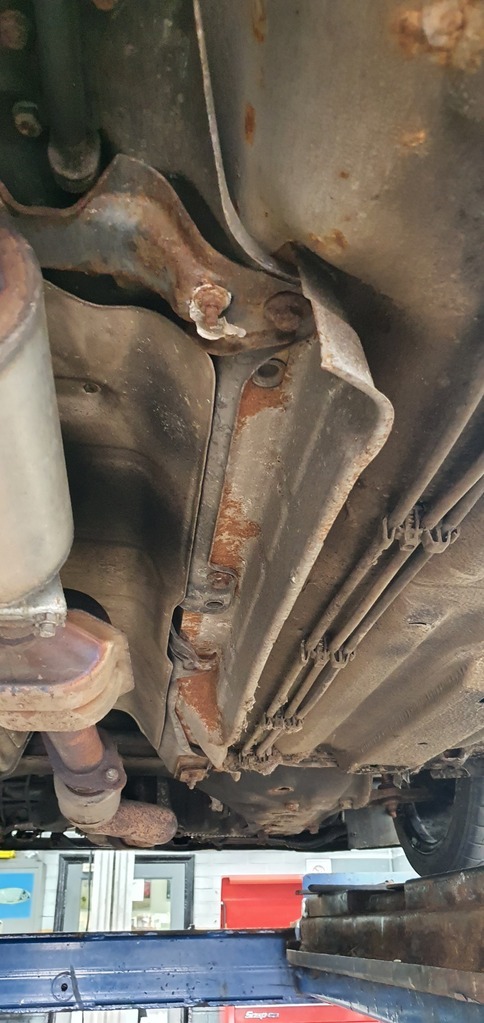 The only bit that needs more investigating is the rear spring tray holder thing (technical name escapes me) which looks crusty. Anyway, exhaust sounds quiet and refined, no blowing. Plus it isn't dragging 3 inches off the floor anymore so speed bumps are a thing of pleasure. However now the clutch is slipping properly, probably another one for a garage tbh as is a pig of a job apparently. |
| |
|
|
|
|
|
Mar 21, 2021 10:45:37 GMT
|
|
Those crusty rear swing arms are hollow cast iron. If you disconnect the shock and arb you can drop the arms, remove the springs and then clean everything up. I used a needle scaler attachment on a cheap pneumatic chisel - you can get into all the tight spaces easier than a wire brush/wheel. However you do it, be REALLY careful of the abs sensors, new ones are rarer than hens teeth...
It is highly likely you will need to change the rear swing arm bearings too in the near future. I need to change the same and have it earmarked as a job to do next winter along with rear sub frame bushes.
|
| |
|
|
|
|
|
|
|
Those crusty rear swing arms are hollow cast iron. If you disconnect the shock and arb you can drop the arms, remove the springs and then clean everything up. I used a needle scaler attachment on a cheap pneumatic chisel - you can get into all the tight spaces easier than a wire brush/wheel. However you do it, be REALLY careful of the abs sensors, new ones are rarer than hens teeth... It is highly likely you will need to change the rear swing arm bearings too in the near future. I need to change the same and have it earmarked as a job to do next winter along with rear sub frame bushes. Cheers good tip on the abs, gonna give it a go in the next few weeks. |
| |
|
|
|
|
|
|
|
Hopped in to go for a trip to the supermarket and the clutch pedal went straight to the floor. The clutch had started slipping on big boost occasionally but shouldn't have just gone like that overnight. Fiat forums suggested clutch slave cylinder so I got the battery tray out to reveal a crusty looking slave. 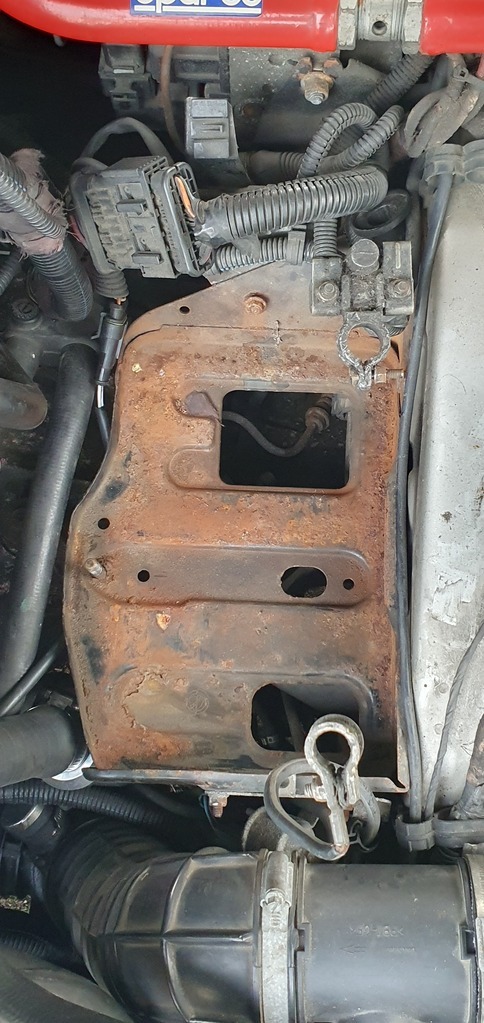 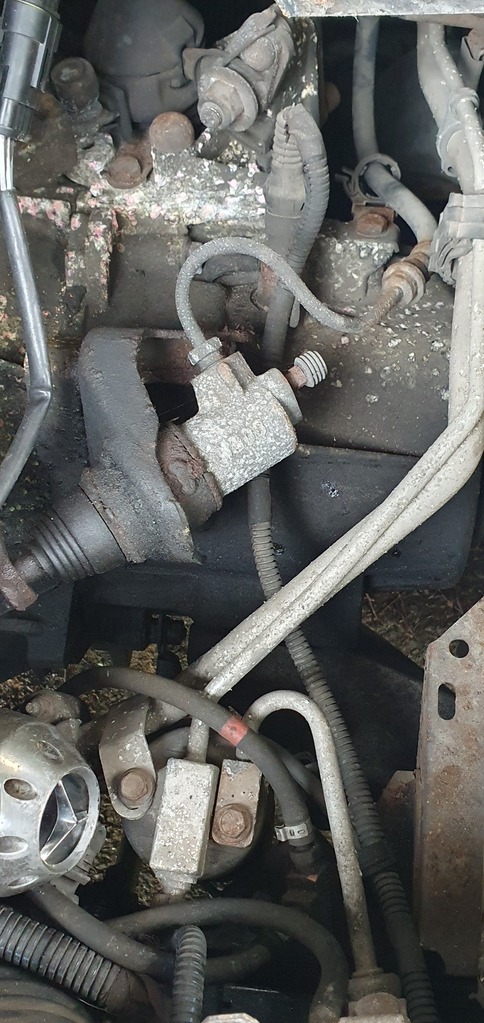 Took the dust cover off and it's a right old mess. 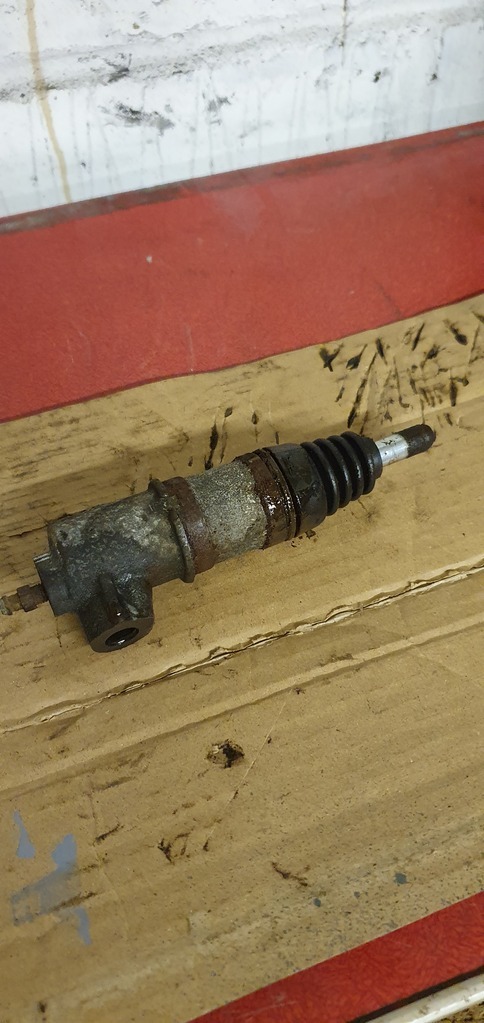 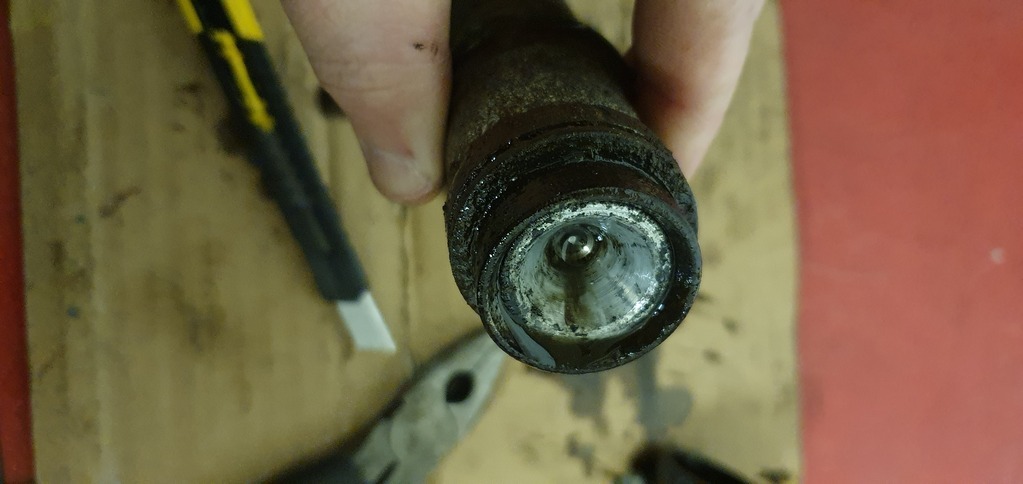 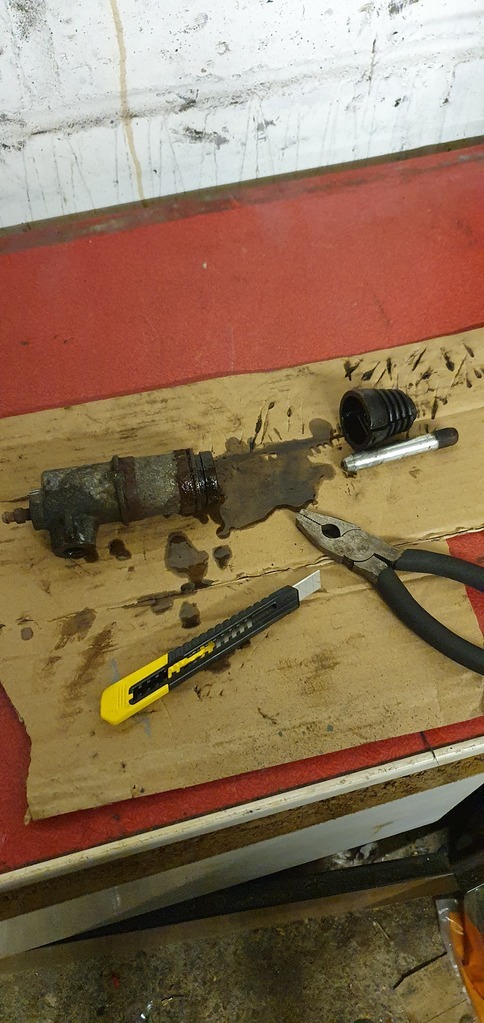 Got a replacement on order, £30 so not bad really. Was bored so thought I'd tidy up the tray too, gave it a wire brushing then rust converter then a few coats of primer. Not got any black paint so might give it an offensive colour, we shall see. 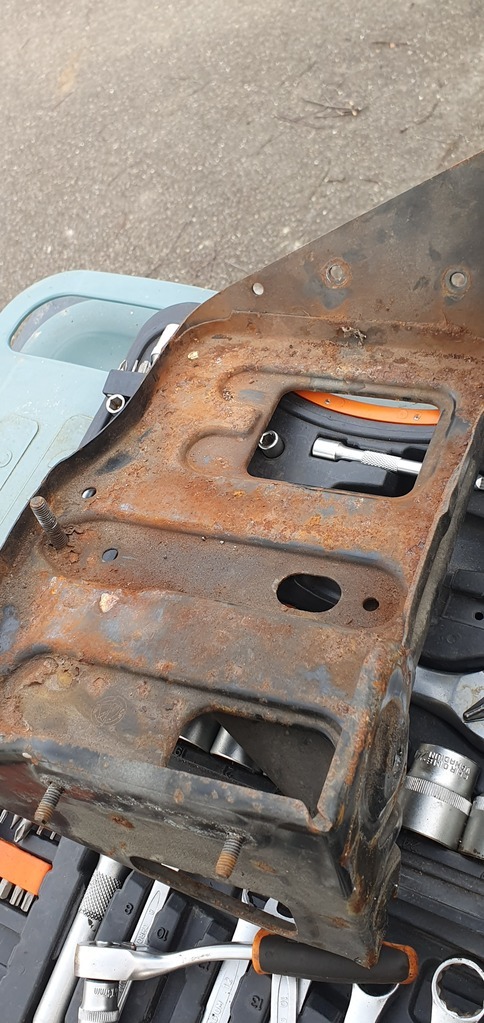 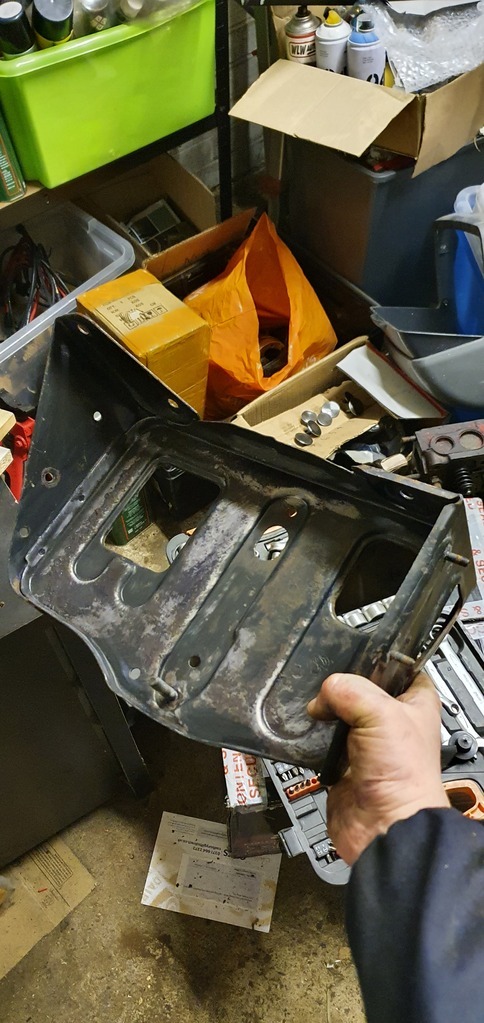 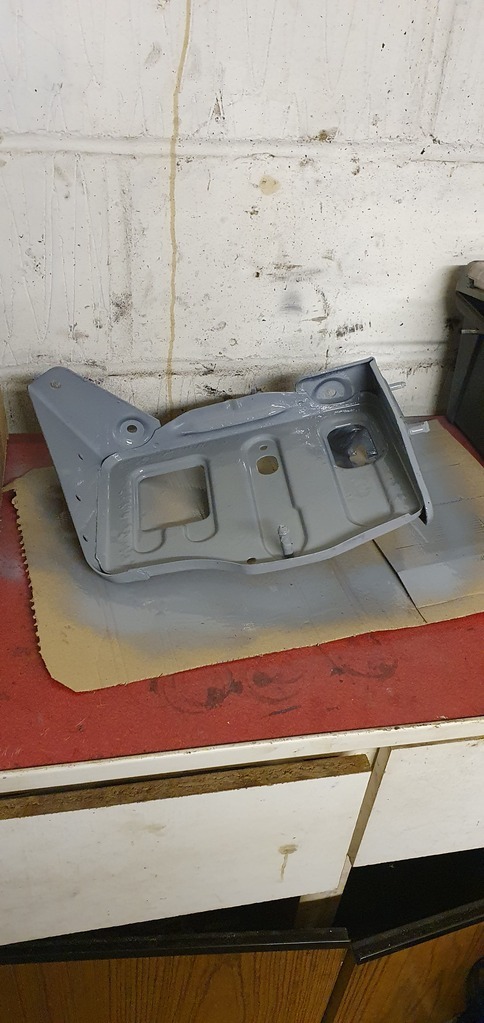 It continues to be a fun car to work on, think it helps that is has done 150k miles as a lot of parts have been replaced already or previously removed, not had issues with stuck bolts etc. |
| |
|
|
|
|
|
|
|
Also started work on replacing the rear driver's side caliper which has started to stick. Have a pair of good 2nd hand replacements with braided hoses so cracked on. First got the caliper off following this excellent guide from fiat forum www.fiatcoupeclub.org/forum/ubbthreads.php/topics/881822/rear-calliper-replacement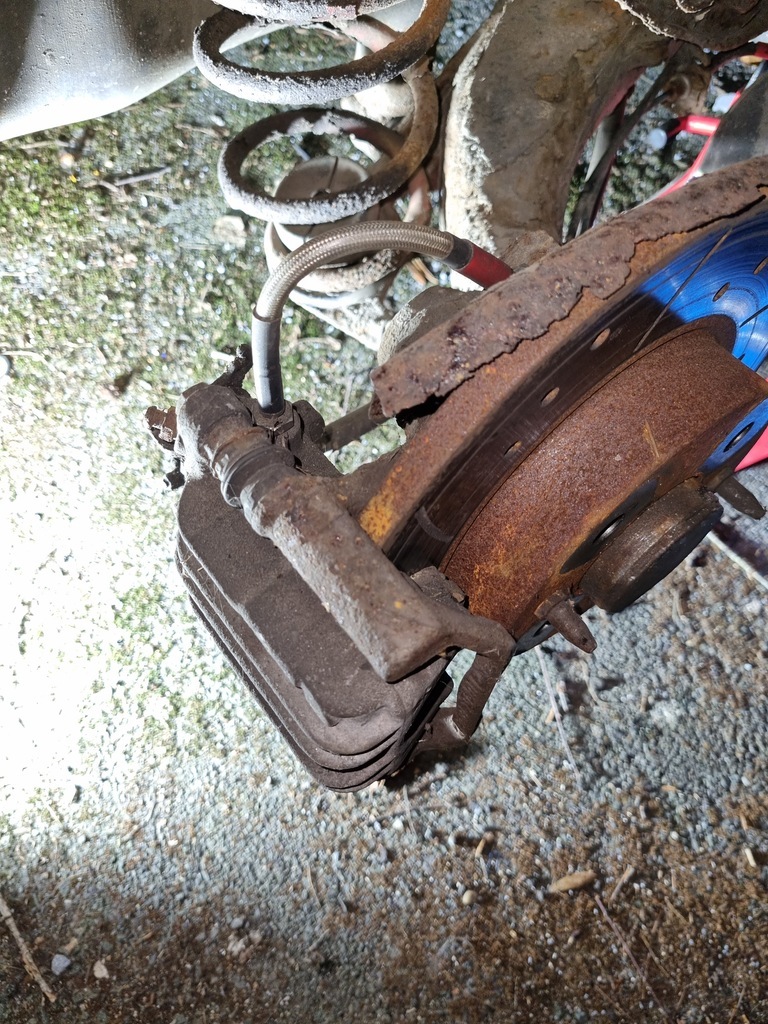 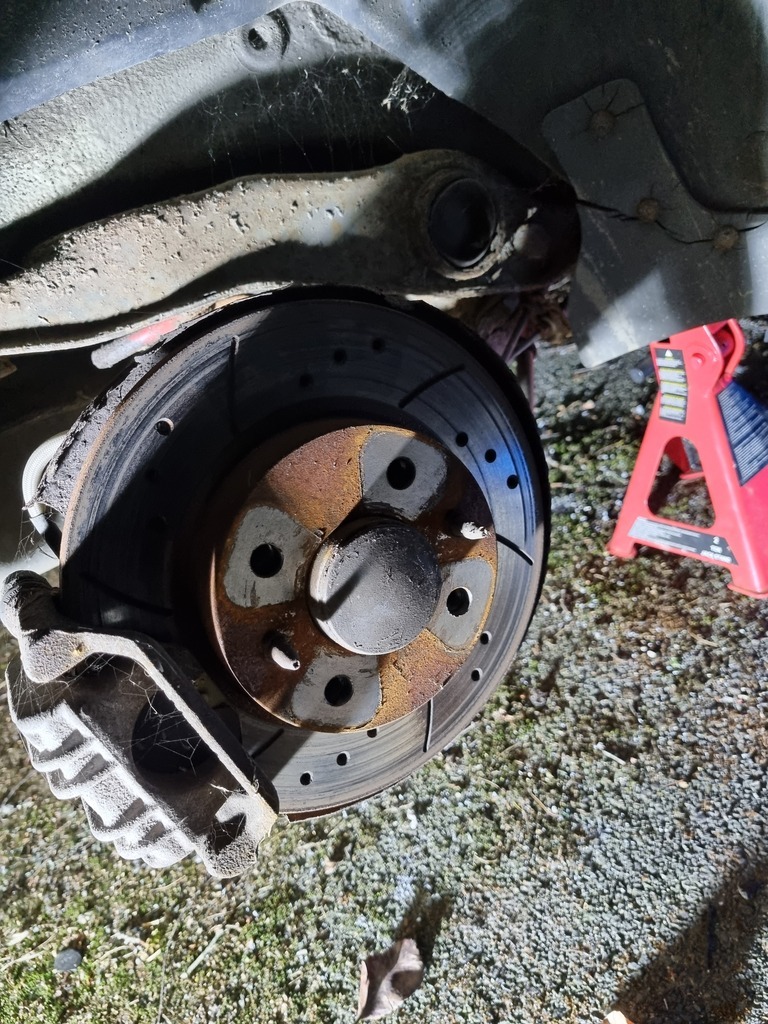 Got a pack of refurb bits just for new dust shields, not expensive but don't want water getting into the handbrake cable (freezing is a common problem). Wound back the piston on the replacement with my fun wind back tool off ebay (bargain at like £13) which I've not had reason to use until now. 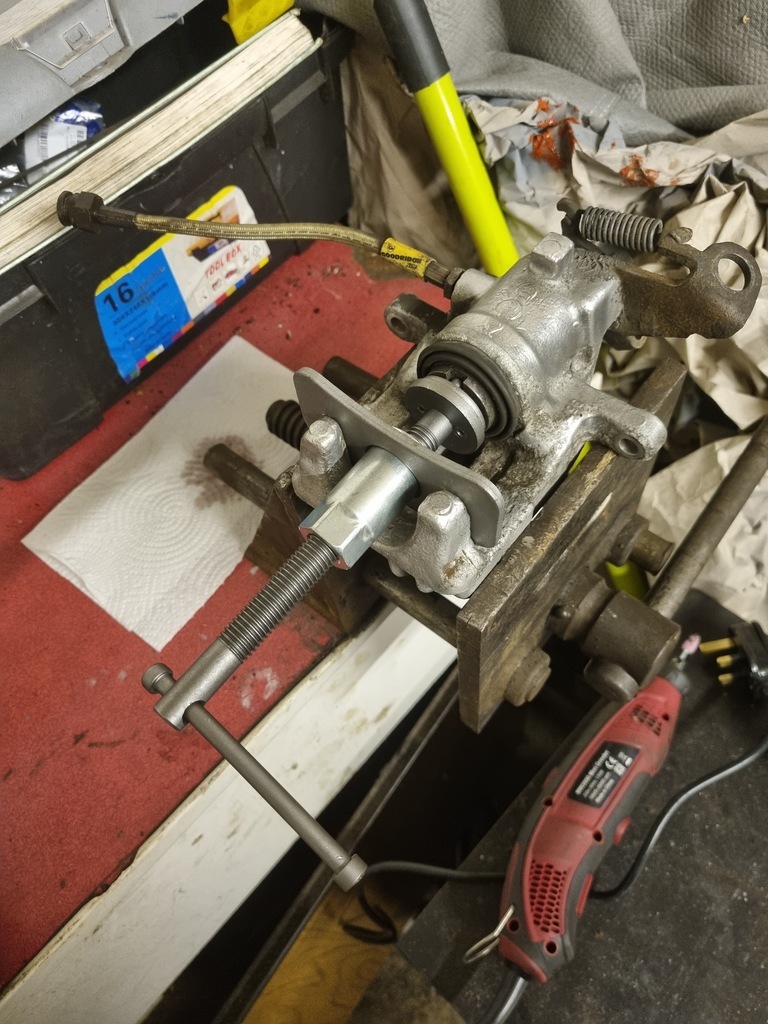 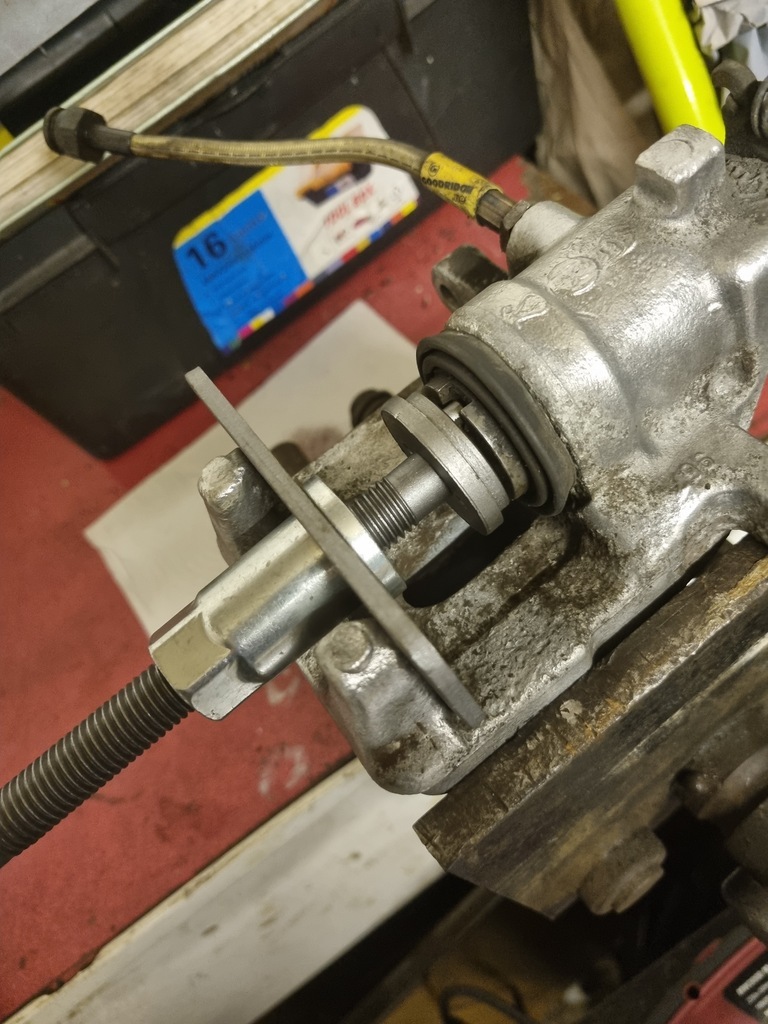 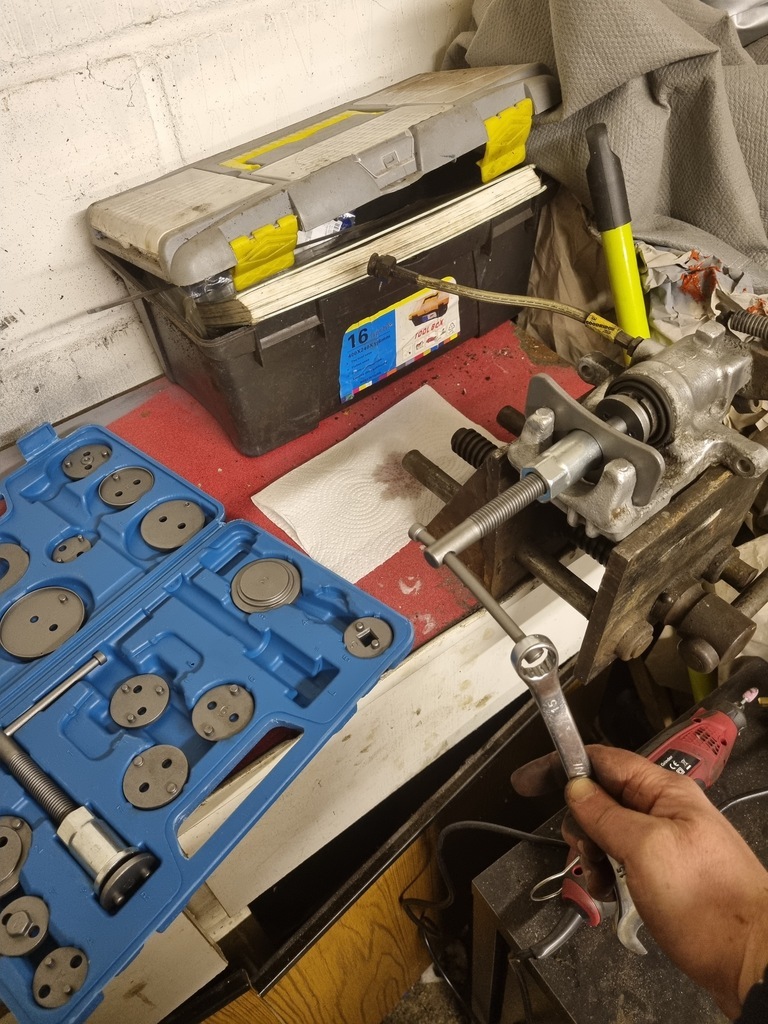 Filled up the caliper with brake fluid via the nipple. Was on way too tight so am glad I checked this. 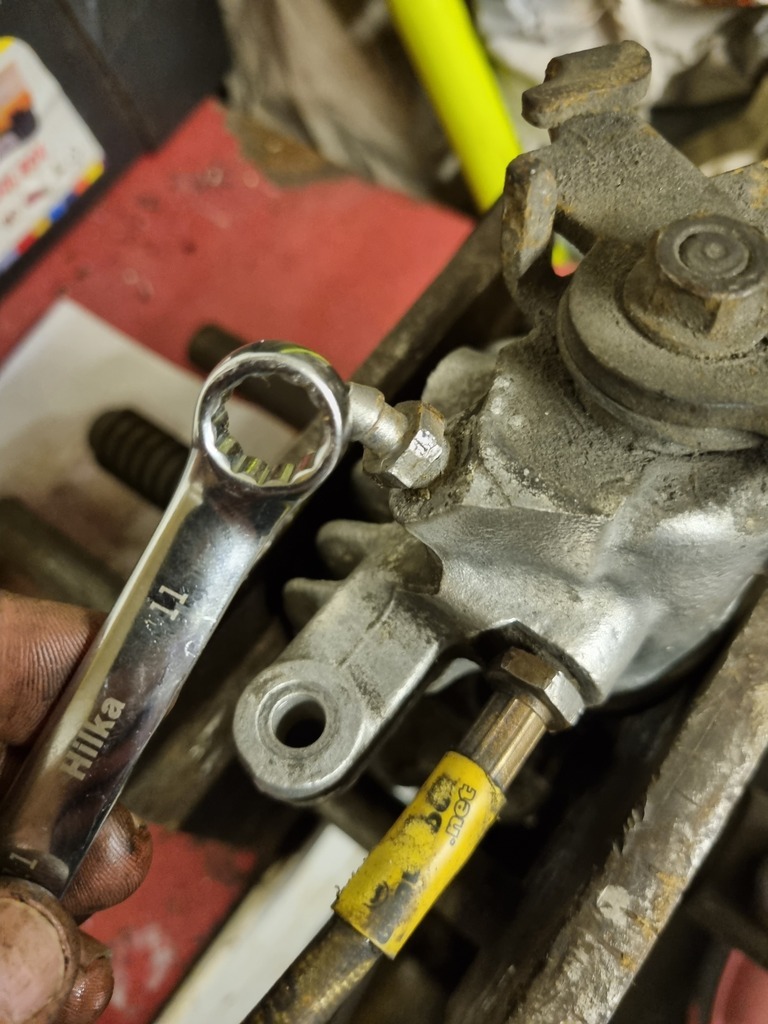 The rear pads are ebc yellow stuff and look to be in reasonable shape and plenty of life left so I'll reuse them. 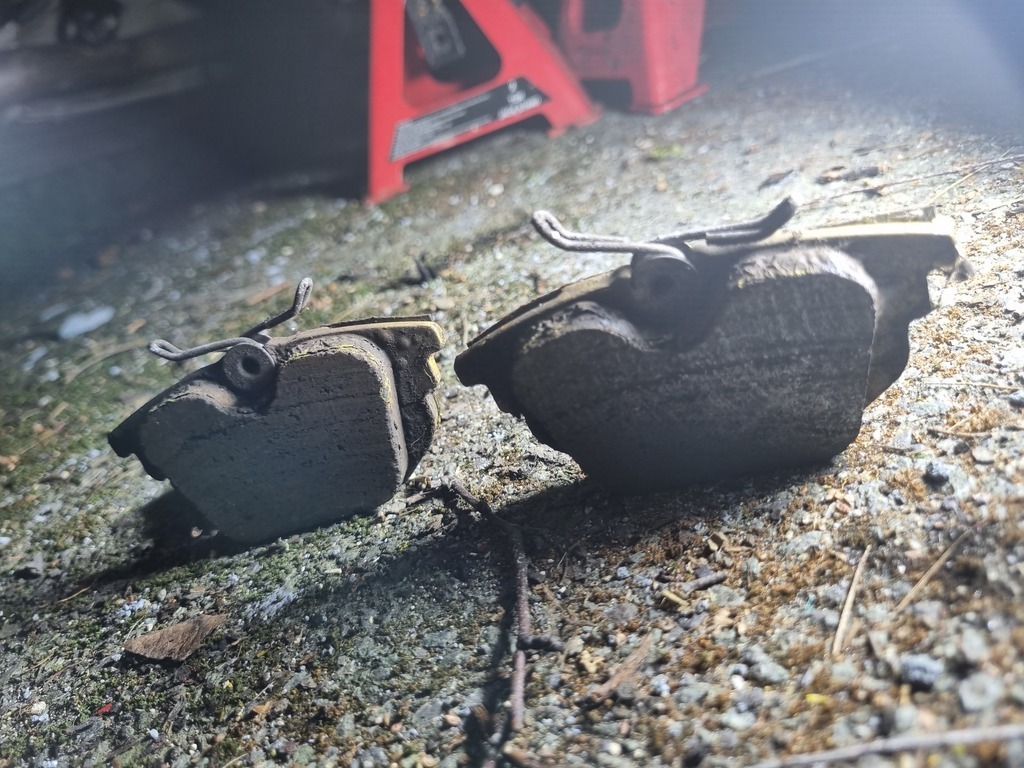 And the caliper back on! All went well. Not got the handbrake cable reconnected yet, that'll need me slackening off the handbrake and I ran out of time. Plus it was raining and I was sick of lying on the floor in the dirt with a wet neck. 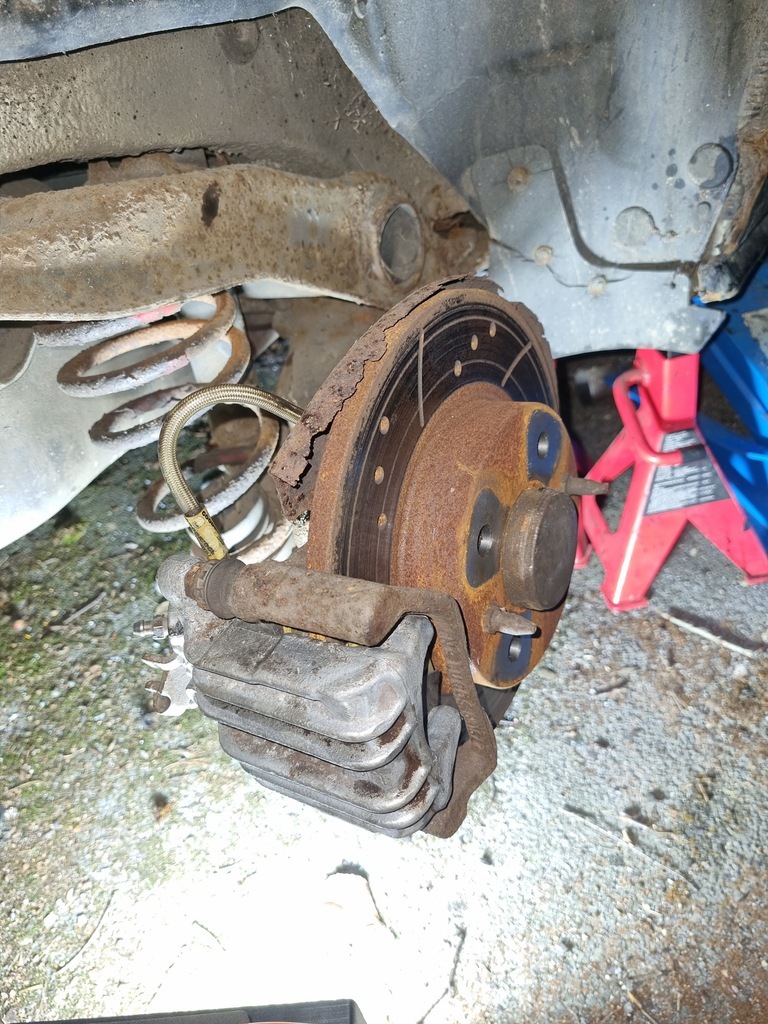 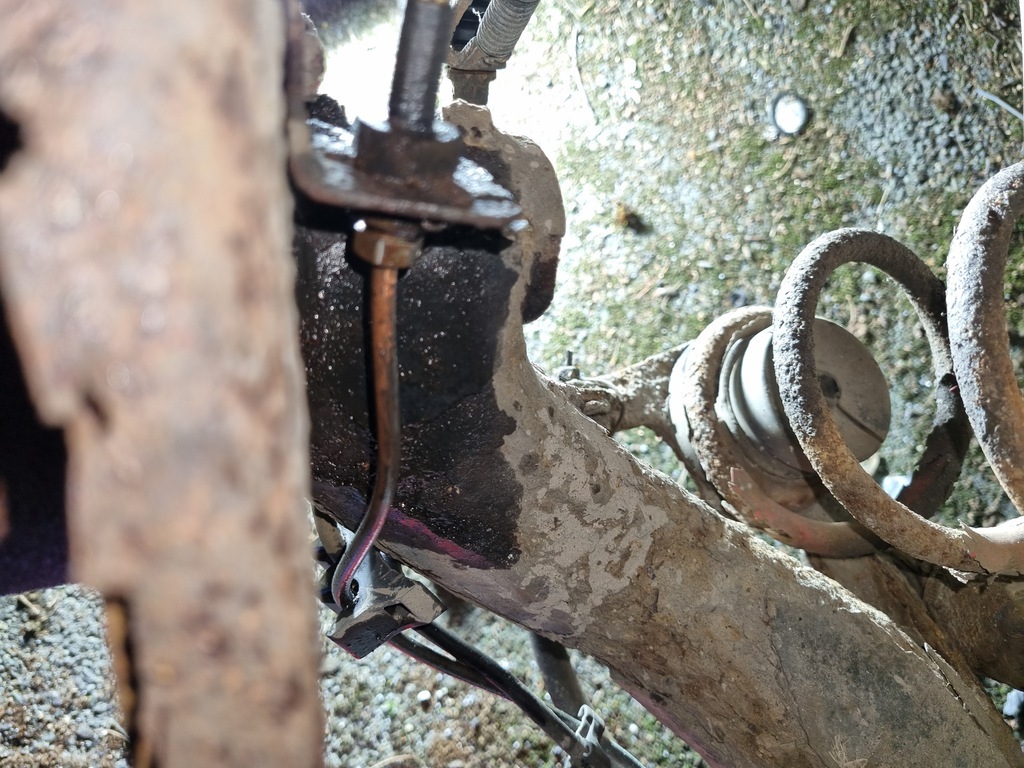 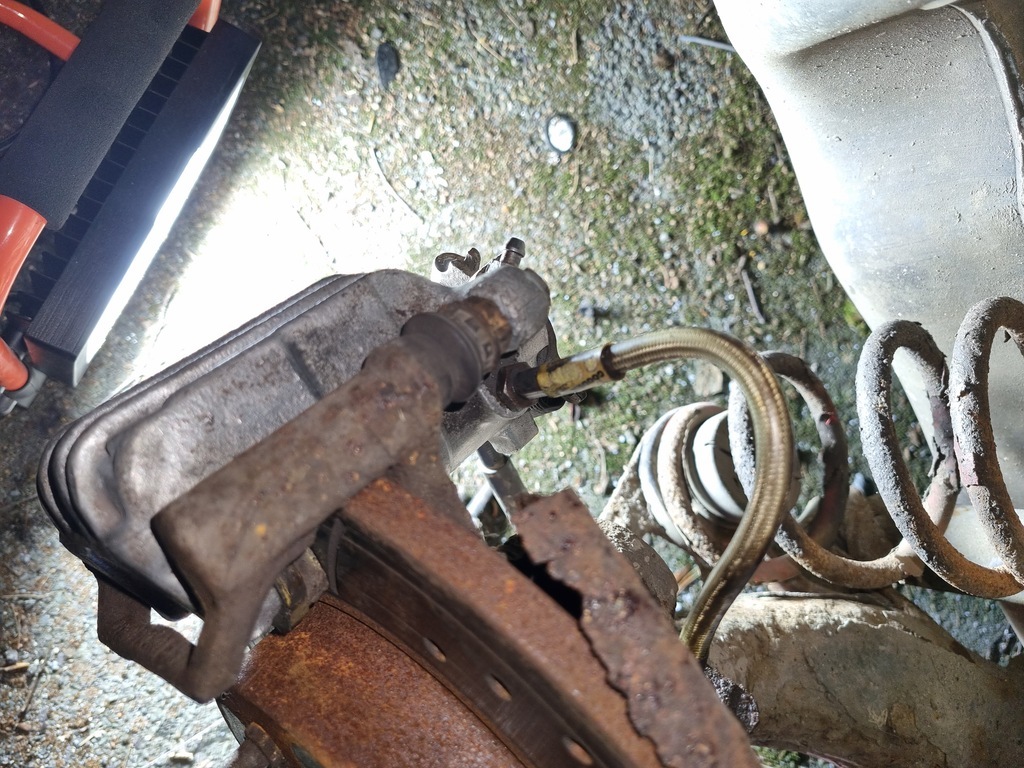 Once the brakes are finished it's just bleeding the clutch and brakes, get her off for a new clutch and the old girl is ready for some choo choo noises! |
| |
|
|
|
|
|
|
|
The coupe lives! Got the slave clutch cylinder back on, simply slots in and put the O ring on to secure, luckily I hadn't mangled the original as thd replacement cylinder didn't come with a new one. Put the primered battery tray back in too, looks tidier than before and will stop that rusting out. 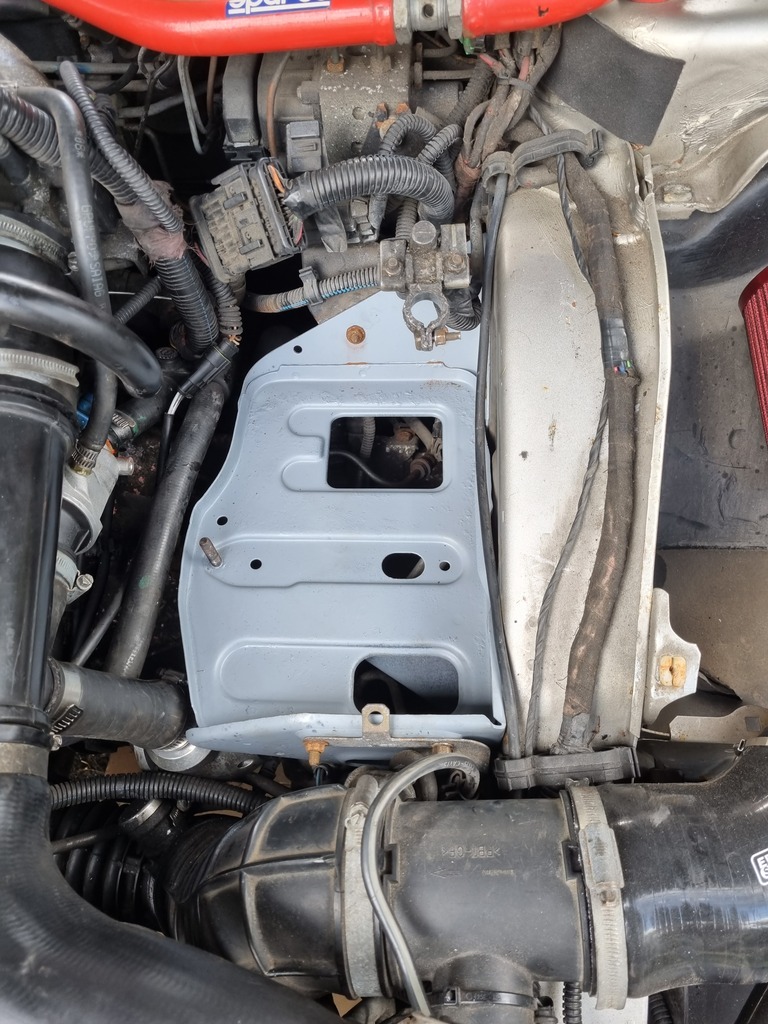
Then to the rear caliper, first putting the car back on the ground with the wheel on as there is a brake bias valve as standard in the rear of the car which adjusts front and rear balance based on weight on rear wheels. Started to bleed the brakes on my own with my highly technical setup (bottle, hose, cable tie, jack). 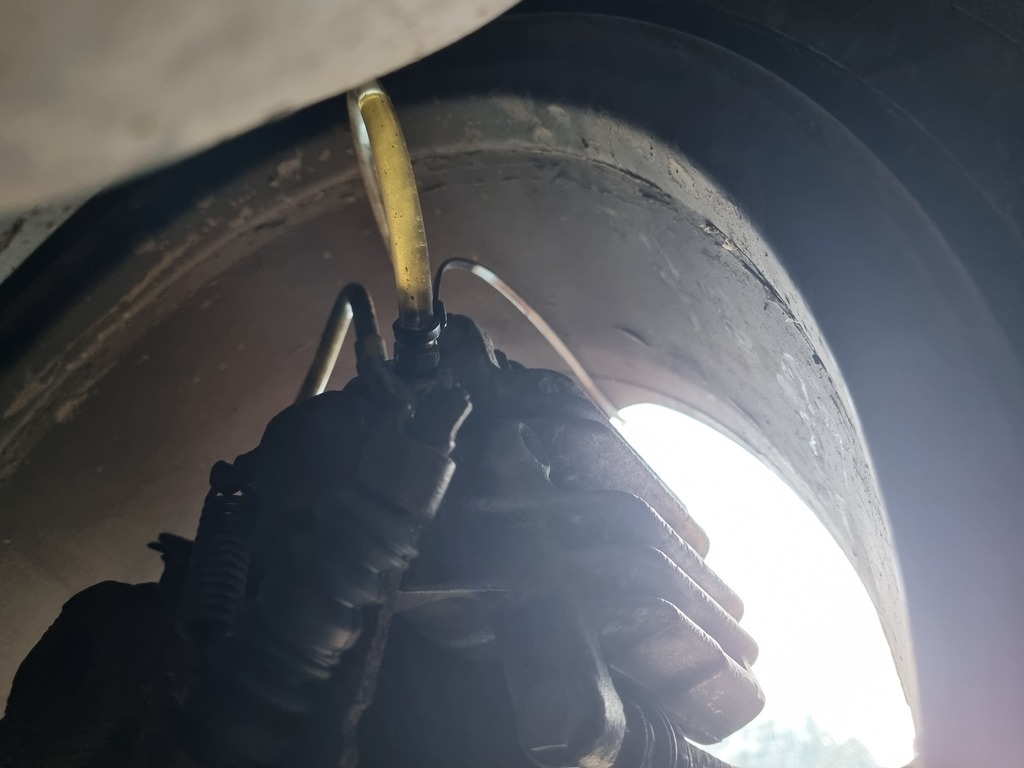 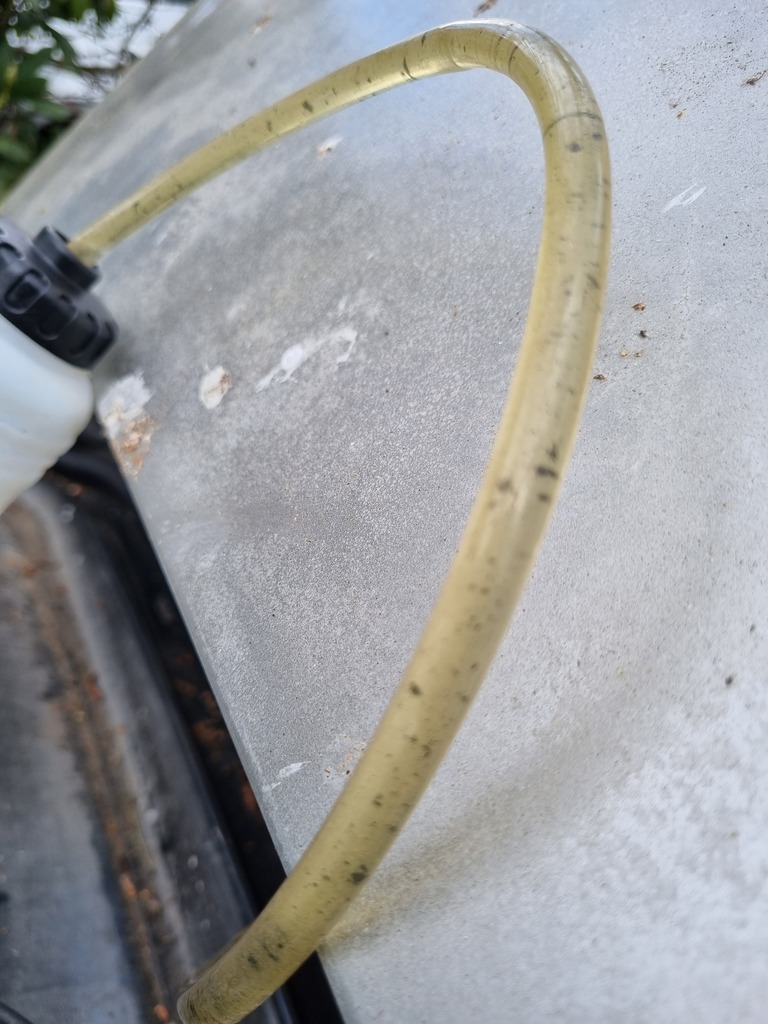 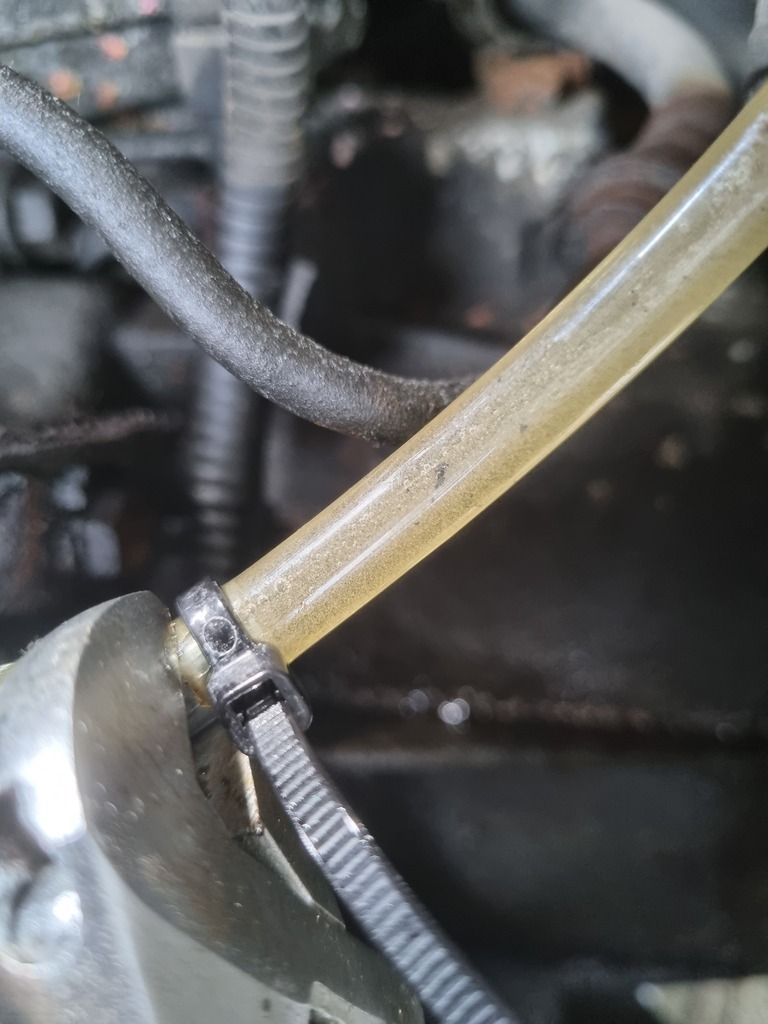 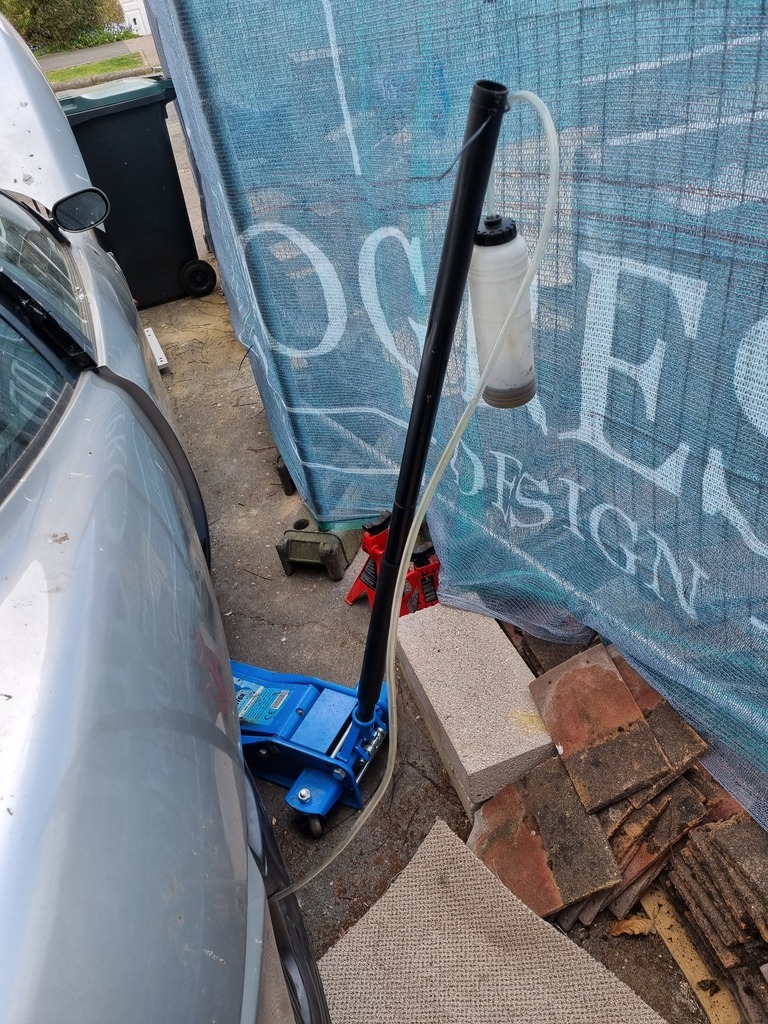 Look at the crud in the fluid, that hasn't been changed in a long long time. Thought it best to replace all the fluid so I did. Clutch and brakes use the same hydraulic setup so it'll affect the clutch feel too. First bled the clutch slave, then the rear brakes. Now they both feel brilliant, both nice and firm. Took her for a spin and didn't die so I'm pleased. This was all a week ago, we've now since had our 3rd baby which was stressful with emergency c section but mum and daughter doing well! |
| |
|
|
|
|


