Paul
Posted a lot
  
Posts: 1,973
|
|
May 16, 2021 18:50:16 GMT
|
Received my first dose of THE VACCINE on Friday (keep getting missed calls from B Gates...any ideas?) so fully equipped with built-in 5G and the ability to see through walls I set about getting on with some jobs on the Jeep this weekend. Actually 'set about' is a bit strong. I was surprised but it really knocked me for six - textbook symptoms (tiredness, nausea, hot & cold flushes) all weekend made progress particularly slow. SWMBO has all this to look forward to - she's booked in for next week. Or not, as the case may be...the men in my (blood) family all suffered after a dose, the women were absolutely fine. I really like the split opening of the rear hatch - either the whole thing lifts up, or just the glass. Unfortunately these struts were utterly dead. Old and busted (out of shot...the glass resting on my skull as I undo the solitary T30 torx bolt 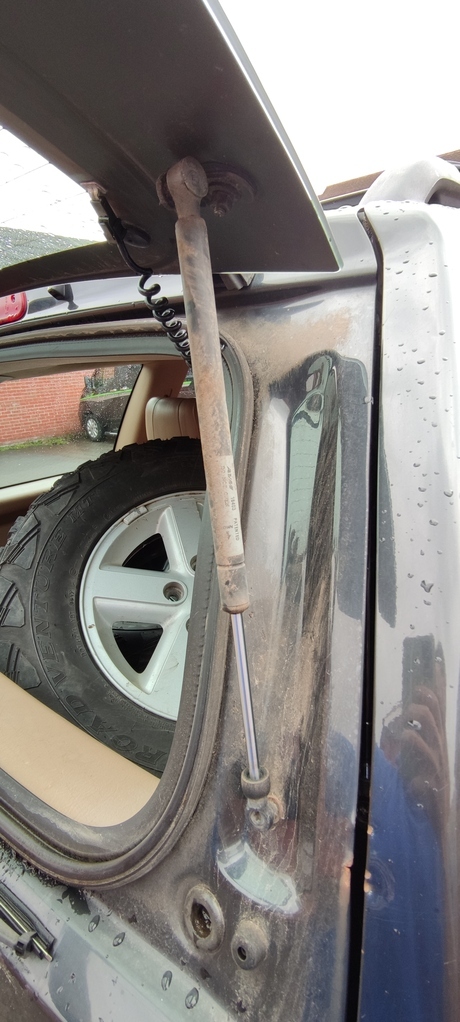 New hotness without skull support 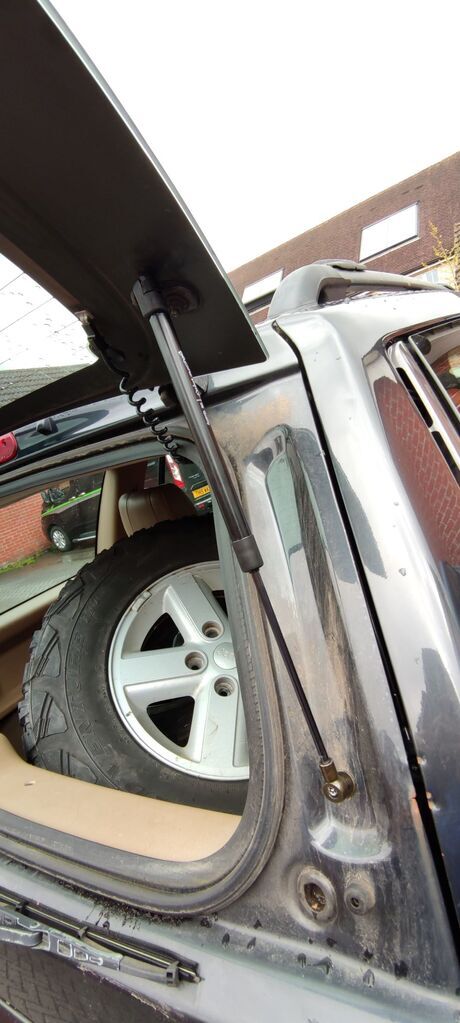 Can't believe the P.O. did this to stop the wing mirror wobbling. 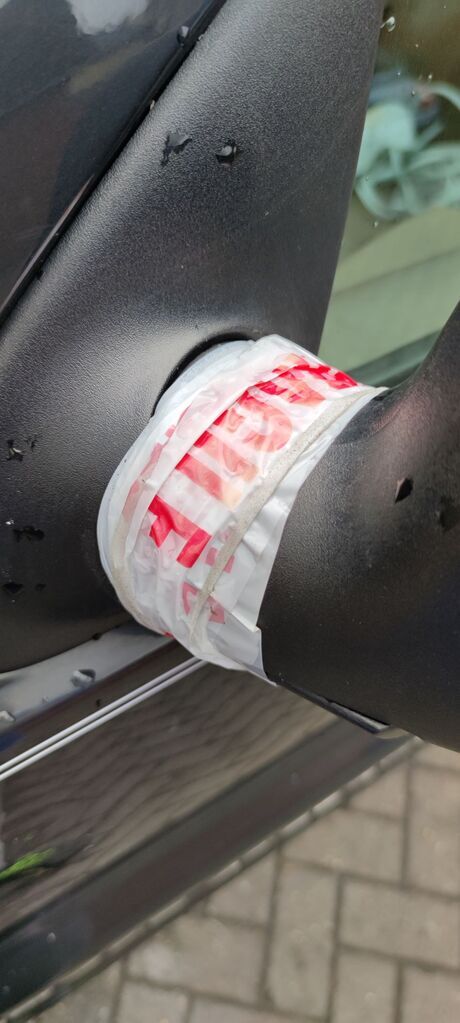 That's more like it - colour-coding was an optional extra at the factory. 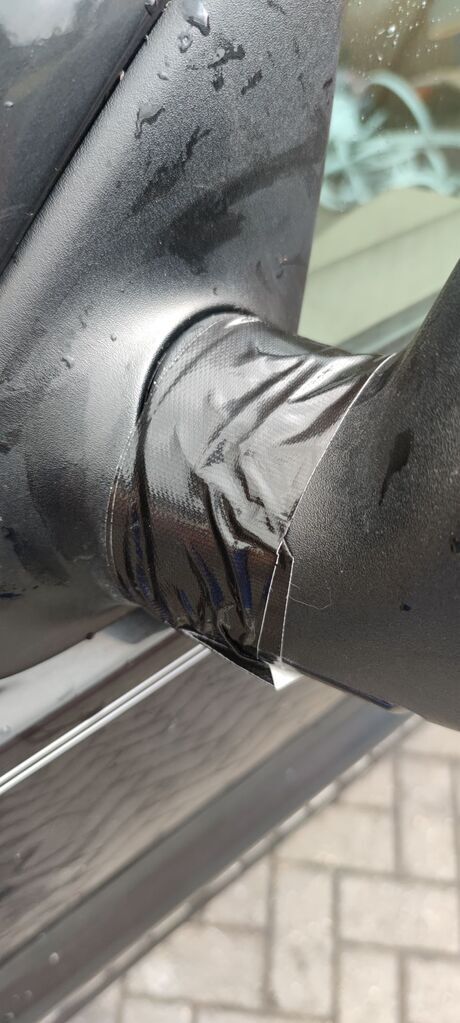 Now last week I managed to swap out (and amp up) one front door speaker before time got the better of me. So off with the passenger door card (3 screws...2 pozidrive, one T25) 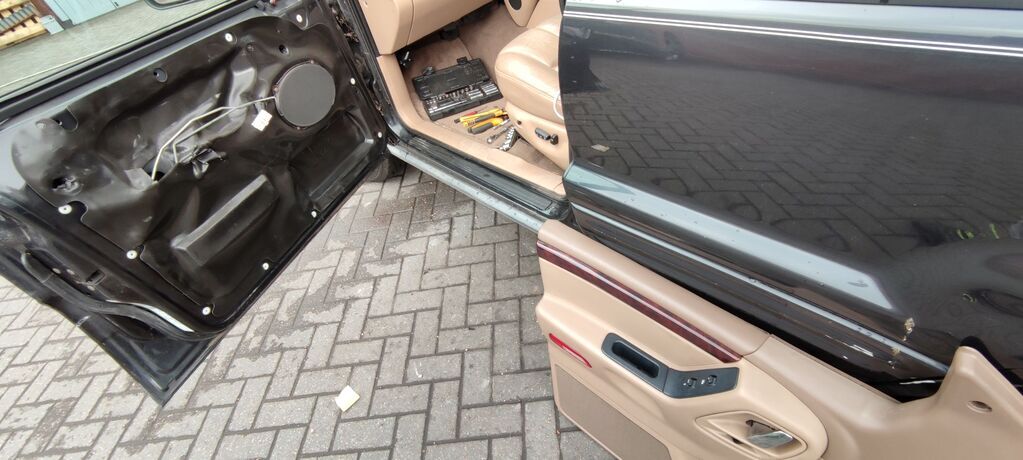 Routed cable through the factory trunking to the door, and up to the back. 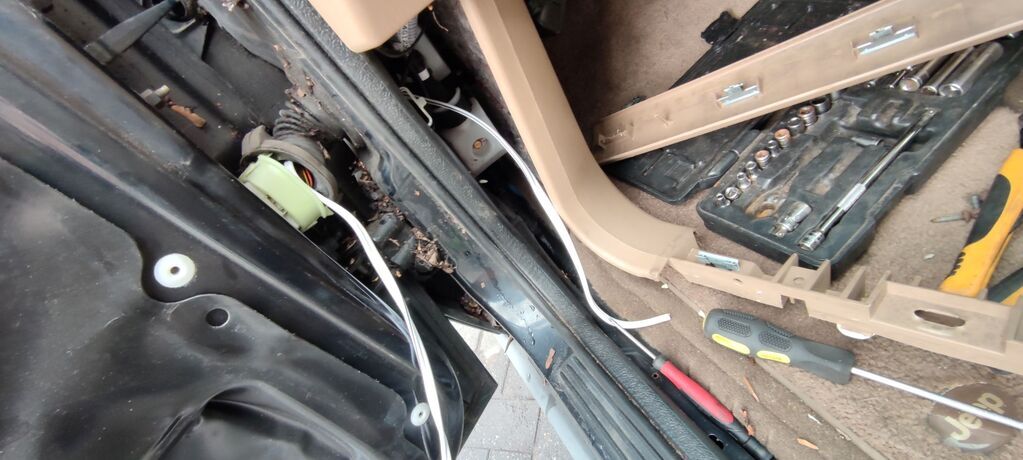 Halford's finest rescued from the back of the garage. 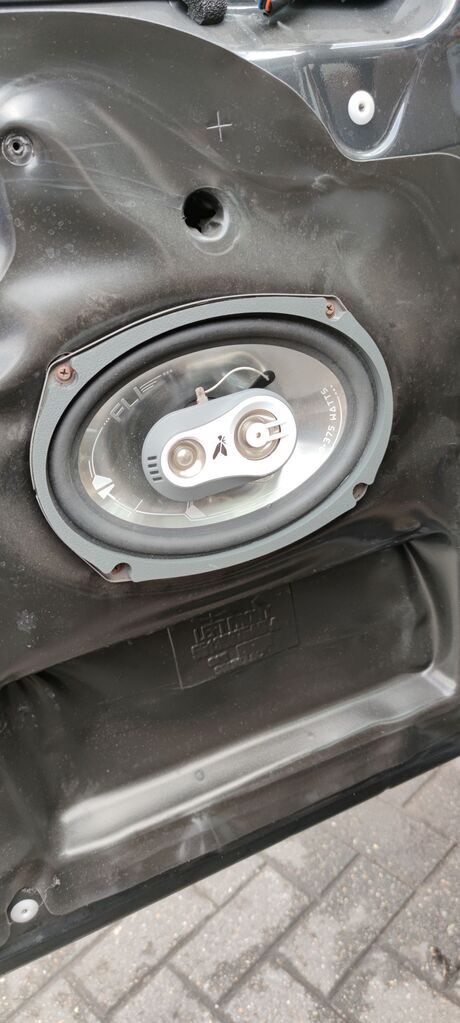 As you can imagine (given that the whole system is just 2 6x9s) the sound is incredibly bassy (bassy=rattly) and I've had to whack the treble right up to try and even it out. Better than nothing and - like all the best jobs - free! Spark plugs next...here's an old one. Looks pretty new, in fine fettle 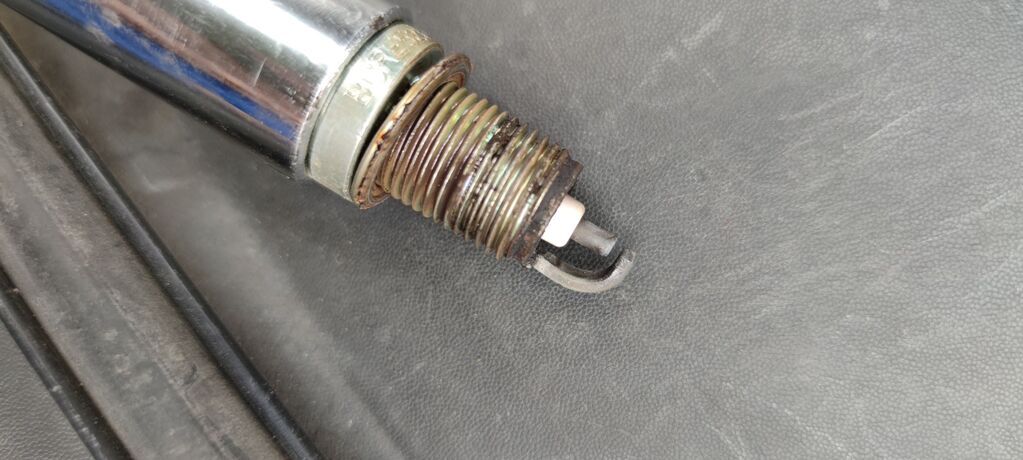 Got to love the simplicity of the old inline 6...this would apparently be the most tricky plug to get to. Yeah, access is a breeze. I suppose I could have unplugged the coil pack but simply unbolting it and putting it to one side rendered more than enough space. God bless the lazy Yanks. 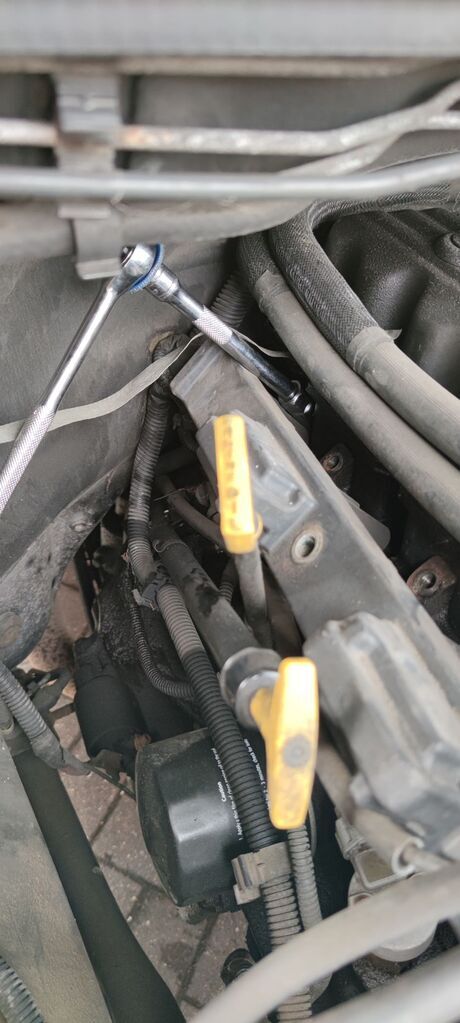 |
| |
Last Edit: May 16, 2021 19:19:57 GMT by Paul
|
|
|
|
Paul
Posted a lot
  
Posts: 1,973
|
|
May 16, 2021 19:16:04 GMT
|
That was all I could muster on Saturday, felt slightly better today so on with slightly more involved jobs...starting with an oil change. Nice and moist back here - I think there's a minor leak at the back of the engine block, but I don't care enough to investigate further if I'm being entirely honest. It doesn't drip, just sweats... 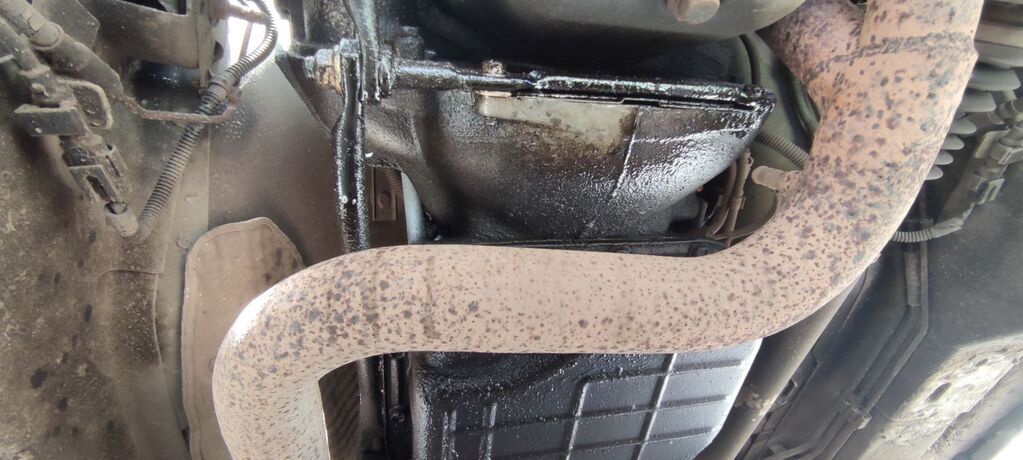 Oil was dirty but nothing suspect in here 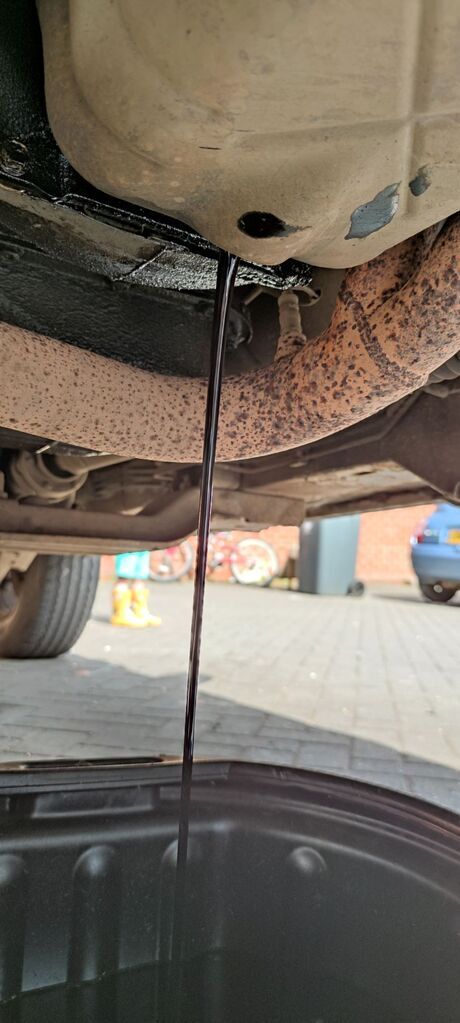 Ever open the hood on a car and not have a clue where the oil filter even is? Yeah, not on this baby. Came straight out of the top. 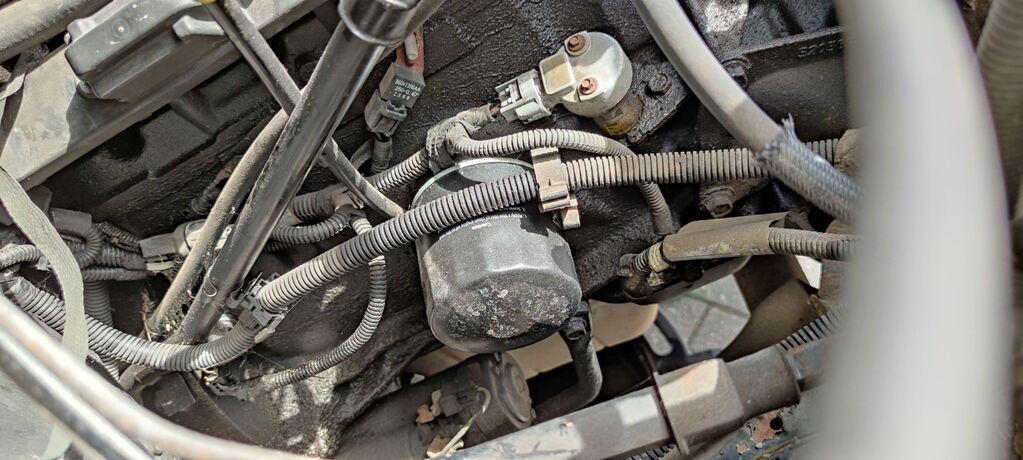 Today's flavour of nutritious dinosaur, as recommended by Google and sorted by cheapest on eBay 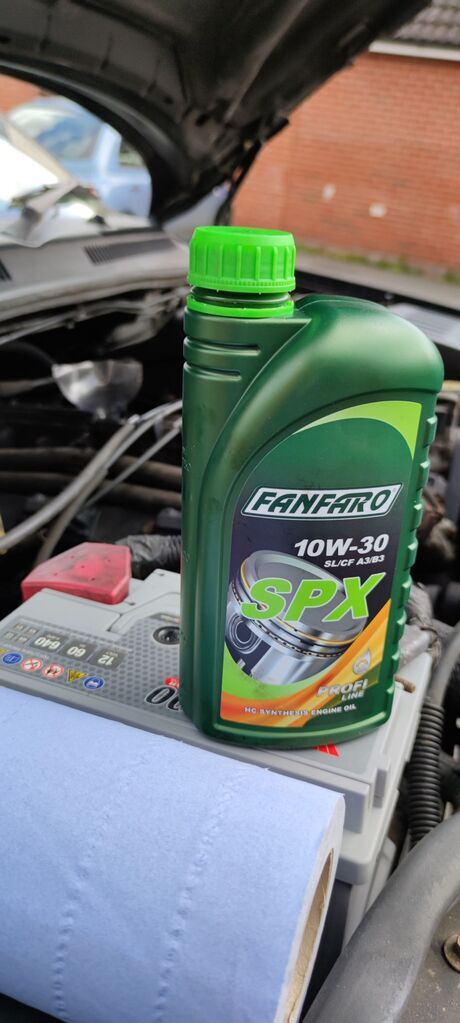 Under bonnet lighting, desirable optional extra 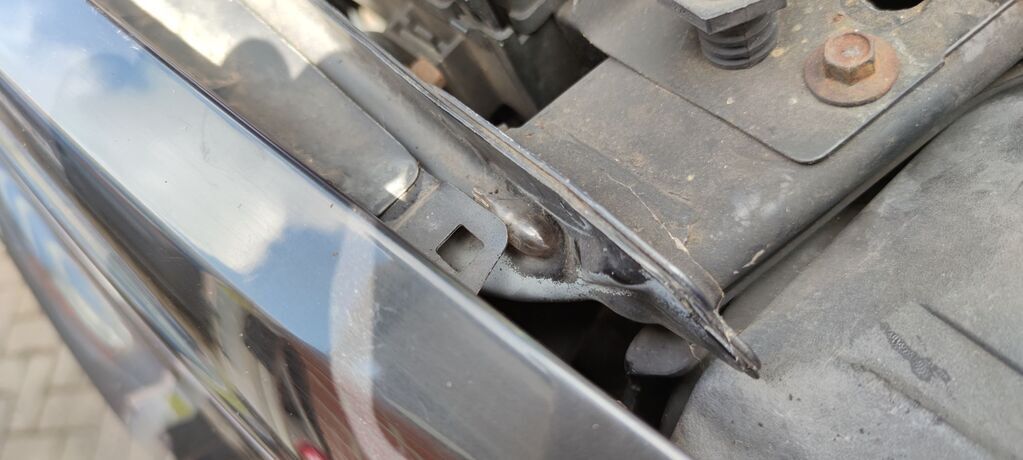 Next on the list was the trans oil. She's very sluggish to change gears when cold and, although there's only 80k on the clock, there's no way the oil's been changed in the 21 years she's been alive. Jeep helpfully did not include a drain plug, so the recommended method is 'undo a couple of bolts, let it dribble, undo a couple more...and repeat' 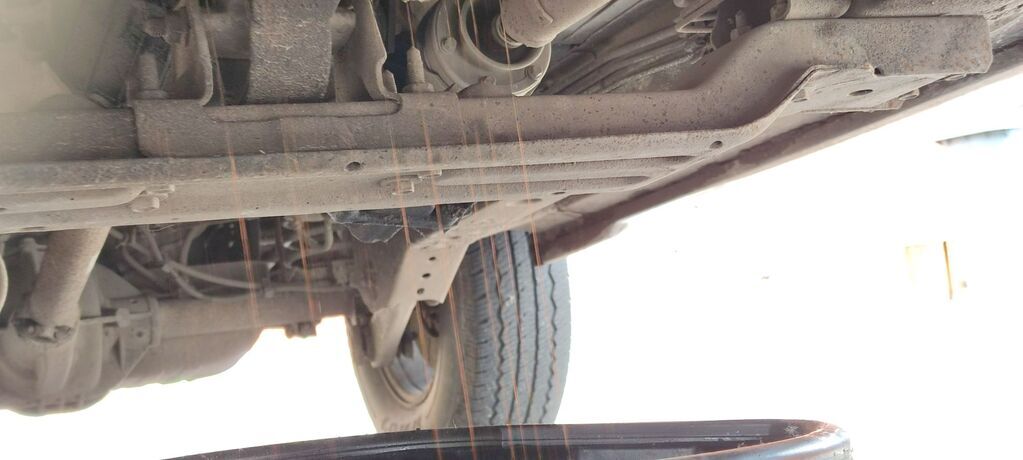 Not the worst I've seen, but brown, smelly and too thick for sure. 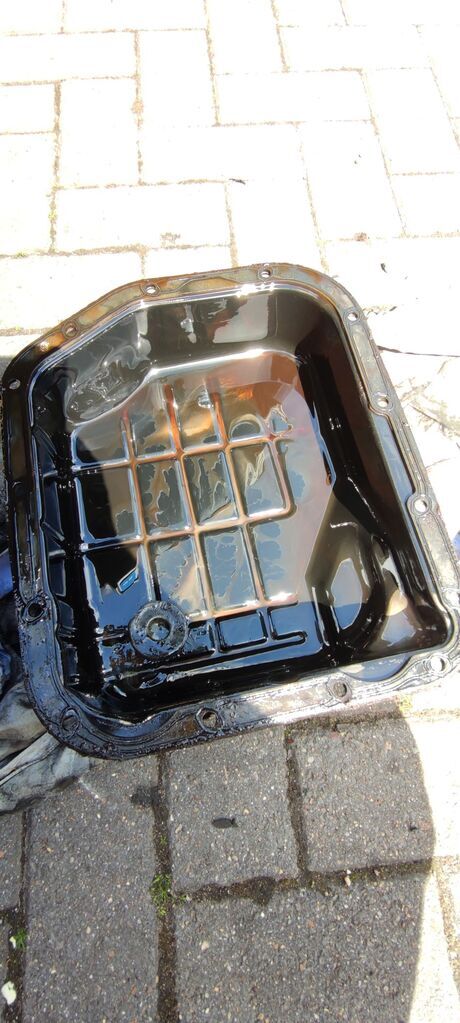 Old filter looking grubby. 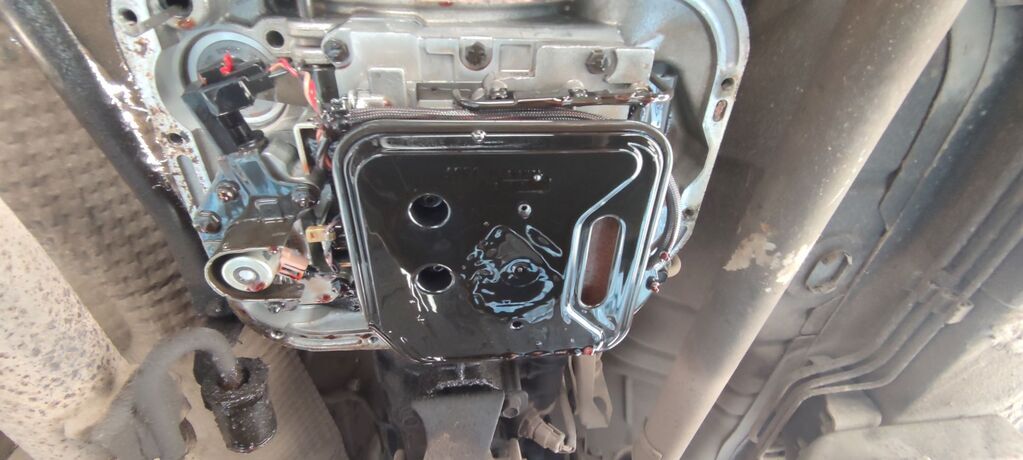 Some dirt on the magnet, but nothing especially shiny so that's a plus 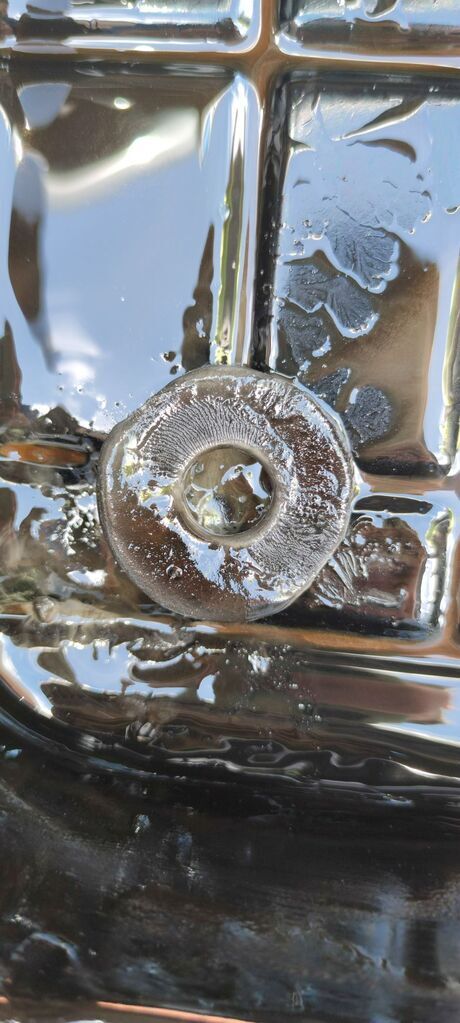 Old v. New filtray 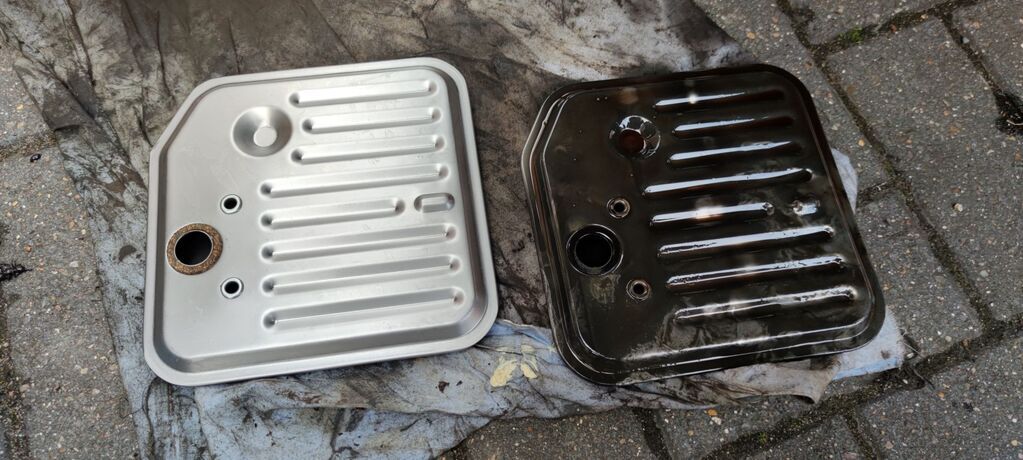 Pan cleaned up ready for refitting - cork gasket in place (more on this later) 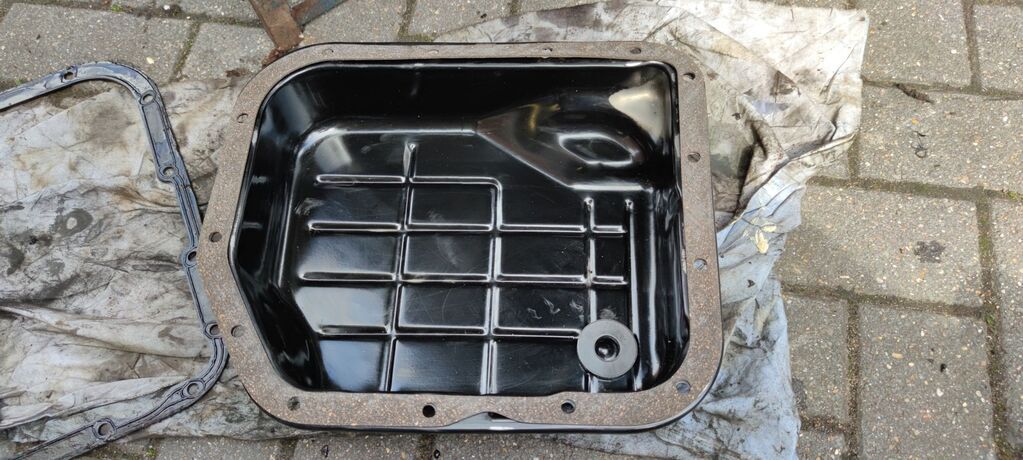 Filled up with Dexron +4 ATF, and a scoot up the main road showed she was shifting MUCH better - especially from 1 to 2. Nowhere near as jerky. So that's a win! Emboldened by my apparent success I wanted to tackle the lift kit all round. Starting with the rear, just need to remove the lower shock bolt and sway bar link. Now sway bars were mentioned on the MOT so I had a couple of replacements ready. Yuck 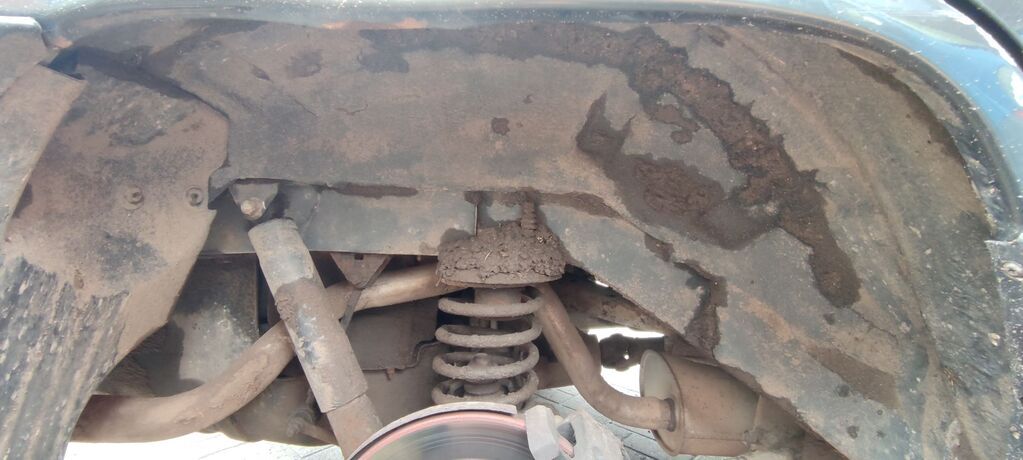 Quick blast with the Nilfisk pressure washer (bought about 18 months ago and paid for itself time and time again)...much better 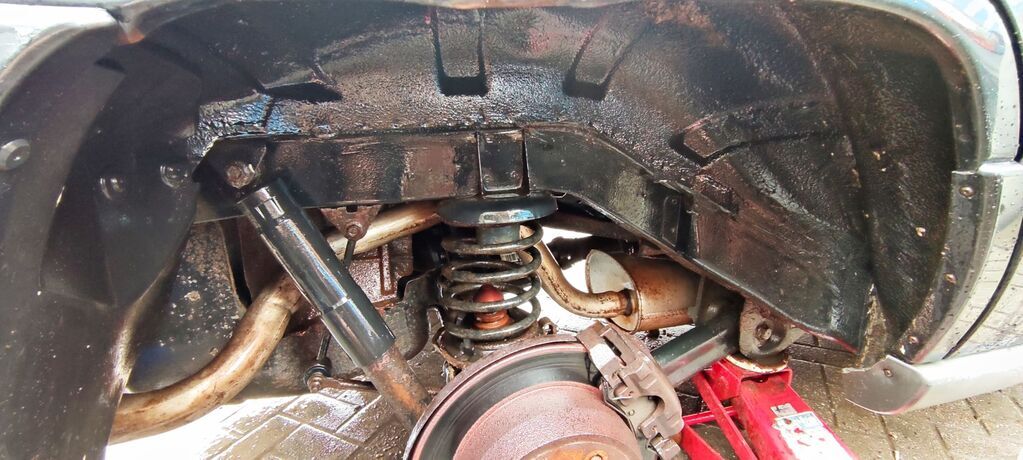 Undoing the sway bar went about as well as this photo would suggest. 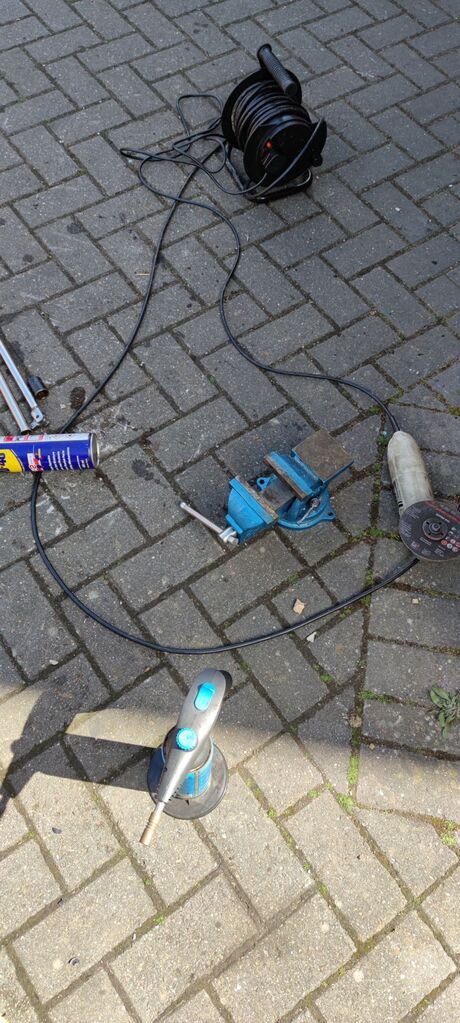 Bottom bolt came out a treat...but the top one would not unscrew from the bracket. It just wasn't happening. 15mm bolt into a captive 21mm. So instead I removed the bracket itself (again, only 2 15mm bolts). The end of the bolt had badly corroded and was not coming out, so I ground off as much as I could, liberally doused it in penetrating oil and heat and, with the power of 5G, managed to eventually separate the two. The other side was exactly the same story. The offending bolt: 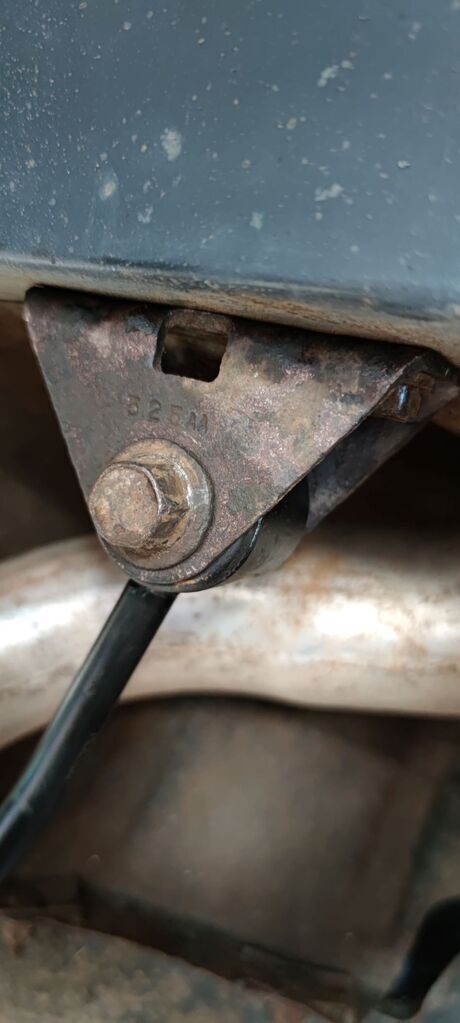 New hotness in place eventually 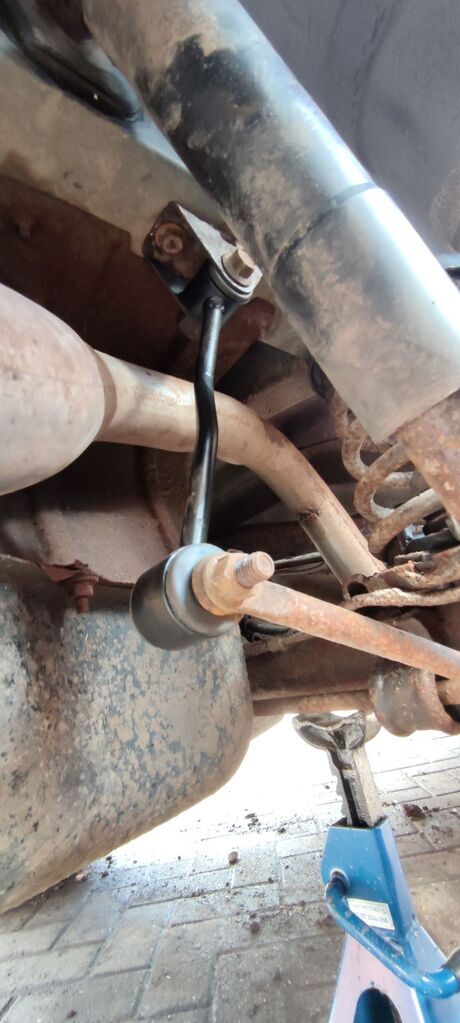 Now this is where things got a bit real, so the photos tend to dry up when things get serious. I had a proper battle using my old and bulky spring compressors into place and compressed enough to remove the springs without fouling. You can see the predicament on the right here 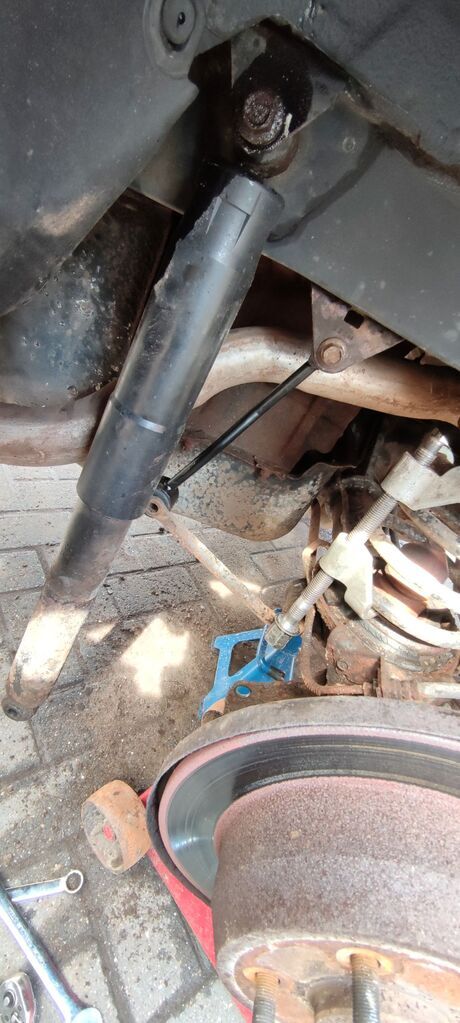 Much swearing did ensue. I eventually undid both sides at the same time and lowered the rear axle on a jack, which gave me enough room to hoik the old spring out, insert the 2" spacer at the bottom of each spring cup, and reinsert the spring (with help of SWMBO jumping on the hub). End result was that the rear is done - and here she is with new mud tyres installed. 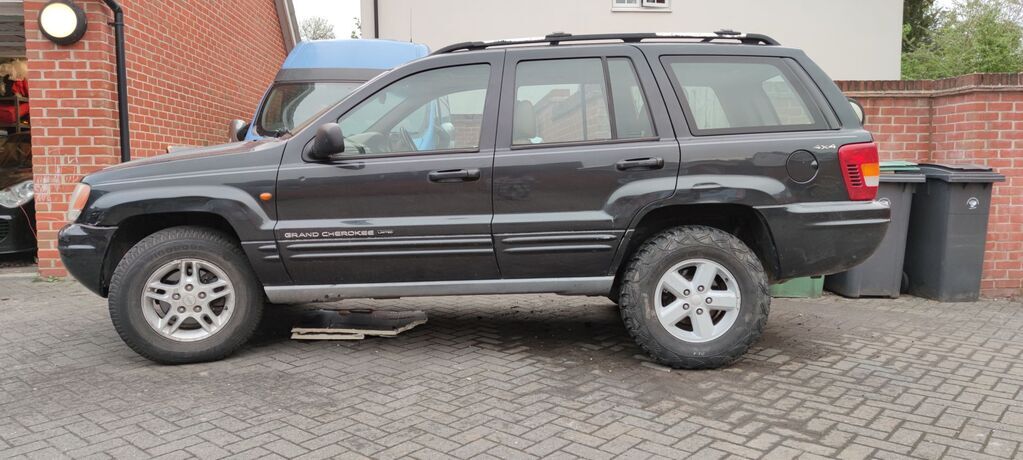 I do like the rake, but it's only temporary until I have time to install the front spacers. I've also asked for some 5x5 wheel spacers to widen the track a bit - nothing is fouling at the rear, but the fronts already catch the wheel linings on tight turns and it'll only be worse when I've got the mud tyres up front too. Just tidying up and...what's this? 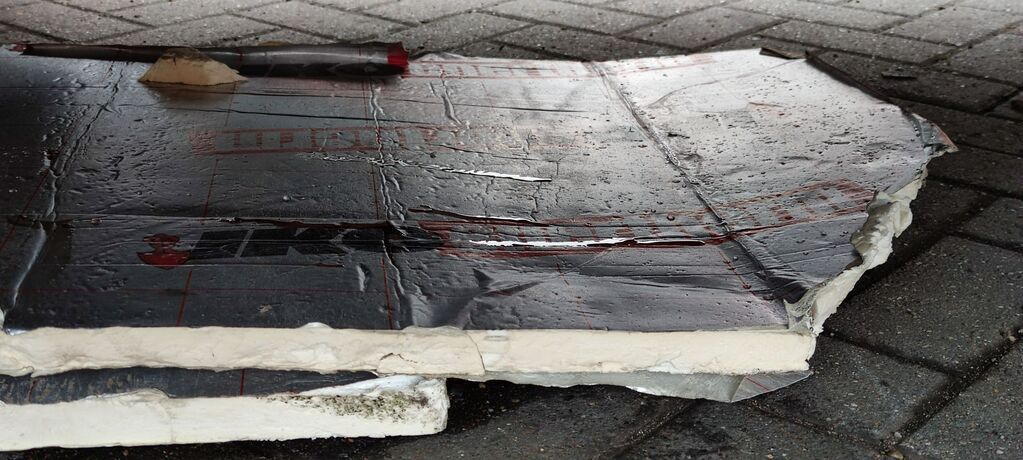 Drips of fresh, wholesome Dexron ATF, that's what. Got underneath, nipped up the bolts...no difference. Now I've done enough trans pans to be pretty methodical when it comes to snugging the bolts slowly and surely in stars/diagonals, asserting even pressure etc. etc. so exactly this doesn't happen. My conclusion is that the cork gasket (as I feared) is about as much use as a bra on a snake. I've fished the old, solid, metal-and-plastic gasket out of the bin and will have to remove the sump again...hoping I can clean up my drain pan and save as much atf as possible as I put about a gallon in there. So, so close to a great day... |
| |
|
|
Rich
Club Retro Rides Member
Posts: 6,321  Club RR Member Number: 160
|
|
May 16, 2021 19:53:50 GMT
|
|
Oil leaks on the 'PowerTech' that far back is usually the rocker cover gasket round the back. Looks oily high up so that's usually the culprit. I need to do the one on my XJ but.. yea. That's a lost of gasket to keep in place. Shame about the transmission leak. What trans do these have?
|
| |
|
|
Paul
Posted a lot
  
Posts: 1,973
|
|
May 16, 2021 20:00:50 GMT
|
Oil leaks on the 'PowerTech' that far back is usually the rocker cover gasket round the back. Looks oily high up so that's usually the culprit. I need to do the one on my XJ but.. yea. That's a lost of gasket to keep in place. Shame about the transmission leak. What trans do these have? Cheers for the heads up on the rocker cover gasket... The very back spark plug came out a bit oily around the collar, so I expect that's it. Not a priority. 4 speed 42RE trans in the 4.0...been around in one form or another since the 50s😂. |
| |
|
|
Rich
Club Retro Rides Member
Posts: 6,321  Club RR Member Number: 160
|
|
May 16, 2021 20:05:49 GMT
|
|
Ahh, Torqueflight essentially then. Interestingly had 6 ratios, only 5 were used but was sold as a 4 speed auto. Odd stuff. I guess they went that way with the WJ because of the more modern clutch type 4WD system. The XJ has an Aisin AW4 and a more mechanical transfer case.
|
| |
|
|
misteralz
Posted a lot
   I may drive a Volkswagen, but I'm scene tax exempt!
Posts: 2,479
|
|
|
|
|
Where's it leaking? Because you can see in the pic of it laid on top of the pan that it isn't quite the right shape...
|
| |
|
|
Paul
Posted a lot
  
Posts: 1,973
|
|
May 17, 2021 16:27:18 GMT
|
Where's it leaking? Because you can see in the pic of it laid on top of the pan that it isn't quite the right shape... I see what you mean, although the original gasket had a cutout in the same place. It was also significantly more rigid and thicker. So here we go again... 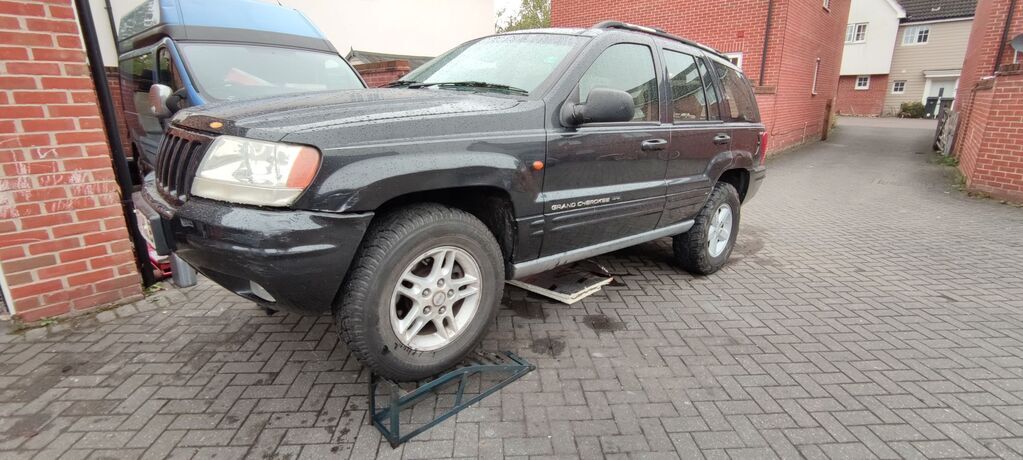 Managed to save 4 litres out of the 5 I put in yesterday, which I thought was pretty good going all told. Cork gasket just sort of fell out...old gasket refitted and (touch wood) all seems well so far. Will monitor Off with the front wheels, muddy as the rear... 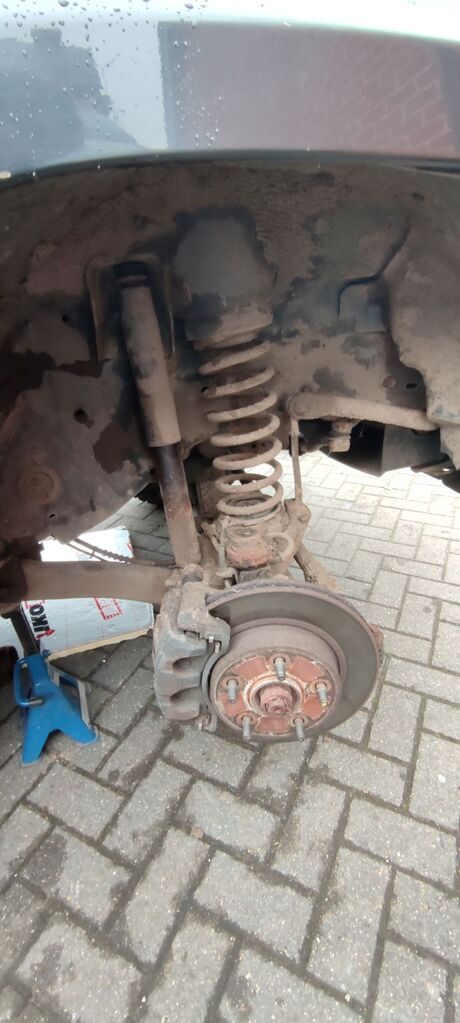 BANG! And the dirt is gone 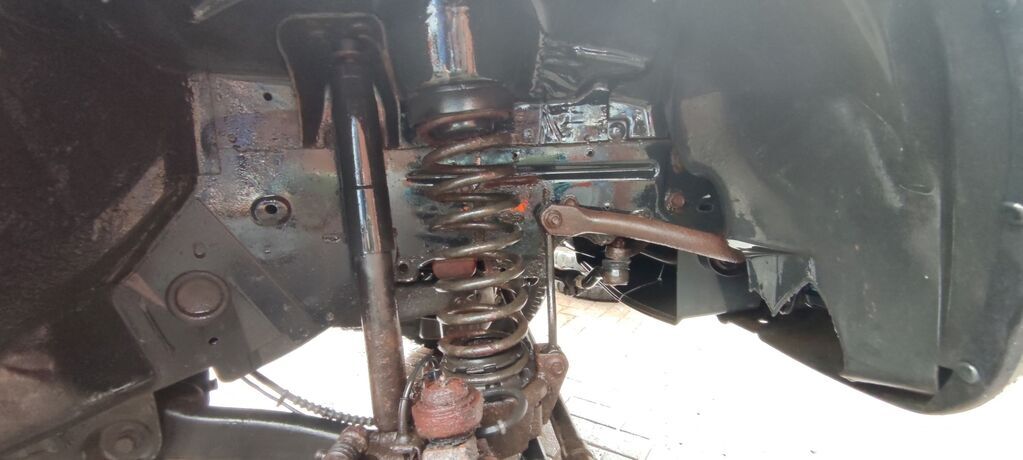 Much more room up the front for spring compressors, so it was a lot easier to get the spacers in. With that going so well I even gave her teh wosh. 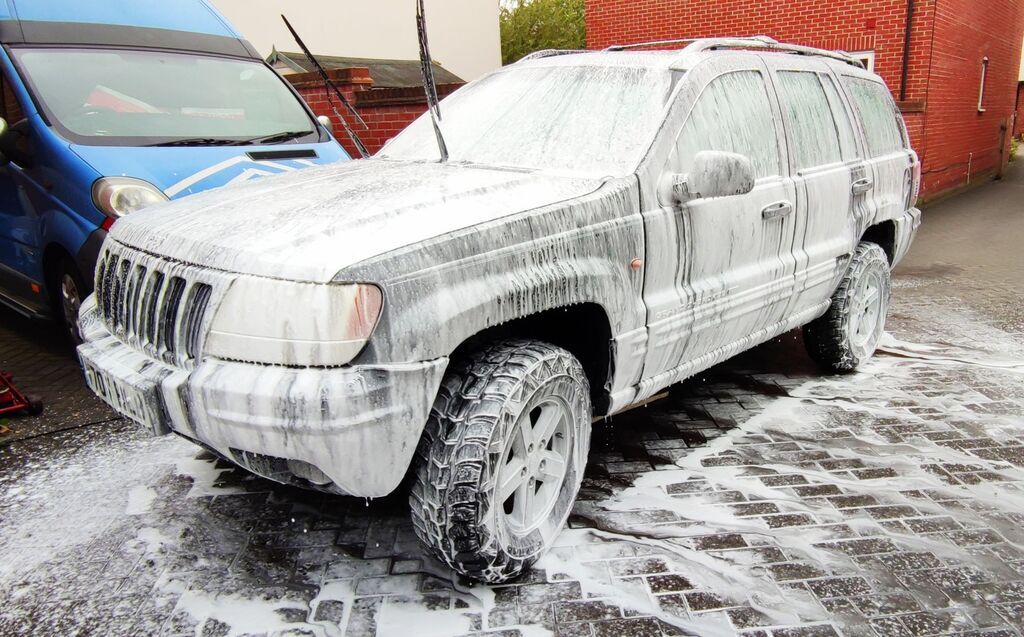 Stance is life 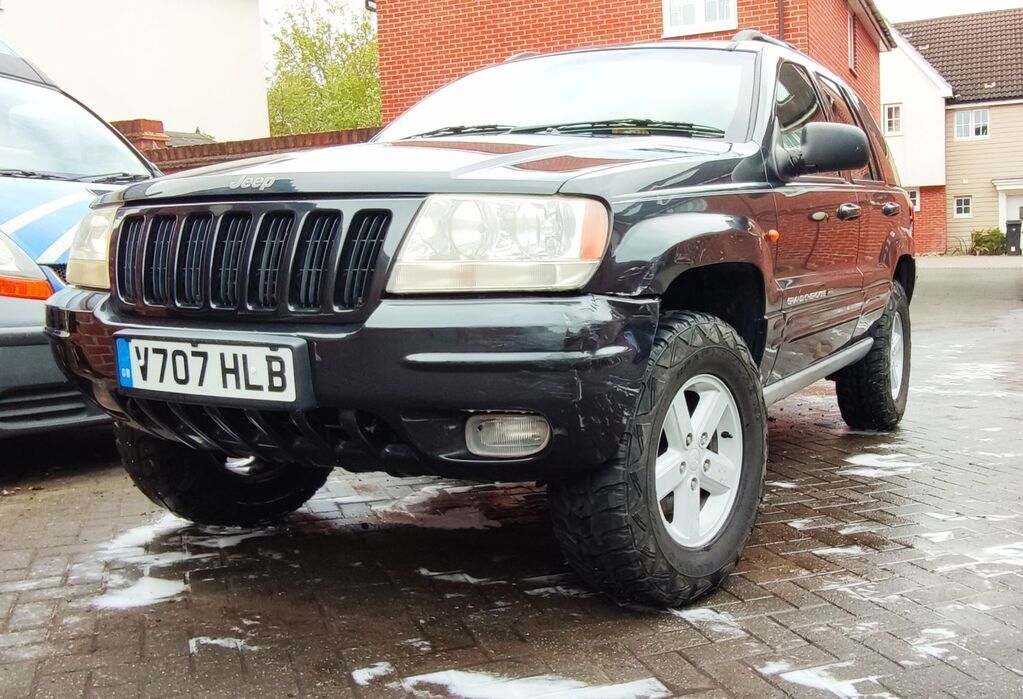 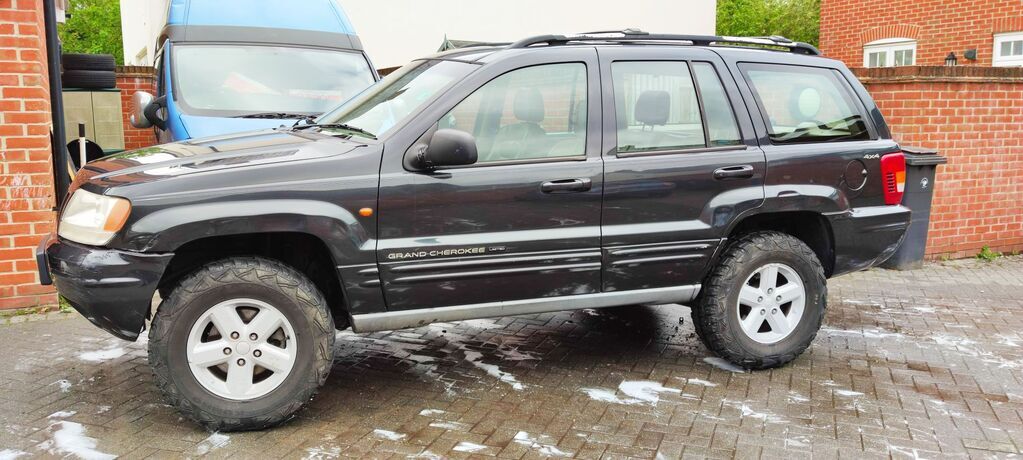 Gave the inside a quick going over too, old steering wheel cover from the taxi 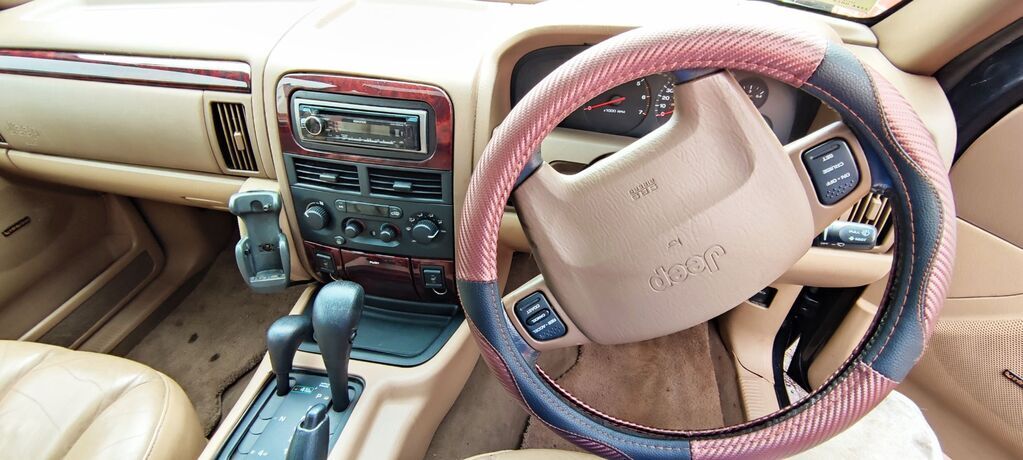 Anyone got an old Nokia? 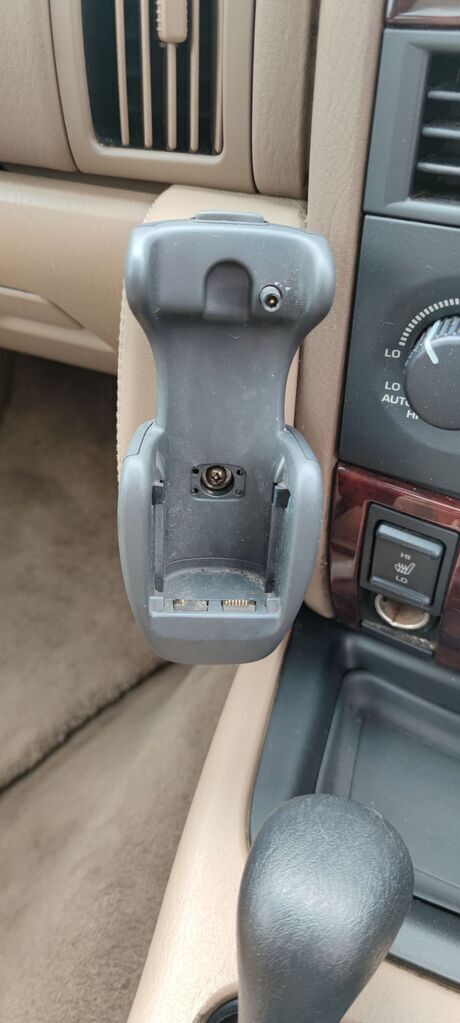 No? 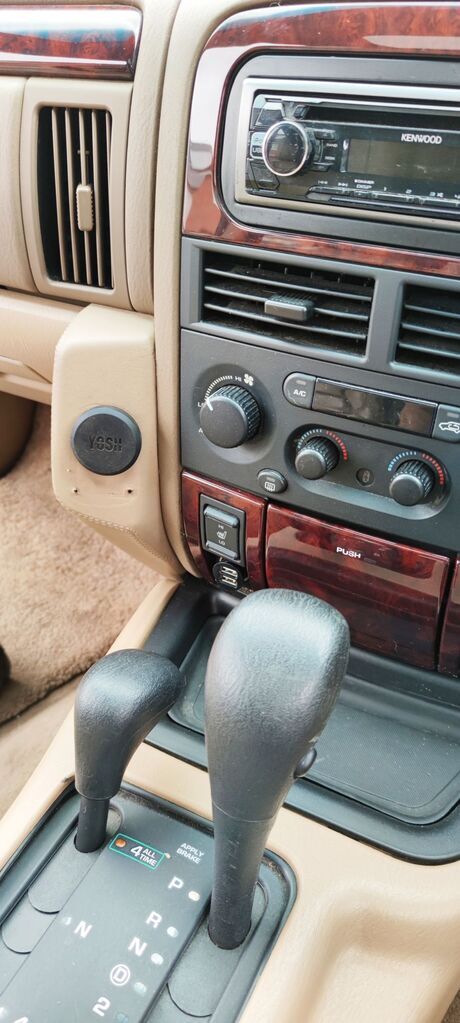 Removed the old cradle, widened the hole, stuck a magnetic phone holder in there. I'd show it in action but, well, how do you think I got these photos in the first place? Really happy with that. Drives as you would expect on big mud tyres - loud and bumpy. Gonna get a few more bits sorted before I tackle any lanes though, don't want to get stranded. |
| |
|
|
hairymel
Club Retro Rides Member
avatar by volksangyl
Posts: 1,081
Club RR Member Number: 207
|
|
May 23, 2021 23:48:32 GMT
|
Forgive me RR for I have sinned...yes, I've added to the fleet by mistake... 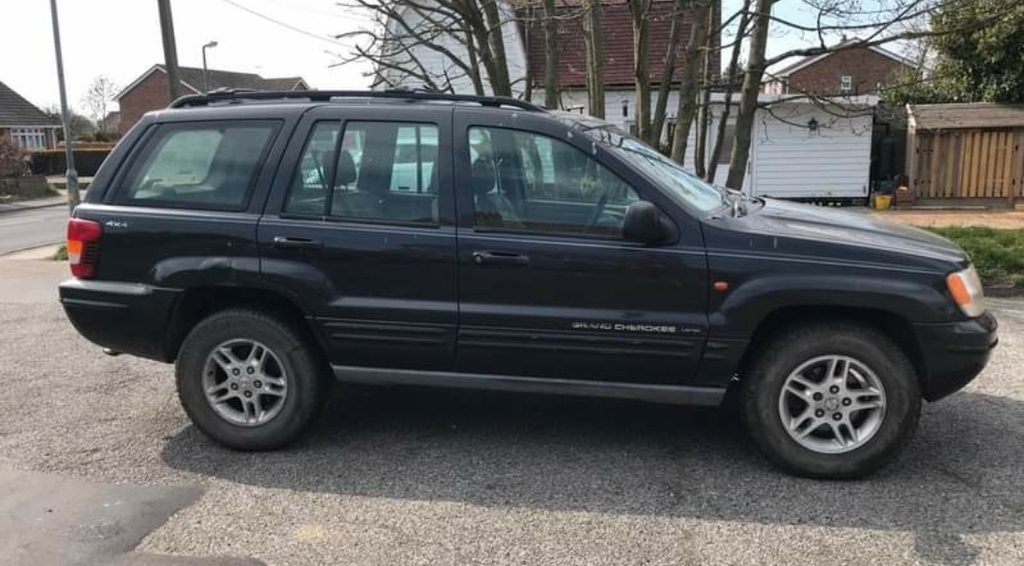 oh dear. can i predict rear axle failure? yes, yes i can  loving the frantic pace you are rotating the fleet at  |
| |
whats that burning smell?
oh curse word :-(
|
|
Paul
Posted a lot
  
Posts: 1,973
|
|
May 24, 2021 21:39:13 GMT
|
First drive of the freshly taxed and insured campervan could have gone better... 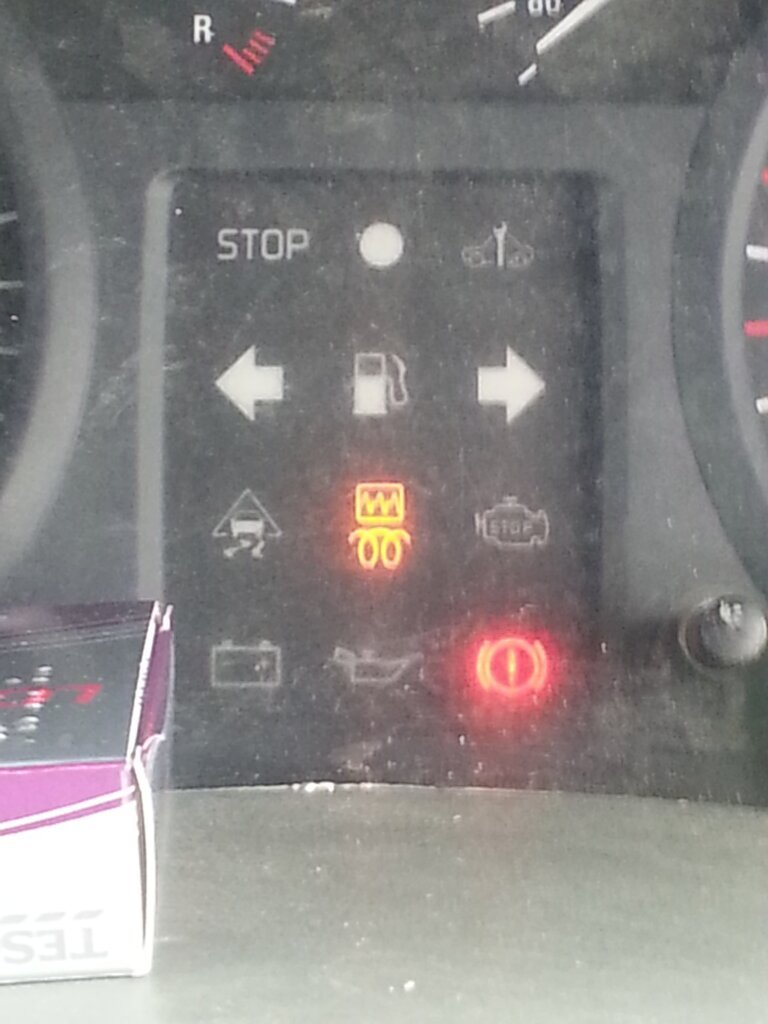 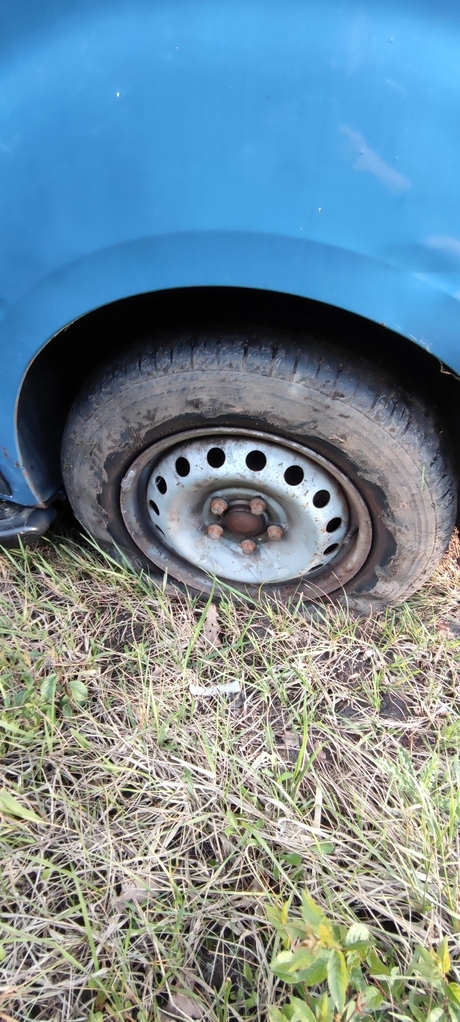 Greeeeeeaaat. Attendance at the Weekender is firmly on a knife edge...will need 2 new rear tyres (weird mismatched tyres) and I'm hoping the intermittent EML light is cured by EGR / MAF cleaning...fingers crossed... |
| |
|
|
Paul
Posted a lot
  
Posts: 1,973
|
|
|
|
Whilst I've been arsing around with my side projects, SWMBO has been diligently working on our campervan project on and off for the last 18 months, and we think we're at a point where it's ready to hit the road...so it's time for an update. Firstly, the state of purchase in November 2019 - a roadside repair truck for HGVs with 201k on the clock and plenty of battle scars...just how I like them 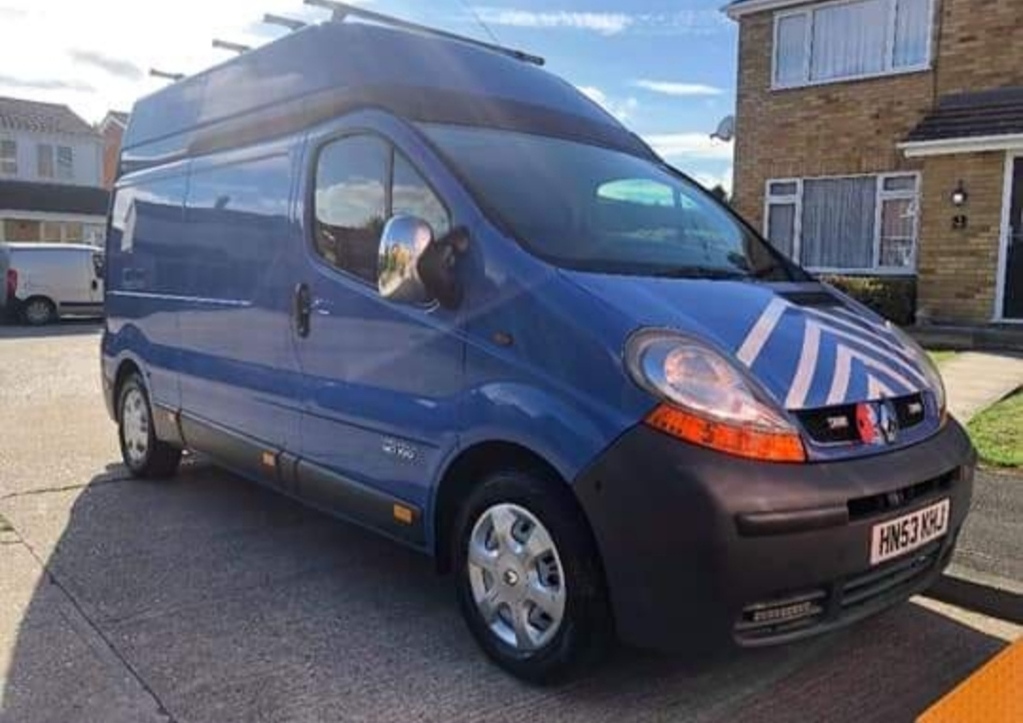 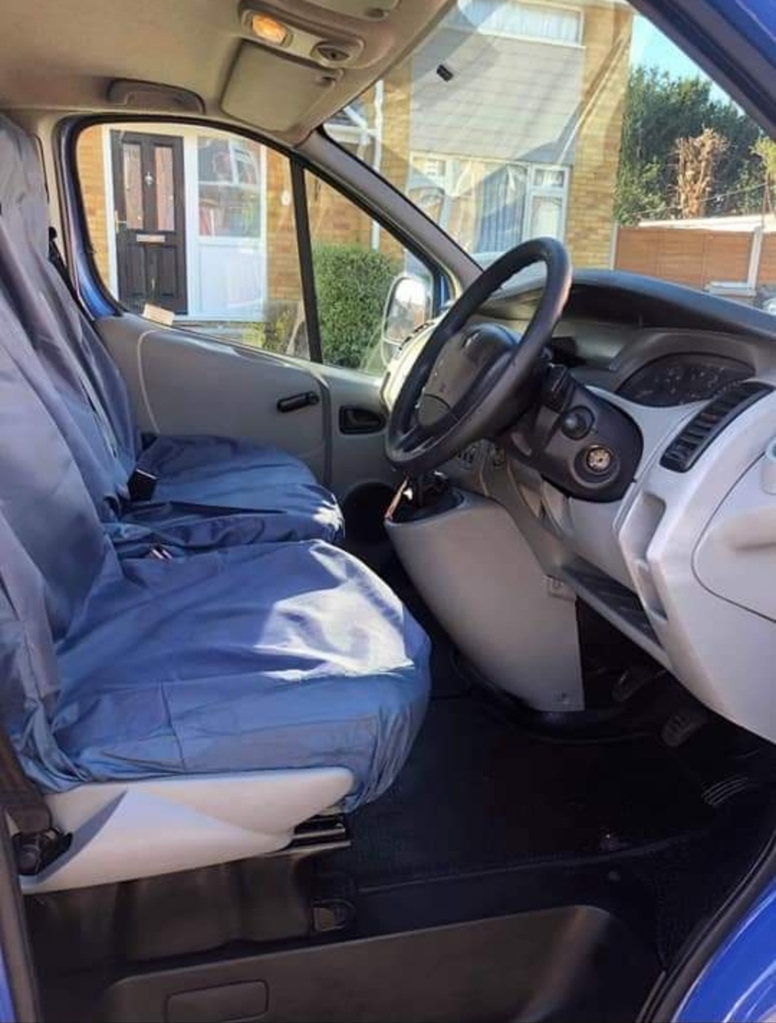 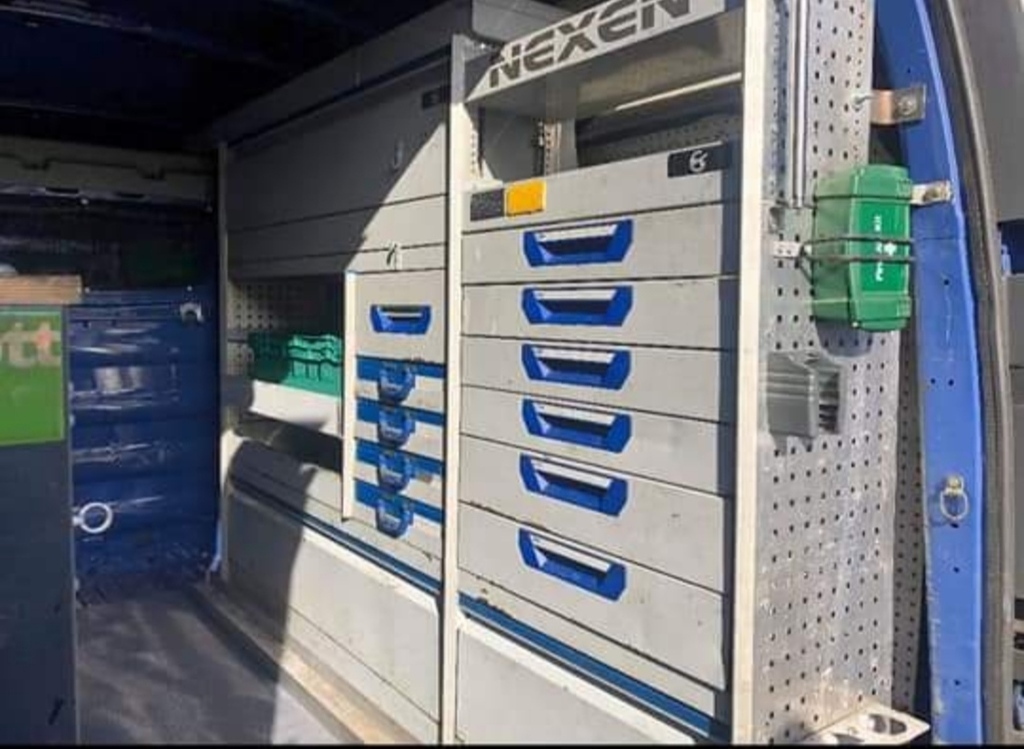 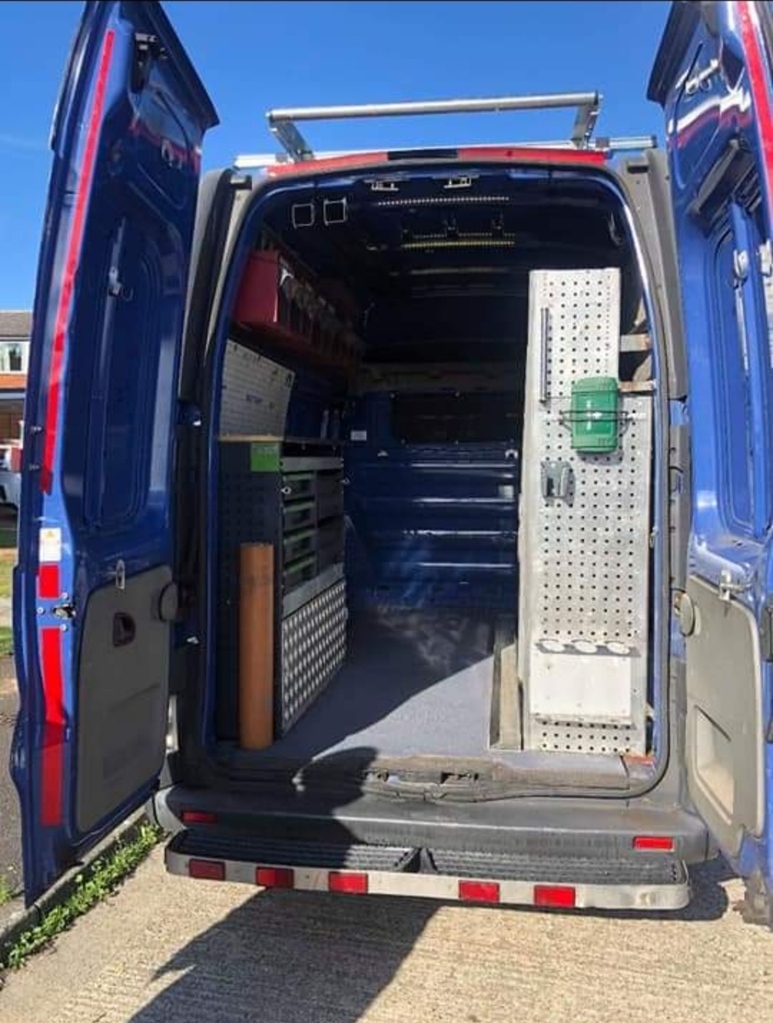 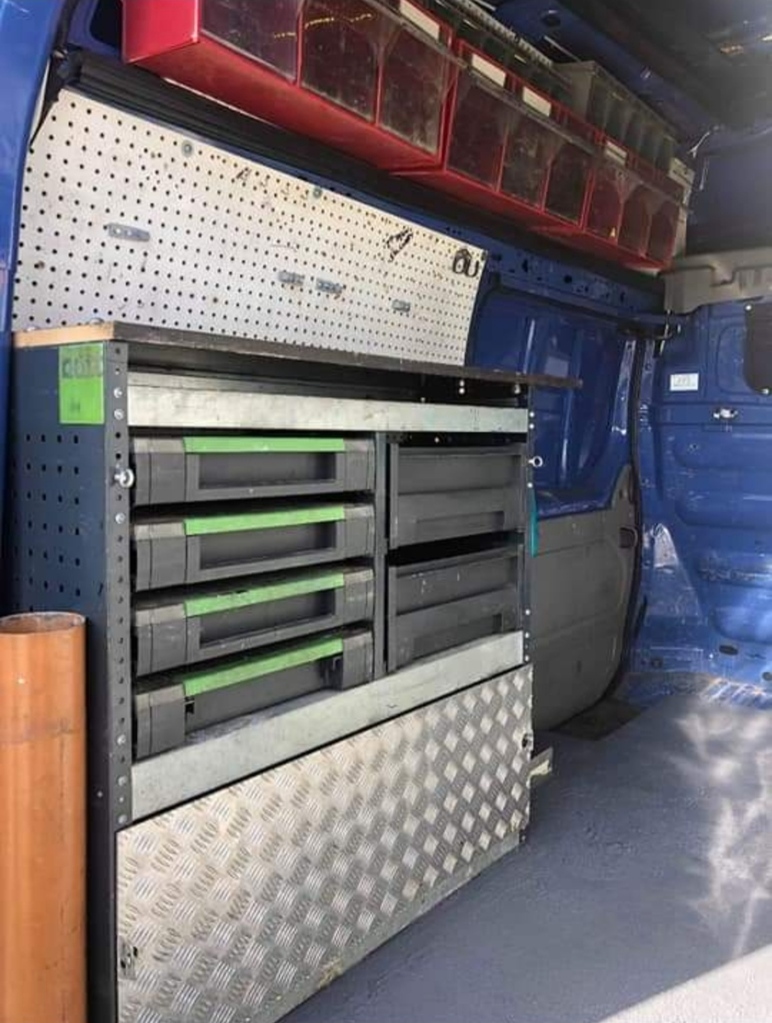 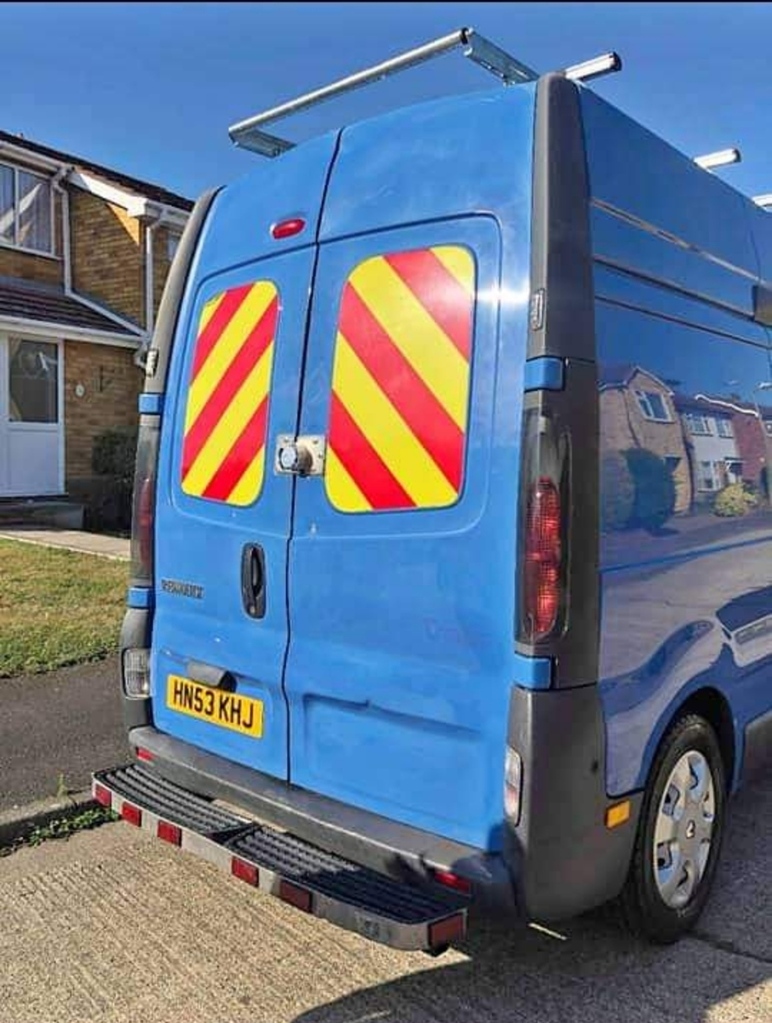 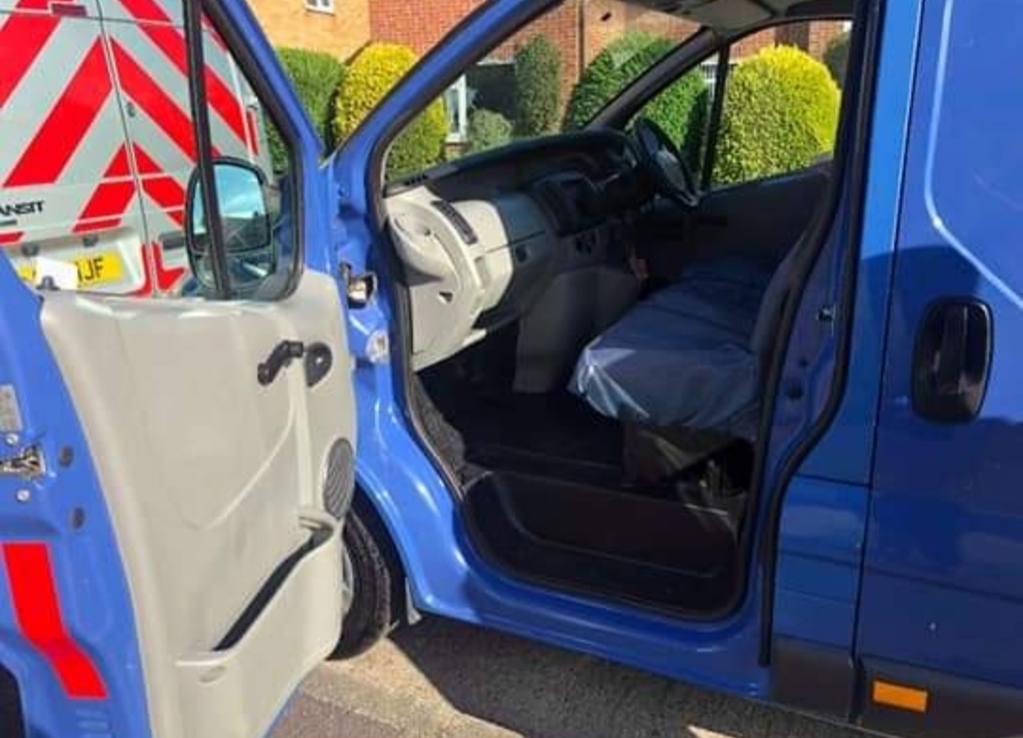 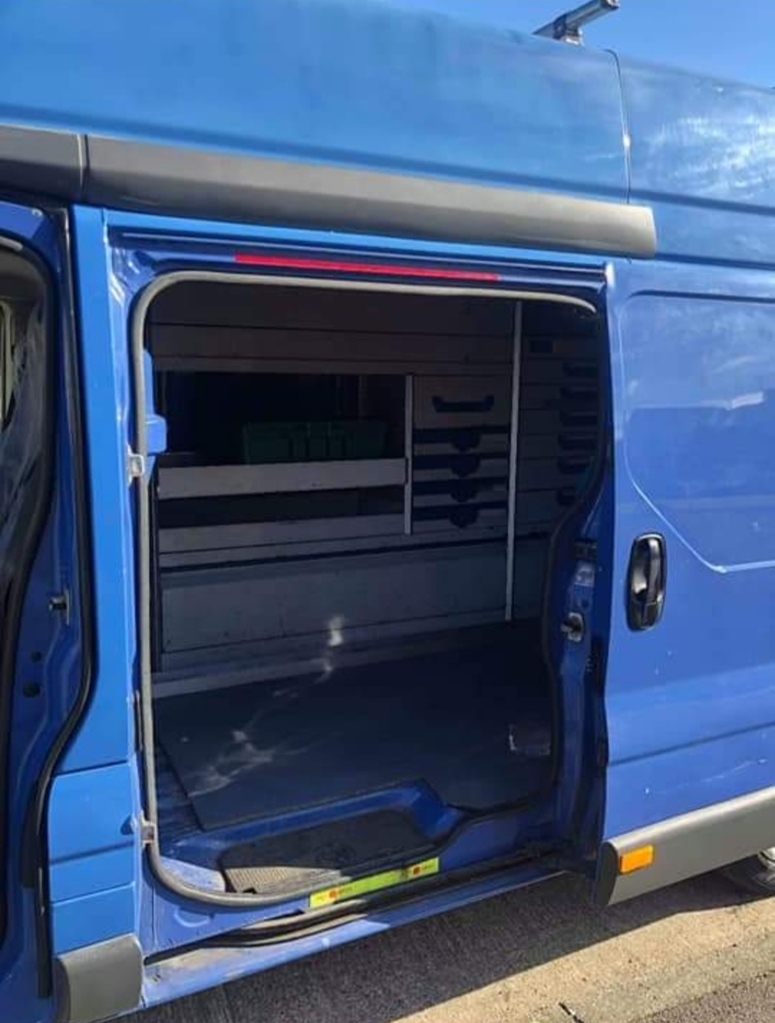 So the racking and roof bars were removed and sold off, which added a fair wedge to the fund. Priorities were pretty simple - a bit more light, a pull out bed, sleeping space for the 3 of us, and some electrics (both 12v and 240v) to charge phones, cool box, run a TV when on 'proper' campsites etc. etc. So, in a jumbled and largely random order Insulation going in...so much insulation. Big priority as it's basically a thin metal box on wheels 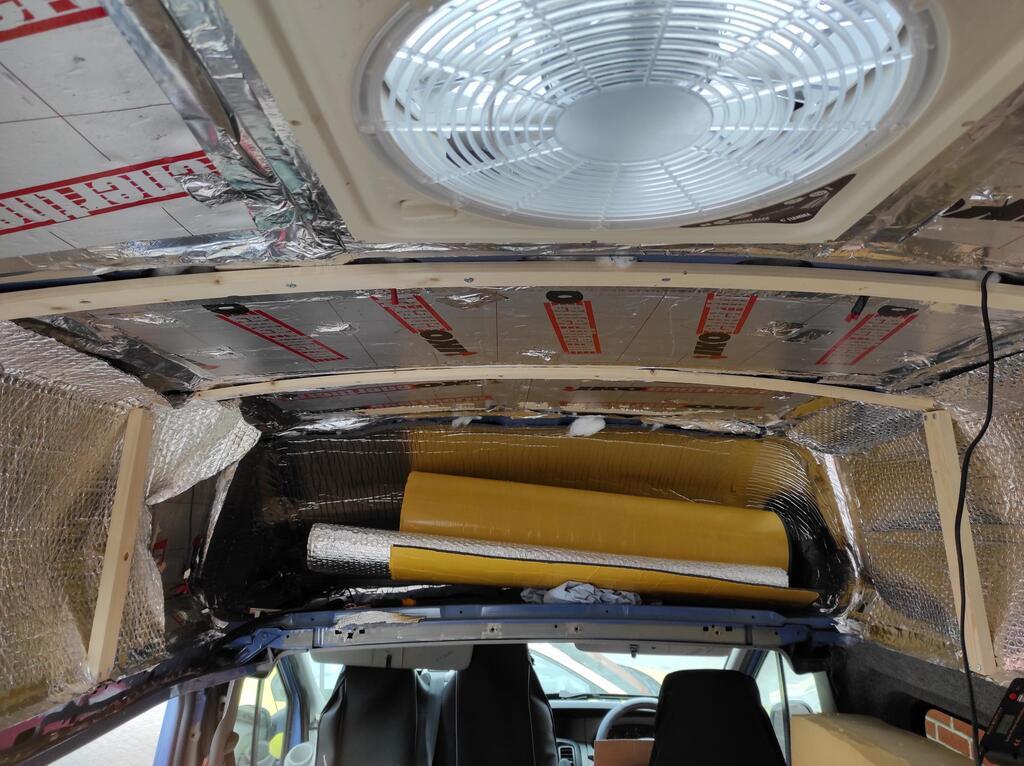 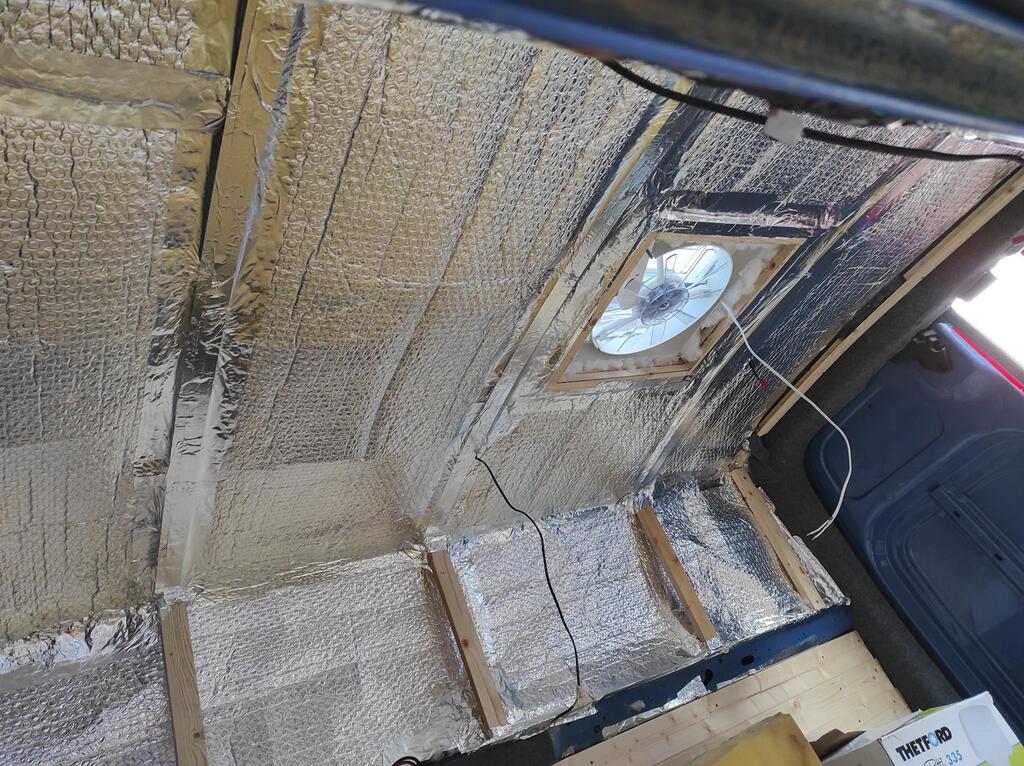 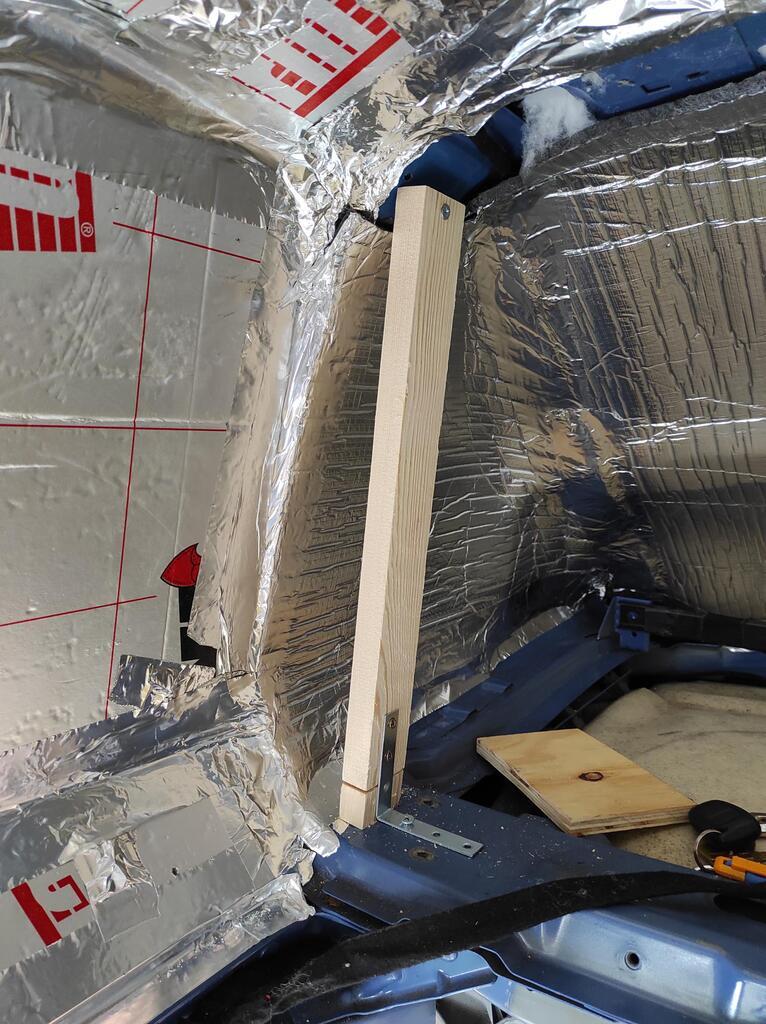 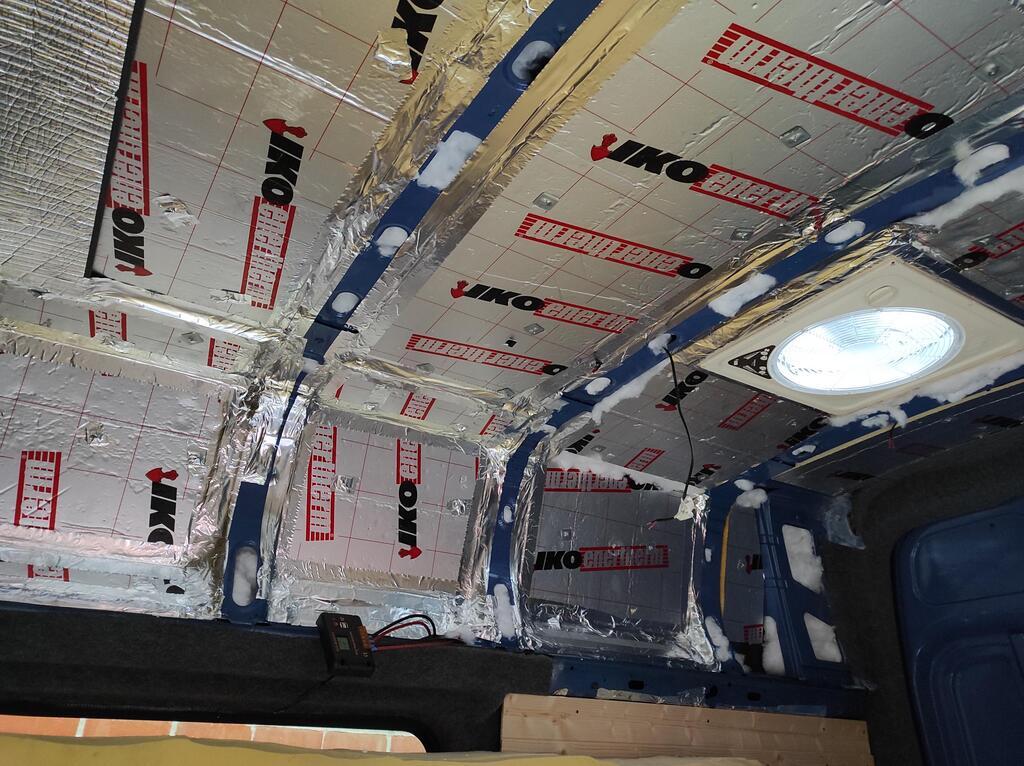 Flooring pulled up, any bare or surface rust protected, frame down to support a marine ply floor... 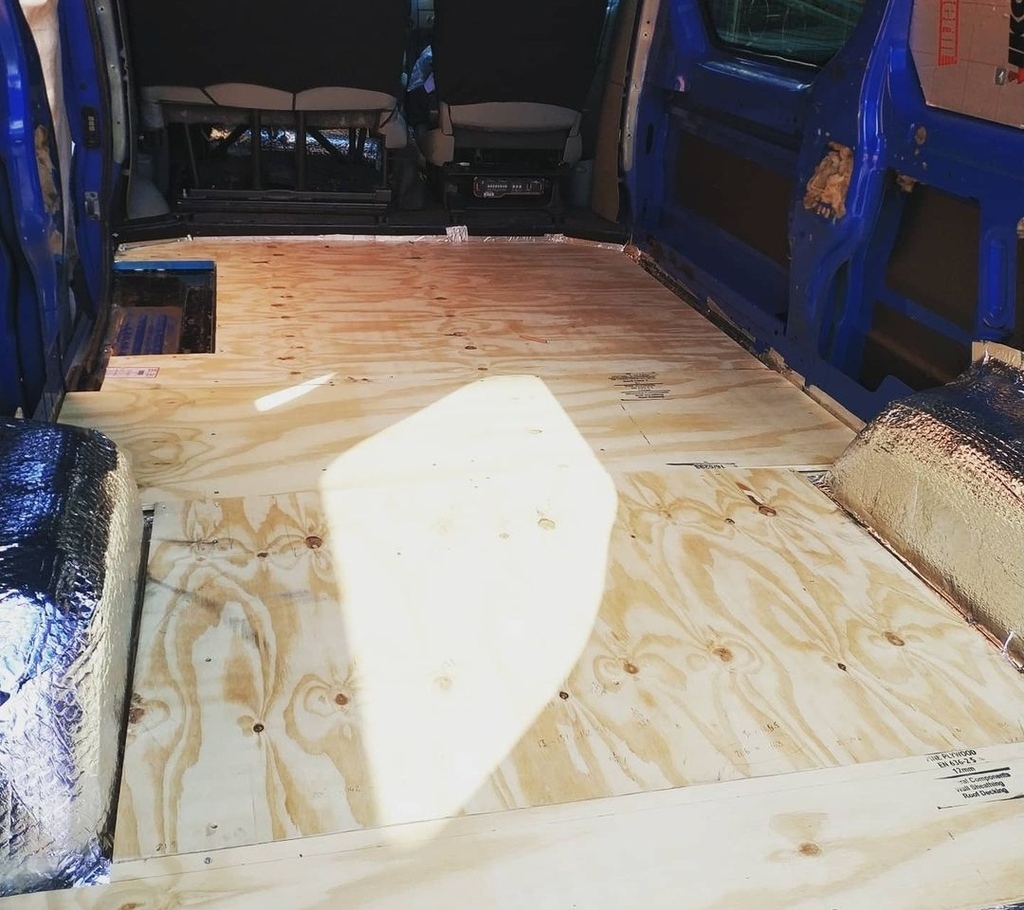 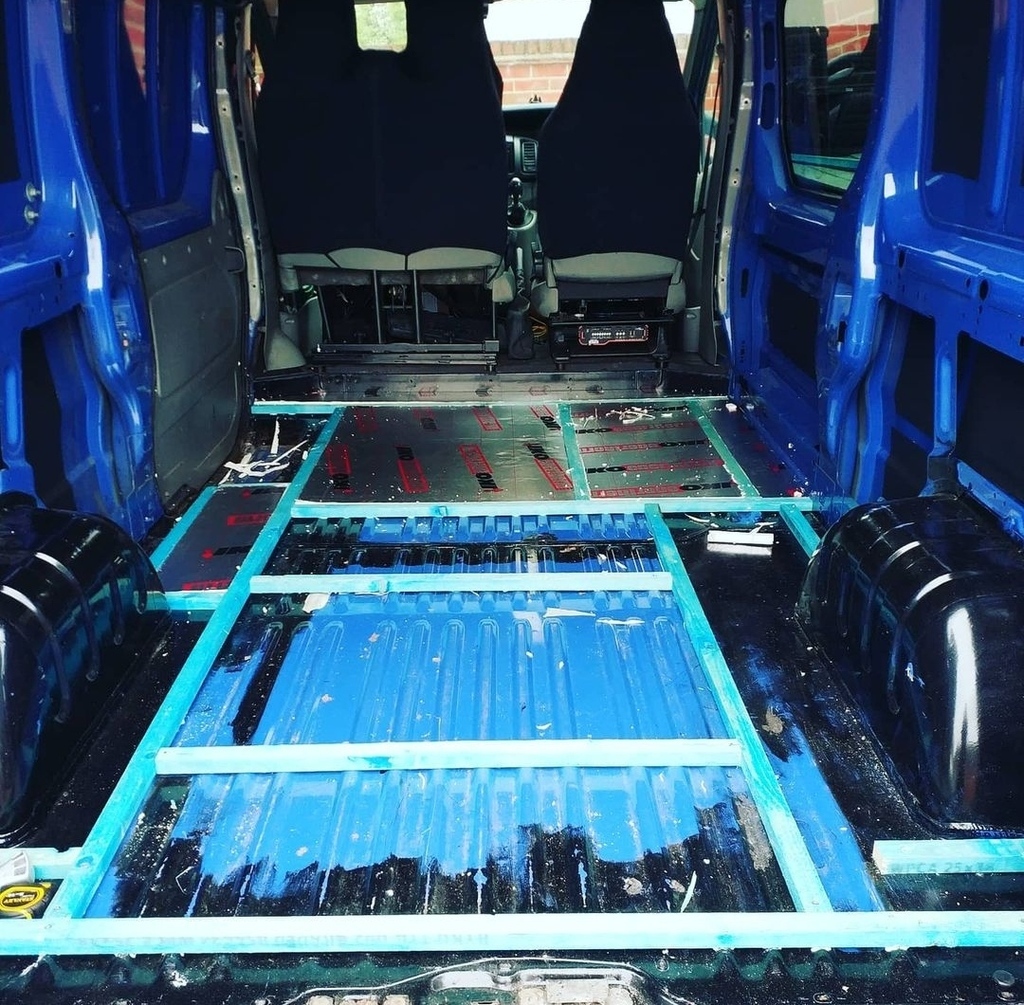 Got a bit excited and laid the laminate probably too soon (originally destined for a hair salon, this was the leftovers so it's pretty durable and good quality...and cheap!) 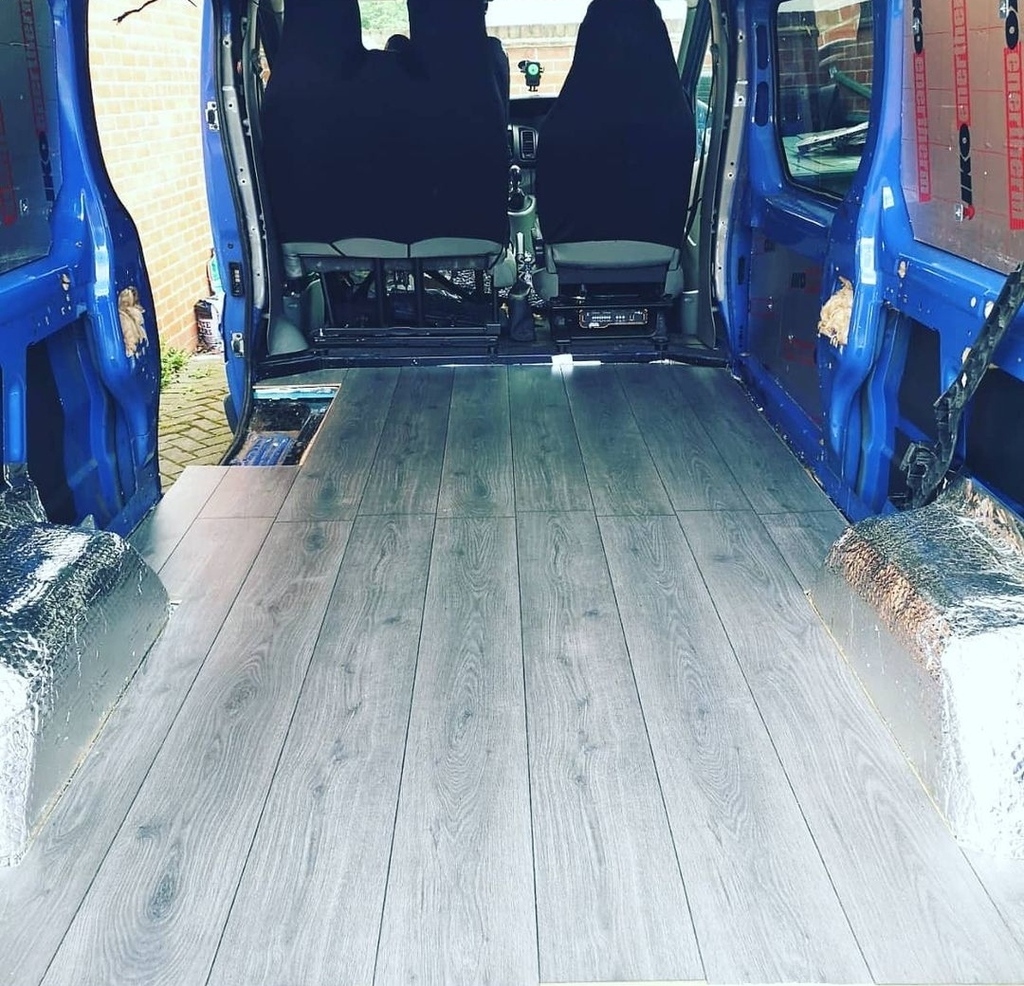 Slave labour being employed once again - this time to assemble the rock and roll bed. We considered building one from scratch but the cost, time and chance of it going wrong made simply buying flat pack a much more appealing option. 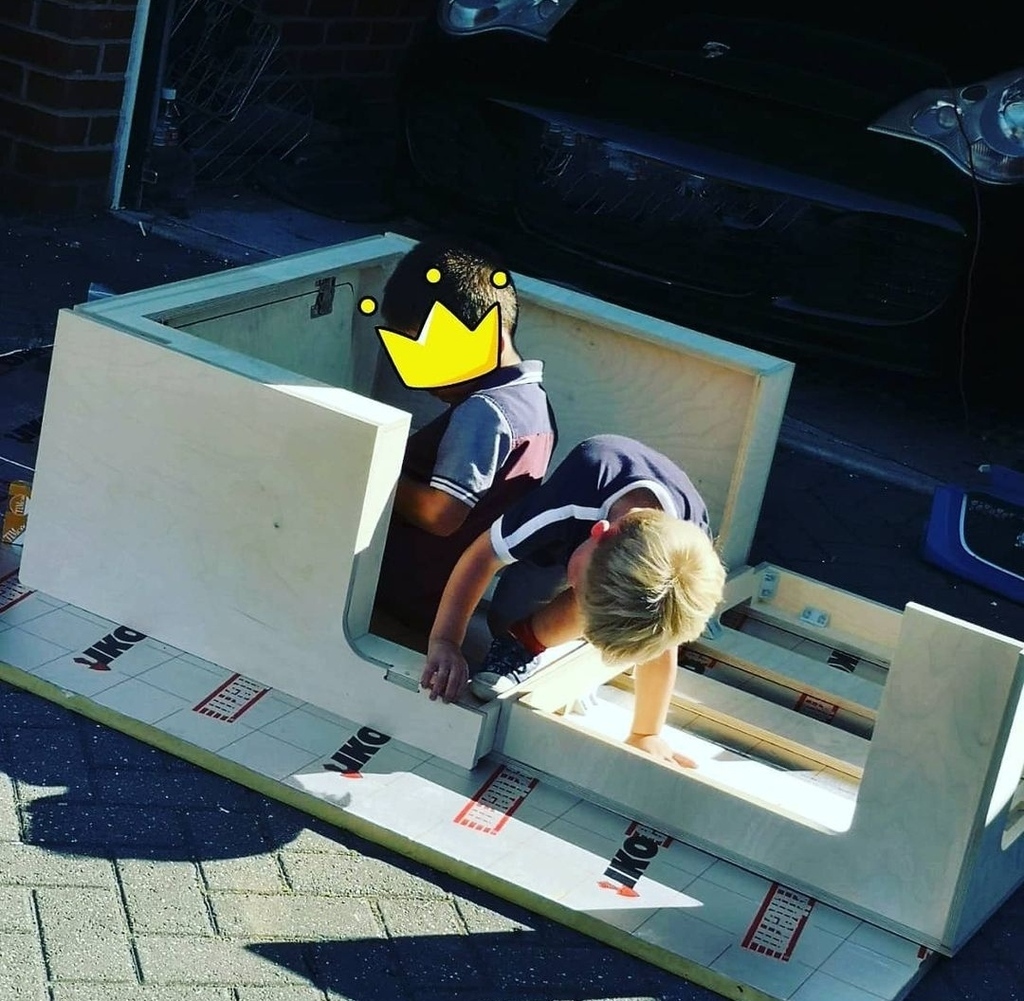 Bed resting in place, mattress sourced. It's a double, 'memory' foam, sliced in half with an electric turkey carver. £10 on Facebook. You love to see it. 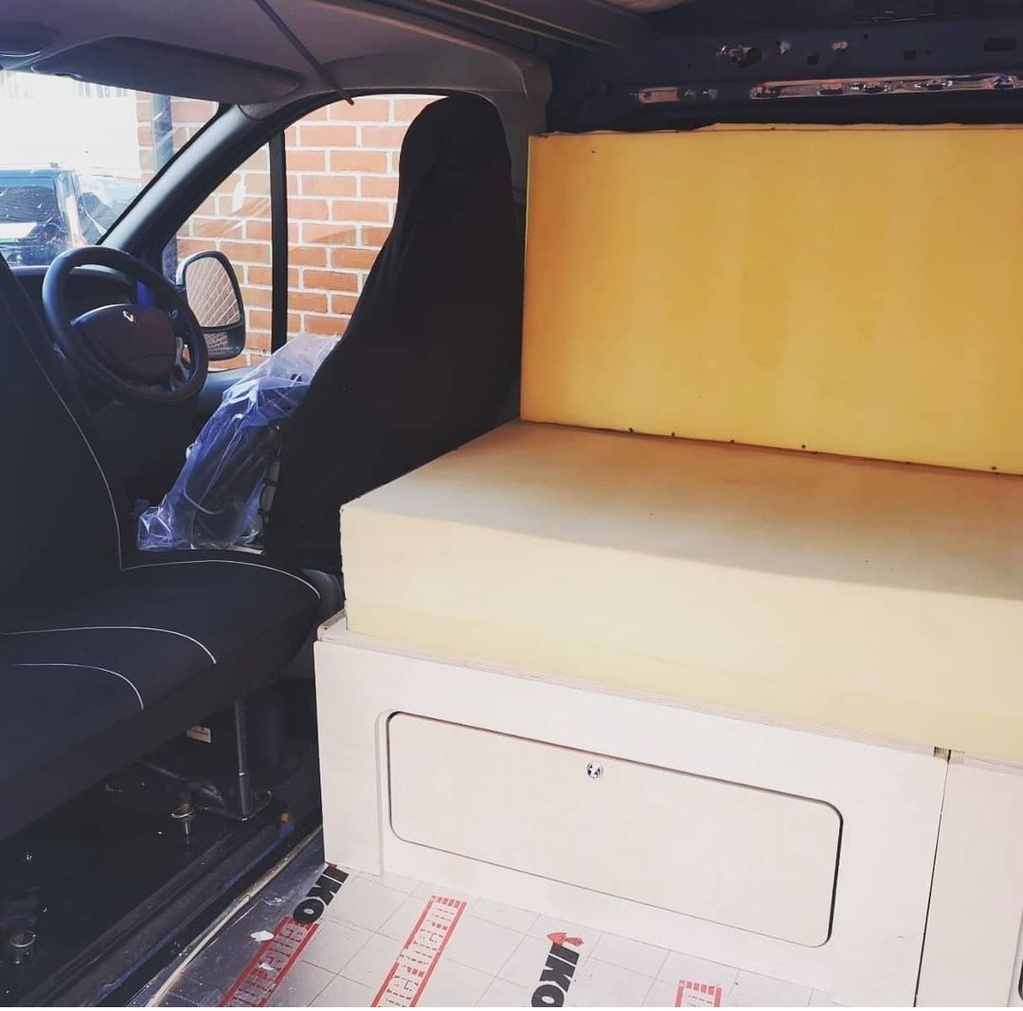 Twin leisure batteries sourced (originally destined for a cherry picker but a cancelled order from a local tradesman), split relay installed to the van battery under the passenger seat in the front, and connected to a solar panel on the roof. Note also the window we fitted at the start of the project...see page 1 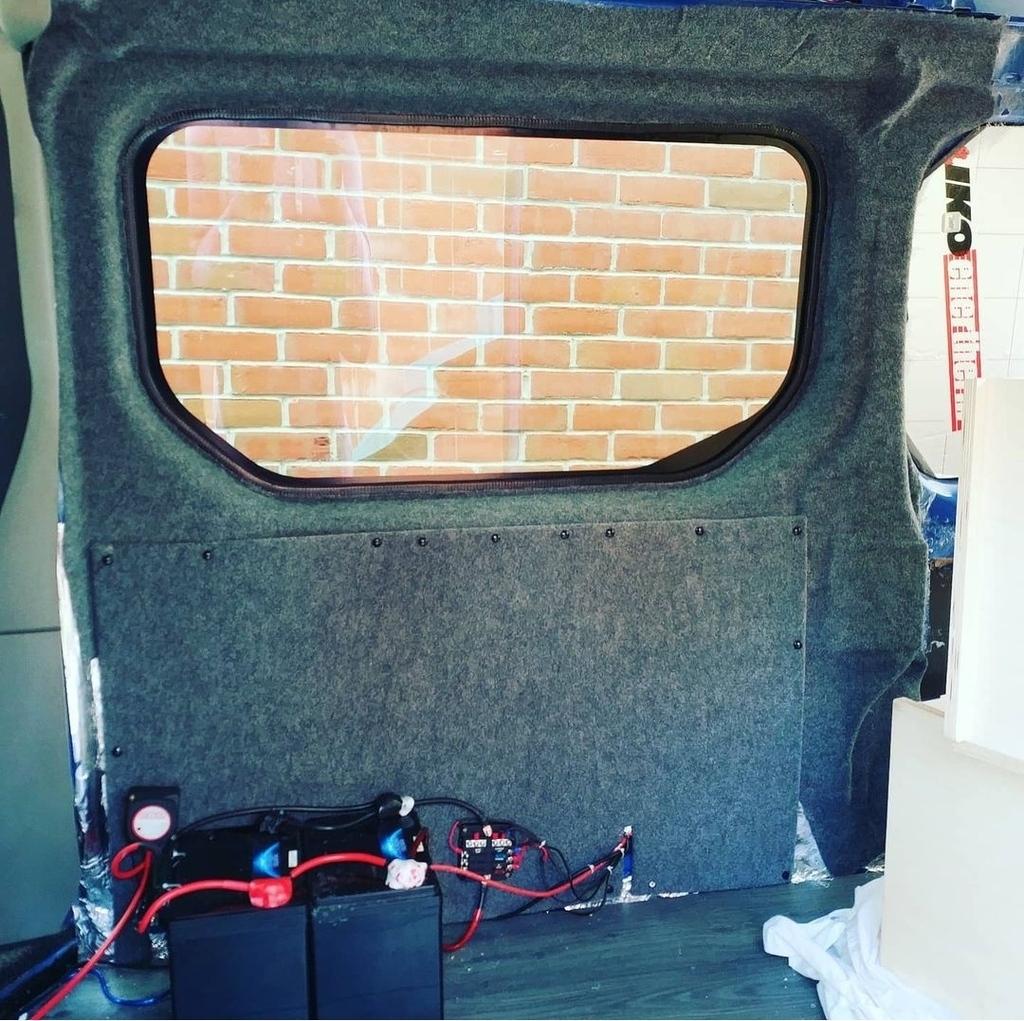 Only a single panel but the LBs are only really there to charge phones, run the LED lights and keep a cool box ticking over when the van is parked and we're not on mains voltage. An unexpected benefit was that on sunny days the solar panel would be supplying well over 13 volts, so the relay would open and top up the van battery instead. I fitted it last spring and, despite the van barely turning it's wheels in almost a year, never had to charge the main battery. New door seals fitted to the back and side doors as the old ones were toast, and carpet all through (all expertly done by Mrs. Paul...my talents were limited to the electrical and mechanical side, not design at all) 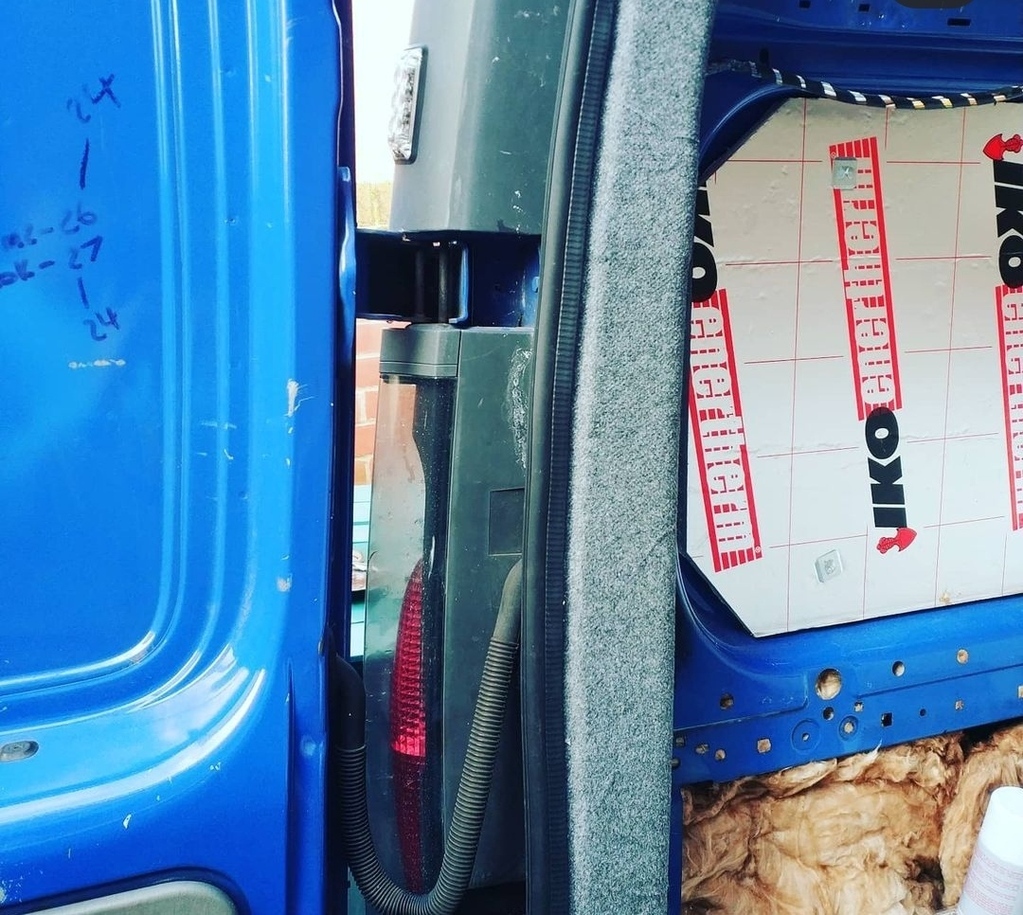 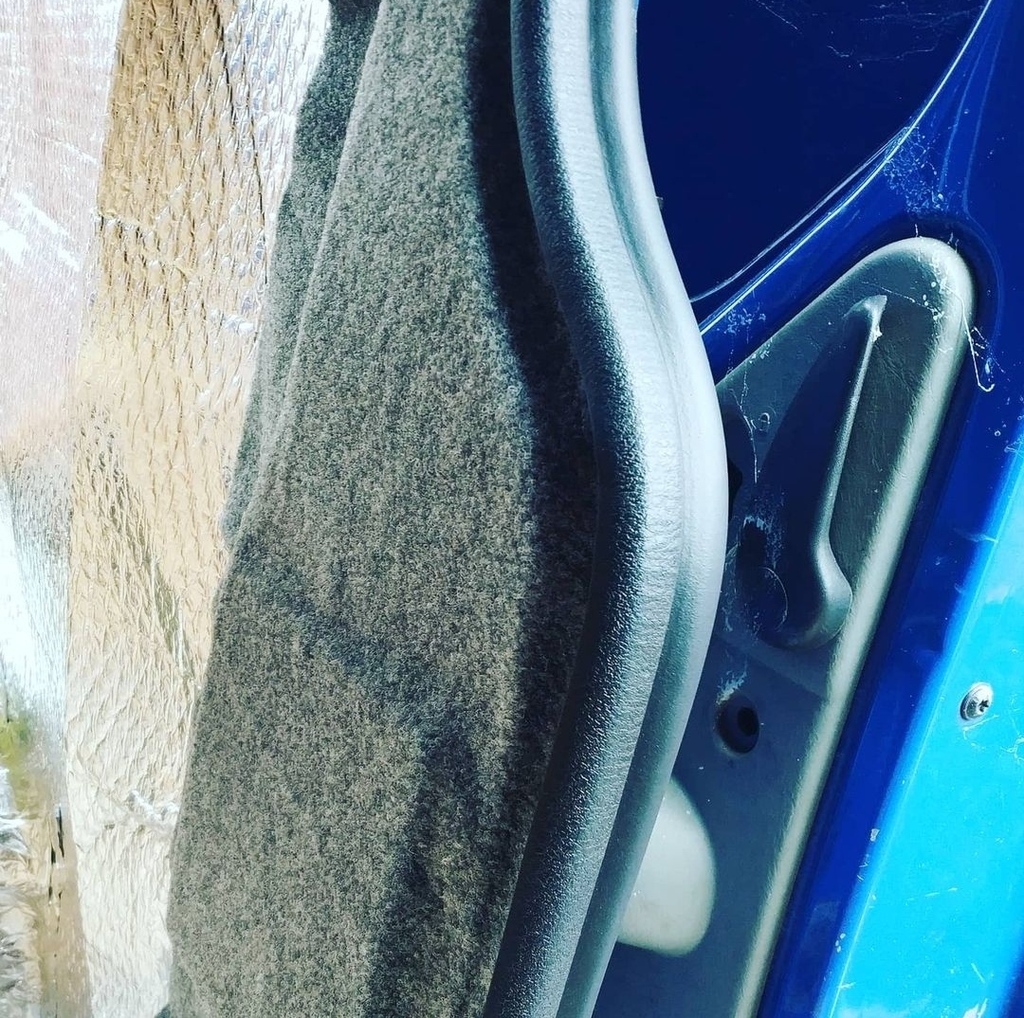 Originally this space was going to be the bed for little Paul, but he grew exponentially in the last 18 months and didn't much fancy being cooped in up there. So a cargo net has been fitted across the front, the bed slats initially bought to form an actual bed will still be fitted as support (it's the roof of the front cab, and otherwise just grey cardboard) and it'll be a useful storage space instead. 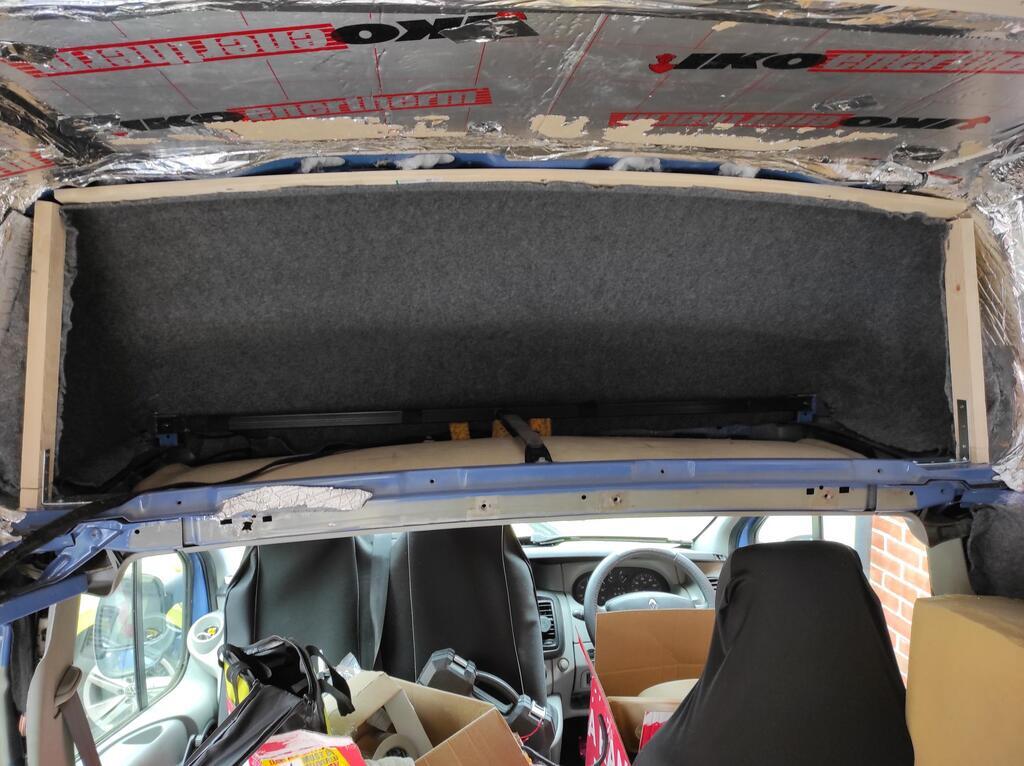 He seems much happier here instead. Early on in the build I purchased and installed a swivel plate for the front passenger seats - pricey, but opens up a surprising amount of space. The hammock is fitted to wherever you can hook it on - the seats bear the weight, not the van, and he'll have a sleeping bag in there as well. Bit jealous that he doesn't have to share tbh. 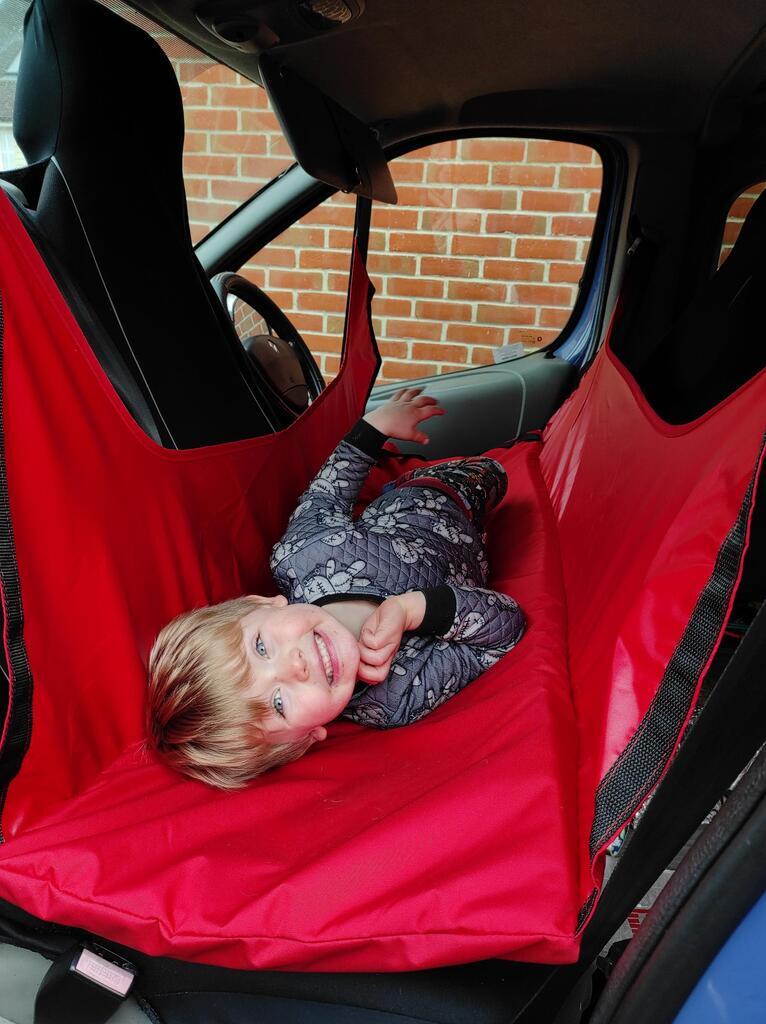 Shiplap being installed up the sides - longer term this will be the 'kitchenette' area - there's wiring behind there for a 12v water pump and switch - but that's for another day... 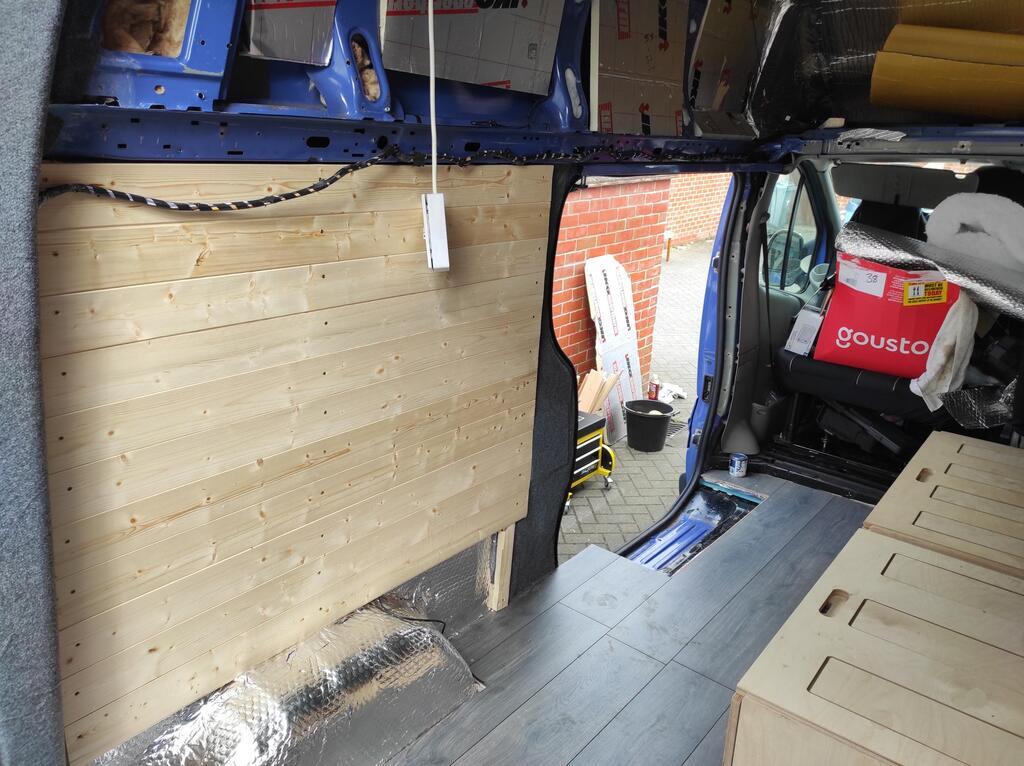 Next to the bed, a series of 12v plugs that connect to the van battery directly (to keep cold snacks cold when moving) and to the leisure batteries (to keep cold snacks cold when not moving). Switched and fused...we had a minor hitch when one stopped working. NOT my wiring as it turned out, but simply a dud fuse. 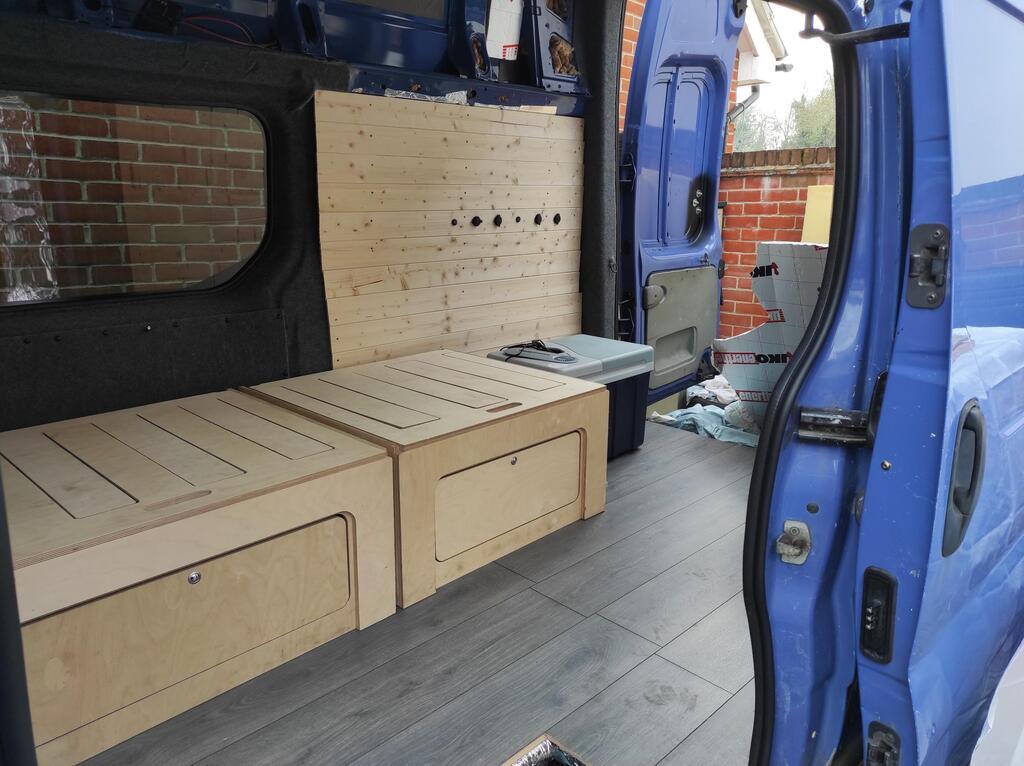 SWMBO was very insistent on having a roof hatch and ceiling fan that both blows in and out. Fitting this caused all sorts of headaches in terms of keeping it watertight, and making everything line up underneath. Given the convex shape of the roof, the ribs on the ceiling, the insulation and framing etc. etc. there's quite a big gap between the hatch on top and the fan/controls underneath. Frankly I've no idea how she made it all fit, but fit it does. There's about 3 cubic tons of sealant up top which is keeping it totally watertight as well. It lets in just enough light too. 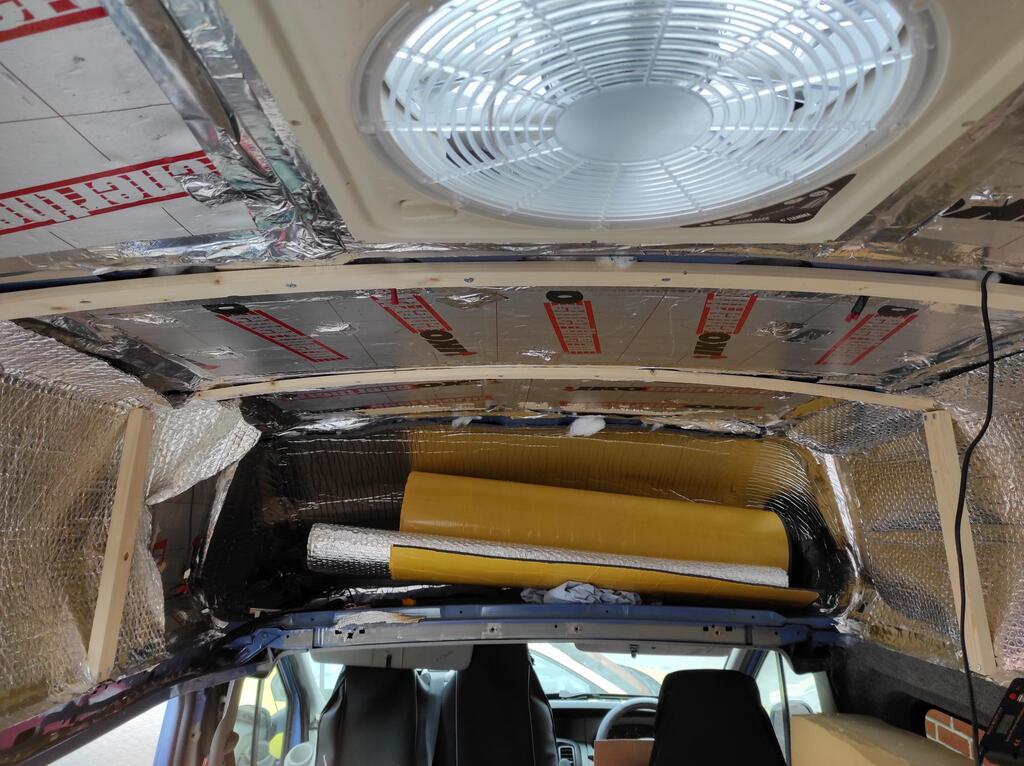 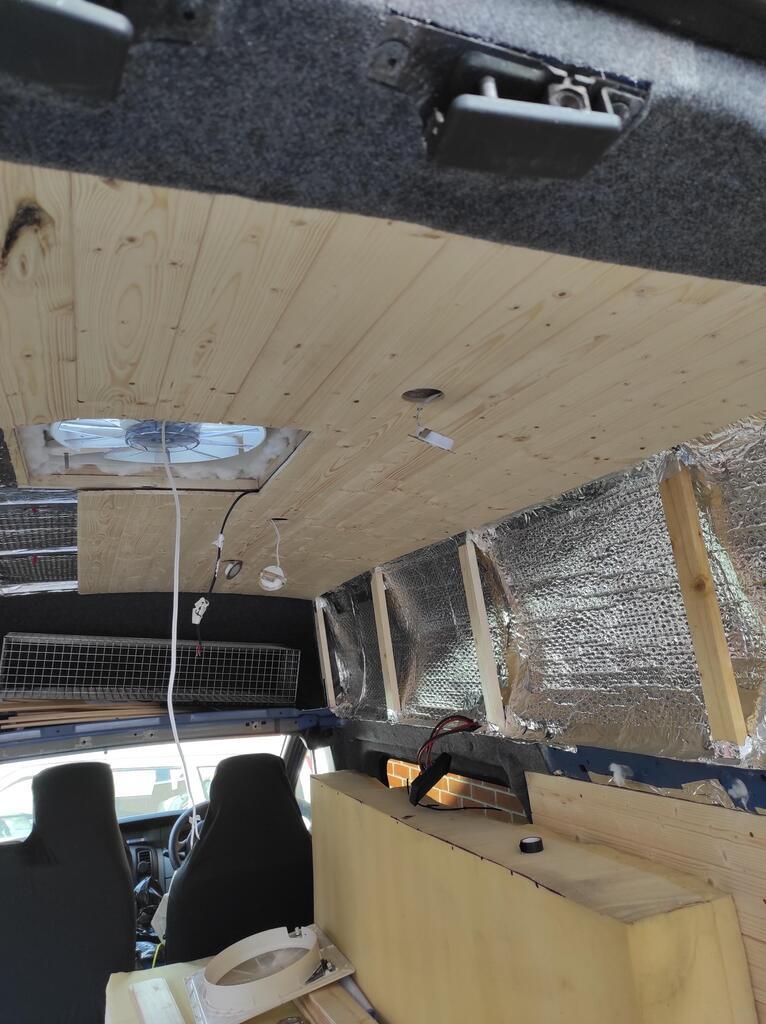 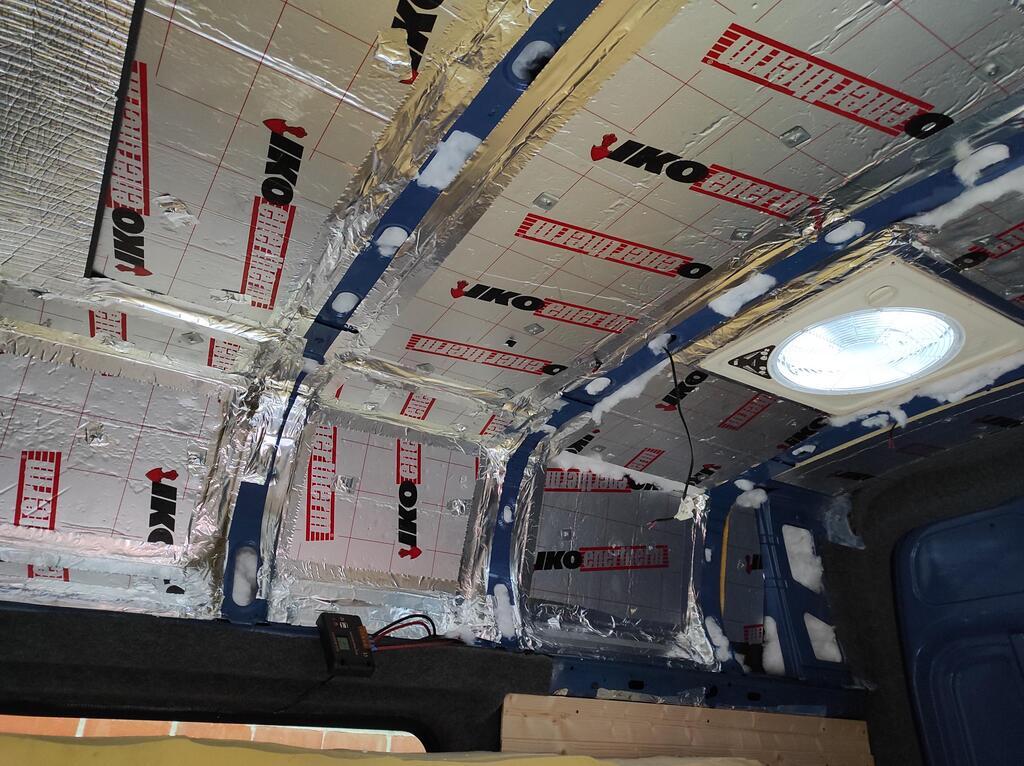 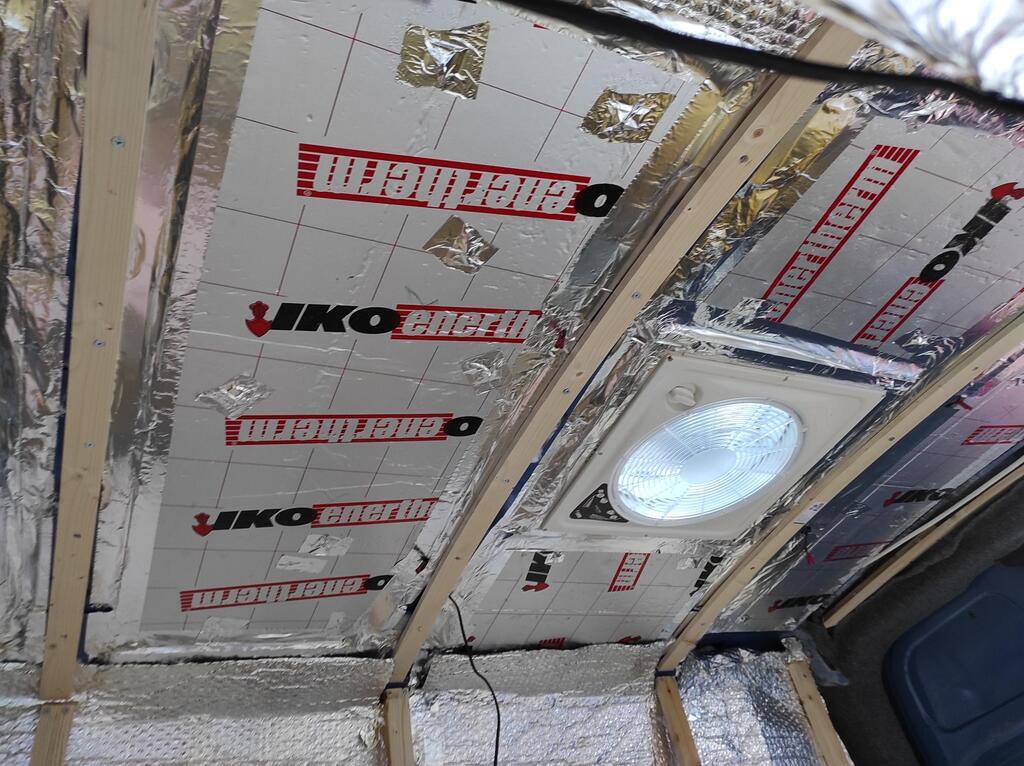 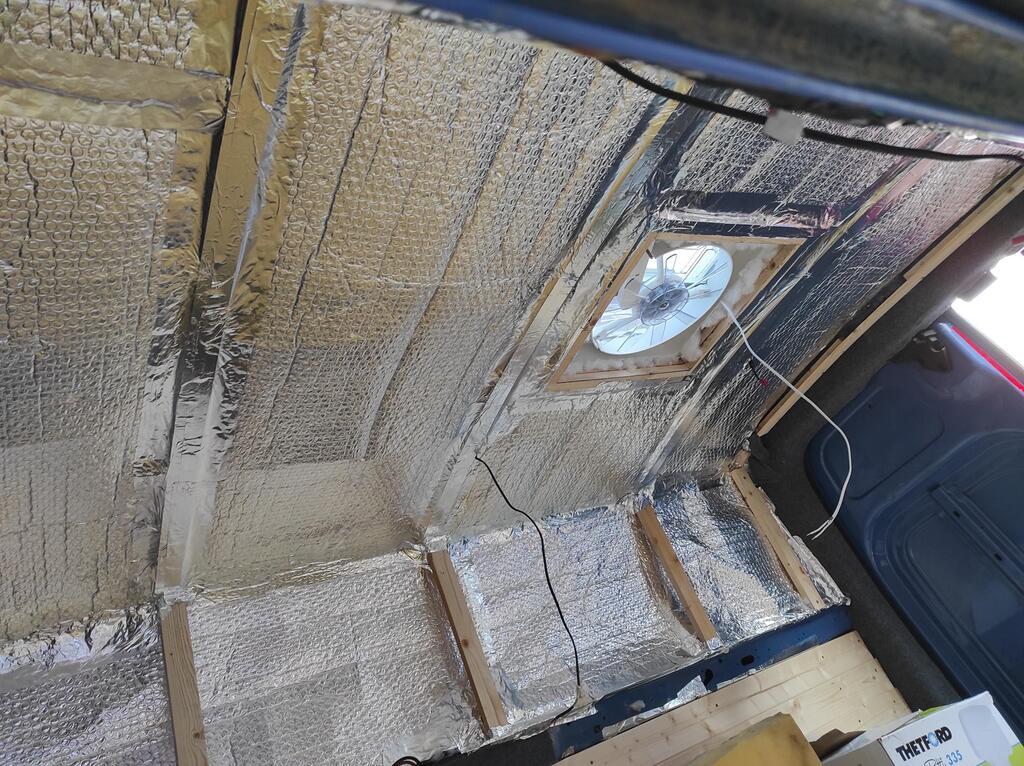 Wiring loop put in place for 6 of these LED lights - touch operated. Bit pricier than normal switched lights, but much easier to operate and obviously you can have any combination on/off at any time. I'm glad Mrs. P went with the warmer, yellow light as I wouldn't have...which would have been a mistake. Much more homely. 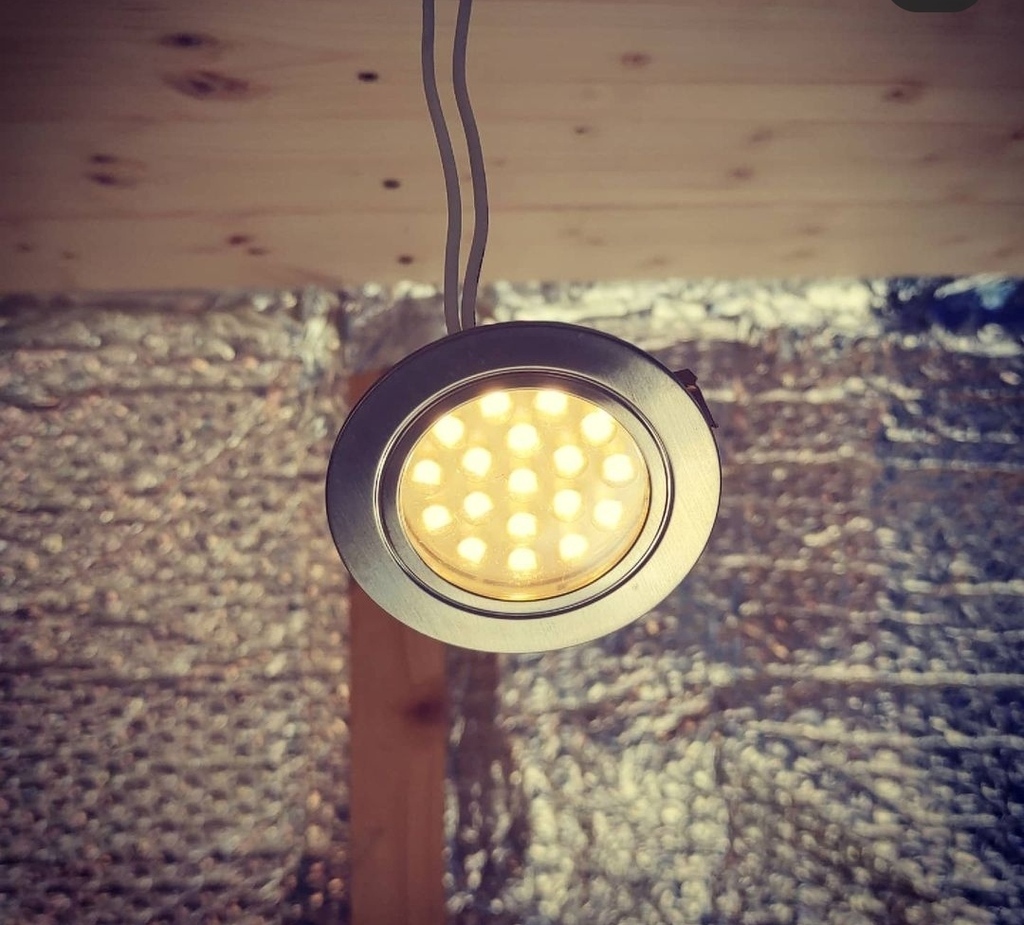 Fast forward to the last few days and a few homely touches have been added... 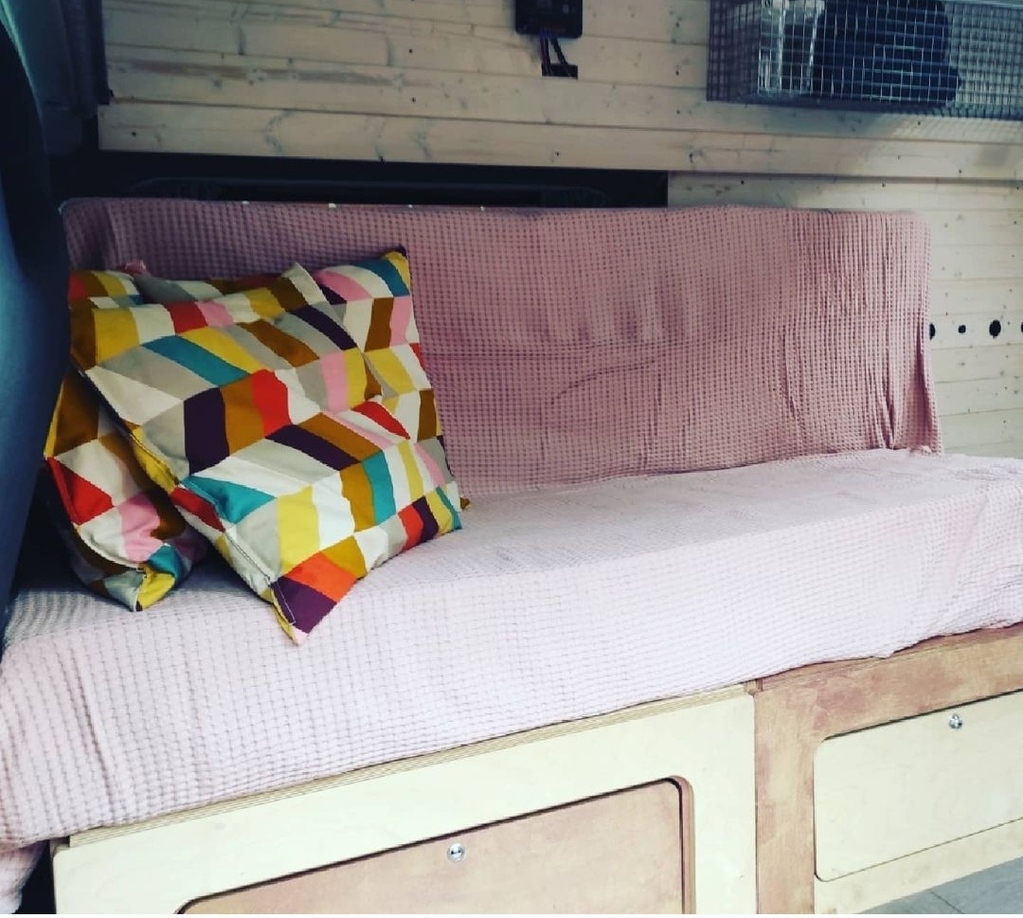 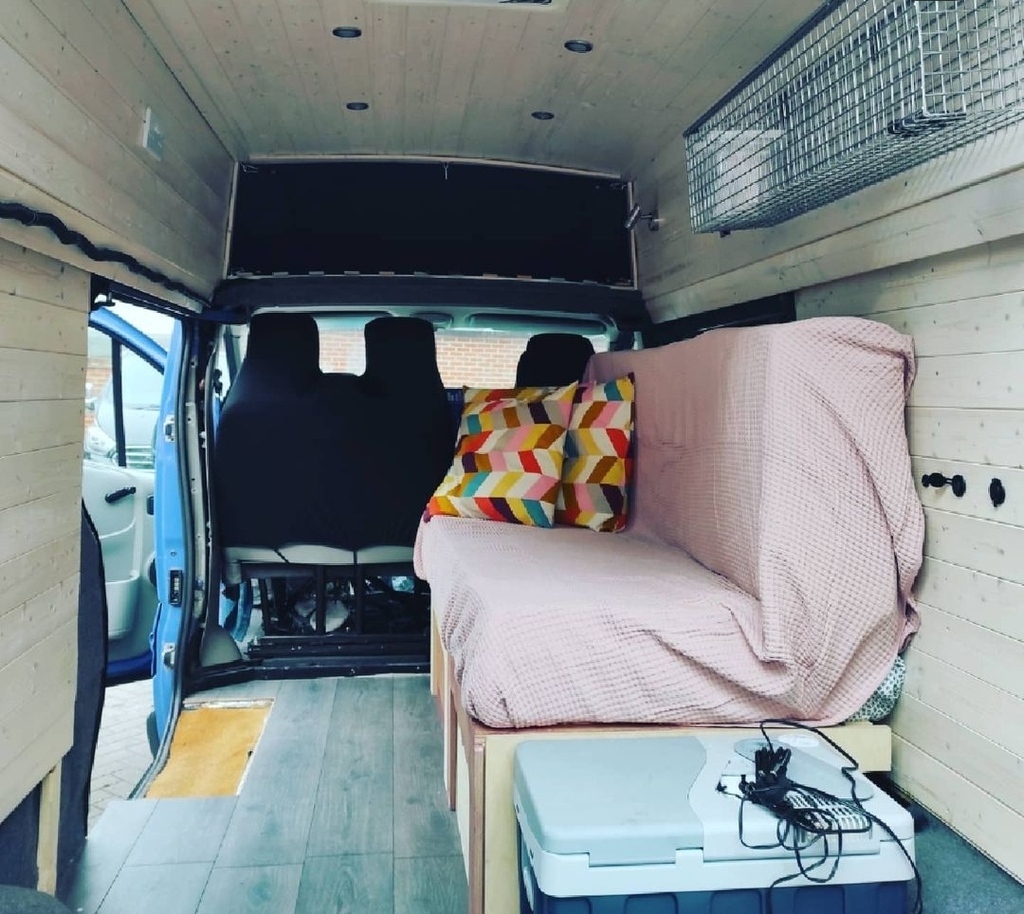 I even remembered that I'd bought a bonnet bra on eBay waaaaaaay back at the start 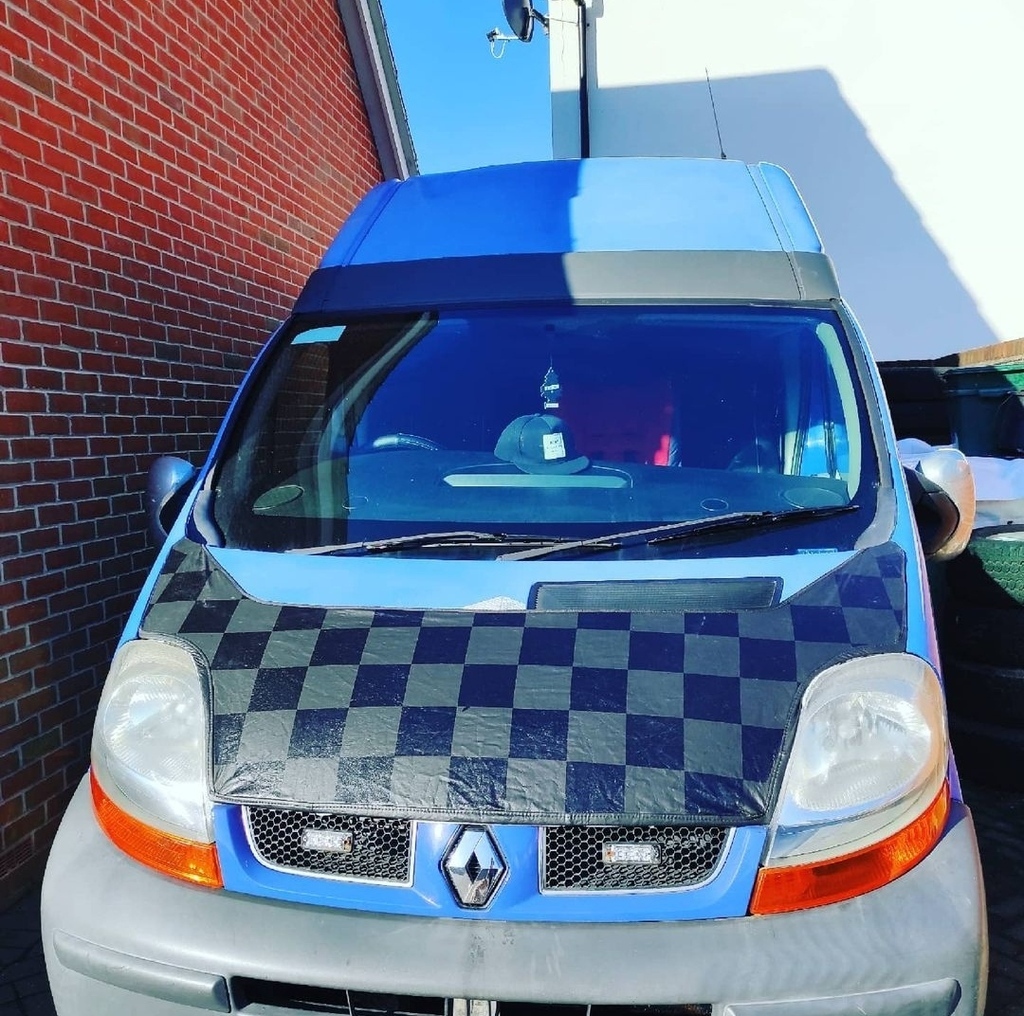 The reflective zig-zag lines are made of crushed glass and would take an aaaaaage to remove - this is much quicker. And that pretty much brings us up to date. She should be at the Weekender, so if you see us in the camping area and you're at all interested please drop by and say hello. Save your questions for Mrs. P though...she's now an expert in the thermal properties of a myriad of insulation and knows exactly which wood, screw, mastic, sealant etc. etc. you need. |
| |
|
|
|
|
logicaluk
Posted a lot
   Every days a school day round here
Posts: 1,373
|
|
May 30, 2021 19:35:35 GMT
|
|
I had that light come on my mates vivaro. Turns out he had only one glow plug working, and the boost control solenoid decided to die the day after the light cam on so the lot was changed sorced bosh glow plugs and cant remember what brand the solenoid was from ECP for 60 quid ish. The job took less than an hour.
Dan
|
| |
|
|
Paul
Posted a lot
  
Posts: 1,973
|
|
|
|
I had that light come on my mates vivaro. Turns out he had only one glow plug working, and the boost control solenoid decided to die the day after the light cam on so the lot was changed sorced bosh glow plugs and cant remember what brand the solenoid was from ECP for 60 quid ish. The job took less than an hour. Dan 200 miles in and we've not had a recurrence, although it definitely did feel like boost just wasn't boosting. Cheers for the tip! Currently resting at Lulworth Cove... 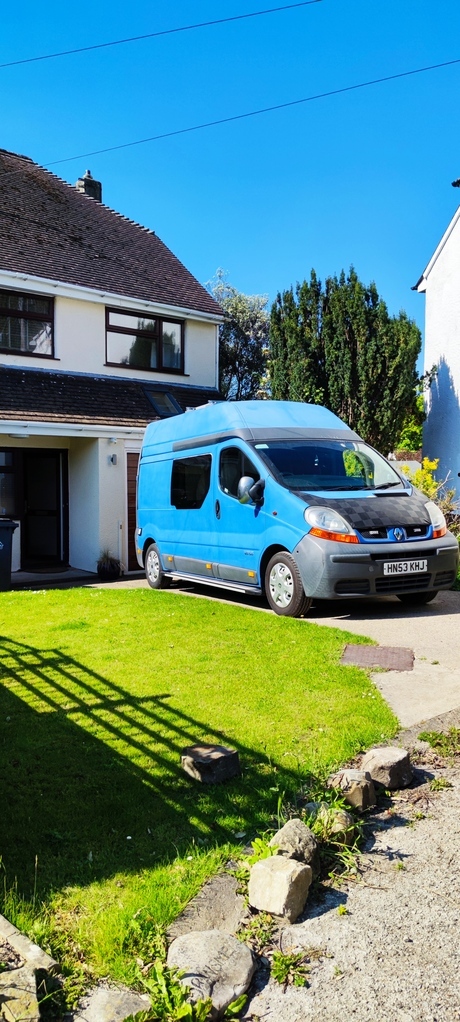 |
| |
|
|
Paul
Posted a lot
  
Posts: 1,973
|
|
|
|
Quick post-RRW update...Campervan performed faultlessly both at the campsite and beyond. 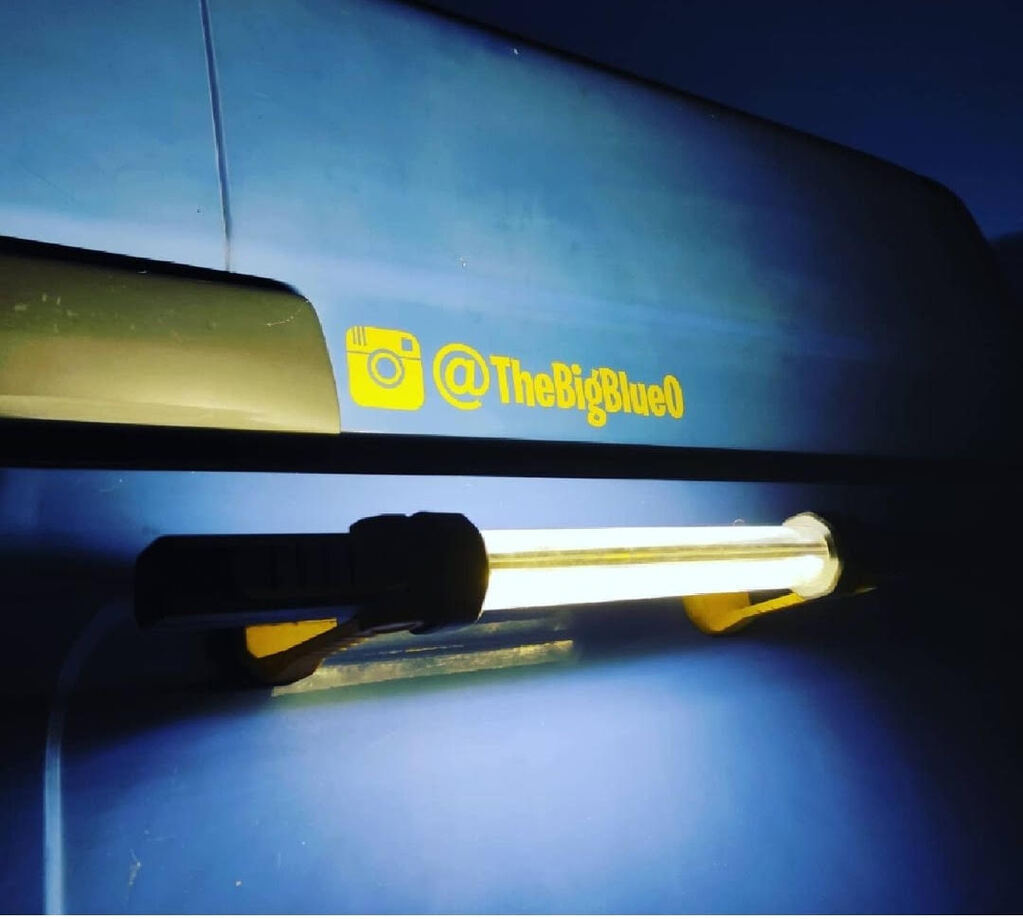 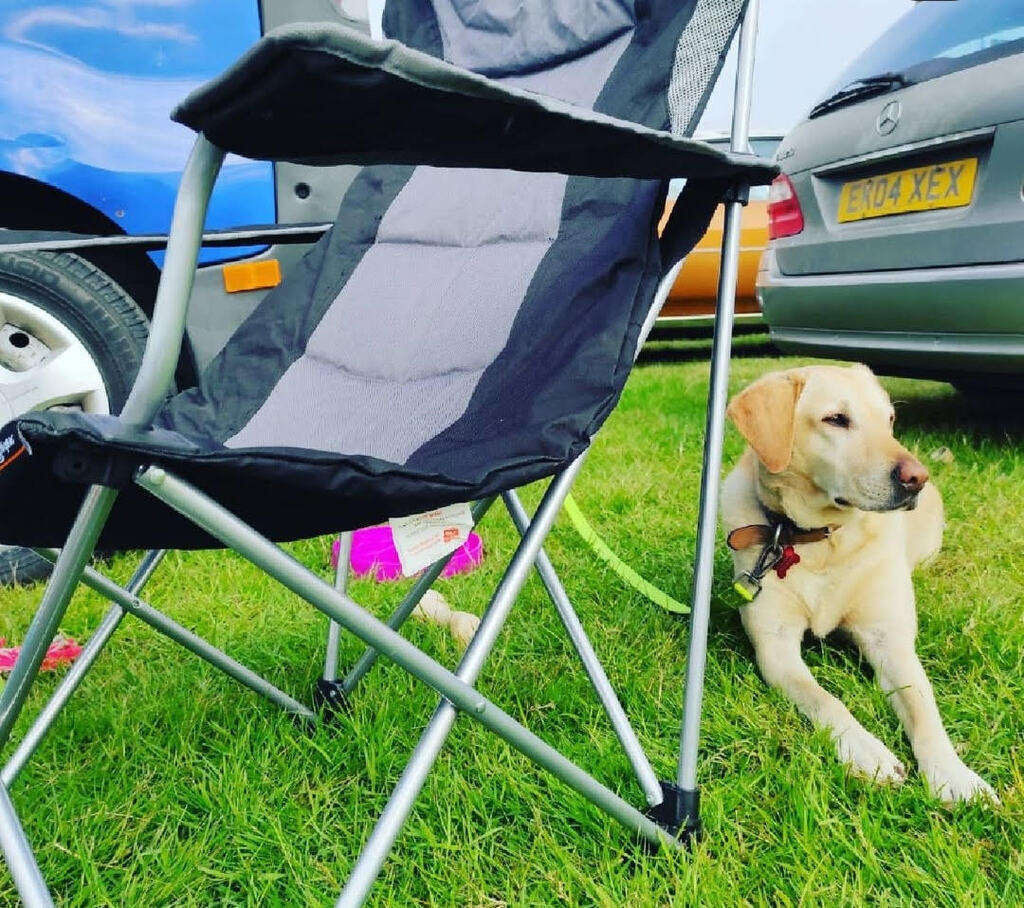 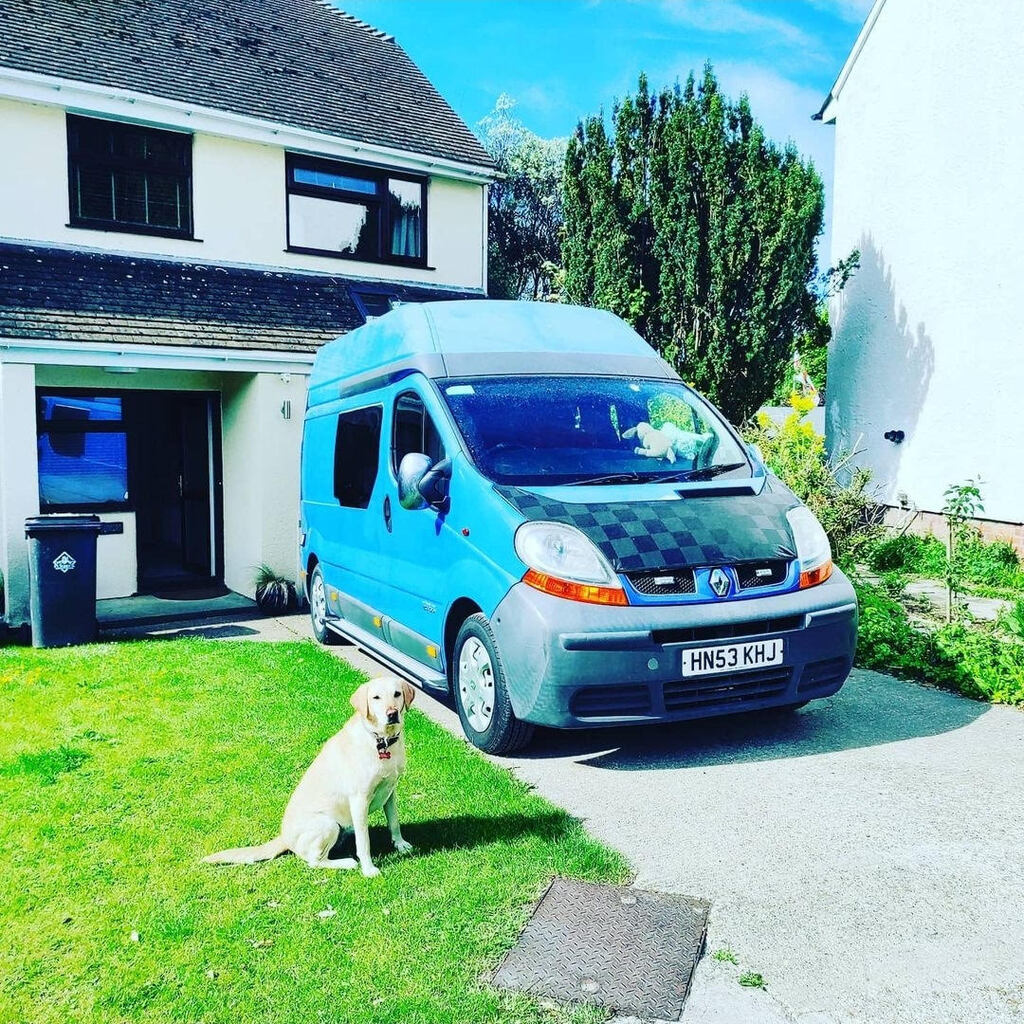 Honestly. There's actually very little to report. Leisure batteries kept the coolbox running all weekend, along with the ceiling fan when it got hot and charging phones etc. I've posted my pics from the show in the appropriate thread elsewhere. I wish we'd sprung for one with aircon though...it gets muggy in there on a long drive. Came home determined to get the Jeep out on the lanes having fitted the big mud tyres and little lift. 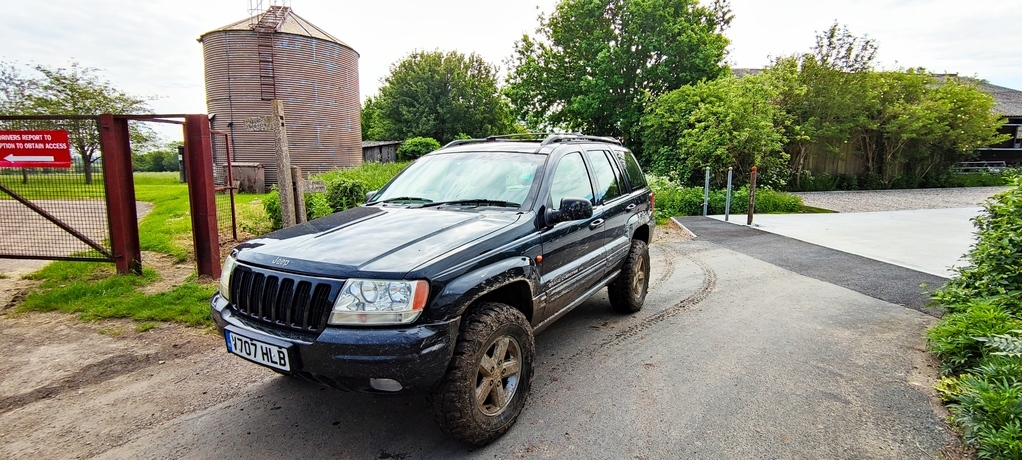 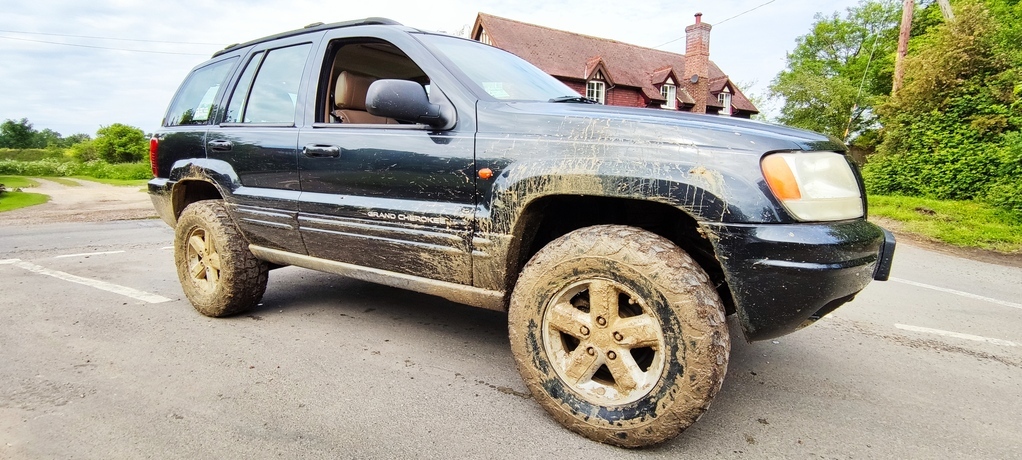 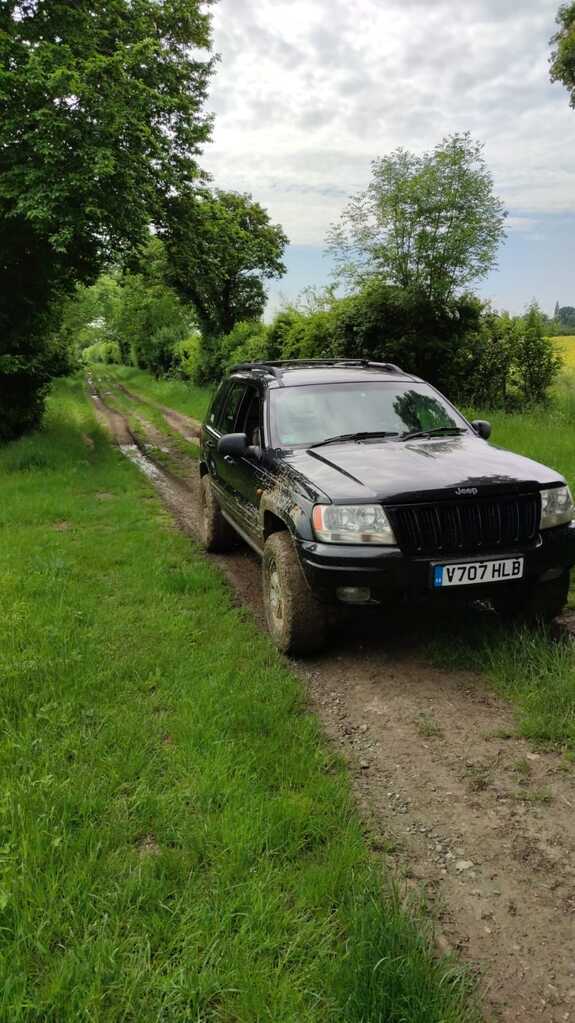 Truth be told I took a detour on the way home from a tip run, having left my spare wheel, rescue ramps and shovel all at home. Which was a terrible idea. This was Sunday morning - after a fair bit of rain on Friday - and the lanes near me were much more muddy than I was expecting. I have scouted them on foot before and they were fine...before the rain. Combine that with a total lack of experience I was just asking for trouble, and at one point it felt like I was beginning to bog down. Speed decreased, tyres spun, the jeep began to slide around in the ruts...and it was only through prayer, spinning the steering wheel and the application of MOAH POWAH that I got through. Was fun though. Also discovered a very loud clunking from the NSF which didn't reveal itself on regular road driving. Got home to find I could easily move the tie rods by hand and clunk metal on metal. So add that to the list. Silly eBay addition for all the night driving I won't be doing. Bright! 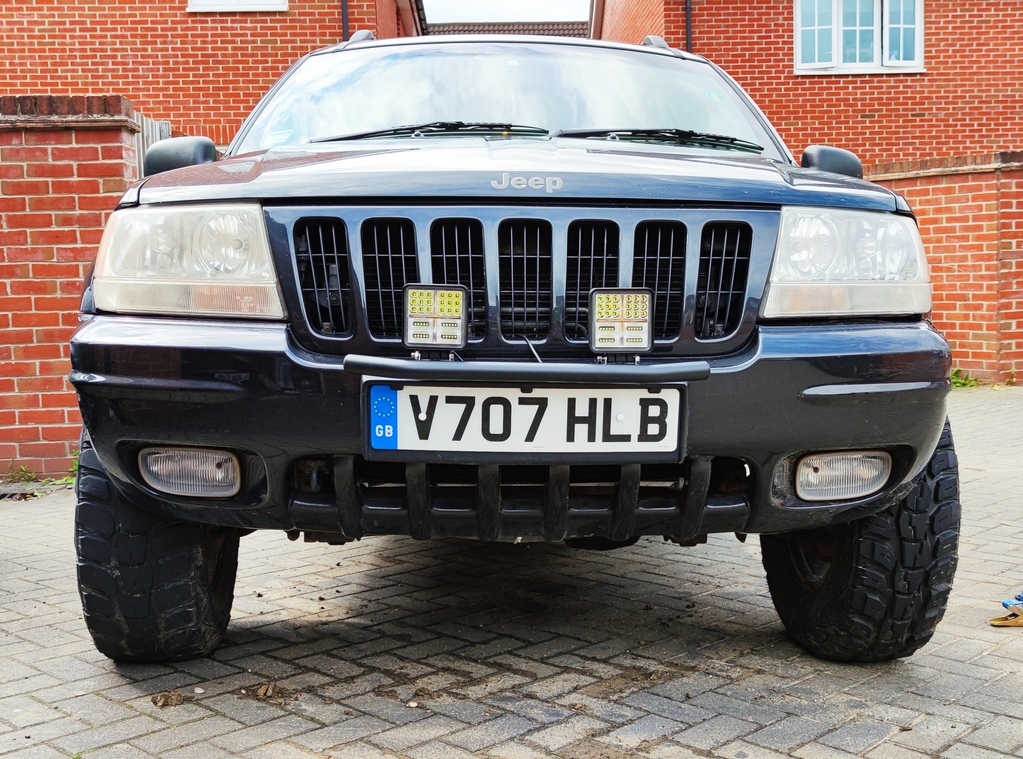 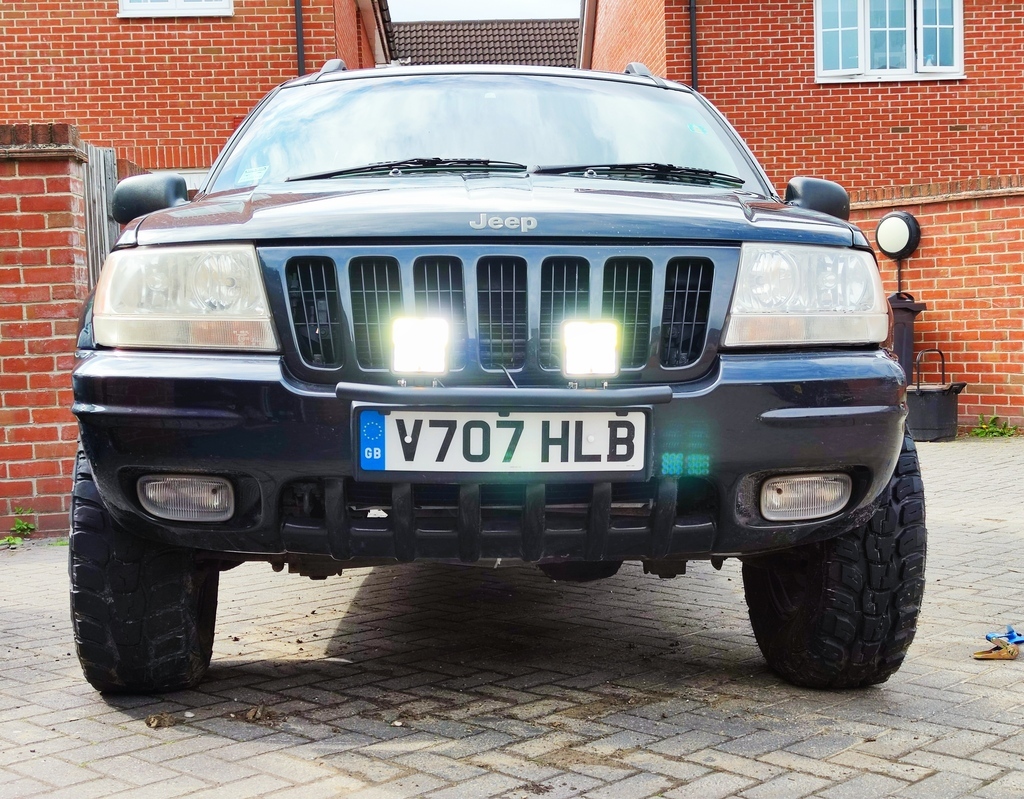 Looking at those last two pictures it seems blindingly obvious that the tracking is out - so I've ordered both sides and I don't think I can do any worse by eye TBH. That's a job for next weekend though :-) |
| |
Last Edit: Jun 7, 2021 11:09:05 GMT by Paul
|
|
Paul
Posted a lot
  
Posts: 1,973
|
|
|
|
Spoke too soon. 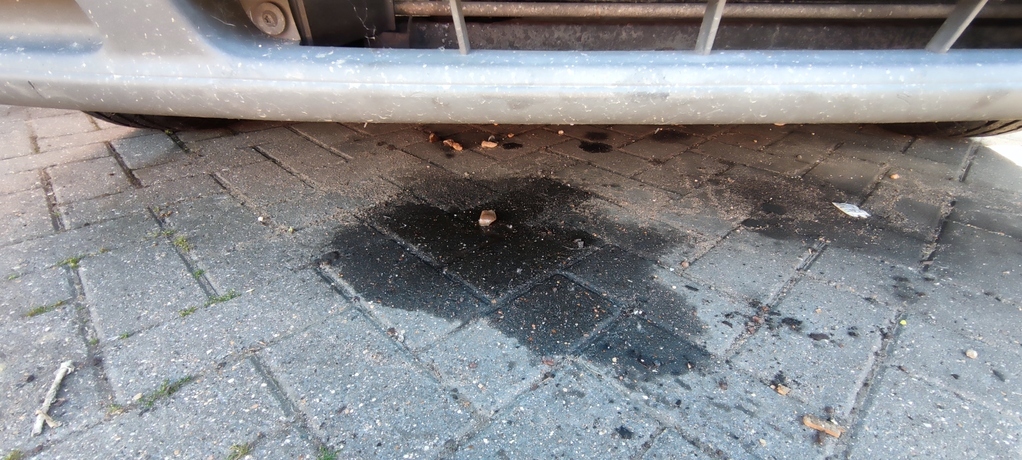 Pinhole in the bottom of the radiator letting a wee drip drip drip happen. The 7 hour drive home with me hammering through the gears in impotent rage would not have helped. Still, looks simple enough (Haynes manual suggests removing from the bottom) and my local breaker can do me a good one for a tenner. Weekend planned  |
| |
|
|
Paul
Posted a lot
  
Posts: 1,973
|
|
|
|
Been a bit remiss in updating this thread, partly due to work and partly due to just getting out there and driving. Pulled the old radiator from the van - rotten: 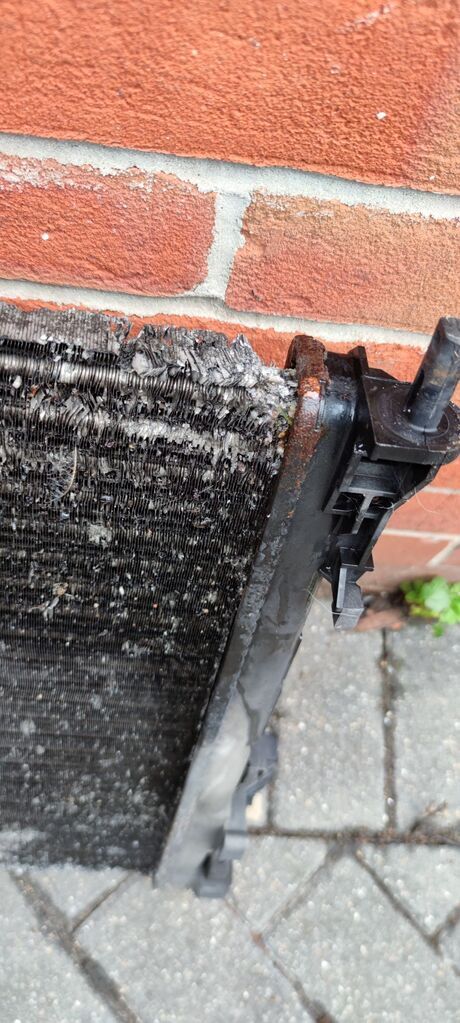 £10 from a breaker - back on the road and living the dream... 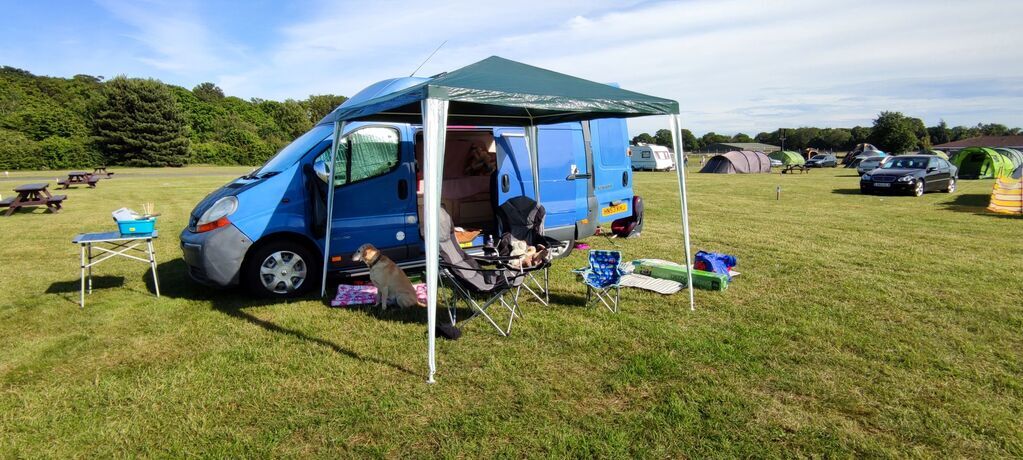 Sorted a battery drain on the Jeep - battery terminals were not even hand tight and made of cheese: 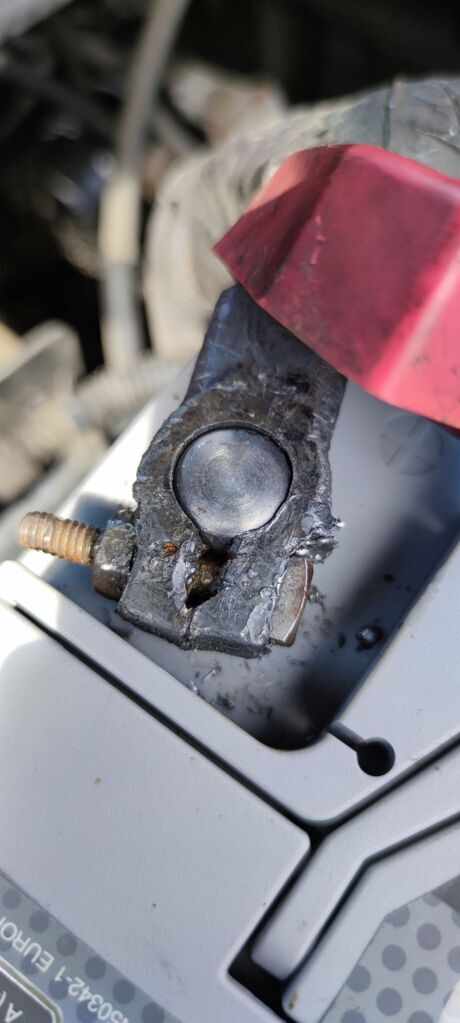 Much better - parked it for a fortnight, started up straight away: 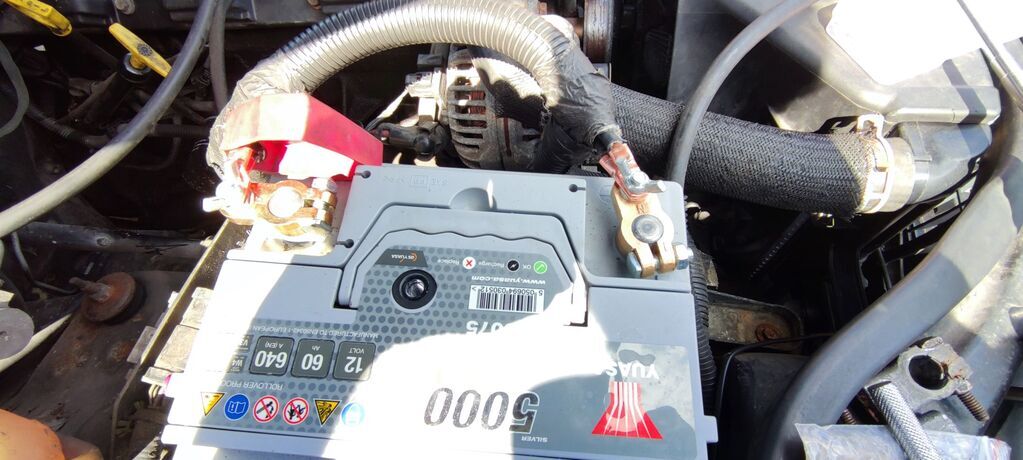 Took the Ovlov up to the Retro Show at Santa Pod, although the grim day and lack of club stands made it a bit of a letdown: 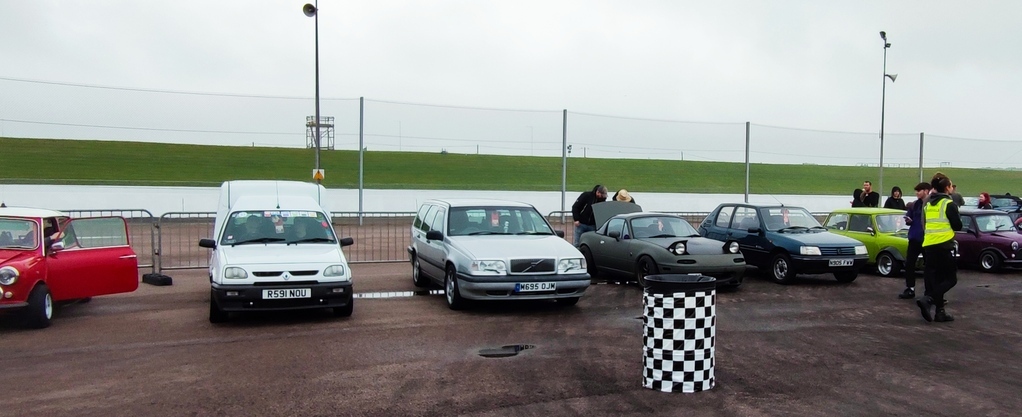 And that sort of brings us up to date...until: 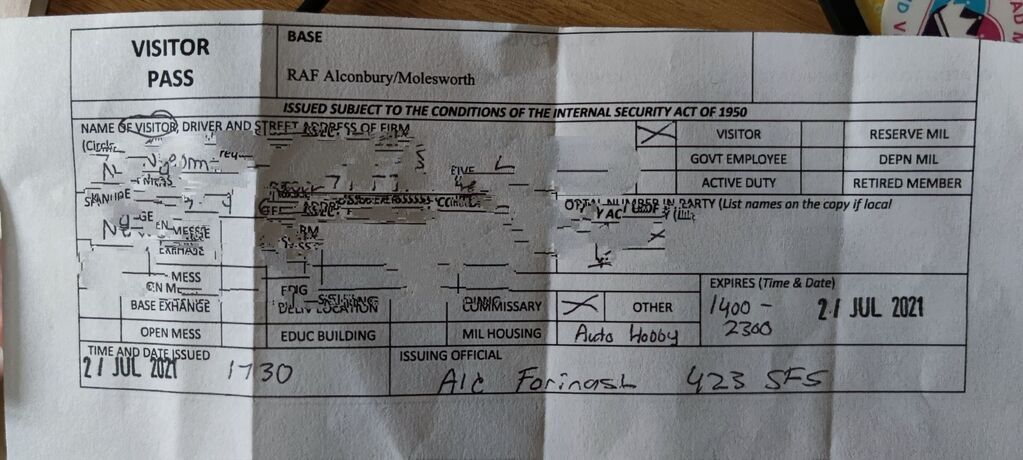 Why would Paul be visiting a US Air Force base? |
| |
|
|
|
|
|
|
|
|
You've bought an Ambrams tank?
|
| |
|
|
|
|
|
|
|
|
Was it for the Volvo world record attempt
|
| |
|
|
hairymel
Club Retro Rides Member
avatar by volksangyl
Posts: 1,081
Club RR Member Number: 207
|
|
|
|
'consolidating the fleet' is the current subtitle of this thread I think Paul might need to update this😂 |
| |
whats that burning smell?
oh curse word :-(
|
|
Paul
Posted a lot
  
Posts: 1,973
|
|
|
|
Well sadly we said goodbye to the 850 this morning. Farewell, sweet prince, we hardly knew ye. Although if your answer to the question of what I was doing on an airbase was 'buying a car, obviously', then you're absolutely right! 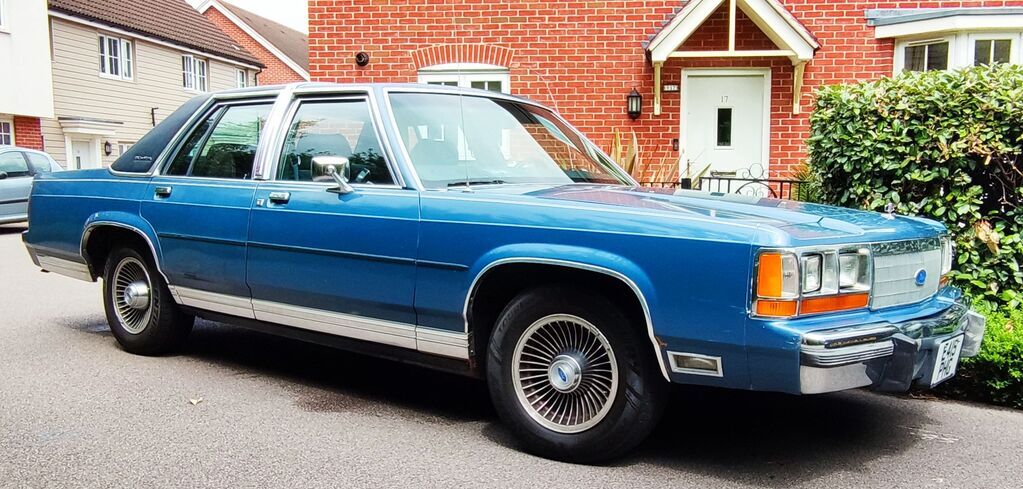 She's a bit special though, so she's got her own separate thread here: forum.retro-rides.org/thread/218958/1987-ford-CROWN-victoria |
| |
|
|
Paul
Posted a lot
  
Posts: 1,973
|
|
|
|
So, Summer sitrep on the rest of the fleet (minus the wonderful CROWN Vic) Volvo - GONE, I fear to be broken Jeep - GONE to a technician who wanted some offroad fun himself 911 - took for an evening blat and the aircon still isn't working properly. It blows cold for a while, then heats up which would suggest it's still leaking somewhere. Will need to break out the black light to see if I can spy any dye anywhere underneath. Also the new 19" wheels and tyres are pretty but definitely a bit louder than the old 18s. I also managed to dent the rear N/S wing when the computer monitor I'd bolted to the wall of the garage (imagine minority report, but on a 40 quid budget - used occasionally for YouTube tutorials or parts searching) fell off when I went to move it. Entirely my fault. Could be costly but I'm not going to worry about it during the Summer - no way I'm taking the car off the road for the few weeks of the year when I get to drive it with the top down. Campervan is resting, but will be put to good use over the next month or so when Summer kicks in...including (but not limited to) the RRG :-) The daily E87 has been sorely lacking some love, and just the other day the rear wiper motor packed up. Well, I say packed up - it stopped working but was making a horrible buzzing and grinding. I assumed something had seized up, so set about taking it apart to regrease everything. 140k of getting wet will do this. 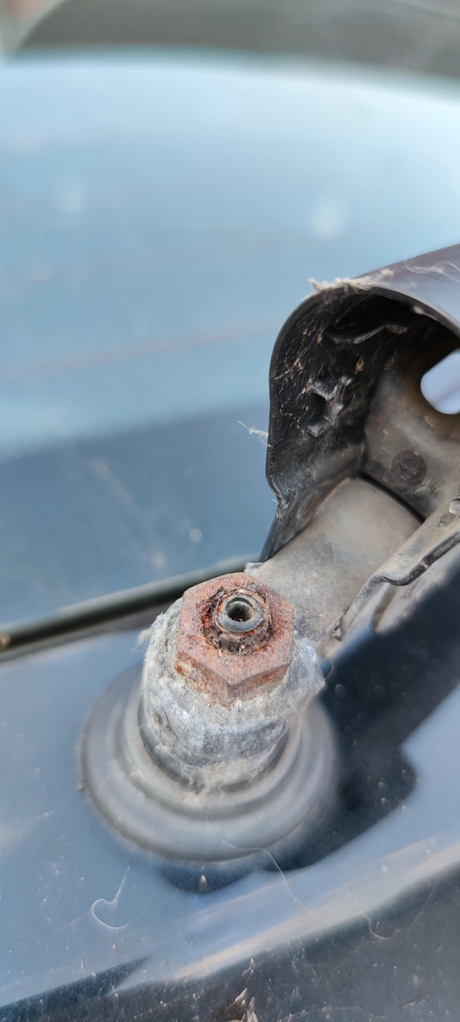 Doesn't bode well... 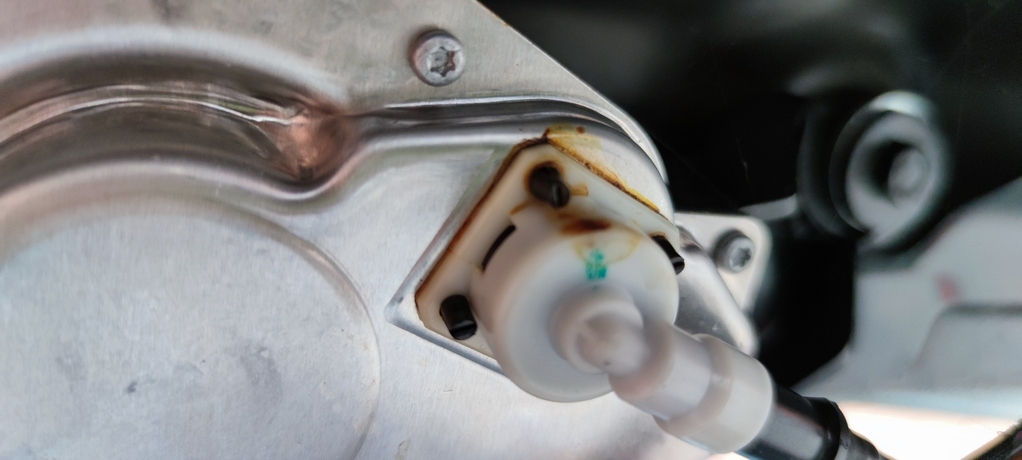 (a big thankyou to BMW for using a combination of 2 different plastic panel clips, pozidrive screws, 10mm and 13mm bolts and torx screws just to hold the rear trim and wiper motor to the boot lid) Yikes: 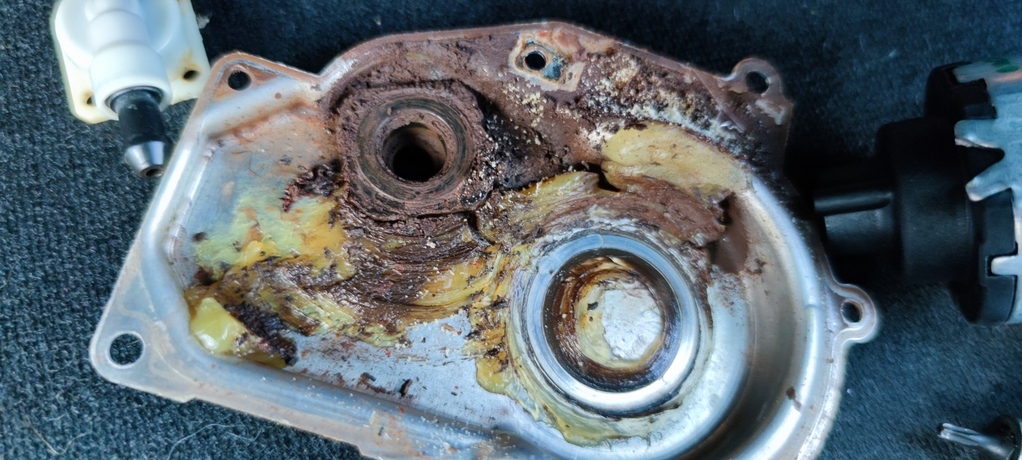 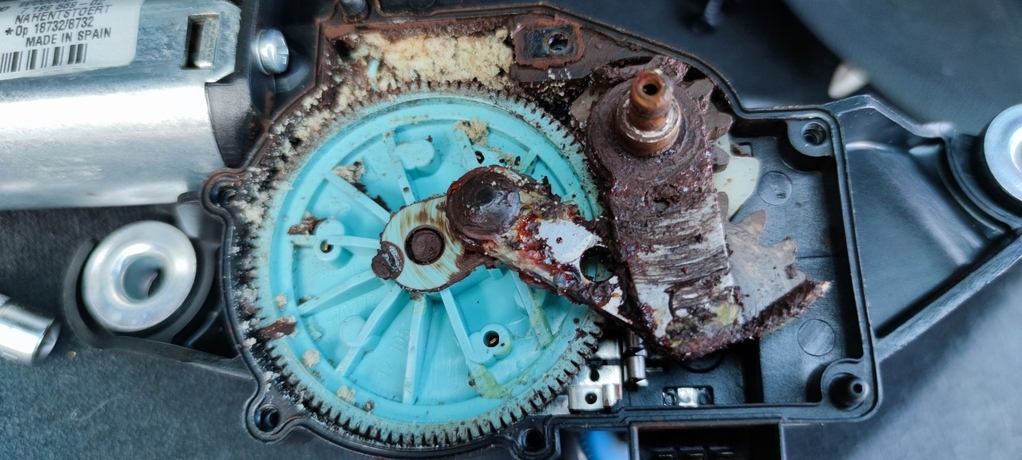 Gave it a good blast with brake cleaner and an old toothbrush, but alas to no avail. The issue is (and I've tried to picture it as best I could) that the the motor power that metal threaded rod, which meshes with the plastic teeth on the big blue wheel and moves the wiper to and fro. Through age and getting crudded up the metal rod has stripped the plastic teeth away from the wheel. 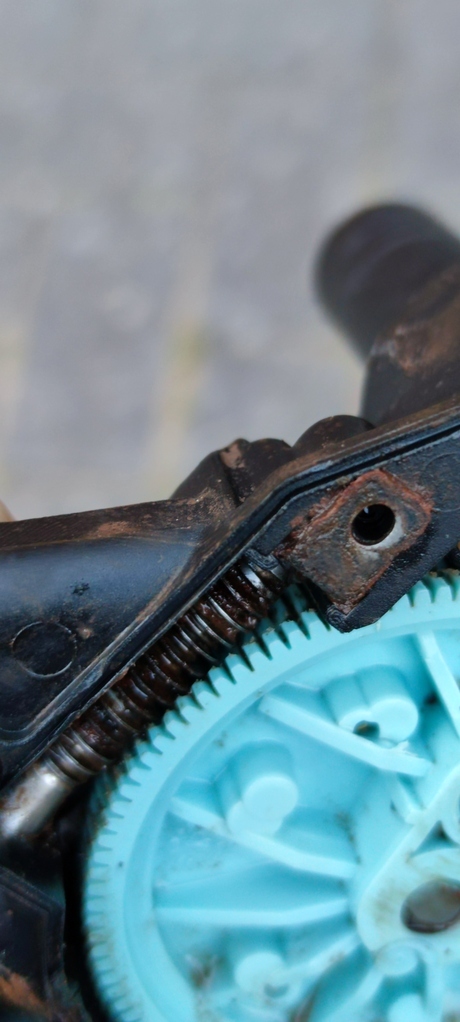 I had hoped to remove and reorientate the plastic wheel onto some good teeth, but the armature of the wiper can only fit one way. So it's  Replacement sourced from teh bay, 20 quid. |
| |
Last Edit: Jul 21, 2021 9:52:20 GMT by Paul
|
|
|
|


