|
|
|
|
|
Absoluteley imperative to keep the 'support services' happy !  Absolutely. And this week has been especially tough for her as the Corsa is petrol, she does 50 miles a day for work, and there is no petrol about. Last night she sat in line after work, and the pump ran out two cars ahead of her. This morning we both went out, I managed to fill my company car with diesel, and Sally was three cars behind me……. Petrol ran out again before she made it onto the forecourt. So she drove to another station 6 miles from her home and and managed to fill up. It is 10.20 now, so I need to get my garage clothes on and go get started, two days without touching the Rezin Rockit is too long. So, BACK TO FRONT ENDLoads of rain forecast for the rest of the weekend. Thankfully I have a carport. |
| |
Last Edit: Oct 2, 2021 9:29:34 GMT by grizz
|
|
|
|
|
|
|
|
|
So the weather forecast said rain. A fair amount of it. And I must be honest, it got worse, amd left me really thankful for this structure. 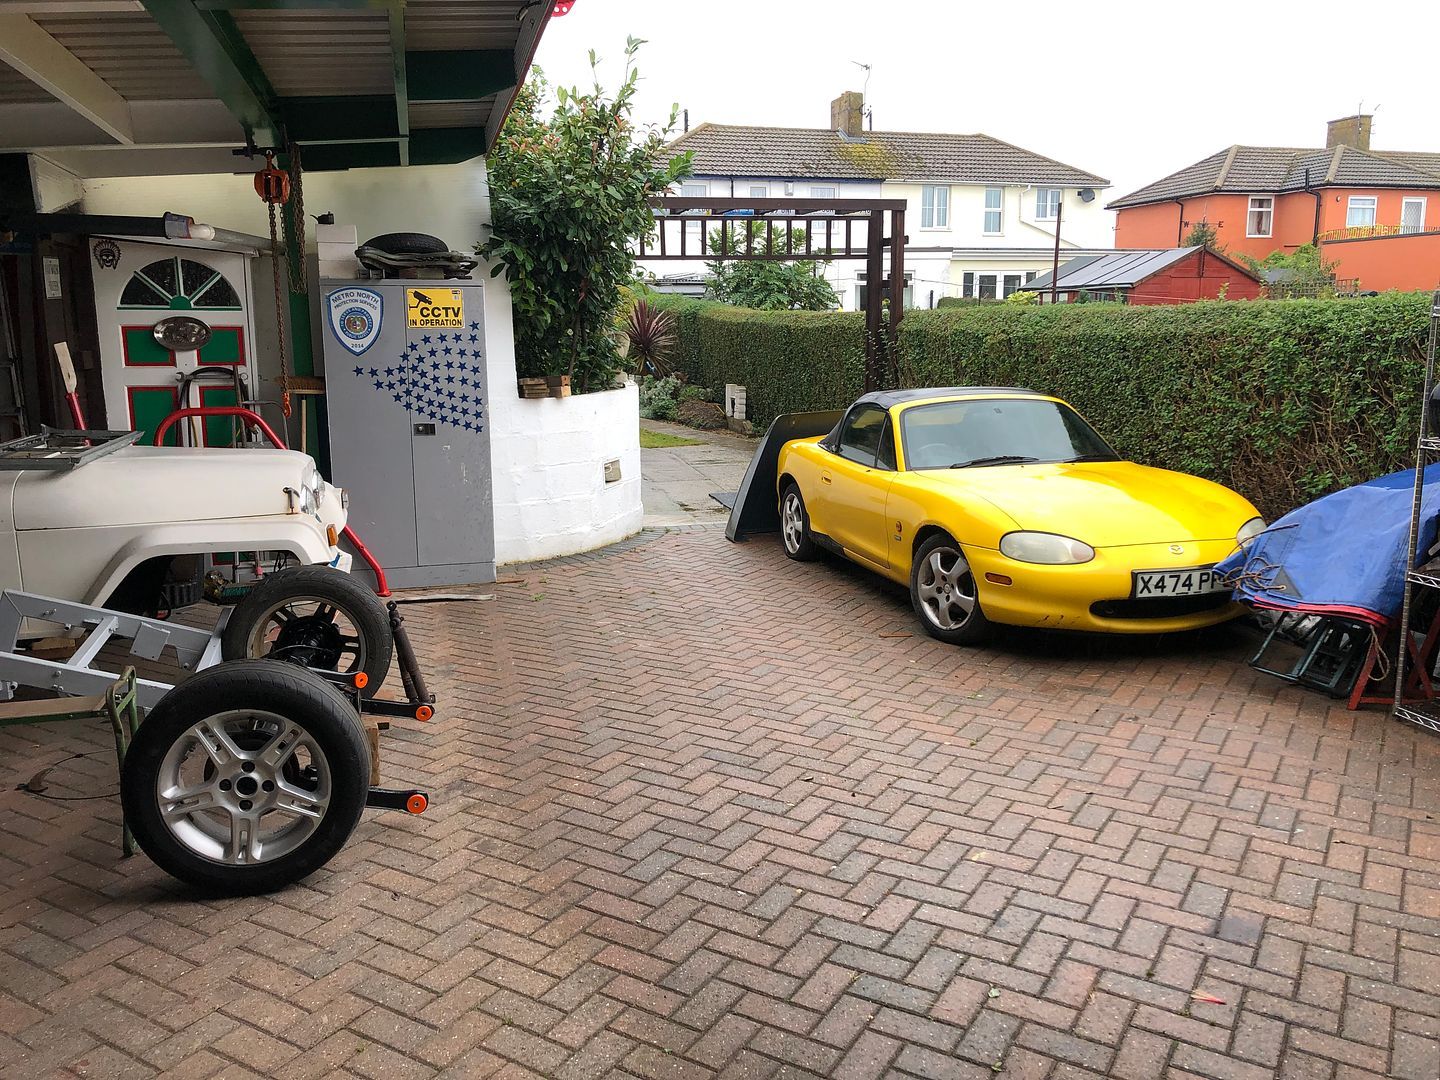 Lodger came home around 13.00……… a bit wet.  A big part of the time spent is just cleaning, matching, restoring, replacing, painting etc. 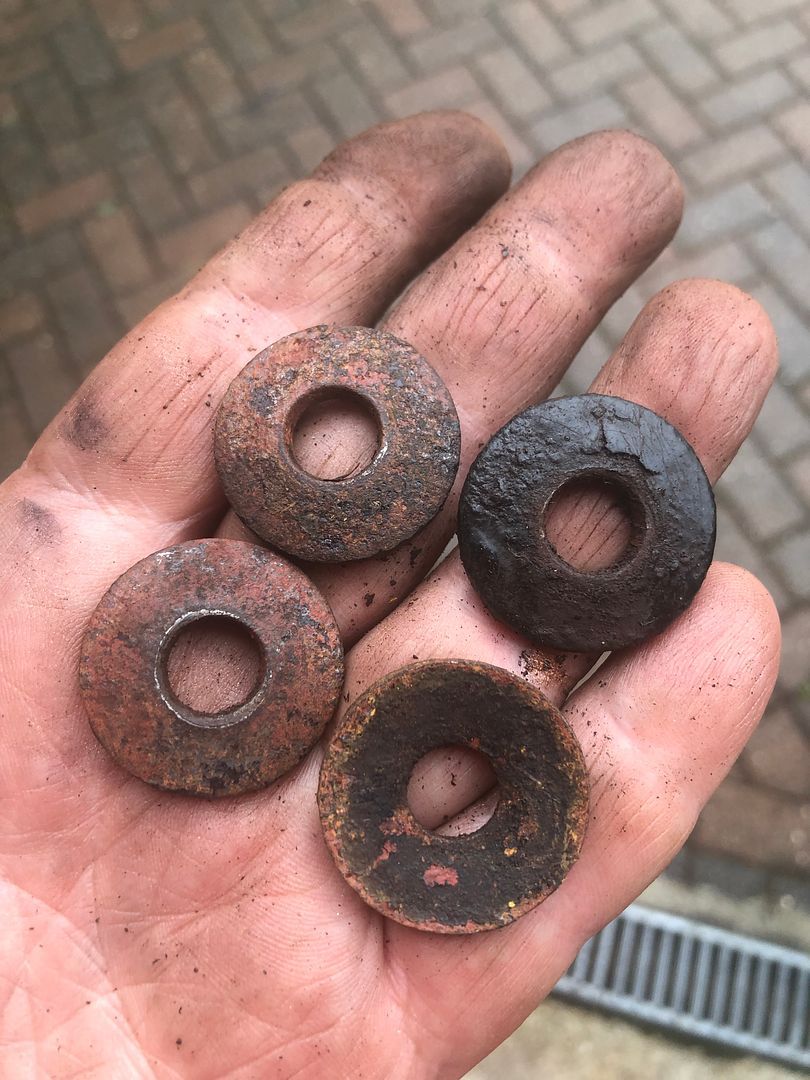 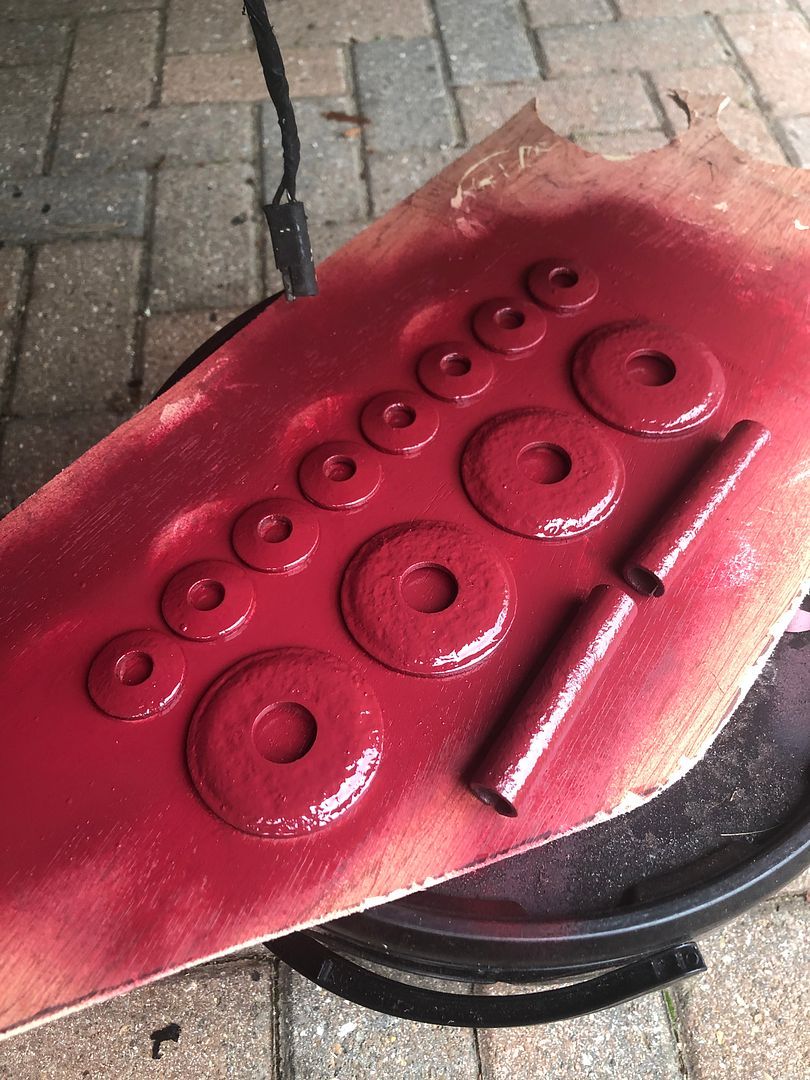 Two dots to remind me how it goes back together later. 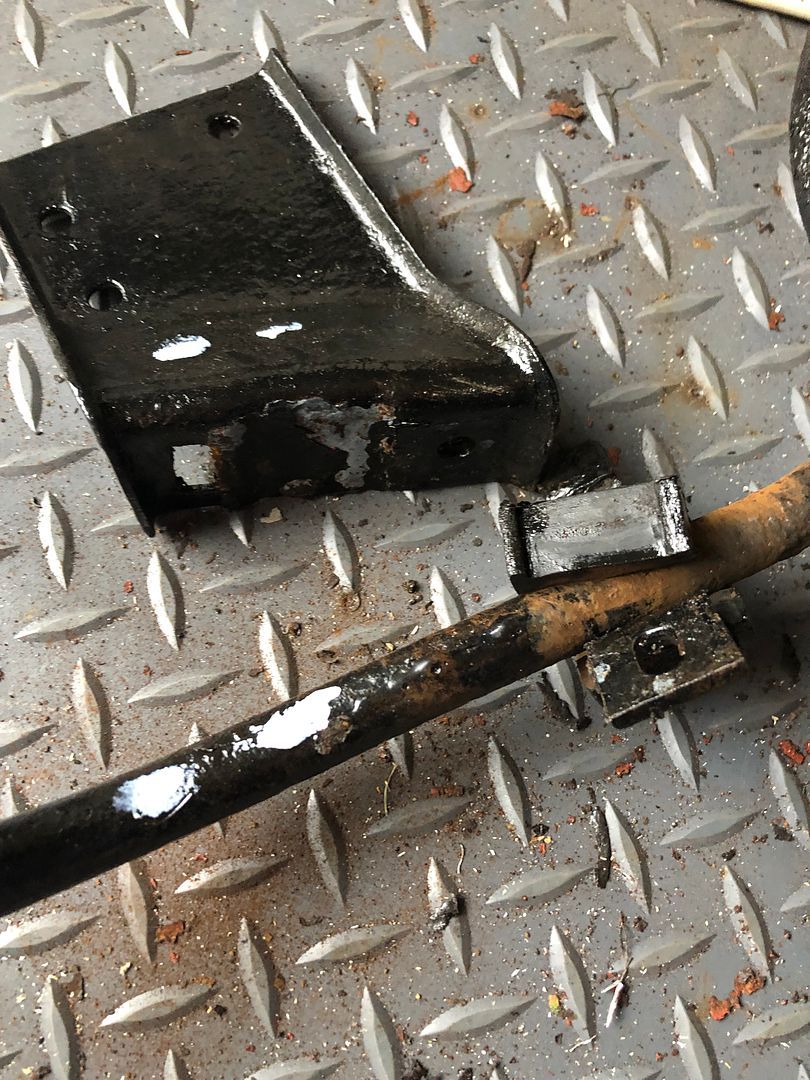 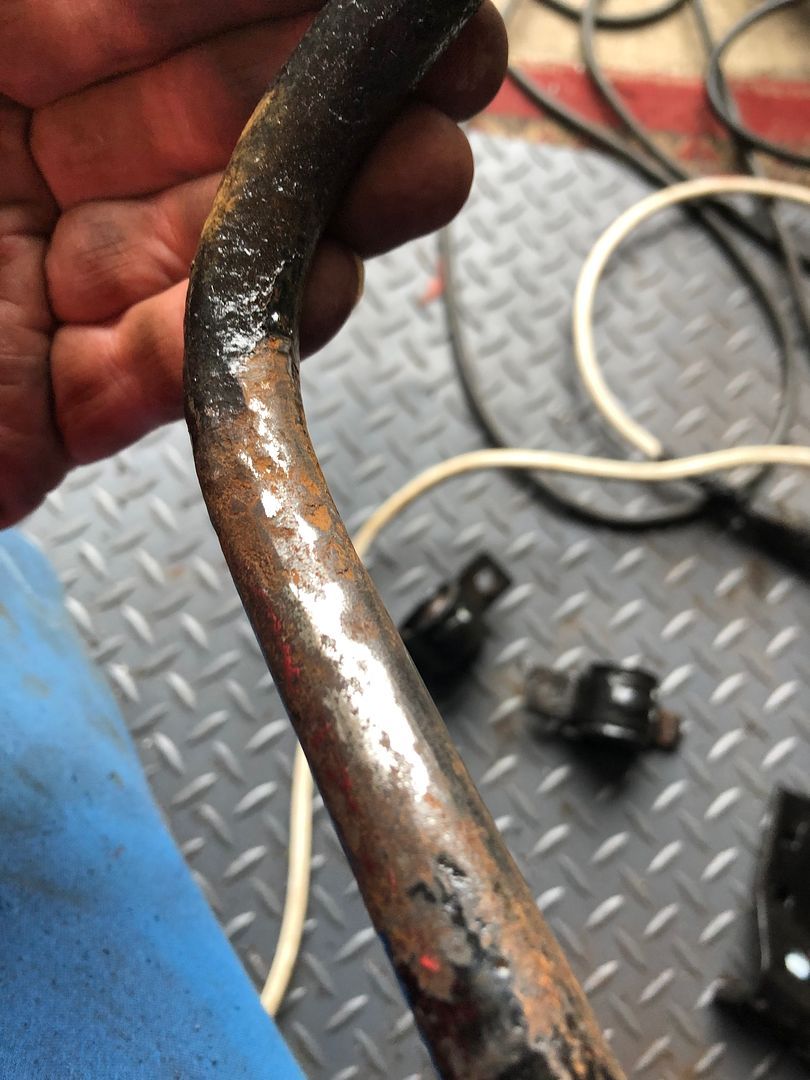 Bushes cut to fit over the bar as ends are rather large. Also added copper grease on every opened surface to protect and enhance movement. 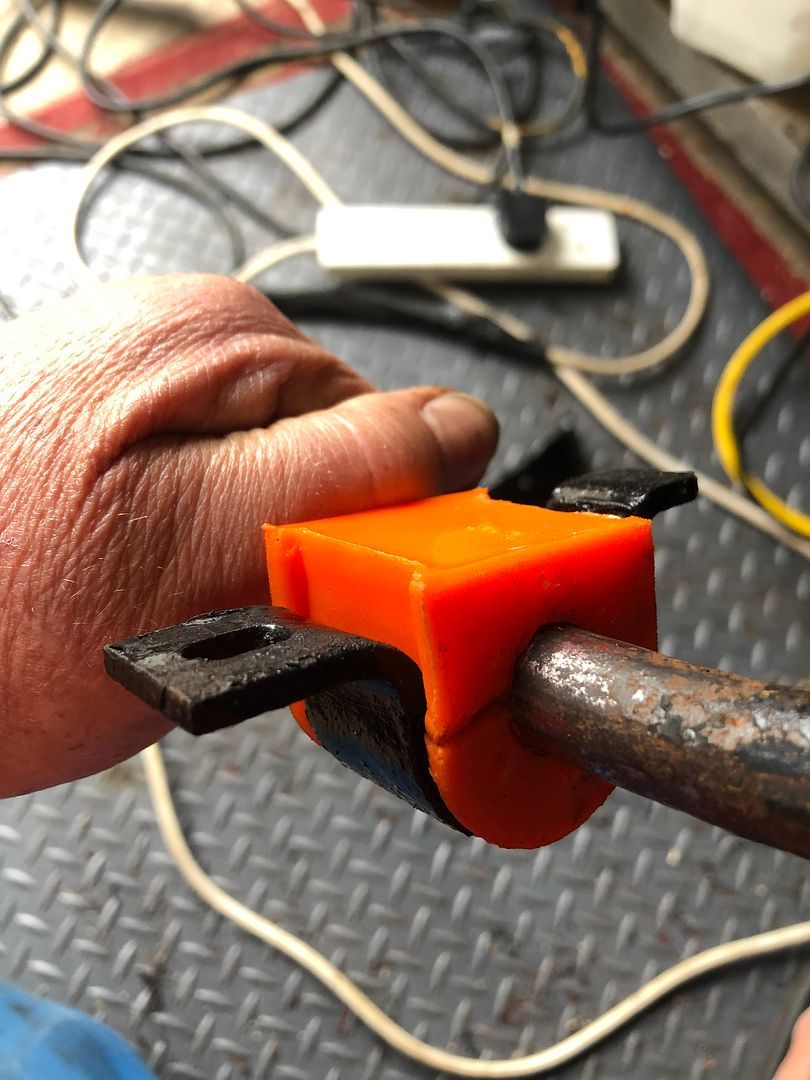 First bit reassembled. 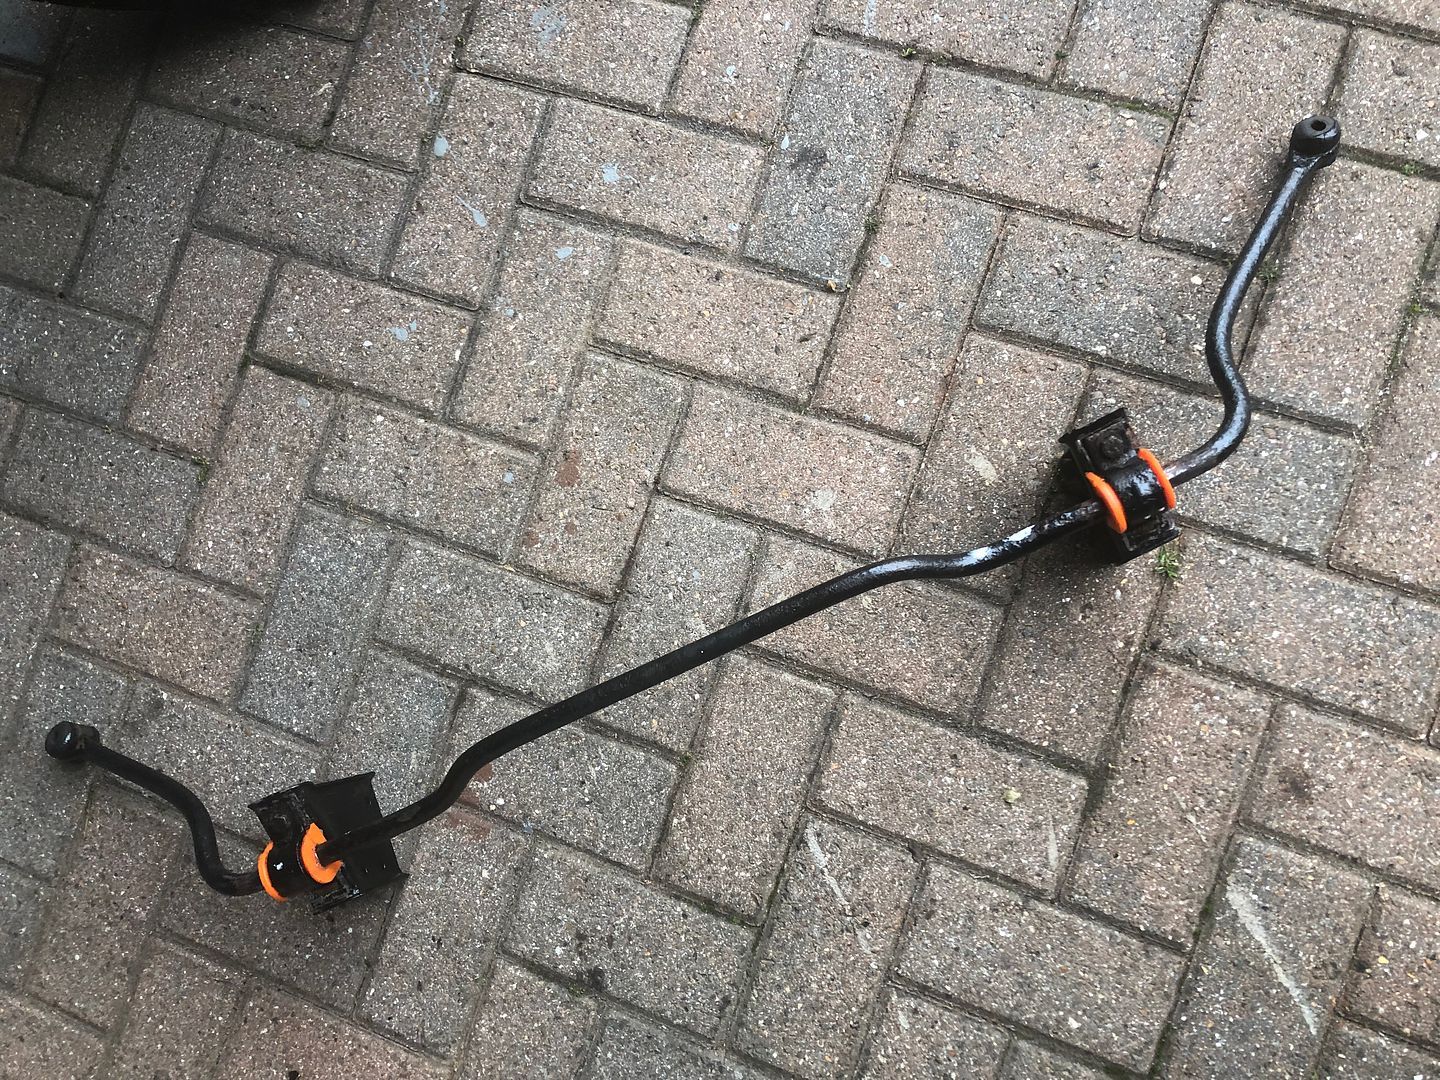 Followed by the steering rack bushes, after a bit of a fight to get them loosened up, they came off. Both were split when fitted. So still on the right track. 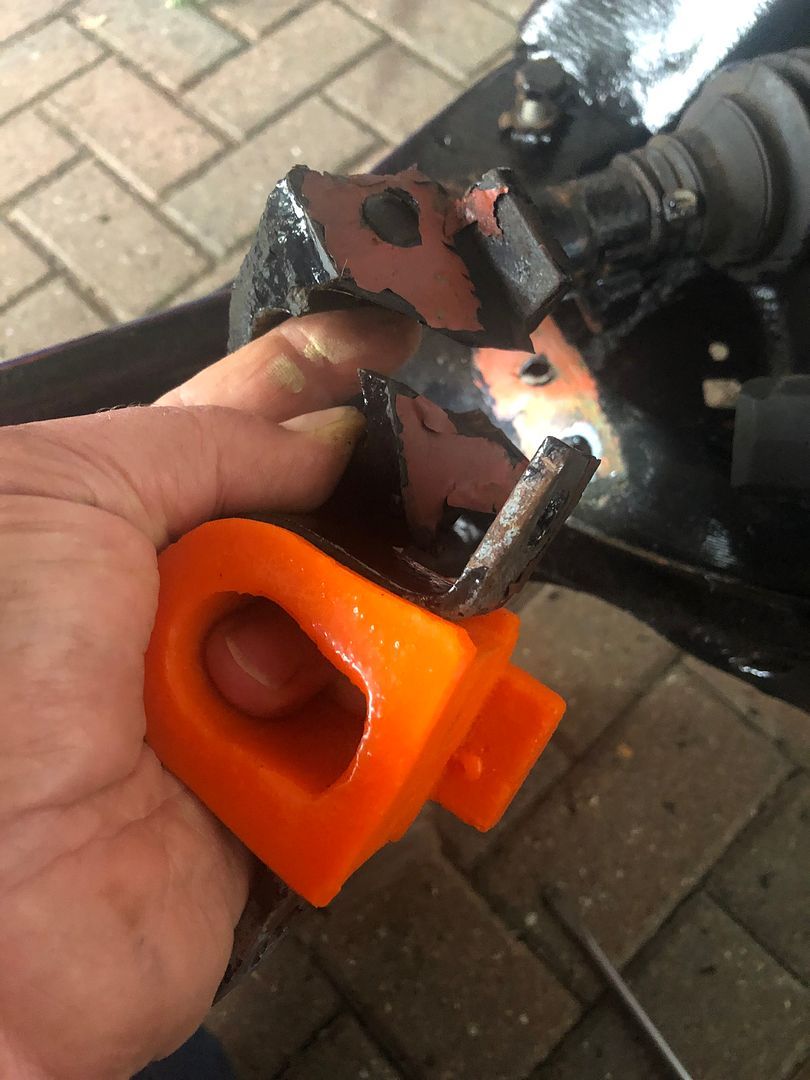 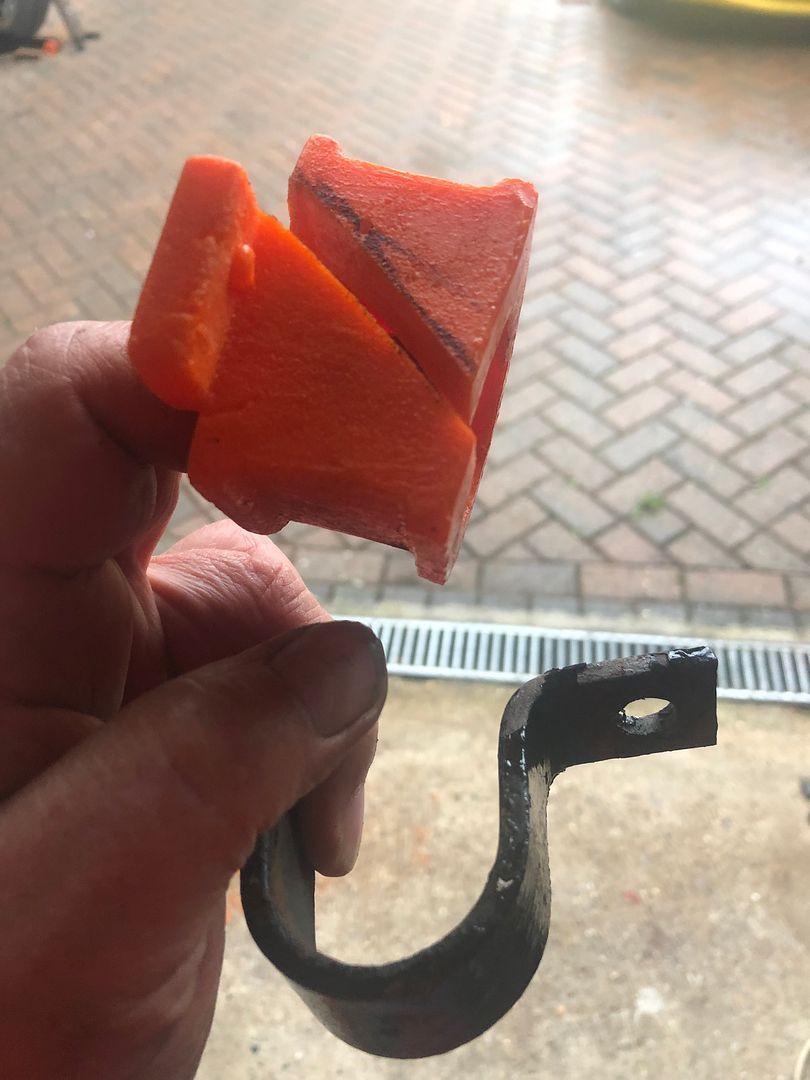 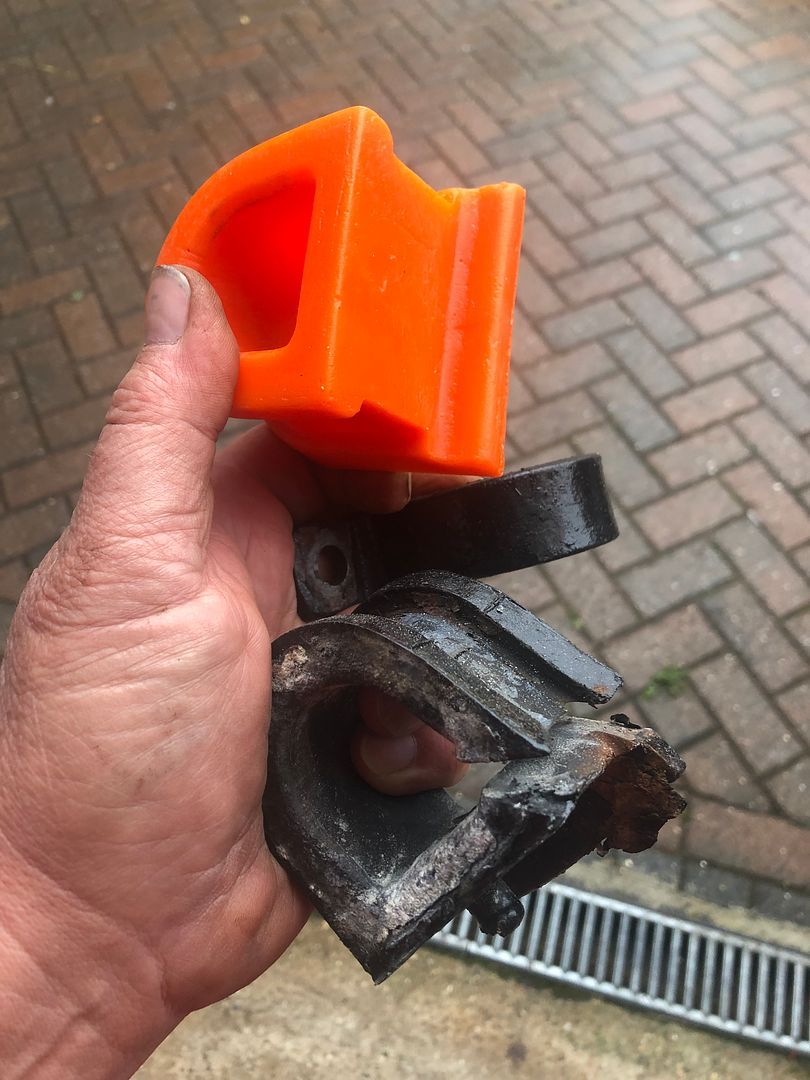 Though fit is a major problem. The bushes are actually too small for the job in one aspect (fitting around the steering rack) and too wide, fitting in the prerequisite spaces, so the bench grinder helped. Followed by BFH encouragement and Fairy Liquid in copious amounts. 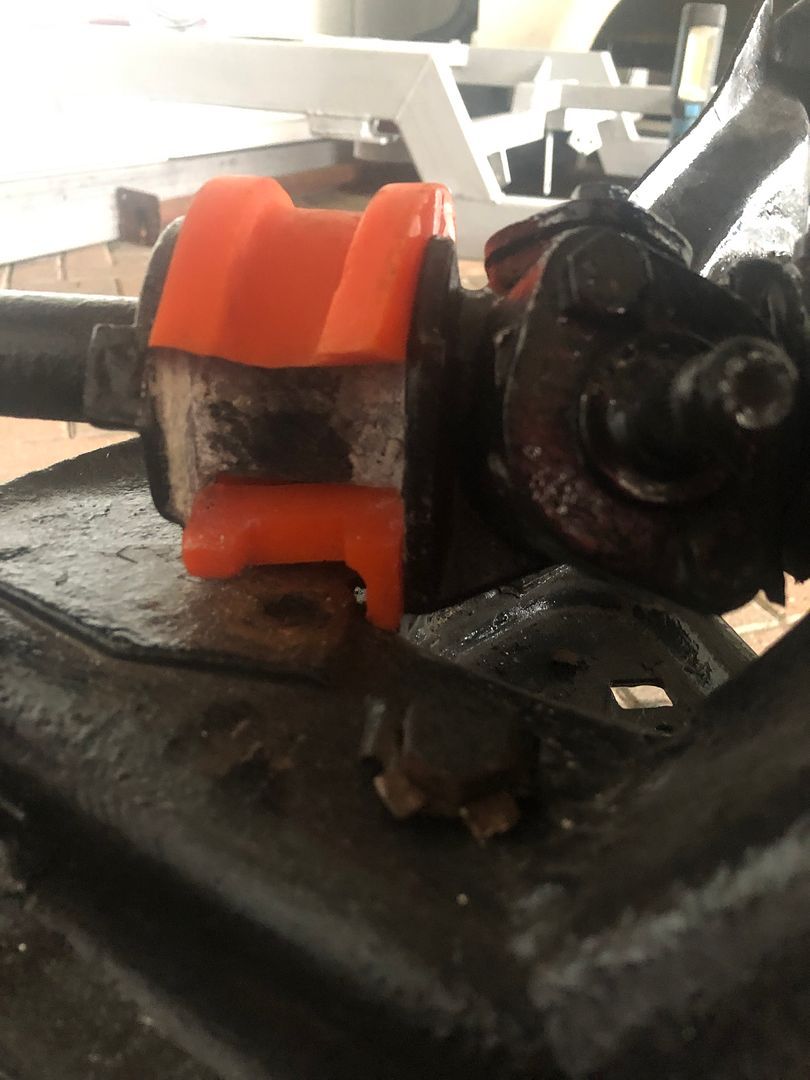 And after a bit of a struggle to get both ends captive, it was all good, Nylocs and split pins back in place. The nut fixing. Plates need to still be folded up. 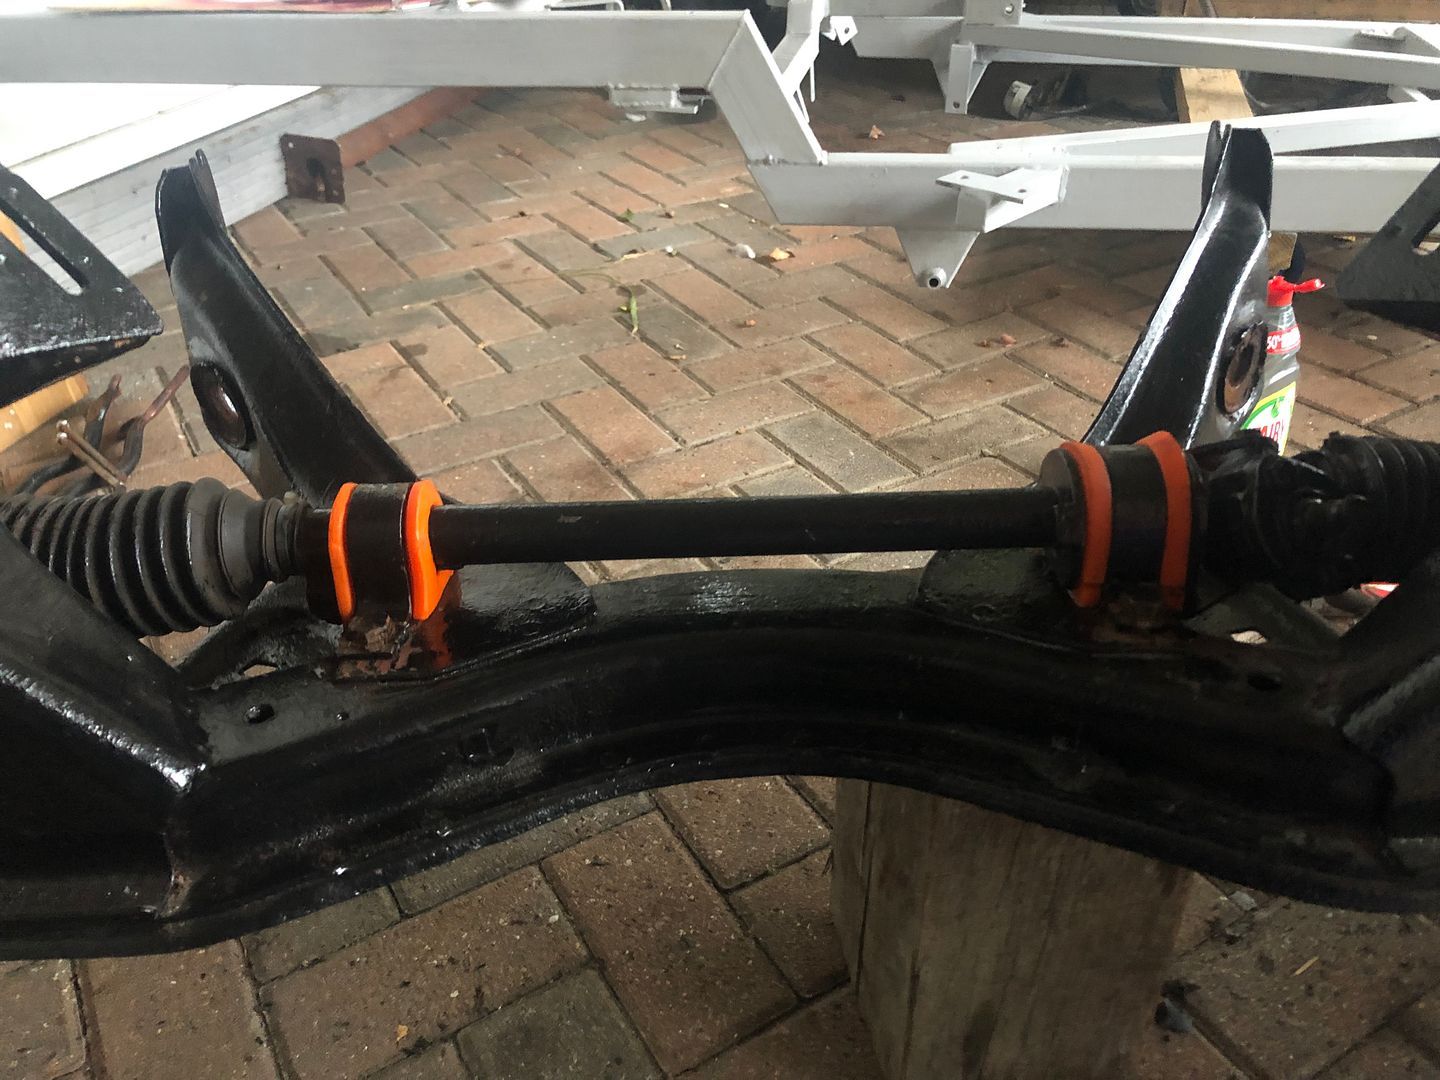 Then I started on the next set of bushes, on the top control arms. More castle nuts and split pins. Undid one, started to drive it out, not sure what the referred energy would be from the springs……… So with one end disengaged, it was time to panic and stop, as light was failing and I may need to approach this a different way. Note the difference in height already there. 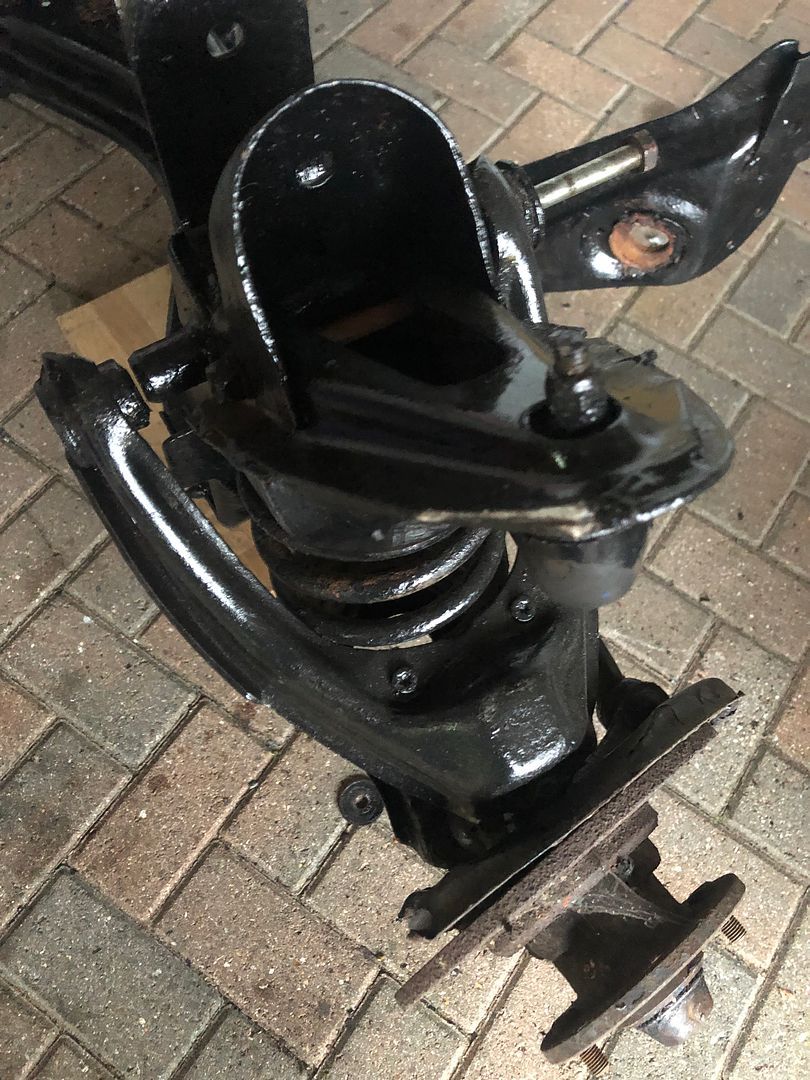 Is that a curve I see in the spring, or is it just happy to see me ?/ 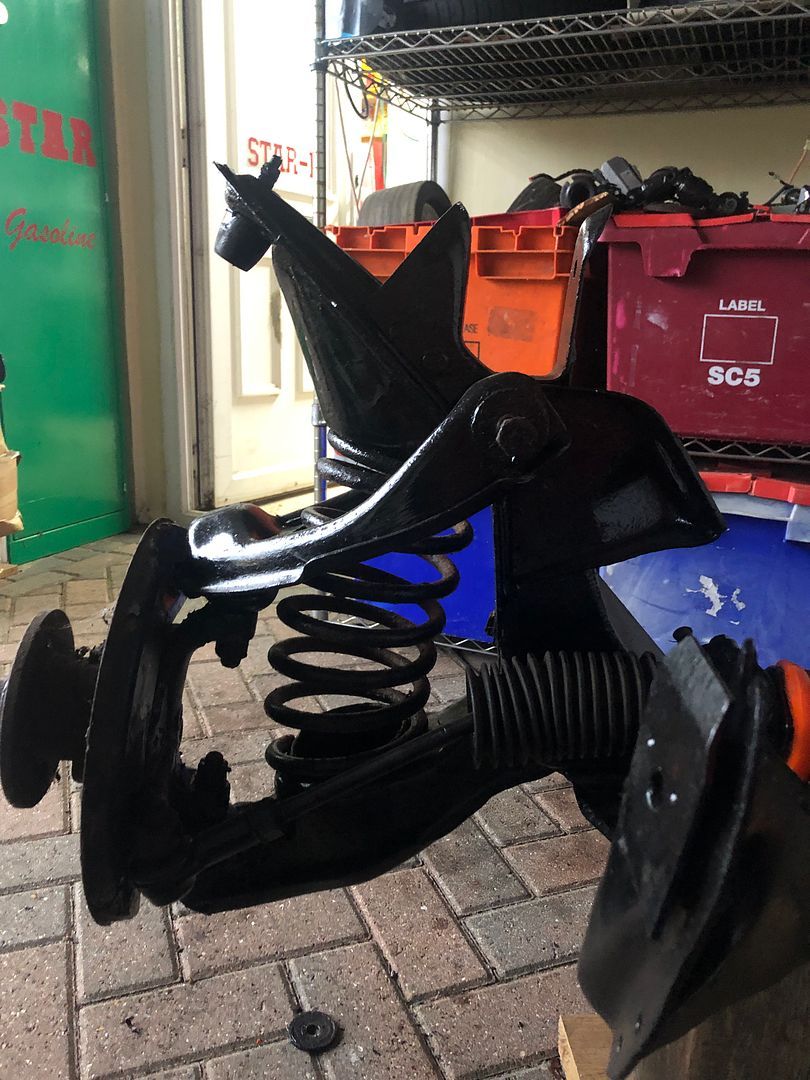 At this point I decided walking away till tomorrow was a wise move. 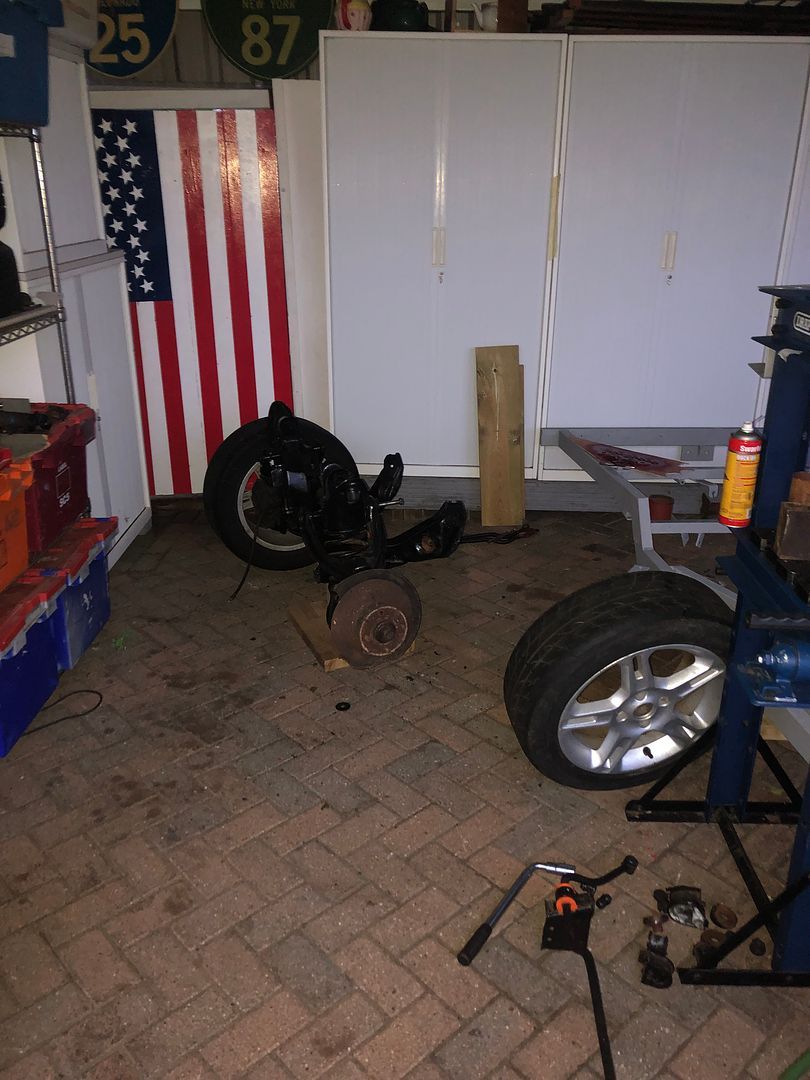 So I packed up tools and went into the garage and painted the roll bar a second coat of Hammerite Red as well as the rear shocks, mainly to see what they look like in red once refitted when planning the lowering, as I have red springs from kevins to go in there. No Bootfair tomorrow as it has been raining most of the day, and will continue overnight. So maybe a Sunday morning lie in in bed ?/ Unlikely. |
| |
|
|
|
|
|
|
|
|
Fast progress. That roof is brilliant.
|
| |
|
|
93fxdl
Posted a lot
   Enter your message here...
Posts: 2,019
|
|
|
|
|
|
| |
|
|
|
|
|
|
|
|
Feel for you with the fuel hassle. I'm in the northwest and thankfully haven't seen a petrol station queue at all this last week.
Good progress on the bushes.
|
| |
|
|
Rich
Club Retro Rides Member
Posts: 6,341  Club RR Member Number: 160
|
|
|
|
|
I wouldn’t ever use copper grease anywhere there is mechanical movement other than a brake pad or shoe. It’s anti-seize not a friction reduction compound like grease. I’d get proper PU safe grease and wash the copper slip out if it were me.
|
| |
|
|
|
|
|
|
|
Fast progress. That roof is brilliant. Thank you. It has exceeded my expectations for sure. Really useful and actually another thing I look at and just smile, knowing my dad would just have shaked his head and smiled at his crazy son for taking this sort of thing on. That one is too easy. Feel for you with the fuel hassle. I'm in the northwest and thankfully haven't seen a petrol station queue at all this last week. Good progress on the bushes. I managed to fill up, so less stressed, as did Sally. Thanks, the bushes have certainly fought me all the way like most of this thing. Masochistic tendencies for sure . I wouldn’t ever use copper grease anywhere there is mechanical movement other than a brake pad or shoe. It’s anti-seize not a friction reduction compound like grease. I’d get proper PU safe grease and wash the copper slip out if it were me. Thanks for the tips Rich, fixed them now, Only on places where the rust is/was a problem, like metal sleeves. |
| |
|
|
|
|
|
|
|
I rarely “give up” on jobs. Today I did give up and changed direction for a while. Sometimes you need to change place and pace to survive. I had hoped to get the bushes completed and even the chassis partly reassembled. Sousing a Mercedes Benz spring compressor which was not a Ford item, meant I ultimately failed to disassemble the upper and lower control,arms. 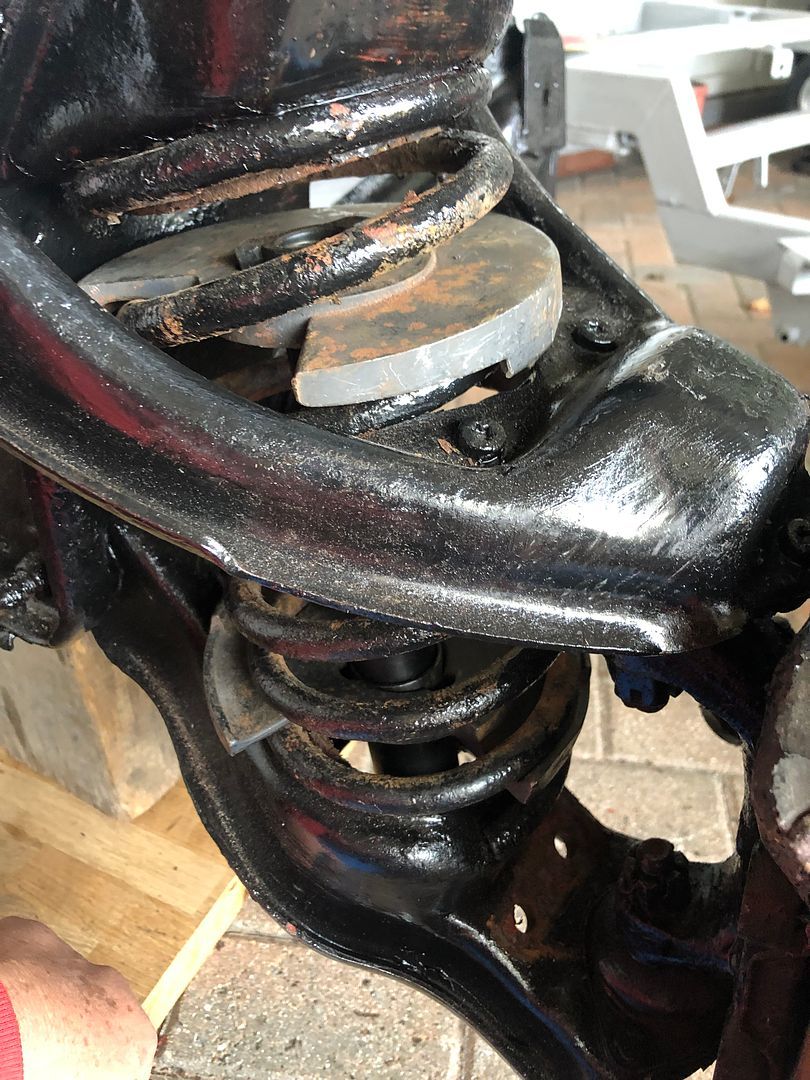 Unfortunately too big to successfully clamp and deactivate the springs so that I could get the arms off. 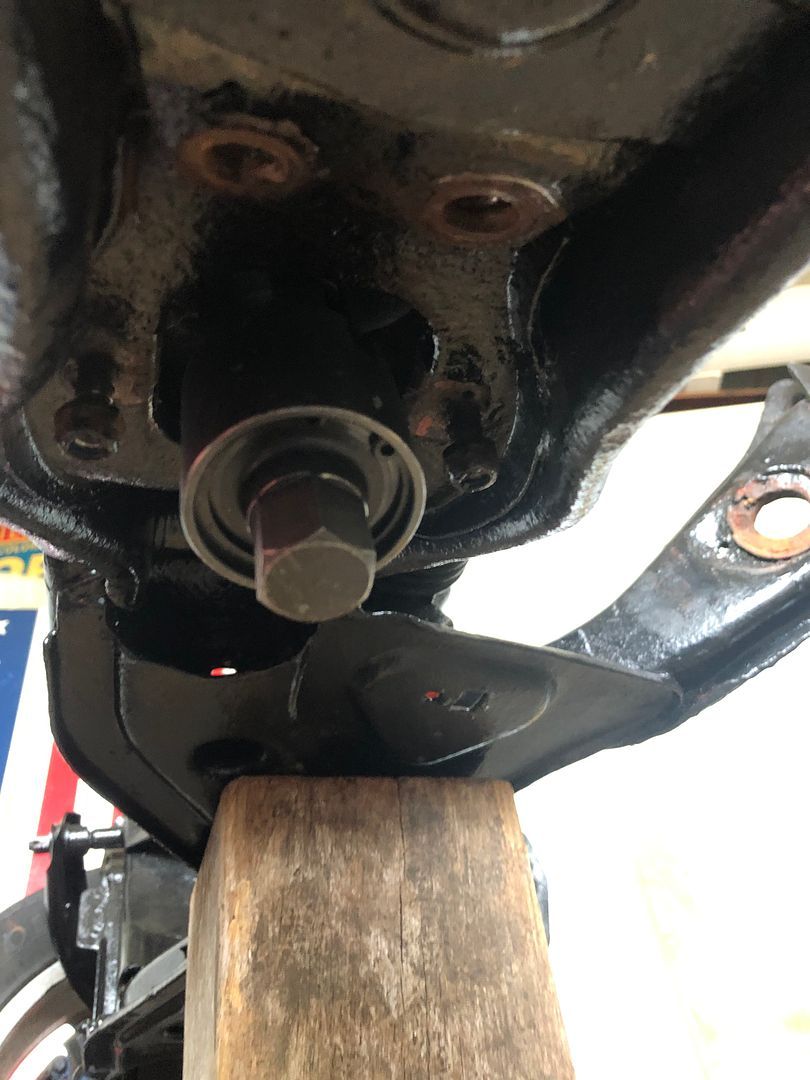 So once I gave up on the springs, having tried them three ways, I decided that reassembled parts made sense. Problem with the poly bushes, was that even when completely wound in, they hardly give way, compared to the units removes. 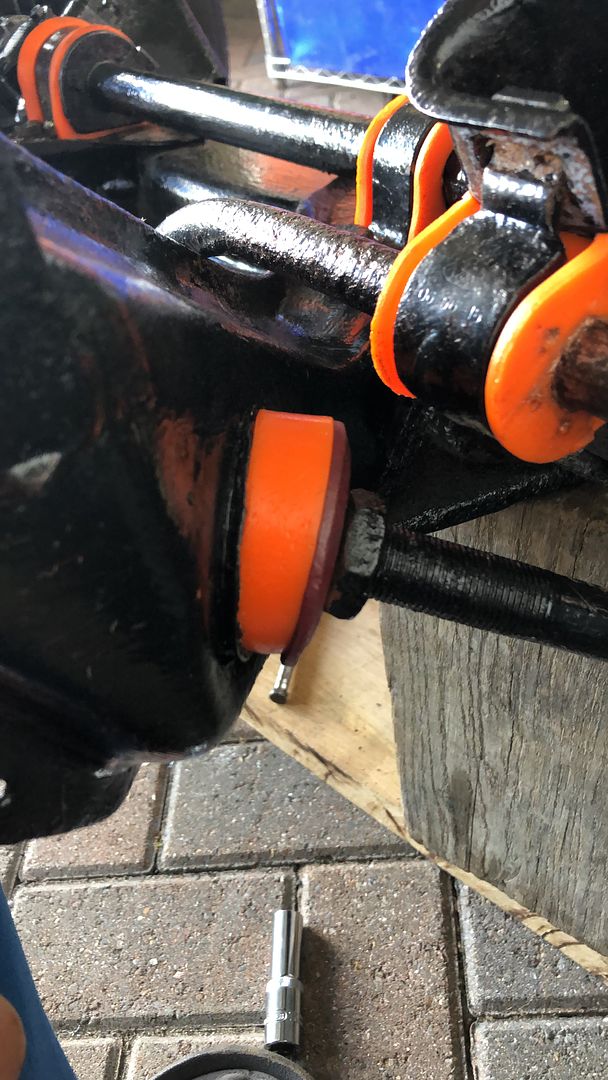 VS The old 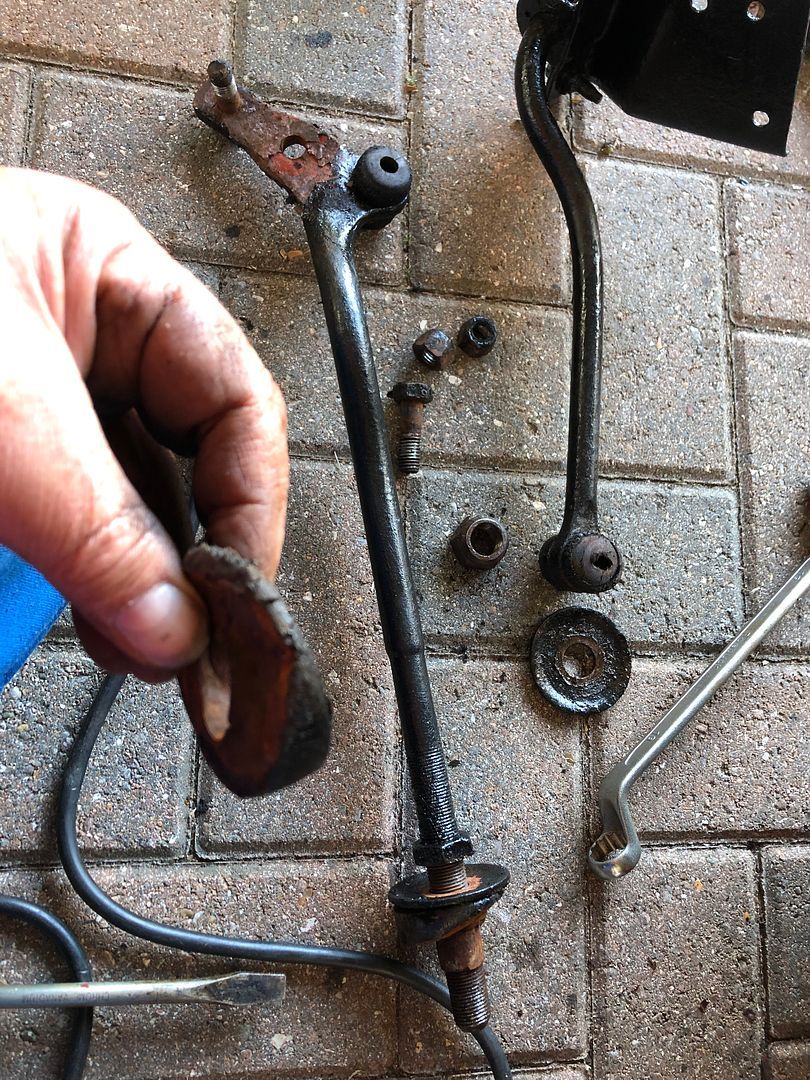 So the space is taken up differently. Looking at the parts next to the wheel you can see I had too much bush. 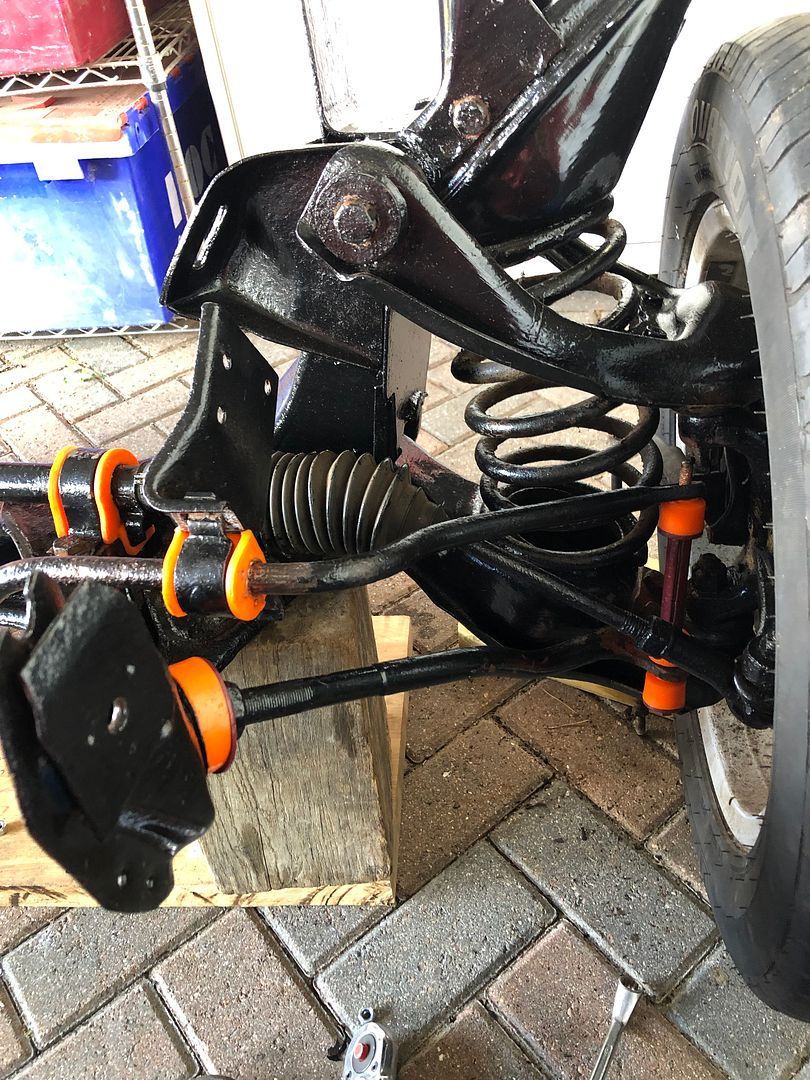 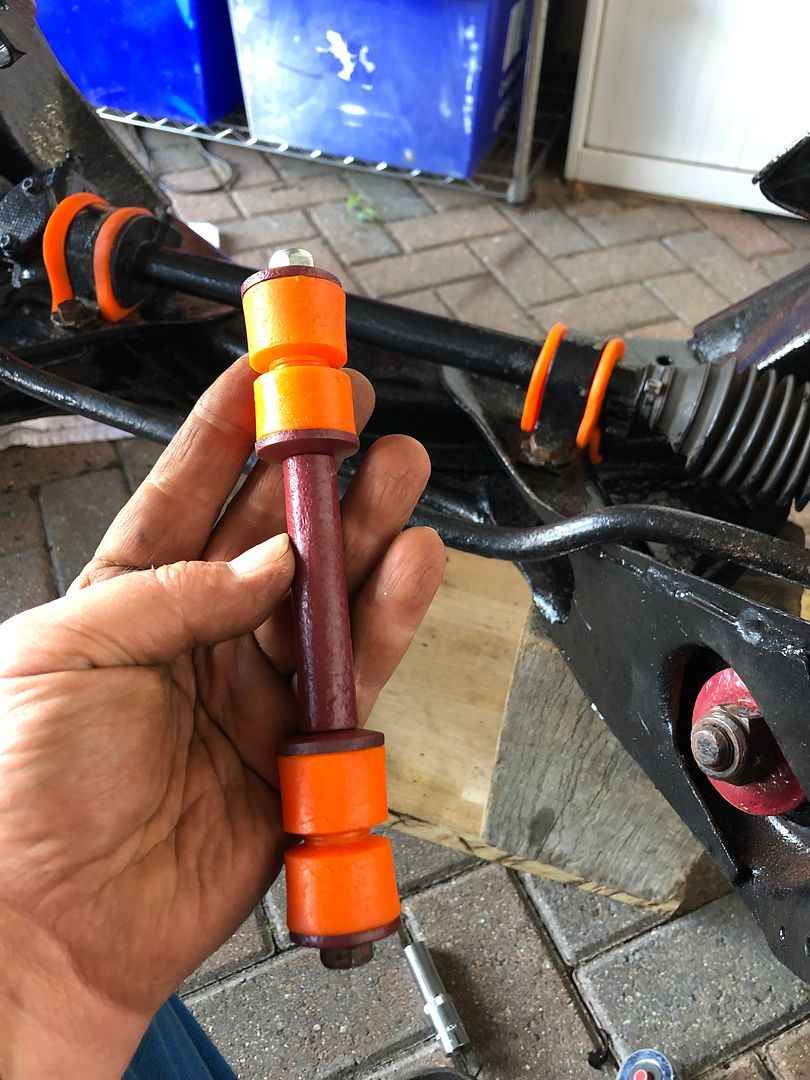 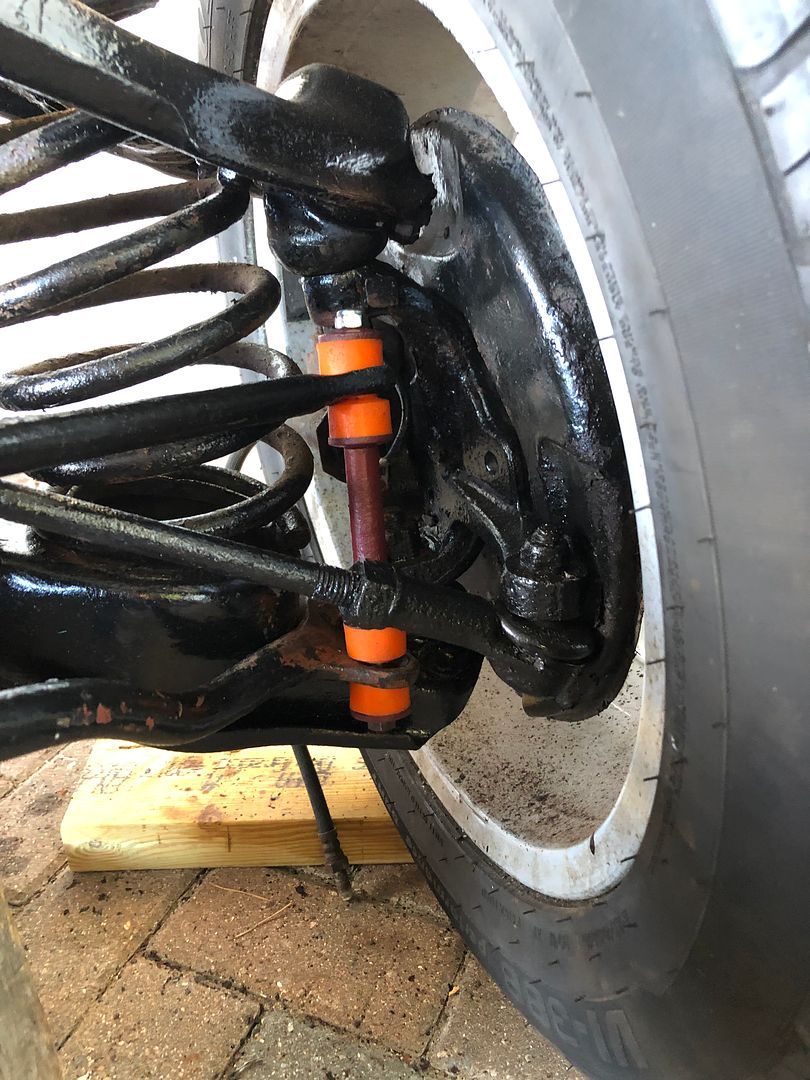 Minus the two steel eyes that this threaded though I was still dismally short in bolt thread. 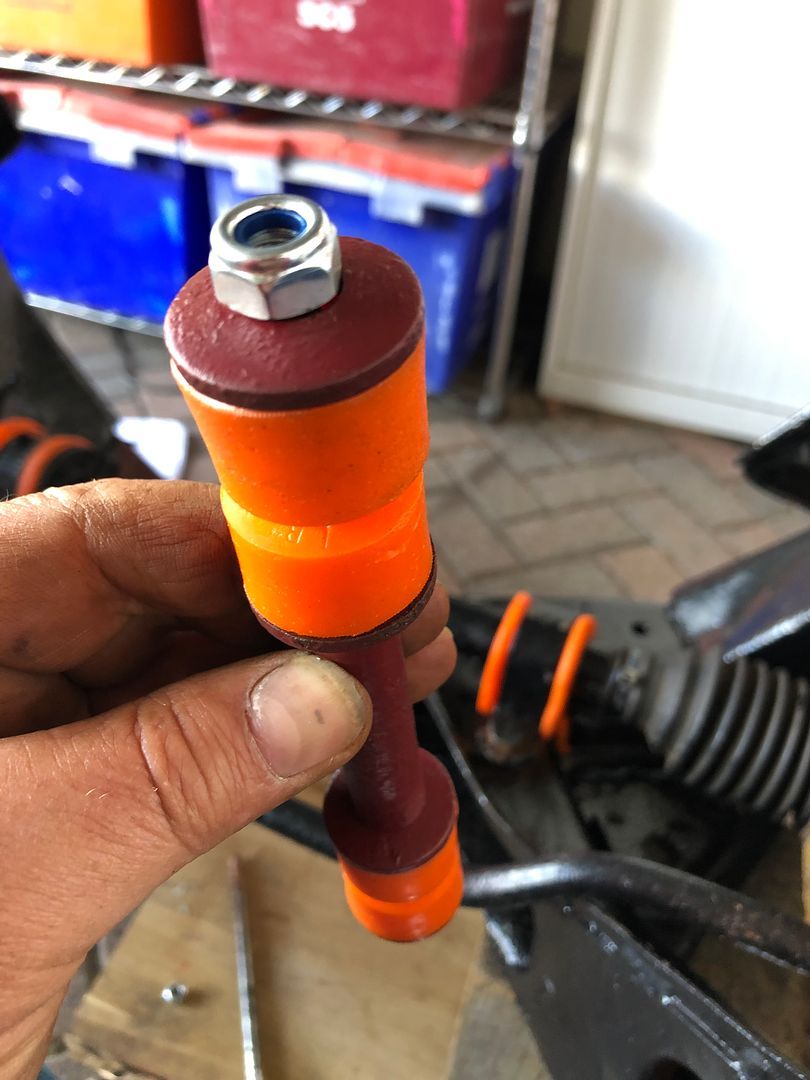 So I took the 8 small bushes and ground about 3mm off each of them to create some space so that I could thread on, and tighten the nut. Once completed, I felt a bit better about failing. Despite the control arms still having to be done, possibly when I cut the front springs, or buy some correctly specced shorter front springs and shocks. 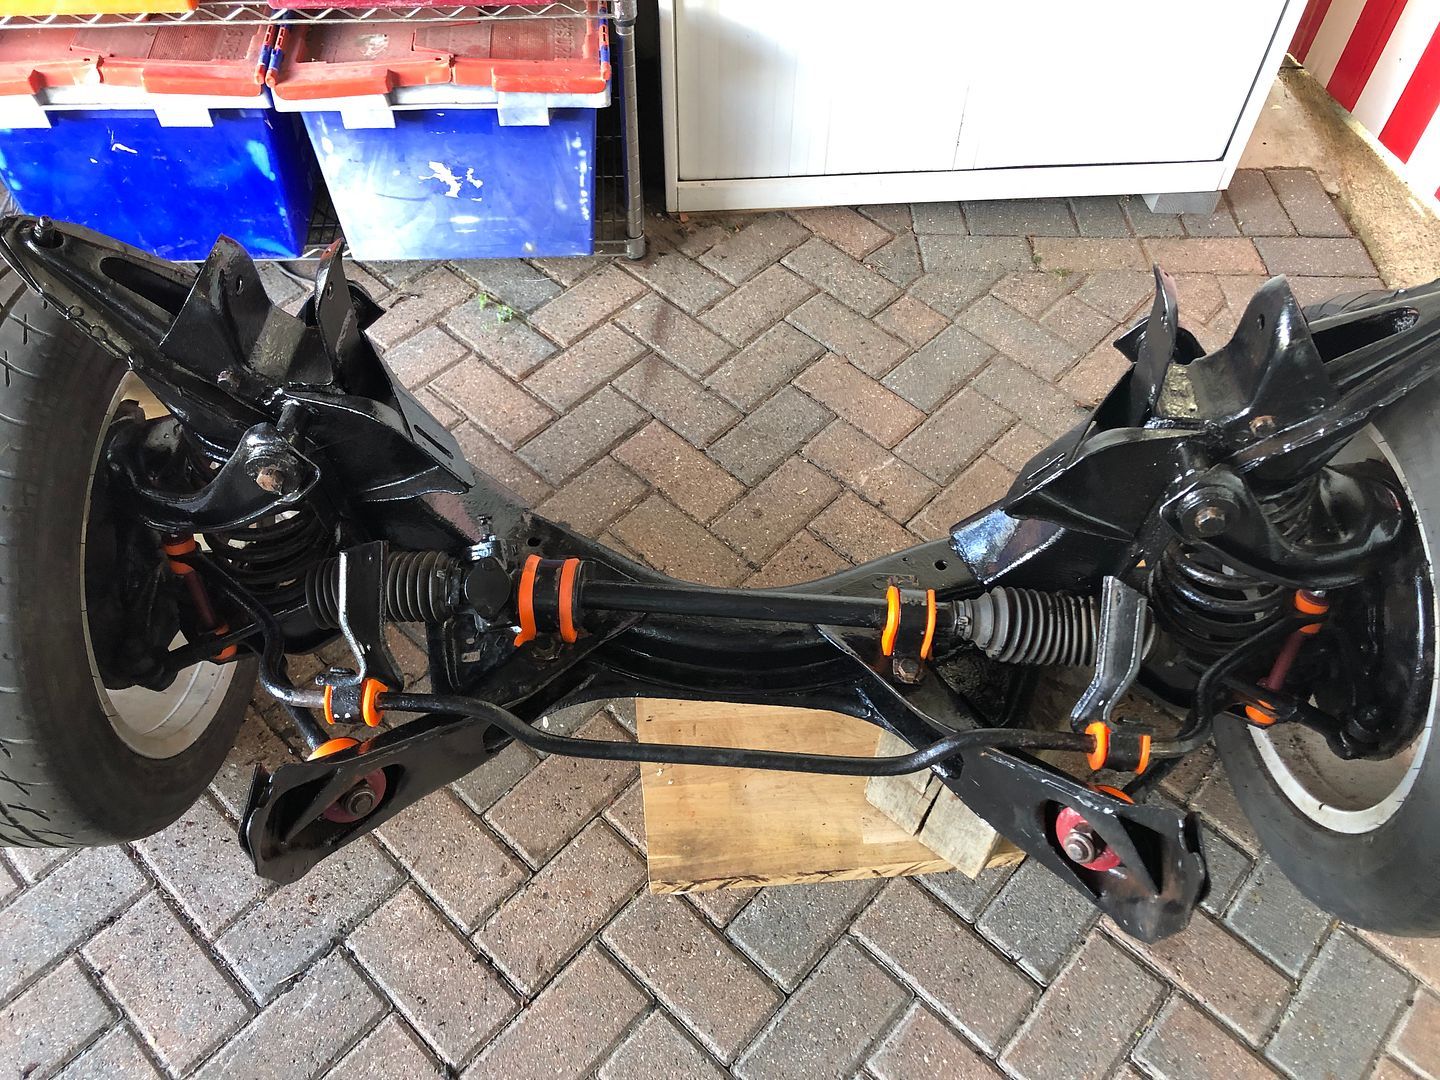 I am hopeful that I will be able to do this as soon as I have time to get to it. Todays weather was decent in fact, starting out cold, but dry all day. Weekend is over, work again tomorrow. Life is good though . |
| |
Last Edit: Oct 3, 2021 18:39:44 GMT by grizz
|
|
brachunky
Scotland
Posts: 1,339  Club RR Member Number: 72
|
|
|
|
|
You are making good progress boet.Pity you didn't have a sandblaster for some of those components but there again, it's probably not a priority at this point!
|
| |
|
|
spacekadett
Part of things
  F*cking take that Hans Brrix!!
Posts: 838
|
|
|
|
|
Might be wrong but it looks to me like you’ve got some of those washers the wrong way round. From memory cupped washers like the anti roll bar links and tie rods usually have the cup facing out towards the nut rather than towards the bush. Might help gain a couple more threads as well.
Cracking progress as usual 🙂
|
| |
Mechanic's rule #1... If the car works, anything left on the floor after you finished wasn't needed in the first place  |
|
|
|
|
|
|
You are making good progress boet.Pity you didn't have a sandblaster for some of those components but there again, it's probably not a priority at this point! Thank you. My sand blasting cabinet currently resides at Paul Y and belongs to craigrk whom I gave it to as they need it more than me. I am happy with the scrape down and petrol cleanthe small bits got, where they went in is pretty invisible to all but a mechanic, tester, pedant. So I will leave them as is with a bit of cheap spray paint over them. |
| |
|
|
|
|
|
|
|
Might be wrong but it looks to me like you’ve got some of those washers the wrong way round. From memory cupped washers like the anti roll bar links and tie rods usually have the cup facing out towards the nut rather than towards the bush. Might help gain a couple more threads as well. Cracking progress as usual 🙂 Morning mate, Well spotted, you are correct. The big ones certainly will need to come out and be refitted, not sure if it makes any difference to performance or function. Looking back at the history in photos, the small ones were cupped inward before, but these guys certainly were not. 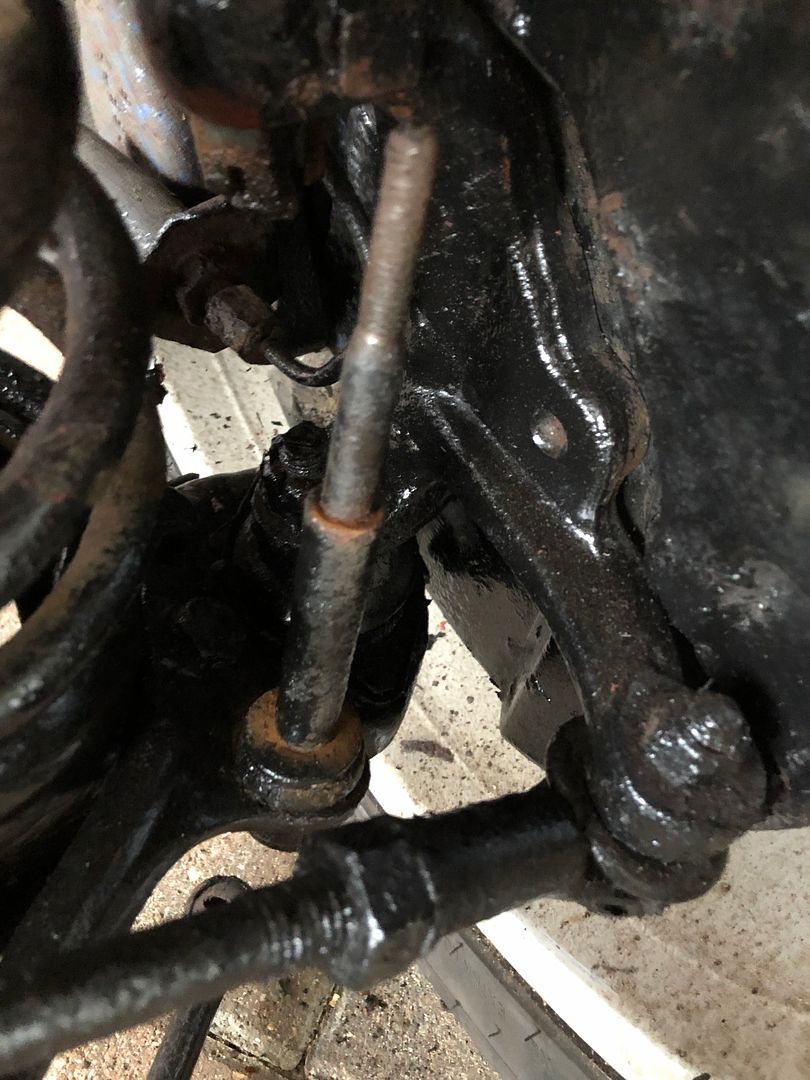 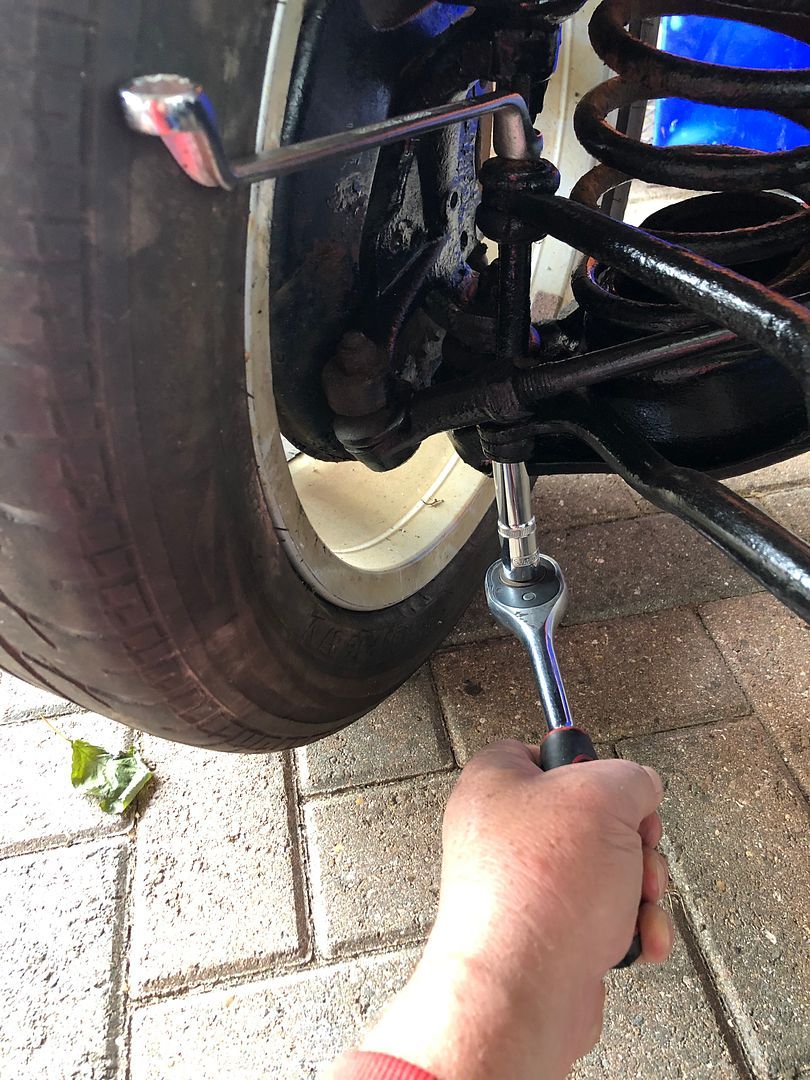 What difference would the direction of the retaining washers make? Other than me not being able to wind them in as much, as you lose space on the thickness of the new bushes being rock hard and not moving much. 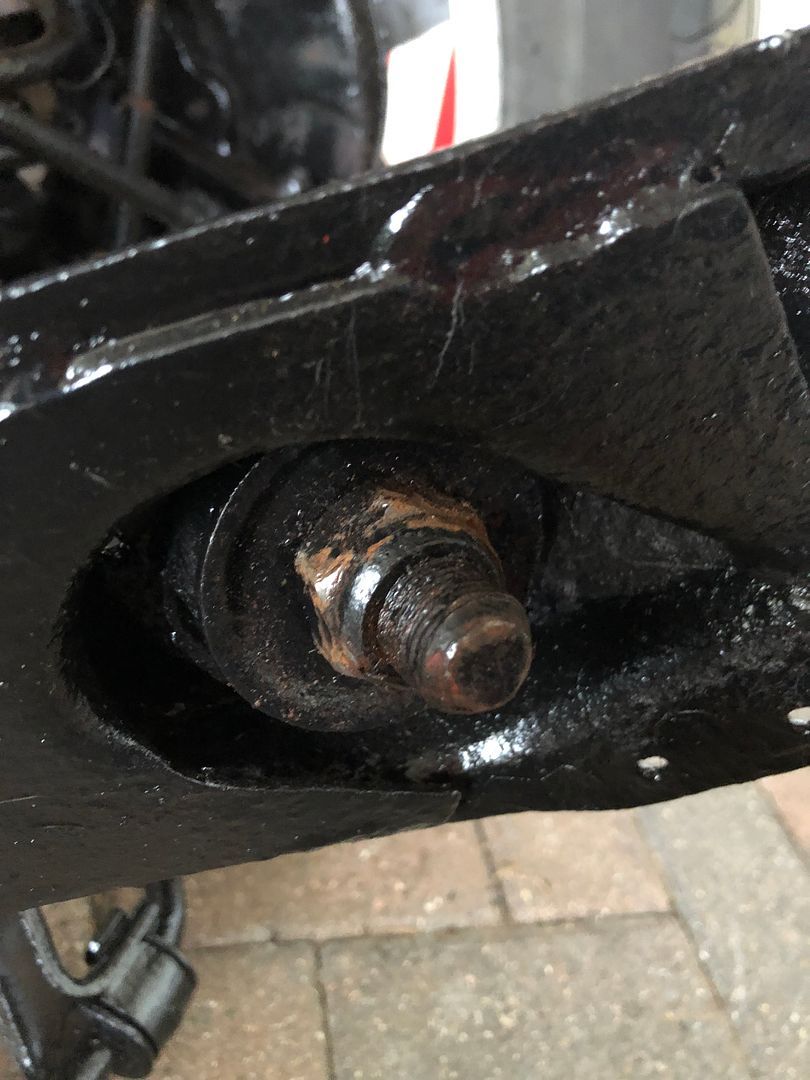 Once again, a reason for loving the input from all of you, keeping an eye on the little slip-ups that can happen. Worked in Woolwich all day yesterday, and was knackered when I got in around 5.00pm so did not even go look at the chassis. Something I do every da as it makes me grin seeing the slow painful progress. But, Progress is Progress ehhh?? |
| |
|
|
|
|
|
|
|
|
Have you considered compressing the springs with several exhaust clamps? Using 2 sets of 3 clamps in stages will take a while, but is cheap and effective.
I suspect you would have had the same problem with the anti-roll bar bushes if you had used new rubber ones.
|
| |
|
|
|
|
|
|
|
Have you considered compressing the springs with several exhaust clamps? Using 2 sets of 3 clamps in stages will take a while, but is cheap and effective. I suspect you would have had the same problem with the anti-roll bar bushes if you had used new rubber ones. I have not considered it Nick as it would mean finding a bunch of clamps. I did however find my own basic set of clamps. Not sure if they will work on my springs as space is tight. I will go grab a pic later. On a Teams meeting most of the day. |
| |
|
|
|
|
|
|
|
|
Remember my friend on the nearby farm whonwas building a Rolls Royce based, Jaguar engined Deusenberg replica.
He was really driven to get it out and running before winter.
Got this video from him on Sunday.
I would say that equates to success.
Silent runner.
|
| |
|
|
|
|
|
|
|
After several extended laughter filled and teeth gritting exchanges with Paul Y he sent me a picture to explain what has to be done next. Create a simple threaded bar spring compressor in order to release the springs safely and rebush the upper and lower control arms. After knocking out the lower Ball Joint. .jpg) Fingers crossed that I have fingers left to cross once I get this done after work tonight. It seems a good time to start thinking of fitting some strip lights up in the carport roof right now too. And plan for heating etc. Winter’s a-coming. |
| |
|
|
Paul Y
Posted a lot
  
Posts: 1,951
|
|
|
|
I will never be a teacher. Or an artist.... P.  |
| |
|
|
|
|
|
|
|
|
I've done similar things in the past, my tips would be to grease the thread and when you let the tension off make sure the rod doesen't turn and undo the nut on the other end.
|
| |
|
|
|
|
|
|
|
I will never be a teacher. Or an artist.... P.  No you wont be a teacher, but you always share, and that may be a better thing. P!$$ Artist? I've done similar things in the past, my tips would be to grease the thread and when you let the tension off make sure the rod doesen't turn and undo the nut on the other end. Grease yes. And already double nutted at the bottom end. |
| |
|
|
|
|
|
|
|
Make a compressor said Paul YGot some bits from the steel store. 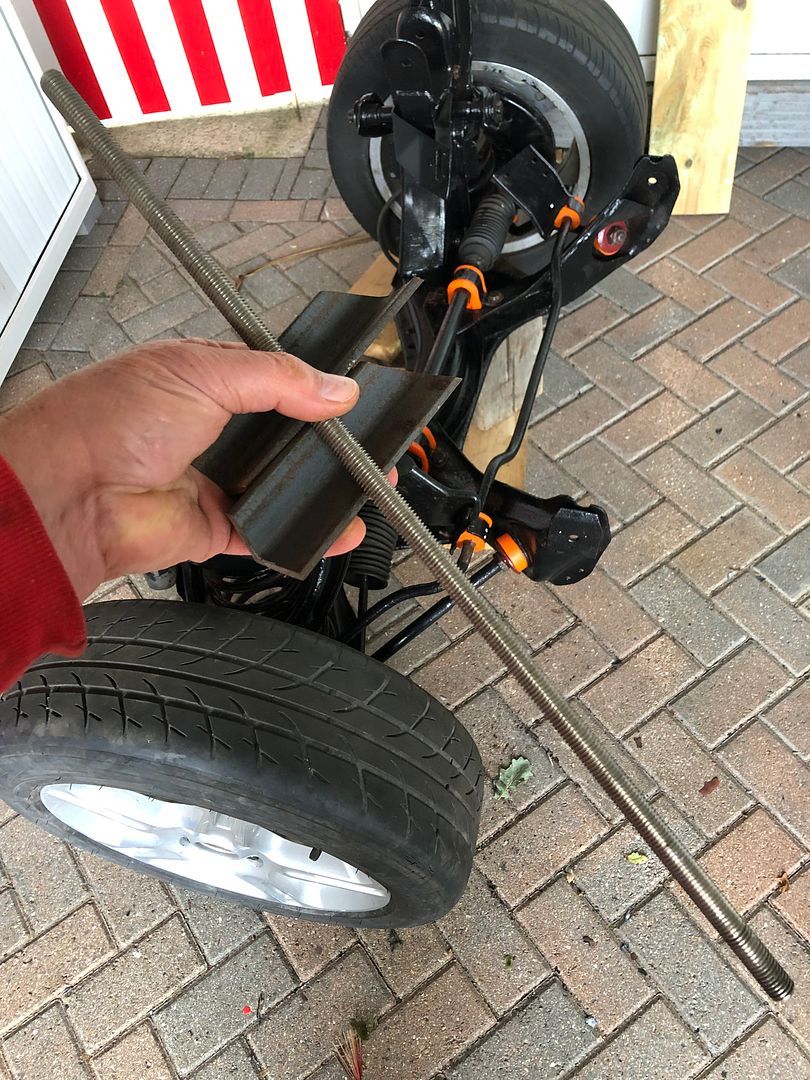 Mark out, clamp, drill. 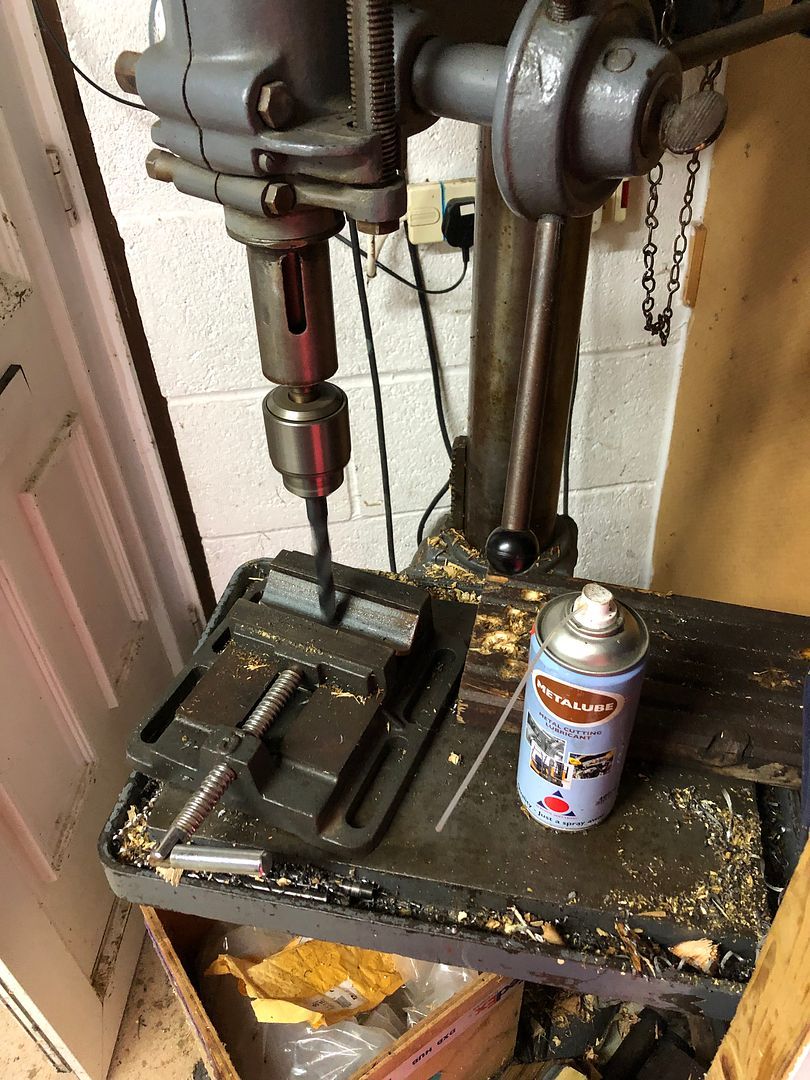 Test fit. I used the shock absorber mounting bolts to anchor the bottom to. 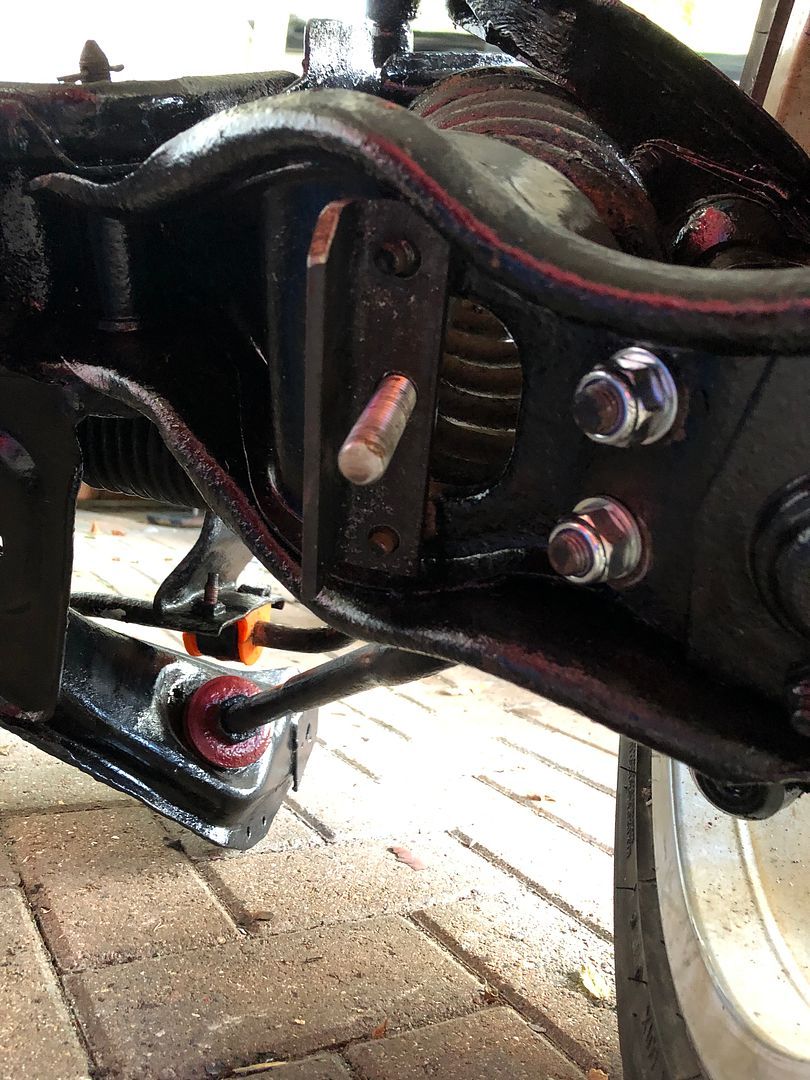 Threaded bar. 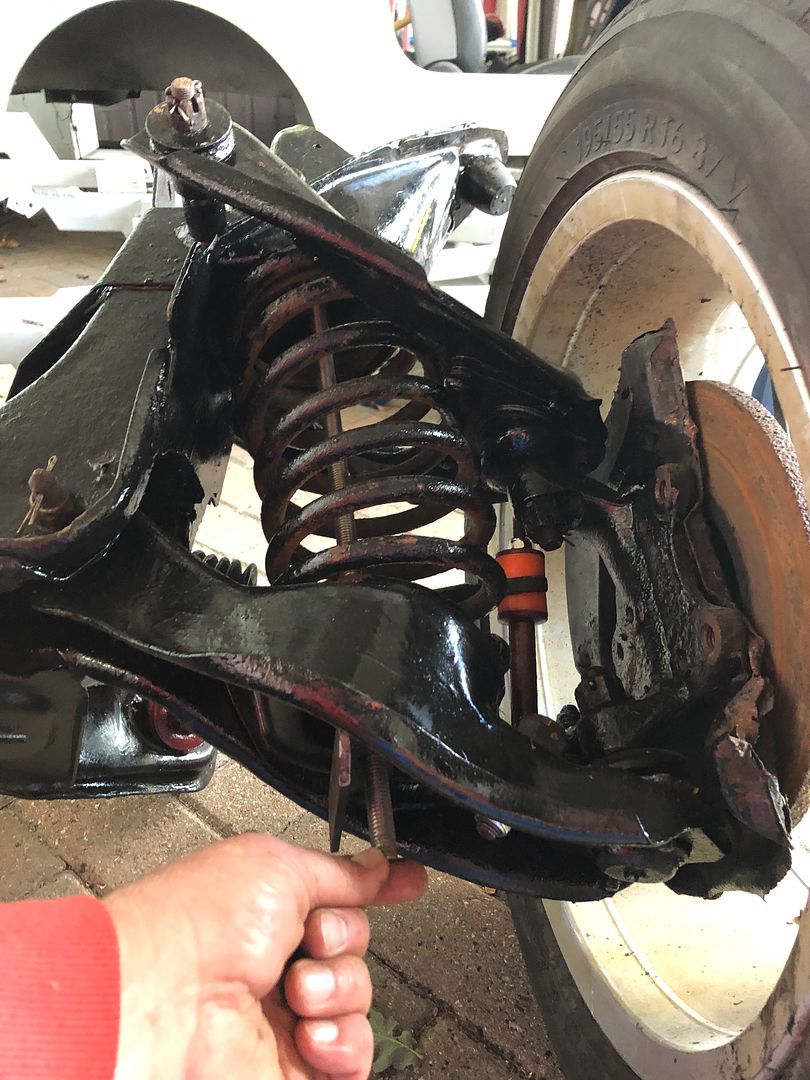 Then add a small plate to the top of the angle iron so the nut can be tightened flat. Then welded the plate to the angle iron and grind back. 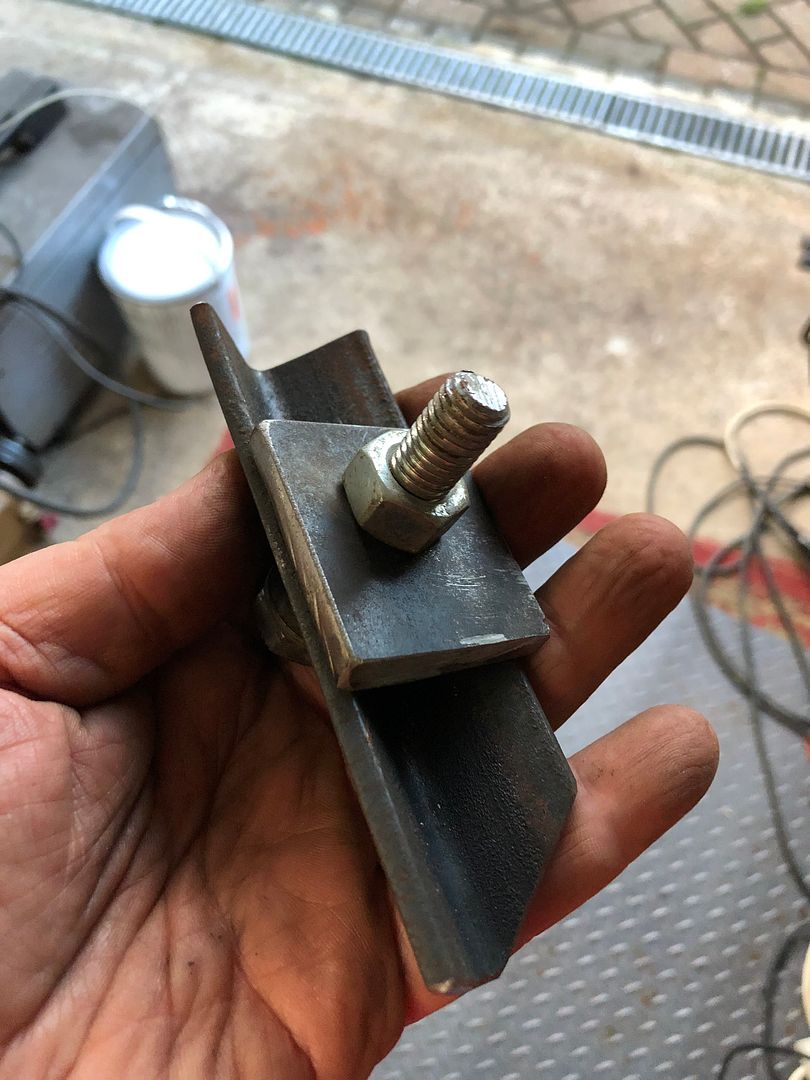 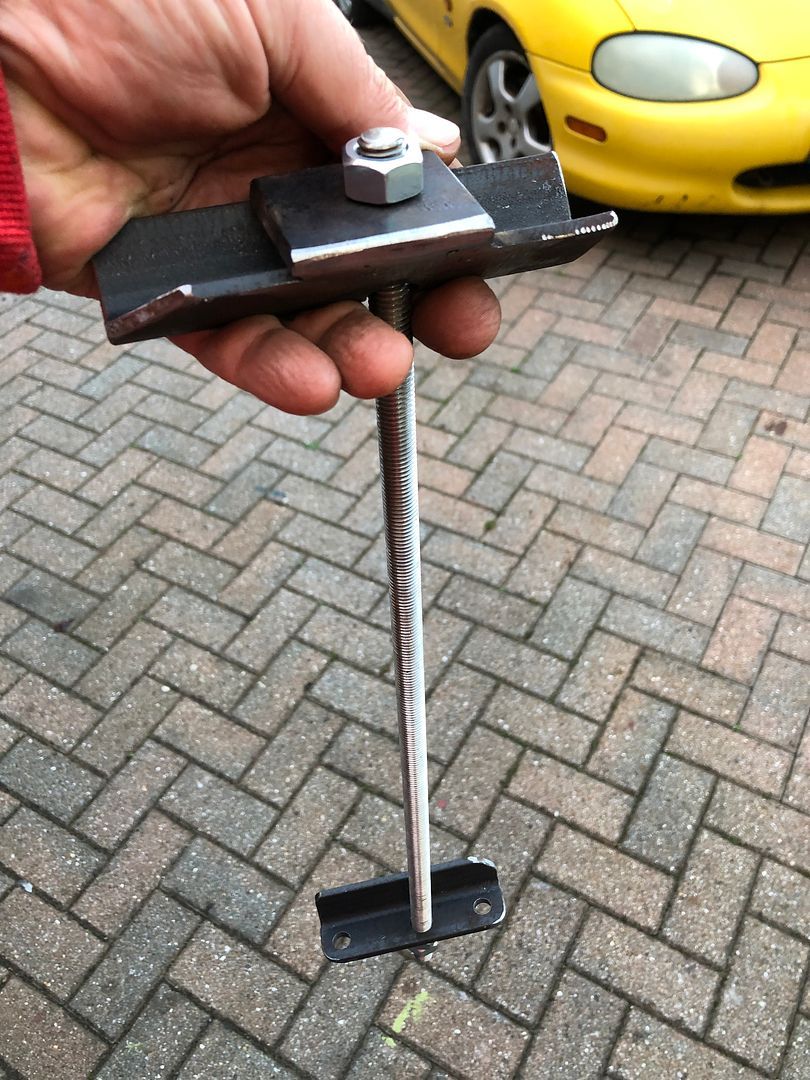 And painted, just because I ran out of workable daylight. 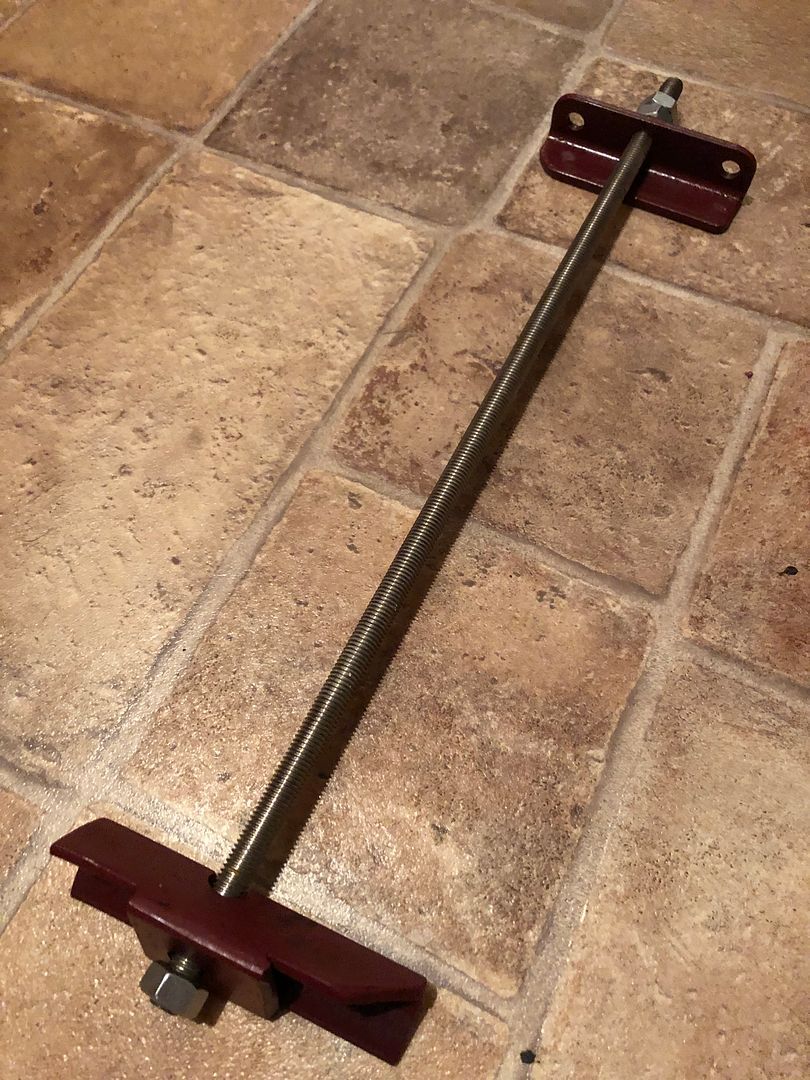 Tomorrow is a long day for me, so may only get to dismantling on Friday. Also removed more rusted, broken, bent split pins from the castle nuts. Bedtime soon. |
| |
Last Edit: Oct 6, 2021 20:40:27 GMT by grizz
|
|


.jpg)


