|
|
|
Feb 24, 2022 19:35:14 GMT
|
Got home from work tonight, some sleet on the road. Chilly outside for sure. Quick coffee, then down to the garage to mess around a bit. nickwheeler made a template for the heater box and blower to fit under the slimline dash, in order to extend my useable season for the car. So,I pulled out the template box, copied ot, and transferred the measurements onto a Dexian shelf. 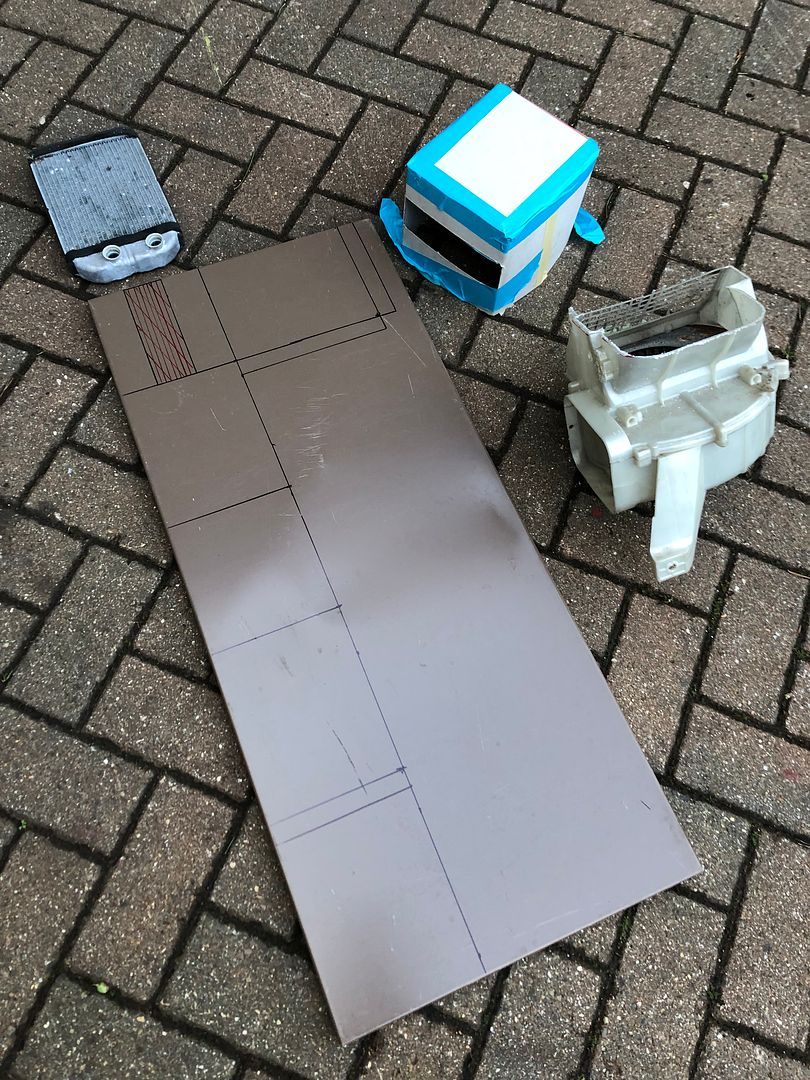 Grinder (stop sniggering at the back) 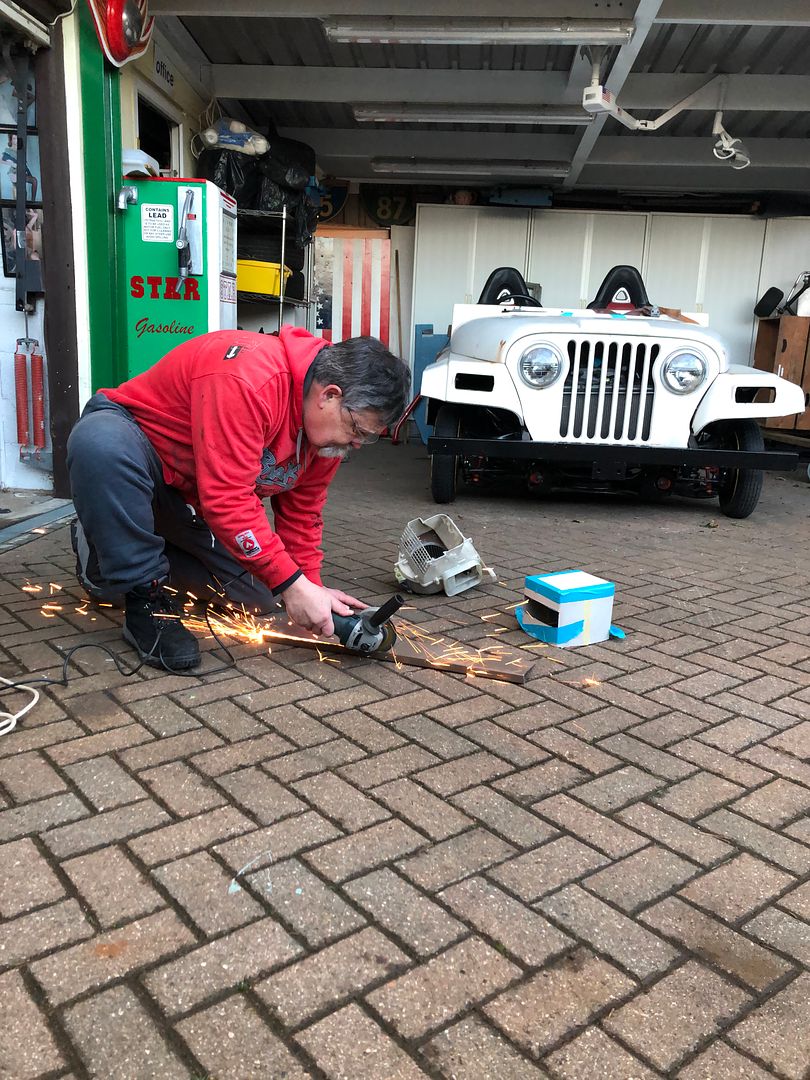 Result. Tidied and smoorhed. 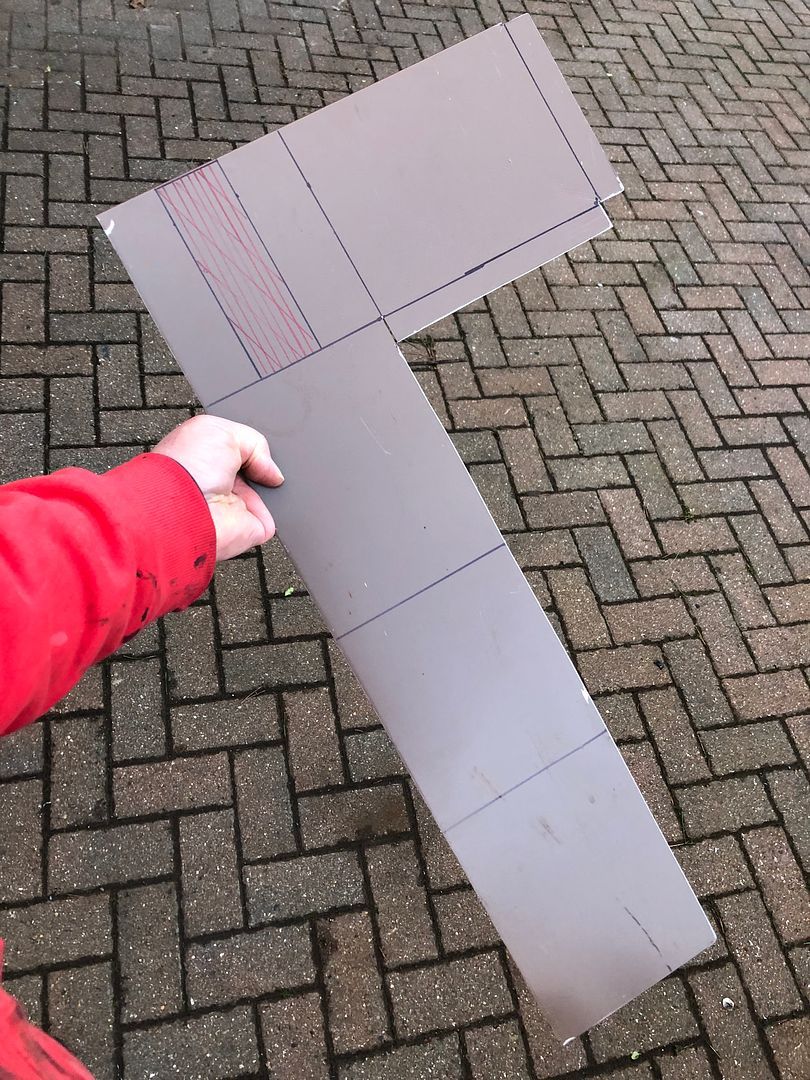 High tech folding tools. 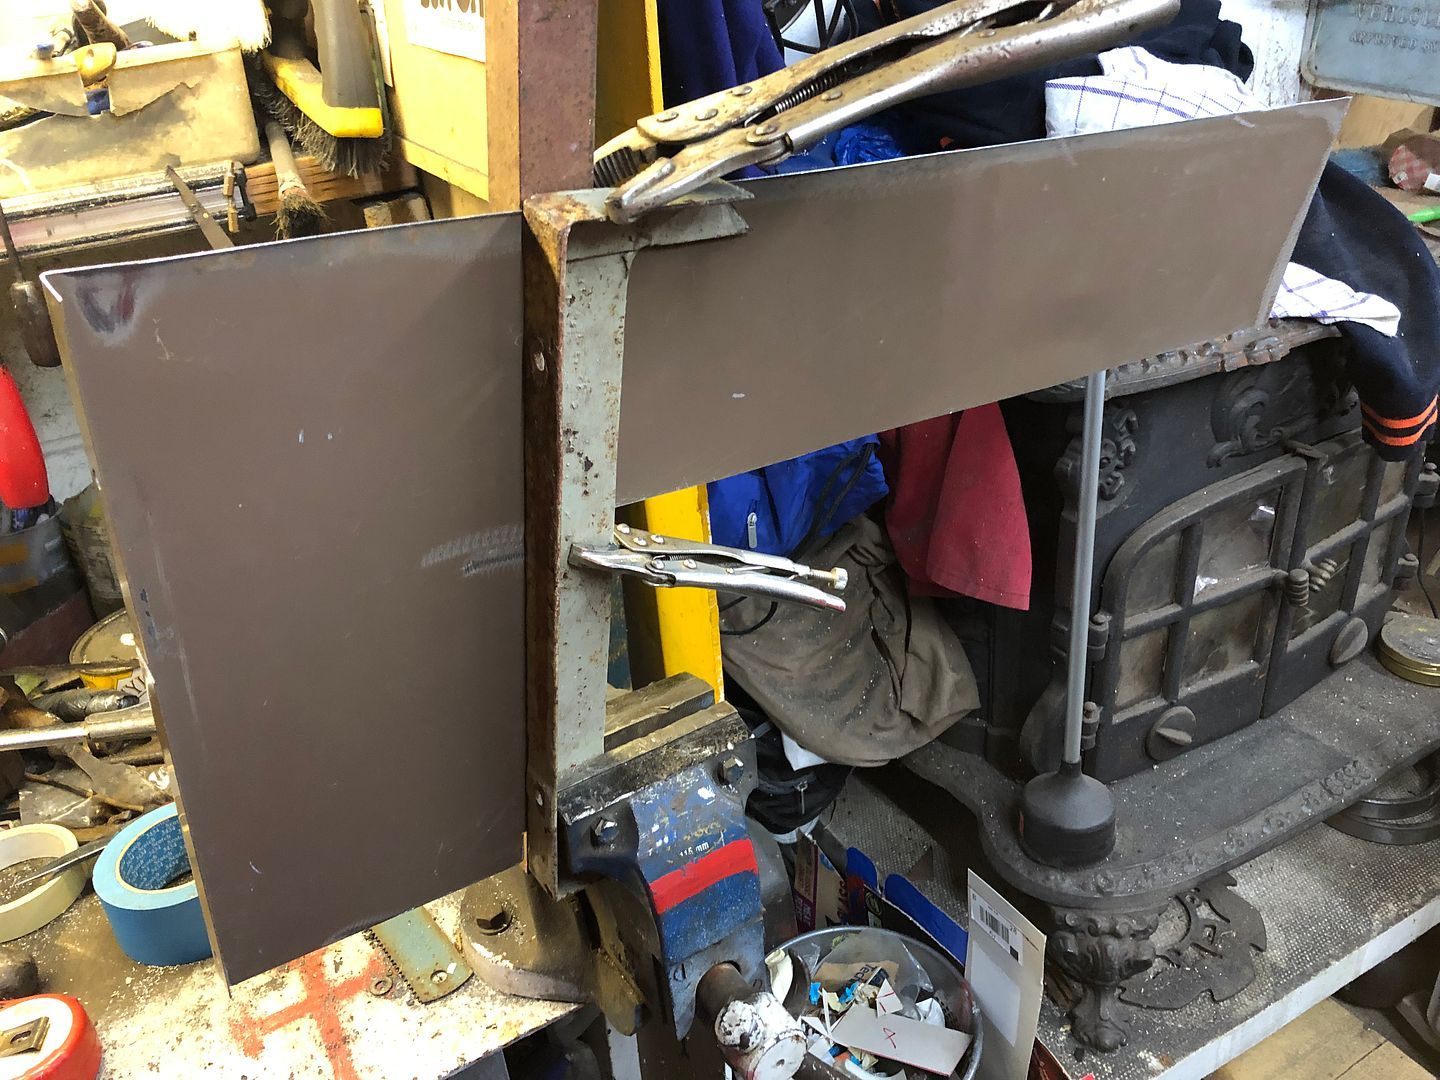 Progress. 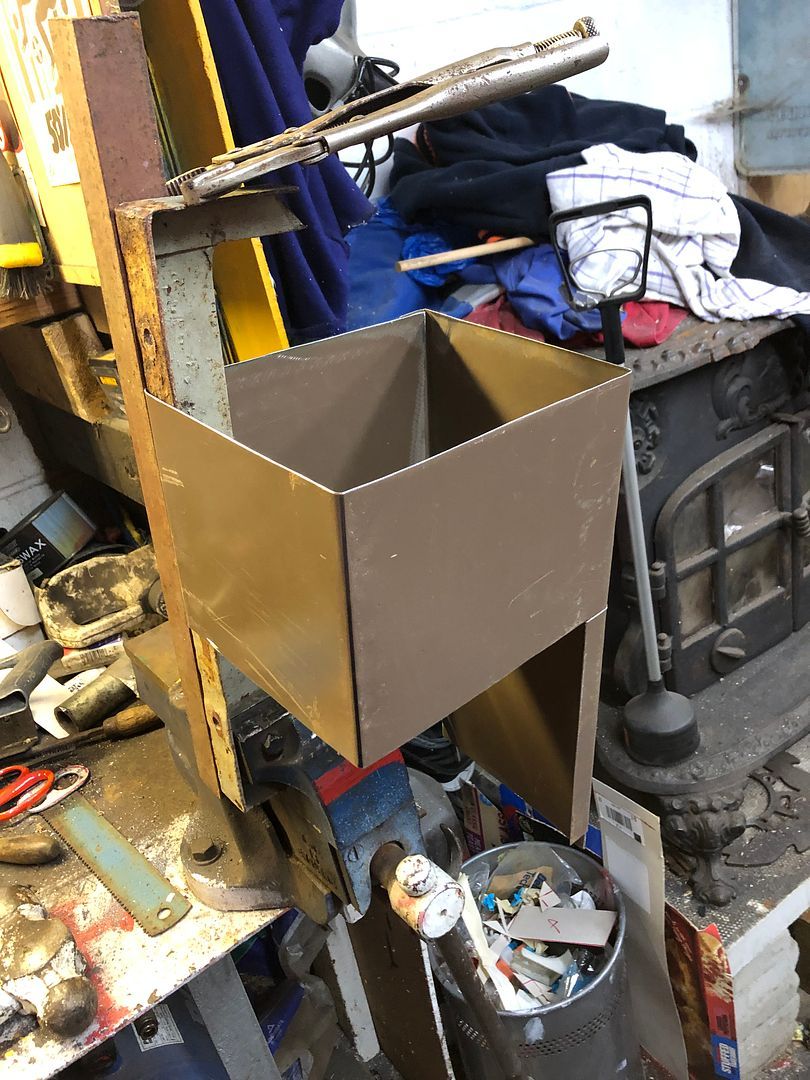 Liking it so far. 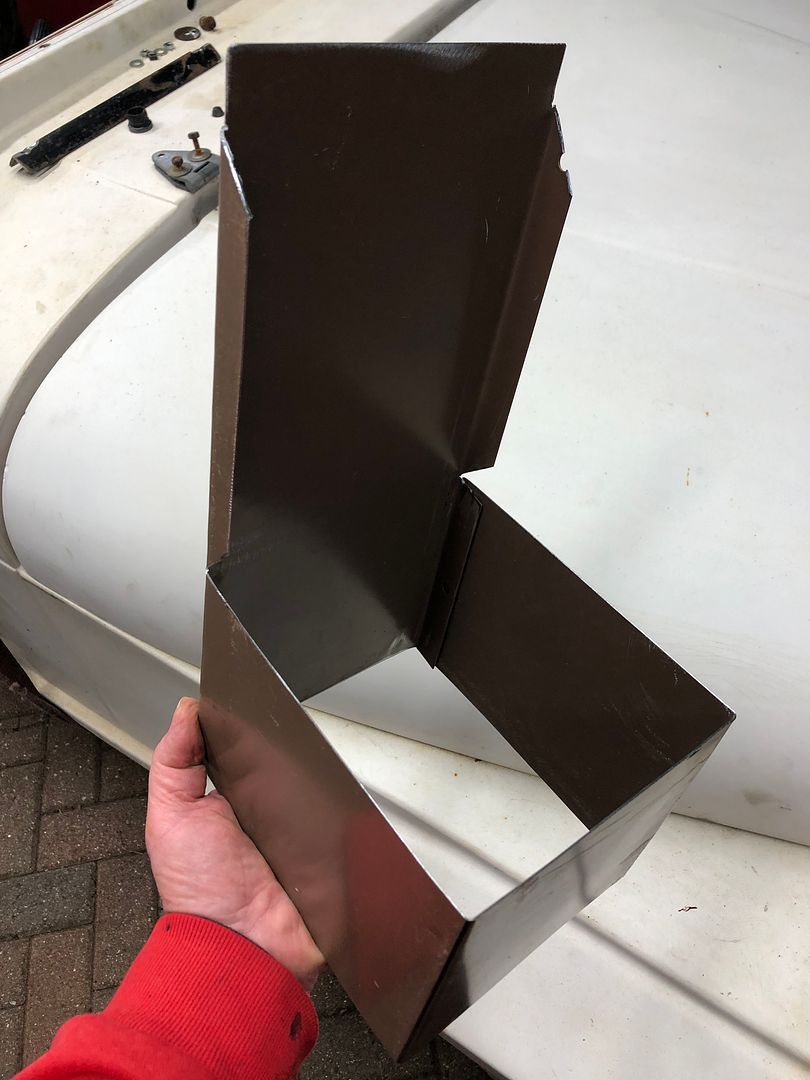 Chocolates? 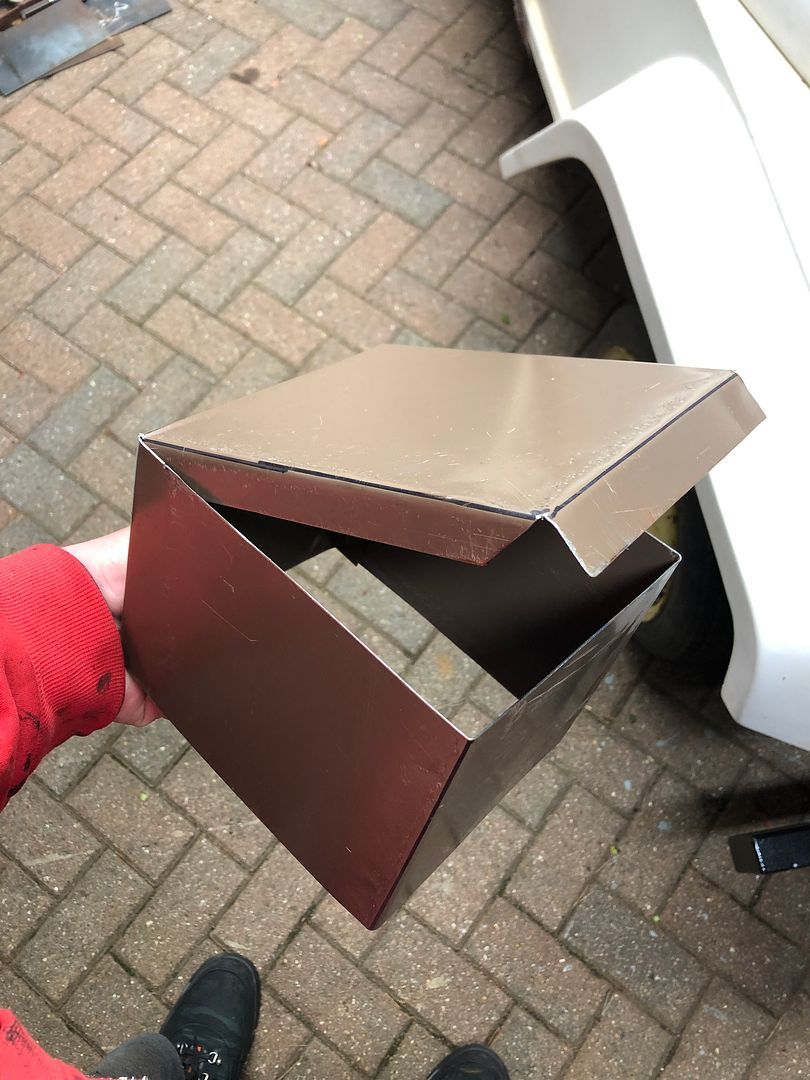 And folded, not yet welded. Front slot will get cut out once welded and stable. Great fit on the blower too. 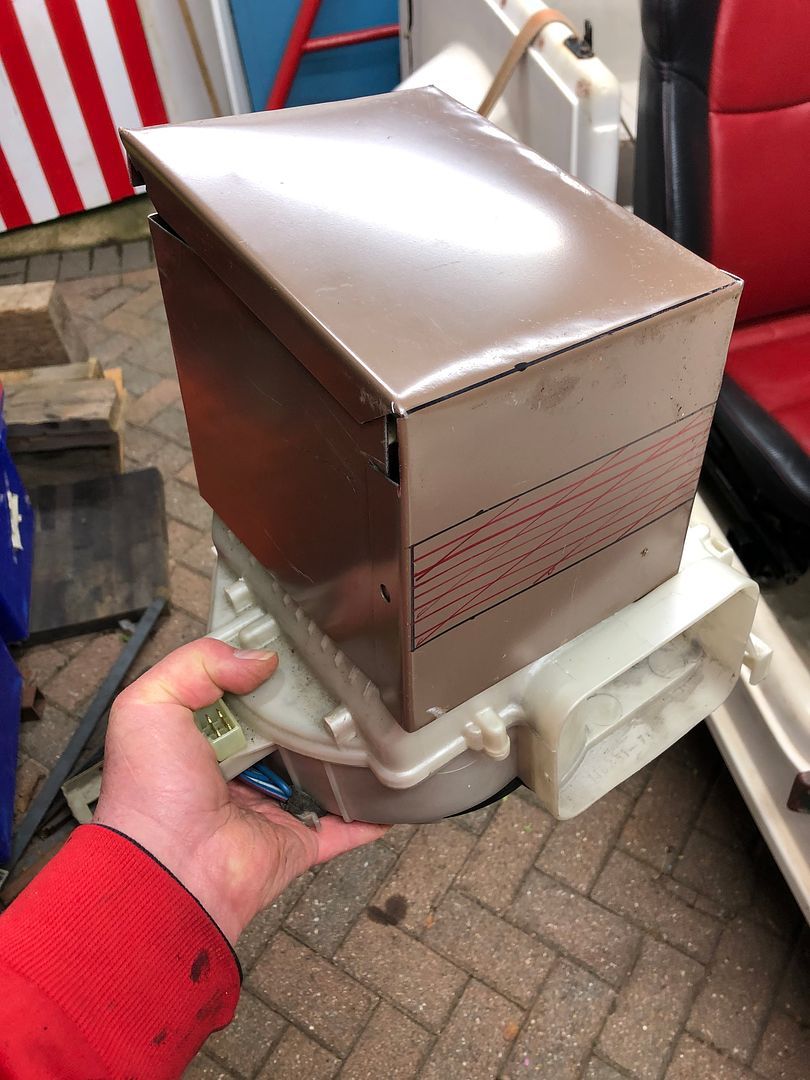 Really pleased with this. Once welded, I will cut some holes for the directional vents too. Toasty …… |
| |
|
|
|
|
|
|
|
Feb 24, 2022 22:54:29 GMT
|
|
Cool.
Or hot.
One of those....
|
| |
|
|
|
|
|
Feb 24, 2022 23:21:14 GMT
|
|
Don't make the vent holes until it's attached to the car, and the dash designed
|
| |
|
|
|
|
|
|
|
Cool. Or hot. One of those.... 😂 Don't make the vent holes until it's attached to the car, and the dash designed Agreed. Have gone down this morning to check the vents on the box. Looks like I will have to do a slight redesign and find some slimline vents to fit, or make some narrower grilles. 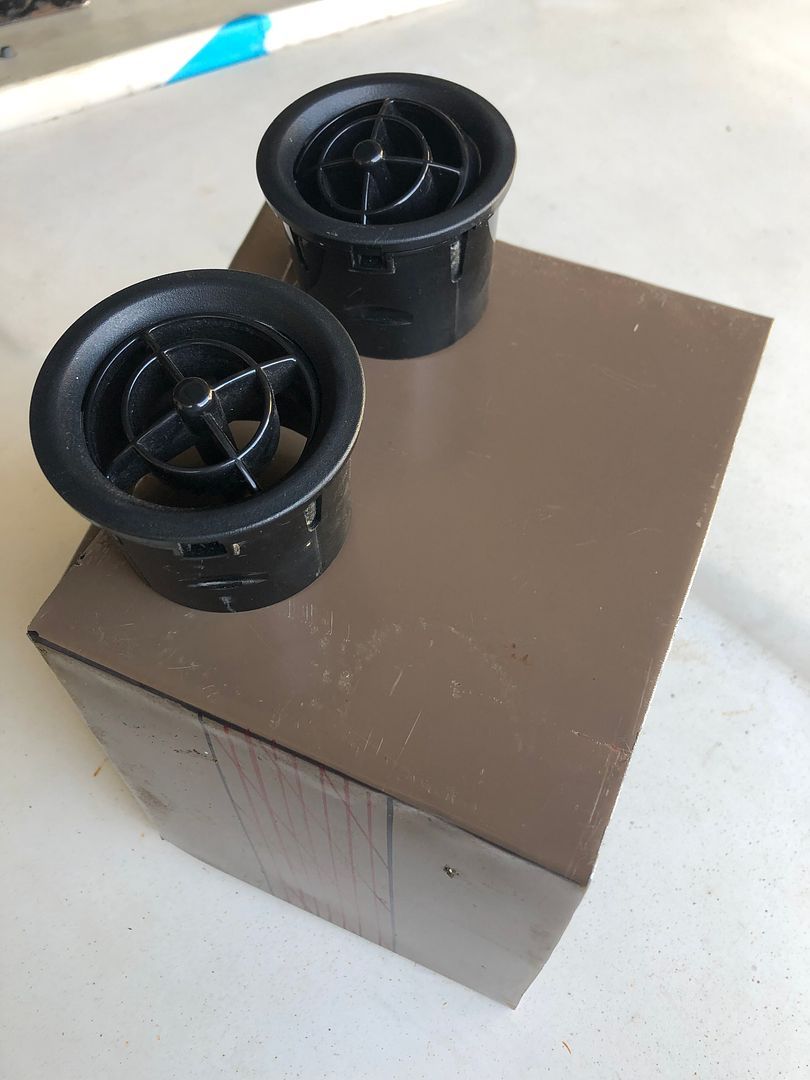 Also, mate Martin, like me, is using an MX5 blower and switches in his 66 C10 truck. It is a direct retrofit to the original airbox with no cutting etc. The switching is either by original switch, or a multi speed switch. VIDEO BELOW. Coming together bit by bit. |
| |
|
|
|
|
|
|
|
|
Wasn't the plan to use the vents in the side of the console, and duct to them from the box? Or do you just want a heated gear lever?
|
| |
|
|
|
|
|
|
|
Wasn't the plan to use the vents in the side of the console, and duct to them from the box? Or do you just want a heated gear lever? Of course. You are right. Yes, we spoke of ducted air to the sides of the console. Crisis averted. |
| |
|
|
glenanderson
Club Retro Rides Member
Posts: 4,349
Club RR Member Number: 64
|
|
|
|
Do you just want a heated gear lever? That made me laugh, on an otherwise pretty glum day. 👍 |
| |
My worst worry about dying is my wife selling my stuff for what I told her it cost...
|
|
|
|
|
Feb 25, 2022 13:52:00 GMT
|
Do you just want a heated gear lever? That made me laugh, on an otherwise pretty glum day. 👍 Probably an option on some lease car somewhere... |
| |
|
|
|
|
|
Feb 25, 2022 14:10:19 GMT
|
That made me laugh, on an otherwise pretty glum day. 👍 Probably an option on some lease car somewhere... It will be bundled in with a load of other pointless junk like massaging seats, HUDs, digital displays for the heater and mood lighting. To be known as the "some suckers will pay for any old tat" option. BMW, Audi or Mercedes are likely candidates. |
| |
|
|
|
|
|
Feb 25, 2022 18:55:38 GMT
|
Do you just want a heated gear lever? That made me laugh, on an otherwise pretty glum day. 👍 Good. My week has been crazy. That made me laugh, on an otherwise pretty glum day. 👍 Probably an option on some lease car somewhere... Probably. Probably an option on some lease car somewhere... It will be bundled in with a load of other pointless junk like massaging seats, HUDs, digital displays for the heater and mood lighting. To be known as the "some suckers will pay for any old tat" option. BMW, Audi or Mercedes are likely candidates. You know this this is true. |
| |
|
|
|
|
|
Feb 25, 2022 19:01:27 GMT
|
Quick job. New fender brackets made. 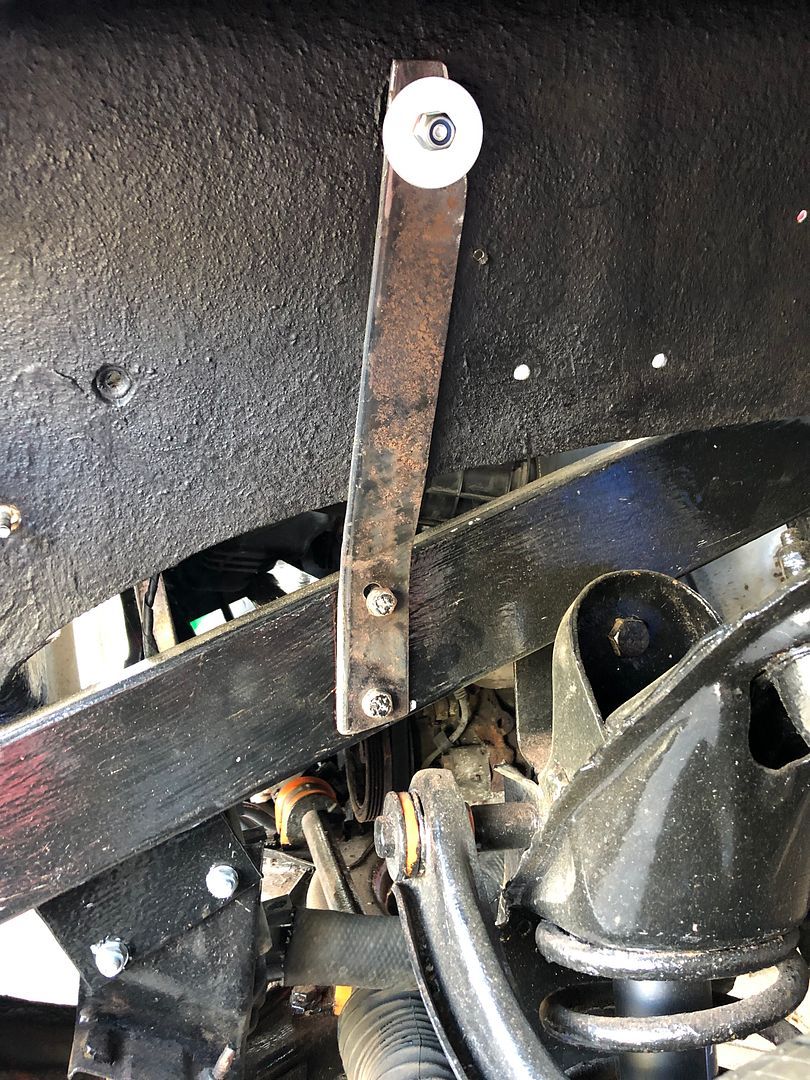 More to come. Soon. |
| |
|
|
|
|
|
Feb 25, 2022 21:22:37 GMT
|
Meet Molly. No, not Mollie. Sally’s Uncle John, older brother to UncleBob The Hoarder had her for 5 years, born on Christmas day eve. Uncle John was walking Molly today, like he did twice every day, when he collapsed on the path and emergency services could not recover him. So Sally brought her over to me this afternoon as she was a bit of a mess. I love animals, as may be known, and she instantly took to me, possibly feeling secure, who knows. I wanted to offer her a home but it looks like one of Johns daughters may take her on. Sweet pup. And she loved the garage, perfect match? 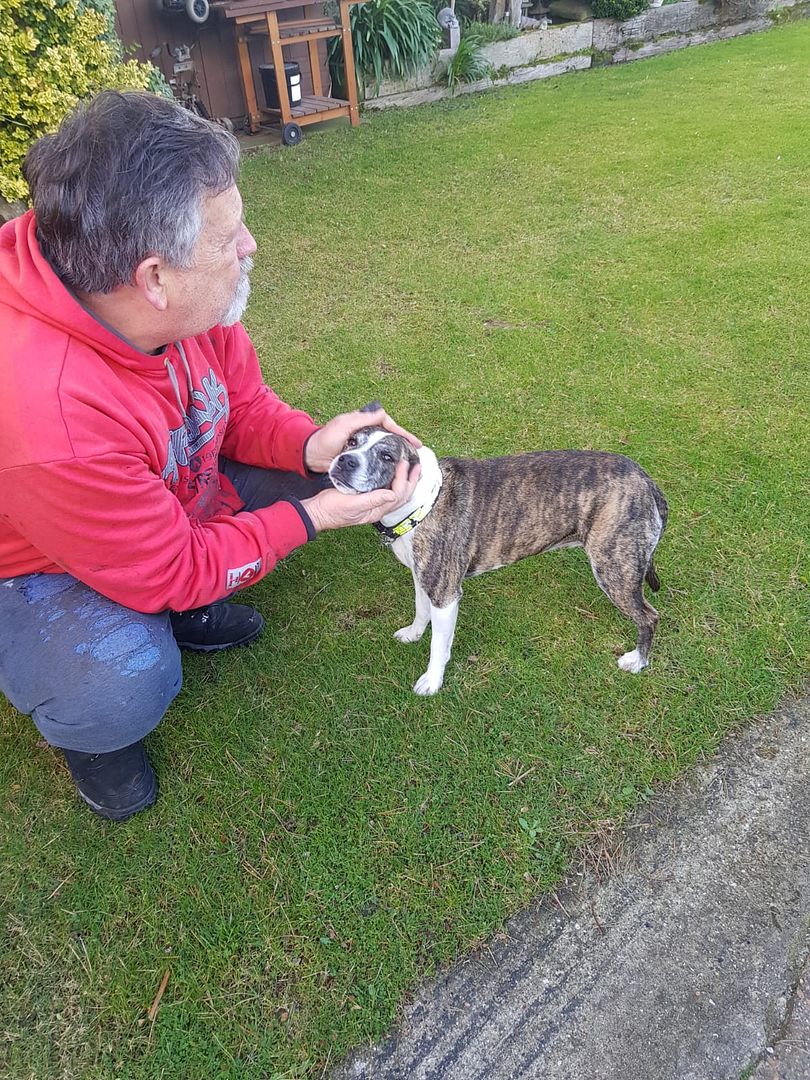 After Sally left, I felt a bit deflated. So I went to the garage, found some Chinese ply to create a template with. Measured, marked and cut……….. 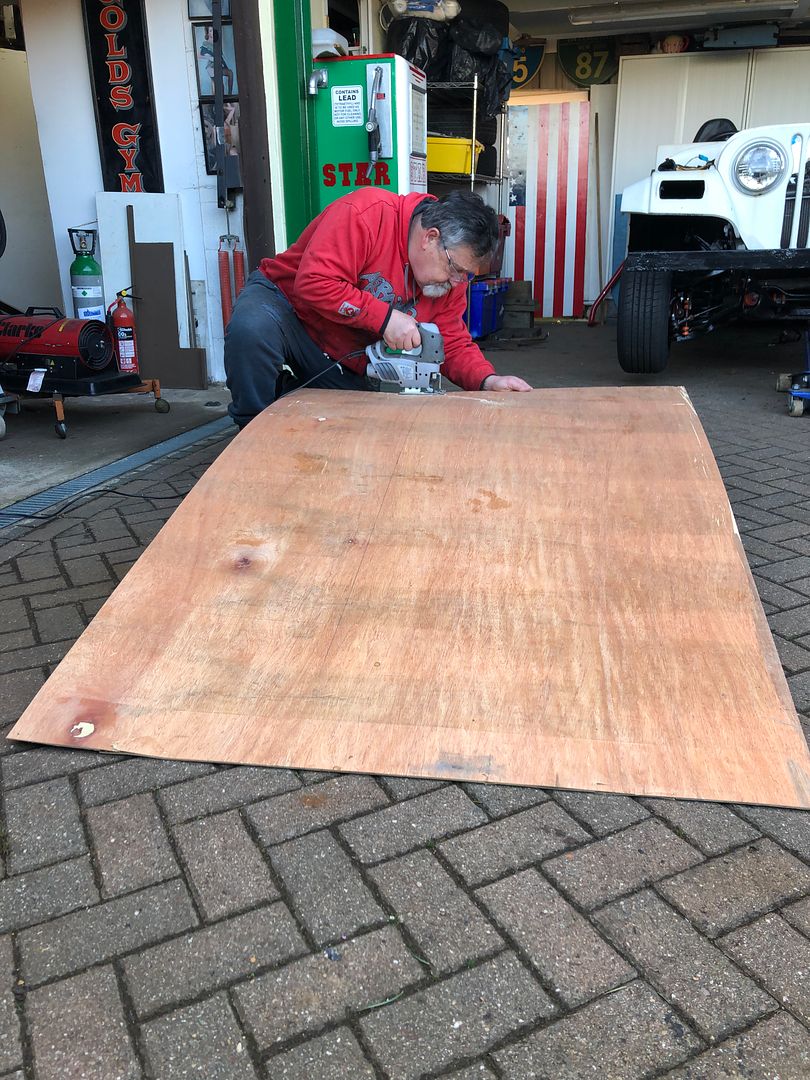 More measuring, arty stuff……… some cutting. .HEIC) Then a big hole. 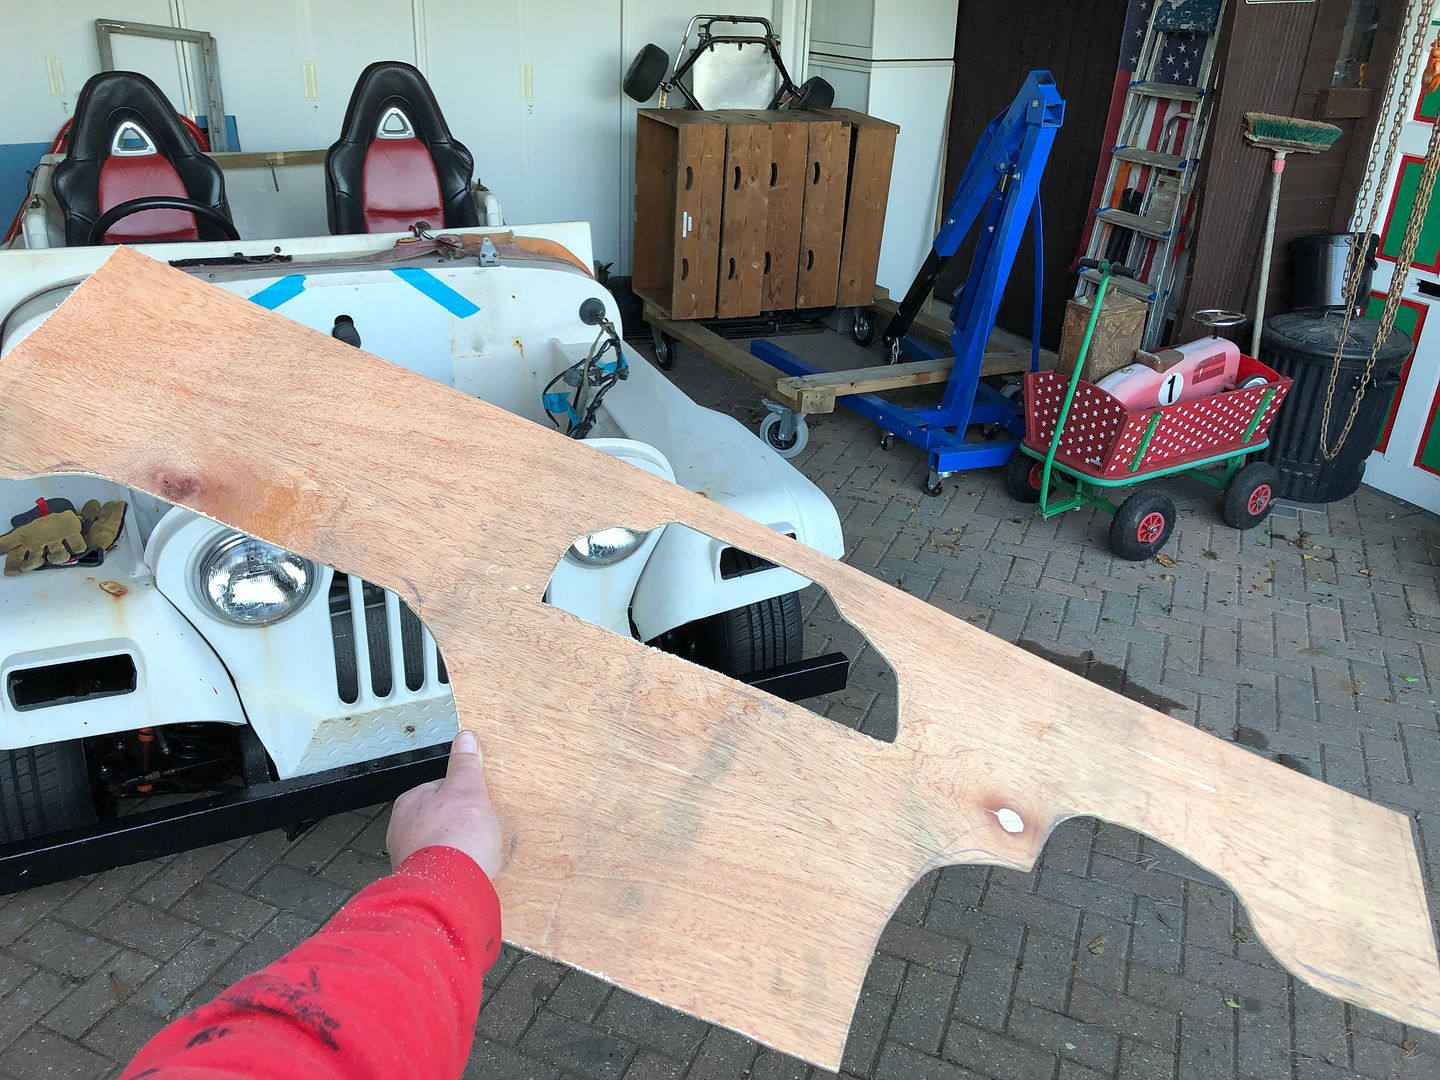 Some more fine tuning, cutting and fitting. 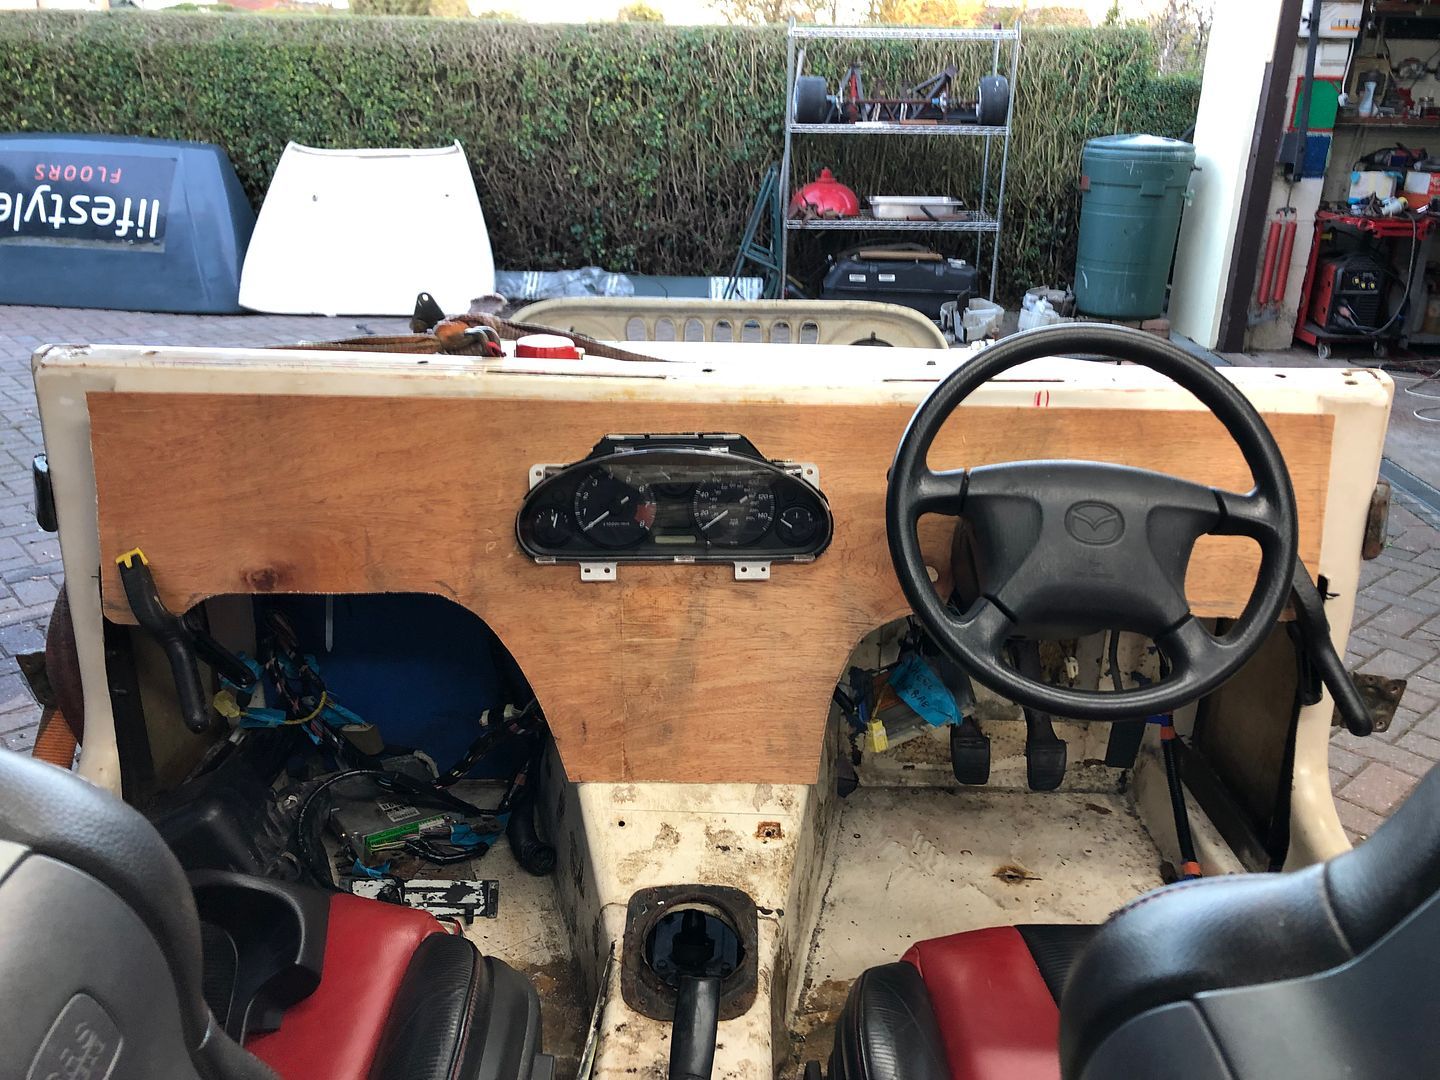 And close up. 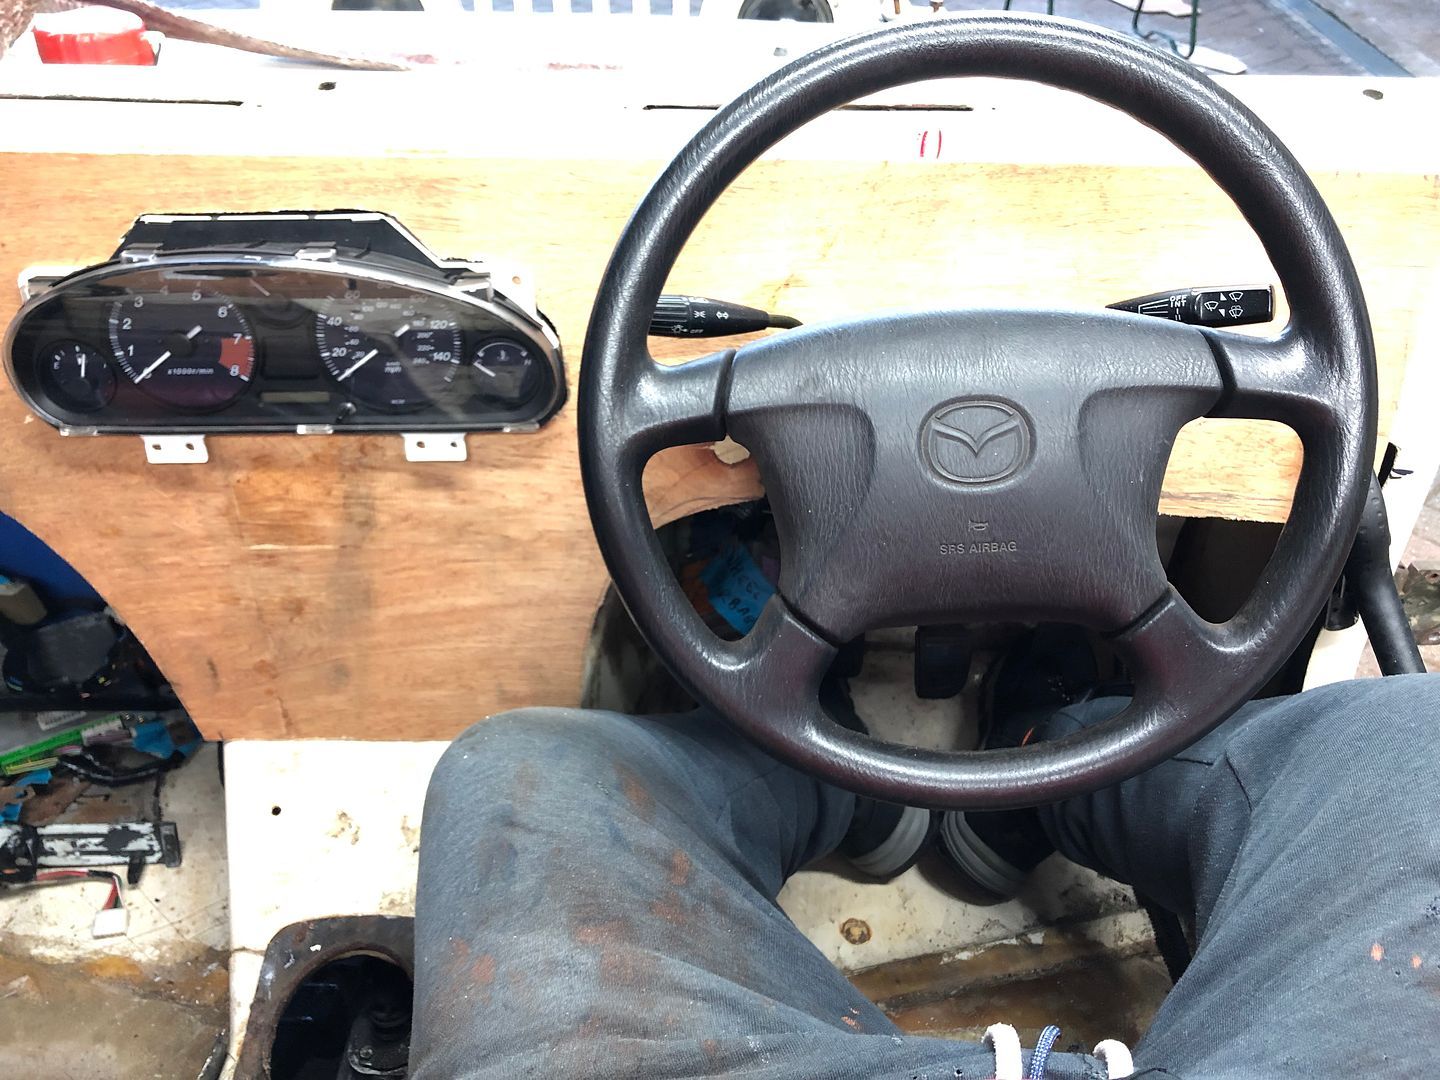 And looking over my shoulder. I think it will work, with a bit of fine tuning. 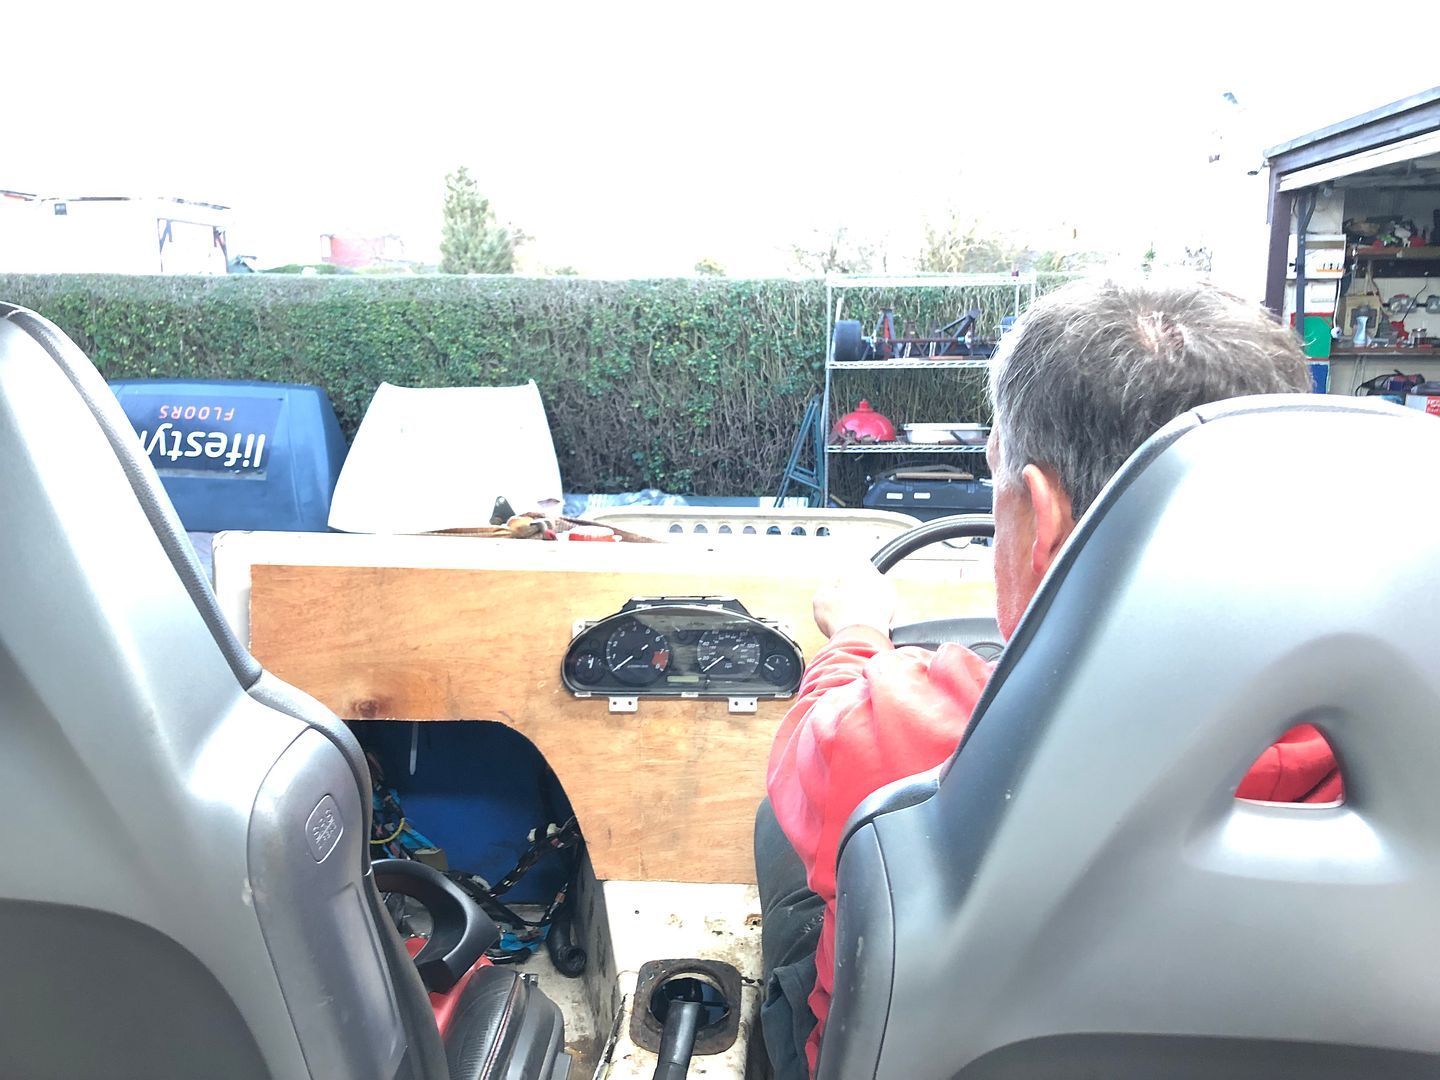 So tomorrow morning I need to play some more. Then figure out how to tilt it up a bit, and more importantly, creating a shroud. I really need a spare cover to cut up. Looking forward to getting on with this in the morning . |
| |
|
|
|
|
|
Feb 25, 2022 22:18:32 GMT
|
|
Amazing how much better it looks just mocked up.
You must have read my mind, because I was going to suggest bumping it up the list.
|
| |
|
|
|
|
|
|
|
|
Condolances to Sally ...
"Then figure out how to tilt it up a bit, and more importantly, creating a shroud."
Spacers under the bottom mounting lugs ?
|
| |
Last Edit: Feb 26, 2022 9:20:50 GMT by westbay
|
|
|
|
|
|
|
Condolances to Sally ... "Then figure out how to tilt it up a bit, and more importantly, creating a shroud." Spacers under the bottom mounting lugs ? Make a frame for the clocks out of thick MDF(or laminate thinner pieces). Sand the back mounting face at whatever angle is required. Mould the front edges so that it blends into the dash and looks good. Paint/trim/whatever the finish is going to be. |
| |
|
|
|
|
|
Feb 26, 2022 21:29:32 GMT
|
Amazing how much better it looks just mocked up. You must have read my mind, because I was going to suggest bumping it up the list. Well, after today………. You know I am reading your mind. Well, just connecting the dots really. Condolances to Sally ... "Then figure out how to tilt it up a bit, and more importantly, creating a shroud." Spacers under the bottom mounting lugs ? Agreed. More fine tuning to come. Condolances to Sally ... "Then figure out how to tilt it up a bit, and more importantly, creating a shroud." Spacers under the bottom mounting lugs ? Make a frame for the clocks out of thick MDF(or laminate thinner pieces). Sand the back mounting face at whatever angle is required. Mould the front edges so that it blends into the dash and looks good. Paint/trim/whatever the finish is going to be. Good to have you over today nickwheeler. Again, great progress, and a few boxes ticked too on the build. Dash can wait for a moment or two. |
| |
|
|
|
|
|
Feb 26, 2022 22:35:12 GMT
|
Pretty pleased with the first job I did this morning. Shaped and clamped the folded box, took a bit of time to make it all square up. But it worked out in the end. 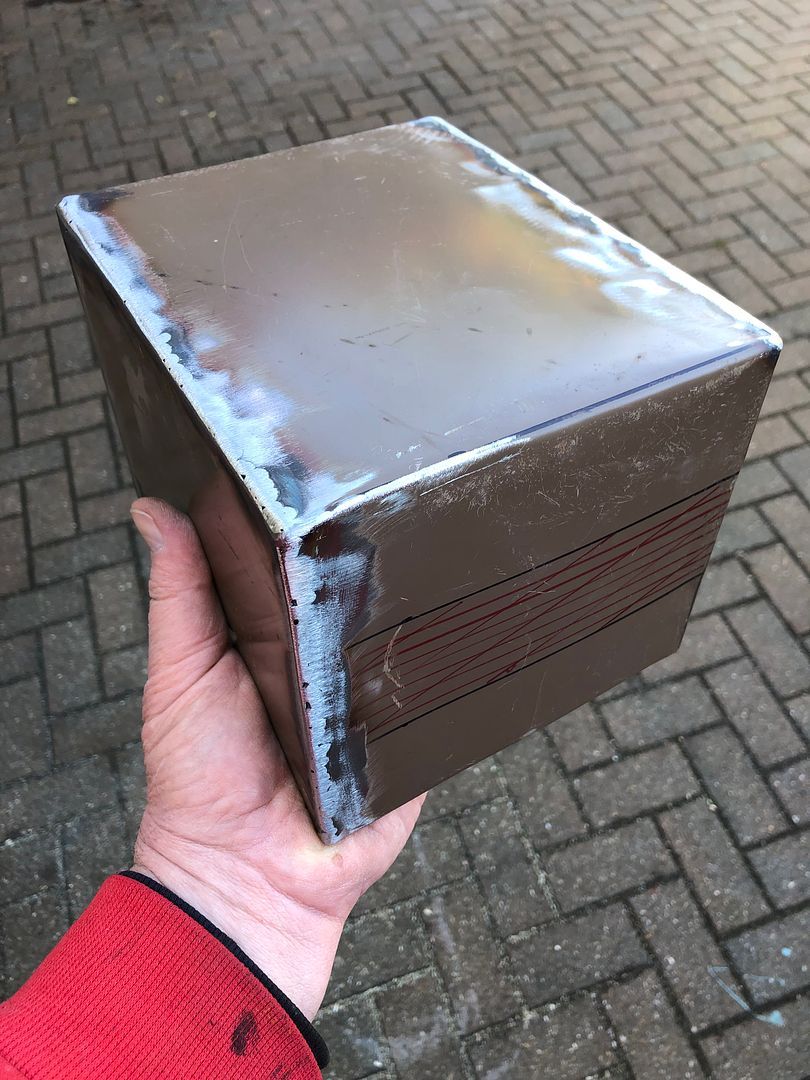 More work done through the rest of the day. Back in a bit for those who are interested. |
| |
|
|
|
|
|
|
|
I felt like a kid, caught out being naughty yesterday. Had Paul Y over by 09.00 to collect the cab lifter for Woody his C10 bought in 2015 forum.retro-rides.org/thread/176466/woody-66-c10-eagle-landedAs well as his blasting pot, and a quick bacon sandwich with a mug of tea. After he left I had gone and carried on down at the garage, followed by a visit from Stuart my one neighbour to collect his large die that I had used to clean up the track rod ends when I reset the front wheel tracking last week. When he left it was time for a coffee, which I had just finished when @nickwhheler arrived, me sitting indoors reading the internet. More coffee, note comparing, planning and then off to the garage. Nick brought gifts……… He can explain them. 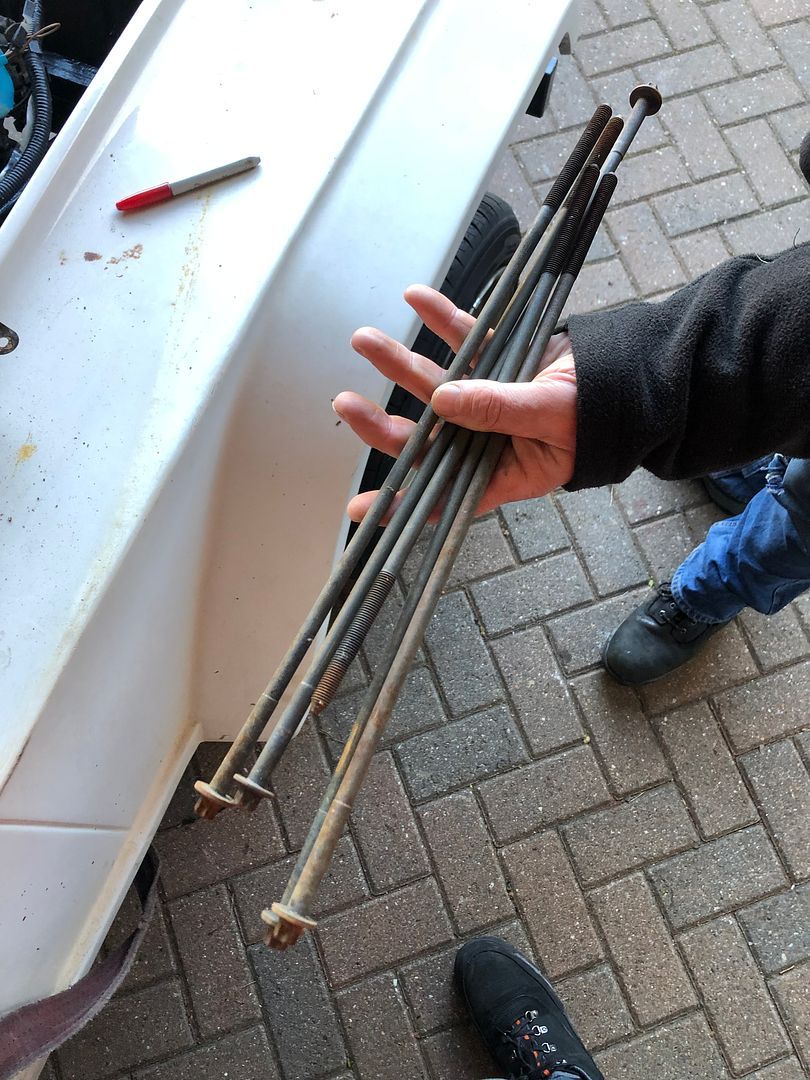 First job was to remove the front grille, make space and do one more trial fit, then tack weld it all in place the steering rod. Not as tight as it looks, and later I would remove what was left of the original Ford engine mount. 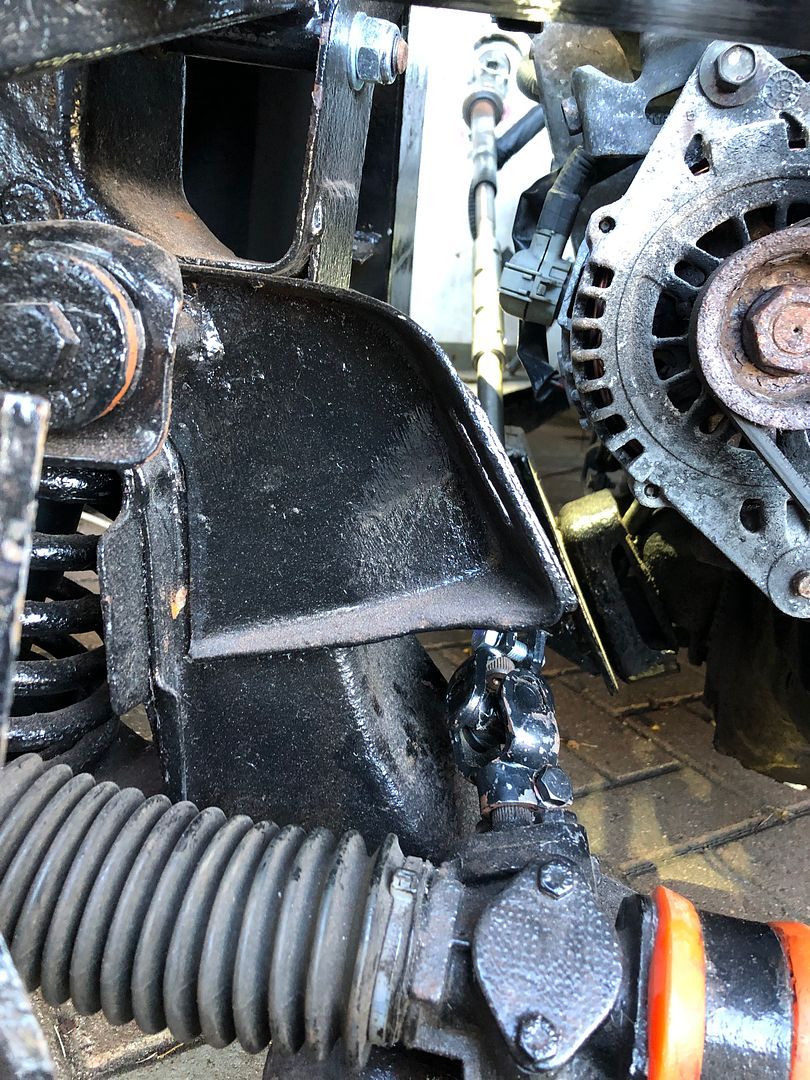 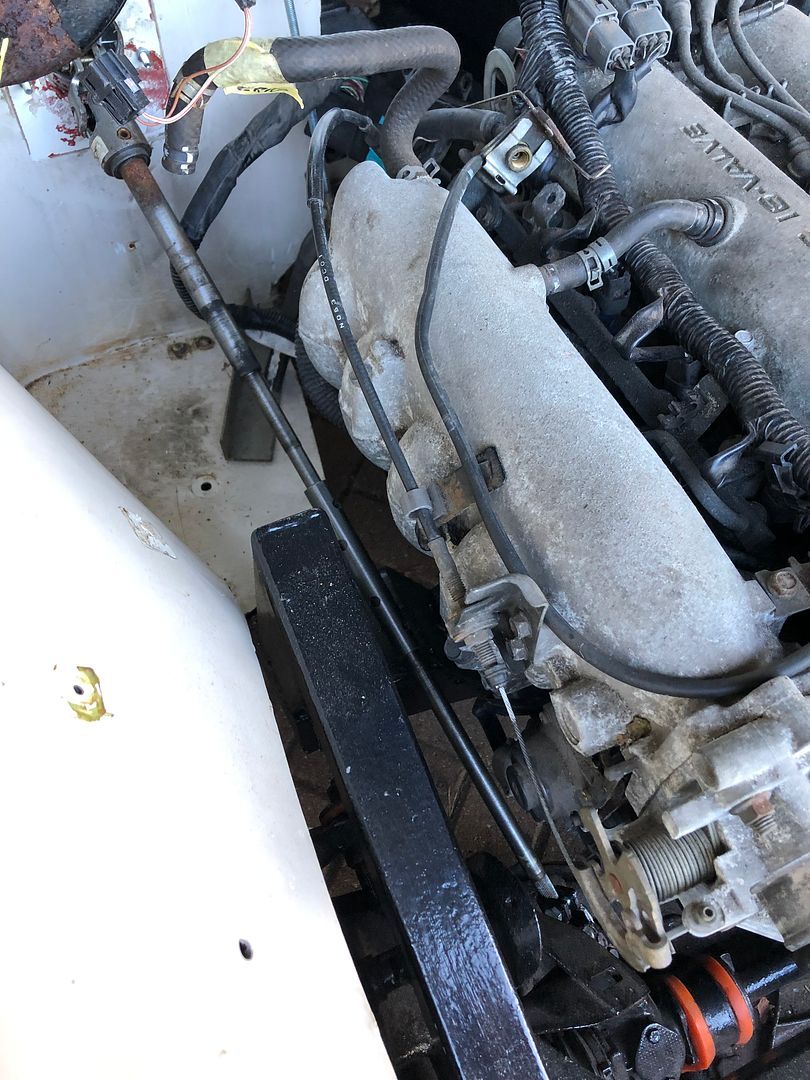 Then final weld up. More about this later. 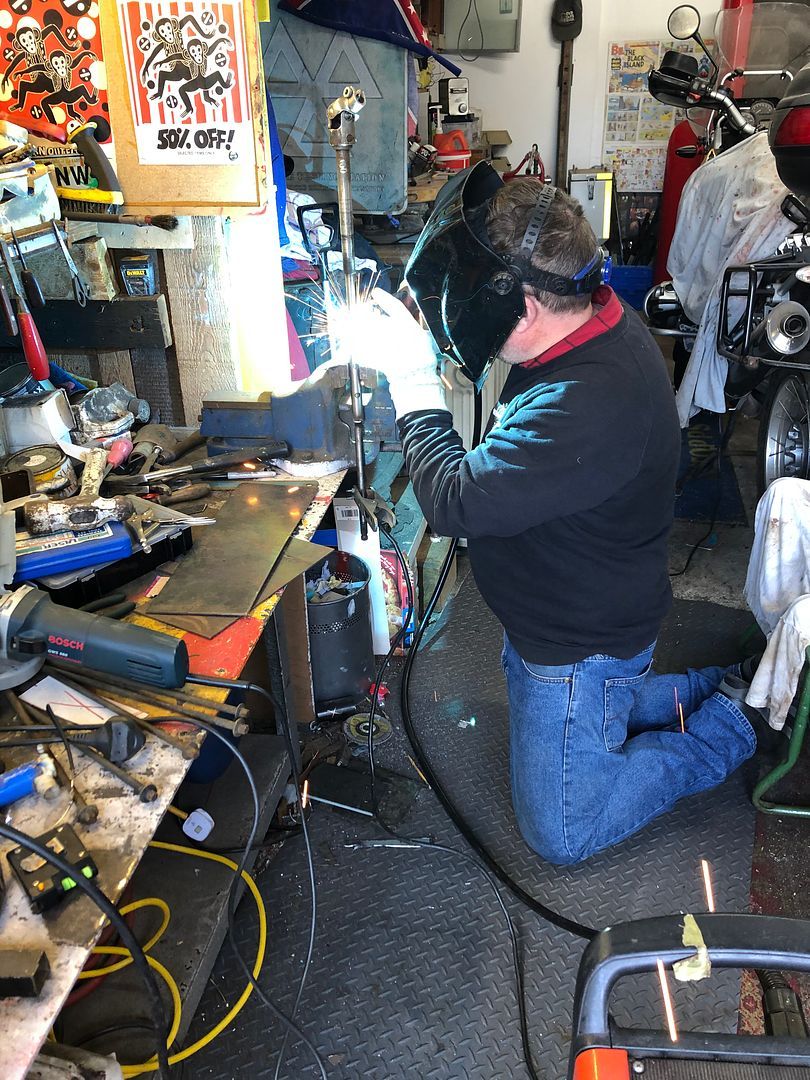 In the mean time it had become time to address the relocated position of the MX5 gear lever vs original Ford position. The MX5 gearbox is small, and lower than the original Ford part. 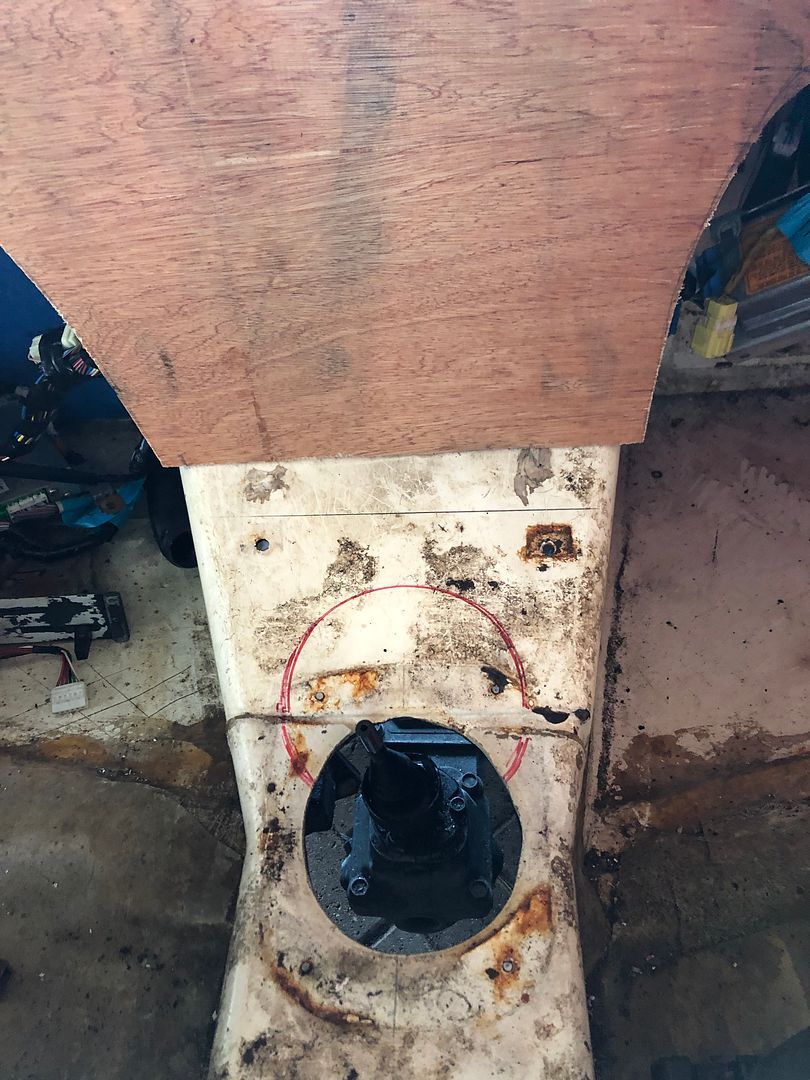 Marked, cut, and then fine tuned the piece of MX5 tunnel I had removed. This will allow a Mazda part to be bolted in place once I have a gear lever extender screwed in place. 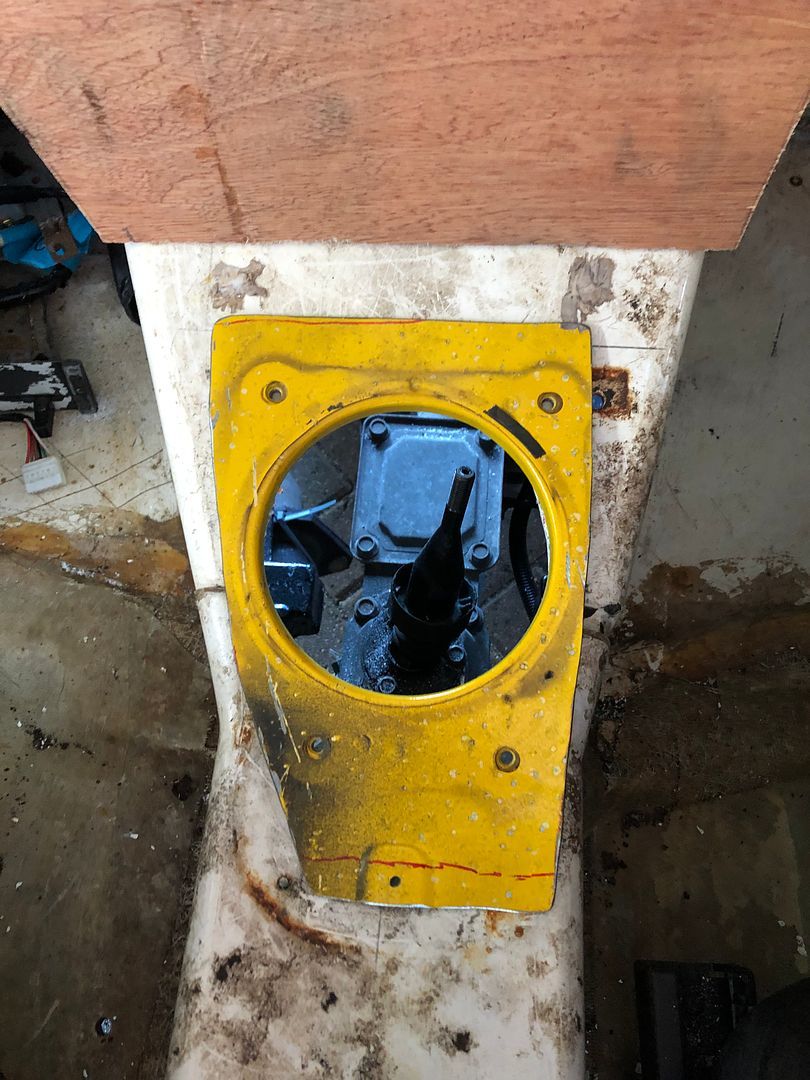 5th gear position was what mainly drove the relocation, as the original box would have been a 4 speed I suspect. Happy with this position too. Loads of small fabrication jobs done. Nick also carried on with modifications to the battery bridge and its mounts. Coffee was consumed constantly, the machine needs fueling. |
| |
|
|
|
|
|
|
|
The afternoon flew by with Nick and I continuing with a load of small jobs that are all part of the bigger job at hand. At one point John, my current short term lodger came home, he needed a place to store his Yamaha V-Max powered trike, so I said to just bring it here. Sounds magnificent. 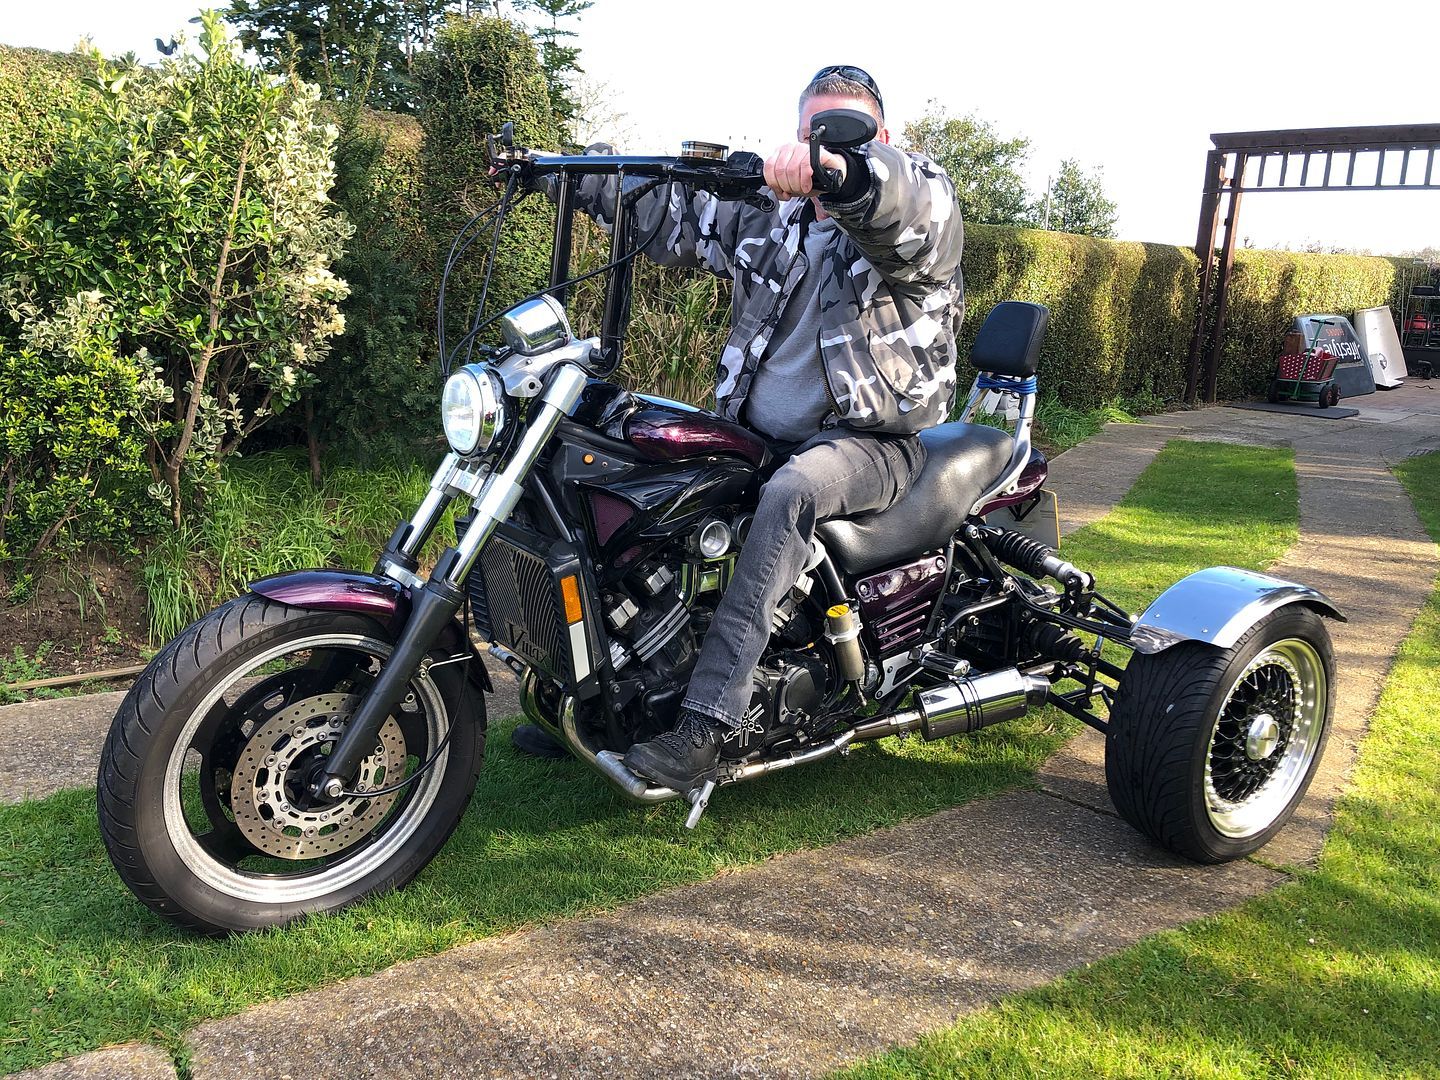 In the mean time it was once again time for the body to come off. Allowing me to cut out the remaining Ford engine mount and for Nick to drill some holes in the chassis, followed by welding in captive threaded nuts he had made to act as a foundation for the battery bridge and as foolproof earth points for the power and loom. 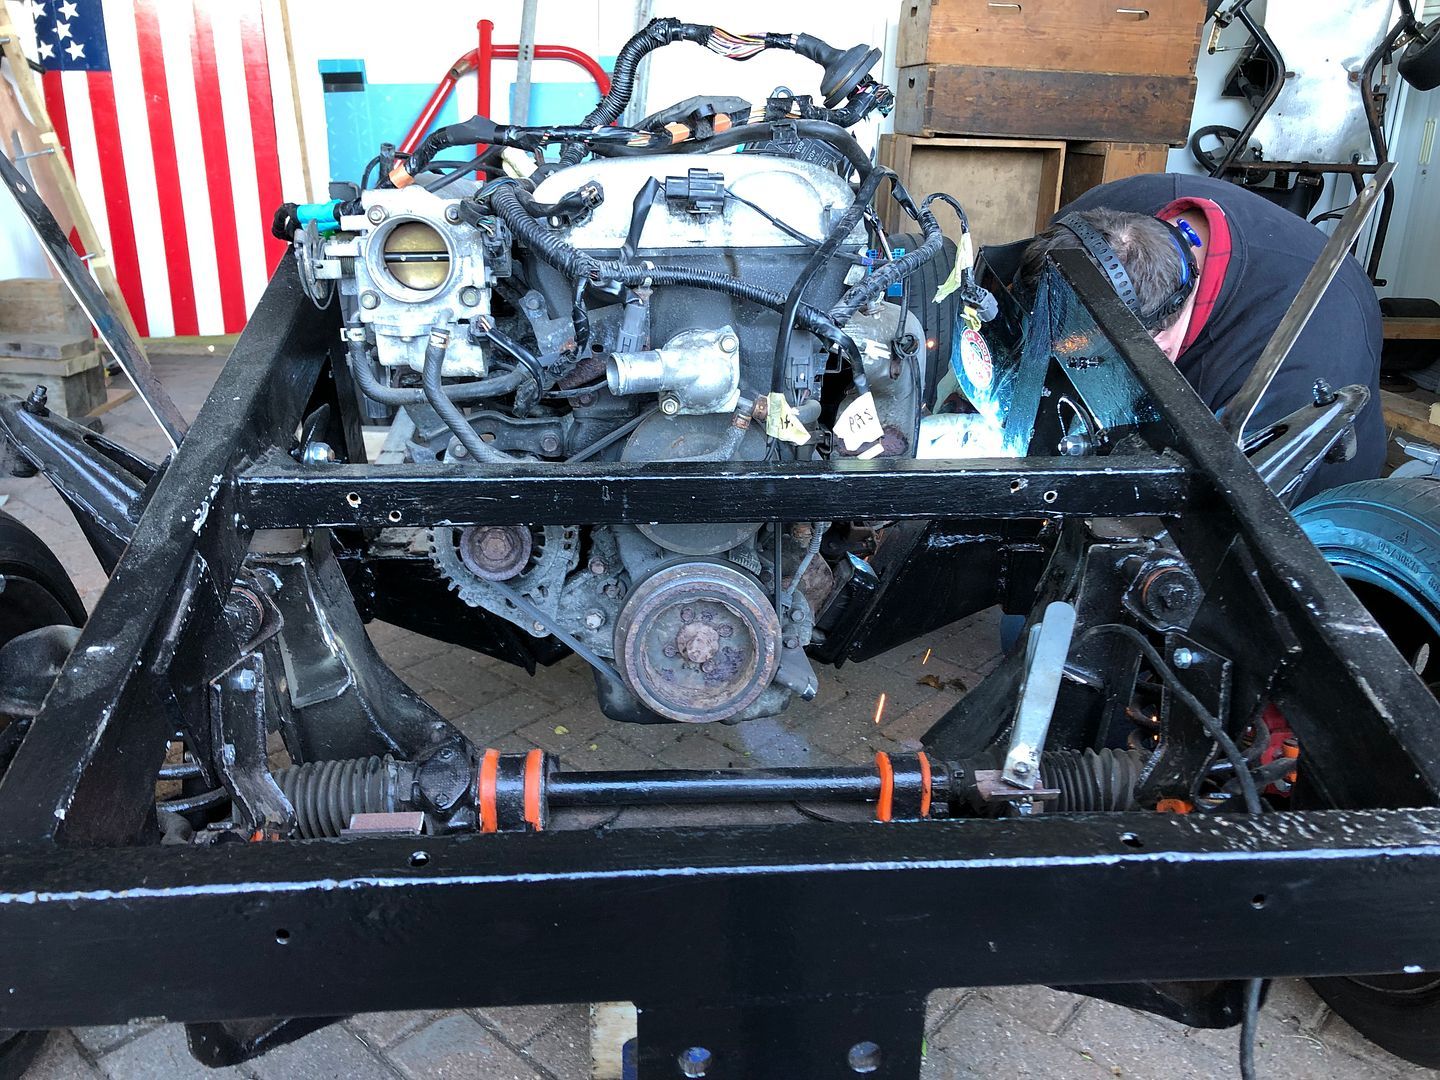 Body up again. 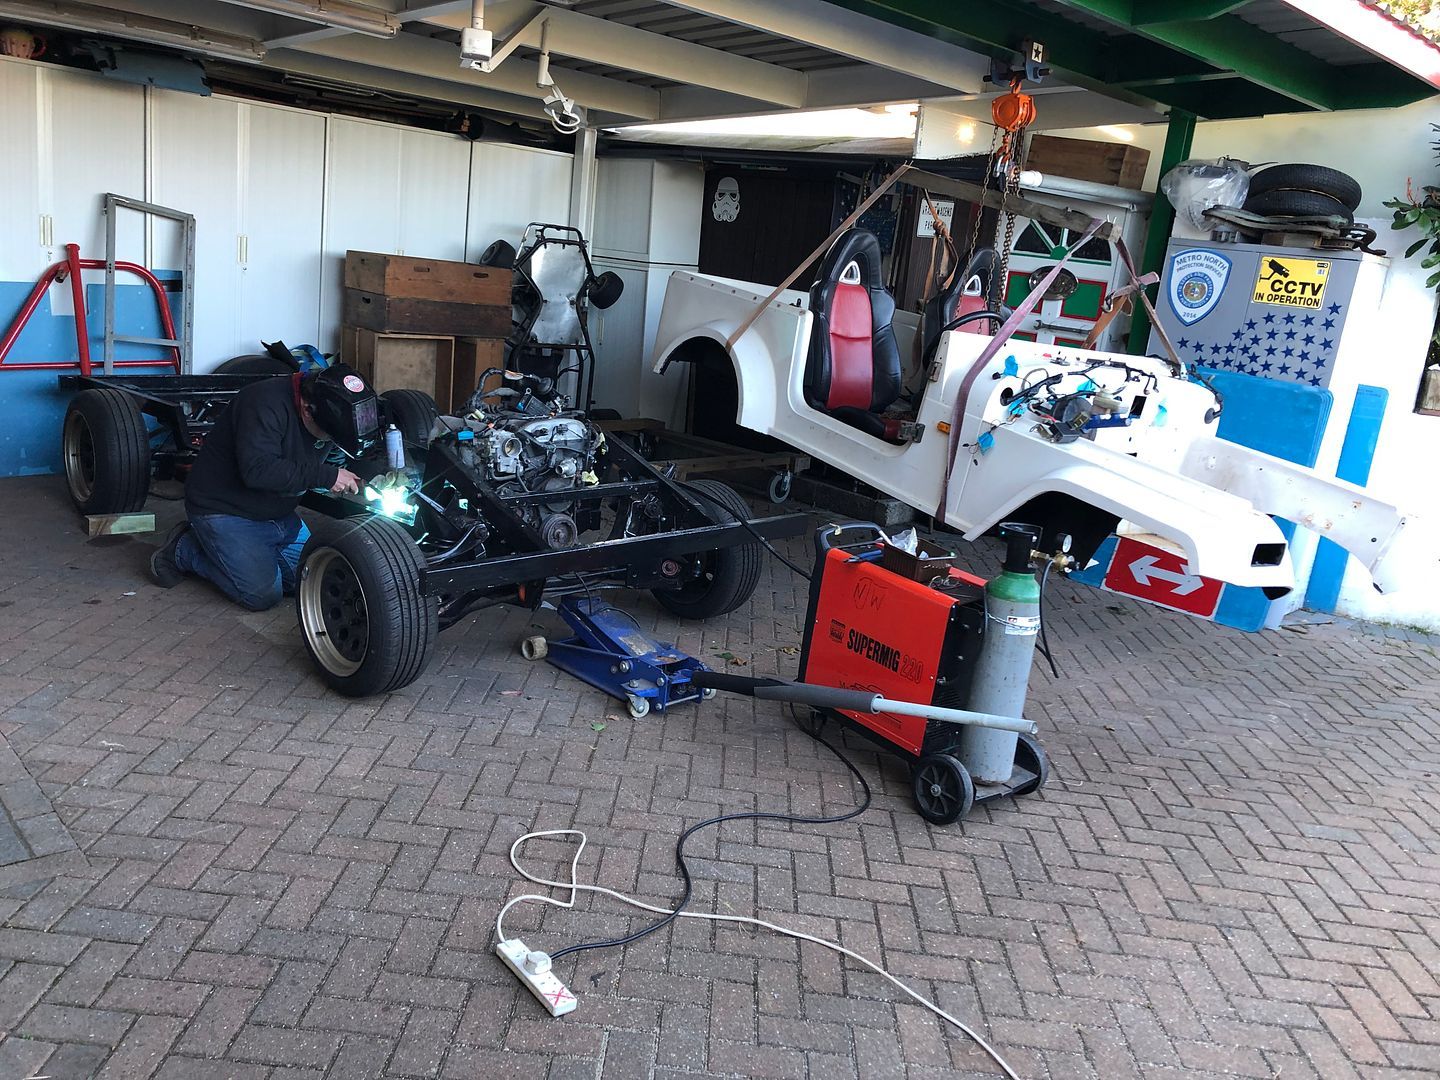 Resulting in……. 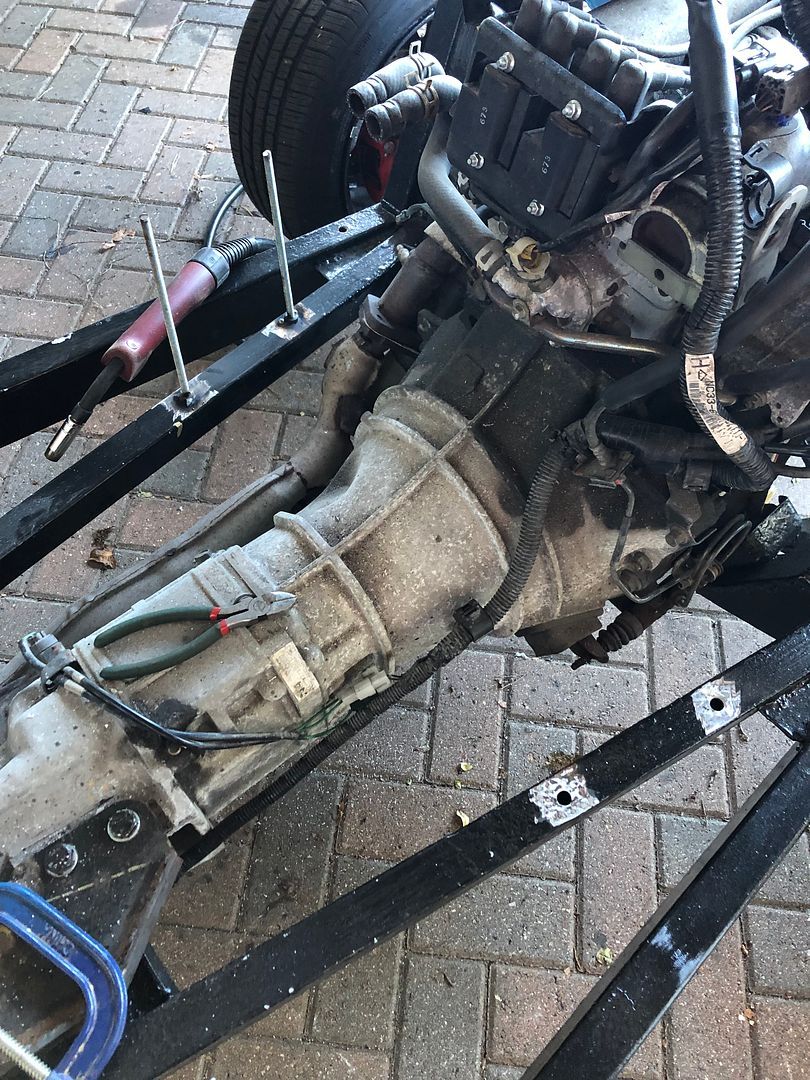 With the body on the trolley I carried on with another fiddly, time consuming job. Removing and refitting the steering column repeatedly till all the grinding resulted in a free spinning knuckle. John the lodger was adding a hand and camera skills. 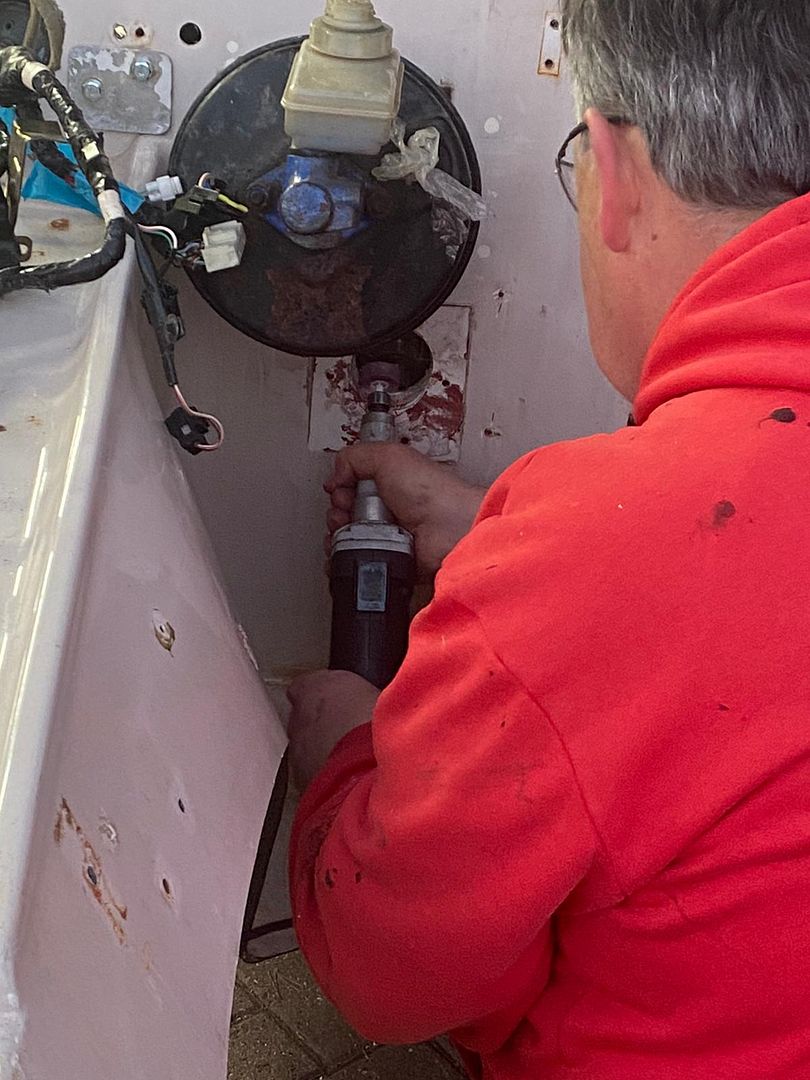 6mm aluminium plate plus a few layers of firewall…… Eventually slick, clearance created, time not wasted but consumed. 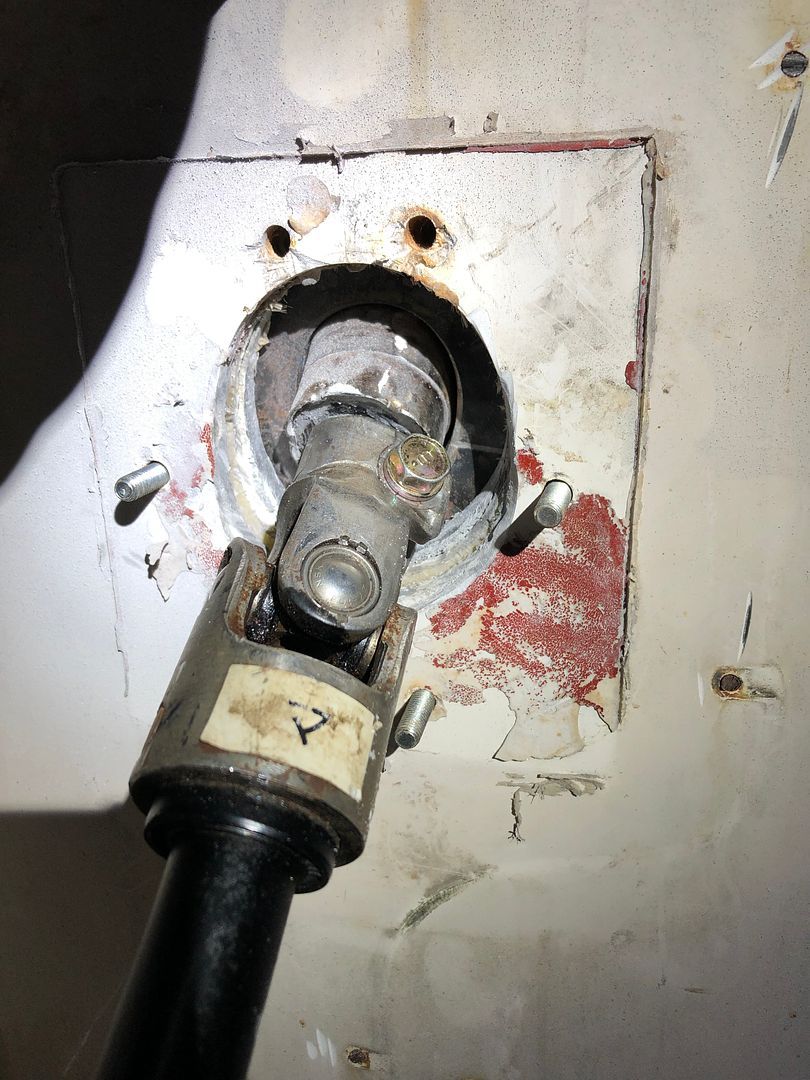 More cleaning up, grinding back, tidying. Through the day things like the steering shaft, gearbox mount, fender brackets, radiator brackets etc all got painted and cleaned up, in preparation for final (We hope) mounting when the body goes back one more time. It is amazing the amount of work that goes into this build that is not recorded or reported. I liked this posting on a South African Adventure Biking Forum by a member “EssBee” True for both Nick and I, but more so for me, learning so much as the build progresses. Nice work, Grizz, and a LOT of it at that....one doesn't realise how much there is to do in a project like that. Also...it's not stuff you've done before, every step of the way is new to you and requires a brand new line of thought figuring how you're going to go about it. Lot's of kopkrap/head scratching for you guys. 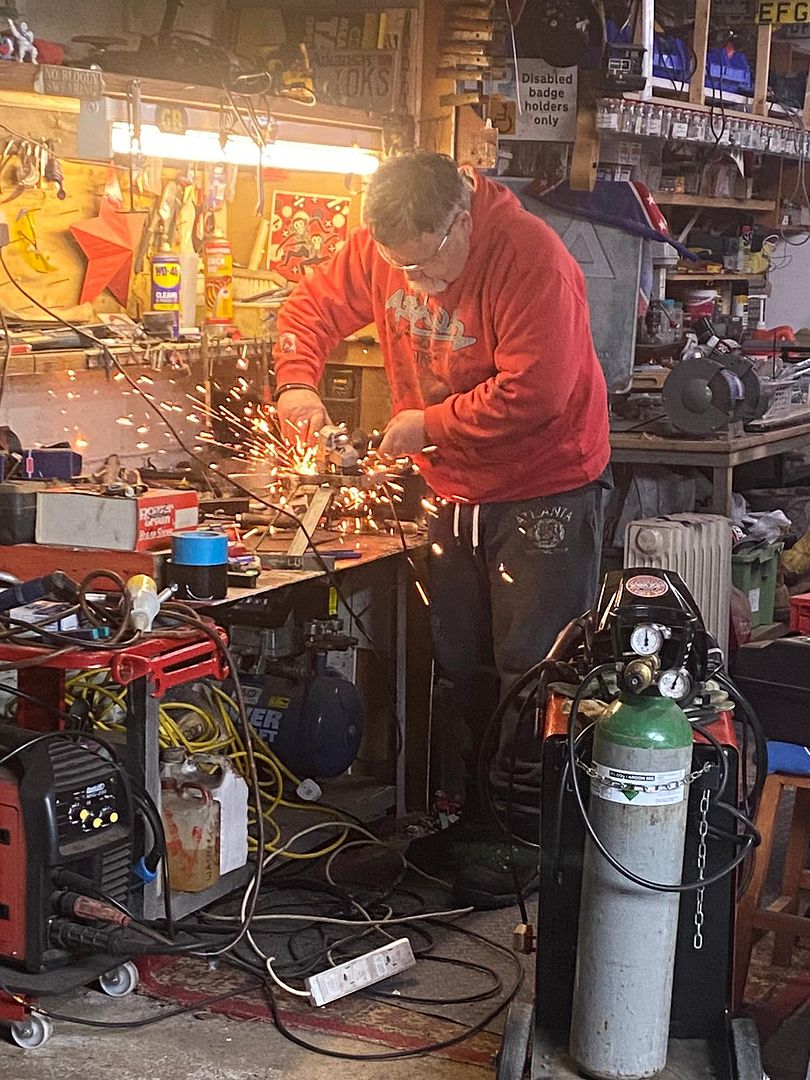 Nick continued to remove excess materials, parts and obstructions all the time. By 18.30 we put down the power tools as I needed to spend a bit of time with Sally and make dinner. Nick and I usually have a post mortem after the day ends for 30-60 minutes to discuss next jobs, plans, materials needed. One of the jobs that ended up happening while discussing was to remove the complex, space wasting clutch pipe assembly……. More about that later. He also managed to bleed over the wiring loom up front while removing excess cabling. As the battery bridge was completed the next trick was to simplify and reroute some power cables to and from the starter. More about that later too. Suffice it to say that it was a great day again, and huge thanks to Nick for coming to play. We closed shop just after 19.00 in the end, two more ad-hoc jobs done. Final pic, tidy wiring and bridge in place. 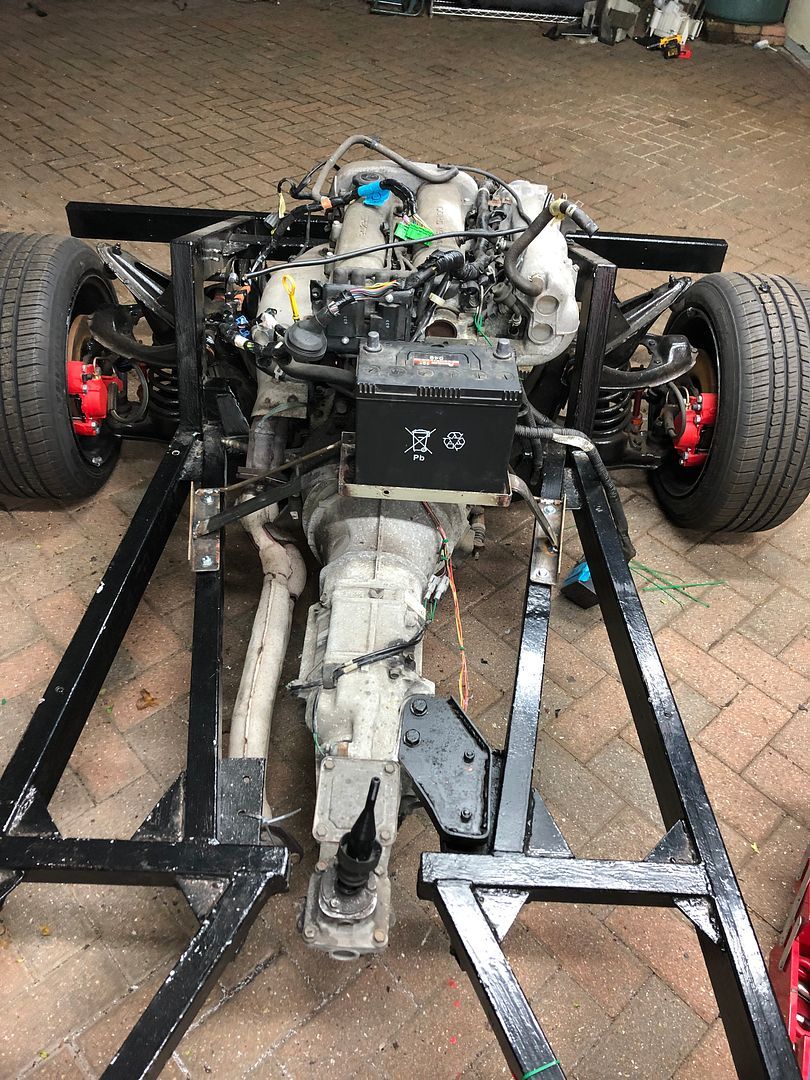 Sunday will be a new firewall plate, many holes, brake and fuel lines……. And a multitude of other things to do. Progress is happening. |
| |
Last Edit: Feb 27, 2022 7:48:46 GMT by grizz
|
|
mk2cossie
Club Retro Rides Member
Posts: 3,060  Club RR Member Number: 77
|
|
|
|
Some good progress again grizz and nickwheeler  Is the gearstick hole going to work with the gearbox being as low as it is?  as from the pic, it looks a long way down from the tunnel  The V-max trike looks a bit of a weapon  |
| |
|
|


.HEIC)


 as from the pic, it looks a long way down from the tunnel
