|
|
|
|
|
Self harm 101. Made me chuckle. Upside down welding. 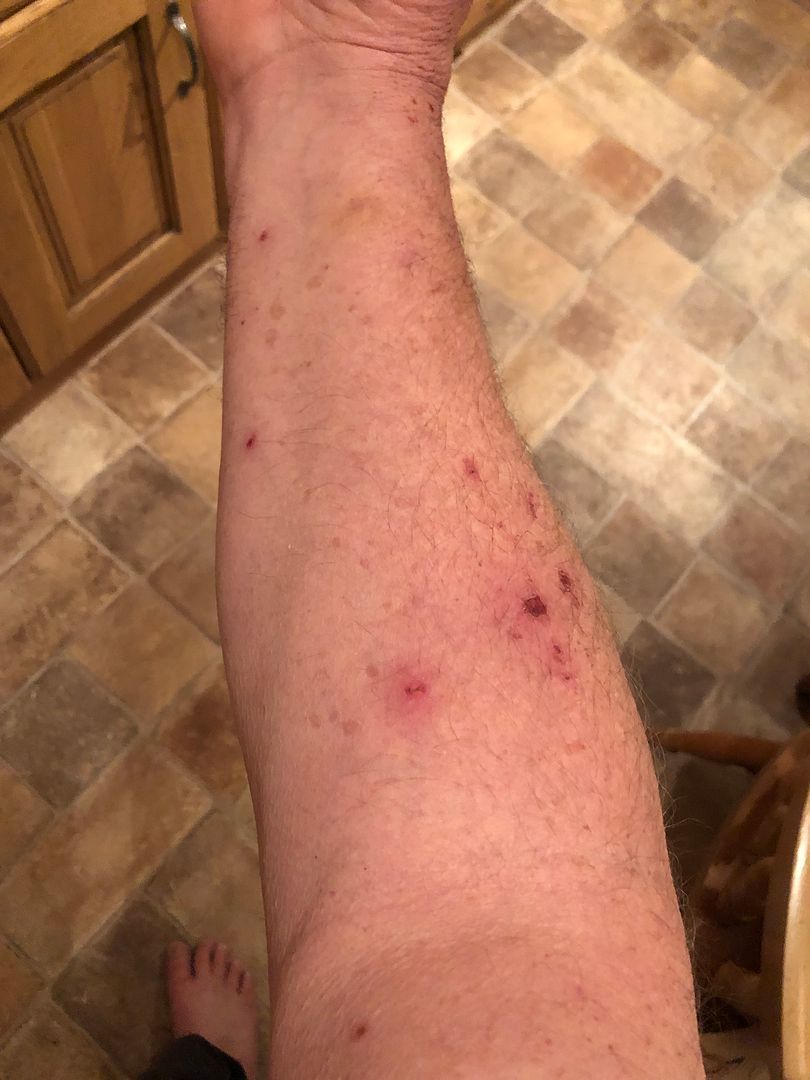 Yesterday I popped in at Sally’s Uncle Bob to see if I could squeeze one or two wiper motors out of him for a sensible price. From this Land Rover.  His response was rather typical of a hoarder, both the value he knew they carry, but also his nephew is going to restore it……. Missed out then.  While I was there I got some fine mesh……… stop screaming in the back. 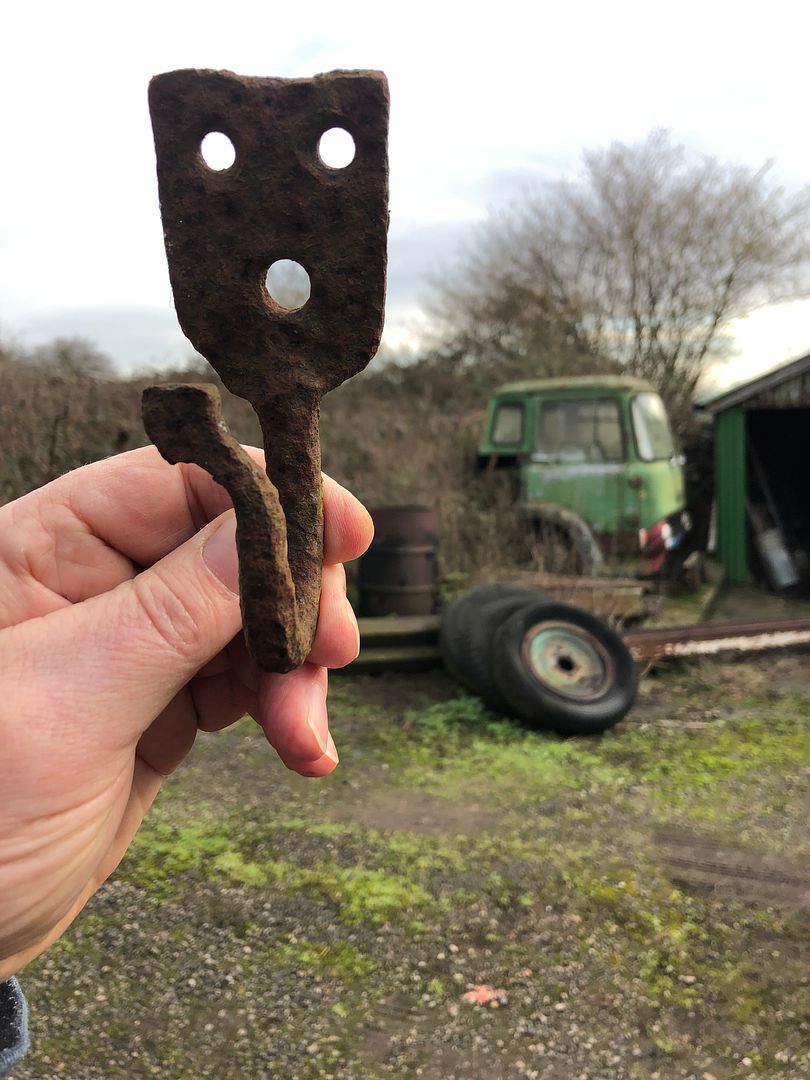 This is still in the back of my mind. 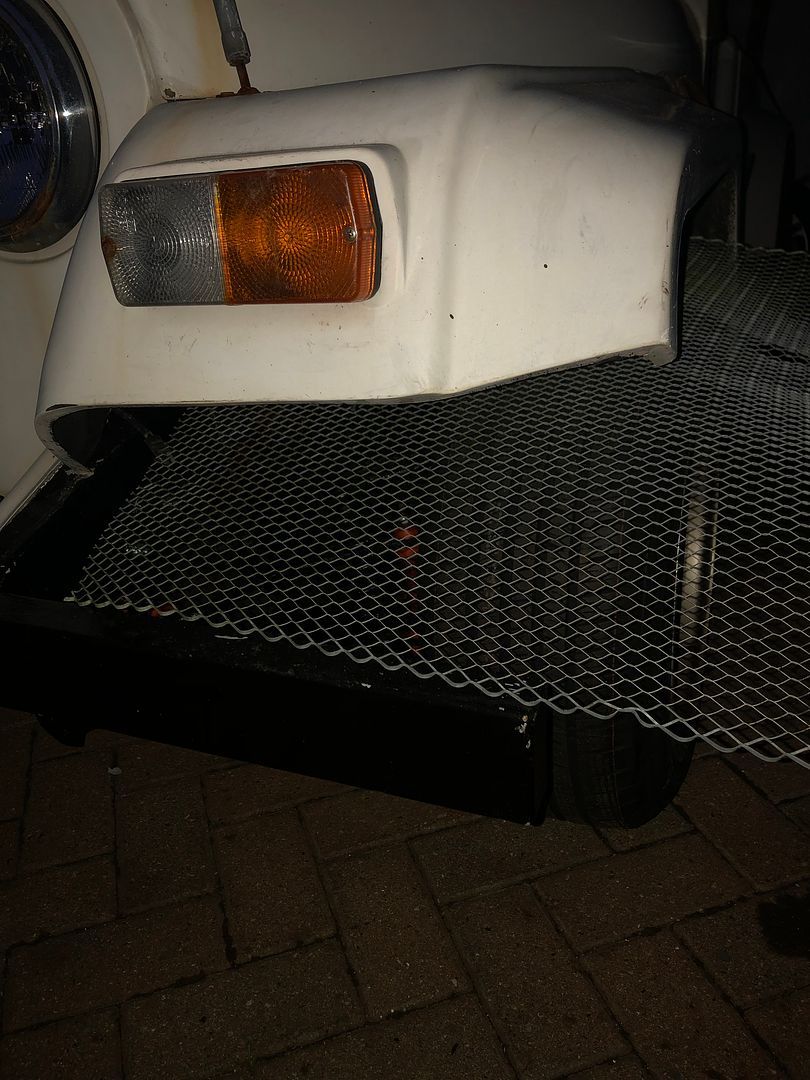 Also, while rummaging in Bobs yard, I saw this old rusted out fuel can. The MX5 battery is mounted inside the rear side of the trunk/boot so in the RR I need to mount it in the rear and figure a cover…… Could this work? I think so. Lined in ply and coated in paint, or clear lacquer. .HEIC) Also today when I got in Mickey had my new rear shocks. Nice. Weekend job I guess. 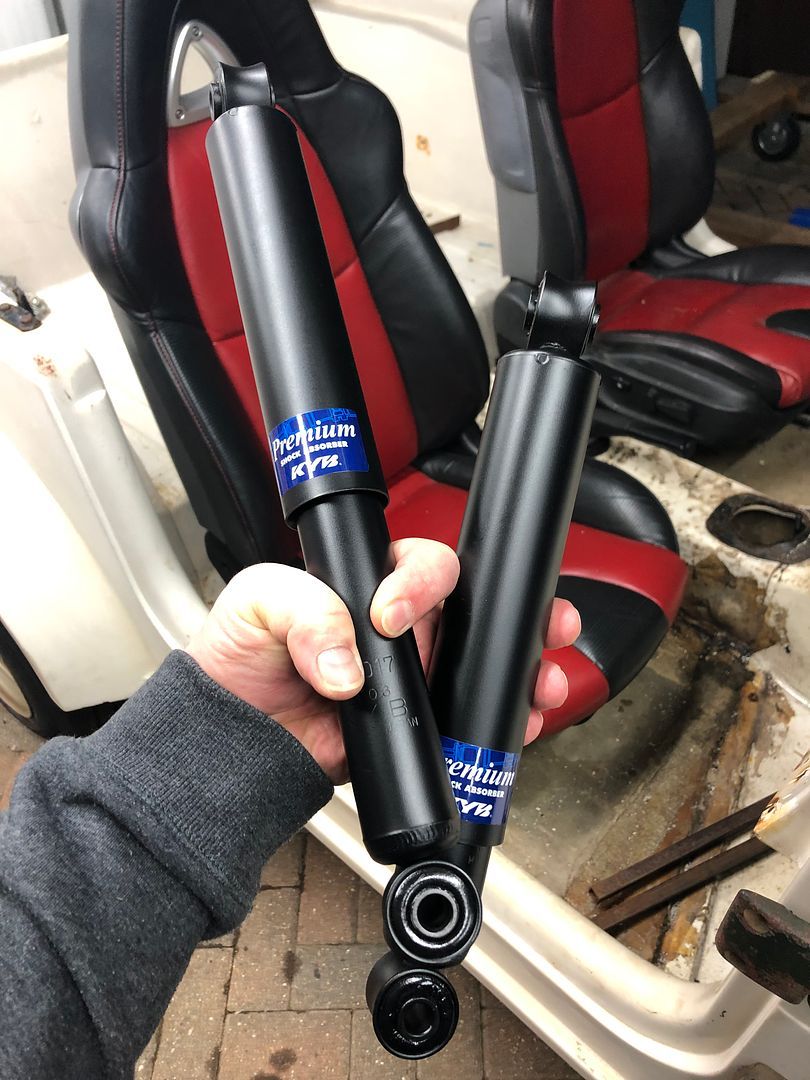 Also ordered new tie rod ends tonight, delivery next week Wednesday. And then the rattle snake in the grass………. .jpg) I am concerned…… The mesh , no, just no, definitely no ... did I say no ... 😂 |
| |
Last Edit: Jan 21, 2022 9:17:37 GMT by westbay
|
|
|
|
|
|
|
Jan 21, 2022 17:40:55 GMT
|
|
^^^I agree, no to the mesh.
|
| |
|
|
|
|
|
Jan 21, 2022 20:34:43 GMT
|
What may I ask are you concerned about ? £3500.00 rust-free Pinto. You know I prefer small, quirky stuff. The Pinto's fuel tank exploding, probably. Last thing I would worry about. Like so many bad press stories………. Self harm 101. Made me chuckle. Upside down welding. I am concerned…… The mesh , no, just no, definitely no ... did I say no ... 😂 Already fitted and painted black in my mind^^^I agree, no to the mesh. But But But…… What if it were lovely? |
| |
|
|
|
|
|
|
|
|
Not sure if I've said it before (because I'm not 100% awake!) but there's no need to hide the front end. It's dark under there! If you were building a hot rod, I'd say it was worth a try, also maybe if you had the smaller, WWII/Jago open style front wings,as they're more open? But the CJ/Eagle style dip over and hide stuff a bit, as will the stance.
I need to get back to sleep! A good day in the garage followed by an early night has backfired!
|
| |
|
|
|
|
|
|
|
Not sure if I've said it before (because I'm not 100% awake!) but there's no need to hide the front end. It's dark under there! If you were building a hot rod, I'd say it was worth a try, also maybe if you had the smaller, WWII/Jago open style front wings,as they're more open? But the CJ/Eagle style dip over and hide stuff a bit, as will the stance. I need to get back to sleep! A good day in the garage followed by an early night has backfired! I hate when you have a hard day in the shop, thinking you will sleep well, and at 03.00 your body says “WAKE UP WAKE UP….WORK TO DO !” And then thats the end of your night Yup, me too. I will keep playing with ideas and concepts, but you may be able to sleep easy on this one….. I think it is played out now. |
| |
|
|
|
|
|
|
|
|
Buy the Pinto, will add a few £££ to the toy fund if you tidy it up and move it on.
|
| |
|
|
|
|
|
|
|
This week has been a bit (very) busy with admin stuff, targeting and target lists and general day job stuff. However, I do want to ask all the IT geniuses out there, why would an XL spreadsheet on Teams only allow one person at a time to edit it. (No need to reply) Spectacular inefficiency again from the bosses, they give you a rally car with one wheel missing and expect you to win the race. Seriously. Anyway. While waiting my turn to go in and edit the list, I was angry enough to pop to the garage and grab the new rear shocks. 15 minutes later I closed the garage. Job done. Old 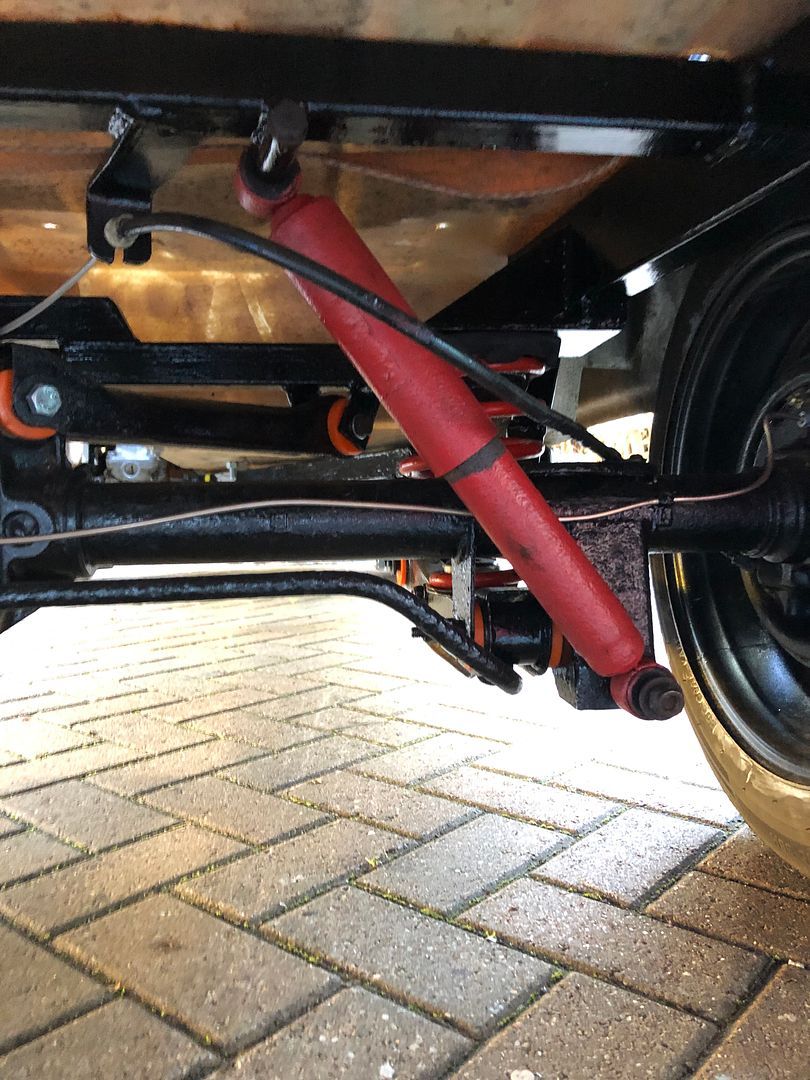 New 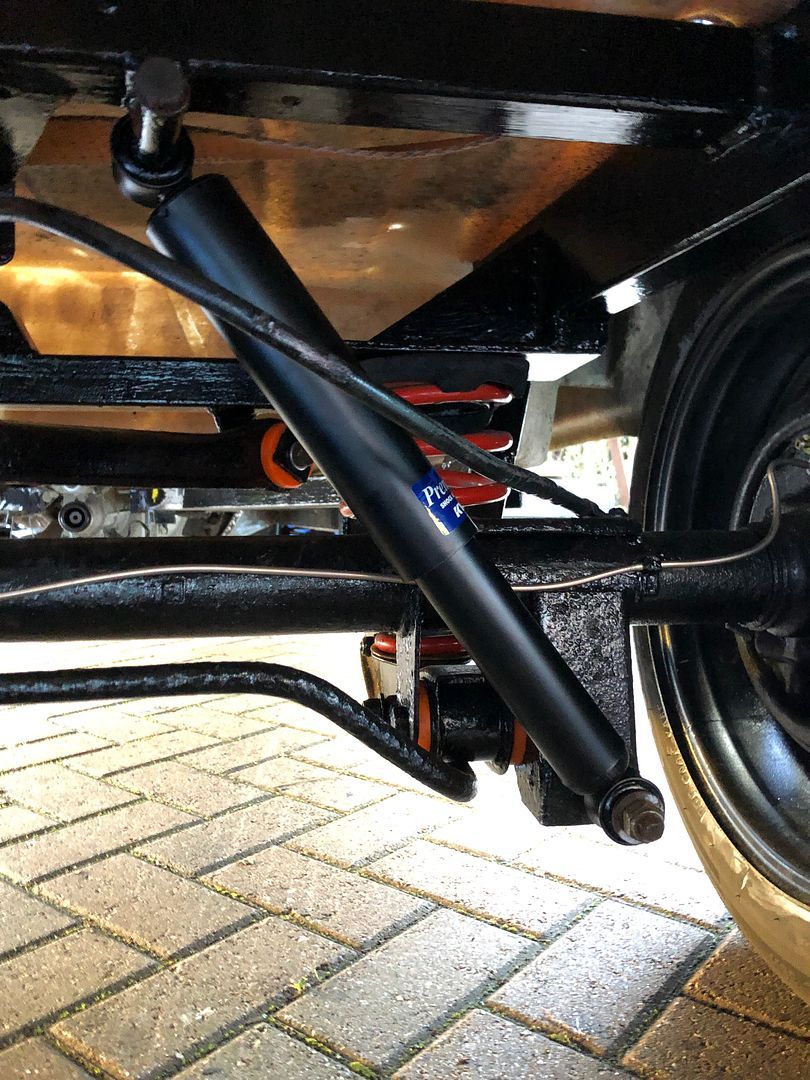 Little wins ehhhh. Today I want to go make up the drilling template for the screen support and scuttle and get the holes drilled in the body and steel that I welded in upside down on Sunday when nickwheeler came over so we could create the supports and framework from which the steering and dash will be grown. It was a good day for sure. Once the scuttle is drilled, the template needs to be reverse marked onto the underside of the glazed Land Rover screen which then needs 5 holes drilled in order for the threaded bar or cut off bolts to be fitted in there and then Tig welded in place at Nicks place or possibly here as fitting studs for the screen. I also need to start thinking of removing the seats again so the body can be lifted and the underside painted black, either with underseal or some regular black gloss paint to get it looking uniform. Of course I already have a load of regular black paint……. Remember this messy underside? 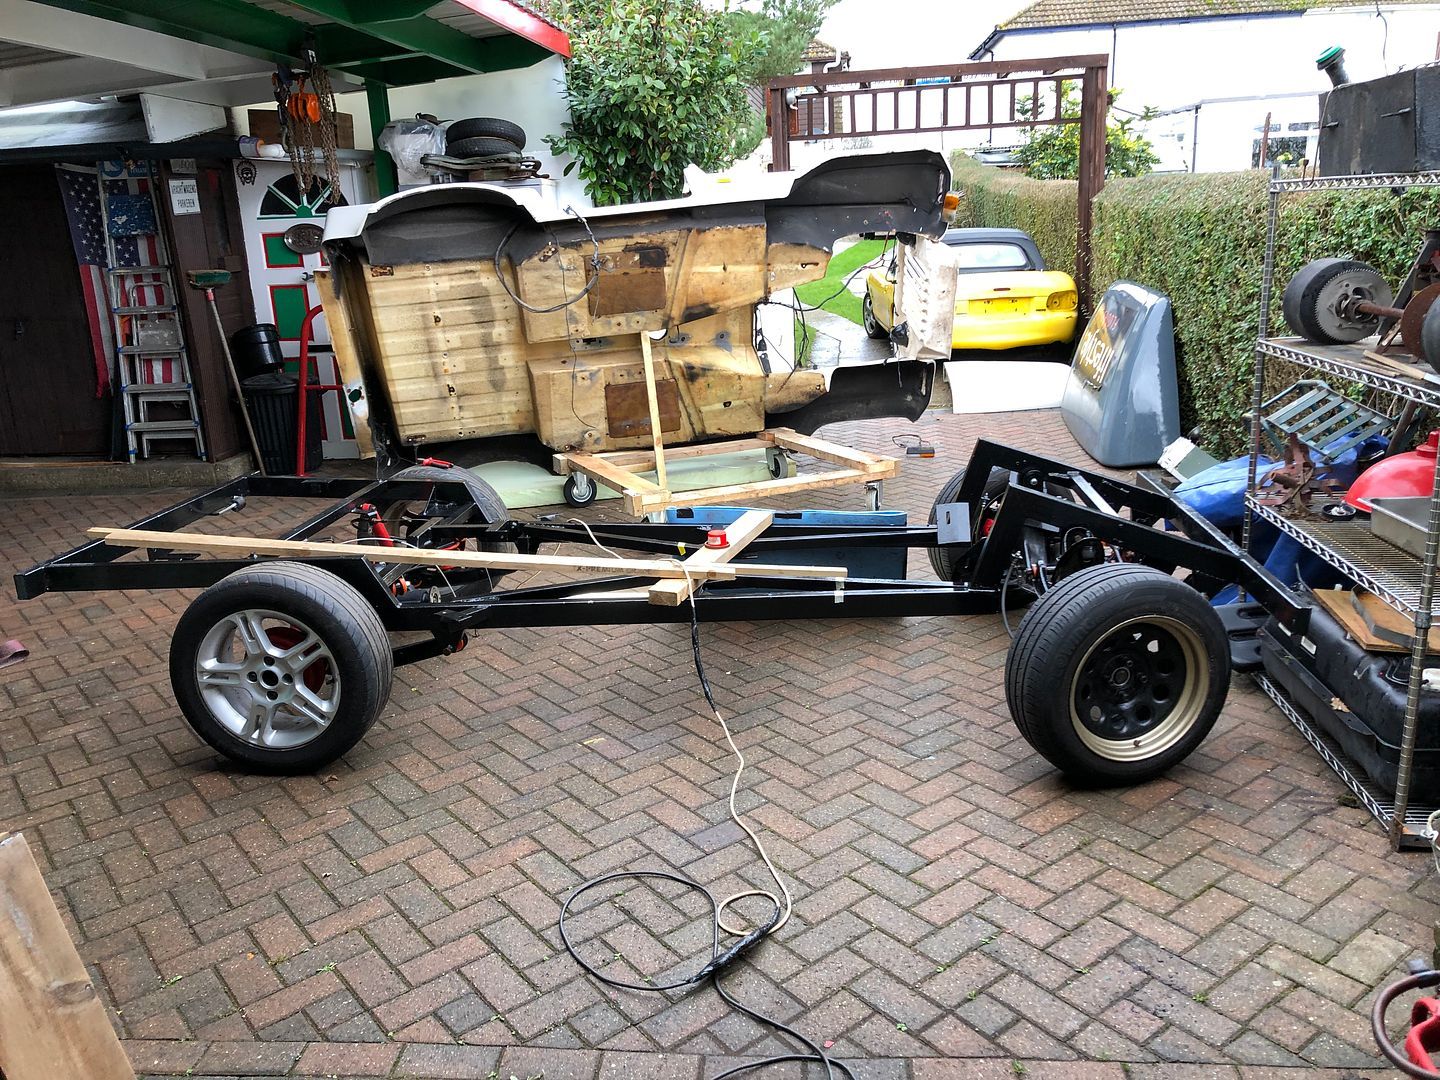 Onwards as Paul Y says. |
| |
Last Edit: Jan 22, 2022 9:04:23 GMT by grizz
|
|
|
|
|
|
|
Once the scuttle is drilled, the template needs to be reverse marked onto the underside of the glazed Land Rover screen which then needs 5 holes drilled in order for the threaded bar or cut off bolts to be fitted in there and then Tig welded in place at Nicks place or possibly here as fitting studs for the screen. I also need to start thinking of removing the seats again so the body can be lifted and the underside painted black, either with underseal or some regular black gloss paint to get it looking uniform. Of course I already have a load of regular black paint……. Cut off bolts in tight fitting holes if it's going to be TIG welded. Grind the plating off both the bolt and the screen before you start drilling! Might as well use the paint you already have. But the wiring, roll bar, seat belts and all the other parts that might need holes drilled in the body should be fitted first. |
| |
|
|
|
|
|
Jan 22, 2022 13:25:21 GMT
|
Once the scuttle is drilled, the template needs to be reverse marked onto the underside of the glazed Land Rover screen which then needs 5 holes drilled in order for the threaded bar or cut off bolts to be fitted in there and then Tig welded in place at Nicks place or possibly here as fitting studs for the screen. I also need to start thinking of removing the seats again so the body can be lifted and the underside painted black, either with underseal or some regular black gloss paint to get it looking uniform. Of course I already have a load of regular black paint……. Cut off bolts in tight fitting holes if it's going to be TIG welded. Grind the plating off both the bolt and the screen before you start drilling! Might as well use the paint you already have. But the wiring, roll bar, seat belts and all the other parts that might need holes drilled in the body should be fitted first. Good advice Nick, on the grinding before welding, and of course also need to remove all the thread from the studding and allow some space for the weld to take to. RESOUNDING MONUMENTAL FAILURE AT THE GARAGE. Carefully measured out and drew in screen base size. Measured 5 holes on scuttle top and drilled first pilots with 5mm HSS bit, managed to snap it on hole 5 due to corder hand drill and my cack handed position over it. Replaced the bit from my stash of smaller bits and finished hole no 5 Then up to 8mm as I was headed toward 12mm to allow ease of fitting and some movement space once the studs are welded on. So started hole no 1 again, using some cutting spray from the drill press. And suddenly I was skating on ice. Tried the other holes, changed bits and Fail after Fail. I recall when cleaning and preparing the angle iron for welding the sparks were of the type typical of harder steel. Maybe the angle iron was from some structure that was built to resist corrosion or have a certain strength. In the end I walked away, defeated. I guess next step will be to go find one of those clever coated drill bits in the hope it will penetrate the steel. Frustrated as can be right now……. Fun? |
| |
|
|
|
|
|
Jan 22, 2022 14:30:46 GMT
|
Cut off bolts in tight fitting holes if it's going to be TIG welded. Grind the plating off both the bolt and the screen before you start drilling! Might as well use the paint you already have. But the wiring, roll bar, seat belts and all the other parts that might need holes drilled in the body should be fitted first. Good advice Nick, on the grinding before welding, and of course also need to remove all the thread from the studding and allow some space for the weld to take to. No TIG needs to be really tight fitting, the smaller the gap the better. |
| |
|
|
|
|
|
Jan 22, 2022 14:35:00 GMT
|
|
I would have thought 5mm stepped to 8mm would be good.
Just bought a pack of TiN bits at B&Q for £22.00
Hopefully they work
|
| |
|
|
|
|
|
Jan 22, 2022 14:39:51 GMT
|
Good advice Nick, on the grinding before welding, and of course also need to remove all the thread from the studding and allow some space for the weld to take to. No TIG needs to be really tight fitting, the smaller the gap the better. OK. When I get to that I will play it tight. |
| |
|
|
|
|
|
Jan 22, 2022 19:43:27 GMT
|
So my day started, thinking it would be a quick 5 holes measured…….  Drilled…….. 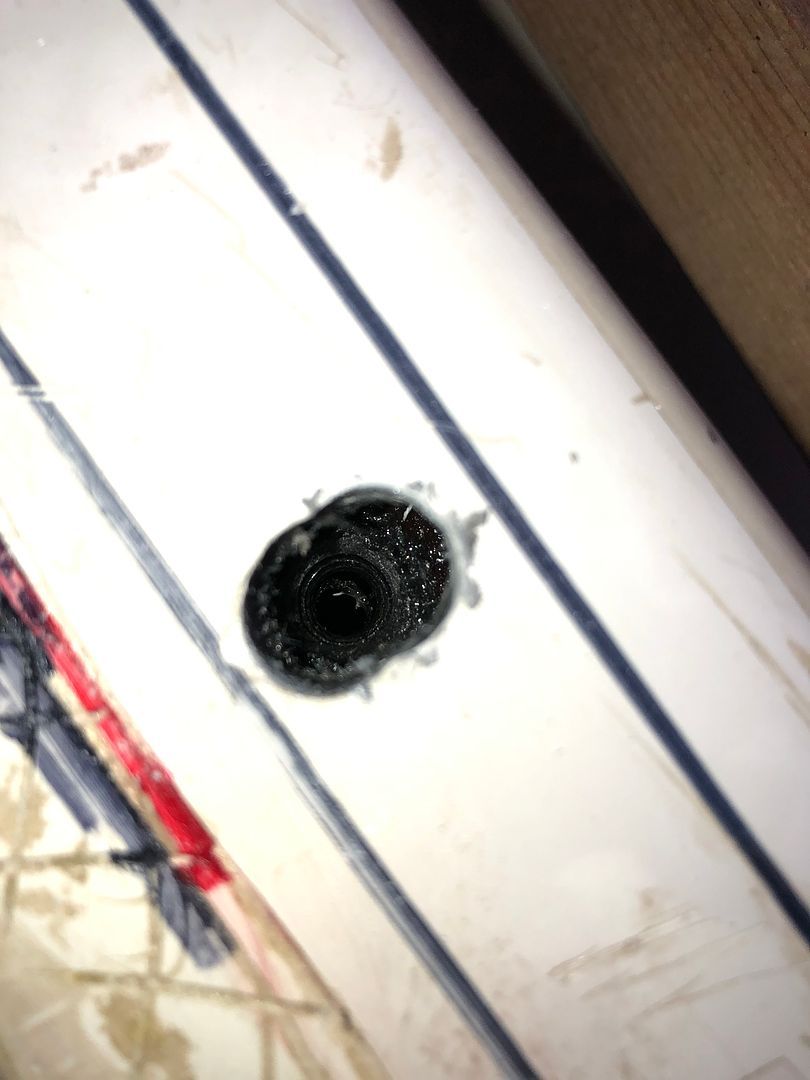 Ooooooppppssss…….. Stop right there. Well, the next size drill did, after the 5mm pilot holes were drilled. It was almost like the holes were glazed, despite cutting fluid the 8mm drill bit after the 5mm pilot holes just seemed to spin and create smoke in the holes. I also tried a new 9mm bit and failed. So after trying to drill all 5 mounting holes, I called it a day and went indoors. Sally was busy with her artwork, so I distracted her and offered a quick shopping trip. When she bought the Fiesta it was only supplied with one key, whe. The key was handed over, I objected and Dan the salesman took a moment and then agreed to paying the £75.00 for a spare, immobiliser chipped key for her. So today we went and had one cut and programmed. While out, I also went to B&Q (Big hardware store) and bought a set of various TiN Titanium Nitride drill bits for £22.00 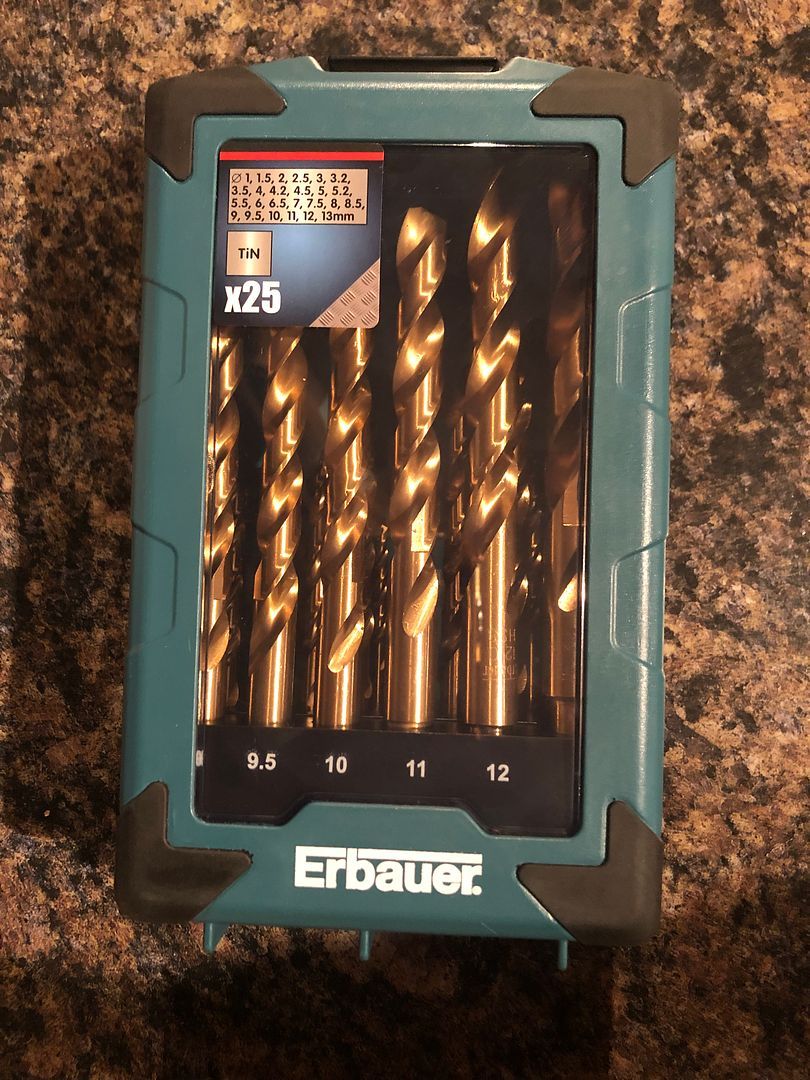 I hope to get back to drilling the holes tomorrow. Of course a hand held, corded drill and no support or stabilisation of the angle iron may make it a touch awkward, but I am hopeful. I really need to get these holes drilled and the screen prepped for Tig welding. Now for some alcohol……. |
| |
|
|
93fxdl
Posted a lot
   Enter your message here...
Posts: 2,015
|
|
Jan 23, 2022 10:29:19 GMT
|
|
|
| |
|
|
|
|
|
Jan 23, 2022 11:05:14 GMT
|
Good advice Nick, on the grinding before welding, and of course also need to remove all the thread from the studding and allow some space for the weld to take to. RESOUNDING MONUMENTAL FAILURE AT THE GARAGE. I recall when cleaning and preparing the angle iron for welding the sparks were of the type typical of harder steel. Maybe the angle iron was from some structure that was built to resist corrosion or have a certain strength. In the end I walked away, defeated. I guess next step will be to go find one of those clever coated drill bits in the hope it will penetrate the steel. Frustrated as can be right now……. Fun? A long time ago I salvaged what appeared to be angle iron from a bed frame. It drilled and welded as successfully as granite. I threw it away and bought some proper mild steel stuff. |
| |
|
|
melle
South West
It'll come out in the wash.
Posts: 2,010
|
|
Jan 23, 2022 11:29:33 GMT
|
|
I'm not convinced stepping up drill sizes in small increments is a good idea. If you need a 12 mm hole, drill a 4 or 5 mm (or whatever odd small drill bit you have at hand) pilot, followed by the final size. If you're doing it in small steps, you're only using the end of the drill bits' cutting edges, which creates burrs in said edges and effectively ruins them. If drill bits go dull very quickly this is often a sign they are overheating because you're drilling at too high rpm, or pressing too hard.
|
| |
www.saabv4.com'70 Saab 96 V4 "The Devil's Own V4" '77 Saab 95 V4 van conversion project '88 Saab 900i 8V
|
|
|
|
|
Jan 23, 2022 22:32:26 GMT
|
I think you are right. Off to A&E in the morning for an X-Ray. It bit back. |
| |
|
|
|
|
|
Jan 23, 2022 22:34:16 GMT
|
Good advice Nick, on the grinding before welding, and of course also need to remove all the thread from the studding and allow some space for the weld to take to. RESOUNDING MONUMENTAL FAILURE AT THE GARAGE. I recall when cleaning and preparing the angle iron for welding the sparks were of the type typical of harder steel. Maybe the angle iron was from some structure that was built to resist corrosion or have a certain strength. In the end I walked away, defeated. I guess next step will be to go find one of those clever coated drill bits in the hope it will penetrate the steel. Frustrated as can be right now……. Fun? A long time ago I salvaged what appeared to be angle iron from a bed frame. It drilled and welded as successfully as granite. I threw it away and bought some proper mild steel stuff. I missed a trick there Phil. It is/was already welded in place and braced. No removing it. In retrospect I should have tossed it. |
| |
|
|
|
|
|
Jan 23, 2022 22:36:15 GMT
|
I'm not convinced stepping up drill sizes in small increments is a good idea. If you need a 12 mm hole, drill a 4 or 5 mm (or whatever odd small drill bit you have at hand) pilot, followed by the final size. If you're doing it in small steps, you're only using the end of the drill bits' cutting edges, which creates burrs in said edges and effectively ruins them. If drill bits go dull very quickly this is often a sign they are overheating because you're drilling at too high rpm, or pressing too hard. I did try large too. But the steel was a curse word despite the 5.5mm pilot holes in the steel. Lessons learned. |
| |
|
|
mk2cossie
Club Retro Rides Member
Posts: 3,059  Club RR Member Number: 77
|
|
Jan 23, 2022 22:37:57 GMT
|
I think you are right. Off to A&E in the morning for an X-Ray. It bit back. Nothing too major i hope, and just a check up  |
| |
|
|


.HEIC)

.jpg)


