duncanmartin
Club Retro Rides Member
Out of retro ownership
Posts: 1,320
Club RR Member Number: 70
|
Garage improvementsduncanmartin
@duncanmartin
Club Retro Rides Member 70
|
Jun 17, 2020 14:47:14 GMT
|
I think it needs a screed. We just had a proper biblical storm resulting in flash flood. The amount of water washed all the petals and leaves and stuff down the drive and blocked the drain at the entrance of the garage. By the time I'd realised and unblocked it the giant puddle had got higher than the entrance, and then it went all down the left side to the back. It shows you how un-flat the floor is as well. There's not much on the floor in the wet area (except for the tumble drier, a load of offcuts, and the benches), but I guess it will take a while to dry out.  |
| |
|
|
|
|
duncanmartin
Club Retro Rides Member
Out of retro ownership
Posts: 1,320
Club RR Member Number: 70
|
Garage improvementsduncanmartin
@duncanmartin
Club Retro Rides Member 70
|
|
|
I moved a load of stuff off the wall and then painted it with some white paint I had kicking around. The bricks were easy, the blockwork at the back took ages and looks curse word because I couldn't get paint in all the holes! I need to move some more stuff around so that I can paint the rest of the brick wall (and I may paint the tool boards as I've moved enough around that they have lots of outlines that aren't needed any more). I've kinda filled the floor space (and bench space) up though, so clearing that wall up enough to paint it is going to be a challenge! 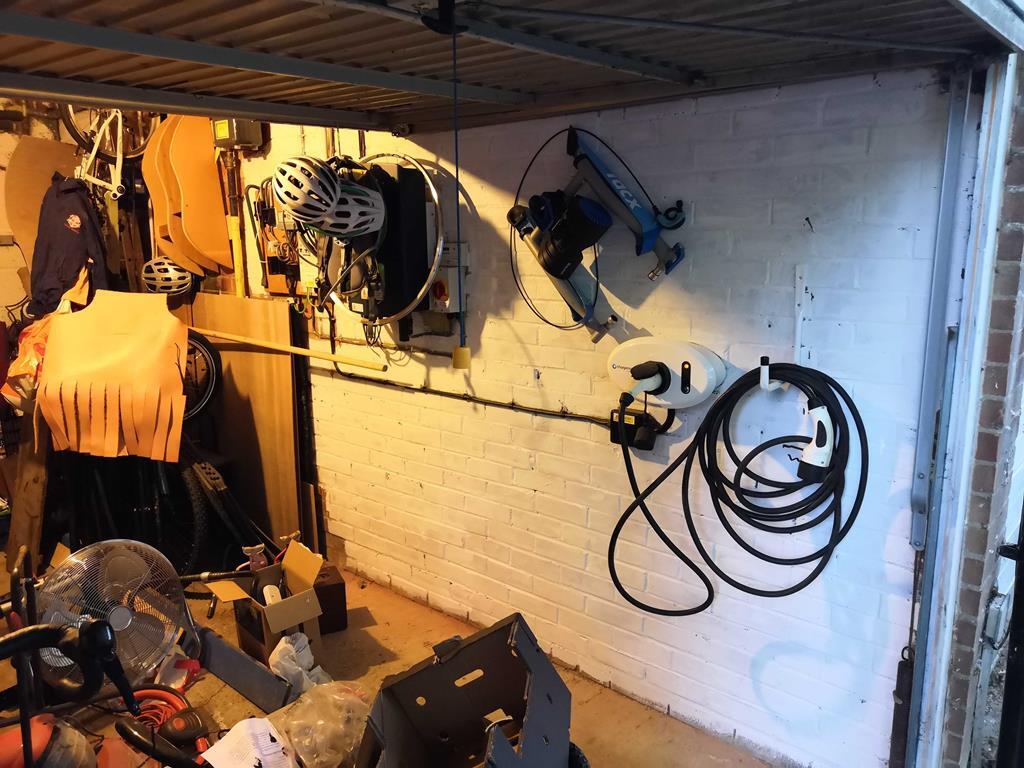 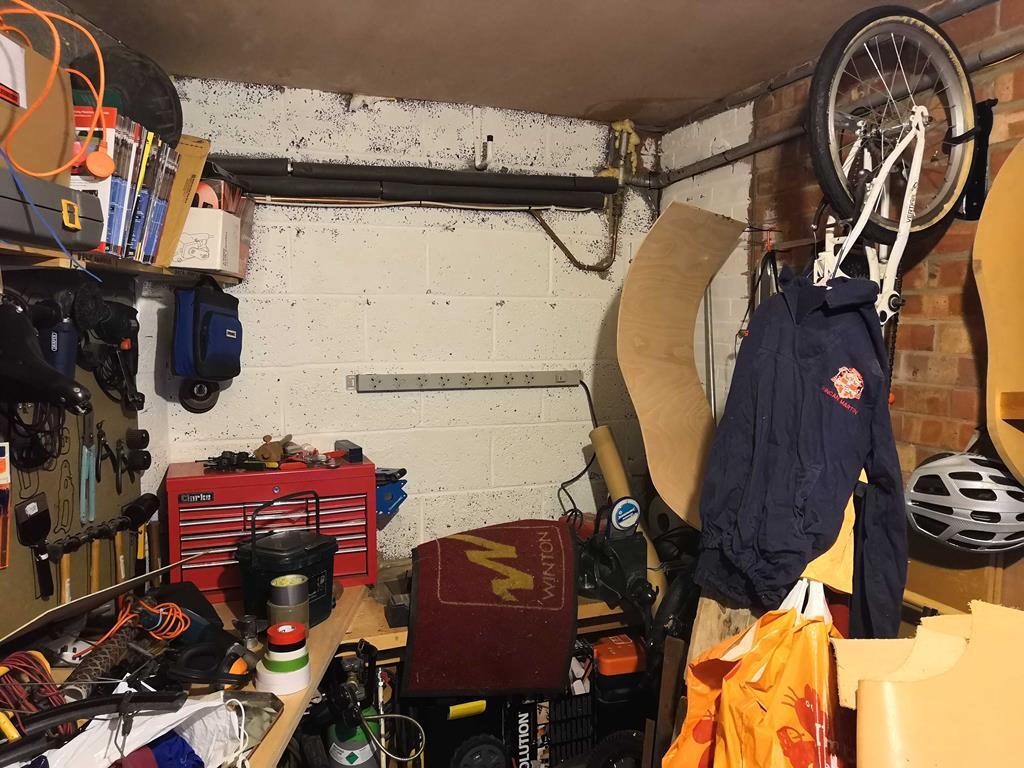 Previously I was hanging stuff like clamps (and welding clamps) on the wall, but they take up lots of surface. What's the most efficient way of storing this sort of thing - in a properly labelled box on a shelf? I think I need to get some sturdy boxes for this stuff... |
| |
|
|
duncanmartin
Club Retro Rides Member
Out of retro ownership
Posts: 1,320
Club RR Member Number: 70
|
Garage improvementsduncanmartin
@duncanmartin
Club Retro Rides Member 70
|
Jun 24, 2020 11:59:44 GMT
|
I shifted the rest of the curse word along the brick wall and painted it with some random white paint I found! The only walls that aren't painted now are the ones under the cabinet, under the bench, and behind the tool boards. 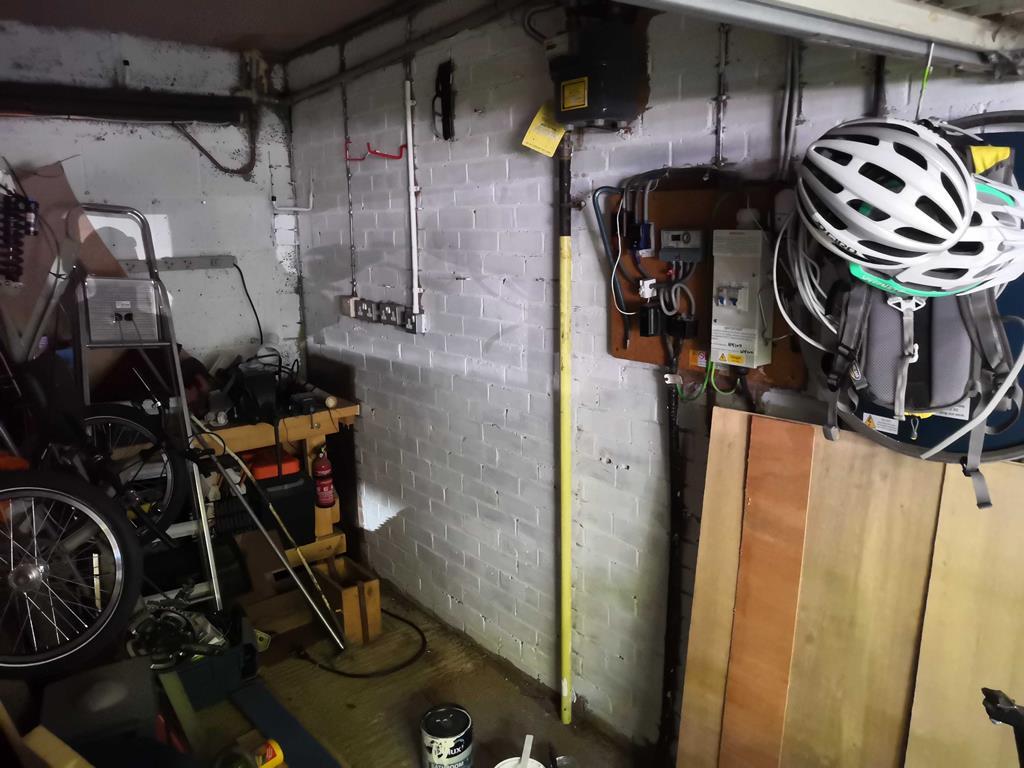 I'm trying to work out just how big a car I can fit in here. I have my eye on something that is 4.28m long and 1.7m wide, and I reckon if I can get it in there, it might be touching the wall and the garage door at the same time! Is it possible to get a power bulge in a garage door?  If I want that car, I'll definitely have to move the bench along the diagonal (even folding it down would probably rob too much space!), so I need to get as much curse word as possible out of the garage and work out where to put it.Life would be so much easier if the garage was rectangular! |
| |
|
|
eternaloptimist
Posted a lot
   Too many projects, not enough time or space...
Posts: 2,578
|
|
Jun 24, 2020 19:44:32 GMT
|
|
Is there anything you can do to bring the door forward and build up the sides and a canopy to give you more length? Had a neighbour do that , managed to add 750mm without it looking cr*p.
|
| |
XC70, VW split screen crew cab, Standard Ten
|
|
duncanmartin
Club Retro Rides Member
Out of retro ownership
Posts: 1,320
Club RR Member Number: 70
|
Garage improvementsduncanmartin
@duncanmartin
Club Retro Rides Member 70
|
|
|
Is there anything you can do to bring the door forward and build up the sides and a canopy to give you more length? Had a neighbour do that , managed to add 750mm without it looking cr*p. I'd be interested to see how you could do that. I reckon there would be a whole pile of planning issues to make anything permanent, given it's built into the house and the whole street is the same sort of front. Here's a really old picture from when we'd first moved in and my Beta Spyder was in residence. 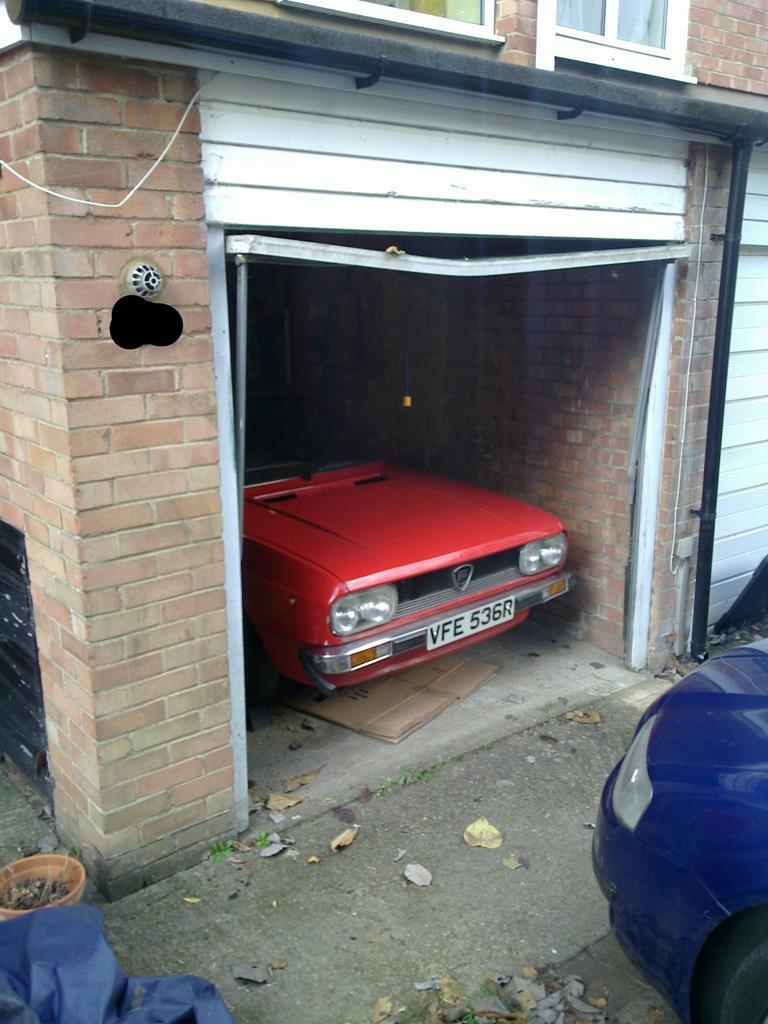 There is an added complication of a soakaway drain about 1 metre in front of the garage in the middle of the drive (hidden by the blue Skoda in the picture). If that blocks up then the garage floods. FWIW, I straightened the bottom of the garage door a few days ago with a big piece of box section and a trolley jack! |
| |
|
|
|
|
|
|
|
|
I would use self leveling compound on that floor after knocking off any really high bits, just put a little plastic strip round the man hole cover so it doesn't go in and seal it.
You just mix it up as per the directions and pour it on, with a little help to spread it then find its own level, you need to work quickly and ideally have a spiked roller to get it all dead flat.
Is it a restrictive covenant that bans sheds or a planning directive? If it's a covenant check if the original developer is still in business as they are the only ones who can actually enforce it.
|
| |
|
|
duncanmartin
Club Retro Rides Member
Out of retro ownership
Posts: 1,320
Club RR Member Number: 70
|
Garage improvementsduncanmartin
@duncanmartin
Club Retro Rides Member 70
|
Jun 28, 2020 13:42:49 GMT
|
I'd need to check whether it's a covenant or actual planning permission. I guess either way I could get some sort of storage box - make it nice and short so it's definitely not a shed.  To self level the floor, I guess I'd need to get everything out of there before I can start. That would take a lot of work (and need a few sunny days - one for moving stuff, one for screeding and one for putting it all back - I wouldn't fancy leaving the tumble drier outside in the current monsoon!). Minor progress made over the last couple of days. Yesterday I painted the wall around the tool board and moved some rarely used stuff from that shelf into the loft, and today I moved everything against the brick wall and finished the painting. I got a bit fed up with white paint, so I went a bit mad with some other paint I found! 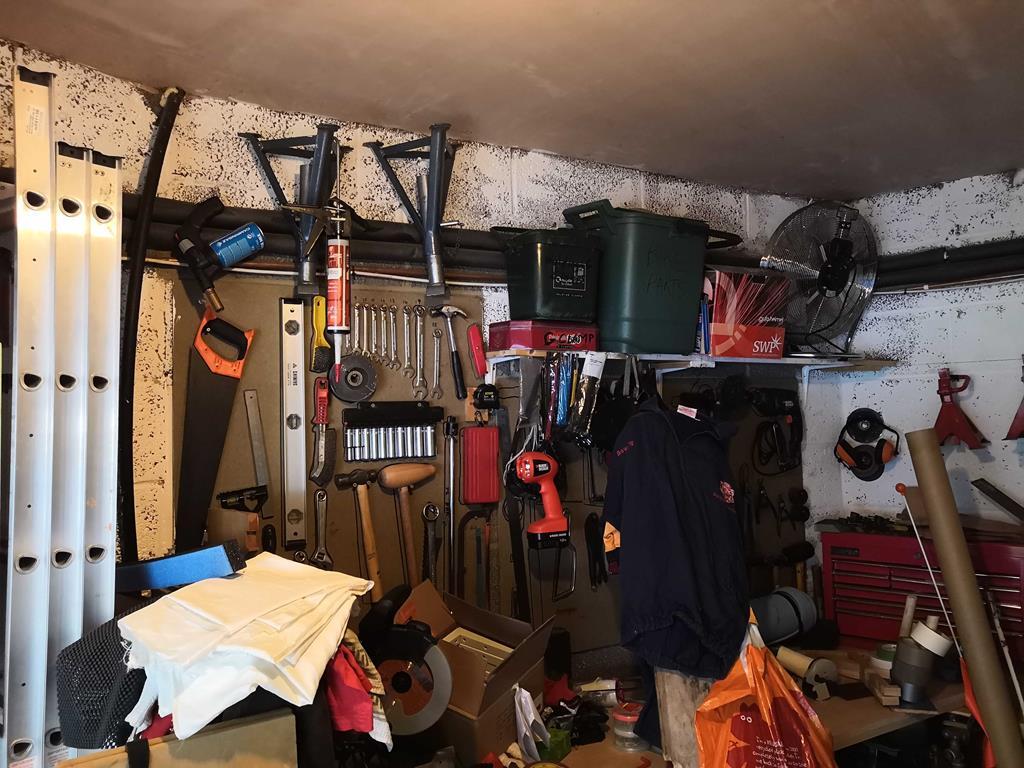 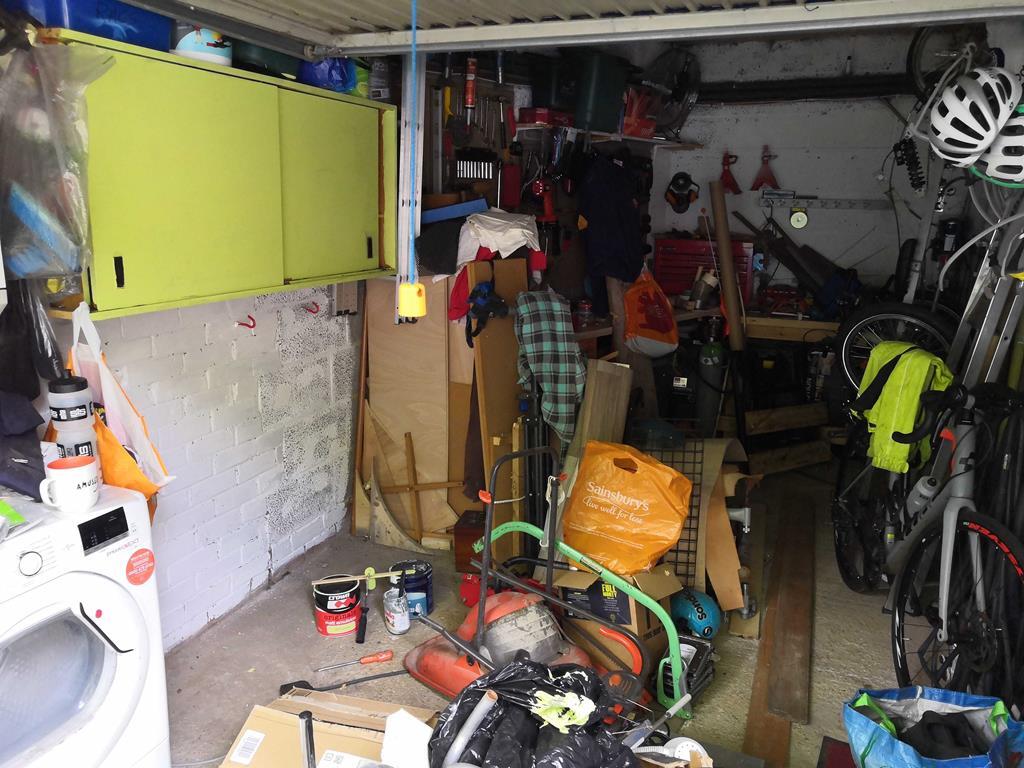 The only painting left is the angled wall where the bench is (I'm not painting behind the back-wall bench), but I'll have to clear everything else up before I can take that bench down. I also got some heavy duty wall brackets, so I'm going to be installing a shelf on the end wall and another around the side when I get a chance to drill some holes without my wife complaining!  Might get rid of the flymo and the strimmer and resort to cutting the grass with some shears - I don't use them very often and it would save loads of space! The only remaining proper obstacle is the homemade trike - it's too big and heavy! Maybe I can hang it on the wall if I strip the front wheels (and uprights). |
| |
|
|
|
|
|
Jun 28, 2020 14:12:51 GMT
|
|
My flymo and strummer were ejected from the shed years ago, and live outside all weathers. They still work fine...they just have more ‘patina’
|
| |
|
|
|
|
|
|
|
Previously I was hanging stuff like clamps (and welding clamps) on the wall, but they take up lots of surface. What's the most efficient way of storing this sort of thing - in a properly labelled box on a shelf? I think I need to get some sturdy boxes for this stuff... I clamp my clamps to my bench legs. |
| |
|
|
duncanmartin
Club Retro Rides Member
Out of retro ownership
Posts: 1,320
Club RR Member Number: 70
|
Garage improvementsduncanmartin
@duncanmartin
Club Retro Rides Member 70
|
|
|
I have more shelves, and much less bench (might even clamp the clamps to the shelf). It hurt taking the new bench top down after putting it up only a month or 2 ago, but now there is nothing bolted to the wall that will stop the car getting into the garage (there is still a lot of stuff in the way). I've also painted all the way around the garage, and it definitely feels brighter. 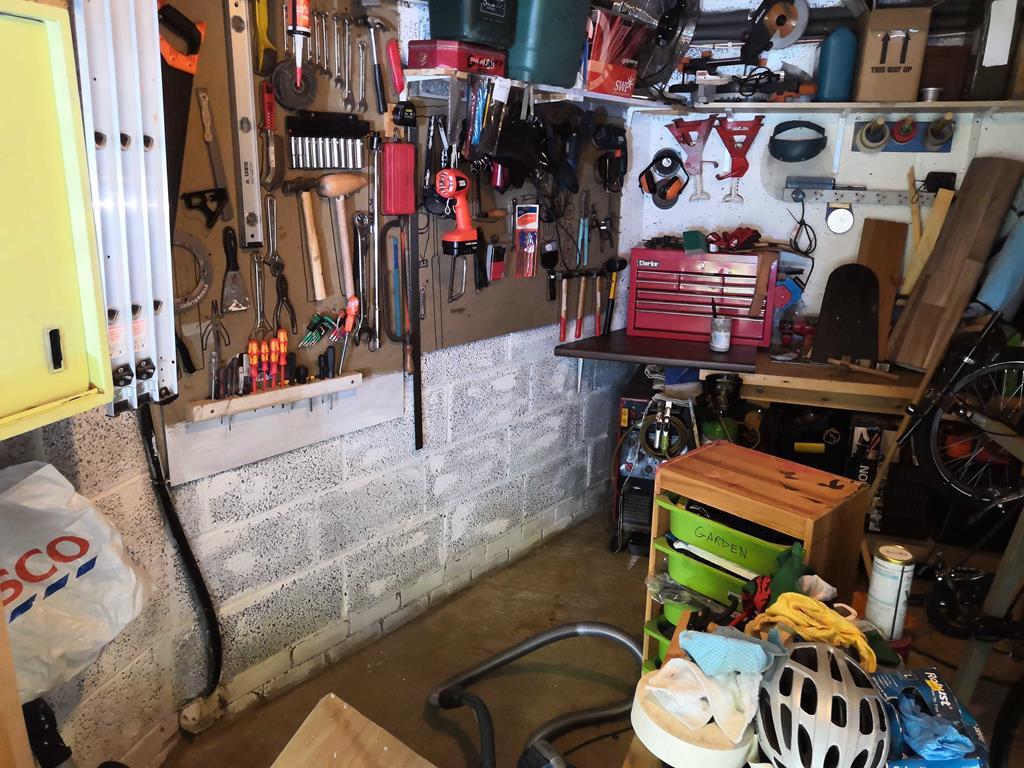 I need to investigate what hinges to use to make a fold down bench (but I'll have to make sure I have clearance - it would be really annoying to put the folding bench in and then have it still obstruct the car!). It's going to be super tight - depending on the height of the bumpers I might need to take the torch out of my welder (which is jammed right against the back of the wall)! I also discovered ammo tins on eBay - does anyone use them as storage boxes? They seem relatively cheap sturdy boxes. |
| |
|
|
|
|
duncanmartin
Club Retro Rides Member
Out of retro ownership
Posts: 1,320
Club RR Member Number: 70
|
Garage improvementsduncanmartin
@duncanmartin
Club Retro Rides Member 70
|
Jul 14, 2020 13:53:47 GMT
|
The garage is basically clear enough to fit a car in it now (with a few last minute evictions once I actually have a car to fit in there). Sadly, the car I was planning on collecting wasn't as good as I thought it was, so didn't come home with me. So the garage is still waiting (and I'm waiting on the car before I work out where the other bench will go or if it folds). At least it looks a lot nicer. 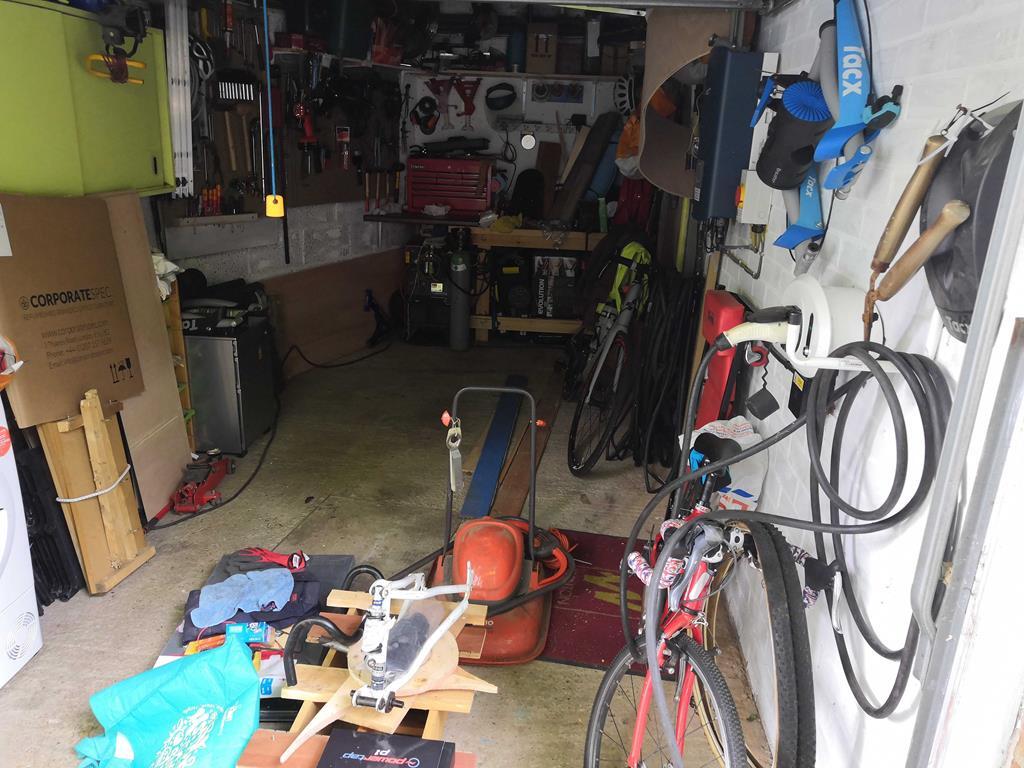 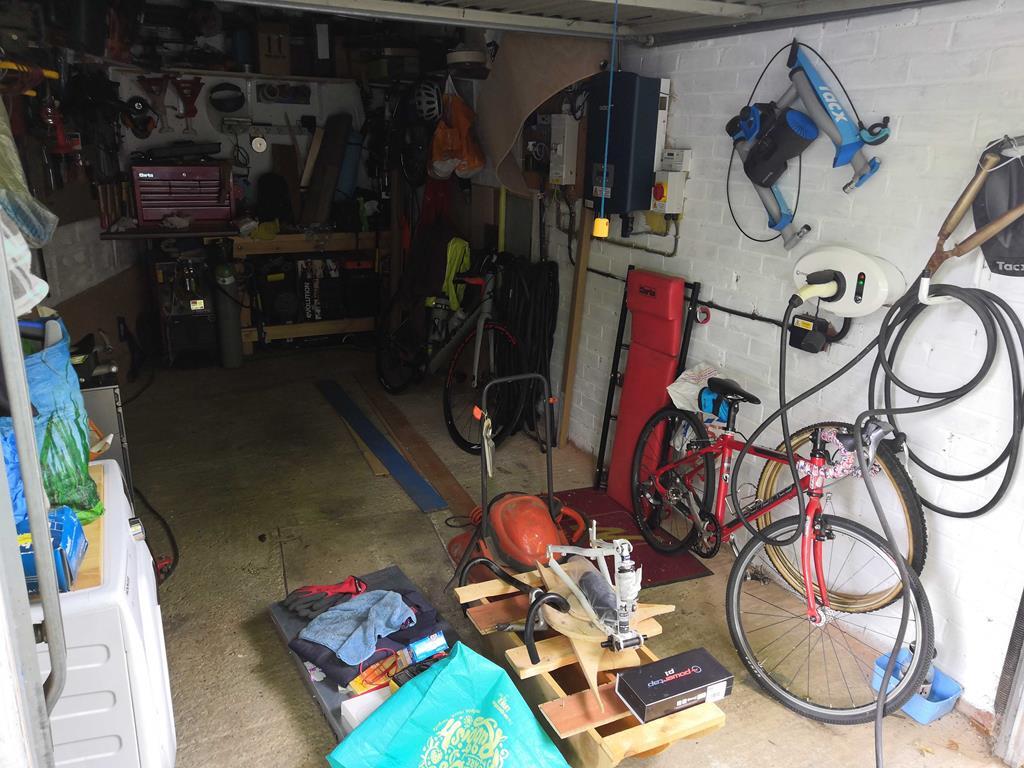 |
| |
|
|
duncanmartin
Club Retro Rides Member
Out of retro ownership
Posts: 1,320
Club RR Member Number: 70
|
Garage improvementsduncanmartin
@duncanmartin
Club Retro Rides Member 70
|
|
|
I moved the junk on the floor in the last picture, put the bikes at the back and put my newly acquired tiny car (Lancia Y10 - see sig) into the garage last night. The good news is that it fits, there's almost a metre between the car and the workbench, and if I park it a bit closer to the wall I'll be able to get in and out easily, and even open the tumble drier door!  The bad news is that the typical old car oil smell is somehow leaking through the end wall and into the house (via a cupboard full of junk!).  So I had to move the car back onto the driveway until the garage is properly sealed. I assume smell can't go through breeze blocks, so it's got to be through the holes for the electricity wires and central heating pipes. You can see them in this picture:  I tried to fill the holes with expanding foam ages ago but clearly that hasn't worked - I guess the only sensible solution is to box this corner in and seal around the box? Is it worth sealing around the edges of the ceiling as well? I don't know how the structure hangs together there (or how to find out without breaking stuff). |
| |
|
|
|
|
|
|
|
|
Epoxy resin flooring would be the way forward for the floor but I’d maybe build something in at the end by the door like a small angle iron ? To screed to and raise it enough to stop any flood ingress
|
| |
|
|
|
|
duncanmartin
Club Retro Rides Member
Out of retro ownership
Posts: 1,320
Club RR Member Number: 70
|
Garage improvementsduncanmartin
@duncanmartin
Club Retro Rides Member 70
|
Aug 18, 2020 10:30:52 GMT
|
|
That stuff looks really cool, and if the concrete base was flatter then it would probably be great, but the epoxy is only supposed to be 1.7mm thick, and the surface is way more lumpy than that. I think the only way to make it flat and level would be to screed it - if flat without level was fine then one of those polishing tools would probably be sufficient. Either could do with having epoxy or floor tiles put on top once complete.
It's a bigger project than I'm able to do right now. I'm currently just trying to seal all the edges and cracks so no smell leaks into the house - I'll post a picture of the boxed in and sealed corner when I've finished it today. It's not pretty, but hopefully it will work...
|
| |
|
|
duncanmartin
Club Retro Rides Member
Out of retro ownership
Posts: 1,320
Club RR Member Number: 70
|
Garage improvementsduncanmartin
@duncanmartin
Club Retro Rides Member 70
|
Aug 28, 2020 16:03:09 GMT
|
I boxed the corner in and then attacked the pipework holes with expanding foam. And then sealed around the edges of everything in the back half of the garage. 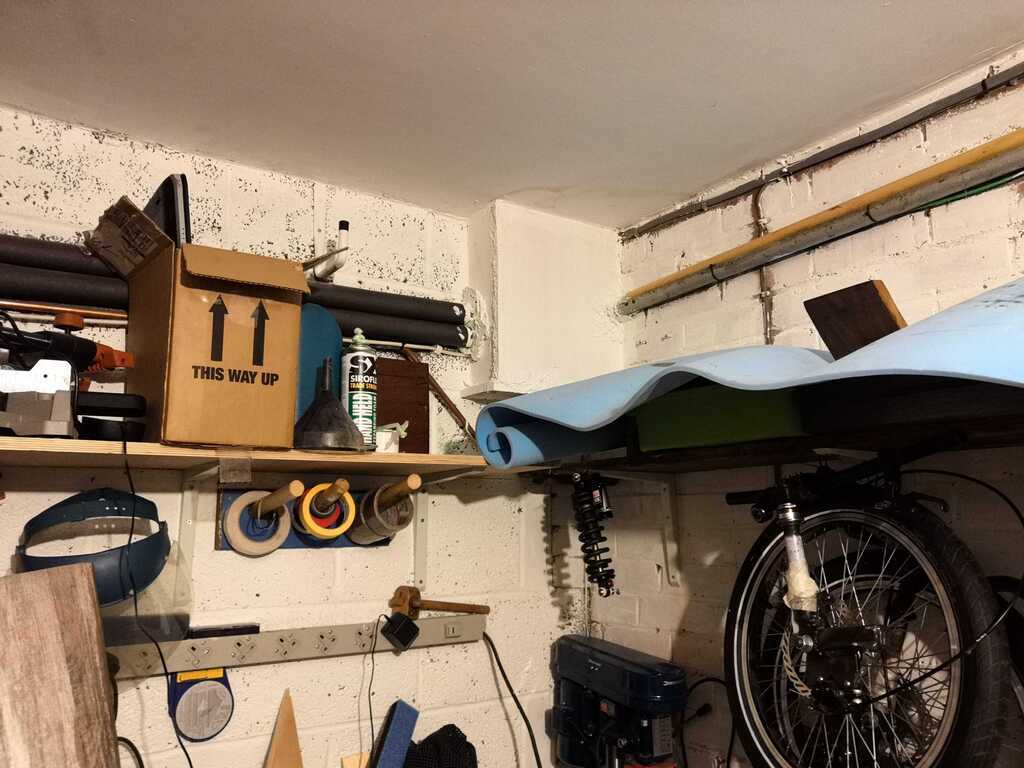 And then today I painted the ceiling white. There are a few bits in the front part of the garage where the mortar between the brickwork is all cracked up, and there are also a couple of bits where the garage roof must have leaked in the past, and it's made the plasterboard disintegrate. I painted around it, but I probably need to seal all this stuff up as well. I'm not exactly sure whether it's possible for smell/fumes to go through the garage ceiling and into the house, but better safe than sorry IMO. I can probably just seal the brickwork up with silicone sealant, but the gap in the plasterboard in the corner is pretty big - do I need to cut some more plasterboard out and then replace a big square patch (like you would with a rusty panel)? 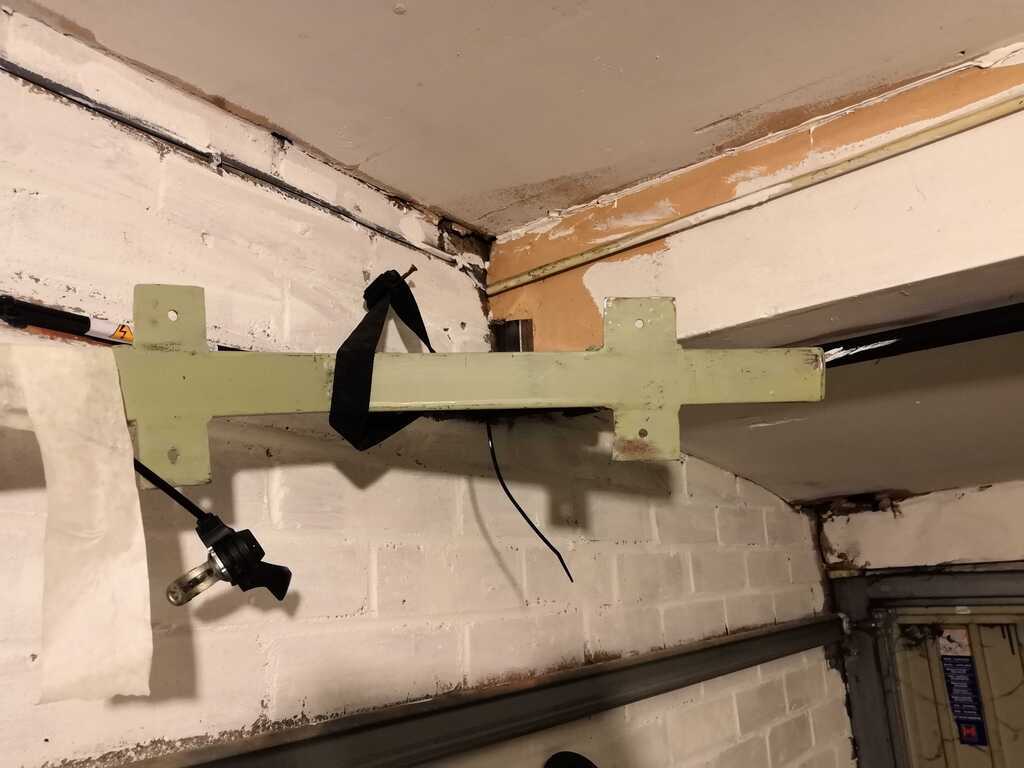 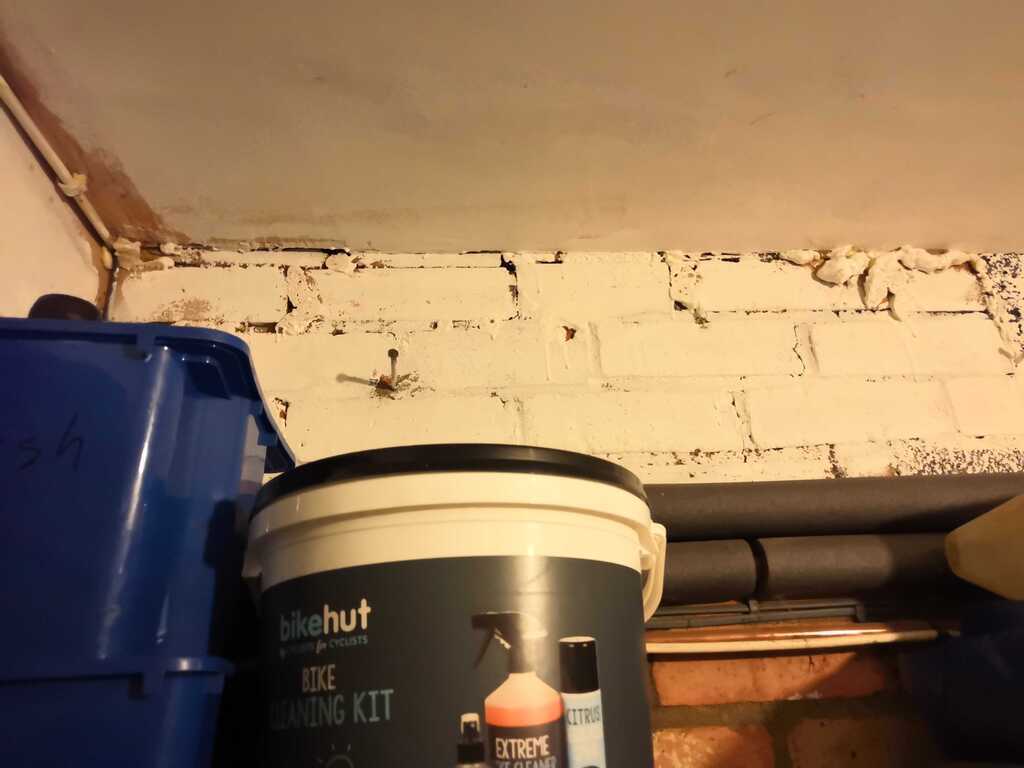 This is the corner in question. It all seems pretty dry there, even though it's been chucking it down all day. 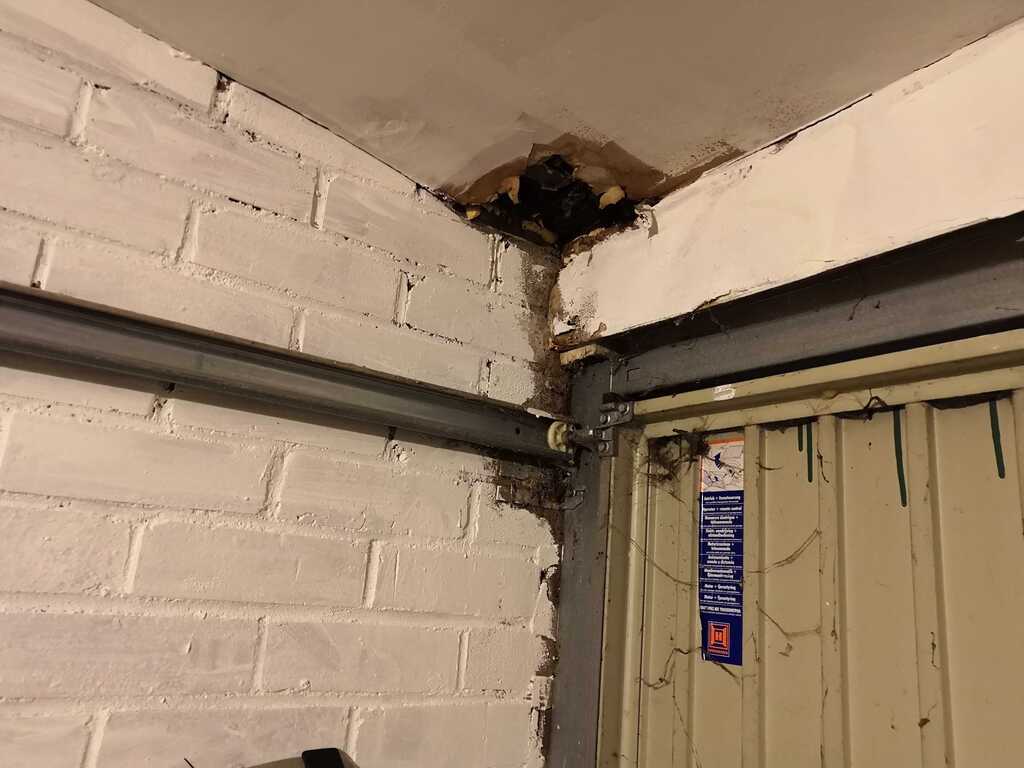 It's amazing how much brighter it is in there now compared to before I painted it. One single lightbulb, shut garage door so no natural light, and it's super bright. The only thing that lets it down now is the floor (and the size). |
| |
|
|
duncanmartin
Club Retro Rides Member
Out of retro ownership
Posts: 1,320
Club RR Member Number: 70
|
Garage improvementsduncanmartin
@duncanmartin
Club Retro Rides Member 70
|
Aug 31, 2020 11:25:32 GMT
|
I think I found where the hole into the house was. I moved my workbench because behind it was the last place I hadn't painted, and I discovered this: 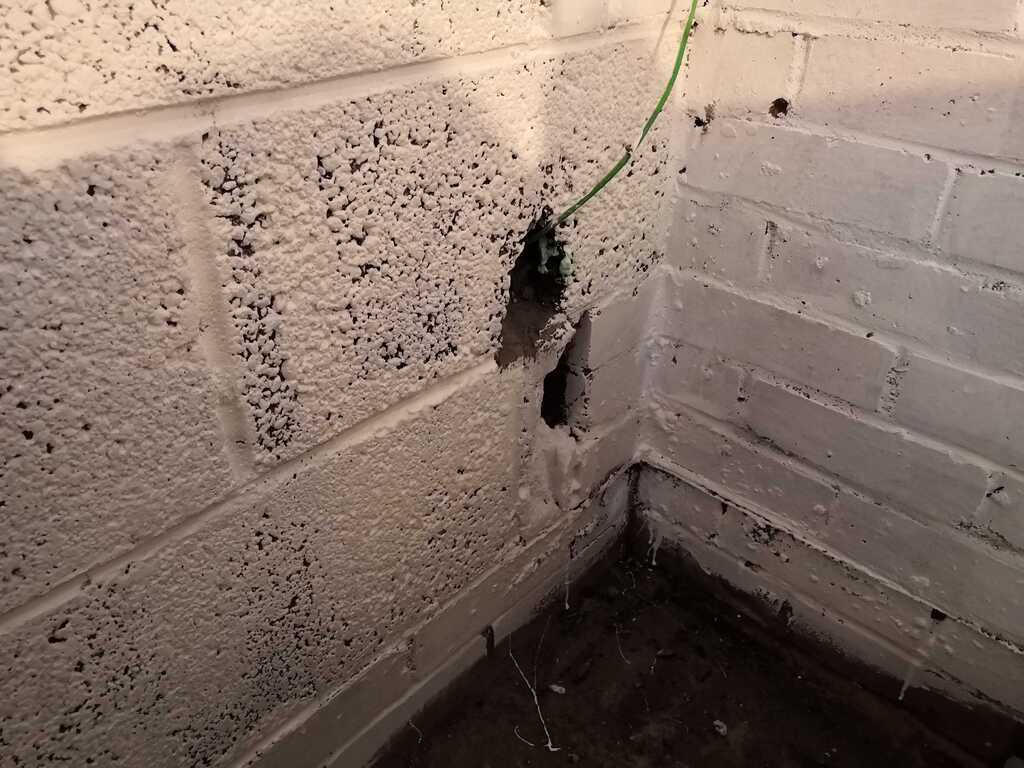 So I attacked the hole with expanding foam, hopefully this will mean there is no smell in the house when I put my car in the garage now... 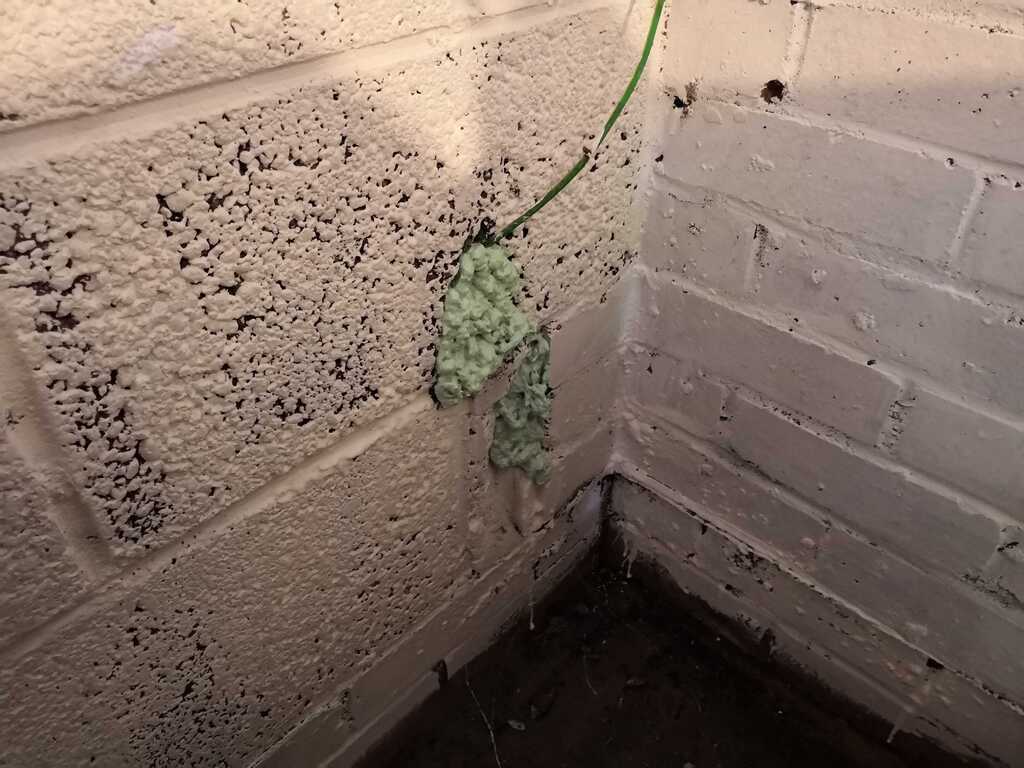 Fingers crossed this works, now all I need to do is return the workbench and tidy the rest of the garage again! |
| |
|
|
duncanmartin
Club Retro Rides Member
Out of retro ownership
Posts: 1,320
Club RR Member Number: 70
|
Garage improvementsduncanmartin
@duncanmartin
Club Retro Rides Member 70
|
Sept 5, 2020 10:38:56 GMT
|
Yesterday I painted that corner including the expanding foam), put the workbench back and tidied everything away. All good, and I was thinking of putting the car back in the garage.  Yesterday evening, a shelf fell off the wall! There was a creaking noise like someone moving heavy furniture and a big bang followed by the hoover turning on (I'd left it in the garage after my tidying spree and something had landed on the power switch)! The brackets (stated weight 25kg each) were fine, the rawl plugs just pulled out of the wall (all 9 of them). I should have used something a bit bigger than the red ones, but when I put them up my ancient drill was struggling to make bigger holes. Last week I bought a new SDS drill though.  A certain amount of noise (and irritated wife) later, and I have 8mm holes, big chunky rawl plugs and much bigger screws and the shelf is back up. And I'm not going to hang the front uprights and wheels of my trike from this shelf any more - I'll just chuck that lot in the loft (once I've got some better boards up there). Hopefully no more falling down shelves! No picture as I forgot to take one of the mess, and I've not finished the tidying yet - hopefully it will all be done tomorrow and I can put the car back in (and start working on it!). |
| |
|
|
duncanmartin
Club Retro Rides Member
Out of retro ownership
Posts: 1,320
Club RR Member Number: 70
|
Garage improvementsduncanmartin
@duncanmartin
Club Retro Rides Member 70
|
Oct 31, 2020 10:44:38 GMT
|
I finally tested the smell-proof modifications by chucking a load of olbas oil in yoghurt pots in the garage and shutting the door. No menthol smells in the house, so I got permission to put the car in the garage - result.  The very next day, I discovered I couldn't open the tumble drier door because the car was in the way, so it had to come back out again.  I've re-arranged loads of stuff in the garage, so I can rotate the tumble drier 90 degrees and still open the door (and the little hatch to take the water tray out). I've not tested that works yet though - I will give it a go today and try to remember to get a picture of the final result. The only minor issue is that I have too many bikes - there are 4 outside under a shelter ( I can't fit any more under there now) and 2 in the garage. If I could store one of the garage ones elsewhere then I might even be able to get to my workbench! |
| |
|
|
duncanmartin
Club Retro Rides Member
Out of retro ownership
Posts: 1,320
Club RR Member Number: 70
|
Garage improvementsduncanmartin
@duncanmartin
Club Retro Rides Member 70
|
Oct 31, 2020 12:42:45 GMT
|
Tumble drier rotated, everything else in a sensible place (except the bike and the flymo). 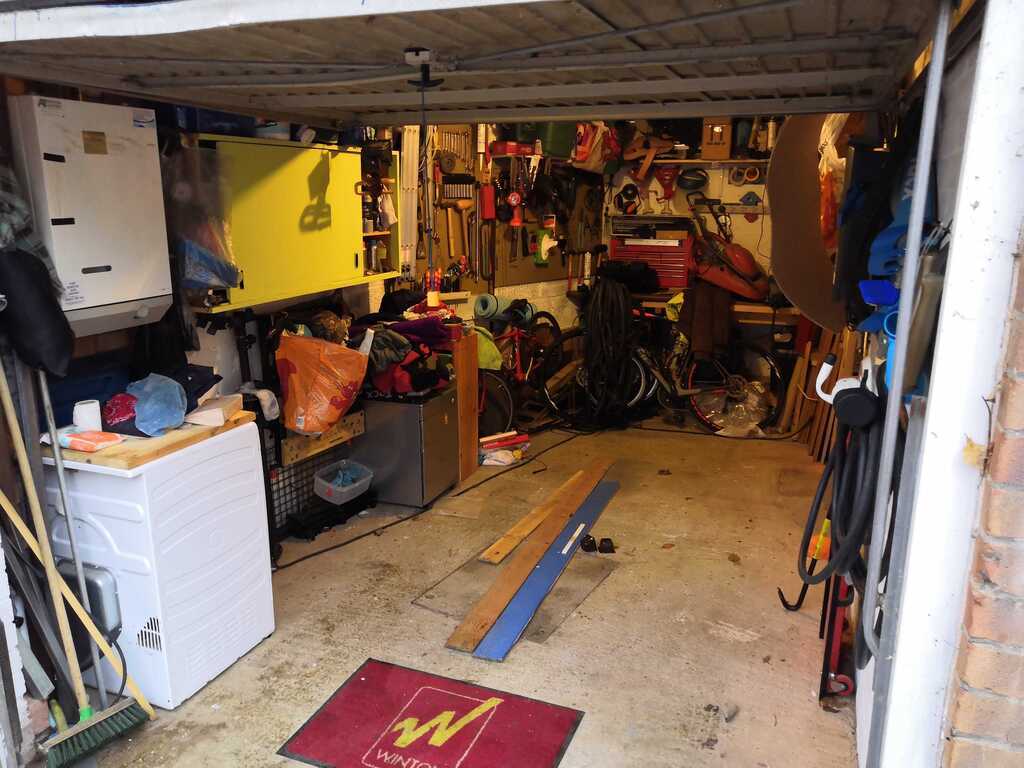 Now the car goes in (and I can open the door and get out, and open the tumble drier door and everything) 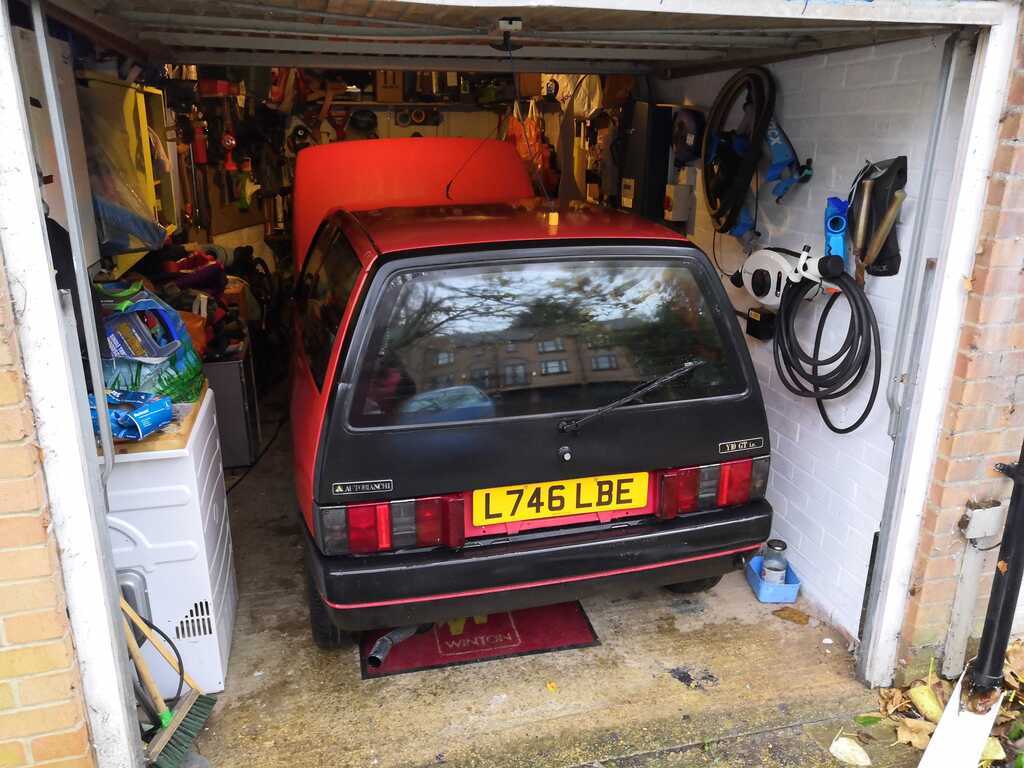 Not a huge amount of space down the sides of the car, but loads in front: 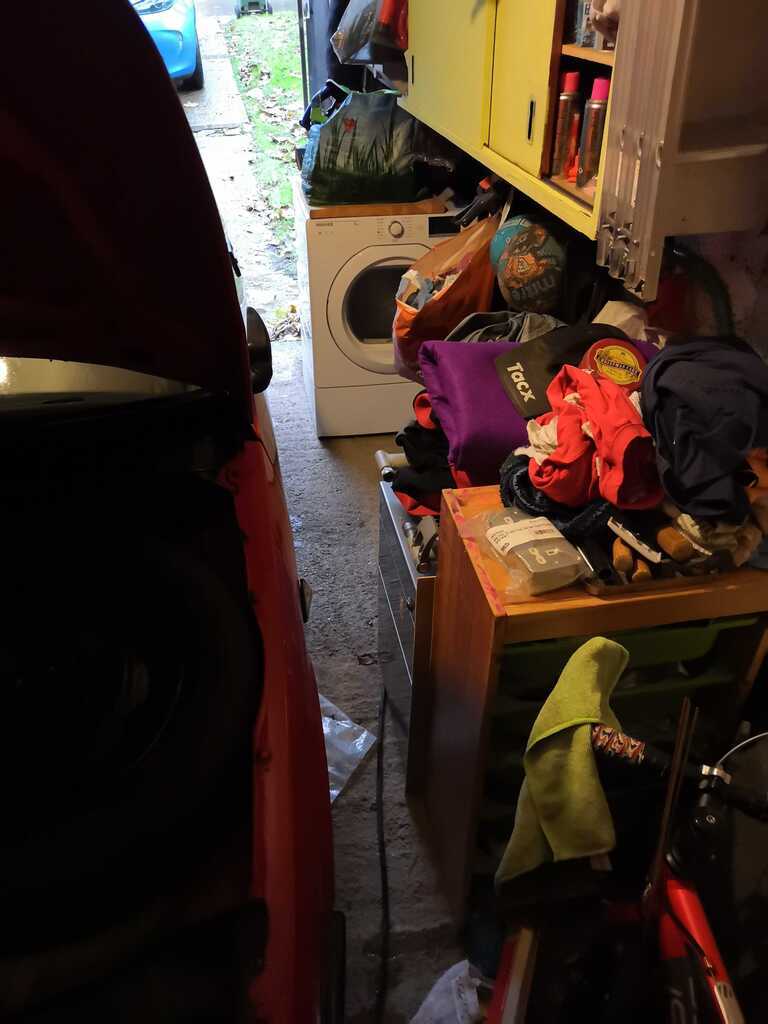 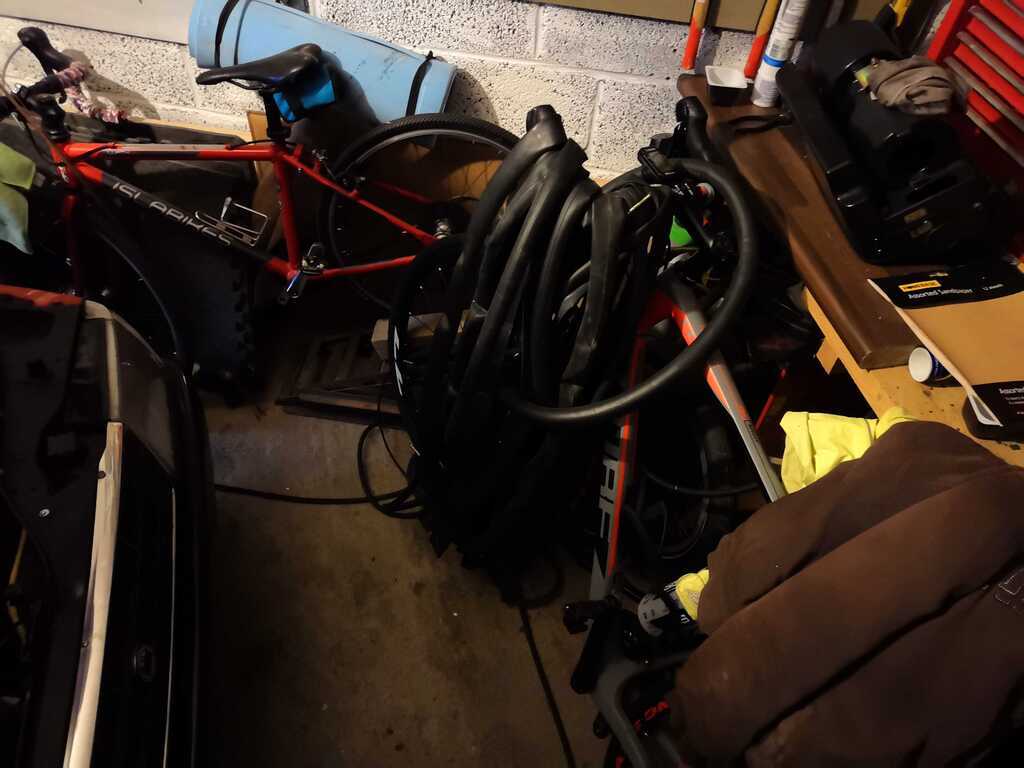 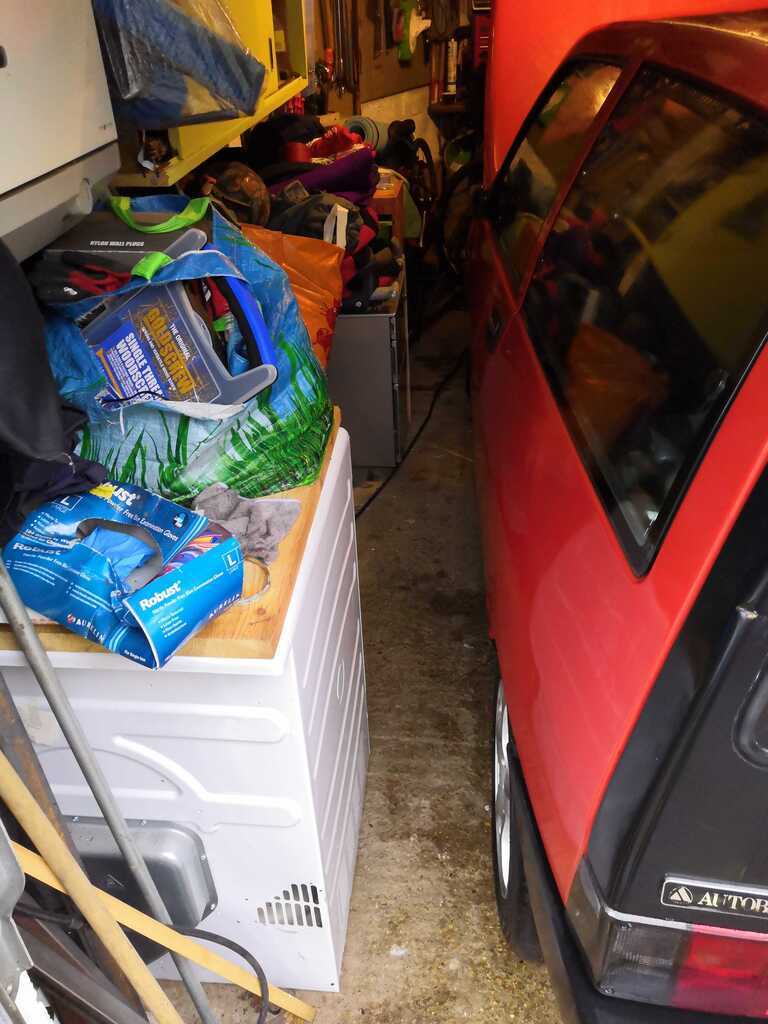 I'm going to call that a success and think about how I can attach the flymo and a bike to the ceiling. The fold out bench will have to wait until I've got more of my stuff out of the way! |
| |
|
|
|
|


 Might get rid of the flymo and the strimmer and resort to cutting the grass with some shears - I don't use them very often and it would save loads of space! The only remaining proper obstacle is the homemade trike - it's too big and heavy! Maybe I can hang it on the wall if I strip the front wheels (and uprights).


