Ever had one of those moments where you're basking in your own glory and giving yourself a pat on the back because of something you've achieved......only to be kicked in the nuts really hard a short while later. Well.....this update is a perfect example of such an occasion.
In the last update I showed how I'd completed the rear of the cab roof after discovering quite a bit rust under what first appeared to be a few pin holes. With that fairly large and complex task complete, I was feeling quite good about it all. Especially because all of what I'd just completed wasn't in the original plan....so to speak.
So.....what to do next??? Time wise, this was all around the last week of October....first week of November 2020. The weather was still reasonable temperature wise, so I thought it would a good idea to clean the rest of the roof up, dig all the old seam sealer out of the gutters, fix any dents and surface rust then give the whole thing a coat of epoxy primer......simple.
So I was stood there.....poised like a broken coil spring.....looking and wondering about how I was going to approach the new task I'd just given myself. I wanted to get it done quickly as the temperature could turn any day soon. So my original thoughts were to prep and paint it with the roof top billboard in place. But after a few cups of tea and wondering up down the garden countless times, I decided that it might be better....and maybe quicker if I removed it. Reason being that I'd have to clean it, prep it, mask it and then more than likely....not be happy with it. Plus the lower sides of the billboard sat in the very gutters that I wanted to clean out. Trying to clean the gutters with it in place would almost certainly damage the fibreglass. It was held on with rivets and some sort of mastic.....removal should be straight forward.....famous last words!
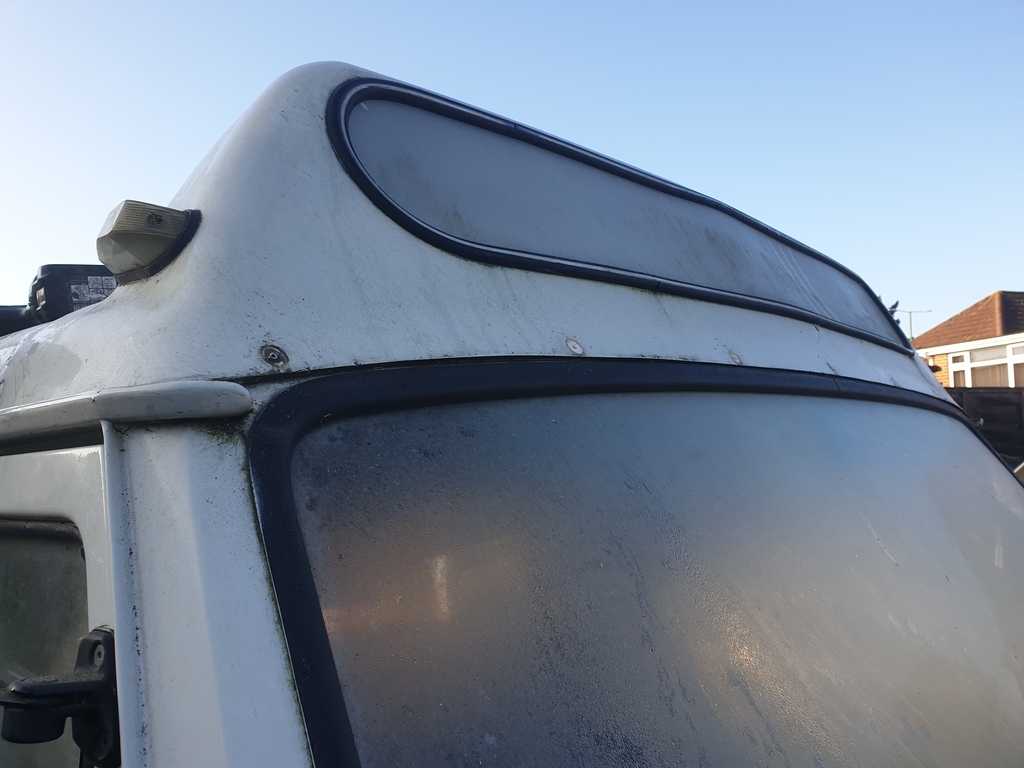
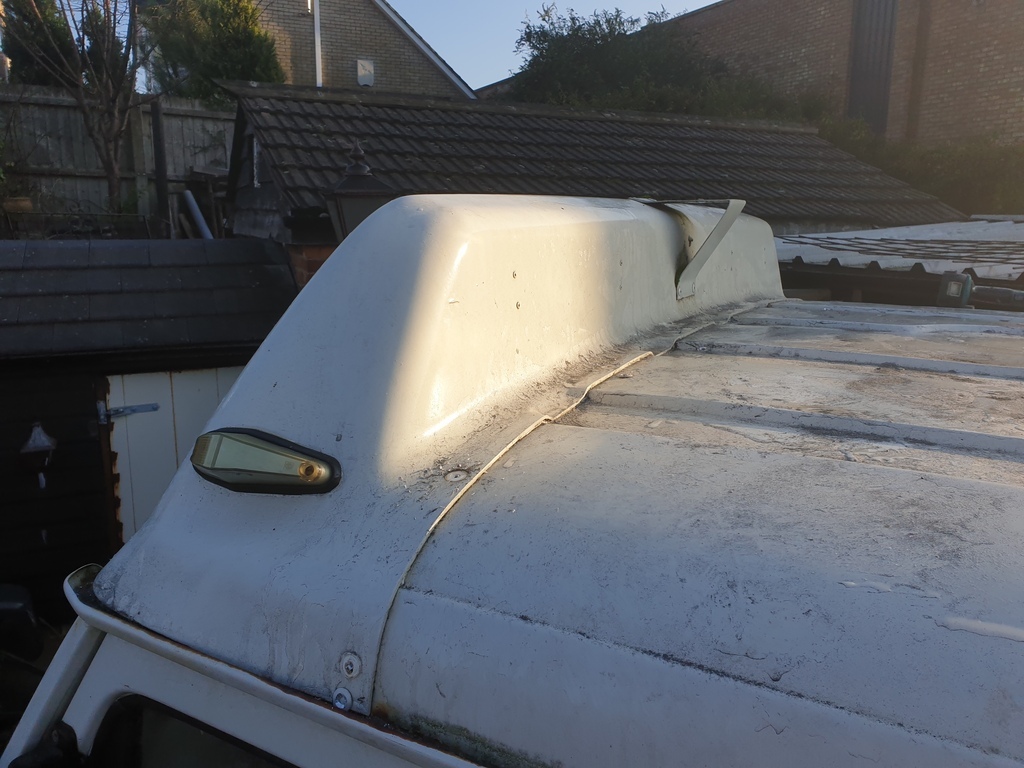
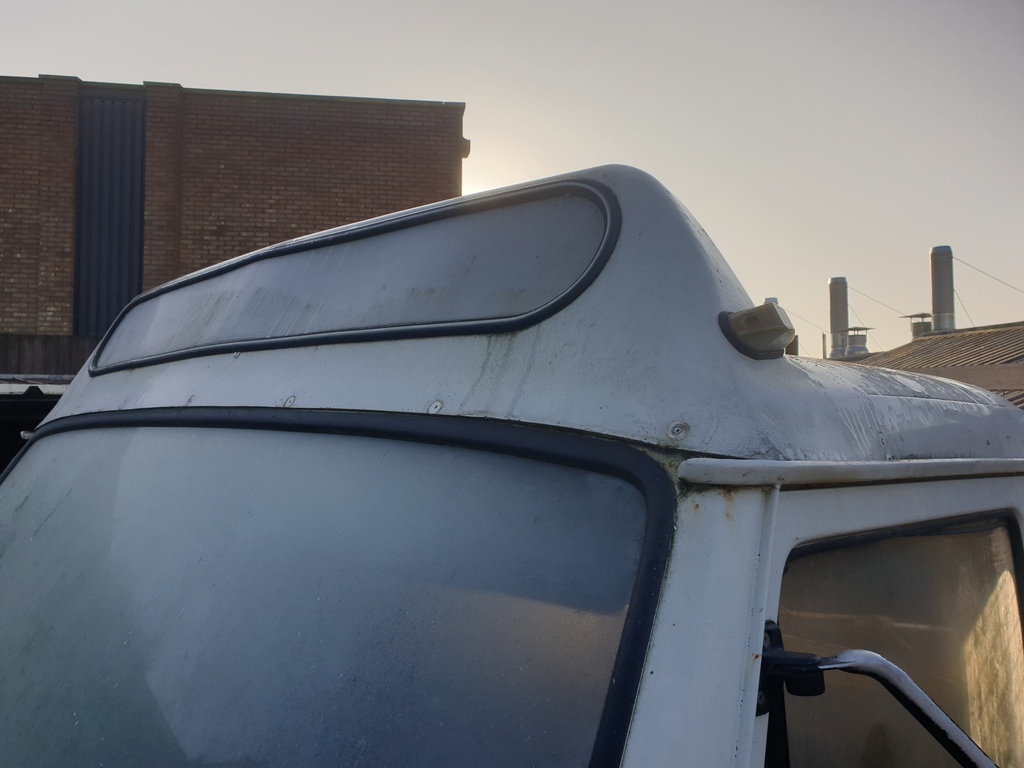
It was an absolute pig to get off. I drilled the rivets out with relative ease, but the mastic had a grip tighter to the roof panel than I have on my wallet when the missus is around. I spent what felt like an age getting the dam thing off....but eventually, after knackering at least two paint scrapers and a lot of swearing....it came free.
Everyone that's ever seen lloyd has asked "does that billboard light up? ". My answer has always been.... up till now..." it looks like it should, but there's no switch or wiring that I can see ". Well....I now have a definitive answer. It did once....but it doesn't anymore. Heres the proof....5 pygmy bulbs all in a row....all of them blown! With no easy access to change them, I'm not surprised they didn't get replaced.
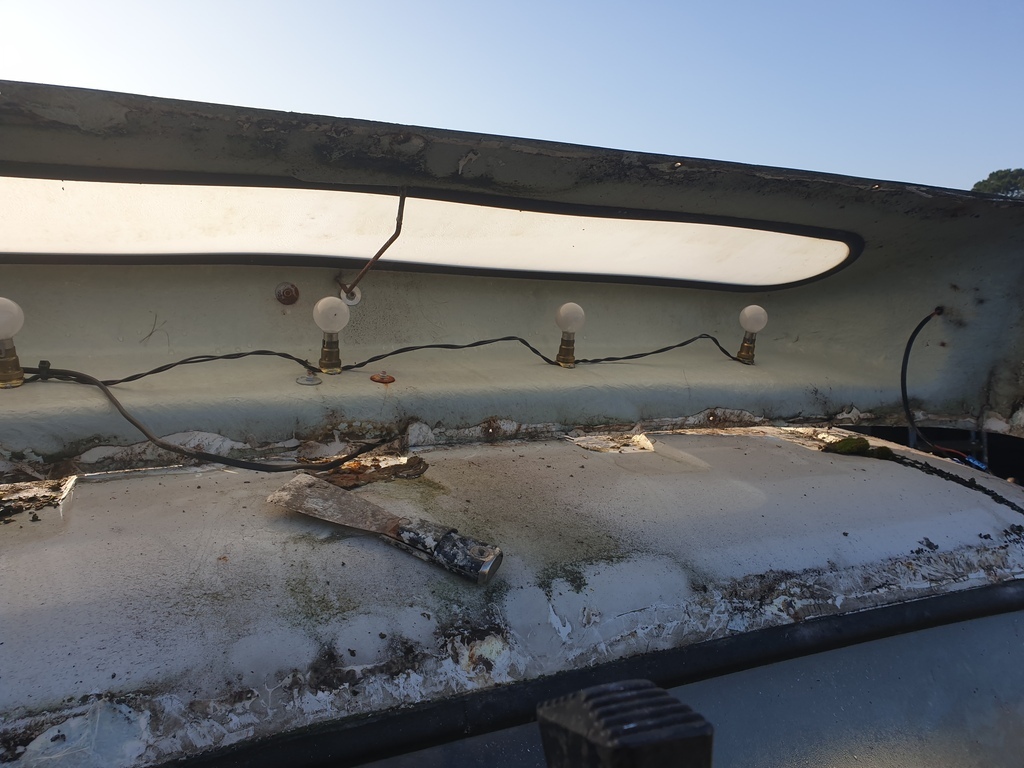
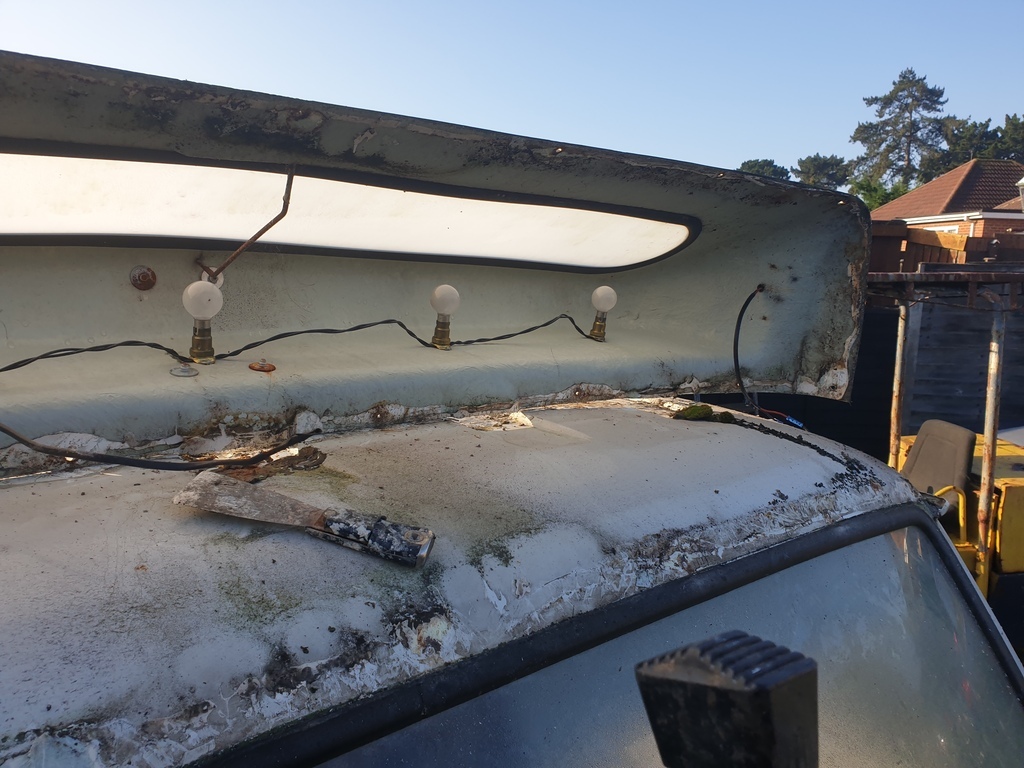
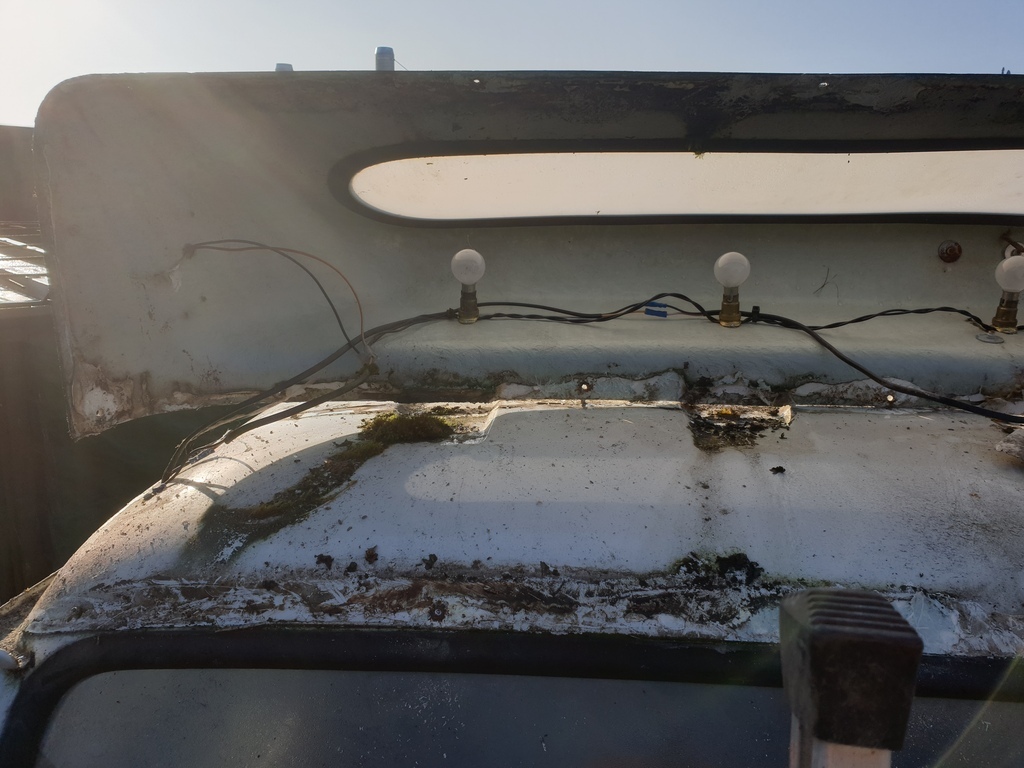
Initially, it didn't look too bad underneath......just a small amount of greenery and dirt.....
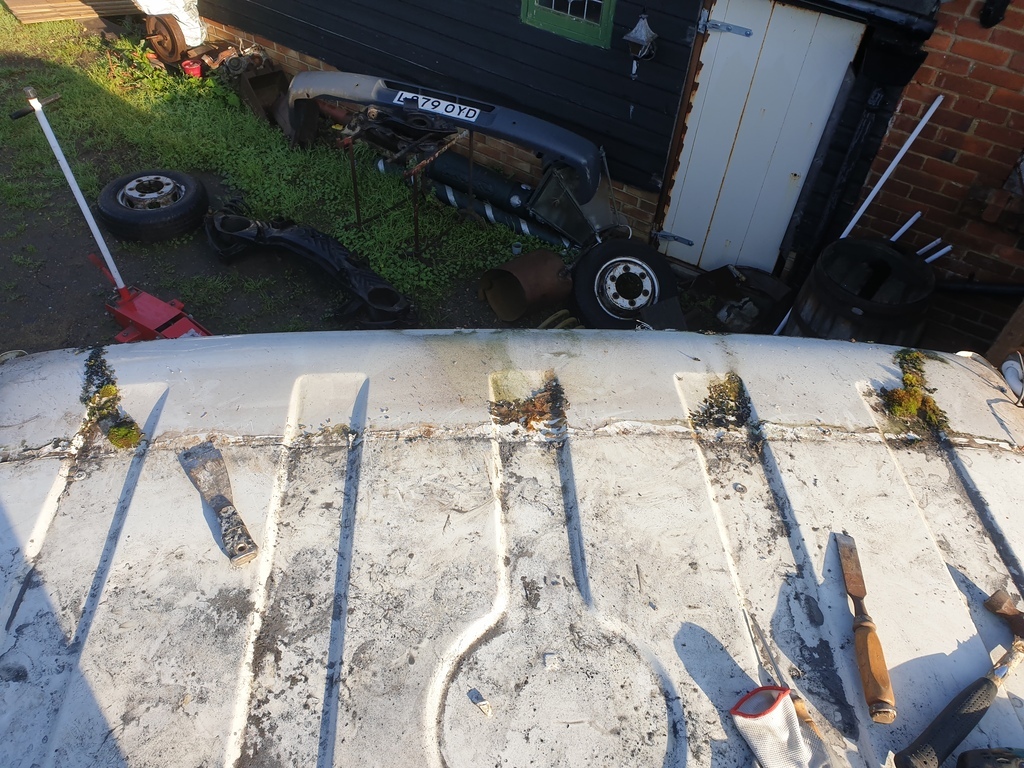
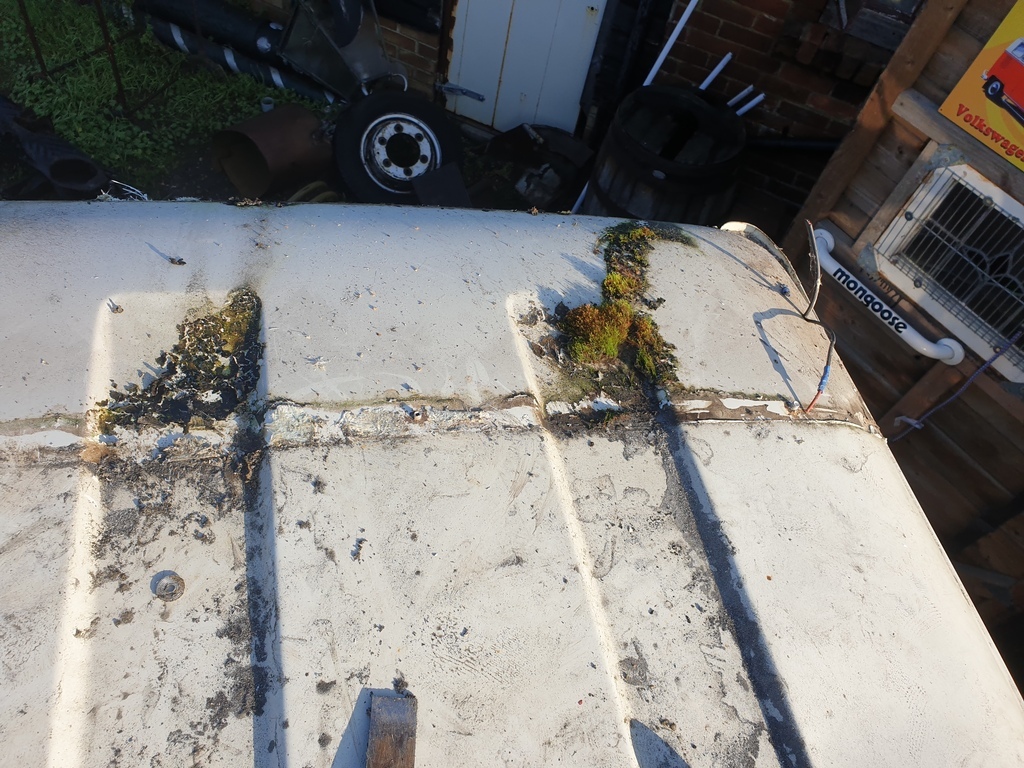
With that out of the way, the prep work for the epoxy can start.....or so I thought!
Here comes the kick in the nuts........in the form of rust!
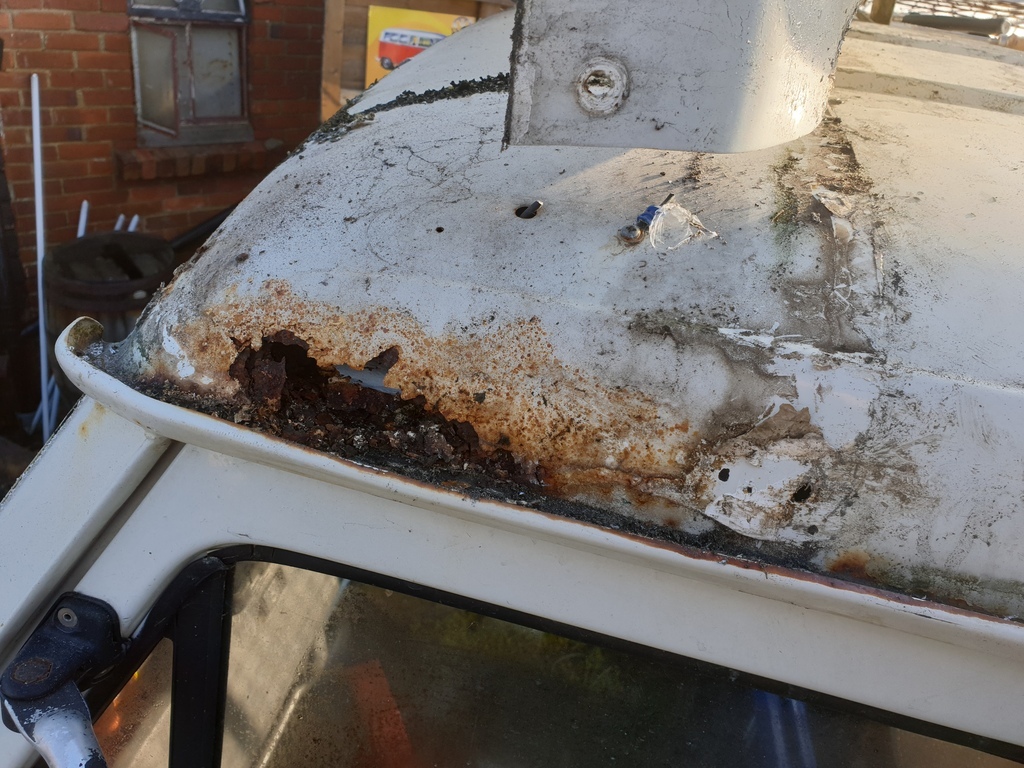
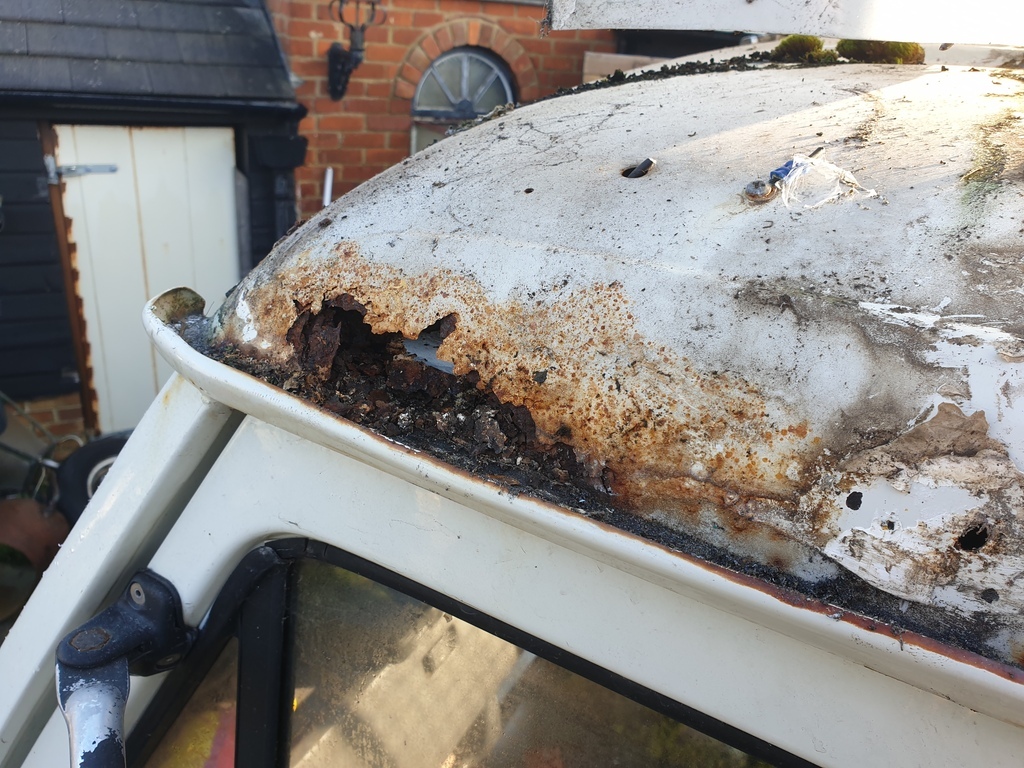
Then I had a poke around under the gutters. I'd seen rust spots, but hoped it was just of the surface kind.....who am I kidding.
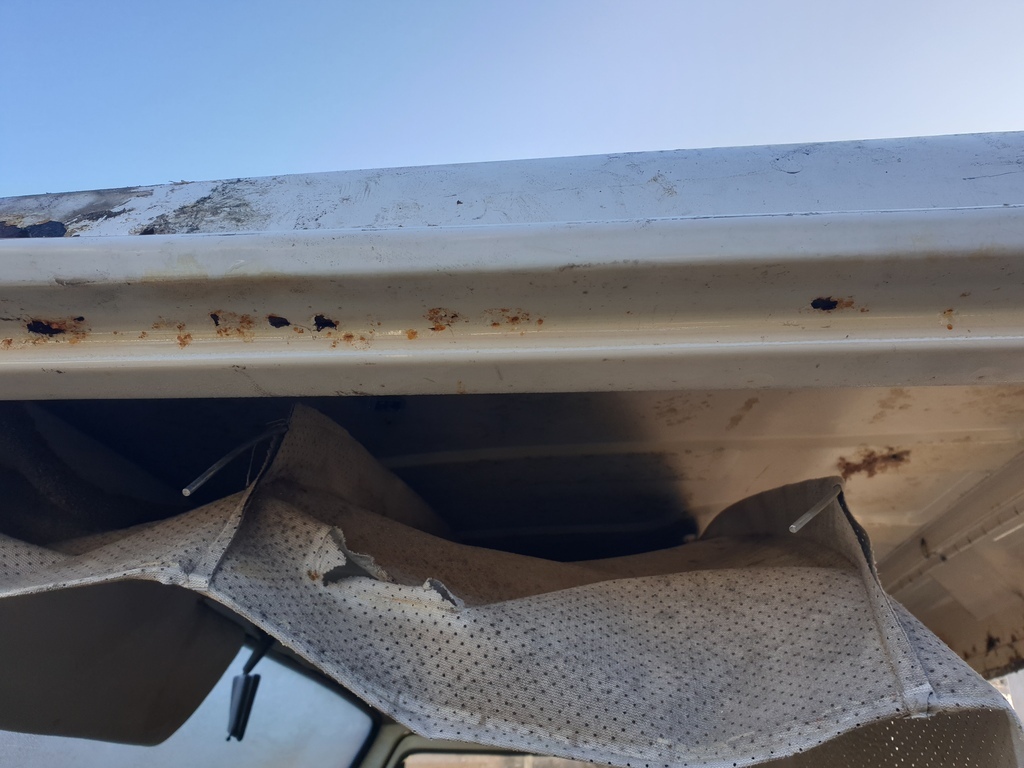
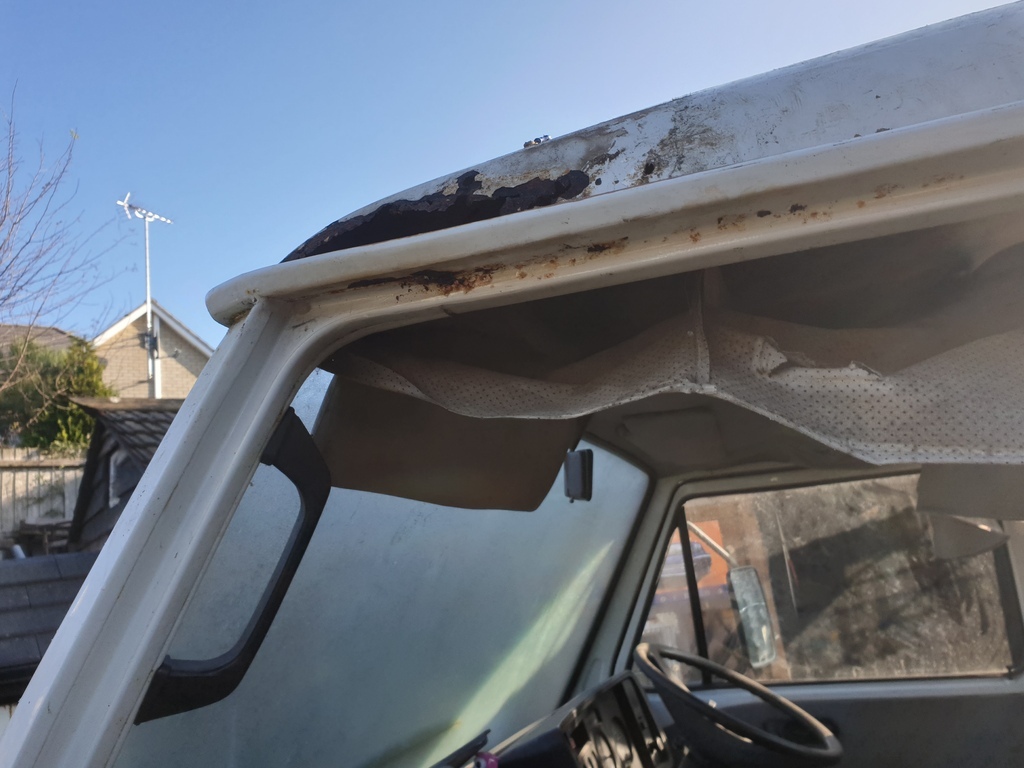
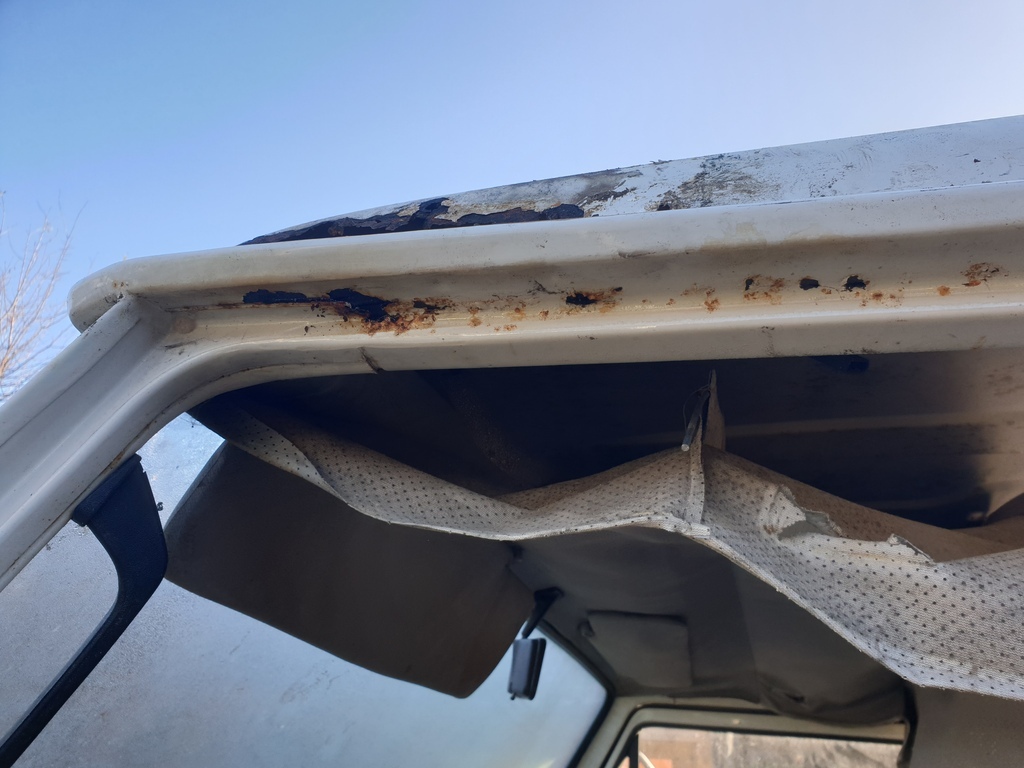
Once again.....more work that I wasn't expecting to do. I was gutted.....as I so often am where this project is concerned. I didn't have to look too hard to know that this was not going to be a quick fix. This wasn't rust that was caused by the billboard trapping moisture.....no....this had come from inside out. After a poke around with my inspection camera, there was no option but to grab the grinder and start cutting.
This was the result......
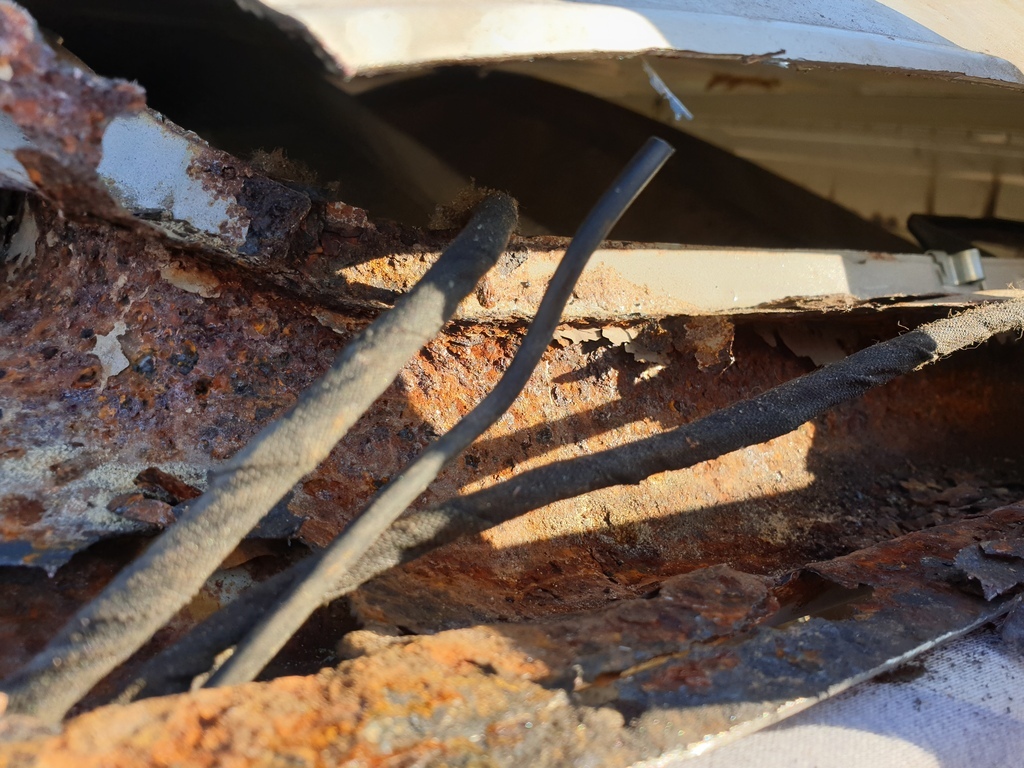
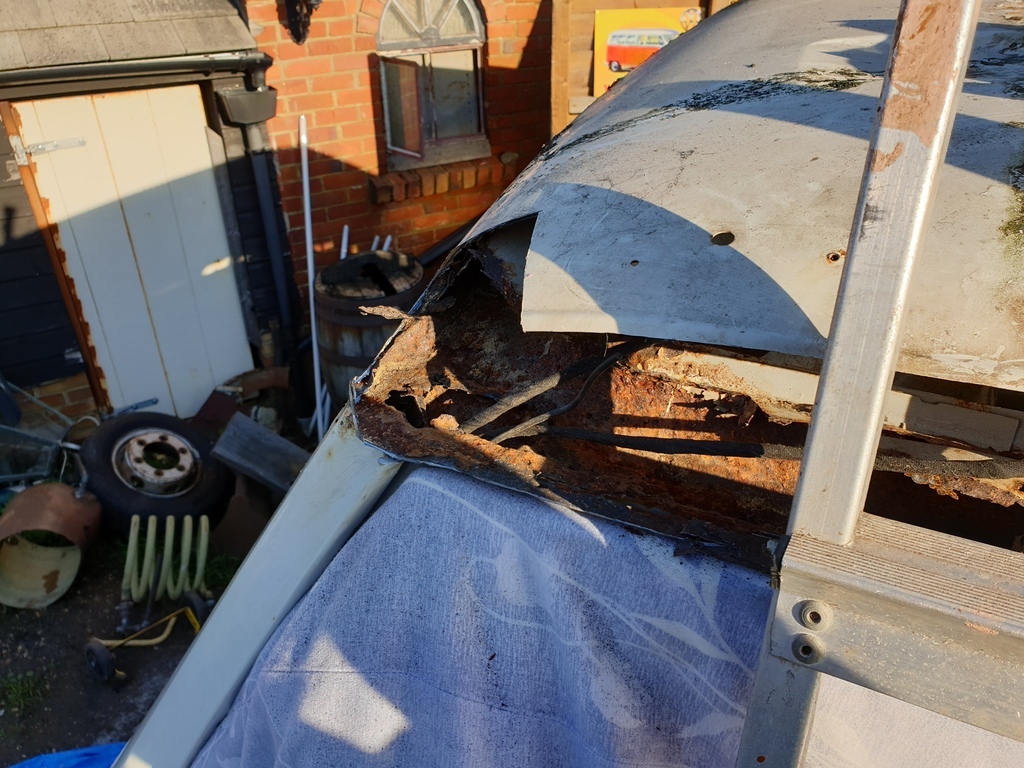
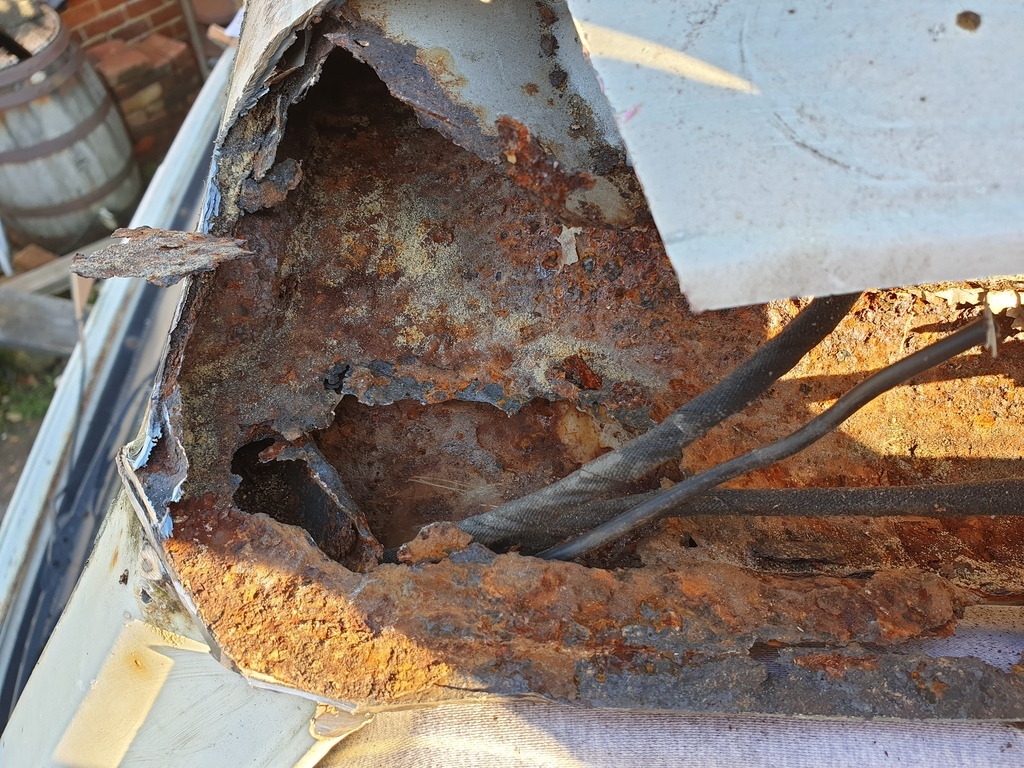
Then I cut further back towards the rear of the cab. This area was packed full of wet sand?

?.......
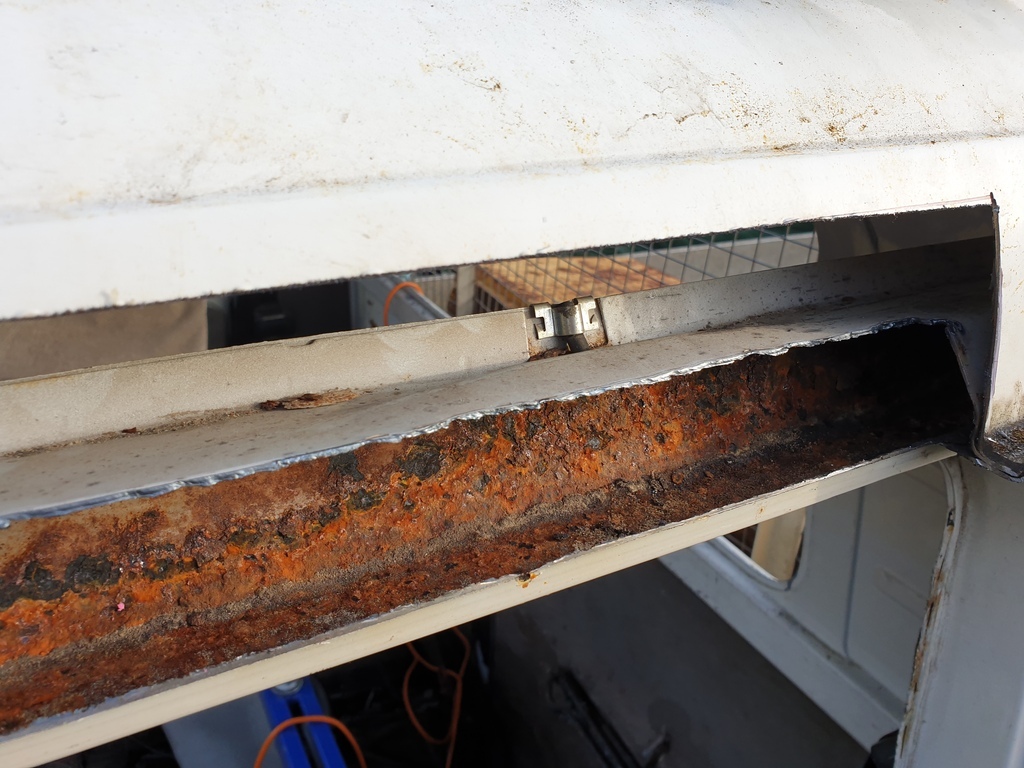
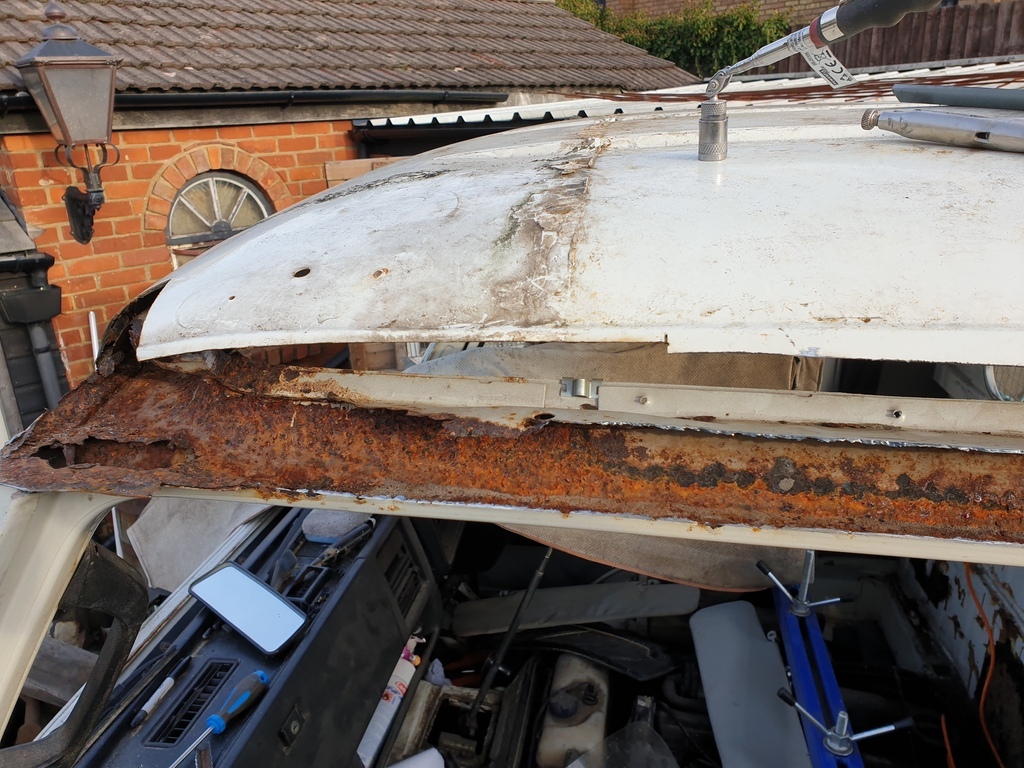
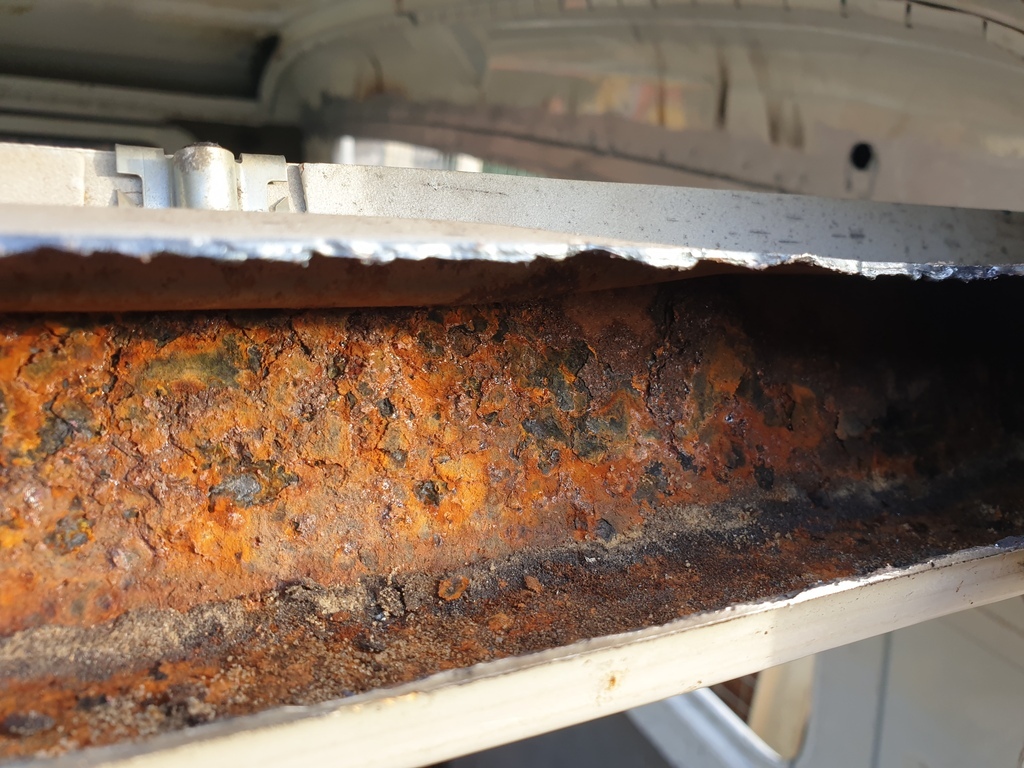
It didn't stop there.....it had migrated down the pillar. I cut the outer cosmetic panel off to reveal the structural panel underneath.....it too was rotten.
Photos are a bit out of order....but you get the idea.
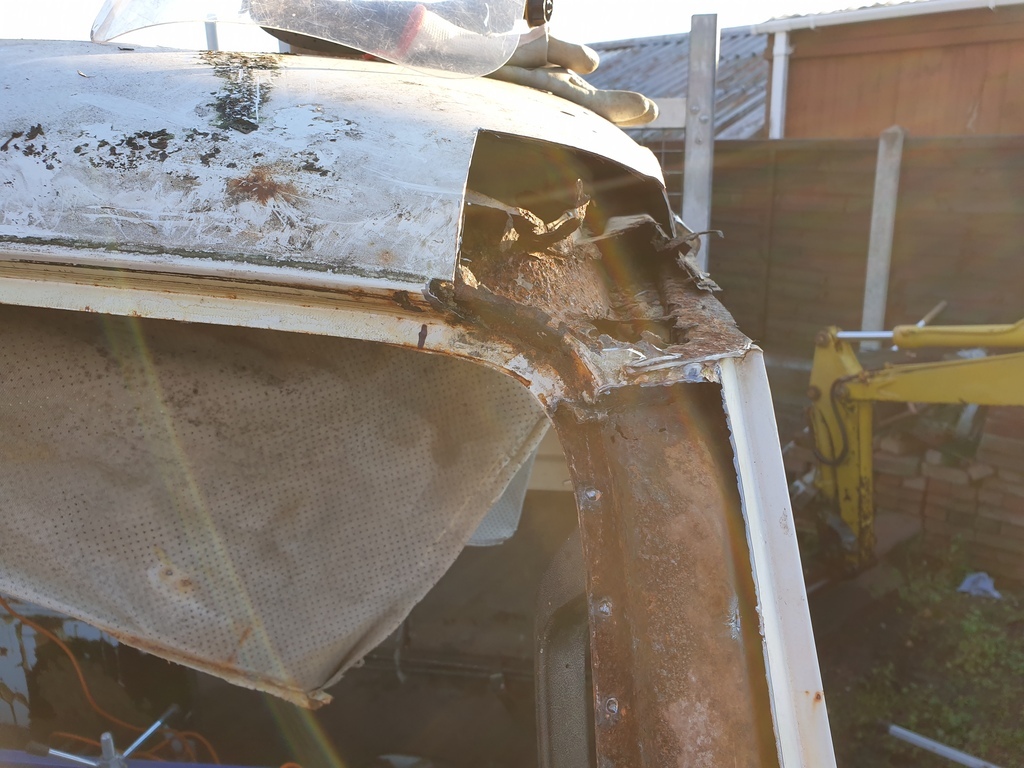
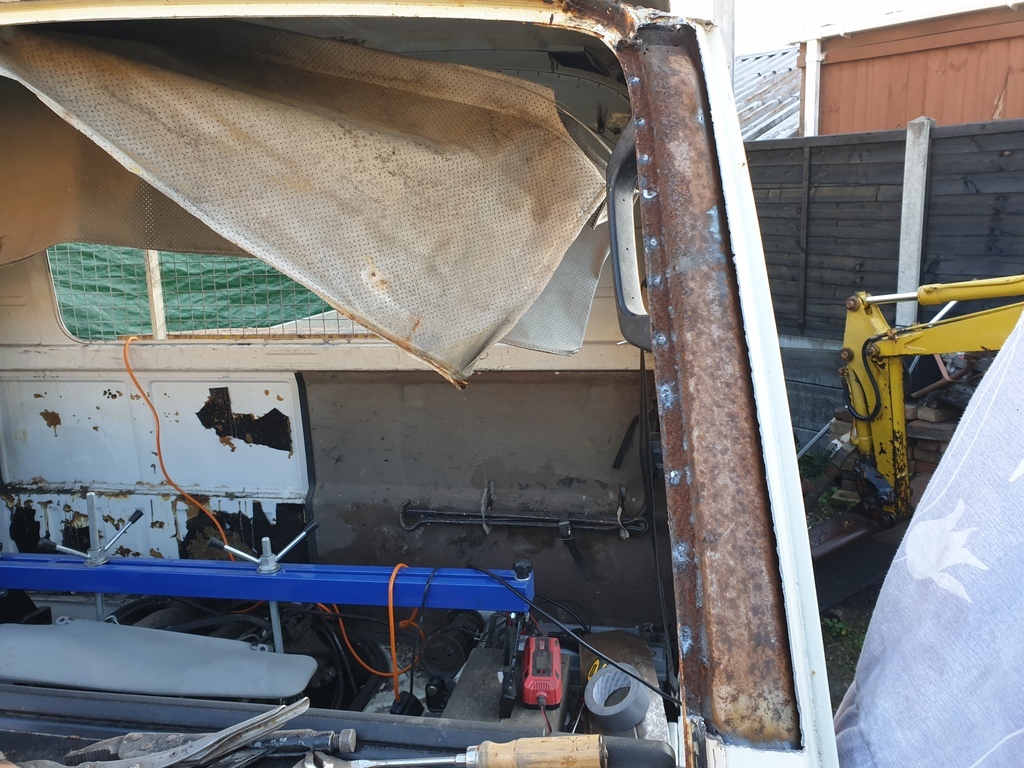
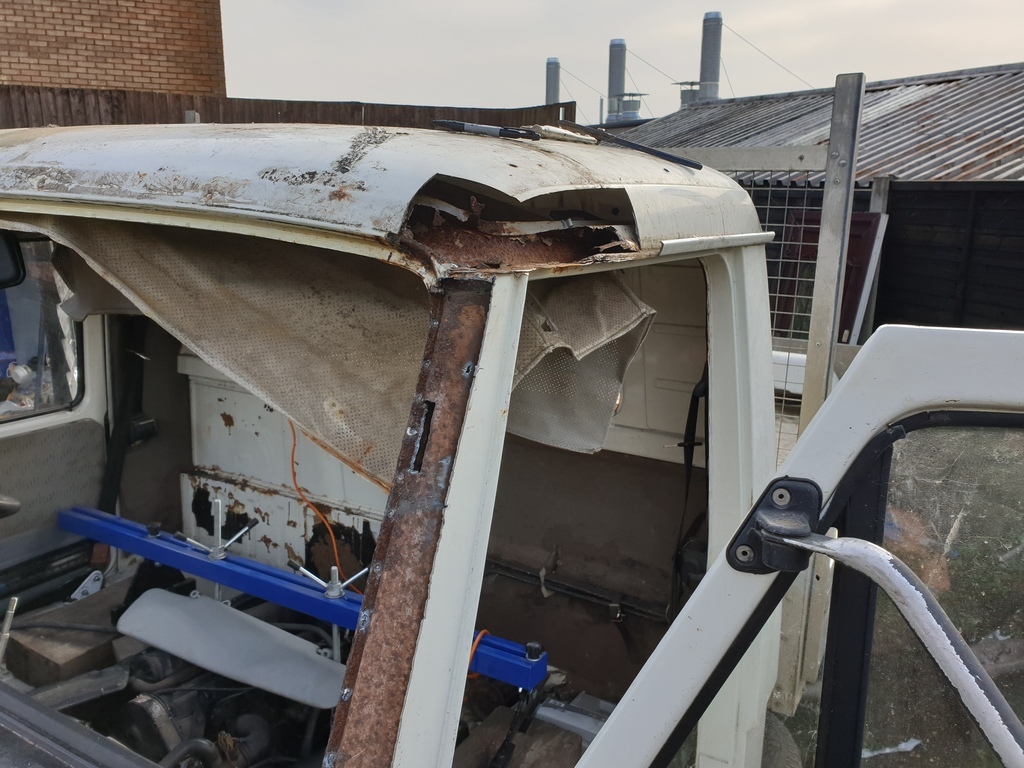
I think this was the first time I stopped and SERIOUSLY thought.....why the hell am I doing this. The time.....the money......the effort...I must be out of my tiny little mind to of even pushed it this far. But I had pushed it this far.... and just like earlier on in this thread, I once again had a choice to make. Bearing in mind, that I still have that rotten chassis to sort, it really was a big decision. I really didn't want to give up on it....but seriously, this mess just wasn't what I needed. So....I packed everything up and walked away from it.
Not for long though.....you can't keep a mad man down. Sometimes you've just gotta do what you gotta do....and if that means months of ball ache....then that's what it'll be. I've come this far....so I'll stop crying about and just crack on. To be honest what other choice did I have?
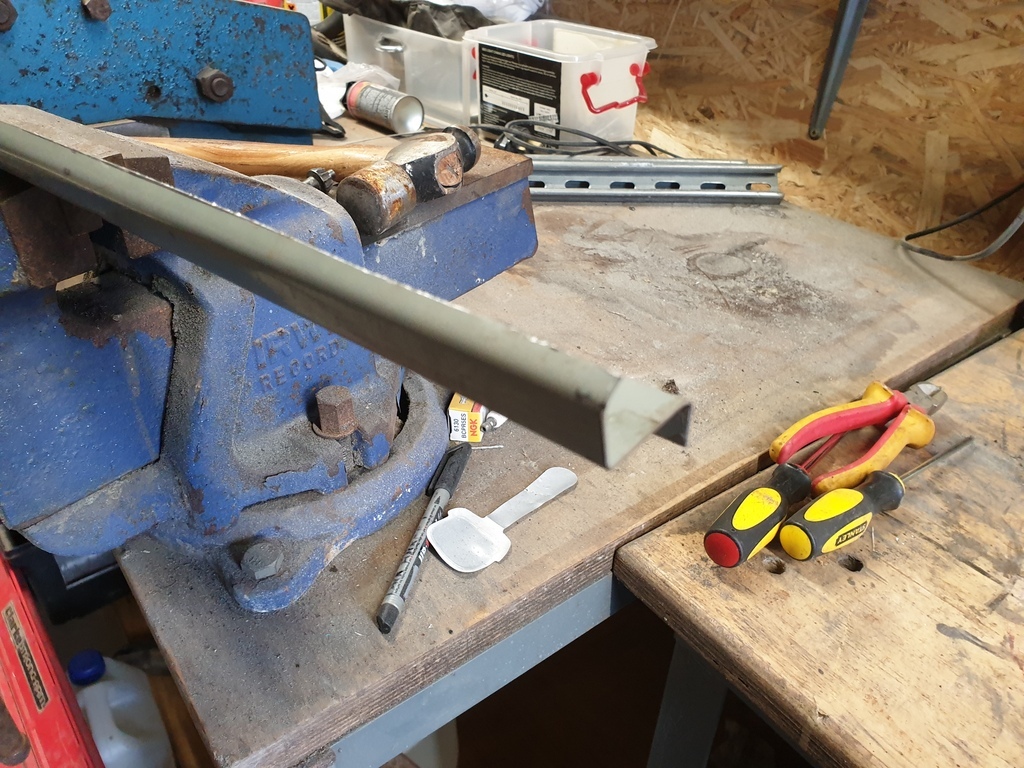
So....before I cut too much away, I made a start on the gutter. After all, with the amount of work that lay ahead, that was as gooder place to start as any.
A bit of folding here and there resulted in this....
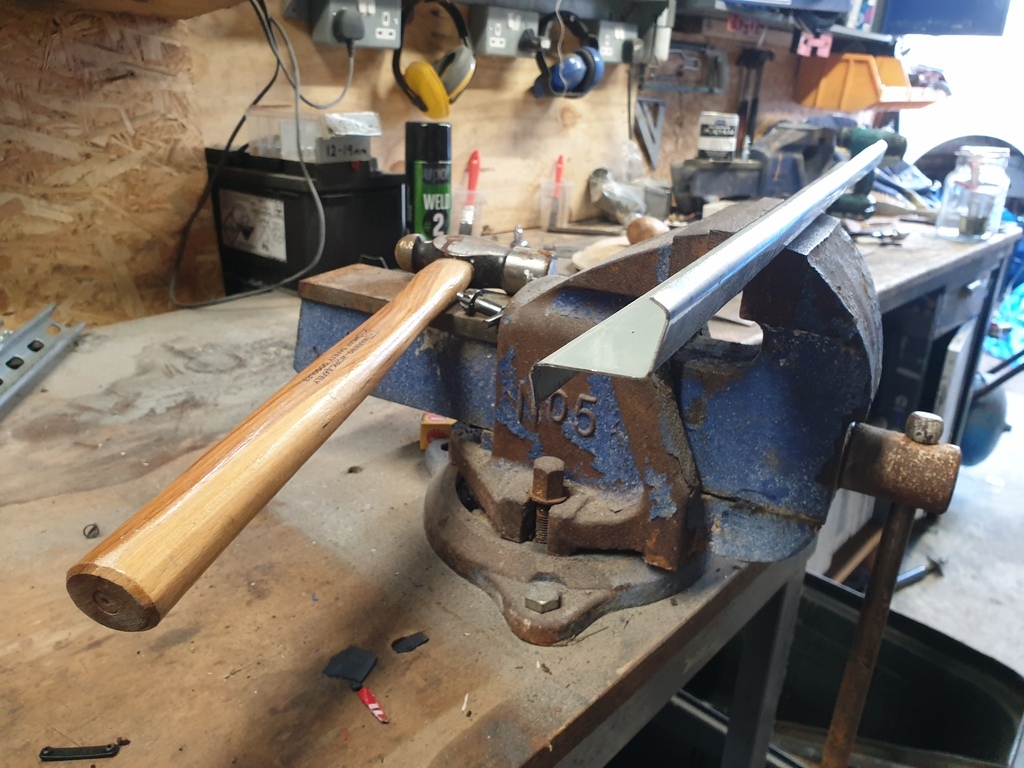
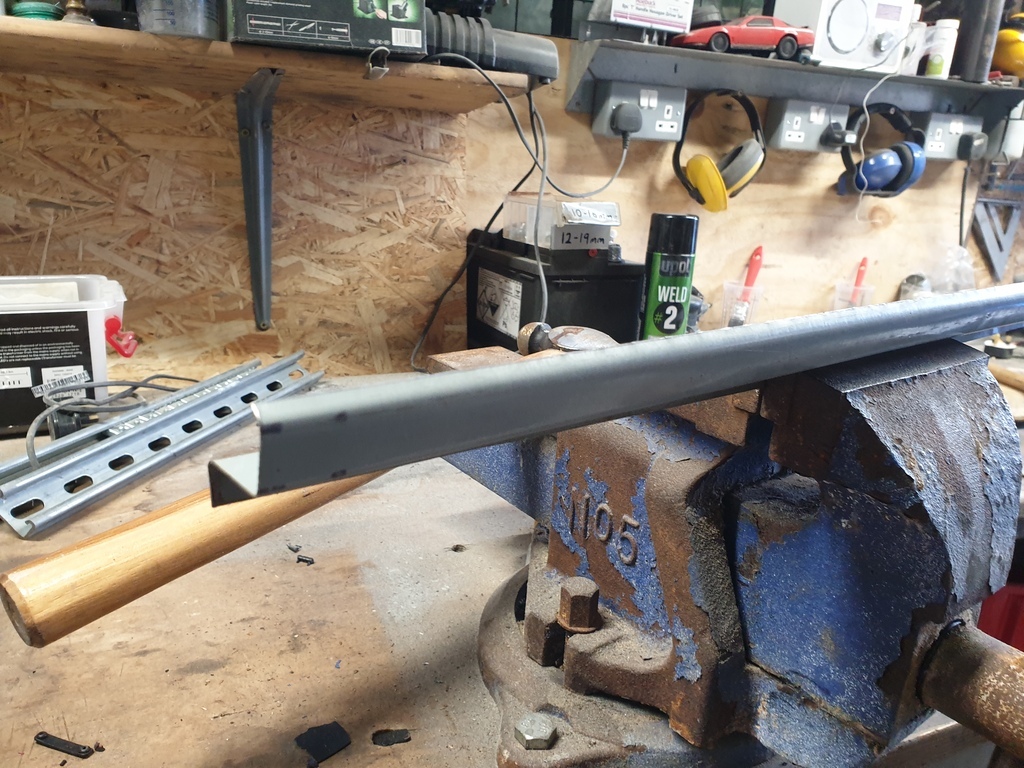
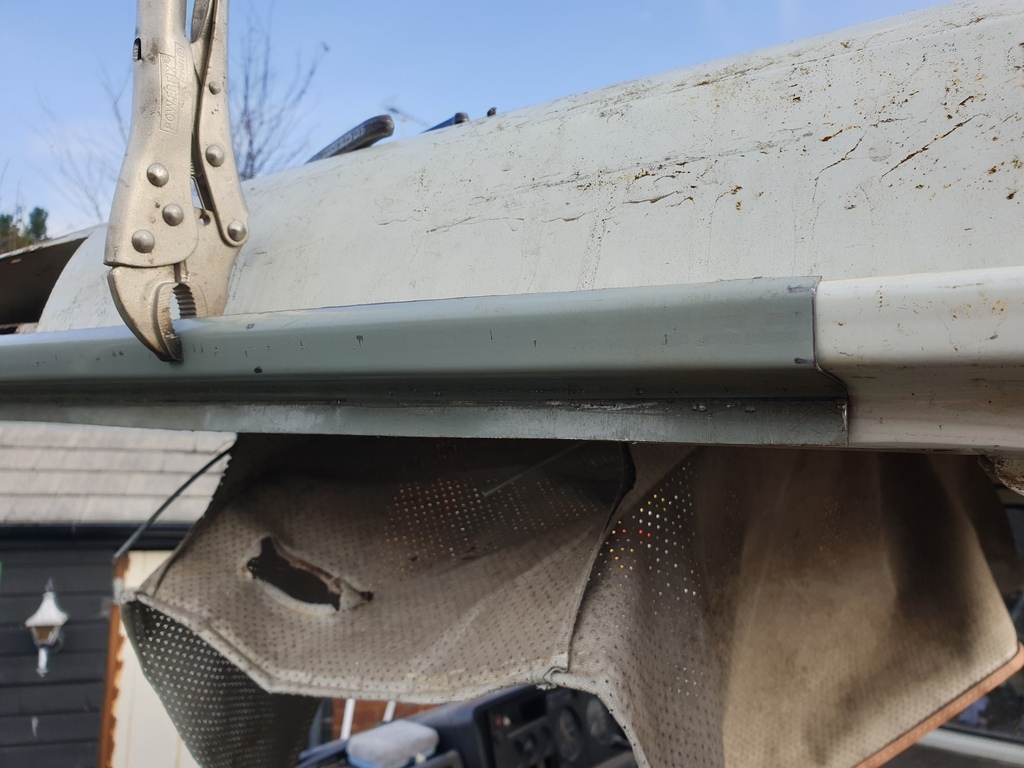
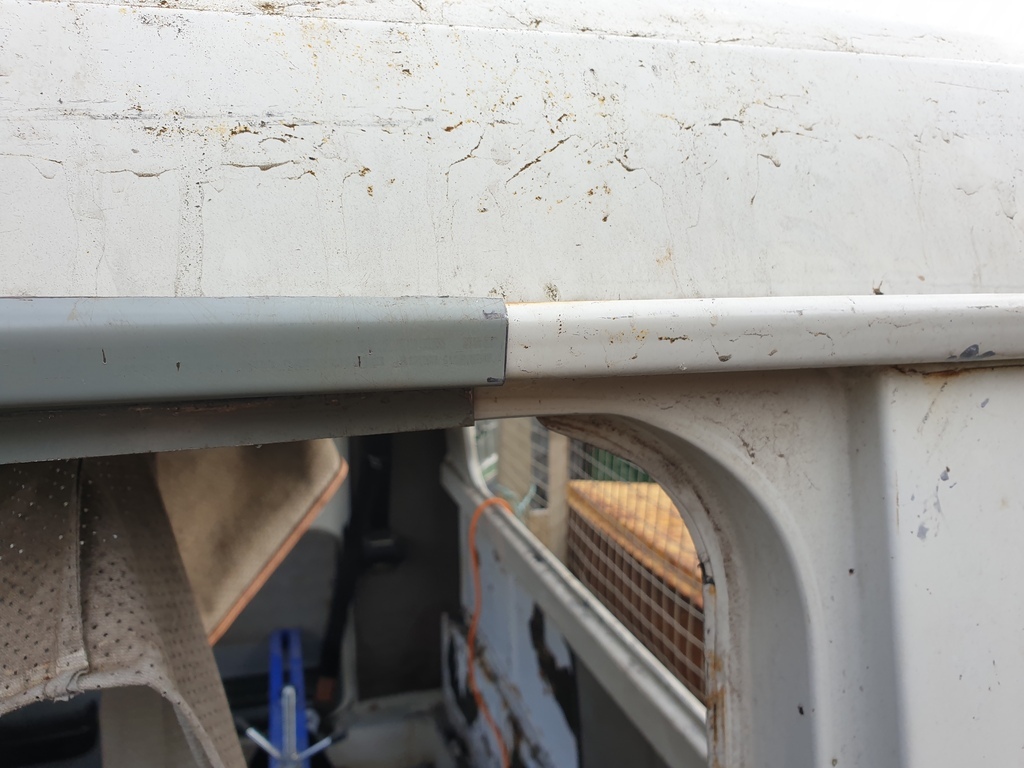
With the windscreen out, there was more rusty bit to enjoy......
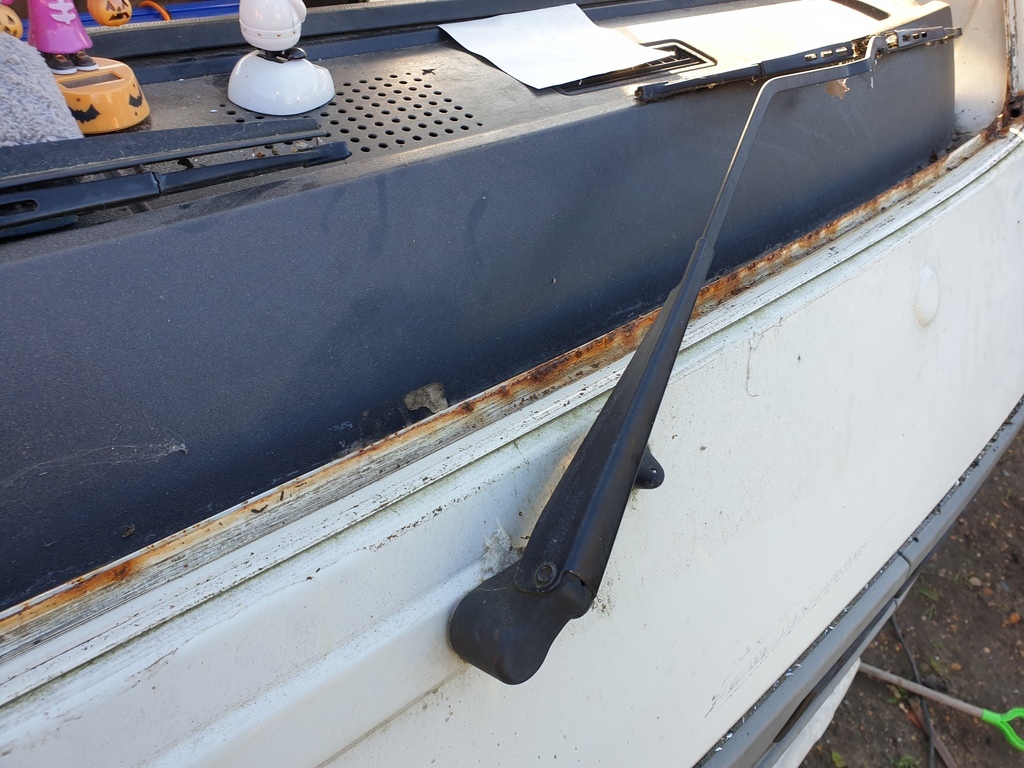
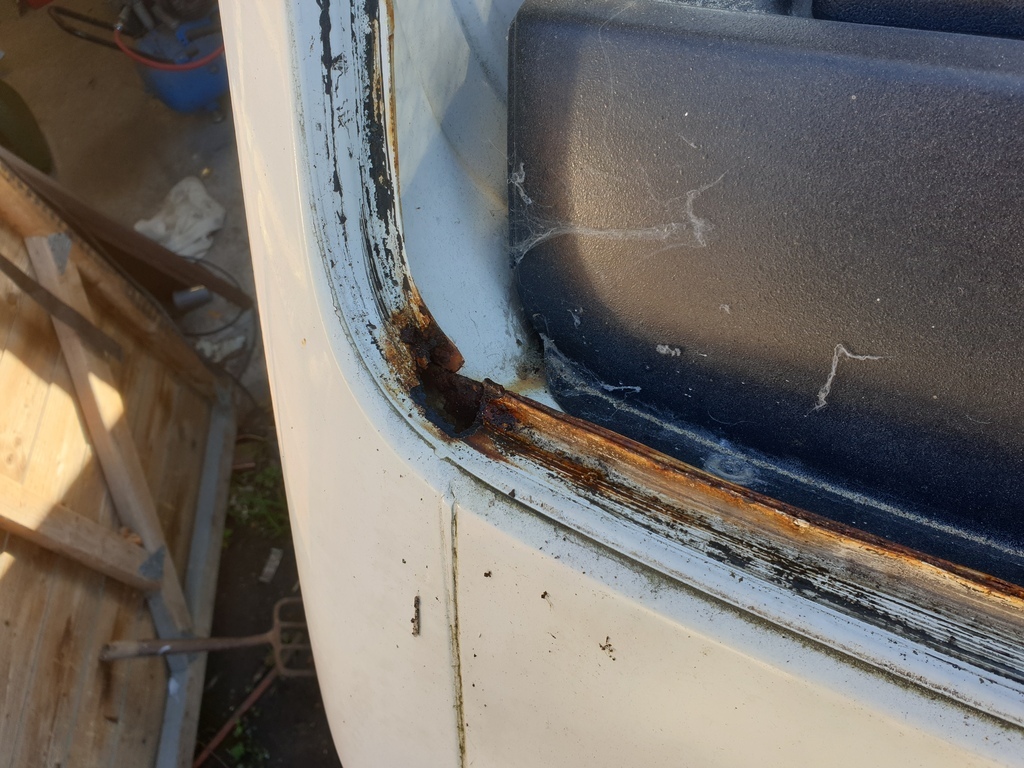
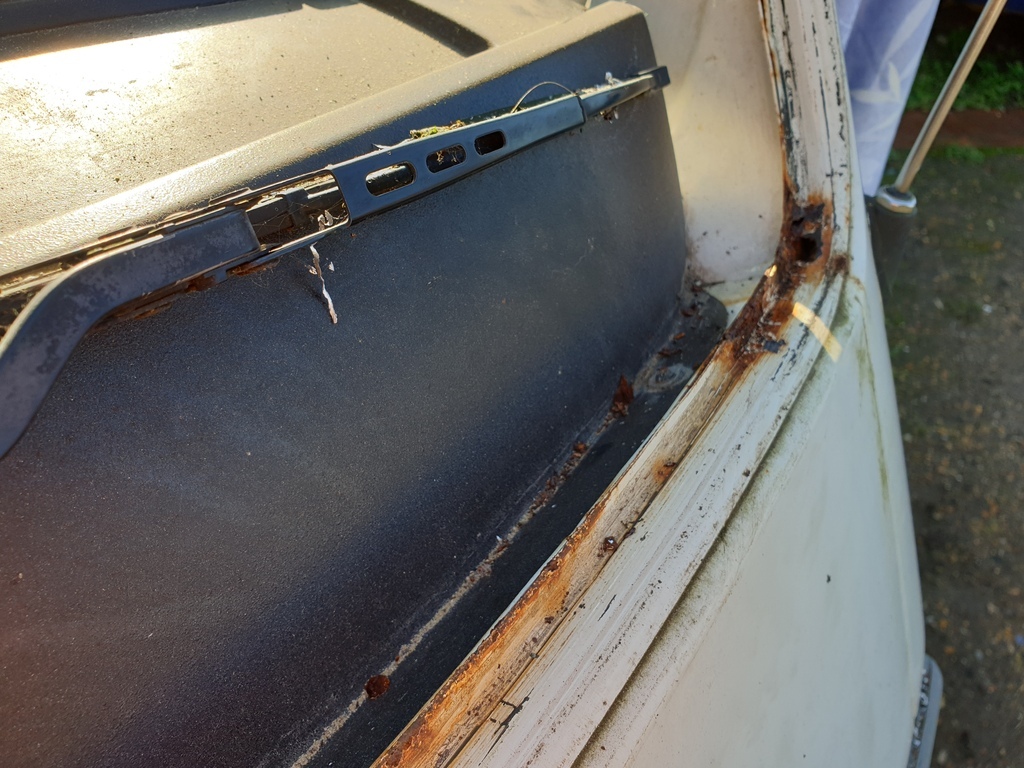
Now...... time for change of plan as winter was coming. Not only that, but I had parked lloyd across the entrance to my workshop. This was to make it handy to work on the chassis....which has been put on hold for the time being. It's a bit hard to see in any of the pictures so far, but from the passenger side of lloyd, the driveway/garden starts to incline. While working on the newly found rust on the cab, I was stood on an old milk crate. Because of the incline, the crate was at an angle....which wasn't ideal, but I just had to remember to stand on the back of it.....so it didn't tip over. Well......without thinking about it, my feet moved to the front and before I new it I was flat on my back....narrowly avoiding cracking my head on the mini digger behind me. So, you'd think I'd learn from that and not use the crate anymore....wrong! Instead, like an absolute idiot, my thoughts were " I must try harder to remember not to stand on the front edge of that crate ".....and continued were I'd left off. That was until I was up there using a grinder and history repeated itself. This time I really hurt myself. Luckily not with the grinder as I instinctively threw it as I fell, but I landed so hard on my back I winded myself badly and hit my head on the hard ground. Fortunately, I was wearing a woolly hat, so it didn't hurt as much as it could of done. I also knackered my ankle because it got jammed between the crate and the bottom of the cab as I fell. At last!!.....lesson finally learnt....I wasn't going to stand on that crate again.
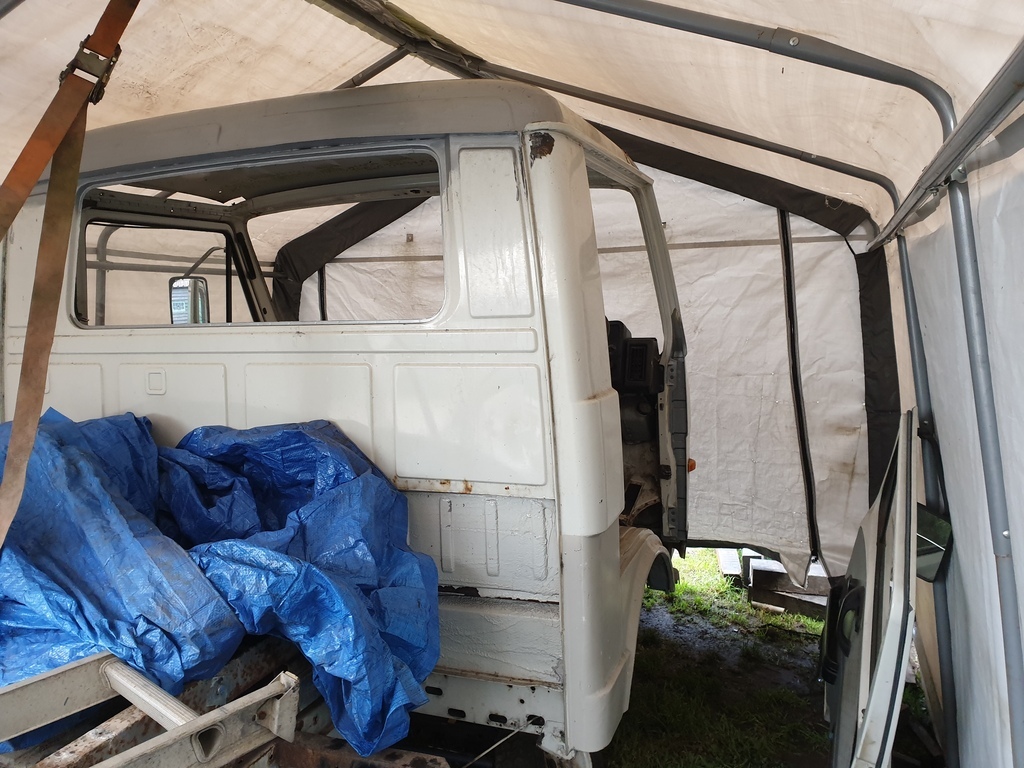
To keep the weather off the now windowless cab, I had to put a tarp over it at the end of everyday and unwrap it again the next morning. It was so annoying....especially when it was wet. Plus, I had to keep dodging in and out of the rain. I'd unwrap the tarp....10 minutes later, it'll start raining.....so back on with the tarp.....I won't go on....I think you get the picture.
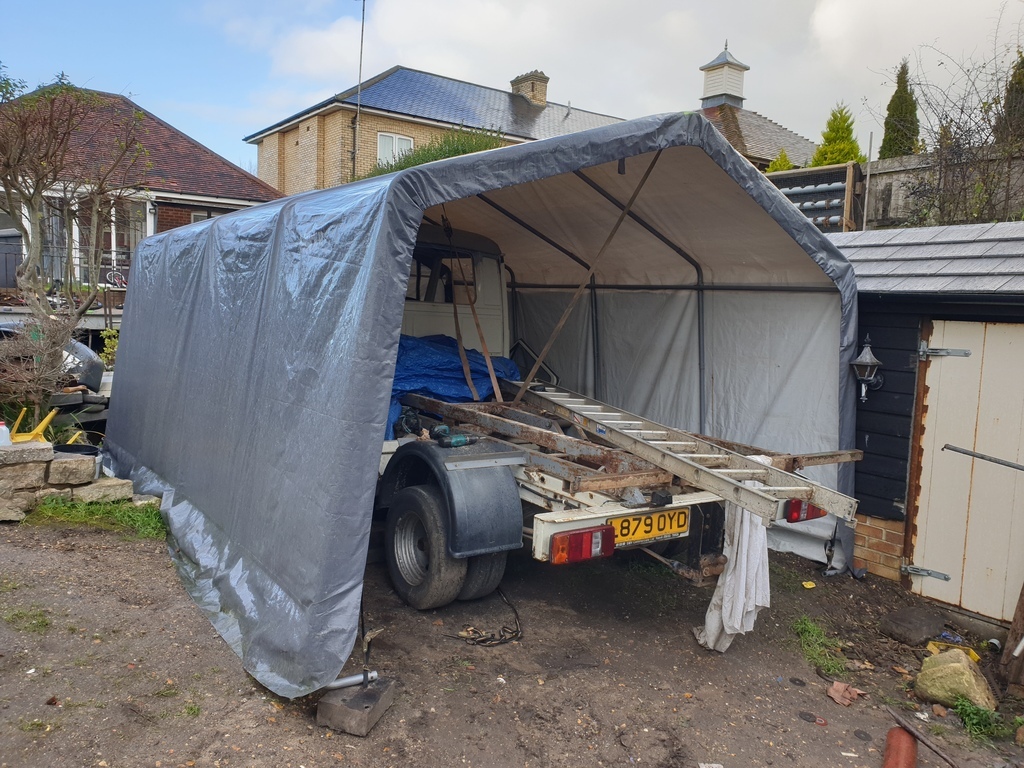
A few years previous to buying lloyd, I purchased a second hand Clarke pop up garage tent type thing from a chap at work. I had no real use for it at the time, so like everything else, it got thrown in my workshop and forgotten about....until now. I measured it up and lloyd would fit under......If I removed the bulkhead/H-frame that sits behind the cab and at the front of the tipper bed. Well....I've come this far with countless set backs....so what the hell...let's remove the whole bed!
Knowing that I have a chassis to replace in the near future, I decided that it was time to buy myself a tool that I'd been promising myself for a number of years.
A plasma cutter!......
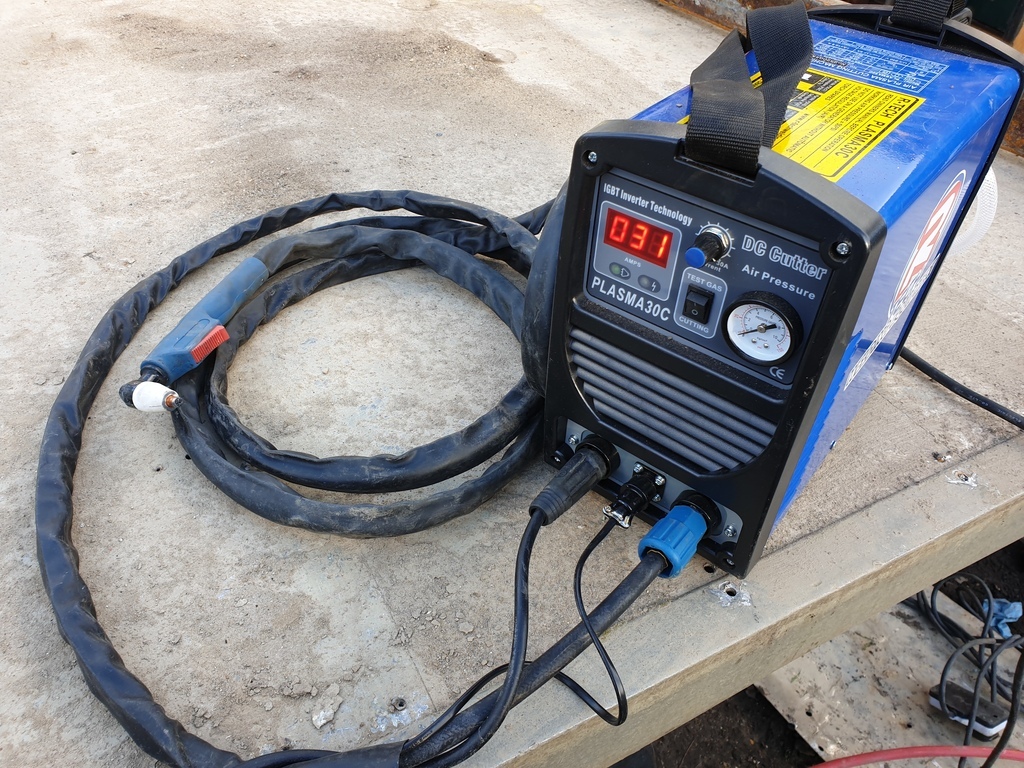
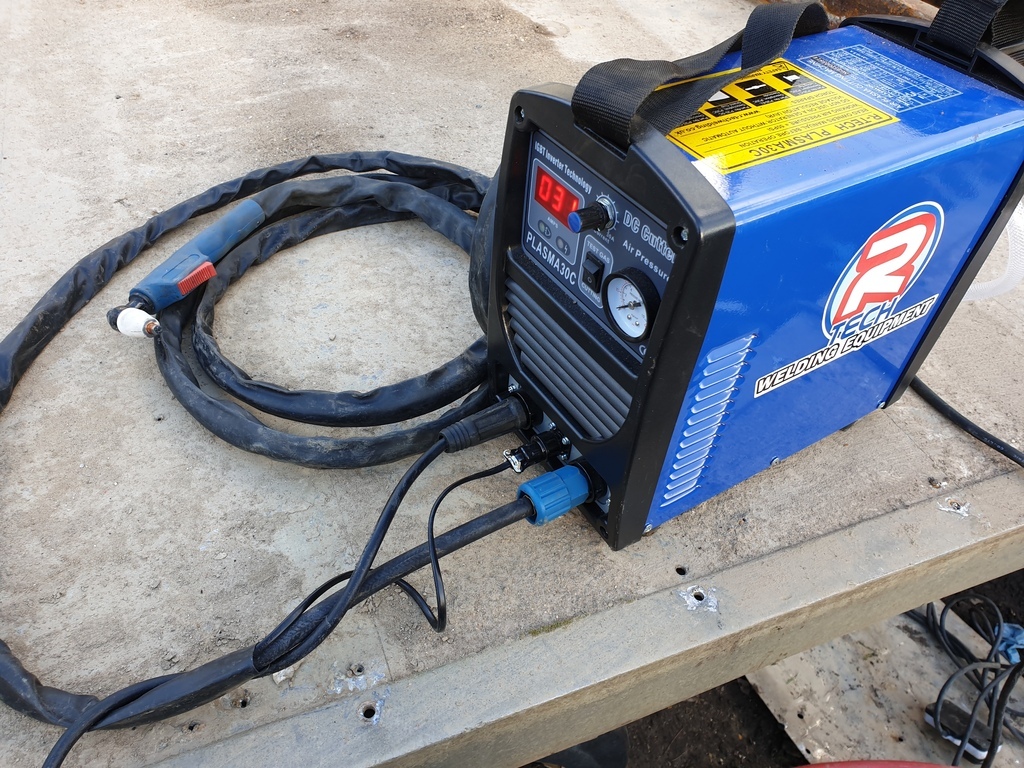
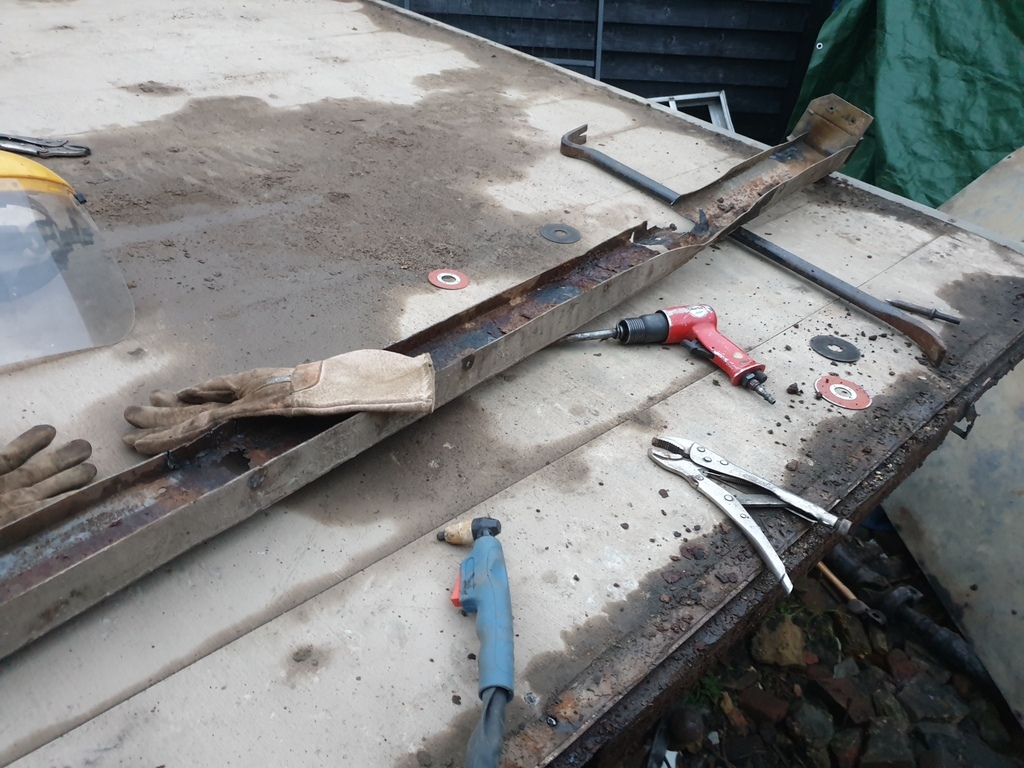
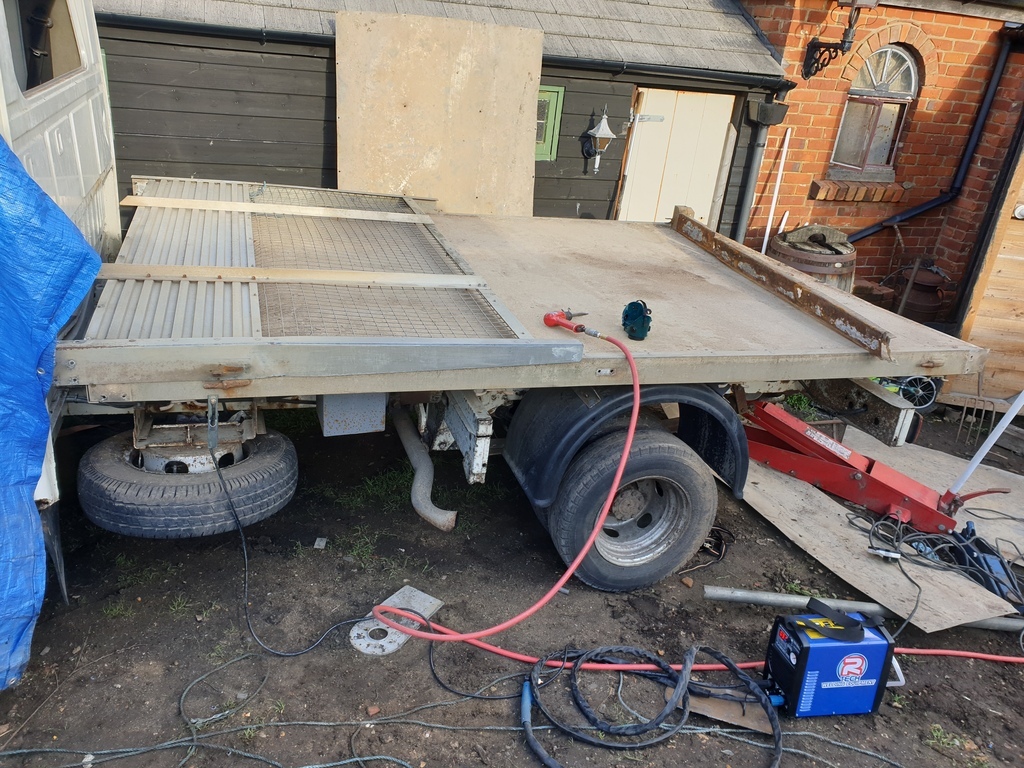
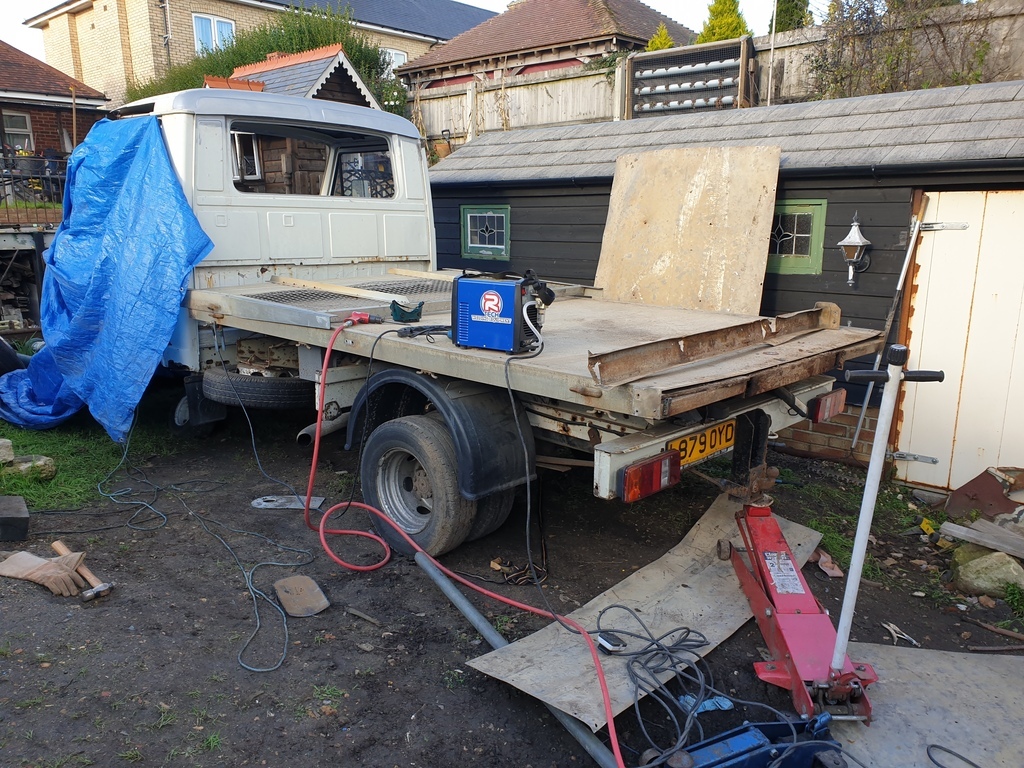
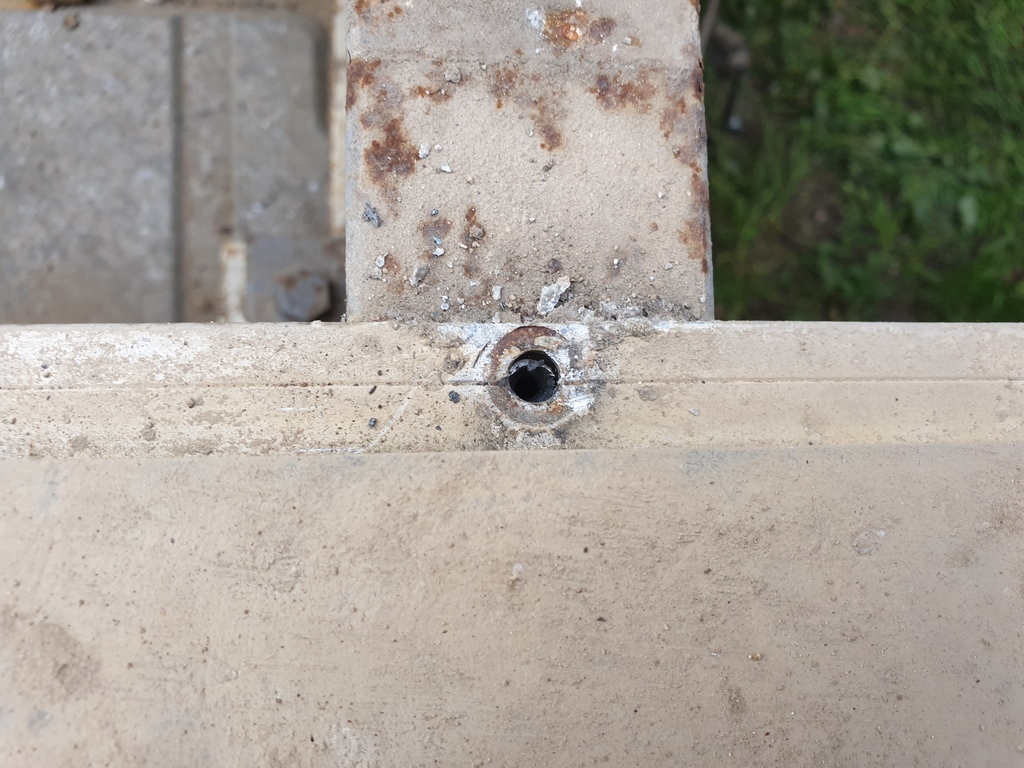
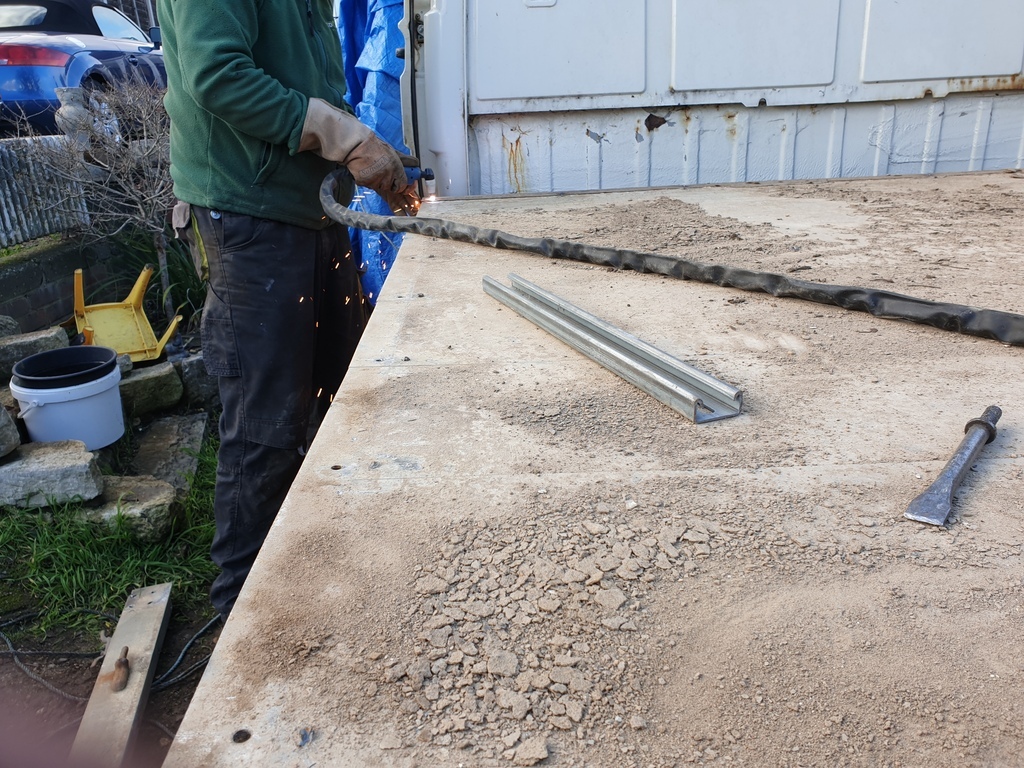
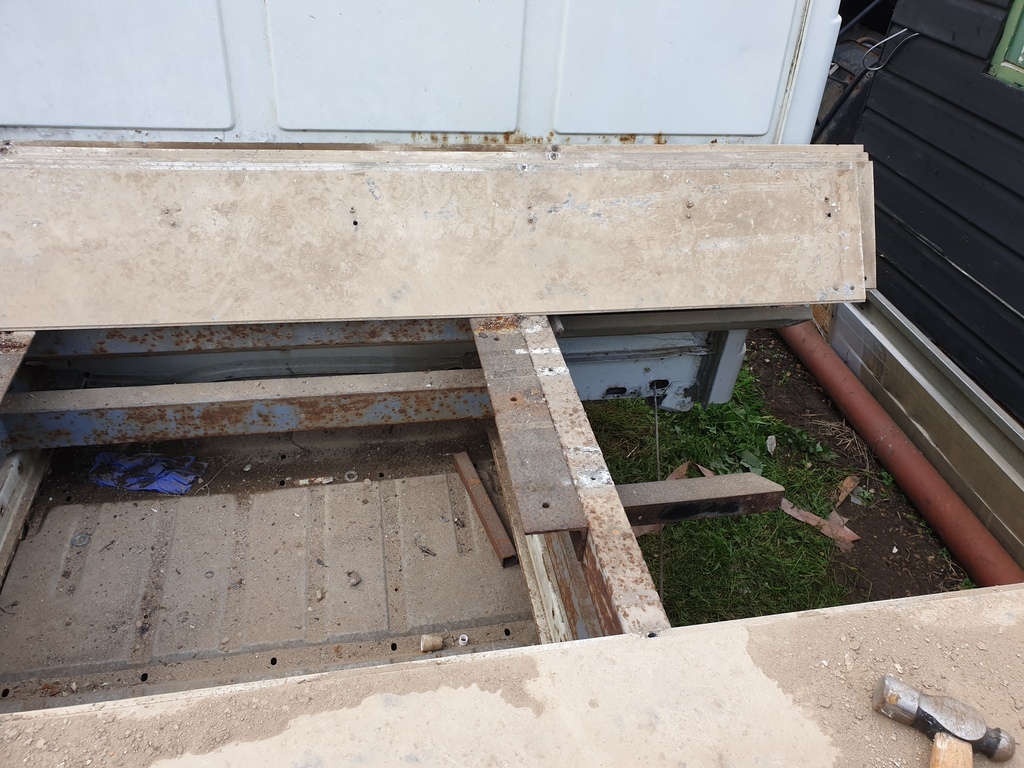
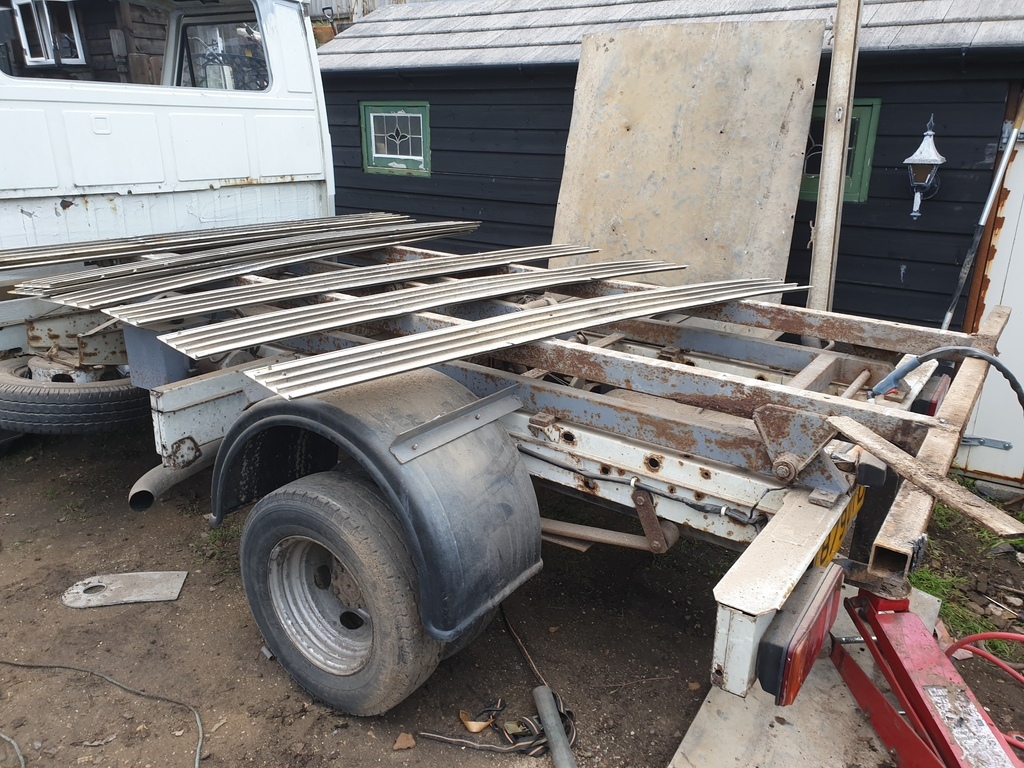
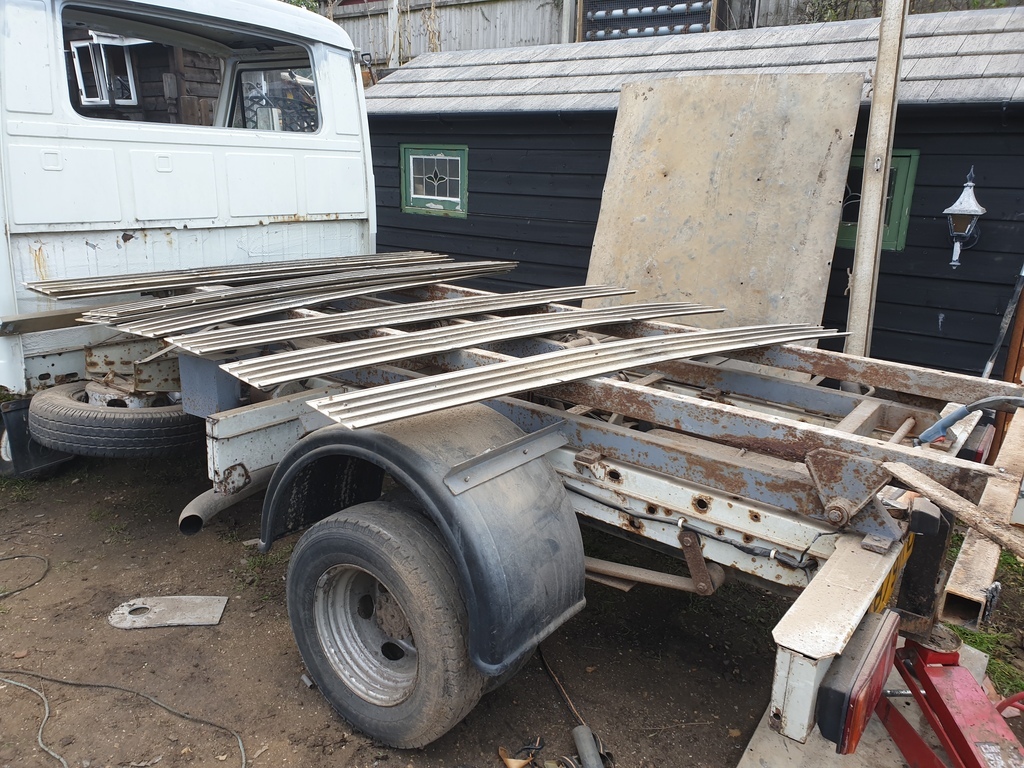
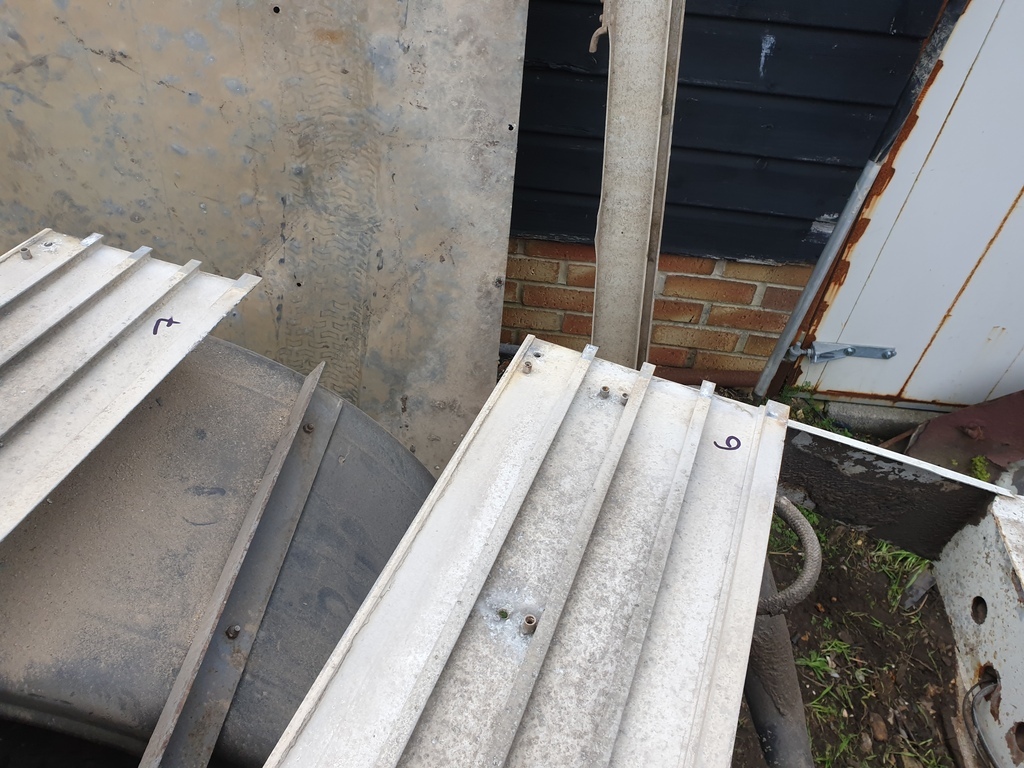
It's brilliant! The first thing I did with it was remove the checker plate from the tipper bed. The rivets that held it down were corroded and hard to get to if I had to drill them out. But not with a plasma cutter! Just hit the rivet head with bolt of plasma lightning and it disappears and up pops the checker plate. I had the lot off in under 10 minutes.....pimms o'clock!
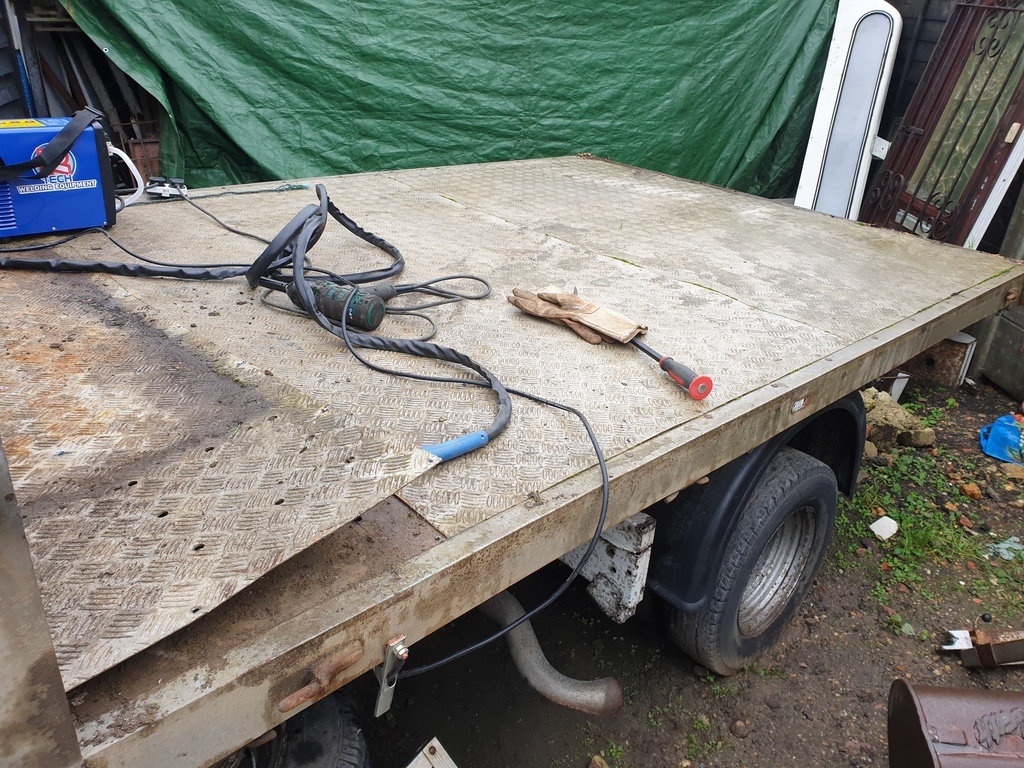
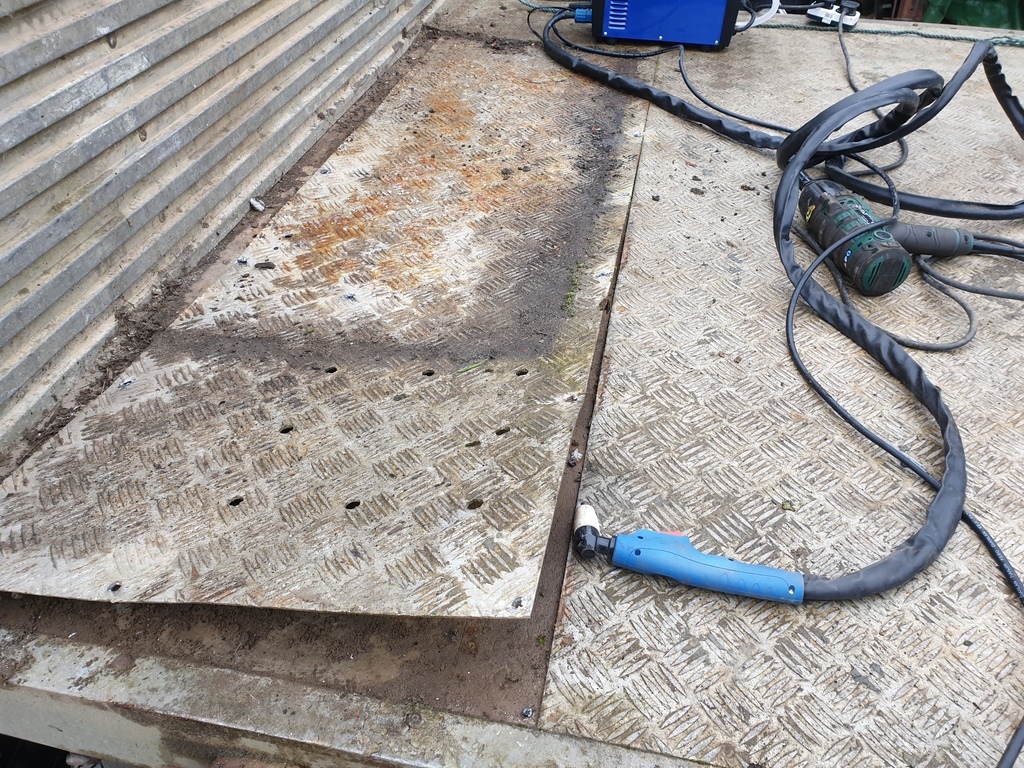
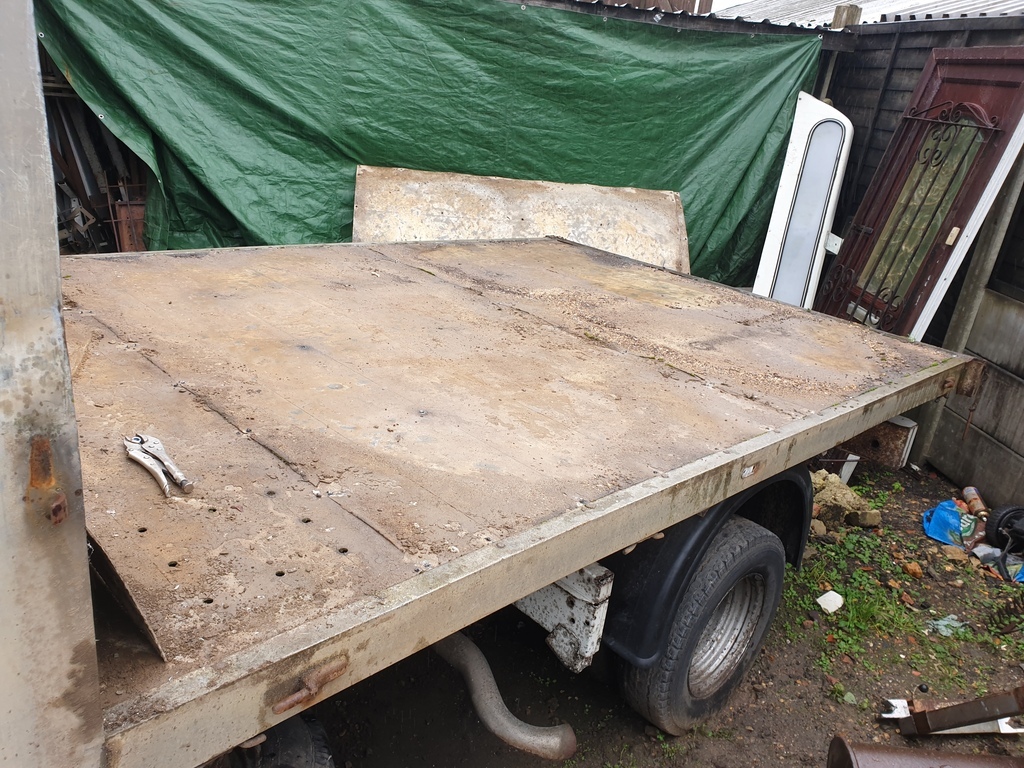
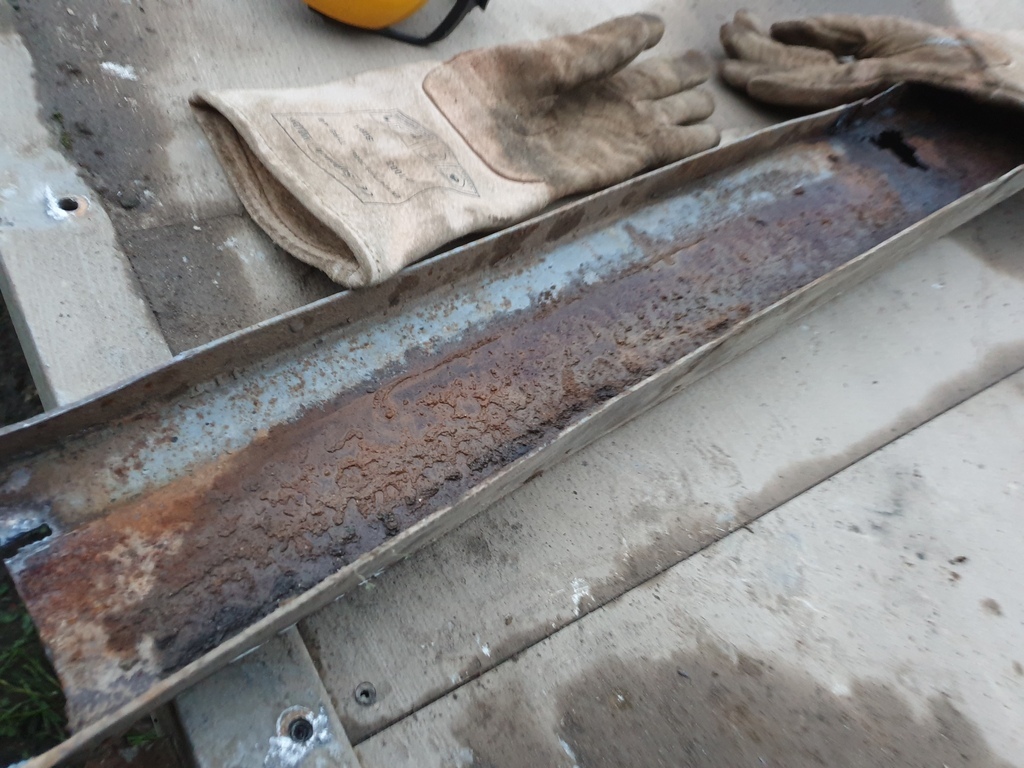
Then hack the rusty C-section that runs across the rear under the tailgate.......
Next task was to move lloyd to a more level part of the garden. Easier said than done....especially as lloyd was now missing all of its cross member and front suspension etc. Putting everything back on was a definite no. So, I fabricated a steerable frame to rest lloyd on to. All I'd have to do is fit the cross member back in place. I used the front axle off of a ride on lawnmower.....which was a mistake right there. I braced it all up solidly, but completely ignored the fact it only had spindly little axles. As always.....learning the hard way seems natural to me. I set the winch up at the far end of the garden, attaching it to an RSJ that's holding the decking up. Then started the big heave-ho to get lloyd into his new dock. Surprisingly, it all went well. Although the poor axles took a pounding and ended up like this.......
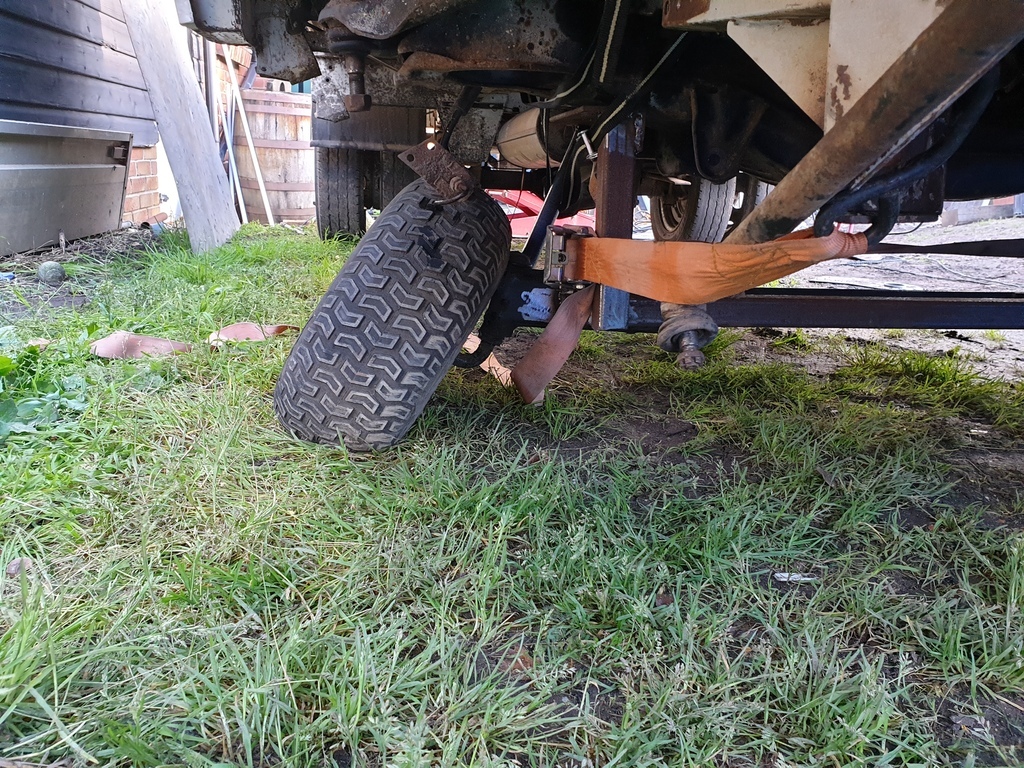
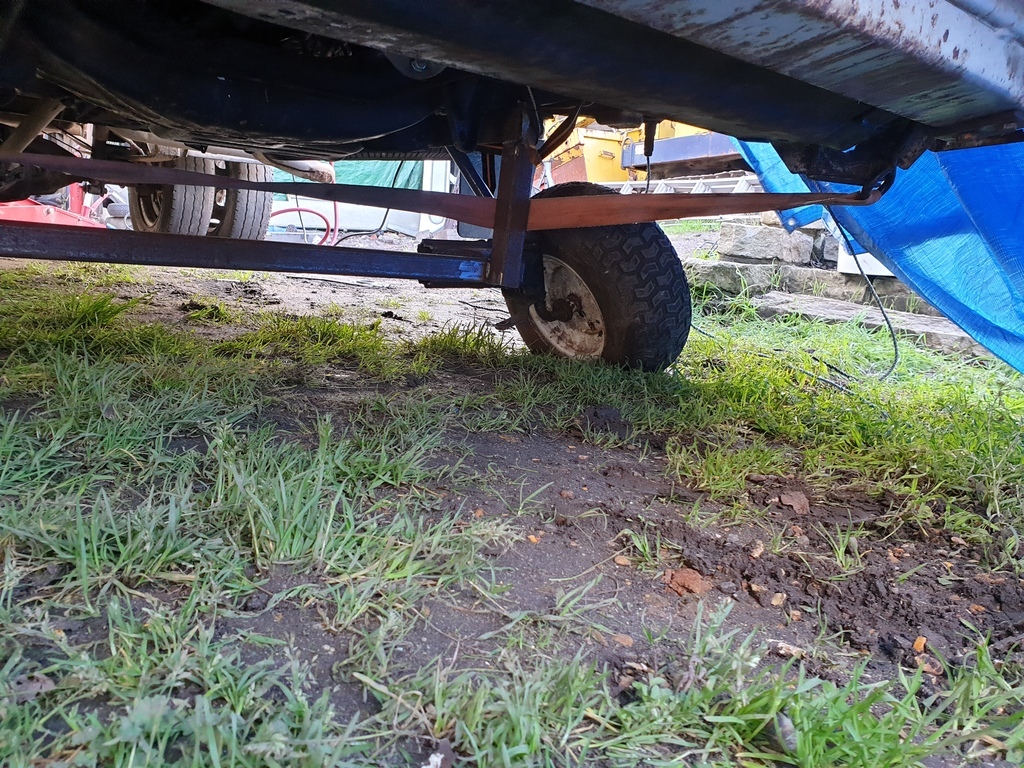
Nevermind...it did what I needed it to....so I was happy.
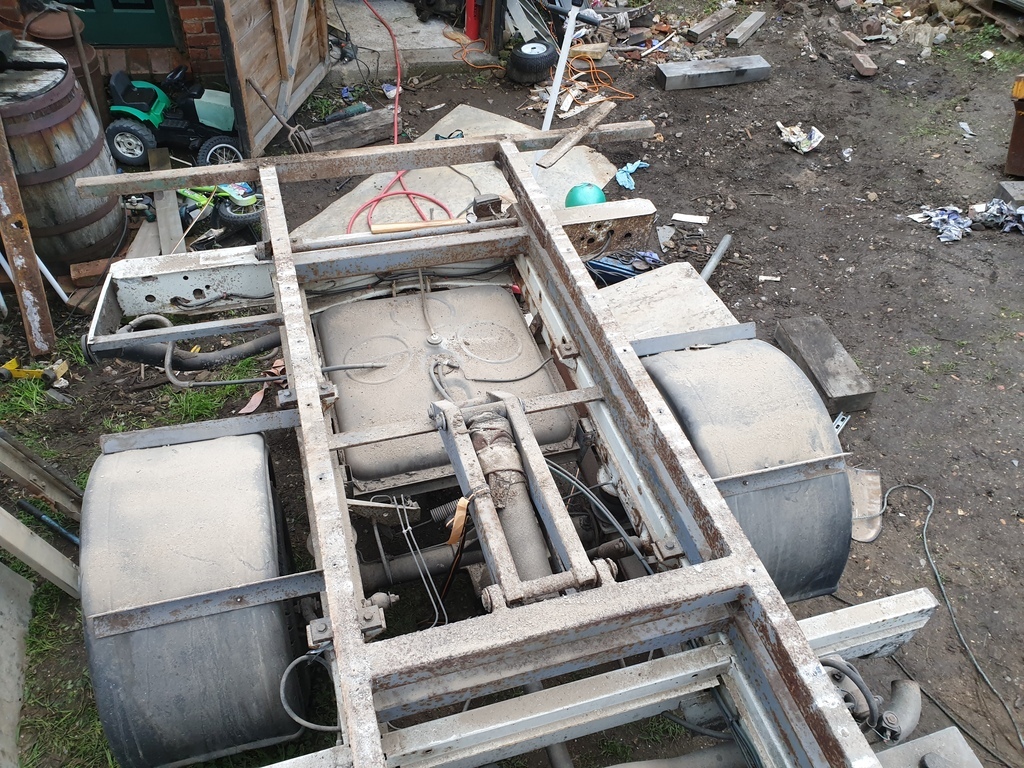
Now that it was where I wanted it, it was time to continue with removing the bed. Again, the plasma cutter made the job so easy and before I knew it the job was done.
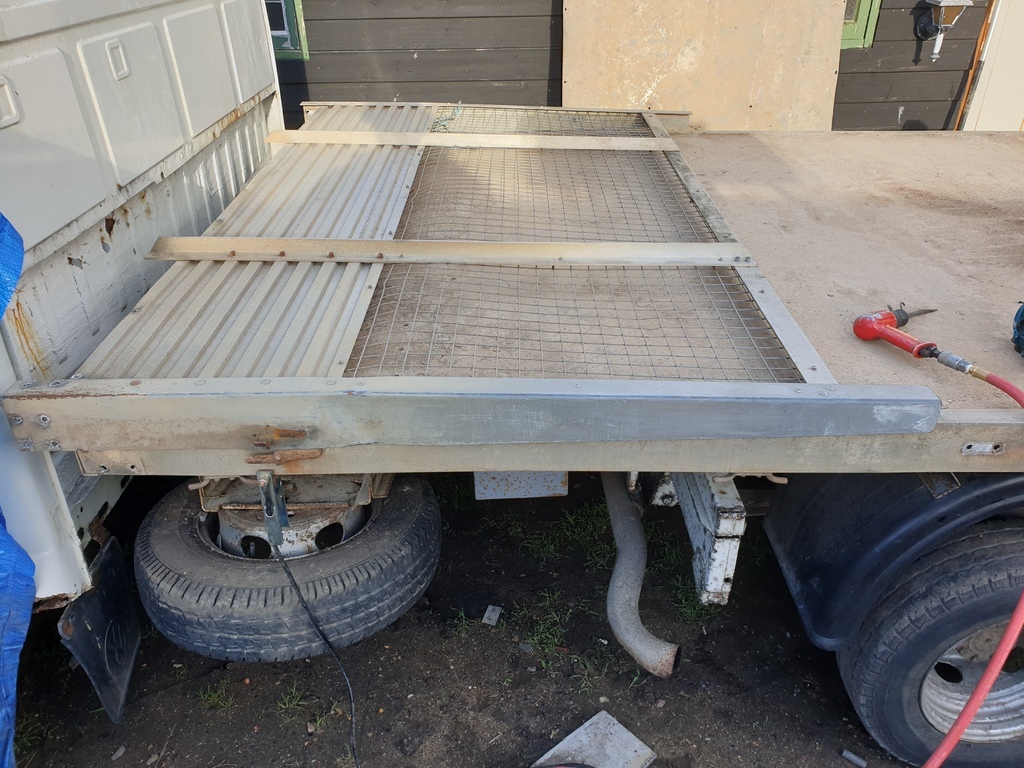
Time for an erection.....😳.....poles first......
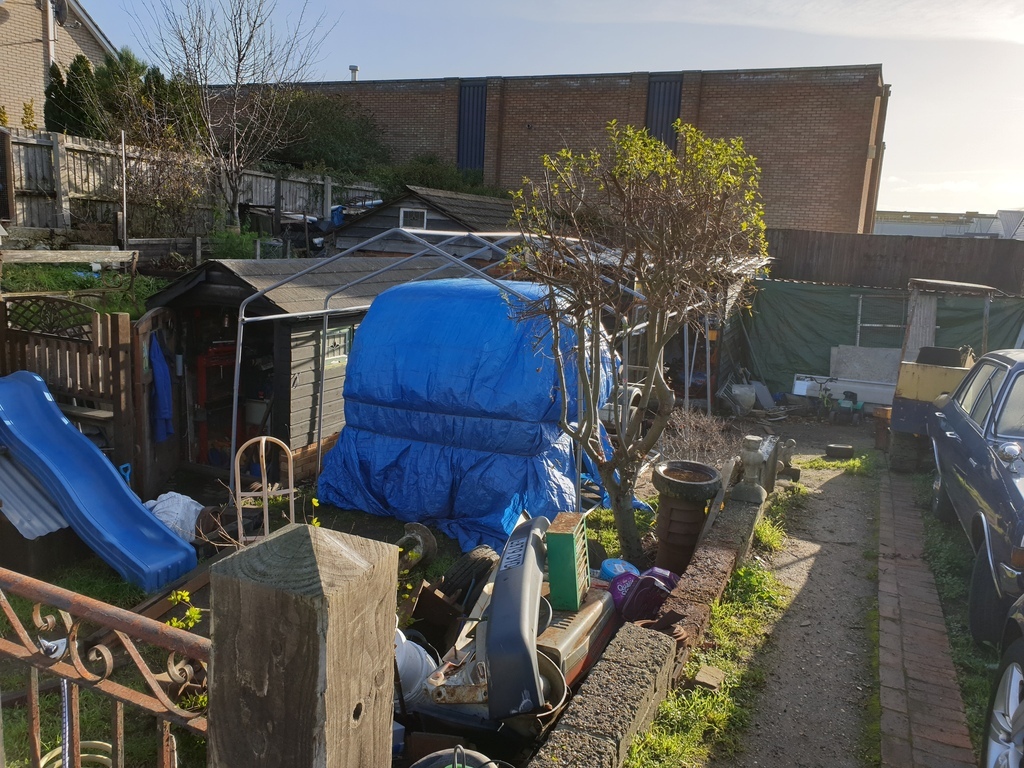
Then the canopy.....
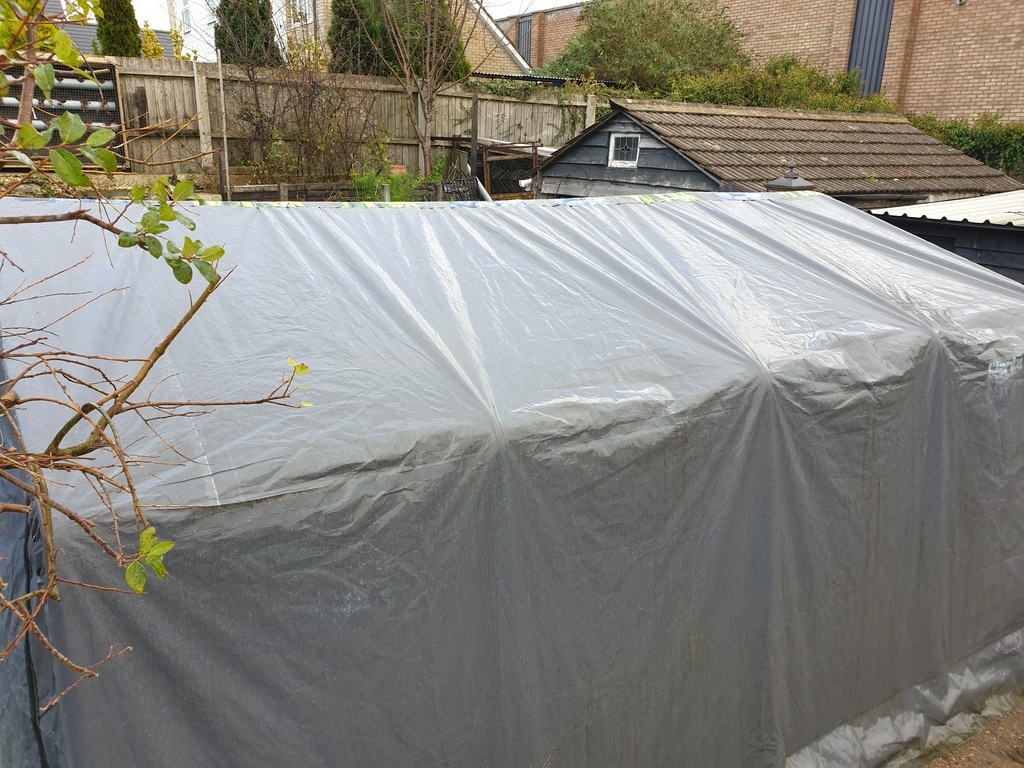
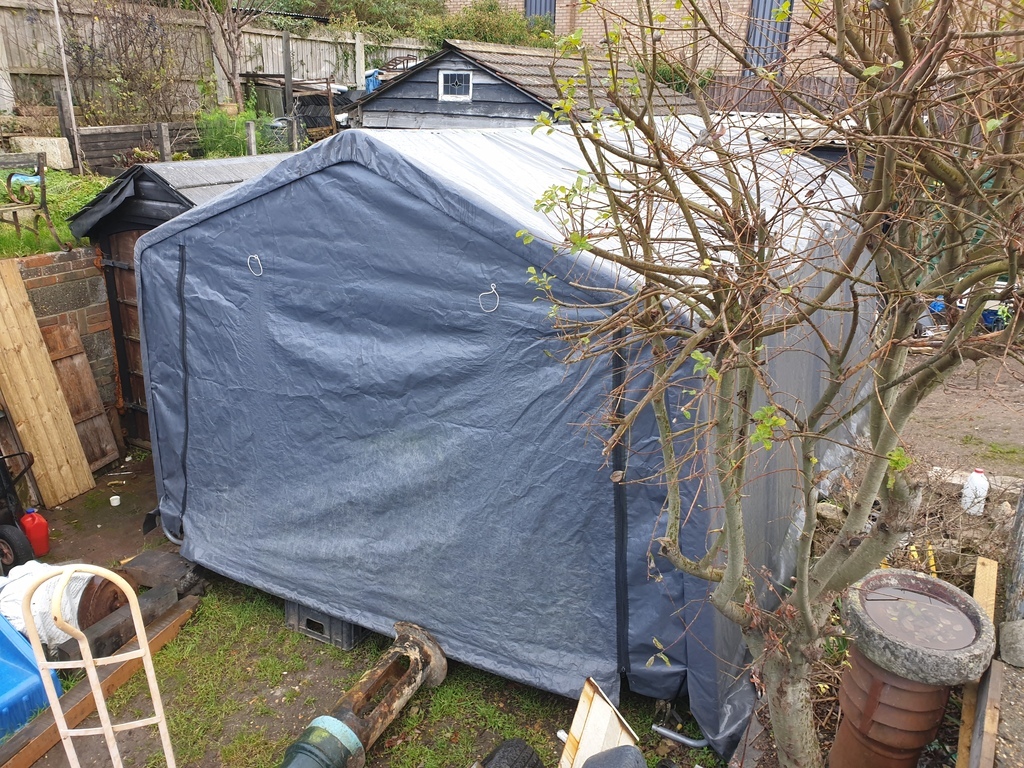
Lloyd's new home for the forseeable future. His backside sticks out....but it's a massive improvement on where working environment is concerned.
More later 👍


 ?.......


