Hi everyone.....the good news is that my health is recovering well after the battering I had from enduring covid for 4 weeks. I feel lucky as many people have suffered for a lot longer.....or as we all know, others haven't made it through.
I'll be back to work next week, so a bit of normality and routine will be a welcome thing right now.
The bad news is that I've ventured down to tent/pop up garage where lloyd is sitting and the welding fairies haven't been!.....it's all still there for me to do. In fact, all the existing metal work that I cleaned up and was about to rust proof ( but didn't.....stupidly ) has now gone rusty again.....I know......unbelievable! 😁
So....in my last catch up update, I showed how I replaced the rear window frame....sort off....( lack of photos )
This update is still catching up with what I've already done.....so, on with the show!
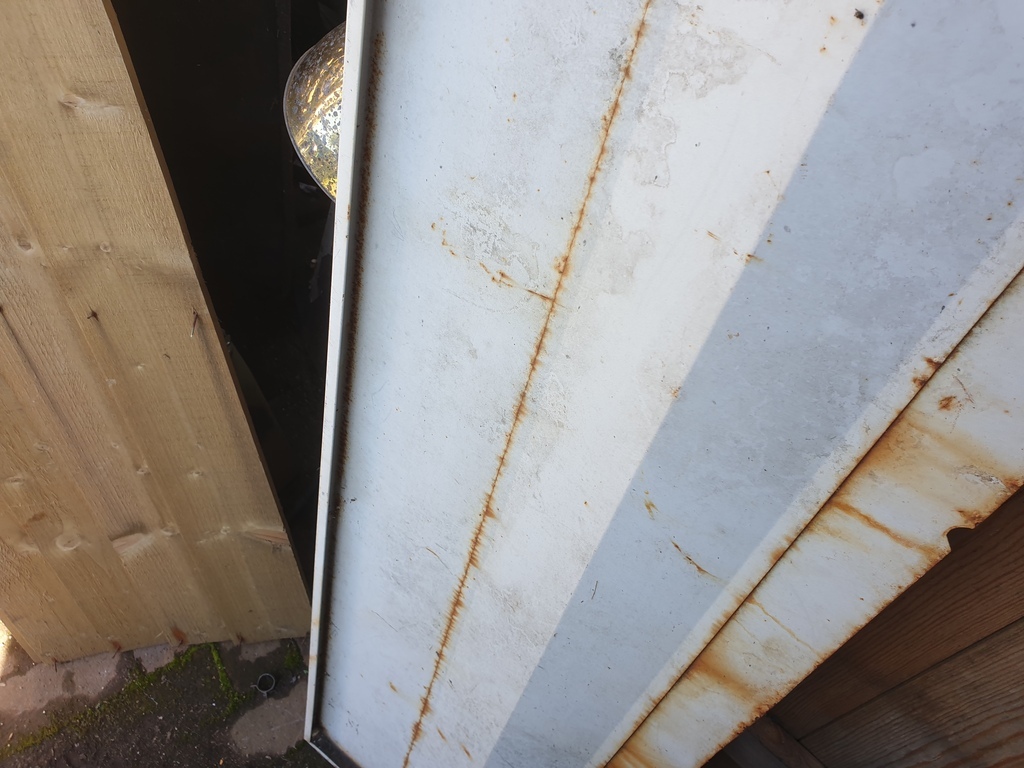
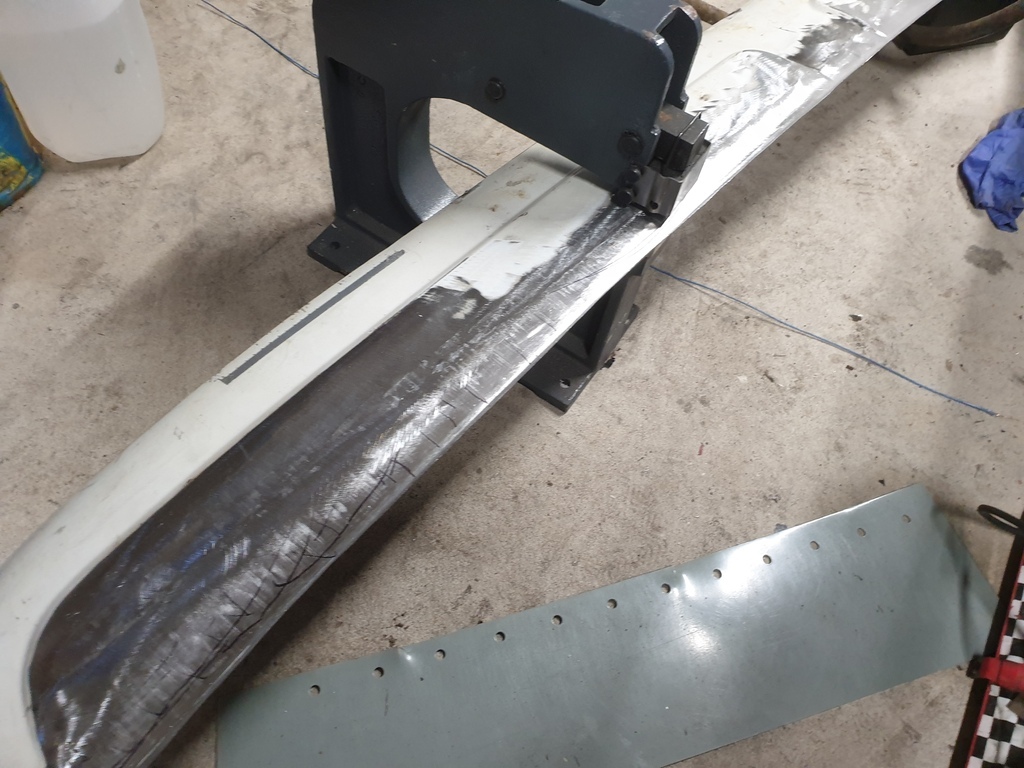
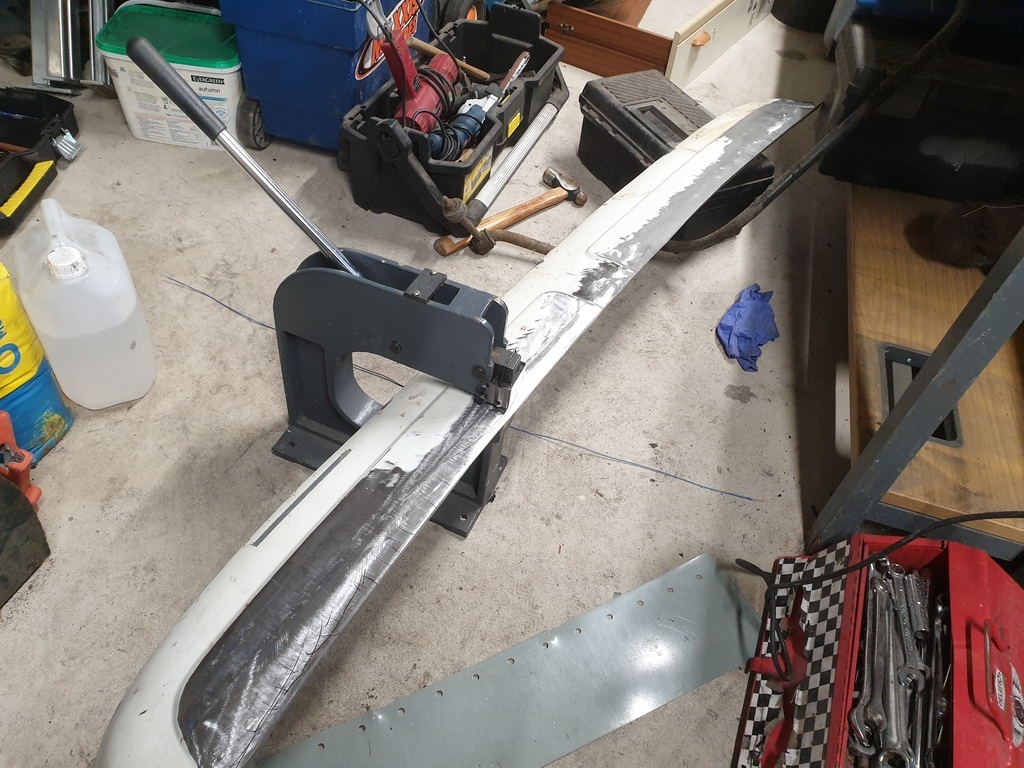
The next task was to replace the panel/strip of metal above the rear window frame. For this I really wanted it to be one complete piece, rather than welding one or two pieces together. The problem being that there's a small 90 degree bend/fold that runs all the way along. There's no way I could fold a full size piece neatly. I thought about giving the company that folded the chassis rails a call......but then....a light bulb moment! Anyone that knows me well, knows that I don't chuck anything away. So when my work was chucking out a broken metal storage cabinet, I jumped on it, cut it up and put it away in my garage......for 10 years.
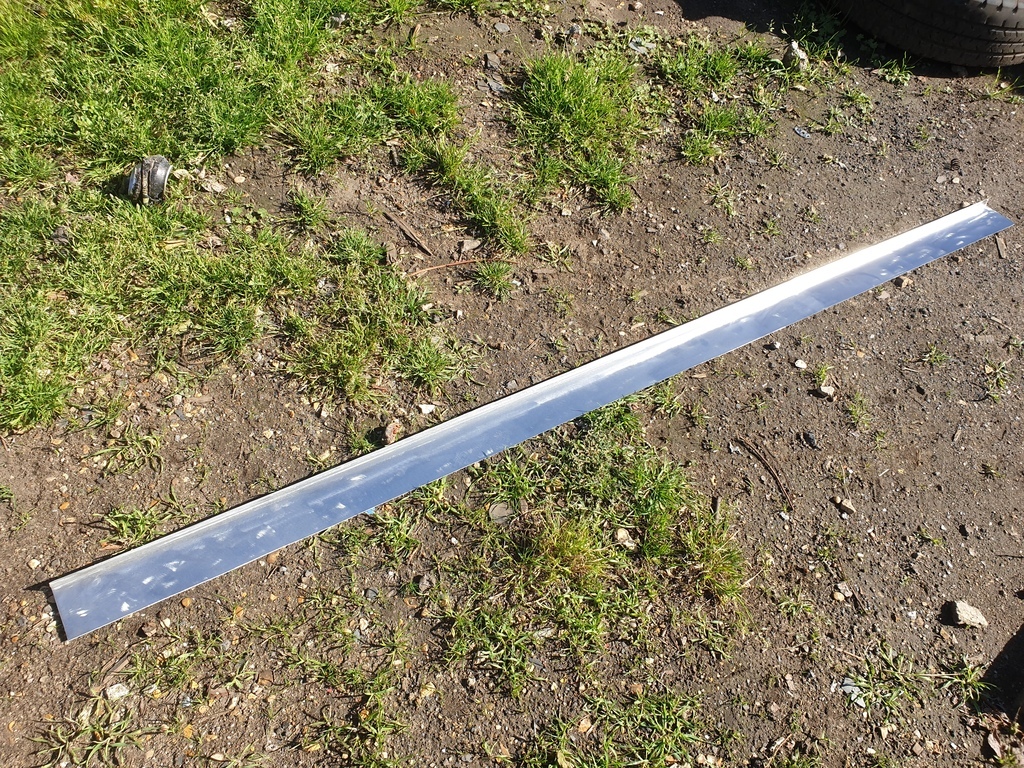
So I hooked one of the cabinet doors out and bingo.....it was perfect for the task in hand. It was 0.3 mm thinner that the original panel that came off.....well beggars can't be choosers.
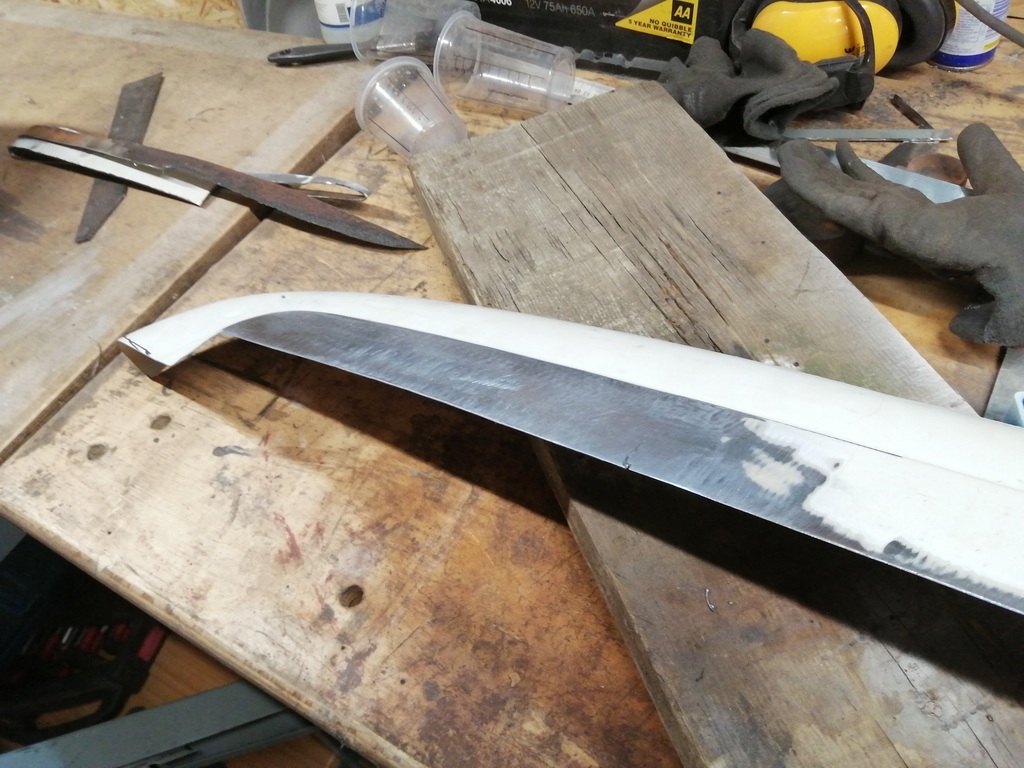
Here's the door......metals metal.....right?
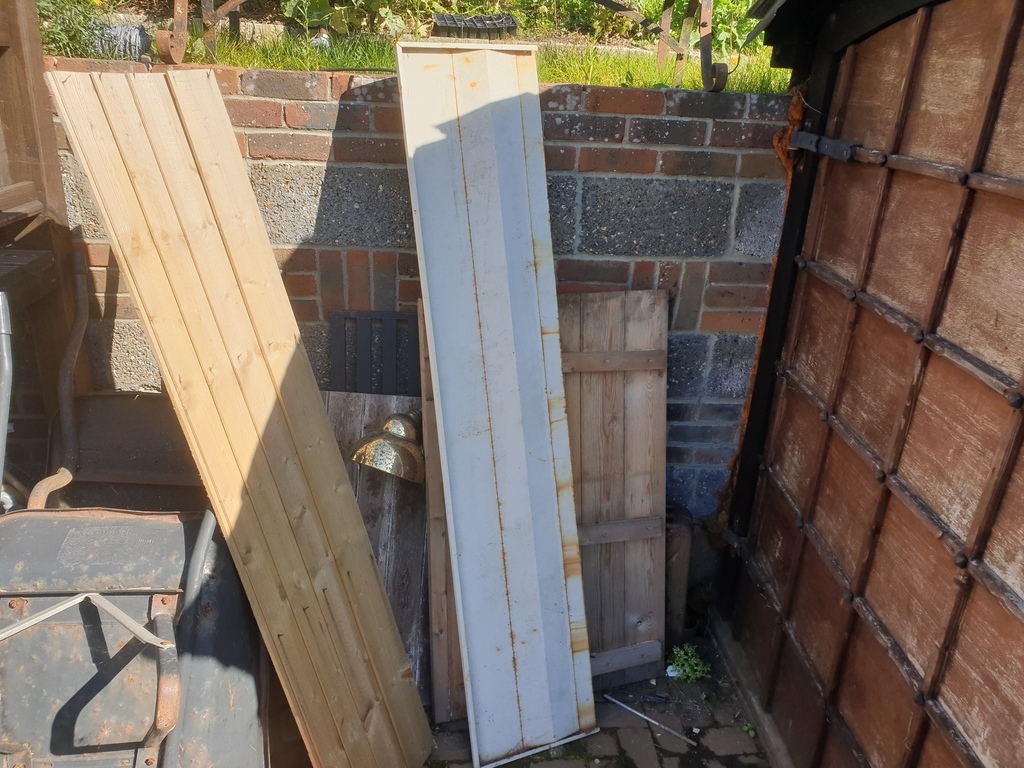
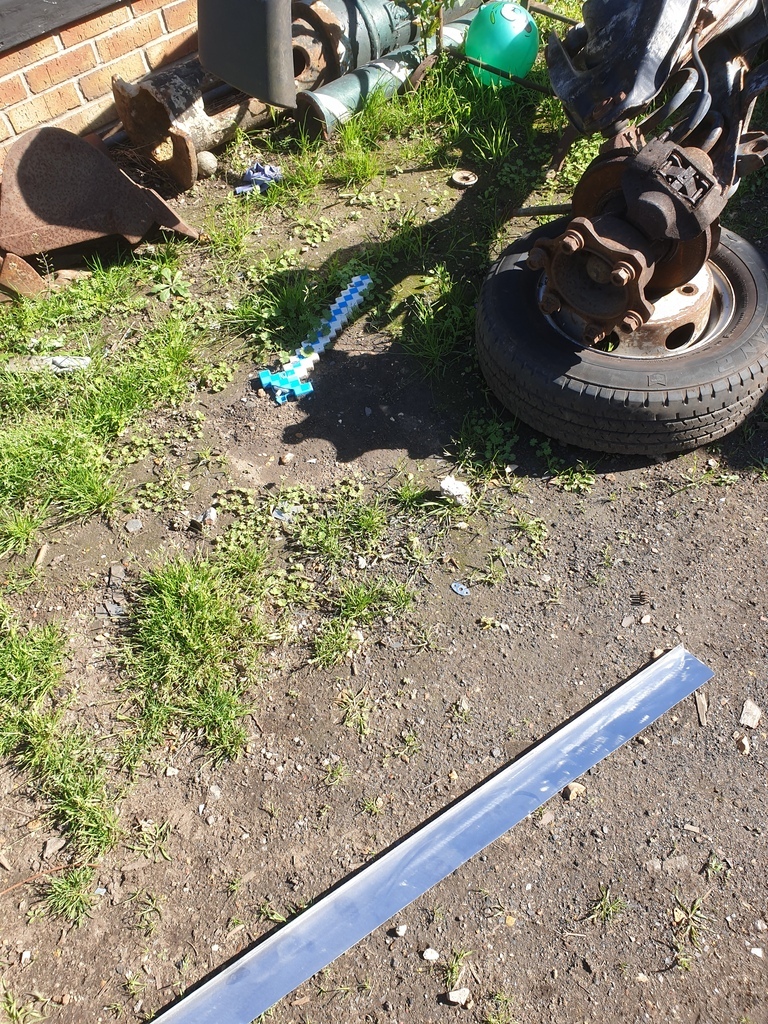
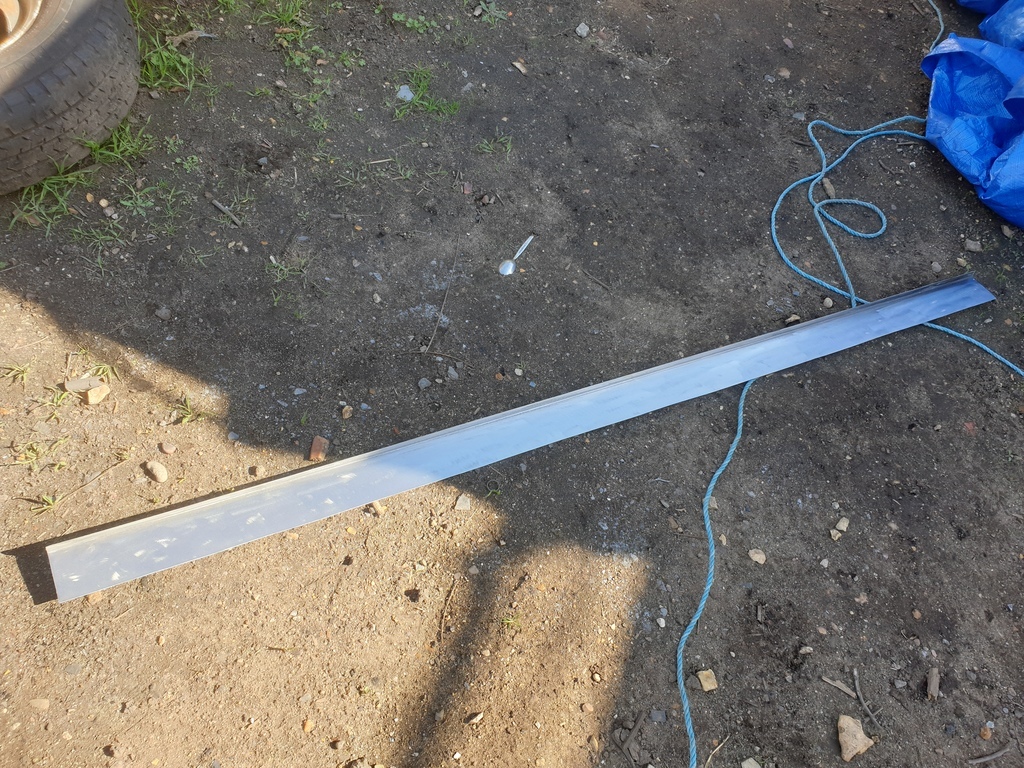
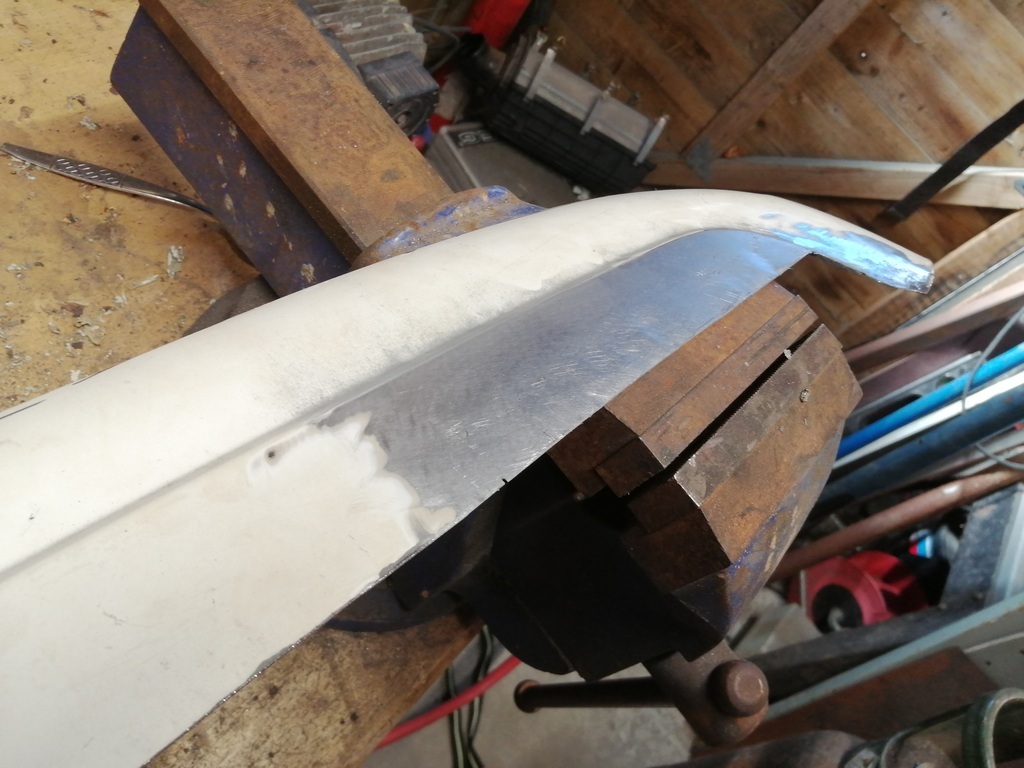
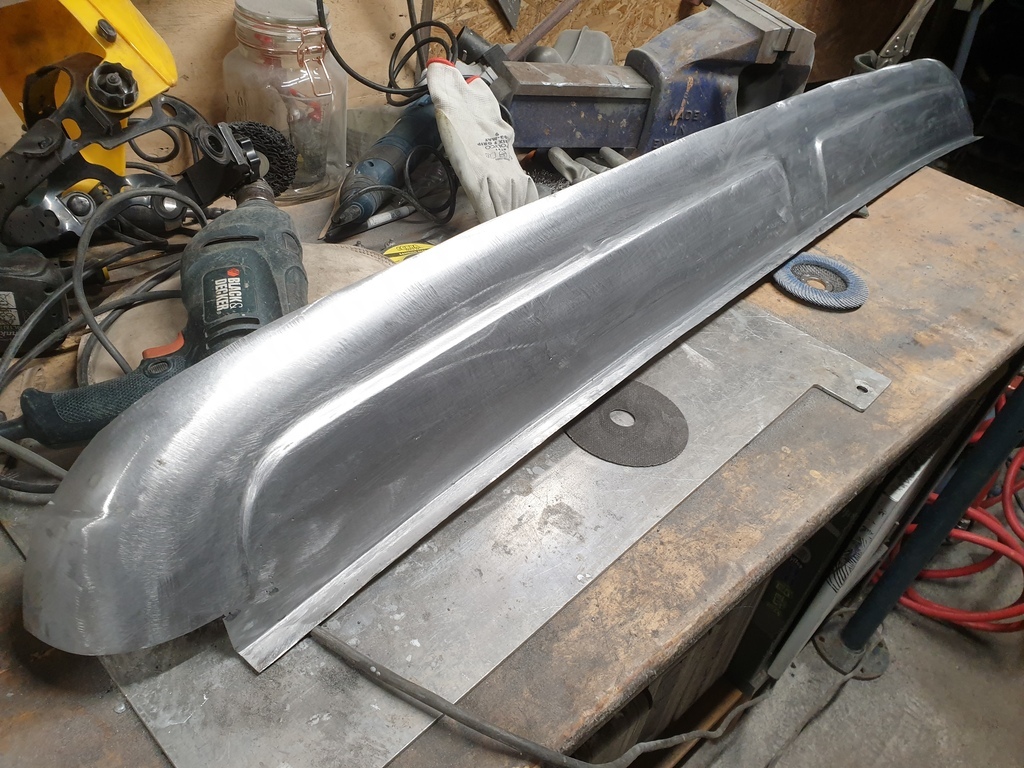
After a bit of cutting and cleaning, I had what I wanted......
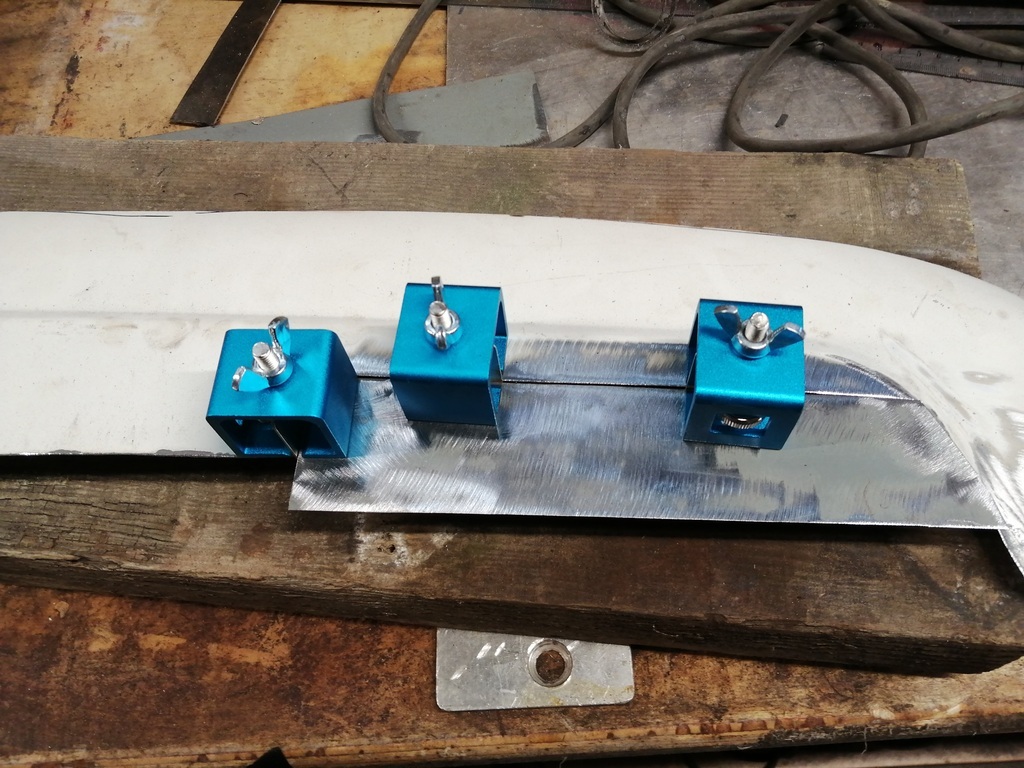
Just like the window frame, the original panel bowed downwards from left to right and bowed out when you look across the back of the cab. So, after a heavy session on the shrinker/stretcher and a lot of backwards and forwards to and from the garage and the truck, it started to take shape. Once I got it to fit right, I gave it a coat of Eastwood encapsulation paint.
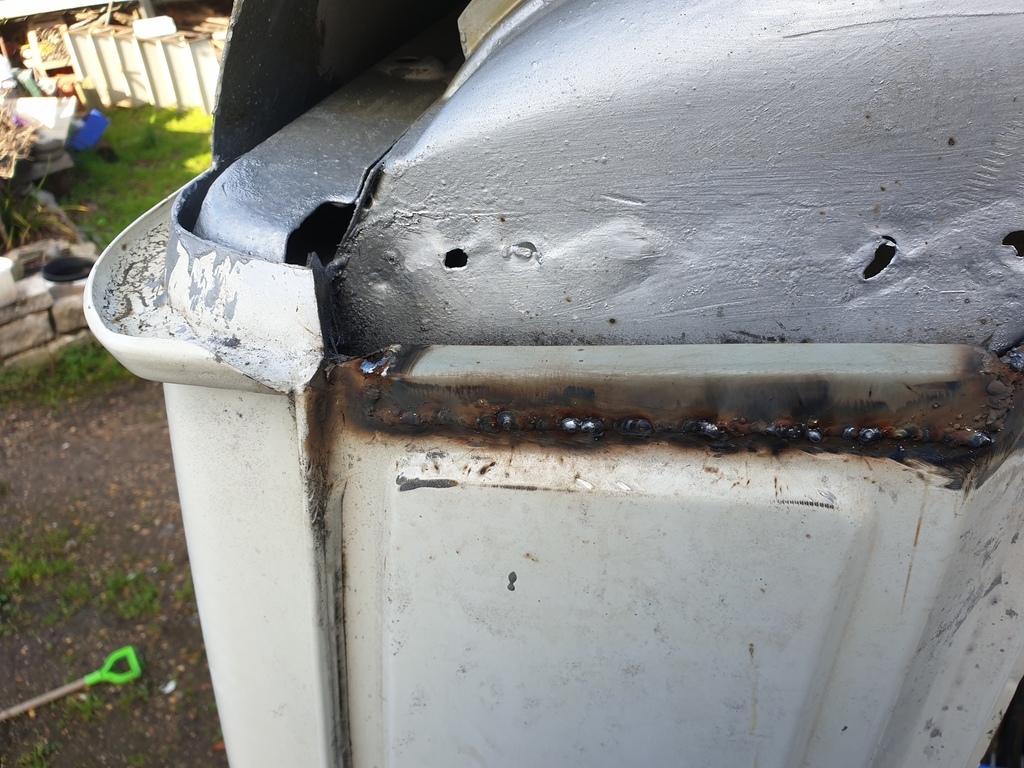
But before I could weld it on, there was a small repair to be done on the left side of the cab. Now....the welding looks awful.....and in truth, that's because it was. I was battling against the wind whilst welding....and as we all know, I might as well of turned the Co2 off.....as it wasn't doing anything anyway. I went back over it later as I wasn't happy with the result.....but didn't get a picture. So....just a picture of how bad it was first time round.....
Awful.......😳😳😳😳
Then it was on with that cabinet door.....I mean handcrafted panel 🤫
Once that was in place, it was on to the section that I cut off the back of the cab.....which was referred to as lloyd's skull cap. There were two main areas of rot on the skull cap....one each end......
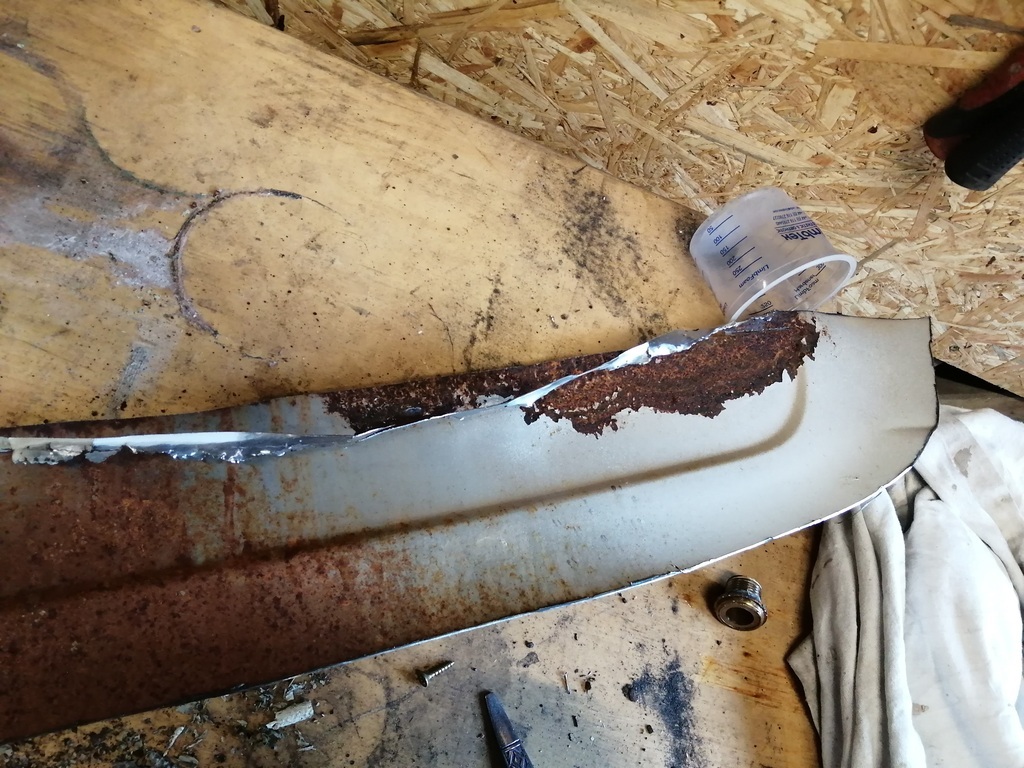
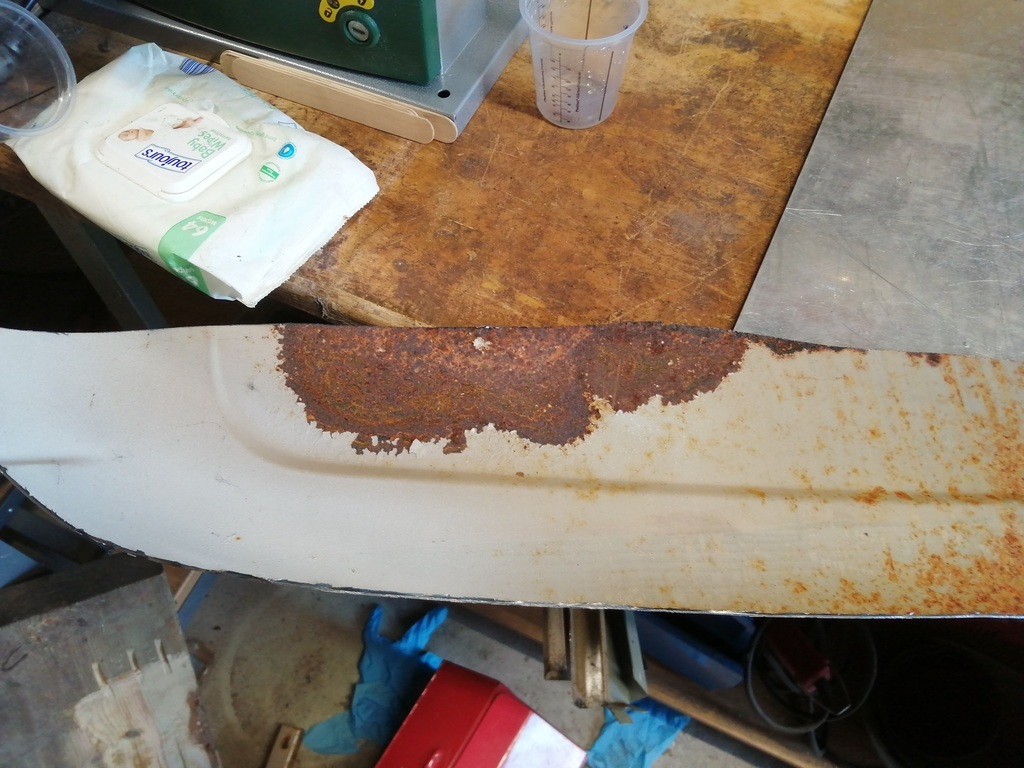
So, out with the cutting discs and make it disappear.....
The rust you can see here did get cut out.....I just got the pictures a bit muddled up.....
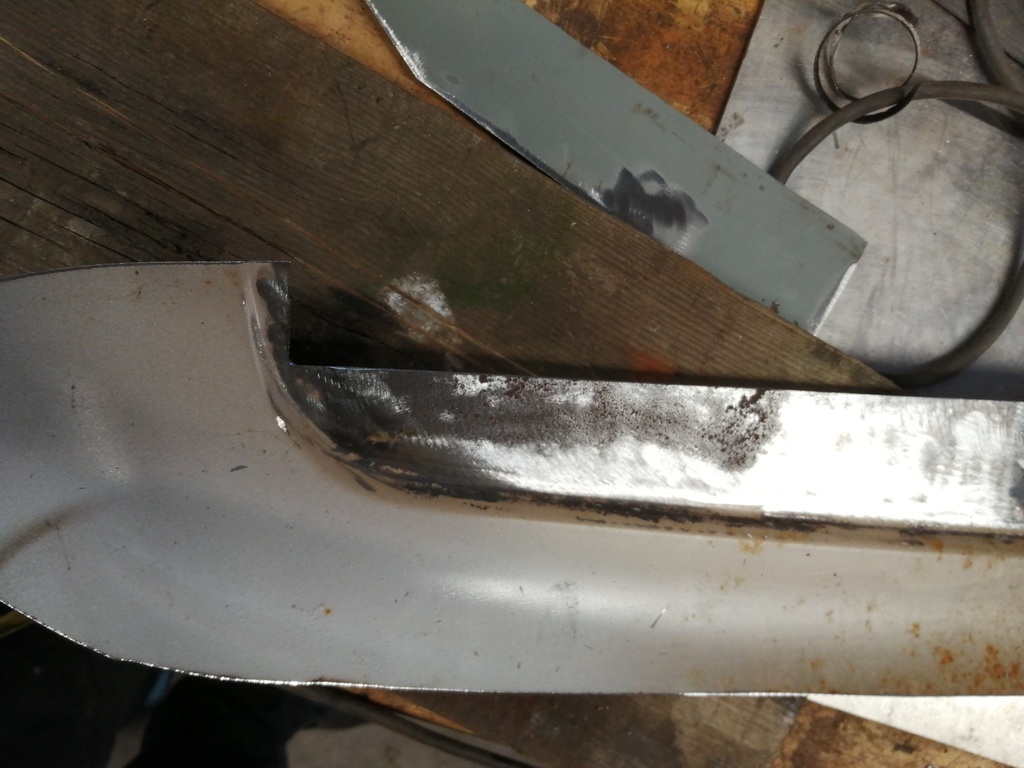

In with the fresh steel.......

Dress the welds.....and done.....

Then came the bit where I had to use my noodle.....I had to replace the lower part of the skull cap that I'd previously cut away due to rot. Again, I wanted to make it out of one piece. So.....que the other cabinet door. No pictures....but it was exactly the same as the other one and I did exactly the same to it.
To start with, I tacked the skull cap back into place. Then using the shrinker/stretcher I gave the new panel the correct curve.
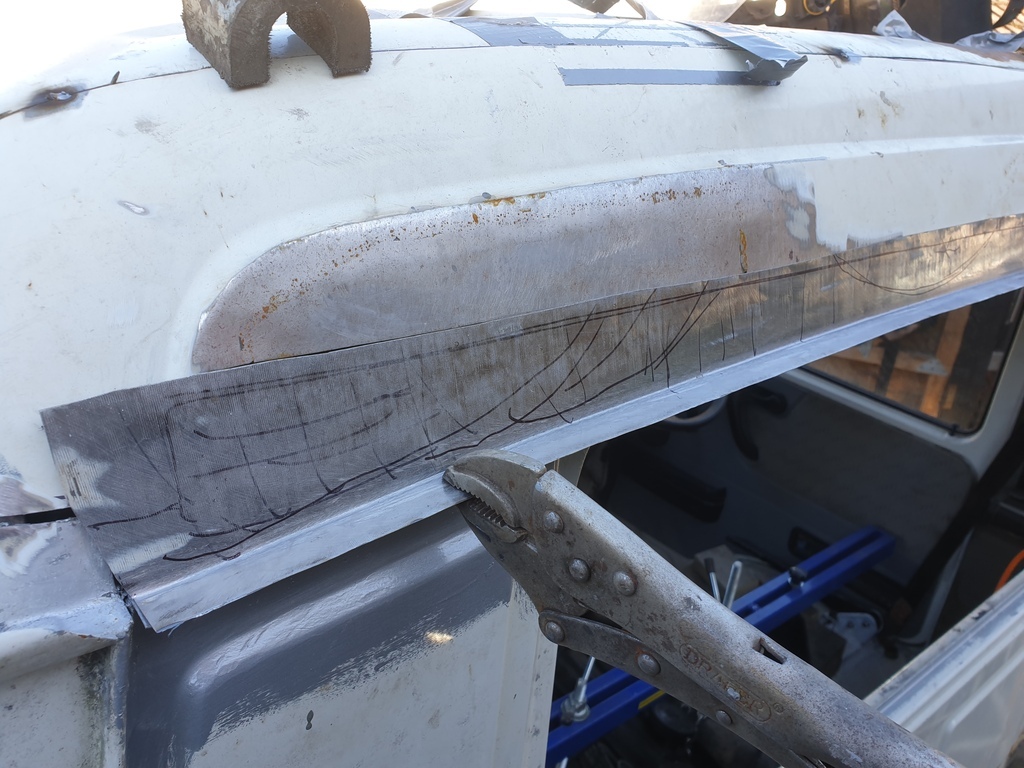
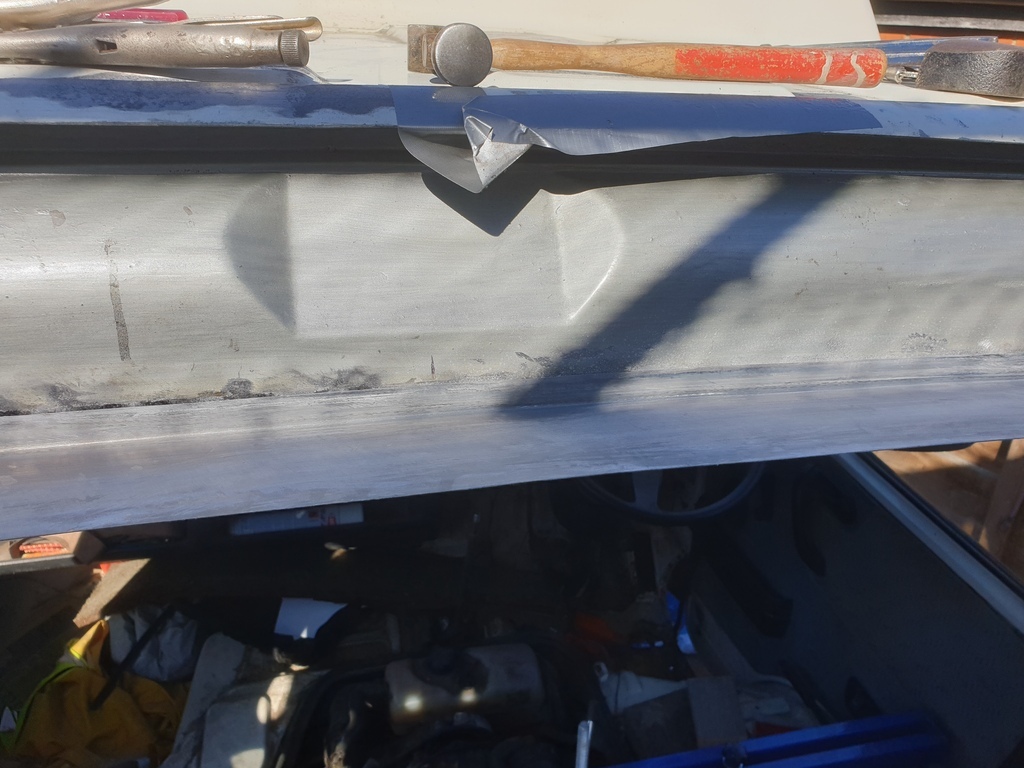
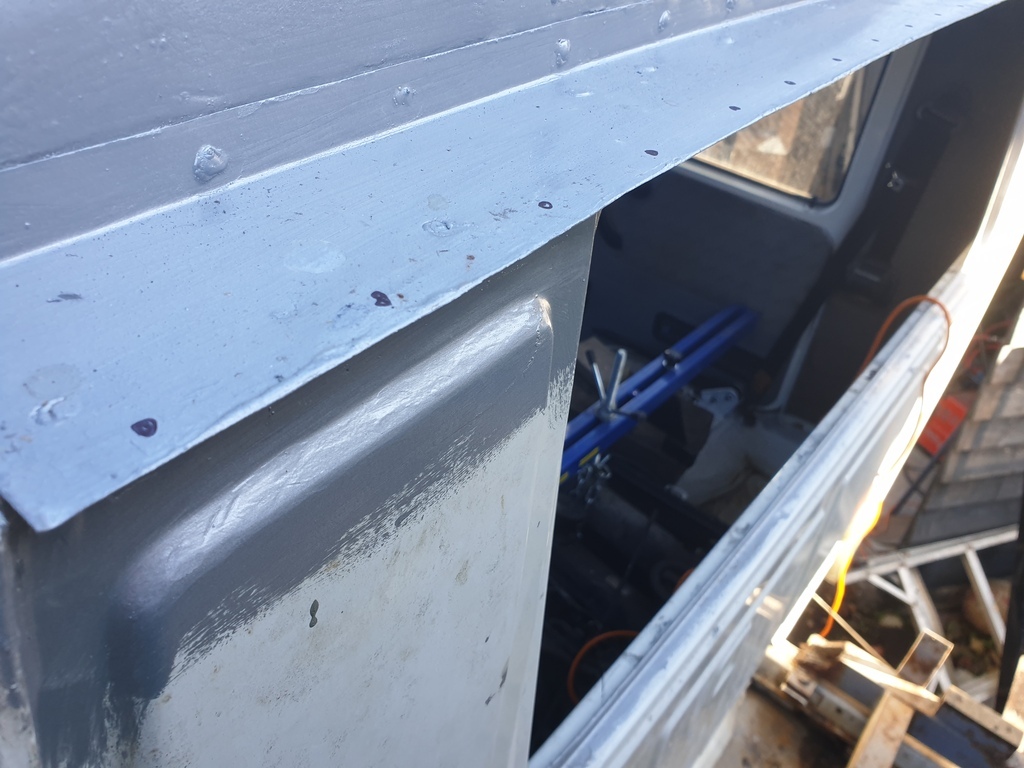
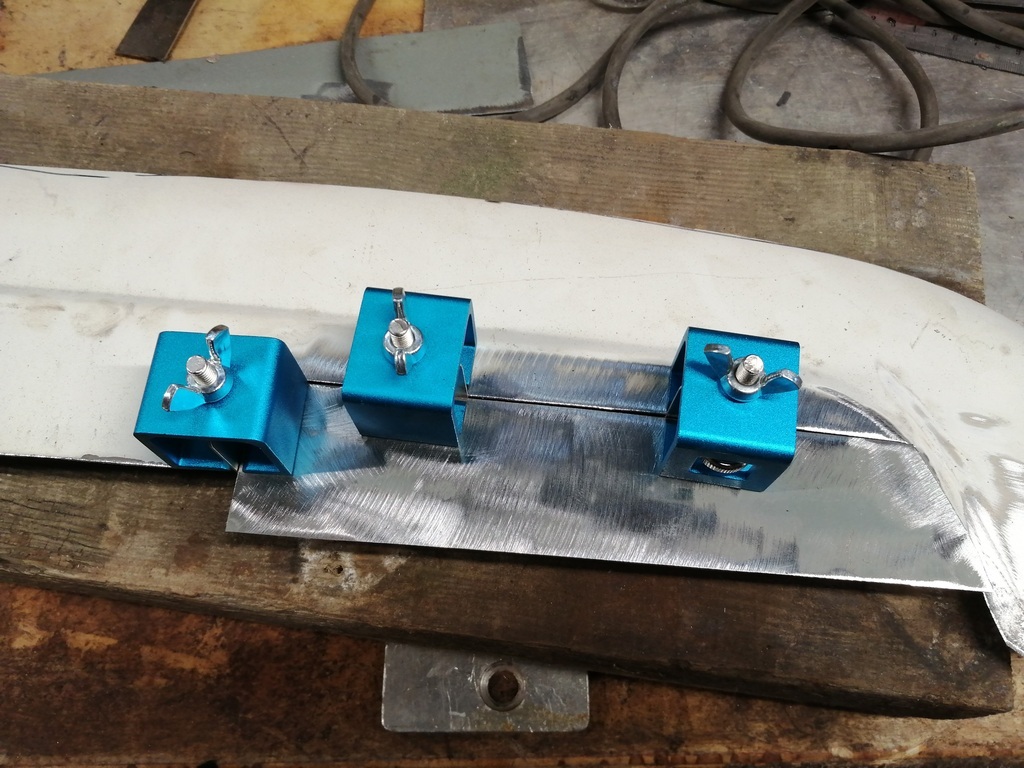
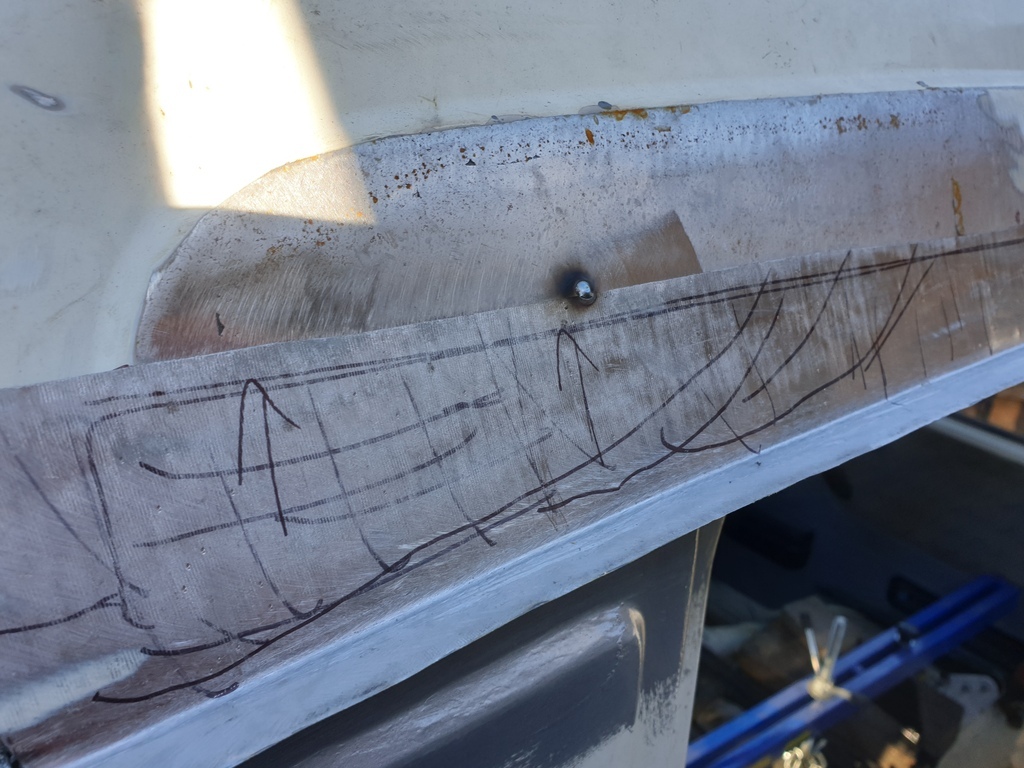
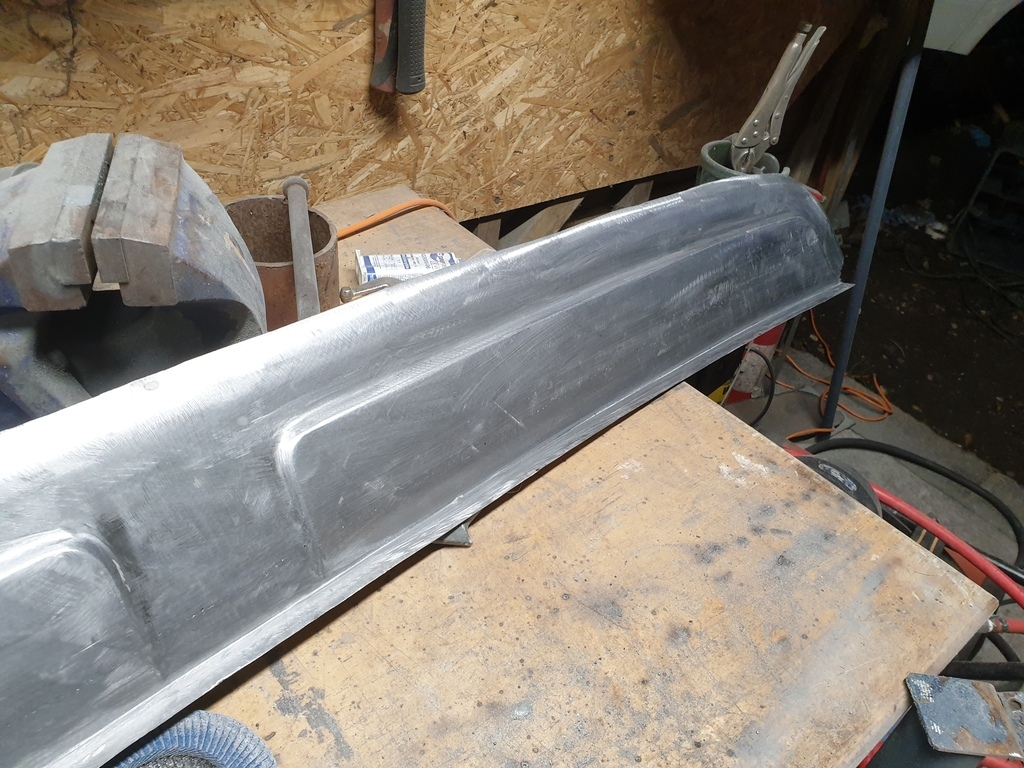
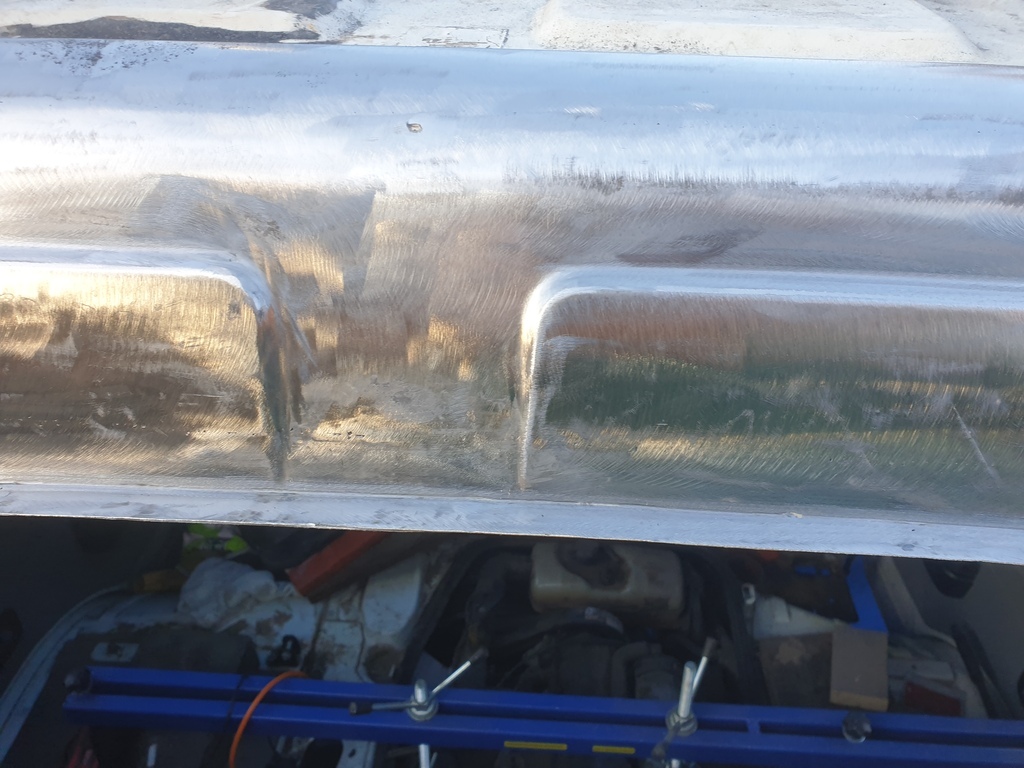
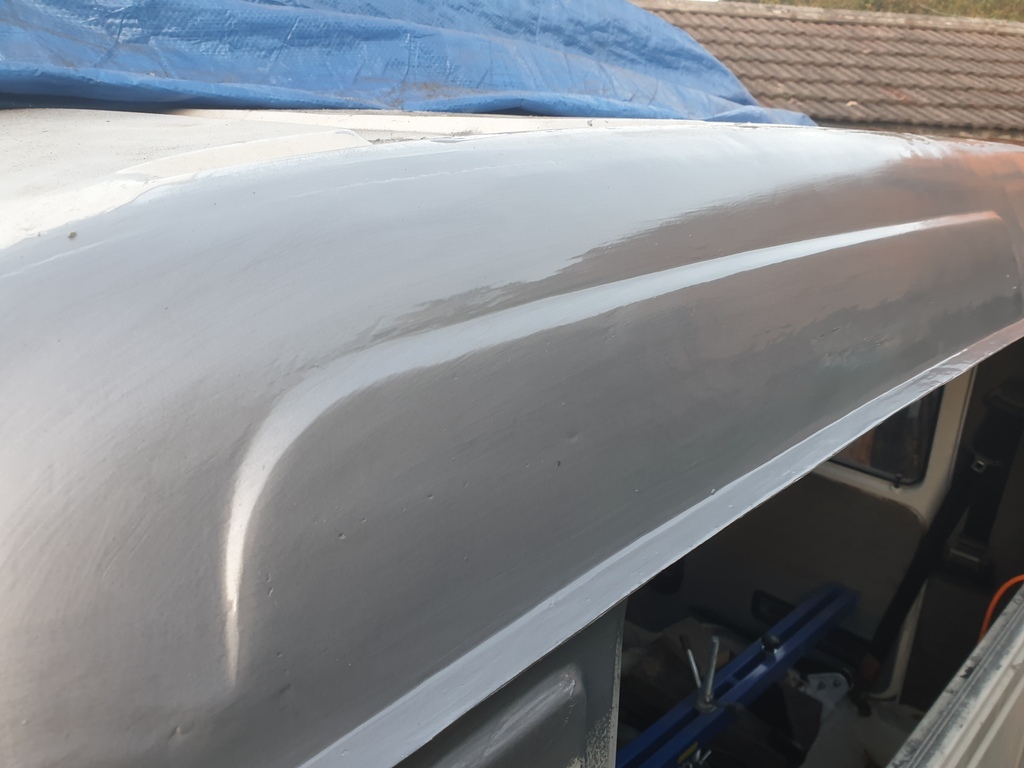
It was at this point I put the detail into the new panel......

I then sat the new panel up against and overlapping the skull cap and tack it on.
Next was to grind off the tack welds and once again remove the skull cap with the new panel tacked in place. The idea of this was so I could then mark where to cut from behind. The tack welds on the new panel were then ground off and the panel trimmed and ready to be butt welded together. Sorry......no pictures of this process 😳
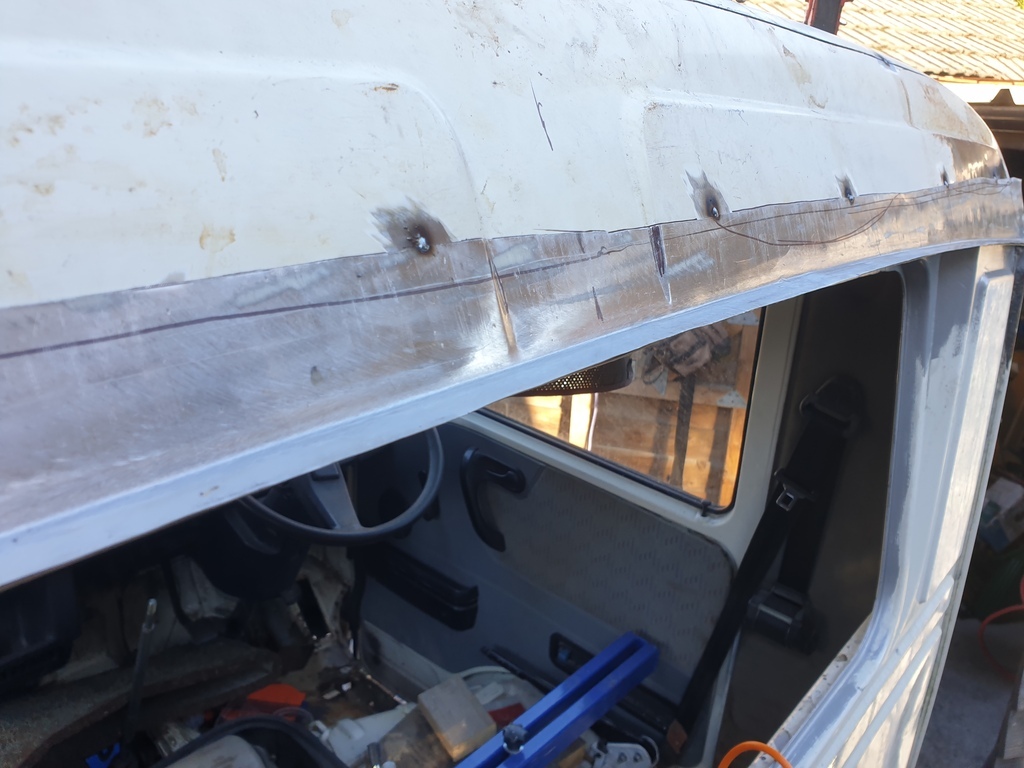
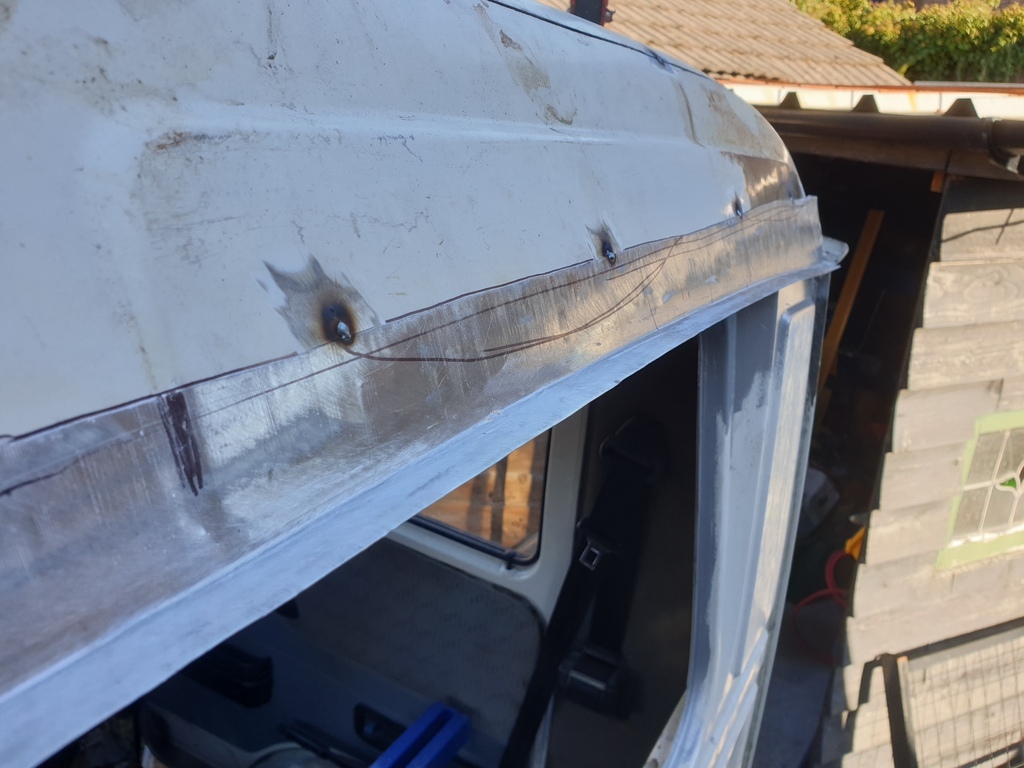
So...tack weld the skull cap back on and line the new panel up.....

Then tack into place......
Then.....for the 3rd time.....remove the skull cap with the new panel tacked in place. take it into the garage and weld it up and then dress the welds. Again.....sorry, but I forgot to take pictures.
Now....I was as careful as I could be, but the heat from welding warped the whole panel. So it was into the shrinker/stretcher to get it back into shape.
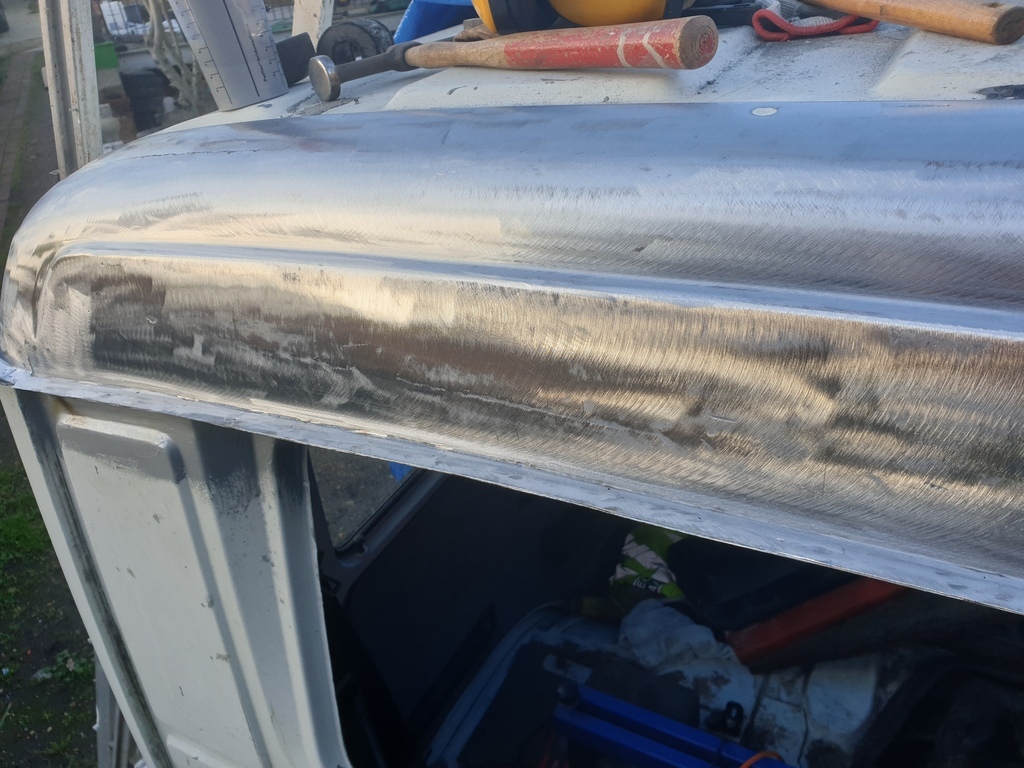
All cleaned up and ready to be permanently attached to the cab. The backside of it was treated to a coat of encapsulation paint.
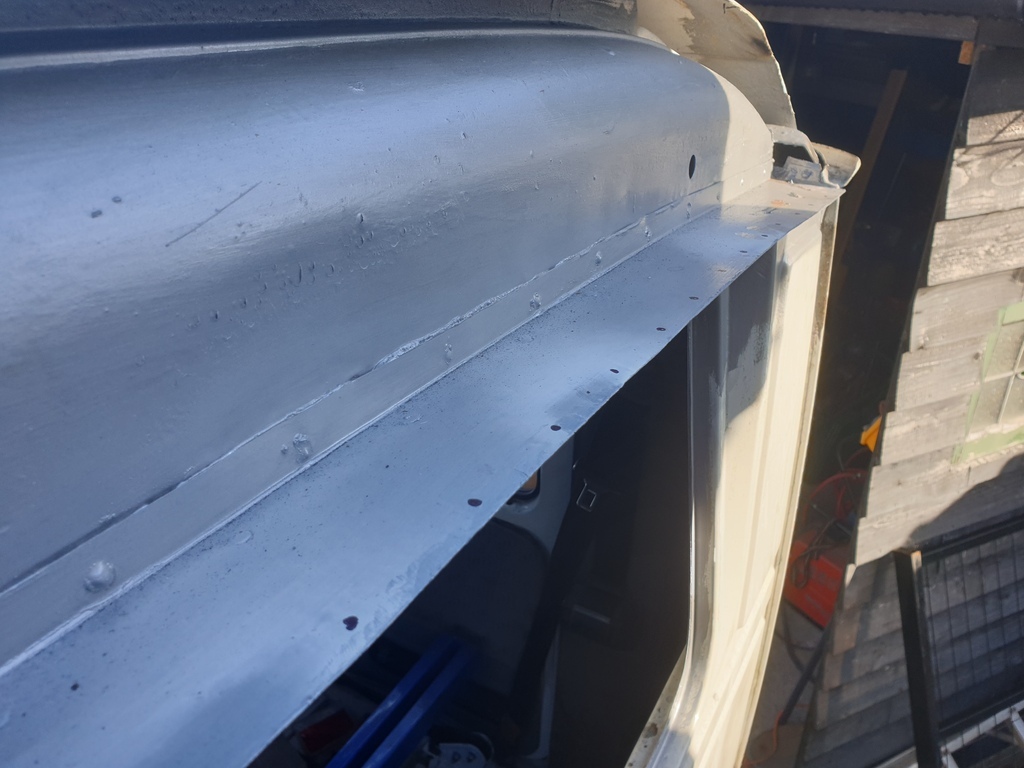
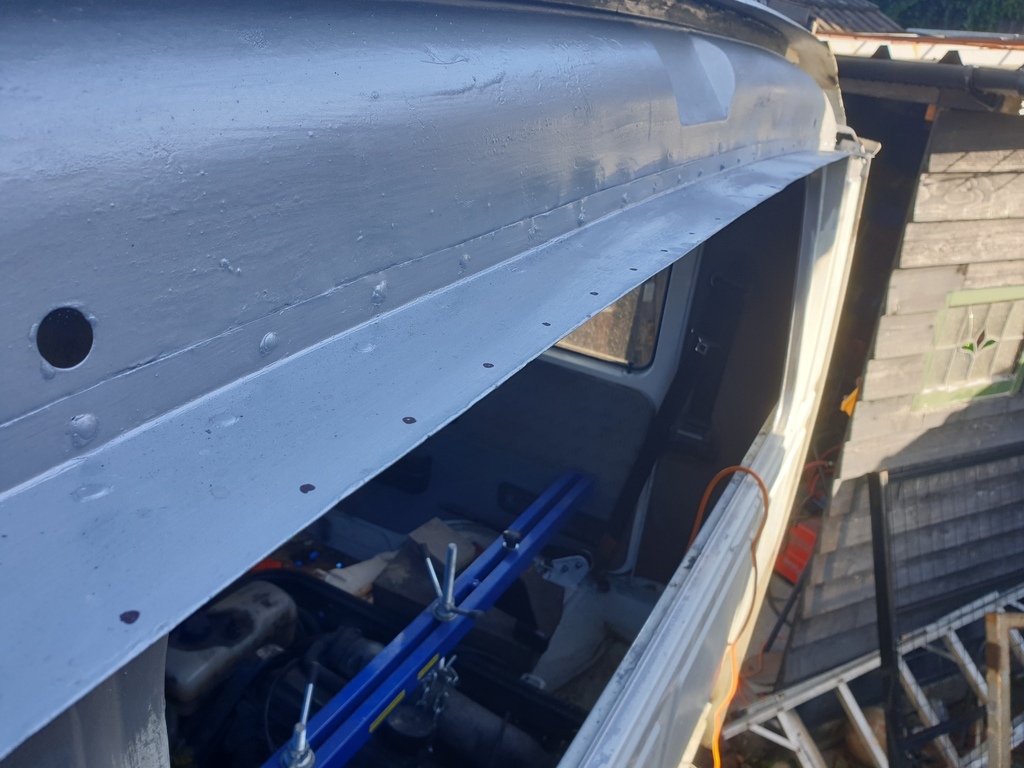
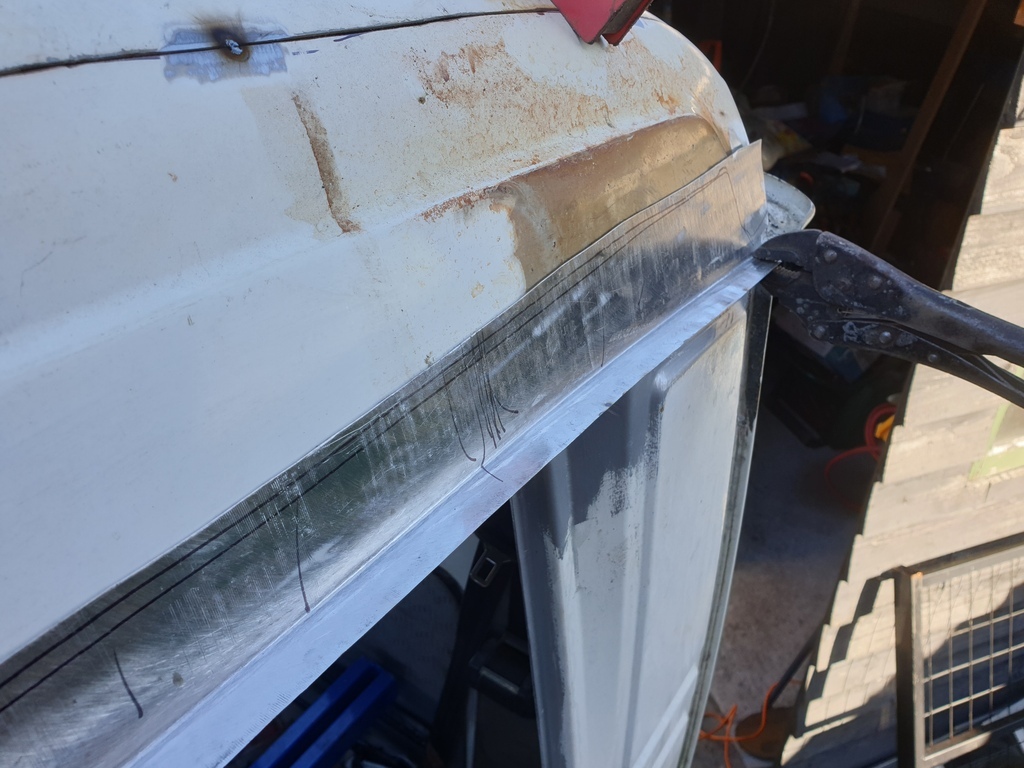
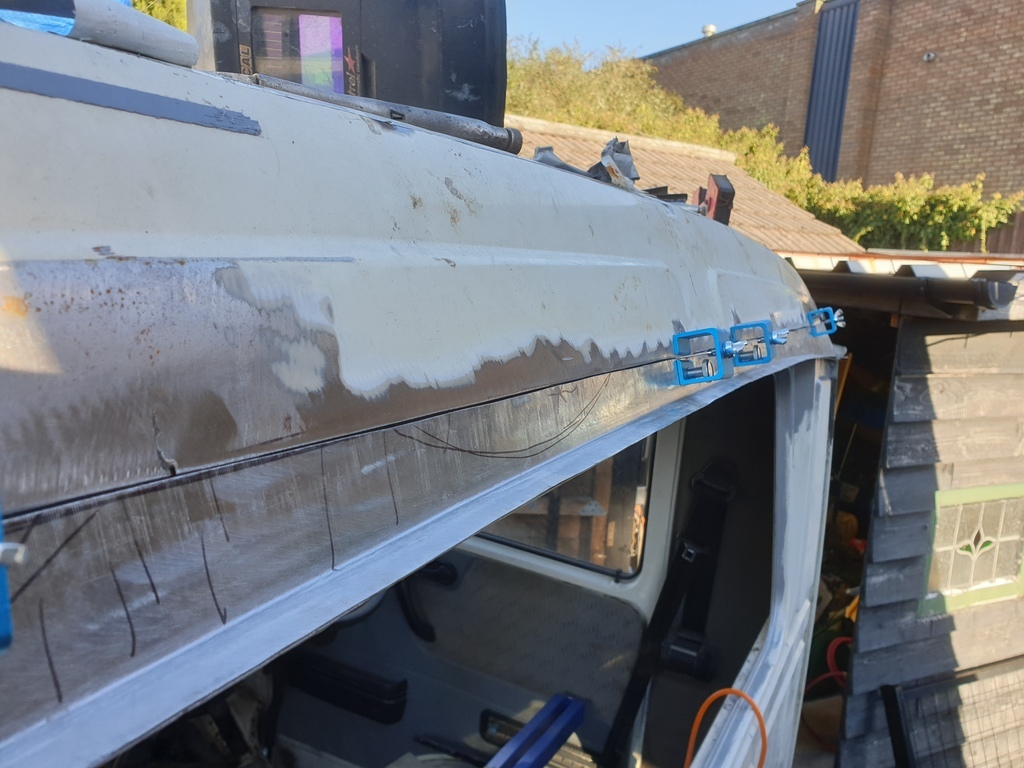
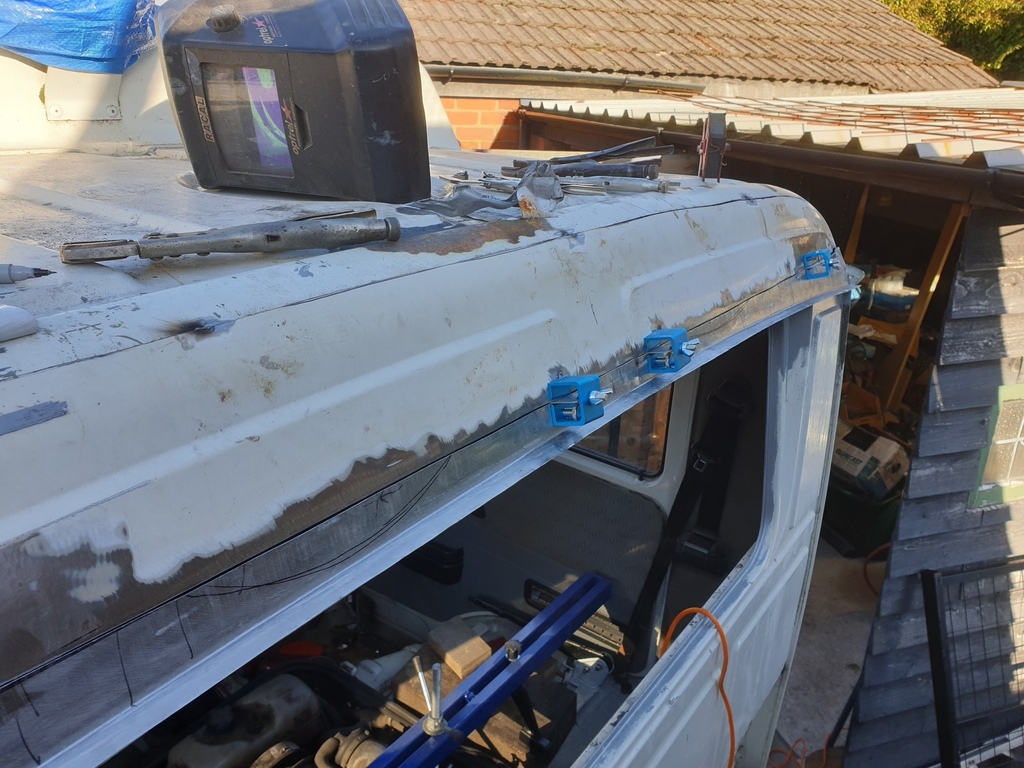
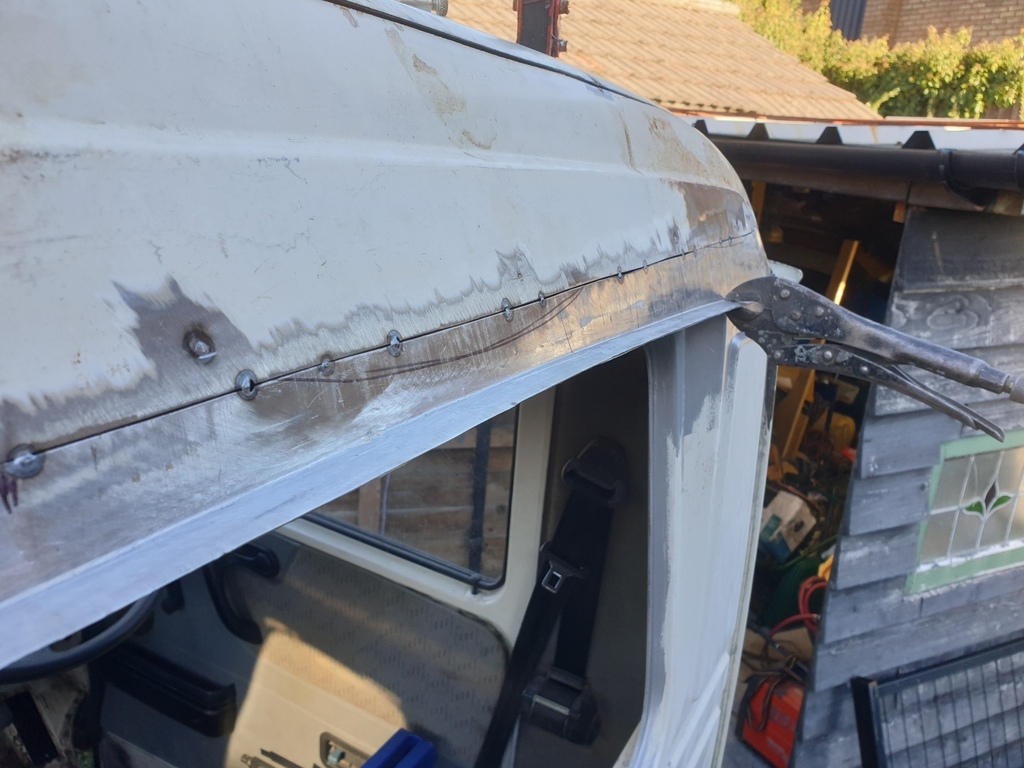
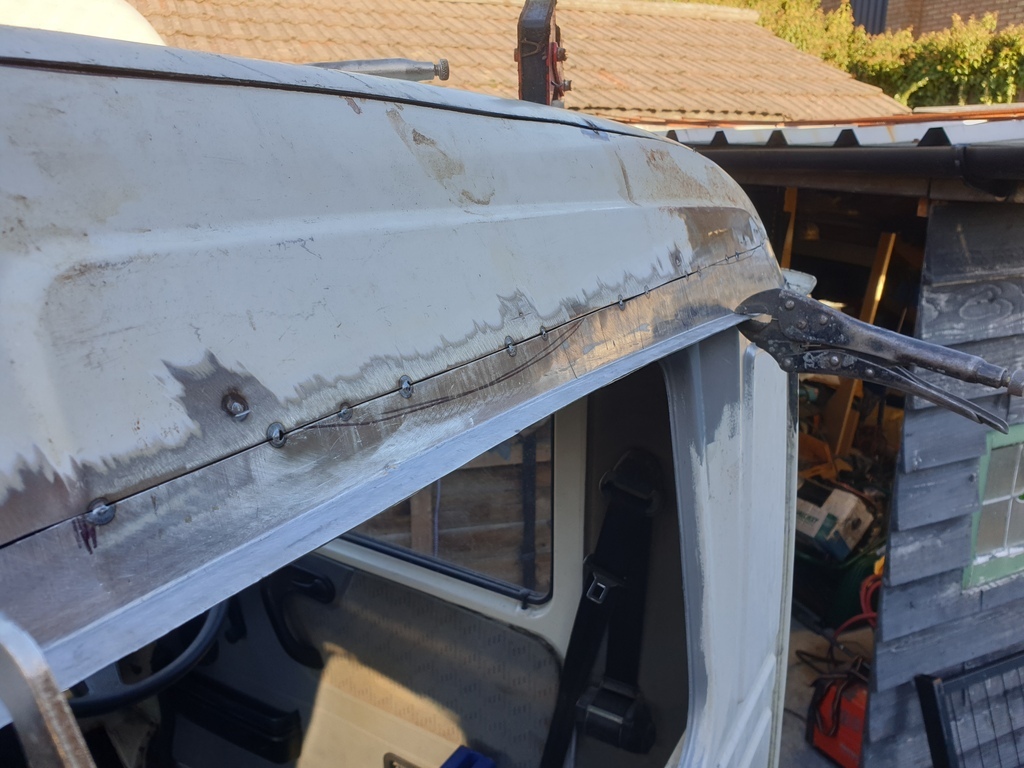
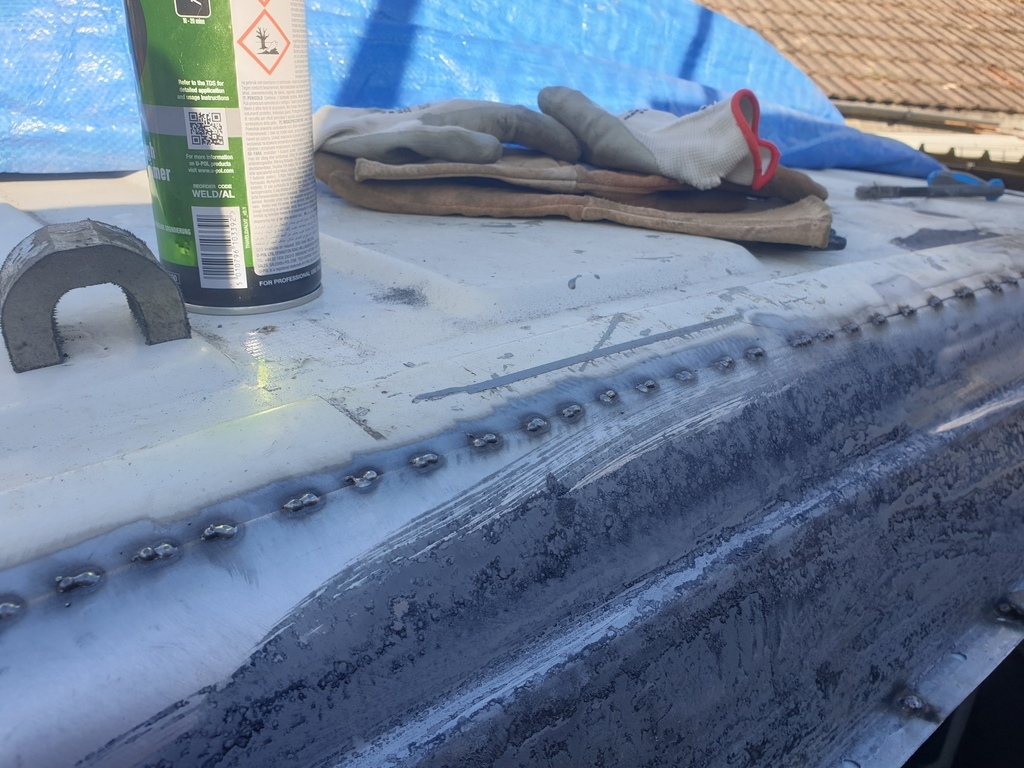
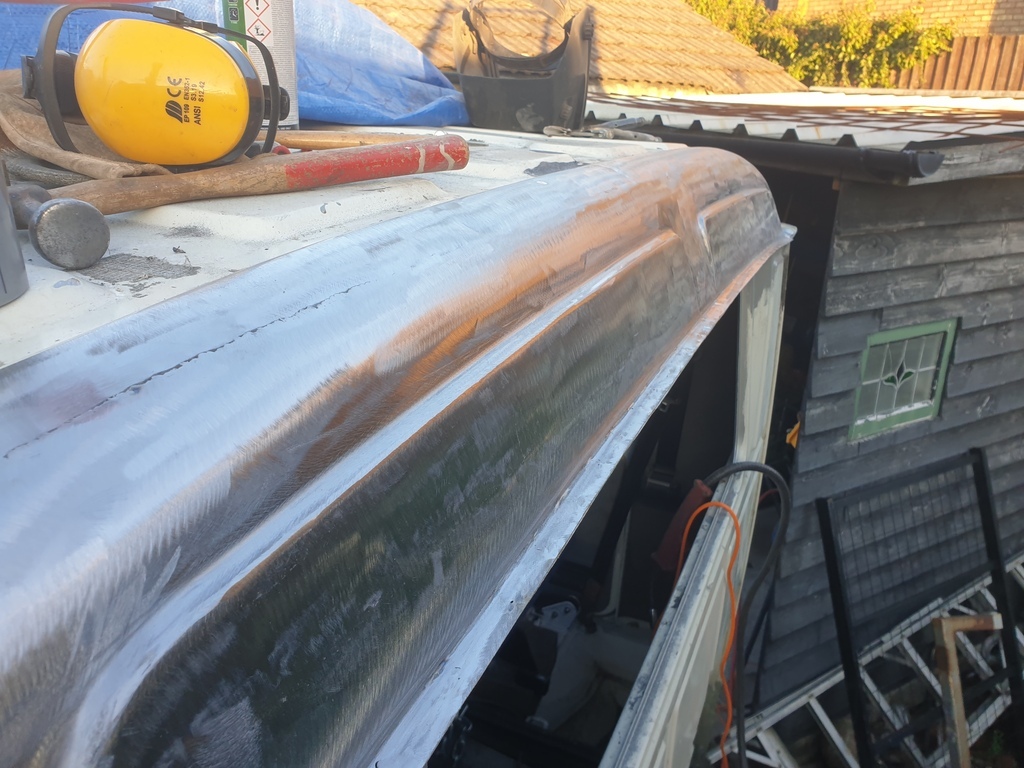
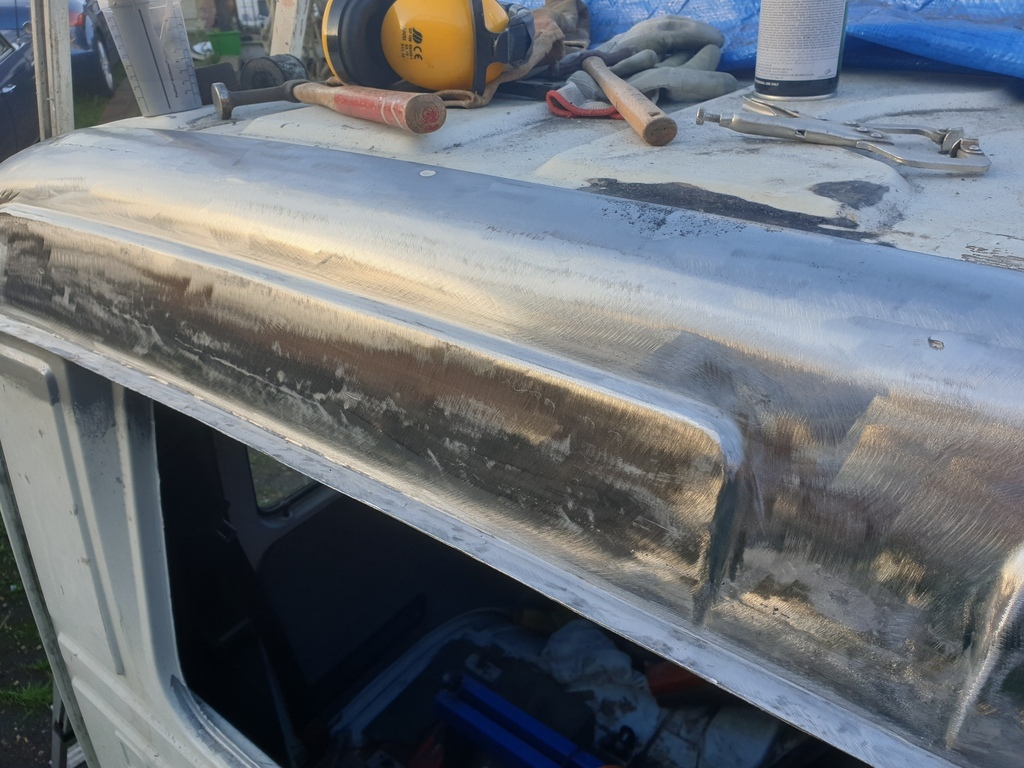
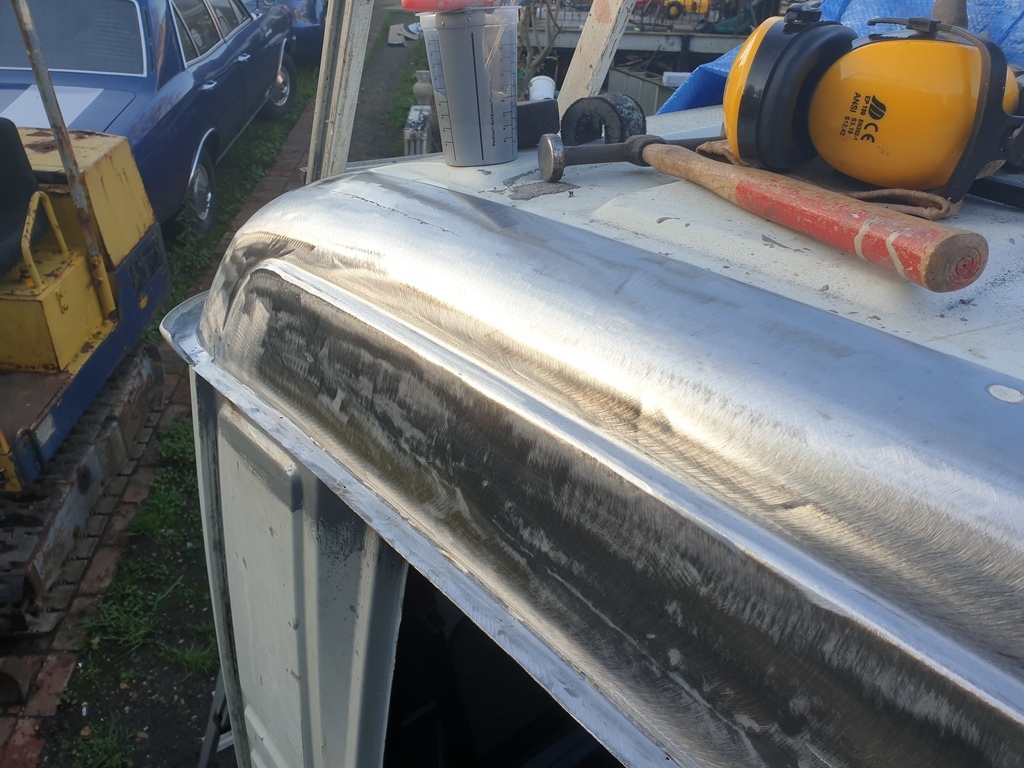
Then the main event.....weld the whole lot back on.
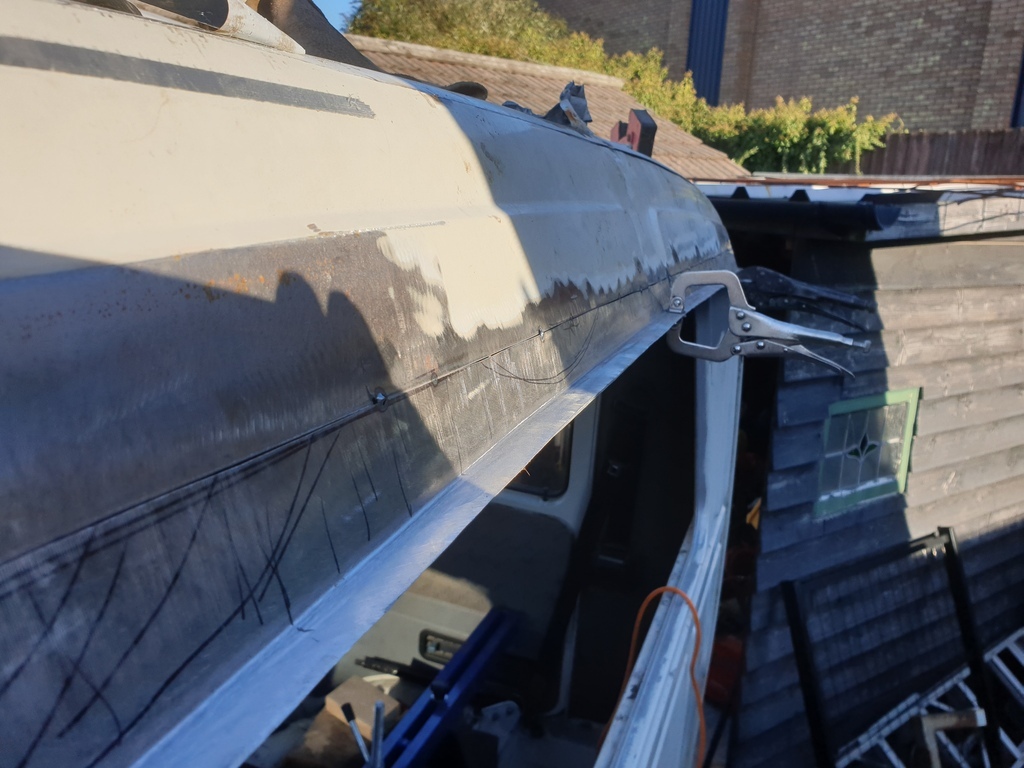
Bit by bit......slowly but surely.....
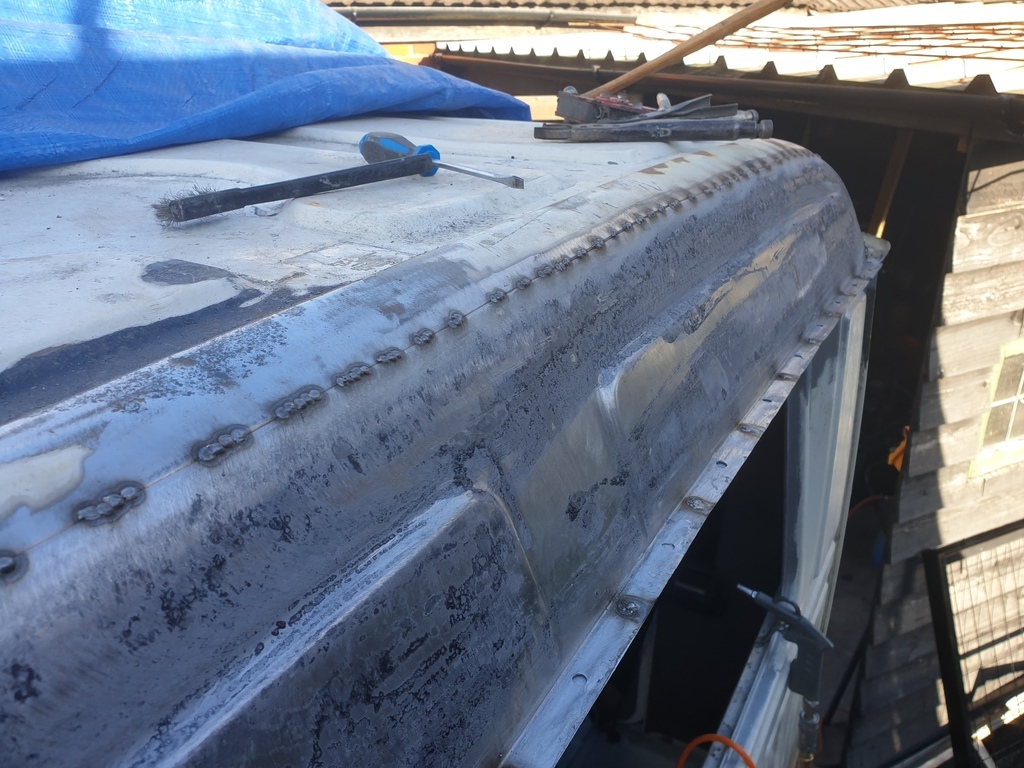
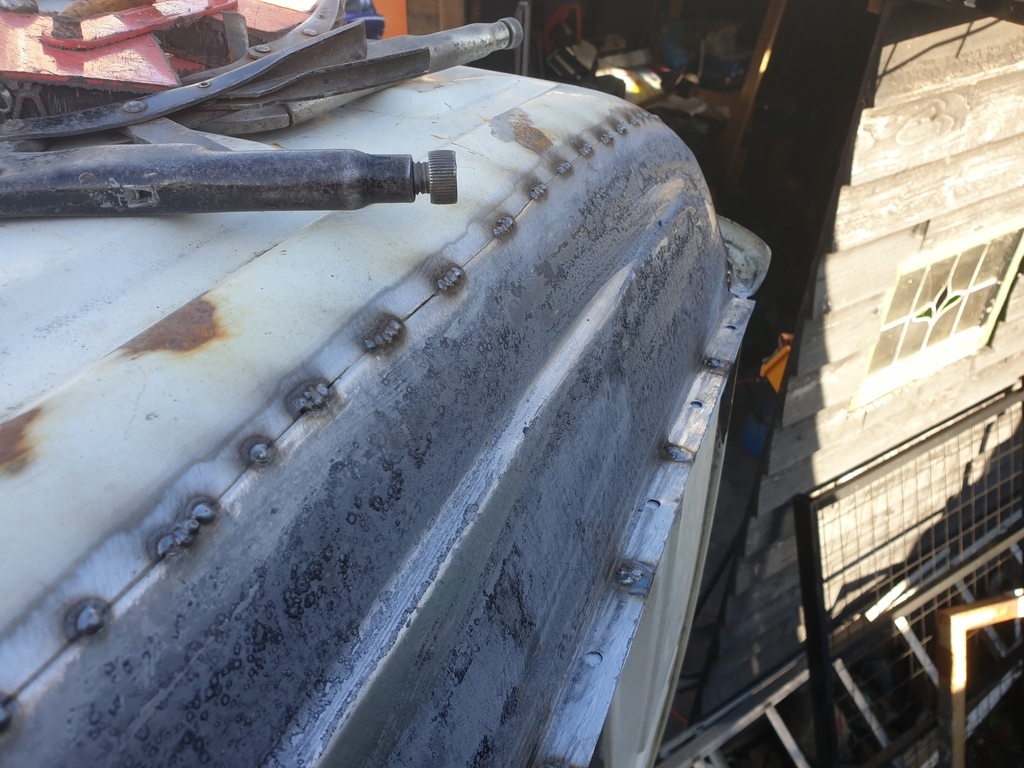
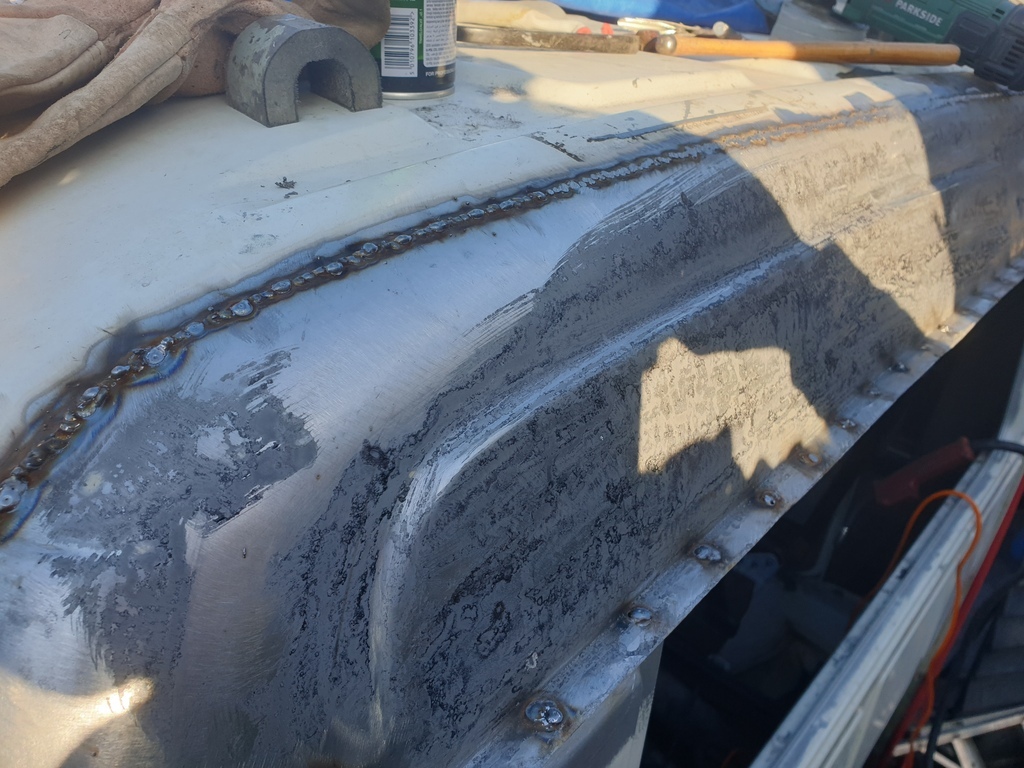
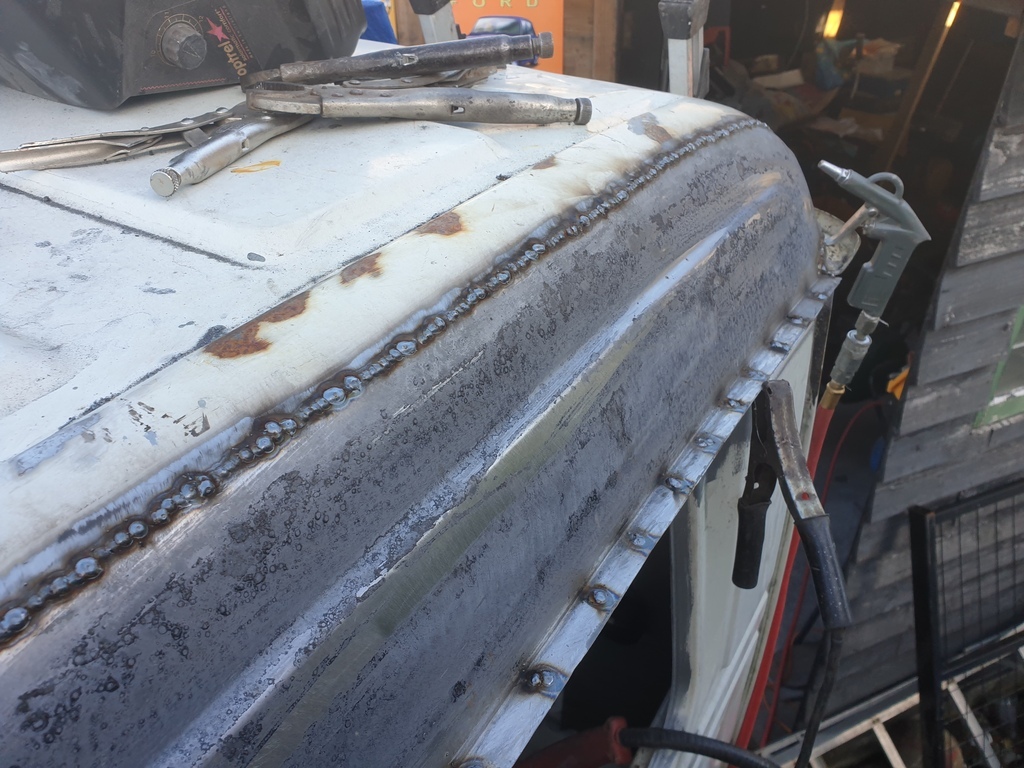
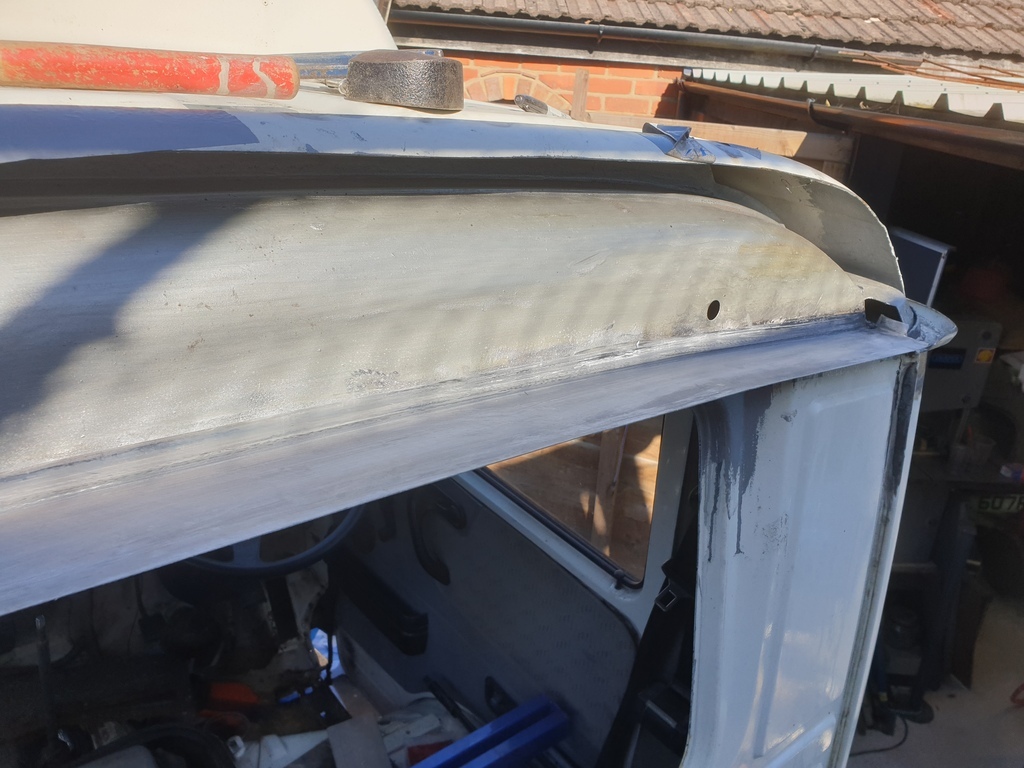
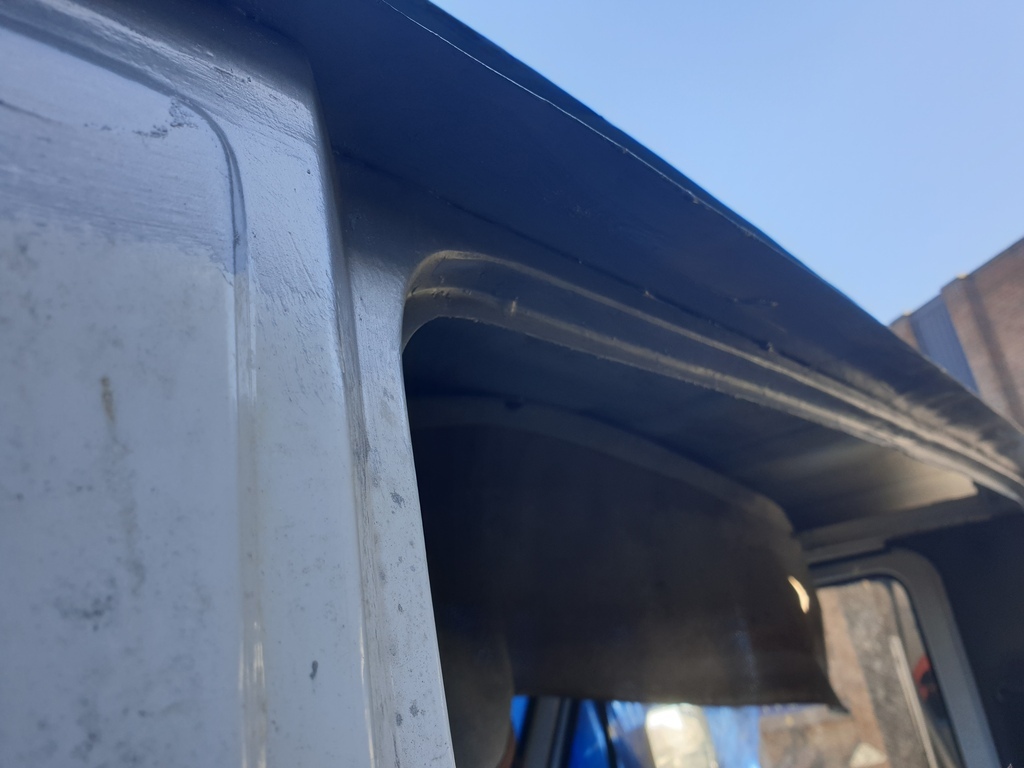
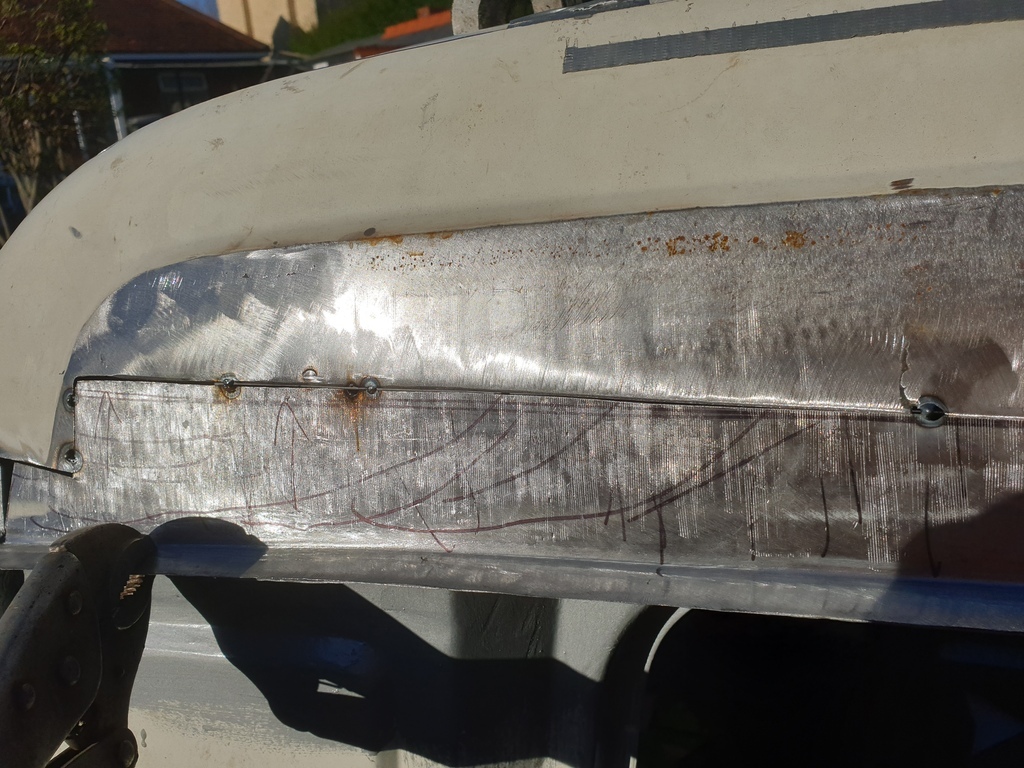
Then dress the welds........
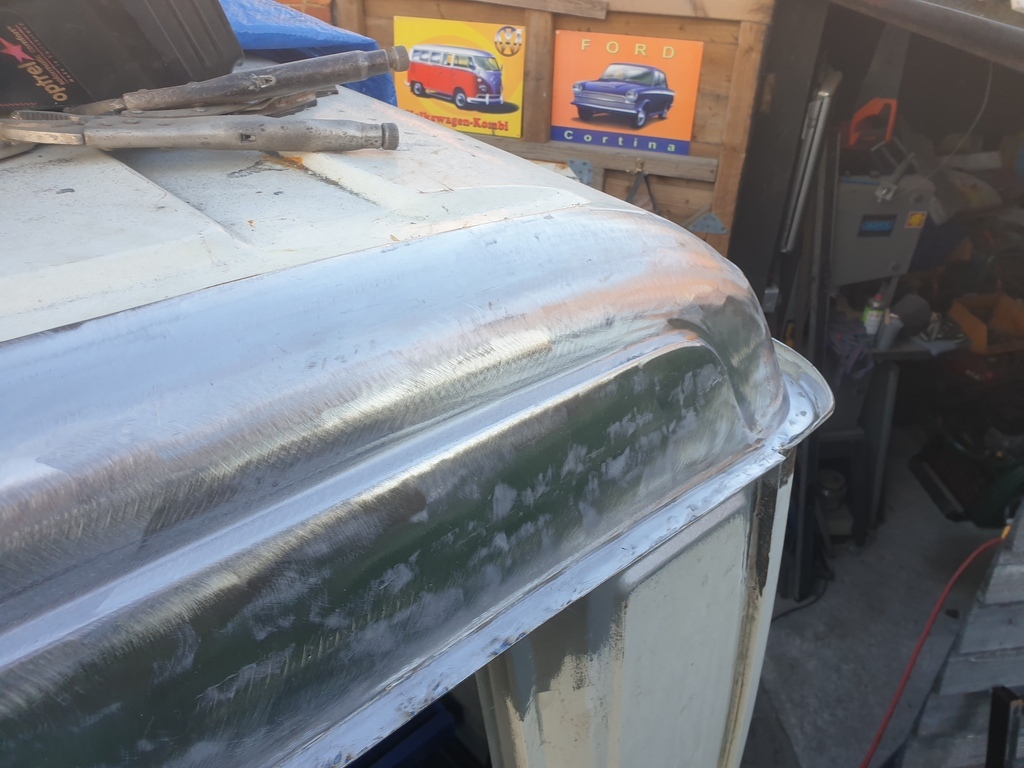
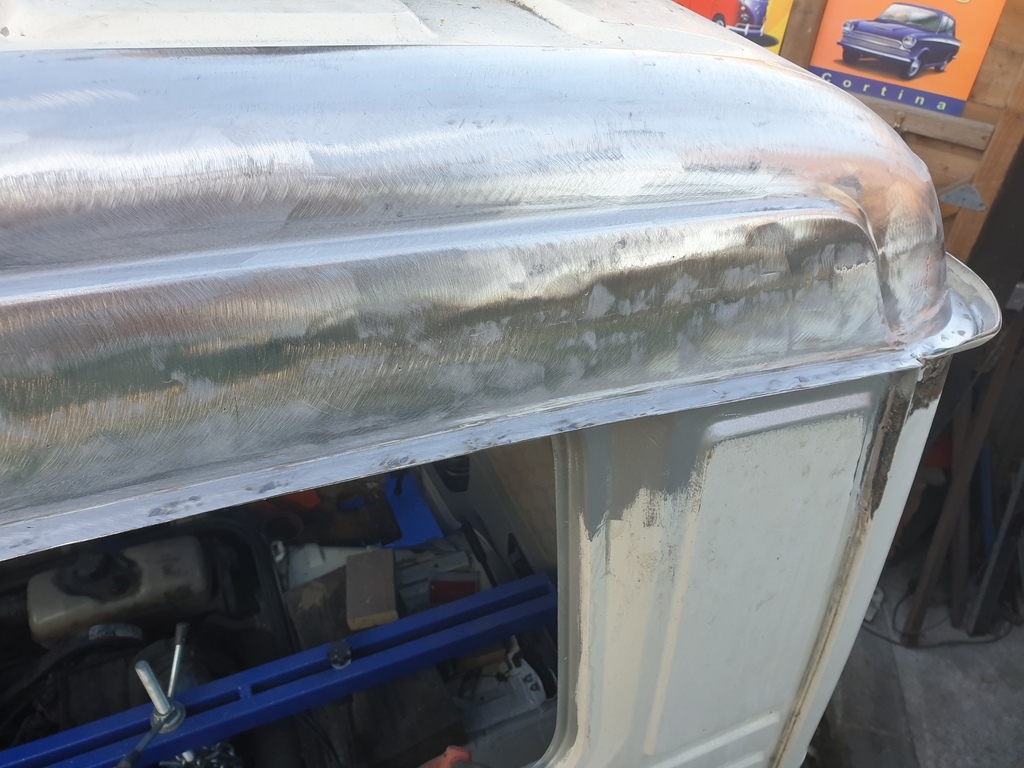

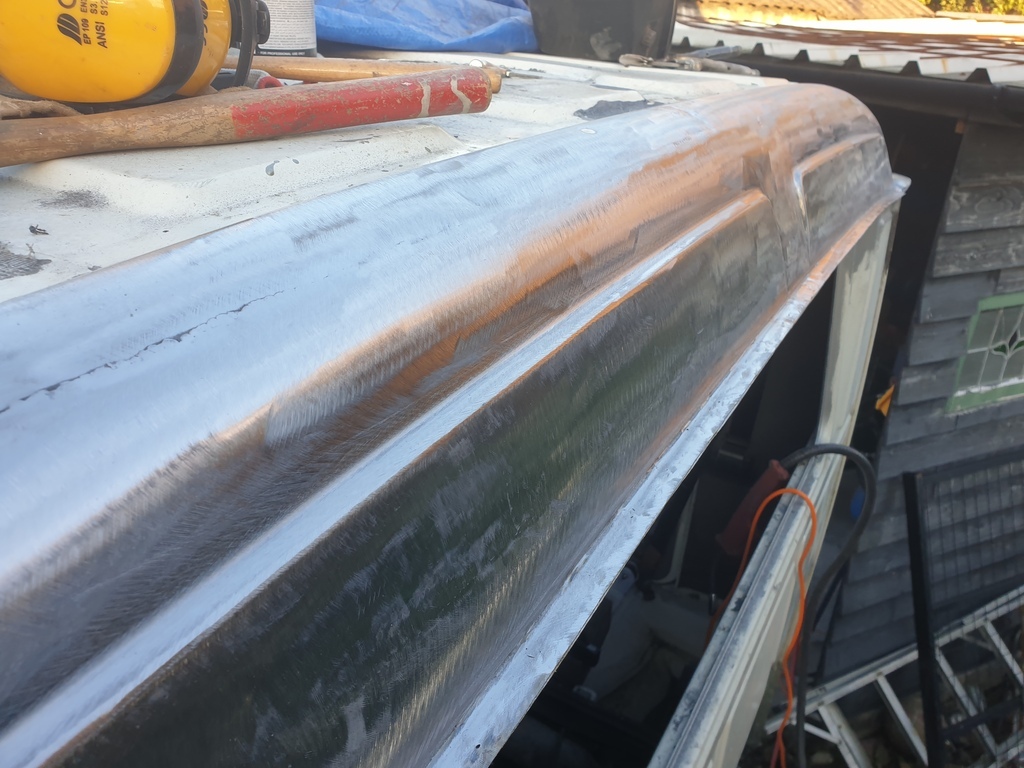
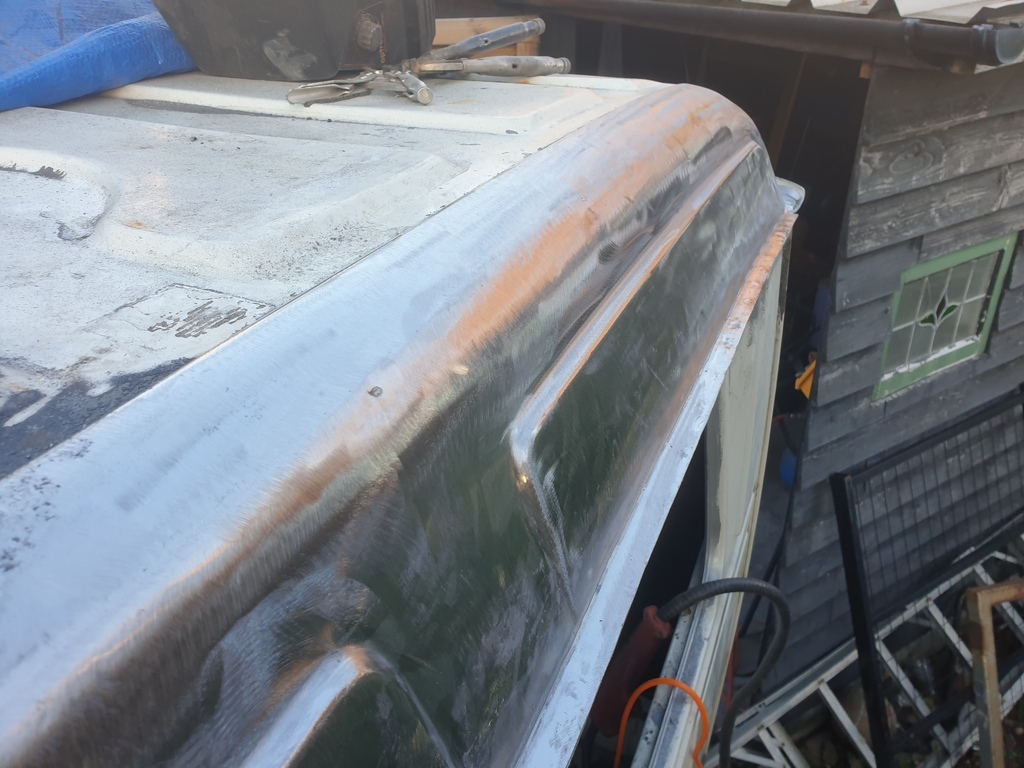
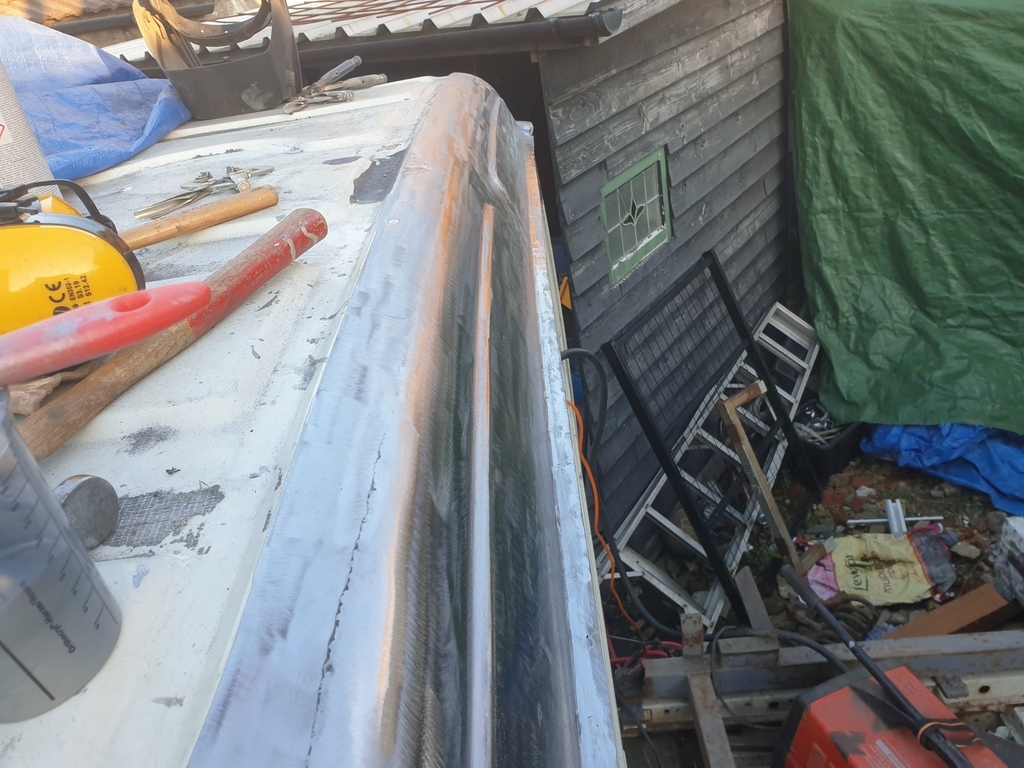
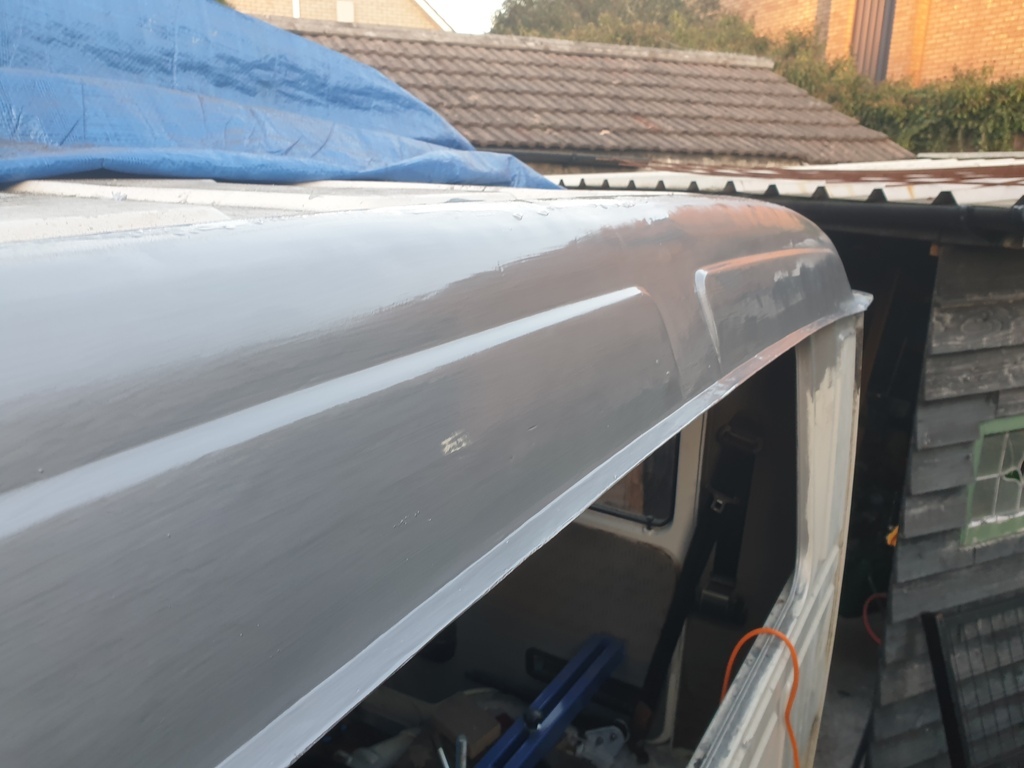
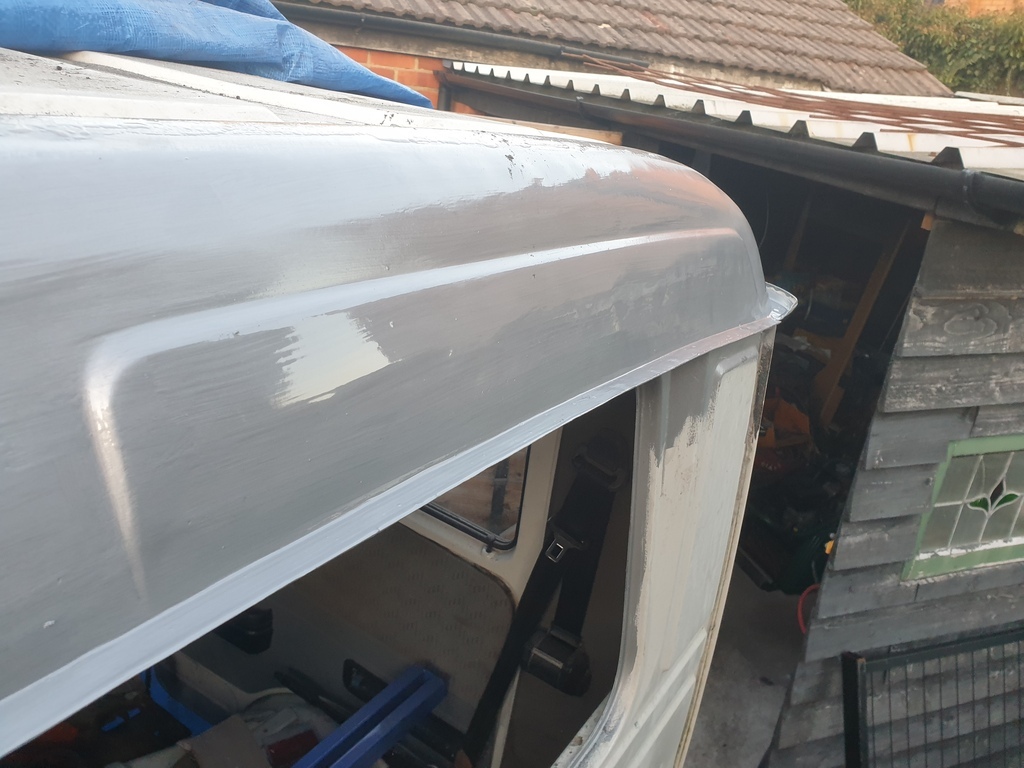
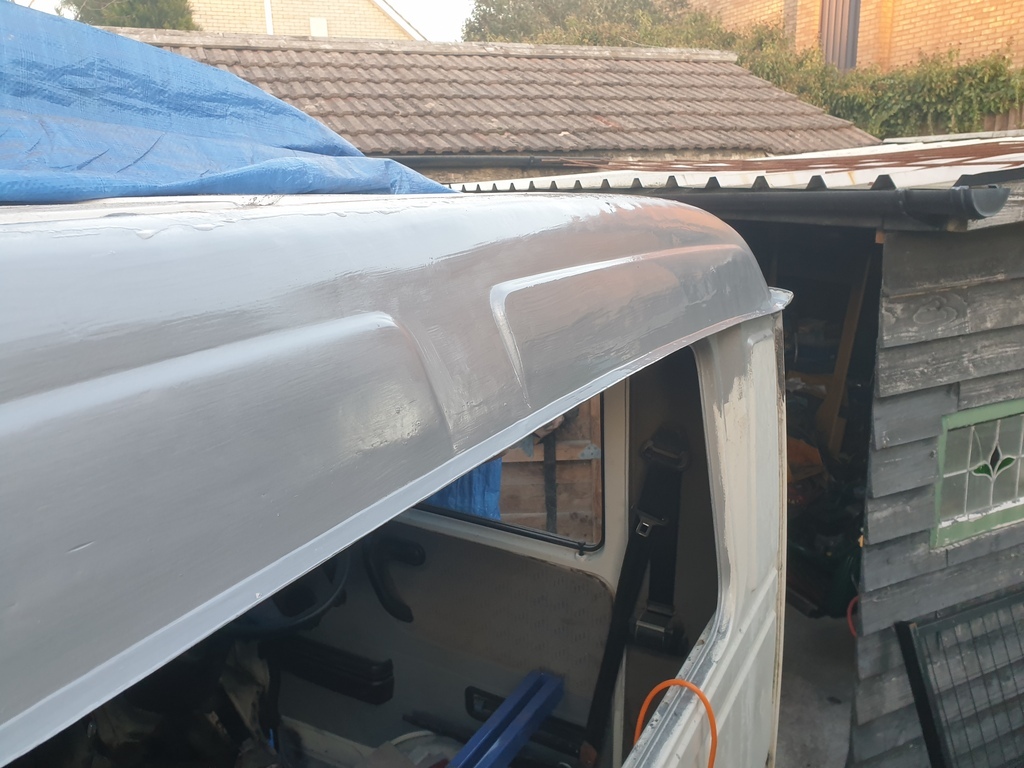
......and on with a coat of encapsulation paint. This is for protection over the winter. I will be back to prep the whole roof and epoxy prime it when the weather warms up.
That's all for now folks 👍


