BiAS
Club Retro Rides Member
 Insert witty comment here
Posts: 2,231
Club RR Member Number: 147
|
|
Apr 28, 2020 21:50:53 GMT
|
The story so far: For quite a few years now our Puma powered Ford Courier van has served us well as a microcamper, many RRGs, short breaks in Cornwall, We even drove it down to Gibraltar and back in '17...... 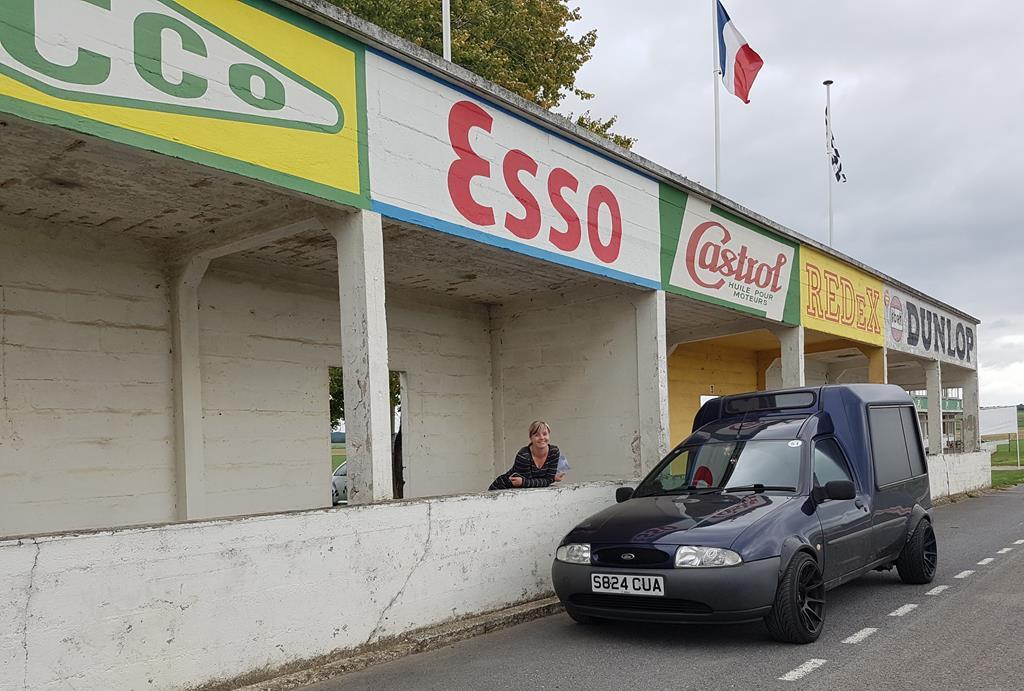 However, the last couple of times we'd camped in it we'd found ourselves wondering what it would be like to have a little bit more space. Some pondering and discussion of options for a van the next size up had raised a few issues, anything French in that category is a definite no, I drive and work on enough of those to not want that. VW is out for much the same reason plus ridiculous prices. Transit would be ideal but whilst perfectly competent a little soul-less and carry a bit of a 'tarmac yer drive?' image. What I would love is something old Japanese and forward control but again prices seem to have sky rocketed in recent years. Put plans on the back burner and carried on with life. Then one evening instagram notified me that someone had liked all 3 of the pictures I'd taken of Bedford Midis in the wild. My curiosity peaked I had a quick browse of his pictures, most recent was a smoke grey Vauxhall Midi minibus with an Irmscher stripe on the side and on Frontera Sport wheels.... that was for sale. I couldn't help myself so, despite the fact that we were at a friends house for dinner, I messaged him asking whether it was petrol or diseasel, how much he wanted for it and if he had any more pictures. He sent me back these: 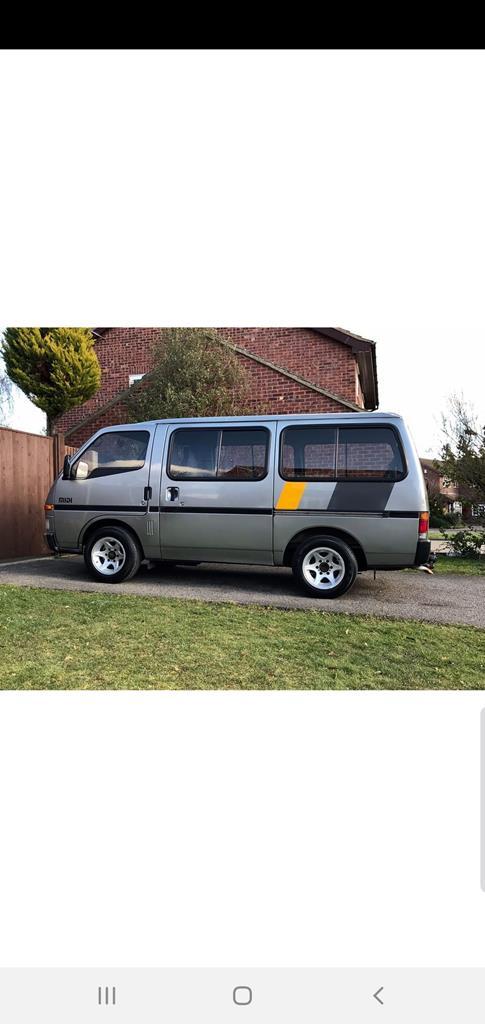 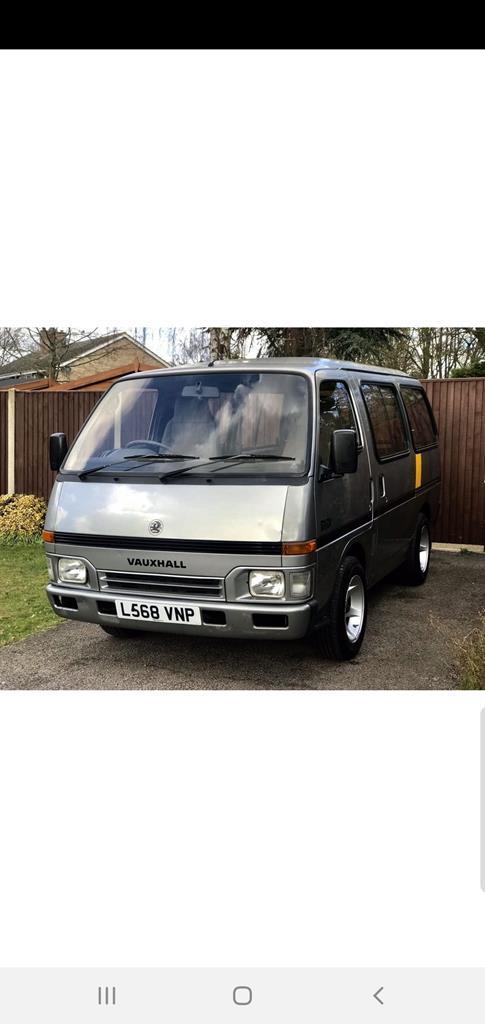 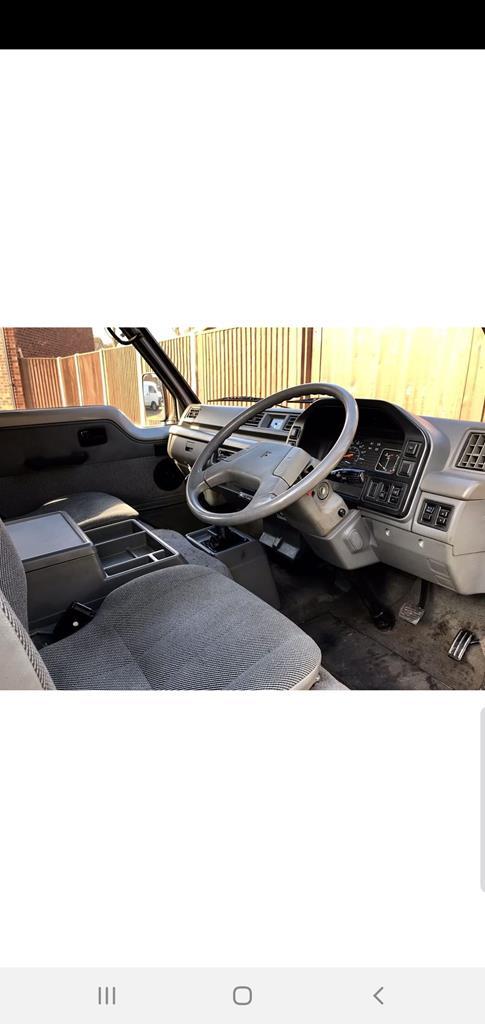 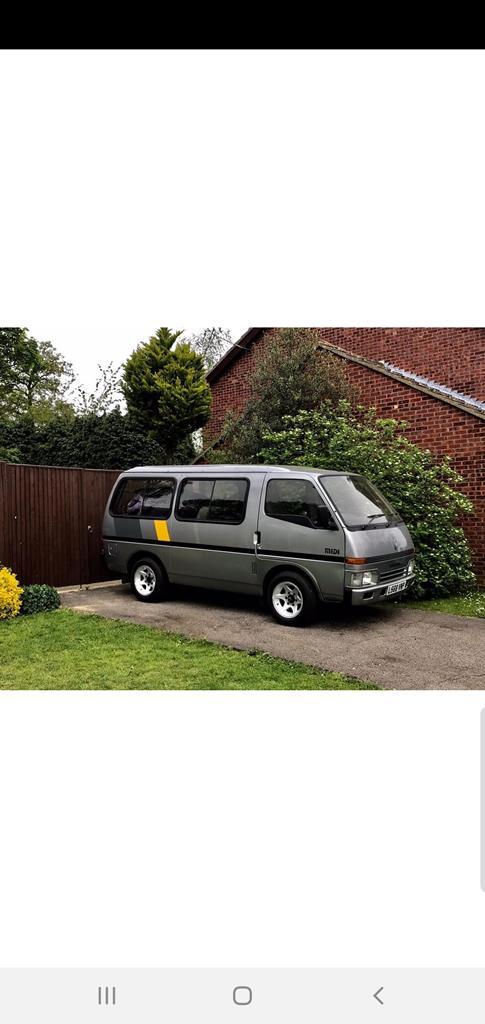 I showed the wife and our friends, they all nodded politely. Then he sent me these: 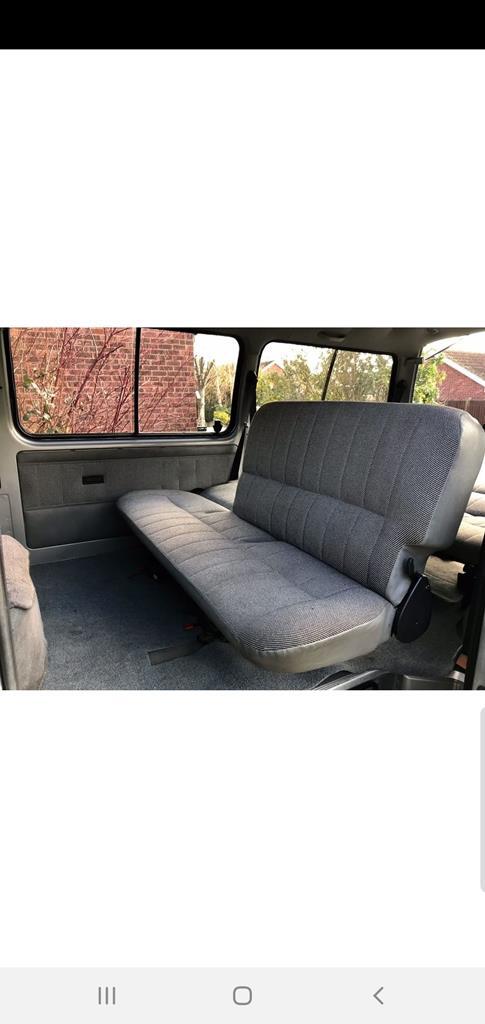 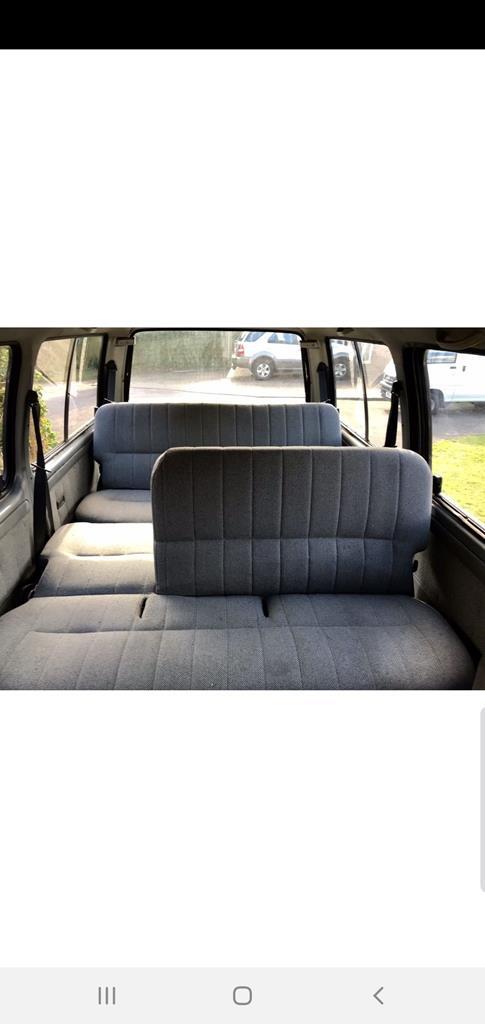 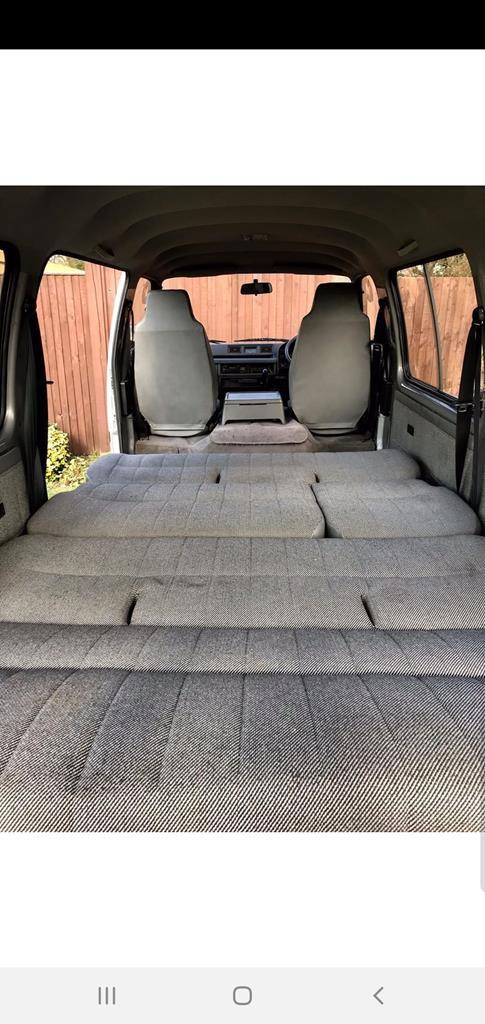 I excitedly showed the wife exclaiming 'look what the rear seats do!' The wife and friends agreed that it was probably inevitable that I'd end up buying it........ 2 weeks later we drove over to Kent in her MX-5 and as predicted I bought it  Here it is at various stages of the journey home: 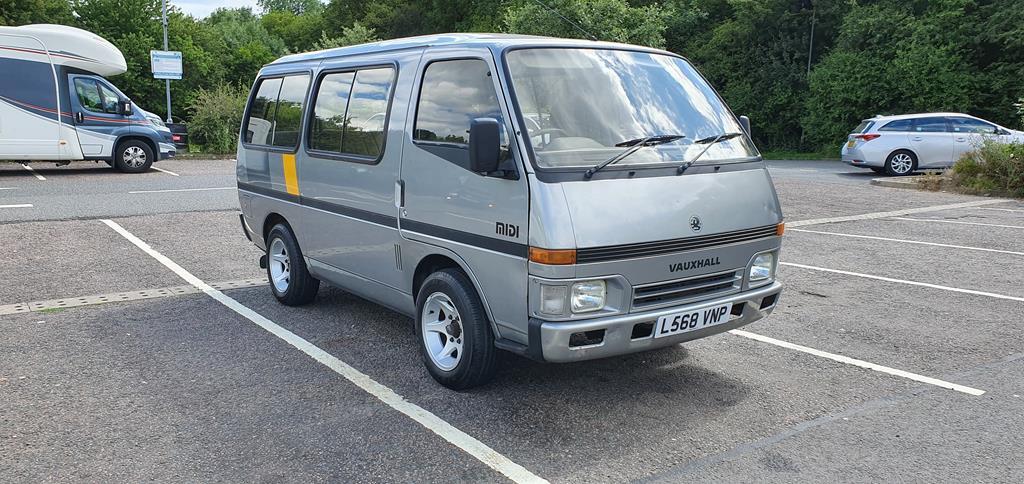 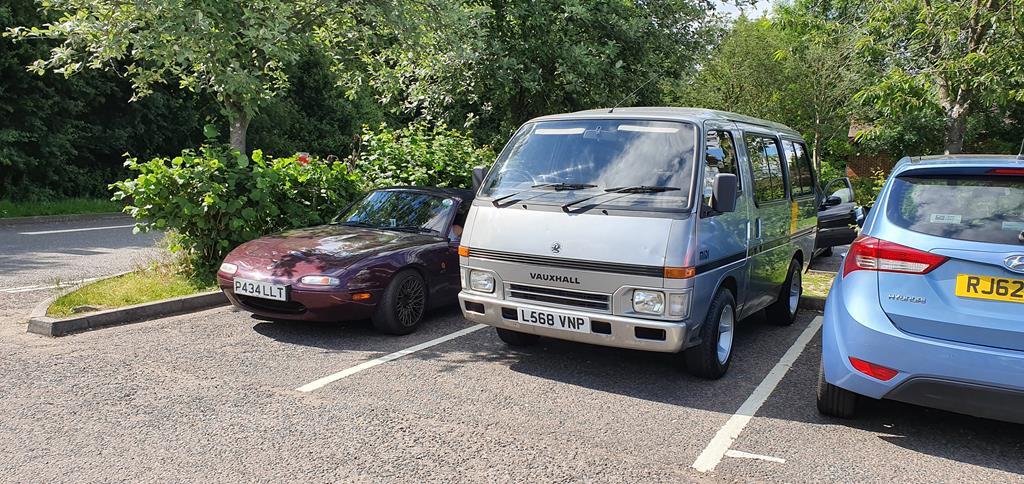 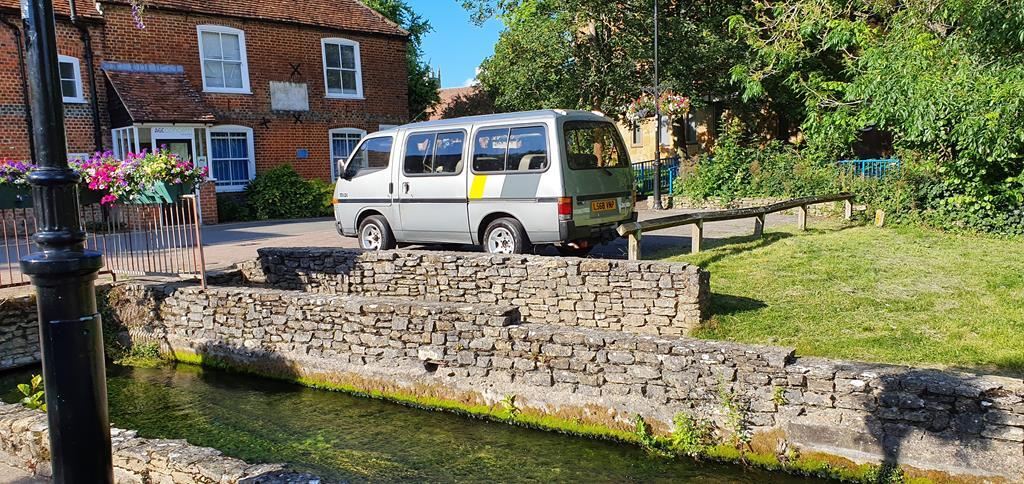 I already knew from the mot history that it had been advised for slight play at steering wheel for the last 8 years and my inspection in Kent had revealed that 'slight' was a massive underestimation of the amount of play at the wheel. I hadn't driven anything with a steering box and play for many years so the first hour or so of the homeward journey was spent see sawing from side to side. So much so that the wife rang me from her car to ask if I was ok! What 'slight play at steering wheel' actually meant was 3.5" either side of centre that did pretty much nothing due to the lower bearing in the steering idler having worn through. After the first hour I relaxed into it and the rest of the 3.5 hours home weren't quite so swervy. The first week with it brought a lot of internet search time looking for a replacement idler, which there aren't any of for non 4x4 Midis. Nor are there any clutch flexi hoses, something I discovered after it decided to throw a lot of brake fluid on the floor on a friends drive which then necessitated driving home having to pump the clutch up every time I used it. Had an afternoon off work to sort it, some dismantling revealed that it was actually the hardline that had rotted through. A visit to Exact Engineering in Totnes had me a replacement hard and soft line made up in 'driftworks orange' while I waited. 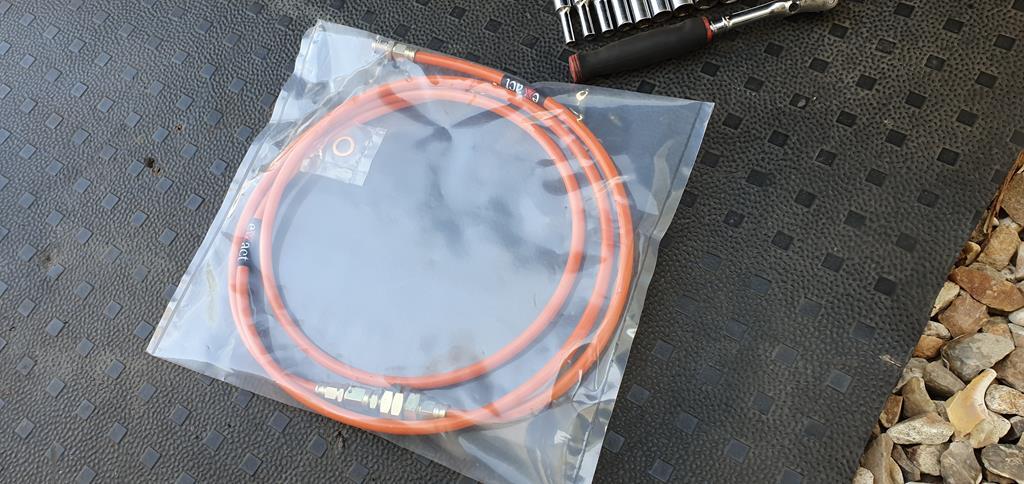 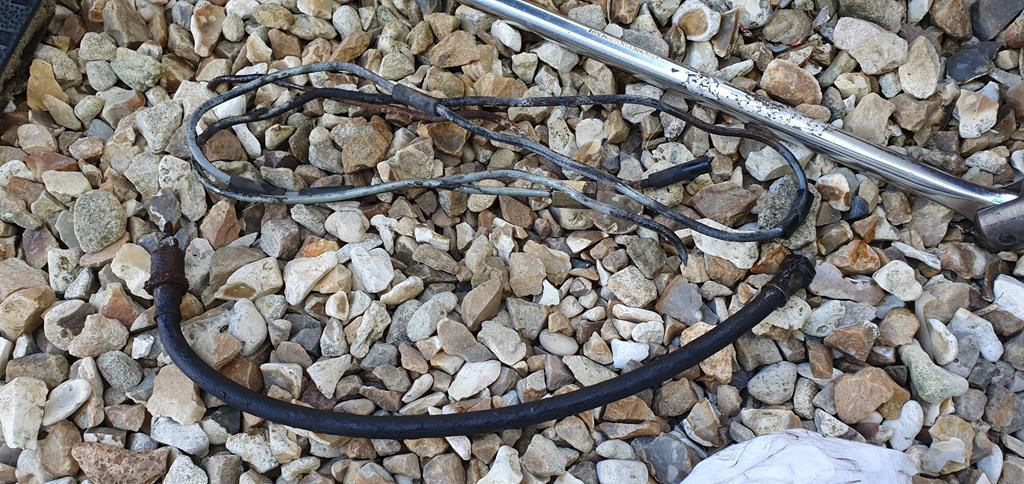 It came with no headunit but still had the adaptor that went from the Japanese wiring plug to old Philips type plug, I readapted it to din iso and put a headunit and some speakers in. 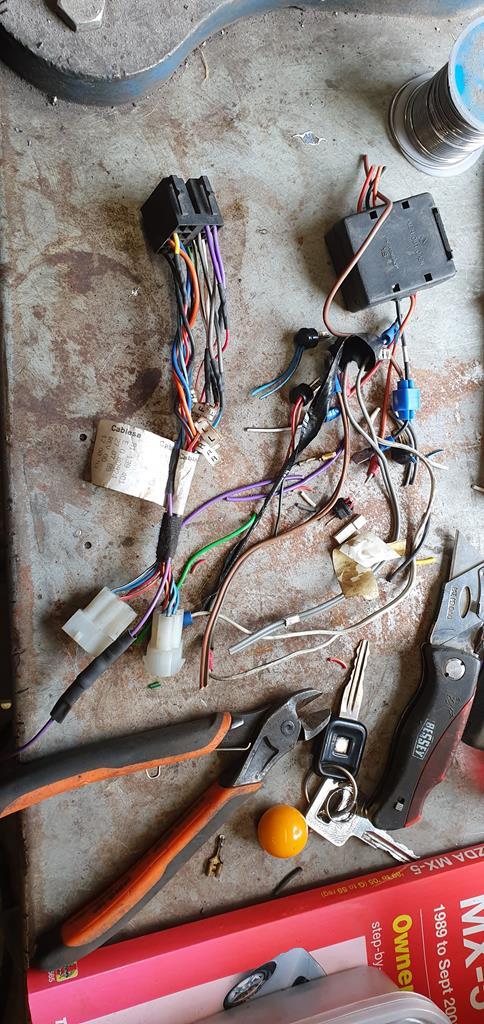 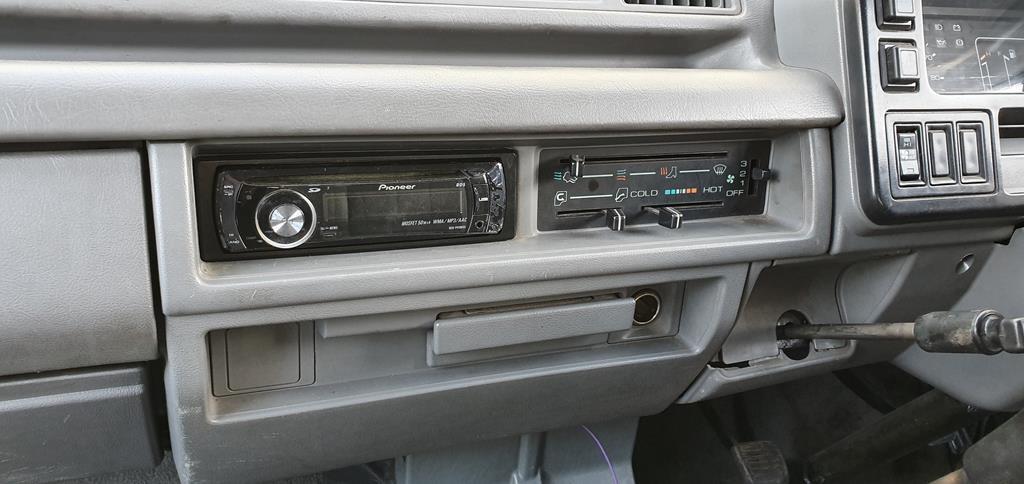 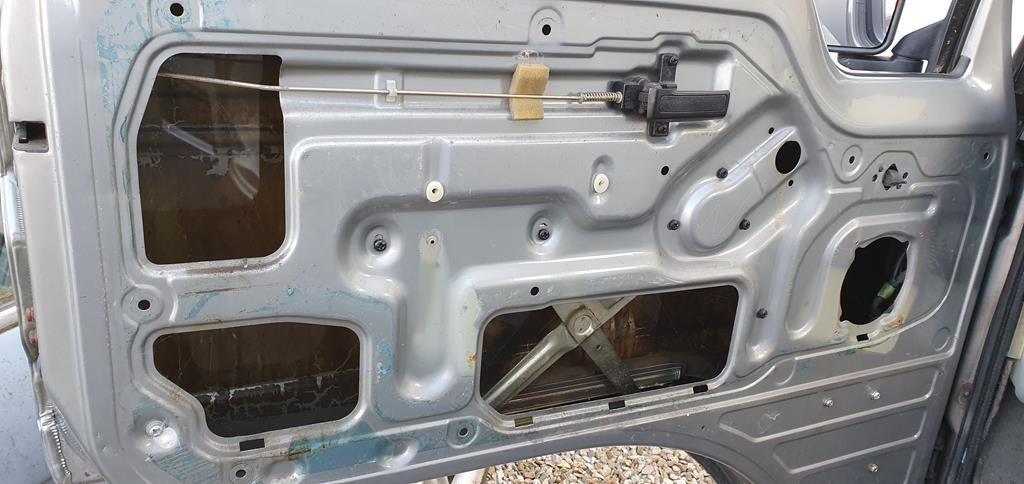 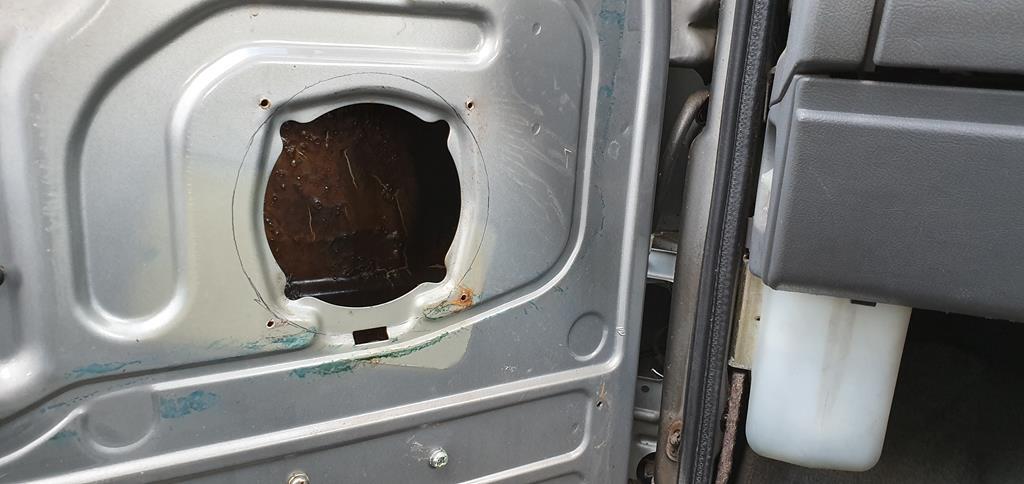 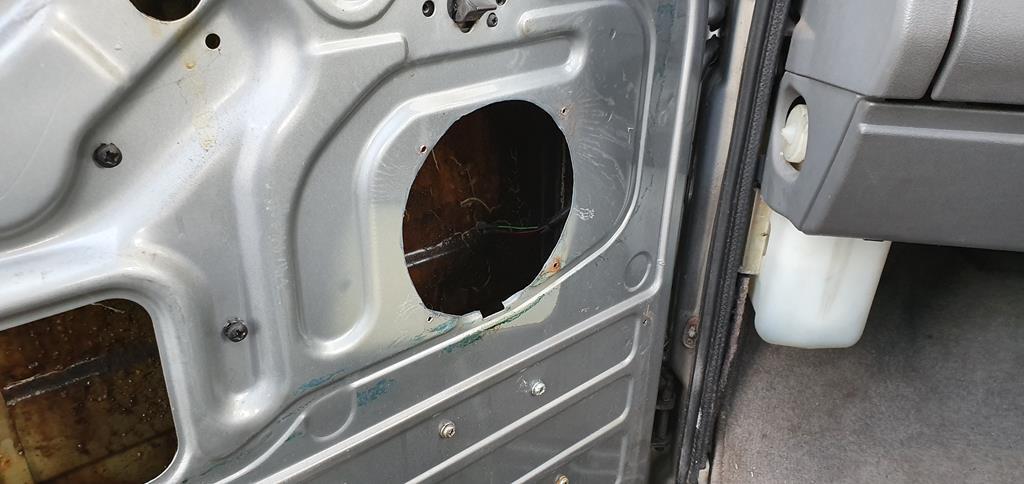 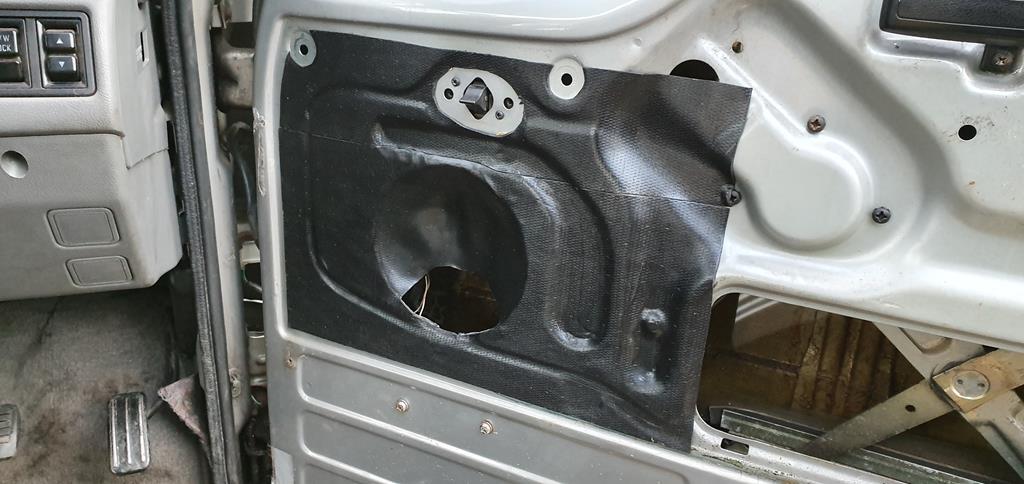 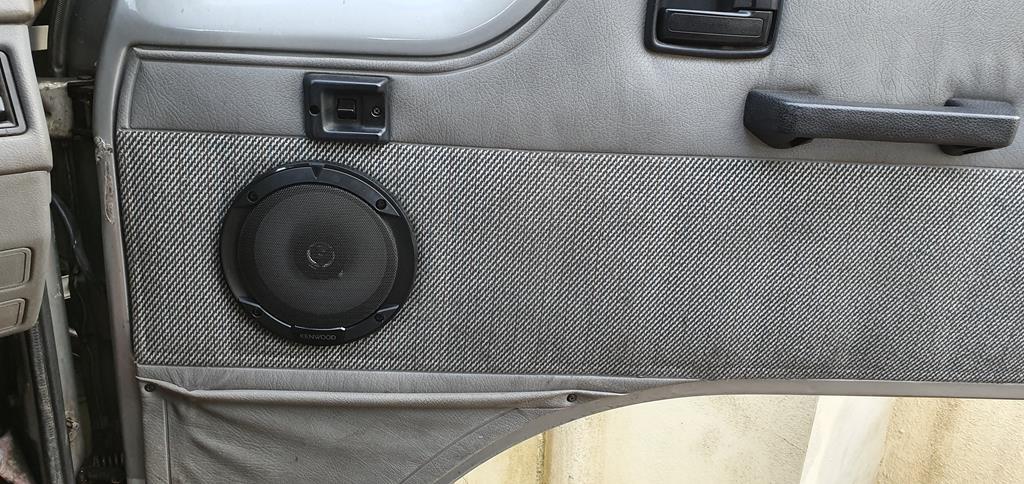 More tomorrow... |
| |
Last Edit: May 15, 2020 13:17:24 GMT by BiAS
(car+wheels)-rideheight=WIN
|
|
|
|
|
|
|
Apr 28, 2020 22:39:35 GMT
|
|
Love it!getting a few midis on here now, good to see!that looks very clean!have you got an awning?
|
| |
|
|
|
|
|
|
|
|
that is a really sharp looking van. Love the wheels.
JP
|
| |
I know its spelled Norman Luxury Yacht, but its pronounced Throat Wobbler Mangrove!
|
|
75swb
Beta Tester
Posts: 1,051
Club RR Member Number: 181
|
|
|
|
|
looks great, i'm not sure i've ever seen one in the wild!
|
| |
|
|
brachunky
Scotland
Posts: 1,337  Club RR Member Number: 72
|
|
|
|
|
What a great find and in great nick by the look of it! How about a modest drop in height?
|
| |
|
|
BiAS
Club Retro Rides Member
 Insert witty comment here
Posts: 2,231
Club RR Member Number: 147
|
|
Apr 29, 2020 16:10:16 GMT
|
Love it!getting a few midis on here now, good to see!that looks very clean!have you got an awning? Cheers Tim, yeah, I got one in February but haven't had a chance to try it out yet. that is a really sharp looking van. Love the wheels. JP Cheers dude, I really love the wheels, I'm a sucker for concave  looks great, i'm not sure i've ever seen one in the wild! Cheers dude, I've only seen 4 in the wild apart from mine, reckon the rust did for most of them What a great find and in great nick by the look of it! How about a modest drop in height? Cheers dude, the pictures are quite flattering, it's not too bad but it's a definite 25 footer. A modest drop you say? Bear with me  Carrying on from where I left off: Also on the advisories for quite some time had been the front shock top bushes, it was very bouncy on the front, leading the wife to start referring to it as the bouncy bus so some more interneting turned up a pair of new old stock front shocks with bushes. What I love about these is that the Isuzu shocks are in Isuzu boxes with the Isuzu part number sticker covered by the Vauxhall part number sticker... 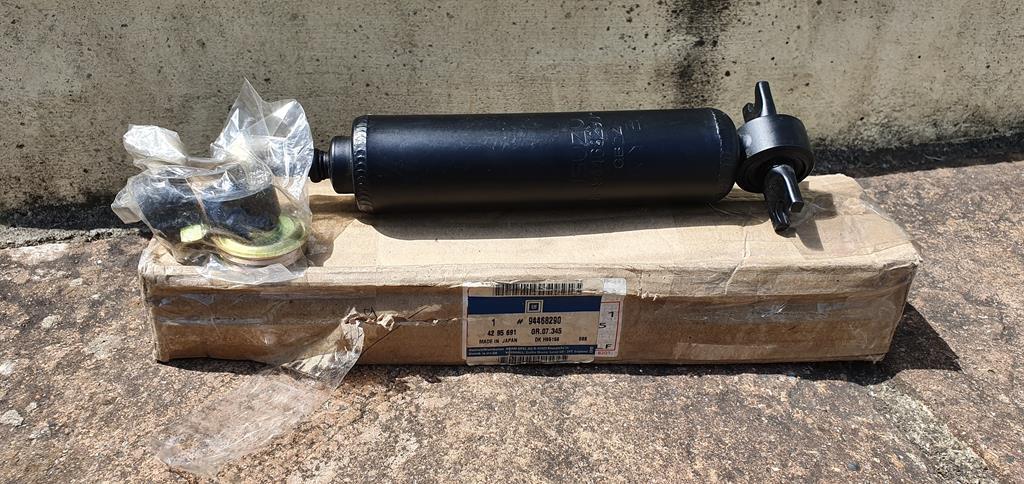 Old ones off.. 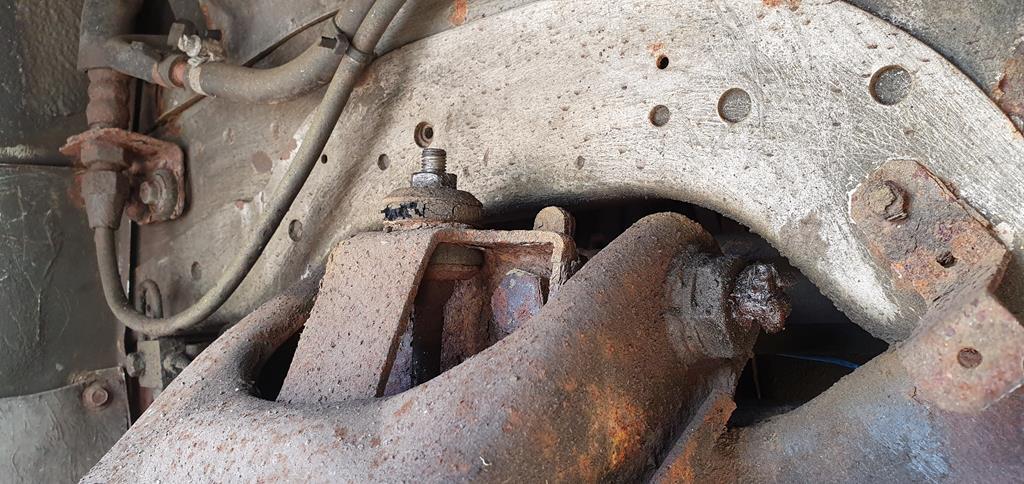 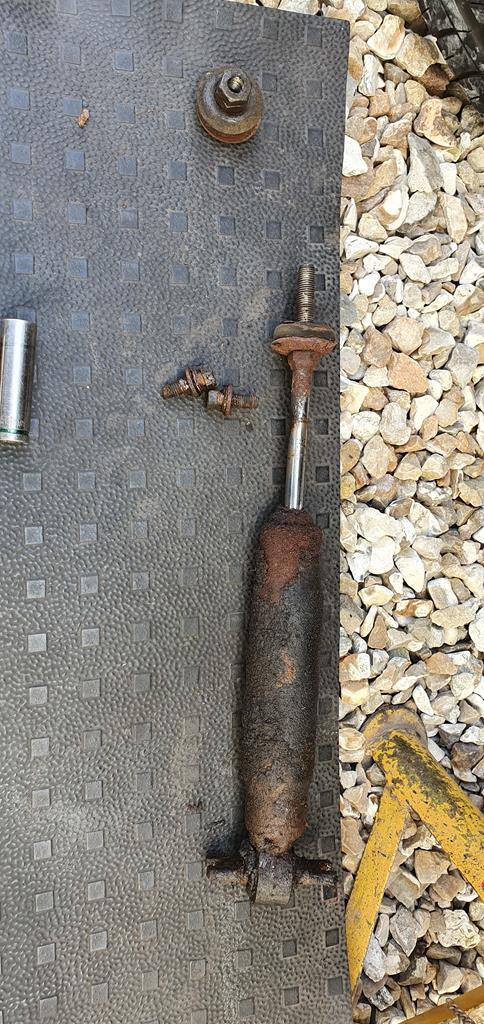 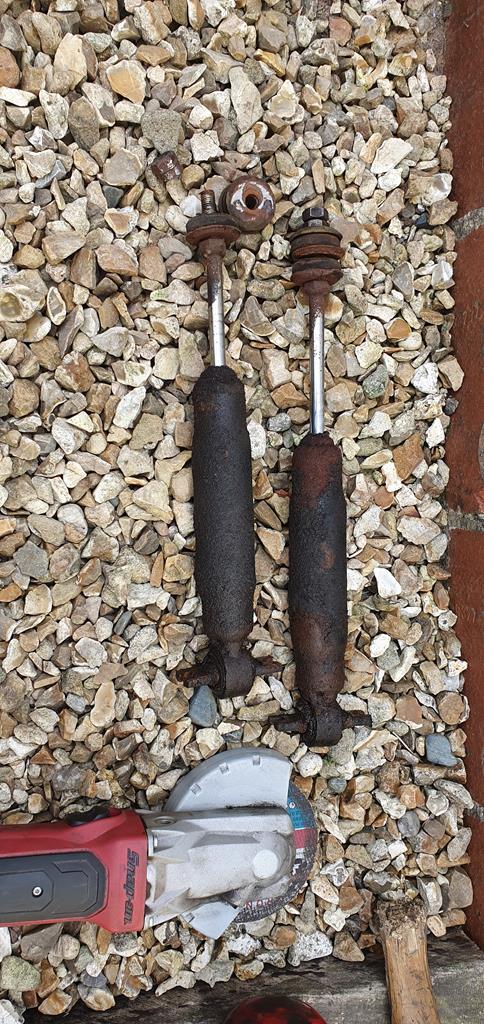 As it turned out not only were the bushes knack'd but neither shock had any oil whatsoever left in it! Result. Also took the opportunity to get rid of this: 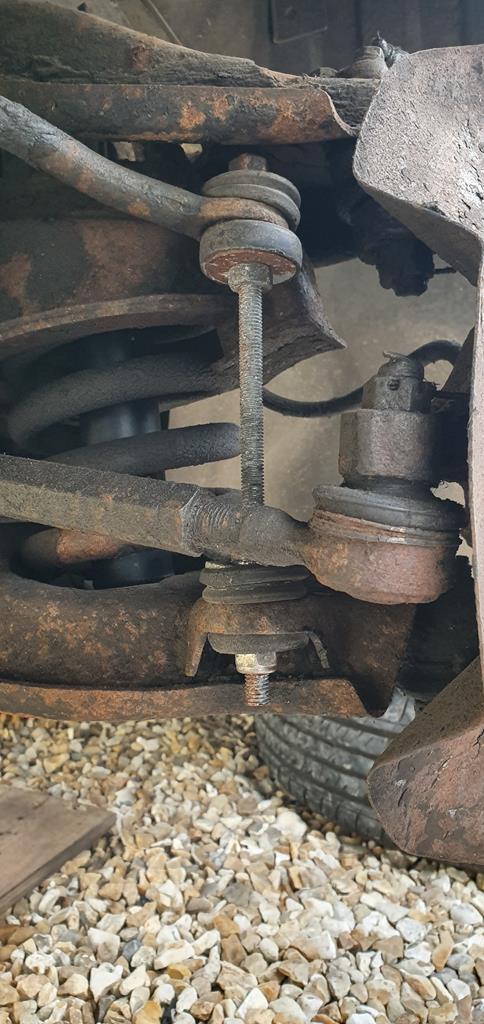 With arb droplinks being unobtainable this wouldn't have been a bad solution if they'd set it to the same length as the original on the other side! Handily someone on the fb owners group had posted about Mk2 Astra ones being suitable so a pair of these were fitted. Took the knackered steering idler off and gave it to someone to take to the guy they use for all their machine work to get the rust and wear taken off the pin and a new bush made. Unfortunately he then went on holiday for 2 weeks so whilst waiting I took all the interior out and jetwashed it all, failing to take any pictures. The wood floor under the carpet was knackered and the extra sound deadening under it was grim so fresh insulation and a new floor cut and fitted. Replacing the rear speakers revealed that the sides, sideload door and tailgate were stuffed with polystyrene for insulation. Would I get lucky and it be fire retardant? Of course not! So all of that was removed and replaced with recycled rockwool.. 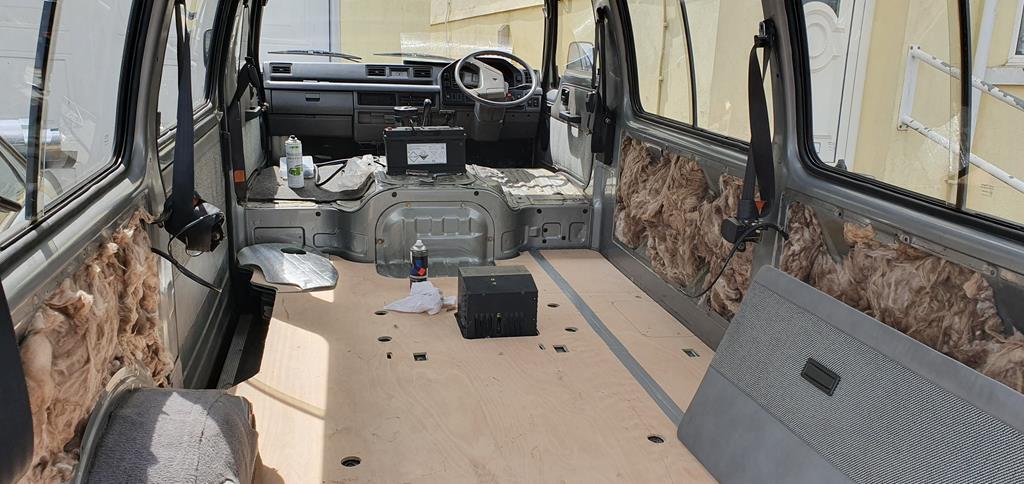 Cam belt was only done 1400 miles previously however this was 14 years ago so I got the bits to do it 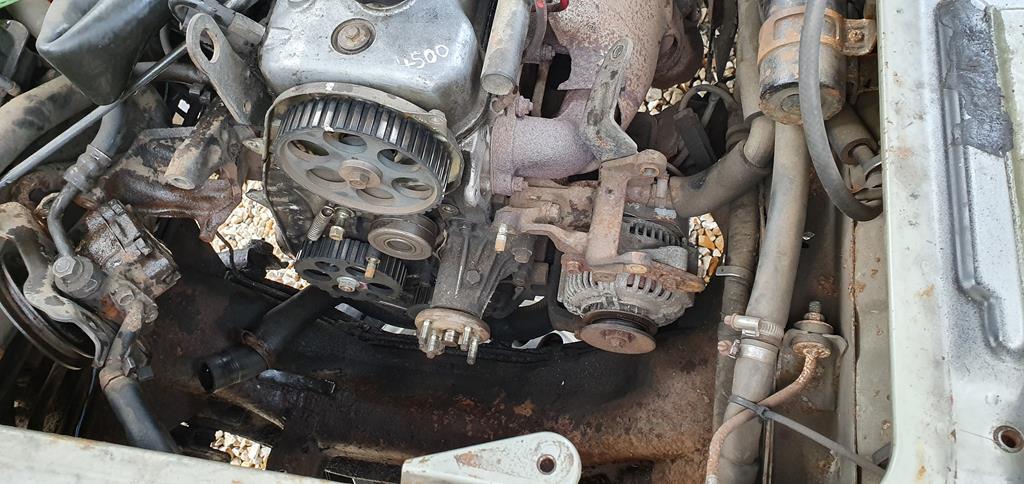 When I went to view it I'd noticed that the radiator was damp at the bottom but having taken the coolant and radiator out to do the cambelt it was clear that I'd drained a lot of rad seal out, if I'd put it back in with fresh coolant it wouldn't have taken long to start properly leaking... 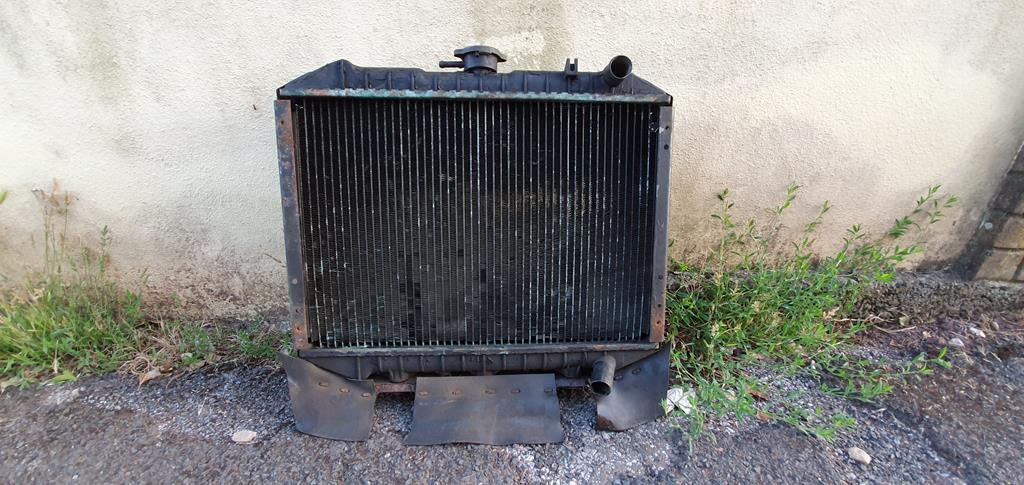 Ideal, I'll just get another radiator. Well, as per most of the parts that I'd needed so far a replacement radiator was no longer available in the uk or europe, the radiator has plastic end caps and the replacement cores are no longer available either so that was a no go too. The position of the inlet and outlet on the same side of the radiator meant that despite many hours of interneting I couldn't find one off something else close enough to replace it. So I bought a chinese 3 layer alu Civic radiator and electric fan and made a frame to fit it in the original mountings, the required rotation in the top hose providing the perfect position to mount the fan switch 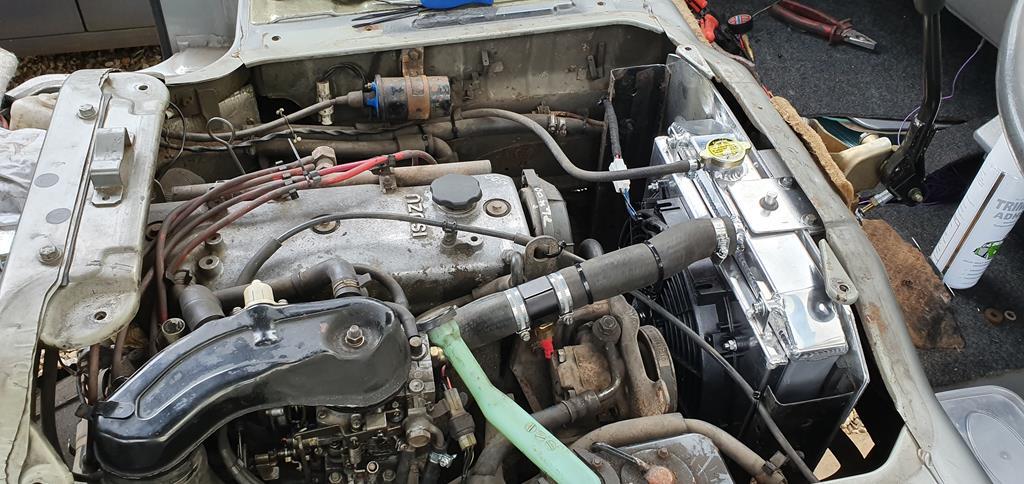 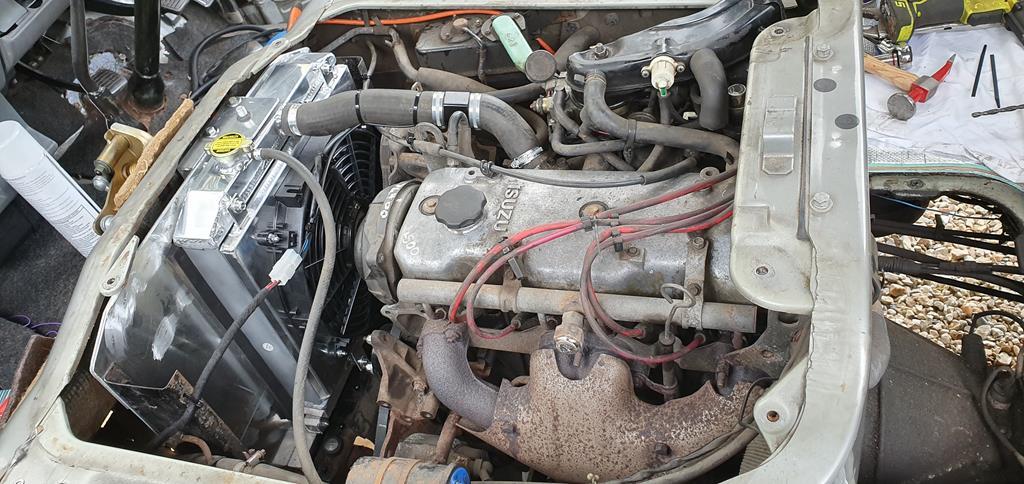 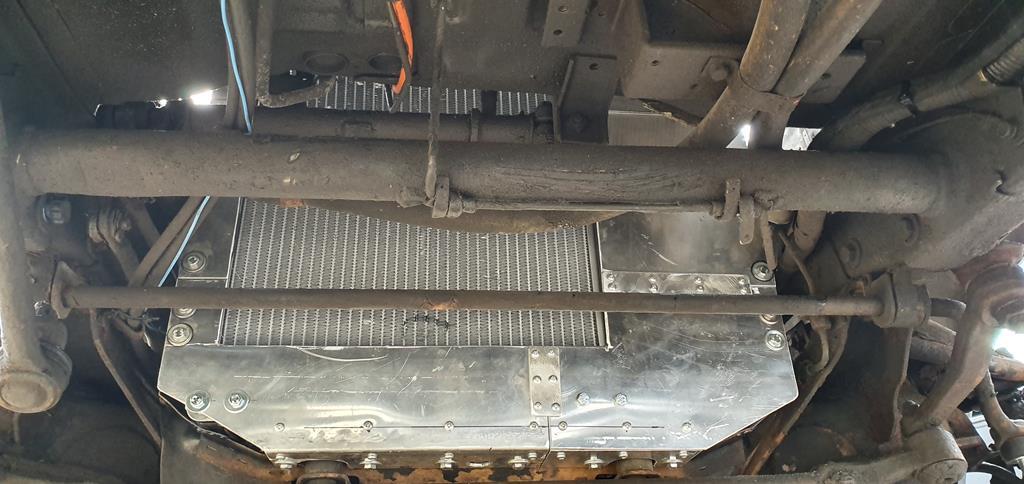 Steering idler reappeared which I again don't seem to have taken pictures of but improved the driving experience massively, with the play being reduced to about 3/4" either way. This was down to a tiny bit of play in the link between the steering box and the idler, unsurprisingly this part is unavailable so eventually a good s/h one was sourced and fitted. Hooray! even less play at the steering wheel. I built a removable camping pod housing a fridge, hobsink, water and gas that fits between the back of the front seats and the front of the middle row which I again seem to have not taken any pictures of. This required a leisure battery and split charge... 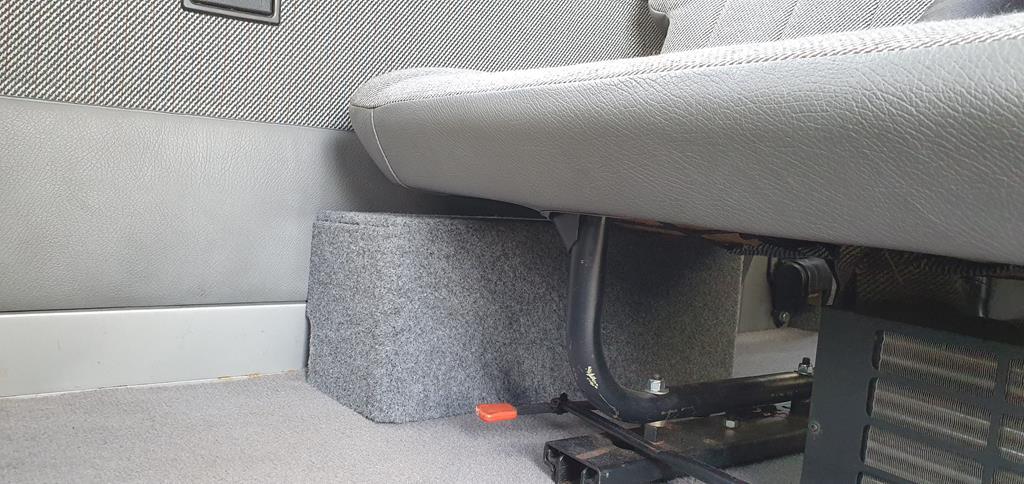 As with pretty much everything I've owned the 4 speakers weren't bassy enough so a sub and amp went in. Also visible in this picture is one of the usb fast charge sockets I put in where the ashtrays were in the rear. 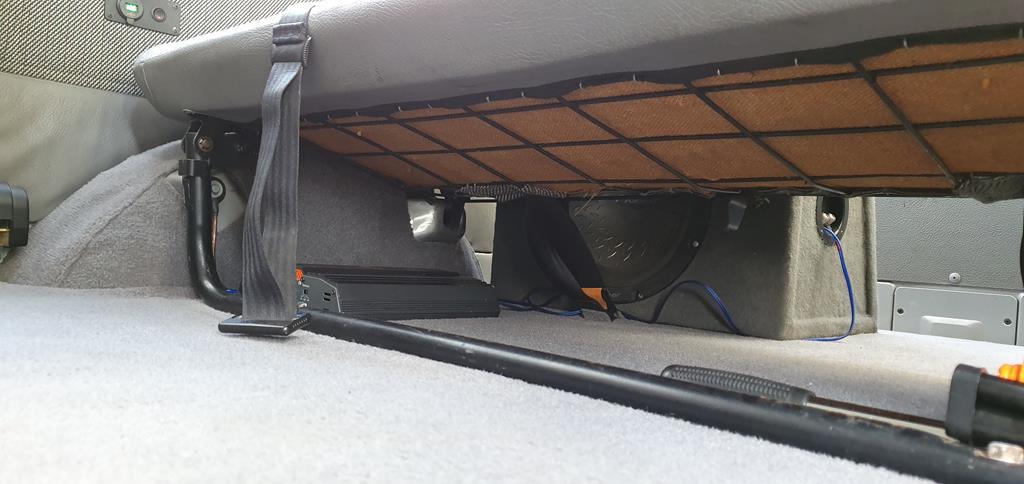 Soon enough MOT time came around and it failed on rear brakes no effort ns and almost no effort os despite the handbrake working fine. 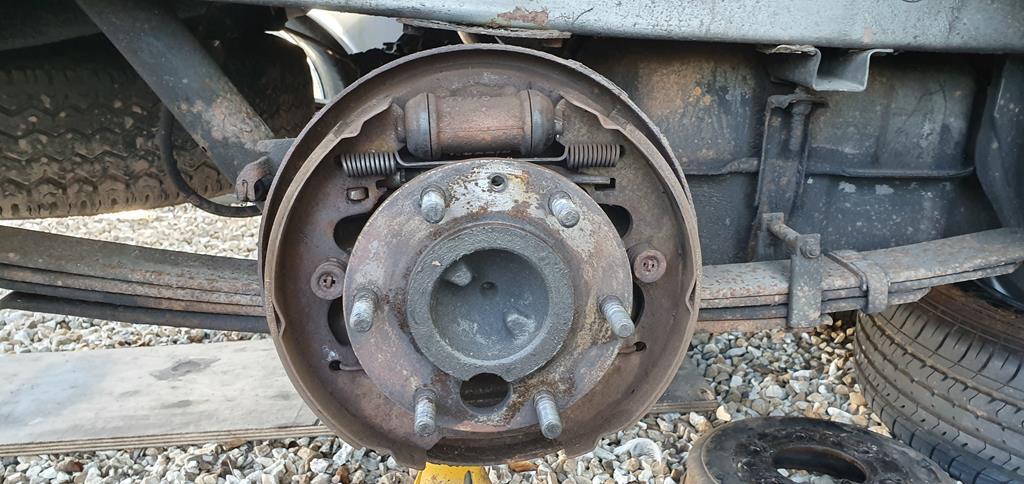 3 out of the 4 pistons on the rear cylinders had seized! Luckily they all freed off and didn't leak so a retest later and a fresh MOT (although there are a couple of bits of previous welding that are going to need removing and redoing properly at some stage) Carried on enjoying it, RRG19 or more precisely the journey to it was too much for the Chinese electric fan which melted so that got replaced with a Prelude one that I had kicking around. Went to Haynes Museum for the day 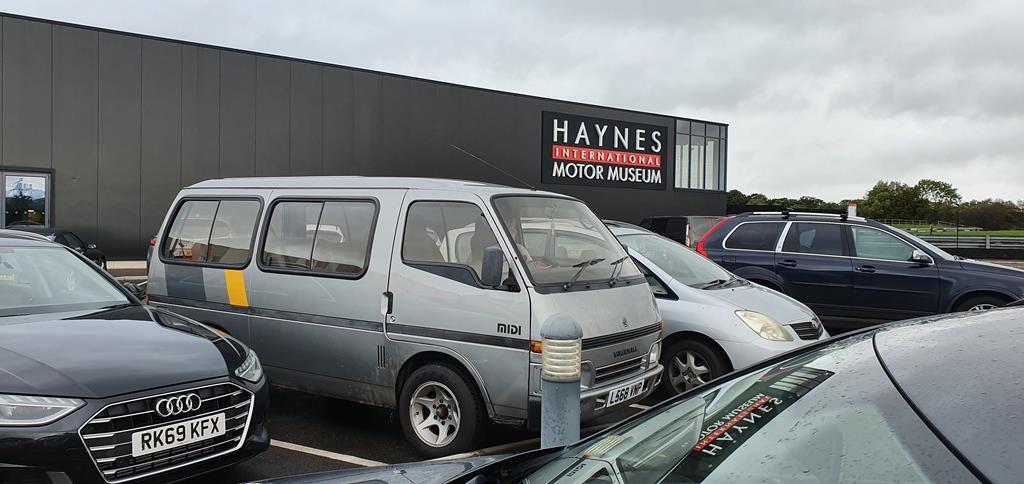 Bruce made me awesome keyrings 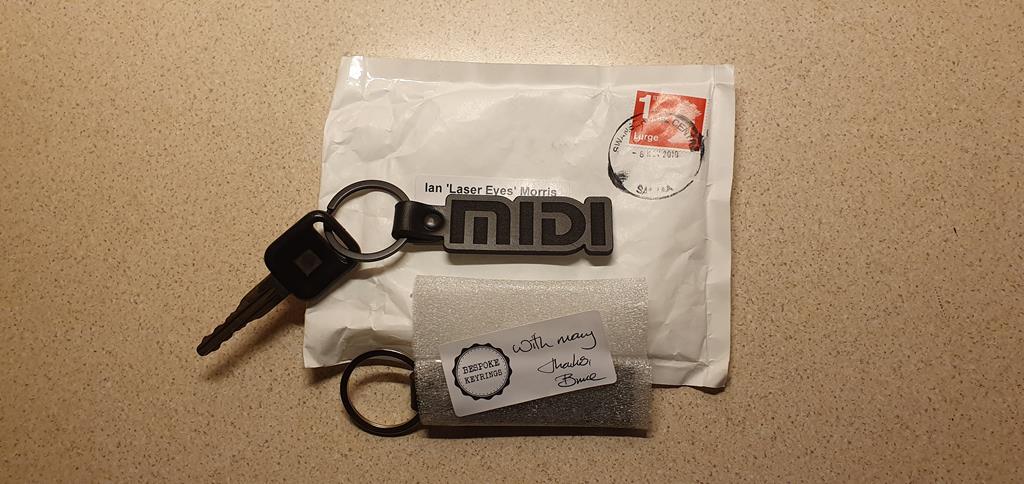 Put a sticker on it 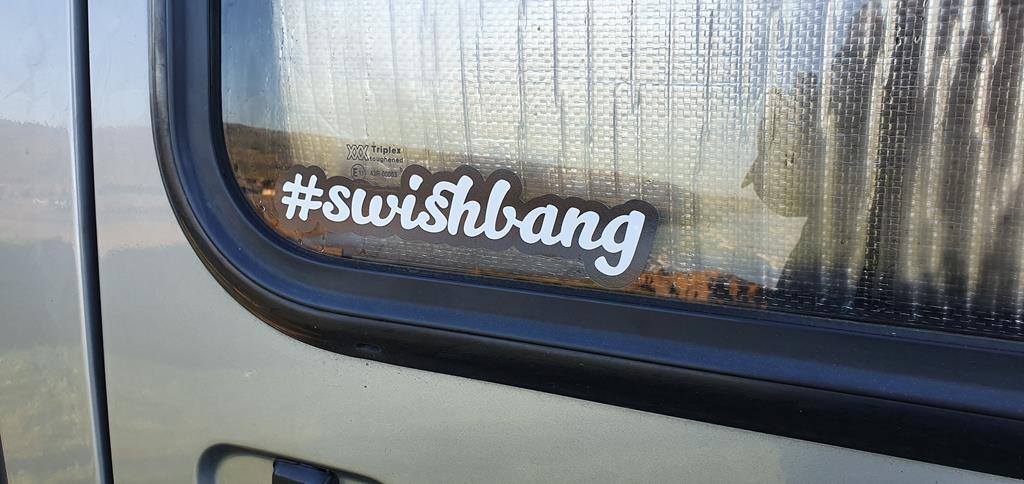 Our first night out in 2020, 7th of Jan in Perranporth 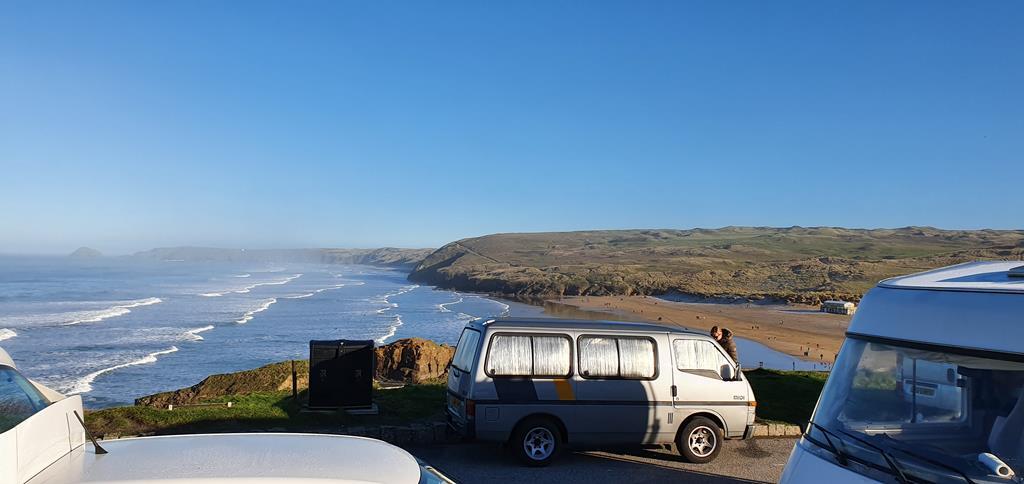 Me being me meant that the ride height had always bothered me. I'd read an account from the owner of the only slammed one I'd seen on the internet that the ride quality on chopped springs was terrible, which tbh I'd expected. The wife had also already made it very clear that as it was our camper it had to remain practical and comfortable. Back in December I'd bought back an air ride 'kit' I'd sold a few years earlier so I had nearly all the parts to put air on something. The Jaaag is going to be 'bagged but I want ride height and pressure management for that and the gear I'd bought back was pressure management only.... I'd obviously need a bit more clearance between the tyres and arches if I was going to go lower so... 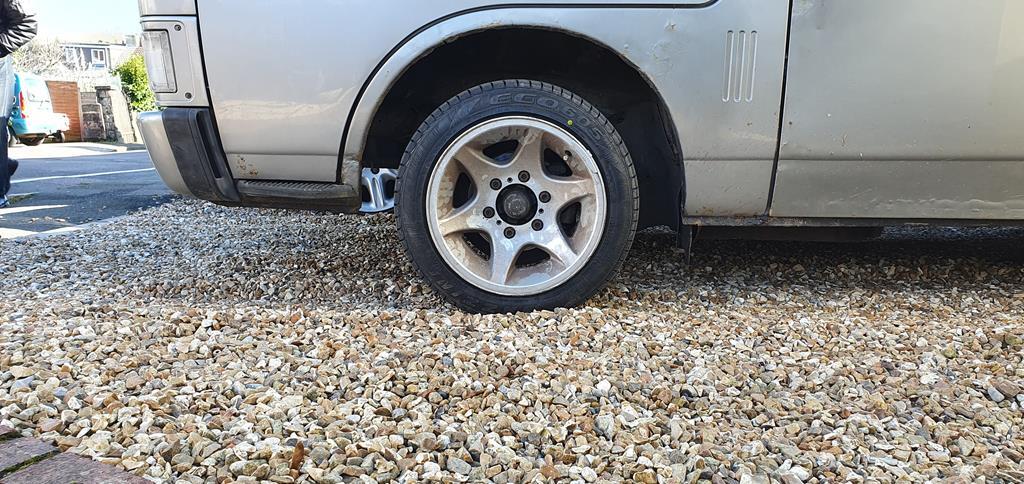 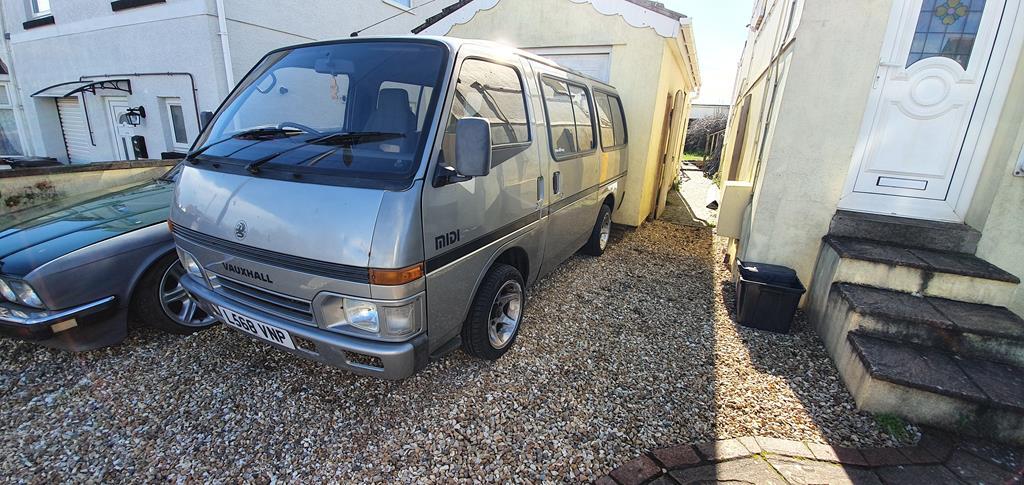 More soon... |
| |
(car+wheels)-rideheight=WIN
|
|
|
|
|
Apr 29, 2020 16:30:53 GMT
|
|
Liking that very very much!
|
| |
'80 s1 924 turbo..hibernating
'80 golf gli cabriolet...doing impression of a skip
'97 pug 106 commuter...continuing cheapness making me smile!
firm believer in the k.i.s.s and f.i.s.h principles.
|
|
adi
Posted a lot
  
Posts: 1,426
|
|
Apr 29, 2020 18:35:32 GMT
|
|
Thats very cool. Theres one on fb marketplace at the mo. Looks a bit rough though
|
| |
|
|
|
|
|
Apr 29, 2020 18:45:22 GMT
|
|
Like it, reminds me of magnum pi. Island hoppers 🏝️
|
| |
|
|
mylittletony
Posted a lot
  
Posts: 2,404
Club RR Member Number: 84
|
|
Apr 29, 2020 19:03:49 GMT
|
|
Yes! I'm in, excellent base material, tidy updates and lows to come - what more could you ask for
|
| |
|
|
|
|
|
|
|
|
|
Ive always thought these were nice to drive, it looks in really good nick as well but I guess being a bus rather than a builders van helps! Shame about the radiator as I have a couple of new ones in stock! 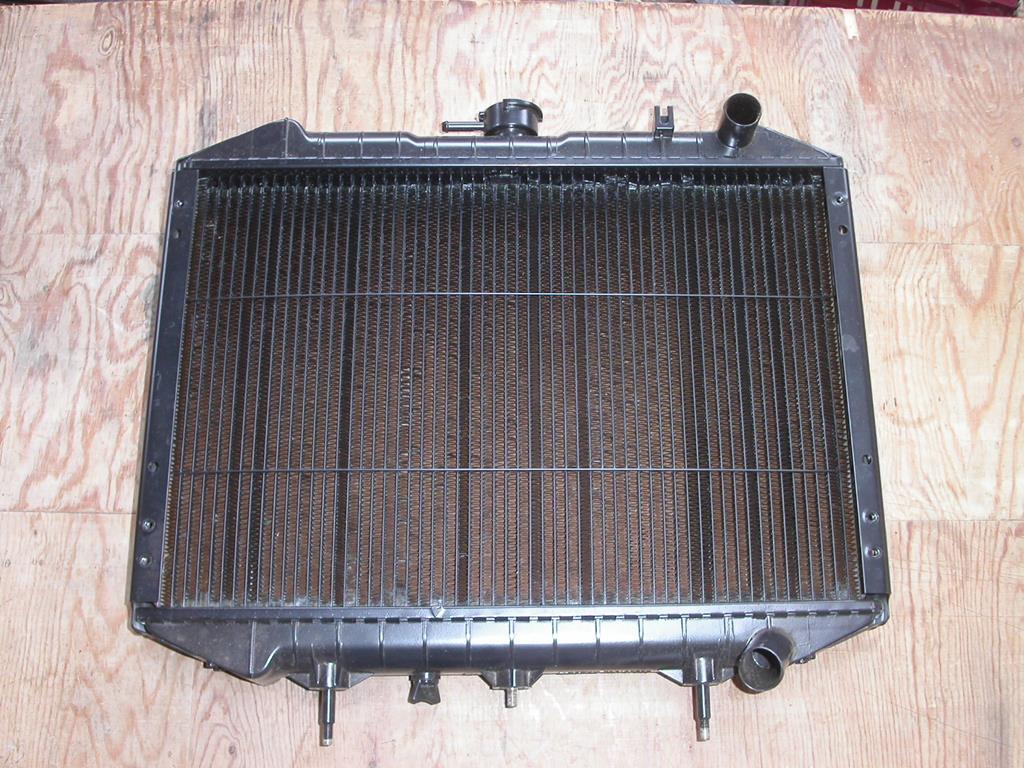 |
| |
|
|
BiAS
Club Retro Rides Member
 Insert witty comment here
Posts: 2,231
Club RR Member Number: 147
|
|
|
|
Liking that very very much! Cheers dude  Thats very cool. Theres one on fb marketplace at the mo. Looks a bit rough though Cheers dude, most of the others I've seen for sale have done  Like it, reminds me of magnum pi. Island hoppers 🏝️ Cheers dude, funnily enough you're not the first to say that  Yes! I'm in, excellent base material, tidy updates and lows to come - what more could you ask for Cheers dude  Ive always thought these were nice to drive, it looks in really good nick as well but I guess being a bus rather than a builders van helps! Shame about the radiator as I have a couple of new ones in stock! Unbelievable! Where were they when I was looking?!  Anyways, tyre change done I carried on with the MX-5 welding job I had in the garage. Then came the lockdown and furloughing, a solid couple of weeks in the garage got the MX-5 finished and I got to find out whether the Midi would actually fit in the garage or not..... 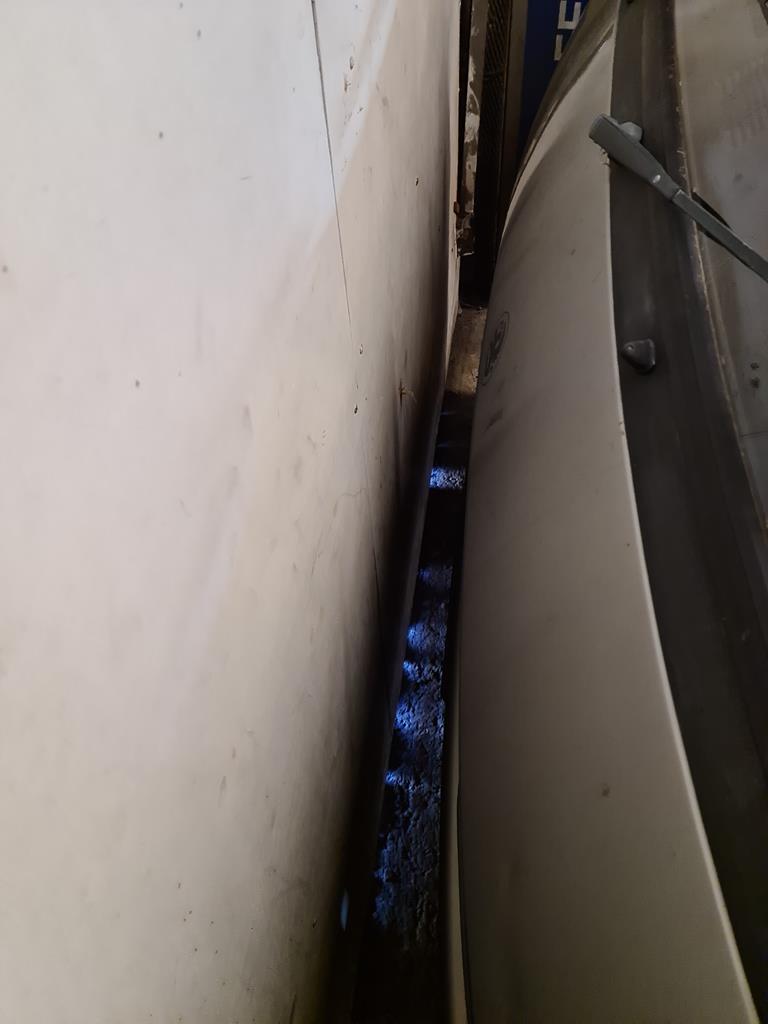 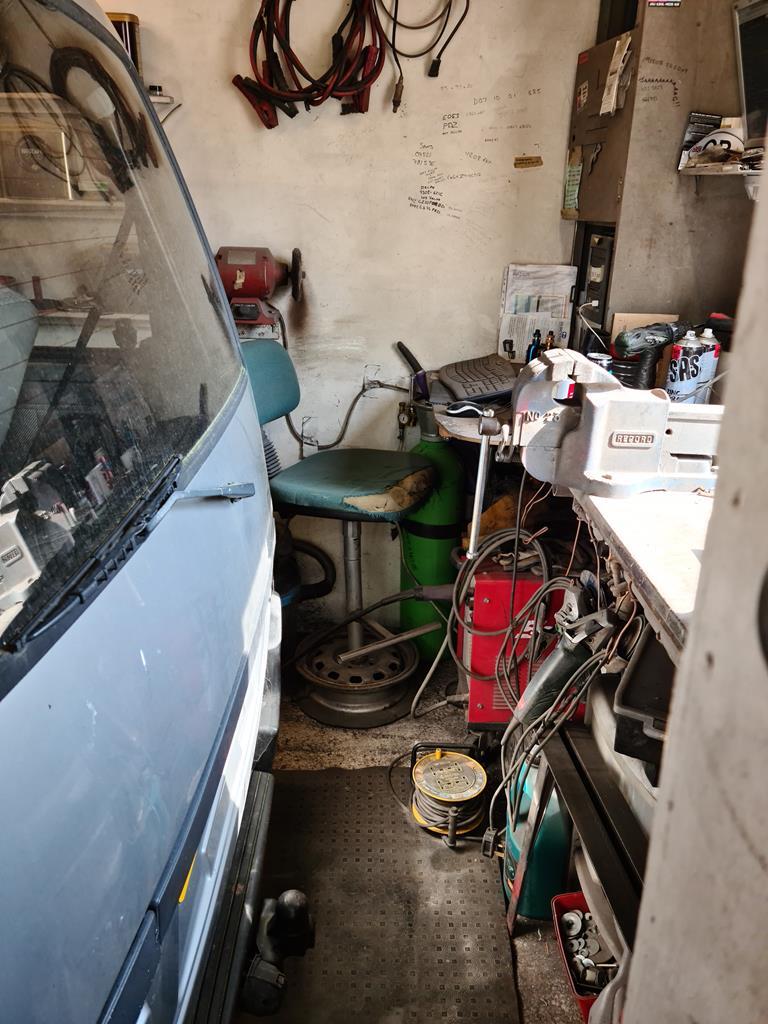 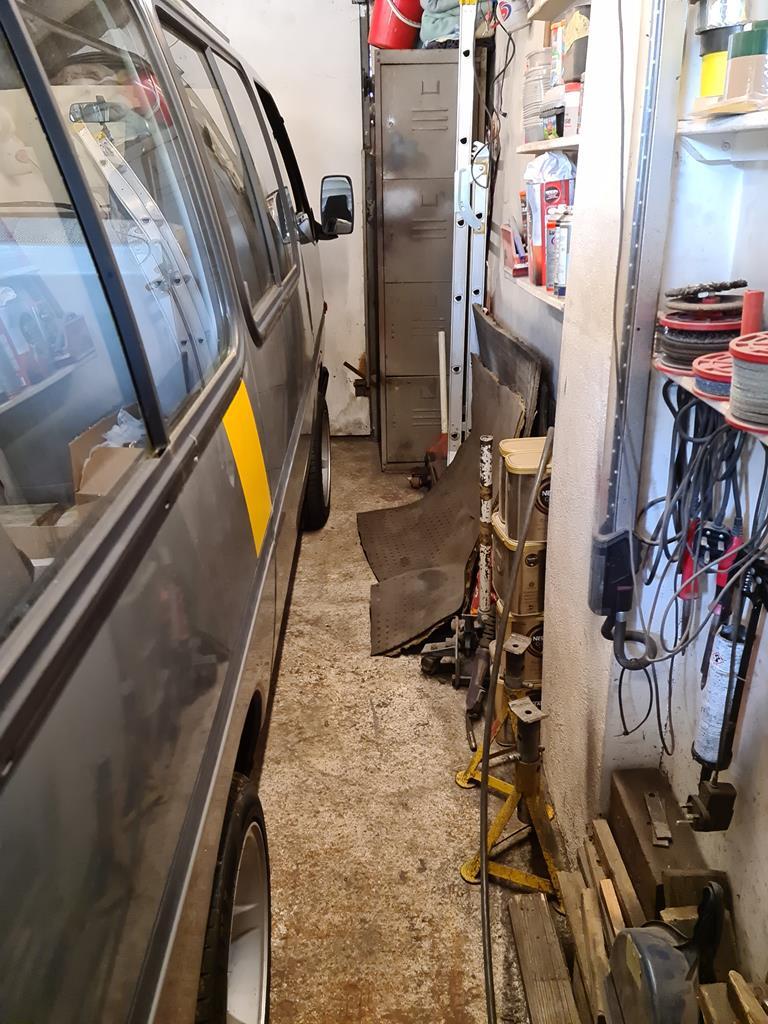 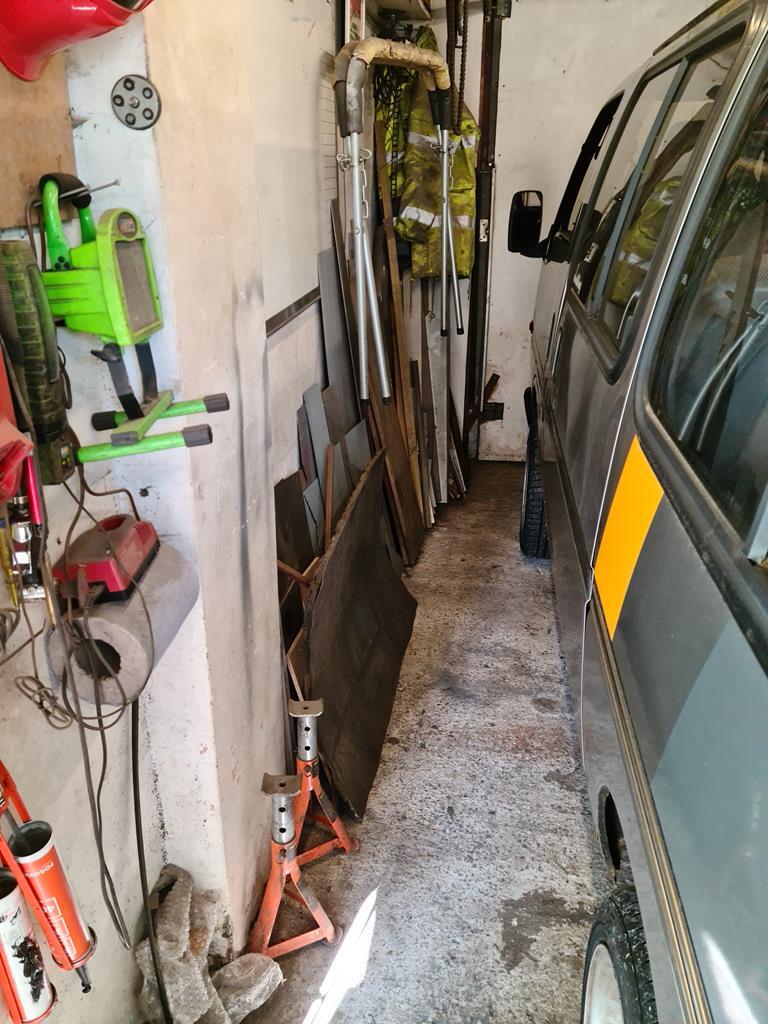 Hooray! It fits  First things first, a spot of measuring at standard ride height 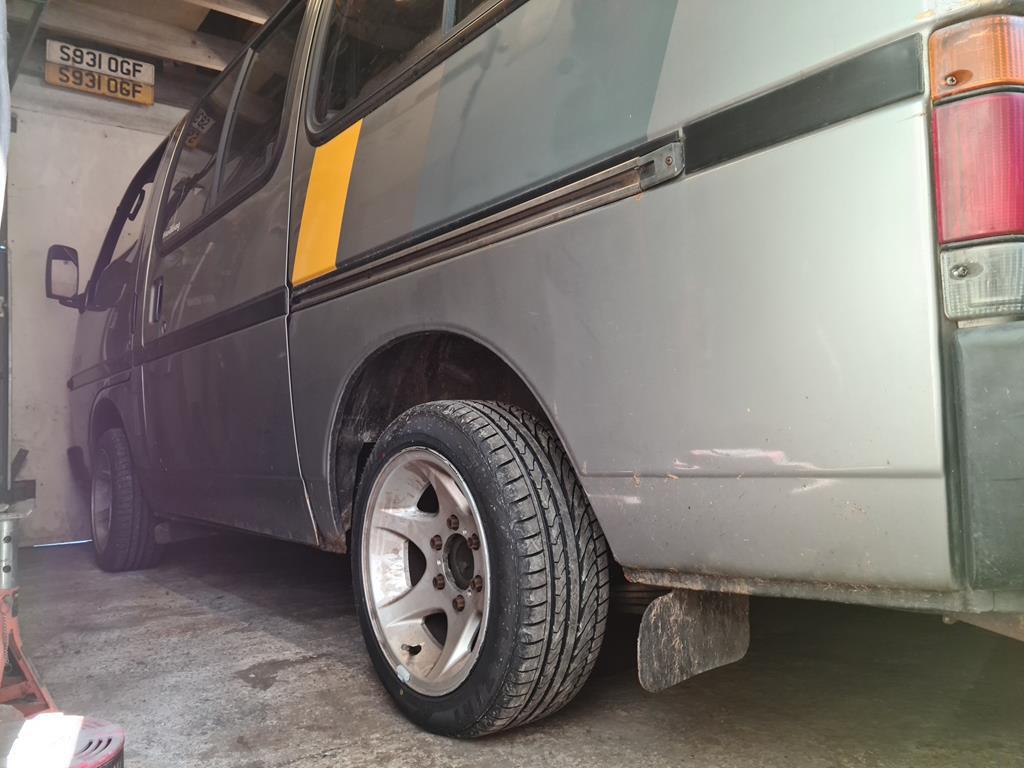 I needed to lose 120mm all round to get the tread surface level with the arch edge. The back suspension is axle over leaf spring. This spring pack consists of the eyelet spring, 2 leaves and a helper. I'd stumbled across some pictures of the underside of the other slammed one showing that it was running just the eyelet and helper so that seems like as good a place as any to start. 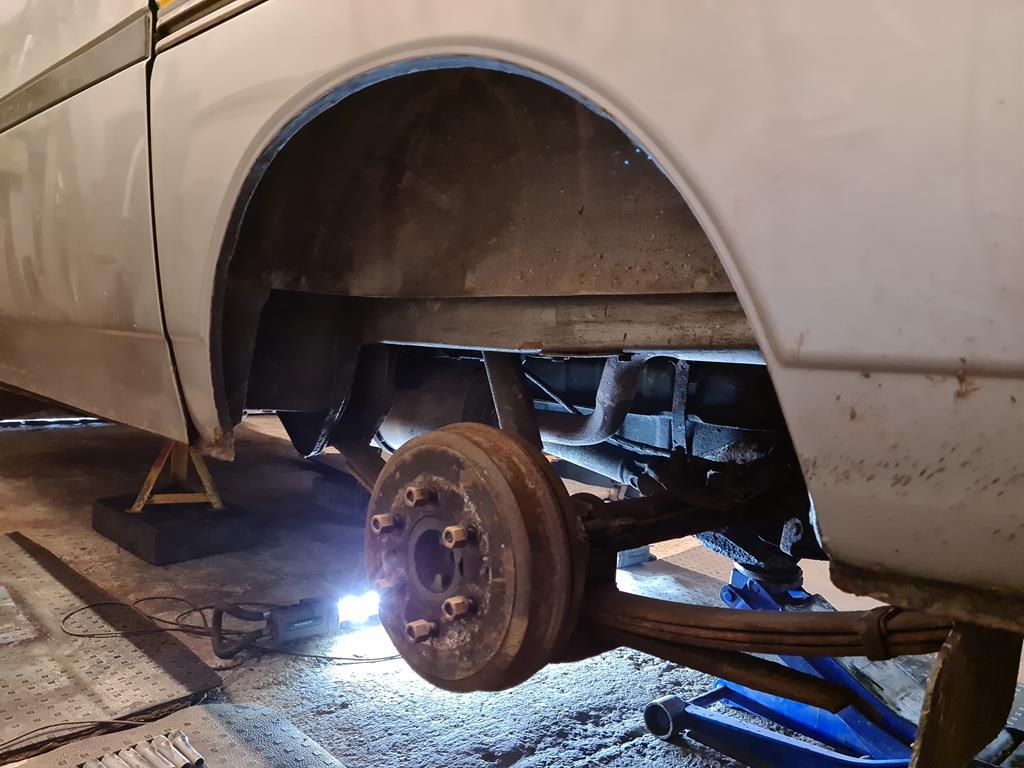 Surprisingly this all came apart relatively painlessly, I think it helps that the underside had been sprayed with oil every couple of years for the last 13 years or so. Makes it horribly dirty and black to work on but stuff seems to undo. Removed these.... 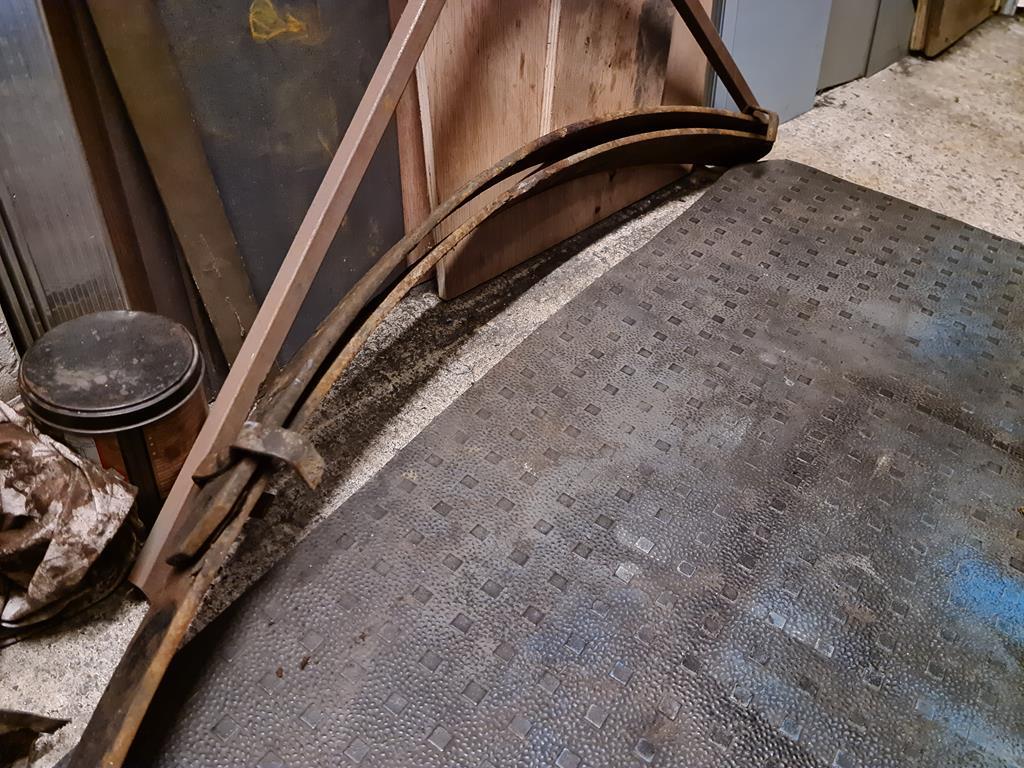 And put some more thread on the locating bolt to account for the missing leaves... 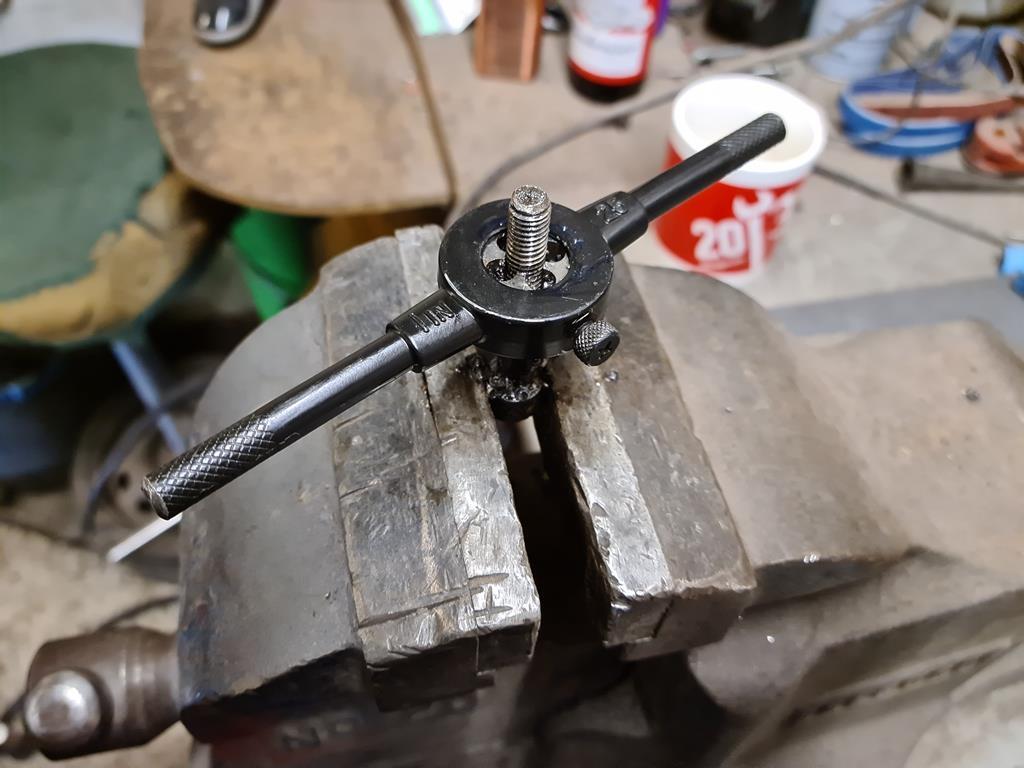 Getting me to here... 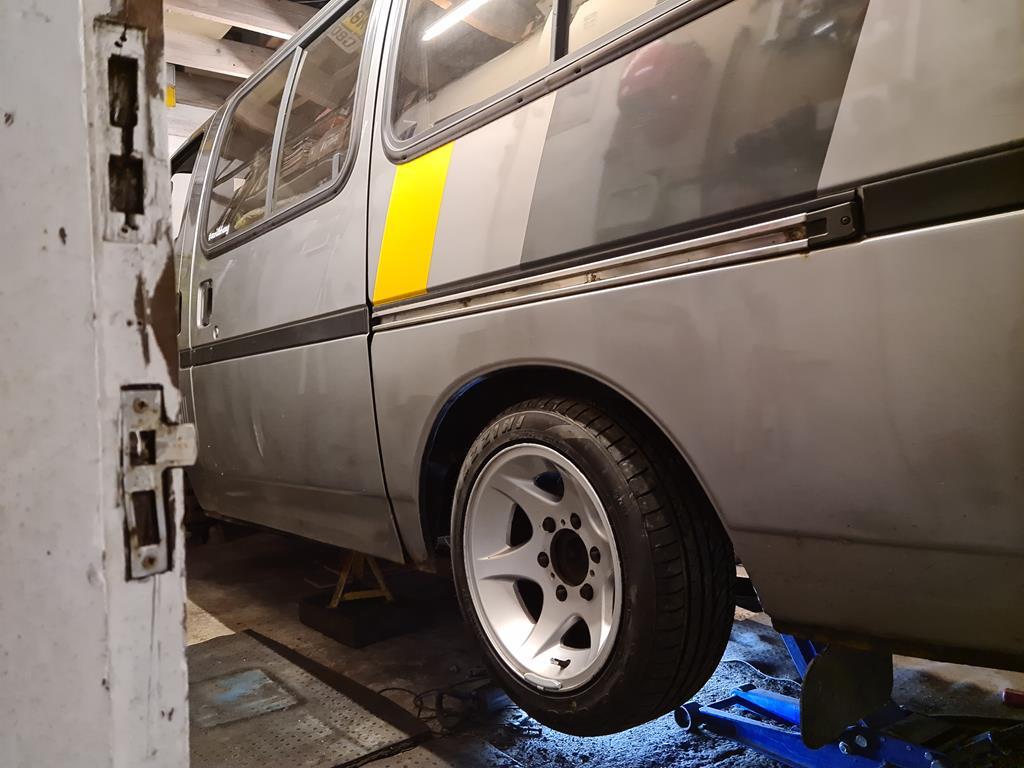 Better, but not low enough. Helper removed and replaced with the longer leaf - higher! That's no good, how about eyelet only? 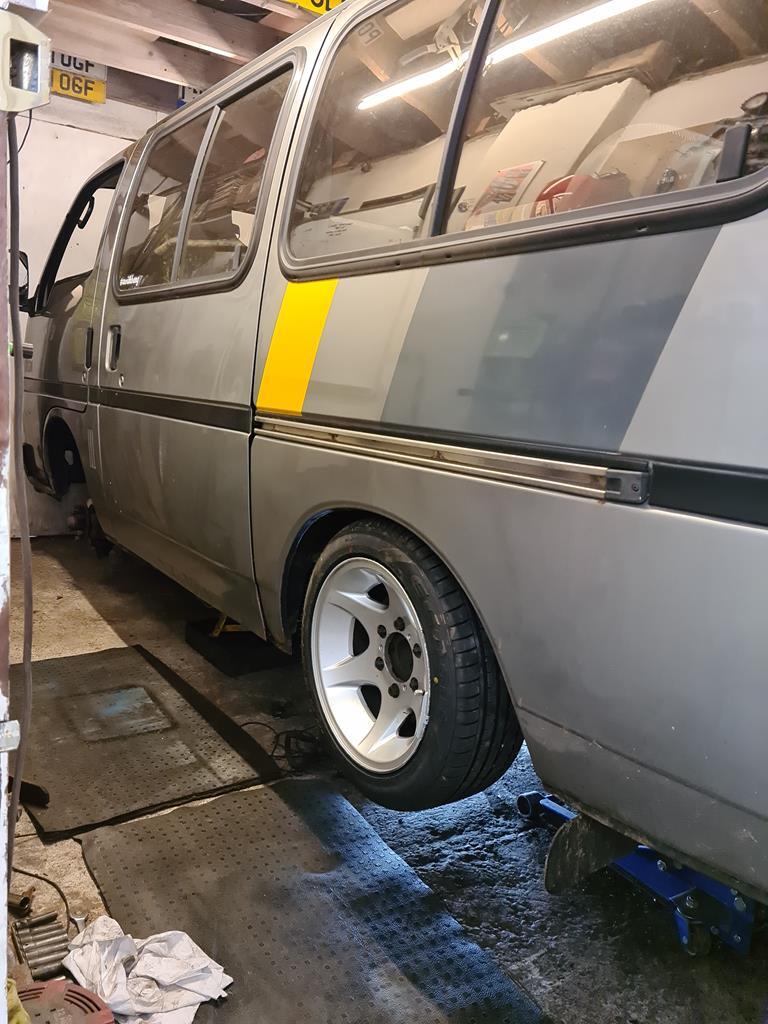 Much better, but the axle is now resting on the chassis. This highlights 2 issues, firstly I'd like another 20mm to just tuck the shoulder on full drop and secondly I'd assumed that the airbags were going to go between the axle and chassis with maybe a little notch. This is definitely not going to happen unless I put a full blown c notch and go into the interior, not doing that. The other option is to mount the 'bags inboard alongside the chassis, on the n/s this is where the exhaust goes over the axle so off that comes, along with the heatshield. The handbrake mechanism also intrudes a little into the space where the n/s 'bag is going so I narrow that, do a small chassis notch, make some bag mounts that bolt into the side of the chassis, weld some mounts onto the axle, add crush tubes for the bolts, make some lowering blocks then repeat on the o/s first removing the fuel tank and filler neck as they're a little close to where I'm welding.... 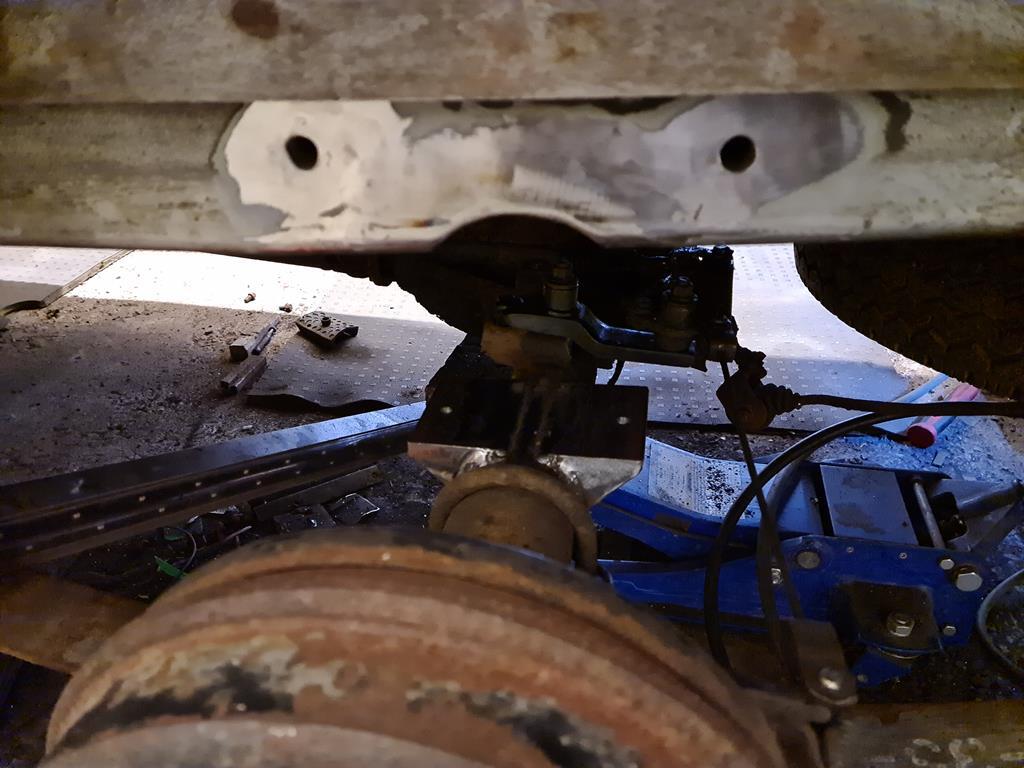 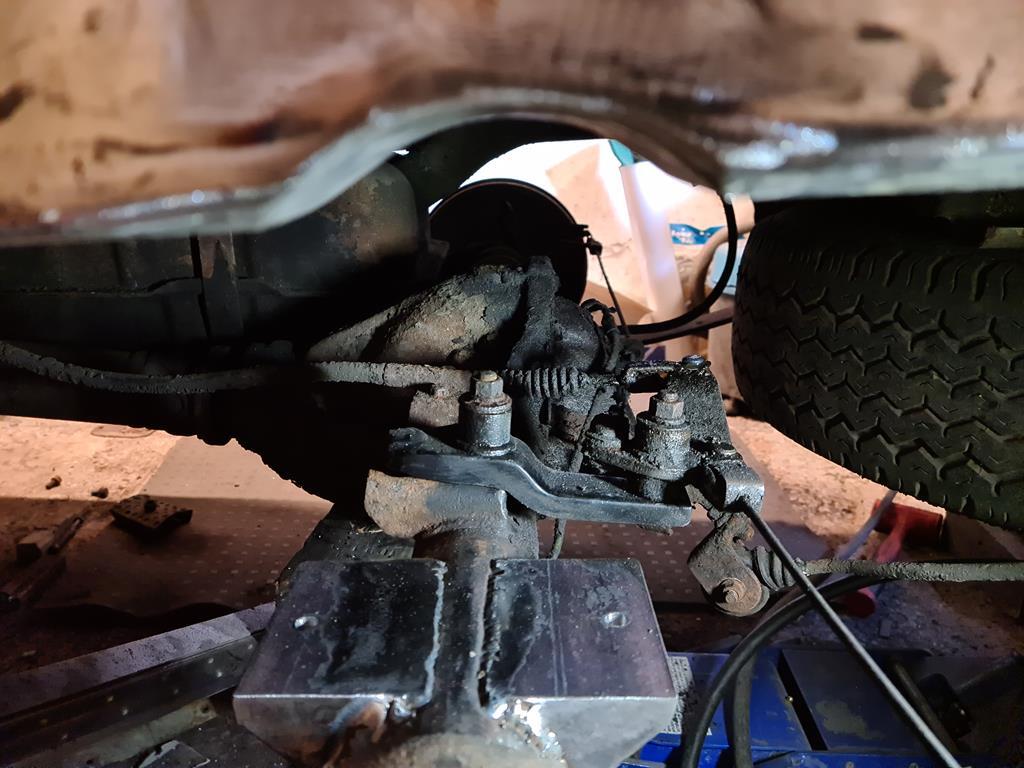 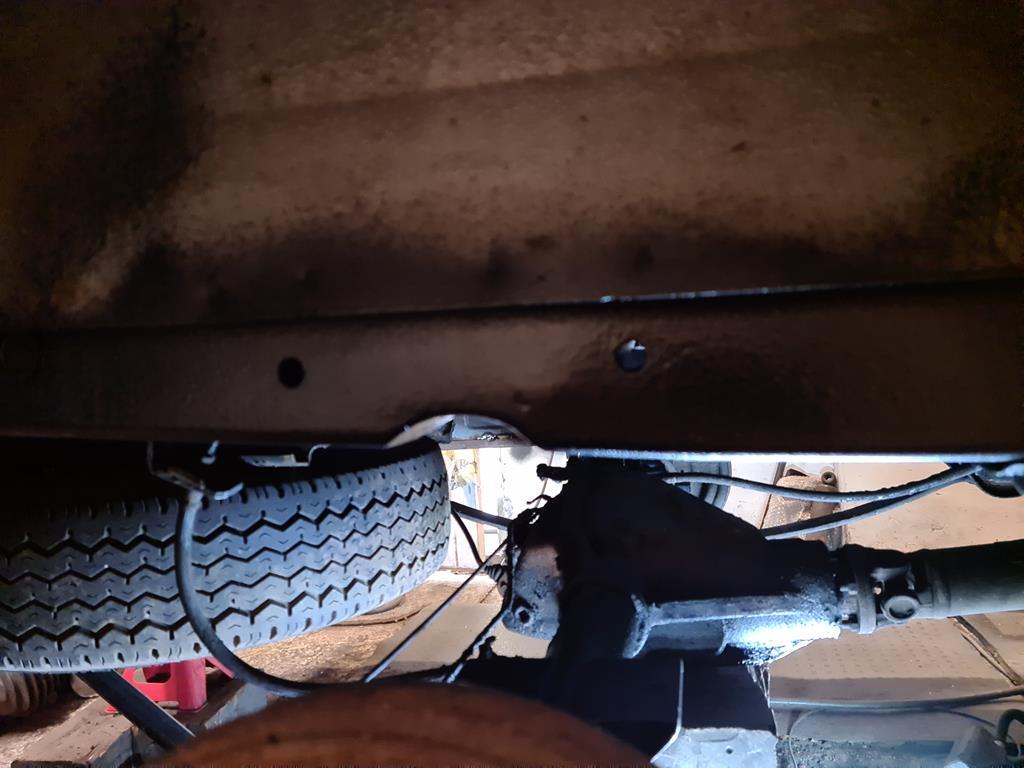 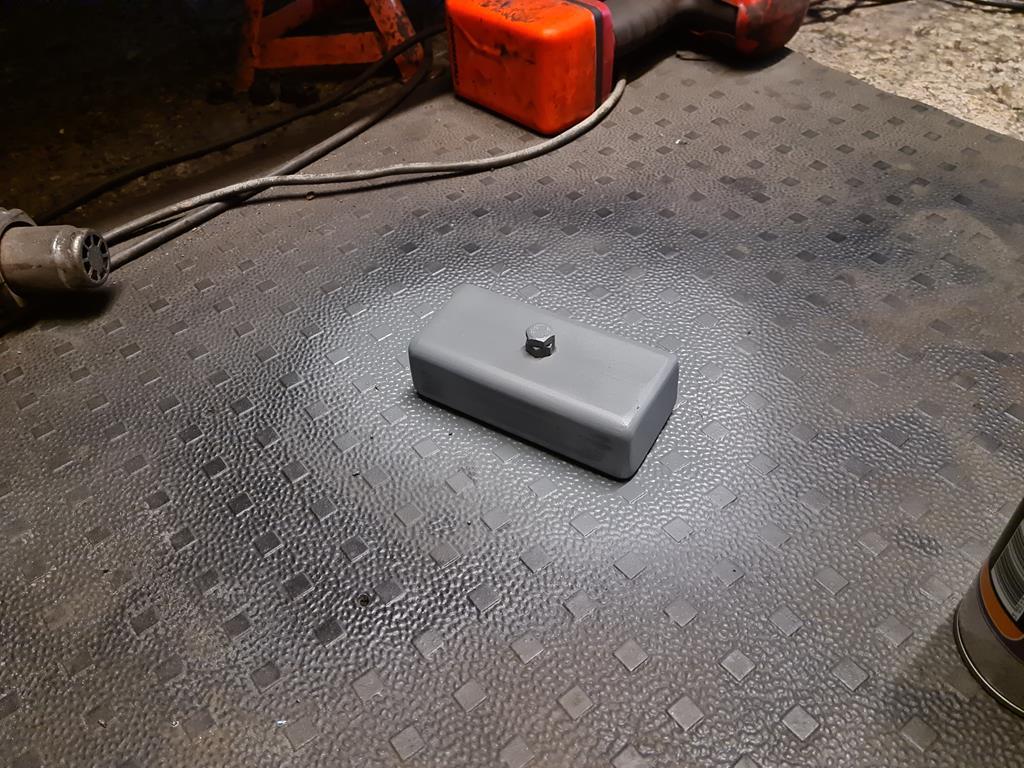 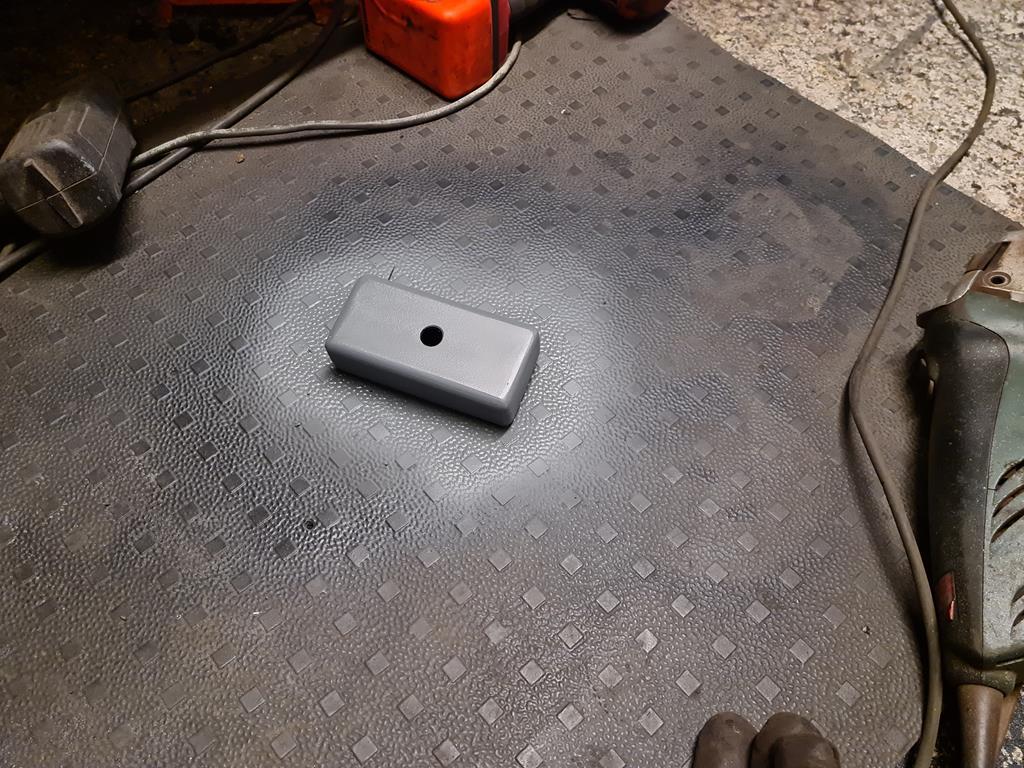 I had hoped that I'd have enough space on the top of the 'bags to use 90 degree connectors but they have to sit up against the floors so I'll have to have the air lines coming up through the floor, fortunately they come up under the back row of seats so they won't be in the way  All this metalwork gets me this at full drop, diff is 10mm below the underside of the floor as are the pivots on the handbrake mech 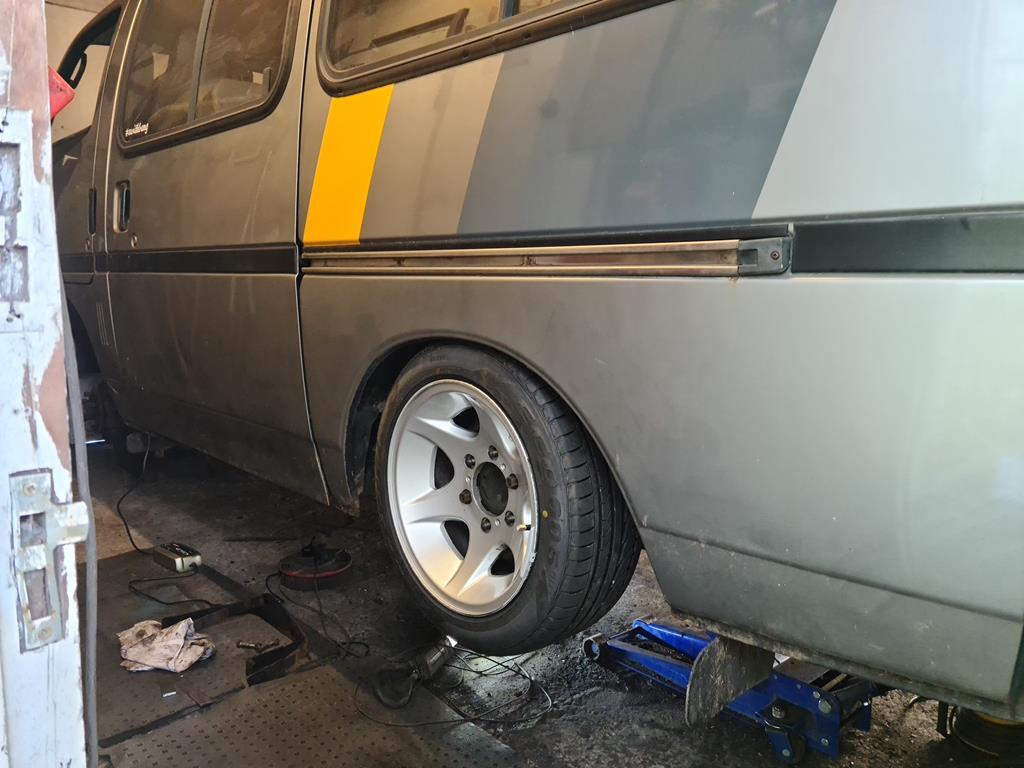 Success! Whilst I was underneath I also spotted a bit of rust bubbling out from one of the reinforcing plates under the floor, a bit of poking showed that this was going to need addressing. After cutting a hole in the insulation, cutting an access hole in the wood floor, cutting a hole in the lower insulation, cutting all the rust out, treating the top of the reinforcer I welded a patch in 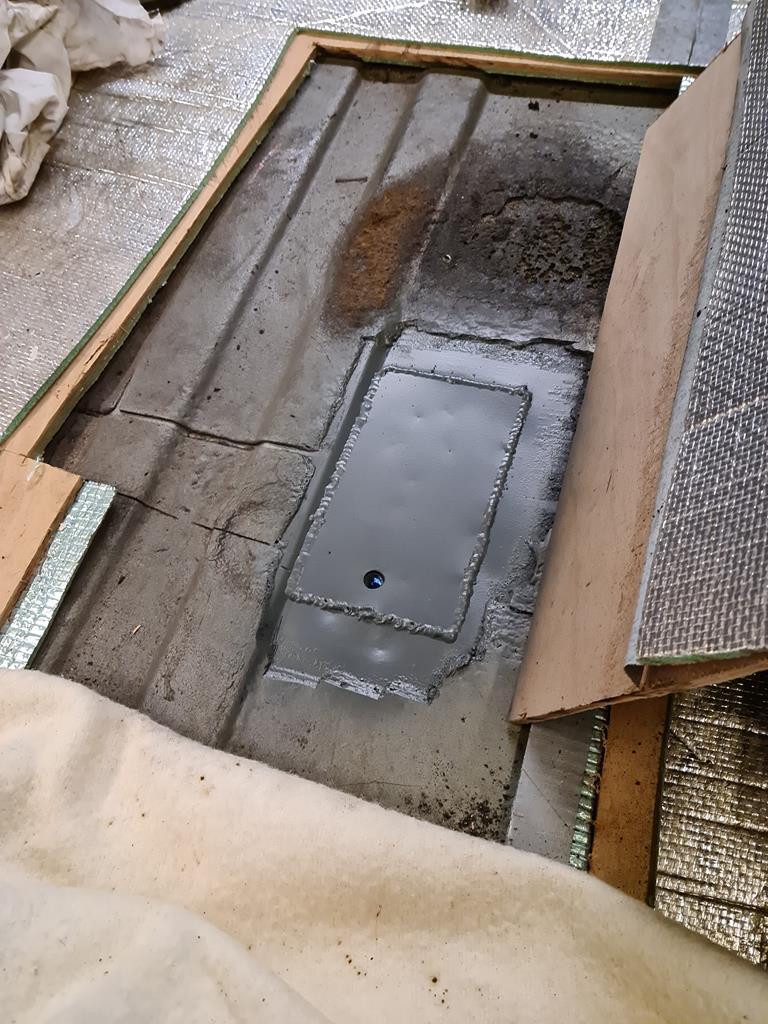 Insulation and wood reinstated I cracked into the exhaust. The exhaust only has 1 box mounted under where the sideload door is which by the sound of it has no internals left so I'd saved the backbox off a Mk2 MX-5 I broke before Christmas. This provided a a new box and a stainless end trim, I added some bends and mounts from the stock of odd bits and pieces I squirrel (hoard) away. Some cutting, welding and painting get me to here... 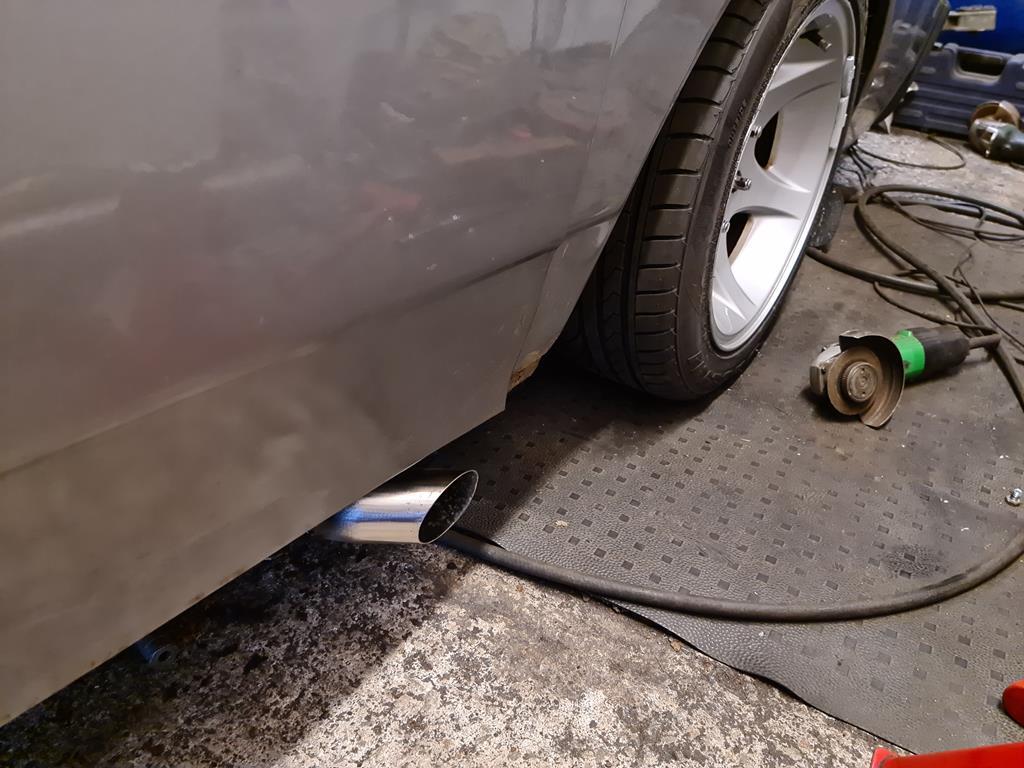 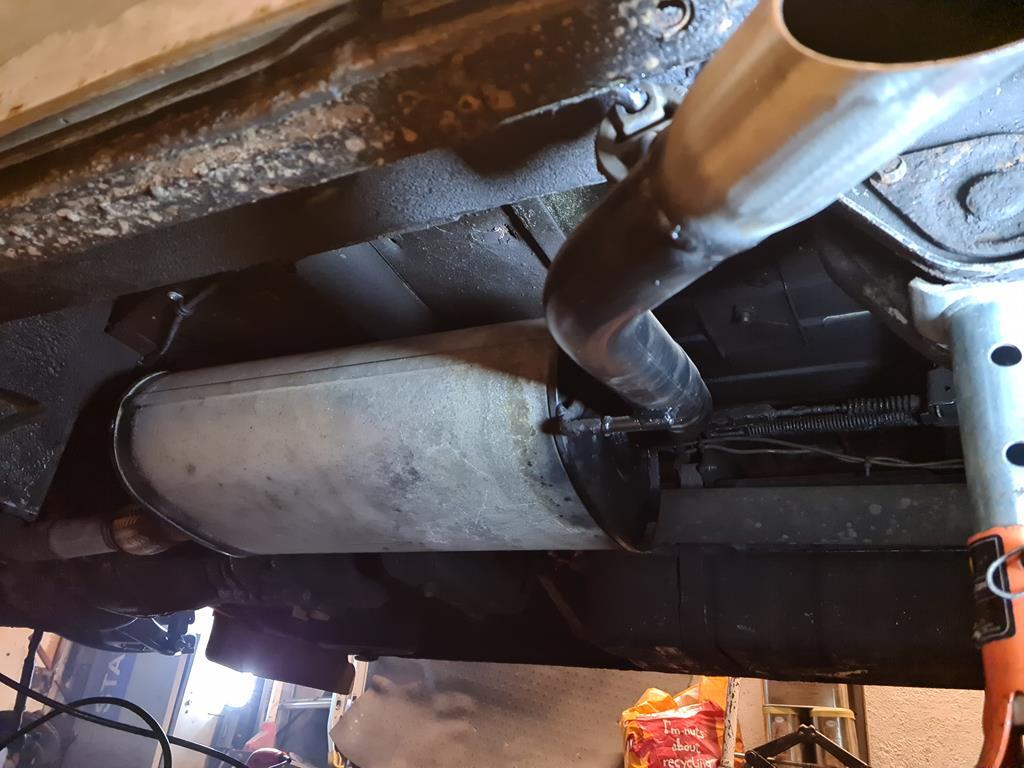 On the o/s I stripped the rust off the filler pipe, welded a patch into it, treated it and painted it. Rearmost flange on the fuel tank was a little too close the the 'bag for my liking so after stripping the rust off the top, treating and painting it I got the hammer and dolly out and folded the flange up out of the way. Fortunately the join on the tank is in really good condition so it didn't split or separate. Phew! I refitted them, rerouting the return pipe to the filler neck out of the way of the upper 'bag mount... 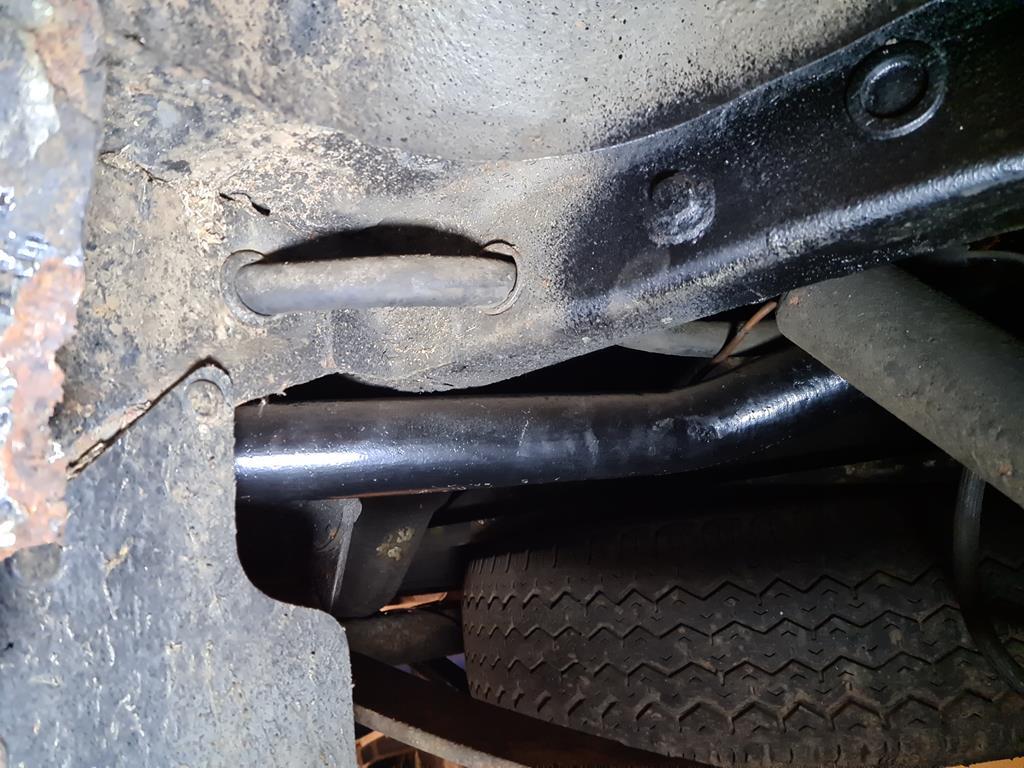 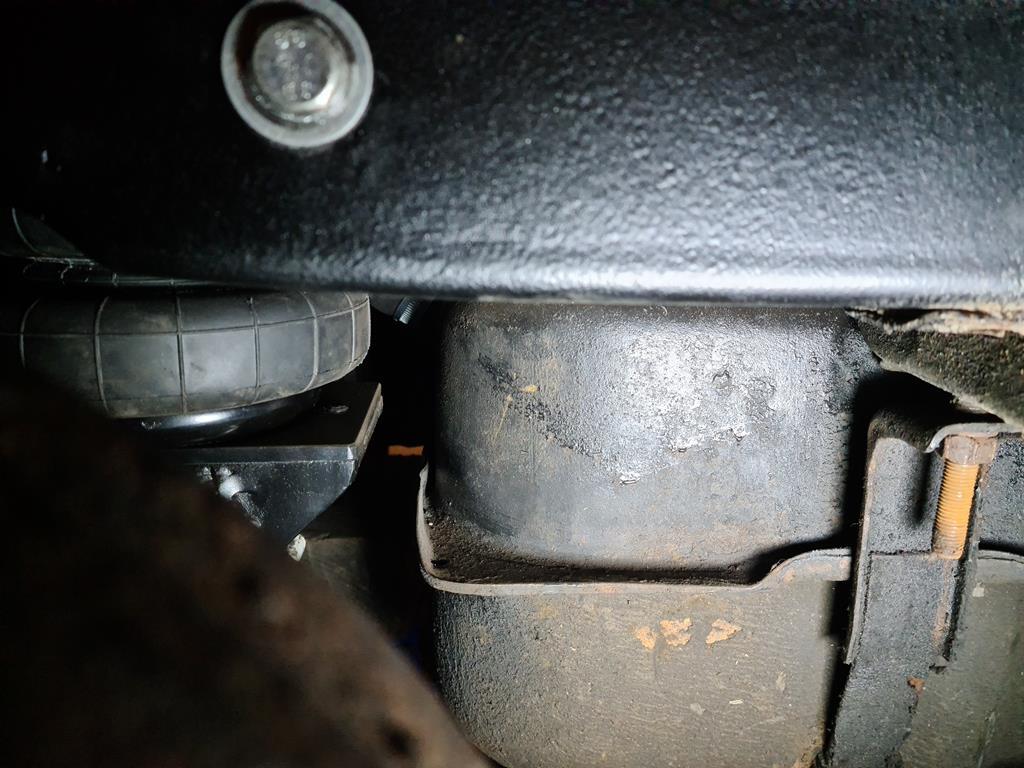 More soon....  |
| |
(car+wheels)-rideheight=WIN
|
|
BiAS
Club Retro Rides Member
 Insert witty comment here
Posts: 2,231
Club RR Member Number: 147
|
|
May 13, 2020 21:47:31 GMT
|
And so onto the front.... After soaking all the fixings with wd40 overnight they all undid despite looking rusty. Hub and caliper off, shock and spring out.... 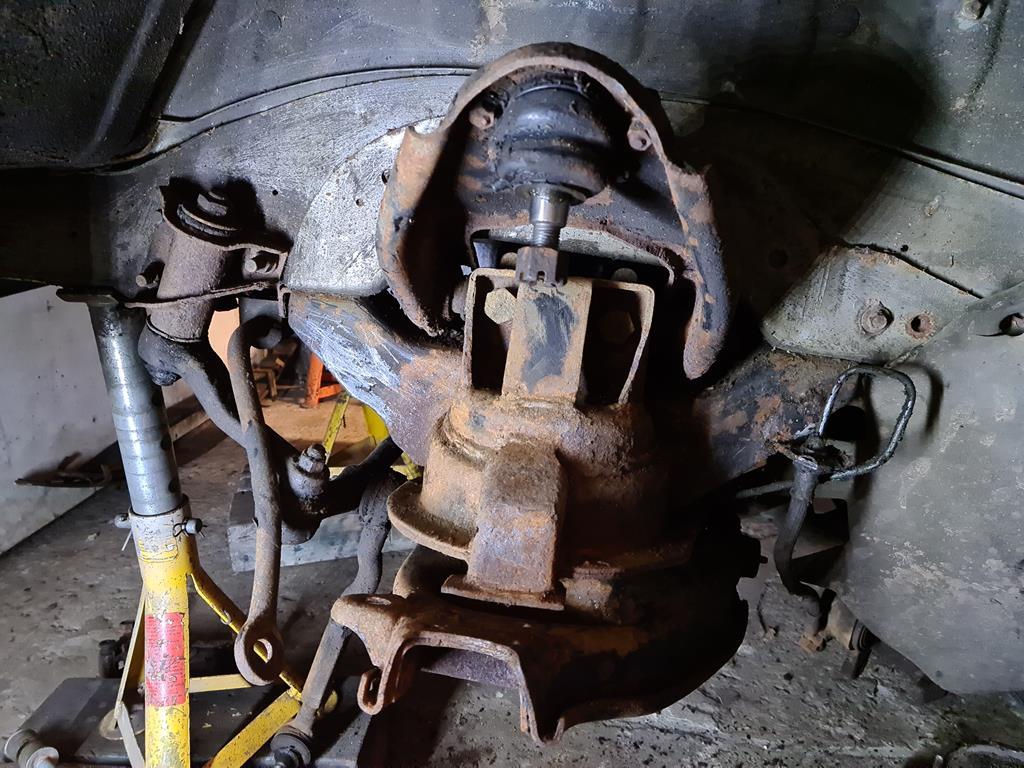 Some measuring and a lot of staring later I'd figured out how and where the 'bags needed to be. The following day I got busy with a cutting disc on some 6mm offcuts and the welder (cutting 140mm circles out of 6mm steel with an angle grinder is quite time consuming and dirty) Made 2 of these to bolt into the subframe and painted them..... 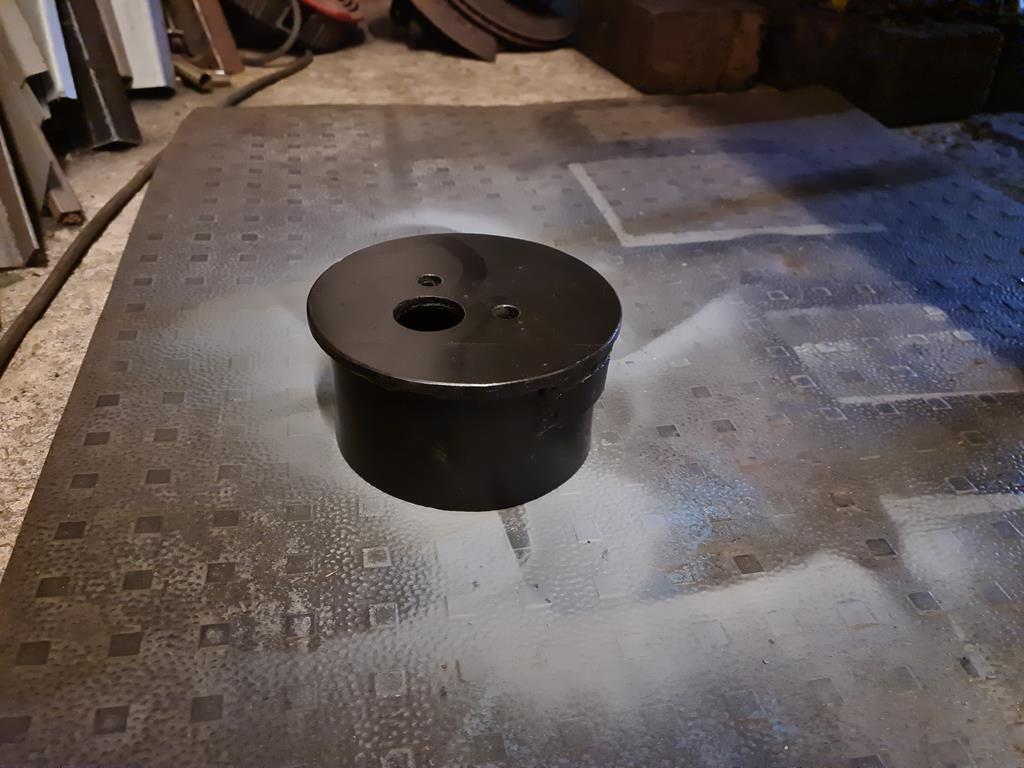 Then a set of plates to bolt into the lower arms to attach the 'bags, relocate the shocks to the outside rear of the arms and make some mounts to attach the tops to the subframe. A lot of sanding rust off the arms and subframe later I treated all of it and painted it.... 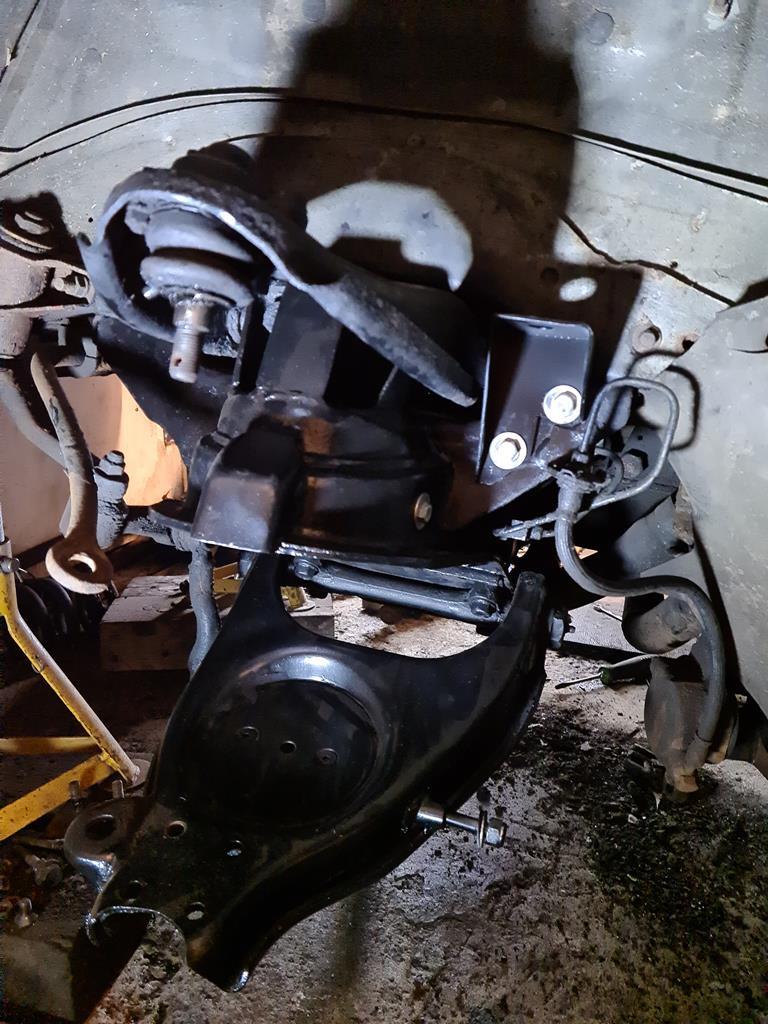 On the os the space where the new shock top mount was going already had the power steering hard pipe running through it so that was removed, 'persuaded' into a new shape and refitted. I eased the brake flexi back a little for clearance as I'd done on the other side but immediately the hard line started oozing brake fluid. That was the line running from the splitter to the rear brake compensator, I removed it, remade it and as I was tightening it back up one of the others did the same  So I remade the other 2 hardlines coming off it...... 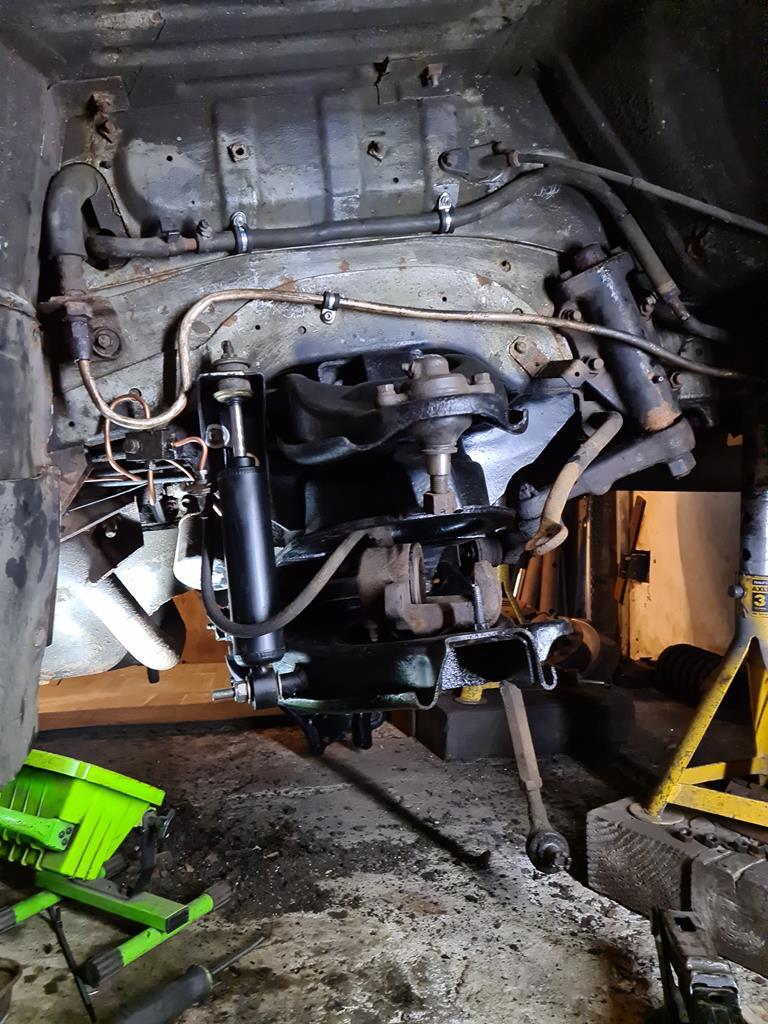 I was still waiting for the air fittings to turn in the post so couldn't assemble it, while I was waiting some new rear shock absorber bushes turned up so I fitted them... 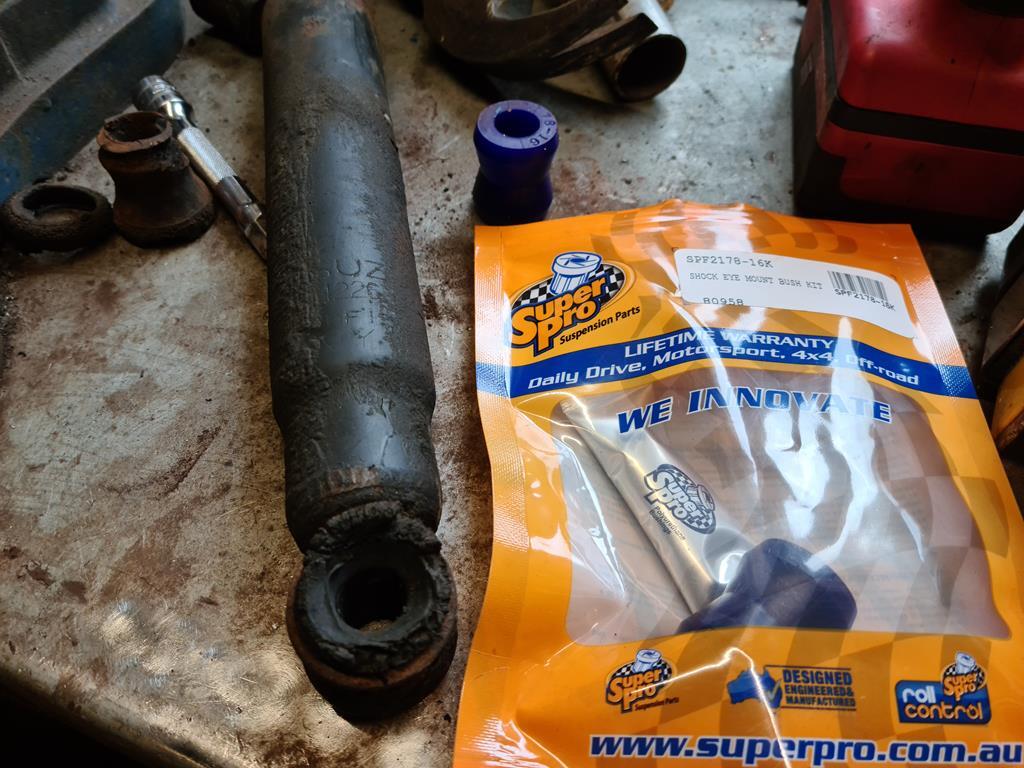 I'd discovered whilst testing the rear 'bags that the V2 management had lost its ability to control the compressor but wasn't aware of it so I'd added a pressure switch to the list of air fittings, which finally turned up so I could assemble the front, run the air lines and start figuring where everything's going.... 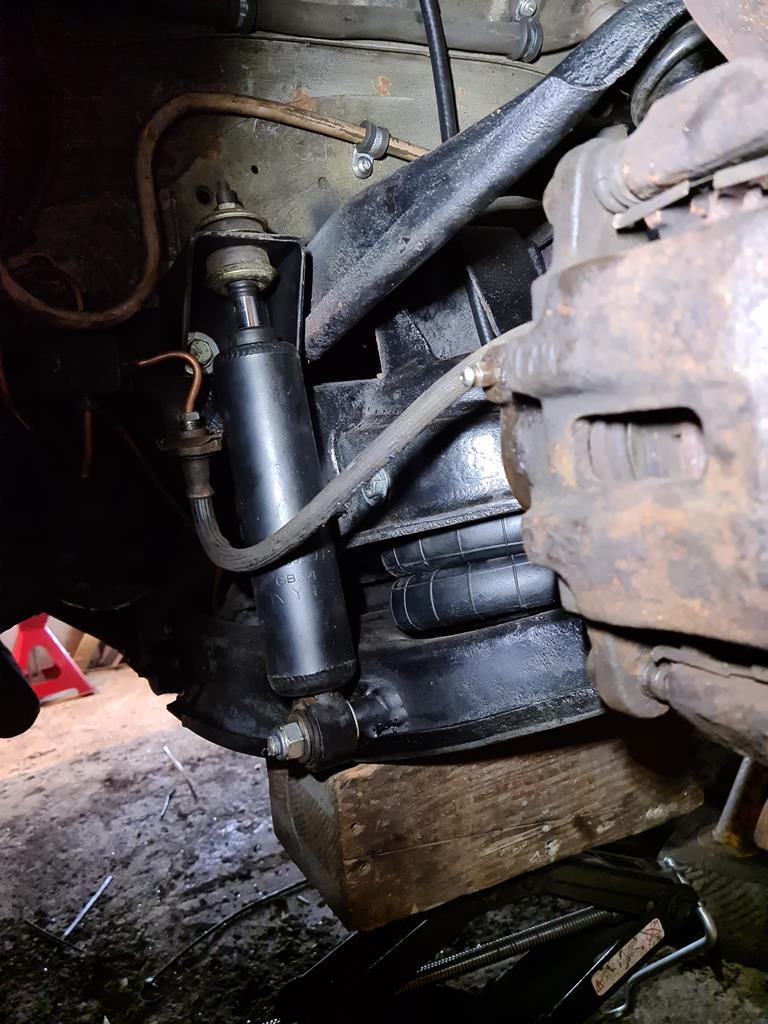 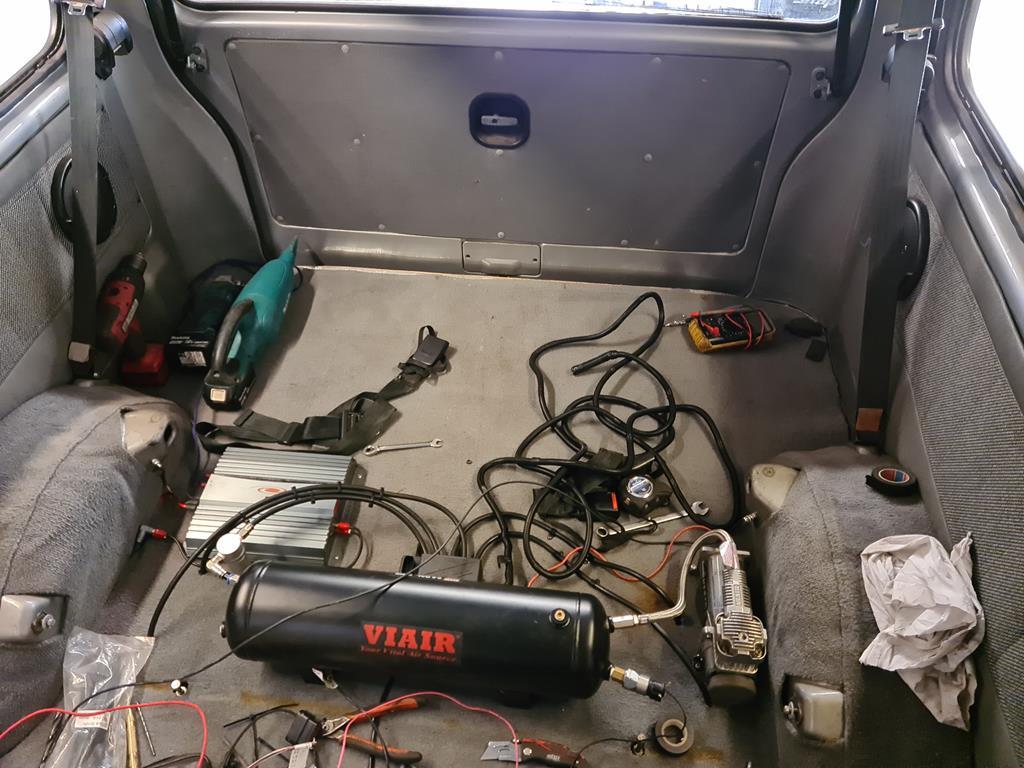 Which meant that I could test the front suspension... 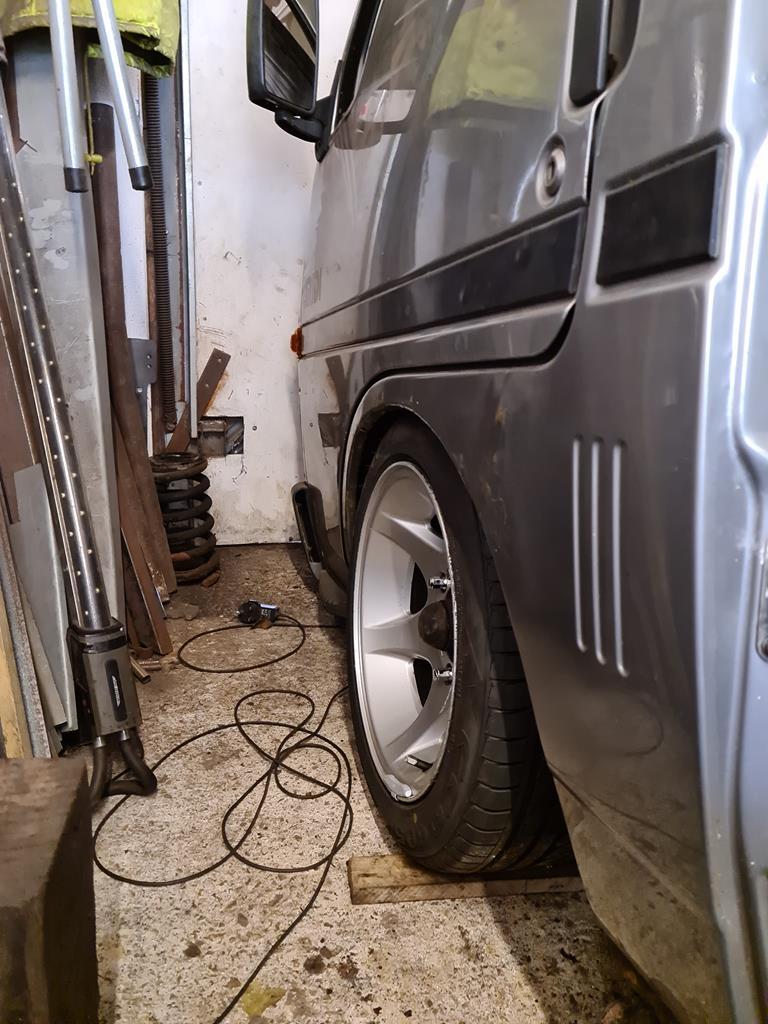 Finalised and ran the wiring, did some tidying.... 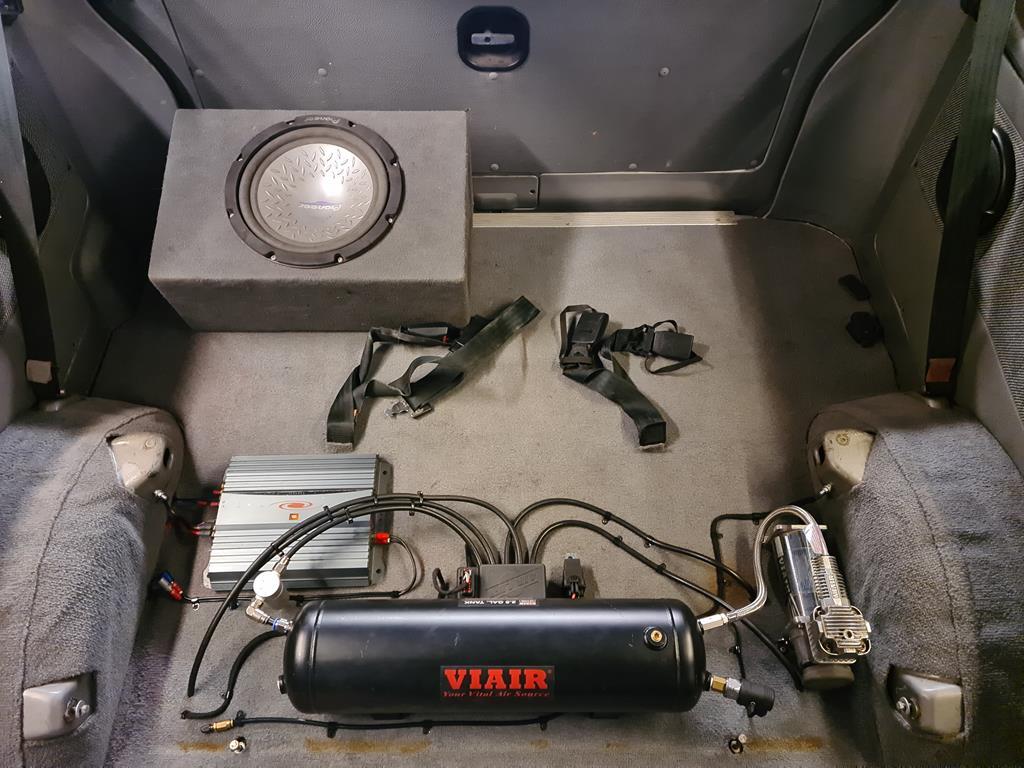 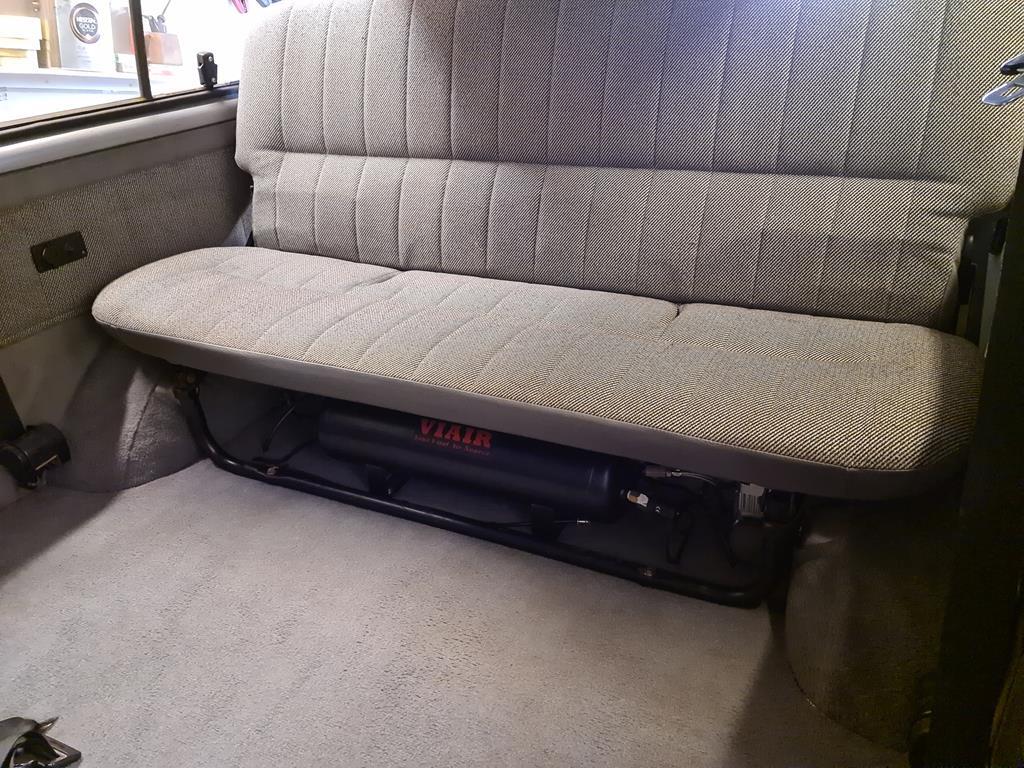 All finished and back on the floor I was so excited to find out what it drove like so I re taxed it, took it out of the garage and washed the orange dust off it.... (ignore the ride height at the back, our drive is a bit of an odd shape) 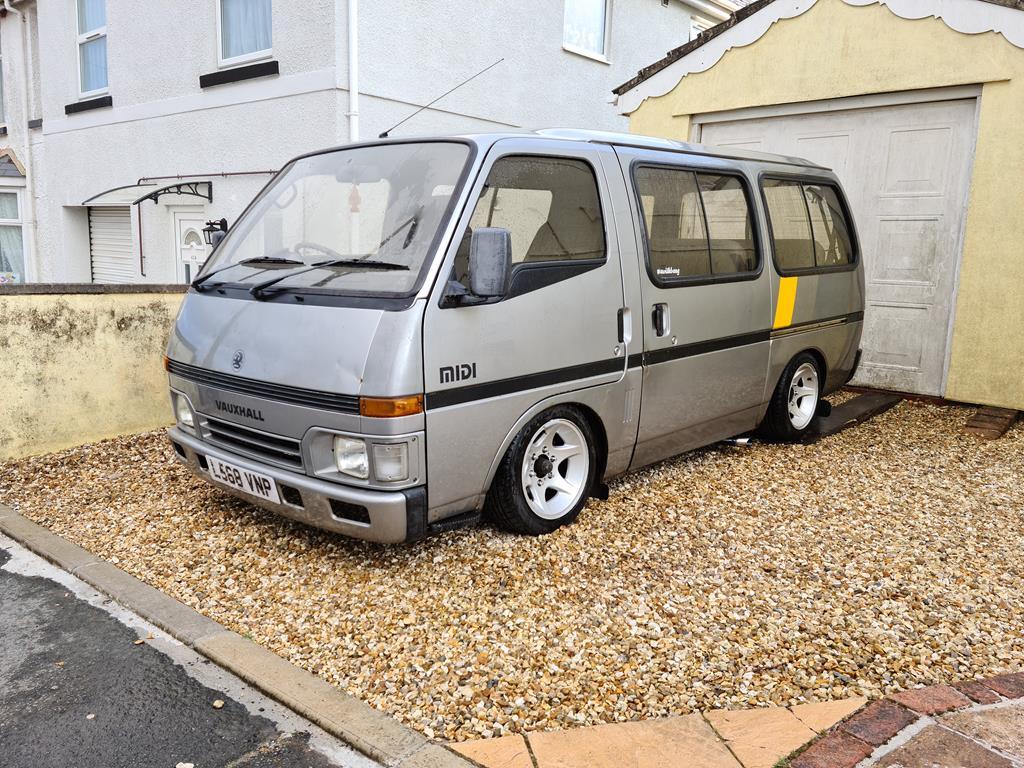 And popped down the seafront for our daily exercise, just in time to catch the last of the light... 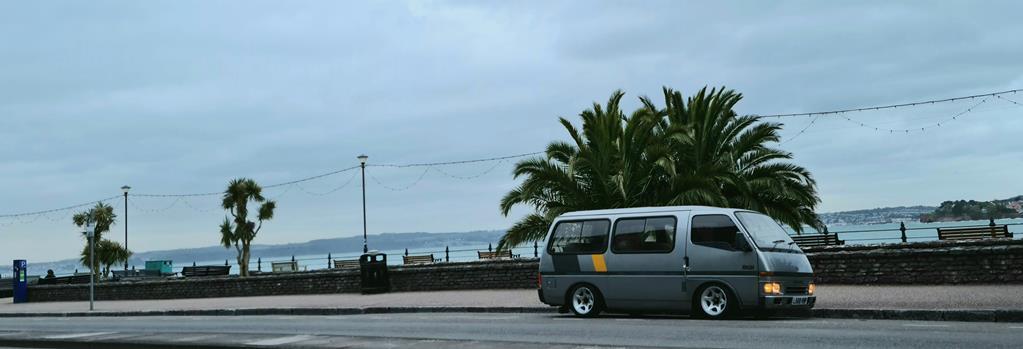  Drives quite nicely at my chosen ride height, drives on full drop with full lock and no rubbing. Success! Yesterday I used it for our click&collect adventure and took some driveable ride height versus full drop pictures..... 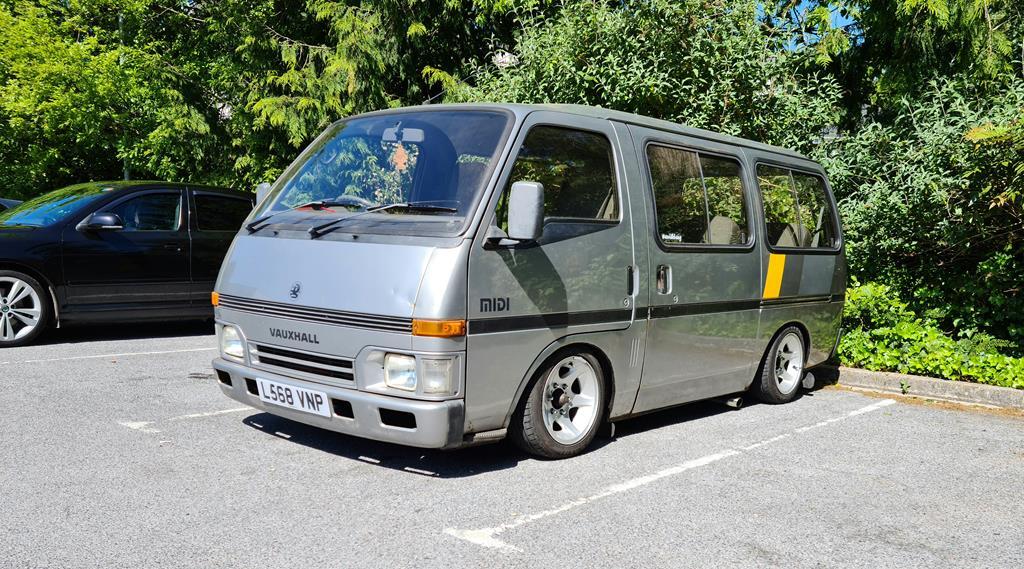 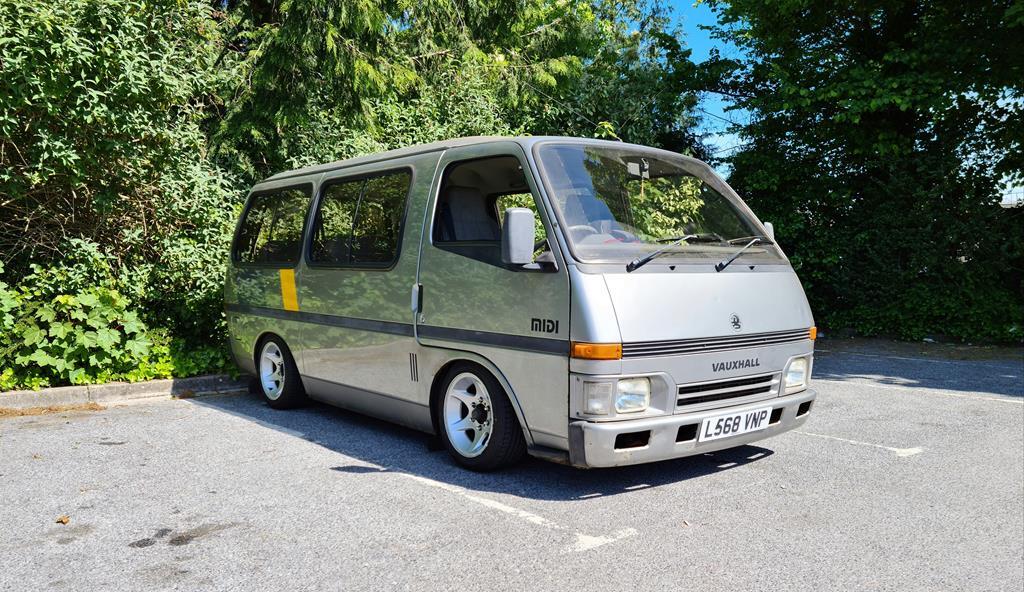 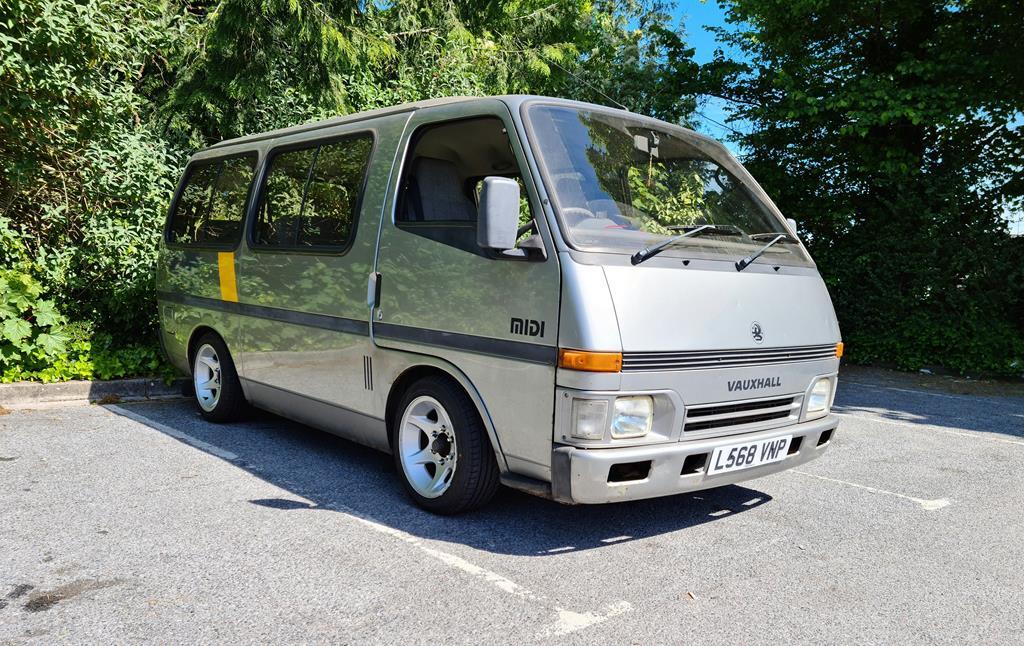 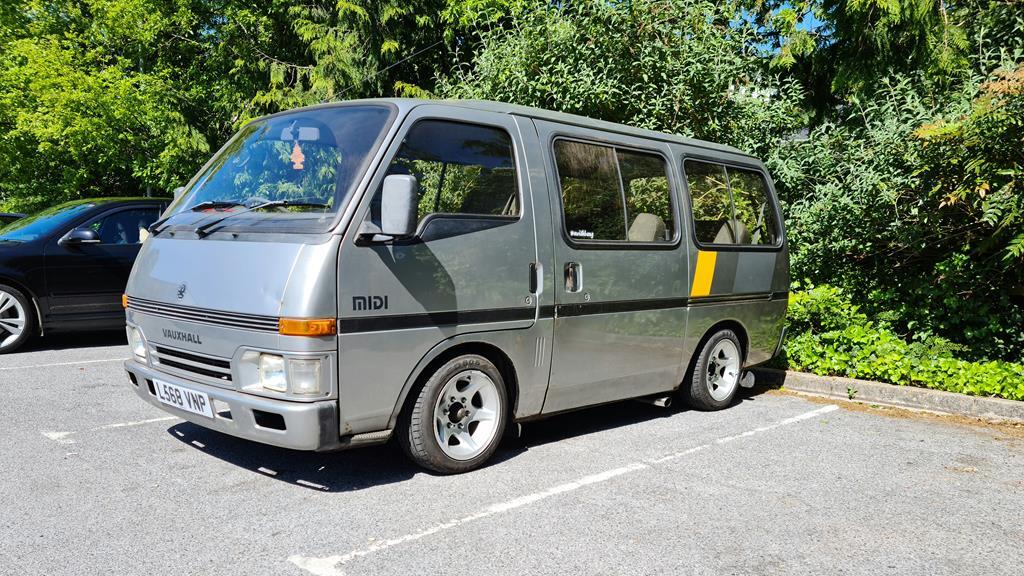 I've got a slight leak on the osf to sort, some replacement rear fog lamps to fit, a replacement wiper motor to fit and then get the grinder out and sort out some of the previous 'repairs and suspicious looking bits of bulging filler.... |
| |
(car+wheels)-rideheight=WIN
|
|
stealthstylz
Club Retro Rides Member
Posts: 14,951
Club RR Member Number: 174
|
|
May 13, 2020 22:19:28 GMT
|
|
This is wicked. The wheels really suit it too.
|
| |
|
|
dikkehemaworst
Club Retro Rides Member
Posts: 1,627
Club RR Member Number: 16
|
|
May 13, 2020 22:42:17 GMT
|
|
Thats lovely! I'm not the jealous type, but this....
Well done!!
|
| |
|
|
|
|
|
May 13, 2020 22:58:26 GMT
|
|
Sweet 👍
|
| |
|
|
TessierAshpool
Club Retro Rides Member
Posts: 519
Club RR Member Number: 168
|
|
May 13, 2020 23:26:21 GMT
|
|
Love it!!
|
| |
|
|
|
|
|
|
|
I'm in love with a beautiful woman vauxhall  |
| |
|
|
|
|
|
|
|
|
|
|
You have absolutely nailed it. Excellent work.
|
| |
|
|
|
|




 So I remade the other 2 hardlines coming off it......


