Norman
Part of things
 
Posts: 449 
|
|
|
|
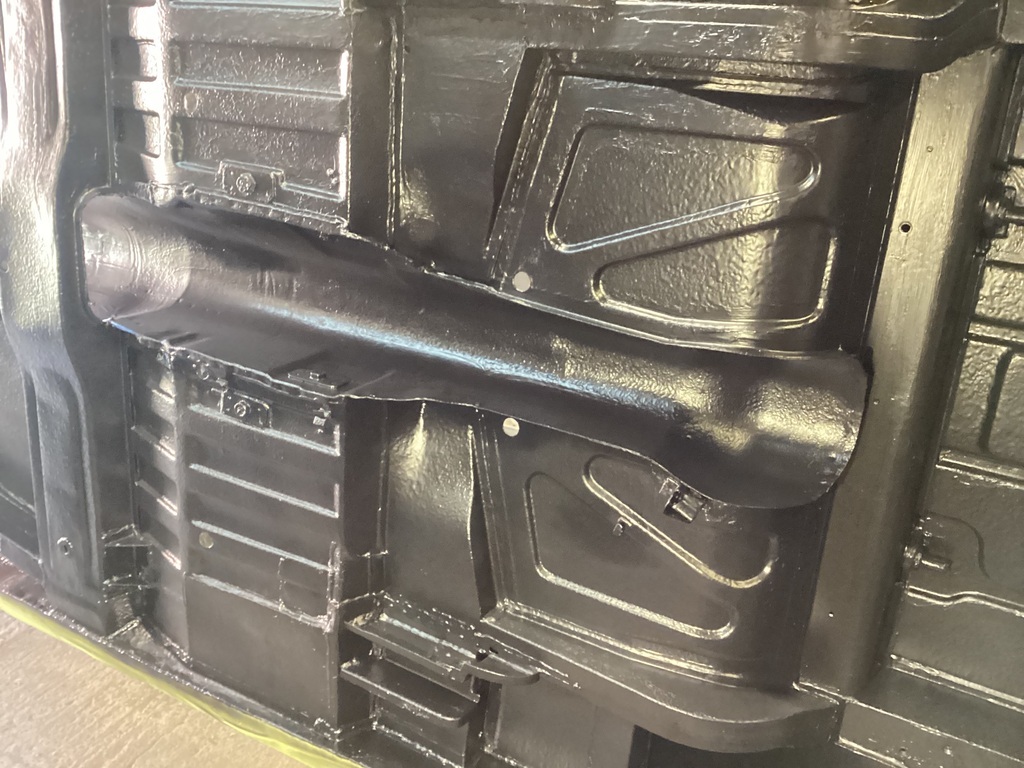
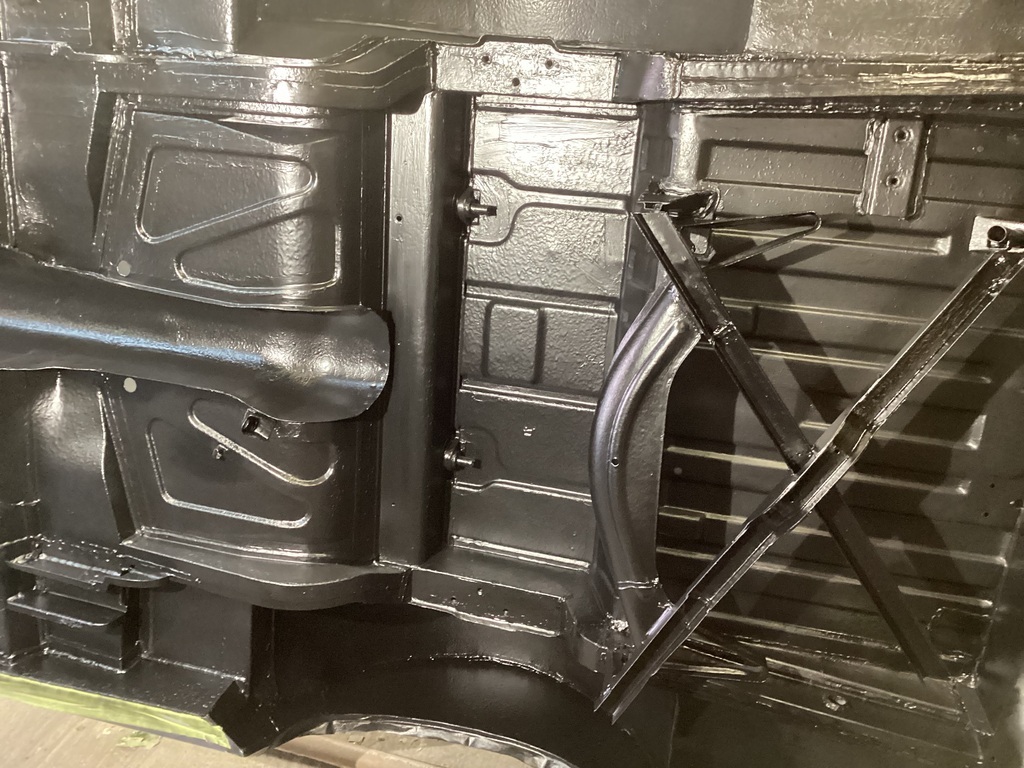
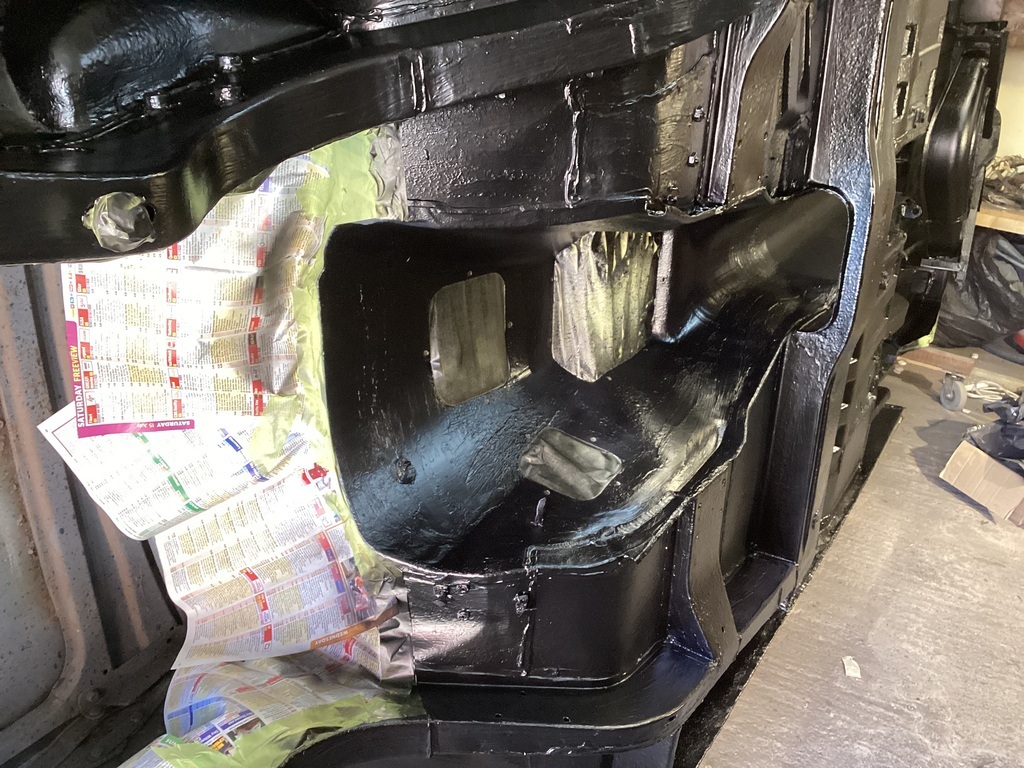
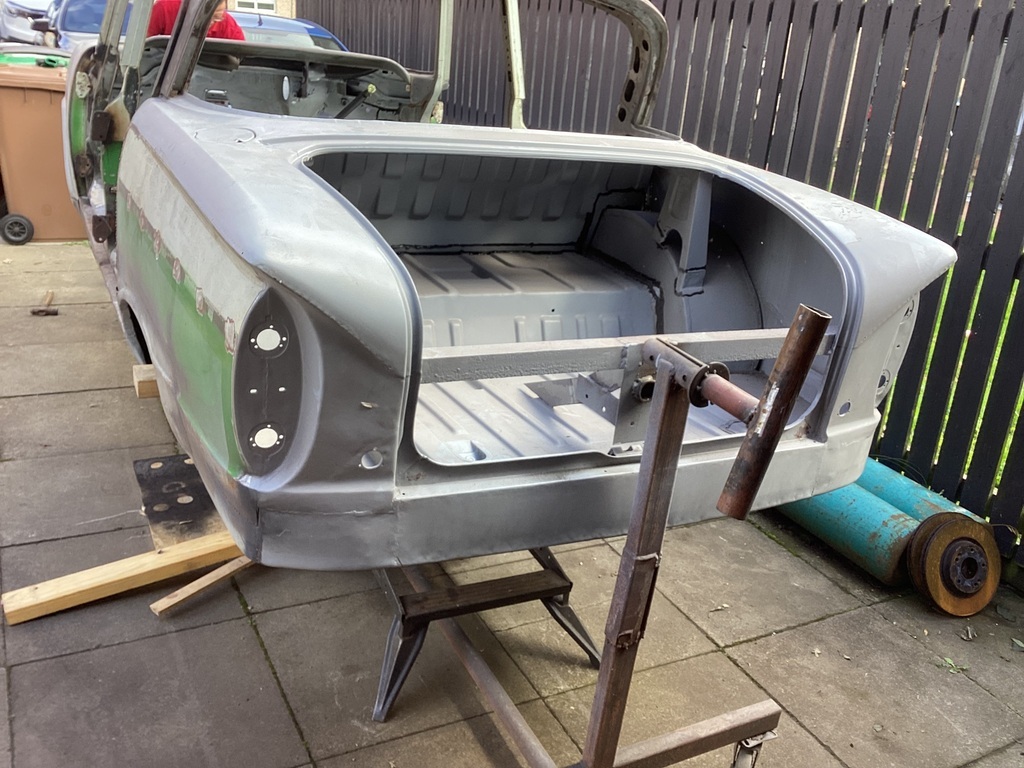
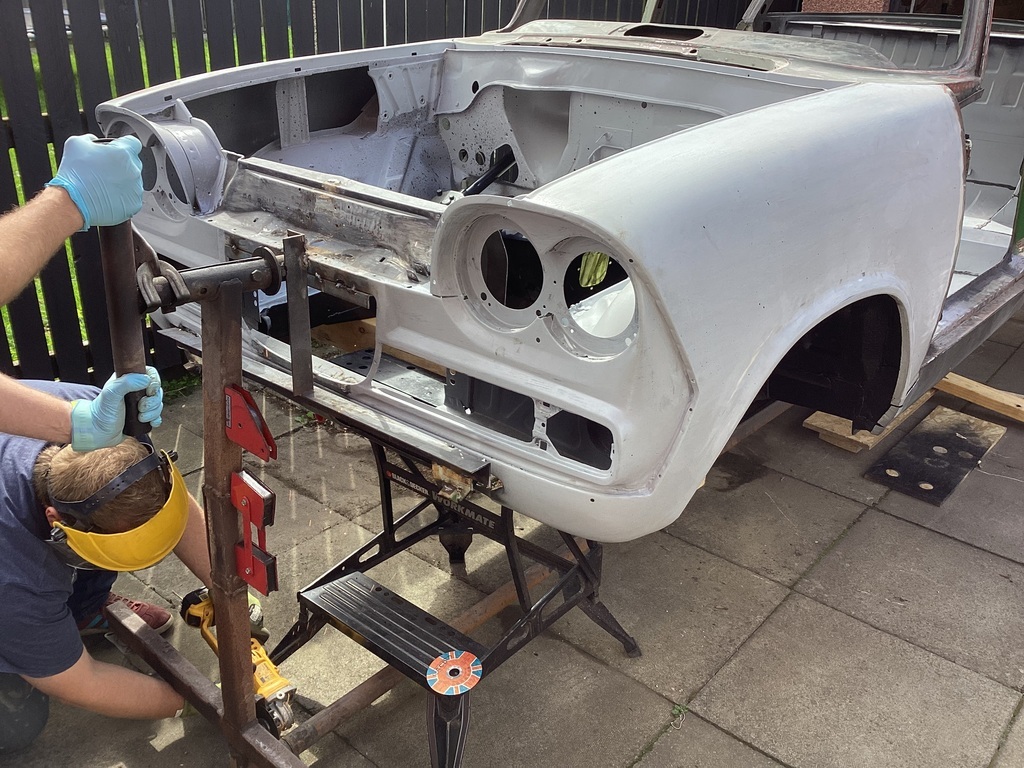
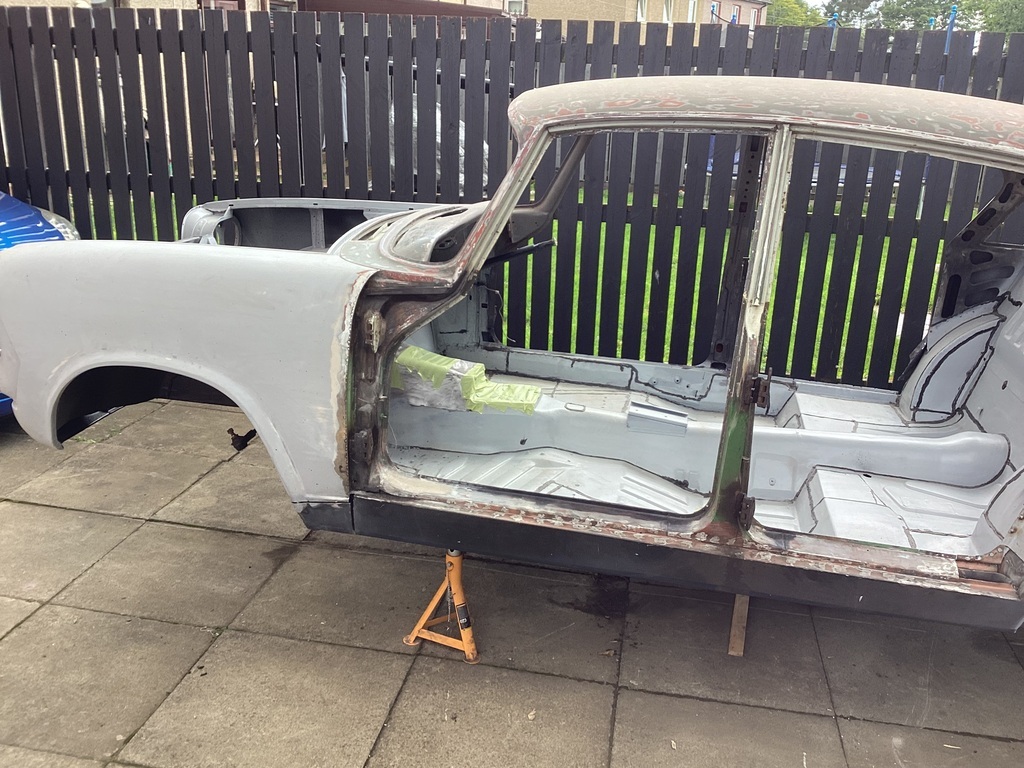
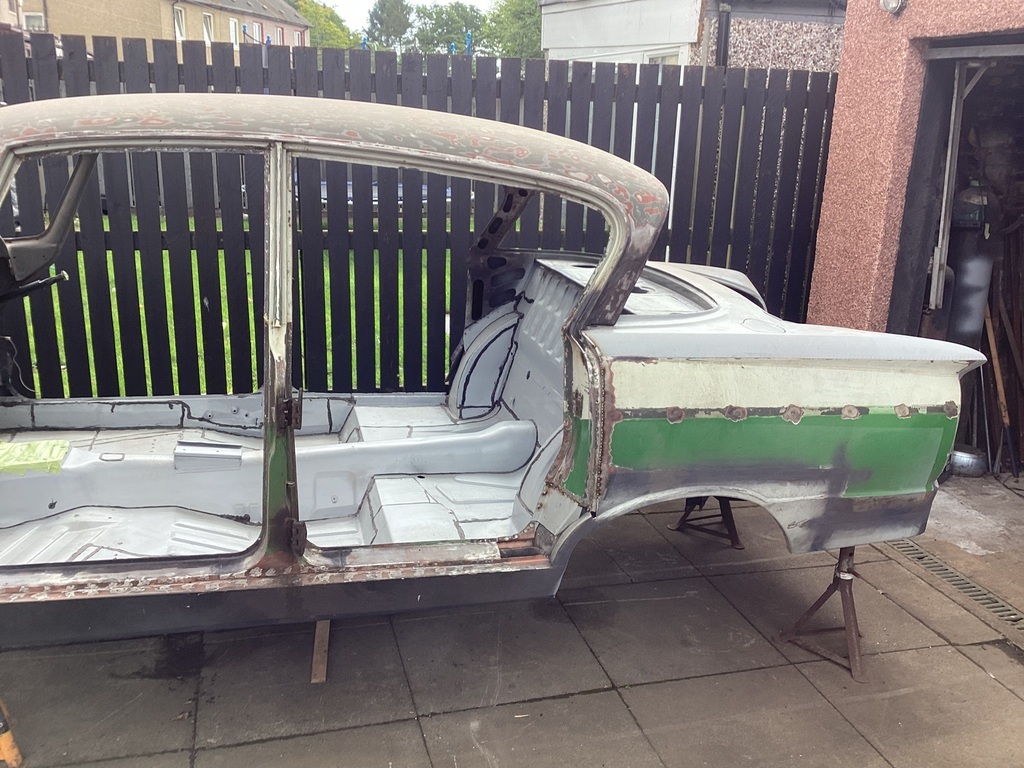
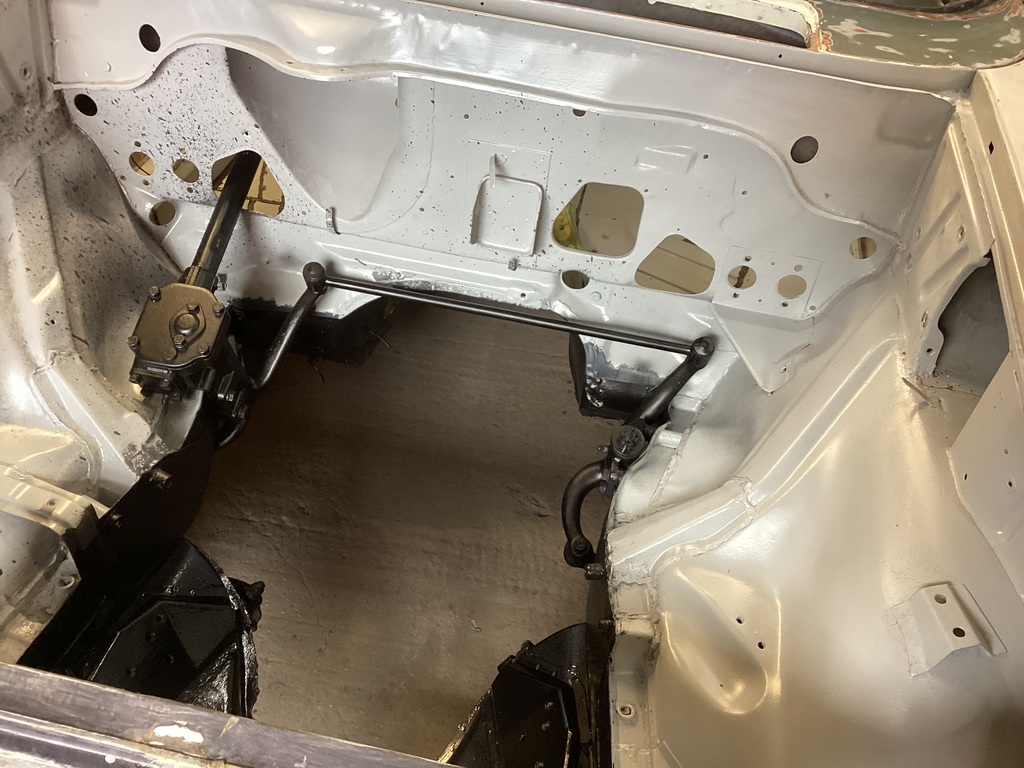
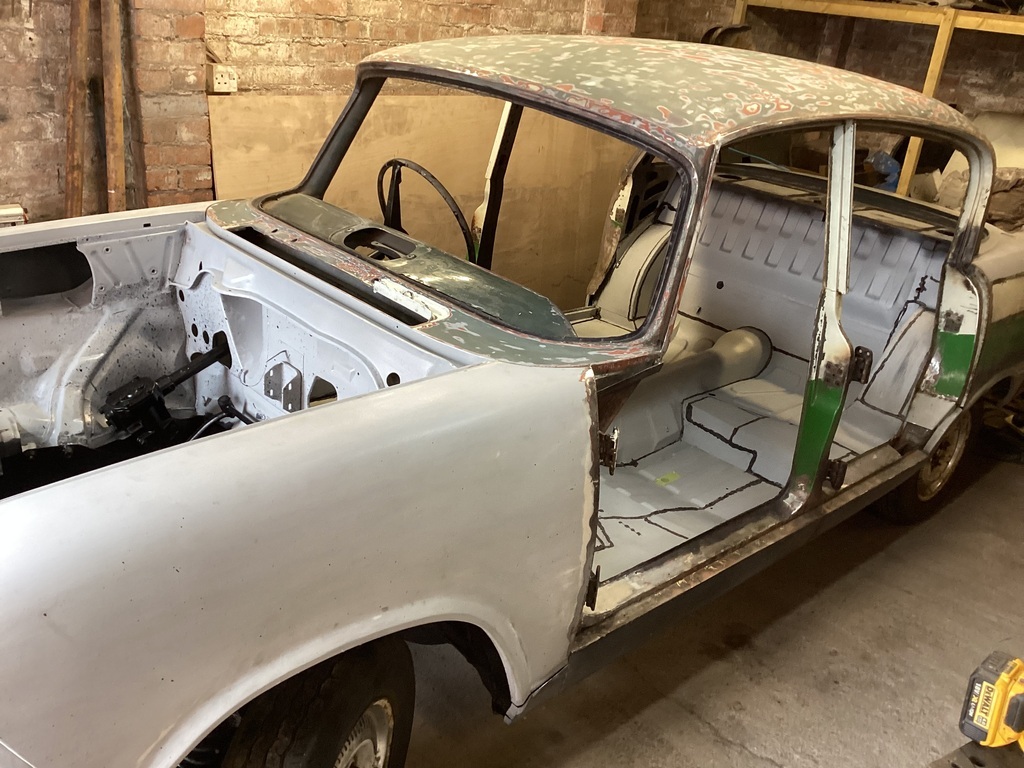
Hi guys, Thanks for the support and encouragement, I have been chipping away at the shell. I have stripped the front cross member and it has more holes in it than a tea bag. I will try to derust it a bit then do the repairs. I have also been working on the rear suspension with a view to putting the car back on its wheels to better establish what’s happening with the door gaps. More to come on this work soon! Anyhow, my youngest son scuffed the bottom of the shell with 240 grit and cleaned it with a tack cloth. I have applied a second coat of epoxy primer on the underside of the car, here are the pictures. 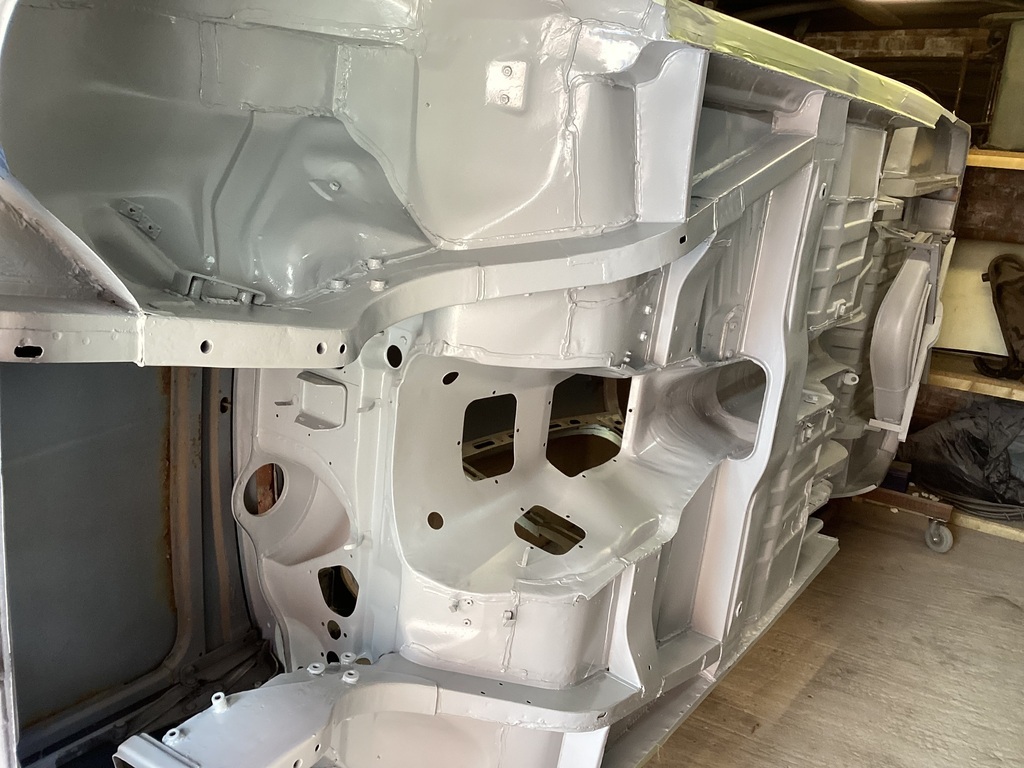 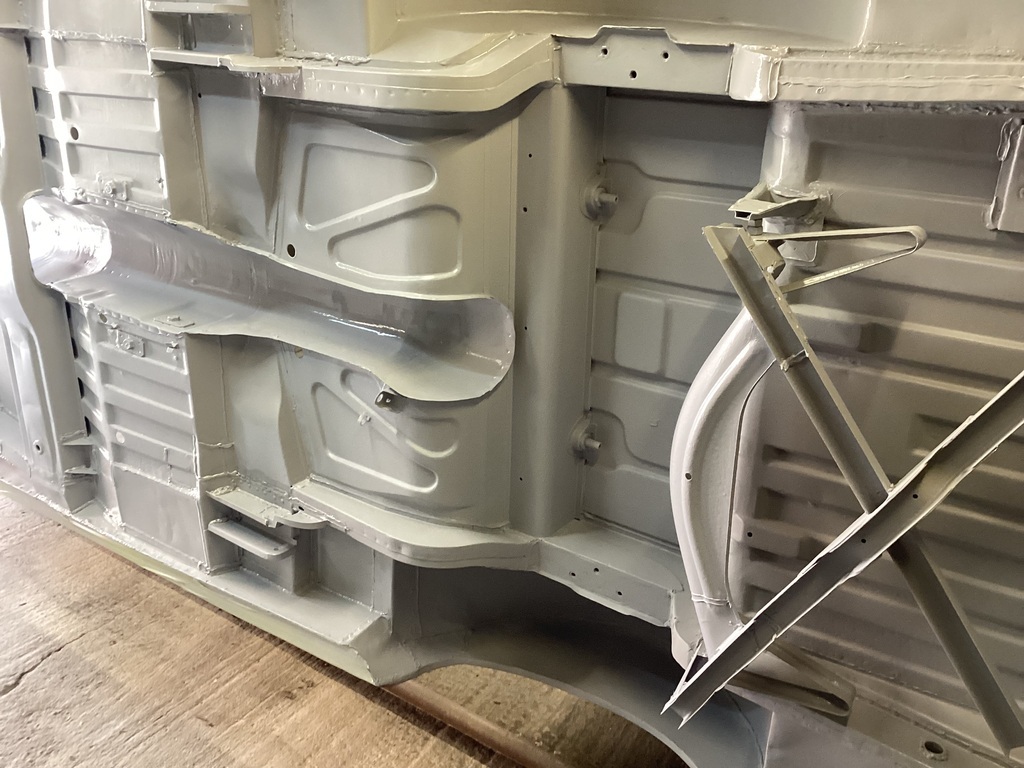 Today I applied some stone chip, I don’t know what I was doing wrong but it was going on too thick. I had runs all over the place and bald bits too. I ended up moving the stone chip around with a brush. I will give it another thin coat hopefully covering better when more stone chip arrives. It does look better with the stone chip applied. I am not sure about applying the colour finish to it or leaving as is. Opinions welcome as always, here are the pictures of the applied stone chip. 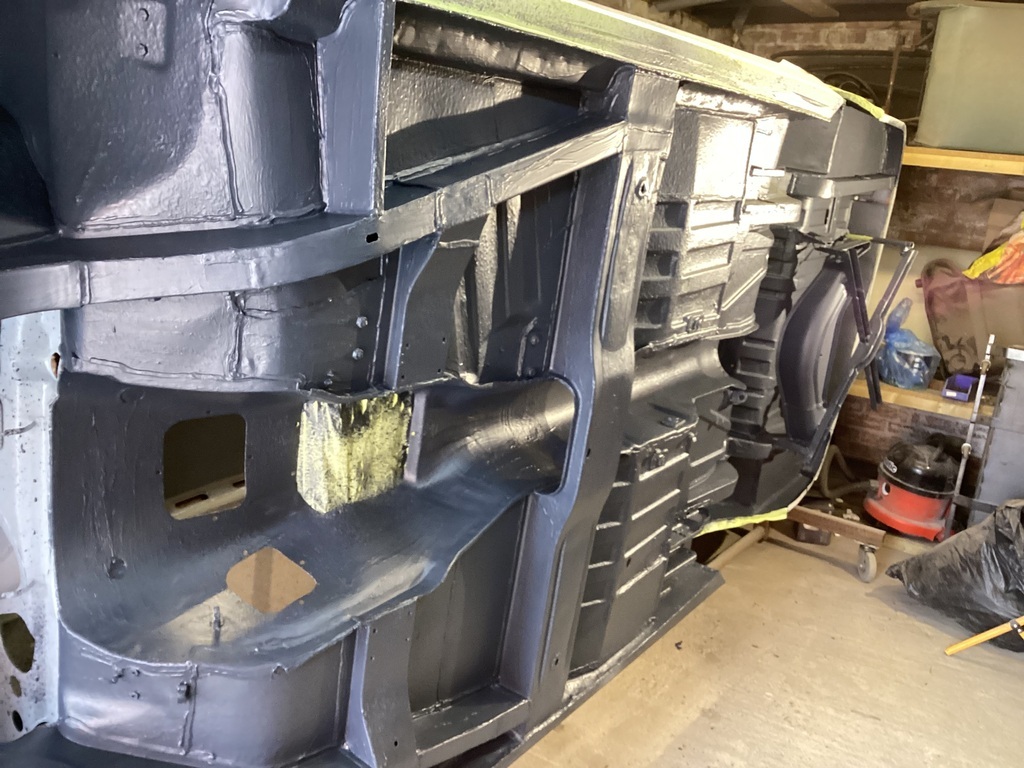 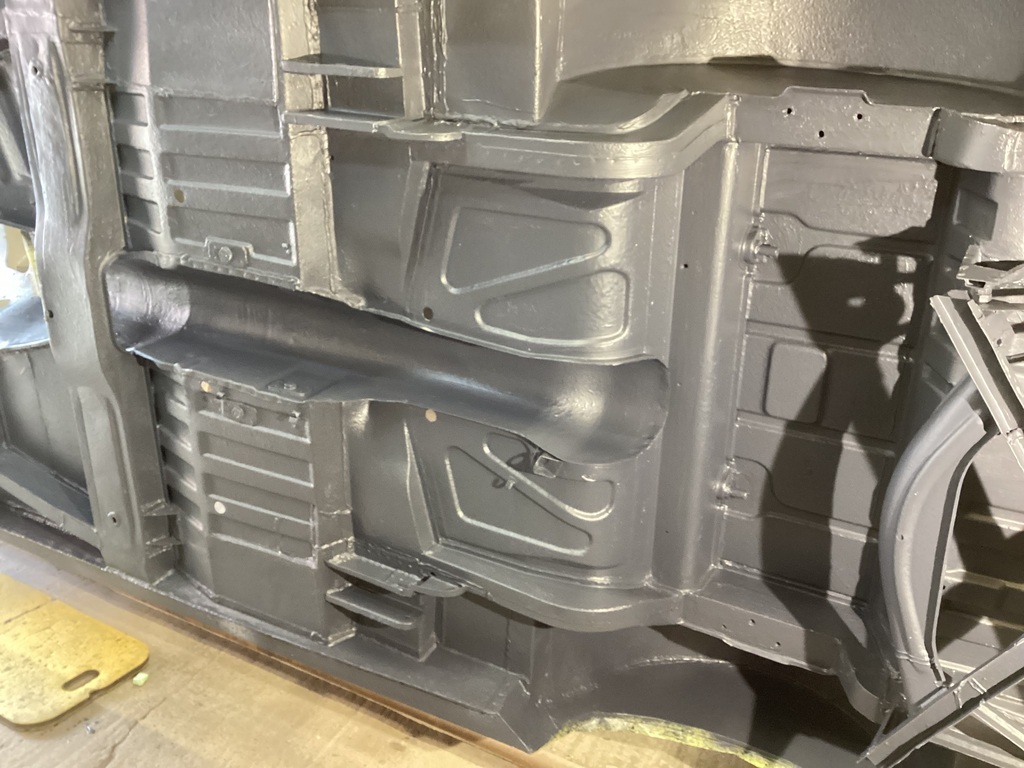 That’s all the updates for now, will update the progress once I get something done with the suspension. All the best, Norman |
| |
|
|
|
|
|
|
|
|
|
|
How are you applying the stonechip? With a schutz gun?
If so about 50 psi and 12 inches away should work well.
Ps, topcoat over the stonechip, dirt washes off better and it waterproofs it.
|
| |
|
|
|
|
|
|
|
|
Looking good, in my experience stone chip works fine as it is but is much easier to keep clean if you topcoat it. Doesen't have to be expensive topcoat, I used white teamac brushed on top of the stone chip on the minor. (Then we ended up covering it in black wax anyway)
|
| |
|
|
Norman
Part of things
 
Posts: 449 
|
|
|
|
|
Hi guys, Yes I applied it with a schutz gun and I set the pressure to 30psi as per the instructions on the can. Thanks for the advice regarding the top coat, duly noted. I won’t get anything done today as we have my youngest grandson. Anyhow back to the grind tomorrow. Thanks again for the advice, it is most appreciated. Norman
I don’t know what I was reading, it says on the can 40 to 80 psi. I would have thought a higher spraying pressure would have resulted in more paint from the gun. I have more stone chip now so will experiment over the weekend.
|
| |
Last Edit: Jul 6, 2023 16:10:54 GMT by Norman
|
|
fogey
Posted a lot
  
Posts: 1,623
|
|
|
|
Anyone like to recommend the best brand of stone chip for diy use?  |
| |
|
|
Norman
Part of things
 
Posts: 449 
|
|
|
|
|
|
| |
|
|
Norman
Part of things
 
Posts: 449 
|
|
|
|
Looking good, in my experience stone chip works fine as it is but is much easier to keep clean if you topcoat it. Doesen't have to be expensive topcoat, I used white teamac brushed on top of the stone chip on the minor. (Then we ended up covering it in black wax anyway) Hi, I had a look at teamac, there are a lot of products, which did you use. Many thanks, Norman |
| |
|
|
|
|
|
|
|
|
...the underneath of that looks better than the top side of mine.
Don't be discouraged, that looks superb!
|
| |
Last Edit: Jul 7, 2023 15:17:17 GMT by PhilA
|
|
|
|
|
|
|
|
I used metalcote in white, the car is white and a good tip is to paint it a light colour if you intend to coat it in a brown (dynax ub) wax then you can easily see where the wax is getting thin.
|
| |
|
|
|
|
|
|
|
|
Hi Norman, higher pressure atomises the stonechip better. Adjust pressure to suit the best finish. I'd just 2 pack the stonechip & not bother with wax (except inside all rain trap areas or box sections) as you are not using this as a daily so it will be mostly driven on dry days.
|
| |
|
|
|
|
Norman
Part of things
 
Posts: 449 
|
|
|
|
|
Hi Mark, I haven’t chosen a final colour yet but I was hoping to avoid 2 pack just from the safety aspect. I just want to paint it with a solid colour, no basecoat and lacquer for me. Norman
|
| |
|
|
|
|
Norman
Part of things
 
Posts: 449 
|
|
Jul 16, 2023 16:35:51 GMT
|
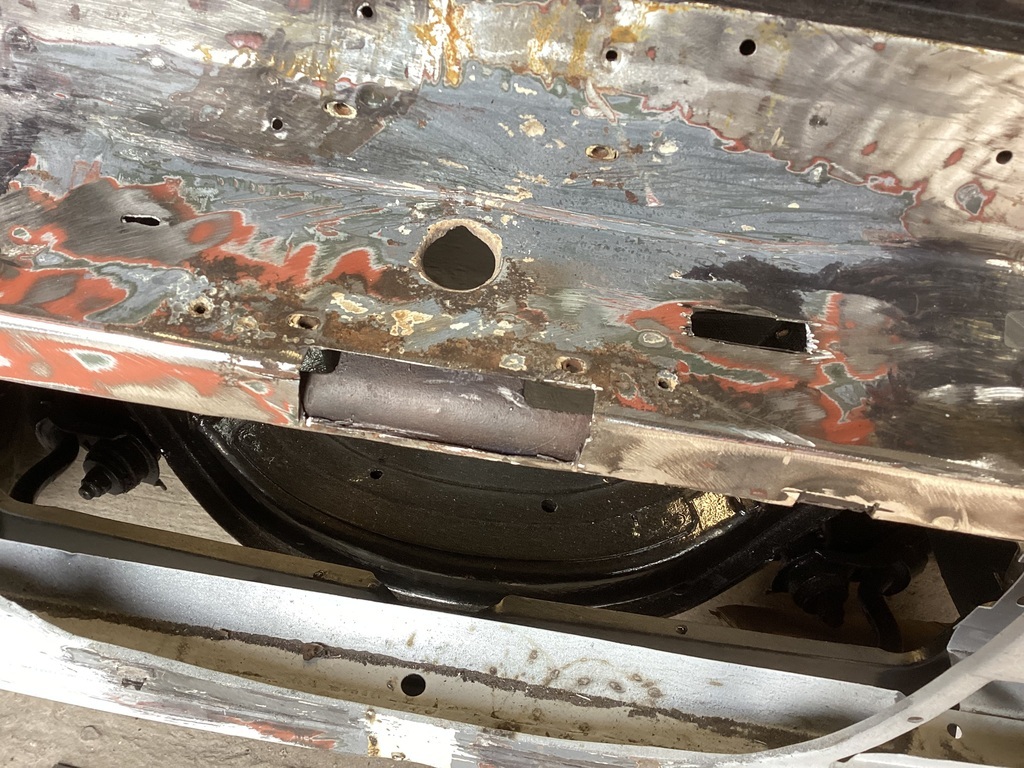
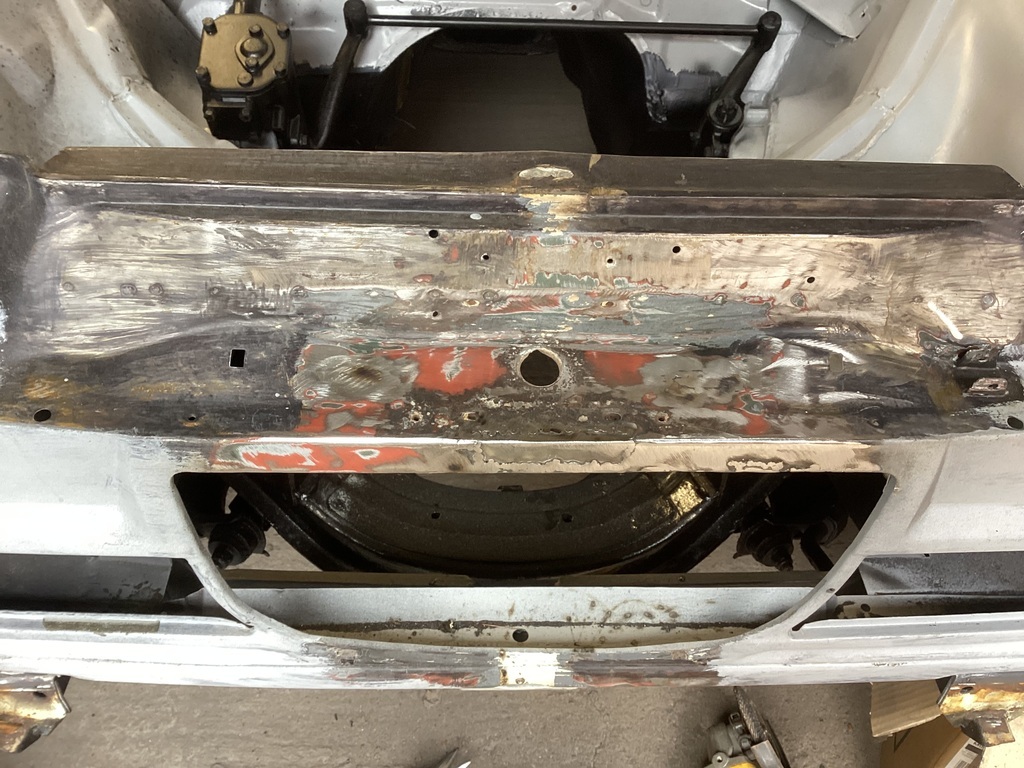
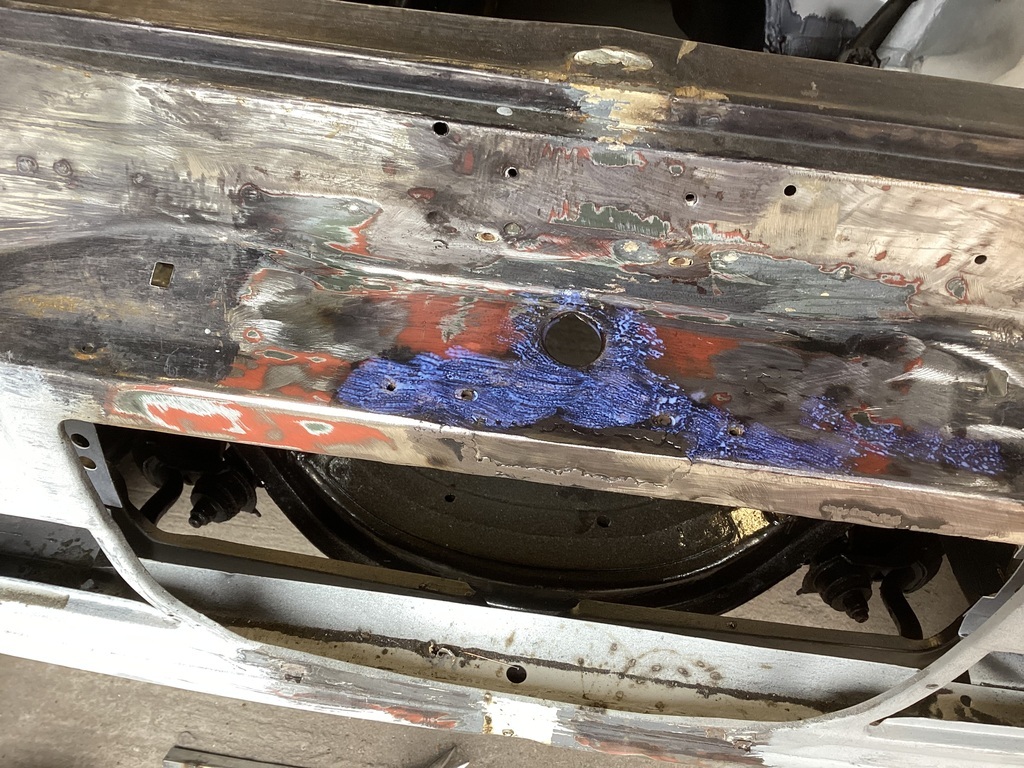
Hi folks, I am still working away at this. I am looking towards getting it back on its wheels, so with that in mind I have started to clean up the springs, rear axle housing and back plate assemblies. I have derusted as well as I could and have treated some areas with hydrate 80 ang painted the parts with hammerite. Here are a few pictures of the progress. 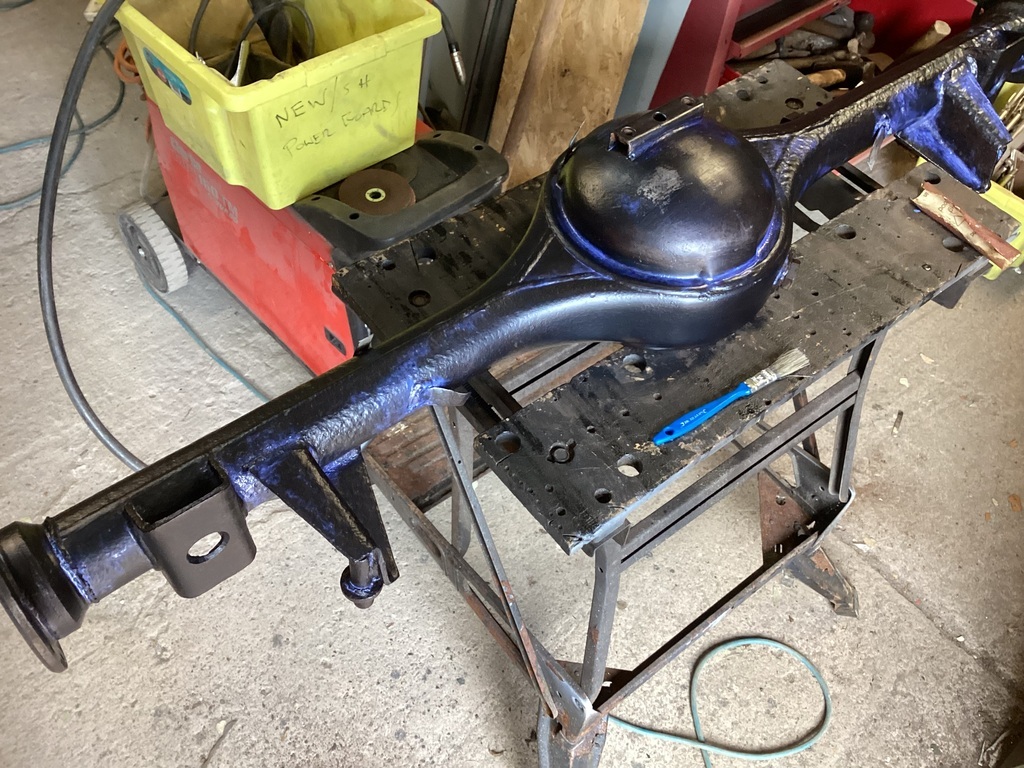 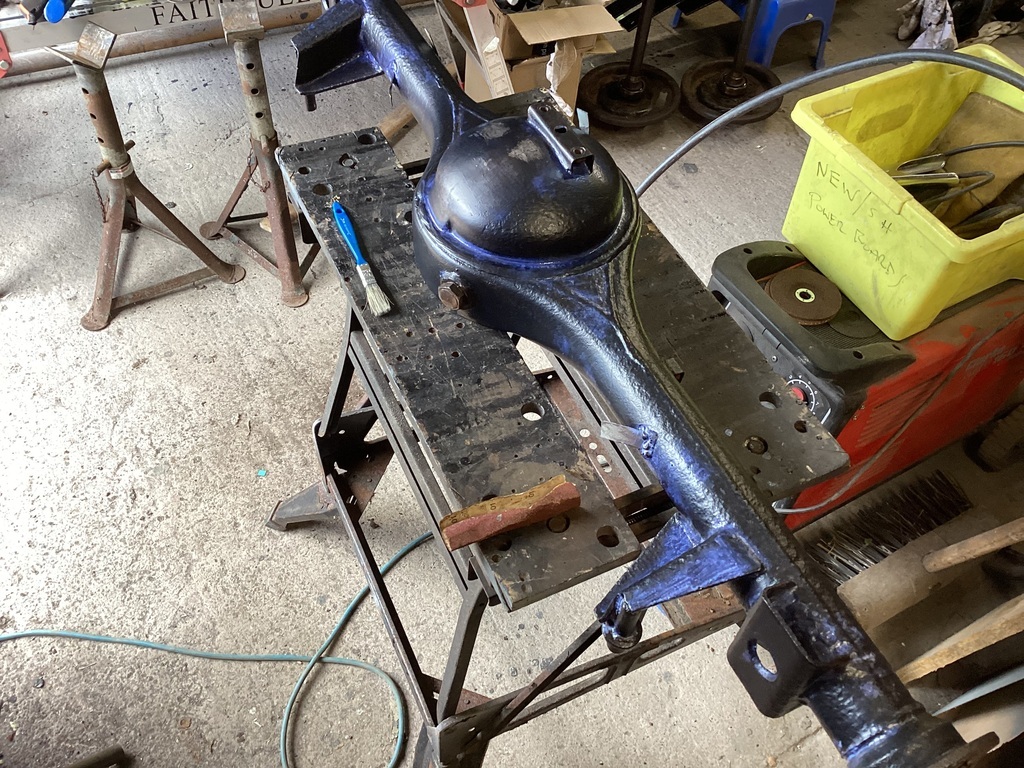 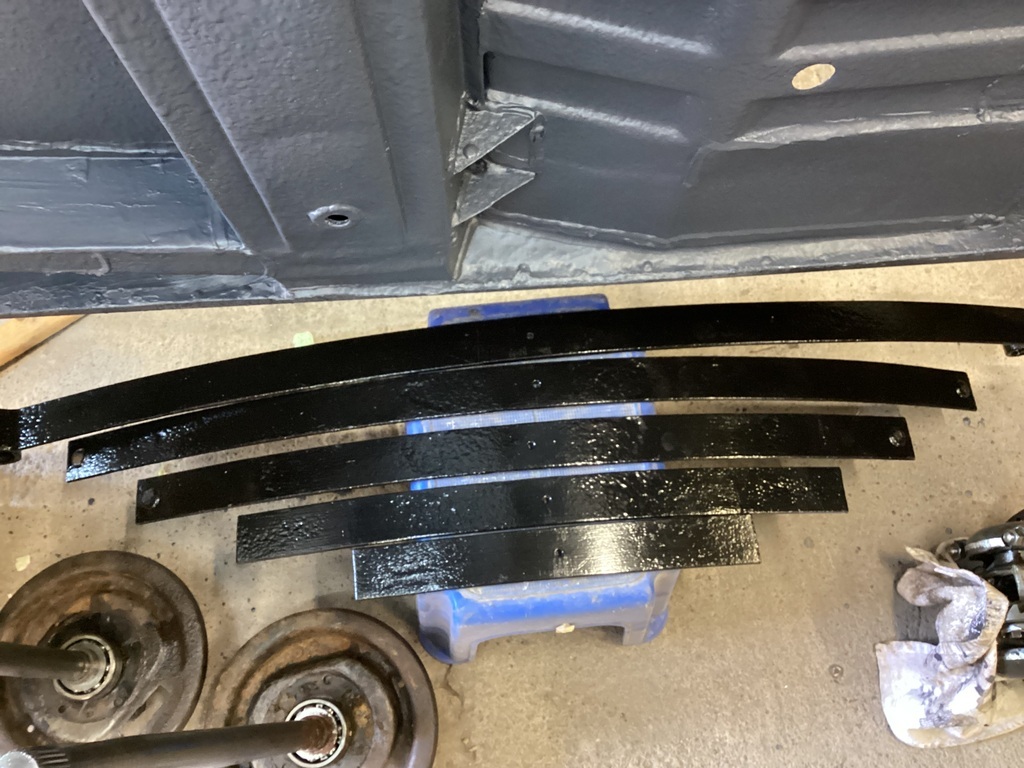 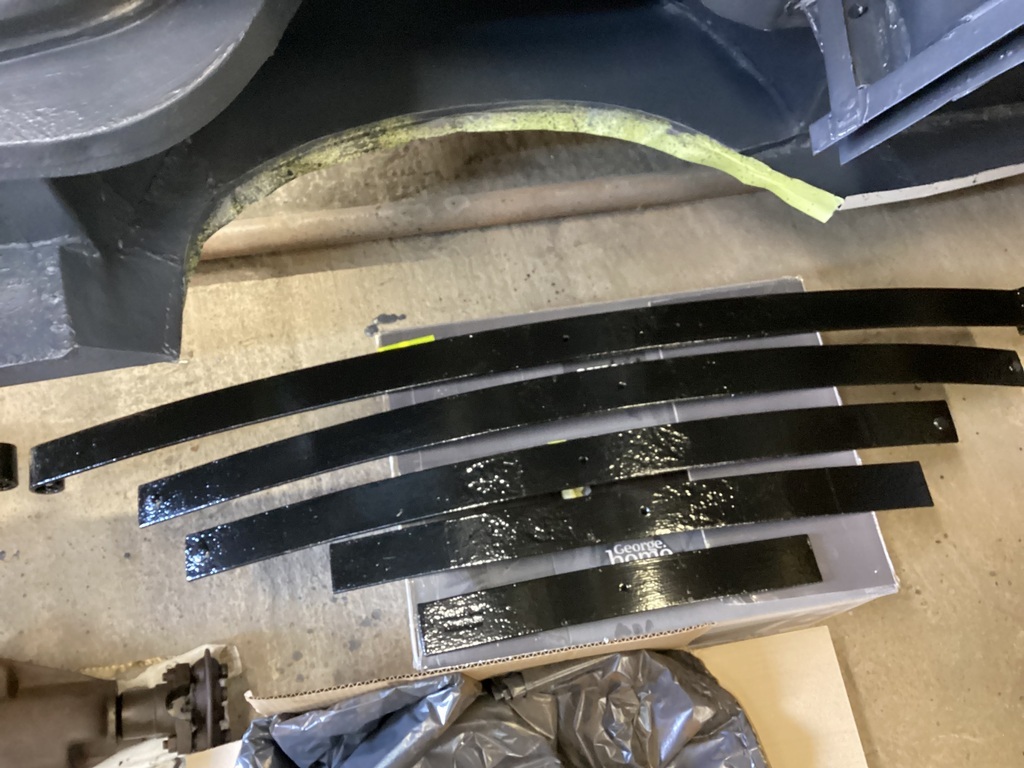 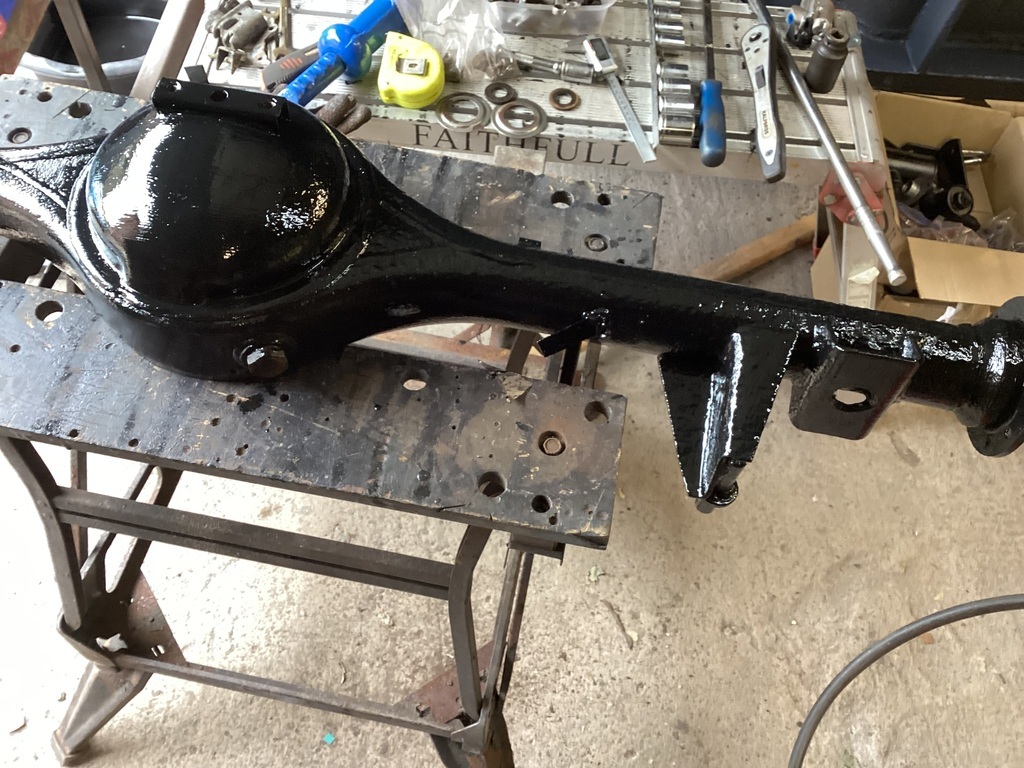 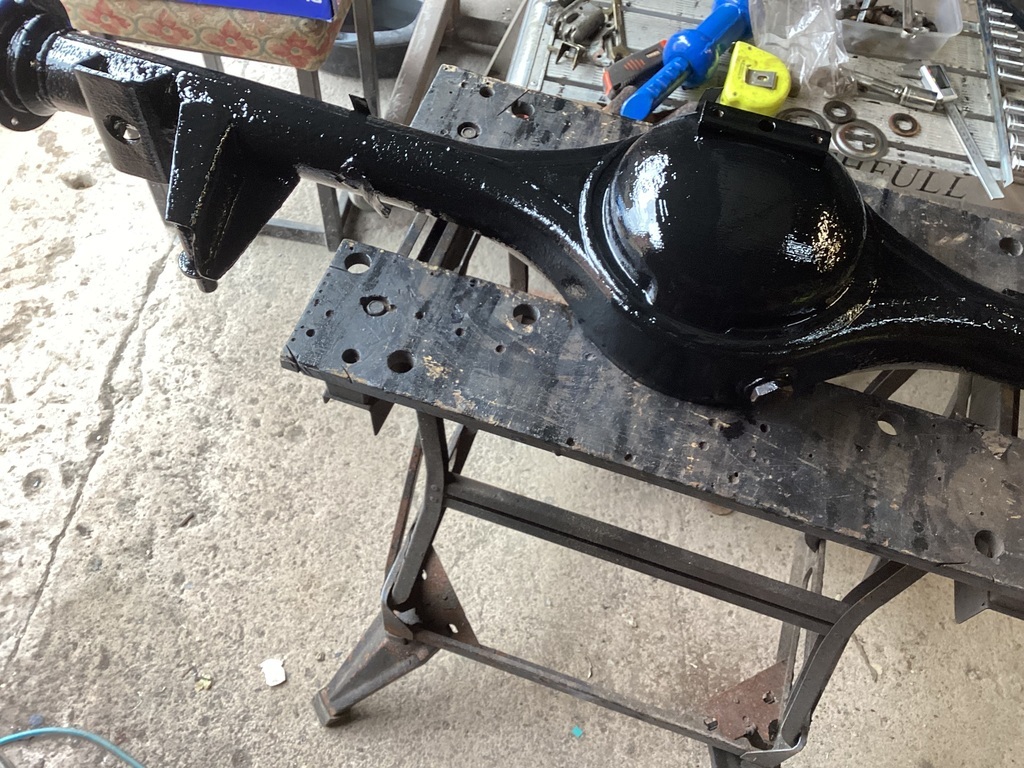 Next I moved onto the front crossmember which had quite a few perforated parts, seams blown with rust etc. I had to fit eight patches patches to it, the blown seams, I carefully ran the grinder down them with a thin cutting disc taking care not to cut through the spot welds. I cleaned more rust out if the seams with a piece of broken hacksaw blade. I then treated the areas with hydrate 80 and hammered the seams closed again. Here are some more pictures, I did clean inside the spring turrets as well as possible and again treated the area. I keep forgetting to take pictures as I progress. 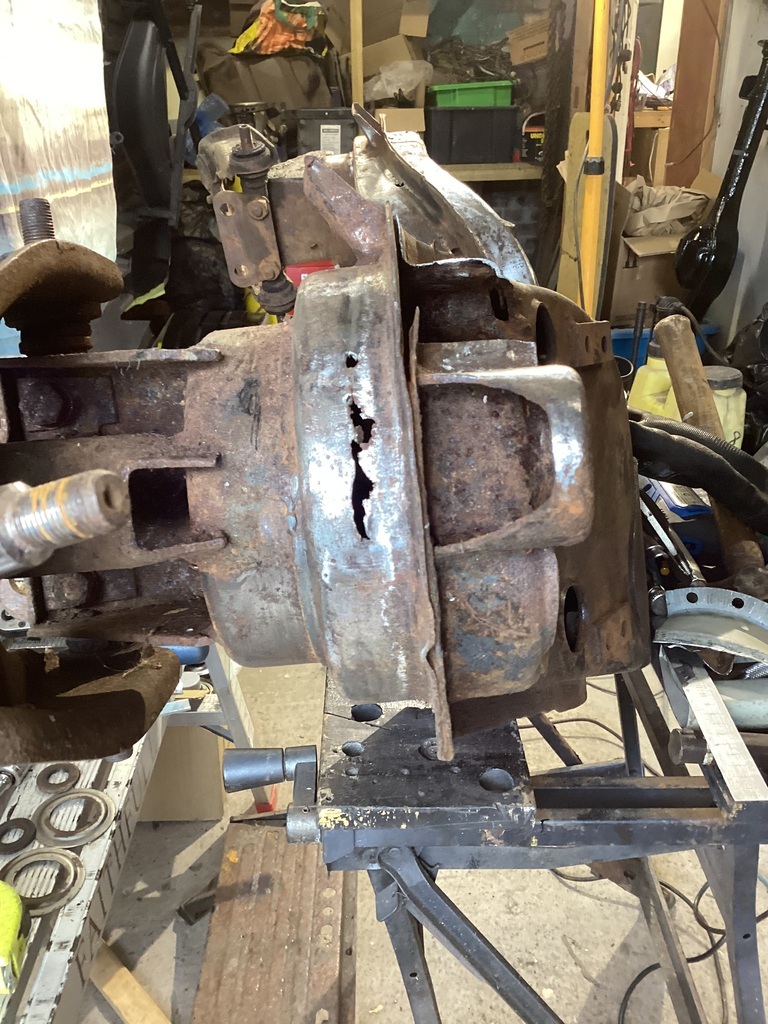 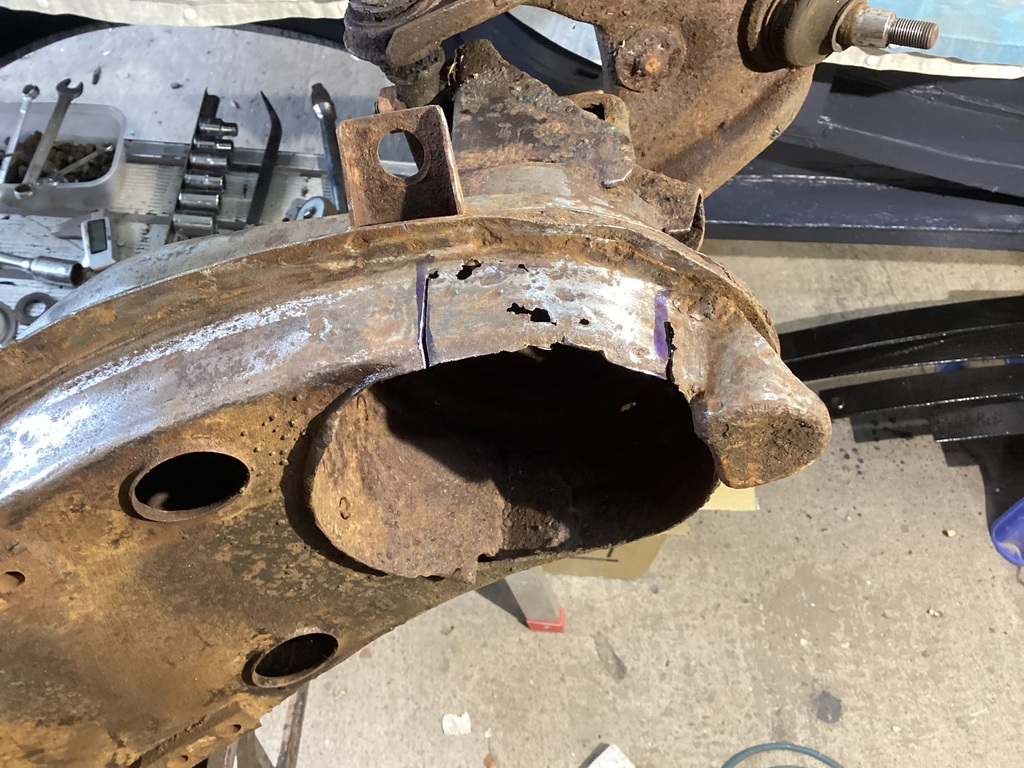 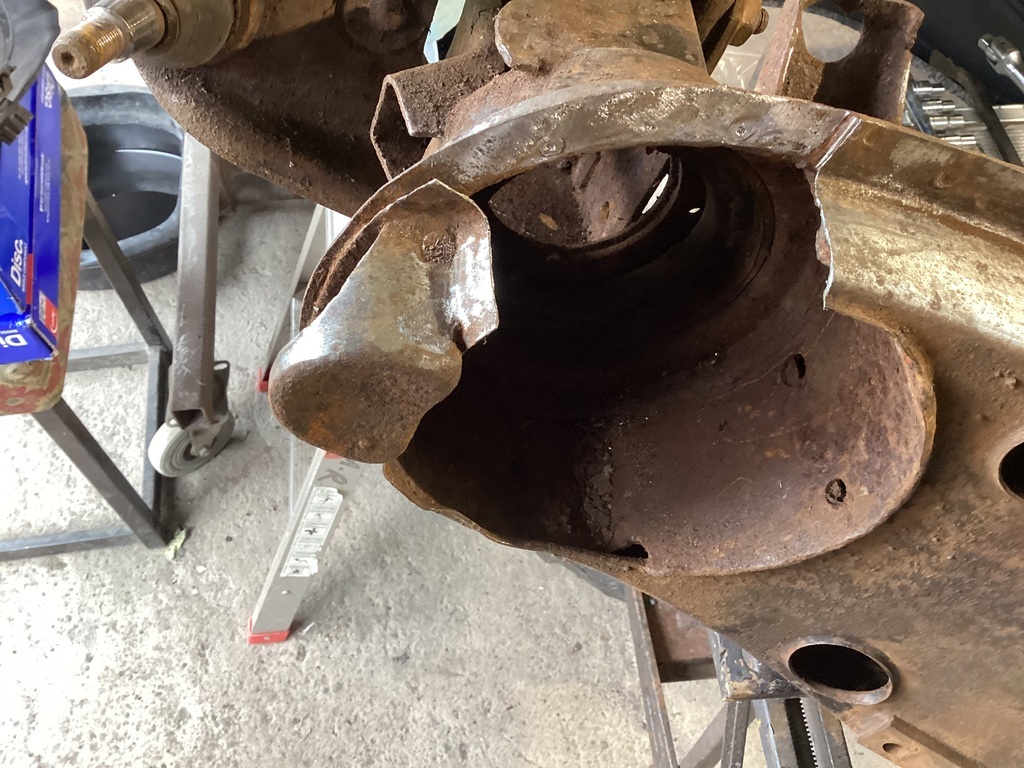 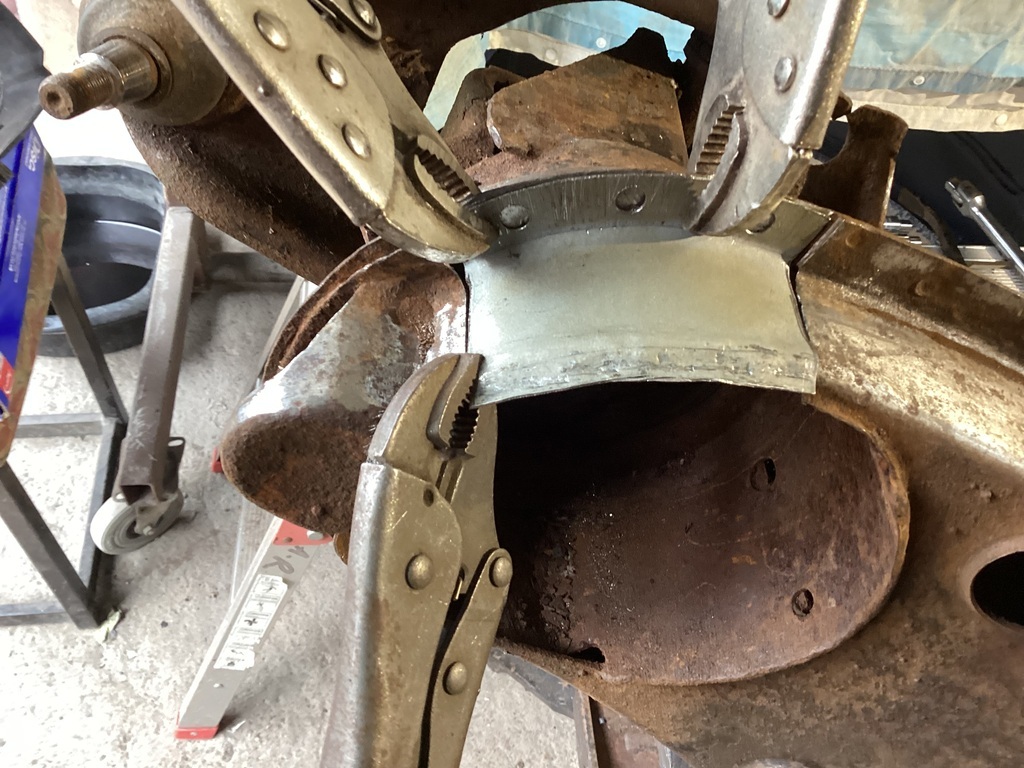 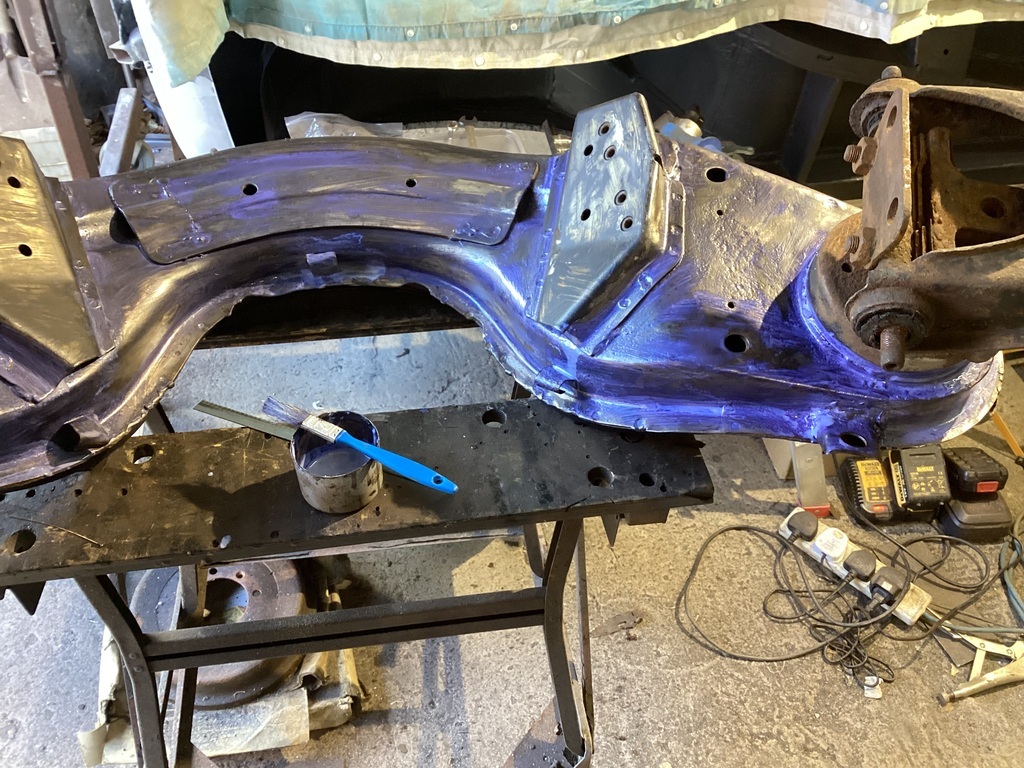 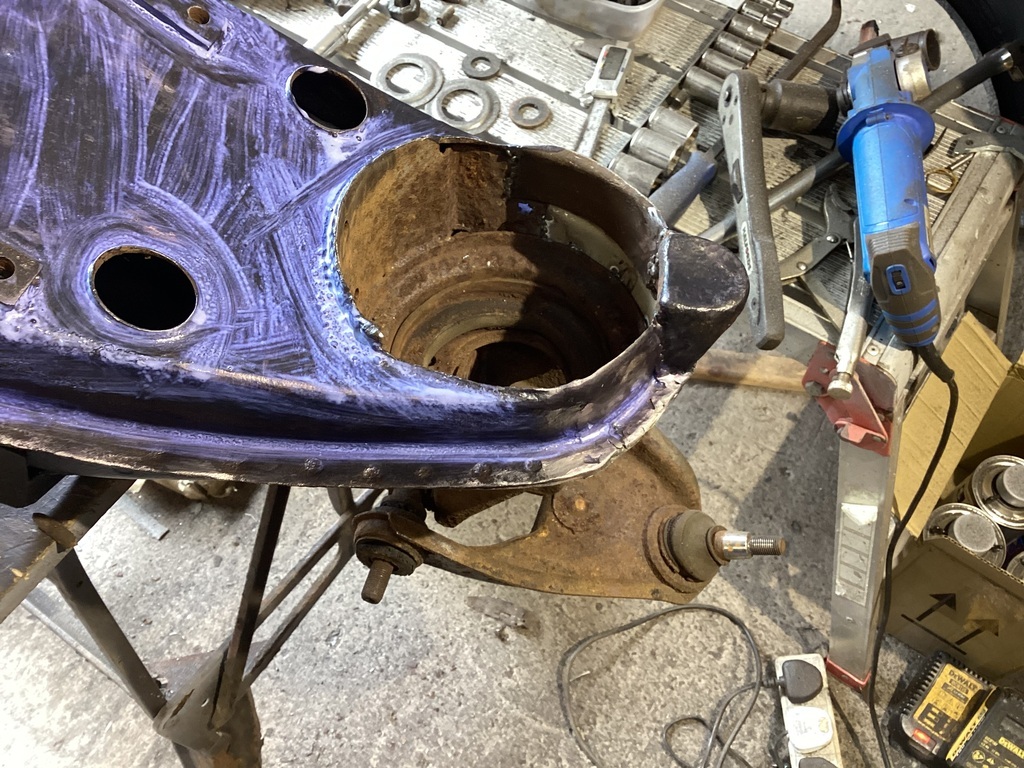 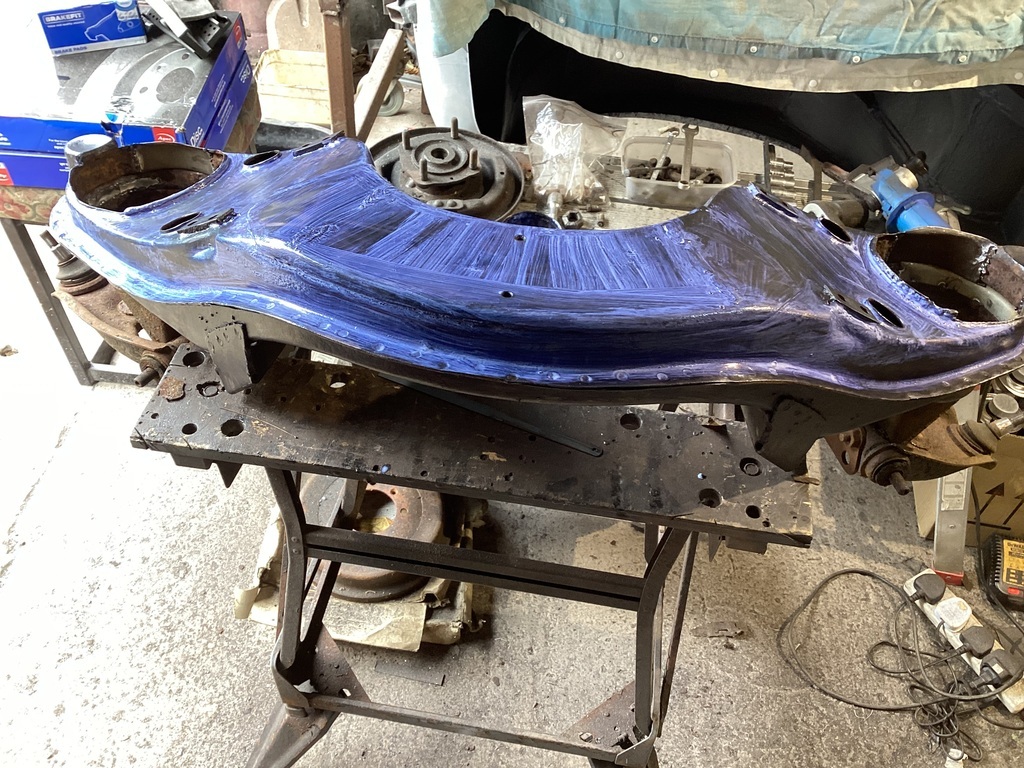 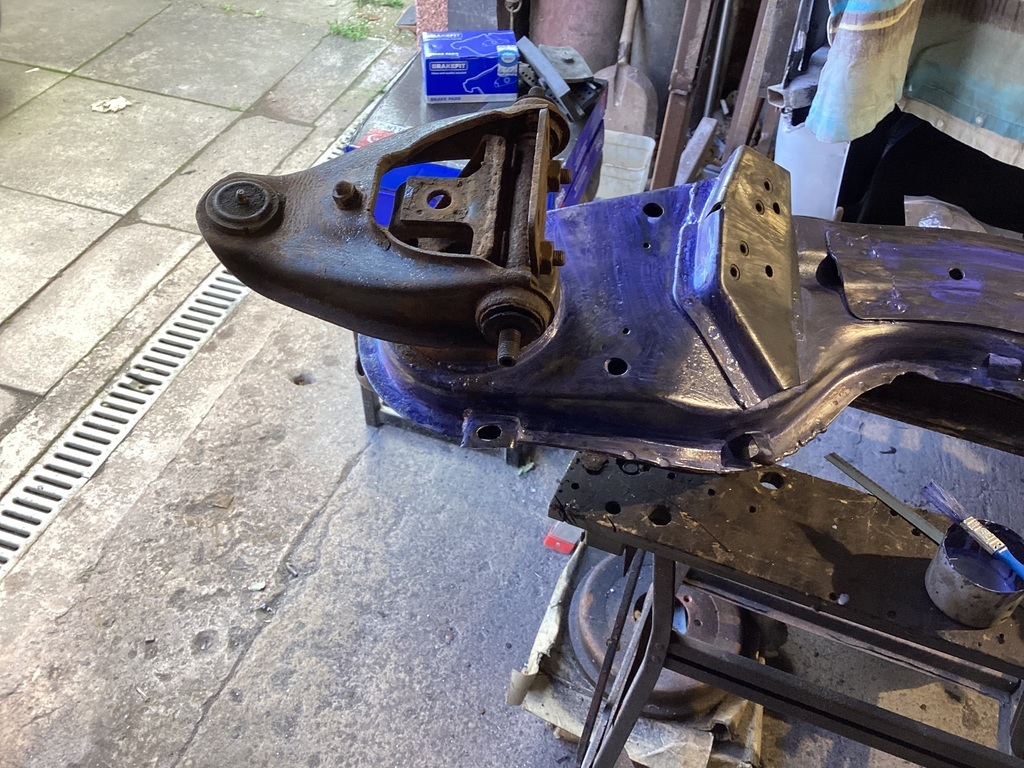 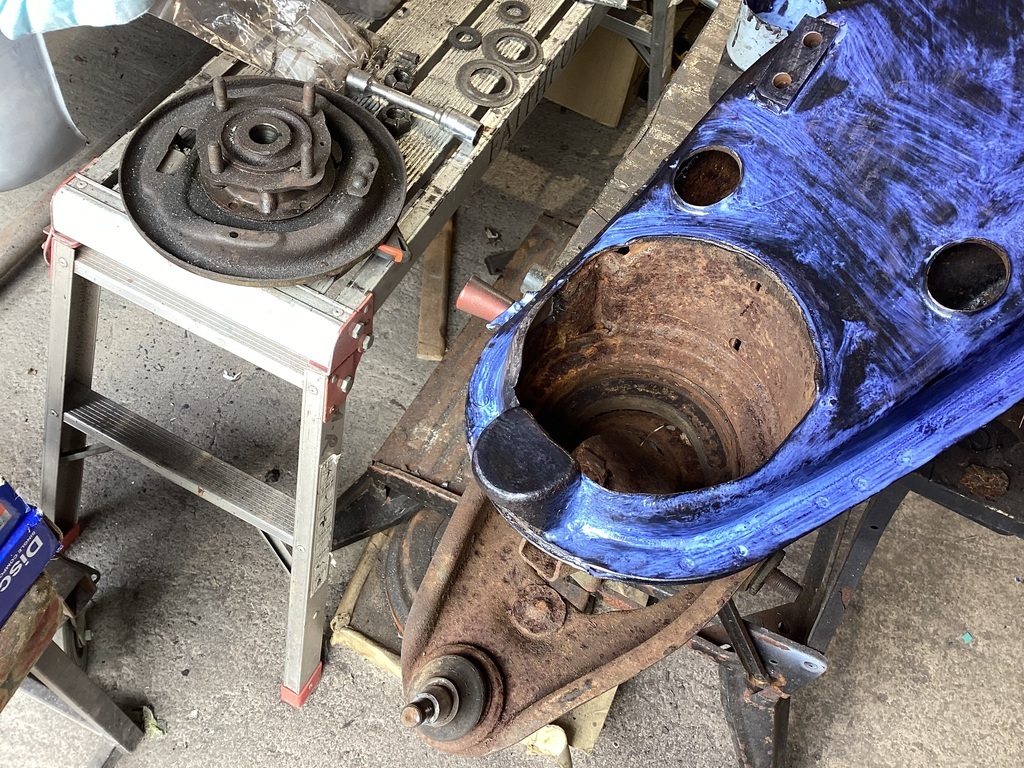 Over the last few days I have been doing more cleaning and painting, I tried to do the filthy work outside the garage but every time I stepped out the rain came on! Here are a few more pictures of the progress. 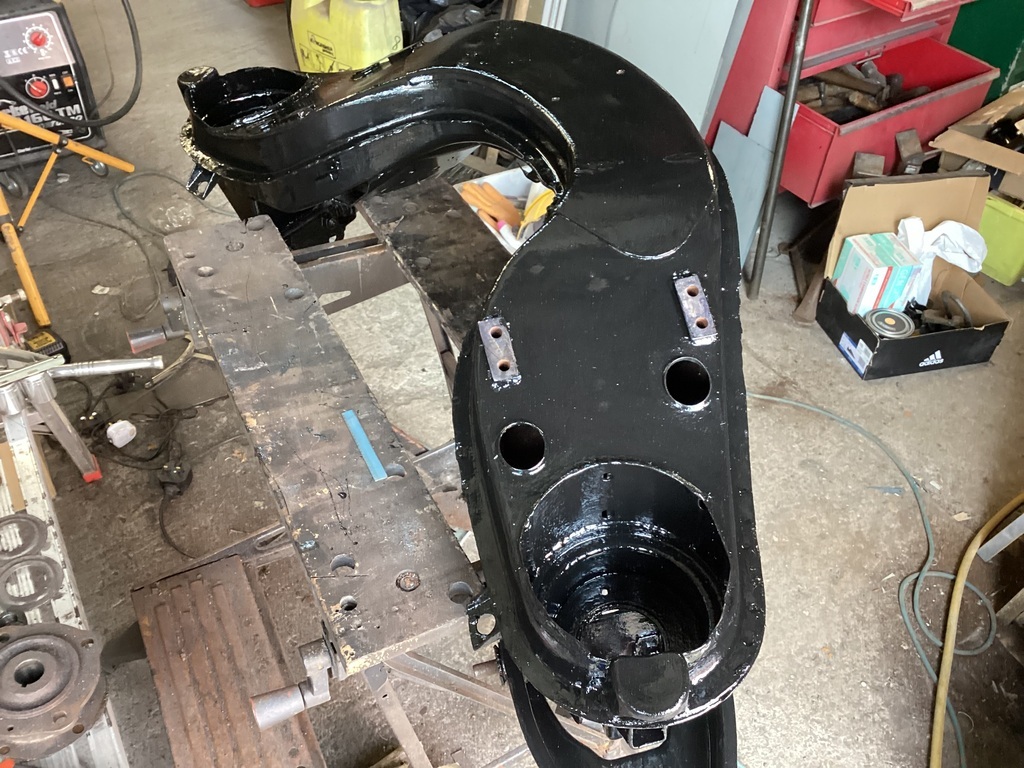 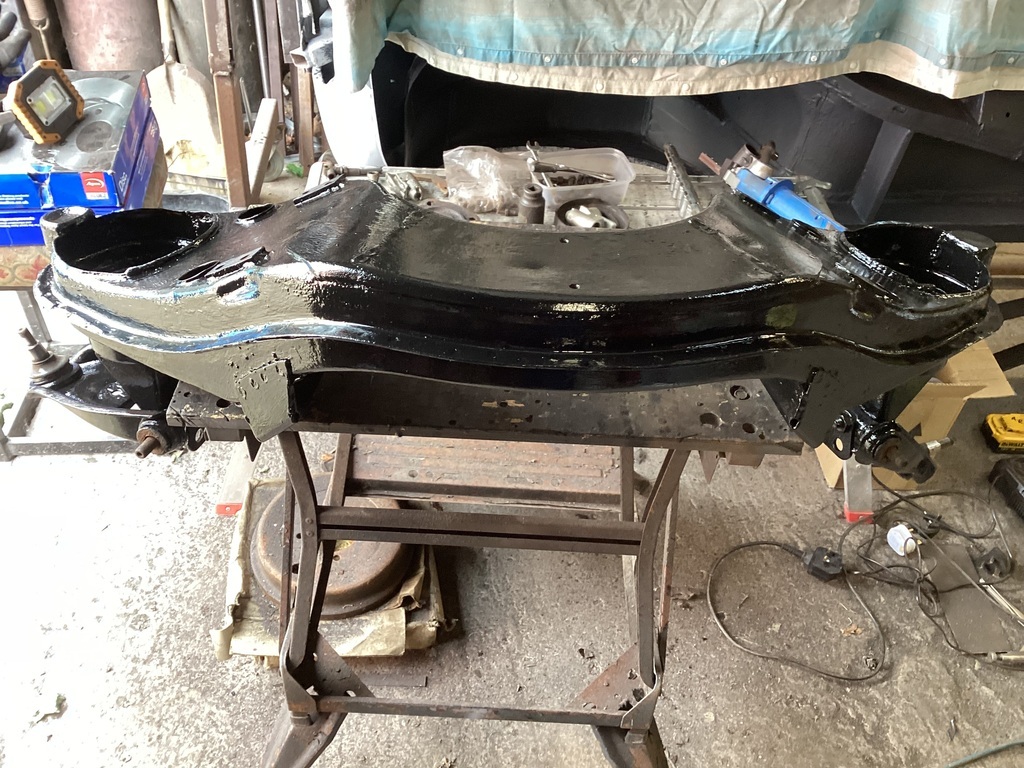 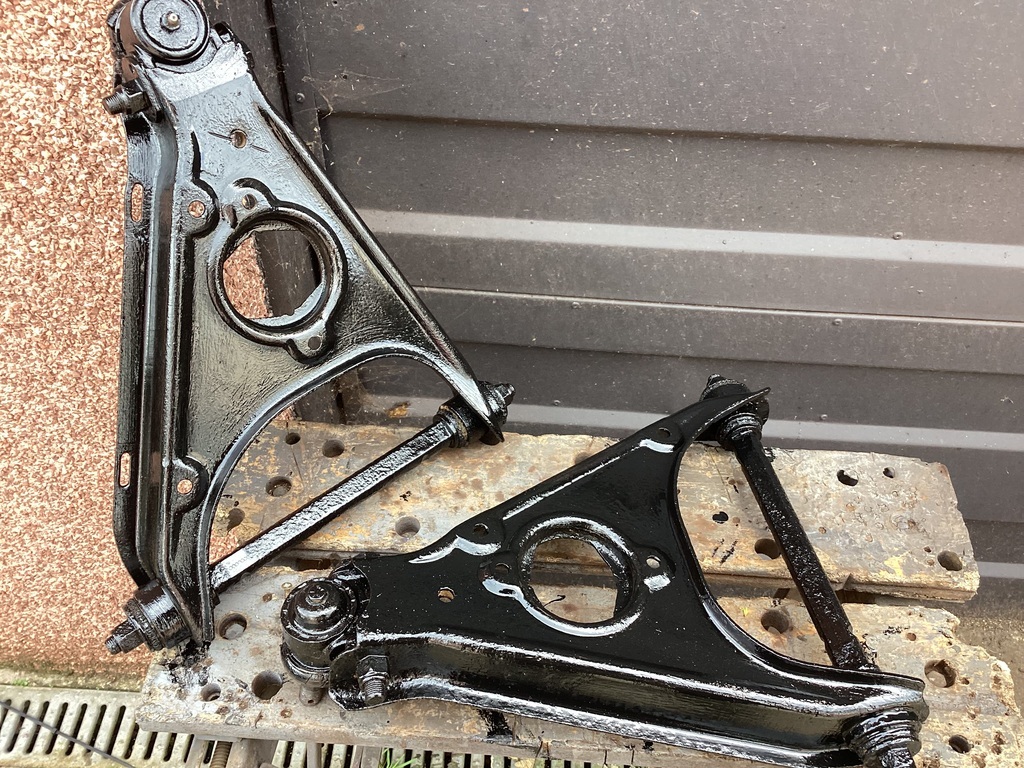 That’s pretty much where I am at right now, I am trying to do some reassembly work but continually don’t have the correct nuts and bolts. A lot of them were badly rusted and had to be cut off. I usually have plenty to replace them but these are unf, unfortunately I don’t have any. I did buy some at a classic car show last weekend but not the sizes I need at the moment. Anyhow this is where we are, please feel free to comment or offer advice. It is always welcome and appreciated, Norman |
| |
|
|
Norman
Part of things
 
Posts: 449 
|
|
Jul 19, 2023 18:02:59 GMT
|
Hi folks, I have been steadily working my way through refurbishing/repairing bits as I go. The last couple of days I have cleaned up and painted the rear brake back plates and various brackets. There are some plates that hold the rubber pads that keep the leaf springs in place, these were badly corroded. I was going to repair them but decided to make new ones. Here is a of picture showing the state of them. 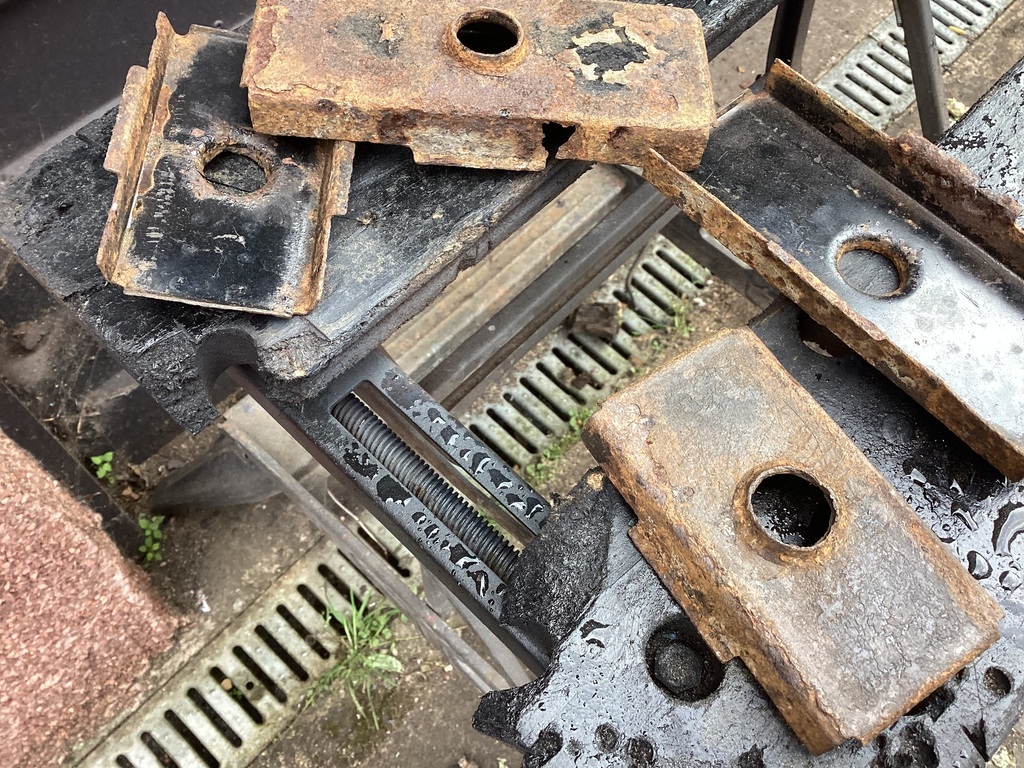 The metal I used is 1.5mm thick which doesn’t sound like much but it’s hard to work by hand. The next pictures show the plates completed. I painted them with etch primer then satin black. Please forgive the hammer marks, nobody will see them unless I have run over them in which case they have more to worry about. 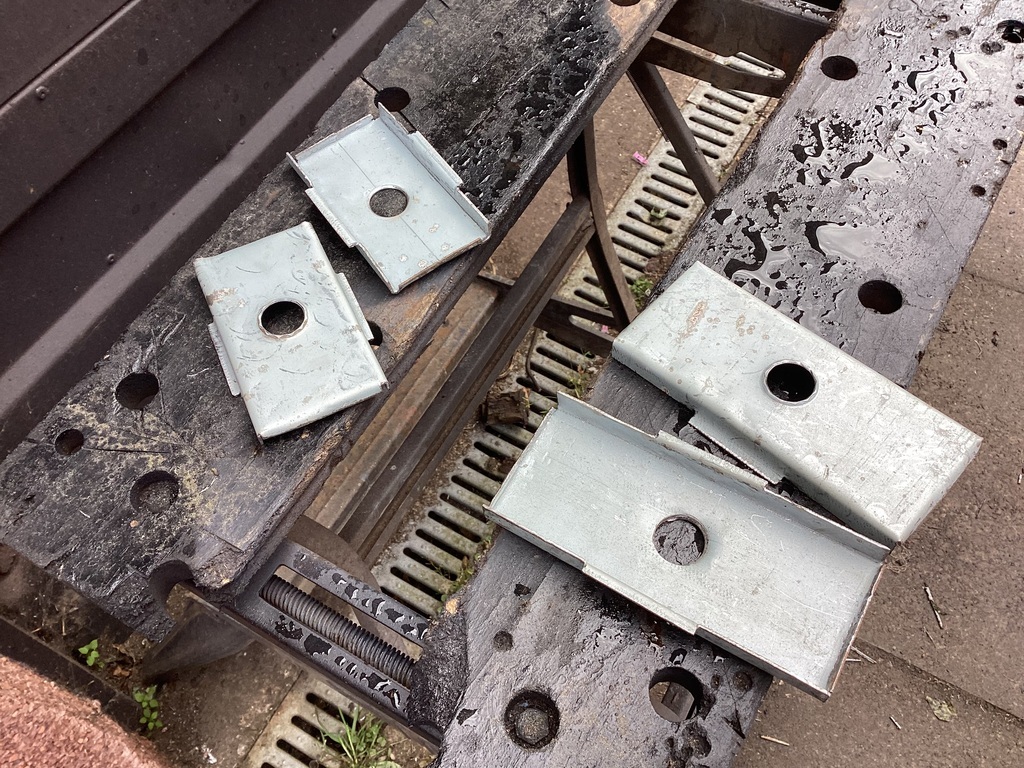 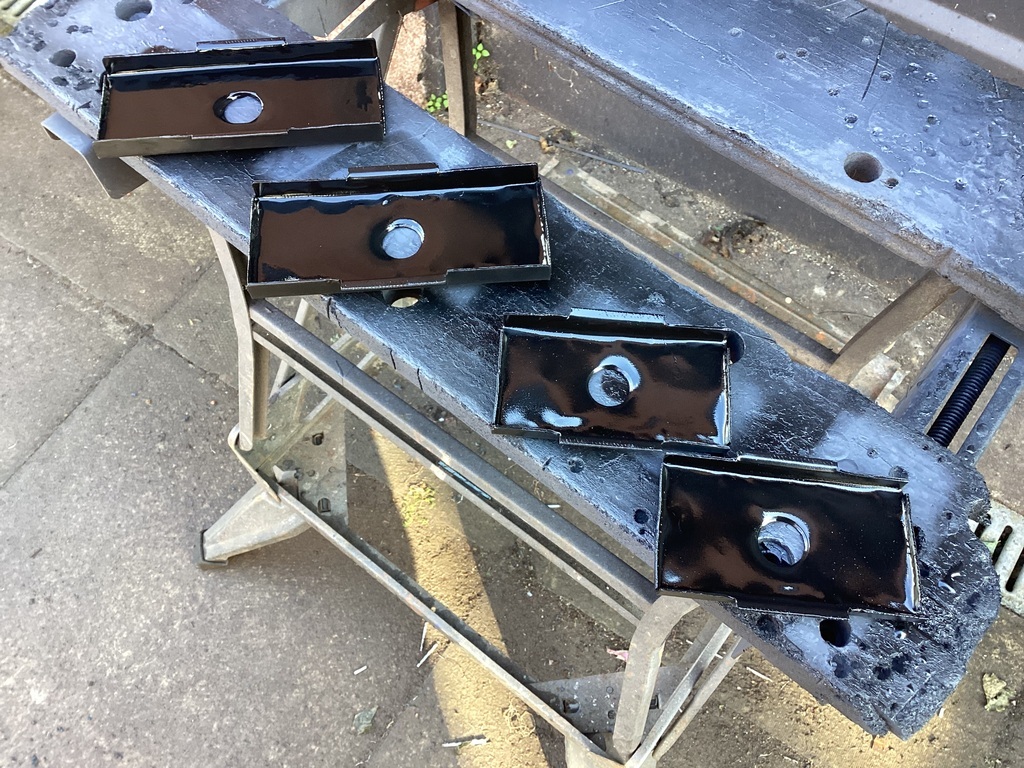 I am waiting on a few parts arriving but I hope to be able to reassemble the rear springs and axle assembly as well as the front crossmember this weekend. It doesn’t look like there is a lot happening but there is a lot of cleaning etc going on. Please feel free to comment, all the best, Norman |
| |
|
|
teaboy
Posted a lot
   Make tea, not war.
Posts: 2,125
|
|
Jul 19, 2023 18:47:15 GMT
|
The metal I used is 1.5mm thick which doesn’t sound like much but it’s hard to work by hand. The next pictures show the plates completed. I painted them with etch primer then satin black. Please forgive the hammer marks, nobody will see them unless I have run over them in which case they have more to worry about.  You are right about moving 1.5mm by hand, it is not easy. Most stuff I do is 1mm and that's ok but if I go to 1.2mm it becomes much more difficult. I.5 is like trying to panel beat the Bismarck. I'm amazed at the amount of work you have put into this project, Norman, it is fantastic. |
| |
|
|
Norman
Part of things
 
Posts: 449 
|
|
Aug 13, 2023 19:02:21 GMT
|
|
|
| |
|
|
|
|
|
Aug 14, 2023 12:57:48 GMT
|
|
Fantastic progress, I can see you driving it next year.
|
| |
|
|
Norman
Part of things
 
Posts: 449 
|
|
Aug 14, 2023 14:27:14 GMT
|
|
That's the plan, I was hoping to finish it before my 70th birthday but that's in about 4 weeks so no chance of that happening. It's starting to come together now so yes next year hopefully. Norman
|
| |
|
|
|
|
|
Aug 14, 2023 18:06:22 GMT
|
|
Amazing!!!
|
| |
|
|
|
|
|
|
|
|
well done one of the best projects on here the amount of work and lack of available replacement panels makes this amazing
|
| |
|
|
|
|


