Norman
Part of things
 
Posts: 449 
|
|
|
|
Hi folks, Here is another wee update, I was in the garage most of the day and I am filthy and tired. I was still stripping paint from the engine bay and I thought what’s that smell? Bodyfiller, so more holes filled over, here is the mess. 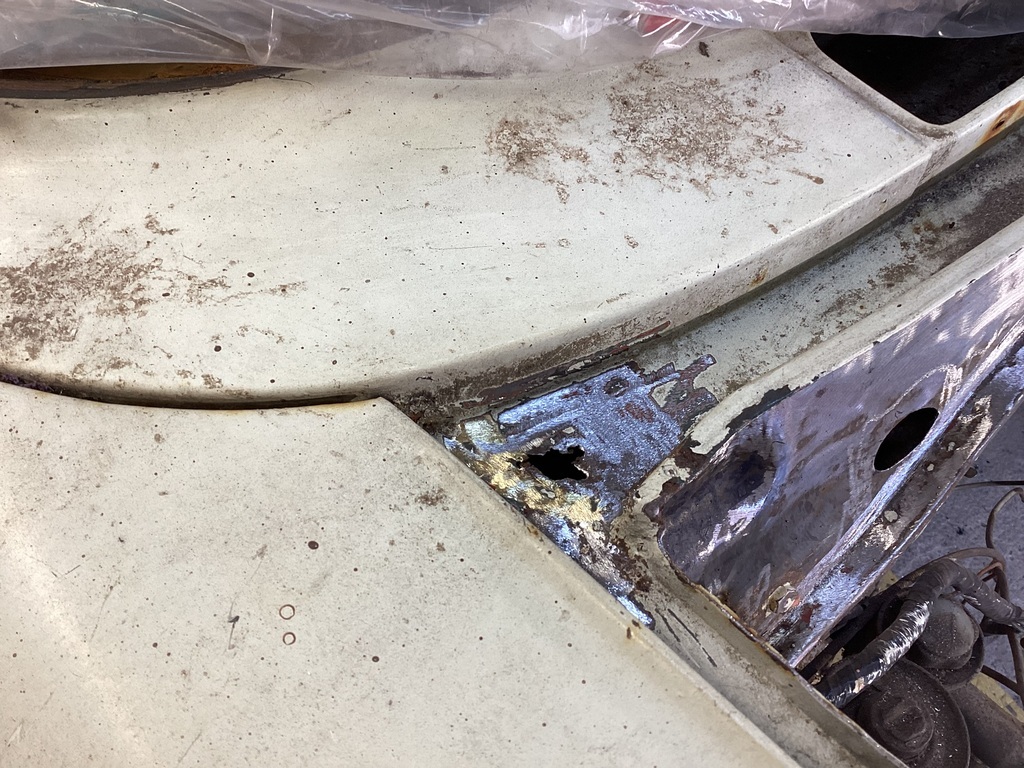 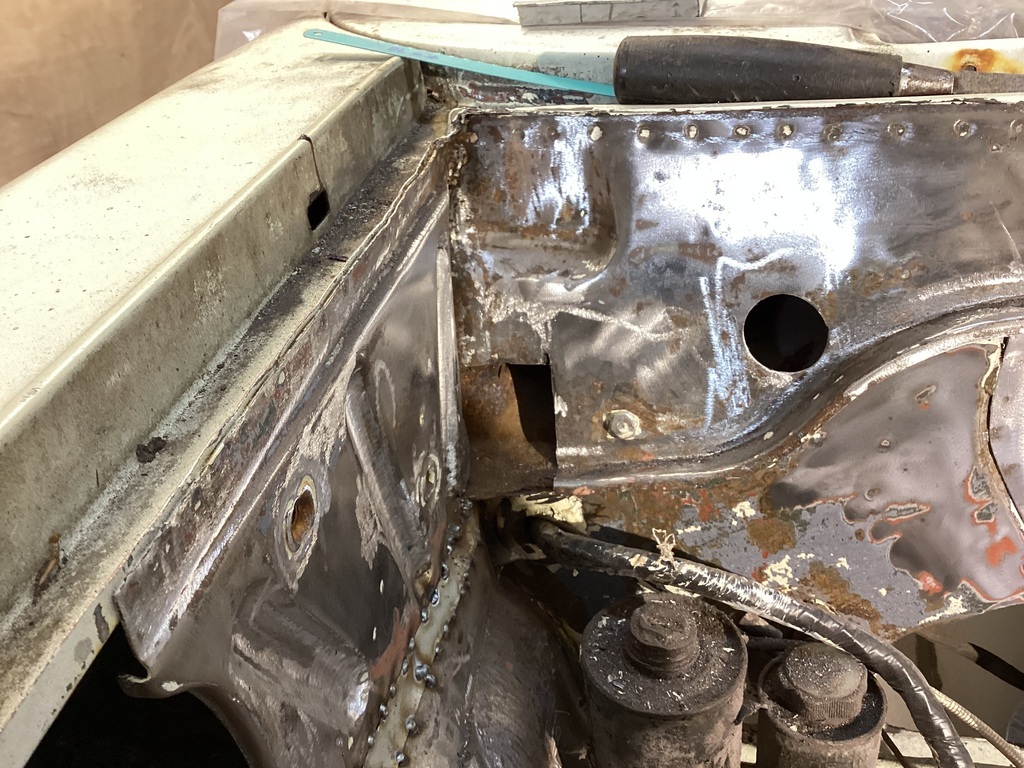 I cut out the rust, treated the areas behind with hydrate 80 and welded new metal in. I was surprised that the gutter welding went so well as the wing to the gutter has been brazed. I haven’t cleaned up the welds yet as I thought I would give the neighbours a rest today. 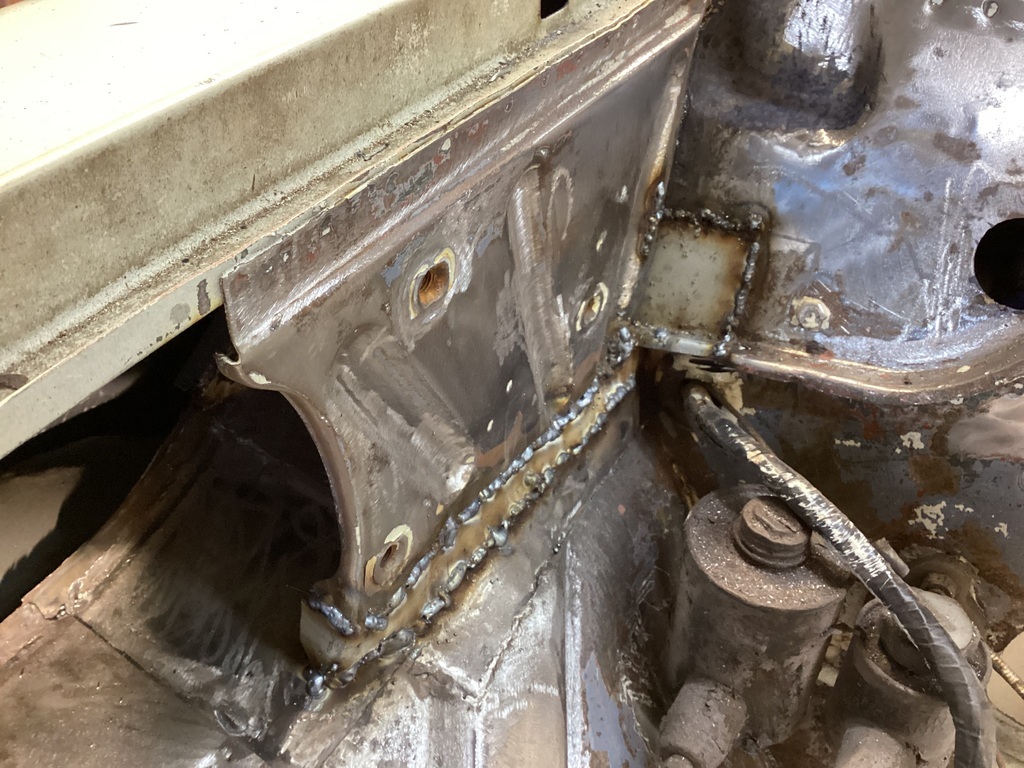 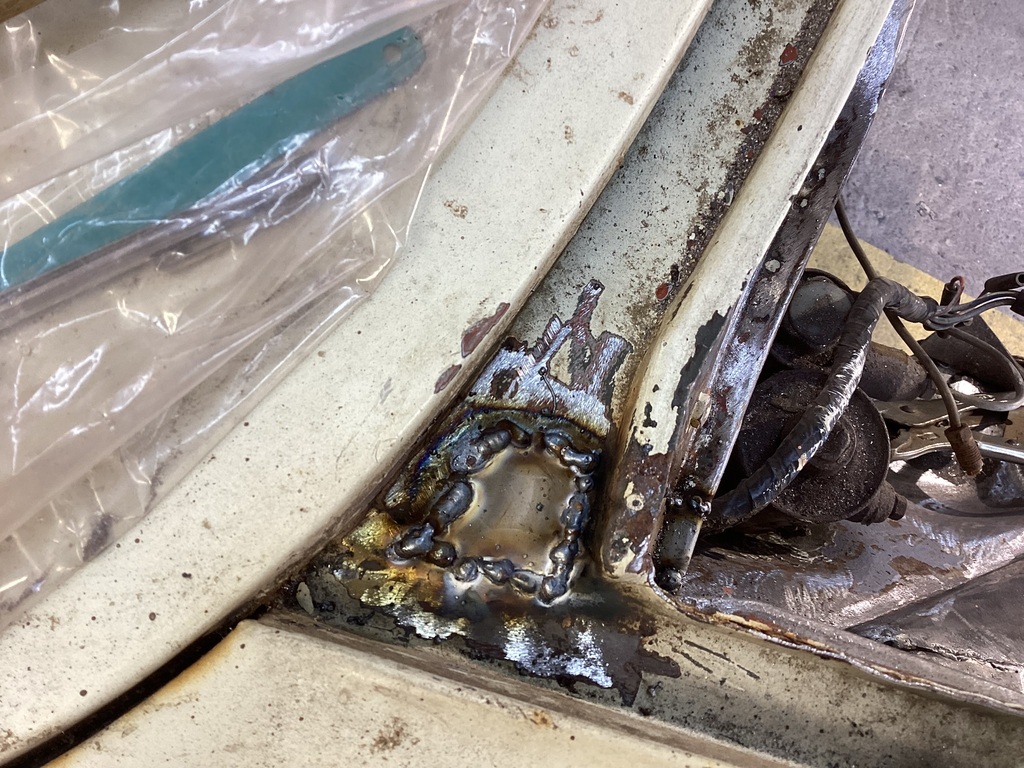 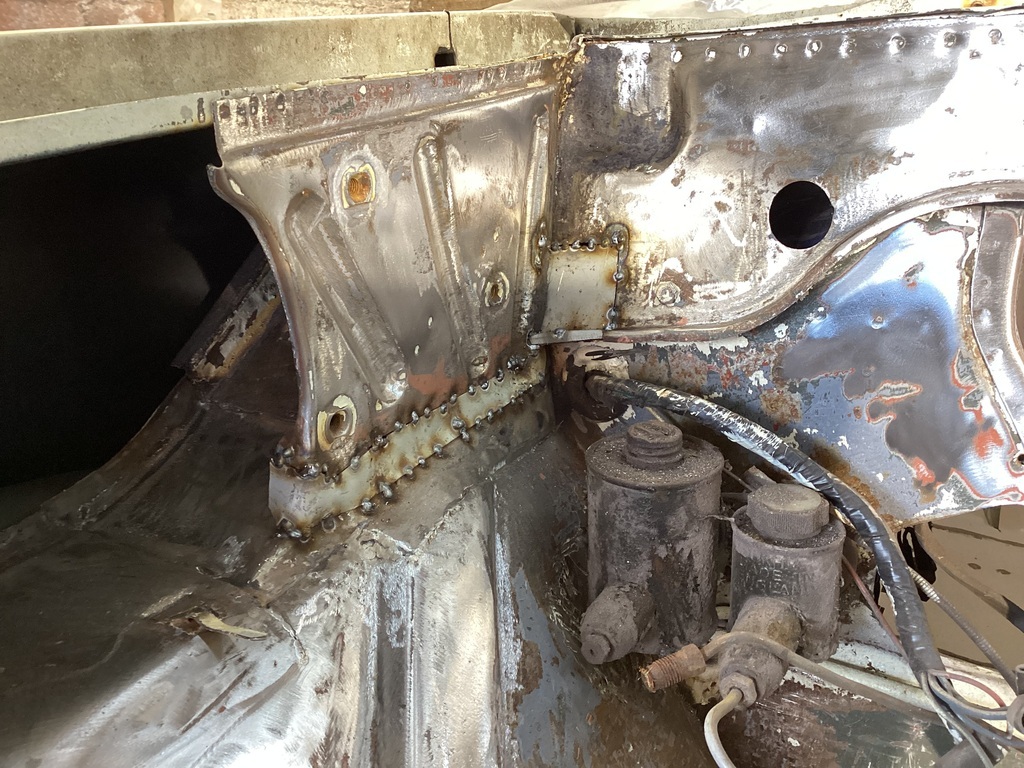 I decided to remove the brake and clutch master cylinders to get better access to clean the bulkhead. What a job, bodger had of course been before me, bolts broken, missing etc. The pedals were seized, I couldn’t get the clevis pins out that push the cylinders as bodger had put them in back to front so they wouldn’t clear the pedal assembly. The main pivot was seized solid but after some persuasion I got it out. I noticed when trying to push the pedals down that the bulkhead was flexing, there was a bolt missing to a support bracket. Anyhow the pedals are out now and will be cleaned and painted before lubricating and reassembly. While I was in there I noticed another bracket to support the steering column, one bolt broken and the other missing, god knows how this had an mot! My next task is to clean up the bulkhead inside the shell which is pretty brown. I have pulled the sound deadening away and pulled some of the wiring harness through to gain better access. That’s where I am at just now, I will need to tidy up again as I am tripping over stuff. Please feel free to comment etc. All the best, Norman |
| |
Last Edit: May 6, 2023 18:37:04 GMT by Norman
|
|
|
|
|
|
|
|
|
|
Nice work Norman,
Brilliant to see this project progressing,
At least you'll know when it's finished that it's done properly,
Nigel
|
| |
BMW E39 525i Sport
BMW E46 320d Sport Touring (now sold on.)
BMW E30 325 Touring (now sold on.)
BMW E30 320 Cabriolet (Project car - currently for sale.)
|
|
Norman
Part of things
 
Posts: 449 
|
|
May 22, 2023 18:49:42 GMT
|
Right where am I now. The bulkhead has been stripped of its components cleaned up and hydrate 80 applied where necessary. I also found another few rust holes which needed patching. I really felt down when I found these bits as I thought I had finished welding the shell. Here are a few pictures. 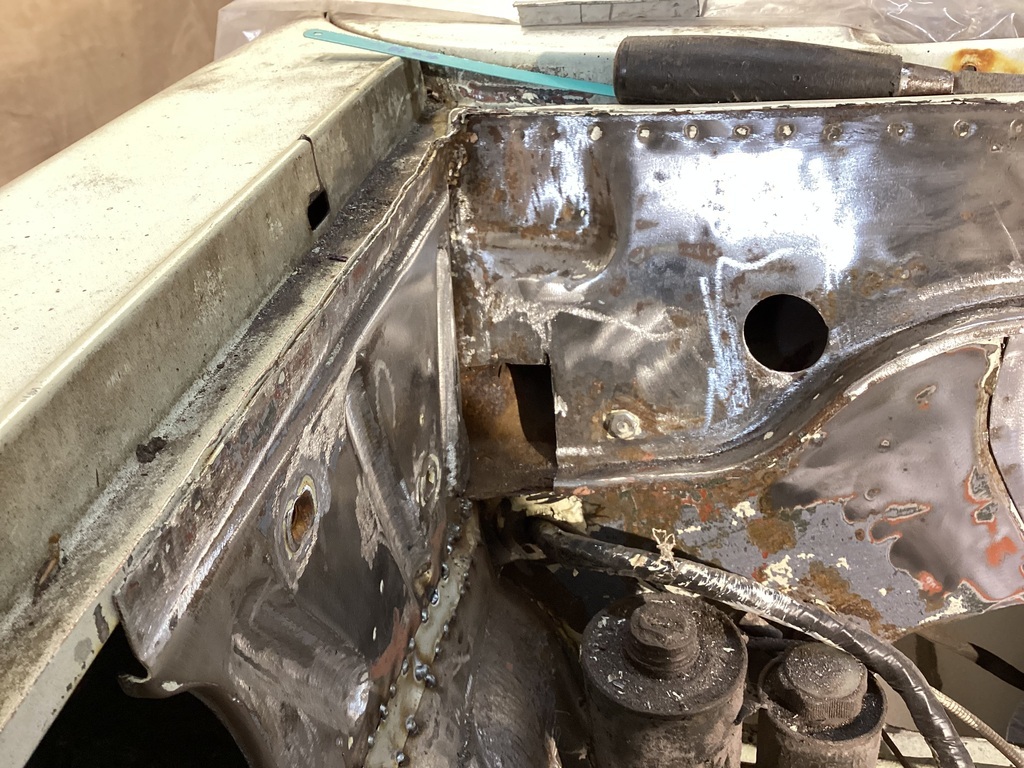 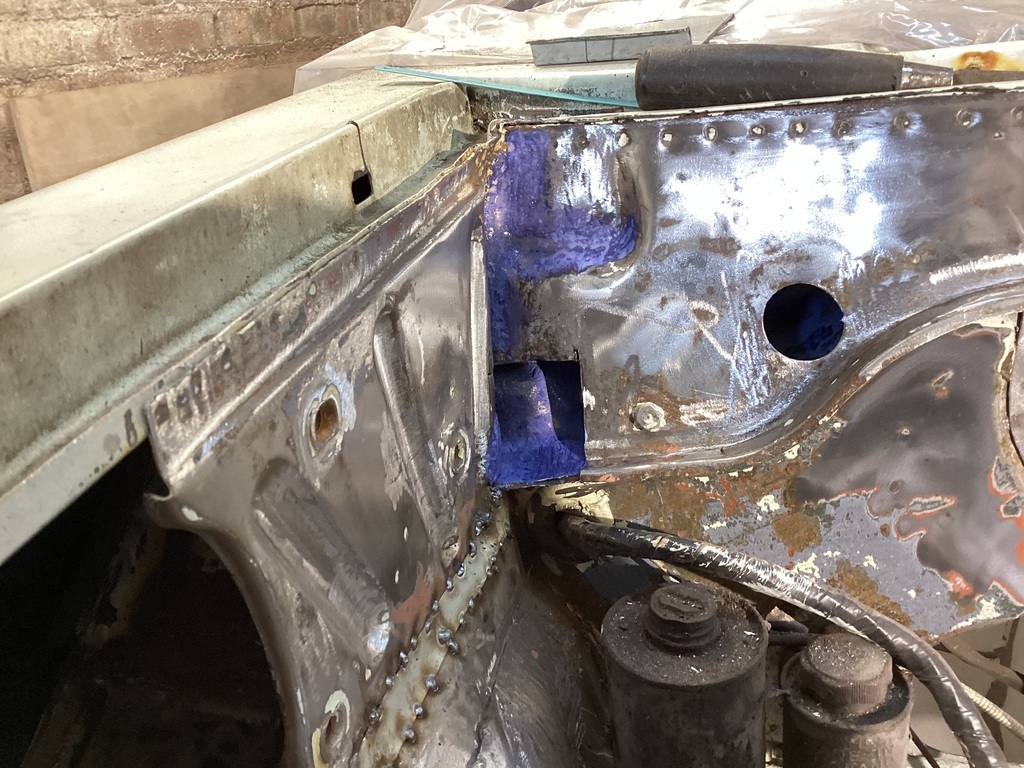 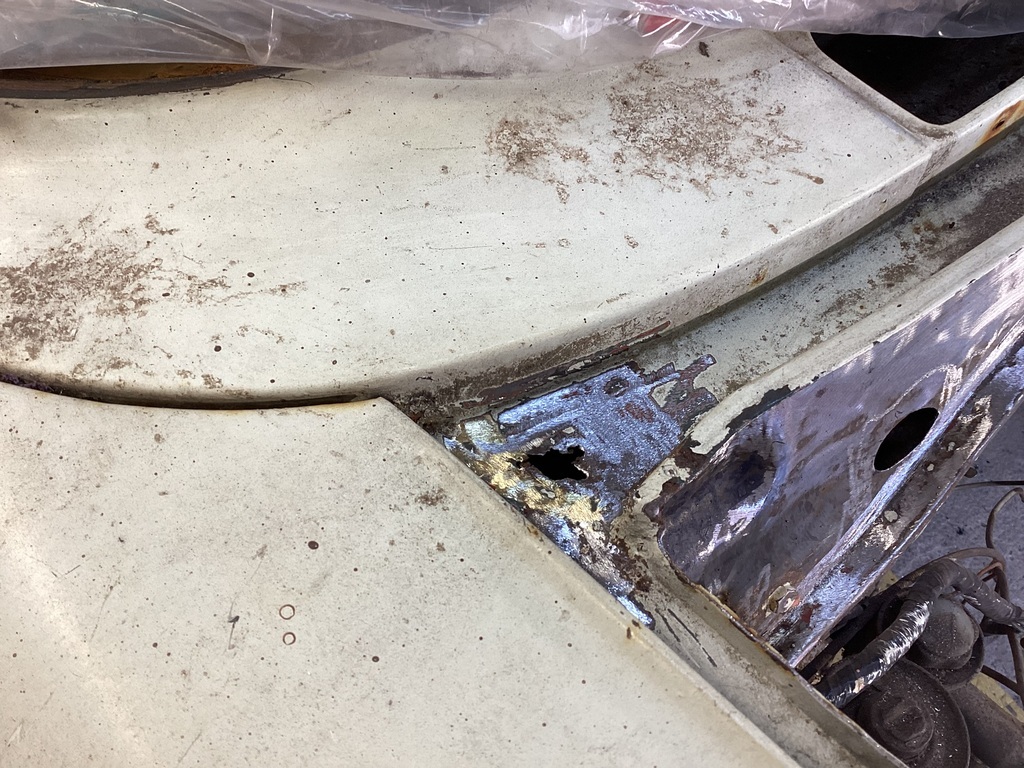 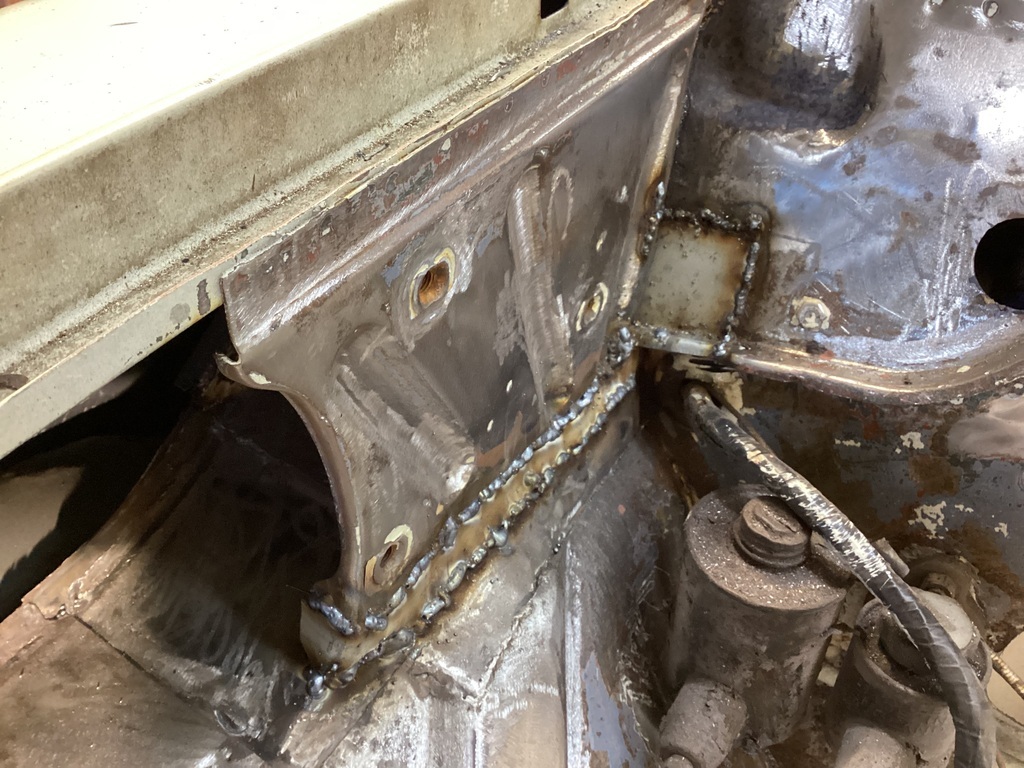 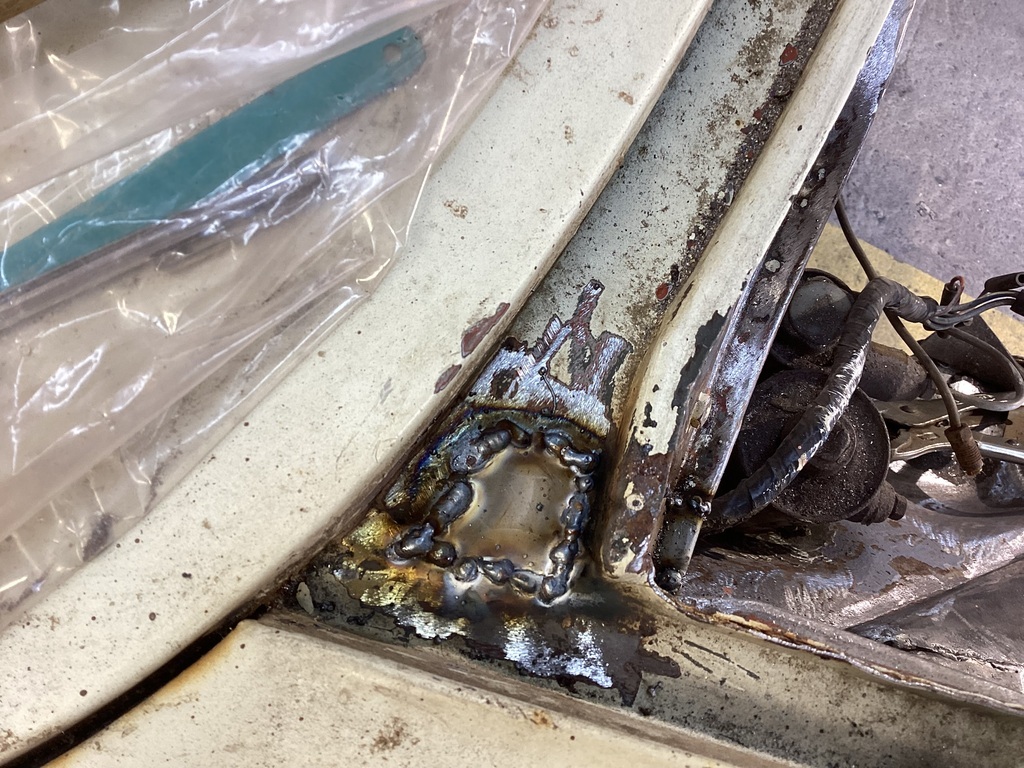 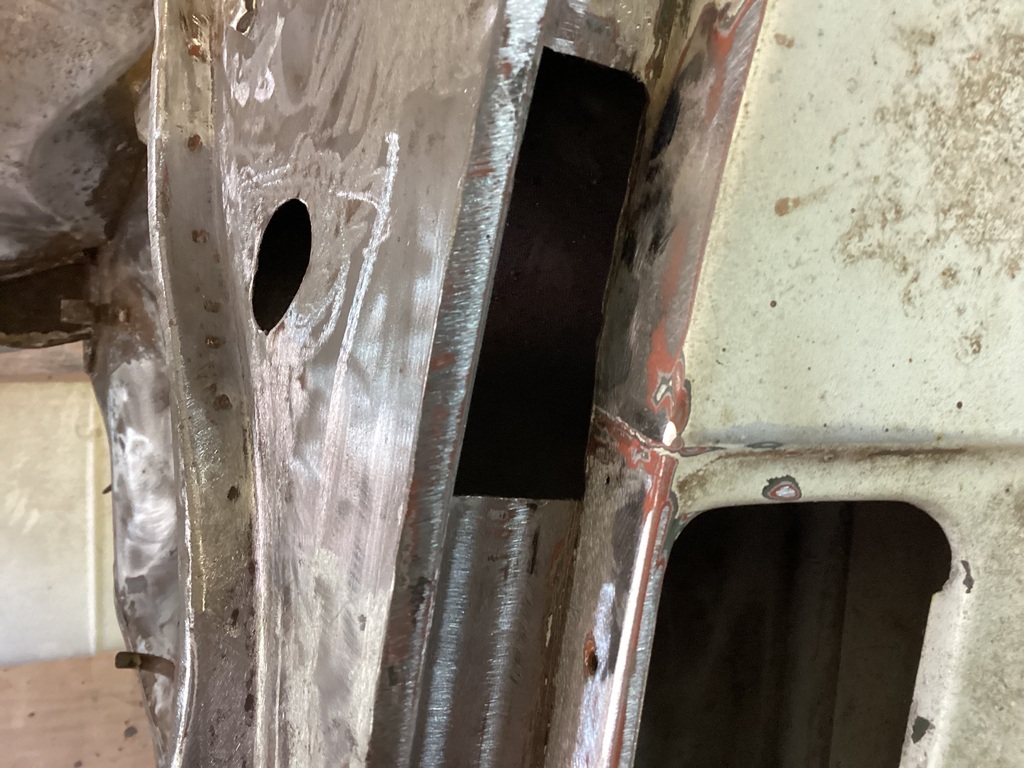 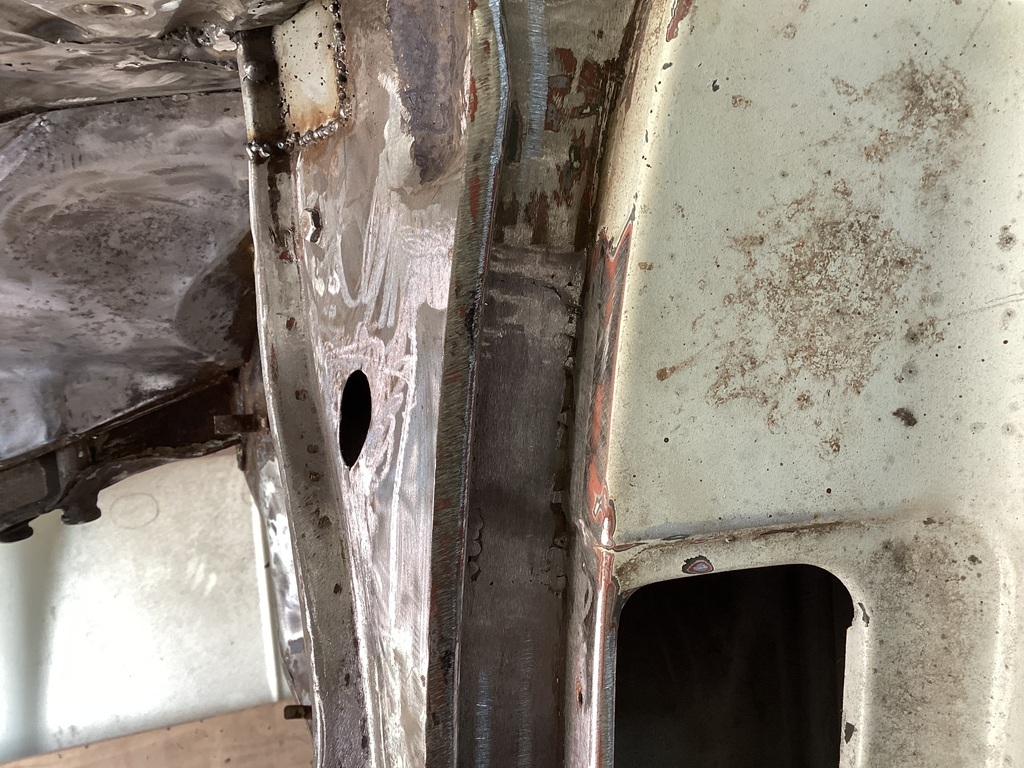 Next I moved onto the bulkhead inside the shell. I thought I had forgotten to take pictures but I found them. It was a mess with some heavily pitted metal. I removed the wiring loom, pedals and anything else to gain access. 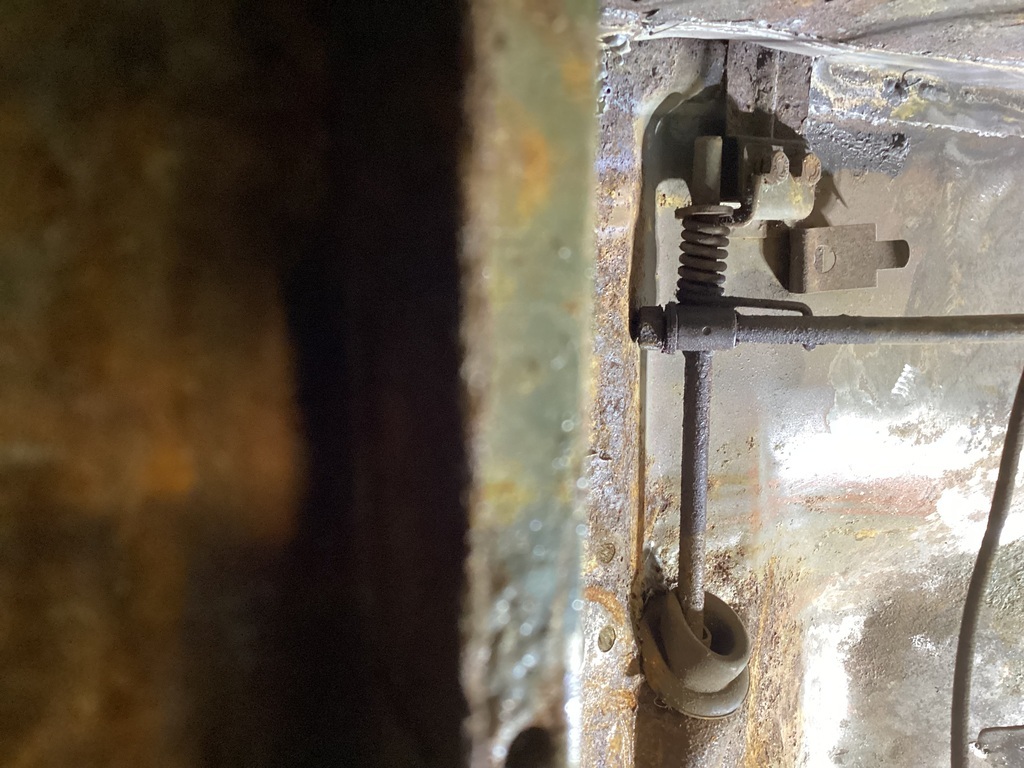 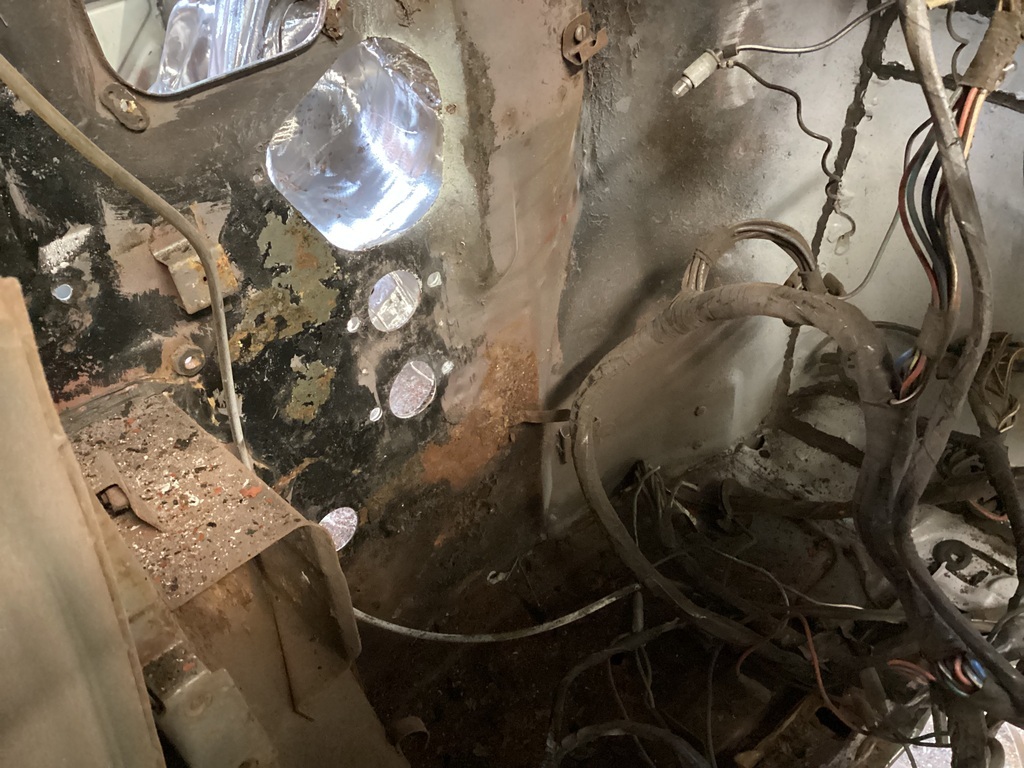 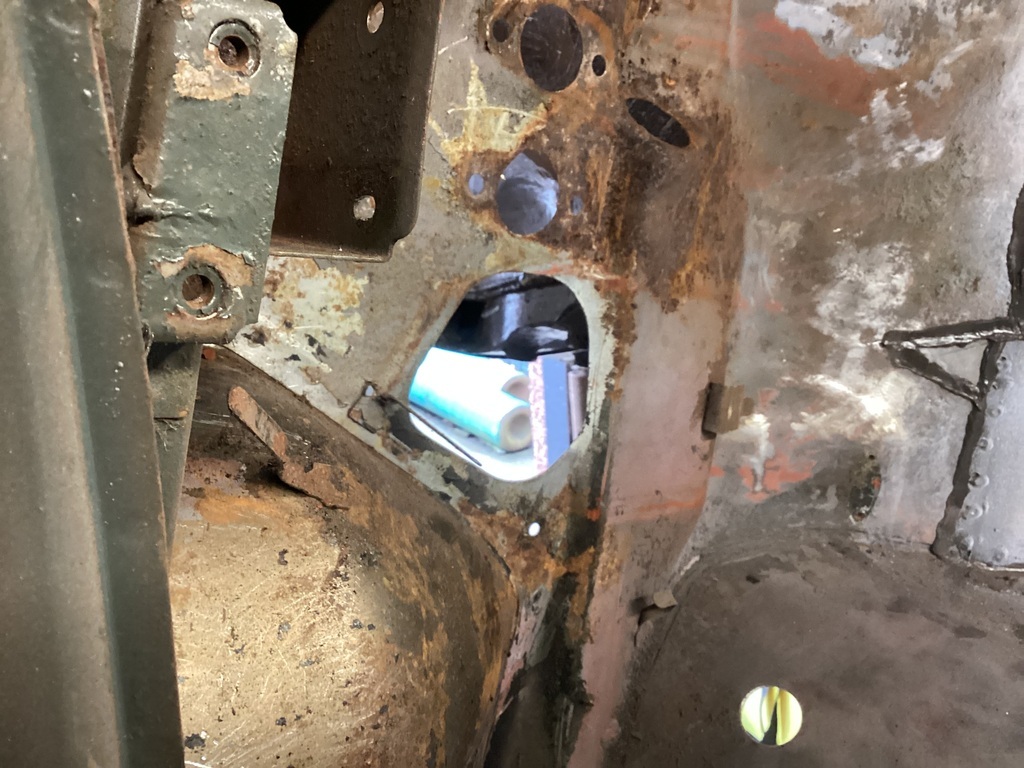 My son came on Saturday to give me a hand and he cleaned up the bulkhead inside the shell as I was nursing some back pain. It was a horrible job and he was absolutely filthy afterwards. I forgot to take pictures after the clean up but here it is with a liberal coating of hydrate 80. 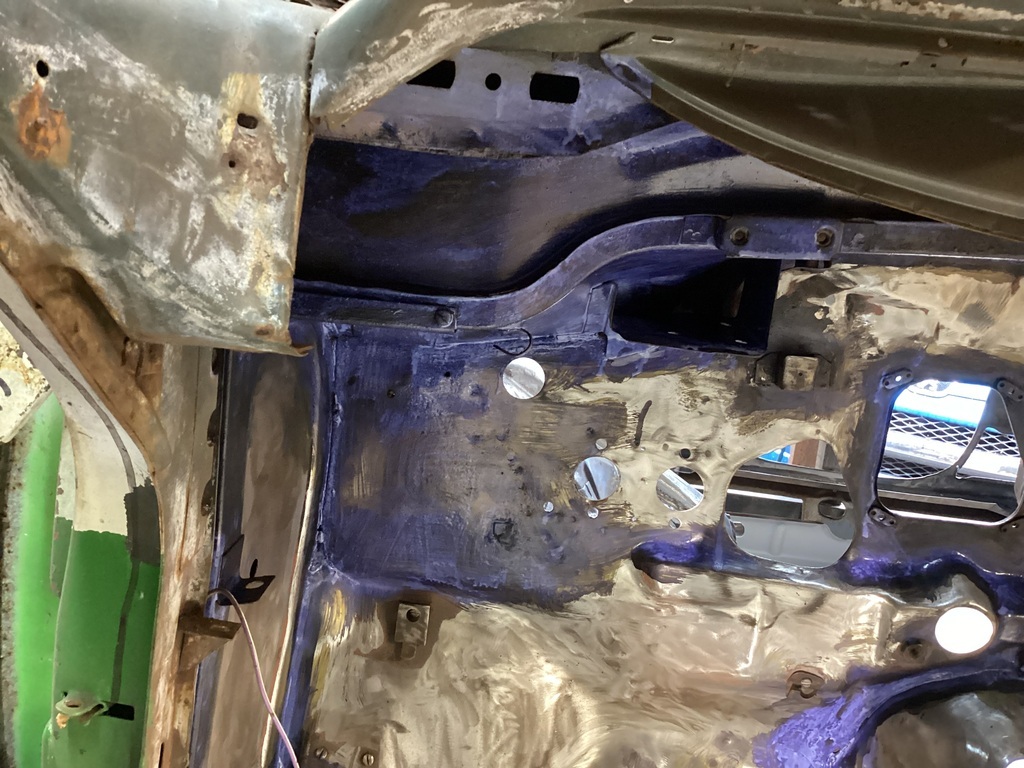 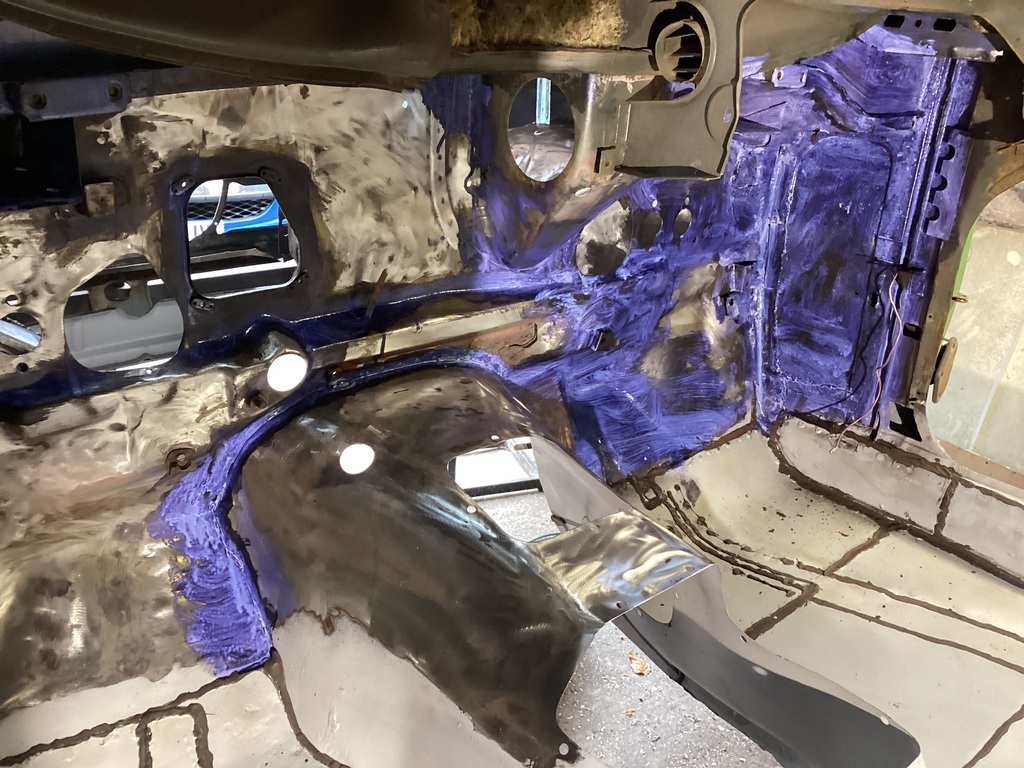 As usual I jump around from one area to another. I found some pin holes and a bit of rot around the headlight recesses and to be honest I was really tempted to bodge them with body filler but thought better of it. The pin holes were filled with weld, my son was holding copper behind the holes to stop the metal burning away. The rot was cut out and a new piece of metal let in. It will need a smear if filler but it’s turned out fine. 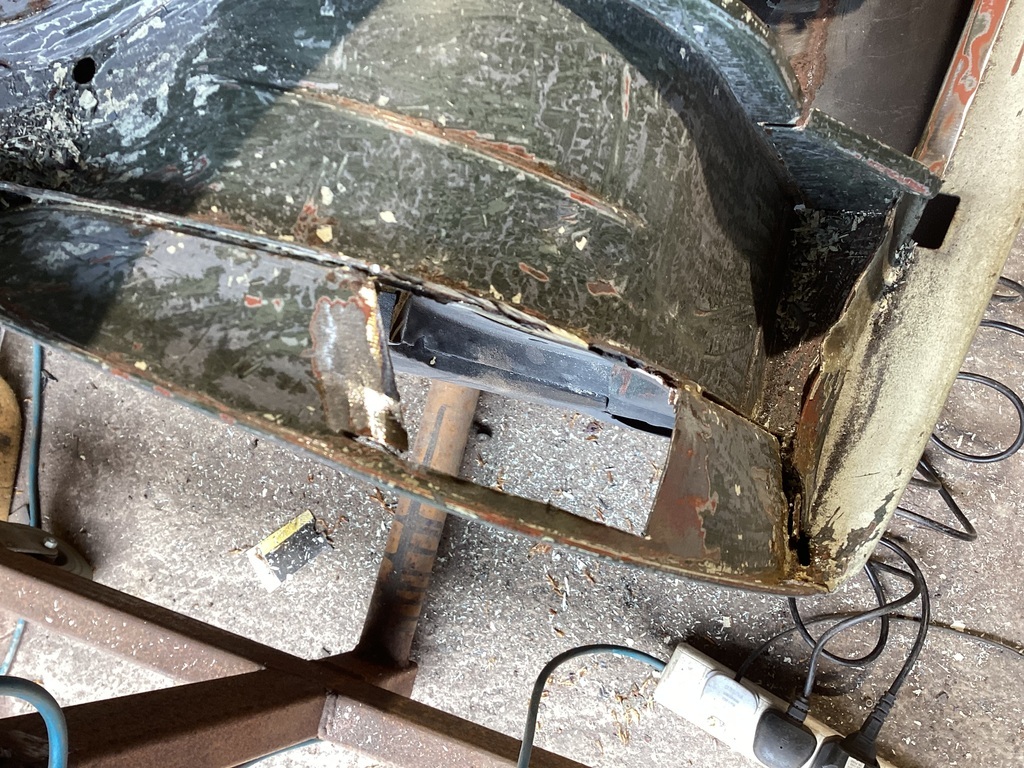 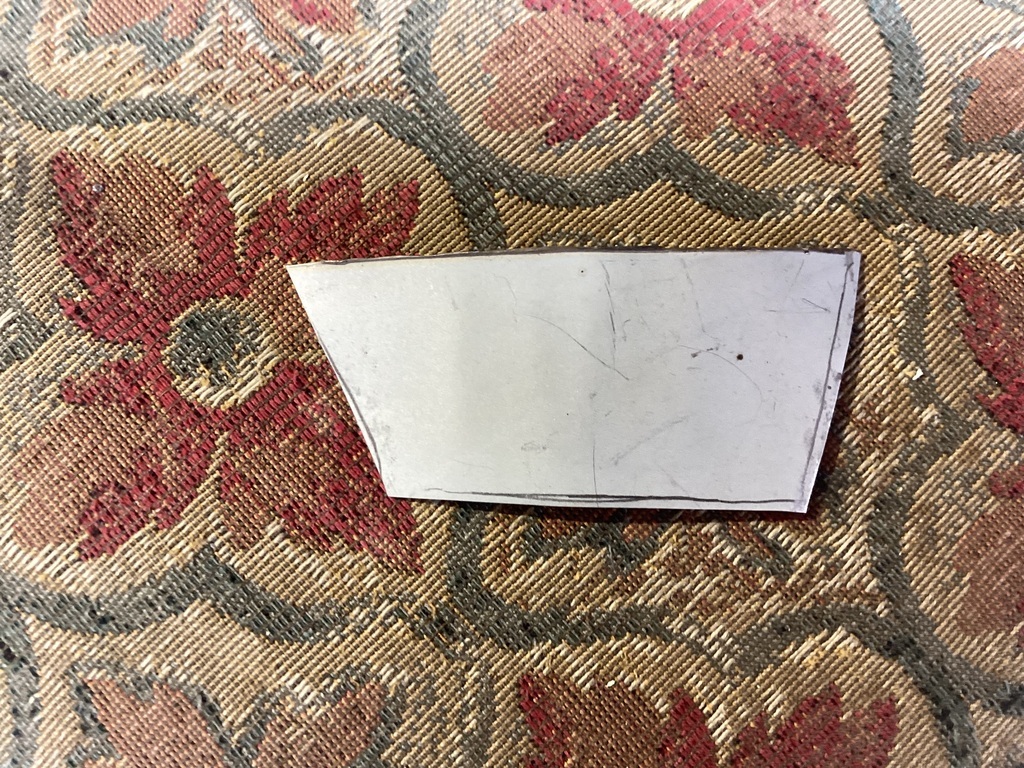 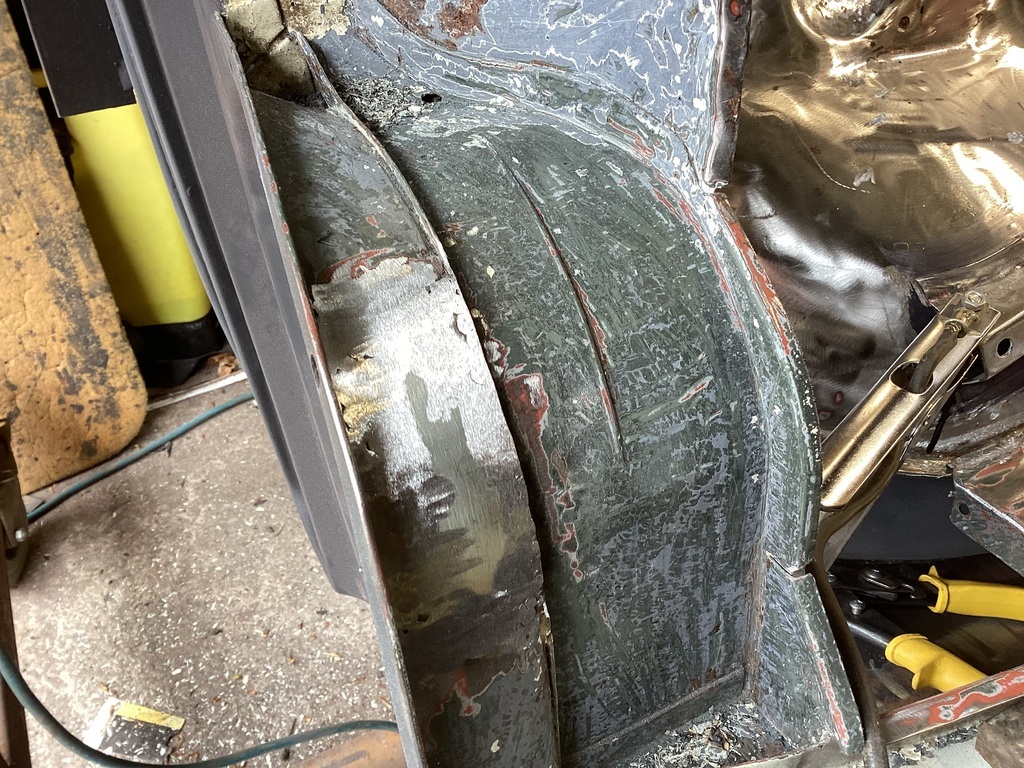 Jumping somewhere else again, I cleaned up the area around the windscreen fits derusting and treating with hydrate 80. I should be on commission for the amount of hydrate 80 I use and the constant mentions. 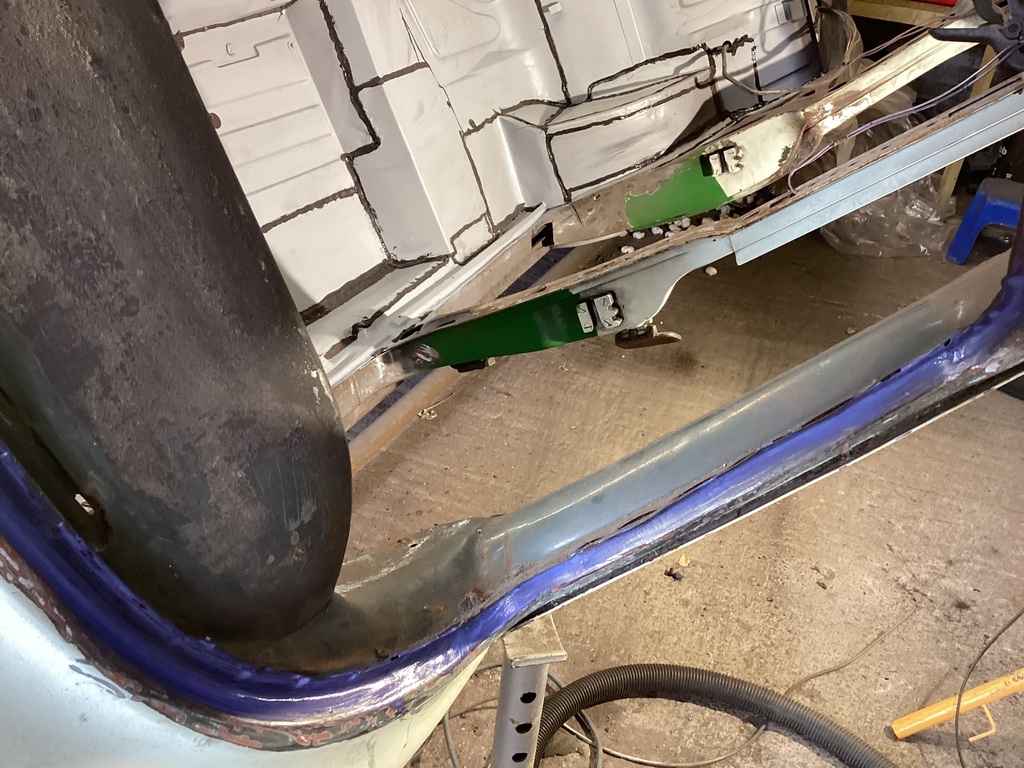 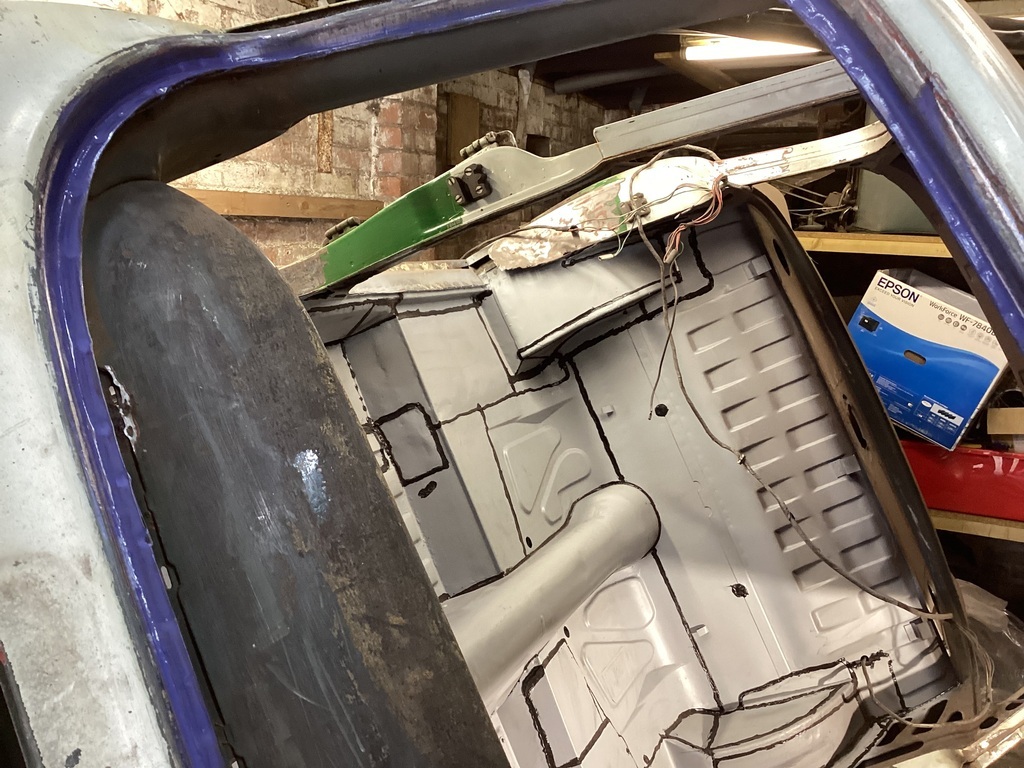 Now I am looking for some advice (Mark), before I apply the second coat of primer, do I need to key the first coat and with what. The next question is what are you guys using for the underside of the floor, stone chip or something else. Please feel free to advise as I don’t really have a clue. One last thing, I ordered by mistake the wrong size of belts for my power file. I ordered 330mm x 10mm which are of no use to me. If anyone wants them let me know, if more than one person wants them I will run a hat. Here is a picture of the belts. 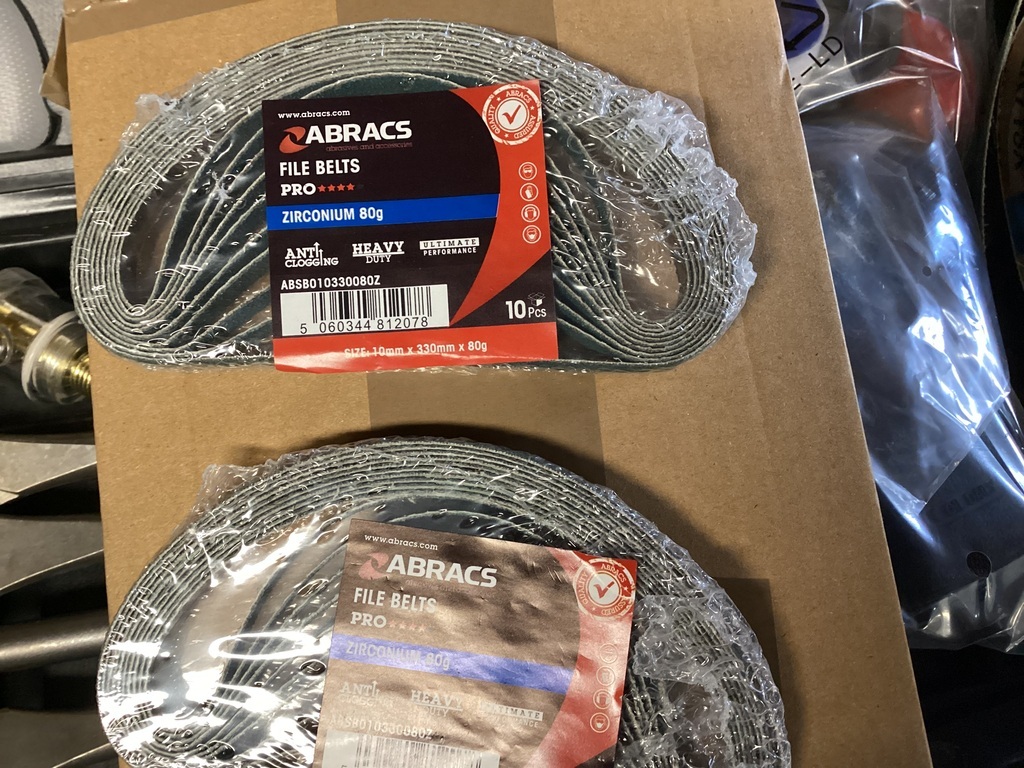 That’s it for now, apologies if I have duplicated any pictures. I find it difficult to find the correct ones from thumbnails. Please feel free to comment etc. All the best, Norman |
| |
|
|
|
|
|
May 22, 2023 19:03:13 GMT
|
Great work Norman - I understand how those little setbacks can really throw you off but, you're doing fantastic work. If it's past the window for a chemical bond I usually scuff the primer/paint with a red scotch-brite, tedious work, but it needs to be done to get the best possible finish. Looking forward to your progress. Alan. |
| |
|
|
|
|
|
May 22, 2023 20:18:04 GMT
|
Hi Norman. I assume it's epoxy primer? If so I normally sand it back with somthing like 320 grit on the outer bodywork. If its awkward areas or areas that don't get a lot of wind/rain/wear like engine bays or inside door shuts then grey scotchbrite is good (the red is too fine). If its the inside of the car then just a good degrease with panel wipe will do as it will stick well enough for those areas. I buy 100mm x 10 metre rolls of the grey for about £30 as it's far cheaper than buying pads. Underneath I like to go over the epoxy with stonechip in wheelarches and areas of high wear, otherwise you are often better off just glossing over the epoxy, it waterproofs it well and is easy to touch in with a brush if you get any stonechips (which suprisingly you don't). I like tetrosyl stonechip - but make sure it's not the bitumen based stuff. Its this stuff and you will need a schutz gun to apply it. I like to epoxy again over the stonechip and gloss on top of that - even in wheelarches. Dirt falls off the gloss well (and it looks good) and its suprisingly hard wearing. |
| |
|
|
|
|
|
May 22, 2023 20:37:20 GMT
|
|
As above, I scuff it over and coat with stonechip, I then gloss over the stone chip mainly because it stays cleaner than the bare stone chip. A lot of people swear by raptor which may well clean up fine, never used it myself though.
If it's going to be used all weathers I then coat with something like dynax UB wax.
I write the belt length on the body of my belt sanders and bandsaws with a sharpie as I can never remember what the right size is.
|
| |
|
|
Darkspeed
Club Retro Rides Member
Posts: 4,880
Club RR Member Number: 39
|
|
|
|
like engine bays or inside door shuts then grey scotchbrite is good (the red is too fine). You made me double check the grades as had always thought Grey finer than Red - Phew - it is ! Red is Very Fine - Grey is Ultra fine. |
| |
|
|
|
|
|
May 23, 2023 11:51:06 GMT
|
like engine bays or inside door shuts then grey scotchbrite is good (the red is too fine). You made me double check the grades as had always thought Grey finer than Red - Phew - it is ! Red is Very Fine - Grey is Ultra fine. Interesting......my local paint factors sells the (small cut squares) red as extra fine & grey as medium??? |
| |
|
|
pptom
Part of things
 
Posts: 475 
|
|
May 23, 2023 16:43:25 GMT
|
|
Keep at it Norman, switch things around and think of it as a bonus that you have found the rust now rather then while you're painting or even worse after.
It will end one day!
|
| |
|
|
Norman
Part of things
 
Posts: 449 
|
|
May 23, 2023 18:39:55 GMT
|
|
Thanks to everyone for the advice, I had a bit of a set back today. There was some blistering of the primer in places, some was caused by me grinding welds inside the shell other parts were some kind of reaction. I scraped the blisters and cleaned back to bare metal, I then brushed epoxy primer into the damaged areas and now hope for the best. I will check it tomorrow and see how it went. I said another load of bad words when I saw it today.
I am looking for more advice, sound deadening stuff. There seems to be a load of different types available and also hugely different prices. What should I get without breaking the bank. I am not ready for it but I am gathering materials for the next stages.
Another thing on my large to do list is to repair the wiring loom, it has some melted bits in it so they will need chopped out and repaired. This again is a job for the future. Thanks again to everyone for the advice and support, Norman
|
| |
|
|
|
|
pptom
Part of things
 
Posts: 475 
|
|
May 23, 2023 21:10:35 GMT
|
|
I've always managed to get my sound deadening from e.bay or Facebook marketplace. Lots of people using it to convert vans and typically have sheets left over, so is much cheaper.
Used some dodo and dead mat, can't say there is any difference between them really.
Extreme budget version is lead alternative flashing from DIY shops, similar, but I don't think it's quite as good.
|
| |
|
|
Norman
Part of things
 
Posts: 449 
|
|
May 24, 2023 17:56:10 GMT
|
Today I brushed some primer onto the engine bay. I brushed it on to get into the nooks and crannies. I still have some bits to do but access is difficult, I think I can get into those areas with a small roller. Here are a couple of pictures of it primed and seam sealed, I am not great at getting a decent bead of sealer on but hey ho. 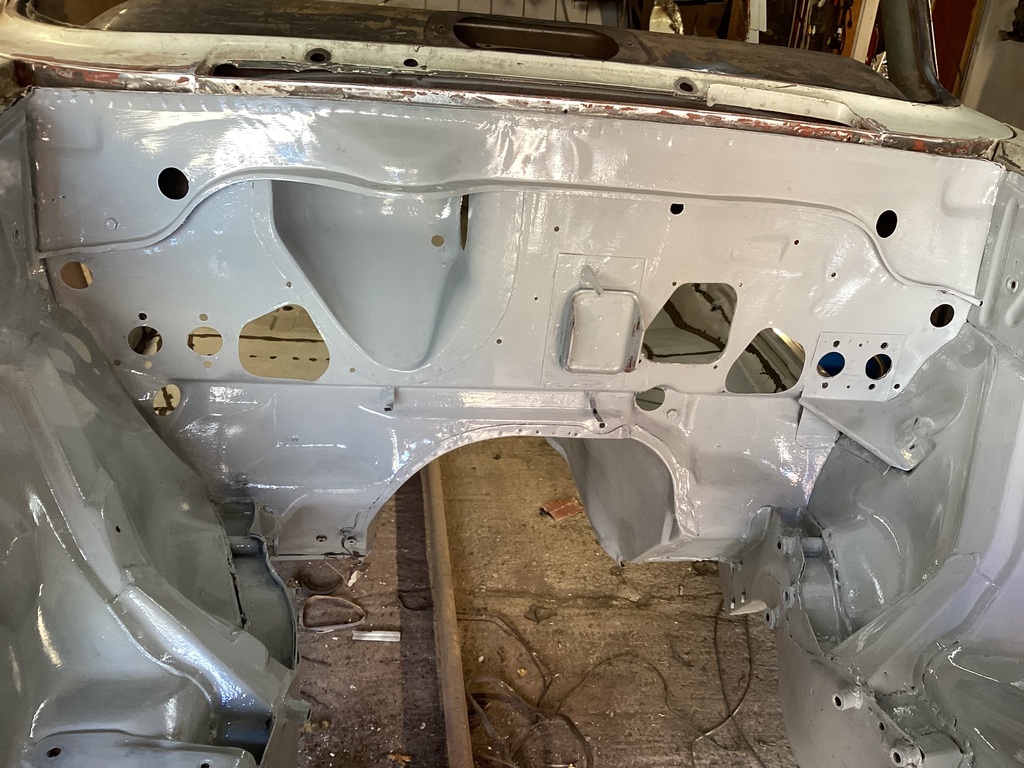 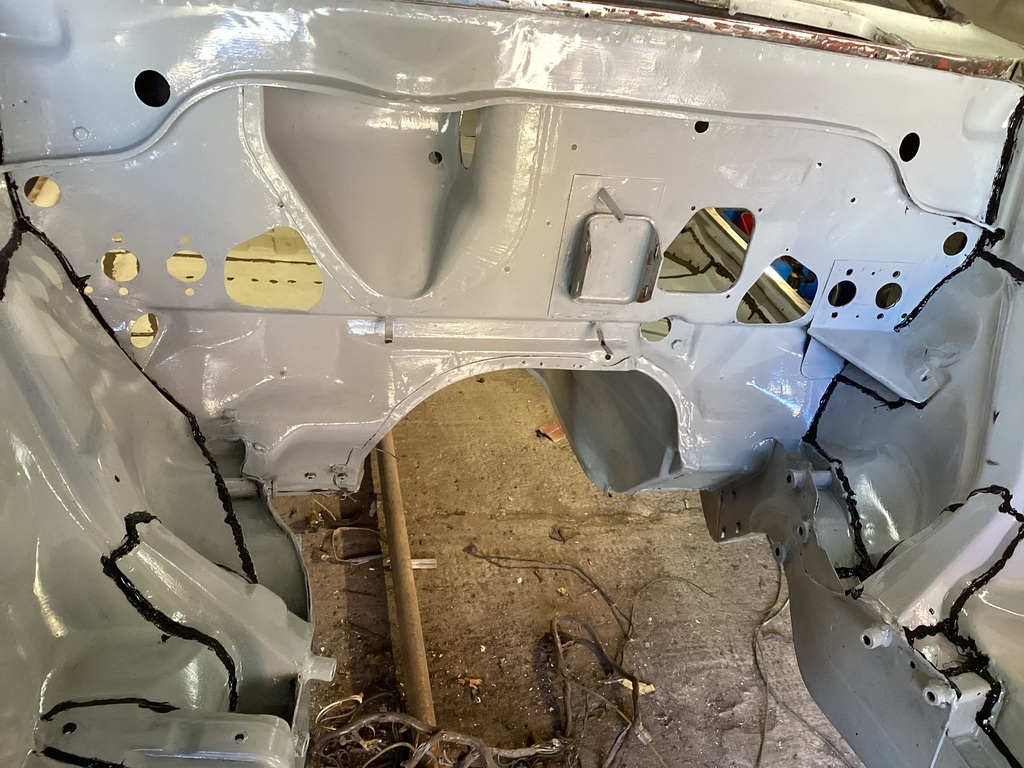 I might not get anything done tomorrow as we have my grandson after school so probably Friday for some progress. I will hopefully get the hard to reach parts painted. I have also painted the bulkhead inside the shell but it will need a second coat which I will probably spray on. When you see some paint going on it gives you a lift and you feel you are getting somewhere. All the best, Norman |
| |
|
|
|
|
|
May 24, 2023 18:16:10 GMT
|
|
Looks good Norman, is tne seam sealer Tiger seal? (or similar brand).
If so I tend to lay a smaller bead and run a finger over it (with a nitrile glove on) and wipe off the excess on my finger with a bit of thinners.
|
| |
|
|
Norman
Part of things
 
Posts: 449 
|
|
May 24, 2023 19:34:58 GMT
|
|
Hi Mark, Yes it’s Tigerseal, one thing I did learn was not to get it on your hands. Tigerseal is messy stuff. My youngest son is a joiner to trade and he is very good at laying a bead. However that doesn’t help me! I will give what you suggest a try and see how I get on. Thanks, Norman
|
| |
|
|
|
|
|
May 24, 2023 19:36:17 GMT
|
|
It takes time, but I found the way to neat seam sealing is a line of masking tape on either side of the seam.
|
| |
|
|
Norman
Part of things
 
Posts: 449 
|
|
|
|
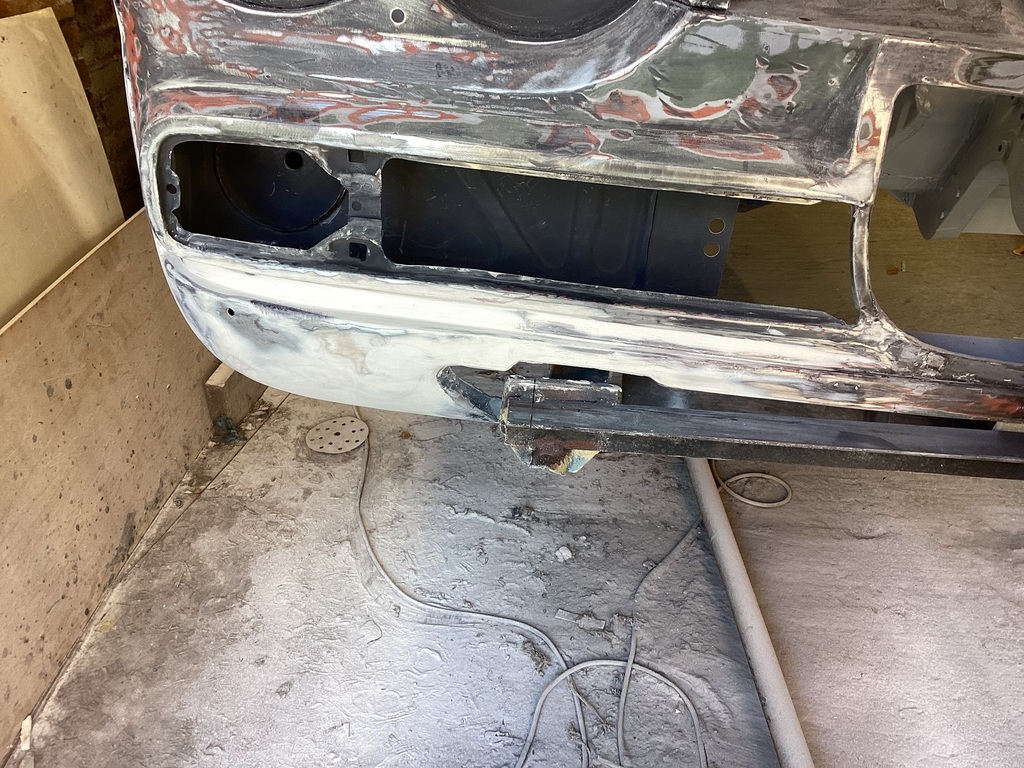
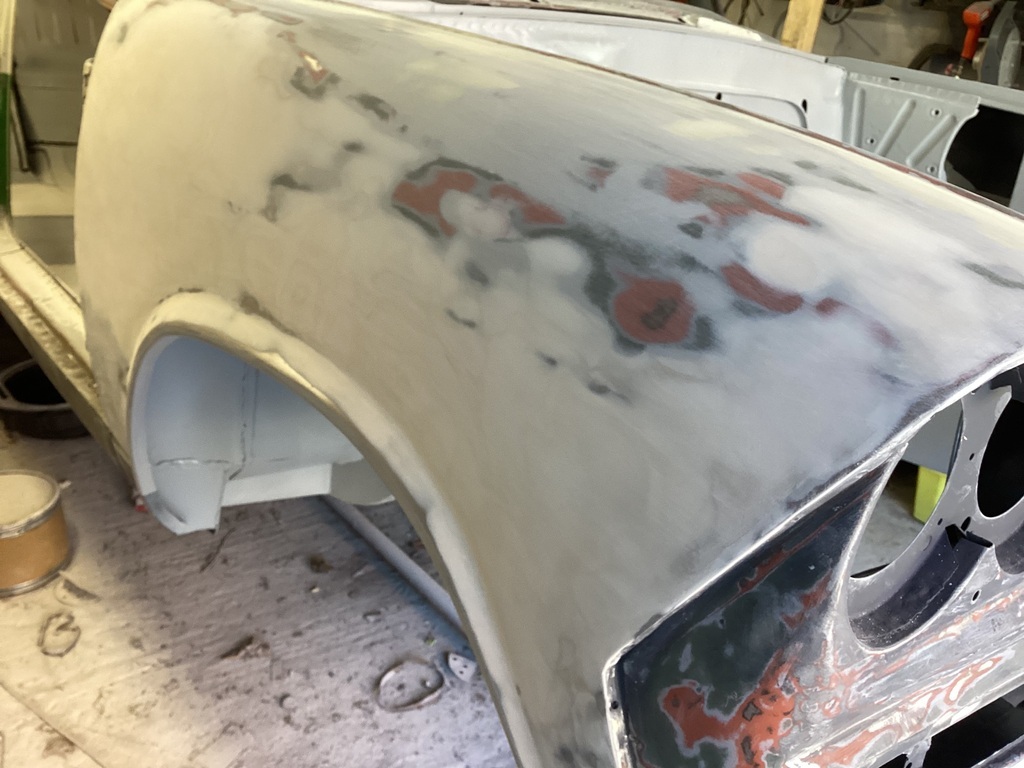
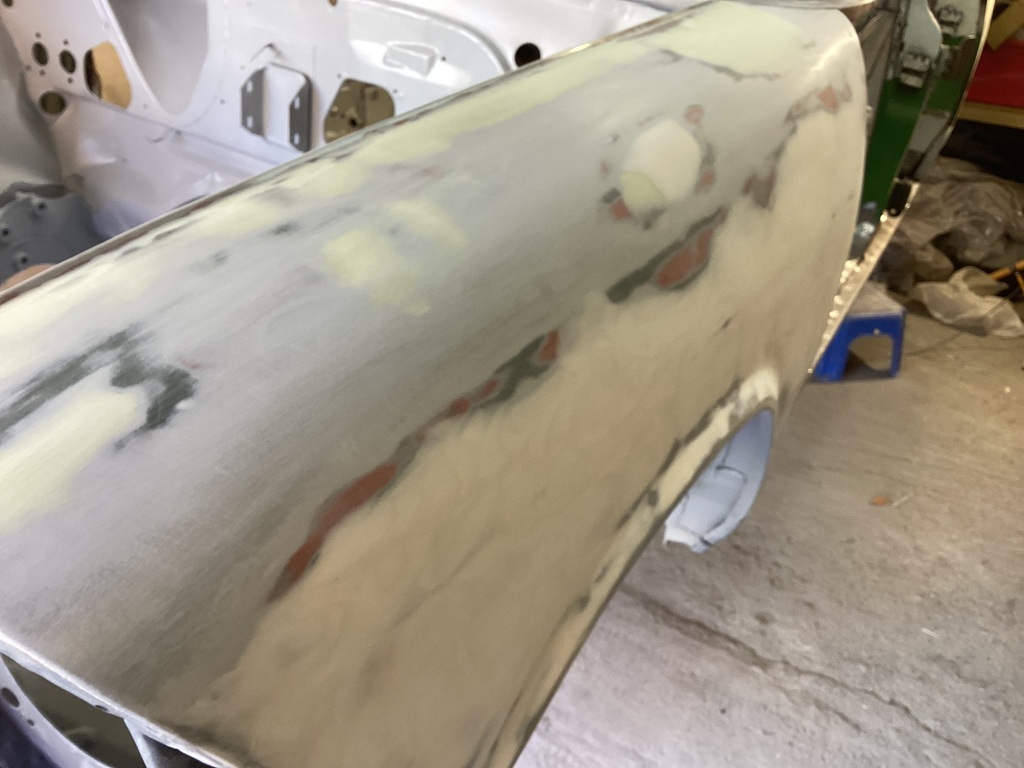
Hi guys, This week I primed the bulkhead on the inside of the shell, sorry no pics. I then did my usual jumping around and decided to tackle the front panel and valance. When I bought the car the guy said his sons had been driving it around the field and had hit something. This resulted in the osf front panel being pushed in about 15mm and some of the spot welds being ripped. Here is a picture of the front panel cleaned up and treated with hydrate 80. 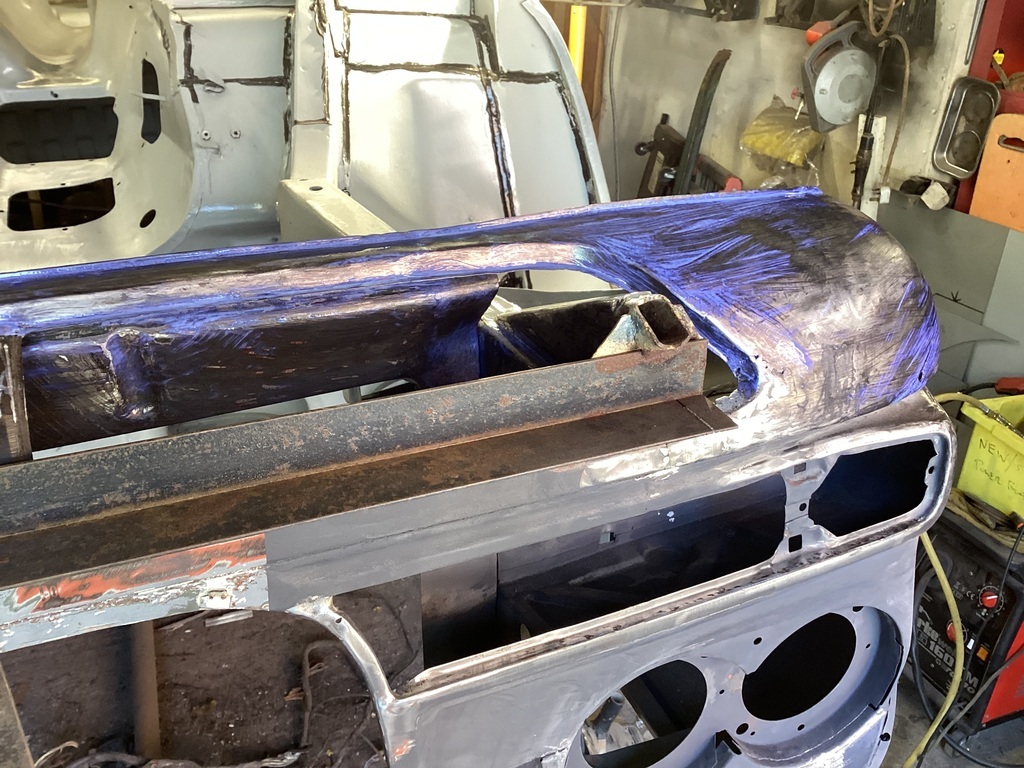 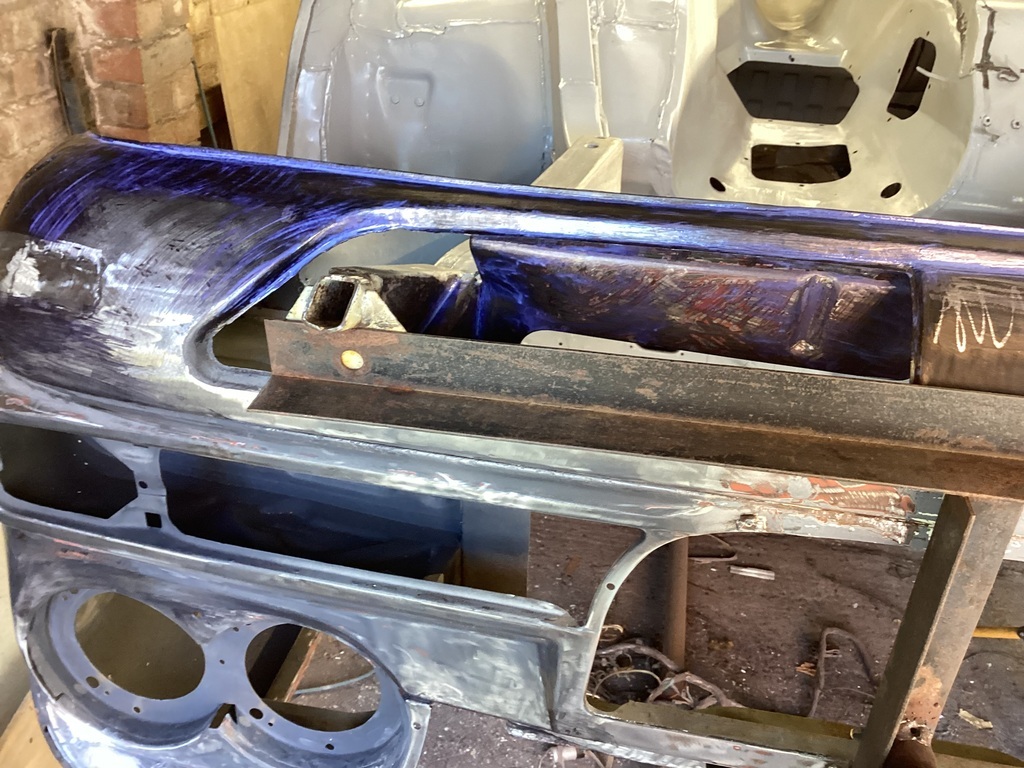 Now the osf was pushed back about 15mm, here is the damage. 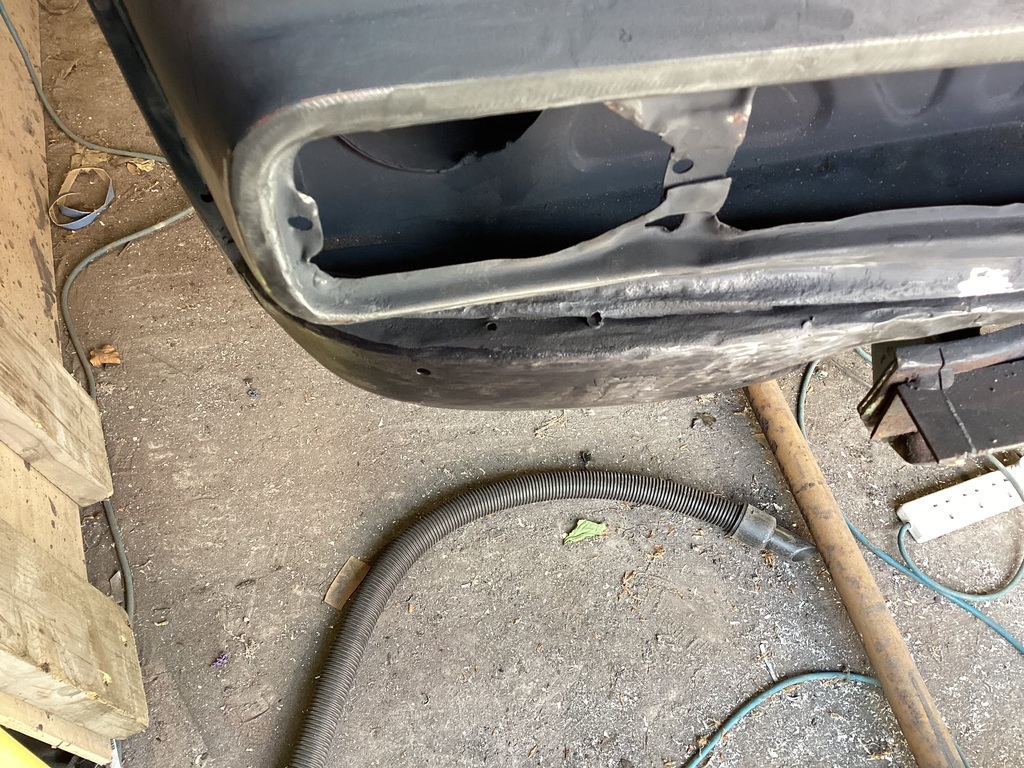 I tried to get the front back in place but you cant gain access to the rear of the panel so I used a slide hammer and various other implements including brake caliper spreader, g clamps and various levers. I did manage to get it back about 5mm. I then decided to weld tabs onto the panel and clamped the slide hammer on with mole grips. This was reasonably successful till the front panel started to tear. I thought I could weld the tears up but decided to cut that part out and make a new piece, here are the pictures. 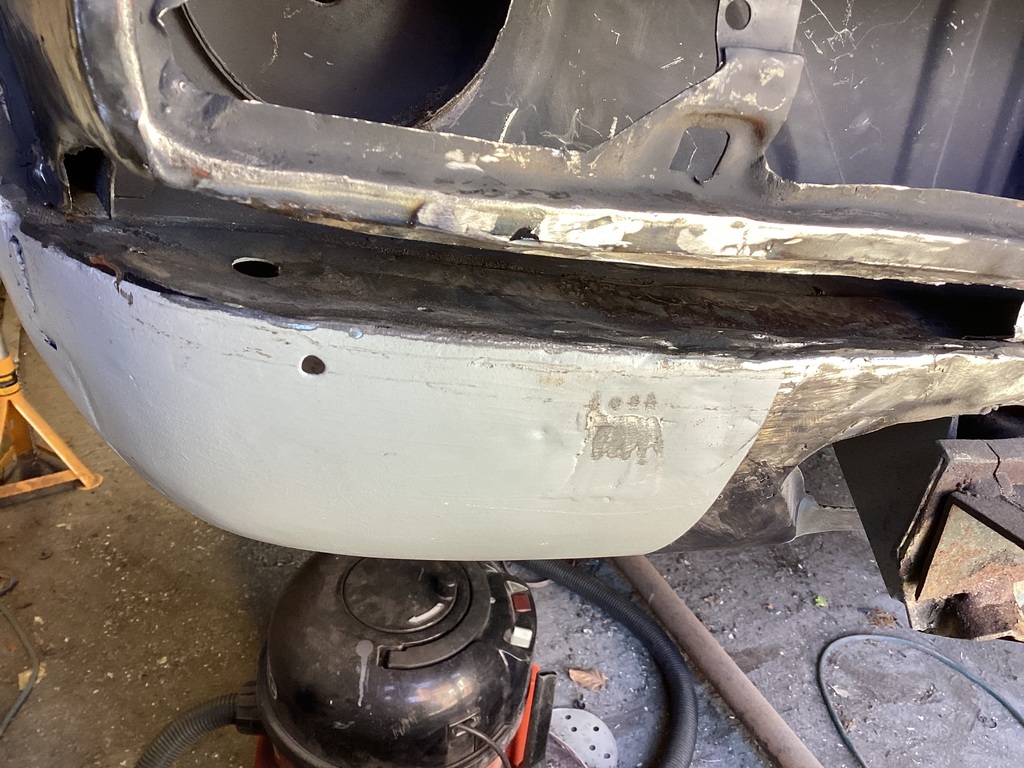 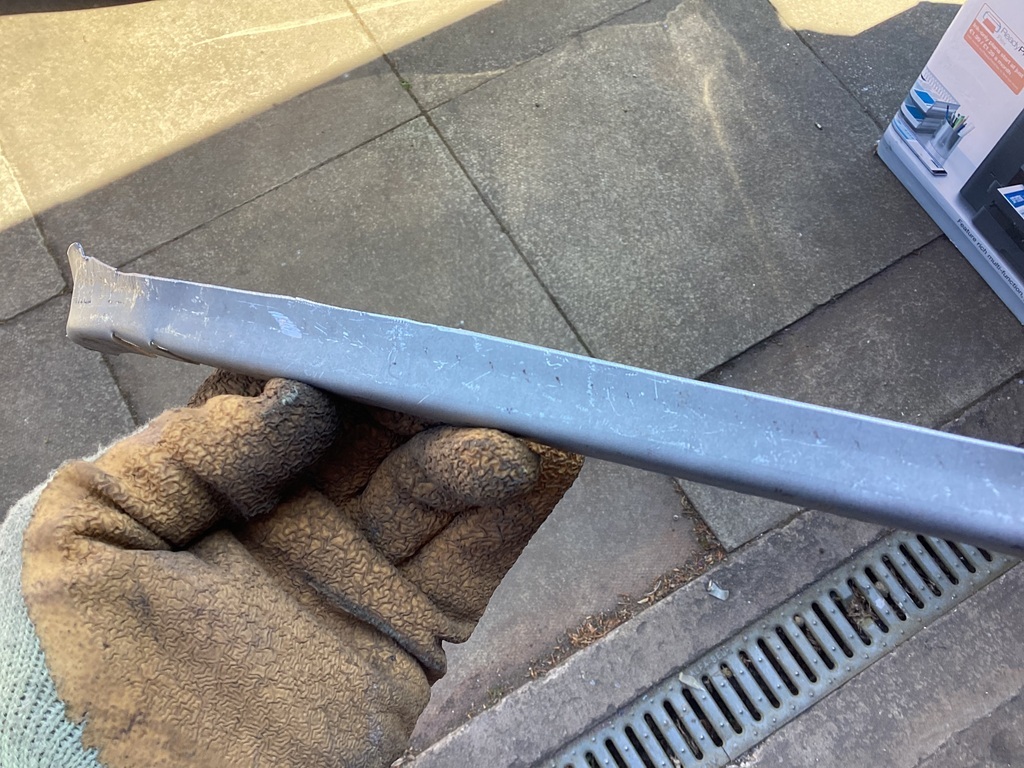 Now I welded the repair section in which has a slight depression along its length, a flange on the bottom and a tight curve at one end. Here is a picture of it tacked in place. 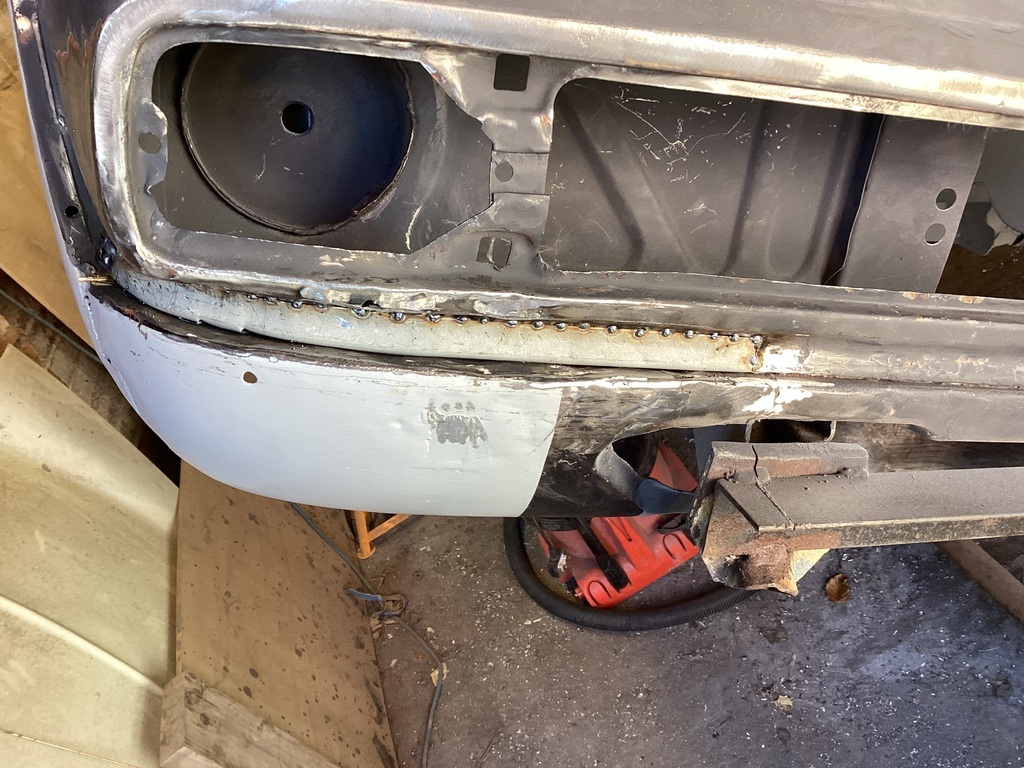 Lastly here is the almost finished panel. It doesn’t look too bad but hope to improve on it yet. I still have a bit more filling and sanding to do, it looks like there is a lot of filler there but it very thin. I also found lots of dents along the front wings which I have tapped back where possible and put a skim of filler over. I feel the bodywork is going to be another marathon but I am making progress just not as fast as I would like. Please feel free to comment or offer advice. Many thanks, Norman 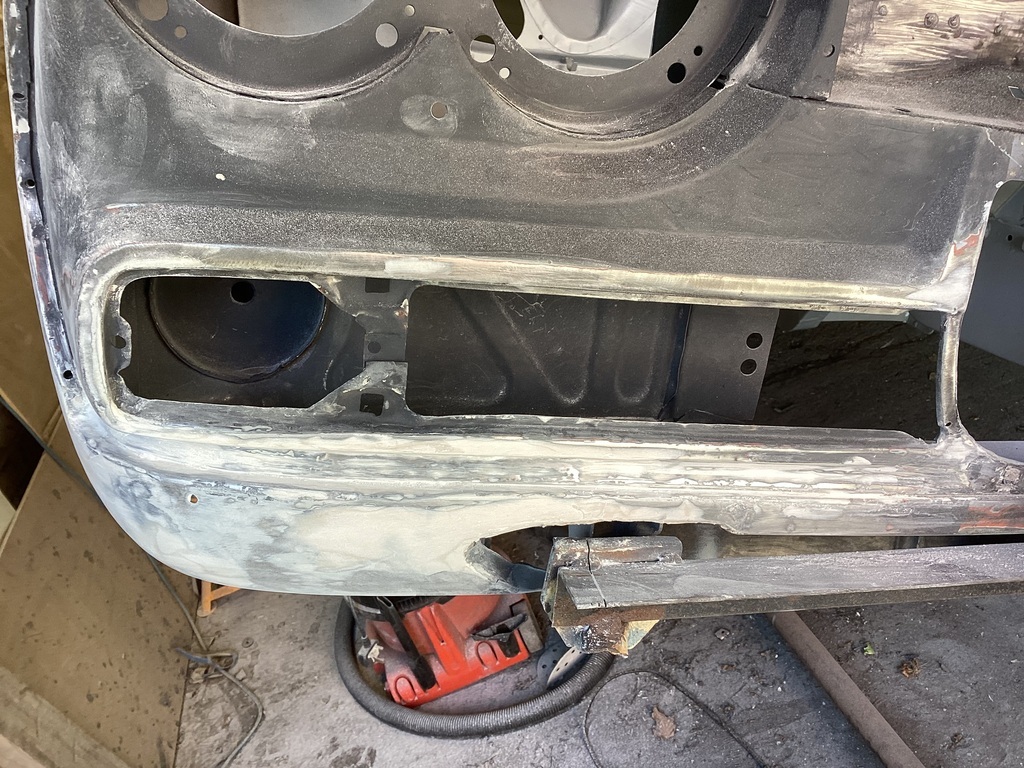 |
| |
Last Edit: Jun 3, 2023 19:24:23 GMT by Norman
|
|
|
|
|
|
|
I can offer tips on filler. This Filler is amazing stuff, you can sand it 10 mins after applying. It's not cheap but it's fantastic stuff. This filler is even better (for the finishing layer) again it's the best filler I have ever used. For deeper filling I like This filler as it never sinks and normally has no pinholes either. |
| |
|
|
Norman
Part of things
 
Posts: 449 
|
|
|
|
|
Thanks Mark, I can’t remember what I am using at the moment but it goes on easily and can be sanded fairly quickly. I will get some of the stuff linked next time I am ordering. I have been sanding and filling today as well as welding in little bits and pieces I still had to do. Thanks as always for the advice. Norman
|
| |
|
|
|
|
|
|
|
I can offer tips on filler. This Filler is amazing stuff, you can sand it 10 mins after applying. It's not cheap but it's fantastic stuff. This filler is even better (for the finishing layer) again it's the best filler I have ever used. For deeper filling I like This filler as it never sinks and normally has no pinholes either. 100% agree on the Evercoat products, great stuff. Don't know about the U Pol, but if blackpopracing says it's good then I would take that to the bank. |
| |
|
|
Norman
Part of things
 
Posts: 449 
|
|
Jun 14, 2023 17:31:14 GMT
|
|
|
| |
Last Edit: Jun 14, 2023 17:33:03 GMT by Norman
|
|
|
|


