So. Today I was supposed to be at work, but the reduced service means that we’re not all needed, and those of us that are surplus to requirements for the day are, because of social distancing, now “on call” at home for the duration of the shift, rather than all sat in the mess room together.
I had to do the dreaded shopping first thing (before duty), but this afternoon I could potter on the Land-Rover provided I didn’t embark on anything I couldn’t kick the door shut on and walk away from inside ten minutes and get to work.
First thing I did was refit the grille. It makes it look more like it’s finished. I even treated it to a replacement poppy as the old one had faded really badly.

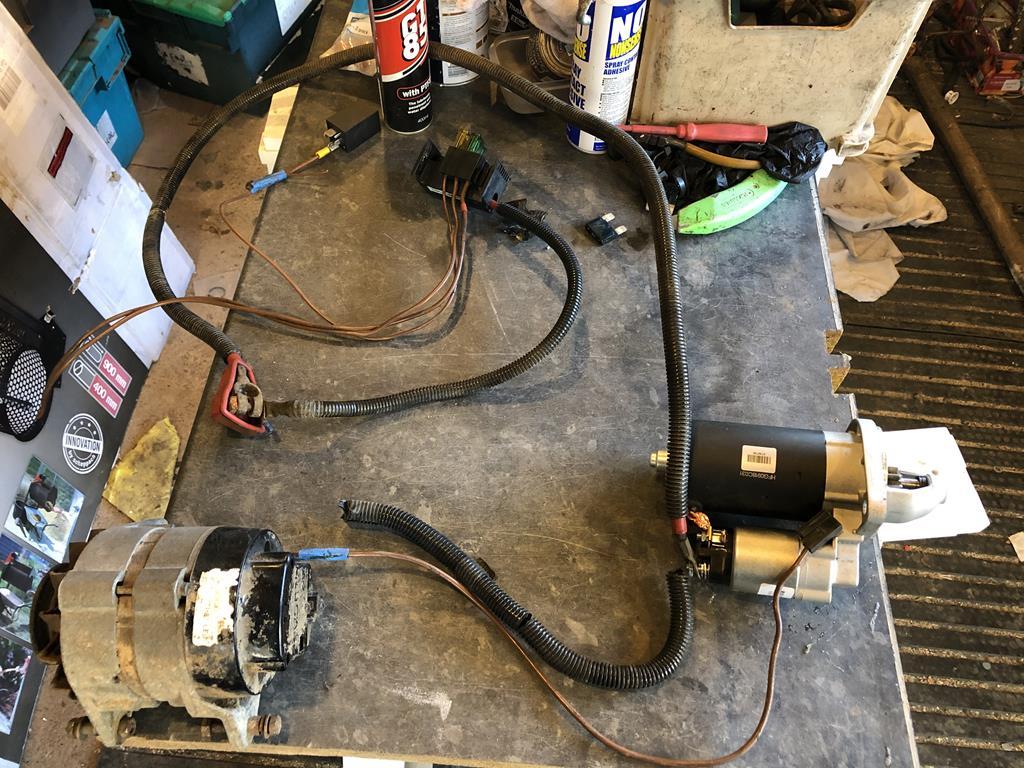
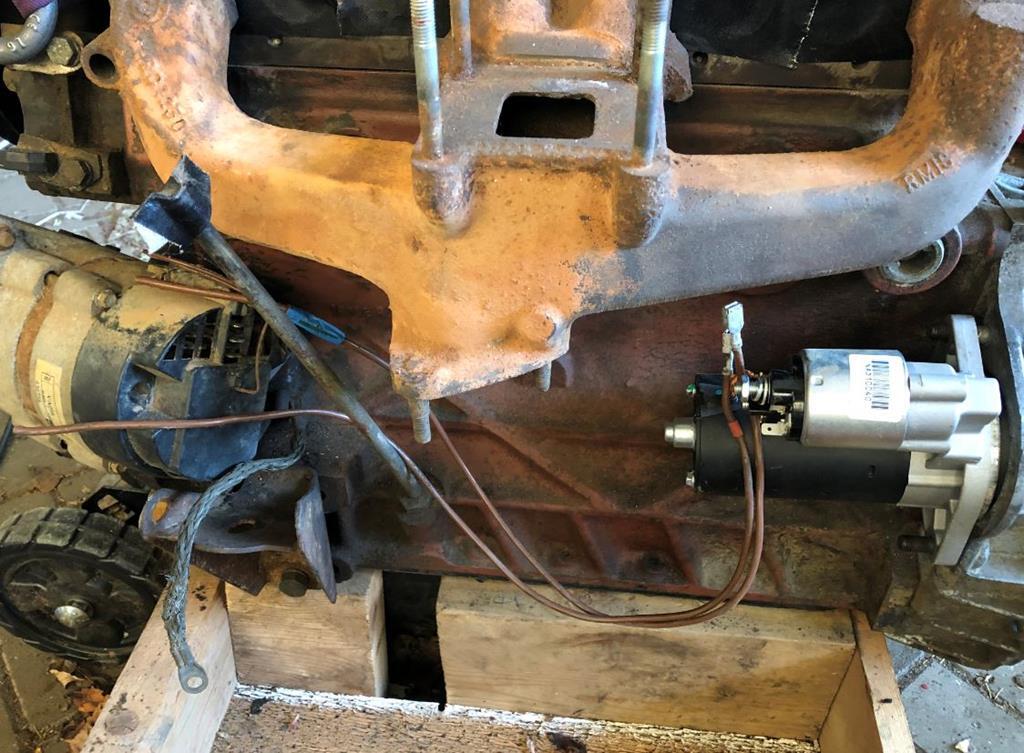
You will remember the new toolboxes? And mention of a diesel powered night heater? Well, it’s this little beauty.

When you could only buy this kind of thing form Eberspacher or Webasto, you’d have been looking at £600+ for one of these, which was daylight robbery really. Yes, they were good bits of kit, but just because they were expensive, didn’t mean they weren’t temperamental. However, this one cost me £120, including shipping, and in contrast I simply can’t understand how they can be made so cheaply. Yes, some of the ancillary parts are a little dubious, and I think that the fuel filter in particular is a waste of time, but overall it’s astonishing value. I have a proper fuel filter on order, which will sit on the chassis up under the rear body and connect to the fuel line I t’d off the other day.
While the seats are still out, the aperture into the toolboxes is bigger by a couple of inches along the side nearest the door, because there’s a loose filler strip that you can move out of the way. So now is a good time to be fitting stuff in there as there’s more room to see and work. Here’s where it’s going to sit.

And here’s an idea of how much less room you have with the loose panel laid in place.

Because these things are often fitted into boats, caravans and suchlike, with wooden floors, there’s a metal plate provided that although I don’t need it, acts as a good template to mark out the panel for drilling the mounting and inlet/exhaust holes. So after a quick offer up and mark, it was an easy job to sort out drilling those.
I’d already worked out the route the ducting was going to take, so broke out the holesaw and chewed a massive hole on the side of my lovely new box.

Unsurprisingly, I don’t have any grommets on the shelf to suit a 70 mm diameter hole. So I took an old bit of fuel pipe and cut a slot along one side. Then used that to line the hole. This first prototype effort is a little short, but I need to take it apart and apply a little paint around the bare steel anyway, so I’ll cut another a few mm longer and have another go.

The duct pipe is a really nice snug fit.

It’s going to go to a central outlet between the seats, that can be rotated to point towards the driver, passenger or forward towards the windscreen. I did try and find a dual outlet, but other than doubling up what I already had with a Y pipe, there didn’t seem to be anything out there. I don’t have a great deal of room between the seats anyway, and the cabin area isn’t massive, so the simplicity of one pipe, one outlet won out in the end.
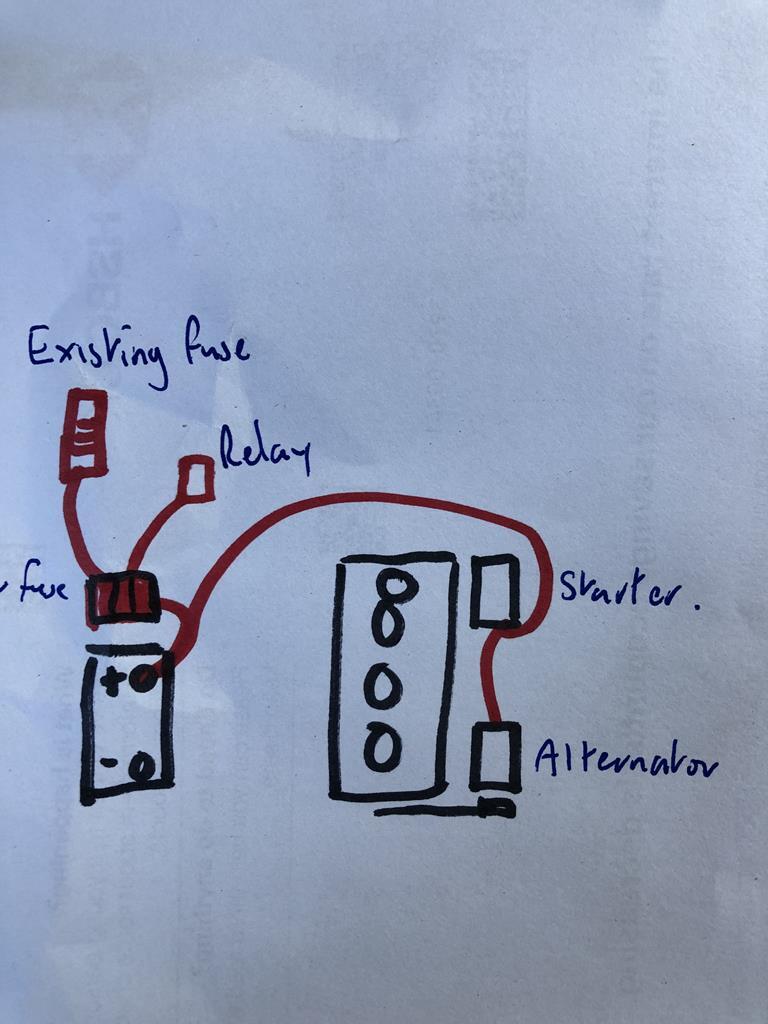
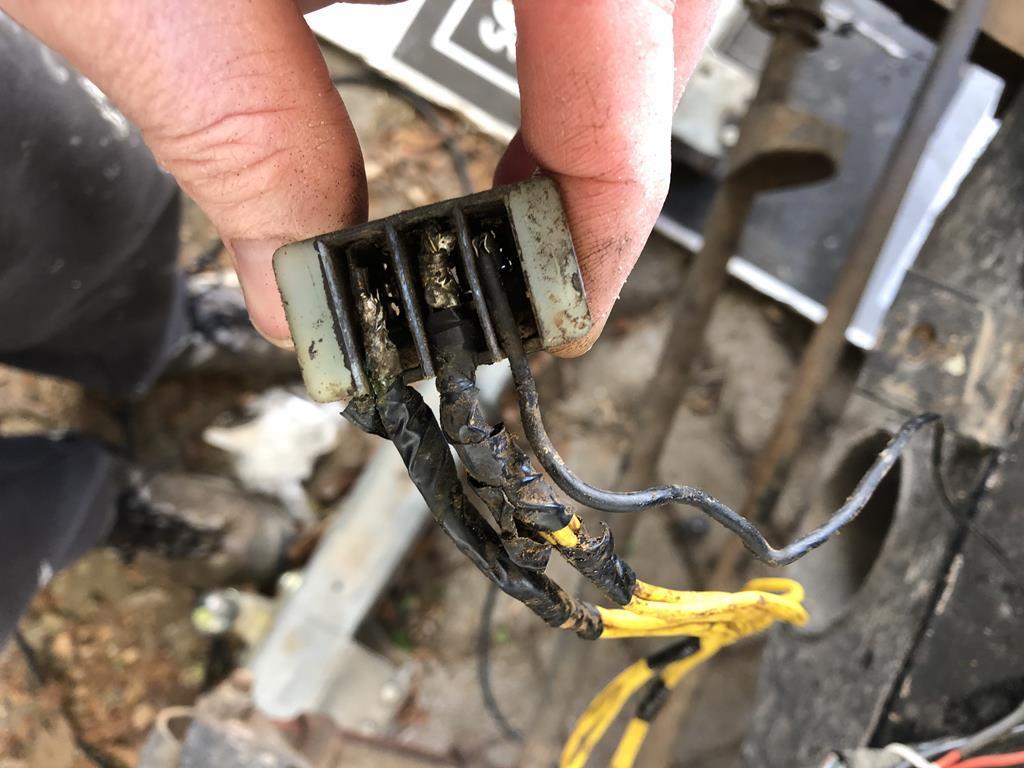
The next part of the job is to look at the wiring for it, and at this point I have to confess to having dropped the ball a little in my preparations. I’ve had the heater a little over a year, and other than a cursory glance inside the box when it arrived to make sure it was complete and undamaged, I’ve not really looked at it at all. If I had, I would have laid in the bits to revise the wiring loom already. There’s nothing actually wrong with it
per se, and it would certainly work without issues as-is, but it’s a typical “universal fitment” kind of setup, with the cable miles longer than it needs to be and all the plugs ready fitted. Now I understand why they do that, because they want it to be as simple as possible for the kind of people that struggle with wiring, and this is effectively plug-and-play, but I wish they’d left the plugs loose so the wiring could be tailored to suit the install.
Also, the entire loom is wrapped, poorly, in some kind of hideous cloth tape. It looks shocking and has no place on any vehicle of mine. So I’ve had to order some new plugs to allow me to shorten the loom, and I’m kicking myself a bit.

Anyway, it’s not the end of the world, just a bit frustrating. I’ve got to wait for some other wiring stuff for the split charge system as well, so it’s not like I could have done it all today anyway. The main thing is the unit is in and the holes are all done whilst access is good. I made a start on two additional feeds into the same area that I will splice in to the heater loom in due course. One is for a planned stereo amplifier, the other a redundant “spare” against needing something else powered up in there at a later date.

Tomorrow I shall refit the seats, make up some kind of temporary battery securing device, and see about going for a test drive.


 is to be replaced by