bstardchild
Club Retro Rides Member
Posts: 14,881
Club RR Member Number: 71
|
|
Jun 22, 2020 17:15:31 GMT
|
Anyway with 35 years since I last shot anything I was actually surprised I got it on the backstop let alone the target (hence the slightly over engineered and sized backstop When your sorted your more than welcome to practice on our wood pigeons!! we seem to be over run after last years shooting ban but we can shoot on our own land and we put the birds to good use, the breast are great quickly pan fried! Nice offer - I am quite partial to wood pigeon especially pan fried - feral pigeons not so much  Just to update practice and set up has been going well - Well I'm getting there - scope is very close to being set up - trying not to over tweak now just a click at a time 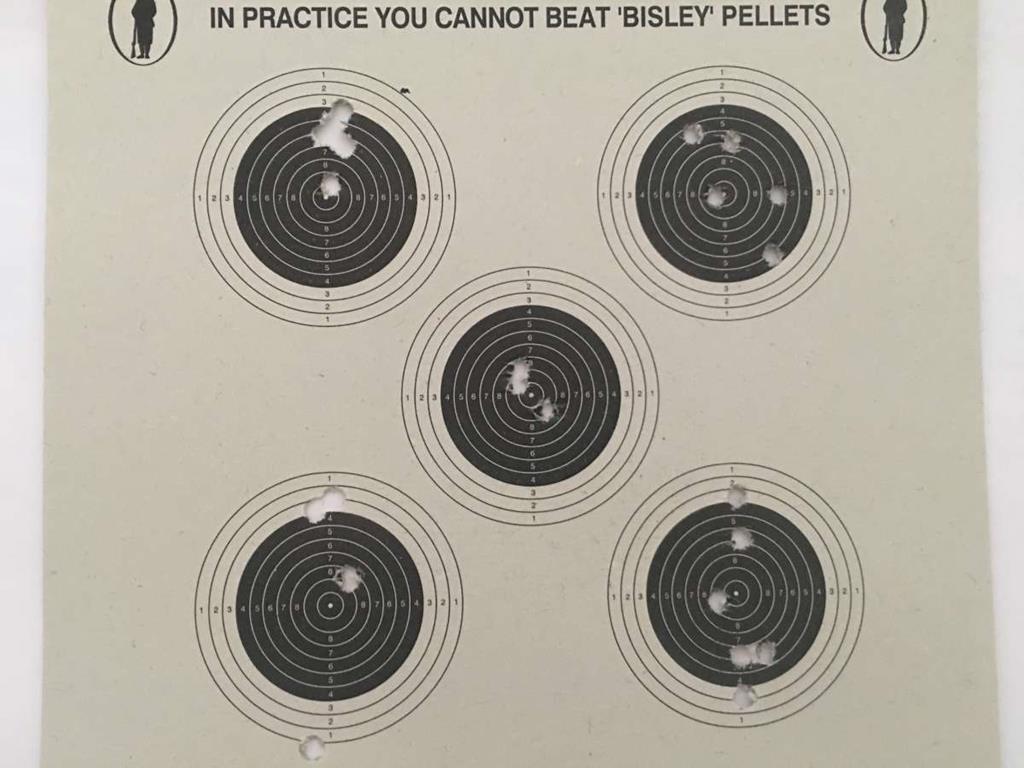 The targets are 45mm diameter (32mm diameter for the black area) |
| |
|
|
|
|
|
|
|
Jun 22, 2020 17:51:13 GMT
|
|
What rifle have you got?
|
| |
|
|
bstardchild
Club Retro Rides Member
Posts: 14,881
Club RR Member Number: 71
|
|
Jun 22, 2020 22:14:32 GMT
|
BSA Meteor break barrel springer in .177 flavour (probably should have got the 0.22 as I find the 0.177 pellets fiddly with my fat fingers) it's the current version but the name has been used since early 60's Apparently only the barrel is made in the UK these days - the rest is made in Spain but I had the use of one on a farm years ago in 0.22 flavour and got on fine with it so I bought something I hoped would feel familiar (which was fun with the current legislation and the impact of lockdown but I got there in the end) I had a budget that I wanted to stick at less than £200 (with a scope and case) and also wanted a traditional looking air rifle, wooden stock etc as some of the stuff on sale look like proper tactical firearms with composite stocks and all black finish. There are probably better bits of kit on the market but like most things if you start searching on the internet for what's recommended at a price point - it's inevitable you end up with a bewildering choice and it's always for another £50 and XXX would be better but then for £100 more you could get YYY and before you know it your budget has been doubled and you've bought ZZZ. (happens with me all too often with cars and motorcycles ) |
| |
|
|
|
|
|
|
|
I've always felt that tactical style air rifles seemed like you were taking yourself too seriously.. Next you'll be in your bushes with a ghillie suit.  |
| |
|
|
|
|
|
|
|
BSA Meteor break barrel springer in .177 flavour (probably should have got the 0.22 as I find the 0.177 pellets fiddly with my fat fingers) it's the current version but the name has been used since early 60's Bought my son the .22 version when he was about 10 or 11. Great piece of kit. He'd wander off into the farmland behind the house with two setters and come home with a brace of knackered dogs and all sorts of dinners! |
| |
|
|
|
|
|
|
|
|
I've got the .22 meteor also. I agree on the .177 pellets being too fiddly.
I think all that tactical looking stuff is to make people think they've got a real gun.
|
| |
|
|
stealthstylz
Club Retro Rides Member
Posts: 14,829
Club RR Member Number: 174
|
|
|
|
Proper score our lass spotted on FB marketplace. Freebie too, took a lot of shifting but should make a nice thing (castle?) In the garden. Just the other half to fetch now. 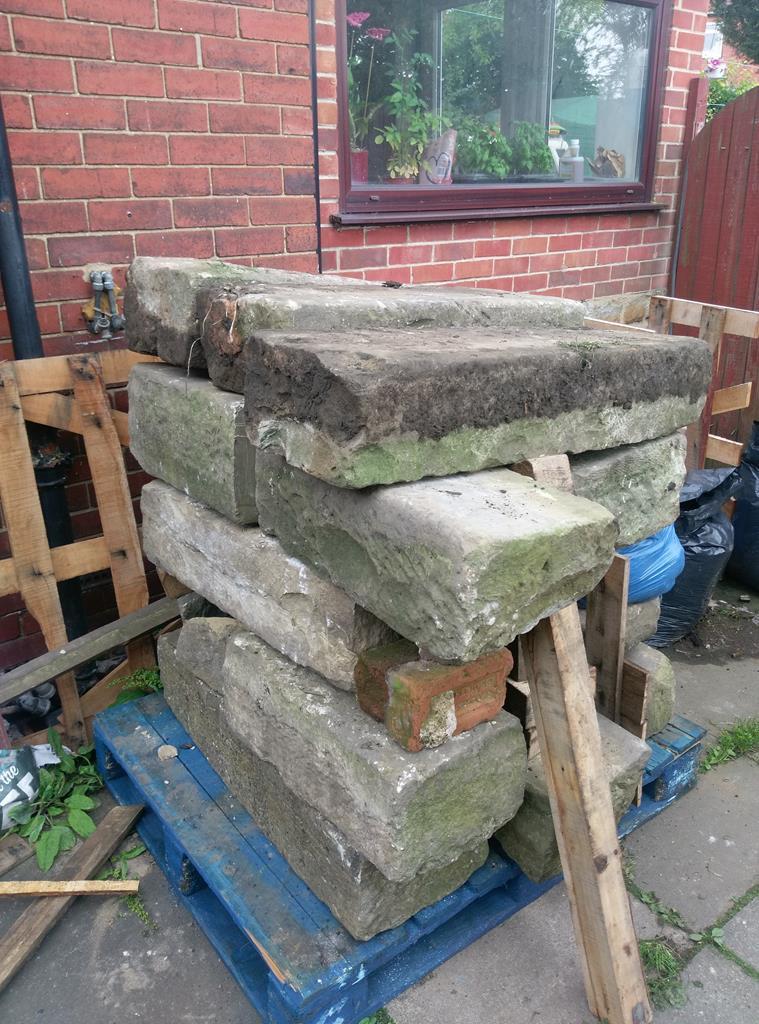 |
| |
|
|
stealthstylz
Club Retro Rides Member
Posts: 14,829
Club RR Member Number: 174
|
|
|
|
It's always fun using car tools for gardening. Over the last 13 or so years we've lived in this house I trim the hedge every couple of years, next door trim the hedge every couple of months. I like leaving it big as we have tons of garden birds nesting in it, but they're all fledged now. Anyway, neighbour was rabbiting on about it tapping on his conservatory roof so I did the lovely neighbourly thing and hacked it right back to the boundary. He then complained that he can see through the hedge lol. My garden now looks huge, gained about 3 foot all way down and found some bushes that were hiding in there, dug a couple out that were in the way. Plan is to use the DIY kit castle stone to run down the edge of the grass, but first I wanted to move the Wendy house right into the corner. I stuck a fence panel up right on the boundary post to make even more room, then with some digging for access, a couple of trolley jacks and some greased bits of wood managed to shove it over. Got enough space to build a base for the greenhouse next to it now, just need too book some tip runs to clear the curse word that I'd hidden behind the Wendy house. Start as of 5.30pm 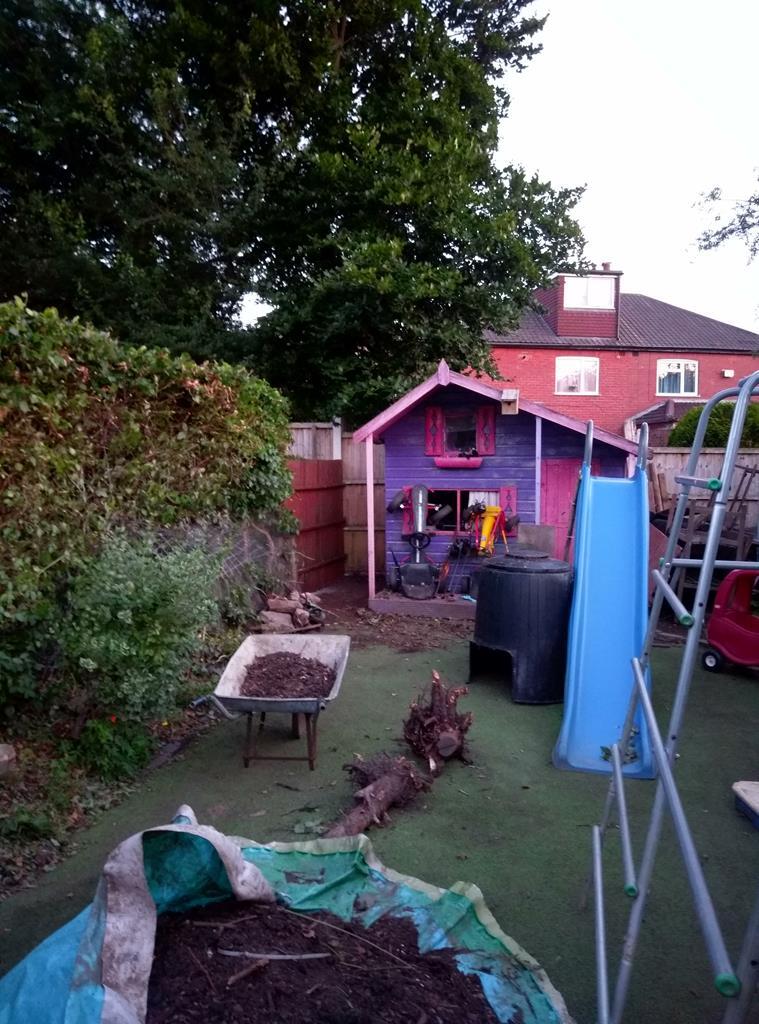 Jack in a hole 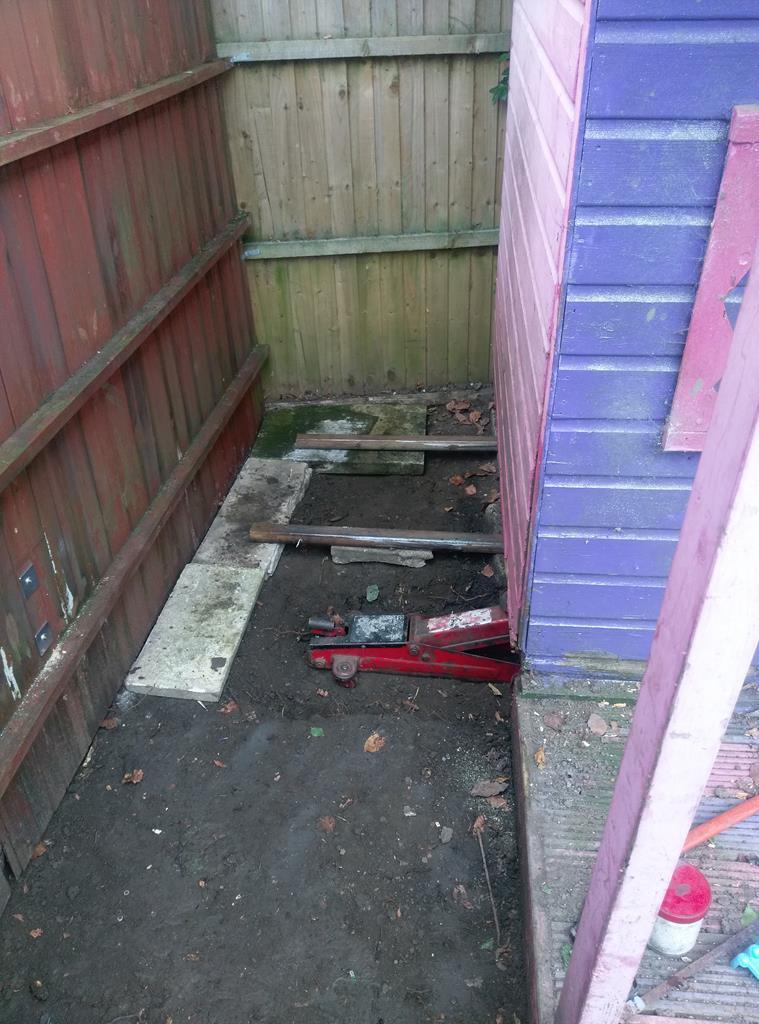 Nearly there 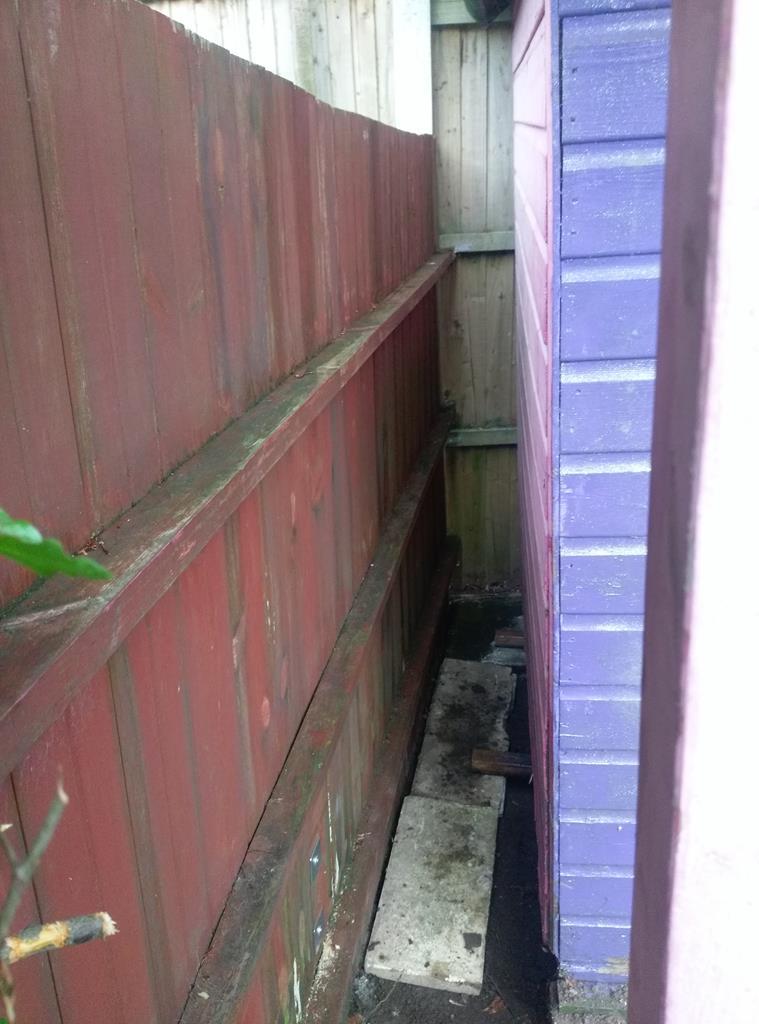 Done 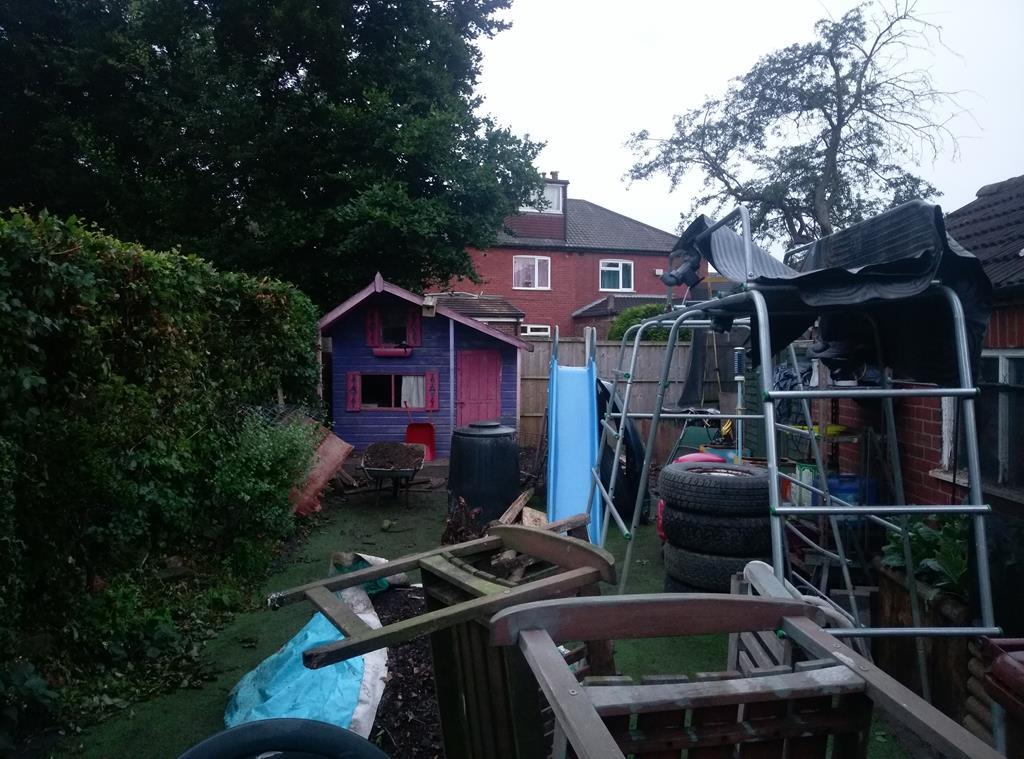 And my number 1 tool passer happy with progress 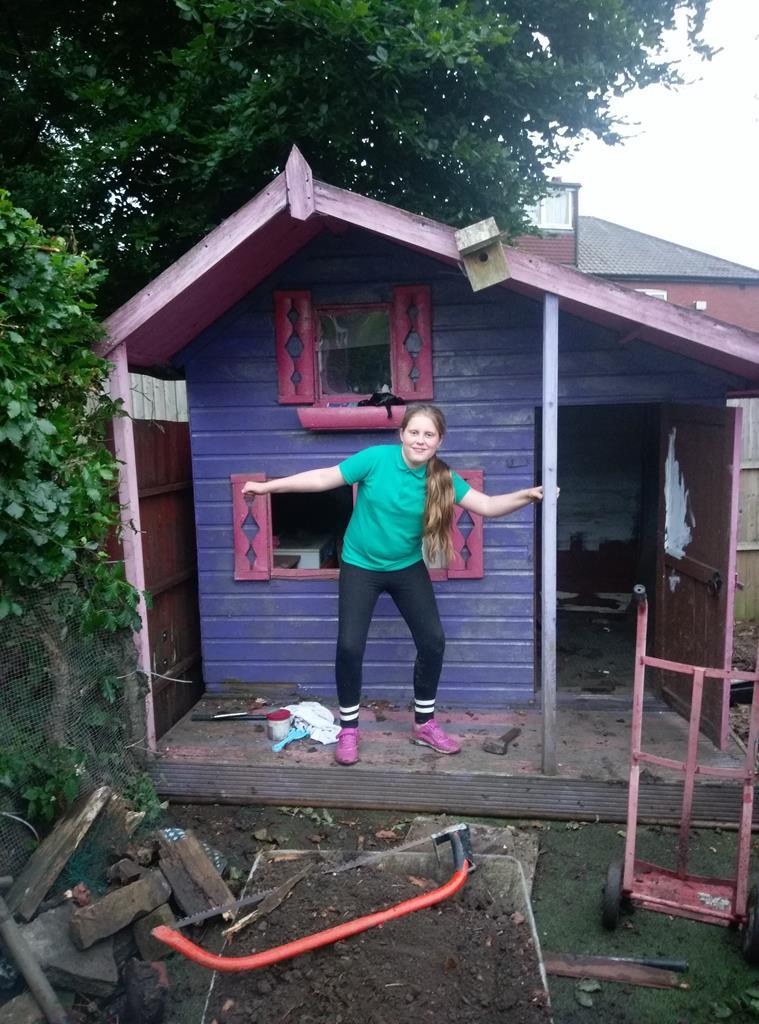 |
| |
|
|
bstardchild
Club Retro Rides Member
Posts: 14,881
Club RR Member Number: 71
|
|
|
|
That's gonna make painting/treating the fence fun |
| |
|
|
stealthstylz
Club Retro Rides Member
Posts: 14,829
Club RR Member Number: 174
|
|
|
|
That's gonna make painting/treating the fence fun It's not a "fence" lol it's my old shed floor, donkeys years of kreosote soaked in already. It's only screwed in a few spots so I can rag it out when it rots. Next doors garden is a foot higher so it'll go through eventually |
| |
|
|
|
|
|
|
|
|
|
Proper score our lass spotted on FB marketplace. Freebie too, took a lot of shifting but should make a nice thing (castle?) In the garden. Just the other half to fetch now. That's looks like nice stone, bet it would come up a treat with a pressure wash |
| |
|
|
|
|
|
|
|
Not the sort of modification I needed but in the hay making haste the other week this happened 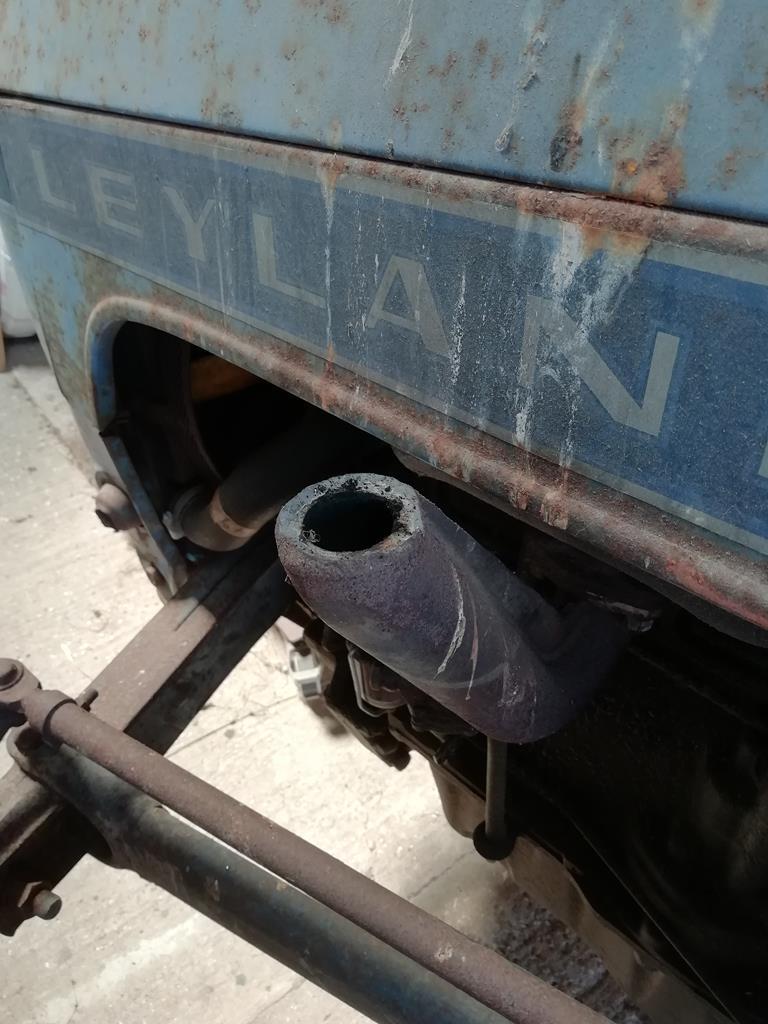  doing the last 50 bales in the evening I took the shortcut around the only tree in the field, exhaust meets branch and the rest is history! Can anyone weld cast?!!! |
| |
|
|
stealthstylz
Club Retro Rides Member
Posts: 14,829
Club RR Member Number: 174
|
|
|
|
|
That's the plan, just hoping the sledge I've made out of a old car bonnet is enough to get them up the garden.
|
| |
|
|
Paul Y
Posted a lot

Posts: 1,948
|
|
|
|
Not the sort of modification I needed but in the hay making haste the other week this happened doing the last 50 bales in the evening I took the shortcut around the only tree in the field, exhaust meets branch and the rest is history! Can anyone weld cast?!!! For a temp repair I have had a bit of success heating up the manifold with Mr BlowLamp before apply Mrs Mig - the resulting offspring from this union is not pretty but so far has lasted the season on my lawn tractor so not complaining. Worth a shot. P. |
| |
|
|
|
|
|
|
|
|
^^^That might be my only option at the moment to try, I can still buy the cast elbow but its about £130 which is going to hurt at present!
The bit of reading ive done on the subject seems to be the cooling down period which is the important thing, like bringing the temperature down slowly to stop the joint cracking?
|
| |
|
|
|
|
|
|
|
^^^That might be my only option at the moment to try, I can still buy the cast elbow but its about £130 which is going to hurt at present! The bit of reading ive done on the subject seems to be the cooling down period which is the important thing, like bringing the temperature down slowly to stop the joint cracking? Well if it’s on an exhaust, surely just start the thing up after welding & the resulting heat should be enough for that cooling process |
| |
|
|
MiataMark
Club Retro Rides Member
Posts: 2,960
Club RR Member Number: 29
|
|
Jul 19, 2020 11:47:54 GMT
|
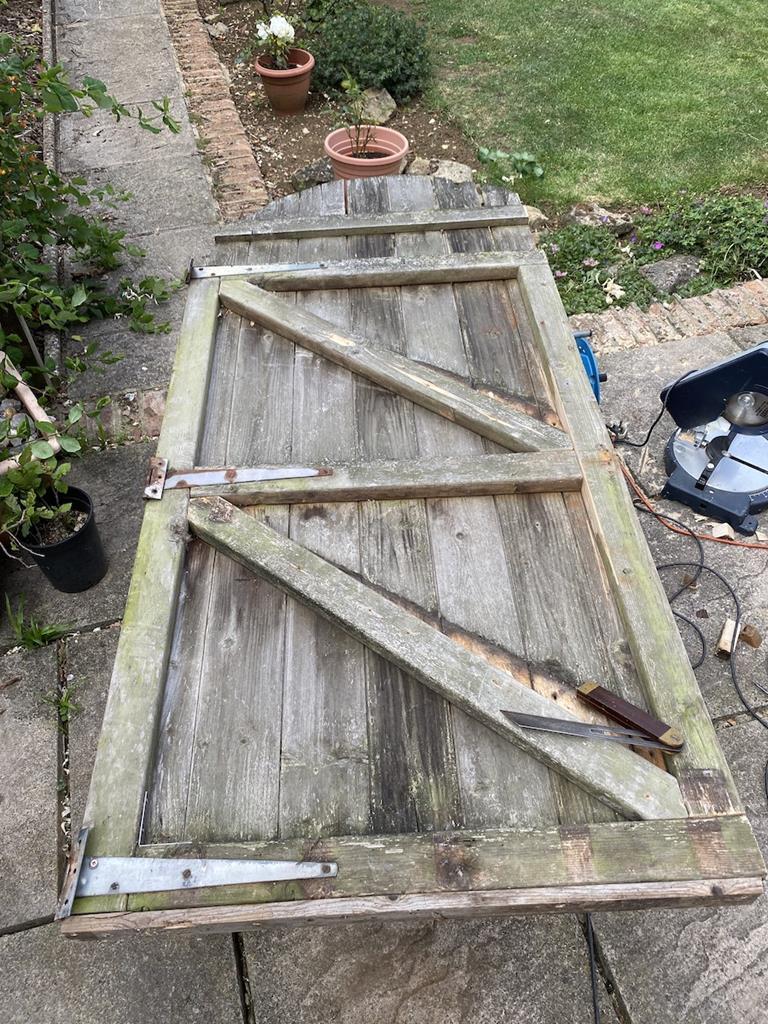
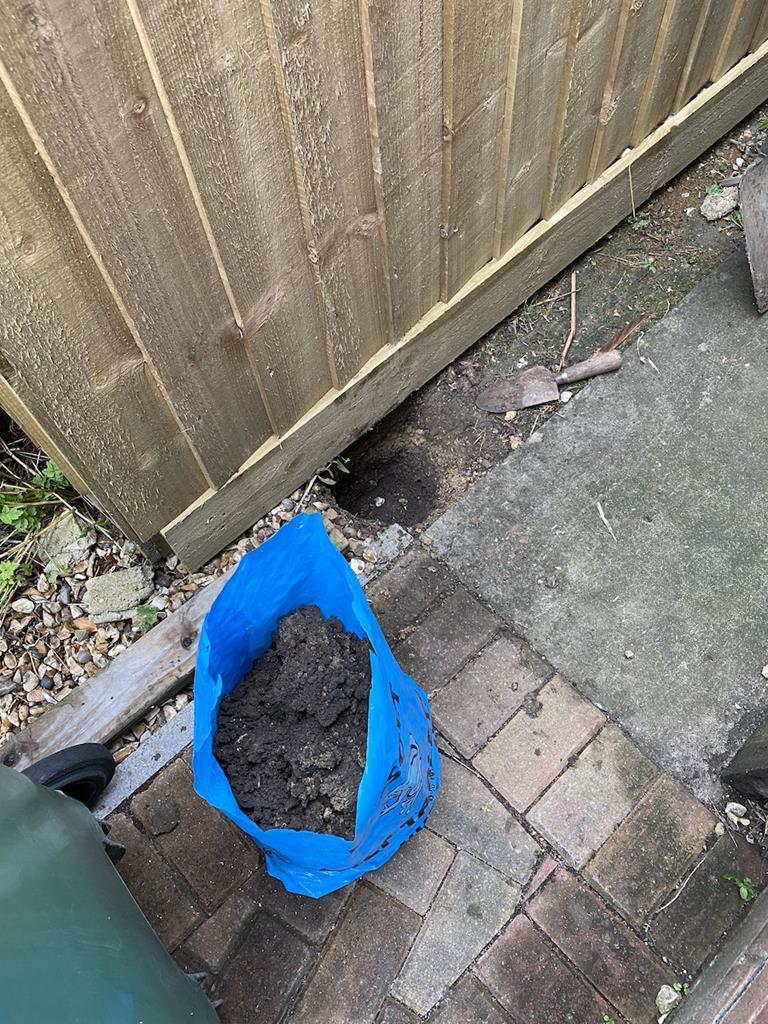
Not on the scale of some of the lockdown projects, but my side gate. My next door neighbour had the fence that runs down the side of my garage replaced and in doing so I lost a couple of inches of width and the post my side gate latched to. Basically I had a 36" gate fixed to the wall (I know not goo practice) and latched to a post that was on the boundary, the fence had the 'good' side facing away from us. This has been replaced by a fence with the good side, correctly, on our side but in doing so I lost the post a couple of inches of width. This shows a bit of what I was left with, further down the garden the fence (different neighbour) switches to us having, incorrectly, the 'bad' side. If I was being petty I could probably claim that I've lost 2" of garden. 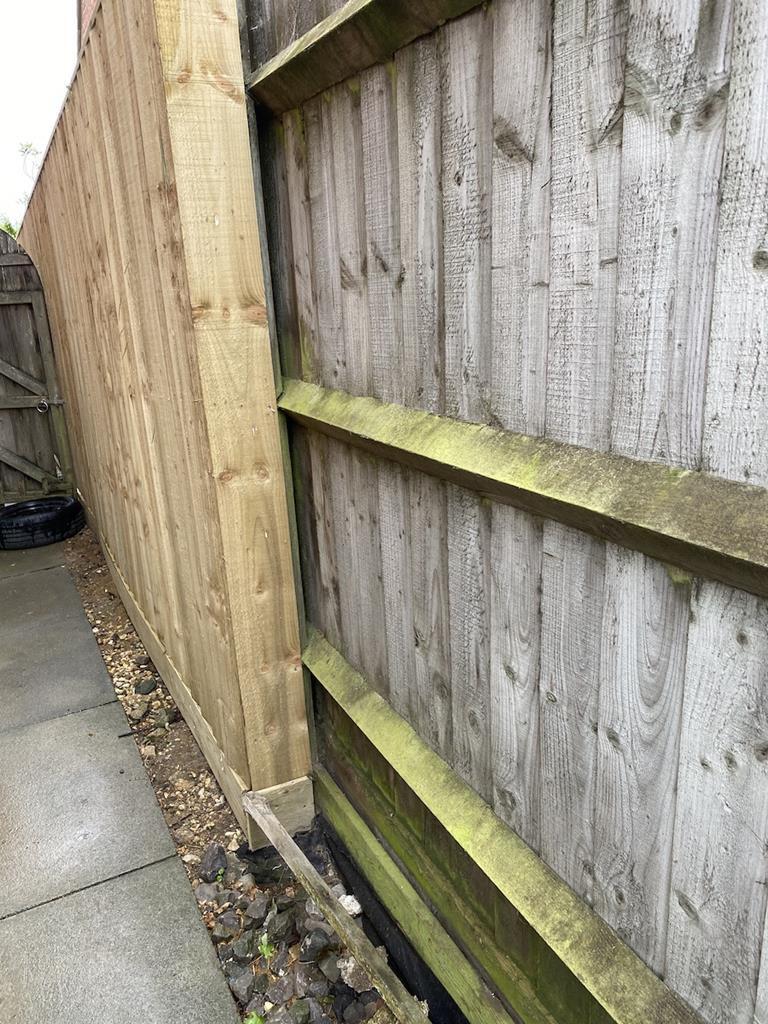 Being a cheap skate and also in the spirit of recycling (and decent fencing companies are booked until October) I wanted to sort things out without any major (or minor) expenditure... Plan was to put up some 'posts' at the end of the garage one fixed to the garage wall and the other to the fence (with neighbours permission). At the stables where SWMBO keeps her 1hp machine there is a store of 'old' wood and I was able to rescue some lengths of fencing 2.5" x 3.5", well seasoned, brought it home poking through the sunroof of the disco :-) First fix to fence and also concrete in the bottom.
Dig a hole, concrete and screw to fence.
 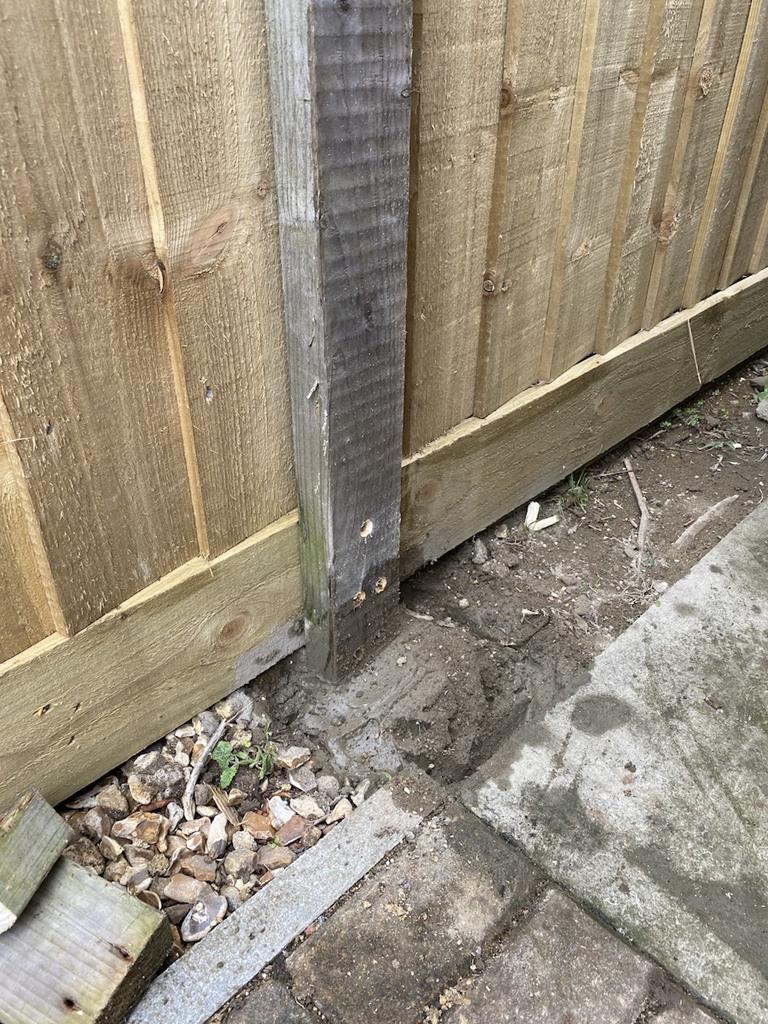 Other side I decided to use concrete screws, the only downside is that you have to buy 100 from Screwfix, I also got to use my SDS drill a birthday present from last year for the first time after buying some SDS masonry drills. 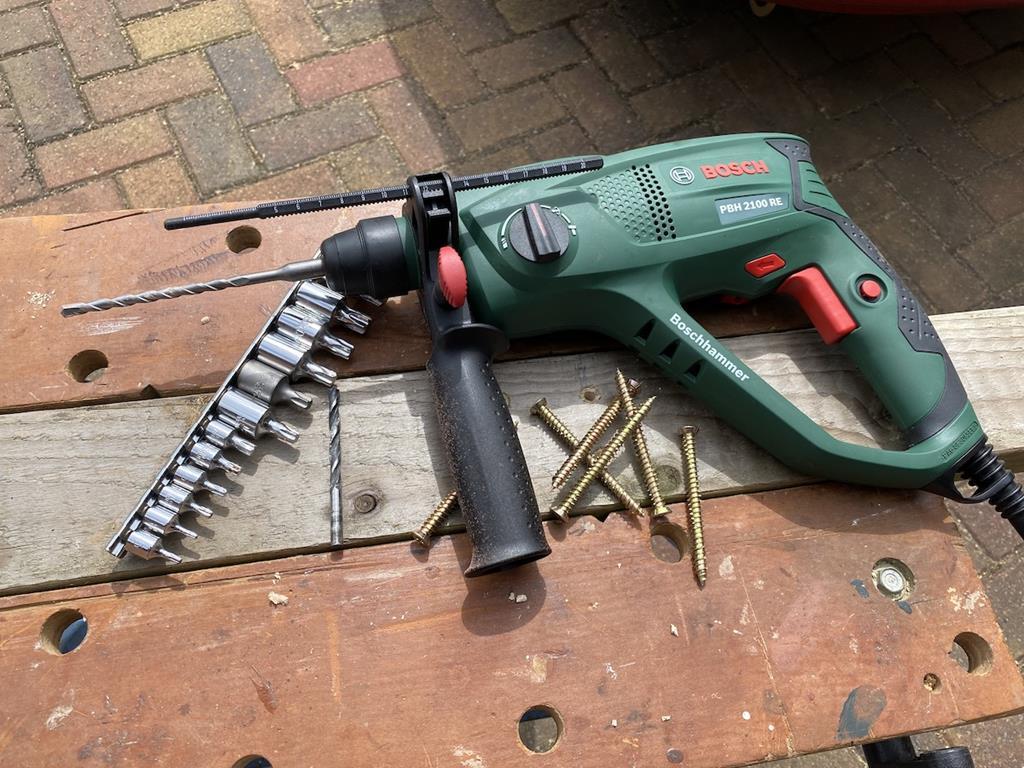 Screws take a T30 Torx bit, bit strange using a ratchet socket on 'screws'. I would recommend screwing in one screw and then drilling through the wood (or using holes in the wood as a pilot) into the wall, there may be some spurious holes where things didn't quite line up.. But as an alternative to using wall plugs or similar these are great and I've got 94 spare! 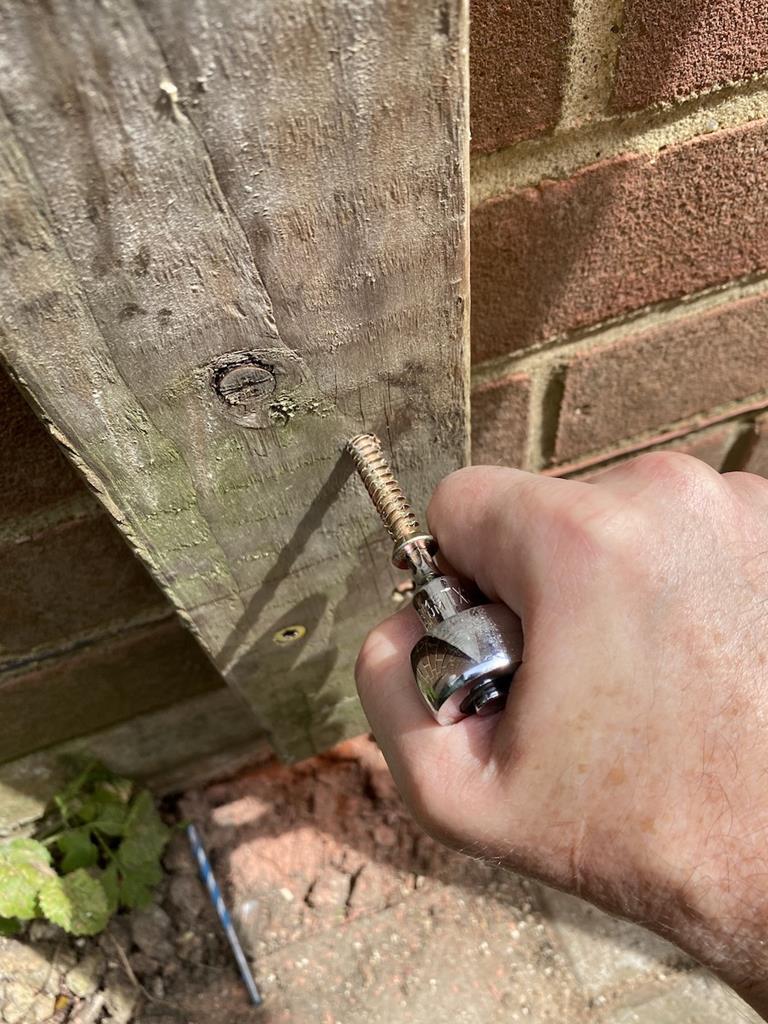 Next issue was the the cowboys fencers had left the old gate diagonally across the reduced gap so getting to the hinge screws was a pain (yes I did graze my knuckles).... 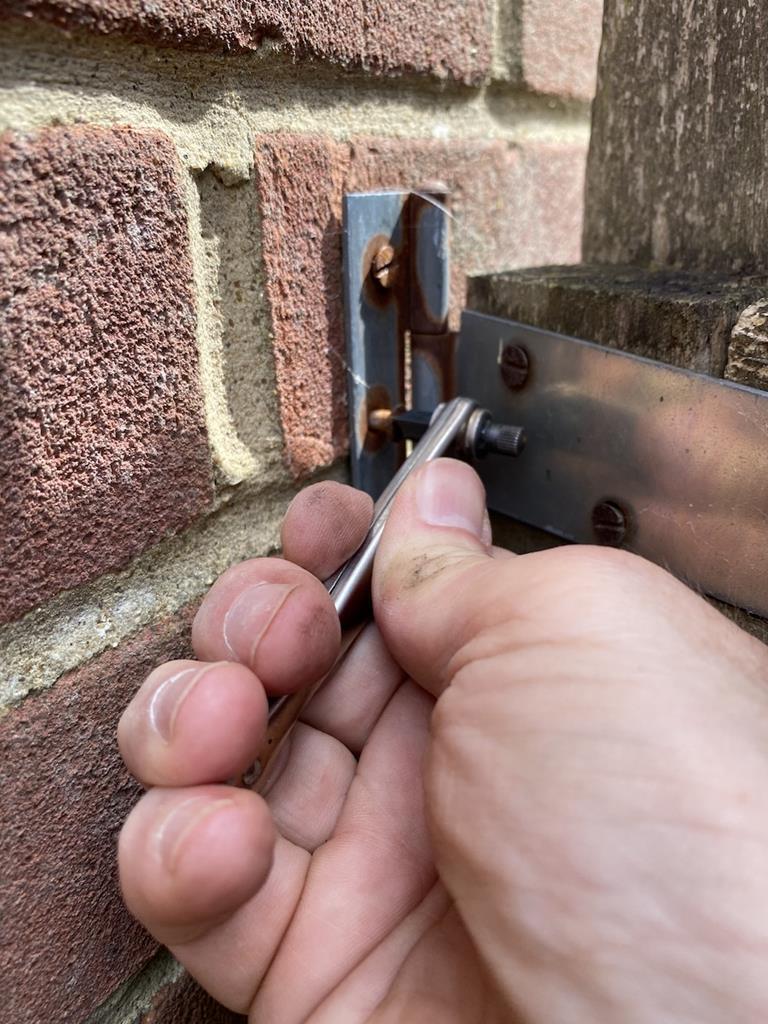 Having fixed the posts I needed to reduce the width of the gate from 36" to 31", onto the operating table (workmate). 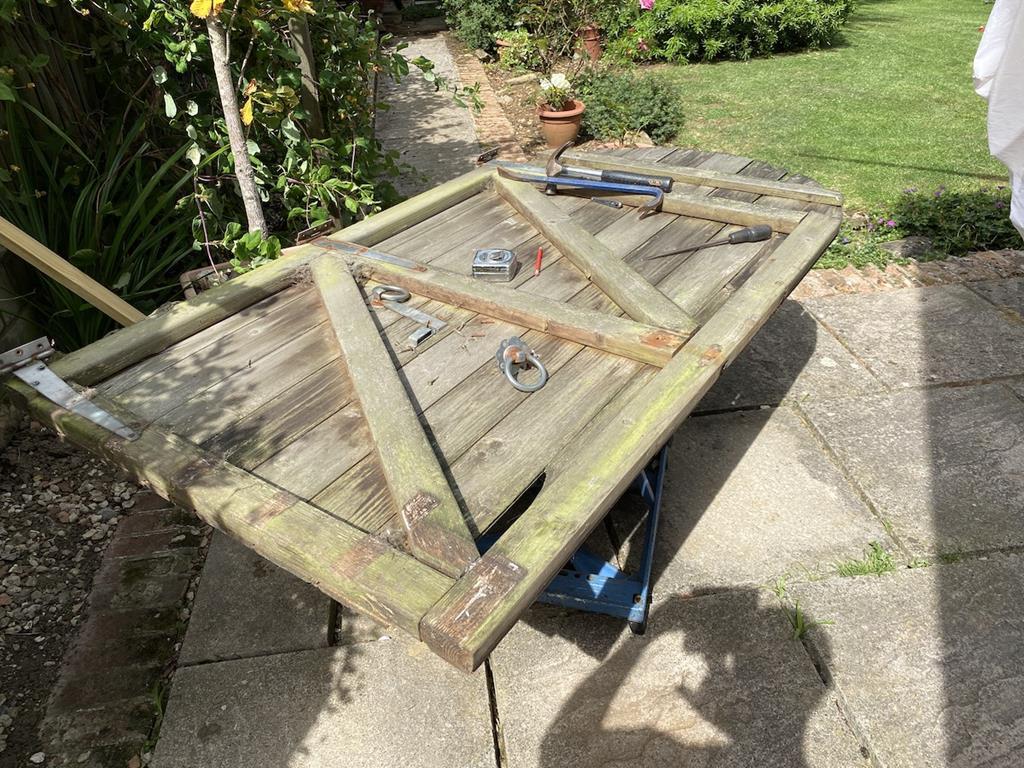 Reduce the width of the top and bottom horizontals, inset the vertical and re do the diagonals. Diagonals are held on with nails that have presumably been nail gunned on, so these were knocked through to save splitting the front 'planks'. 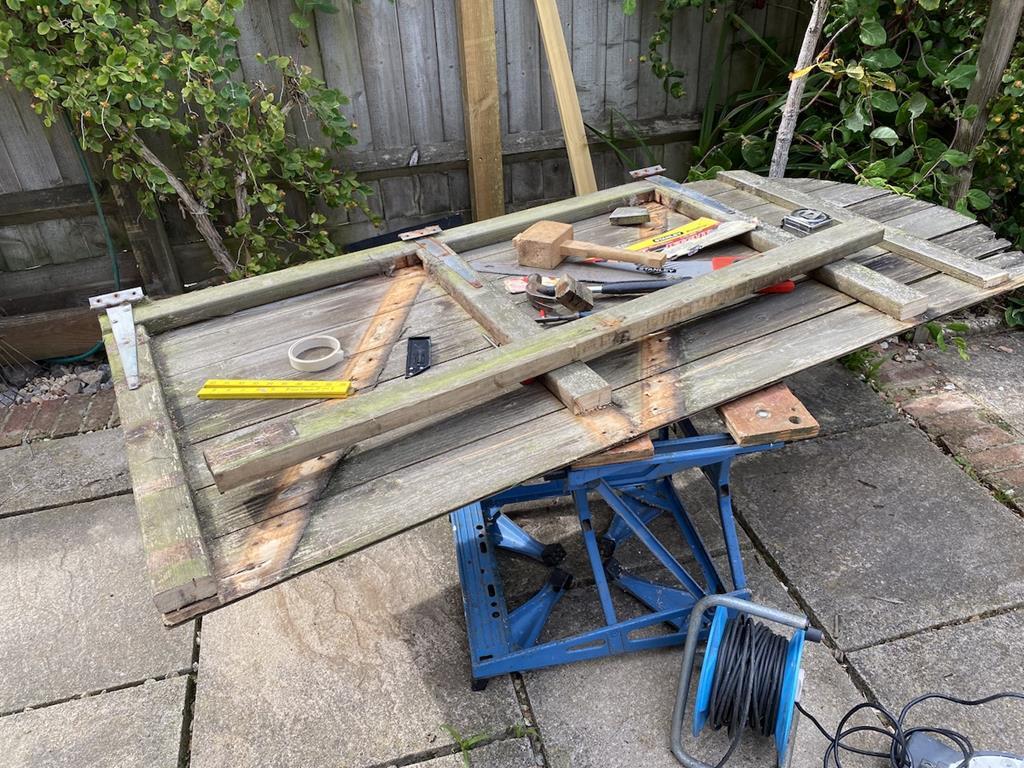 I trimmed the side of the front plank down using a jigsaw. Using my grandads sliding bevel gauge I was able to sort out the diagonals reasonably well. 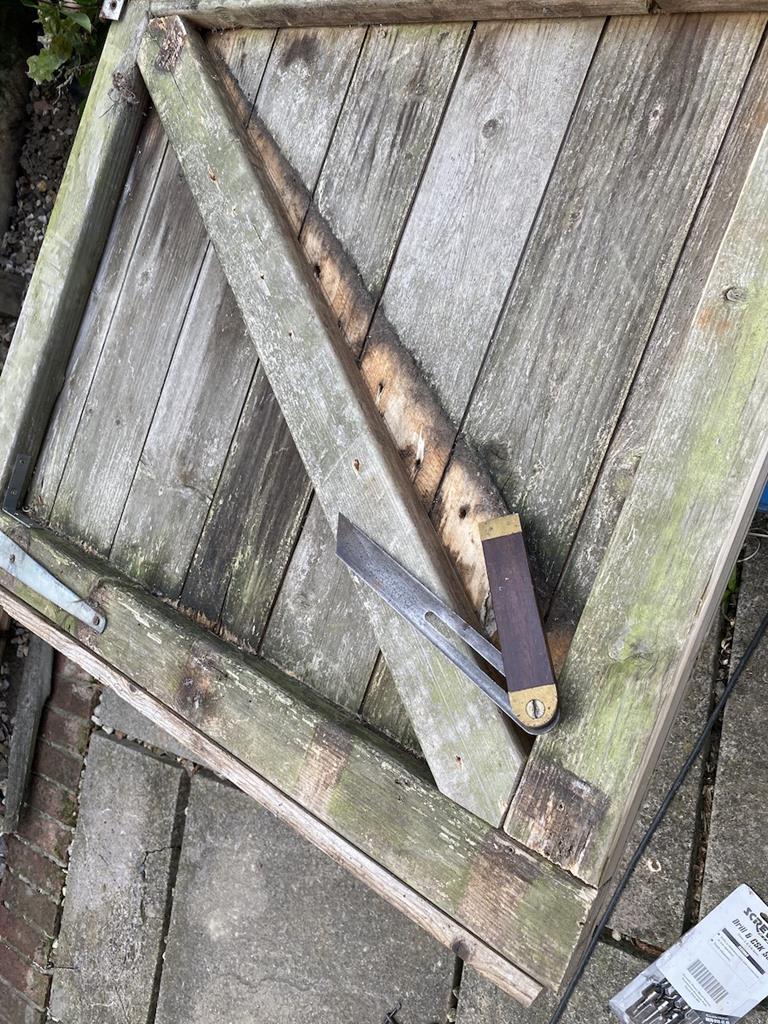 And the finished narrowed gate, I added some wood to the bottom and a corner bracket in the bottom left as it wasn't lying flat. I might add some further bracing using some OSB triangles on the corners and the join of the centre horizontal and side vertical.
Need to add the latch back of course, add some 'pad bolts' and slap some preservative on the exposed wood.
It even fits between the posts, probably a bit too tightly so some circular saw action might be needed to to trim down the side. So a fairly simple job that only took about a day, the use of a multitude of electrical tools (2 drills, chop saw, jigsaw and circular saw to come) and some heirloom tools, sliding bevel gauge and a couple of planes that are probably knocking on 70 years old.
Expenditure so far £11 for the concrete screws (another £16 for SDS drills, but tools don't count).
Next week does it fit!
|
| |
1990 Mazda MX-52012 BMW 118i (170bhp) - white appliance 2011 Land Rover Freelander 2 TD4 2003 Land Rover Discovery II TD52007 Alfa Romeo 159 Sportwagon JTDm
|
|
|
|
|
Jul 19, 2020 12:06:07 GMT
|
|
I'd treat the gate whilst you can get to the ground facing end. I use srewfix no nonsense wood treatment, actually sat in the garden now taking a break from treating my fences panels with it, two down 19 to go.
Yep, tools do not count.
|
| |
|
|
MiataMark
Club Retro Rides Member
Posts: 2,960
Club RR Member Number: 29
|
|
Jul 26, 2020 10:33:37 GMT
|
Just to (nearly) finish this off... I'd made a bit of an error, I'd narrowed the gate to 31" but that makes it a tight fit so needs to be further narrowed to allow 5mm at the hinge side and 10mm at the other side (nice mix of metric and imperial here). So set up a guide for the circular saw (count of power tools used now 5) to trim the side down, surprisingly difficult going. 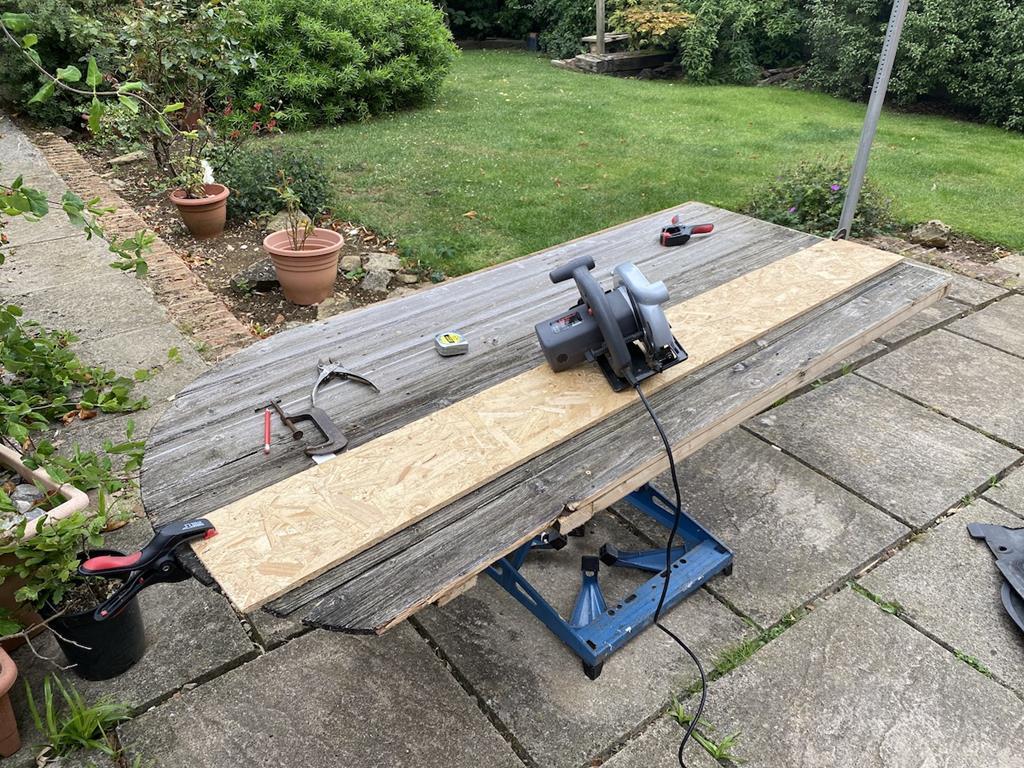 Of course having narrowed the gate down one side the curved top was off centre so some ghetto measuring, the other end of the tape measure was hooked round a nail, I cut the top to a new curve. 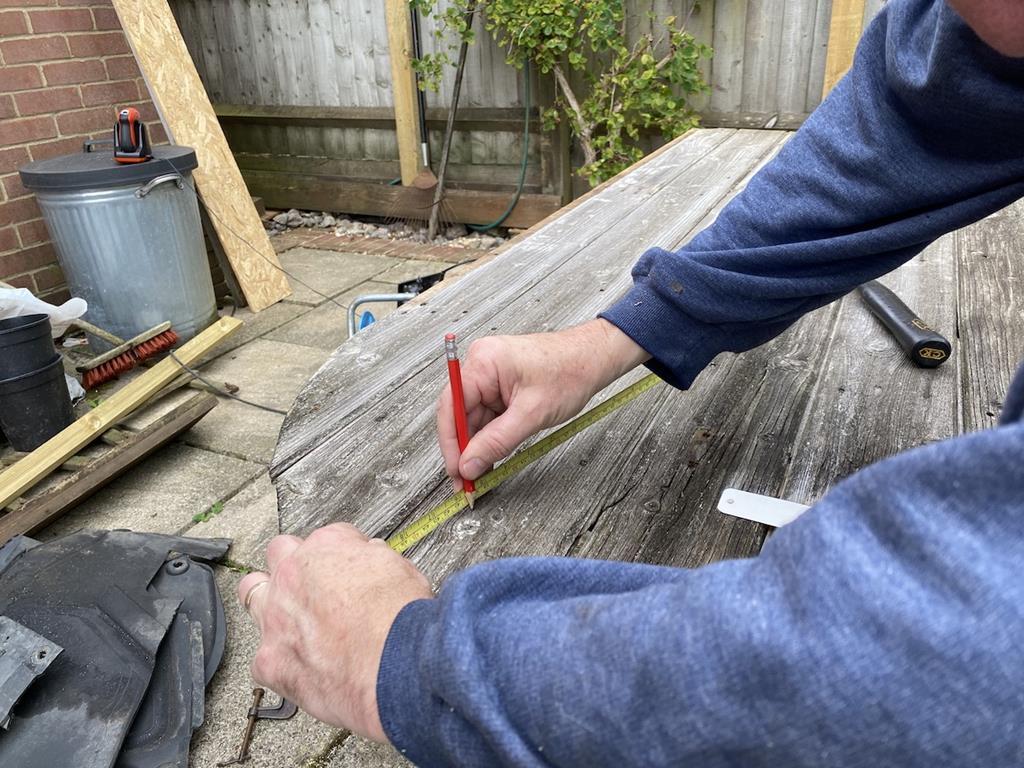 Finished gate with an added baton for the gate to shut against, will probably add one on the other (hinge) side as well. from the inside 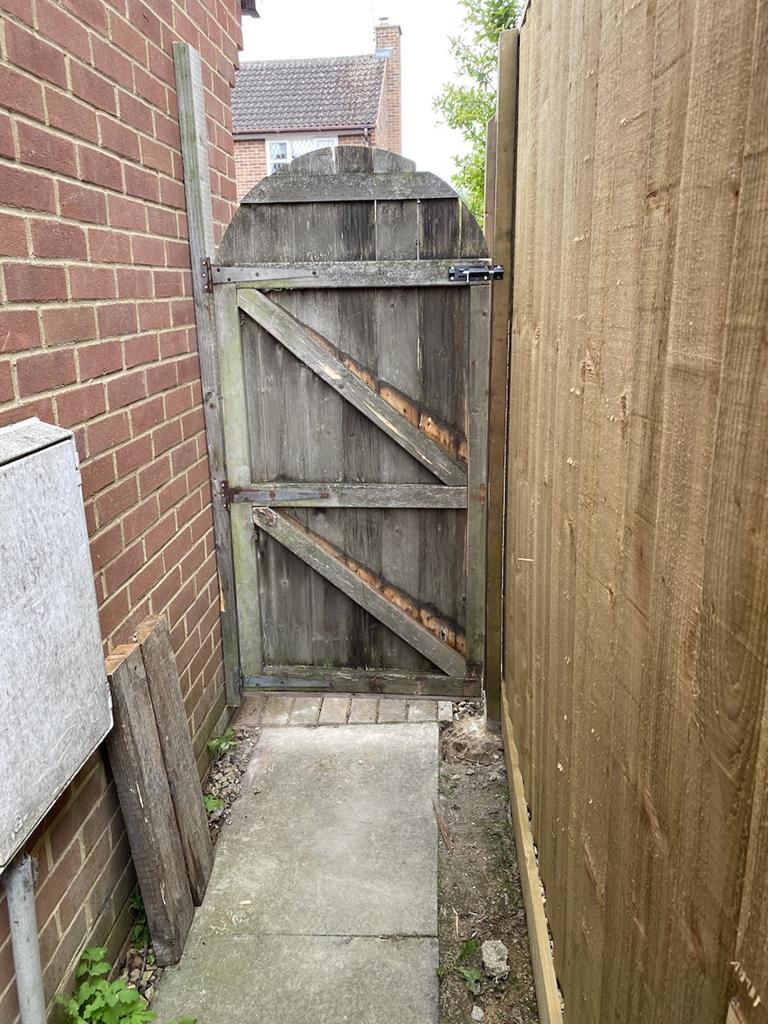 and the outside 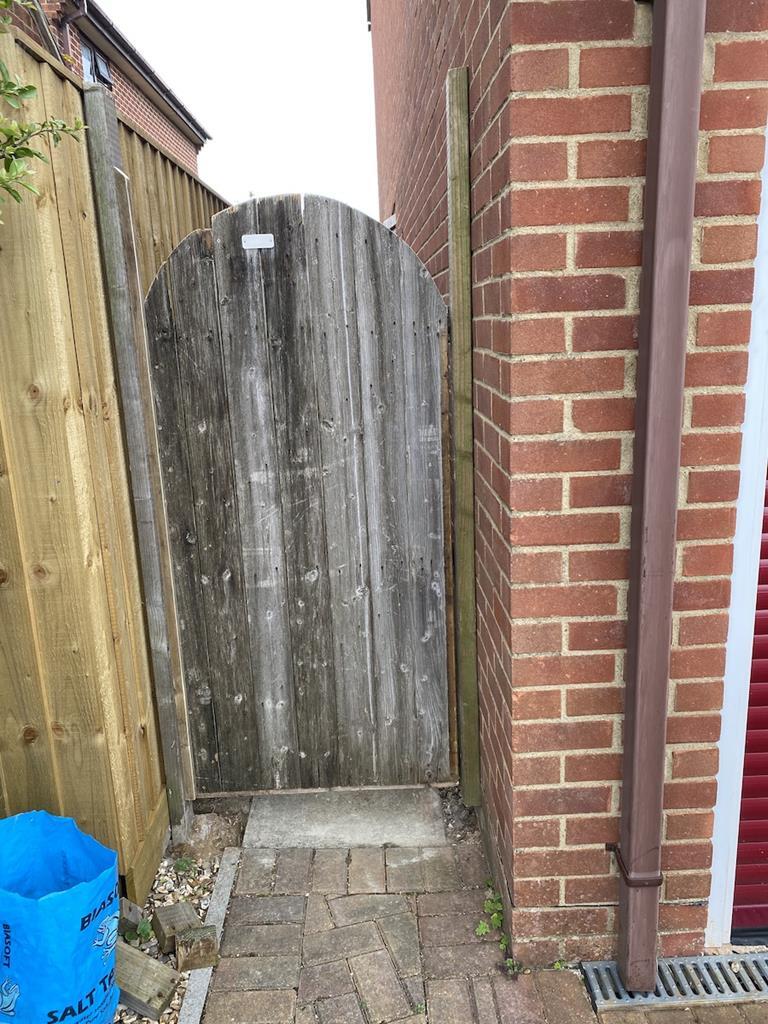 I don't think the neighbours admire the rough and ready appearance but to my mind I've saved £100 and got a lot of satisfaction out of adapting what I already had. Does need some preservative (it rained in the afternoon) and a gate latch. I removed the off-centre plate as well, might add a "Beware of the Dog" sign (not that they, dogs, would be any type of deterrent). |
| |
Last Edit: Jul 26, 2020 10:38:51 GMT by MiataMark
1990 Mazda MX-52012 BMW 118i (170bhp) - white appliance 2011 Land Rover Freelander 2 TD4 2003 Land Rover Discovery II TD52007 Alfa Romeo 159 Sportwagon JTDm
|
|
|
|
|
Jul 29, 2020 18:25:48 GMT
|
A free pond. Had no plans for a pond, but someone upgraded, so why not 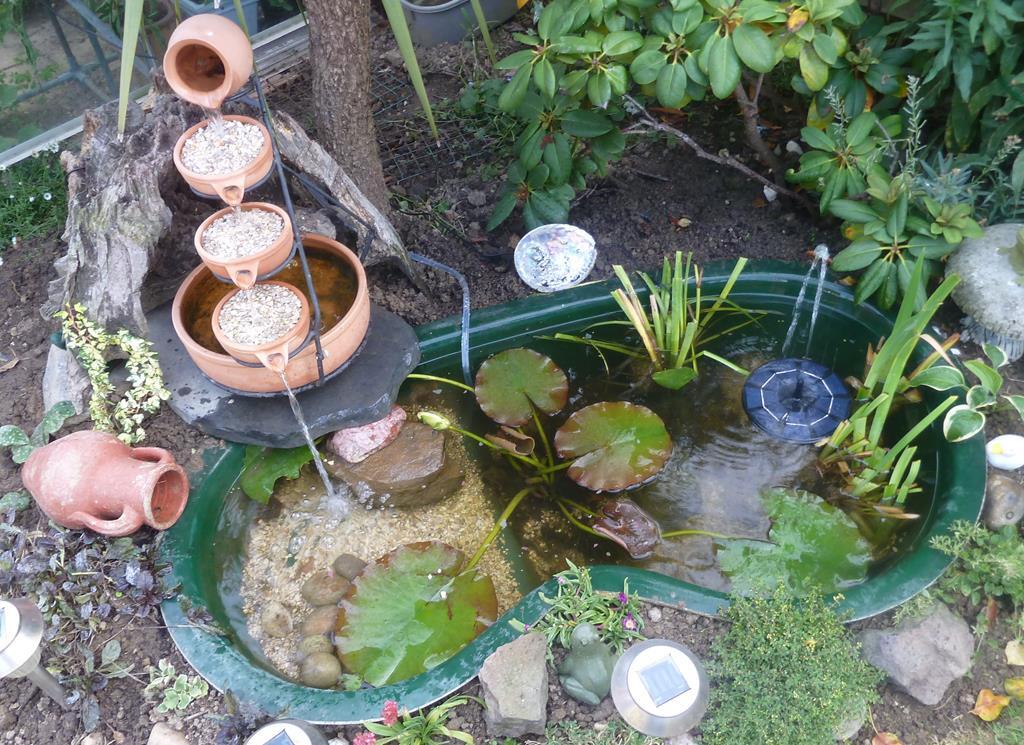 Free bits and pieces, reused plants from elsewhere, rocks lifted from next door, it was only going to be a nature pond, but you see that water fountain at the back? That was just a normal waterf-ountain, until a bit of brainfarting resulted in it now becomming a 3 stage filter.  it used to feed into the 4th large bottom bowl, but turn the 3rd small one round and it feeds straight into the pond. The filter medium is hidden under the stones. One upgraded £20 solar powered pump is all it needed and it works a treat. So next, fish. In other news, ive started getting some red tomatos and they are REALLY nice. Also, the catnips doing well.  |
| |
|
|
|
|