|
|
|
|
|
|
Well it’s getting pummelled just now, over 50mph
All good so far, left the roller open as still no storm bracing on it.
Might have to think about that soon, once the back wall is clad the door will need to be shut to stop the wind blowing the roof off from the inside out.
|
| |
Last Edit: Mar 9, 2021 20:47:45 GMT by henspeed
|
|
|
|
|
|
|
Mar 10, 2021 18:51:55 GMT
|
|
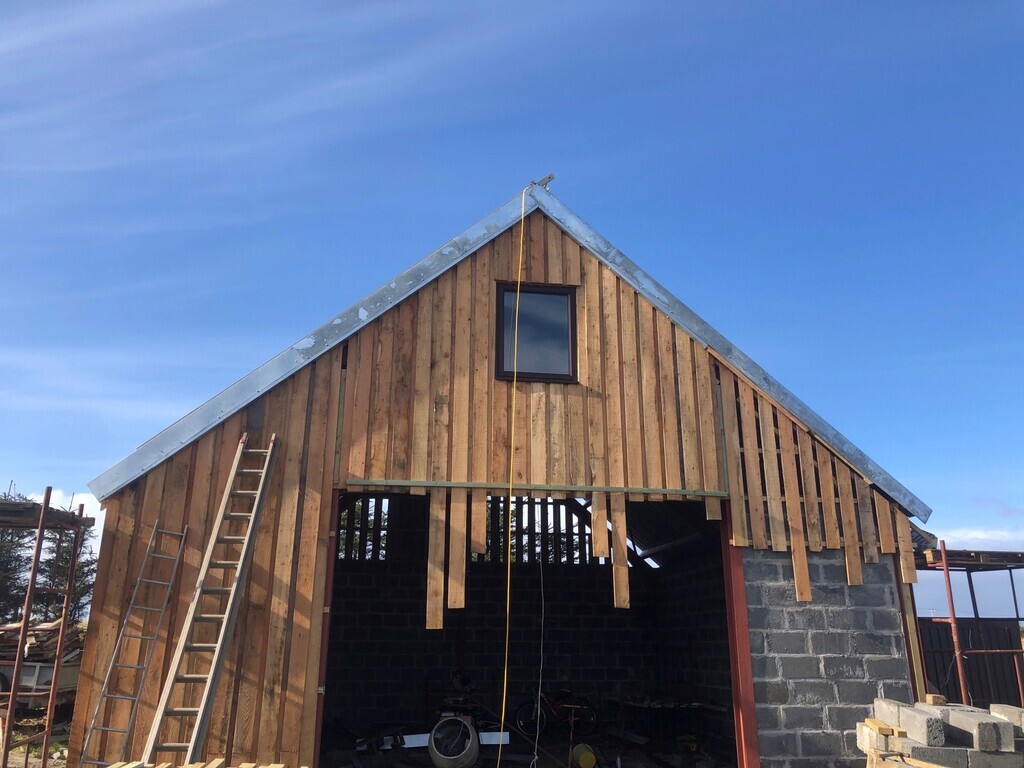
Winds were survived with no damage.
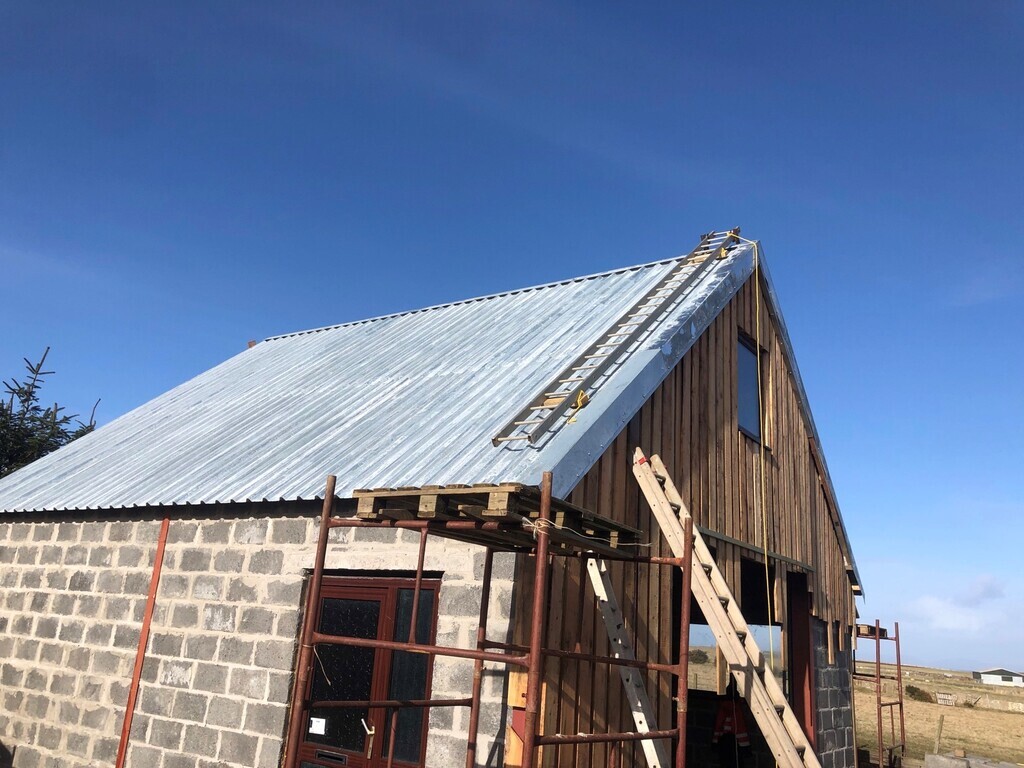
Popped up on the roof after work and put the final ridge piece on.
Will need to wait for the wind to drop off to complete the flashings though.
Have a plan together for the door wind bracing also so will be picking up some angle for that tomorrow.
|
| |
|
|
|
|
|
Mar 13, 2021 21:02:39 GMT
|
Just a little done today, took a lot longer than it looks though. Flashing mostly done to the roof side, some bits to tidy up when the cladding is yet to be finished.   |
| |
|
|
|
|
|
Mar 13, 2021 21:18:56 GMT
|
|
Looks good, can't wait to see it with the wood cladding finished.
|
| |
|
|
|
|
|
Mar 14, 2021 13:04:43 GMT
|
|
Quite a difference having is semi weathertight
On a crappy day I can do bits inside.
Hopefully get the door braced up this week to keep the wind out a bit more.
|
| |
|
|
|
|
|
Mar 17, 2021 13:32:00 GMT
|
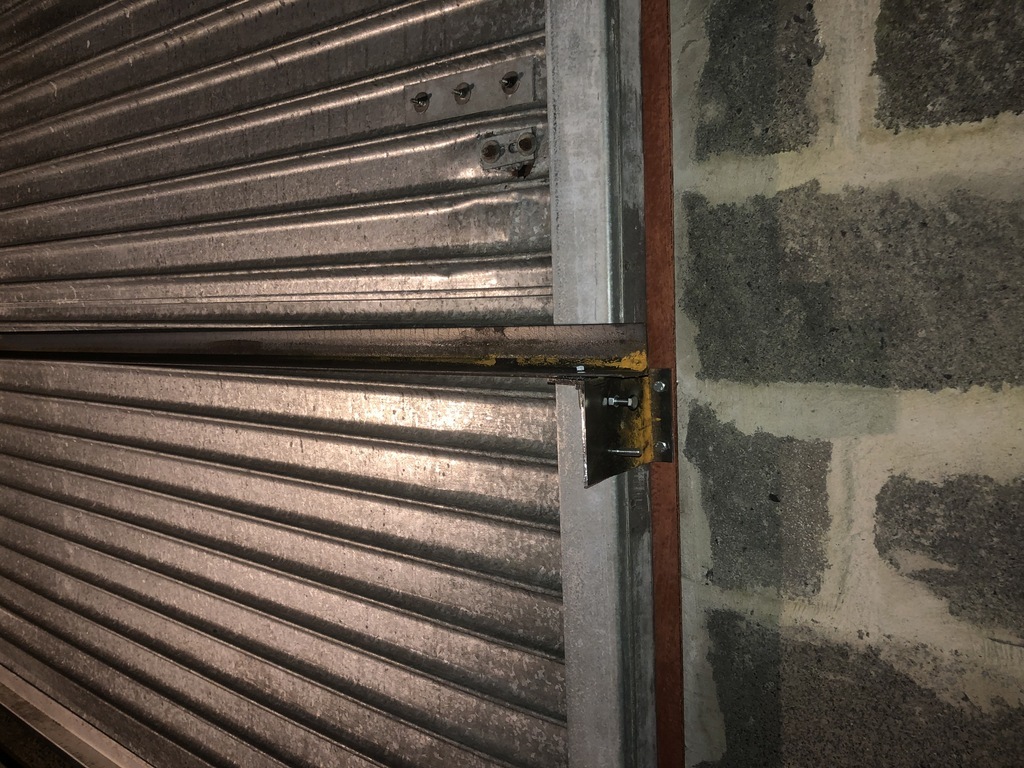
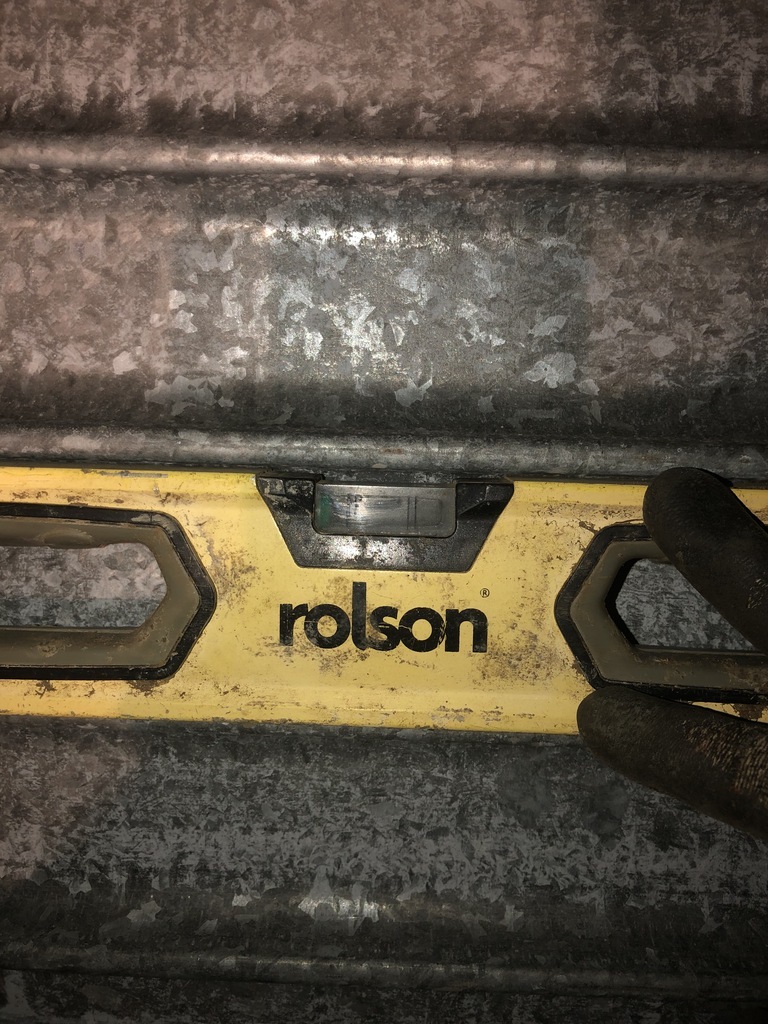
So I procured some angle iron and set about wind bracing the door, my plan was to install 50x50 angle across the width of the door at 1m centres. Installed the 1st one as per the pic.  Works well, 40mph gusts were laughed off with not even a hint of movement. Retired to my kip content, then whilst drifting off realised I had made a bit of a blunder. When I am around all will be good, but I go offshore etc and the wife and kids will want to gain access to the shed on occasion and with a lump of angle at 1m off the deck it will be a royal pain in the ass and they wont be able to remove it for easy access. So I have scrapped that plan. I have now bought some 5" channel to be set into the floor that the door will rest into, the angle as previously pictured will be relocated to lintel height and a further section of removable angle will be installed centrally along the door in the vertical plane, teeing into the upper angle and sliding into a piece of box welded to the channel in the floor. This should allow the door to be opened easily when in place to take out a mower of bicycle etc and then the angle can be whipped out on the occasions when I need to move a vehicle in or out. Makes sense??? No me either, bear with me. But more pressing and as can be seen from the above pic, I have arsed up the door install. I knew for a while that it was a bit off the level but some spirit level and hoisting last night revealed I had installed on bracket 30mm lower then the other, what a tit!! Thought I would get away with shims but not 30mm of shim, so tonight I will raise the dodgy bracket to hopefully level things off a bit better. |
| |
Last Edit: Mar 17, 2021 13:39:52 GMT by henspeed
|
|
|
|
|
Mar 17, 2021 15:28:17 GMT
|
|
Now I am thinking the found may be out a bit, measuring each bracket to the found and I am within a couple of mm, but the door tells a different tale.
Suppose its quite feasible to be out, surprised if its as much as 30mm over 8m
|
| |
|
|
|
|
|
|
|
So last night seen the door barrel locked off, then a sling on the right hand side and the bracket was removed. Redrilled the fixing holes to move it up by 30mm and refitted.  Its still not perfect, but it is not far away and definitely in shim territory now. Next problem is now the door is catching on the right hand guide rail, so it is next for fettling. Spent about 6 hours on it this week so far and to look at I have done nothing. |
| |
|
|
|
|
|
Mar 18, 2021 11:55:05 GMT
|
|
Rail adjusted.
Door now running smooth up, down and true.
Now back to the original problem of windbracing it
|
| |
|
|
|
|
|
Mar 19, 2021 23:20:14 GMT
|
|
Nice job. i notice the pitch of the roof is quite steep compared to most steel sheds around here (the midlands). is that to prevent snow build up or is it done like that to match other buildings you have?
|
| |
|
|
|
|
|
|
|
Mar 19, 2021 23:51:53 GMT
|
|
The plan was to match in with my house and to have a mezz floor in it.
The galv roof doesn’t really match the house though, neither does the larch siding
|
| |
Last Edit: Mar 20, 2021 0:01:02 GMT by henspeed
|
|
melle
South West
It'll come out in the wash.
Posts: 2,010
|
|
|
|
|
I like the galv, I think it'll look good too with the sides clad with the same sheet instead of wood.
|
| |
www.saabv4.com'70 Saab 96 V4 "The Devil's Own V4" '77 Saab 95 V4 van conversion project '88 Saab 900i 8V
|
|
|
|
|
Mar 20, 2021 20:05:08 GMT
|
|
I think a full galv build may have been a step too far for SWMBO
Did a bit today on the roller door windbrace mk2, I think I have it sussed now.
5” channel bolted in at floor level, 2” angle across the top at lintel height, then another 2” angle vertically down the centre.
Looks solid enough
|
| |
|
|
|
|
|
Mar 25, 2021 17:47:07 GMT
|
|
Your doing a great job! Been following your thread since the start, I'm planning building a shed similar to the way you've done it! Keep up the good work!
|
| |
|
|
|
|
|
Mar 25, 2021 21:53:45 GMT
|
Your doing a great job! Been following your thread since the start, I'm planning building a shed similar to the way you've done it! Keep up the good work! Cheers pal. 20t of type 1 hardcore delivered today, spent the night in the tractor shifting it into the shed. Maybe post a pic or 2 tomorrow |
| |
|
|
|
|
|
Mar 26, 2021 14:08:08 GMT
|
|
A question for you concrete floor guys on here.
when installing your forms for a floor like I am doing, would you install a 4x2 around the perimeter and down the center to use the to tamp the concrete to, then remove when almost set?
How difficult would these forms be to remove?
I have never done such a pour previously so any advice will be greatly appreciated.
|
| |
|
|
|
|
|
Mar 26, 2021 19:53:54 GMT
|
Easier to pour your floor to brick level before you put the walls up  Watching a few programs recently it showed them just using a sort of 6 foot wide 'squeejy' thing and working from the back to the exit without using any boards in the concrete. You need a wetter mix for that though. HTH? |
| |
|
|
|
|
|
Mar 26, 2021 22:04:56 GMT
|
|
Looks like I will need to break out the sledgehammer tomorrow and take the walls back to dpc then!!!
I too have been YouTubing this and seen them just using a form down the middle then a bull float to finish.
I think I would make a backside of that though.
What I shall do is fix battens to the walls with the lower edge at floor level that way I can pour right into the wall and then the form can be unscrewed and removed when set, ok I will have a few screw holes in my blocks but that won’t matter, I can point them in if they bug me.
I am fairly sure that will work.
|
| |
|
|
|
|
|
Mar 26, 2021 22:14:29 GMT
|
|
I had a similar problem when I built our extension, I screwed 2x4 to the wall with the bottom level the intended surface of the concrete then used a tamp with the ends notched up 4 inches so it rode on top of the bits screwed to the wall but still gave the desired level.
|
| |
|
|
|
|
|
Mar 26, 2021 22:38:42 GMT
|
|
Yup that’s precisely what is in my minds eye just now.
I can’t think of a better solution so far
|
| |
|
|
|
|


