It's been a while, and there isn't much to report to be honest.
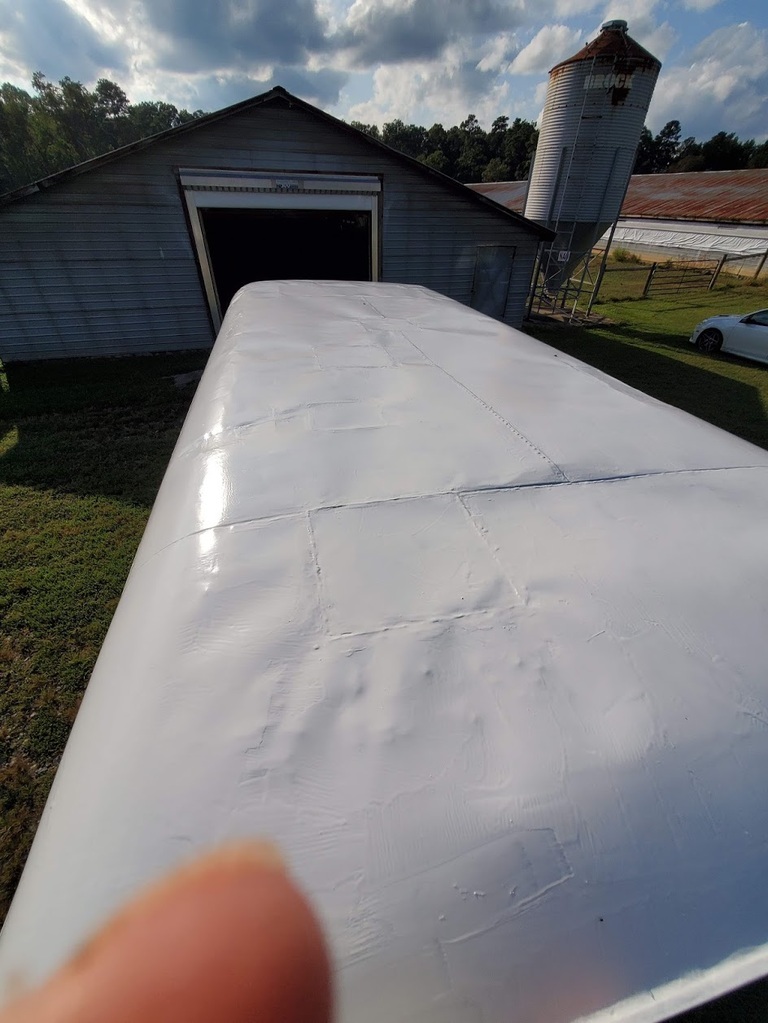
That being said, we have got the roof fully welded up and painted - Though I don't yet have any photos of the roof in its final state... I'll get to that!
So here's out roof all welded up looking like the worst Airstream in the world!
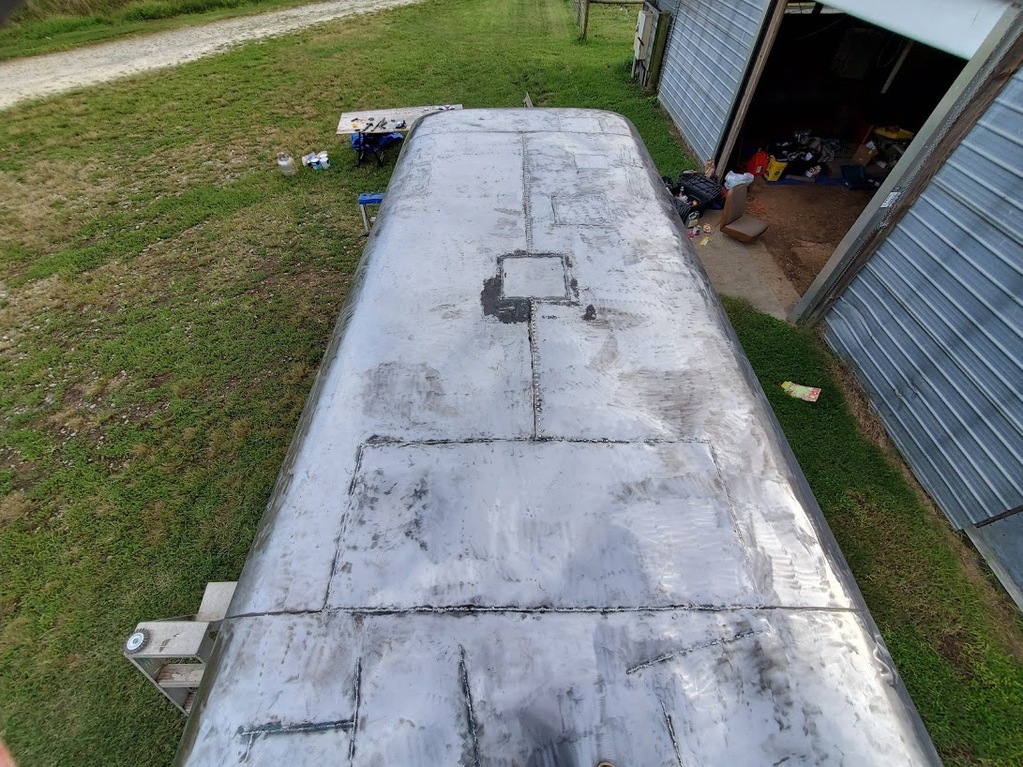
But! At least there are no more holes in it!
Over night we soaked the roof in Evapo-rust covering the seams and welds with wetted out tissues so it remained wet overnight.
The next morning the tissues were removed and the roof washed down and scuffed up using a Scotchbrite pad, it was then quickly dried with an airline and it looked the this.
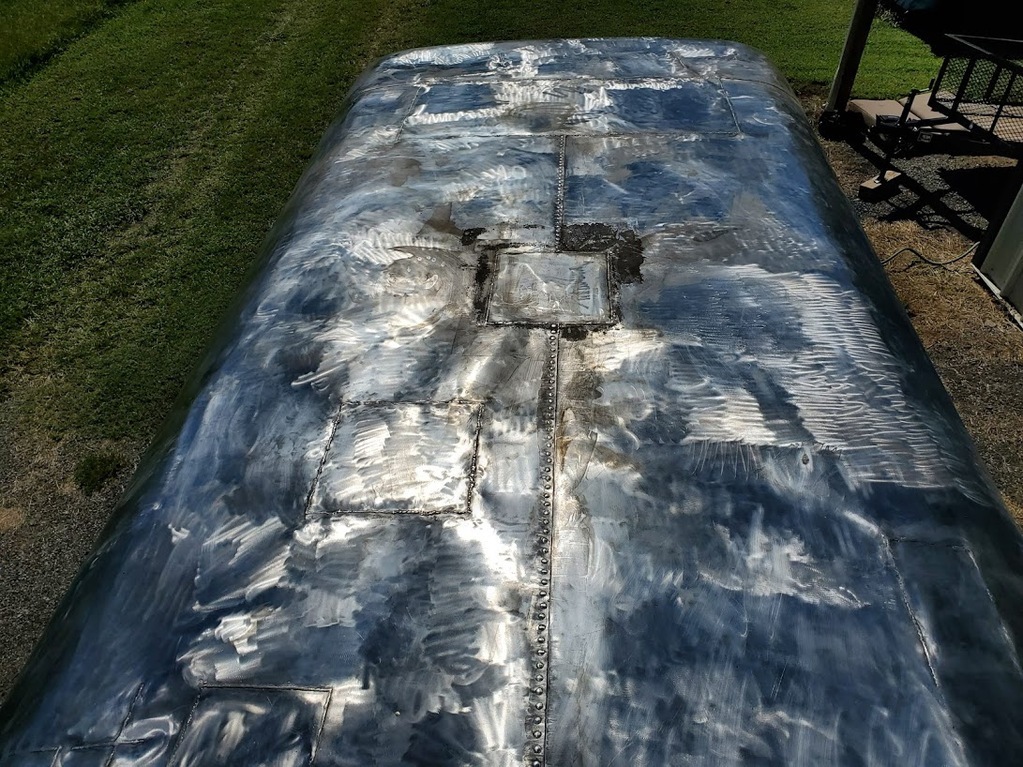
(Really wish we'd cut out and replaced that dark area in the centre of the roof, nevermind!
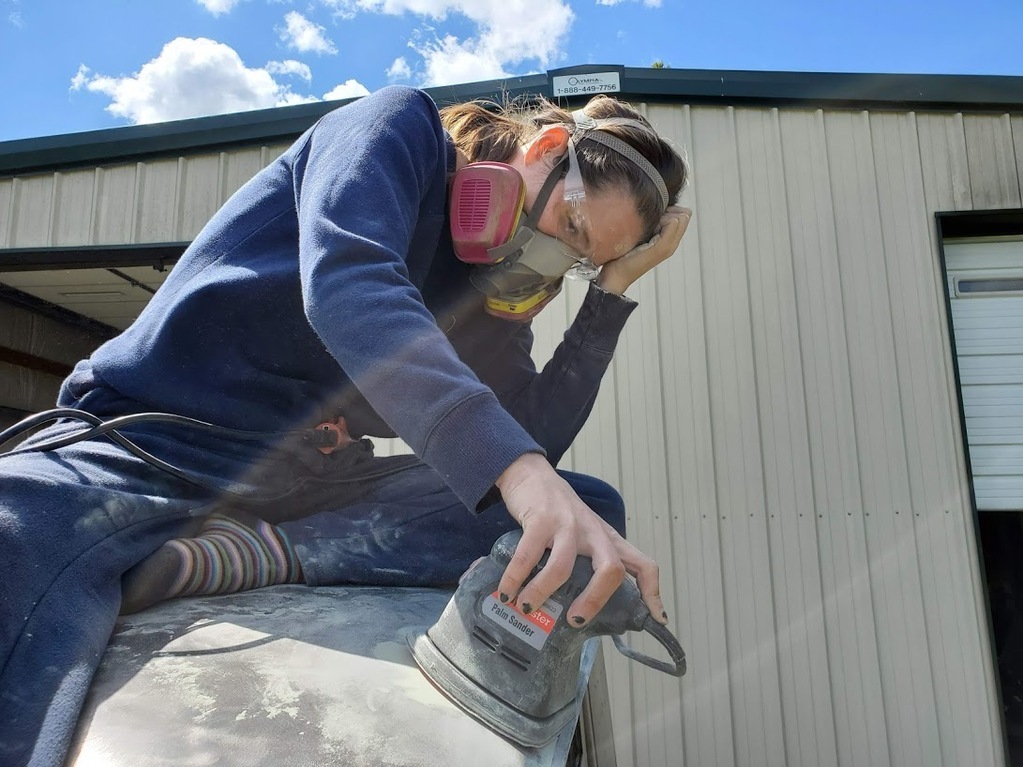
What followed next was several hours of applying small sections of body-filler and then sanding it all down smooth. As usual L was full of enthusiasm!
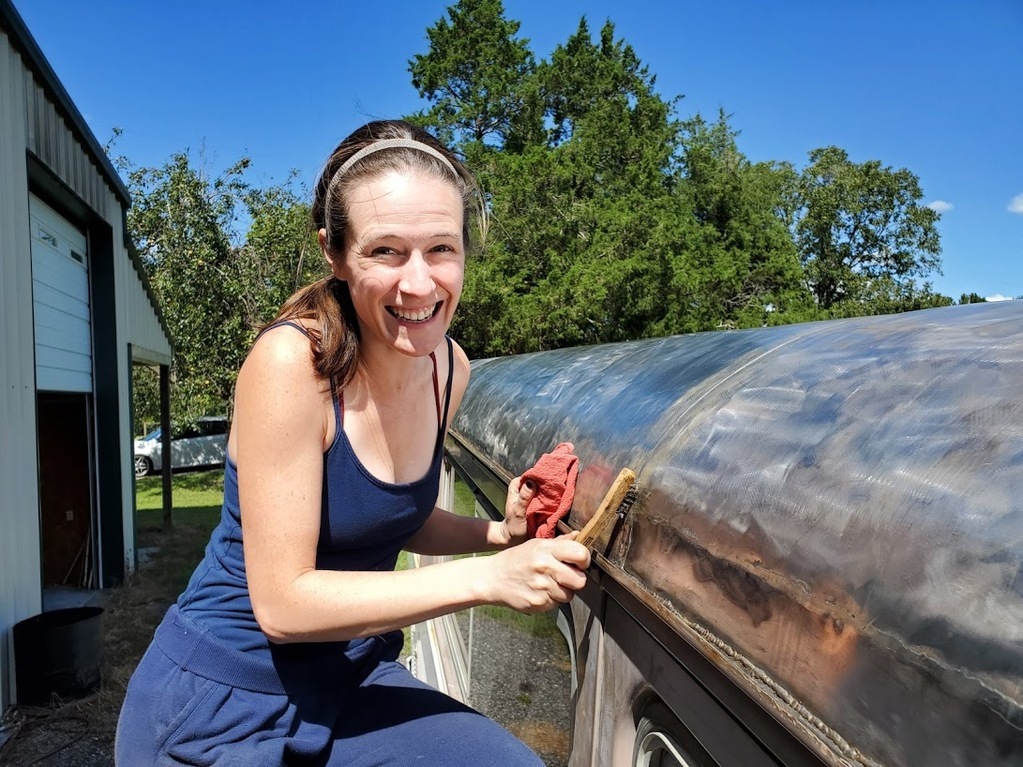
But soon learnt just how tedious bodywork can be!
Once done, the roof was blasted with an airline again and then wiped clean with a wax and grease remover!
Time was moving on but on we trucked!
Next job was to go over all of the gutters, welds and central seam with a sealer. We used Henry's Tropi-cool as it is well recommended within RV circles.
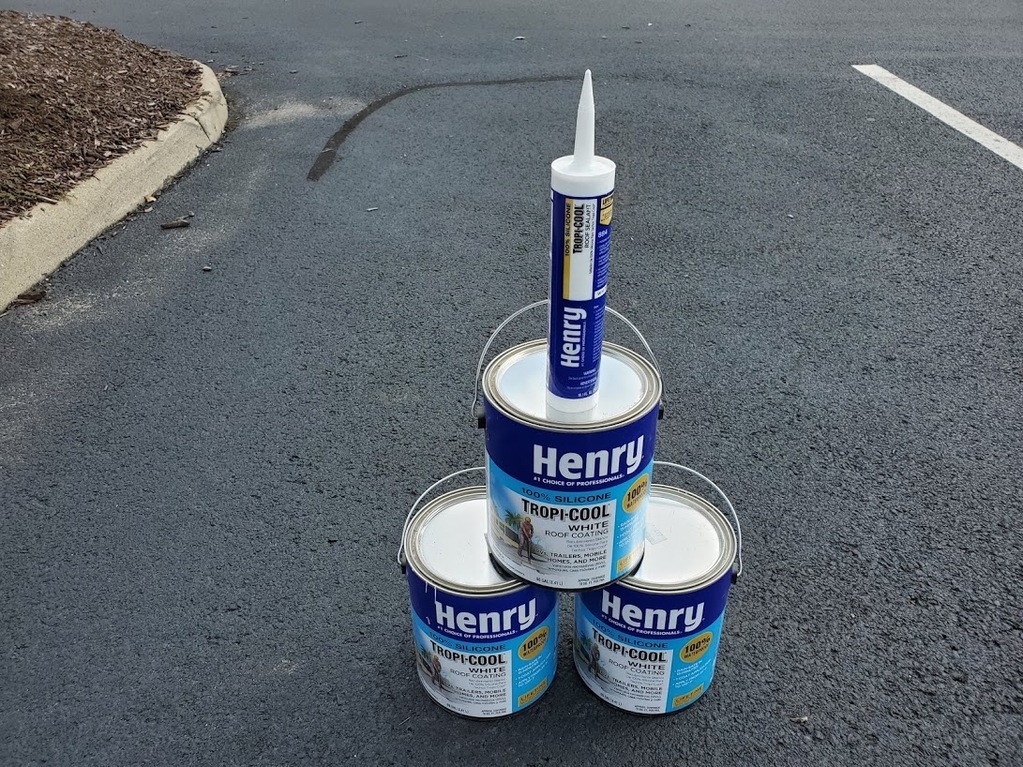
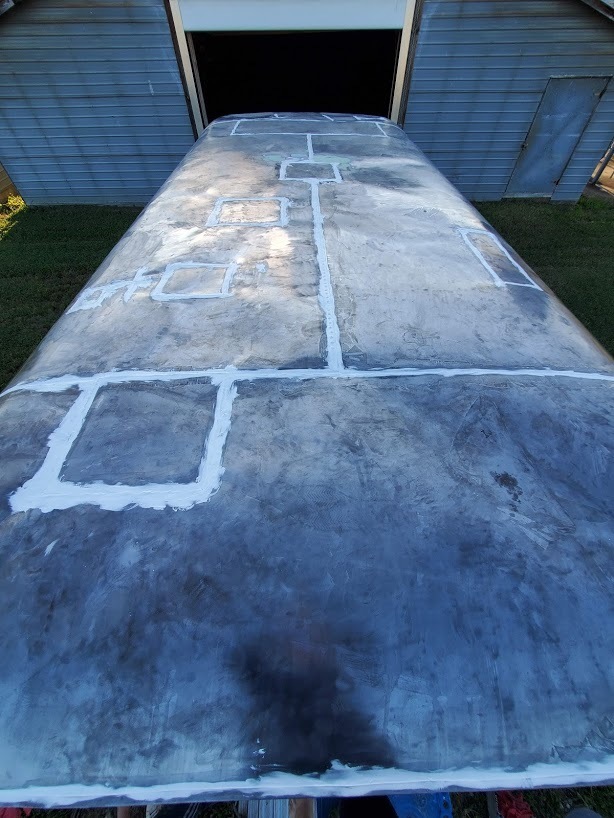
We fortunately got round everything just before the tube was empty! Which was a bonus!
Now here is where we should have stopped for the day!
BUT...
We didn't.
We marched on with painting the roof, it got dark, tempers flared, stress was high... And we both left rather unhappy both with the Cortez and each other.
The Tropi-cool sets by absorbing moisture from the air, as the temperature was dropping quick it was causing it to dry quick so we ended up with runs and overlapped sections and honestly in the dark, it looks terrible! I snuck back the next morning and it didn't look "too bad" but I left if in the barn. We also managed to catch a wire dangling from the roof (which we've never seen before) so there's a big scratch in the front of the roof and then there are several dead beasties that got stuck in the paint while it was drying. I am heading over this afternoon to have a proper look and maybe do some tidying up. L really doesn't want to see it first! Ha ha!
In other news, I've been buying again, though nothing too exciting.
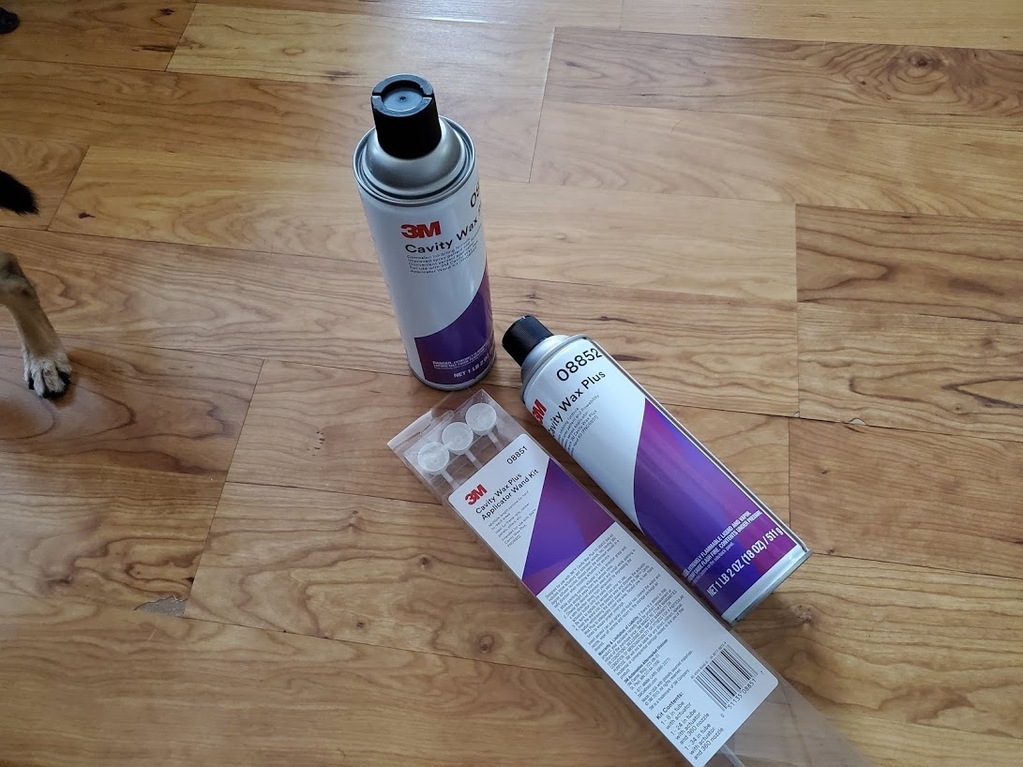
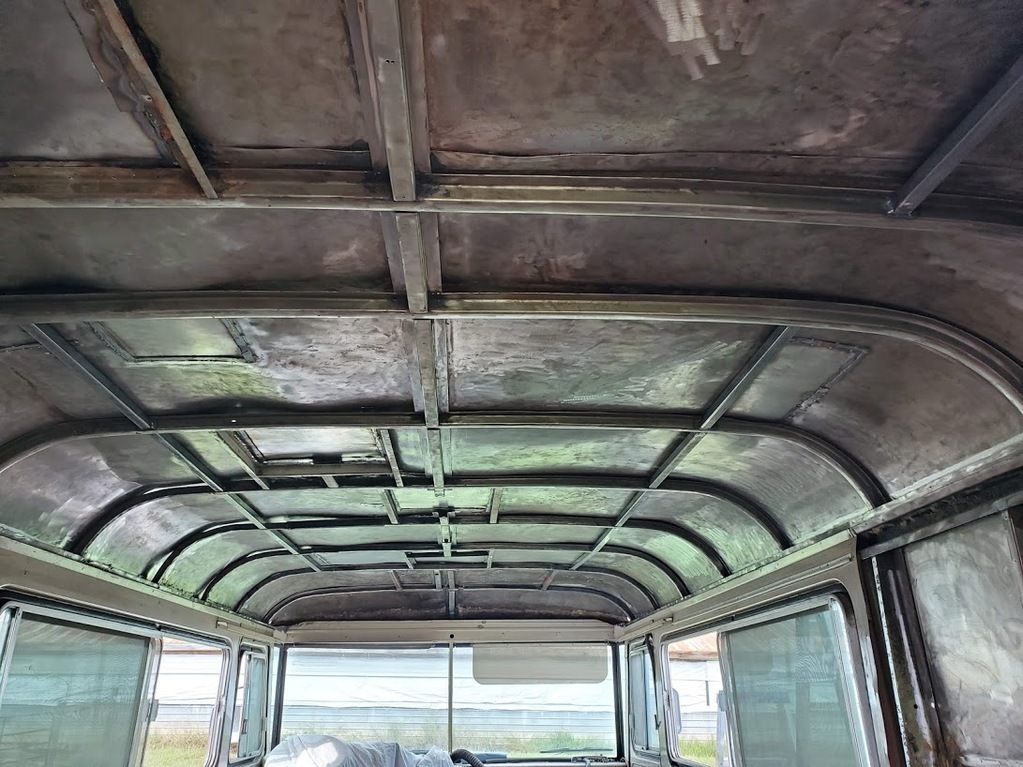
Just a few cans of radiator flush and engine flush from Liqui-moly and then two cans of 3M cavity wax to protect all of our nice new (and old) roof ribs. OH! The roof ribs! Yea, we finished the inside of the roof too by adding extra braces between each roof rib - This should make if safer for when we're putting stuff like Solar and storage on the roof!
I've also cracked NX open during an evening and started planning the layout of stuff on the roof - This isn't the full length of the Cortez, just the living area.
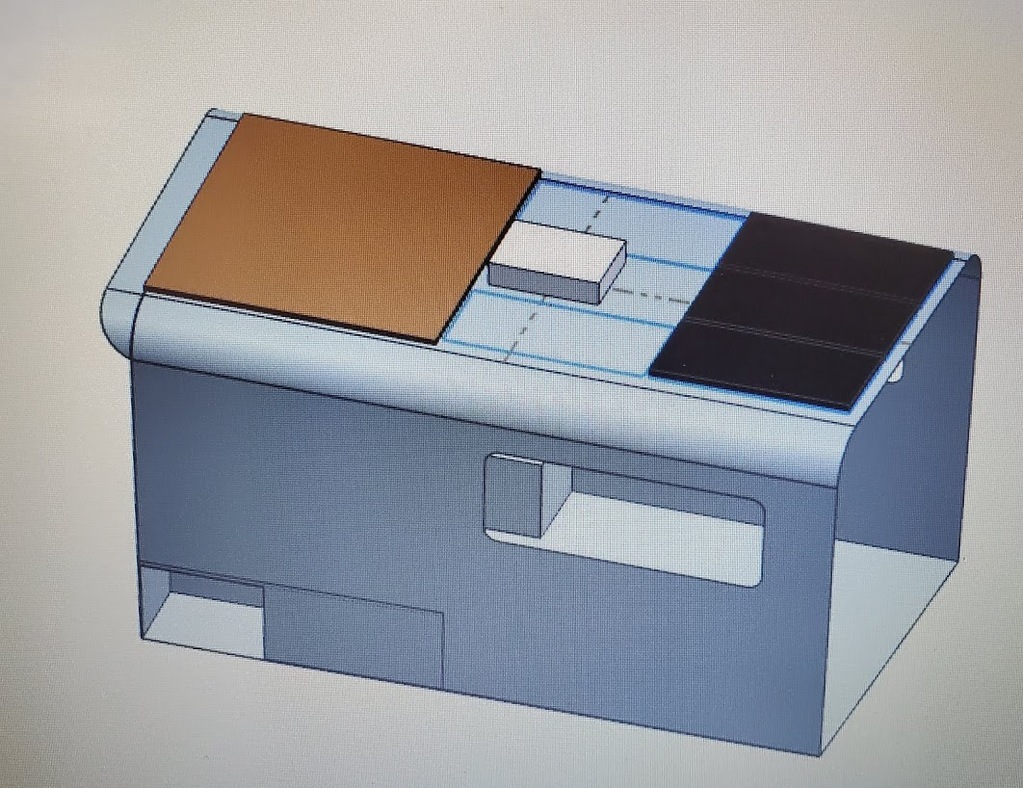
The three black panels are Solar panels, the two empty blue squares are spare for 'extra panels' should we need them!
The white unit is for a central fan.
The rear brown area is for a deck, it's about 5ft square and it's something L would really like. I'm going to keep tweaking things once I've added the whole roof length to the model. I can move the Solar panels forward and possibly extend the deck and add a storage box, or 2!
If you wanna check out our latest video, covering the final part of welding our roof you can find it here:
Hope there's enough photos and video links to keep everyone smiling!
Andy&L
That being said, we have got the roof fully welded up and painted - Though I don't yet have any photos of the roof in its final state... I'll get to that!
So here's out roof all welded up looking like the worst Airstream in the world!

But! At least there are no more holes in it!
Over night we soaked the roof in Evapo-rust covering the seams and welds with wetted out tissues so it remained wet overnight.
The next morning the tissues were removed and the roof washed down and scuffed up using a Scotchbrite pad, it was then quickly dried with an airline and it looked the this.

(Really wish we'd cut out and replaced that dark area in the centre of the roof, nevermind!
What followed next was several hours of applying small sections of body-filler and then sanding it all down smooth. As usual L was full of enthusiasm!

But soon learnt just how tedious bodywork can be!

Once done, the roof was blasted with an airline again and then wiped clean with a wax and grease remover!
Time was moving on but on we trucked!
Next job was to go over all of the gutters, welds and central seam with a sealer. We used Henry's Tropi-cool as it is well recommended within RV circles.


We fortunately got round everything just before the tube was empty! Which was a bonus!
Now here is where we should have stopped for the day!
BUT...
We didn't.
We marched on with painting the roof, it got dark, tempers flared, stress was high... And we both left rather unhappy both with the Cortez and each other.
The Tropi-cool sets by absorbing moisture from the air, as the temperature was dropping quick it was causing it to dry quick so we ended up with runs and overlapped sections and honestly in the dark, it looks terrible! I snuck back the next morning and it didn't look "too bad" but I left if in the barn. We also managed to catch a wire dangling from the roof (which we've never seen before) so there's a big scratch in the front of the roof and then there are several dead beasties that got stuck in the paint while it was drying. I am heading over this afternoon to have a proper look and maybe do some tidying up. L really doesn't want to see it first! Ha ha!
In other news, I've been buying again, though nothing too exciting.
Just a few cans of radiator flush and engine flush from Liqui-moly and then two cans of 3M cavity wax to protect all of our nice new (and old) roof ribs. OH! The roof ribs! Yea, we finished the inside of the roof too by adding extra braces between each roof rib - This should make if safer for when we're putting stuff like Solar and storage on the roof!


I've also cracked NX open during an evening and started planning the layout of stuff on the roof - This isn't the full length of the Cortez, just the living area.

The three black panels are Solar panels, the two empty blue squares are spare for 'extra panels' should we need them!
The white unit is for a central fan.
The rear brown area is for a deck, it's about 5ft square and it's something L would really like. I'm going to keep tweaking things once I've added the whole roof length to the model. I can move the Solar panels forward and possibly extend the deck and add a storage box, or 2!
If you wanna check out our latest video, covering the final part of welding our roof you can find it here:
Hope there's enough photos and video links to keep everyone smiling!
Andy&L


