You wont be surprised to find that no organisation of parts has been happening.
I went backwards a bit.
To begin with I had to remove the windows.
They needed a channel routing in the front face for the window sills to mount against.

They also needed additional support. As they were fitted both windows only had 2 sides in contact with enough structure to fasten them too and this left them a bit flimsy.
An extra leg on the side is plenty.

Sills get machined down, drilled, glued and screwed.

Going to have to do something about that huge gap underneath though.
Fortunately I had a spare mostly intact wall sheet so cut 2 strips off it and fitted them up.

I feel like the outside is really coming together now.
Back to the inside and since I had made some changes I had to fit some new bits of insulation around the windows.
Then its time for some boarding.

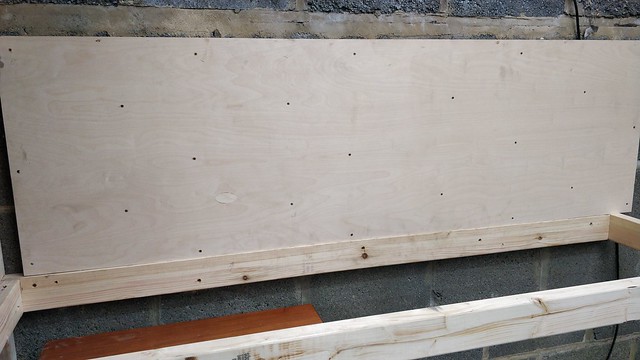
more of the same 9mm moisture resistant MDF that I used on the wall behind the shelf.
I’m going to box in the pillars with some more bits when I get round to cutting more sheets.
I also finally got some paint out.

only the first one done as it was starting to go dark.
If your wondering why I went with grey "ish" the simple answer is that’s the best I had laying around.
Now then something that has been bugging me for a while is the door handle.
You have to push the handle all the way to the stop before it will move the catch far enough in for the door to open, I figured it was likely a simple fix so took it out the door and began the investigation.
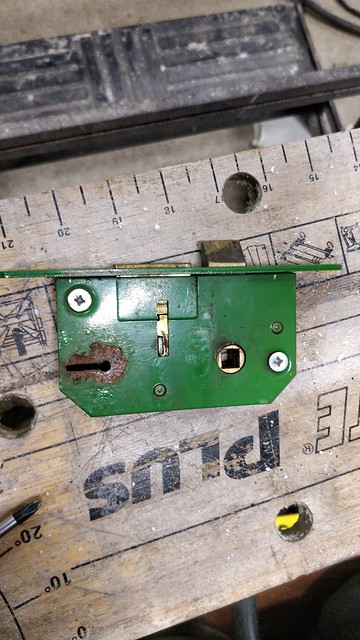
first issue the screws are loose.
Next problem its quite badly worn.
On this corner
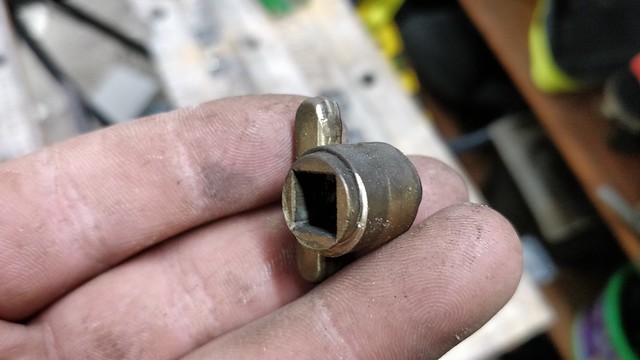
And on this seat, so id guess the thingamabob turning on the watsit just had too much play in that orientation.

Looks like the door catch gods are currently smiling on me though as its designed to be used with multiple different handles which would include a knob which turns the opposite way.
I can flip the thingamabob over so the worn side is underneath and the stresses of my normal handle are now on the other side of the seat.
Bit of spray grease in there in the hope it will slow any more wear down a little.

Back together and working like a new'un. Certainly should last long enough for my uses before I want to change the door.
Although knowing how it goes I would probably end up reusing the old lock and in ten years time you get to see me rebuild it again.
In other areas things have been happening.
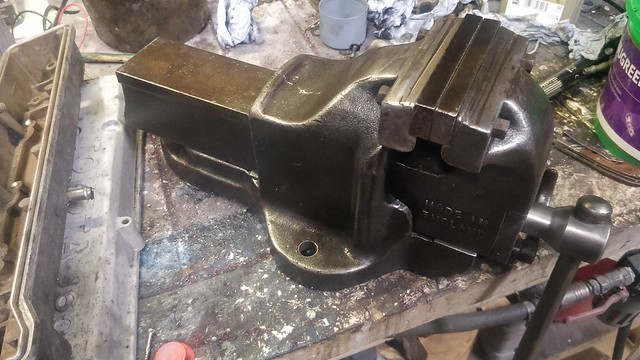
remember my new acquisition?
no?
this one.

well it got stripped down.

I’m sure there is something slightly cannibalistic about using a record vice to tear apart another record vice.
Anyway the internal screw and quick release mechanism was all in pretty good condition so no worries there.
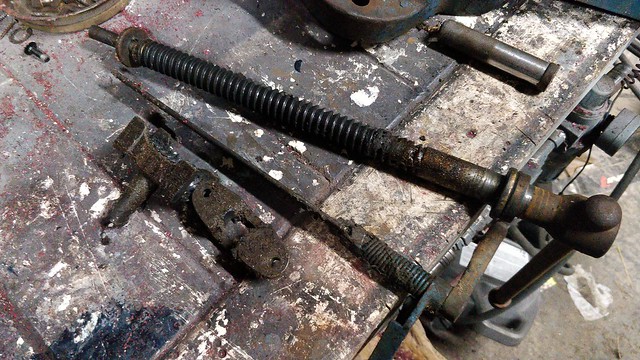
The body and front jaw both required a bit more attention though so I got cracking with the wire brush.

Revealed a bit of what I’m guessing is the original paint. Quite a nice dark blue.
It was taking too long though so I stepped it up a notch with a knotted wire wheel in the grinder.

Much better.

While trying to decide on a paint type and then on a colour I abandoned the whole idea and just went with the oiled look instead. also partly because I didn’t have the paint I wanted.
So everything got lovingly oiled and all moving parts received a good coating of grease.
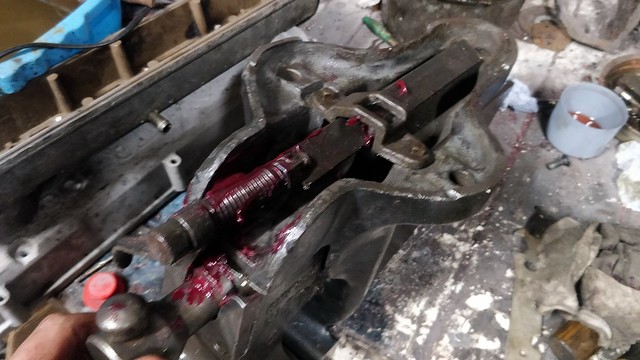
Some clean-up required
The grease is a bit thick but I wanted something that will stay in place while I reassemble it.

All back together.
Once it was back together I put plenty of oil over the mechanisms which helps to thin the grease a little making it as smooth as butter to use.
Currently its pouring oil out of every available gap as I may have slipped with the tub its nice to use though.
The screw will also get a regular oiling through the oil port too so it should keep in this condition.
Very happy with the end result
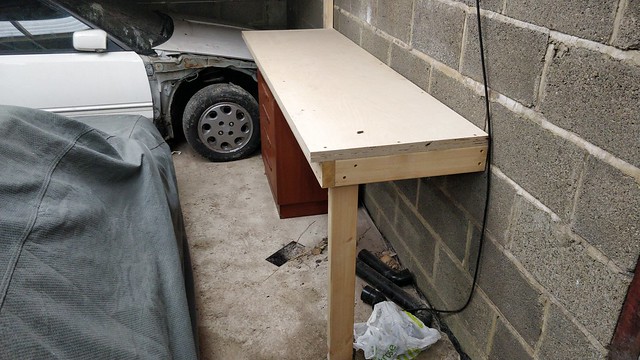
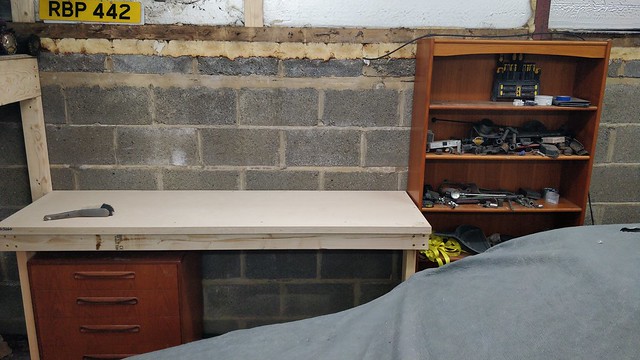
All i need now is a bench to put it on.


