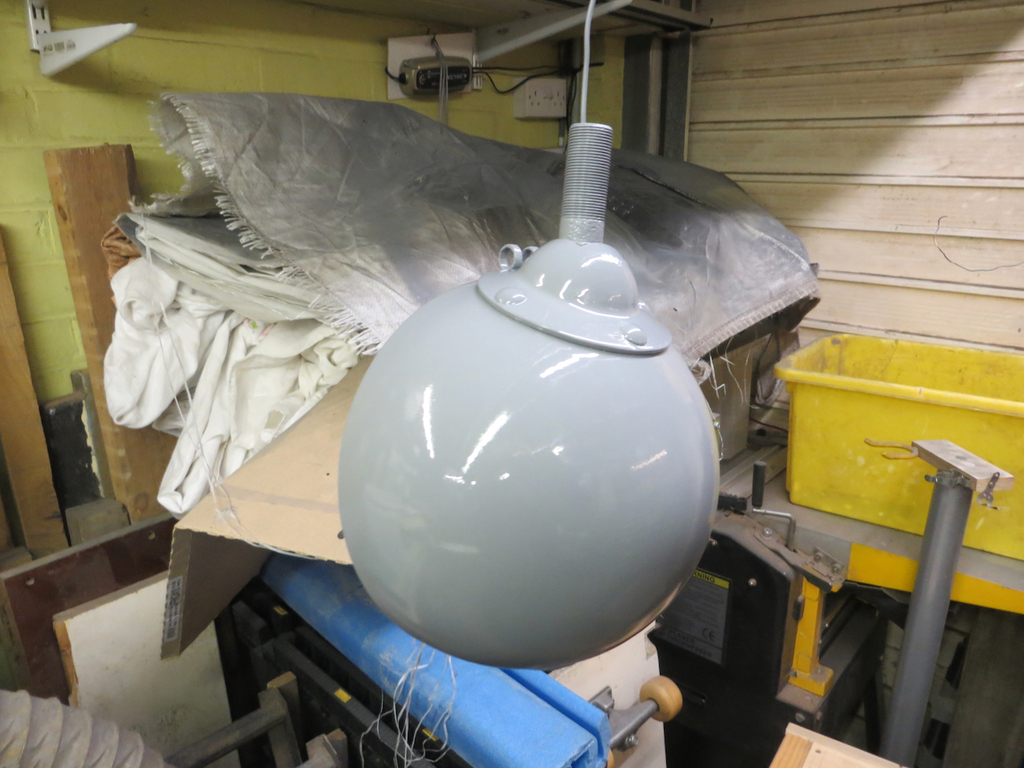
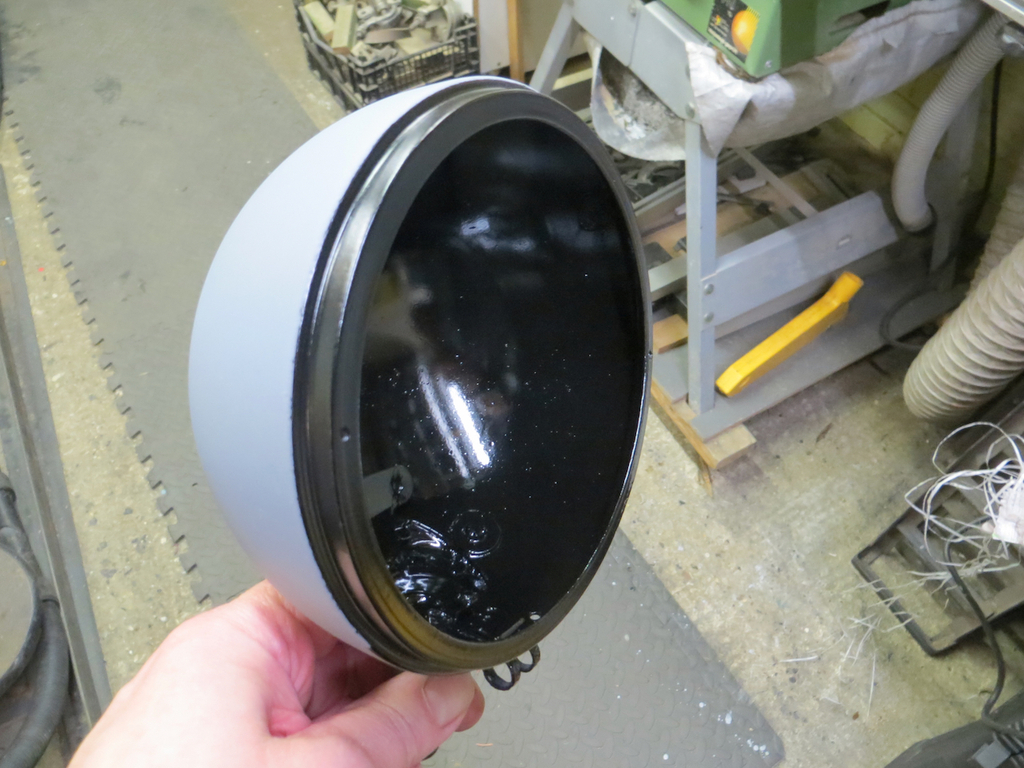
I’ve been back to Maidstone where I met Ian to screw some more bits back on GKE 68.
I had a good day. Ian, less so, poor chap. More of that shortly.
My first job was to see if I could work out where the engine sump was leaking from. It appeared to be the sump plug, but was it? Ian had been using the word ‘porous’ which strikes fear into the hearts of people who don’t enjoy lying in a puddle of bus dribble.
I just cleaned the sump and left it for the day. We’ll find out where it’s leaking from later.
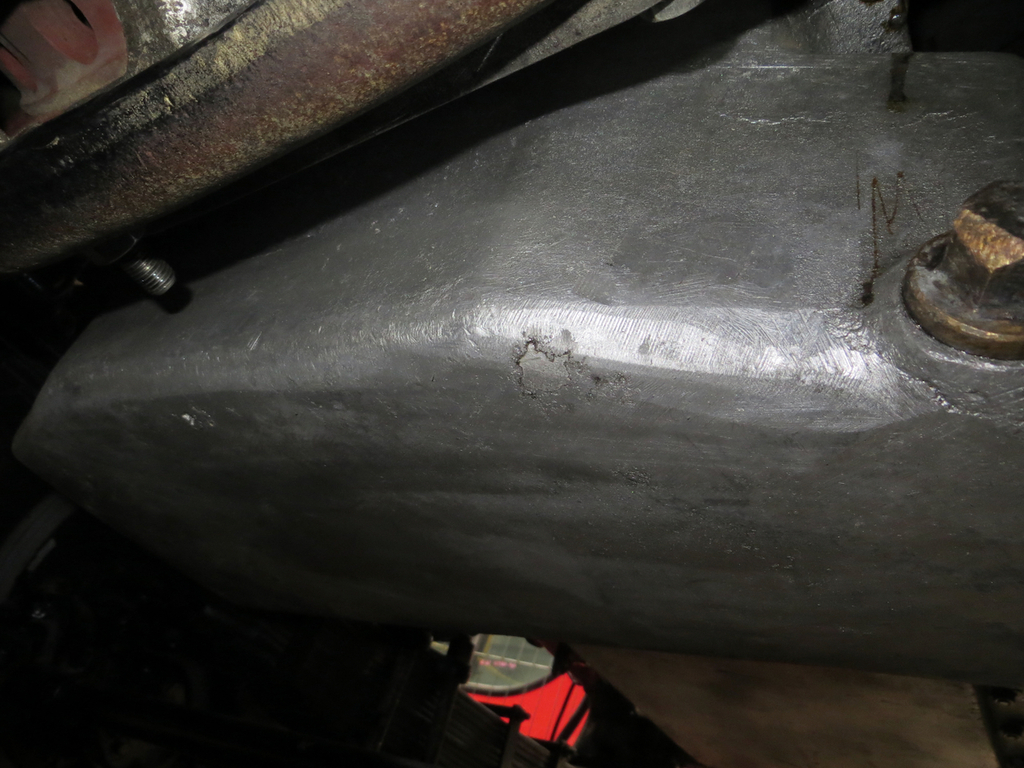
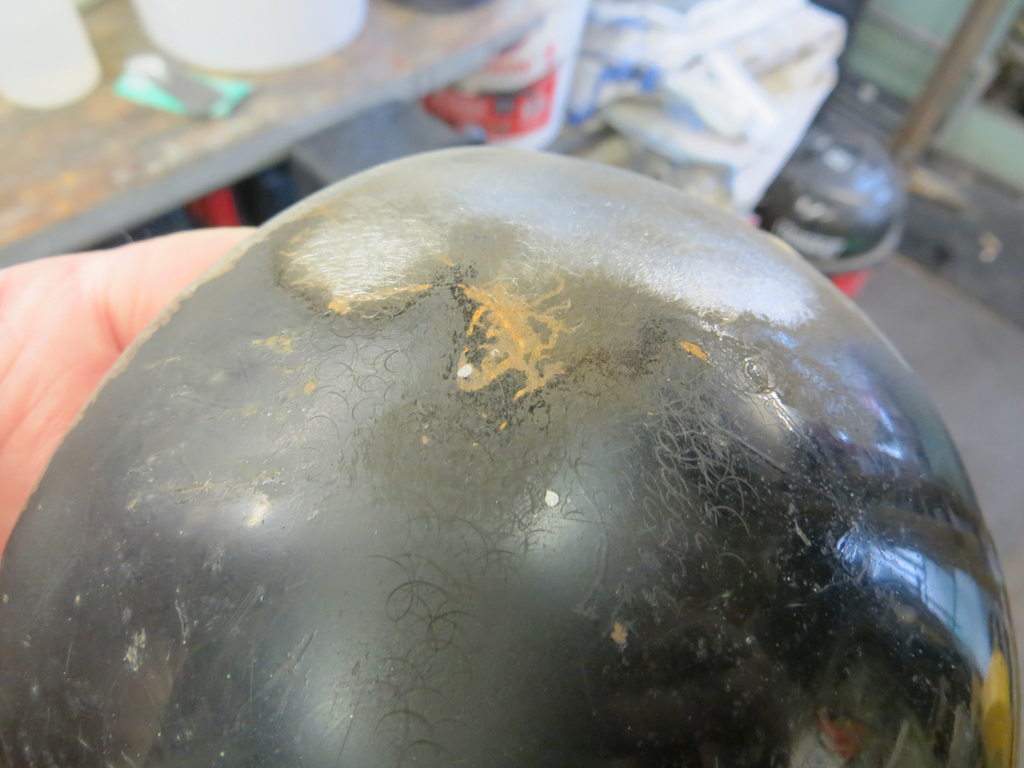
That said… You see that slightly differently coloured patch right in the middle of the photo? That looks to me like the sump has been repaired. Place your bets now…
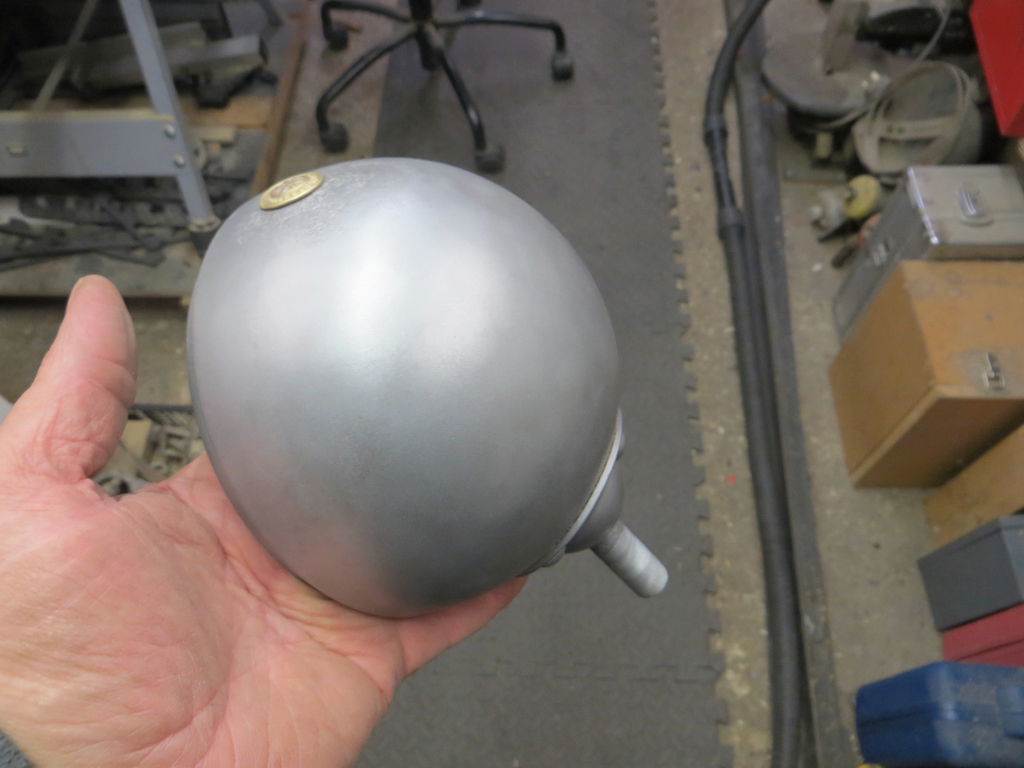
My next job was to swap the starter motor. The one fitted to the engine turned out to be a 24V version and it’s a 12V bus. I’m guessing it was test run on a 24V rig and the starter was never swapped back which is bloody annoying.
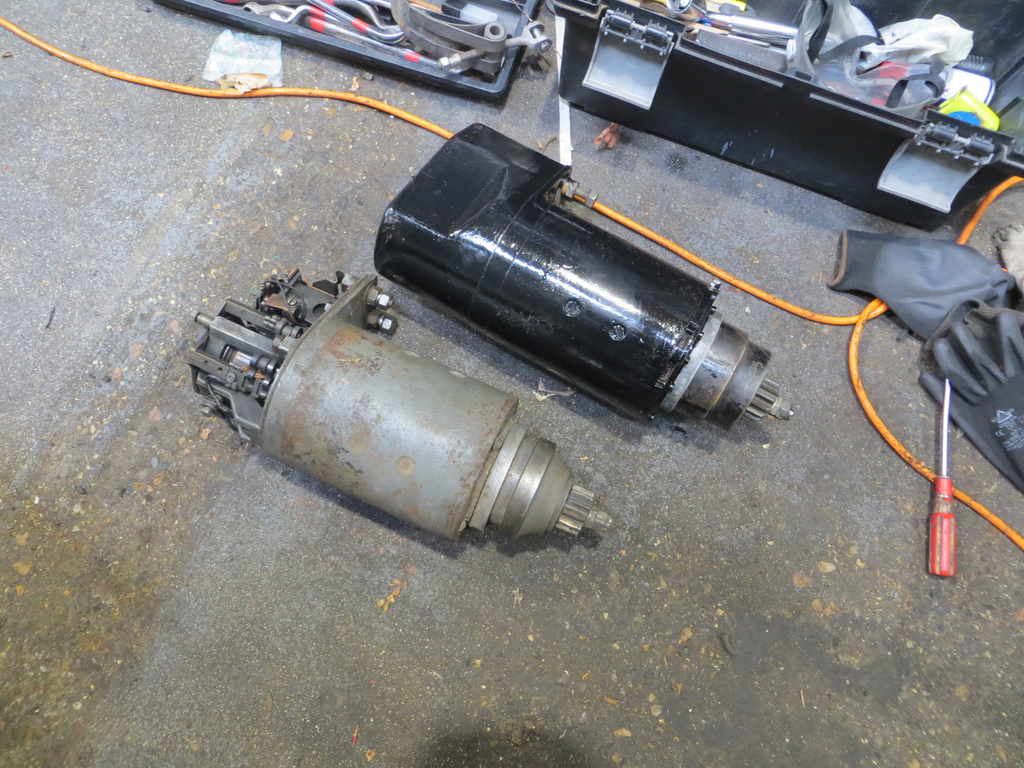
The silver one is the 24V one and the black one is the 12V version that I’m fitting. Ian took it off GKE 65 which you might remember is the truck chassis that the Friends of Chatham Traction also have.
It’s not a terrible job. You have to work through the cab floor. The biggest problem is that, like everything else on this old lass, it’s a heavy thing to be dragging up and out of the cab door.
Here’s the 12V one installed.
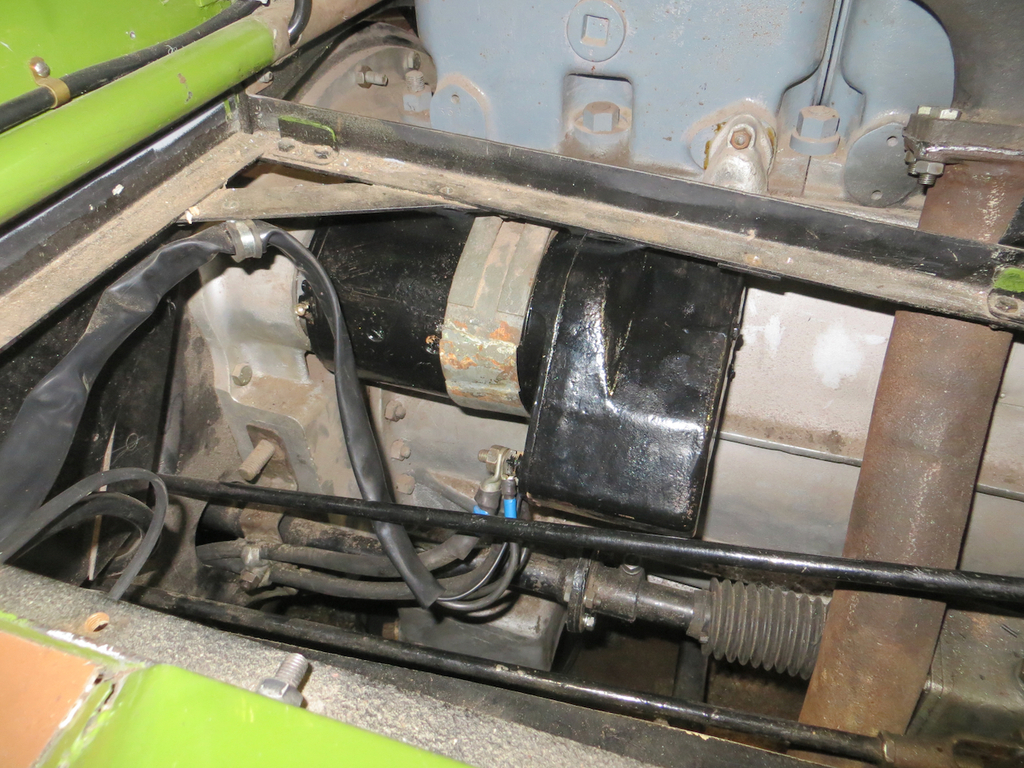
The band that clamps it to the block has been extended at some point in its life. Not the tidiest job on the planet. I think the word is ‘functional’.
While I was doing this Ian was trying to put the front of the engine back together.
To recap, the injection pump timing was found to be badly off because the timing chain was a tooth or two out. That means removing the radiator and the covers off front of the engine. While we were in there we found that there was a bearing missing from the front of the cam shaft. Ian had got one and spent the day trying to get it back together.
This bit is the exhauster crank (vacuum pump for the brakes and fuel-sucky-upy-thingy). The picture is from when we took it apart.
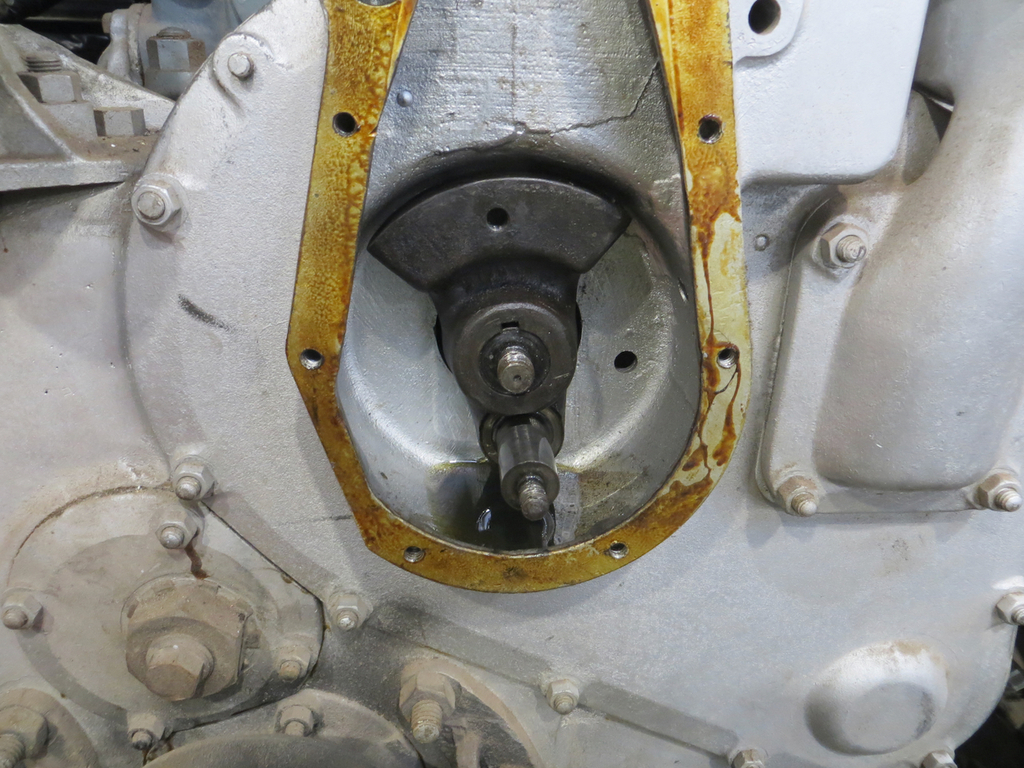
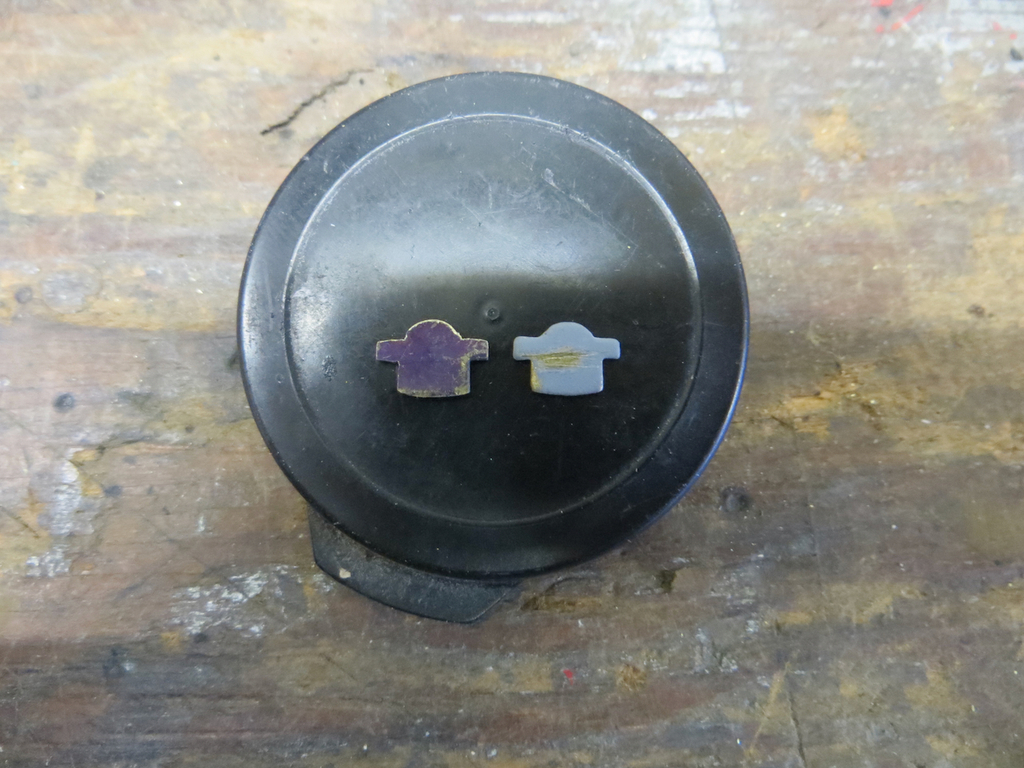
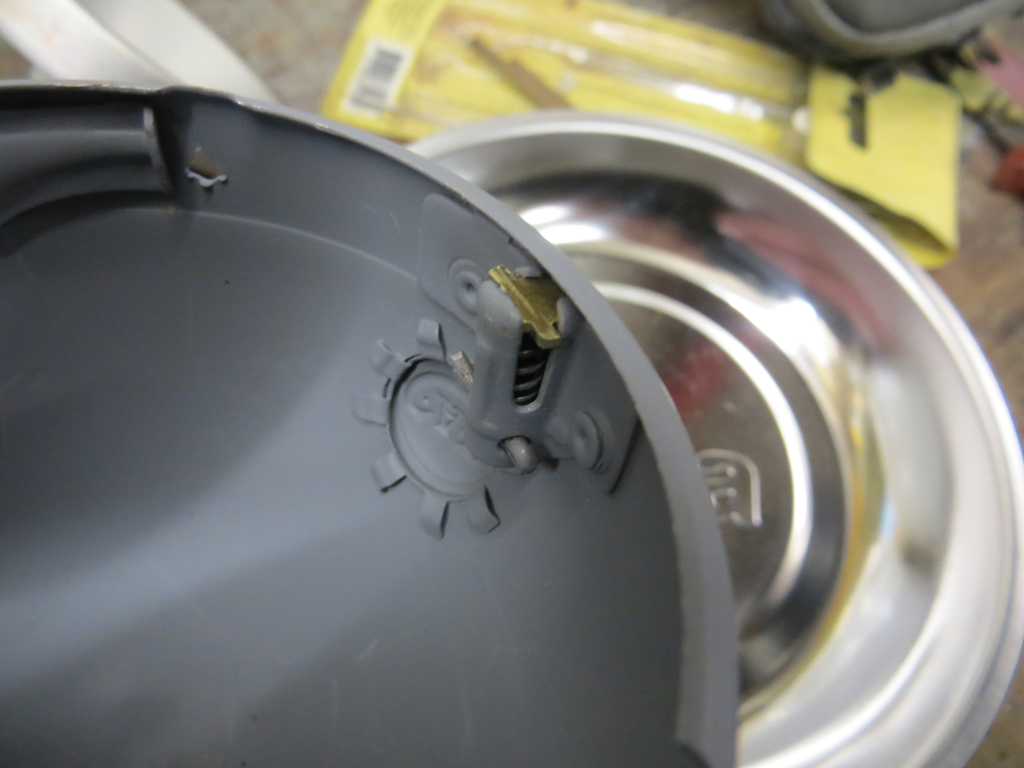
The missing bearing goes just behind this. Now, we needed to make a puller to get this off but when it came off we found that the woodruff key had been pushed out of the keyway when it was installed. Ian actually found the key glued to the casting with some gloopy flange sealant.
Anyway when Ian put it back together the key stayed in the hole. But, instead, it’s solidly jammed the crank on the shaft a fraction of an inch from being fully seated. But now the crank won’t come off or go further on.
Poor Ian spent half the day trying to get that on and the other half trying to get it off again. Yeah, some days you head out with great intentions and just get soundly spanked by fate.
My next job was fit the fuel tank. This is a ‘do it yourself fuel tank hanging kit’.
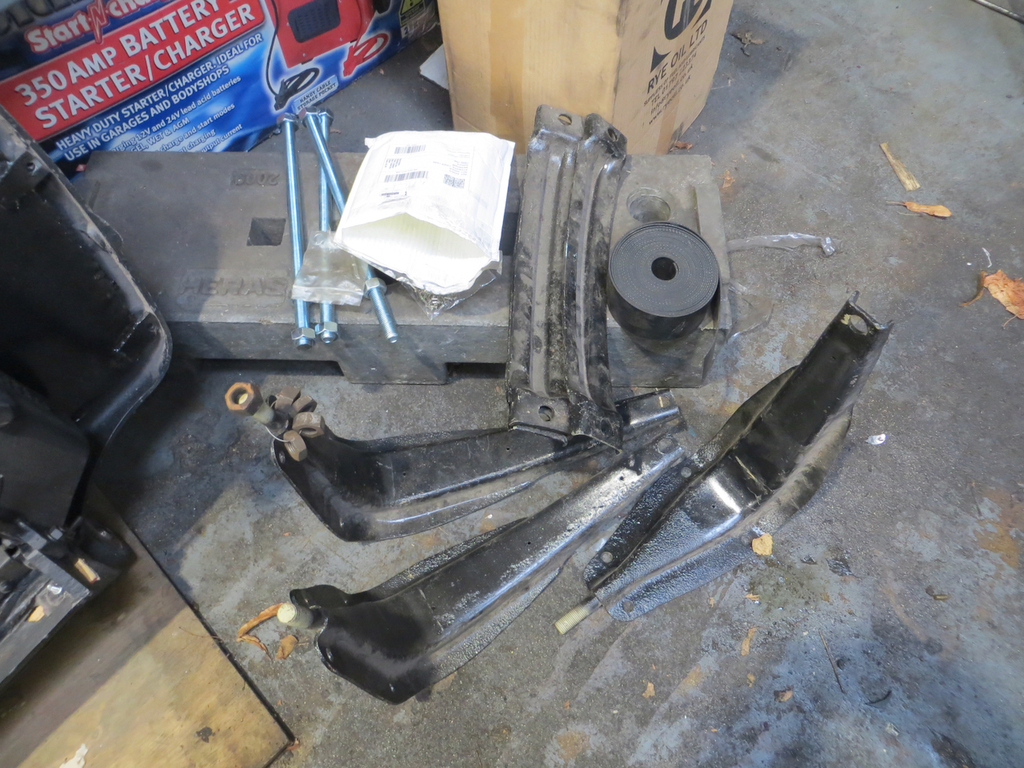
The first thing to do was to fit some of the rubber strip the the L brackets to stop the tank rubbing.
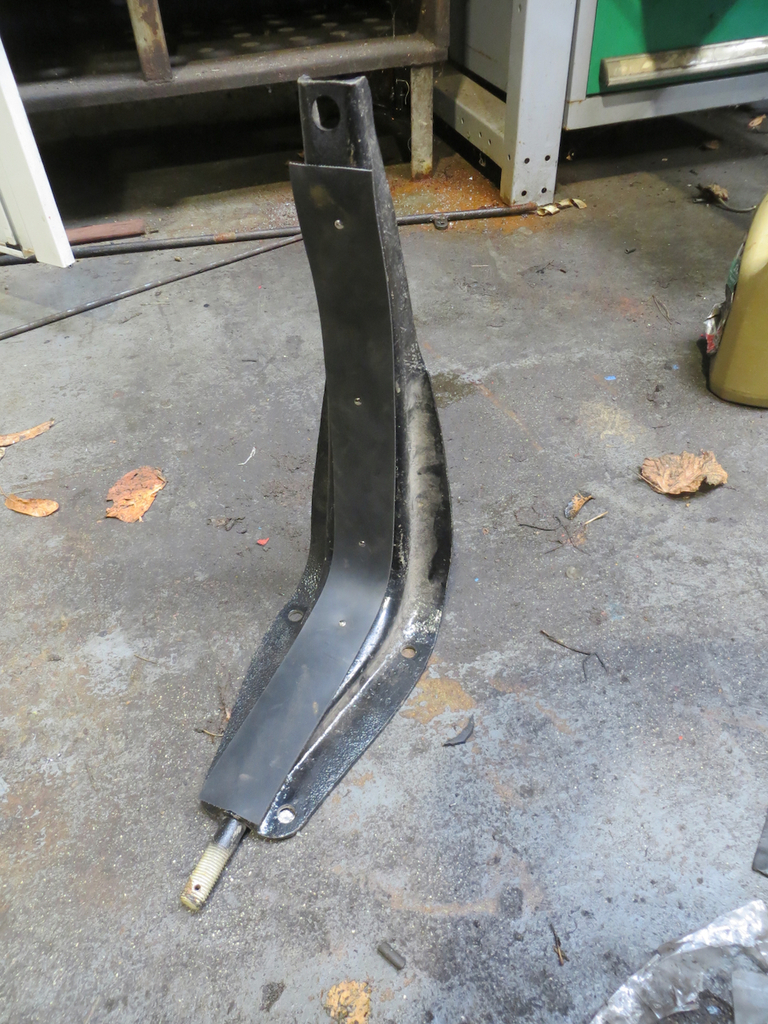
It’s pinned on with some bifurcated rivets.
They get bolted to the chassis rails using the handy predrilled holes that were predrilled handily 80 odd years ago.
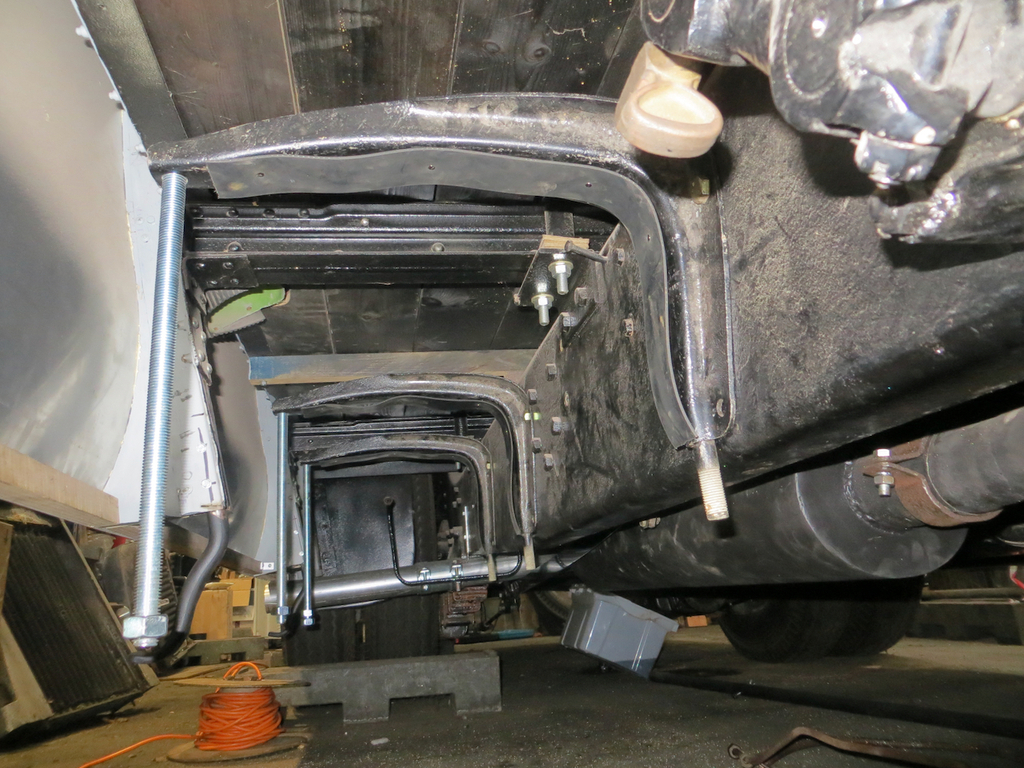
Next we need the tank…
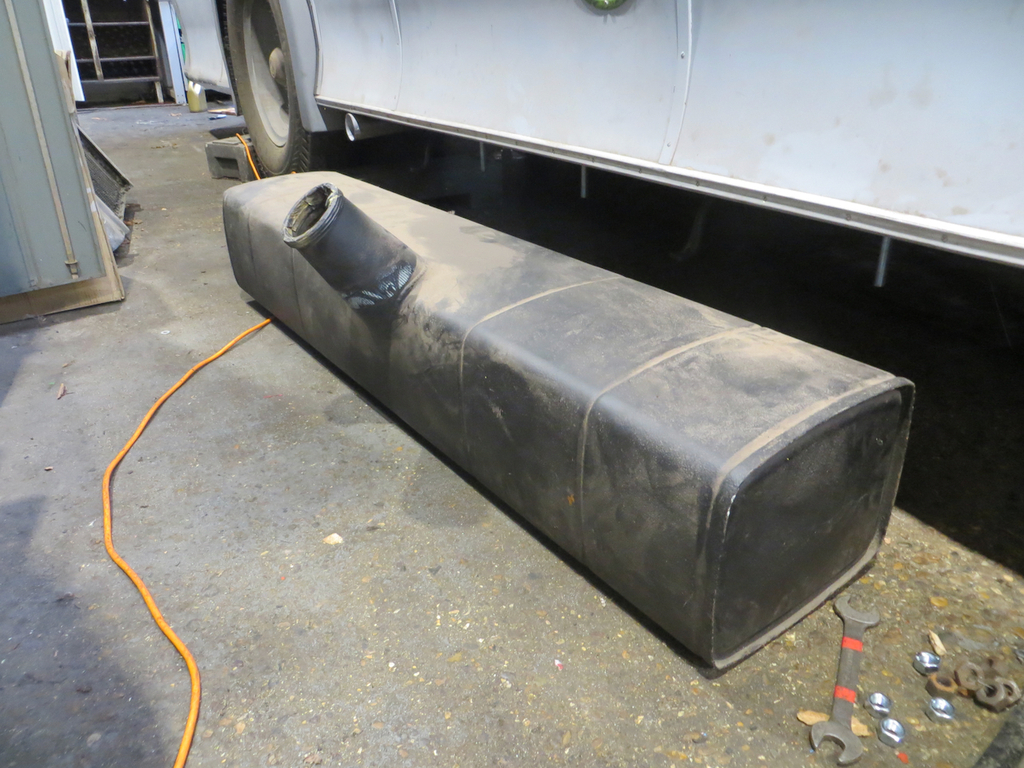
Here’s one I found on a shelf somewhere.
That gets humped into position and the lower straps bolted on.
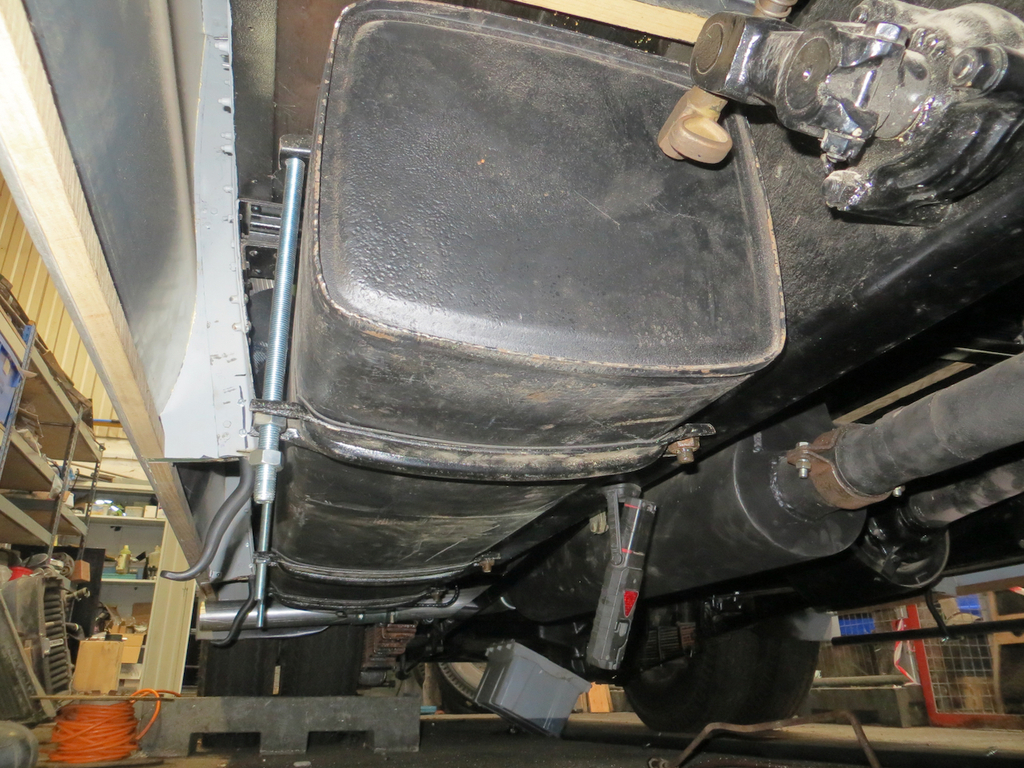
There are holes drilled through the inner studs which will get split pins fitted to stop the nuts falling off.
The outer rods appear to have had lock nuts fitted so we’ll do that again when we get a few more nuts. And the bottom of the studs will need trimming off with Mr Angry the Angle Grinder.
Lastly I attempted to screw the fuel outlet pipe on and failed dismally. I just couldn’t get the threads to catch. I’m guessing the pipe is slightly misaligned but being steel it doesn’t want to be pulled into place. I did the only reasonable thing in the circumstances and gave up.
Still, we have a fuel filler neck now so we can put fuel in even if we can’t get it out again.
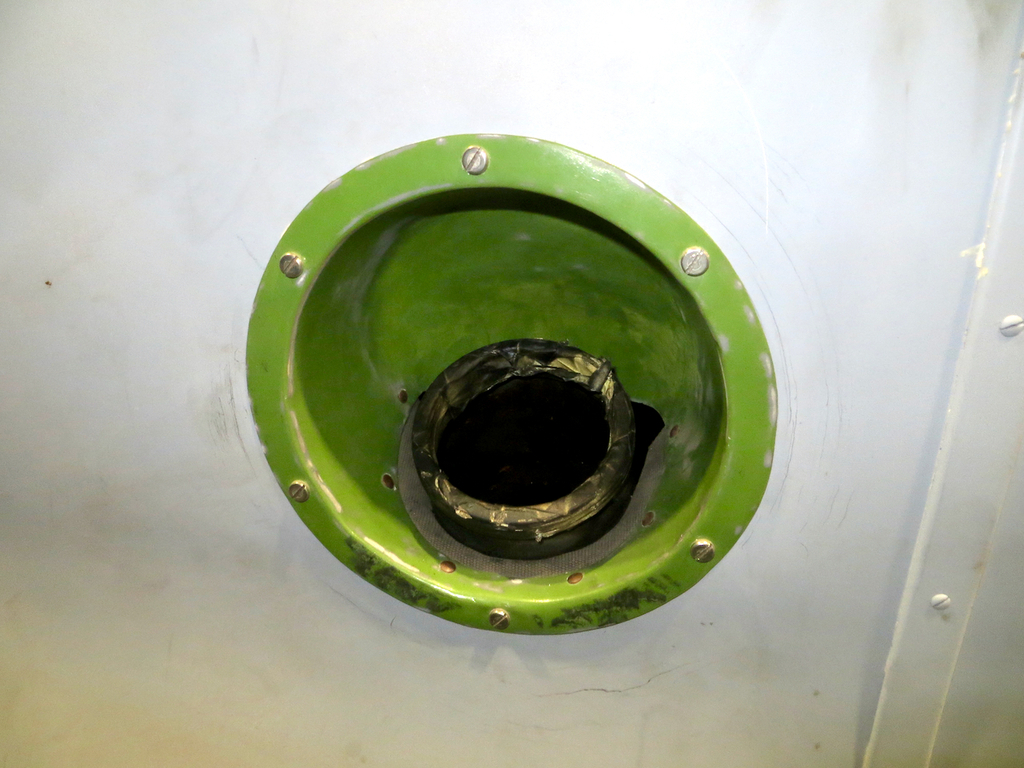
Guess there is a filler cap somewhere.
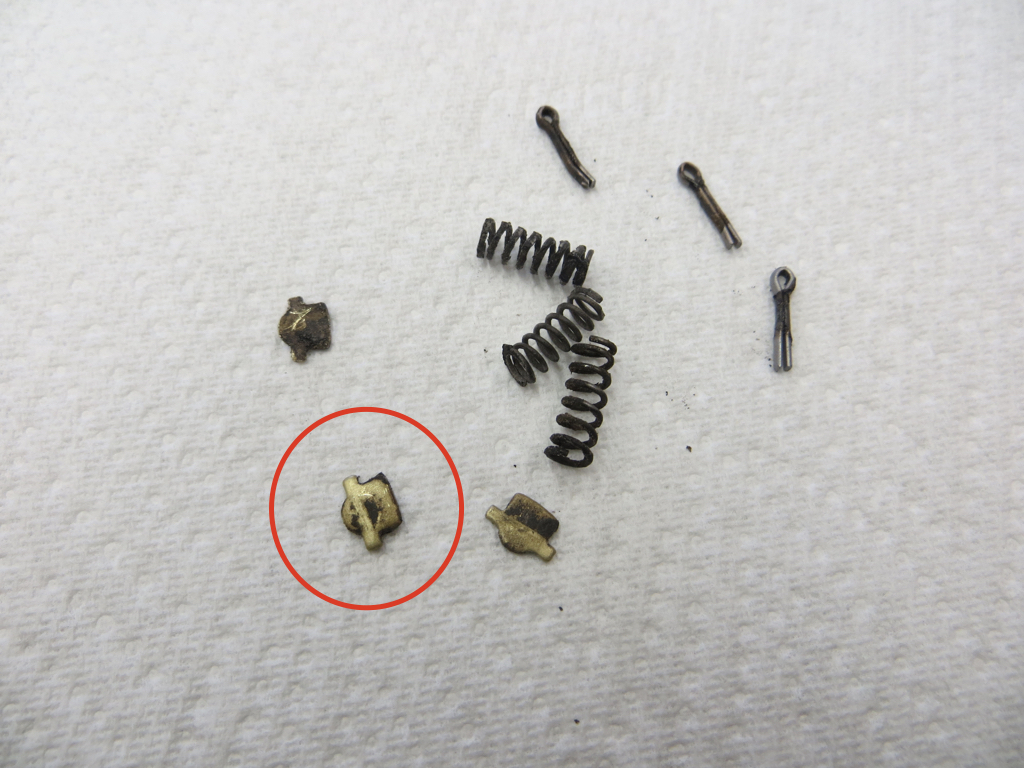
Lastly, remember that a broken and mangled spring part appeared to have been spat out of the near side rear brake drum? This thing…
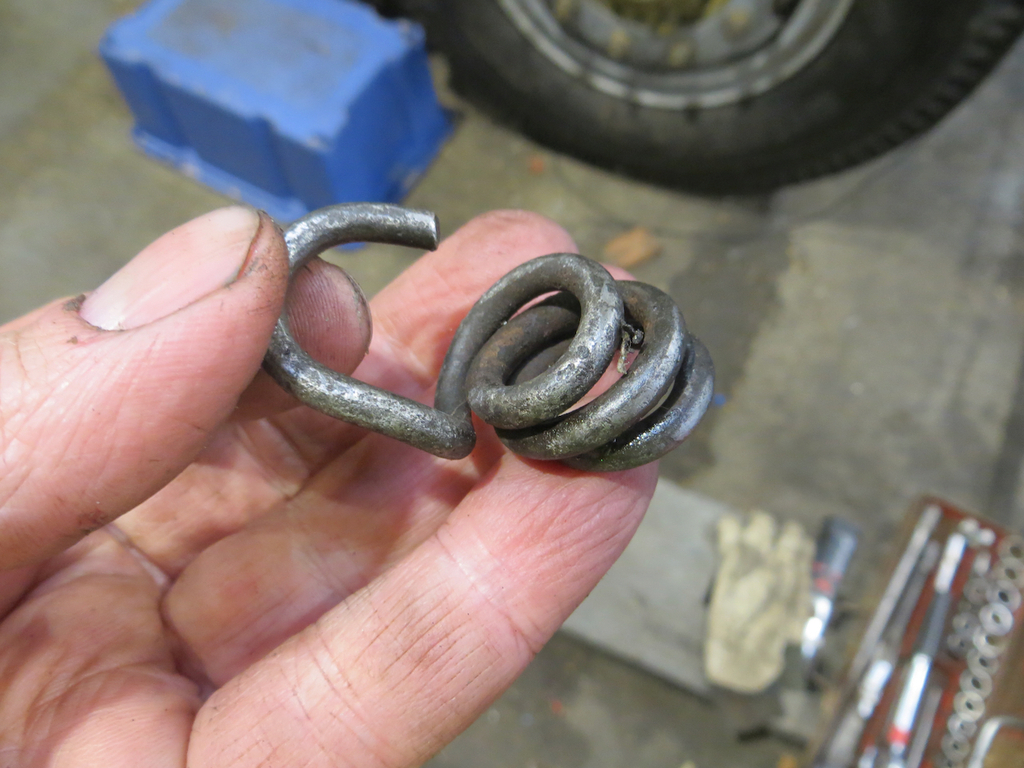
Well here’s a replacement.
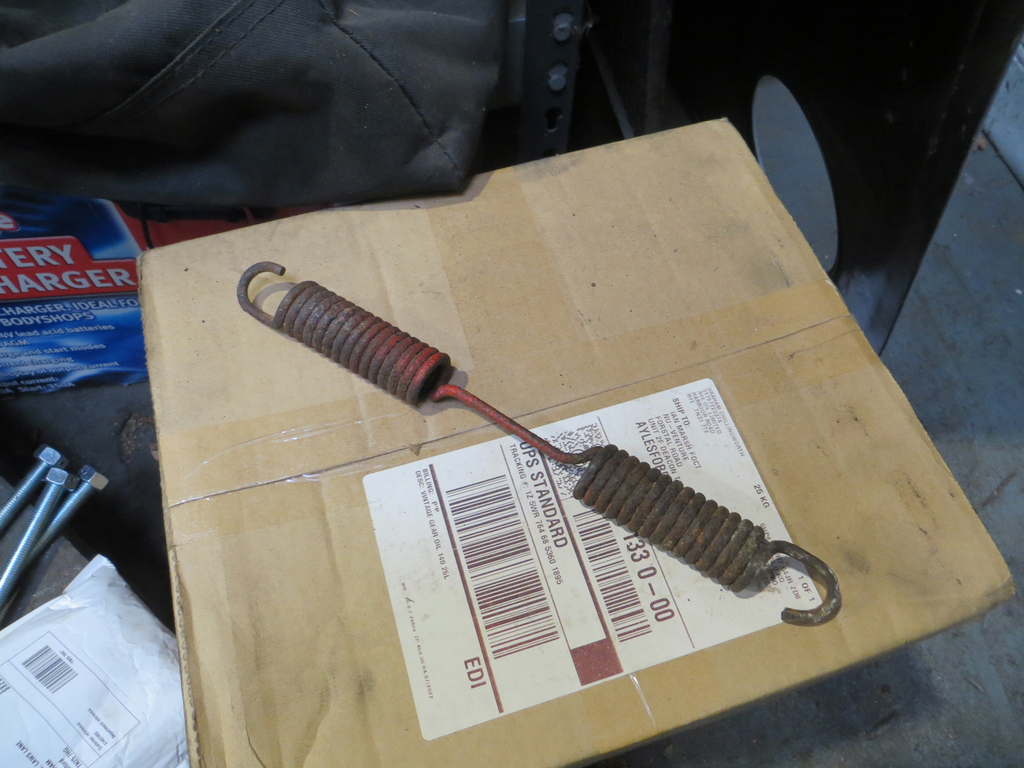
I’m not sure where that came from. Possibly off GKE 65 again. It’s quite possible that next time out I’ll be pulling the wheels and hub off. Unless I can think of something less strenuous to do. Hmmm. I’ll think hard about that. I’m sure I can come up with something.
So that about wraps it up for this time… Sorry, what’s that you say? Something about the oil leak? Oh yes, I nearly forgot, thanks for reminding me.
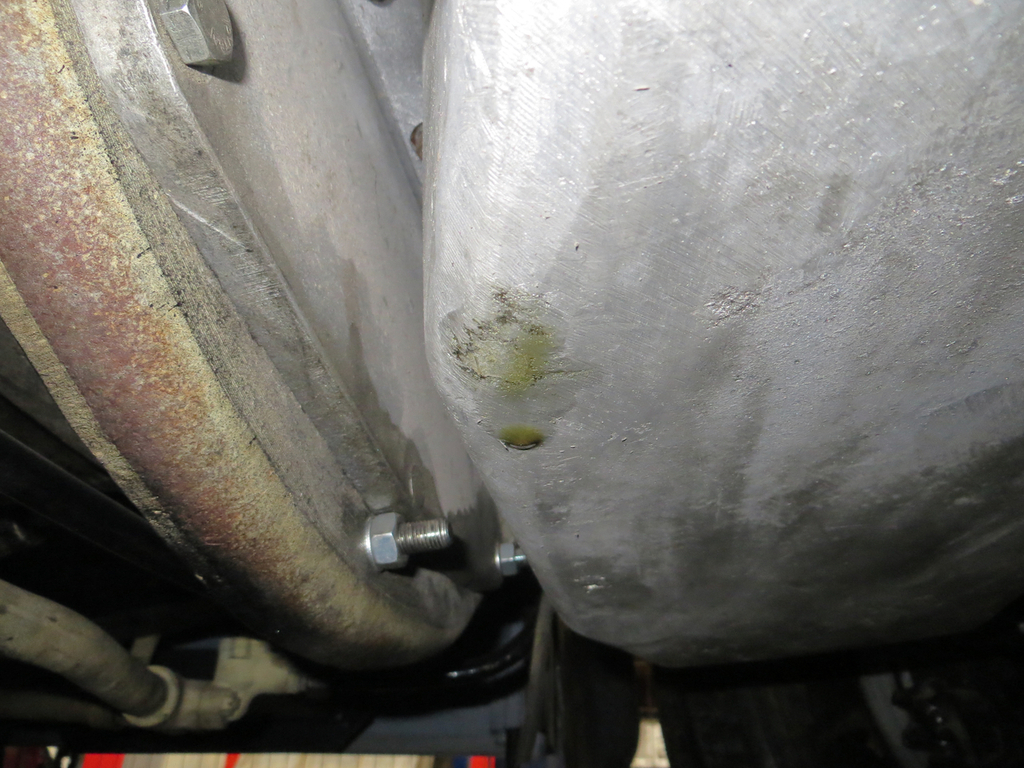
Obviously it’s escaping from where it was repaired. Where else could it possibly be leaking from? Rather knocks the fizz out of your Prosecco though, don’t you think?
I guess we have a couple of options here.
Drop the sump off and get it welded again. Remember that I spent hours tightening all the bolts the other week ‘cos they were all falling out so I’m not keen on that.
Or wash it out with brake clean and see if some JB Weld will hold the oil inside the engine.
I suppose there is a third option which is to keep a drip tray under it.
So I’ll be taking a tube of JB Weld next time. I pulled the sump plug out to drain the last of oil that didn’t dribble out of the hole in the bottom. Hopefully it’ll have dried up enough to clean properly on the next visit.
If gluing it doesn’t work the other two options are still open to us.
Thanks for reading!
James


