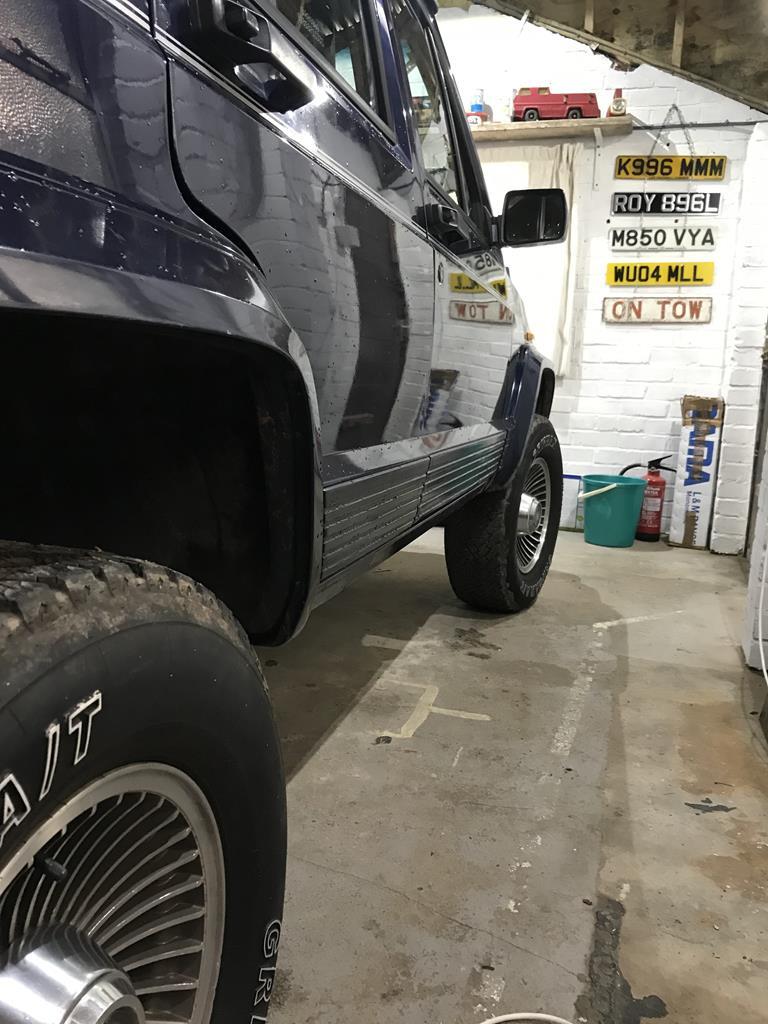
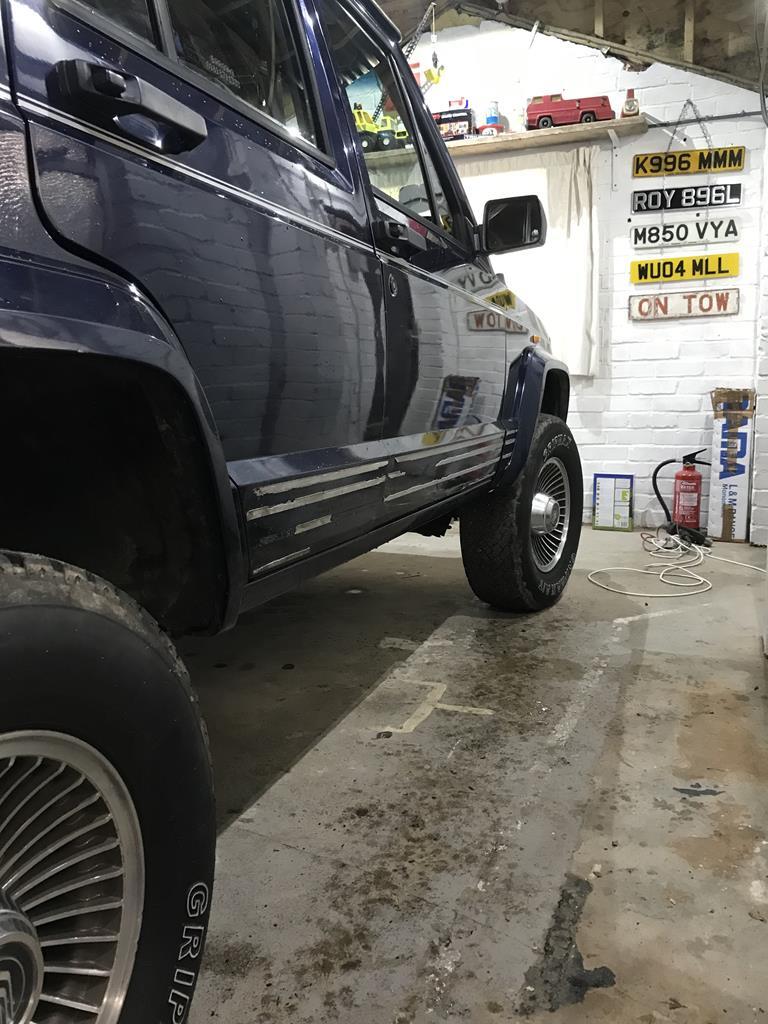
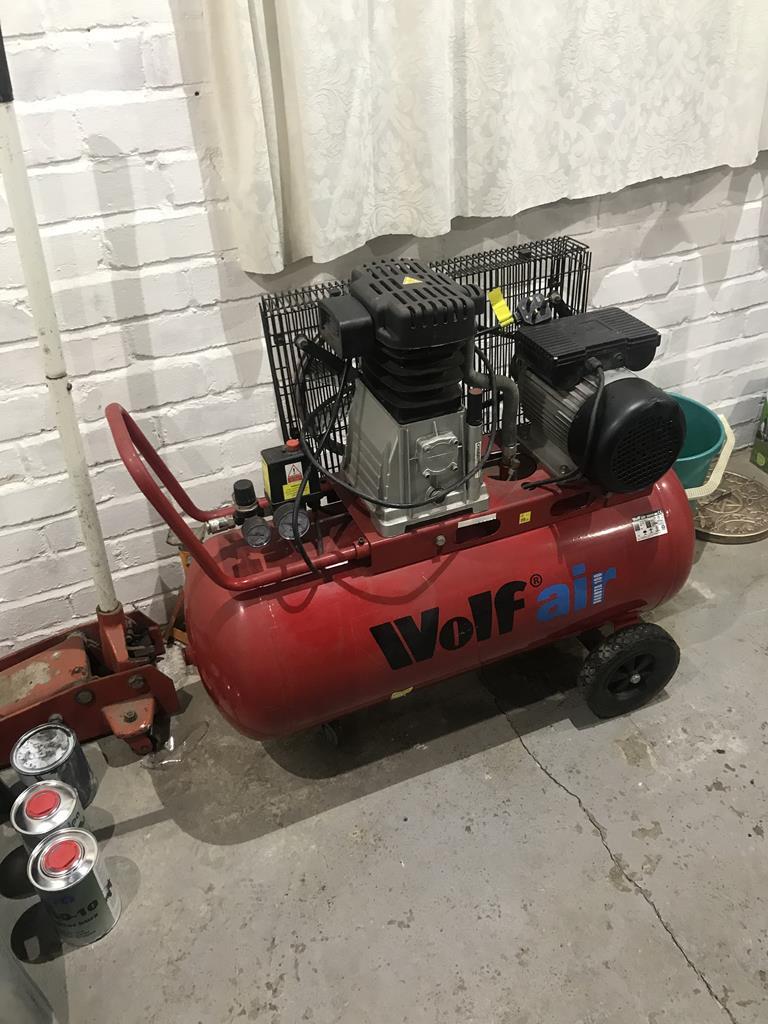
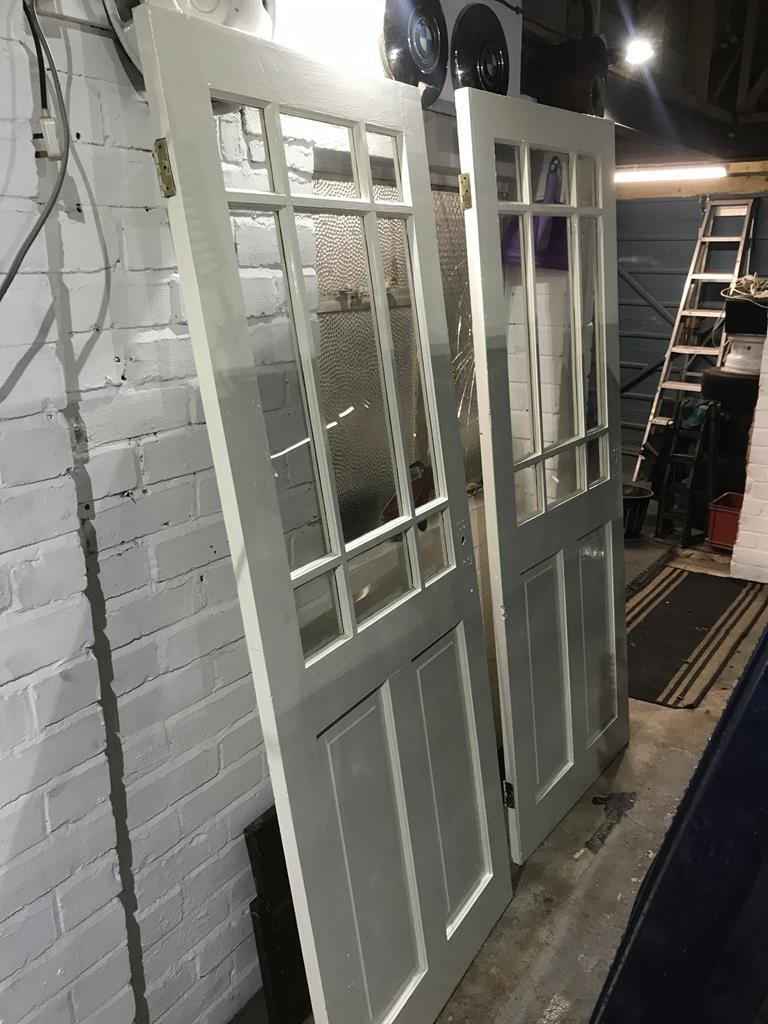
So, I have recently moved. Me and Mrs Rich have been looking to move into somewhere larger for a while now as our 2 bed maisonette had outlived it's novelty. And I had filled it with things. We found a lovely* 3 bed 1930's semi which was advertised as having 3 garages. It's more a workshop and a garage but it works for us.
*it needs some love. it's liveable but, yea. One of those.
Anyway, enough about the house, you are here for the workshop. So it's a brick built garage, extended upwards with a timber frame and tin roof to basically take the PO's caravan. Ideal. The workshop off the side is added on and its a bit ramshackle, but it works for me. We need to replace the roof but all in due time. So the video below was more or less our first day. It was full of junk (we took the house partially furnished/whatever they left as they were going travelling), sawdust, cobwebs, dust (un painted concrete floor in the workshop), sawdust, more sawdust, more cobwebs and an odd array of ramshackle shelves. The video goes into the workshop, then into the car bay. Gives an idea of layout.
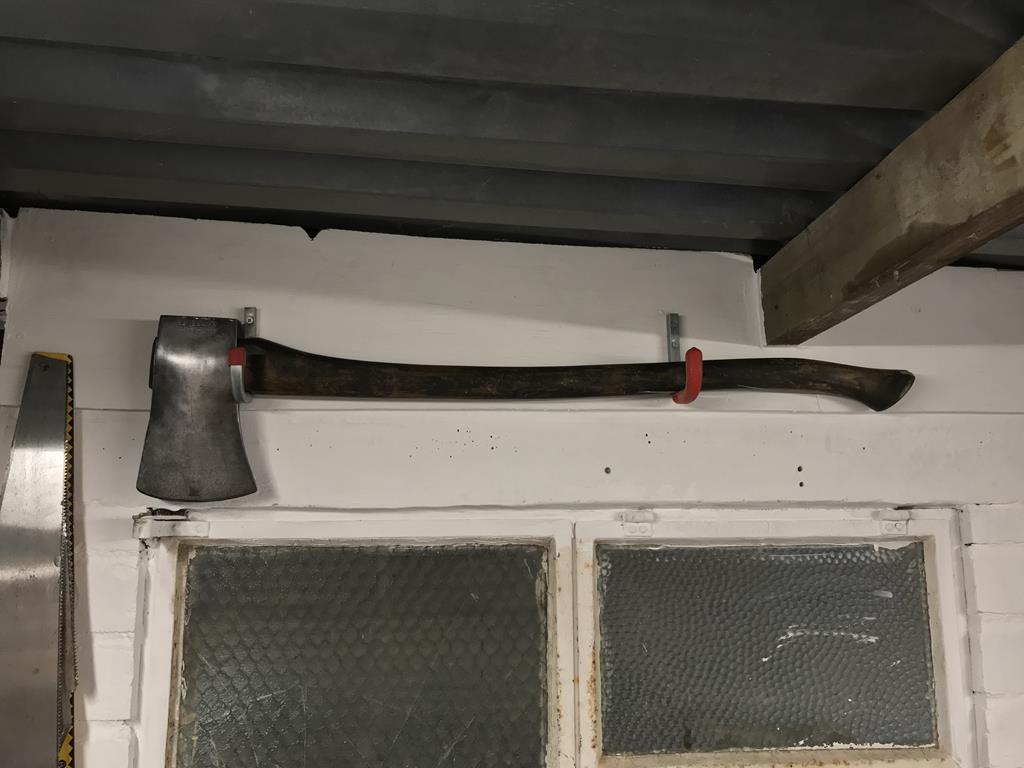
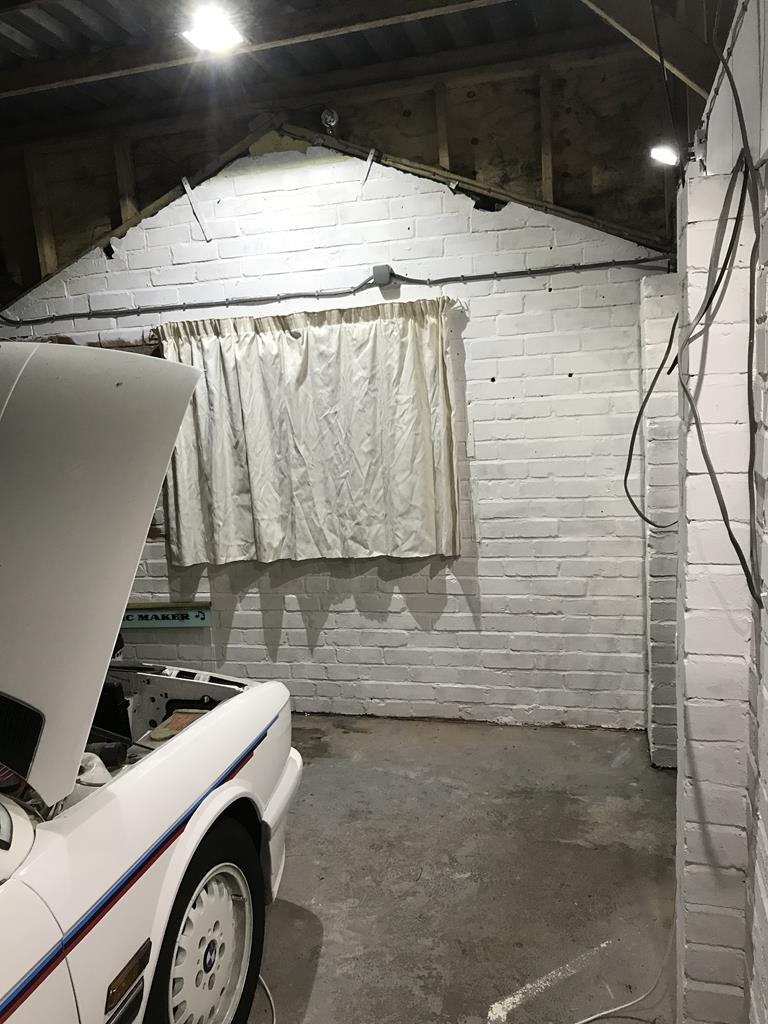
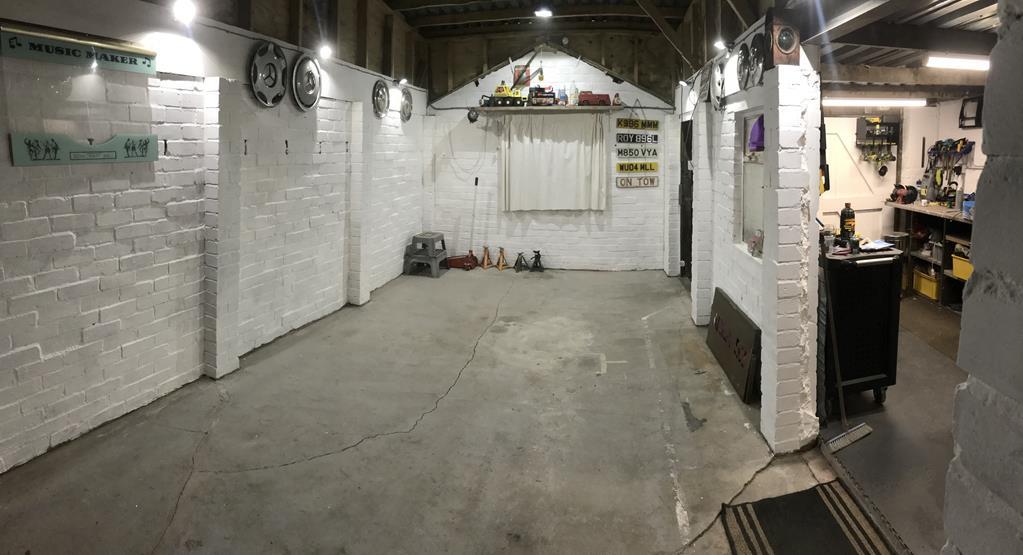
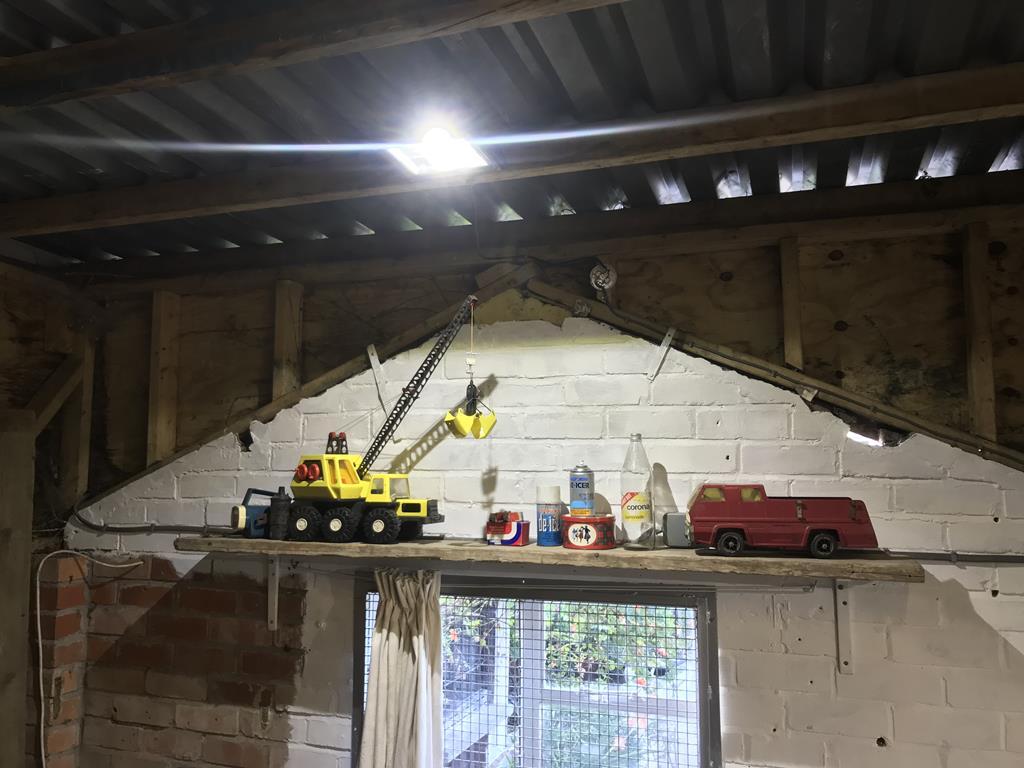
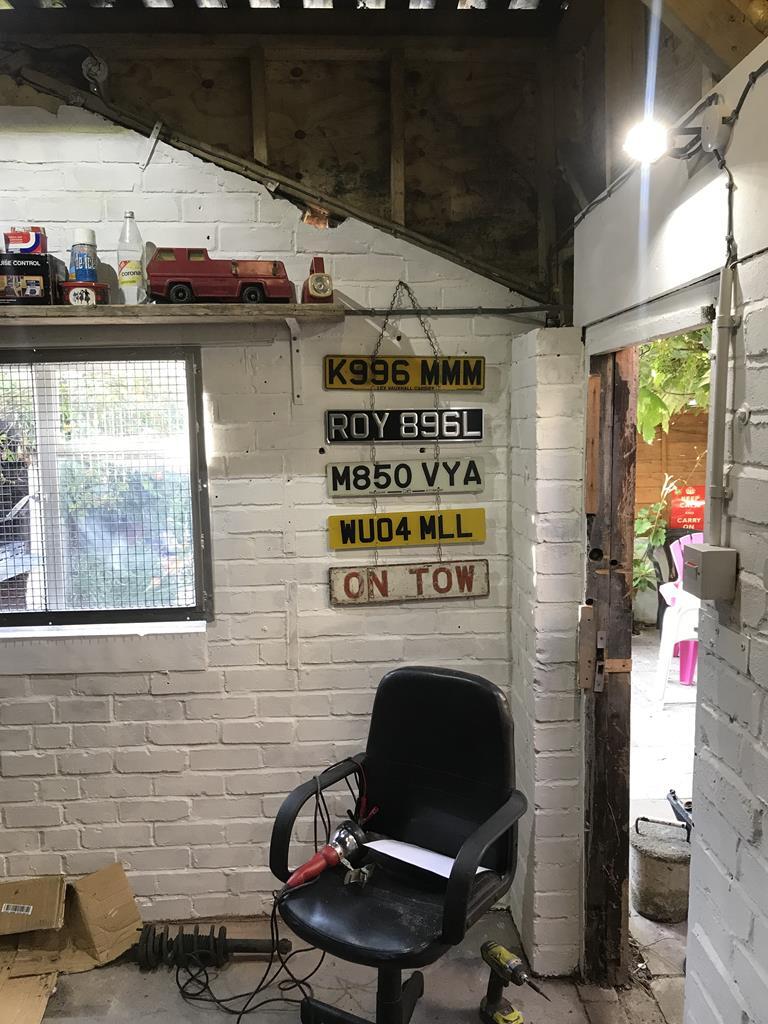
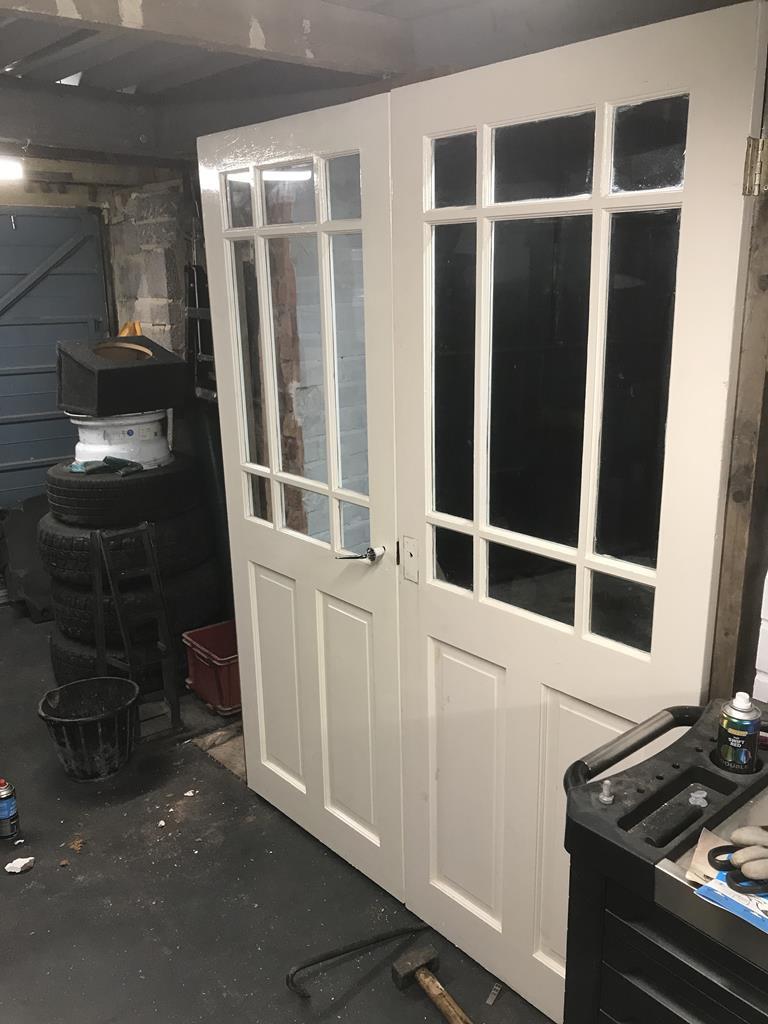
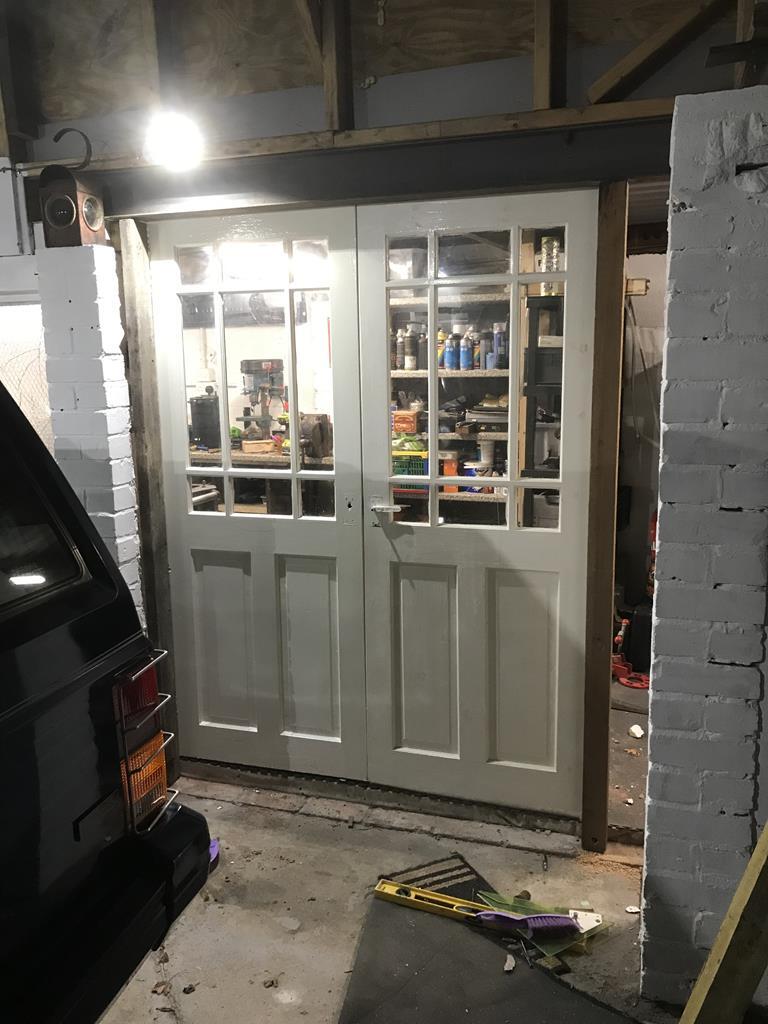
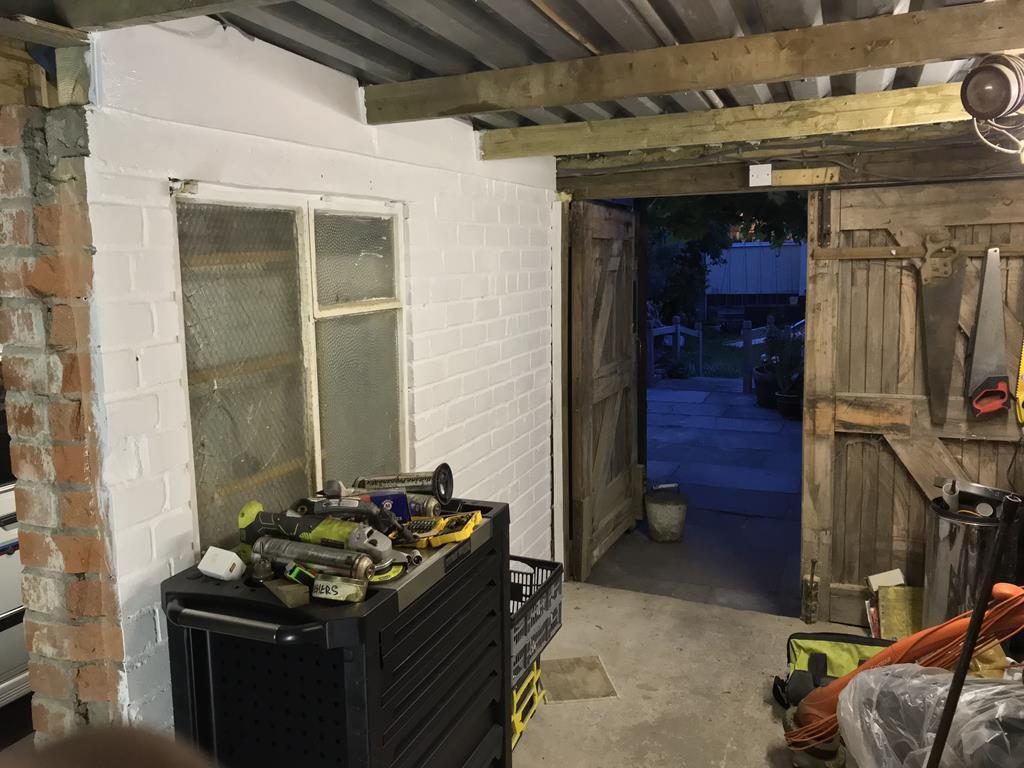
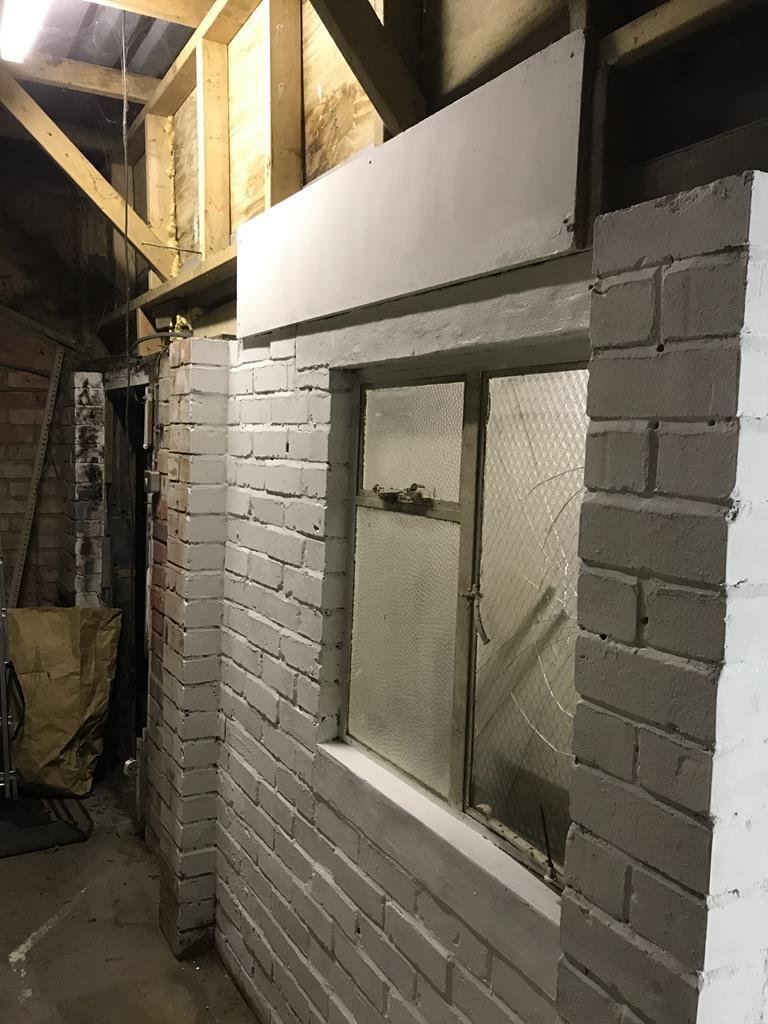
Since then, many tip runs have occurred. But here are some pictures of making it a bit more homely. Pulled out all the cobbled up shelves out and started painting to help keep the dust down. You can see the original exterior wall window here, I plan on re-glassing it with plain panes.
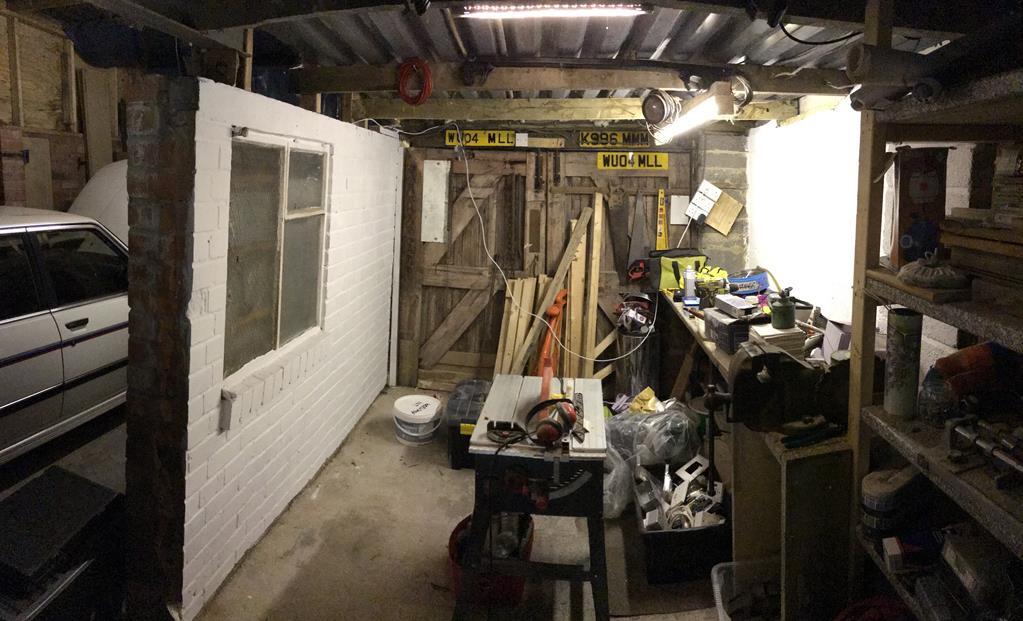
There is an odd RSJ affair put in to support the roof extension, it's probably totally overkill but it's there. It was however on a load of old bricks so I cut down some sleeper to replace the brick here..
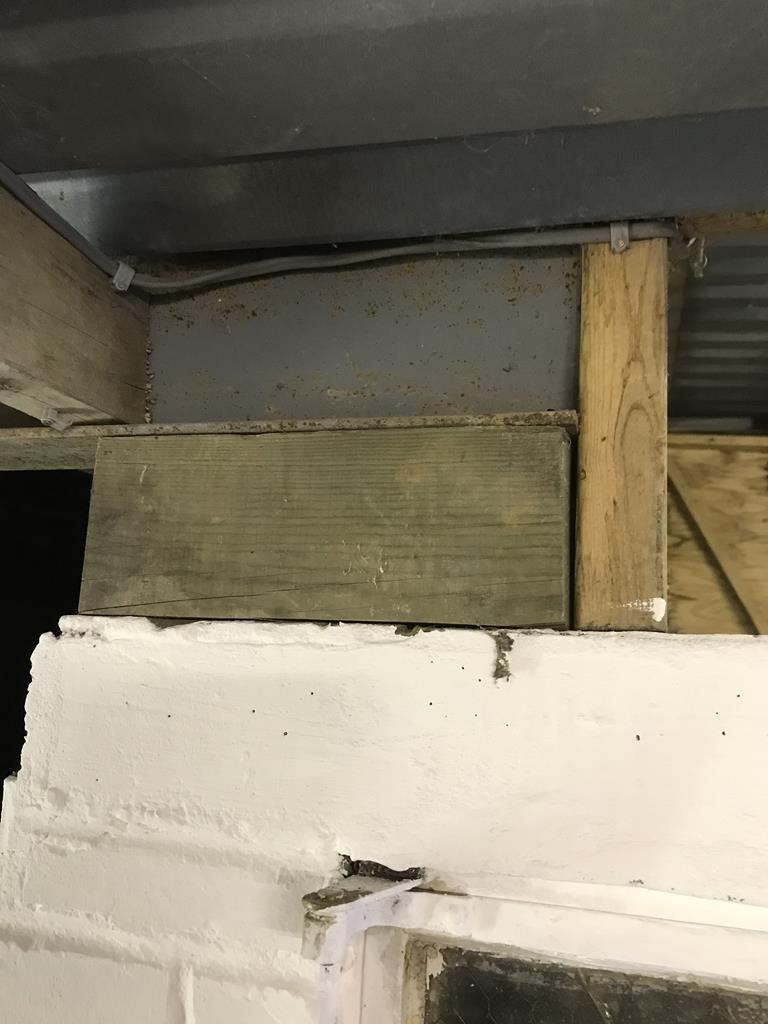
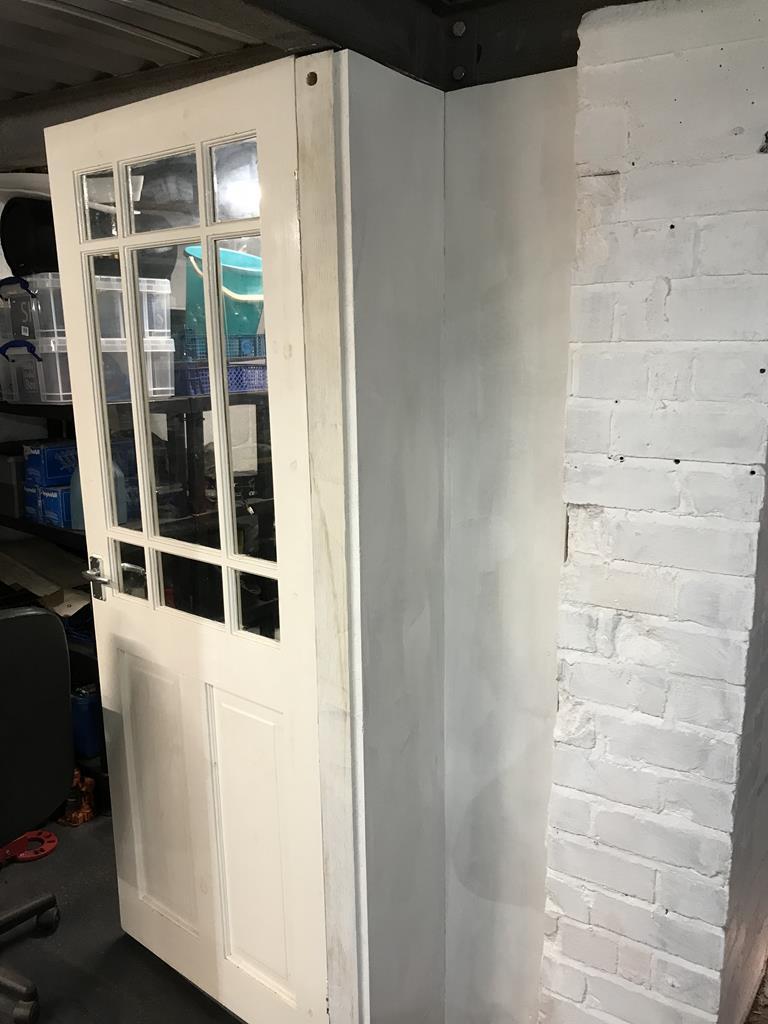
And then panelled the wall above as the gap between the bays was a bit strange.
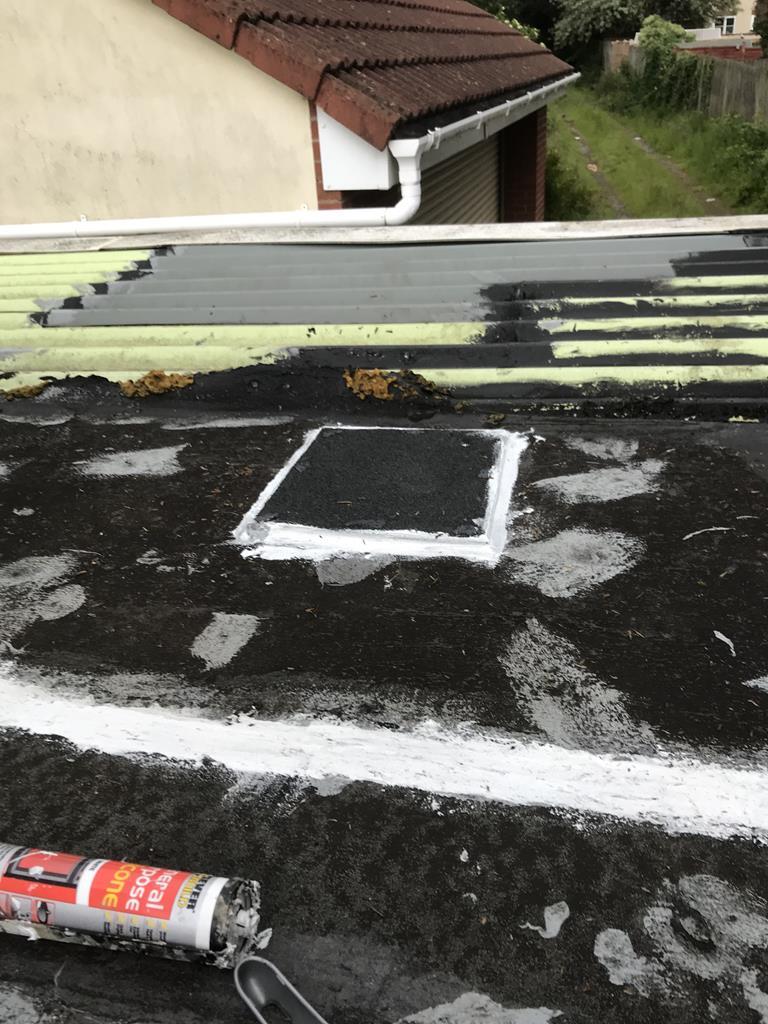
Had some fun cobbling a patch over a hole in the roof. The flat roof has a reason which is difficult to explain. The plan is to just put a proper flat roof on this whole side this summer.
Next thing to do was sort out the electrics. All 3 of the sockets in the workshop were on a piece of chipboard by the door, fitted in the wrong kind of box, and the one in the car bay was on a lead with a plug on it.
Needless to say it all went in the bin and I started again. Also found the spotlamps in the garage and fitted LED lamps to them as workbench lights, they work well.
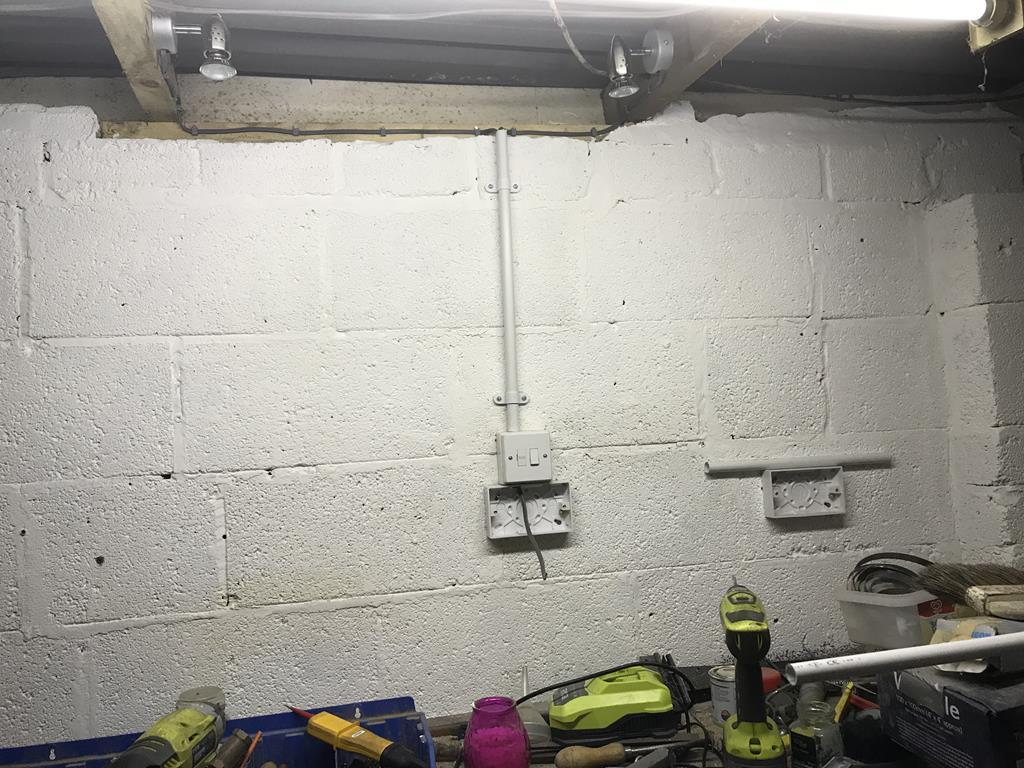
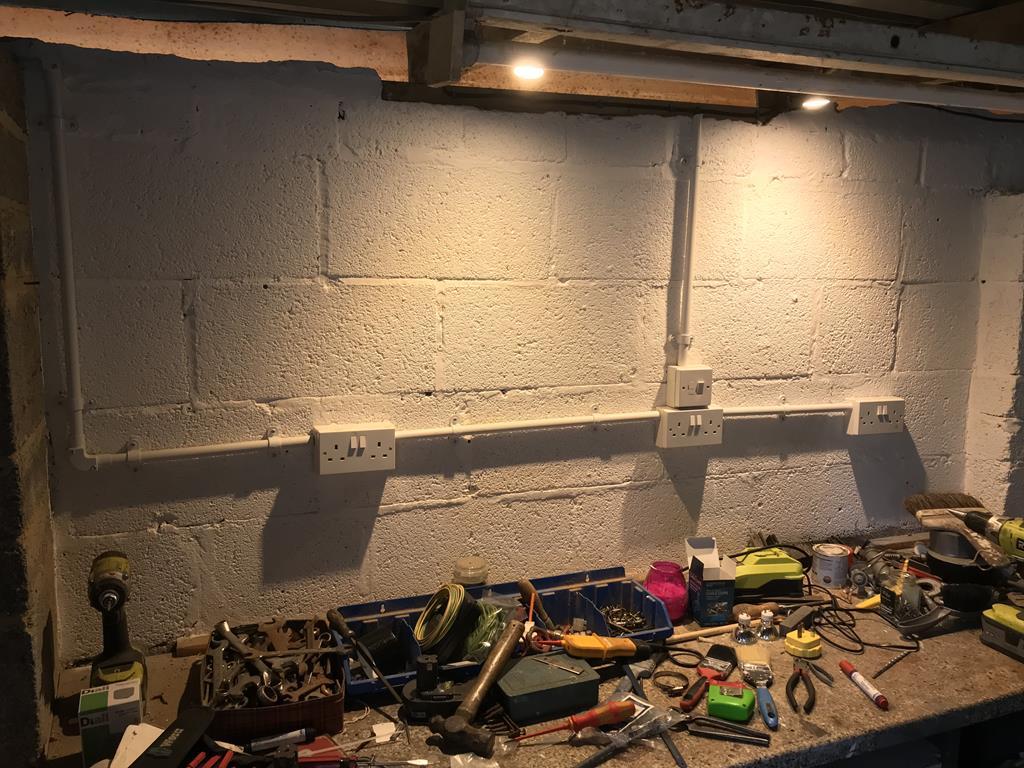
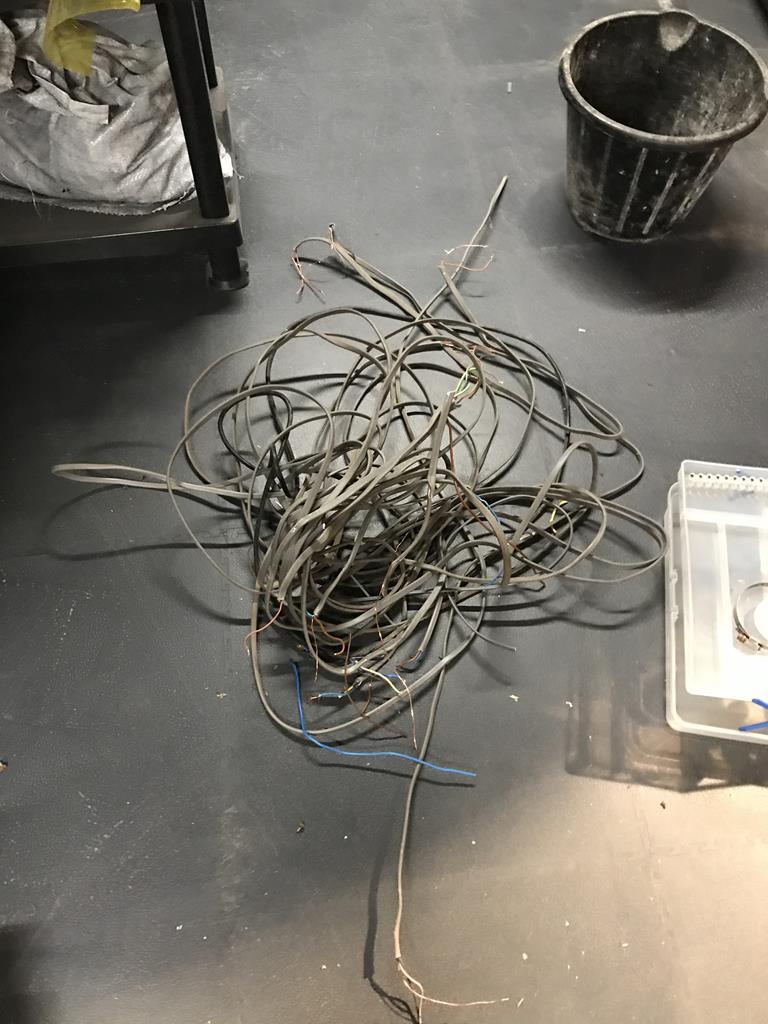
Also redid the lighting circuit. It was wired as a ring with 3 switches, 2 of which were pointless so there was a LOT of cable runs, all of it not very tidy or well installed so I was glad to pull this lot out to be honest.
Bit more boarding..
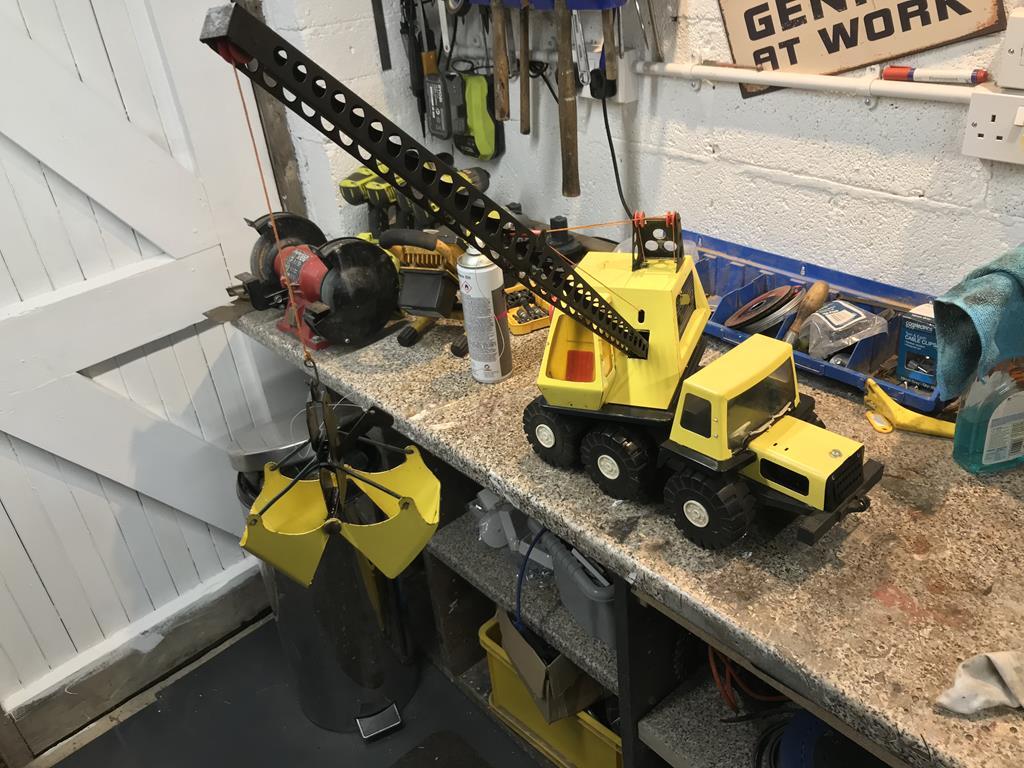
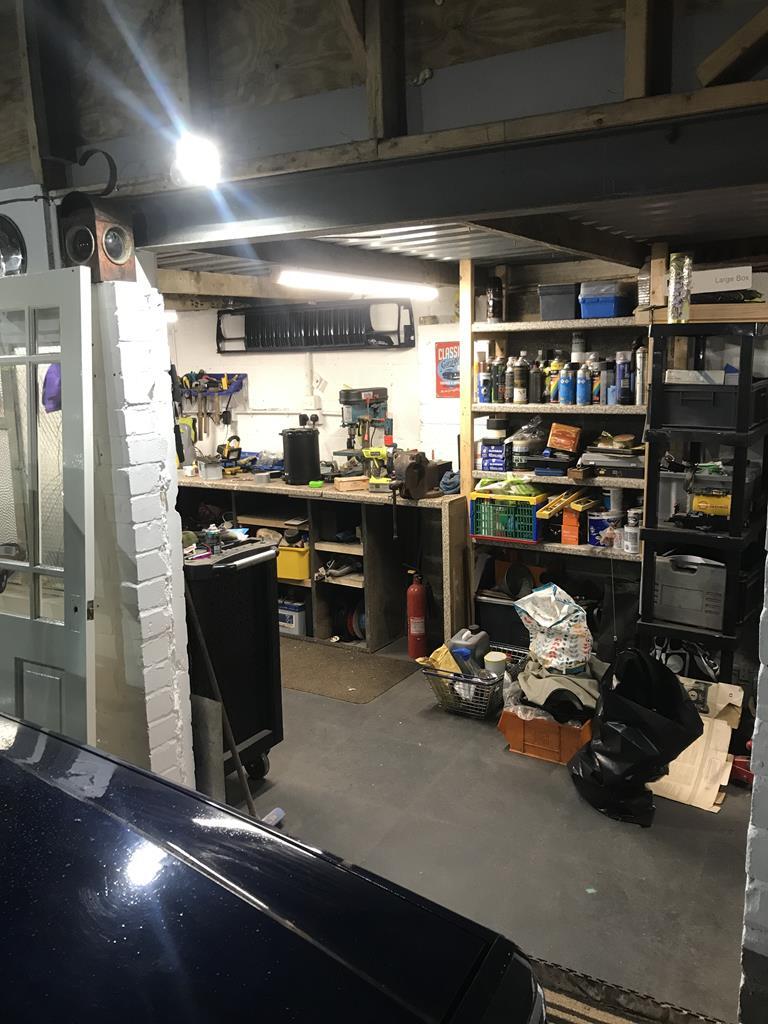
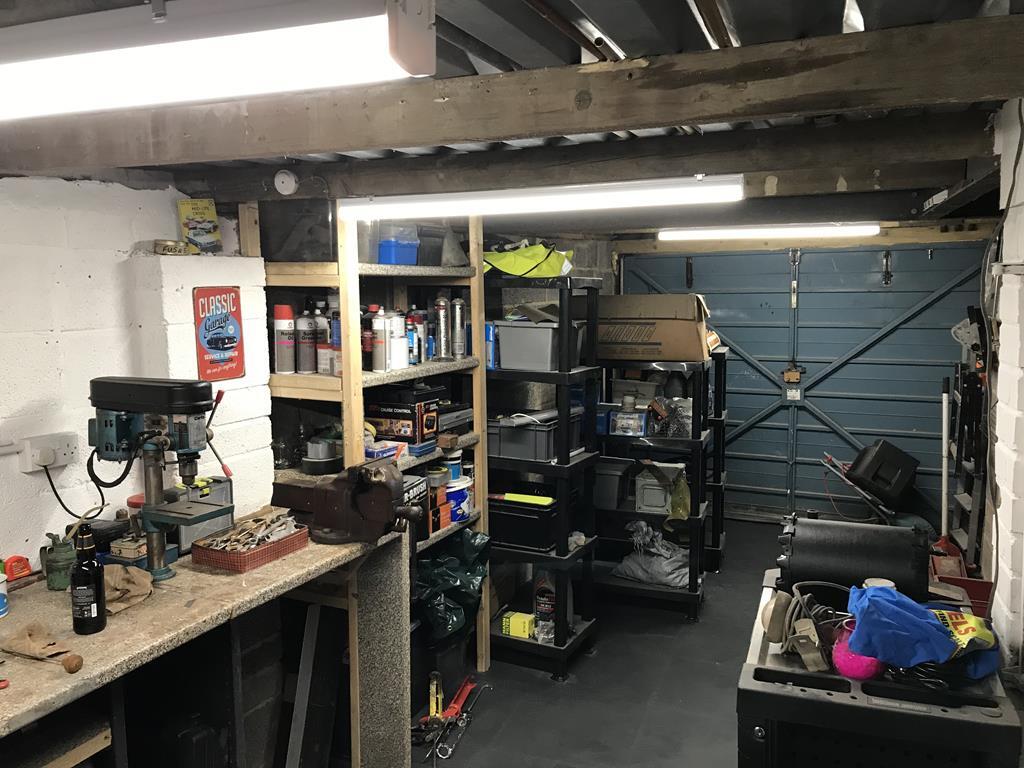
Started sorting out the bench. I bought the pillar drill recently from a friend as my other one is on long term loan to my dad, suffice to say the new one is nicer. And older then I am.
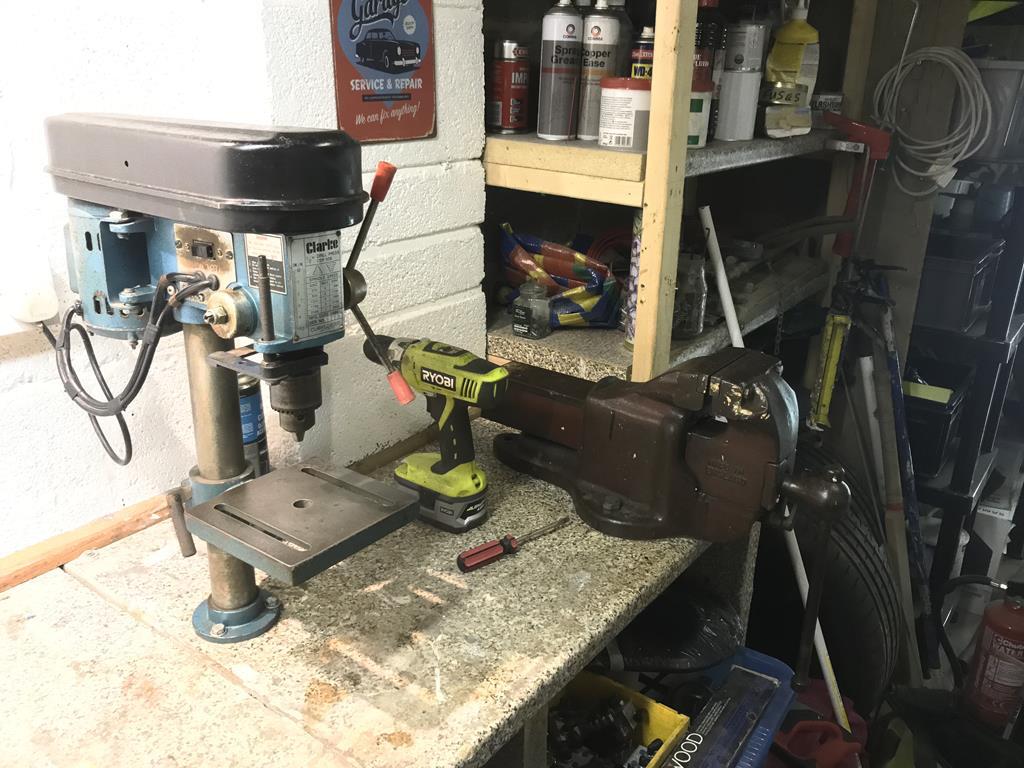
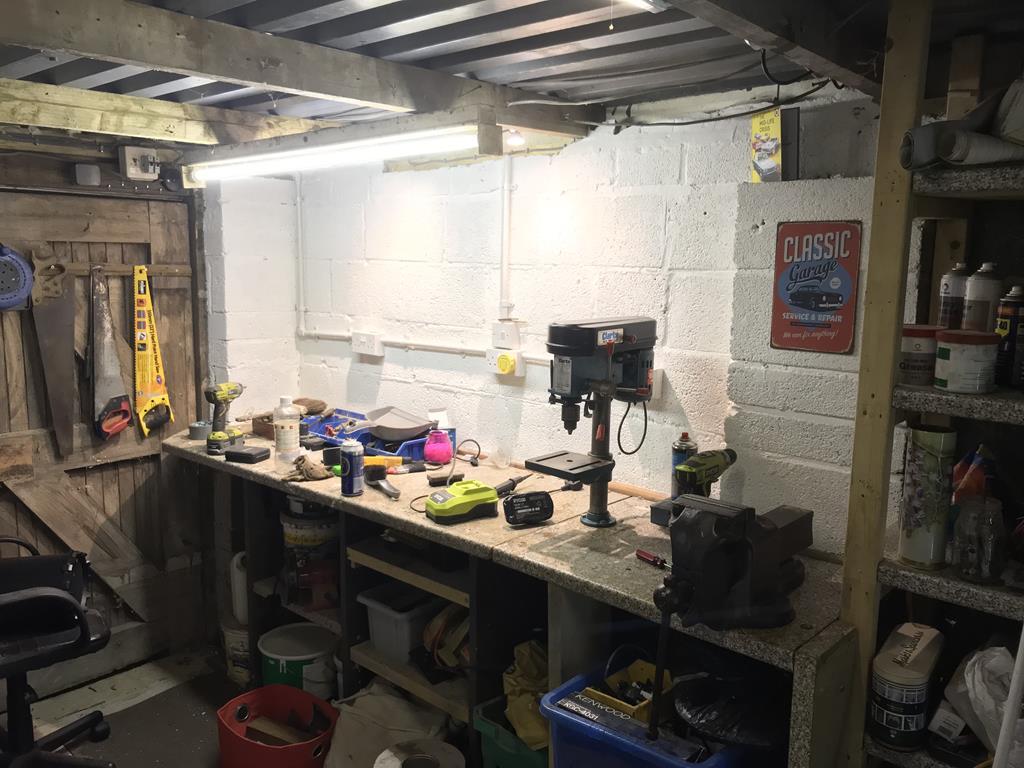
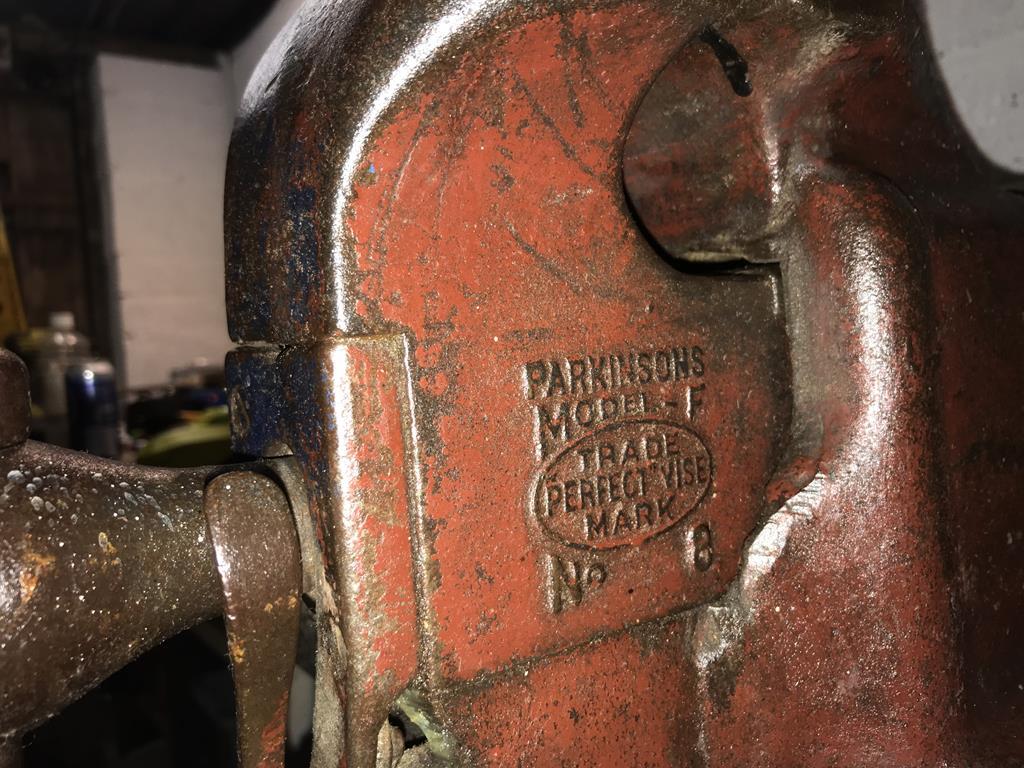
The vise however the PO left behind. I gave it a good clean and lube as it was full of, you guessed it, sawdust. Turns out it could be as old as the 1880's and was apparently a company that pioneered quick release vises. Nice bit of kit!
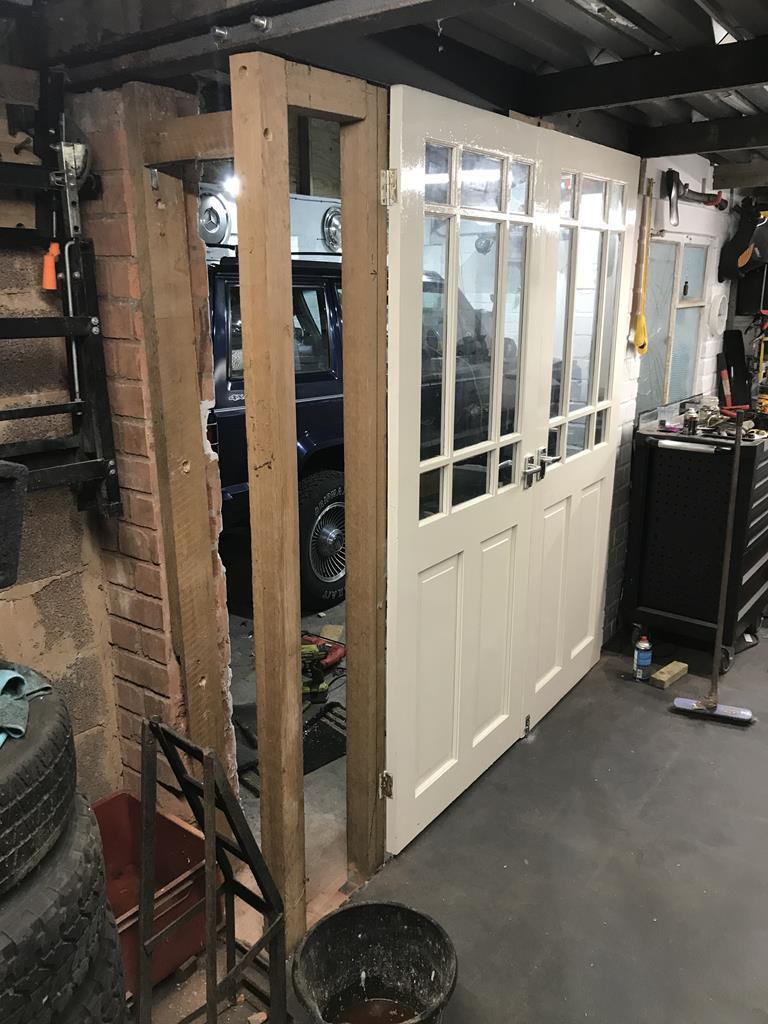
Back to that RSJ. It's a big T piece. I don't question it. It makes my brain hurt. But the other side of the workshop was spectacular. The wall and RSJ didn't quite line up, based on I imagine that this whole thing was just eyeballed. Now I didn't take a photo of the support arrangement before I removed it as it was scary. There was a brick on the pillar (Which had cracked and split), which on top had a piece of wood which was overhanging the pillar to 'catch' the RSJ. The RSJ is heavy, so the wood, naturally was trying to tip over. So there was a fence post wedged betwixt floor and the wooden block to keep that in check. And then just in case there was some slightly-larger-than-plug-chain wrapped round the RSJ and the adjacent (And I mean 2" adjacent and obviously redundant) roof support. Because some old pendulum chain from a grandfather clock will stop an I section steel lintel from falling down, right? Suffice to say, more sleeper. This got tied to the pillar to stop it tipping, which is still less than ideal but at least it looks a little more proper.
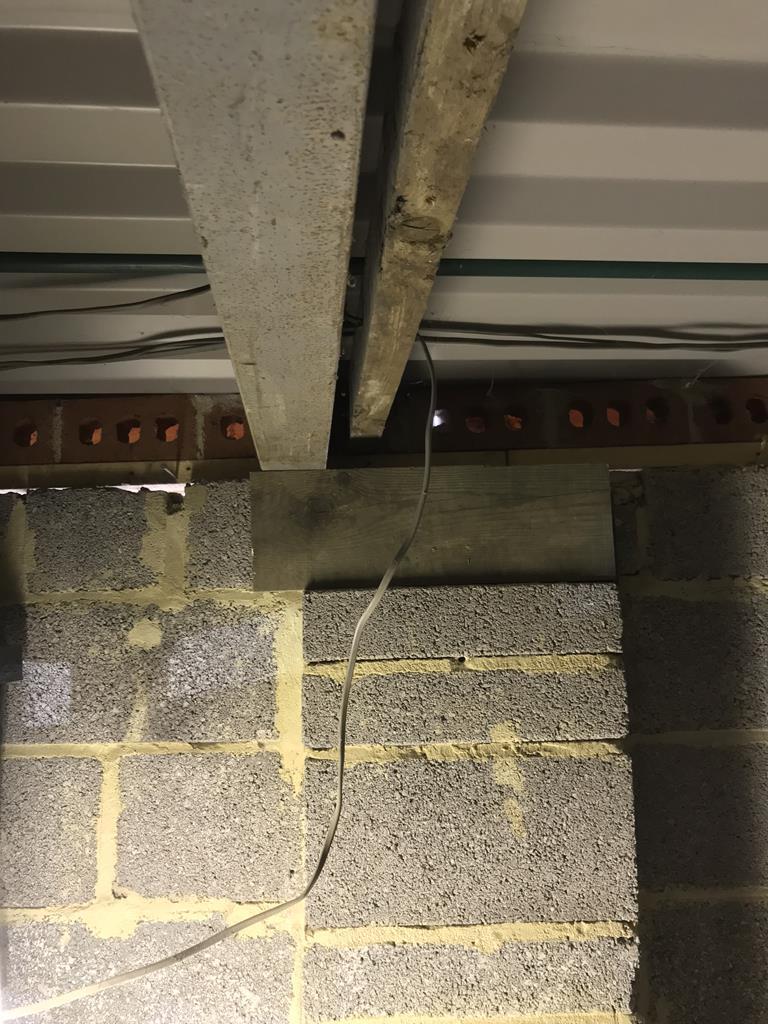
The line of bricks is good too, isn't it? They do absolutely nothing. I imagine he had to lose about 15 bricks and just plopped them up there.
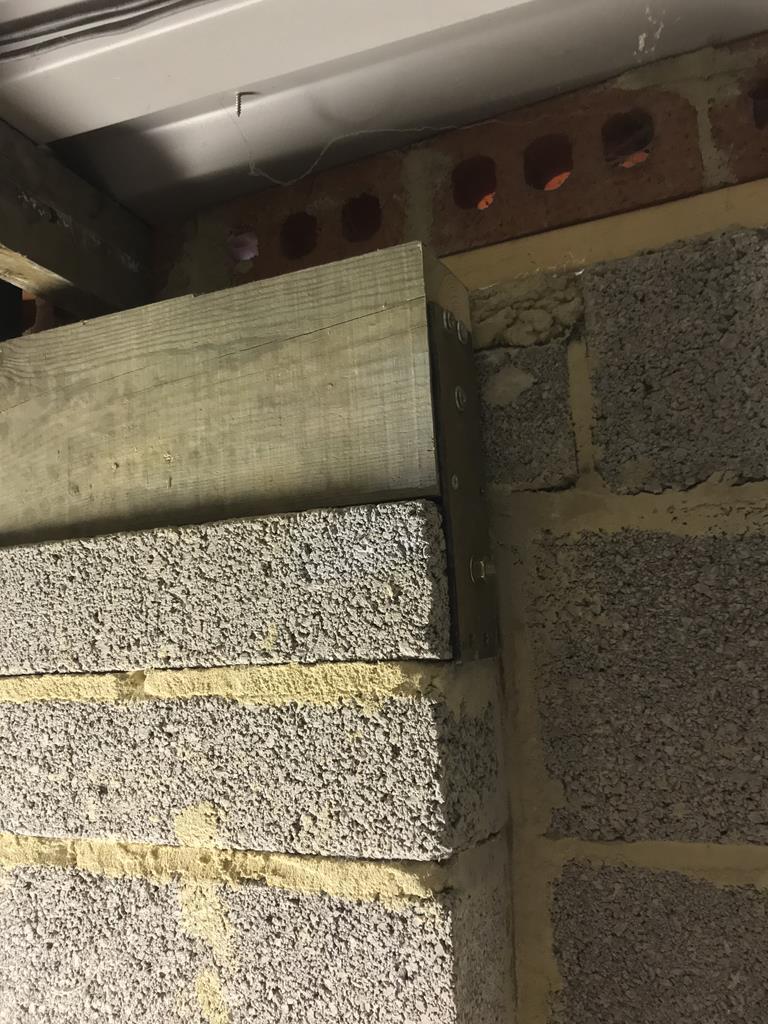
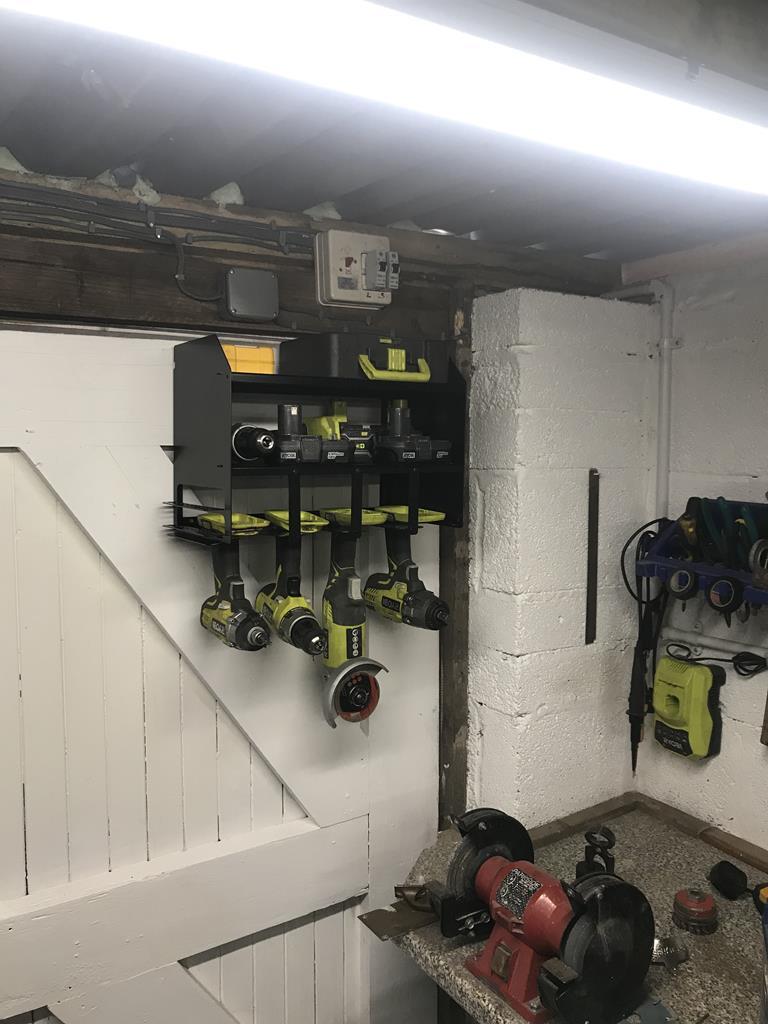
But enough tales of woe! I replaced all the ageing flickery tube lamps with LED battens from screwfix, these are simply excellent value for money. Isn't that nicer?!
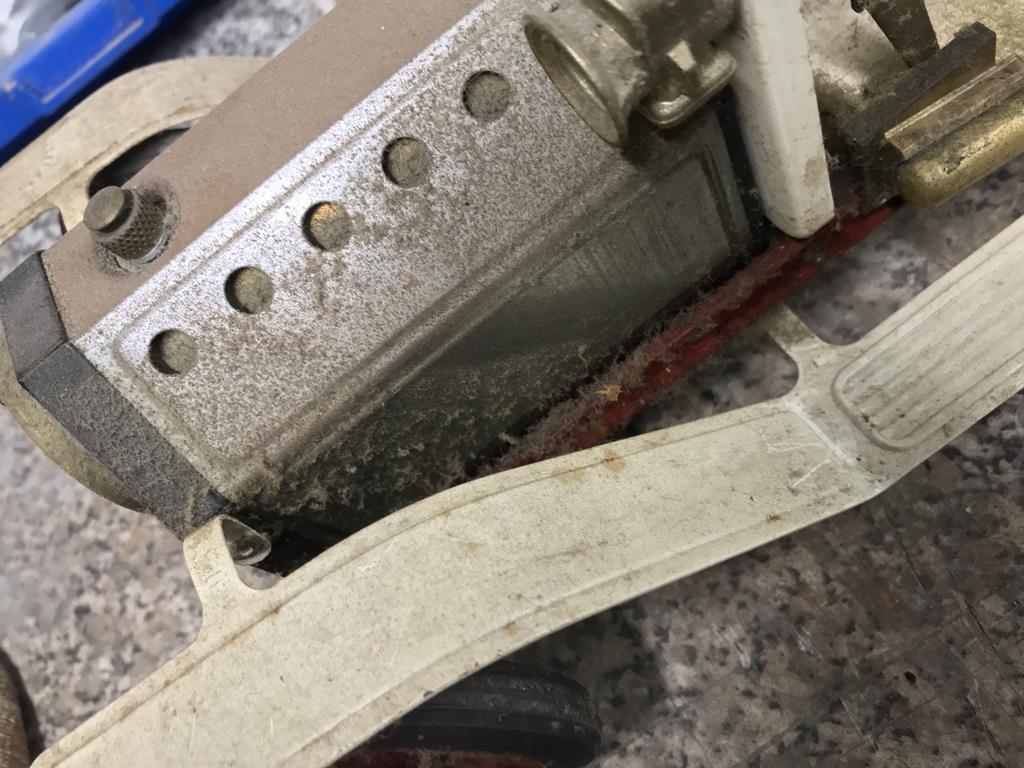
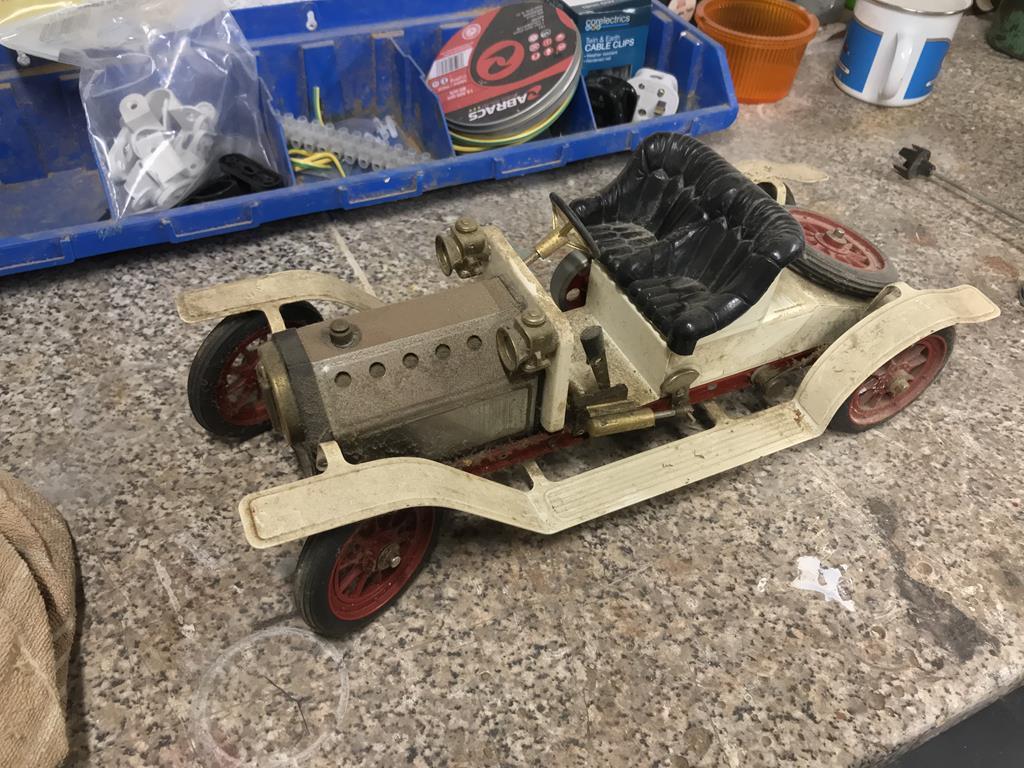
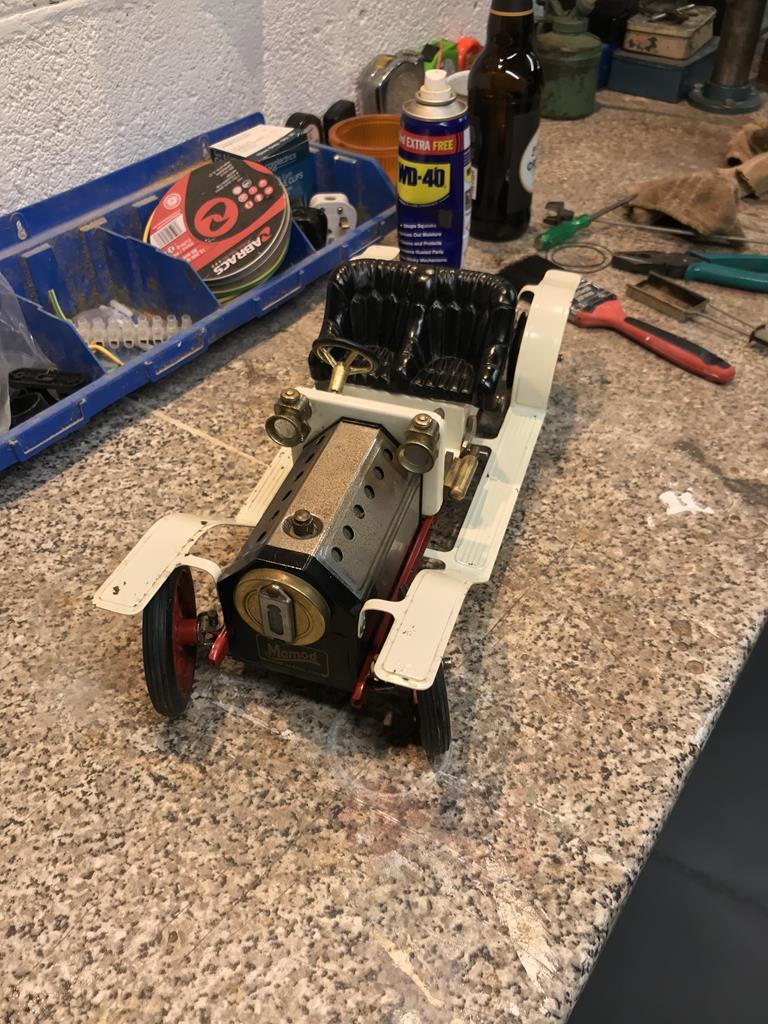
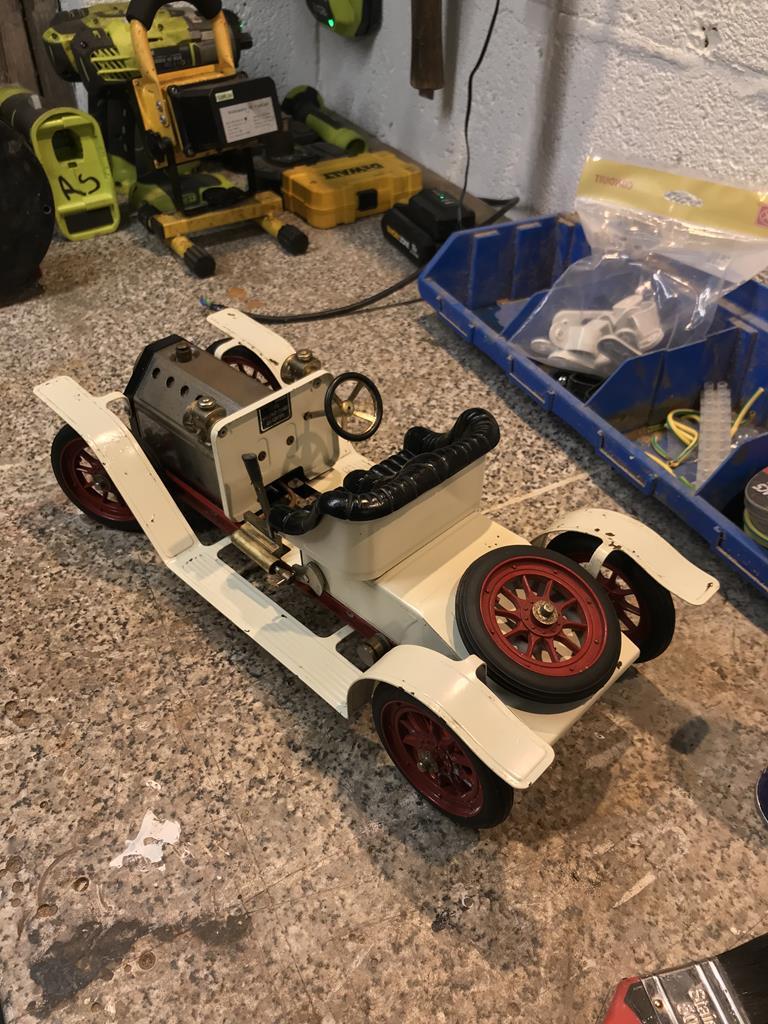
And to finish for now, the first car to be worked on in the workshop- Mamod Steam car from kevfromwales that was a birthday present, albeit in 'barn find' condition, now looking rather splendid.
Until next time! Laters!
*it needs some love. it's liveable but, yea. One of those.
Anyway, enough about the house, you are here for the workshop. So it's a brick built garage, extended upwards with a timber frame and tin roof to basically take the PO's caravan. Ideal. The workshop off the side is added on and its a bit ramshackle, but it works for me. We need to replace the roof but all in due time. So the video below was more or less our first day. It was full of junk (we took the house partially furnished/whatever they left as they were going travelling), sawdust, cobwebs, dust (un painted concrete floor in the workshop), sawdust, more sawdust, more cobwebs and an odd array of ramshackle shelves. The video goes into the workshop, then into the car bay. Gives an idea of layout.
Since then, many tip runs have occurred. But here are some pictures of making it a bit more homely. Pulled out all the cobbled up shelves out and started painting to help keep the dust down. You can see the original exterior wall window here, I plan on re-glassing it with plain panes.

There is an odd RSJ affair put in to support the roof extension, it's probably totally overkill but it's there. It was however on a load of old bricks so I cut down some sleeper to replace the brick here..

And then panelled the wall above as the gap between the bays was a bit strange.

Had some fun cobbling a patch over a hole in the roof. The flat roof has a reason which is difficult to explain. The plan is to just put a proper flat roof on this whole side this summer.

Next thing to do was sort out the electrics. All 3 of the sockets in the workshop were on a piece of chipboard by the door, fitted in the wrong kind of box, and the one in the car bay was on a lead with a plug on it.

Needless to say it all went in the bin and I started again. Also found the spotlamps in the garage and fitted LED lamps to them as workbench lights, they work well.


Also redid the lighting circuit. It was wired as a ring with 3 switches, 2 of which were pointless so there was a LOT of cable runs, all of it not very tidy or well installed so I was glad to pull this lot out to be honest.

Bit more boarding..

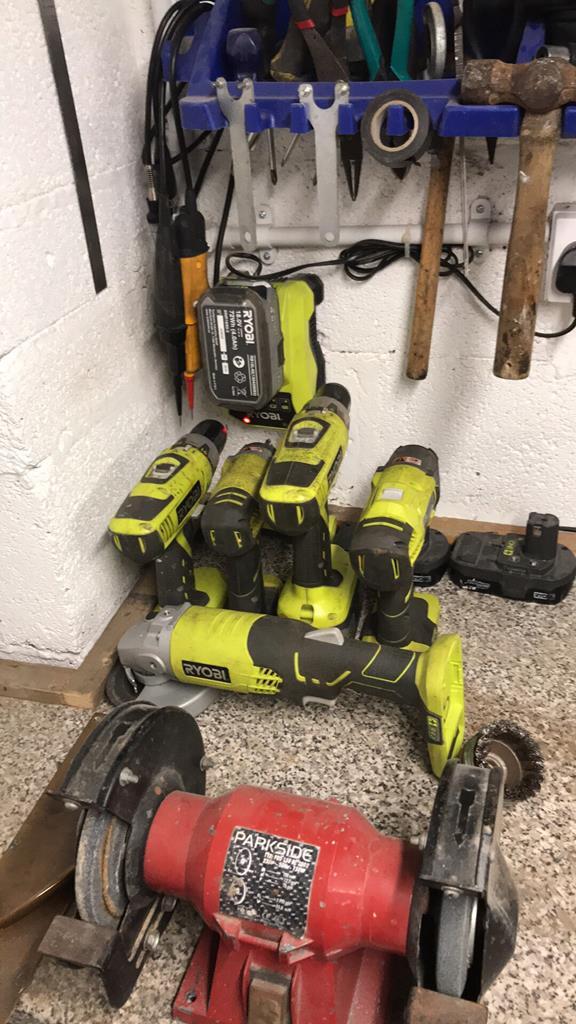
Started sorting out the bench. I bought the pillar drill recently from a friend as my other one is on long term loan to my dad, suffice to say the new one is nicer. And older then I am.


The vise however the PO left behind. I gave it a good clean and lube as it was full of, you guessed it, sawdust. Turns out it could be as old as the 1880's and was apparently a company that pioneered quick release vises. Nice bit of kit!

Back to that RSJ. It's a big T piece. I don't question it. It makes my brain hurt. But the other side of the workshop was spectacular. The wall and RSJ didn't quite line up, based on I imagine that this whole thing was just eyeballed. Now I didn't take a photo of the support arrangement before I removed it as it was scary. There was a brick on the pillar (Which had cracked and split), which on top had a piece of wood which was overhanging the pillar to 'catch' the RSJ. The RSJ is heavy, so the wood, naturally was trying to tip over. So there was a fence post wedged betwixt floor and the wooden block to keep that in check. And then just in case there was some slightly-larger-than-plug-chain wrapped round the RSJ and the adjacent (And I mean 2" adjacent and obviously redundant) roof support. Because some old pendulum chain from a grandfather clock will stop an I section steel lintel from falling down, right? Suffice to say, more sleeper. This got tied to the pillar to stop it tipping, which is still less than ideal but at least it looks a little more proper.

The line of bricks is good too, isn't it? They do absolutely nothing. I imagine he had to lose about 15 bricks and just plopped them up there.

But enough tales of woe! I replaced all the ageing flickery tube lamps with LED battens from screwfix, these are simply excellent value for money. Isn't that nicer?!

And to finish for now, the first car to be worked on in the workshop- Mamod Steam car from kevfromwales that was a birthday present, albeit in 'barn find' condition, now looking rather splendid.


Until next time! Laters!


