So, what were the other last jobs I did?
Honestly, cosmetics. This car had two things letting it down.
-The air cleaner
-Front slam panel
There was nothing really wrong with them, but they just didn't look pretty
The air cleaner was basically old and a little rusty. The front slam panel obviously had some paint thrown over it as protection as some of the previous shots make out. It really wasn't that great:
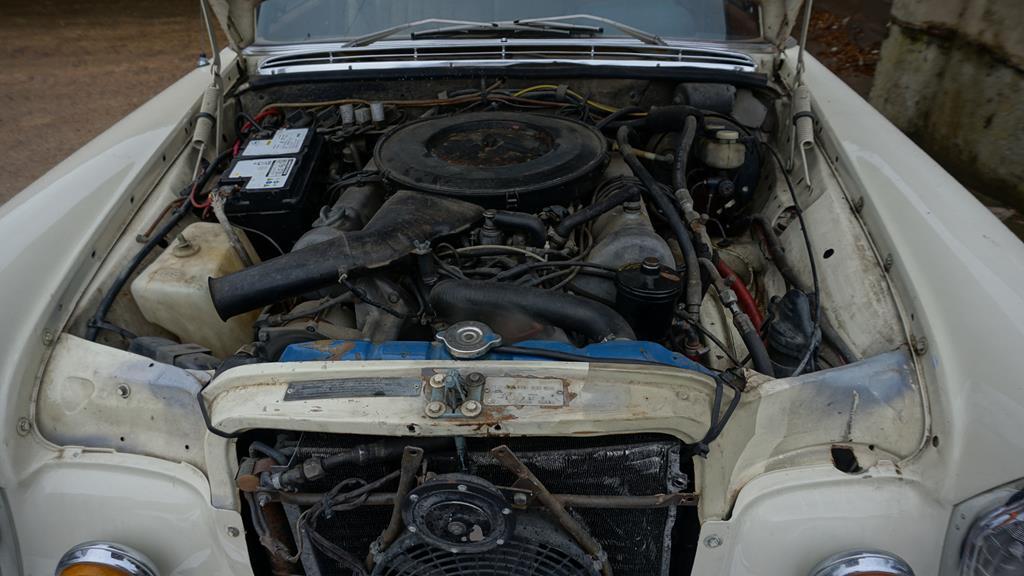
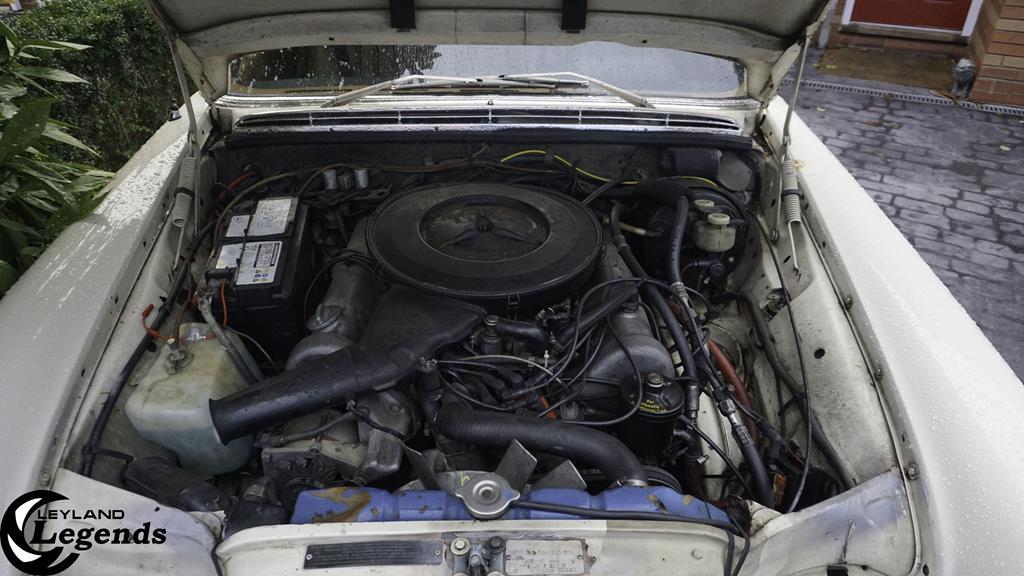
Yup, for such a solid car, the engine bay pics were a shocker! But it wouldn't take too much effort in the end to do it, albeit the work did take a weekend or two. After all, paintwork is one of those things which cannot be rushed and cold weather doesn't tend to bode well. This was certainly the case with some of the parts I refurbished on the M3 and a point of frustration, given I could buy the parts but for a price (sub £100 admittedly!). But what do you do if the parts can't be changed easily, due to being part of the car or hard to come by! Simple, you have to restore them.
Firstly, I pressure washed the engine bay down with care, with removed more grime than even I thought was under there! It looked superb, but my work was not over yet. I decided to be a little risky and try some cellulose thinners on the staining, which degreasers would not touch in addition to also the primer. It did, and revealed some work done previously too. While it took me 2 steps forwards, I did also go a step back, but at least I knew what I had to deal with. I also had it in my mind that I didn't want to repaint the entire slam panel, but to blend it in more. Risky? Yes! But it's the RR way right?
I tackled the air cleaner lid. This I initially tried to sand and grind down. I was thinking this was original paint, but going by the brush strokes in some areas, someone had been there before.
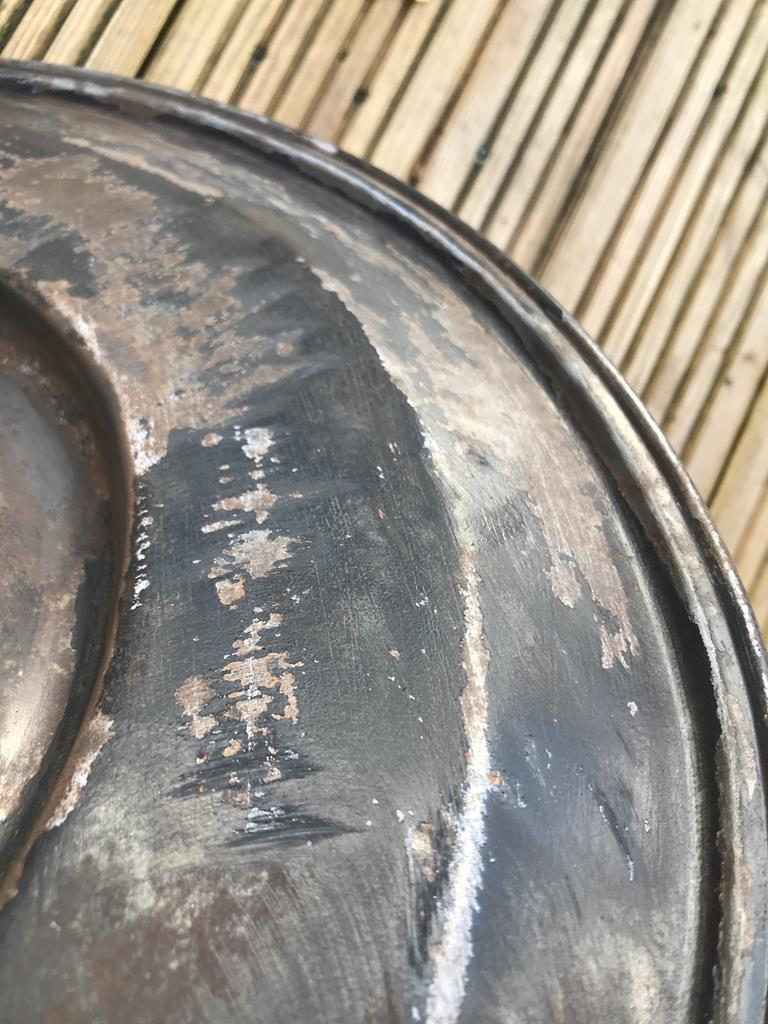
Finally, I finished doing what I had to on the lid, before I hit the lid with etch primer. Just like the M3, this seemed to be a big mistake. The paint just reacted like crazy! I degreased it as well to add further insult to injury!
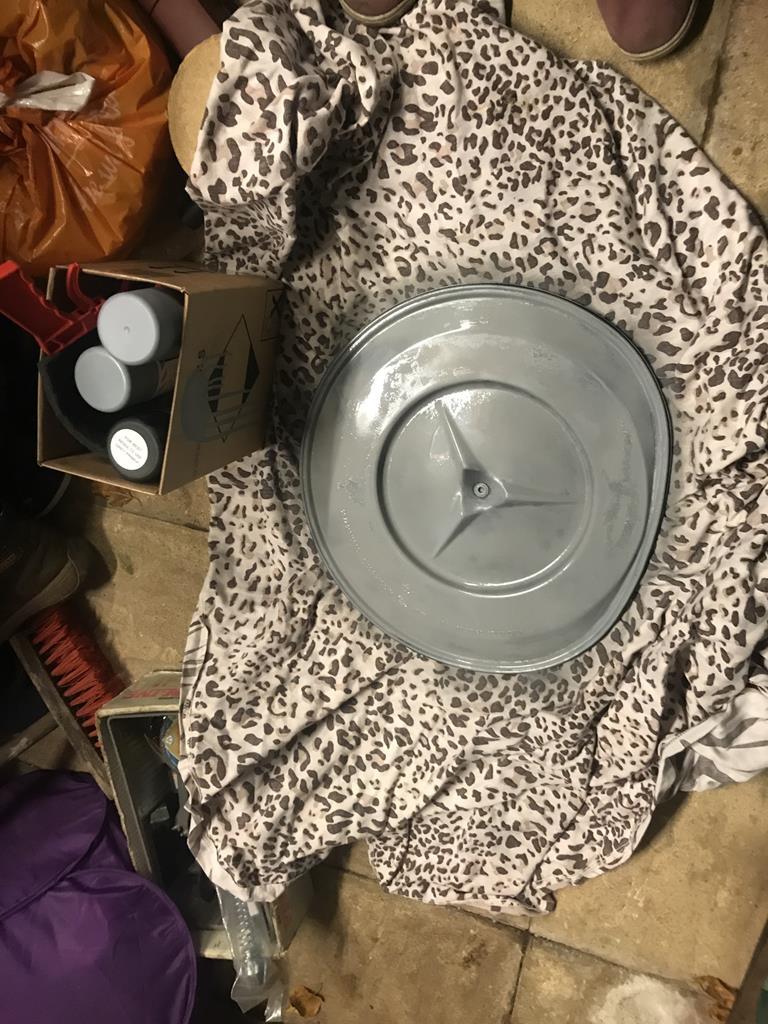
But with some perseverance, I finally got around it, even if it did mean buying some trade-spec paint stripper just to get around any issues. Even then, it took time to strip the thing!
So that was one task sorted. At this point I welcome some C&C on how to avoid such paint reactions, as it's one of those things which would be handy to know in the future. Or is it really down to the roll of the dice with etch primer? I mean, I got stung on the M3's V-Brace as well :/.
Finally, there was the slam panel to do. The right way to have done it would have been to have taken everything out. With a massive M117 lump and many many things that tend to be fiddly to remove as it seems to be with this car, that was out of the question. Doing a Wheeler Dealer thing of Satin blacking the entire slam panel also wouldn't help. Enter Stage Left:
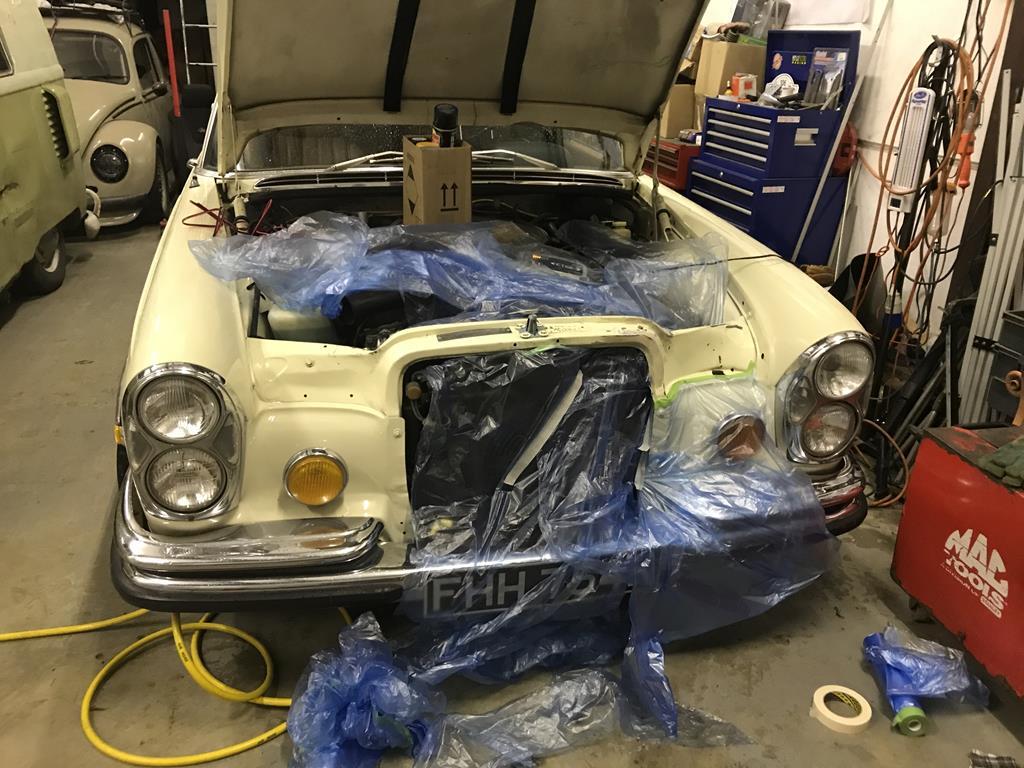
Yes, I splashed out on some fancy masking tape with an apron. It was fiddlier than I expected but still quicker and easier to put on than newspaper in addition to leaving your hands free of curse word embedded from the gutterpress. All good then! Yes it does cost, but in this case, it was well worth it.
With this, the etch primer hit the bare metal areas, before finally having some primer, sanding and then a top coat applied. Yes, the job was from aerosols but it wasn't that bad out of the can at all to be fair:
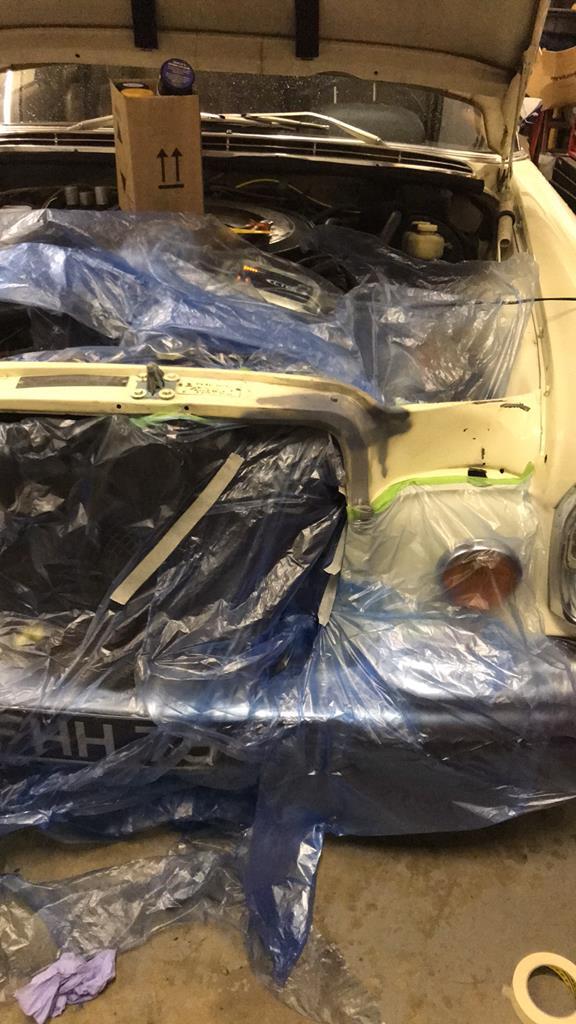
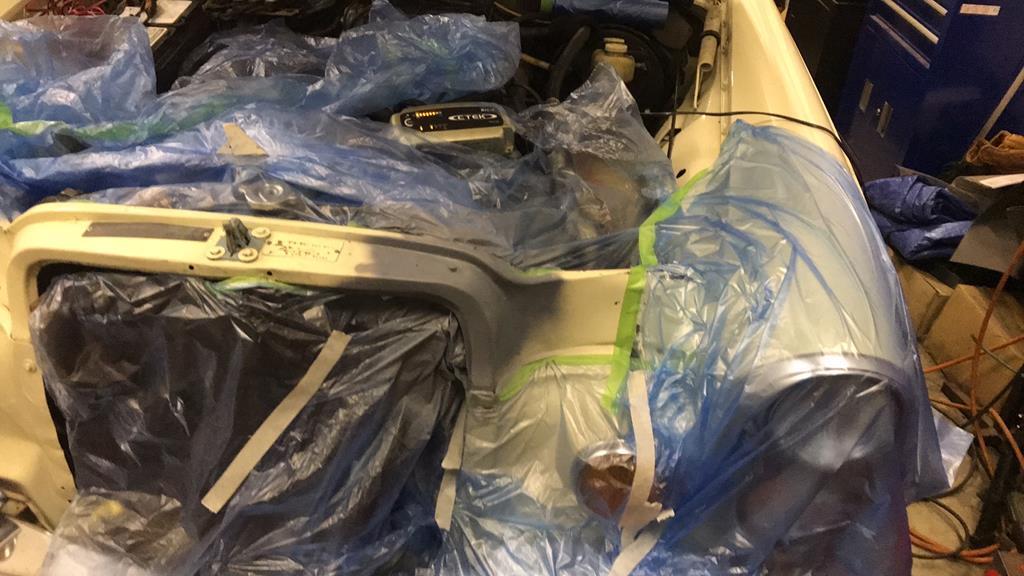
Finally, that was given a sanding, before having a top coat applied:
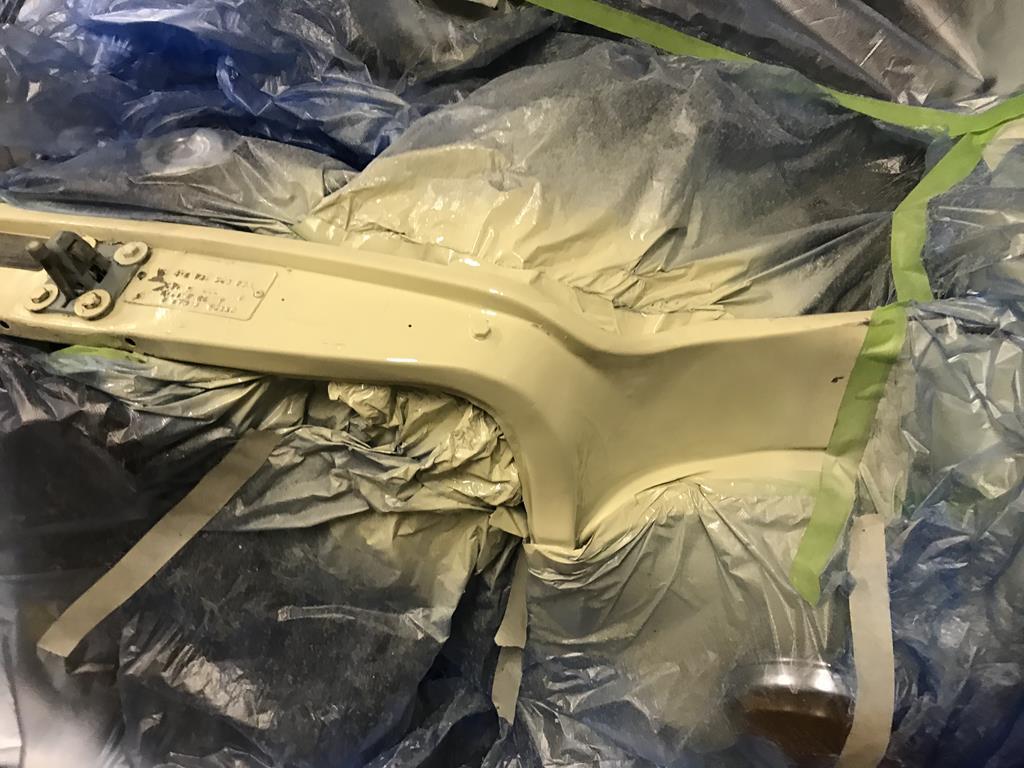
And this is how it finally looked
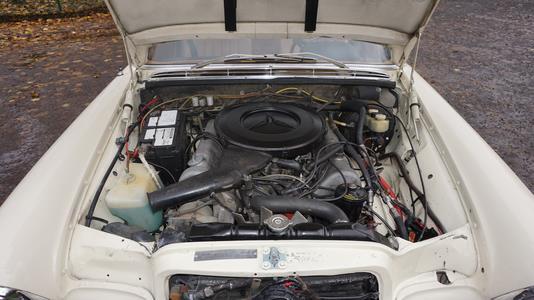
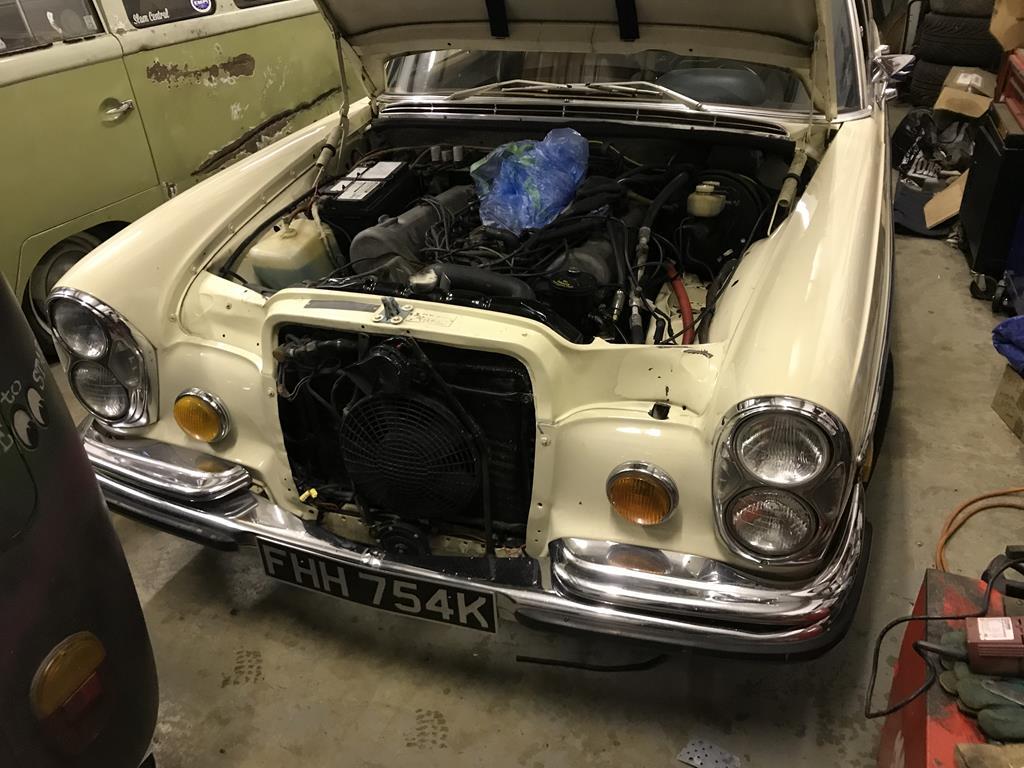
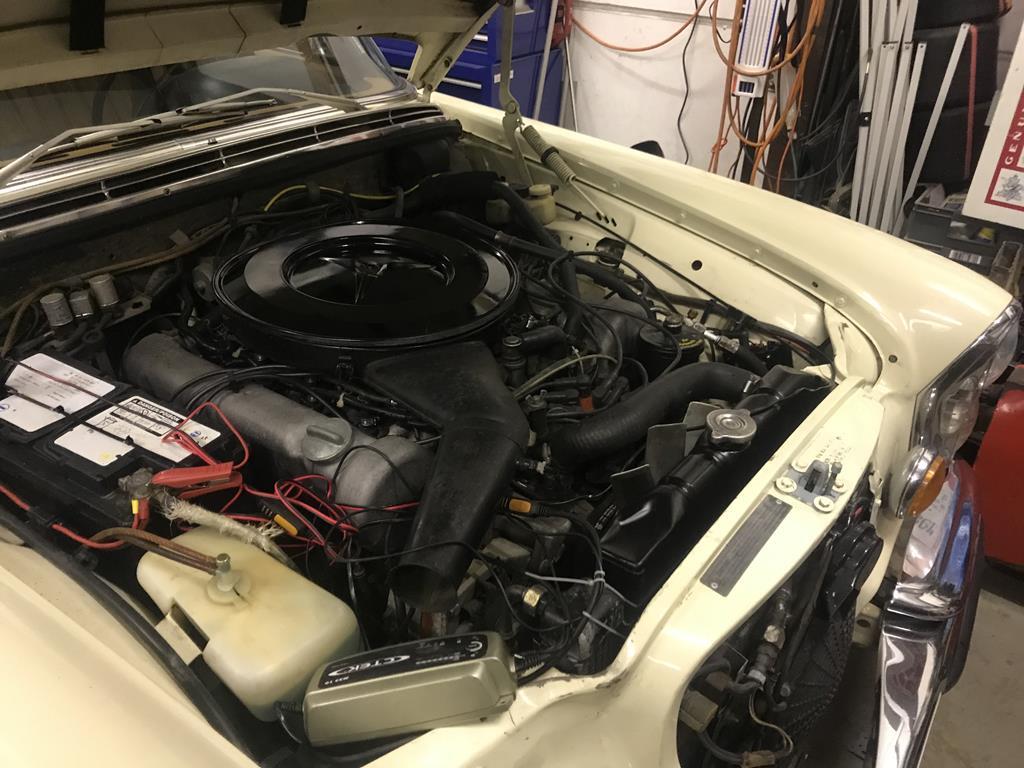
Some of you folks will be criticising that and in hindsight I could have:
-gone easier with the area the primer went to
-in turn gone easier with the paint area too
-masked a little better and trusted my masking abilities that little more.
Again, bring on the C&C

.
But all things considered, the engine bay still had the patina as I wanted in addition to looking far smarter than when I got the car.
Yes, that masking and painting really did take longer than most people thought it would

.
 . It was a hard one to sell but needs must
  . That and me driving cars and them being thristy probably will negate most value increases for me ; I did 5,000 miles last year in this ; not bad at all
  ; I reckon 1,500-2000 of those were purely for classic roadtrips/events.
 .
.


 . Me driving a second car as a daily happened more often than we expected too.
