jmsheahan
Club Retro Rides Member
Posts: 681
Club RR Member Number: 121
|
|
|
|
|
|
| |
Last Edit: Feb 2, 2020 18:59:06 GMT by jmsheahan
|
|
|
|
jmsheahan
Club Retro Rides Member
Posts: 681
Club RR Member Number: 121
|
|
Feb 17, 2020 12:20:44 GMT
|
|
|
| |
|
|
|
|
jmsheahan
Club Retro Rides Member
Posts: 681
Club RR Member Number: 121
|
|
Feb 18, 2020 10:58:31 GMT
|
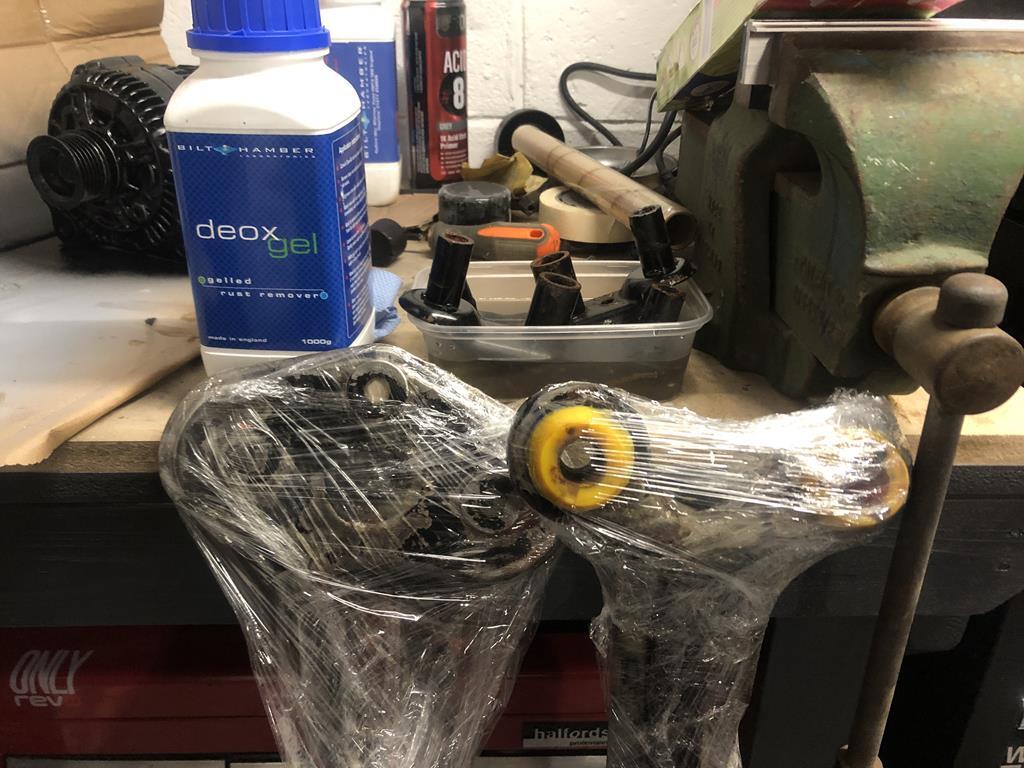
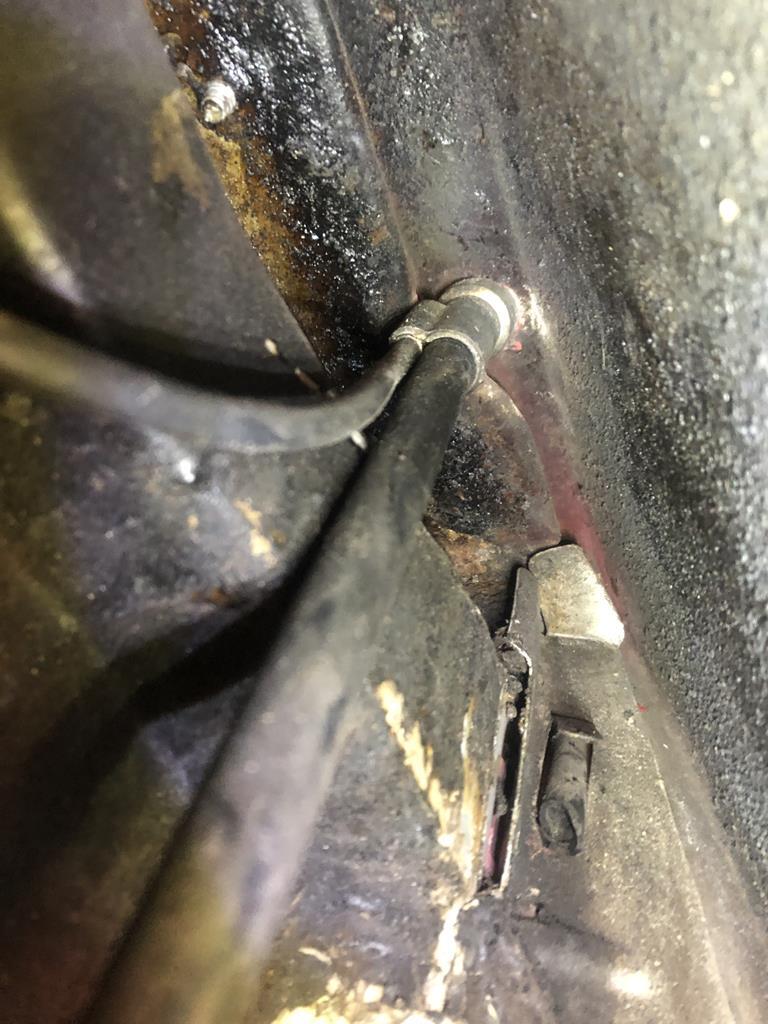
Parts left soaking. Let’s see how these look at the end of the day.   Found some more rust last night...Whoop! 😂  Think I can get away with grinding this back and treating for now. Seems like the battery tray is going to need replacement at some point as it’s scabby underneath so can get it all sorted at the same time. I plan to strip the front wings etc and give it all the same treatment as underneath however that takes time (and probably welding). Do I get brave and remove the wings now or wait until after the summer... hmm. |
| |
|
|
jmsheahan
Club Retro Rides Member
Posts: 681
Club RR Member Number: 121
|
|
Feb 18, 2020 23:45:12 GMT
|
|
|
| |
|
|
mouse
Part of things

Posts: 71 
|
|
Feb 23, 2020 22:17:15 GMT
|
|
Haven't posted on this thread before (I think) but have been following it for ages.
Love this car and the bits you are doing to it but them MO5's are really REALLY going to finish it off. LOVE IT
|
| |
|
|
jmsheahan
Club Retro Rides Member
Posts: 681
Club RR Member Number: 121
|
|
Feb 24, 2020 10:37:55 GMT
|
Haven't posted on this thread before (I think) but have been following it for ages. Love this car and the bits you are doing to it but them MO5's are really REALLY going to finish it off. LOVE IT Thanks for the kind words  Hoping my ramblings, trials and tribulations are of use to anyone in a similar situation  |
| |
|
|
jmsheahan
Club Retro Rides Member
Posts: 681
Club RR Member Number: 121
|
|
Feb 24, 2020 10:44:52 GMT
|
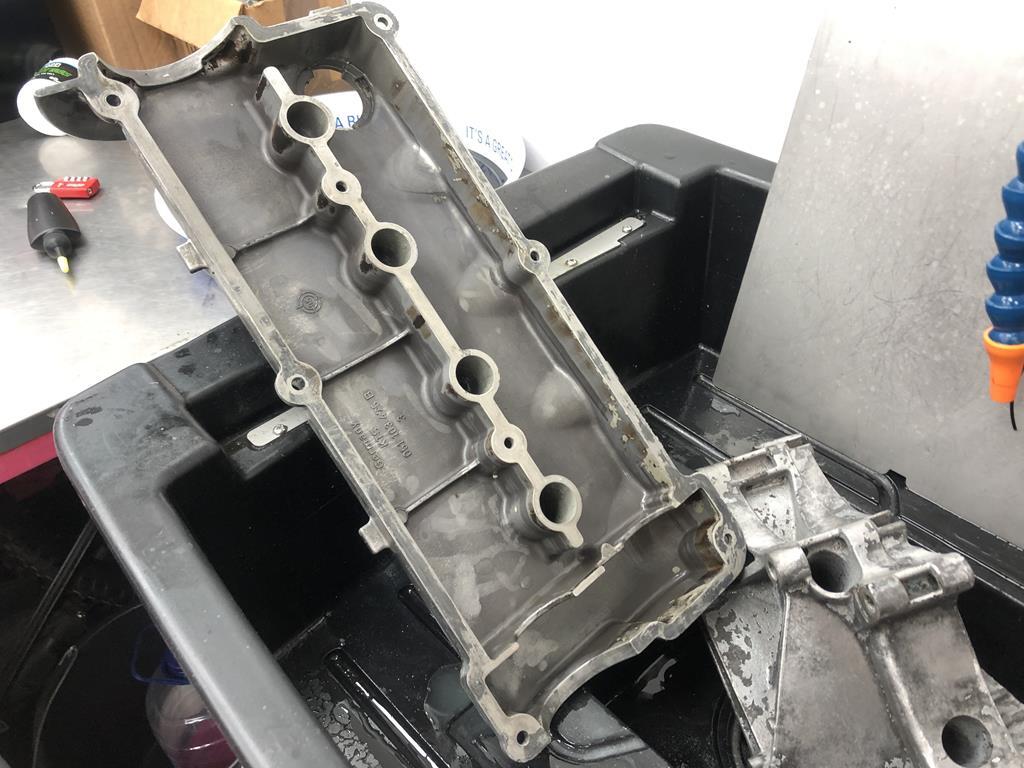
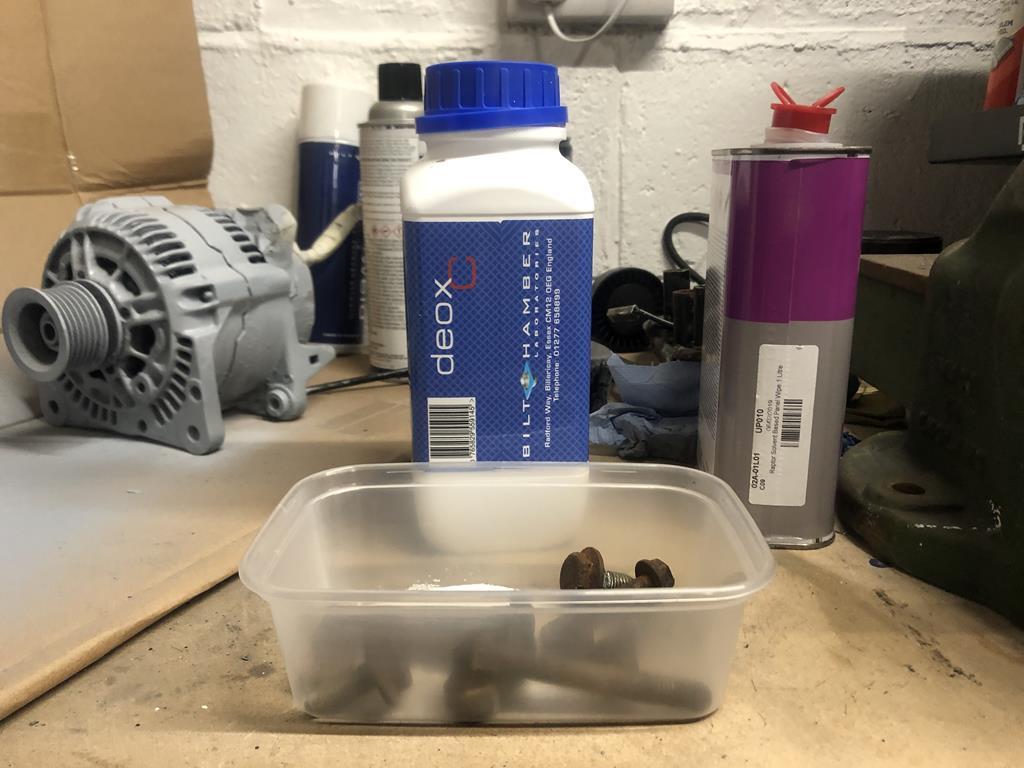
A few more hours in working on the car this weekend. Not many photos as to be honest it was mainly, cleaning, painting etc. There are a few areas of grot to sort when I remove the wings but nothing terminal or structural. Decided that it's a job for winter time. I want to drive that damn thing. The good news is it’s slowly all coming together engine bay wise so reassembly should commence this week.  The 4 branch is now on and bolted up with new gaskets etc. Went with standard steel studs with copious amounts of high temp copper grease. One of the new studs was a little gnarled up, didn’t fancy risking that, so for one stud there’s a stainless in for now.     After deciding against wrapping the whole header, I heat wrapped the steering column boot as it’s quite close to the manifold. Seeing as these are made of unobtainium it was worth a shot. I always thought those spring clips VW use for water hoses were the work of satans A hole….turns out heat wrap metal ties are in the same category too - who knew 😂  After patching up my shredded hands, I turned my TPS loom into a quality street wrapper. These wires run directly above the manifold, and as any ABF owner knows, are prone to causing all sorts of issues when they get brittle. Hopefully it helps.  Alternator and associated bracketry have been repainted and fitted.  My little Bilt Hamber experiment had mixed results. The gel didn’t really seem to do a great deal - this may have been down to my prep or the fact it’s been pretty cold in the garage. The Deox C stuff though did a pretty good job of cleaning up various bolts.  Front crossmembers have now been painted and are currently drying to be fitted this week.    Also made a start on the valve cover - a peugeot metallic colour to match the comps. Same colour as my mates 205 GTI I think.  I’ve bought myself an ebay special slimline fan to run alongside the original one. I had planned to run this off of the original loom in tandem with the stock fan. However on re-thinking it would be quite cool to have it on a seperate relayed switch on the dash as a manual override (cooling down after track session etc) and leave the factory stuff all alone. I’ll be the first to admit I’m no wiring guru so does anyone by chance have a simple wiring diagram of how I’d do this? |
| |
|
|
|
|
|
|
|
|
Nice to have your own garage to play in, huh? Good stuff. John
|
| |
|
|
|
|
|
|
jmsheahan
Club Retro Rides Member
Posts: 681
Club RR Member Number: 121
|
|
|
|
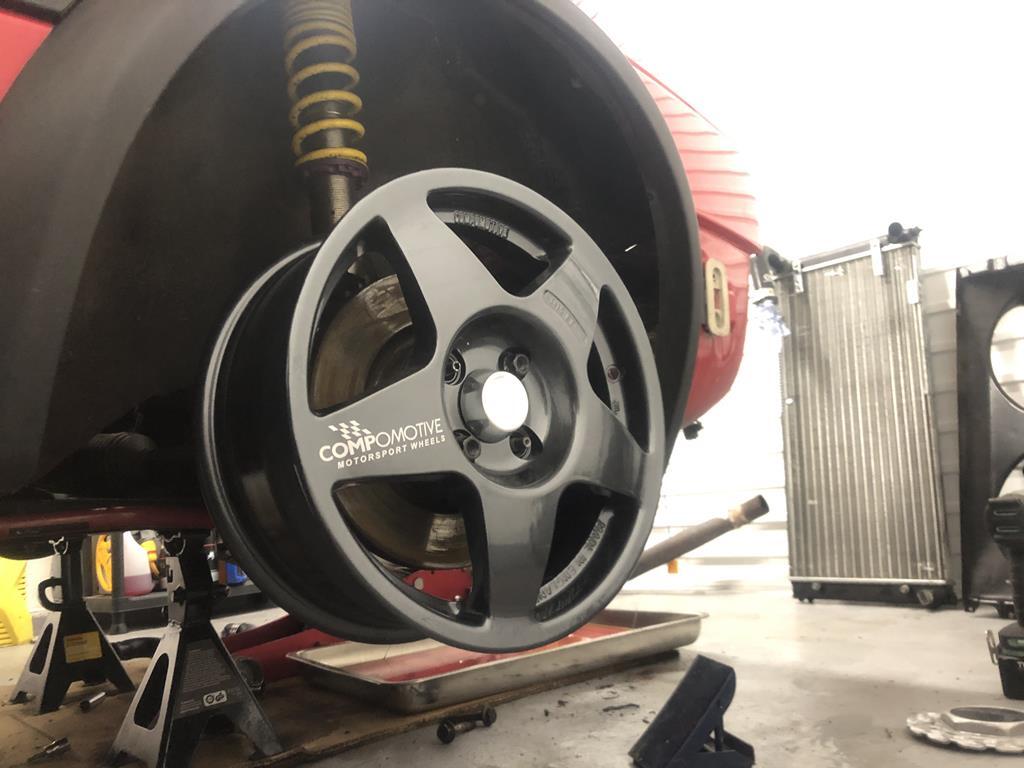
Nice to have your own garage to play in, huh? Good stuff. John Sure is Thanks mate, your Mk2 is looking great too! So with the world going mad at the moment, I did the best thing I could this weekend and 'self isolated' in the garage  I've bought another set of wheels I don't need...  The eagle eyed among you will notice they are the Sebring's I used to have before I sold them to a mate about 8 years ago. Said mate has unfortunately sold his Mk1 and offered them back to me at a price I couldn't refuse. Unfortunately, they aren't quite as mint as they once were but I reckon I'll be able to repair the lips without having them re-powder-coated. A project for another time. Anyway back to the Golf. The front crossmember is back on along with a freshly powder-coated slam panel. Felt good to bin off the pattern one that didn't fit properly. 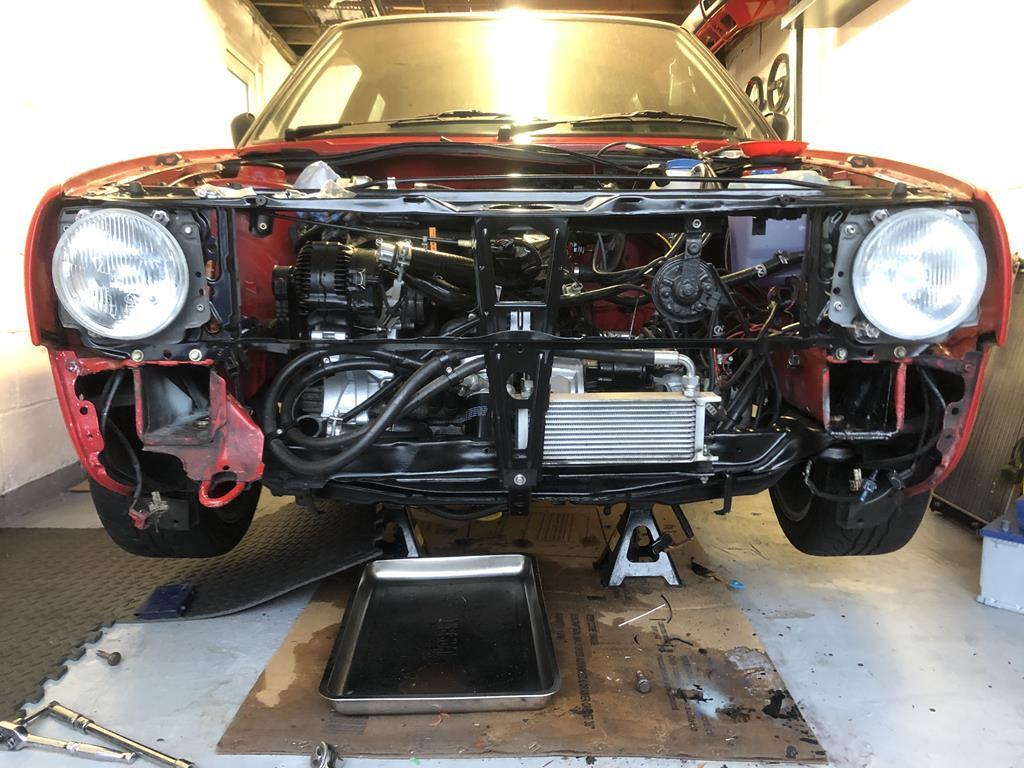 Valve cover is back on 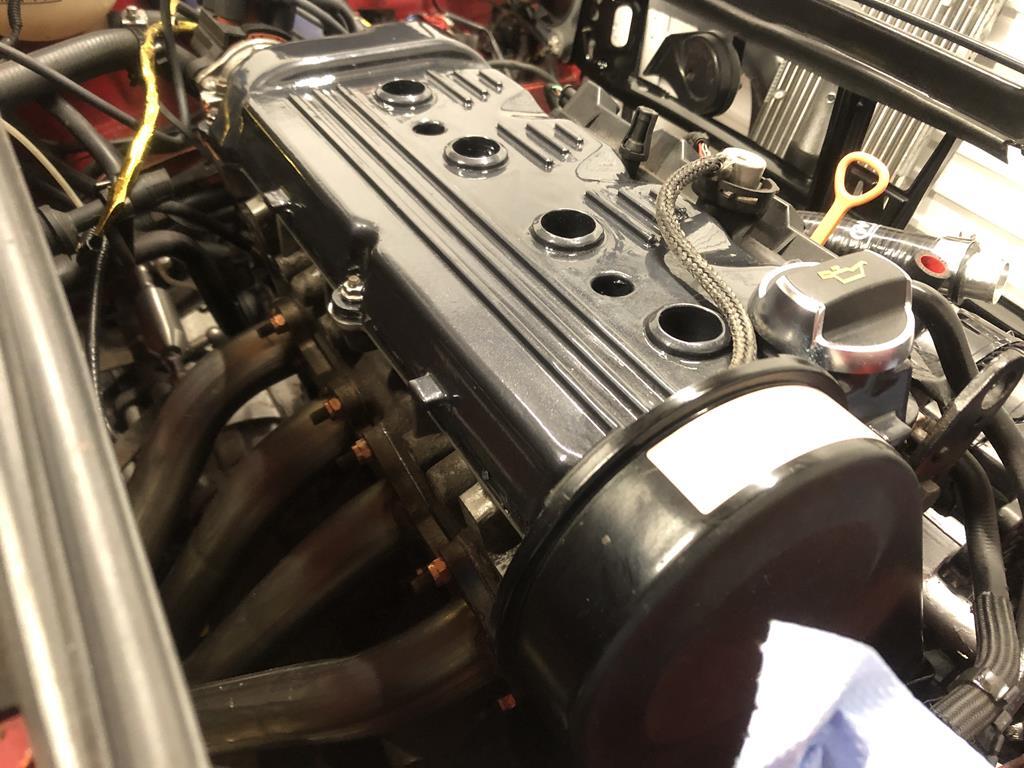 Next up was the bumper. Ah the bumper. What a colossal pain in the  . First up the easy bit - replacement hanger bracket: 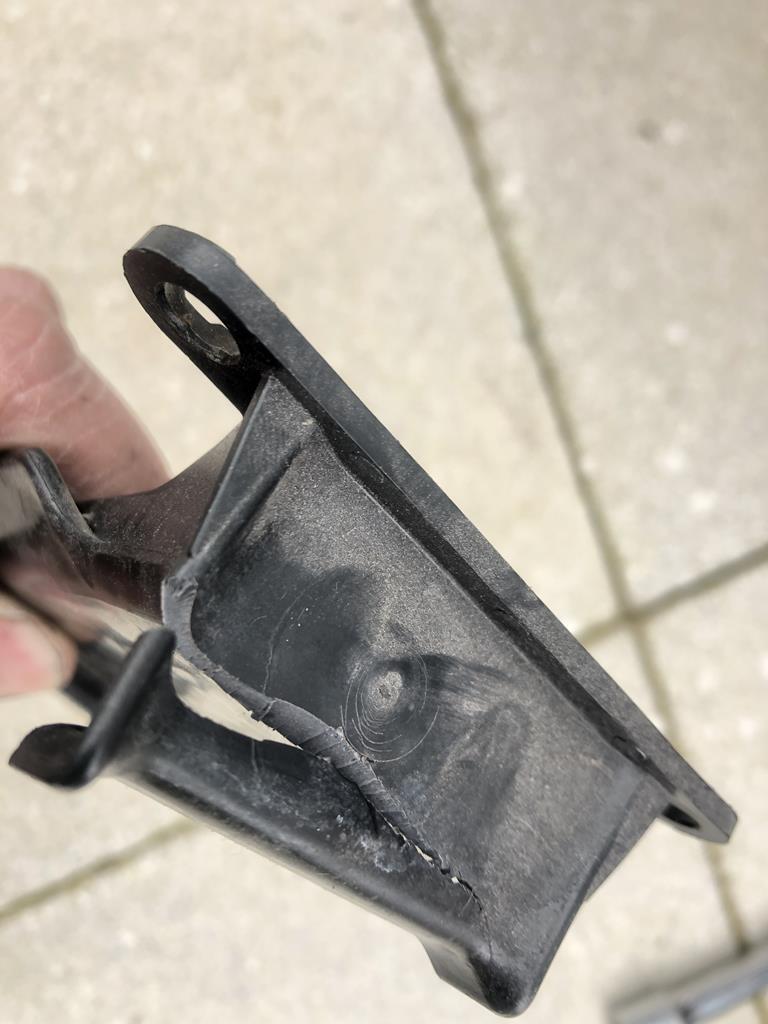 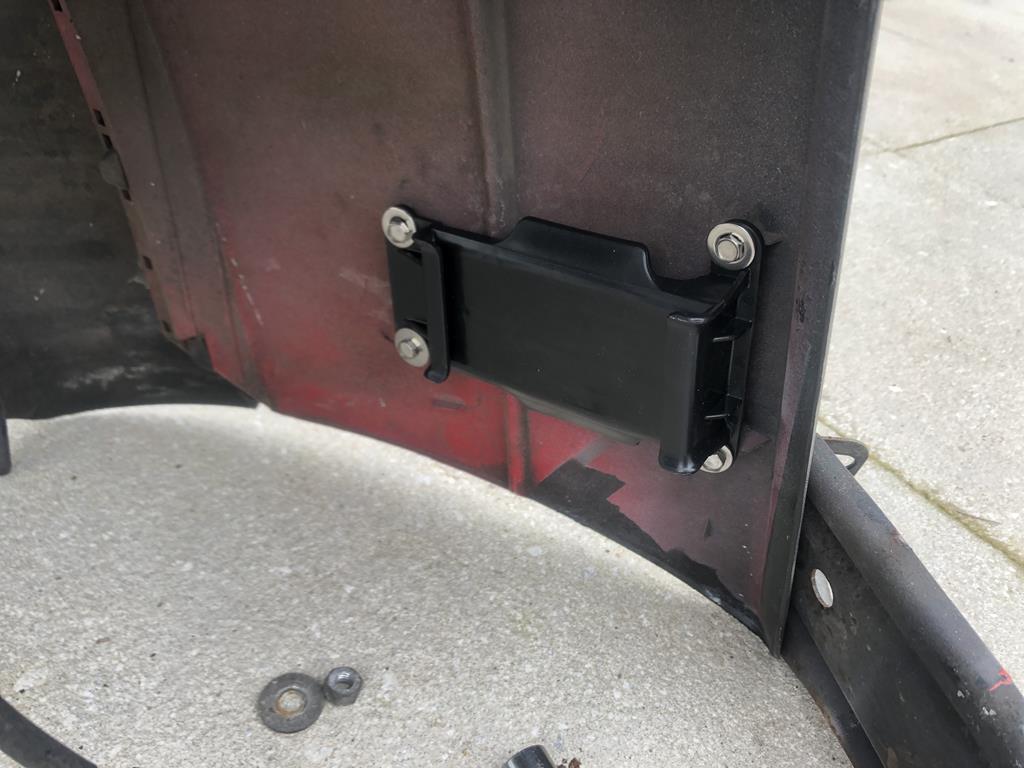 Some years ago it got knocked by someone skidding into it in ice. It then got tapped again when I rearranged the front back in 2015. As a result, the bumper sits to the right of the car slightly so I tried to rectify this with a new support. You can see where the end is bent: 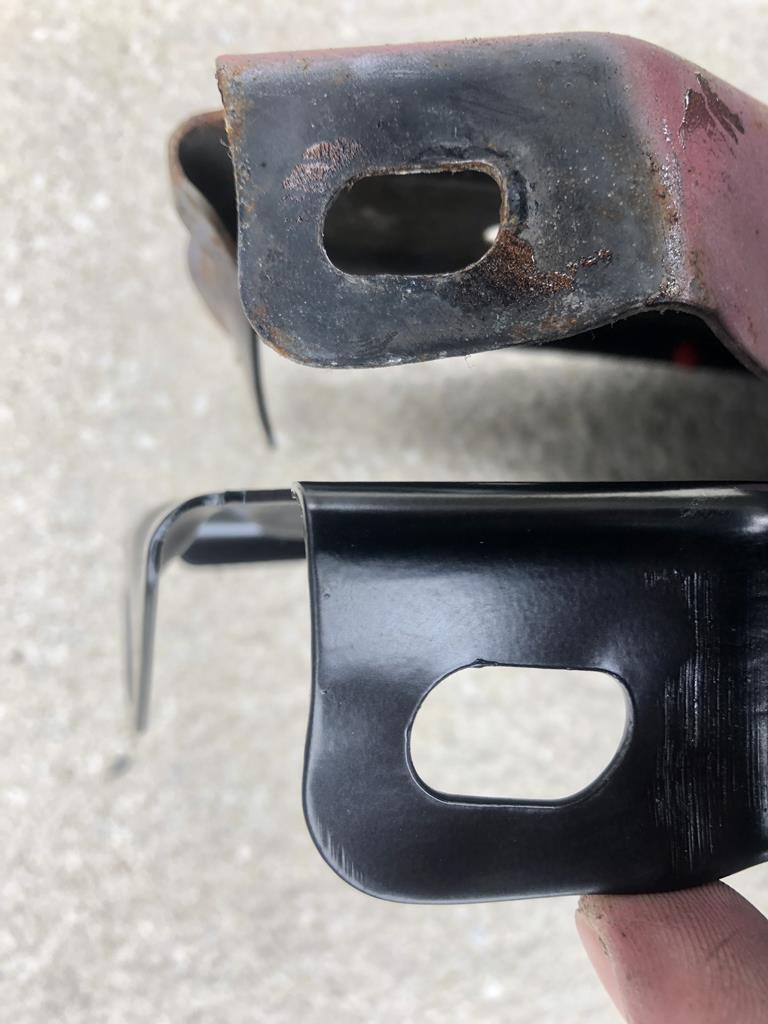 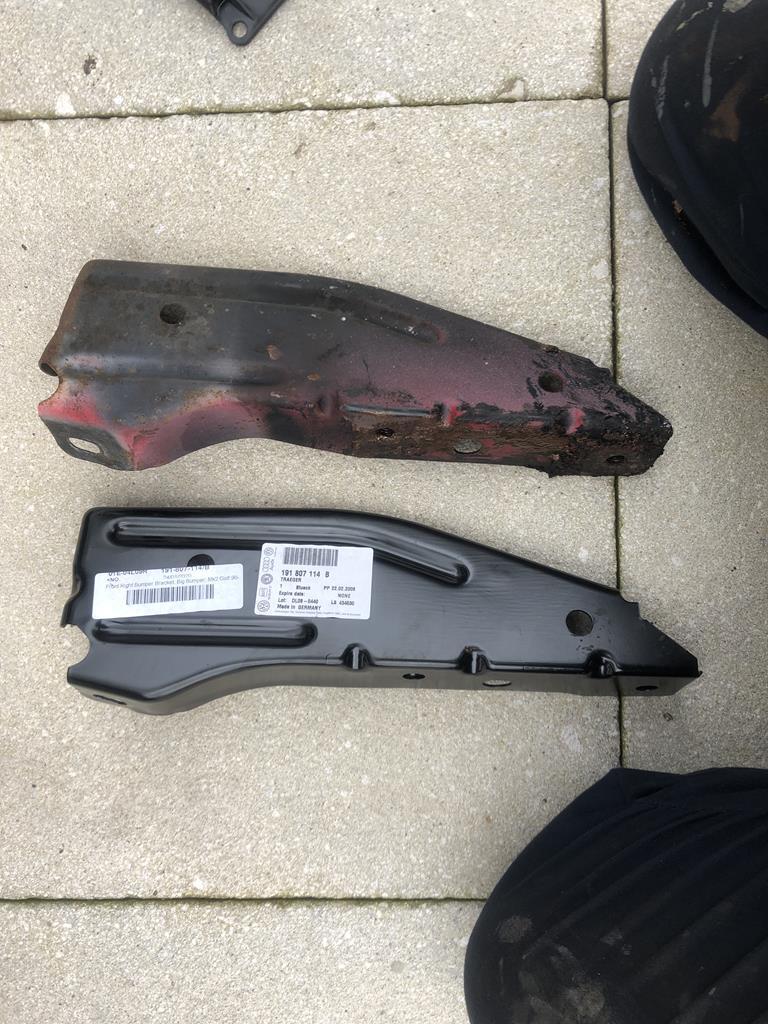 Did it solve the issue? Did it f*ck . Spent longer than I care to admit fettling it but decided to move on to something else before I broke something (or launched it across the garden haha). To be continued! 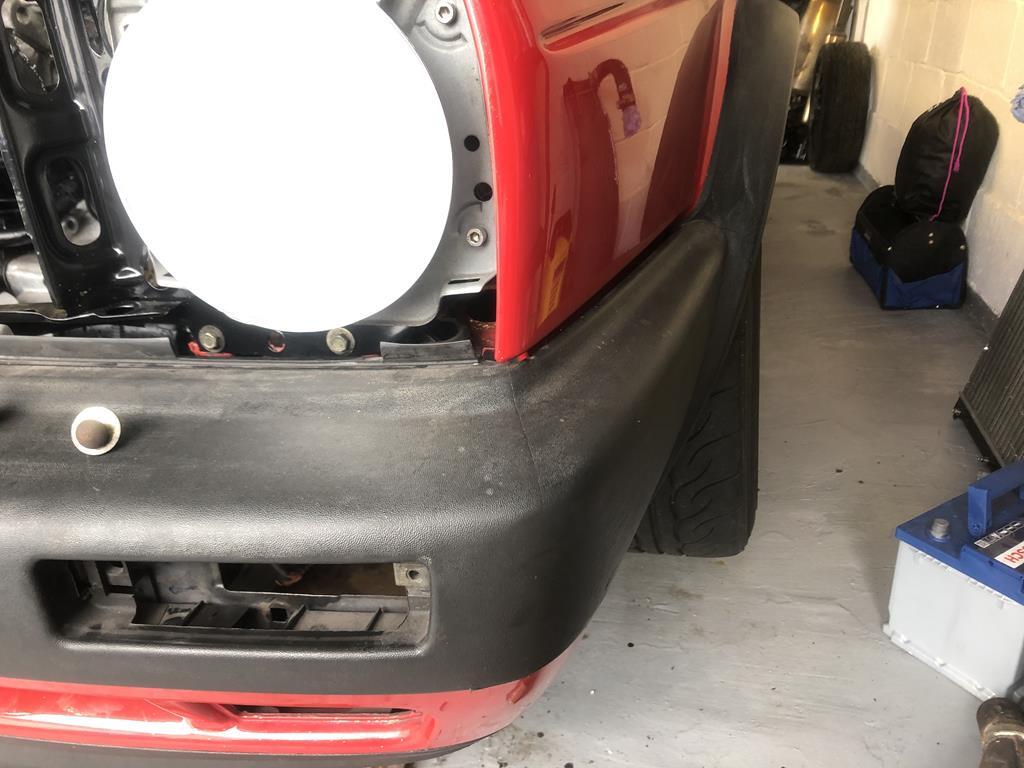 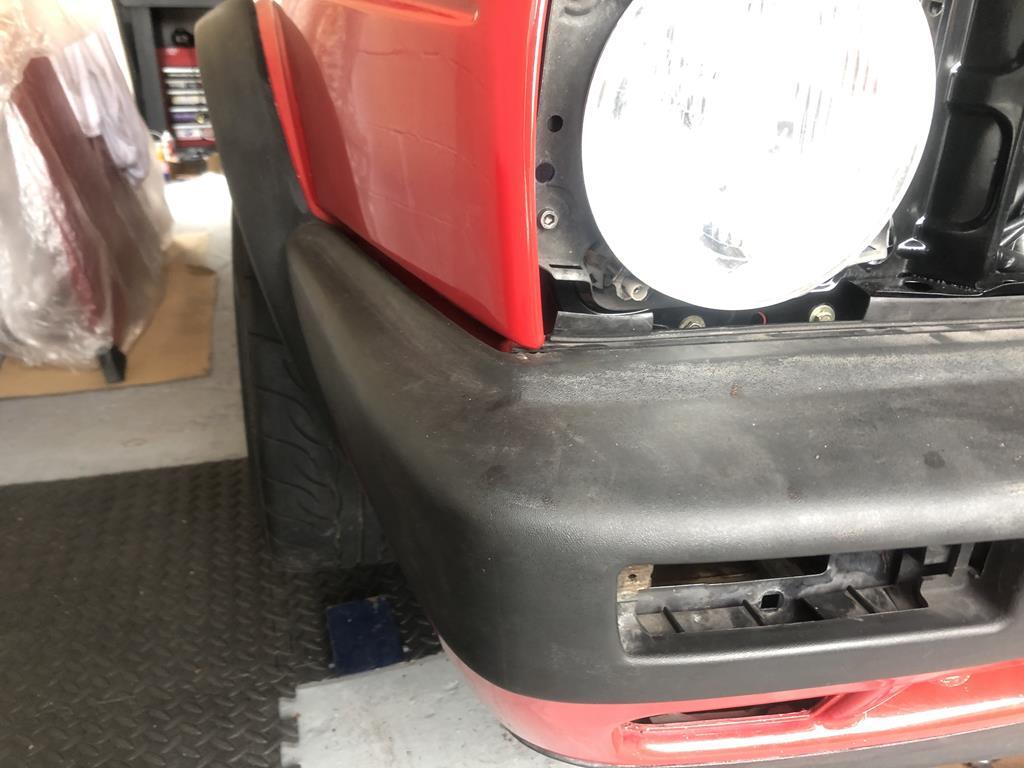 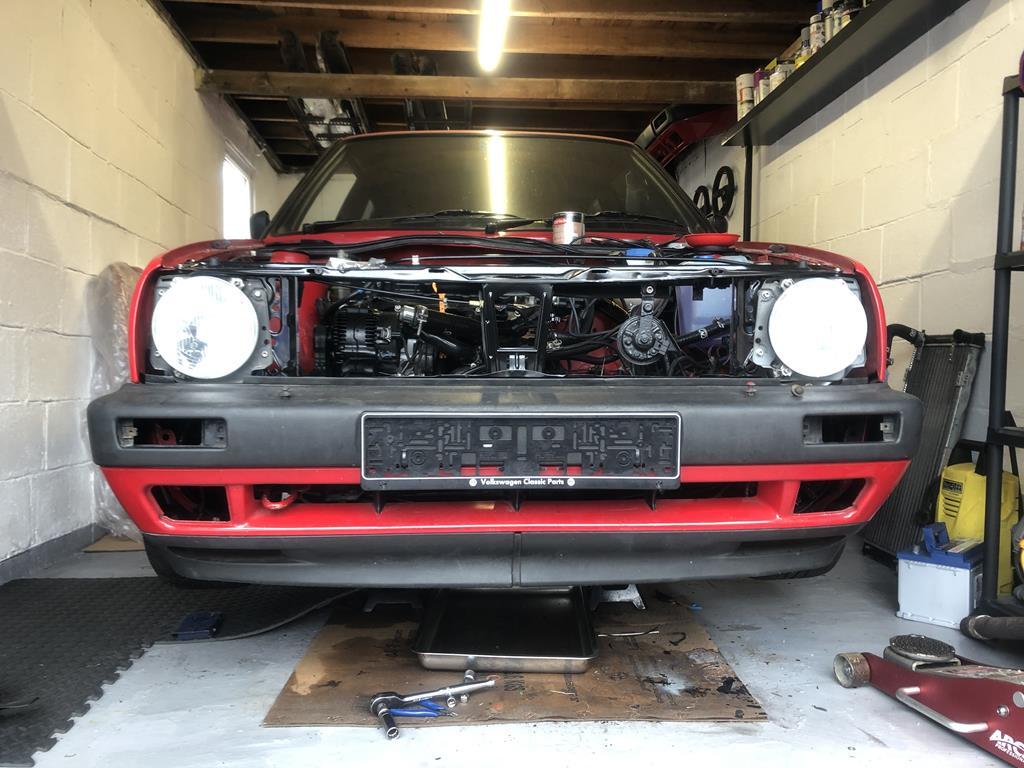 The result of the deox bath worked a treat on the bonnet catch. Currently in primer drying. 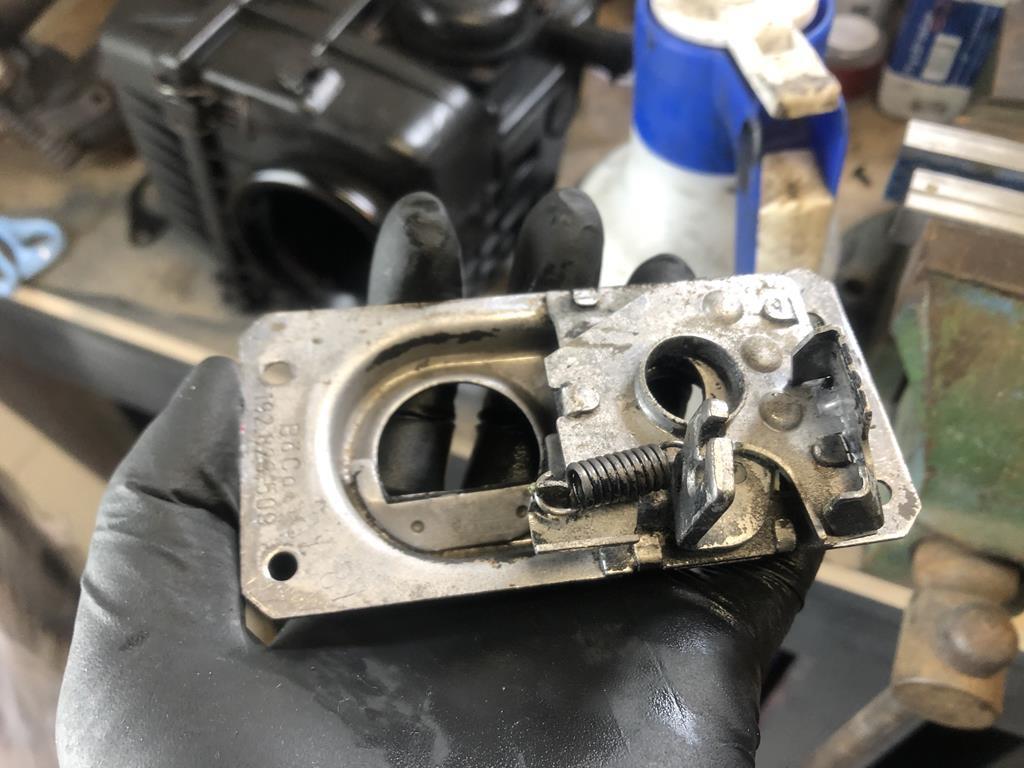 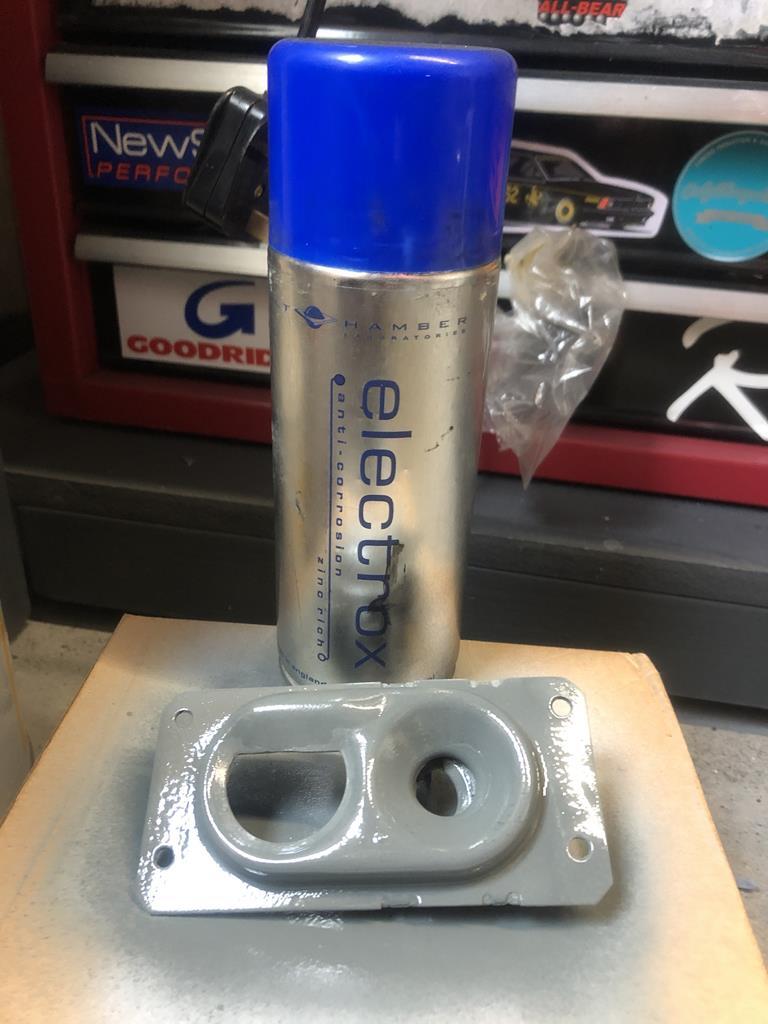 Radiator and twin fans back in (yet to be plumbed or wired)  |
| |
Last Edit: Mar 16, 2020 10:10:38 GMT by jmsheahan
|
|
jmsheahan
Club Retro Rides Member
Posts: 681
Club RR Member Number: 121
|
|
Mar 16, 2020 10:09:56 GMT
|
A little rust proofing using the clear Bilt Hamber spray wax - pretty decent stuff, can barely see it's on there:  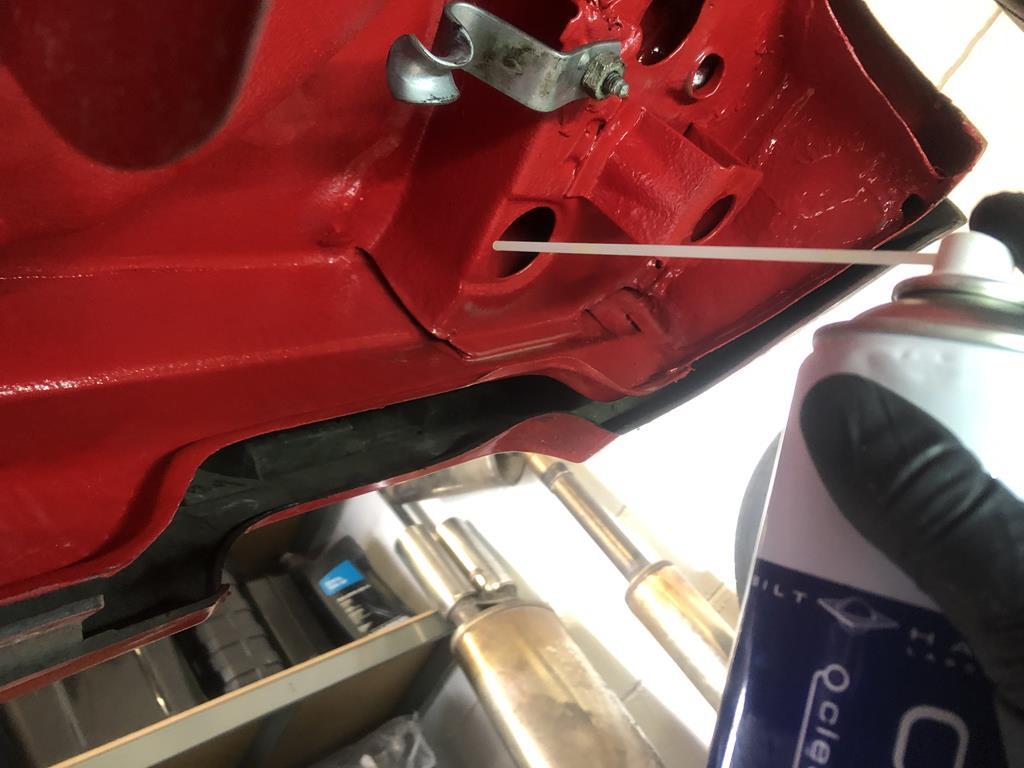 Next up was the exhaust. I really like the Jetex currently but it's a little small being an 8v item. The step down from the manifold 2.5" to 2" I felt was a little much. After a lot of research, I wanted something that replicated the original OEM system and an item that would clear the ARB without having to be reshaped like the Jetex. Enter this 'Novus' system. First impressions - slanty OEM tips look ace. The overall quality and attention to detail... hmm. The pipe needed a little reshaping to fit together, a few weld splatters and no bracketry supplied. Nevermind, lets see how it fits: 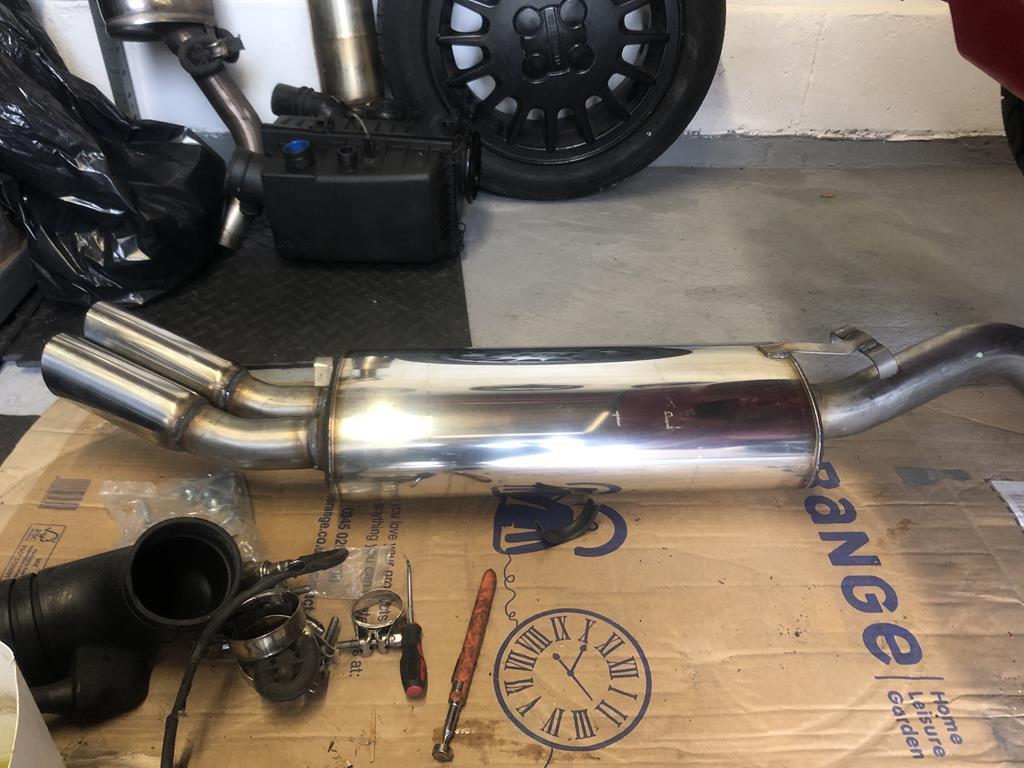 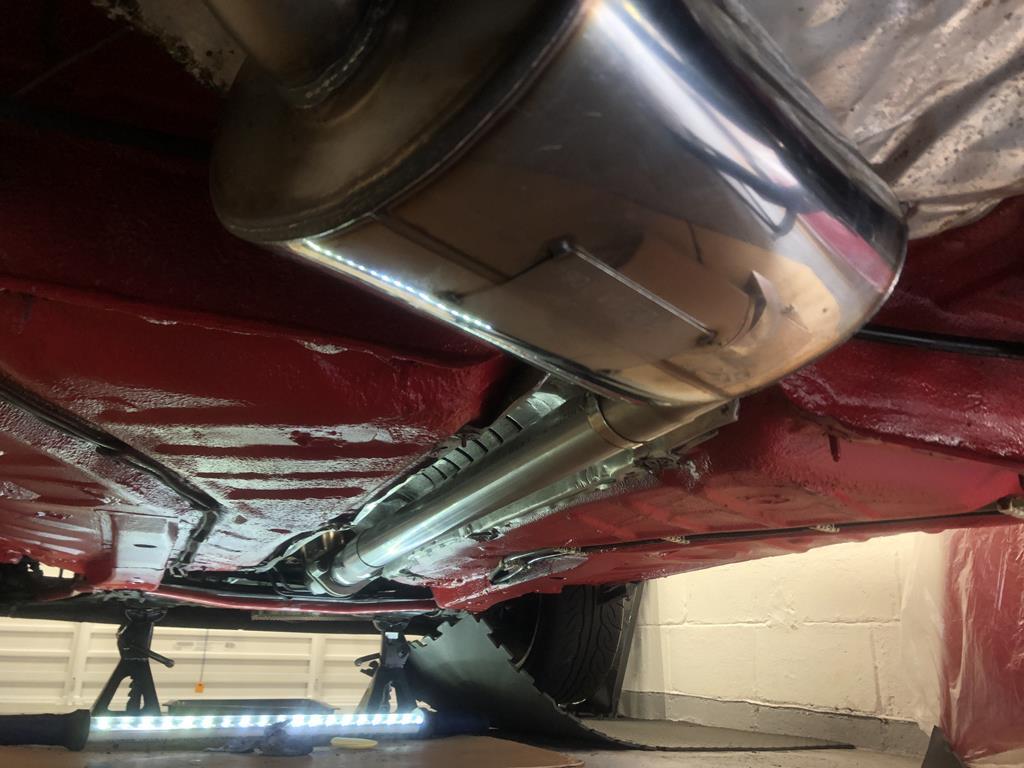 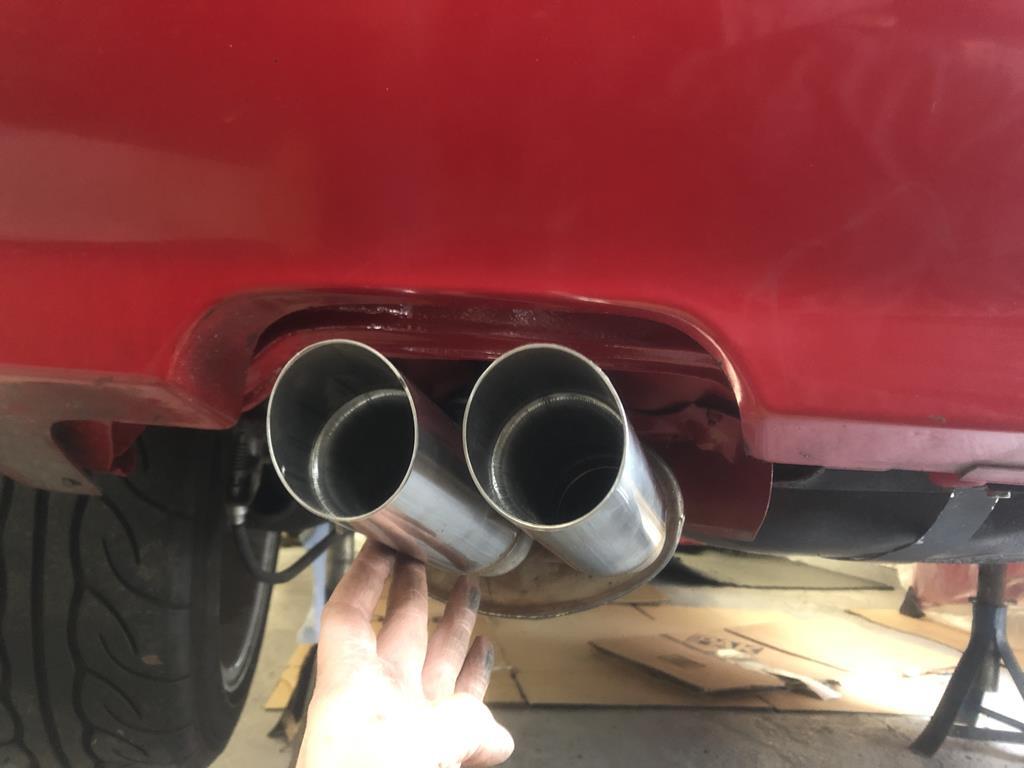 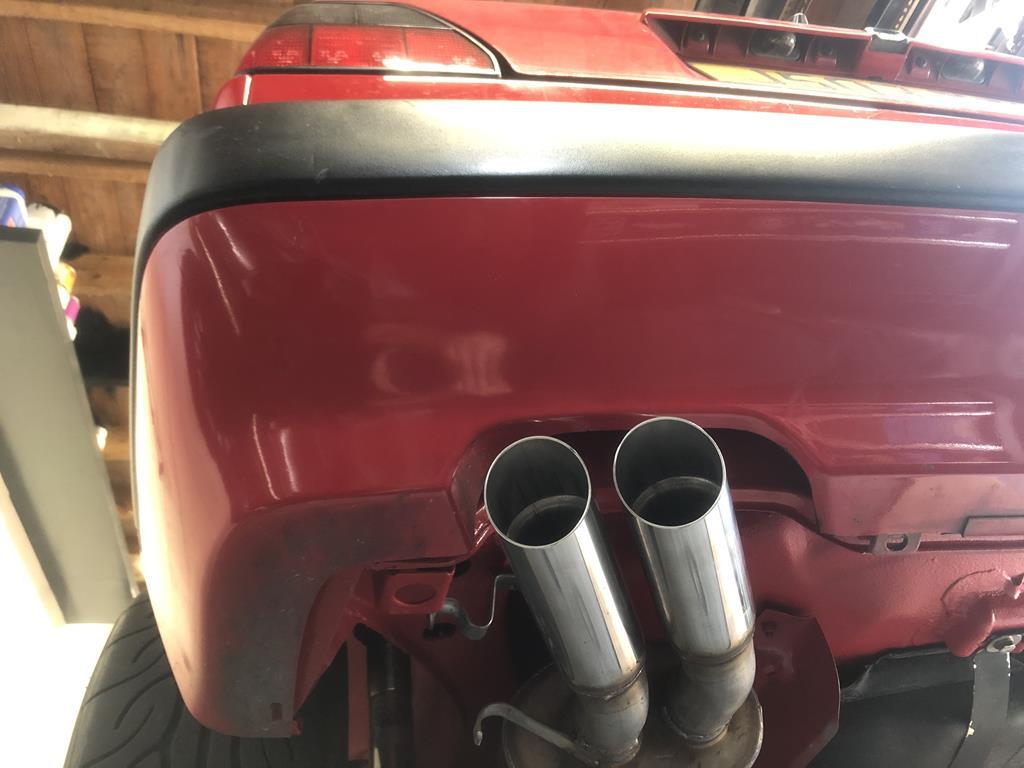 Just need to get a couple of lambda bungs welded into the manifold: 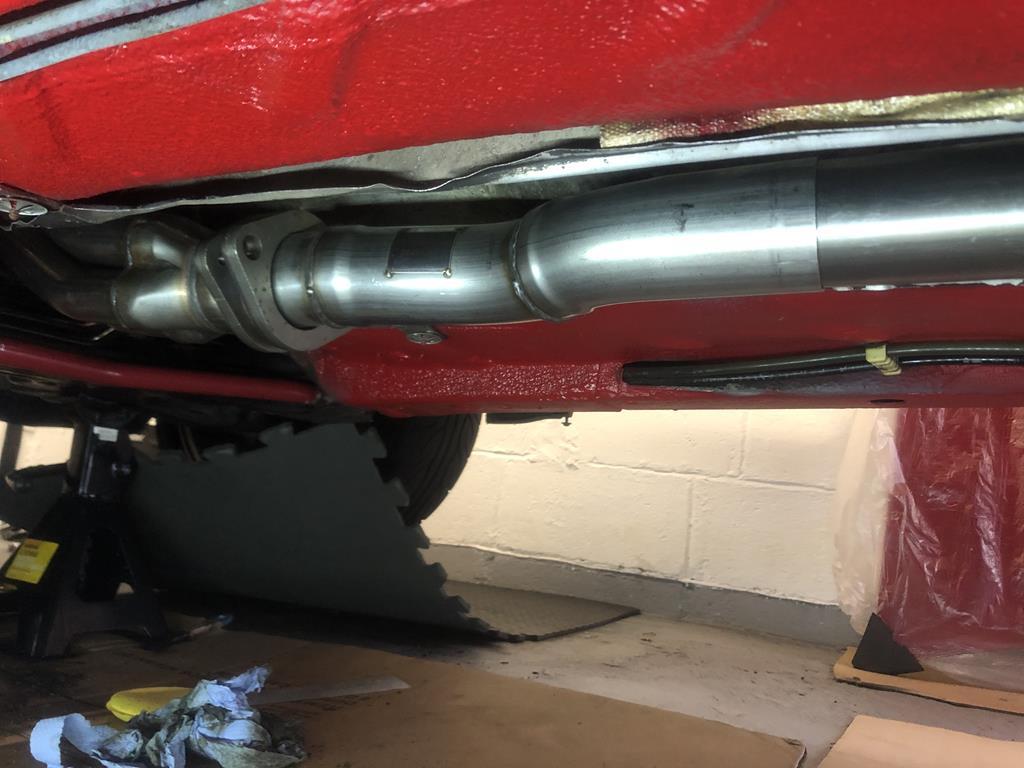  I need to think up a solution to hang the rear box - the bracket, whilst in the OEM position doesn't seem quite right and doesn't work with the Jetex hanger as the Jetex systems hanger is placed on the top. Jetex bracket on the top:  Novus system on the side (clears the ARB nicely though): 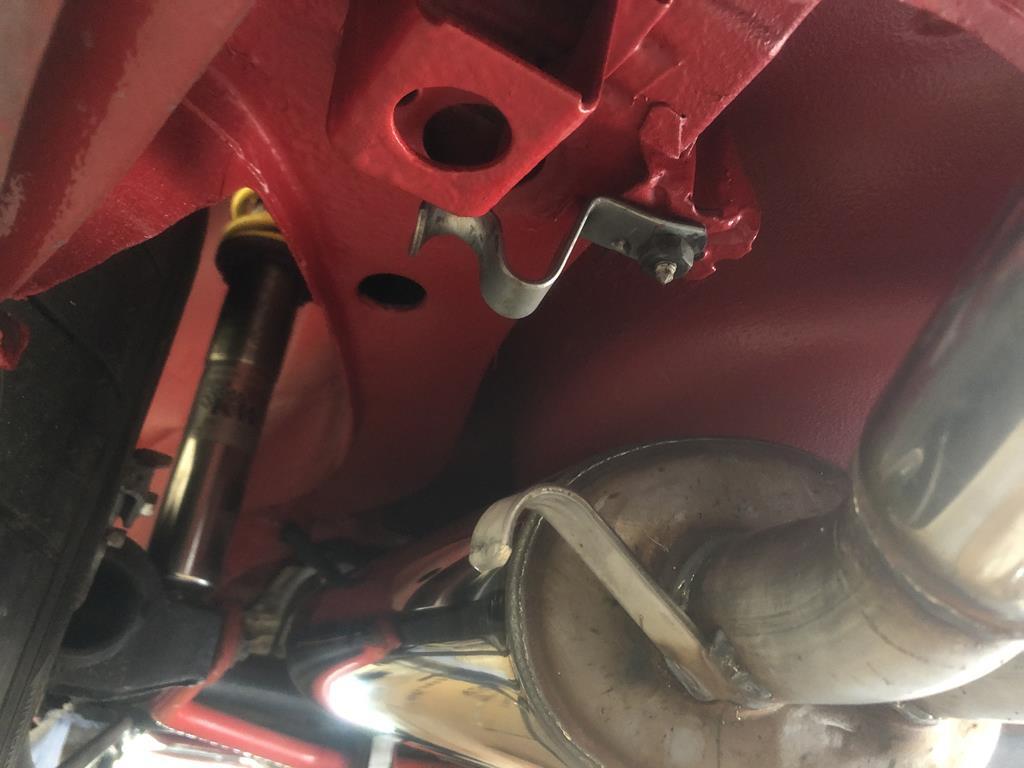 To be continued... |
| |
|
|
|
|
|
Mar 16, 2020 14:11:45 GMT
|
Not a whole bunch to say other than really enjoying keeping up with the progress on this, looking really good |
| |
|
|
rickygolf83
Scotland
Mk2 Golf 8v & 16v, VR6, Nova Antibes, Mk4 1.8t & mk4 Gt Tdi 130
Posts: 560
|
|
Mar 16, 2020 22:15:20 GMT
|
|
It just keeps getting better this car!
|
| |
|
|
jmsheahan
Club Retro Rides Member
Posts: 681
Club RR Member Number: 121
|
|
|
|
Not a whole bunch to say other than really enjoying keeping up with the progress on this, looking really good It just keeps getting better this car! Thanks guys, appreciated A little more progress last night. Nothing groundbreaking but a few more bits of stainless, fresh vac lines and refitting of the bonnet latch. The inlet manifold is back on now too. 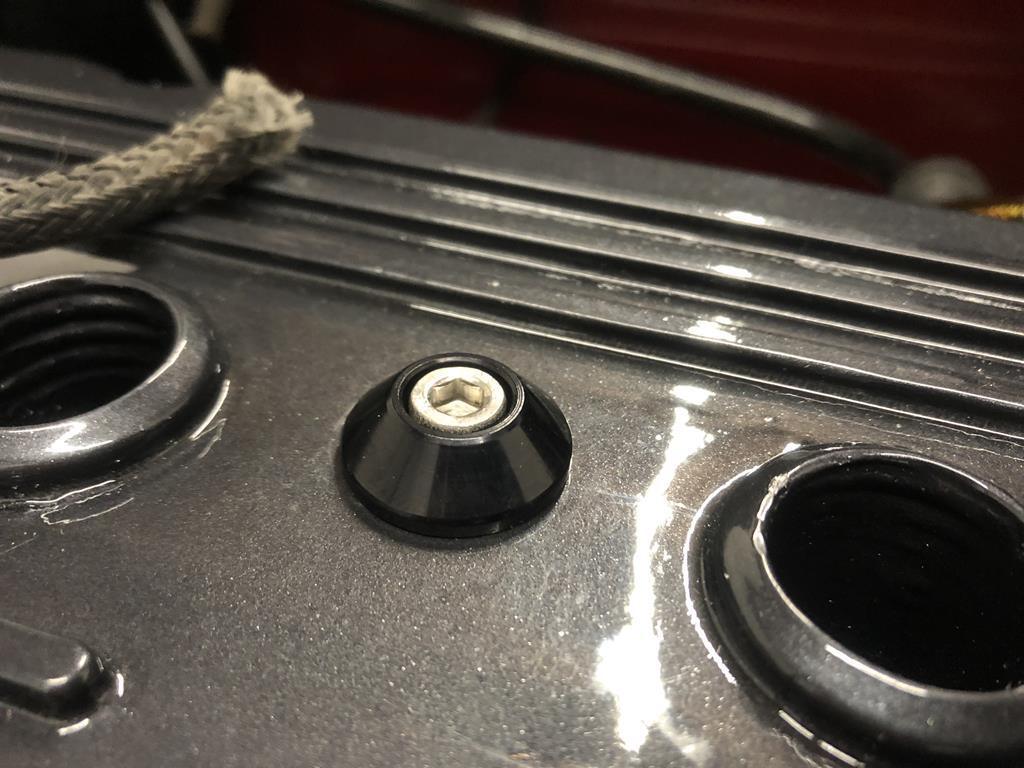 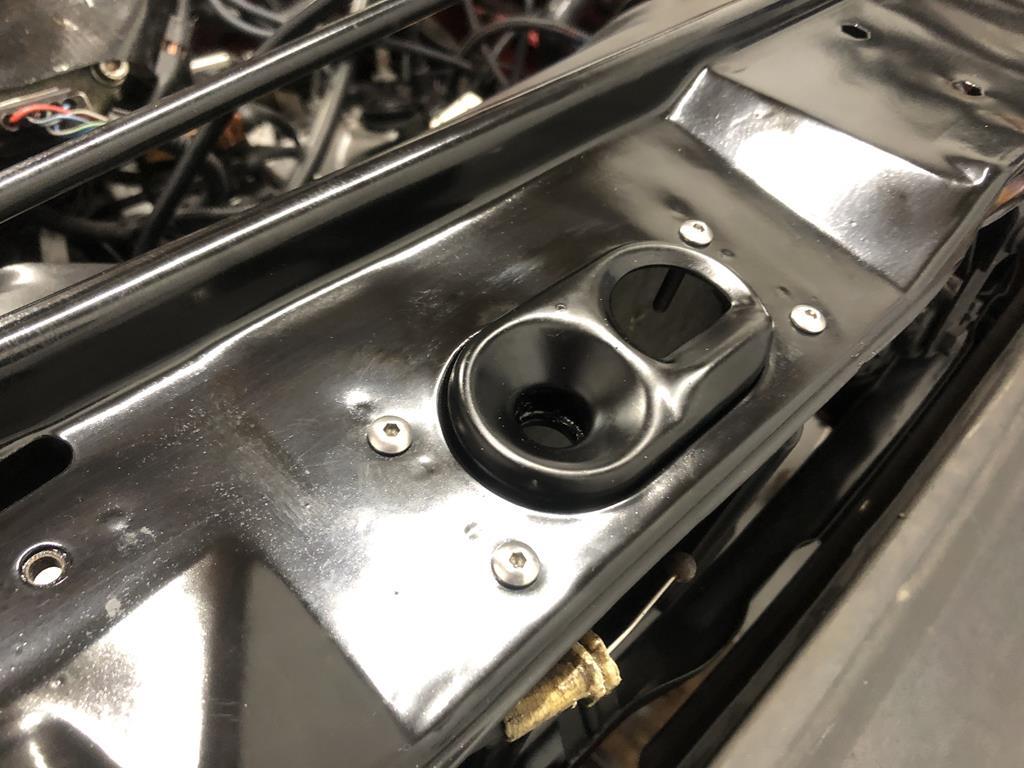 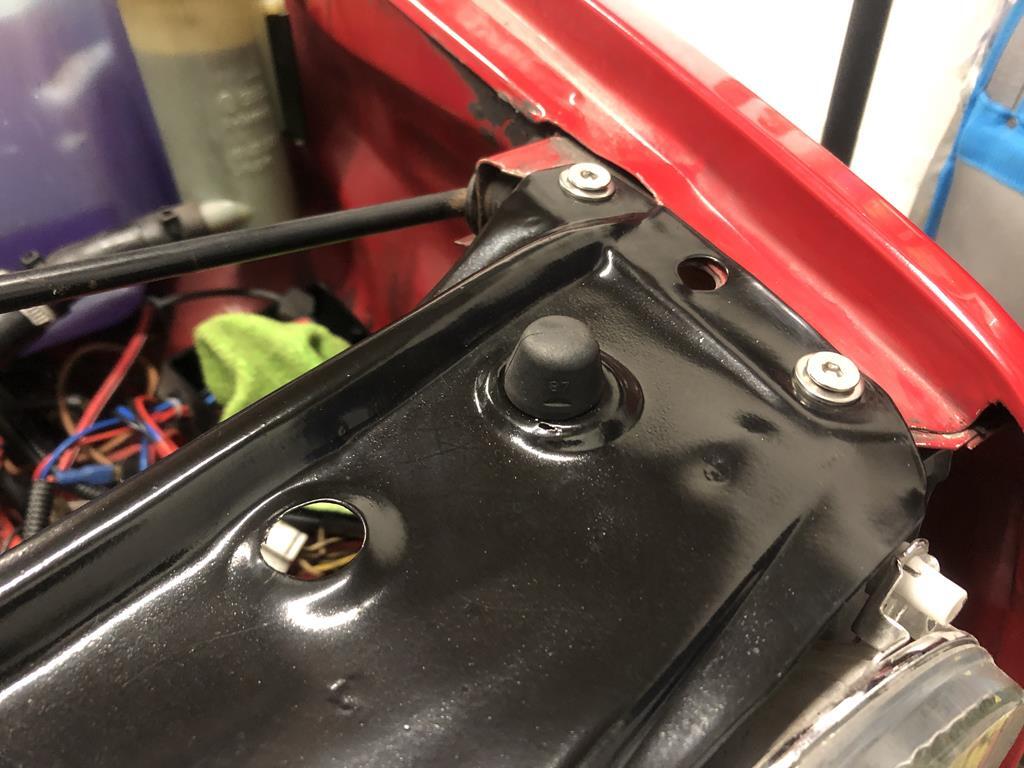 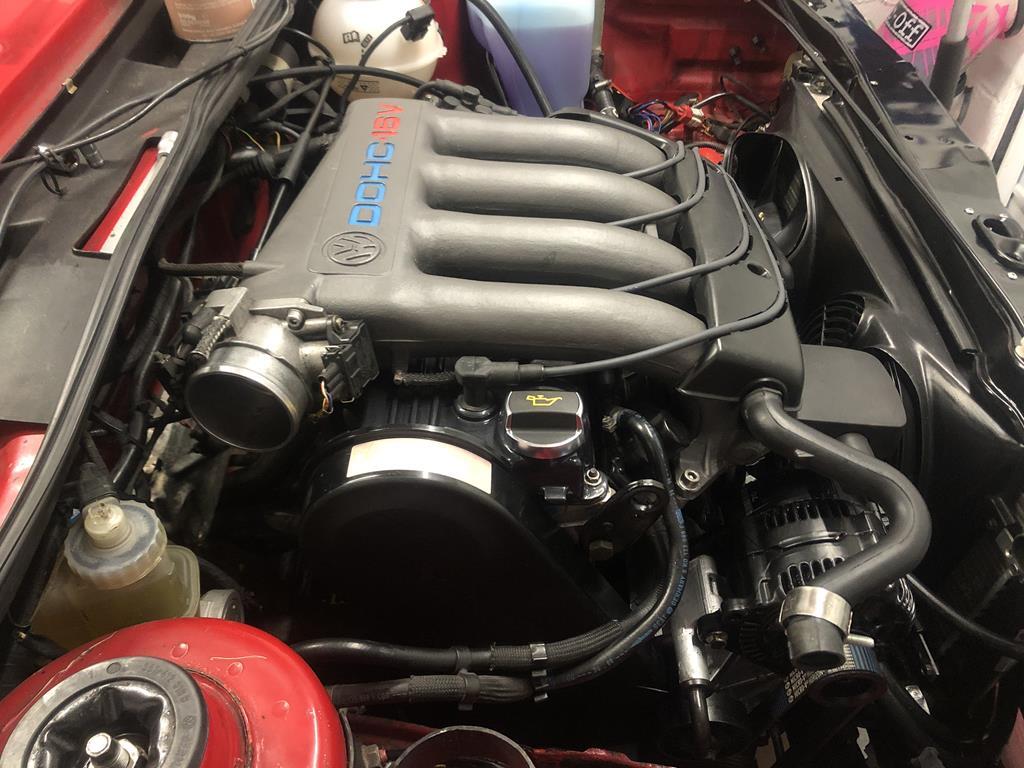 |
| |
|
|
tristanh
Part of things
Routinely bewildered
Posts: 990
|
|
Mar 18, 2020 22:38:40 GMT
|
|
Nice touches with the fasteners.
|
| |
Whether you believe you can, or you cannot, you're probably right.
|
|
jmsheahan
Club Retro Rides Member
Posts: 681
Club RR Member Number: 121
|
|
Mar 23, 2020 10:27:39 GMT
|
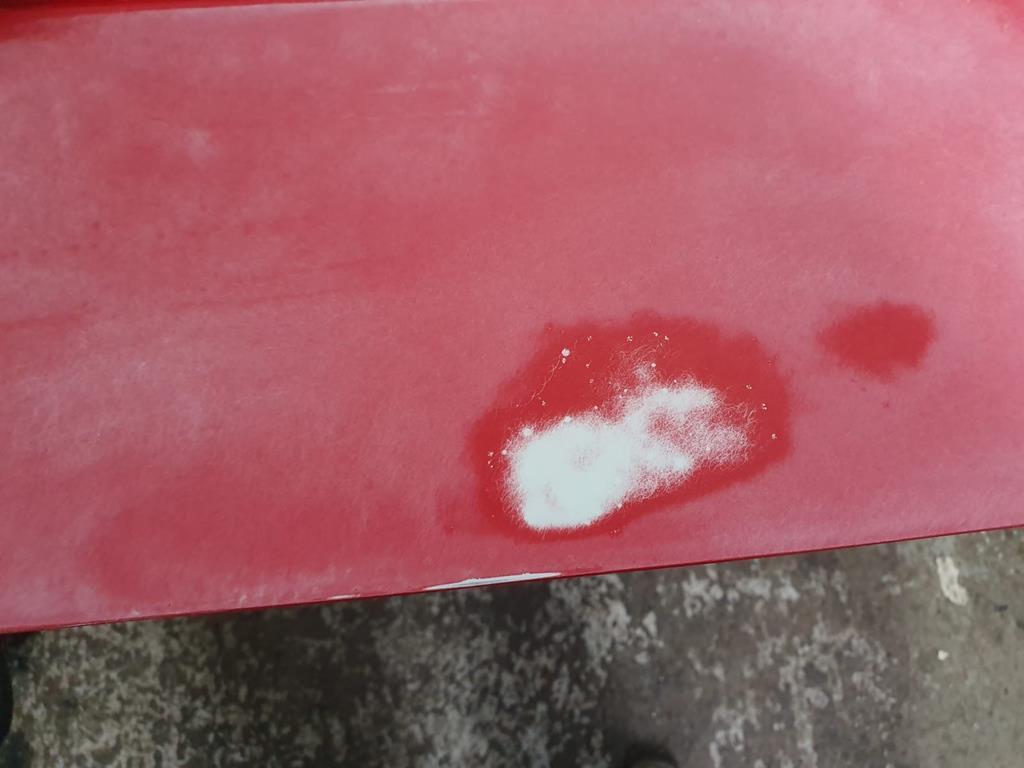
For those still awake at the back it’s time for more bodywork updates! (groan ). I’m sure for a lot of us at the moment, throwing yourself into some form of normality, i.e our retros is keeping us sane. Extended and wrapped the uprated headlight loom so I could relocate it to under the front slam panel with added bonus of easy access fuses and relays. I’m hoping the relays have enough protection here from rain and water ingress but time will tell. Can’t recommend this upgrade enough if you have a VW of similar age, it makes such a difference to light output. 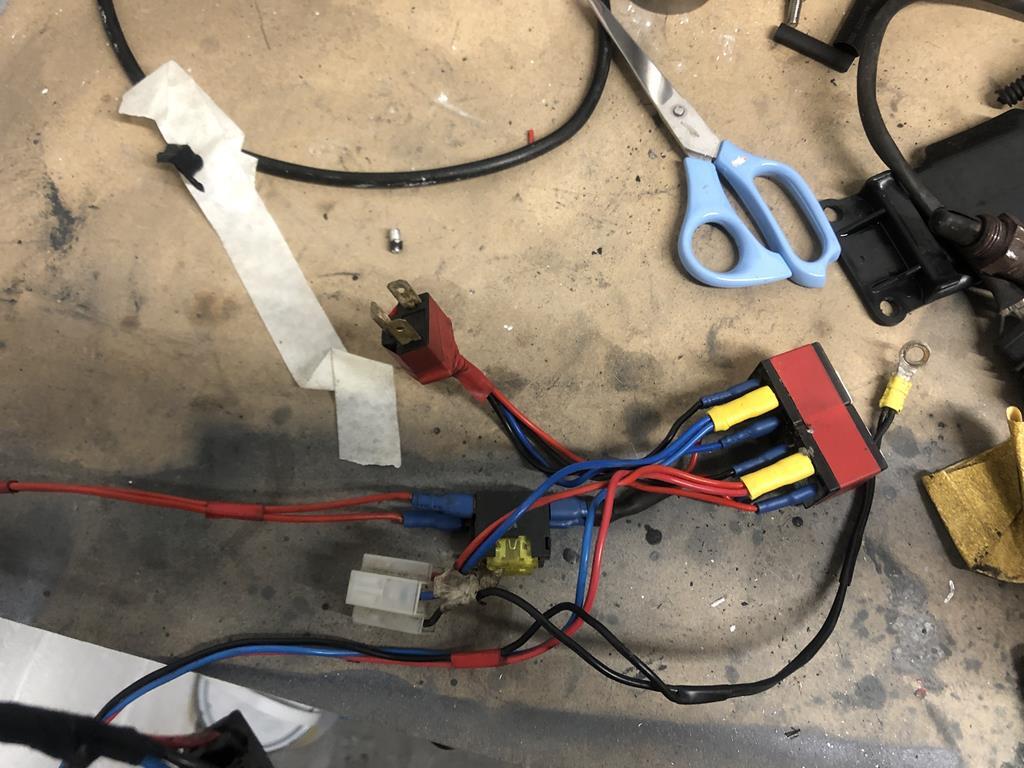 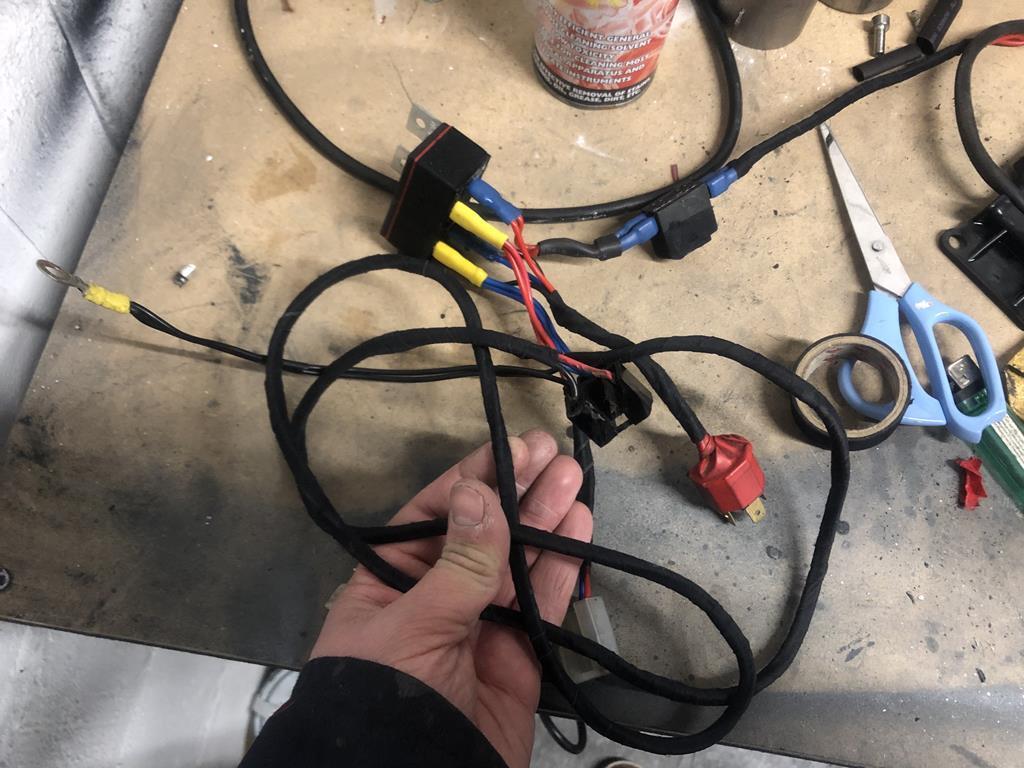 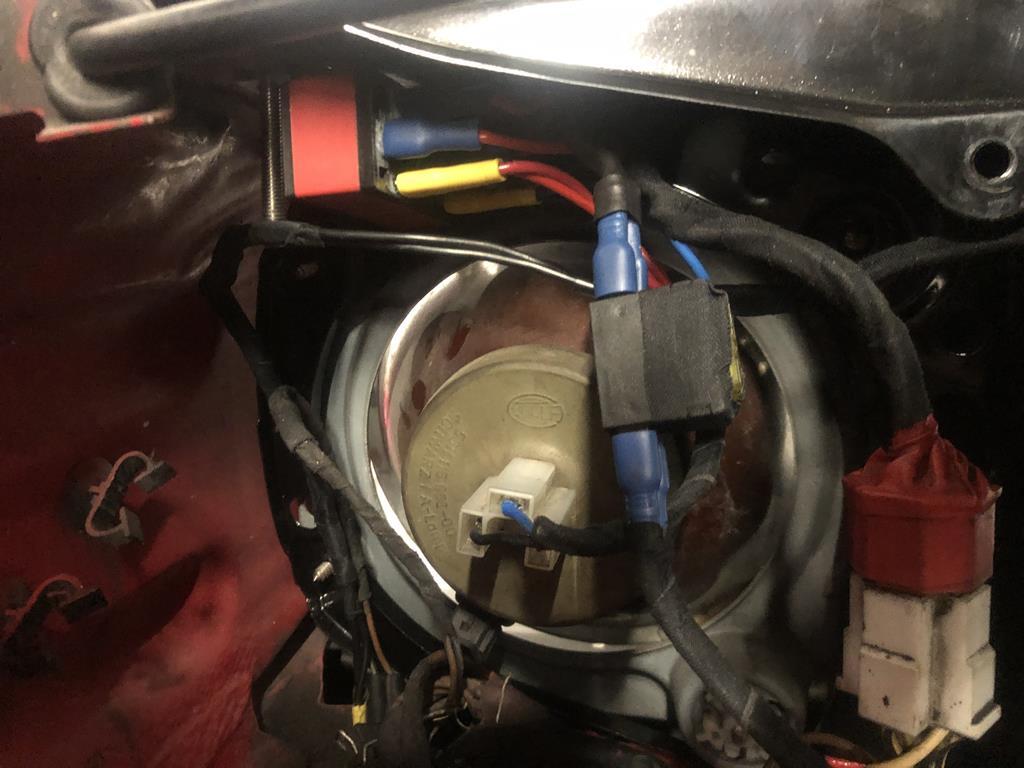 Back box tweaked and now sitting nicely. I managed to find a suitable hanger in my spares stash. 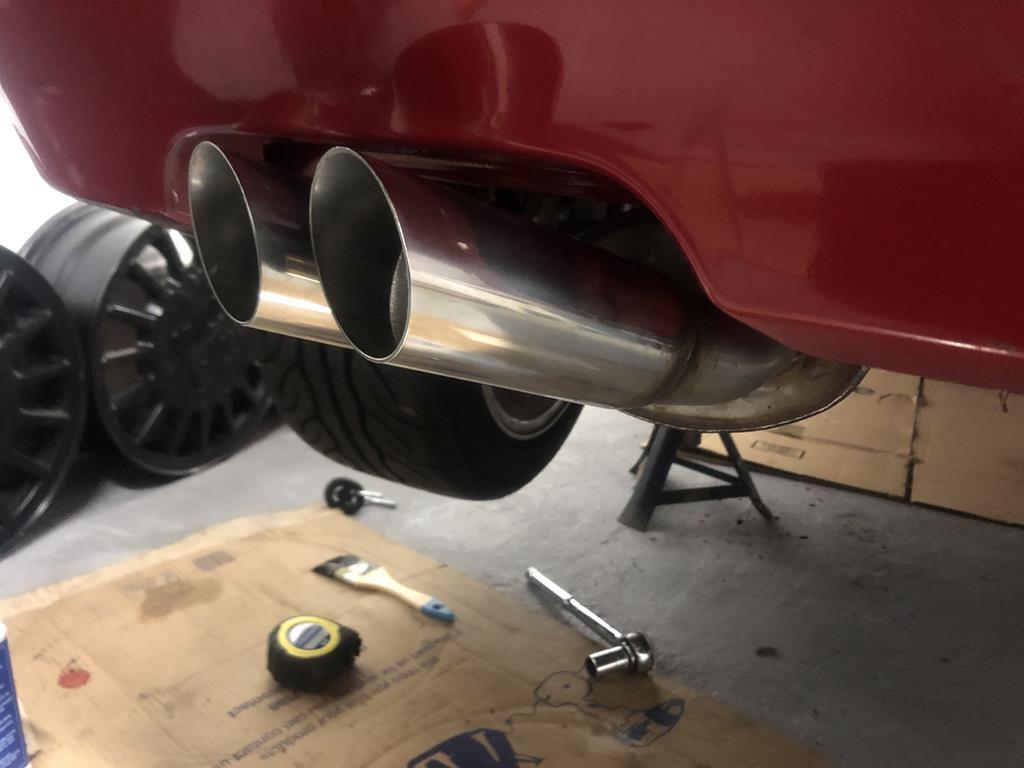 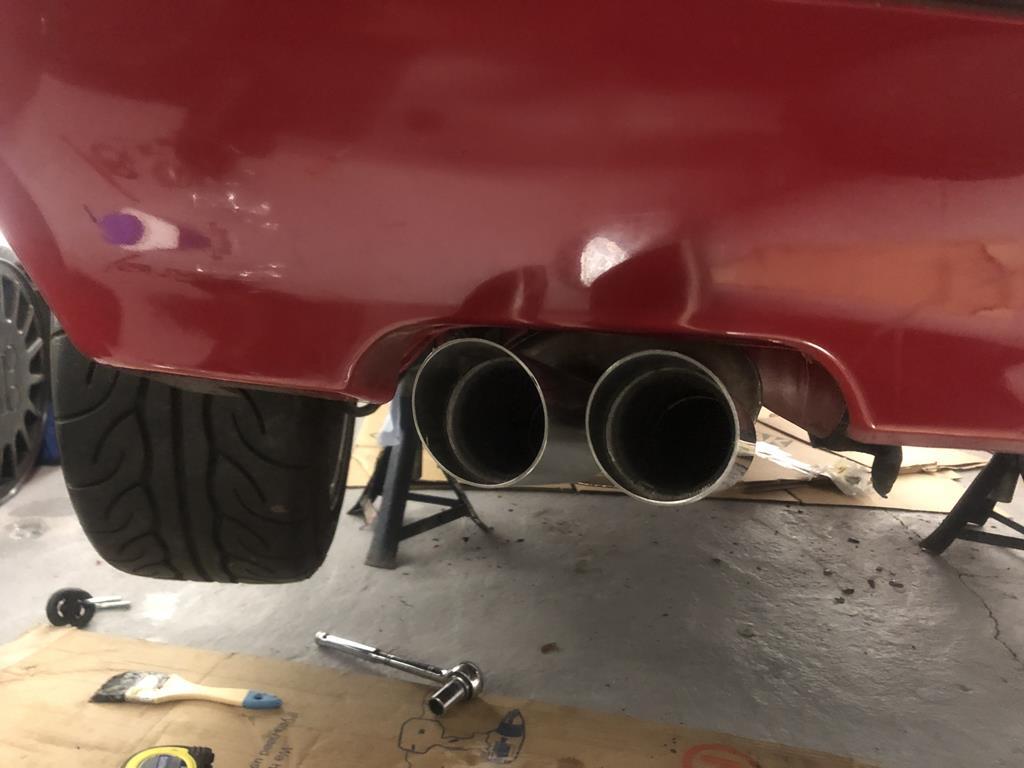 As the tank was reinstalled in a rush to get the car out of the bodyshop last year, I took some time to drop it down again and clean it up. Replaced any rusty clips and continued my quest to rid the car of any self-tapping screws that VW seems to love oh so much. I’m putting a lot of faith in Bilt Hamber products of late (I think I’ve tried most of their rustproofing range now - my stained hands and bank balance prove it) and as such the fuel filler bracket was pumped with S50 cavity wax in a bit to stop it rotting out again. 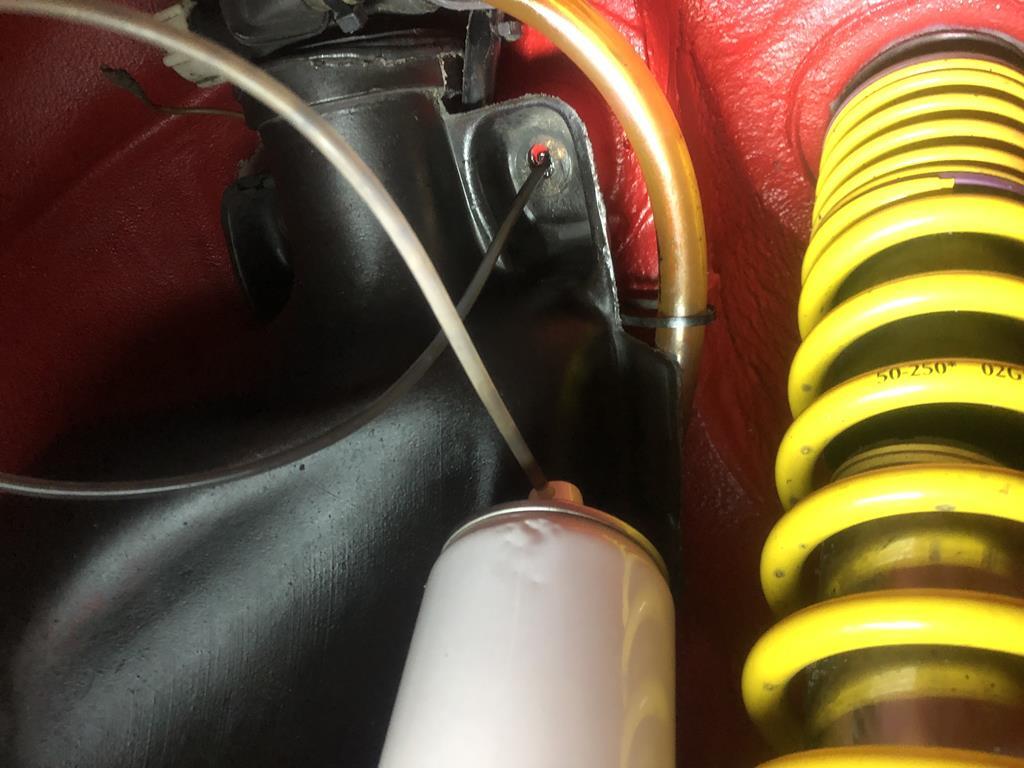 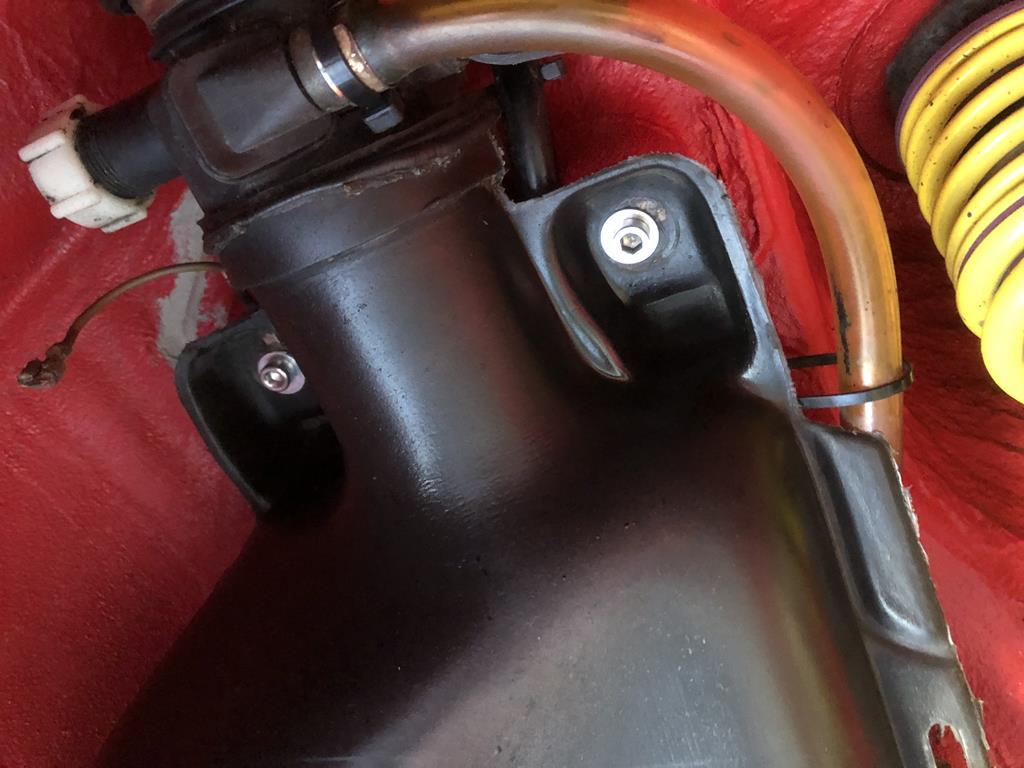 Enlisted the help of the OH to pop the bonnet back on now I’ve finished with the exhaust manifold. I don’t think I’ve aligned it quite right but it’s off of the floor which is the main thing as I was paranoid about damaging it! 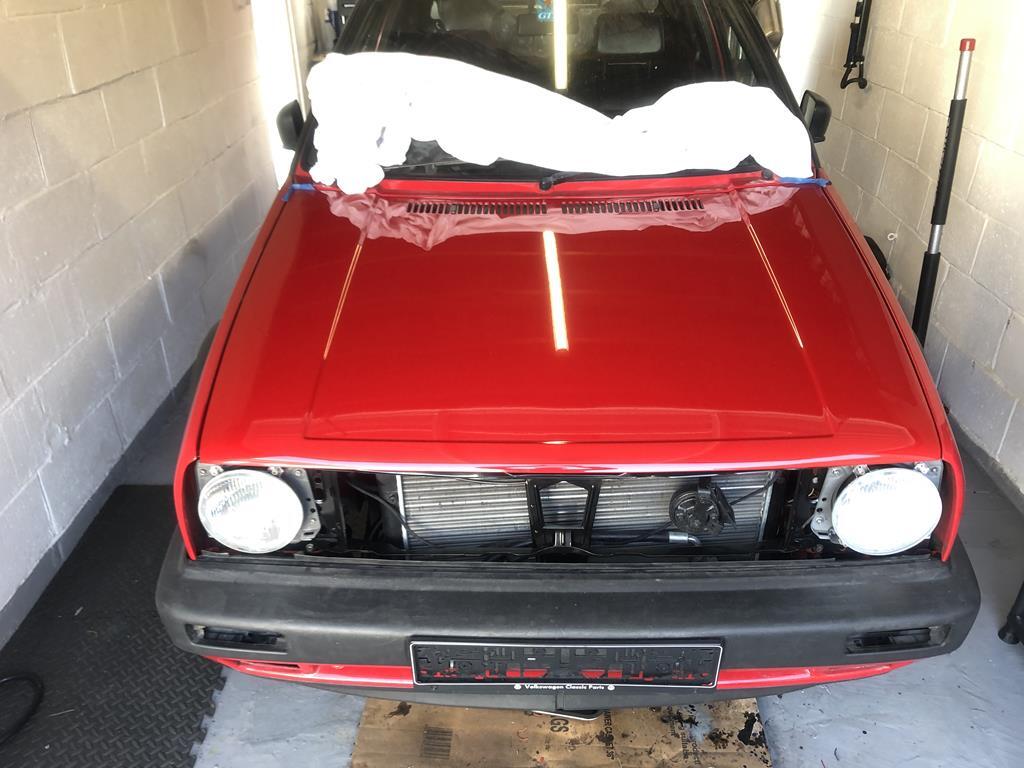 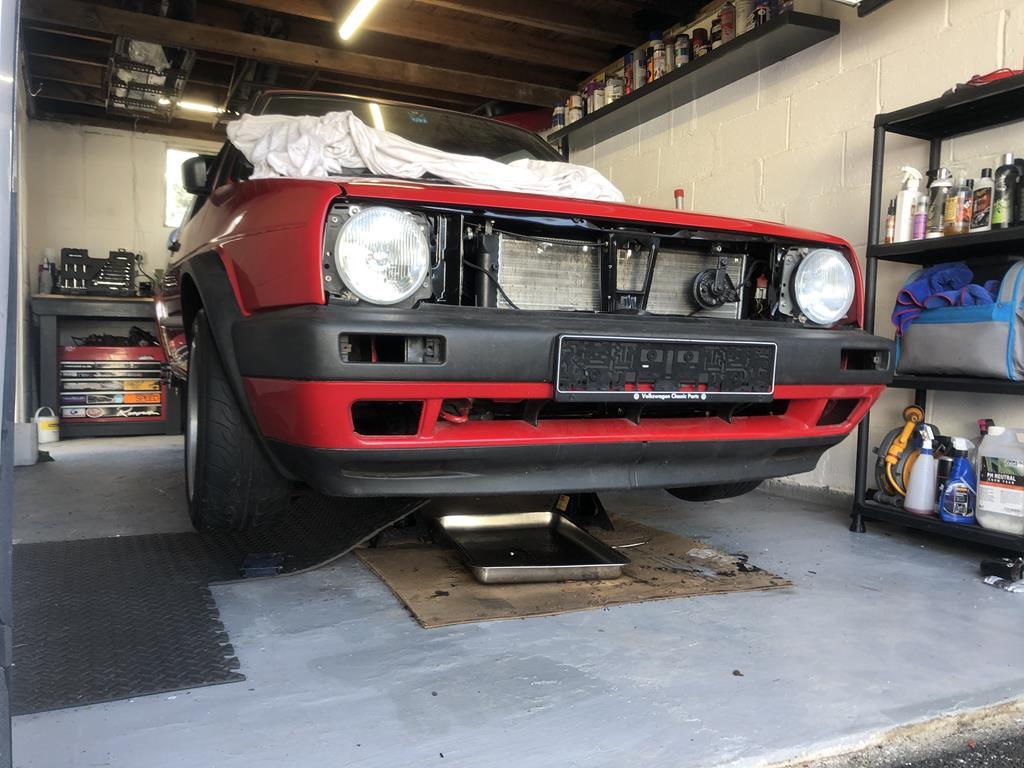 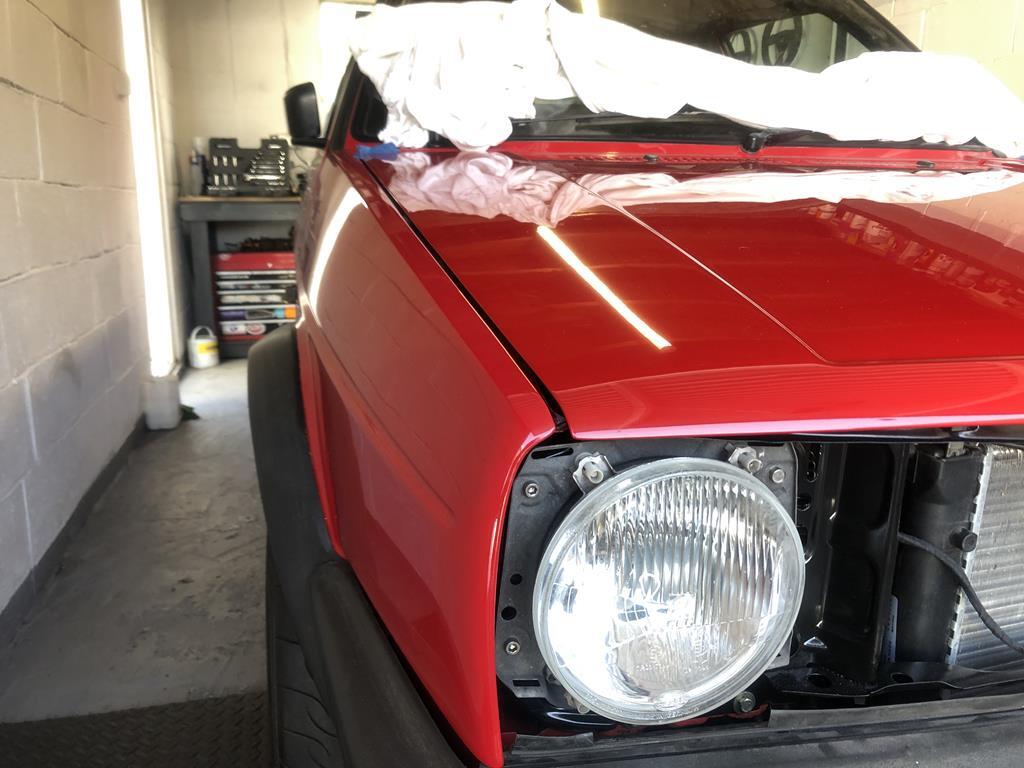 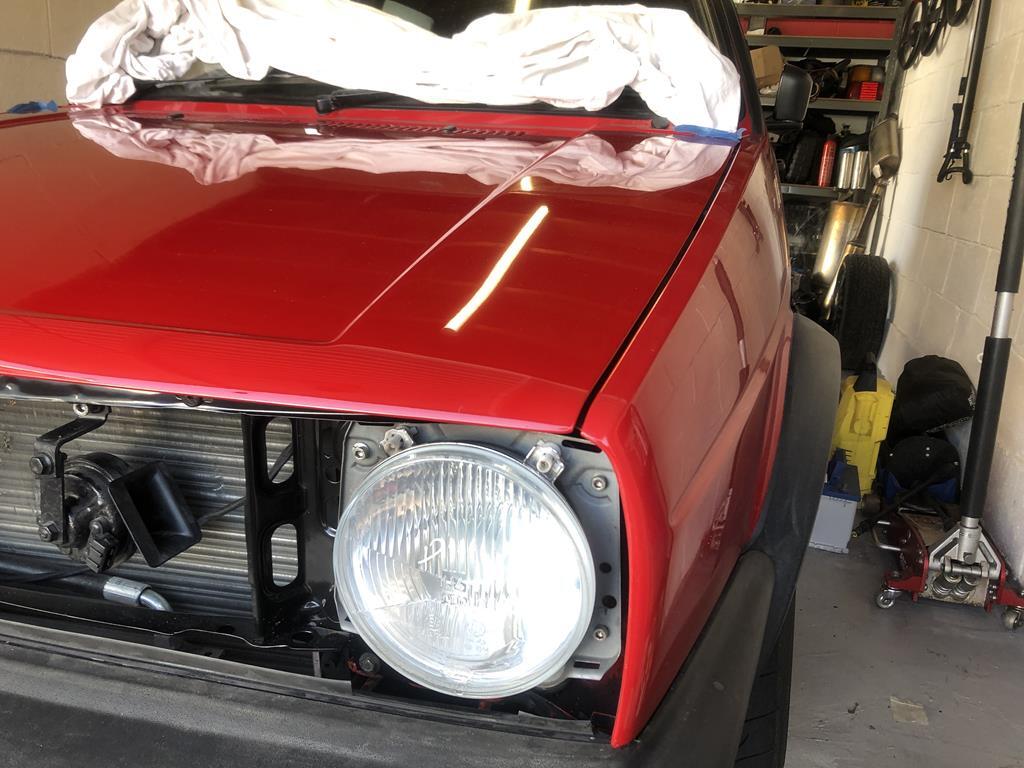 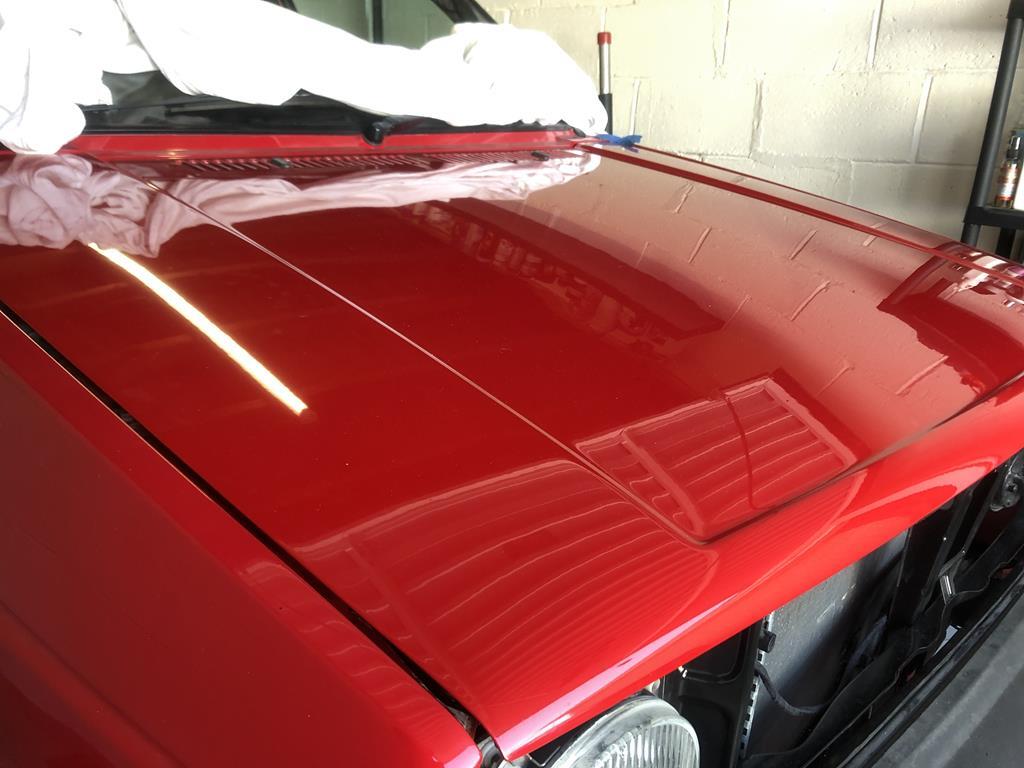 Rear bumper off again next for more rust proofing. Look at all that nice fresh metal…be a shame if someone was to cover it all up…ah. Oh well, needs must and all that - pumped full of S50 to try avoid a repeat of another weldathon in the future. 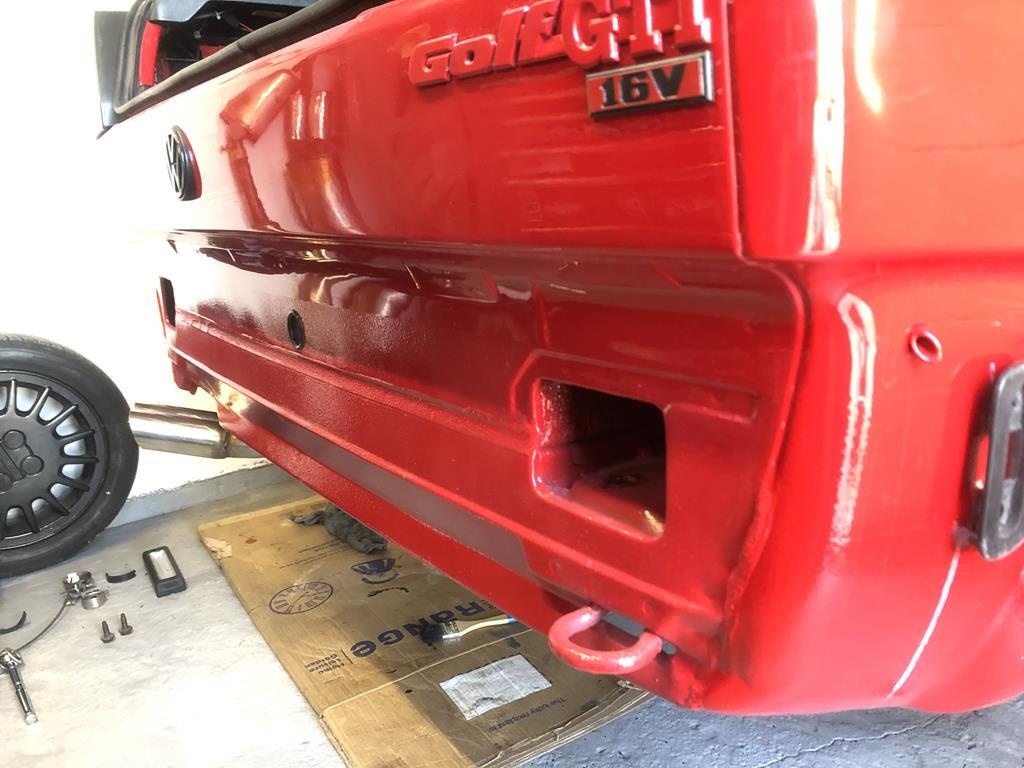 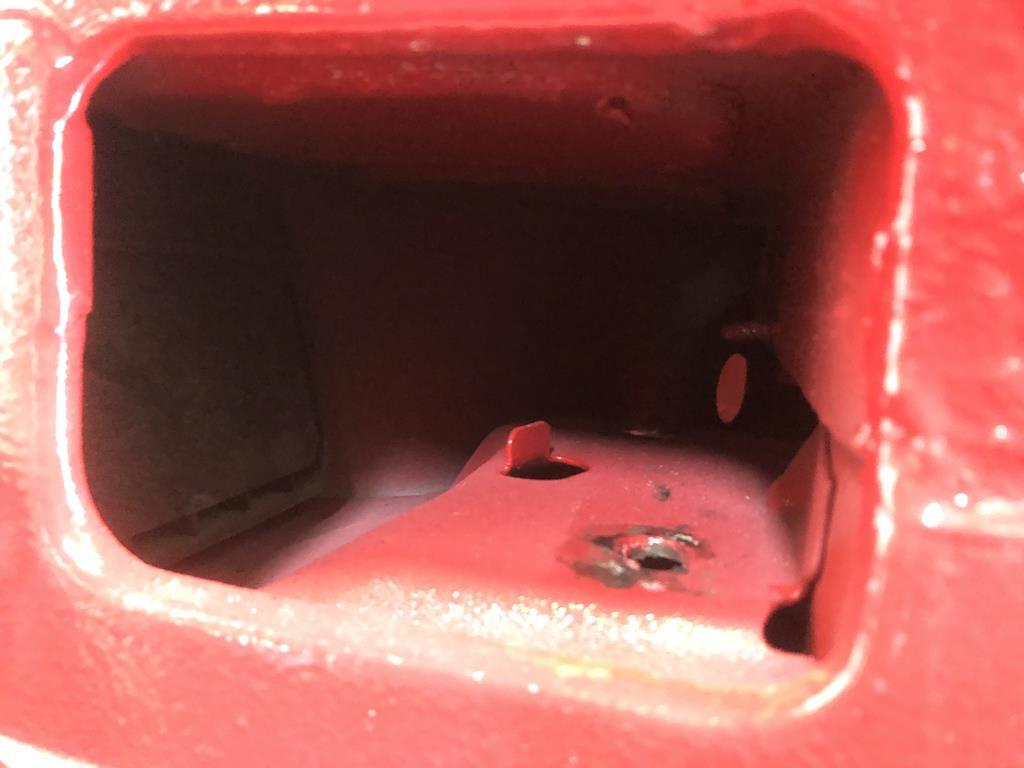 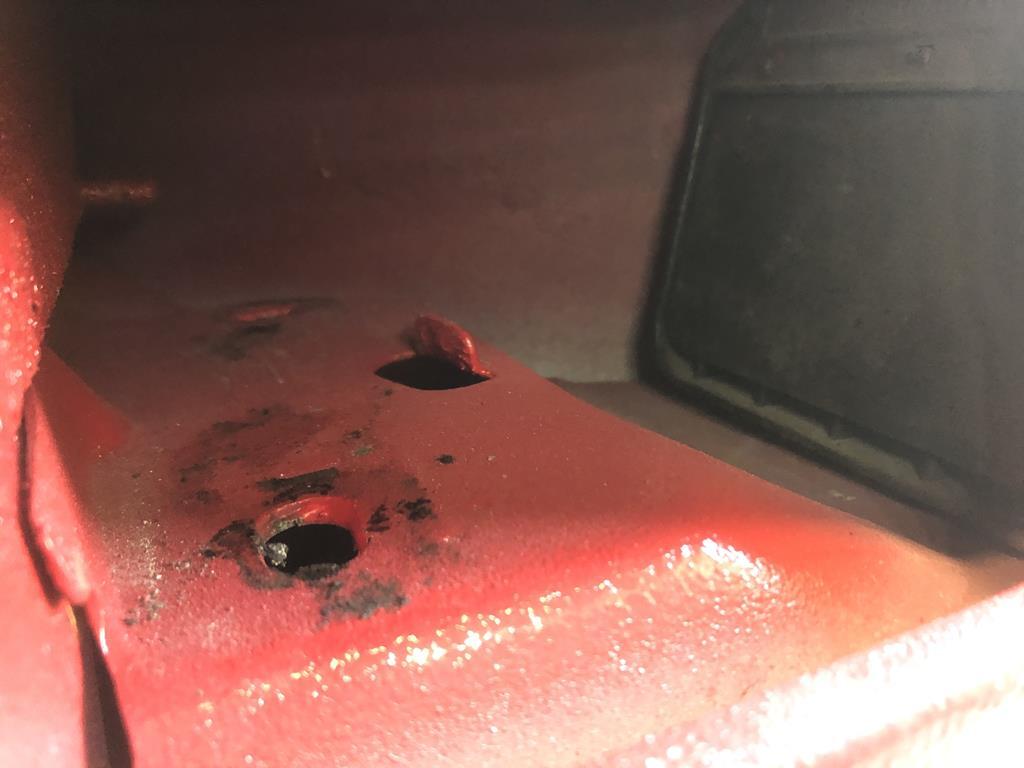 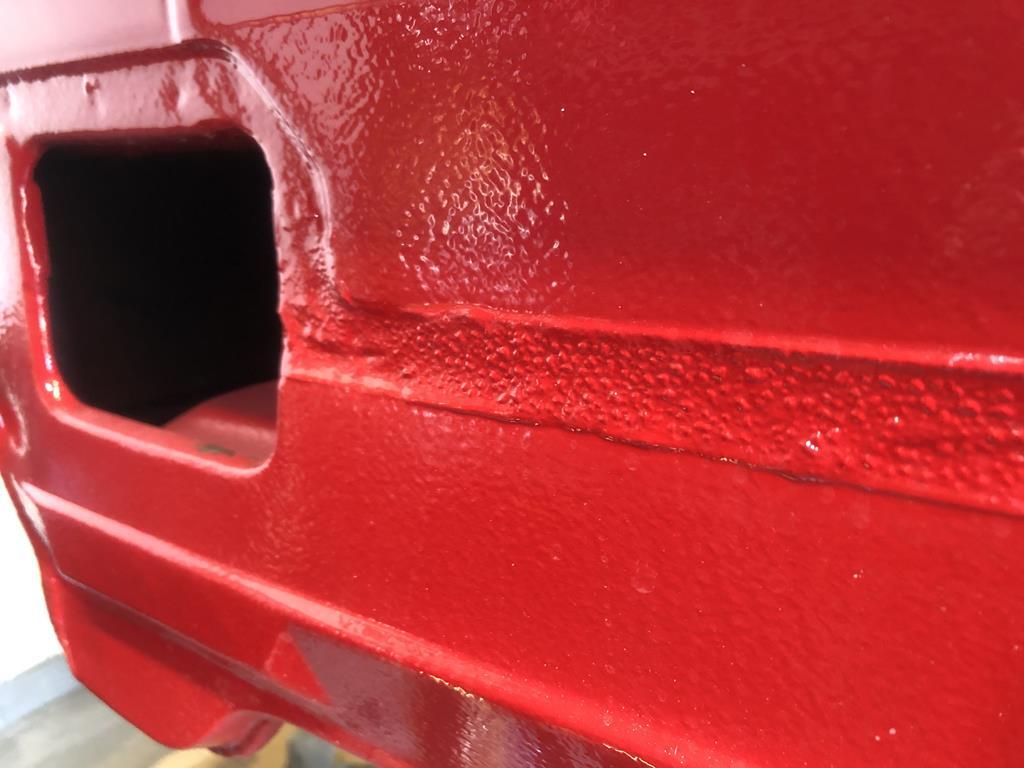 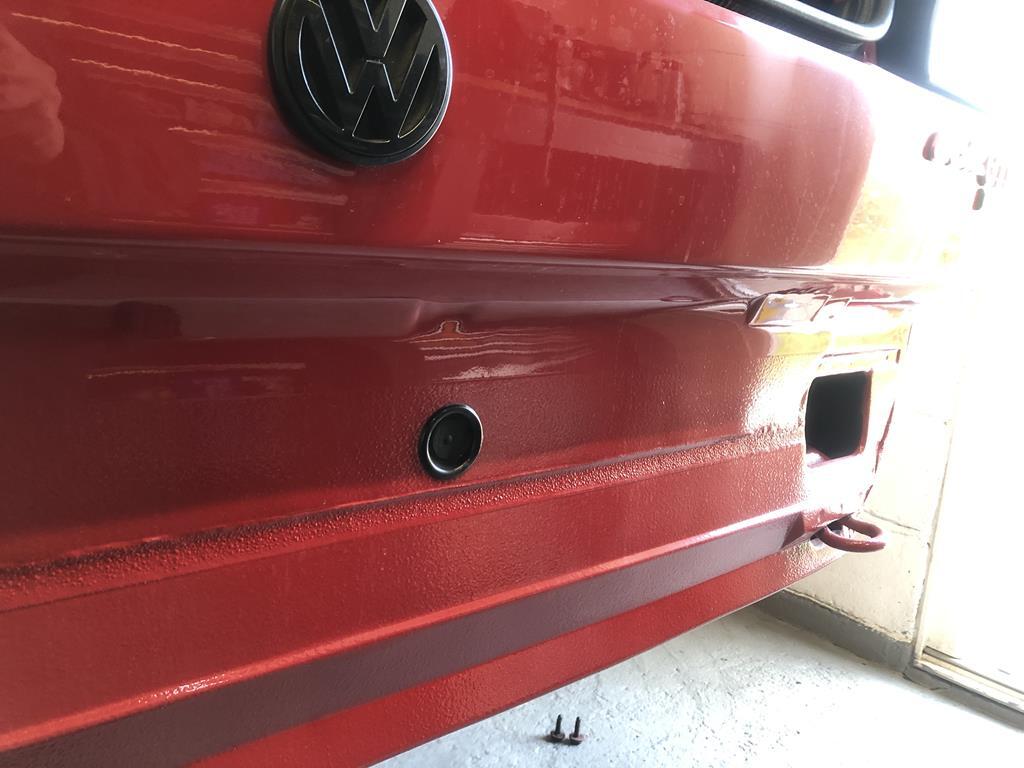 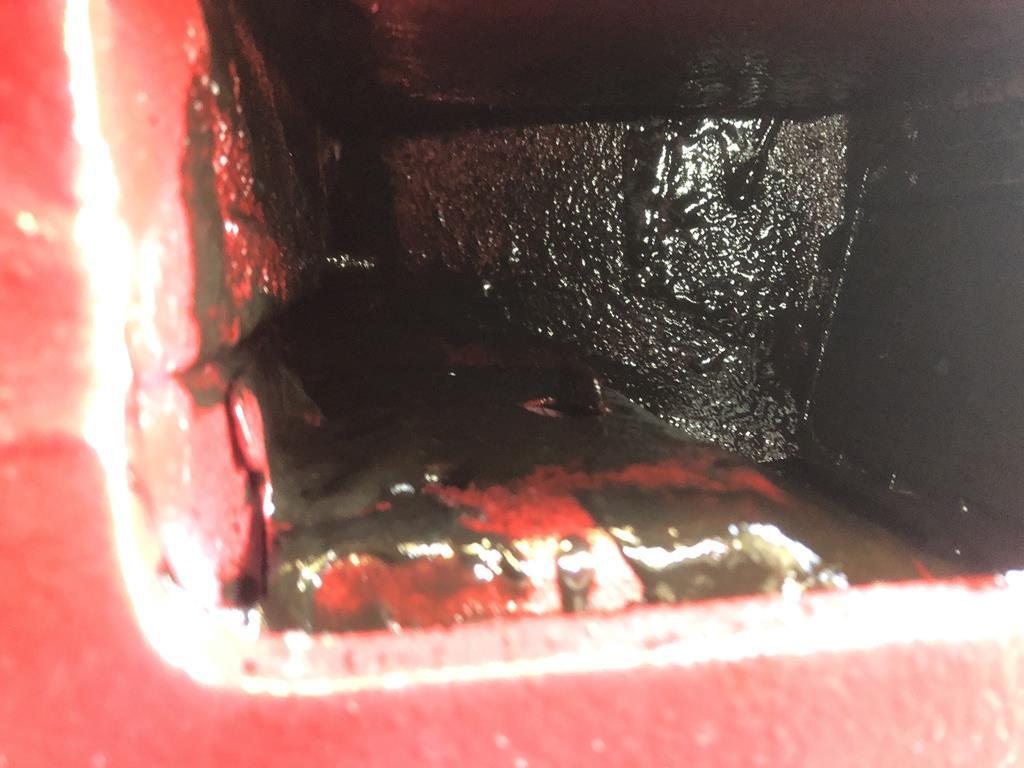 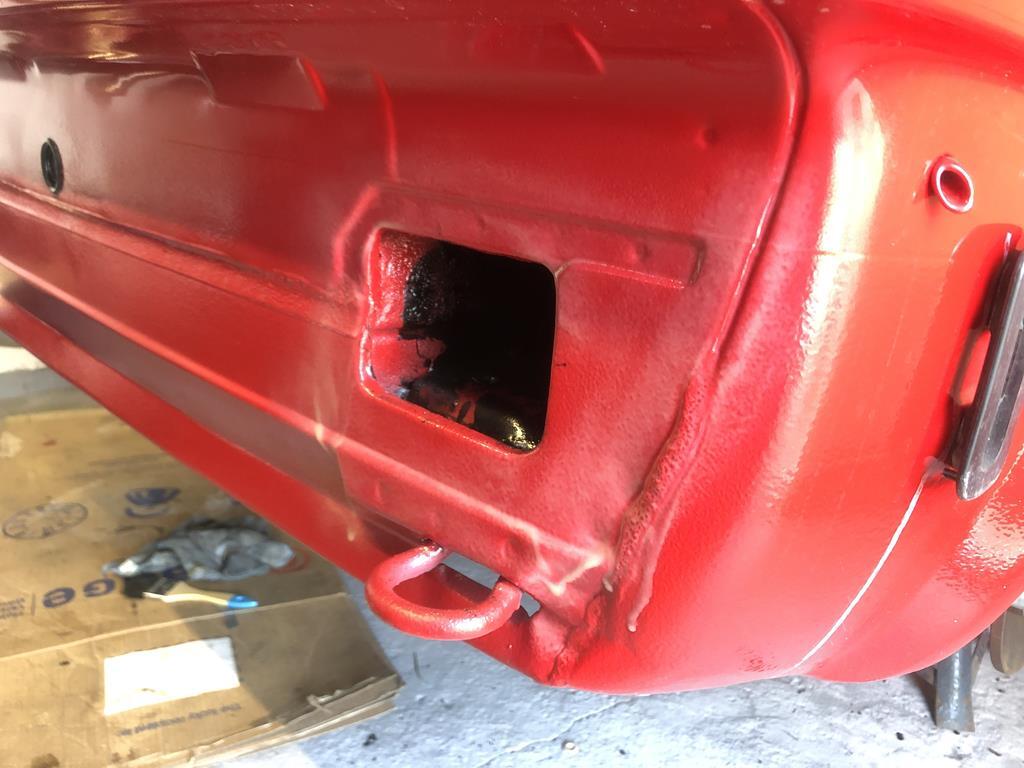 I also coated the rear lower valance in UC wax which will all be hidden by the bumper. 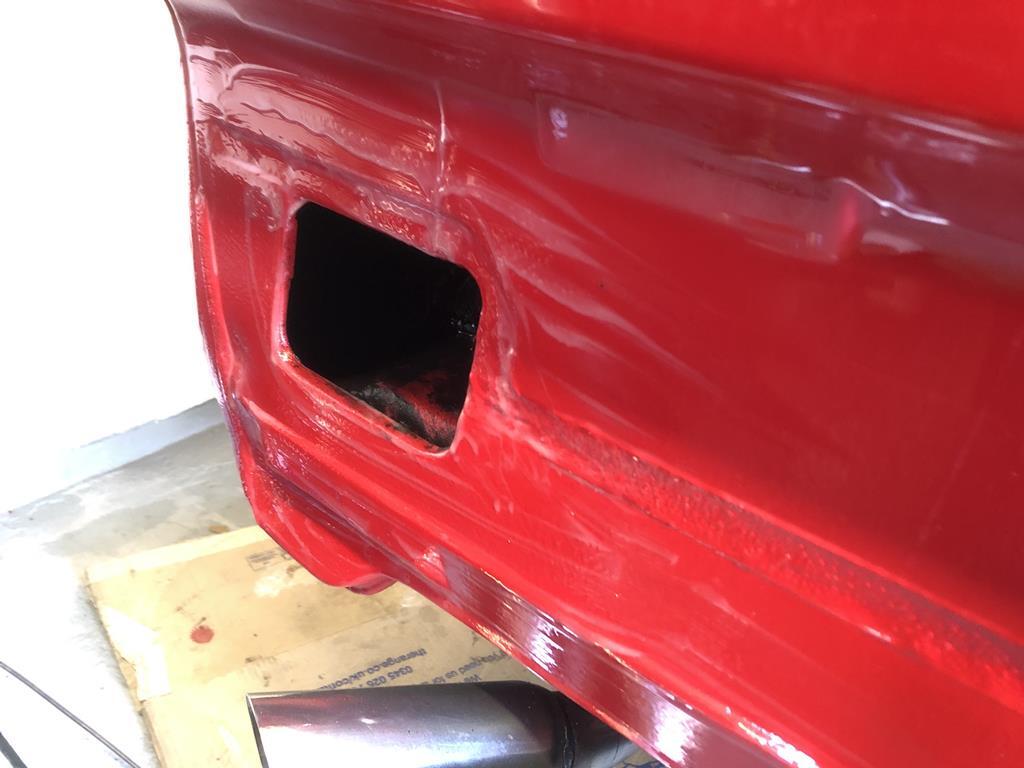 Looking at the underside there were a few areas I’d missed when painting the raptor. I have some Tornado Red 2k paint so it should look seamless when done (fingers crossed), but as the can only has a 1-2 hour shelf life once mixed I need to make sure everything is prepped (including the boot area) so it can all be hit in one sitting. For belt and braces approach I re-seam sealed a couple of areas and plugged the holes with new grommets. As these like to rust, although not pretty, I seam sealed them in for a bit of added protection. One grommet short on the sill annoyingly haha. 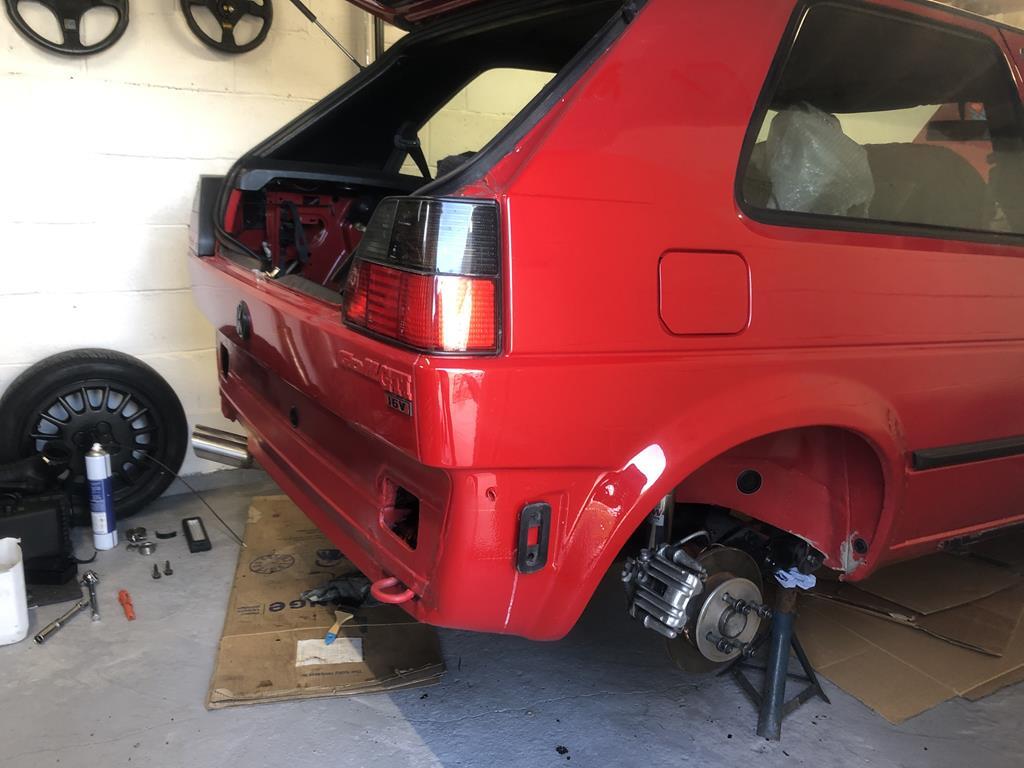 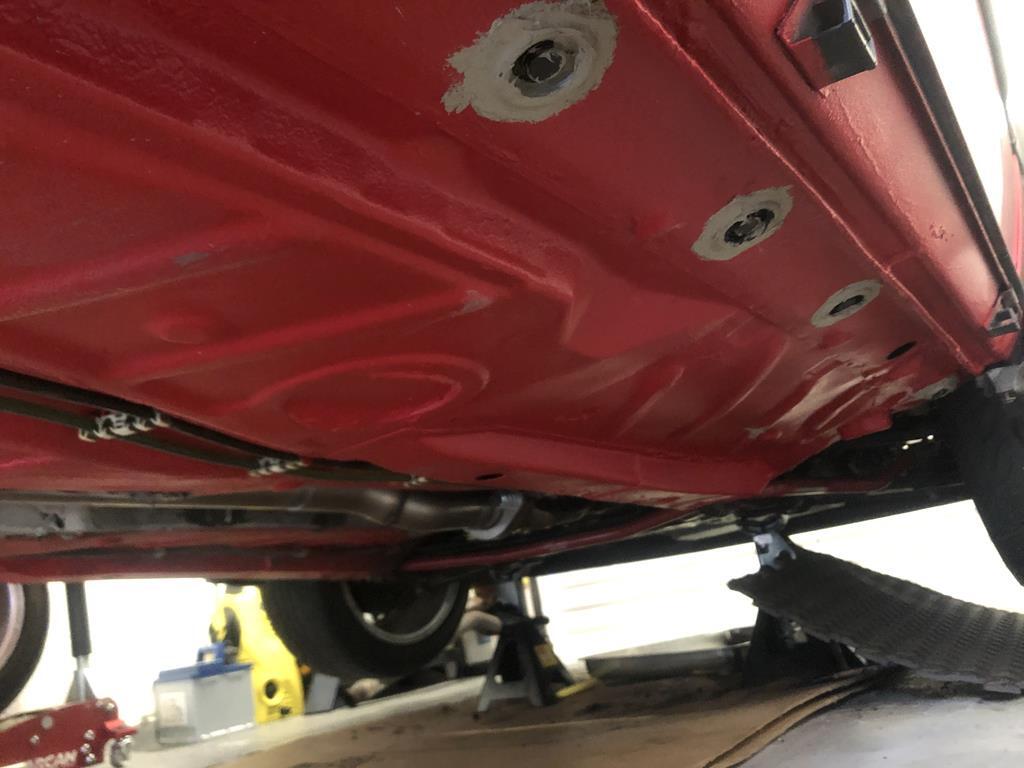 These ones in the rear arches are taped and undersealed over from the factory. Not too keen on that so they got bunged too. 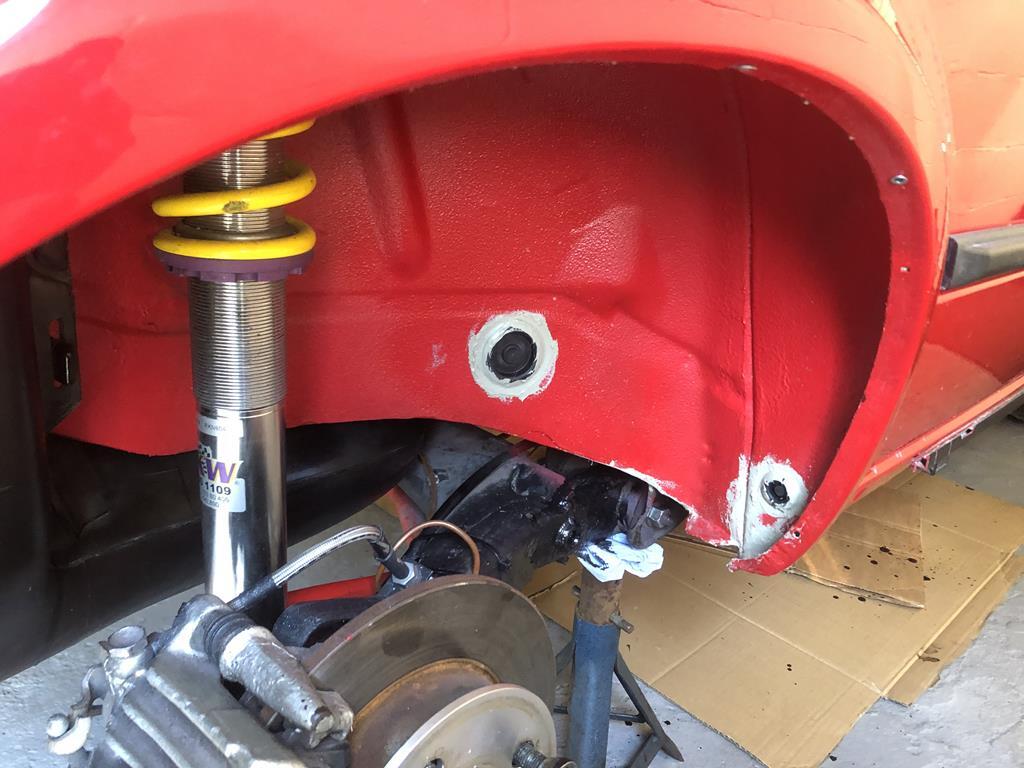 Right, on to the boot area... Pulled up the boot seal in prep for spraying the boot area - what’s this? Yay more rust haha. Left that soaking in Deox gel for a few days. Should be able to do a localised repair so no stress. 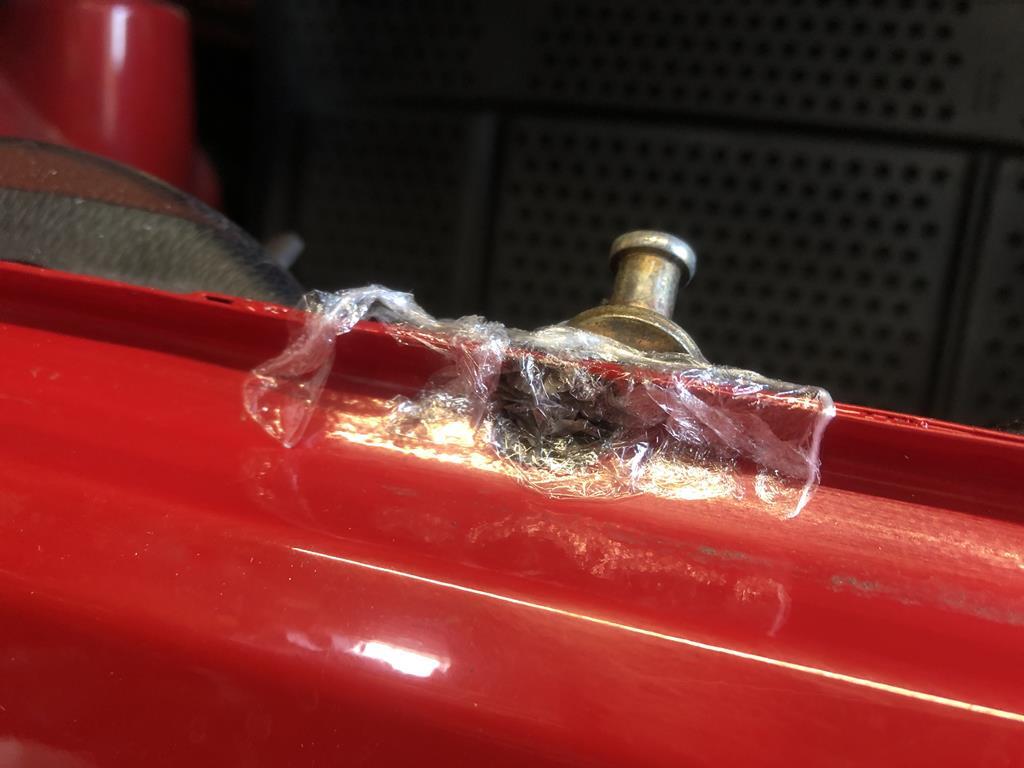 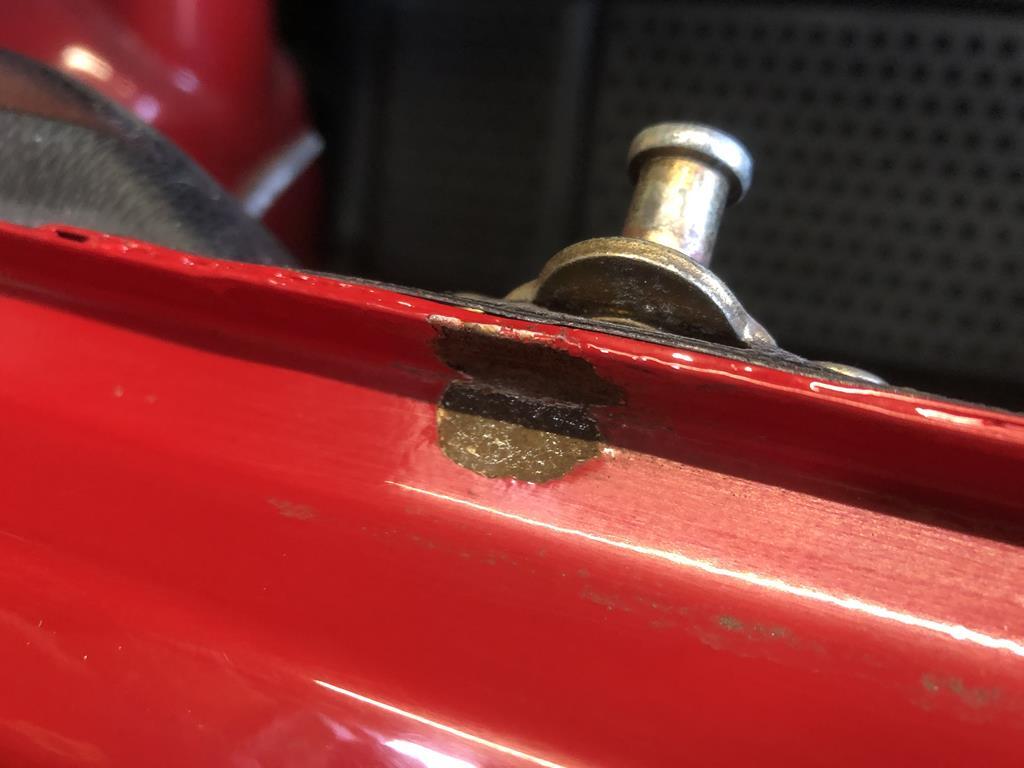 I probably should repaint the entire boot floor, arches etc, but I’ve decided I want to disturb the remaining factory paint as little as possible, this is going to be spot repaired. It’s all covered by the carpets and sound deadening anyway so it won’t be seen. 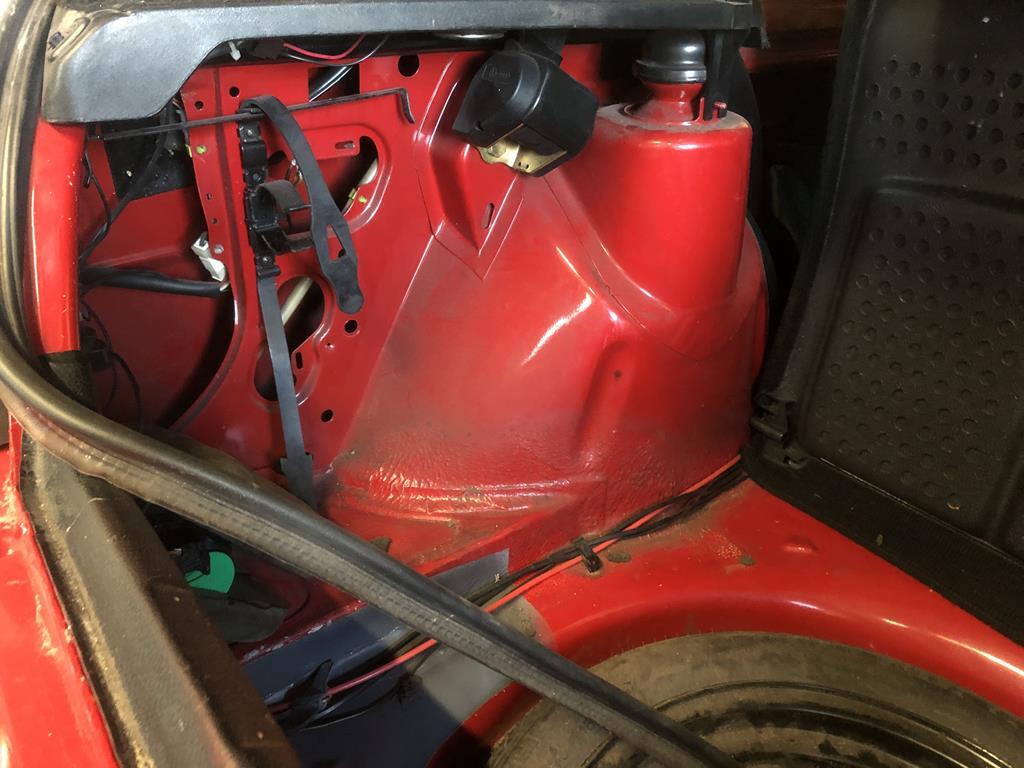 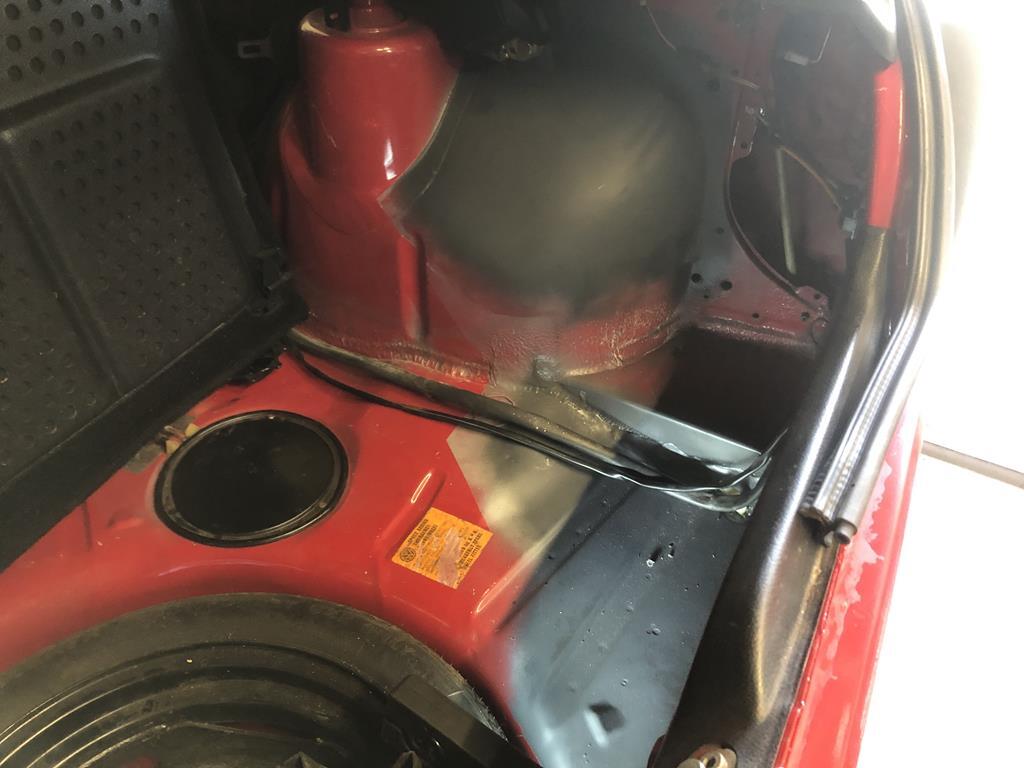 Masked and prepped:  Light dusting of primer: 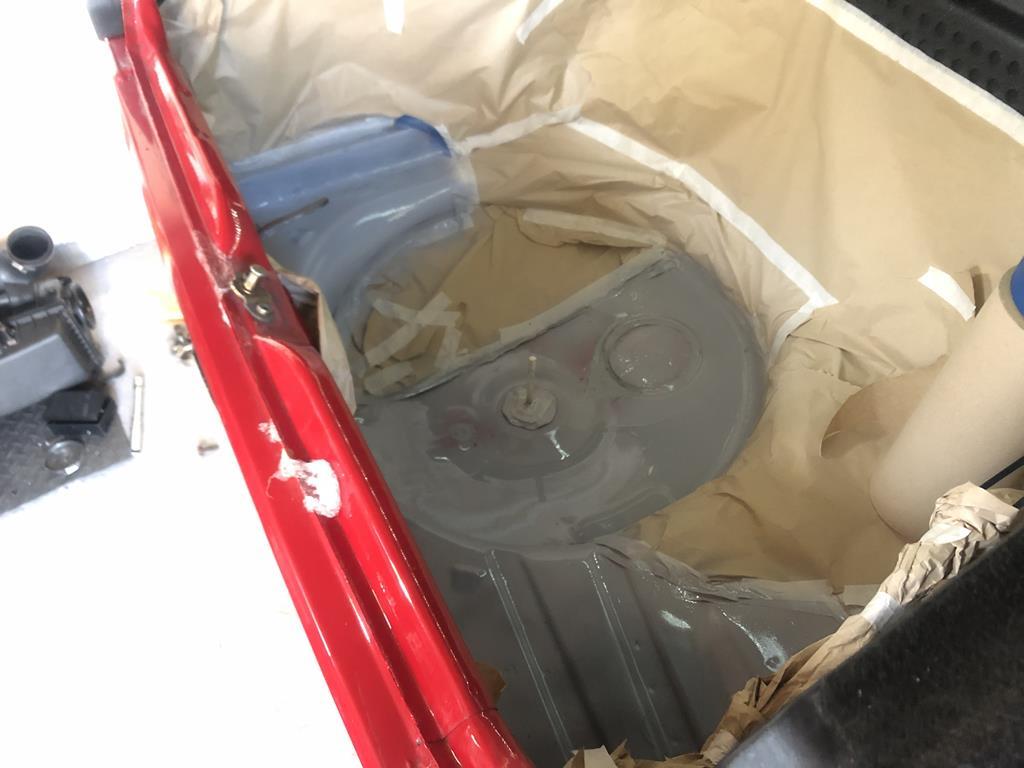 Topcoat on tonight |
| |
|
|
|
|
|
Mar 23, 2020 12:05:40 GMT
|
|
Nice progress! Exhaust is looking good under there. This is turning out very well!
|
| |
Current:
1983 Volkswagen 1200 Mexico
2021 Kia Niro Hybrid
-----
Former:
1989 Volkswagen Jetta
1990 Volkswagen Golf Madison
1996 Volkswagen Golf Wagon Happy Hour
2006 Fiat Panda 100HP
2006 Toyota Avensis Wagon
|
|
|
|
|
Mar 23, 2020 19:52:59 GMT
|
|
Good to see you still making progress 😎
I ran my Sebrings without the centre cap and some ebay VW black caps in the centre hole. Looked pretty good imo.
If you’re ever interested in a tilt/slide sunroof i have one in the loft
|
| |
|
|
|
|
|
|
|
|
Wow, you're really doing great work on this gem. Impressive commitment. John
|
| |
|
|
|
|