|
|
|
Nov 29, 2018 17:31:45 GMT
|
|
Nothing, they were just hooked straight to the ignition, with only temperature compensation.
However, the ranges these ones read (0-30 Ohm) are so low and coarse you probably don't need to regulate- they were fairly accurate at 5-7 volts or so.
I'm mainly wanting to limit the current.
Phil
|
| |
Last Edit: Nov 29, 2018 17:32:34 GMT by PhilA
|
|
|
|
remmoc
Part of things
 
Posts: 931
|
|
Nov 29, 2018 17:39:55 GMT
|
This is what we got over here on most British Lucas wired cars , live in and two instrument terminals out , usually for fuel and temperature gauges , these are bi metal but modern electronic versions are about . keeping yours a constant 12V would be a good thing to do . these are all 10V out so smiths gauges only 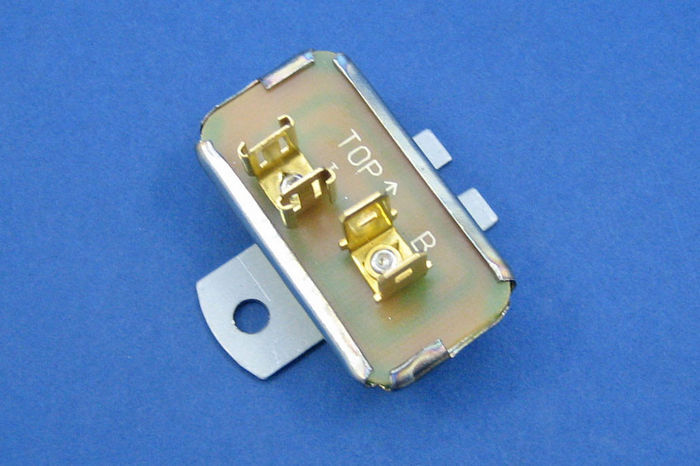 |
| |
Last Edit: Nov 29, 2018 17:42:34 GMT by remmoc
|
|
|
|
|
Nov 29, 2018 17:52:29 GMT
|
|
I'm thinking something LM317 based. Has a nice over-current shutdown feature and is cheap.
Phil
|
| |
|
|
remmoc
Part of things
 
Posts: 931
|
|
Nov 29, 2018 17:58:17 GMT
|
I'm thinking something LM317 based. Has a nice over-current shutdown feature and is cheap. Phil Sounds perfect for what your after |
| |
|
|
|
|
|
Nov 29, 2018 23:07:05 GMT
|
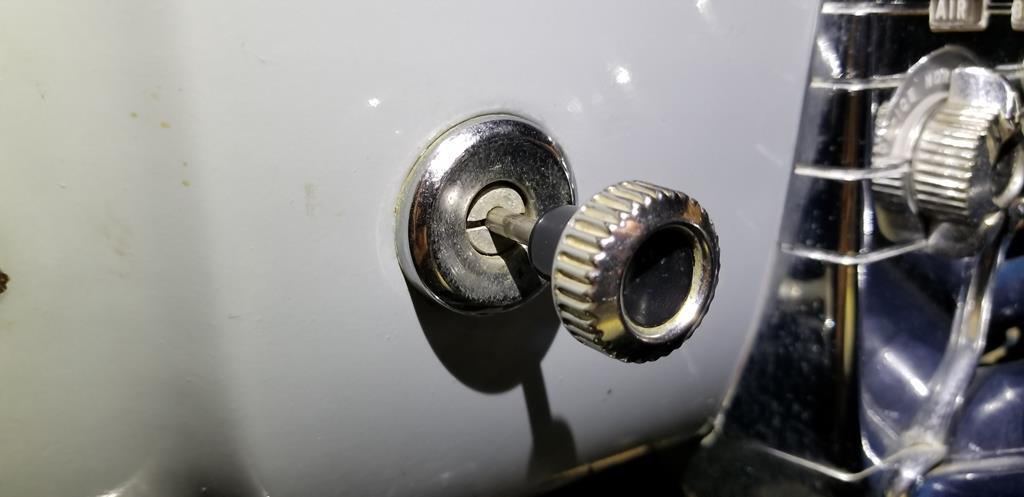 Next task, trying to figure out how to pull the knob off the headlight switch shaft, because I need to pull the switch out to service the contacts and fix the rheostat. Phil |
| |
|
|
|
|
|
|
|
|
So, at zero ohms (full scale deflection) the gauge pulls 220mA. That's not too bad, considering.
Phil
|
| |
|
|
|
|
|
|
|
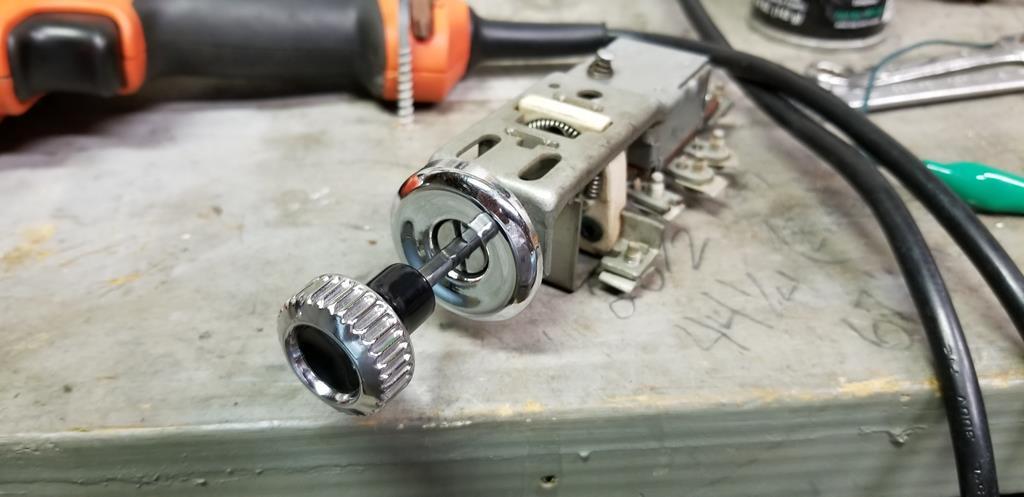 Pulled the switch out, serviced the contacts, cleaned and regreased, with an additional bit of polish. Looks and works better now. Phil |
| |
|
|
|
|
1951 Pontiac Chieftainpeteh1969
@peteh1969
Club Retro Rides Member 107
|
Nov 30, 2018 10:24:22 GMT
|
|
A bit better Phil it looks like a NOS switch.
Did you use anything special to clean the bright bits?
|
| |
|
|
|
|
|
Nov 30, 2018 12:55:31 GMT
|
|
No, just plastic polish and metal polish. Brass brush to clean between the ribs on the knob. Buffing wheel in the drill where it would fit.
Phil
|
| |
|
|
|
|
|
Nov 30, 2018 13:26:36 GMT
|
|
Switch looks brand new!
|
| |
|
|
|
|
|
Nov 30, 2018 22:34:47 GMT
|
Mmm. Shiny. Now it makes the heater controls look dirty. 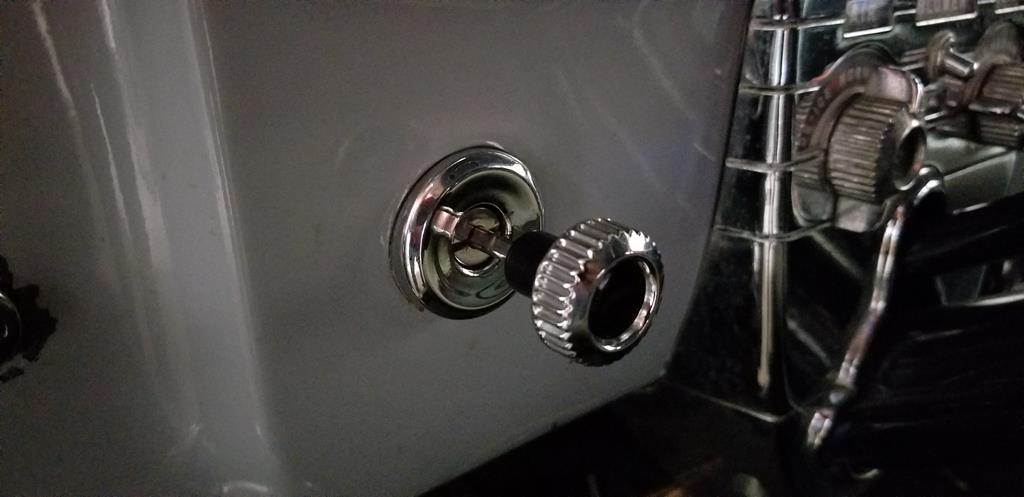 I guess they're next! Phil Edit: It has been suggested that this part launches the pinball. |
| |
Last Edit: Nov 30, 2018 23:04:55 GMT by PhilA
|
|
|
|
|
|
|
Wound the fuel gauge today. One coil which has a strange armature stamped to it was still in good shape so I made an executive decision to re-wind it for 6 volts and use the regulator I bought for it. This was also down to the primary coil being 36AWG (the same as the spool I bought). 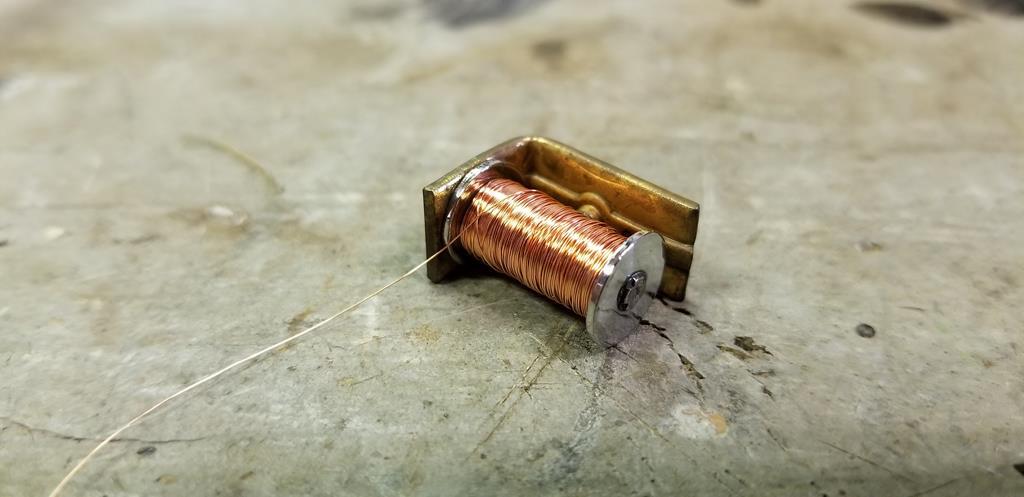 New shiny copper on it. 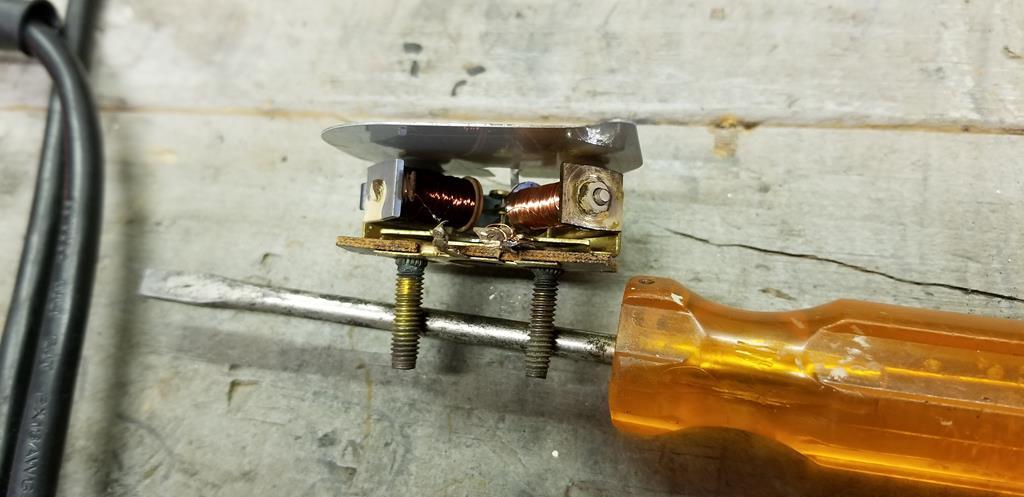 Bolted back in. Set it up with a potentiometer to factory spec (old 1930-1955 senders are 30 ohm full range). 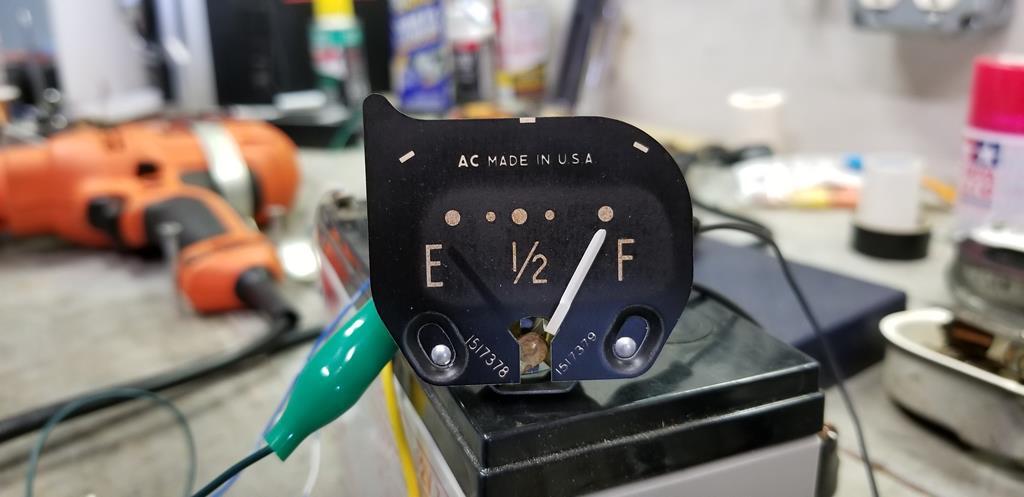 30 ohms (full) 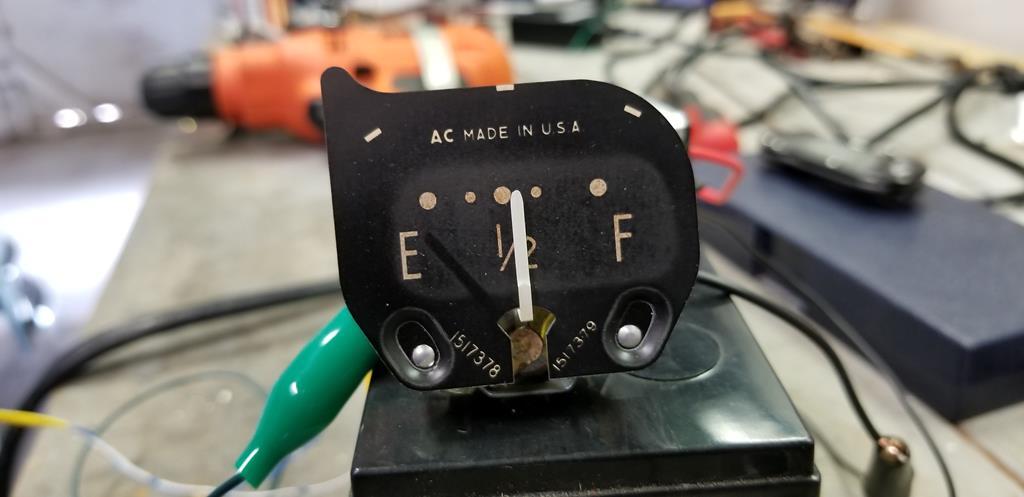 15 ohms (half) 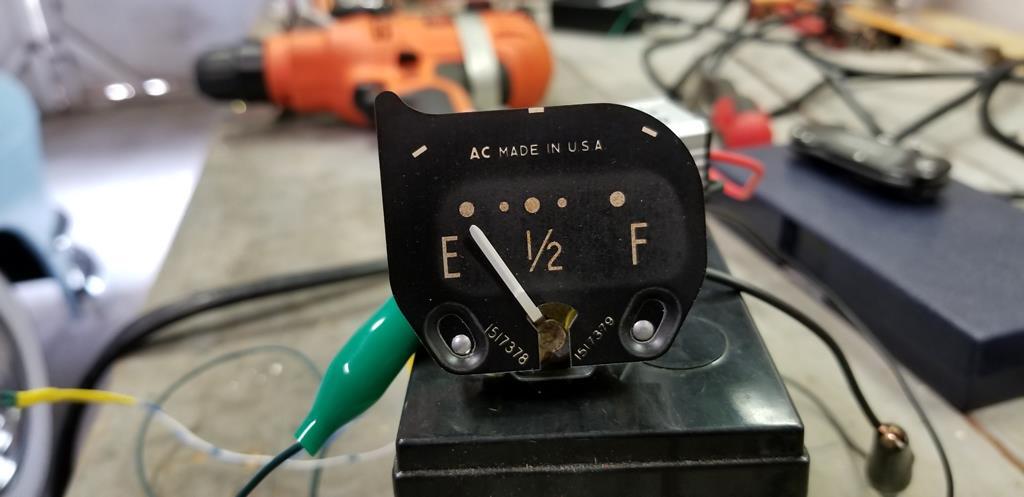 0 ohms (empty) 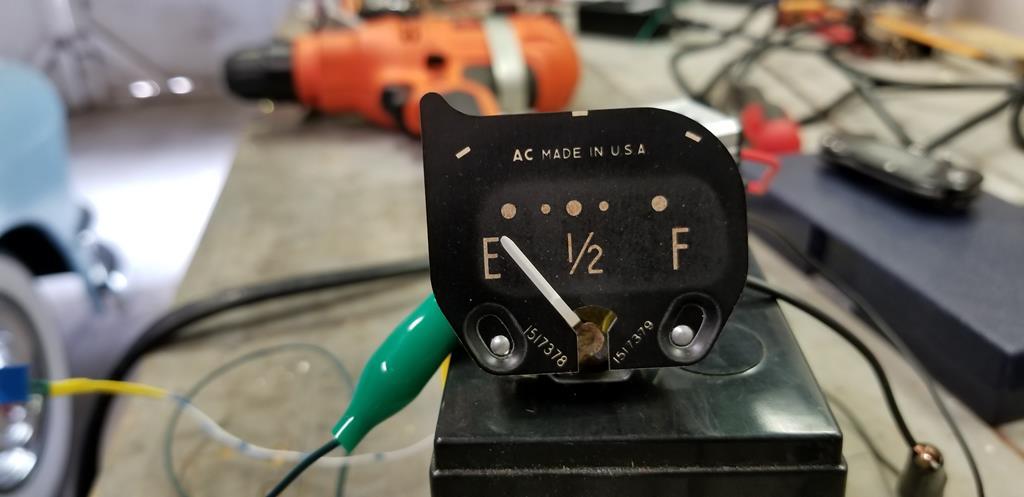 Off, resting on the stop. Painted the frame for this one also, onward and upward! Phil |
| |
Last Edit: Dec 1, 2018 19:31:56 GMT by PhilA
|
|
jamesd1972
Club Retro Rides Member
Posts: 2,921  Club RR Member Number: 40
|
1951 Pontiac Chieftainjamesd1972
@jamesd1972
Club Retro Rides Member 40
|
Dec 10, 2018 15:23:33 GMT
|
|
That is a bit of an epic repair job ! There should be an RR award section for the best home repair and this would be up there I'm sure.
Out of interest please can I be a pain and ask if the 'AC' on the dials is a reference to AC Delco or someone else.
Thanks for the painstaking updates it's a pleasure to read and view.
James
|
| |
|
|
|
|
|
Dec 11, 2018 18:06:20 GMT
|
Yes, AC as in Delco. The GM group of companies (as it was in the early fifties) was using Delco at that time- I think they were using them since the mid thirties, if not earlier. 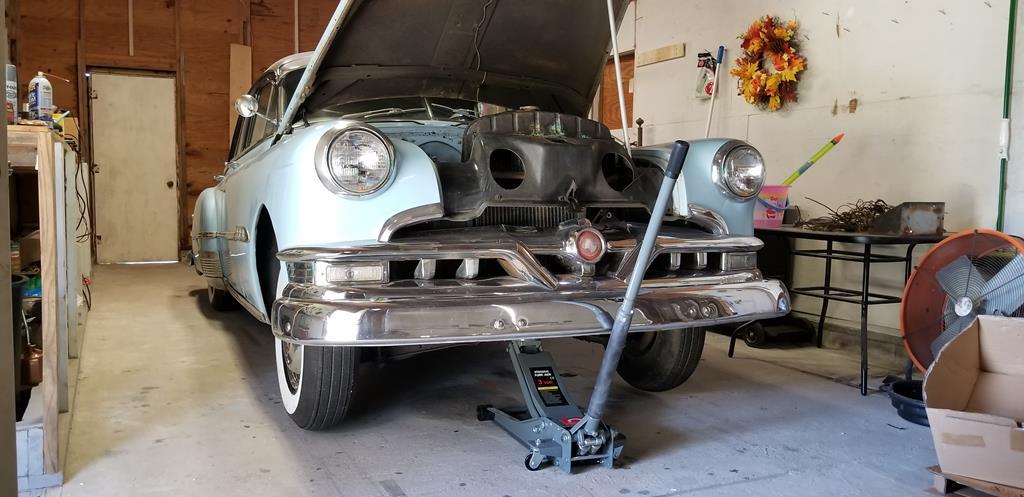 I also now have a good 3 ton shop jack that'll fit under the car and lift it fully off the floor with virtually no effort. Much safer than overloading my little 1.5 ton jack. Phil |
| |
|
|
|
|
|
|
|
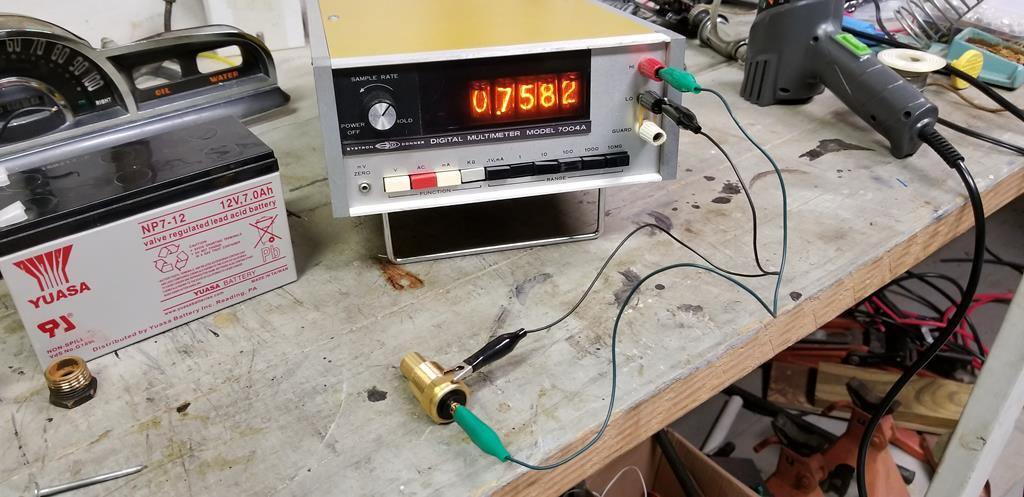 New temperature sensor (Wells TU-4), for 1952 Chevy trucks. Really cold - for here at least - measuring about half that of the TU-45 I bought the other day. I should be able to re-wind the coils to work with this one. Phil |
| |
|
|
|
|
|
|
|
|
I continue to love this thread, and the car.
Your thinking just keeps me coming back.
|
| |
|
|
|
|
|
Dec 12, 2018 23:59:55 GMT
|
|
I'm trying to work through things in a logical fashion, understand the engineering behind it all so I can better repair what's broken.
In the case of the gauges here, this is a foray into new territory for me, dredging up theory from school and trying to apply it. I've also had some help from knowledgeable people. This is something the Internet is good for, in little niches.
Now, when it comes to welding.. that'll be where I'm going to have fun. And when I say fun, I mean trouble!
Phil
|
| |
|
|
|
|
|
|
|
I'm trying to work through things in a logical fashion, understand the engineering behind it all so I can better repair what's broken. In the case of the gauges here, this is a foray into new territory for me, dredging up theory from school and trying to apply it. I've also had some help from knowledgeable people. This is something the Internet is good for, in little niches. Now, when it comes to welding.. that'll be where I'm going to have fun. And when I say fun, I mean trouble! Phil Phil - If you apply the same methodical approach that you have to everything else on the car so far welding will soon become straight forward to you - I see so many owners get into real problems with motors like this when their part enthusiasm / part blind vision dictates that they just tackle too many jobs at any one time - removing parts and dismantling them - loosing vital small components etc - failing a few times along the way and before you know it winter comes along - it's cold in the workshop and the interest is then lost - in the worse cases leading to a project that gets abandoned - any welding tips you need just post up here like you have done with the electricals and you will get some sound advice - One of the great advantages of 'Retro Rides' - we can all learn from each other - for example your exercise in how to plate the reflectors for the indicators - I 've been restoring cars 40 years and never considered plating parts myself - having now seen your approach I will be giving it a go - happy days  |
| |
Last Edit: Dec 13, 2018 6:29:42 GMT by Deleted
|
|
Speedle
Posted a lot
   Need a Country Rock band in the Hampshire Area? https://www.facebook.com/DirtRoadDiaryUK
Posts: 2,221
|
|
Dec 13, 2018 14:25:55 GMT
|
|
Superb bit of work on that fuel gauge, you must have felt a real sense of achievement when testing it. Very cool!
|
| |
|
|
|
|
|
Dec 13, 2018 21:02:01 GMT
|
|
Yup, it's nice to see something that was completely failed coming back to life with a bit of work.
It's been a long time since I did any welding- last was with an old 70's SolArc stick welder. I did buy a mig but didn't have an indoor sheltered space to use it, so the results were poor as all the gas blew away. I have a garage now so a little mig (110V, 15A probably) will probably be what I start working with. I have a welder cart though, in true cart-before-the-horse fashion.
My main focus is the electrical and mechanical. The sheet metal will have to wait. Technically I could pull the body off the frame and spin it over to do the sills. I'm sure by now it's hiding some other surprises too. I think though it'll be a case of getting it mechanically drivable and electrically safe. Stop and steer!
Phil
|
| |
Last Edit: Dec 13, 2018 21:02:54 GMT by PhilA
|
|


