Darkspeed
Club Retro Rides Member
Posts: 4,674
Club RR Member Number: 39
|
|
May 22, 2020 18:56:21 GMT
|
220mm of 16mm tubing and 120mm of 19mm tubing. Ah -  - the bead roller has a min tube diameter and the 16mm is under it. 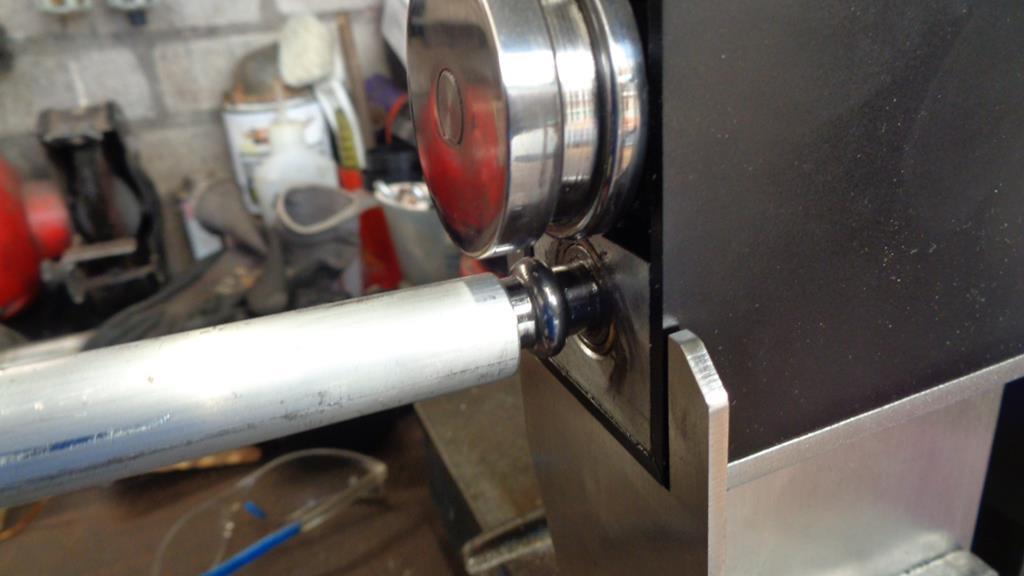 Had to dig out something I made up a few years ago to do those two. 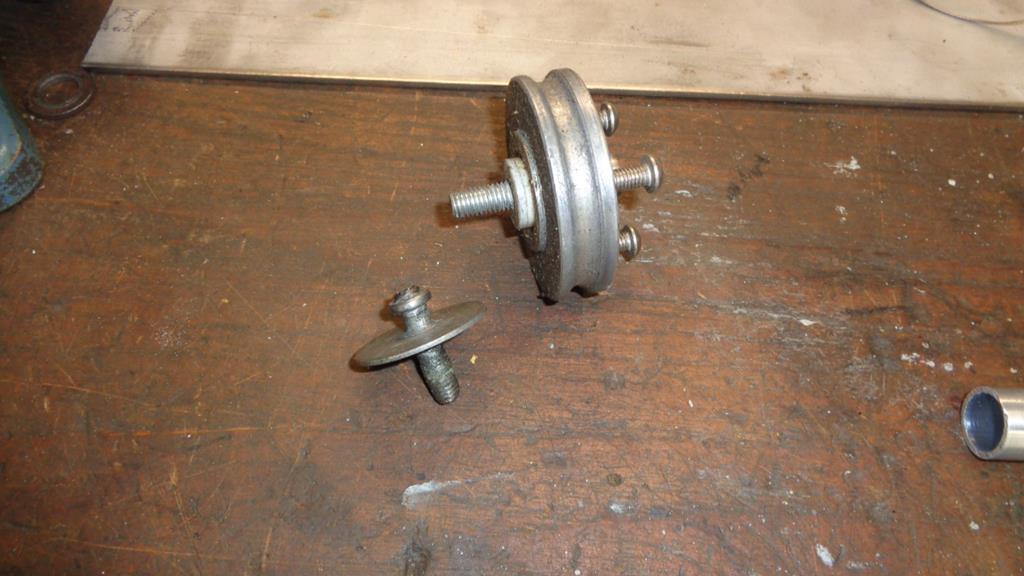 As I was in no rush to do that aspect I figured I would bend the tube first - I know from prior experience that although a little toight - the 5/8" alloy fits the 15mm - just about. 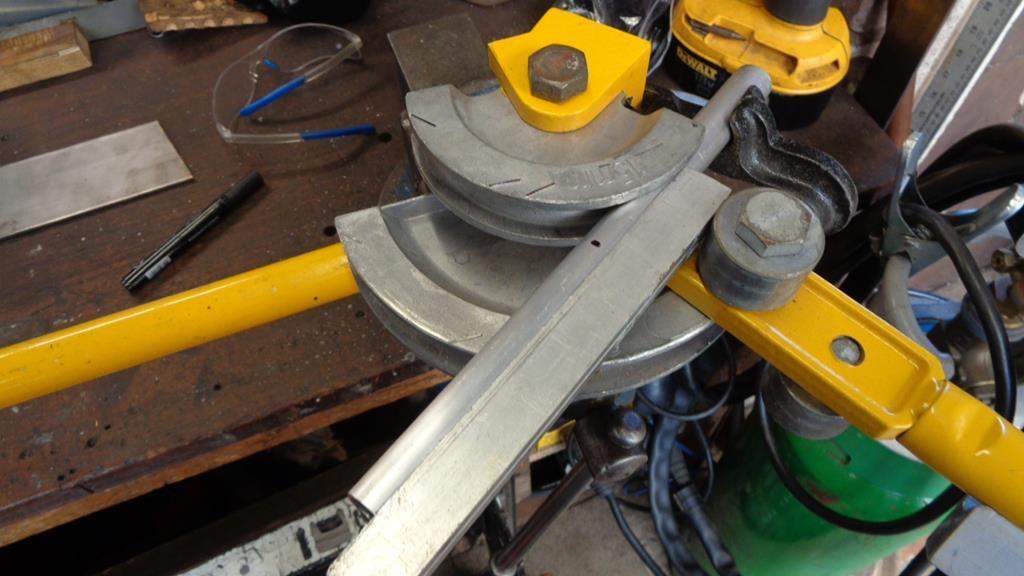 Get it sort of lined up in the middle and pull the handle 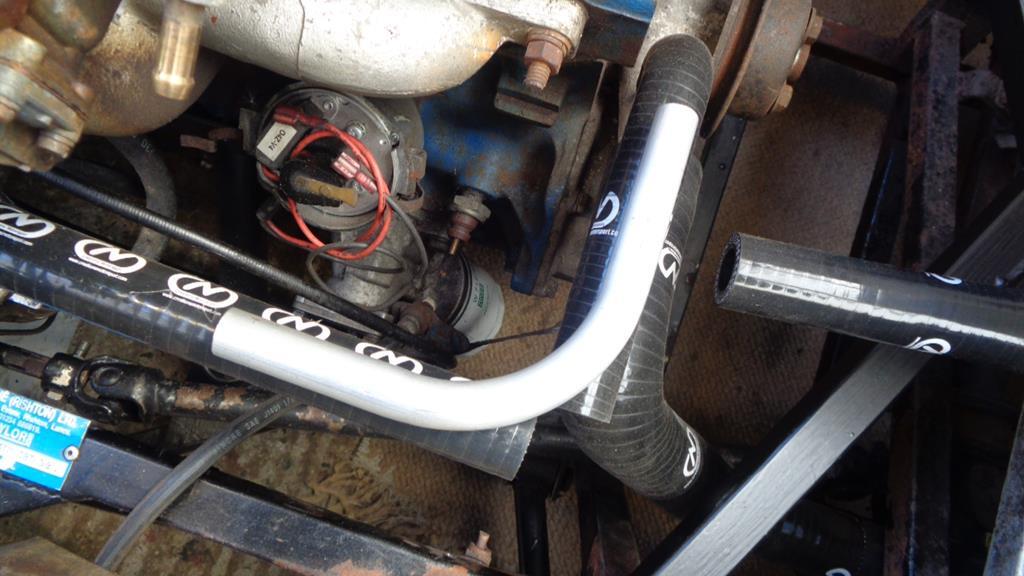 Do the bead rolling - check - drill a 10mm hole - file for the joint - clean de-burr ready for welding 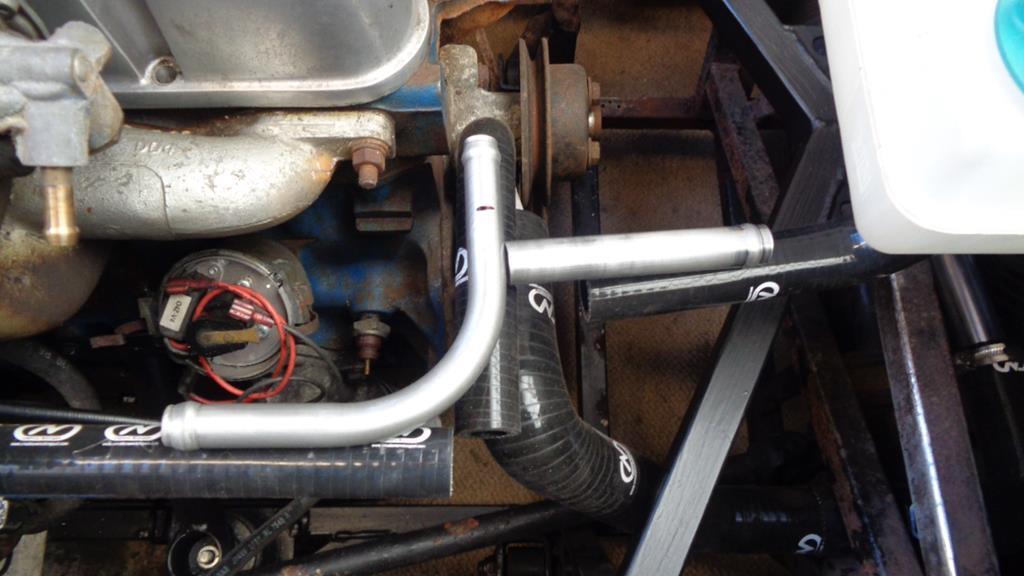 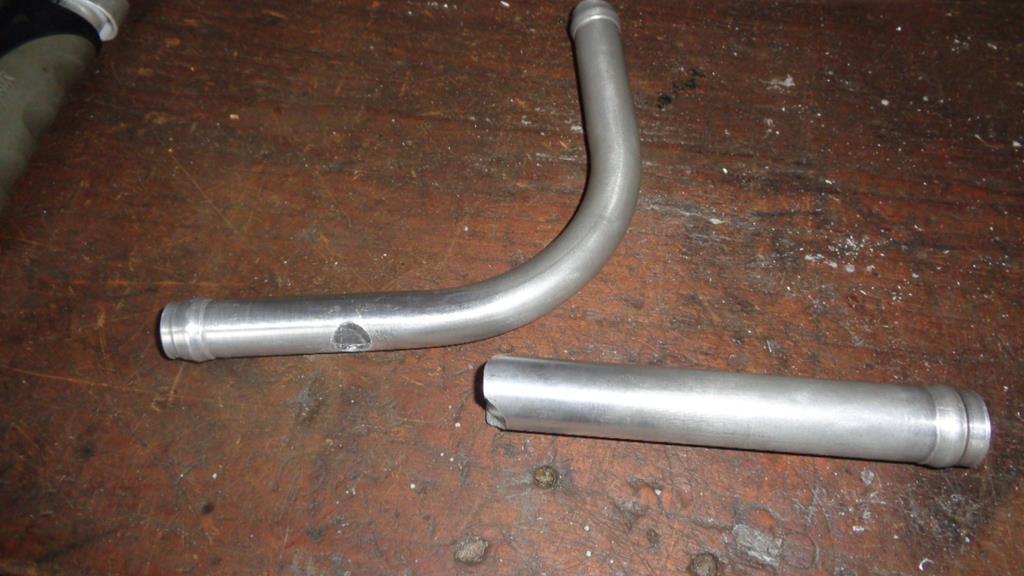 A bit of welding to be done in the morning. |
| |
Last Edit: May 22, 2020 18:58:23 GMT by Darkspeed
|
|
|
|
Darkspeed
Club Retro Rides Member
Posts: 4,674
Club RR Member Number: 39
|
|
May 23, 2020 19:00:47 GMT
|
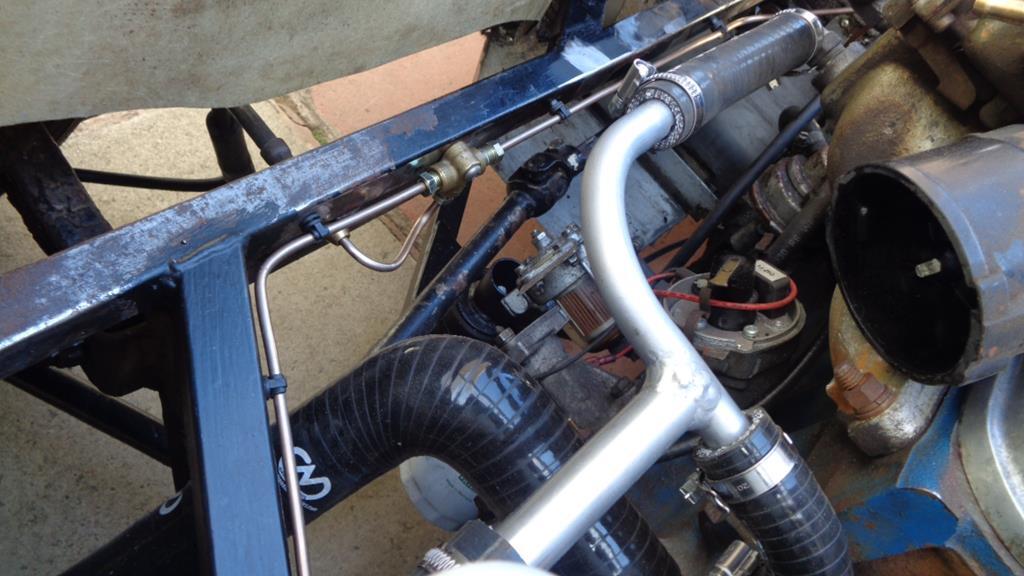
Welding done on the new header tank to water pump pipework 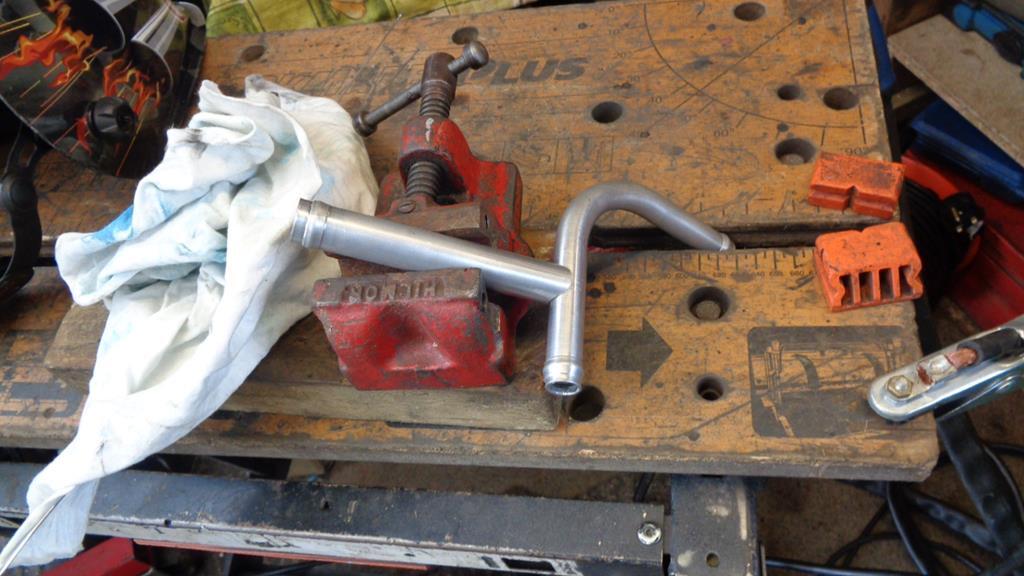 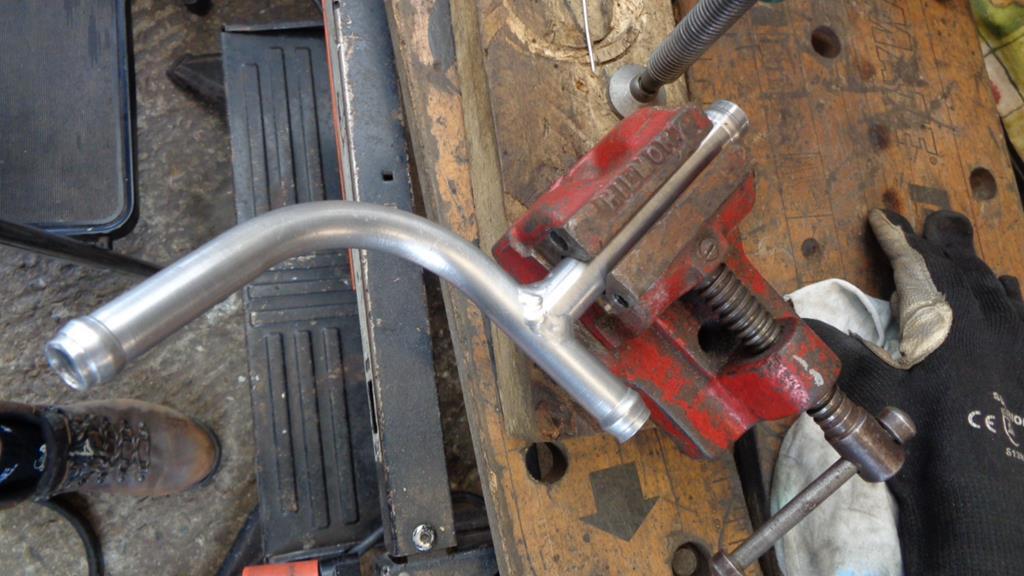 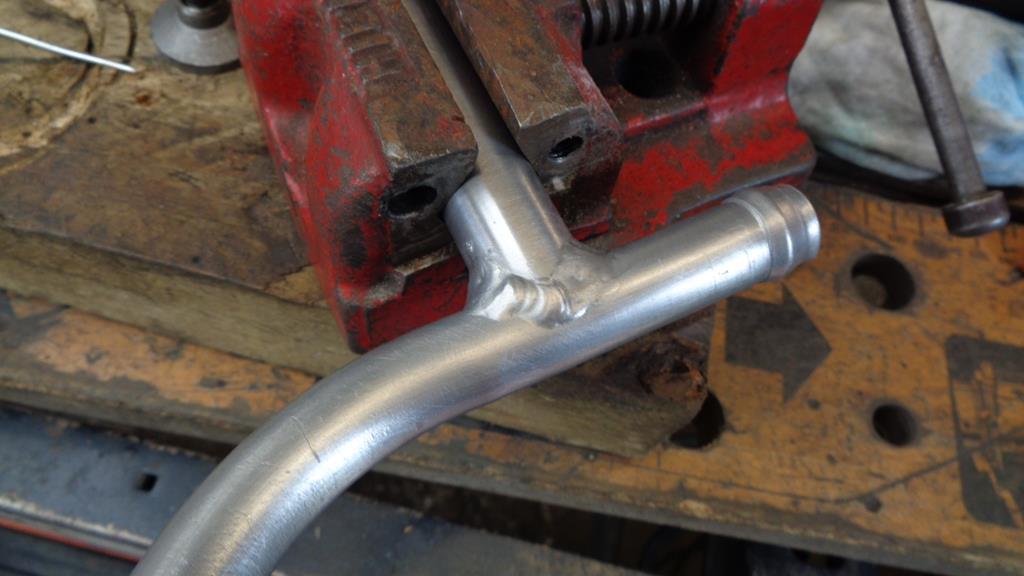 Trimmed the hoses to suit 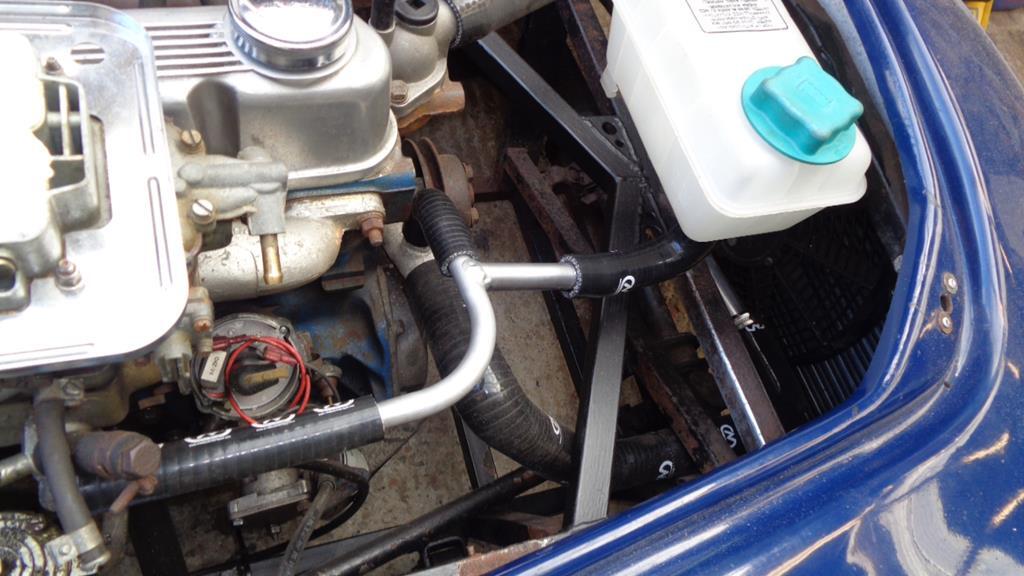 Then fitted the last of the Libre wheels and tyres to the N/S rear and the spigot ring to the N/S front wheel. Trimmed the O/S rear wheel arch 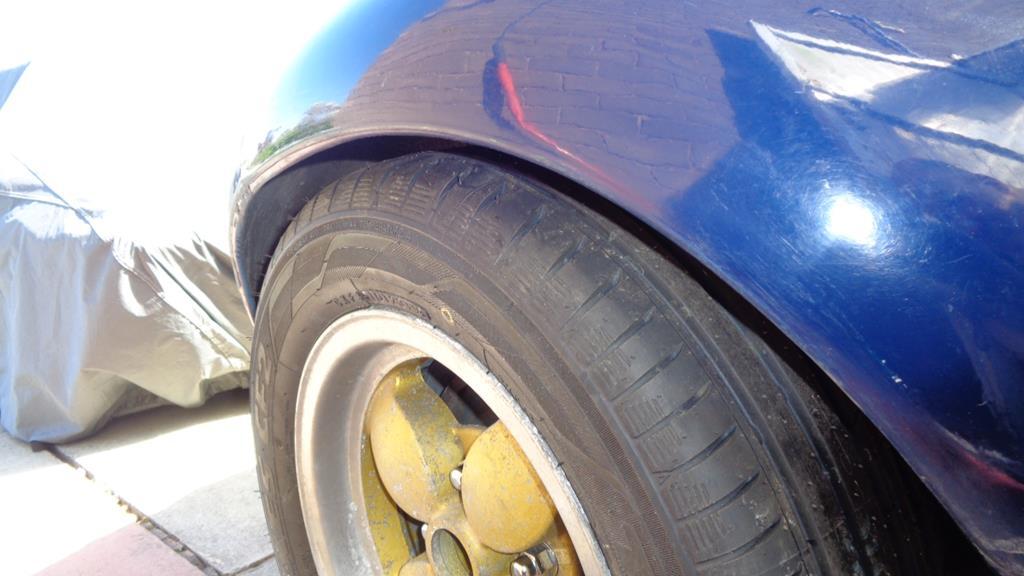 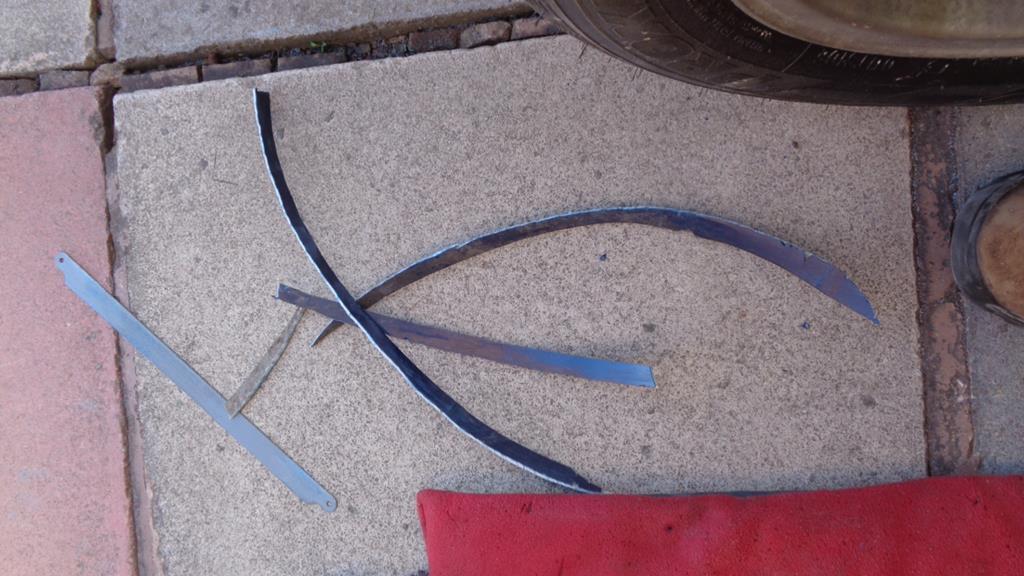 Coming along now 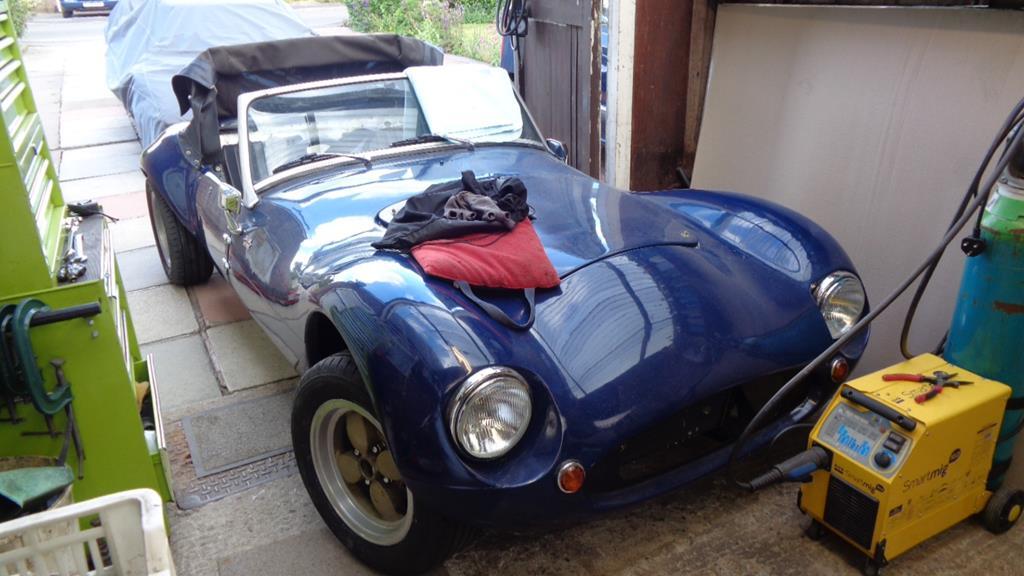 Brake line next. |
| |
|
|
Darkspeed
Club Retro Rides Member
Posts: 4,674
Club RR Member Number: 39
|
|
May 24, 2020 21:30:25 GMT
|
Coming along  |
| |
|
|
Darkspeed
Club Retro Rides Member
Posts: 4,674
Club RR Member Number: 39
|
|
May 25, 2020 20:25:26 GMT
|
Started the day with the intention of doing the brake line on the Gem - As it was getting far too hot much too early I decided to play with some electrical stuff instead. I had a box of old Lumenition parts, 4 boxes and 2 optical triggers so I spent some time setting up the test rig to see which ones were good. 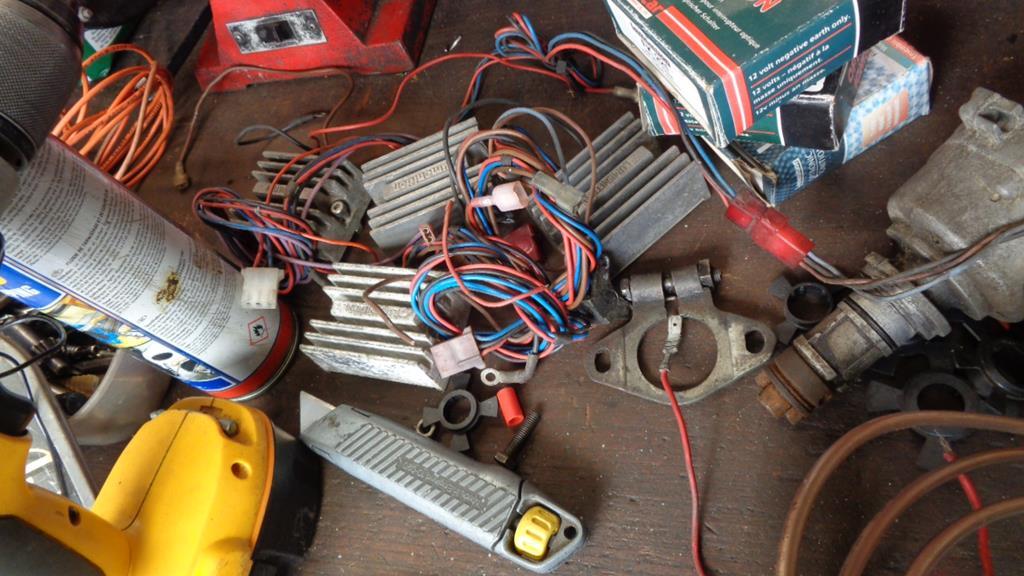 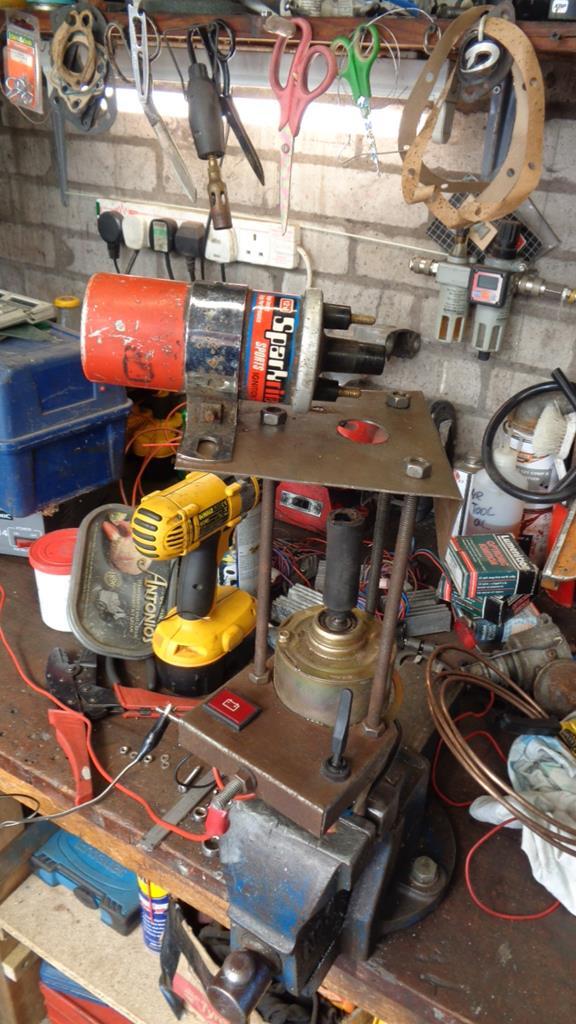 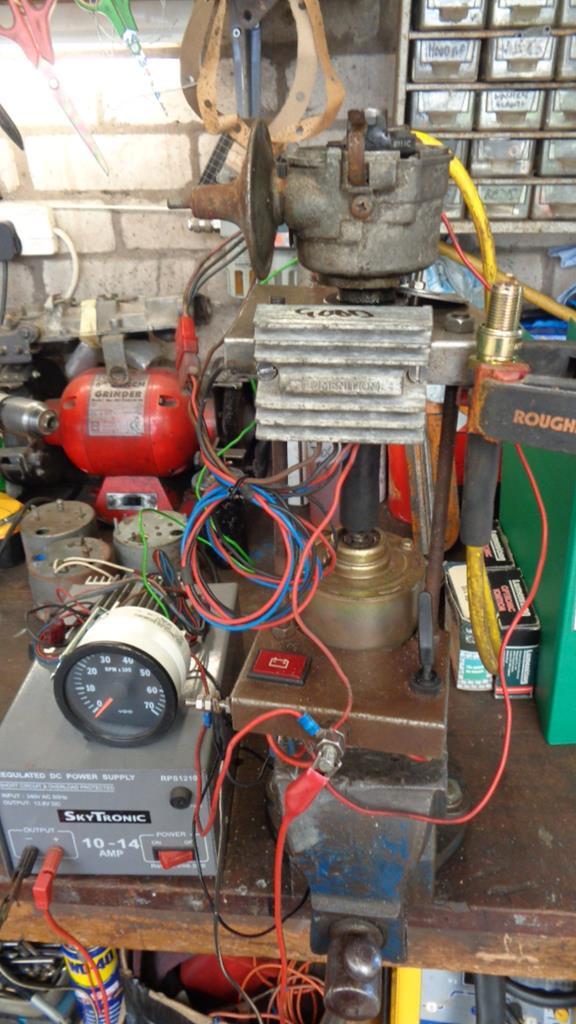 Both the triggers passed testing and two of the boxes. The Tacho thats going in the Gem also got tested. 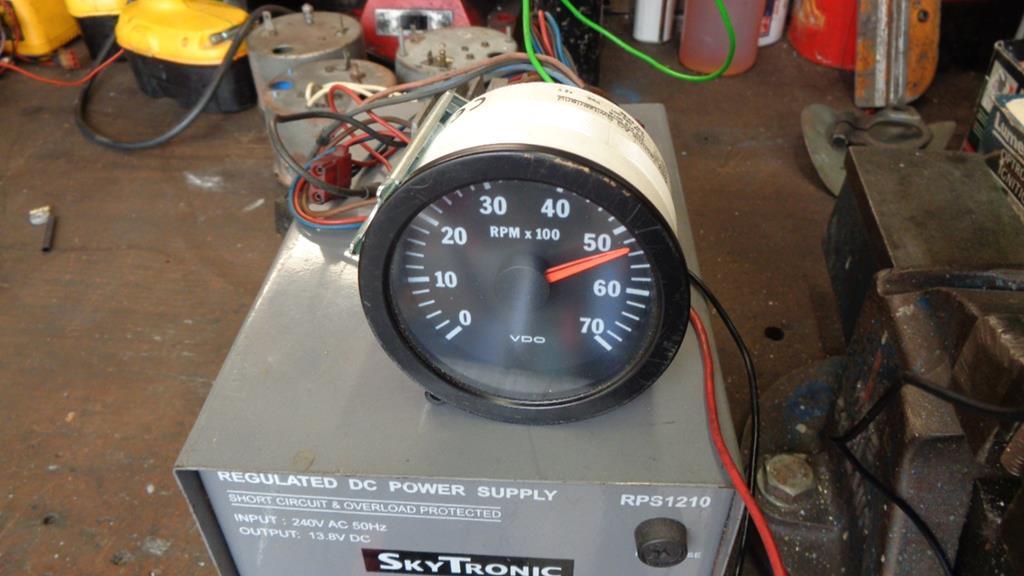 Put another three that I had laying about on the rig and 1 out of three showed life and was not too far off reading the same as the newer one. 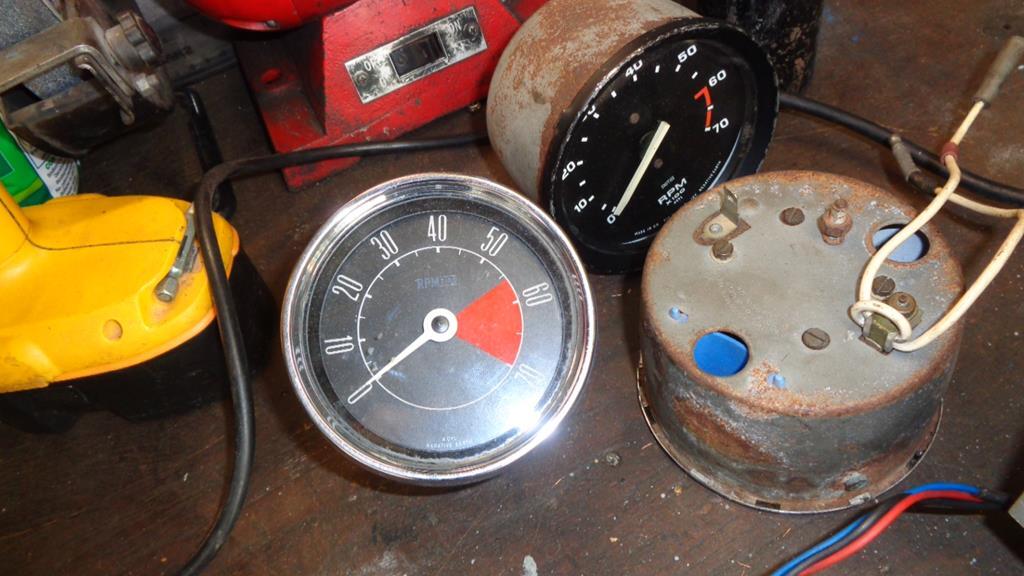 The sparks from the Lumies were excellent 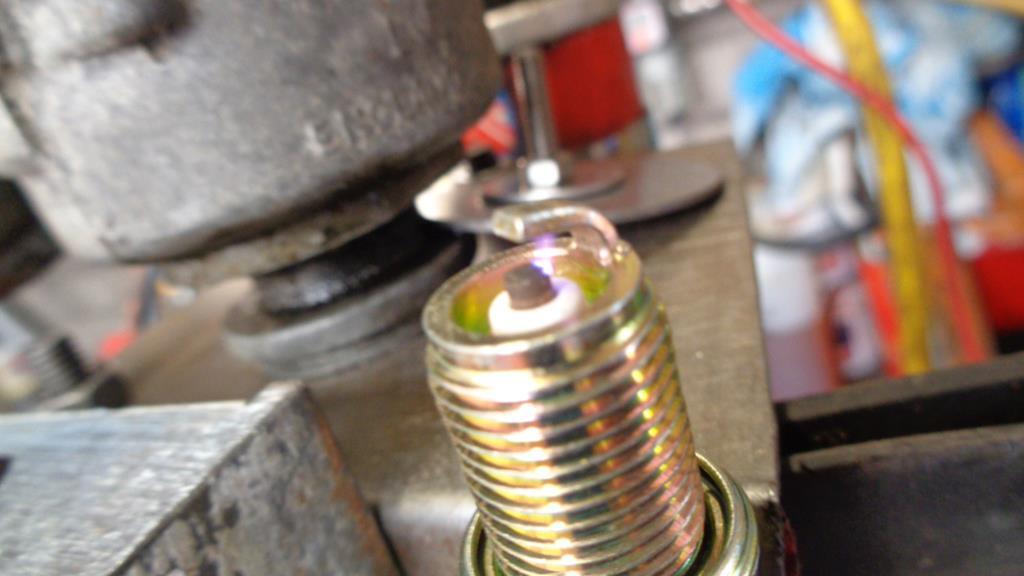 |
| |
Last Edit: May 26, 2020 7:13:46 GMT by Darkspeed
|
|
Darkspeed
Club Retro Rides Member
Posts: 4,674
Club RR Member Number: 39
|
|
|
|
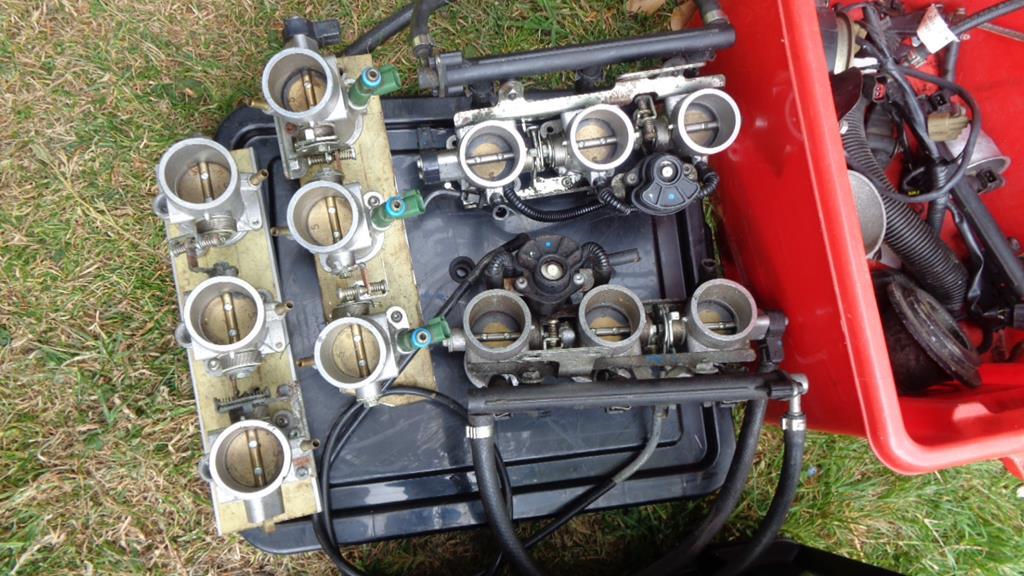
After playing with the Lumenition systems I am tempted to have a bit of a side project on the V6 to see if I can get it running on an OMEX 550 that I have in a box in the shed. The Ford air flow meters a horribly restrictive things and it looks like everything is there to operate from the 550. The OMEX 550 is a bit of an odd box as it only needs 3 trigger points not a 36-1 wheel and it also has a dizzy trigger option that looks like it may well work from the standard Ford dizzy. Being able to dump the AFM's may liberate a few extra ponies - Hmmmmm hang on a mo - I wonder if that plenum top could be removed and an adapter similar to what I did for the Honda could be dropped over it for ITB's? 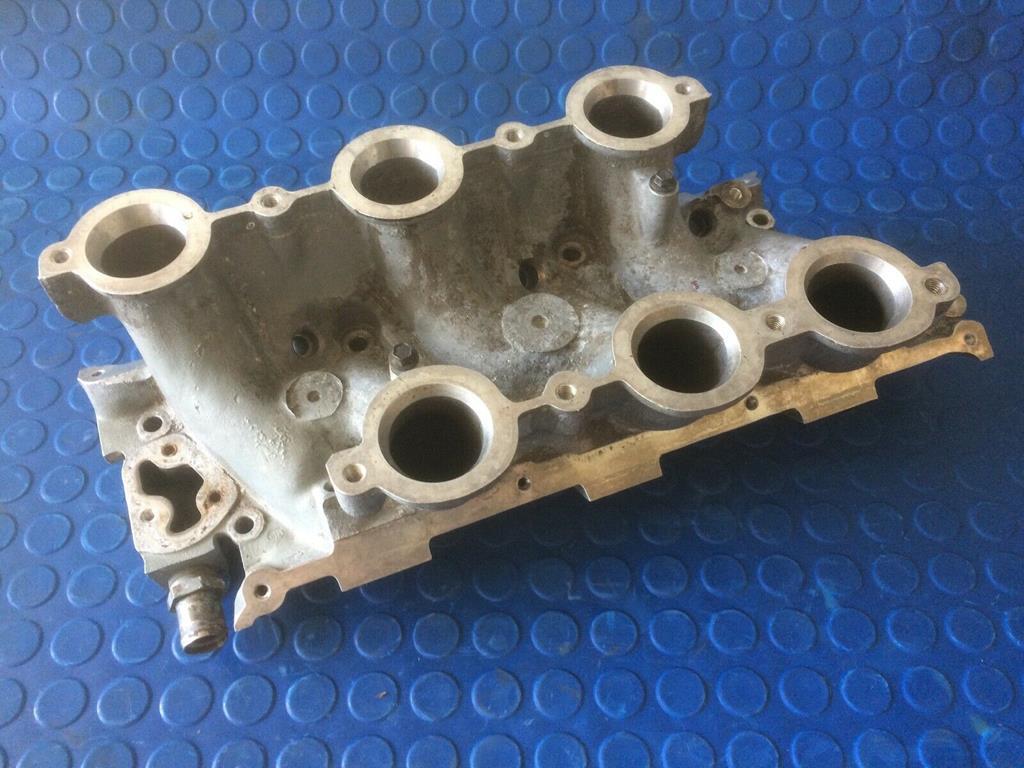 Thanks melleThey look ideal for a bit of porting work some re-spaced Triumph 955i ITB's 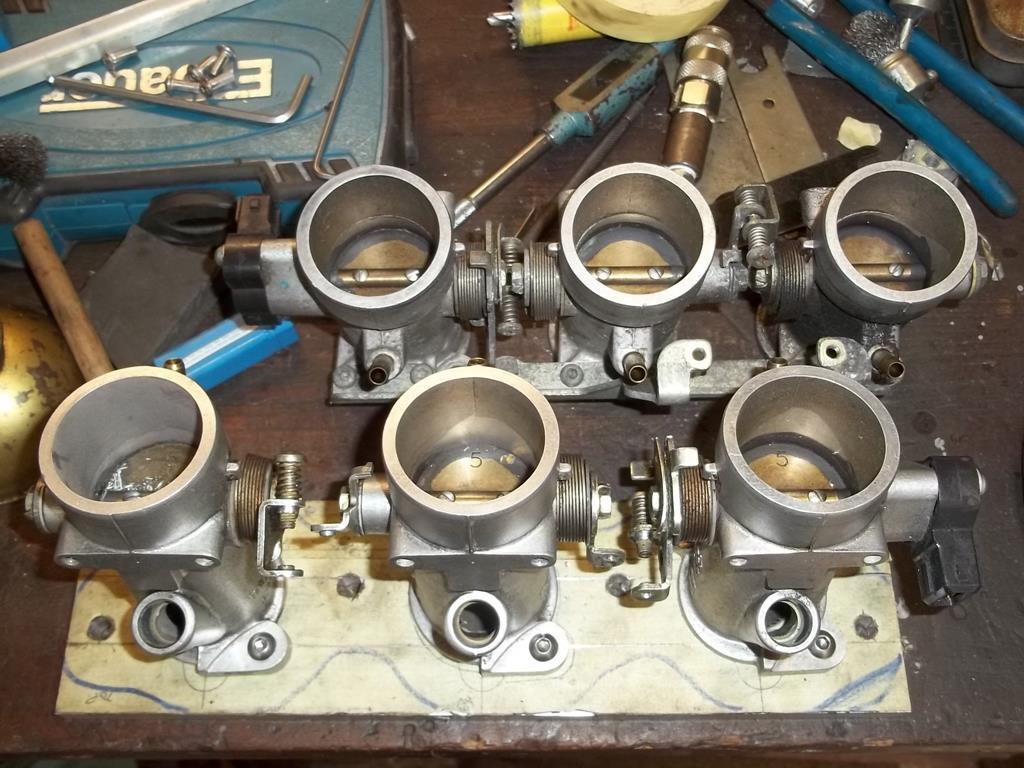 It's not that I don't have enough to do - LOL. Probably far better and lighter ways to get 170BHP - but when you have 90% of the parts already.... Enough of the day dreaming time to tick something off on the 1001 things I have to do on the priority projects. |
| |
Last Edit: May 26, 2020 11:50:05 GMT by Darkspeed
|
|
Darkspeed
Club Retro Rides Member
Posts: 4,674
Club RR Member Number: 39
|
|
May 26, 2020 12:25:32 GMT
|
|
|
| |
|
|
Darkspeed
Club Retro Rides Member
Posts: 4,674
Club RR Member Number: 39
|
|
May 26, 2020 21:06:08 GMT
|
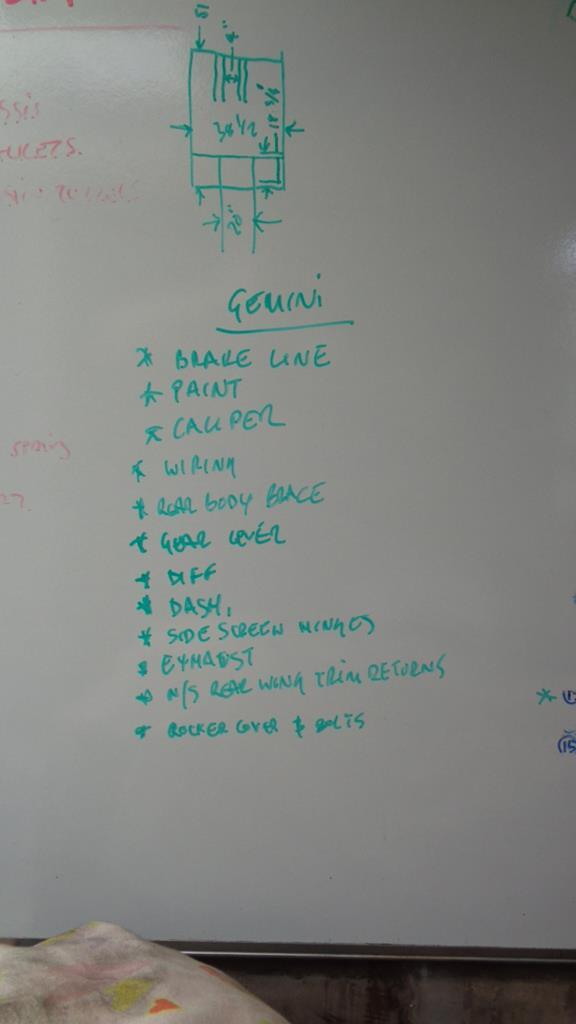
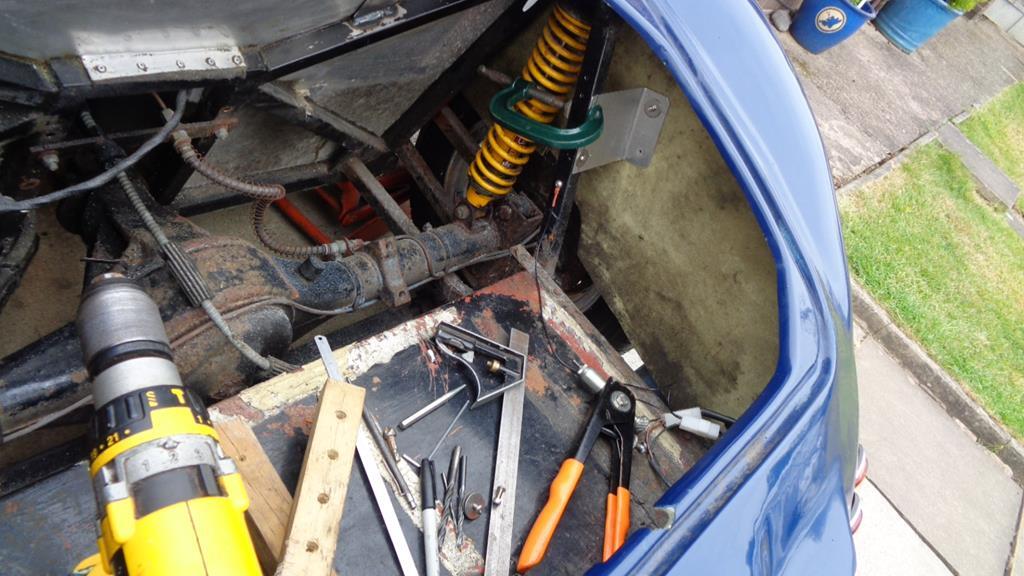
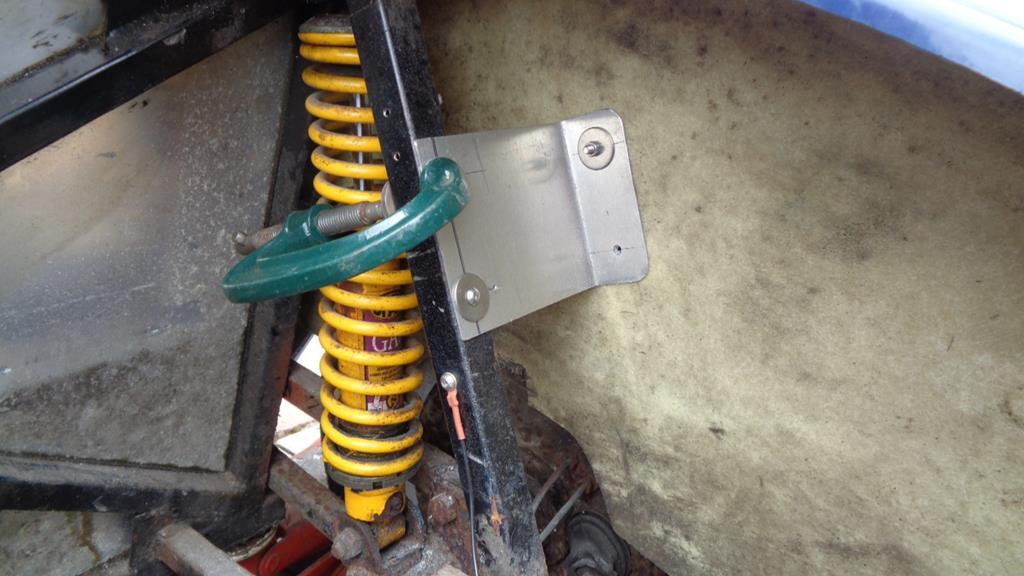
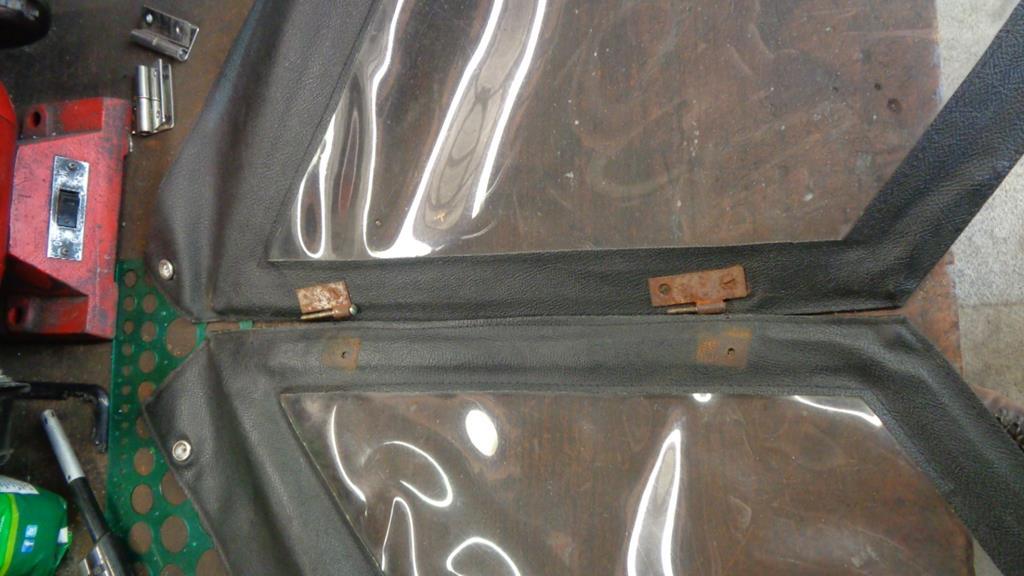
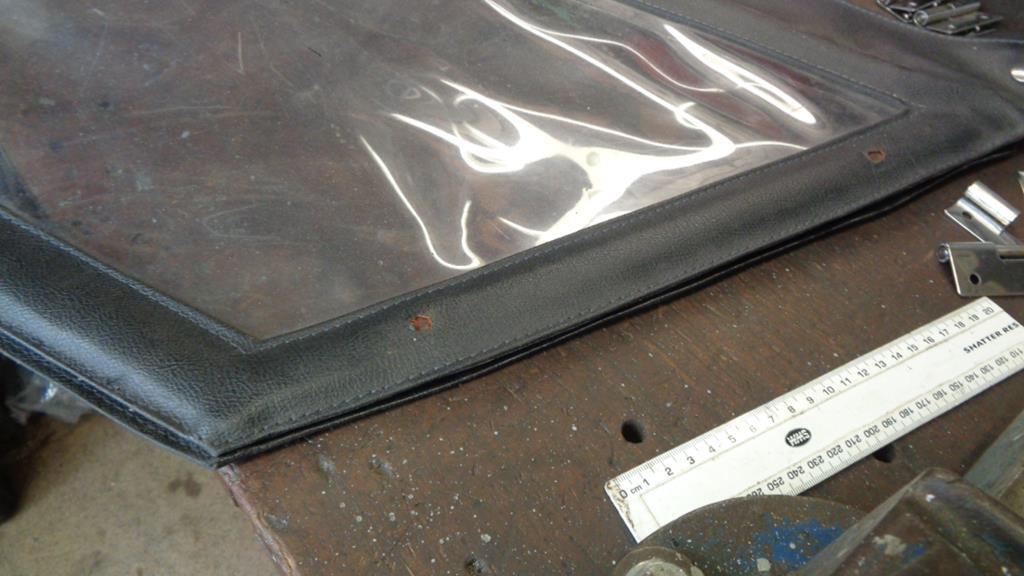
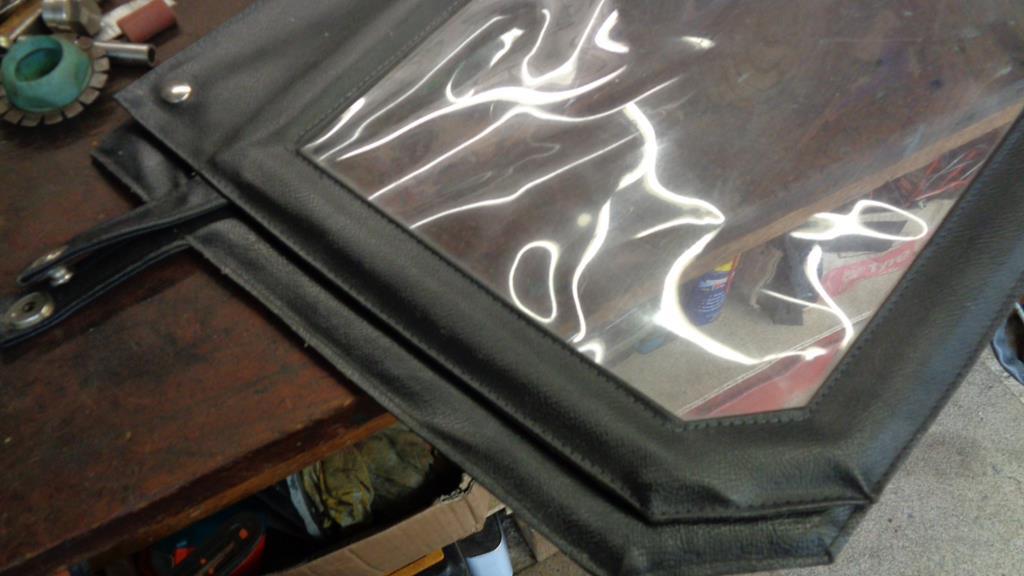
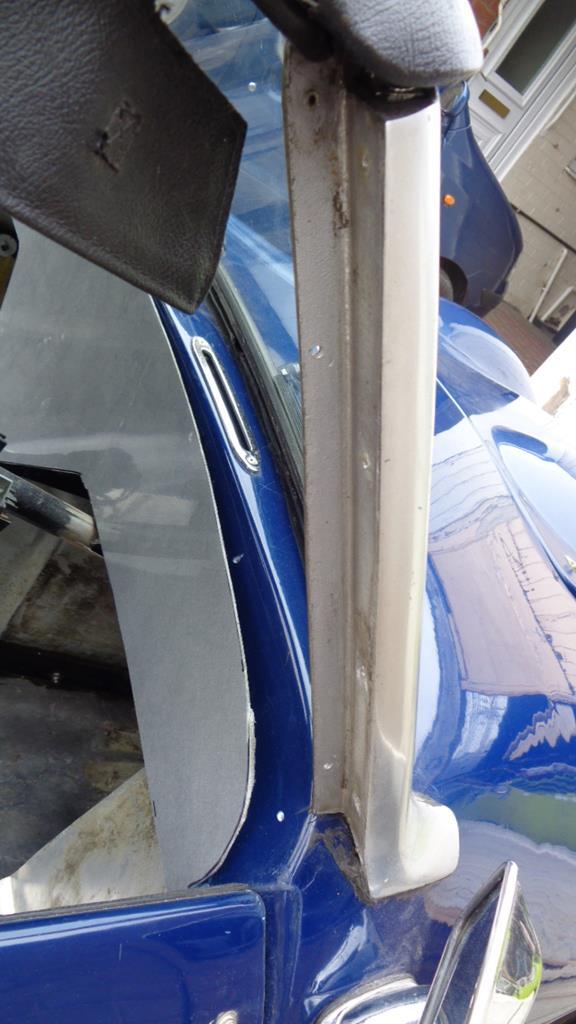
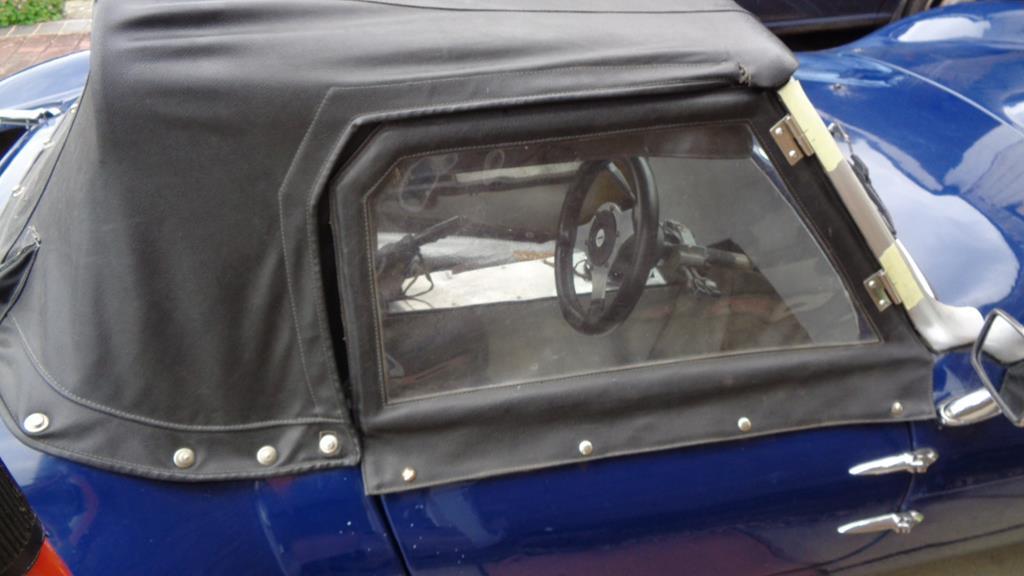
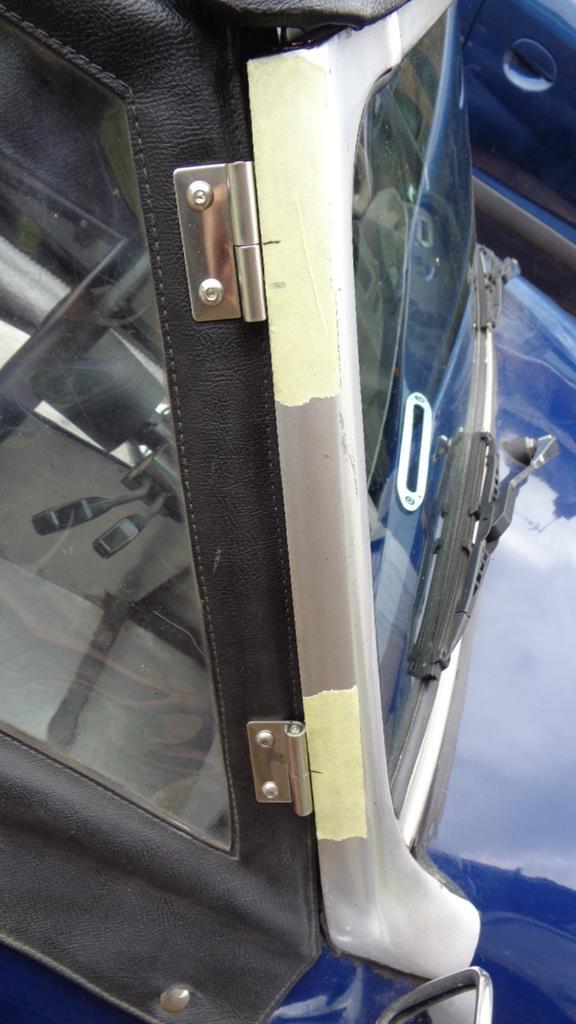
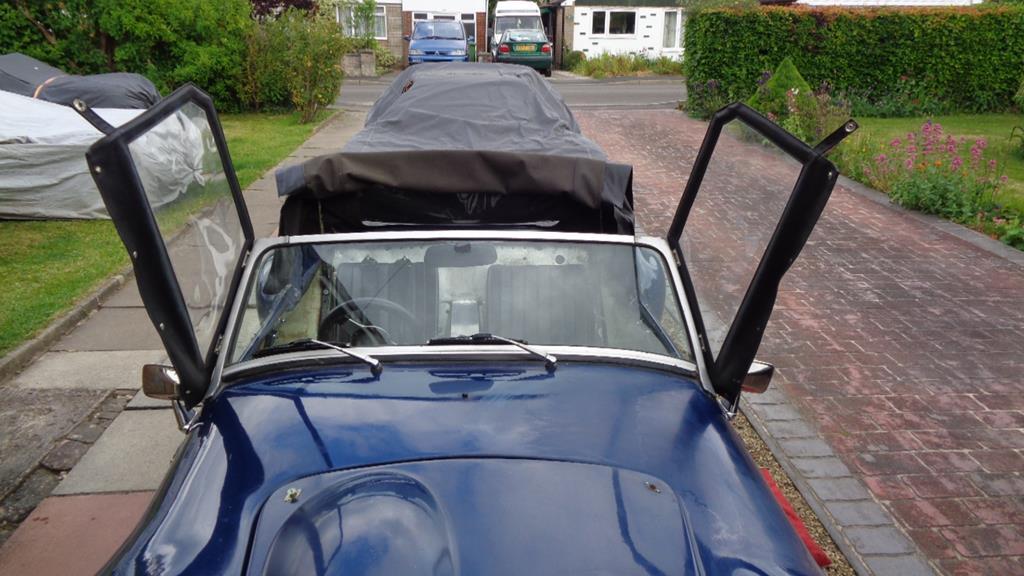
Rear body brace bracket - TickAll stainless fasteners M5 - screws into the chassis with rivnuts 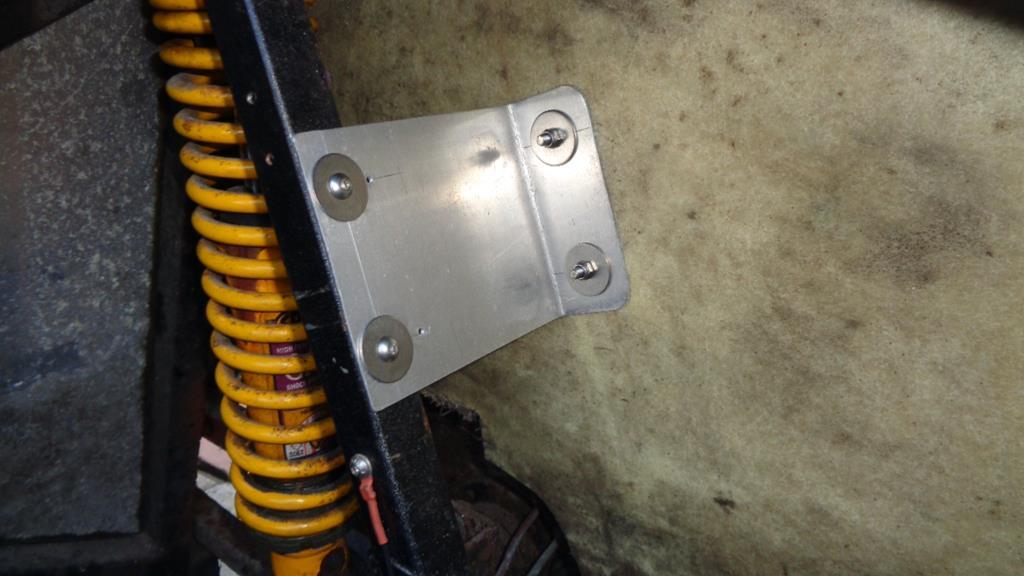 Completed both hinges and screens - now open fully and are fitted securely. Tick
 Drilled and tapped for M5 stainless fasteners 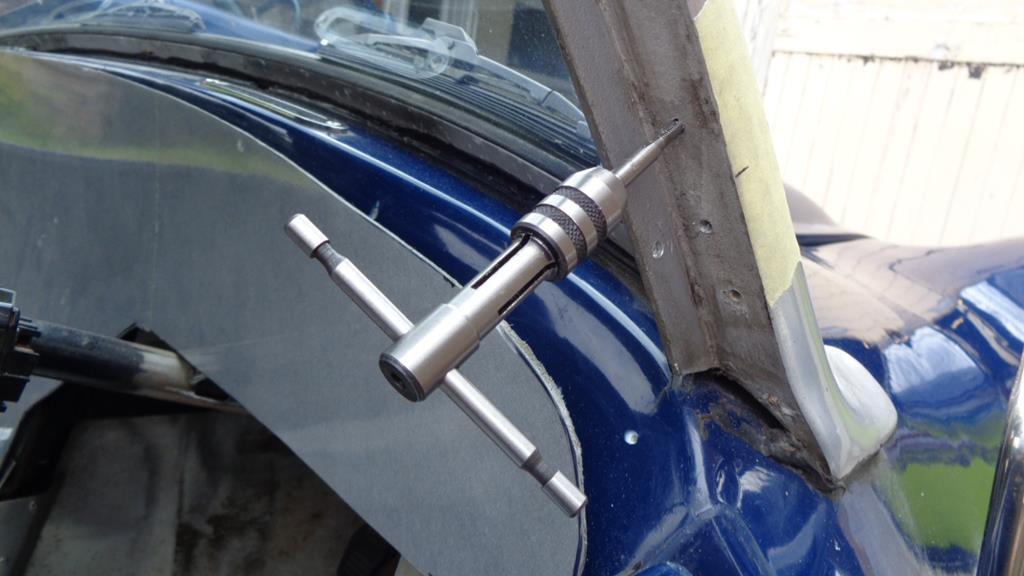 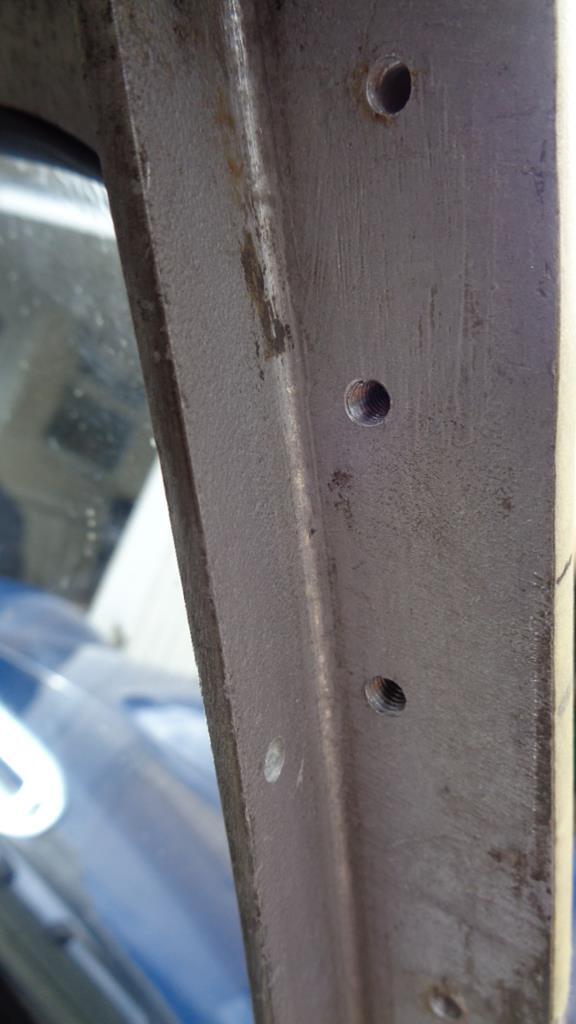 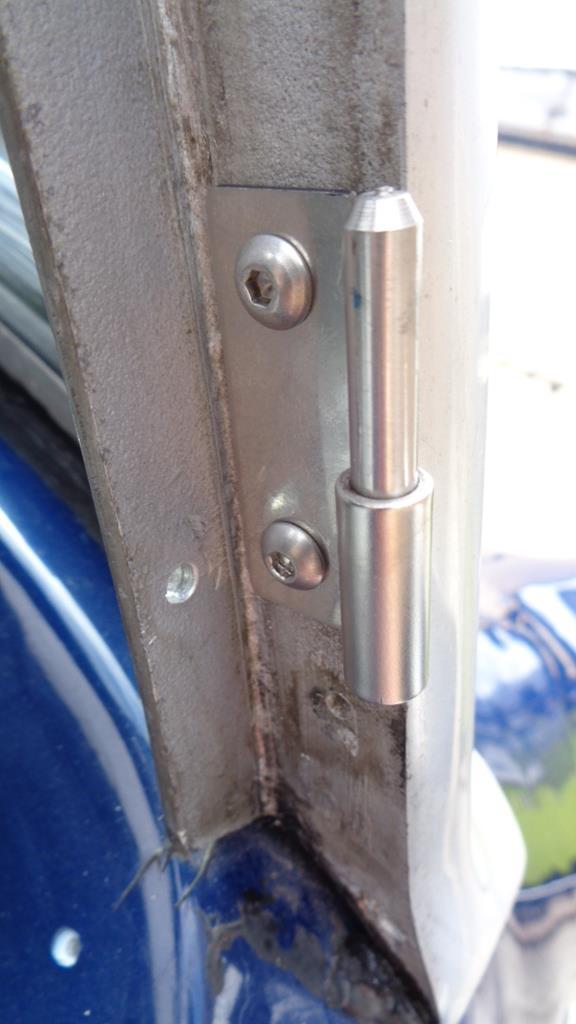 I may have to make a feature of that vertical web by Swiss cheesing it - I was considering cutting it off but having it drilled through may make it more interesting. Fitted the caliper - Tick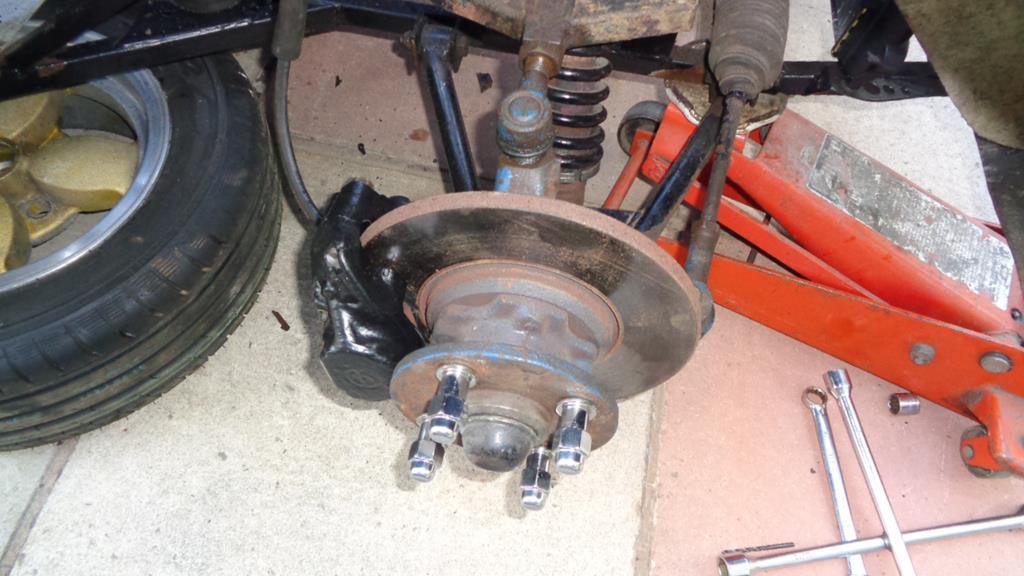 Marked out the chassis for the clips for the brake line and found a suitable 3 way fitting - did a bit of sanding around quite a few drilled holes ready for them to be welded up and started drilling out the rivets on the bulkhead so that can be replaced and sealed back up. Note to self - order rivets. 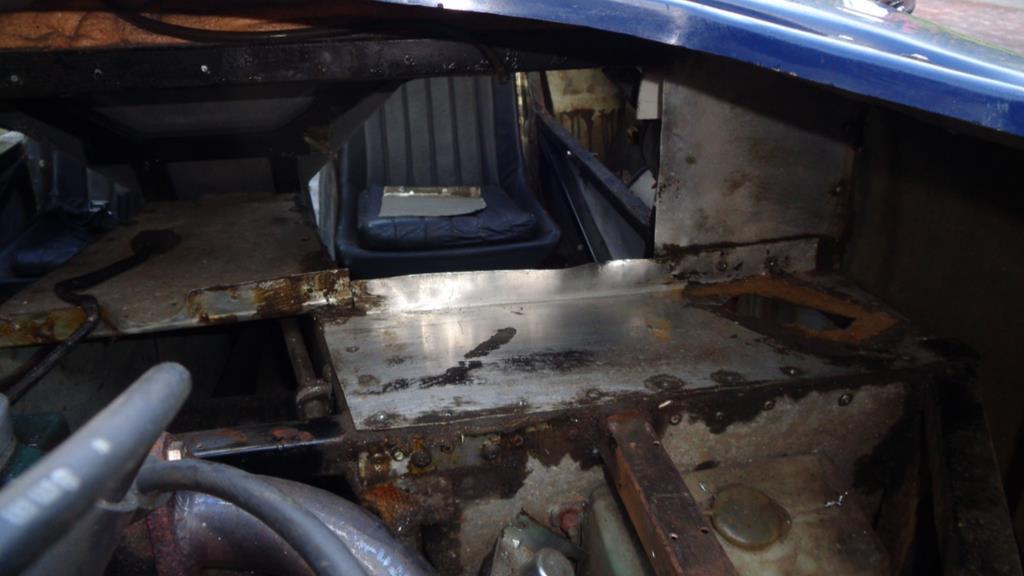 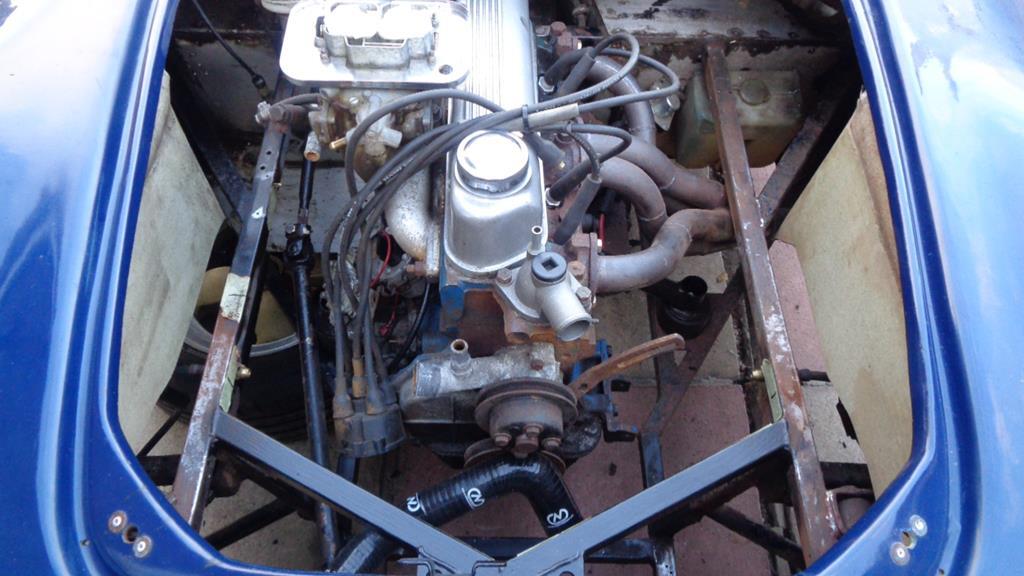 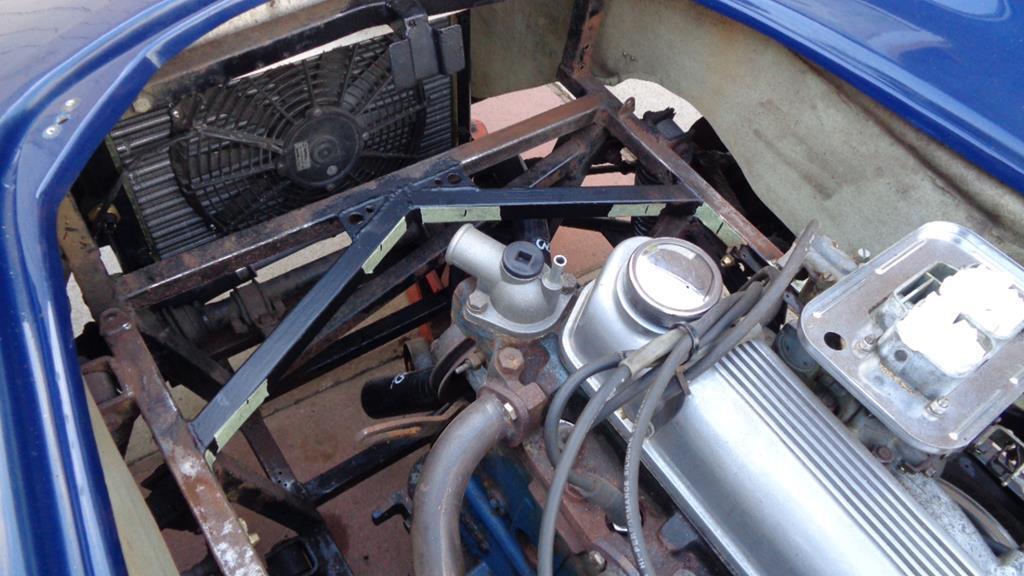 I doubt this chassis was in anyway prepared before the powder coating was applied as about 10% is stuck to the steel the rest just falls off in sheets to expose a sea of surface rust - I hate it when companies cheap out on paying for a job to be done properly. Red Gemini is the same - never been on the road spent all its days garaged and the powder coating is just falling off. |
| |
Last Edit: May 26, 2020 21:13:09 GMT by Darkspeed
|
|
|
|
|
|
|
|
Nice work all around.
John
|
| |
|
|
Darkspeed
Club Retro Rides Member
Posts: 4,674
Club RR Member Number: 39
|
|
May 27, 2020 14:35:28 GMT
|
Nice work all around. John Cheers John  So last of my extended weekend before back to the grind - bit of a lazy day today as its my Lads birthday so its a bit of chilled atmosphere making the most of the perfect weather. Still working on the list though. Gearstick - TickWelded and then given a layer of heat shrink sleeving 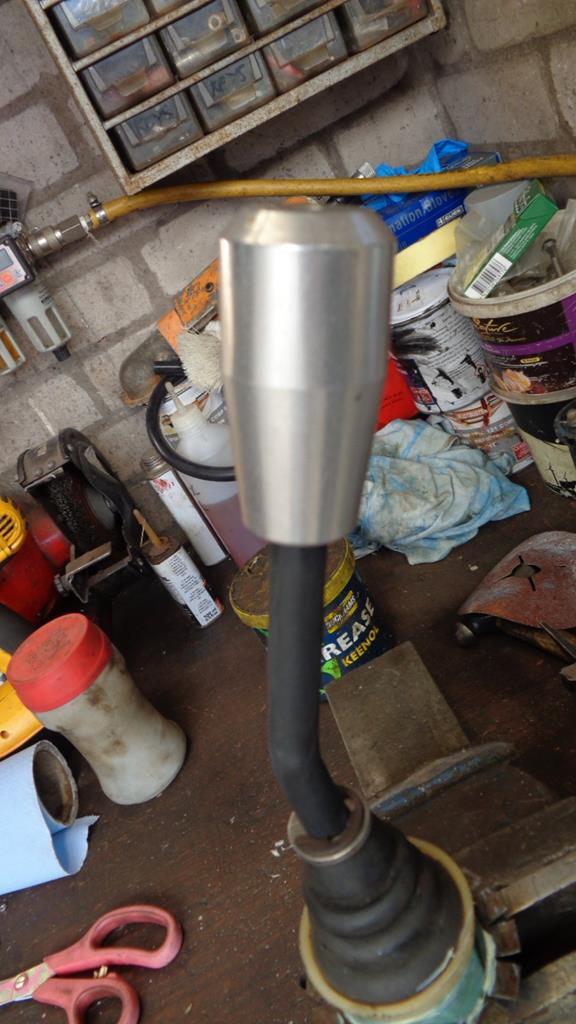 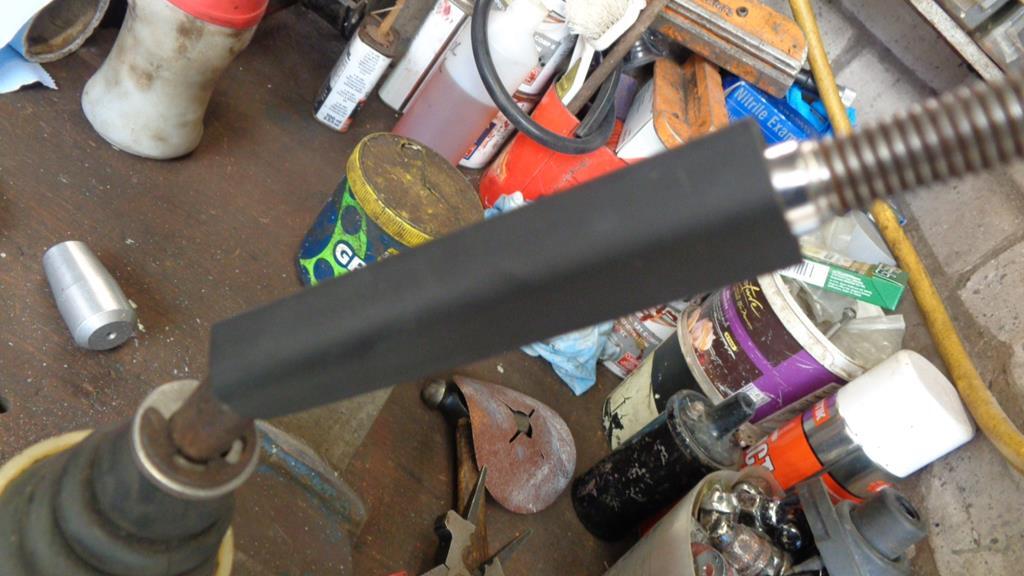 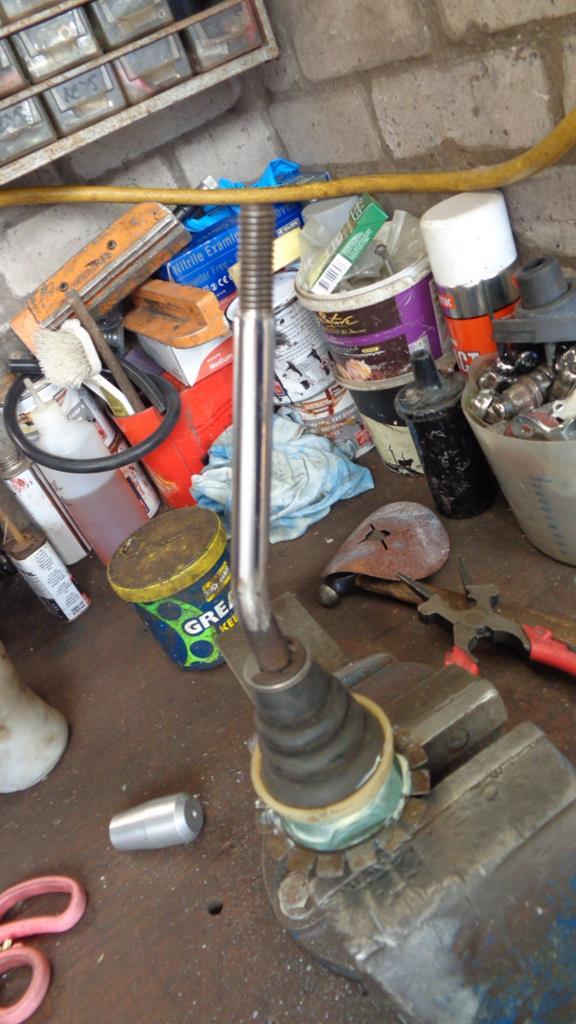 Its still a bit on the short side so the plan is to get some more ally and then make up a different knob as that one has the thread counter bored well in to it so it goes on at least 40mm before the thread starts I then welded up 25 holes in the chassis  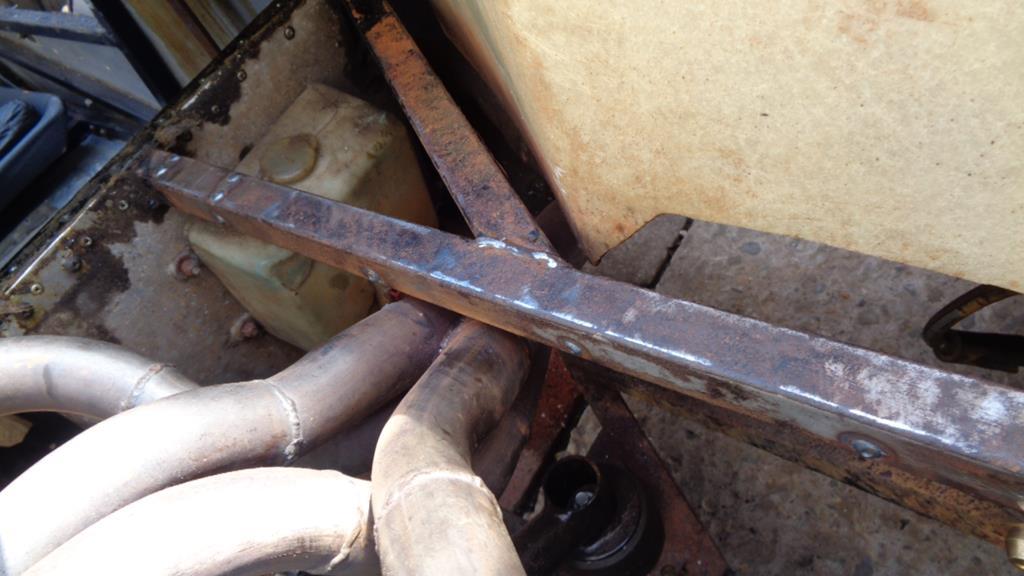 And drilled out as many rivets in awkward area's to remove the ally that I need to replace - See if I replace it with one sheet rather than multiple. 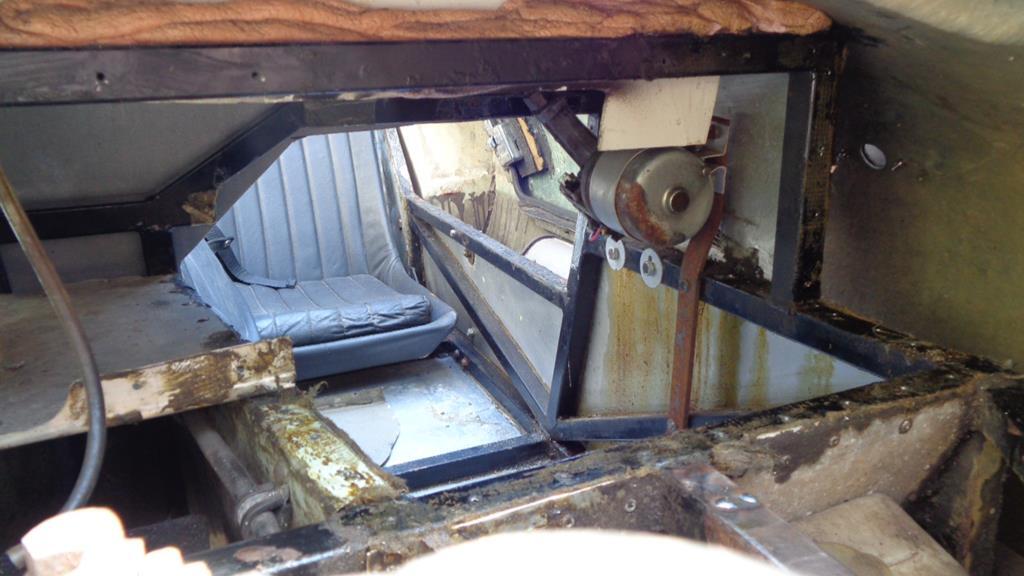 |
| |
Last Edit: May 27, 2020 14:36:09 GMT by Darkspeed
|
|
Darkspeed
Club Retro Rides Member
Posts: 4,674
Club RR Member Number: 39
|
|
May 27, 2020 15:11:08 GMT
|
|
Better add hard lining the fuel pipework from front to back to the list as well - which will also involve changing the trans tunnel alloy top - and welding up all the old rivet holes and then replacing them with rivnuts.
|
| |
|
|
|
|
Darkspeed
Club Retro Rides Member
Posts: 4,674
Club RR Member Number: 39
|
|
May 27, 2020 18:12:59 GMT
|
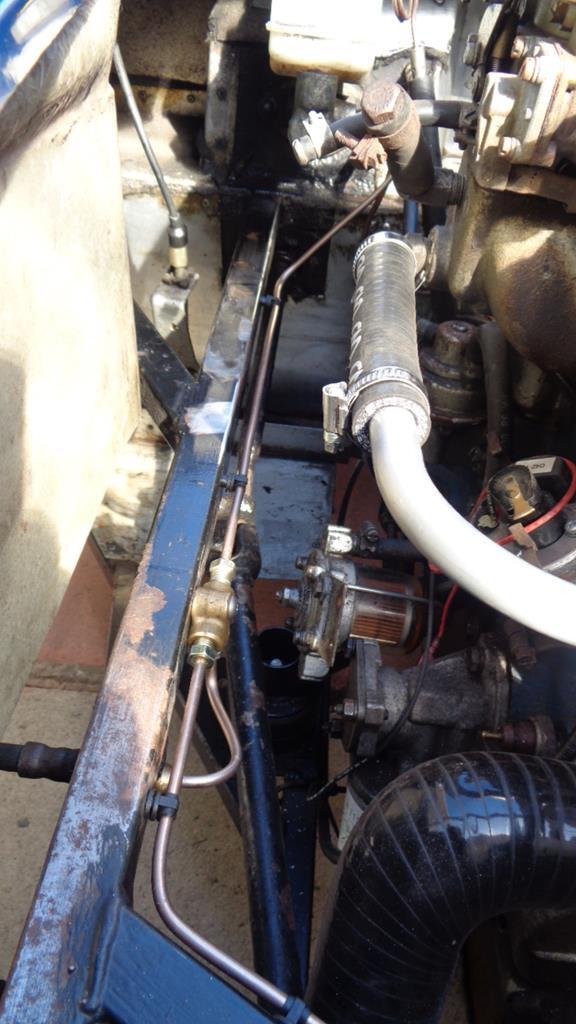
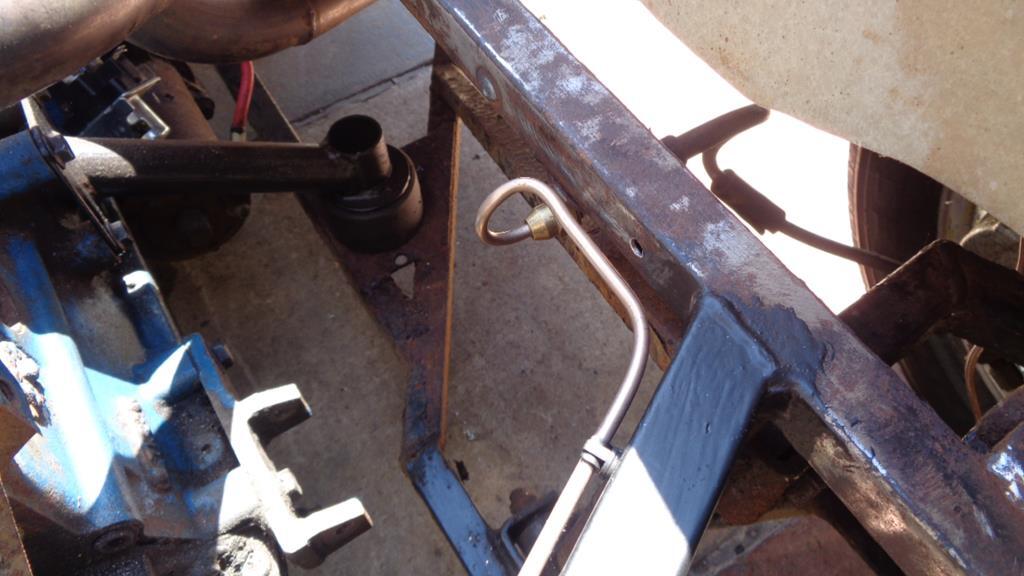
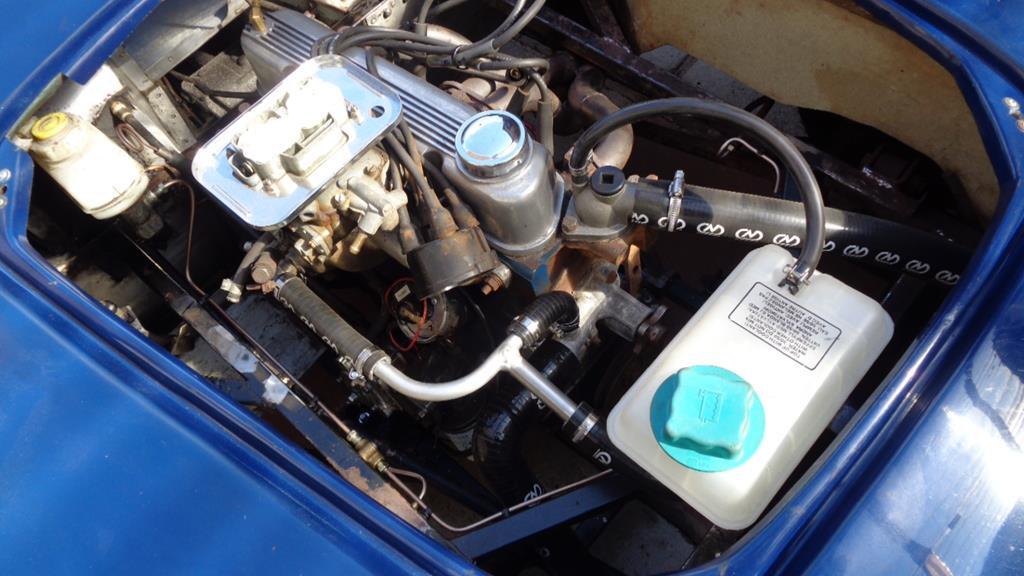
Gave the firewall area a clean up and threw out the washer bottle . 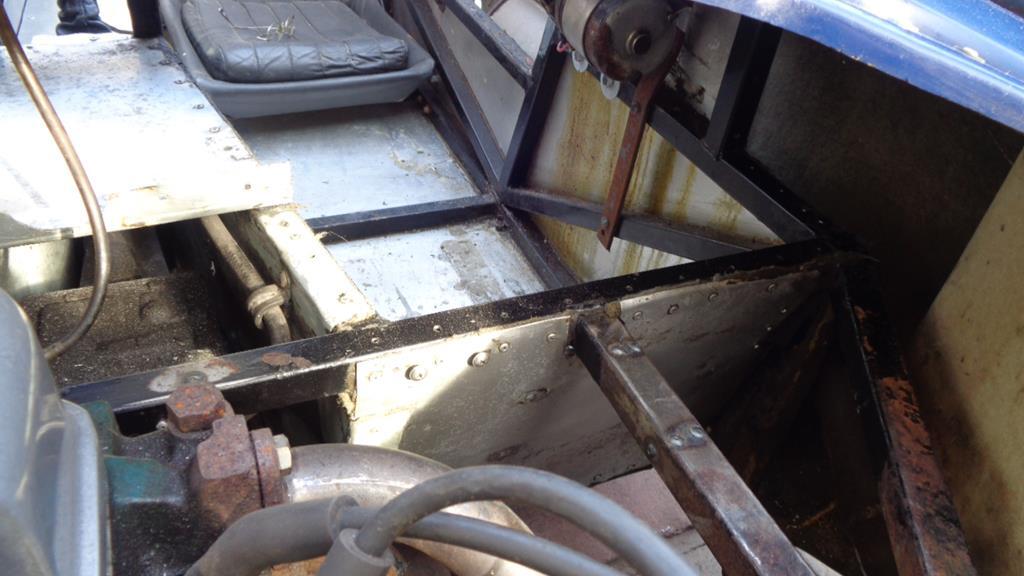 Gearlever in - needs to be just a tad longer. 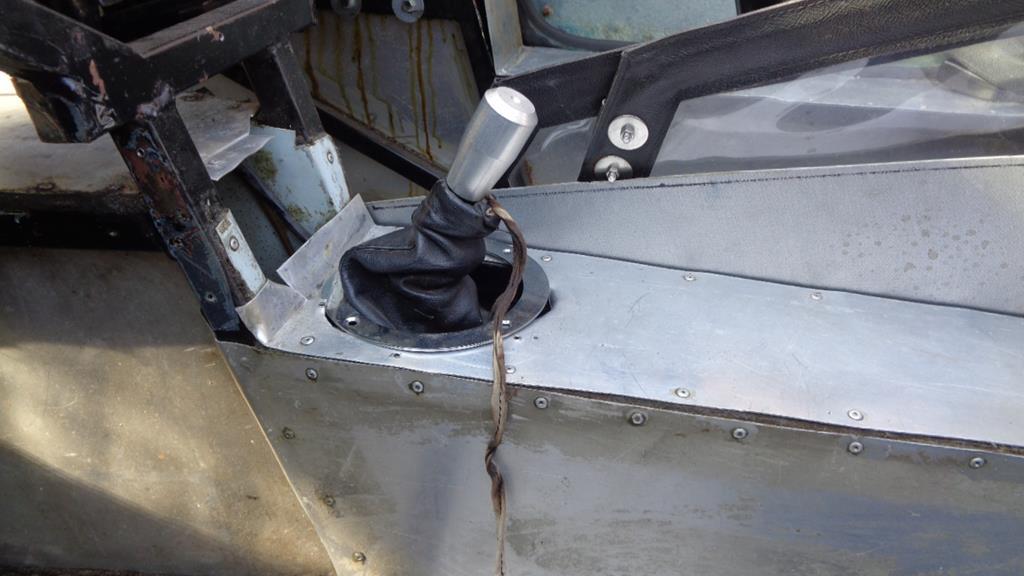 Original builder did some odd things with the alloy paneling - the tunnel side are usually one piece front to back and looks like he started out that way judging by the holes that are drilled in the chassis in that area but then went to half on the inside and half on the outside! - also looks like his drill would not fit between the transmission tunnel sides as he has folded the inner panel over the top of the chassis which is the wrong way - My OCD will not allow this to stay that way if I am replacing that tunnel top - which means more welding drilling and trimming. All quite easy to do when building the car - a right PITA to do with the body on. 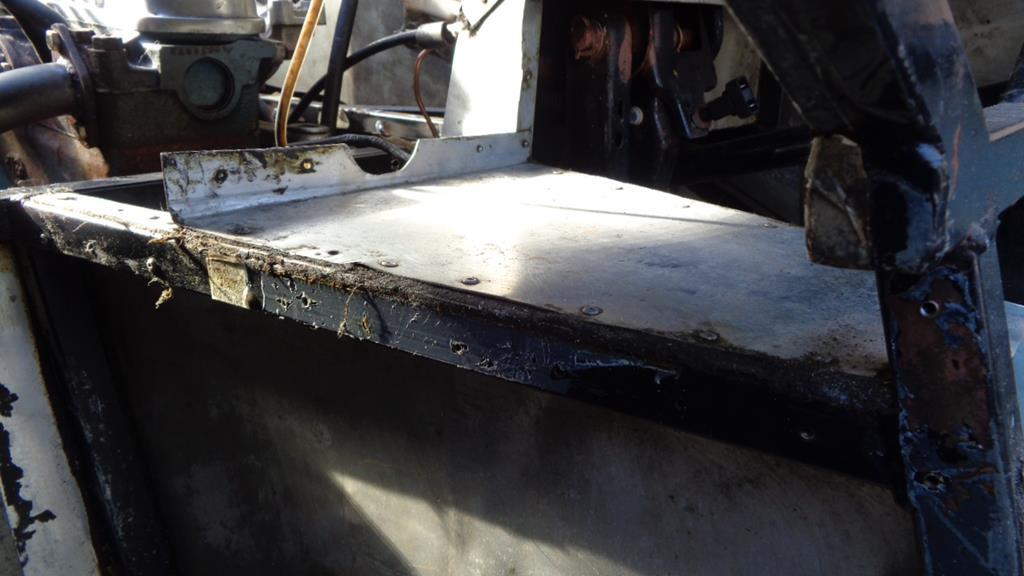 Made the wire form for the first stage of the brake pipe - then gave in for the day. 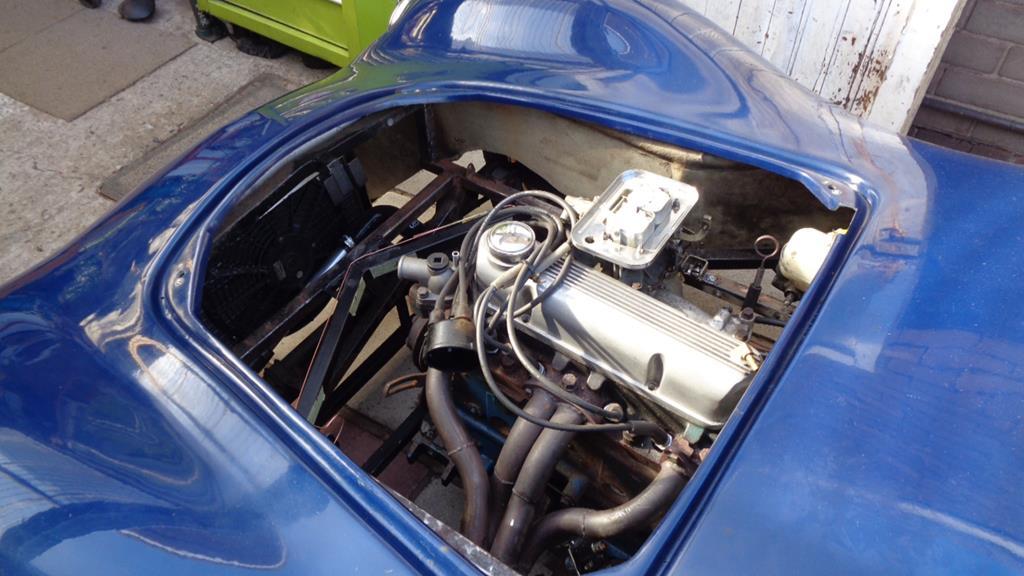 I guess I can look on the positive side and approach it that I'm making it lighter all the time. |
| |
|
|
|
|
|
May 29, 2020 18:20:53 GMT
|
|
You have been busy in the sun. All looks good. Do I need to put an order in for some nice cooling system pipework for the B?
|
| |
|
|
Darkspeed
Club Retro Rides Member
Posts: 4,674
Club RR Member Number: 39
|
|
May 29, 2020 18:31:16 GMT
|
You have been busy in the sun. All looks good. Do I need to put an order in for some nice cooling system pipework for the B? You may as well  |
| |
|
|
Darkspeed
Club Retro Rides Member
Posts: 4,674
Club RR Member Number: 39
|
|
May 29, 2020 20:09:13 GMT
|
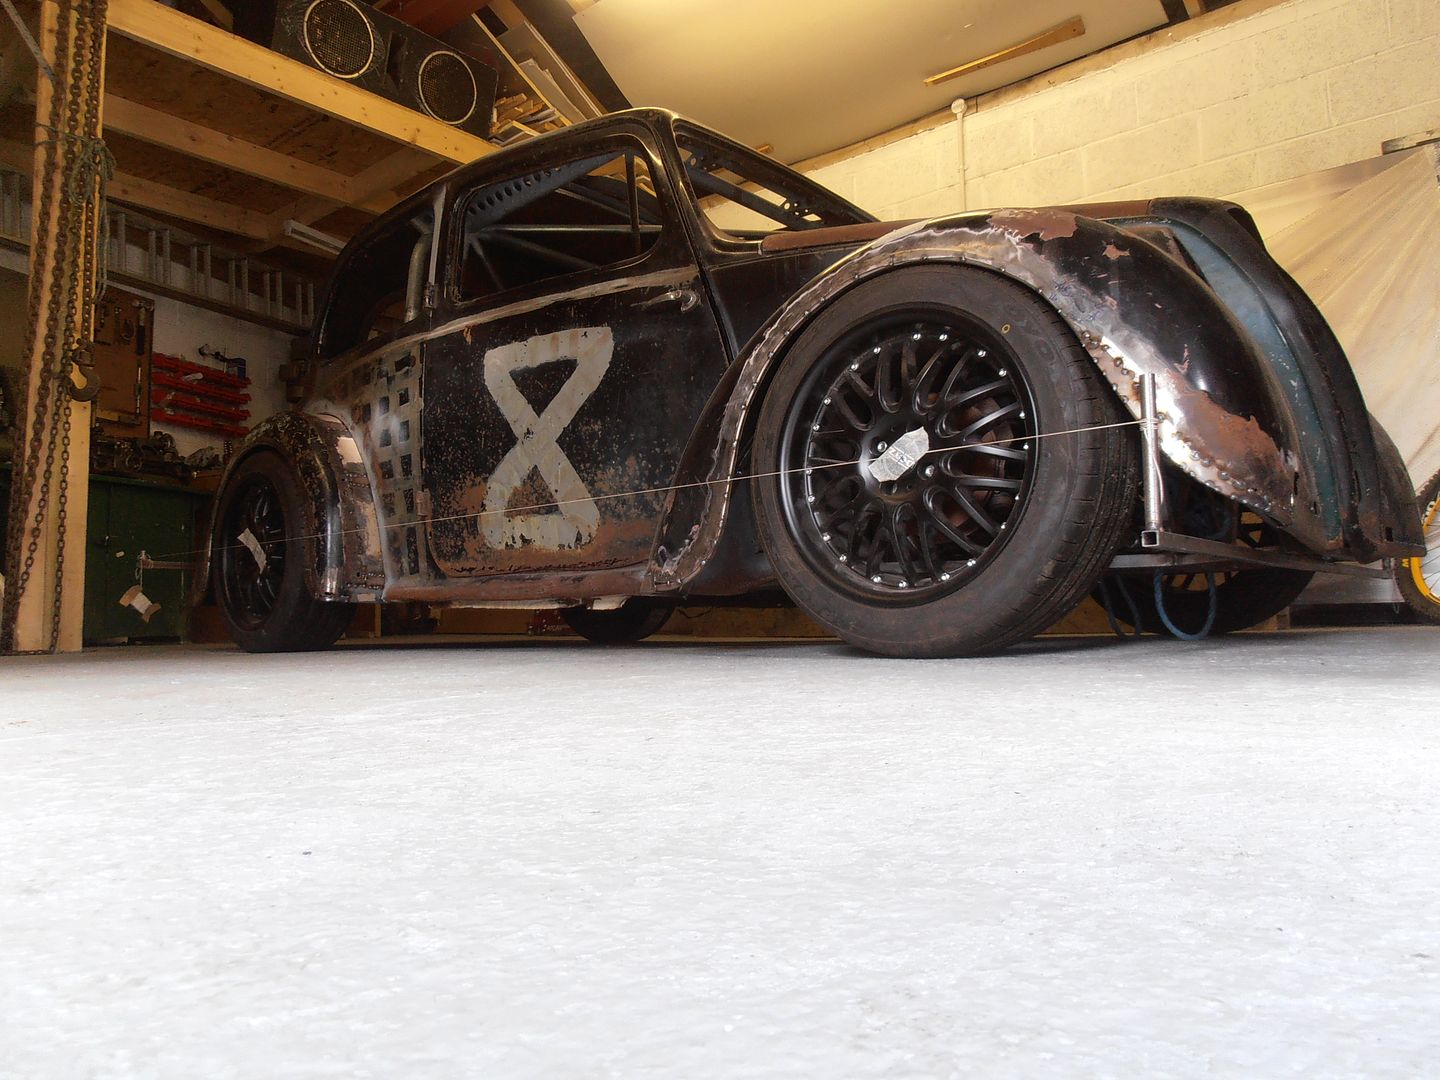
The V8 from eBay back in March is back on again - with a few modifications:- Wire wheels - big bonnet scoop to cover the filter - Cobra Stripes - Chequered tape on the door tops - Chrome effect wrap on the sills - Lost the fog and reversing lights. Going further into the baby Cobra theme. 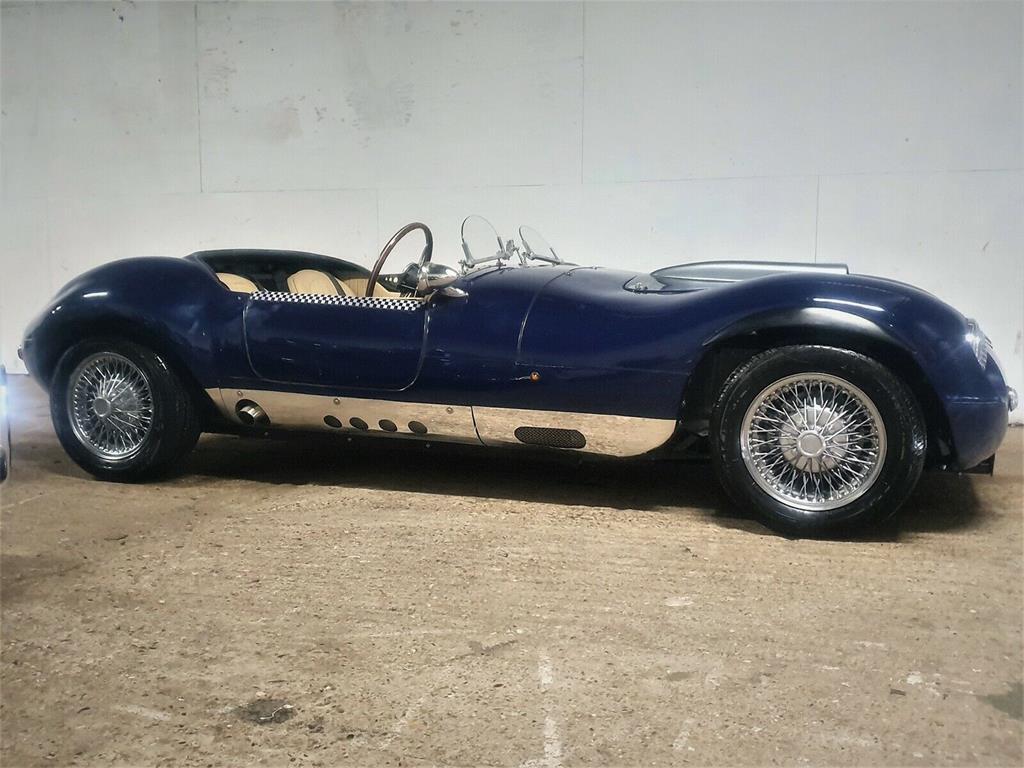 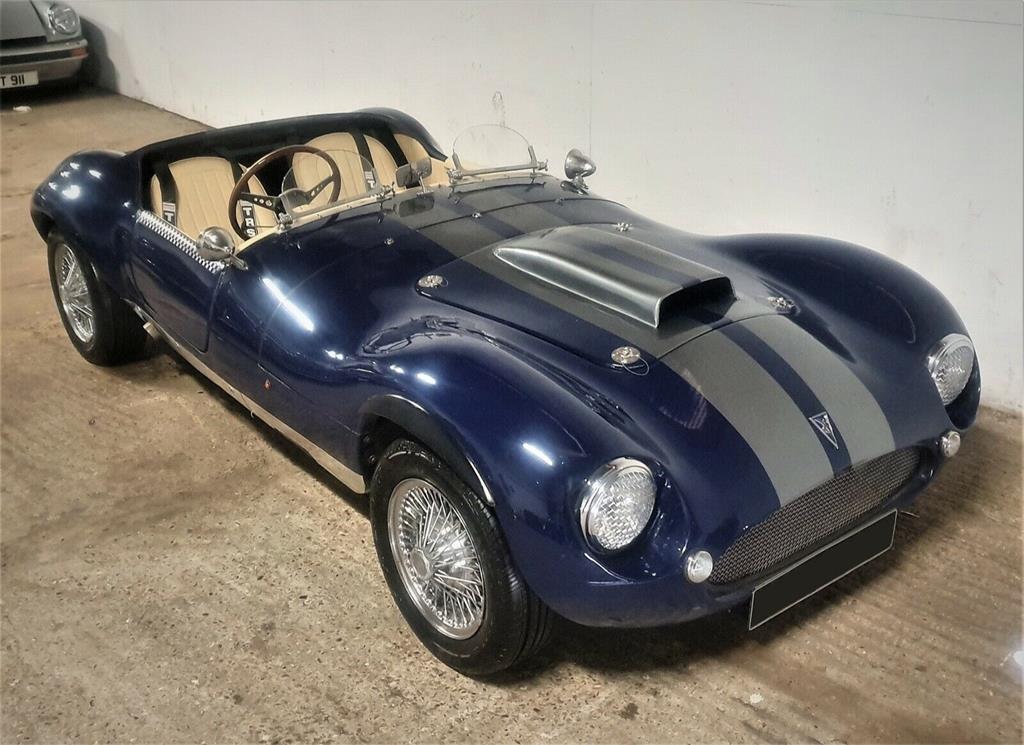 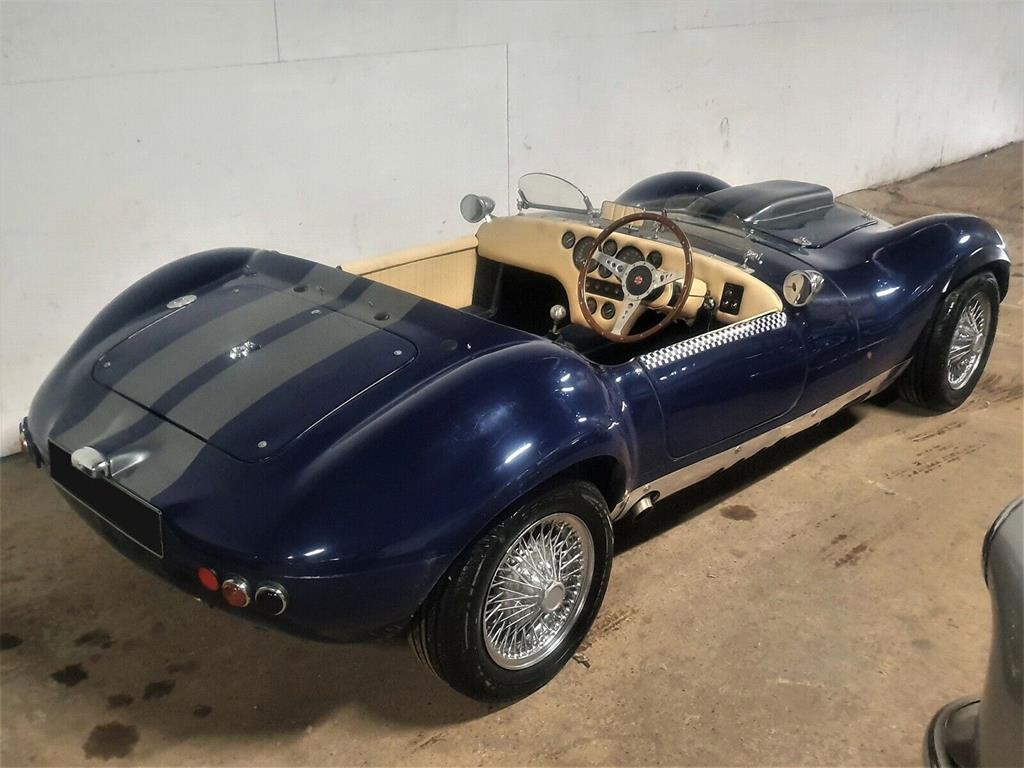 Currently at £8000 - which is about what it sold for the last time. |
| |
|
|
|
|
|
May 29, 2020 23:28:16 GMT
|
|
Looks like it's been through the hands of a Mike Brewer-type guy to "tart it up", as my Dad would have said.
Thinking about your car and the rivet drilling, how is the body held on to the chassis?
John
|
| |
|
|
stealthstylz
Club Retro Rides Member
Posts: 14,832
Club RR Member Number: 174
|
|
|
|
|
You're definitely realising the potential with this one. Lost the gawky-ness that most kit car builds suffer from.
|
| |
|
|
Darkspeed
Club Retro Rides Member
Posts: 4,674
Club RR Member Number: 39
|
|
May 30, 2020 10:40:08 GMT
|
Thinking about your car and the rivet drilling, how is the body held on to the chassis? John The body is held on with a combination of bolts and rivets but very few of either - If compared to a fastener - its just about hand tight. You're definitely realising the potential with this one. Lost the gawky-ness that most kit car builds suffer from. Trouble with many builds is aspiration above ability so when sections of builds get hard to do the builder starts to focus on thing they can do like bolt on trinkets. The more frustrated they get with not being able to complete a task there is a proportional increase in the number of stripes, gauges, mirrors stickers, emblems,lights etc. The cheaper the kit the worse it gets. Although that can be applied to any vehicle build really. less is more. |
| |
Last Edit: May 31, 2020 8:26:27 GMT by Darkspeed
|
|
jonomisfit
Club Retro Rides Member
Posts: 1,746
Club RR Member Number: 49
|
|
May 30, 2020 11:41:10 GMT
|
Except when it comes to swagey holes. Then more is moar 😁 |
| |
Last Edit: May 30, 2020 11:41:32 GMT by jonomisfit
|
|
|
|
|
May 30, 2020 15:07:57 GMT
|
|
Still got the gaudy interior though. It's not sure what it wants to be. I can't see the Gemini or G27 being quite so plush, and rightly so! In my opinion of course!!!
|
| |
|
|
Darkspeed
Club Retro Rides Member
Posts: 4,674
Club RR Member Number: 39
|
|
May 30, 2020 19:59:21 GMT
|
|
|
| |
|
|
|
|