Darkspeed
Club Retro Rides Member
Posts: 4,669
Club RR Member Number: 39
|
|
|
|
I noticed in this image that the central bolt hole for that short very loose bolt looked a bit different from the ones next to it with nice clear threads. 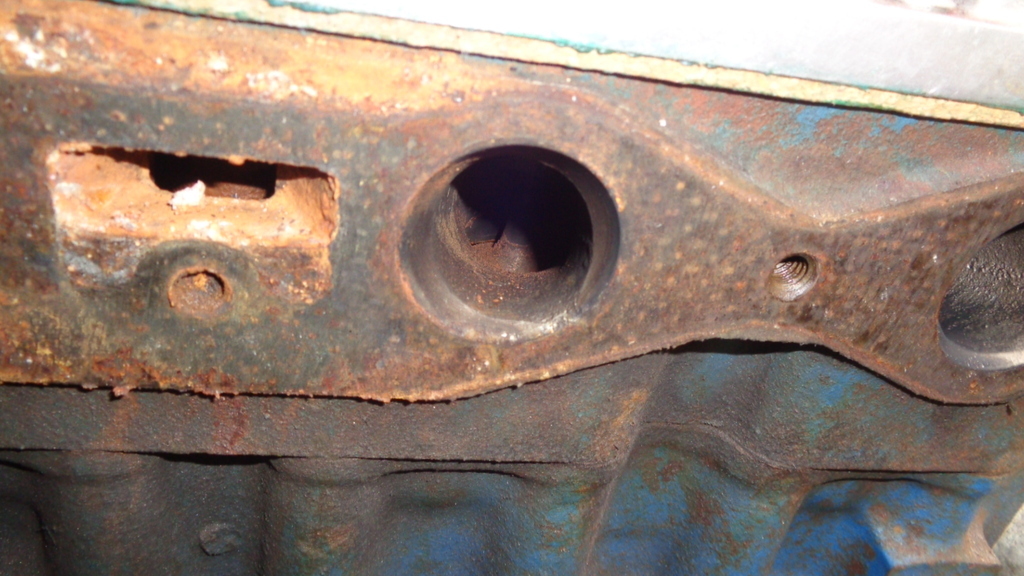 Well I caught a break because all that is there is a rusty water plug blocking the threaded hole ! Shows that the bolt was doing absolutely nothing. I did a few more checks today - Rings - I dropped a very thin feeler gauge down the side of the bore to see if the rings are stuck on the pistons and no they are not as I cannot get the feeler gauge past it is stopped by the ring. Whilst doing that work it was apparent that the there is a fair bit of piston movement in the bore as the feeler gauge I used should not have been able to fit really. Pushing the piston over hard I can get a 0.020" feeler gauge between bore and piston! Not exactly scientific as there is always a bit more clearance at the CROWN than the skirt but its a we bit over what it should be and I can push the piston over and see the top ring quite clearly ! - I crudely measured the bores with a Vernier - there is no wear ridge - and also with some calipers mid bore, and they both measure around 81.7mm which is where a +0.030 bore should be - can they really be that worn ! I can see the top ring and the ring gap does not look excessive. Pistons are AE 18649 +030 looks like the sump will be coming off to get a piston free. Will have to borrow a bore mic and try and figure what has gone on. It was not burning oil the oil control rings must have been hanging on in there and it was not rattling its head off like it appears it should have been. |
| |
|
|
|
|
|
|
|
|
|
|
20 thou sounds a lot, I'd be expecting around 4 thou per inch of bore but that's at the bottom of the skirt which usually is noticeably bigger than around the rings, as you say it needs the piston out to be sure. In the cleaner bores it looks like you can still see the honing marks, so I doubt it's worn, if you have a honing stone I'd give the rusty one a quick going over with the piston at BDC before trying to push it out.
|
| |
|
|
Darkspeed
Club Retro Rides Member
Posts: 4,669
Club RR Member Number: 39
|
|
|
|
|
Its the piston that appears to be worn not the bore - as stated, no wear ridge and with a Heron there would be a big ridge, and they measure up where I would expect - Yep hone marks still very clear.
20 thou is a big amount - the factory piston bore clearance is .0009" to .0015" 1-2 thou is acceptable. Piston movement just about being perceptible. Not the side to side or back forth clacking I can get.
Piston bore clearance is also not a per inch bore figure like ring gap its a fixed tolerance - Forged pistons run a bit more clearance 4-5 thou but 20 would be considered goosed and slapping about. And being a Heron with a big fat CROWN on the piston there is typically a bit more room at the top than a "normal" piston.
Only one thing for it - take a piston out.
ETA
Actually no - The thing to do is wrap it up and send it up the barn and not worry about it further until the summer and concentrate on the Stratos - maybe come back to the Gemini if I need a break.
|
| |
Last Edit: Apr 5, 2022 13:31:36 GMT by Darkspeed
|
|
|
|
|
|
|
|
yes I was getting my decimal point one place out! they used to go to around 4 on the forged pistons in twin cams but they did slap when cold.
Seems strange the ring gaps seem OK if the piston to bore clearance is that far out, as you say they need to come out and be measured, should be easy enough with no bore step.
on the master cylinder front could you mount it forward of the carbs with a long push rod going under the carbs in a similar way to how servoed mk2 escorts were done?
|
| |
Last Edit: Apr 5, 2022 13:24:20 GMT by kevins
|
|
Darkspeed
Club Retro Rides Member
Posts: 4,669
Club RR Member Number: 39
|
|
|
|
on the master cylinder front could you mount it forward of the carbs with a long push rod going under the carbs in a similar way to how servoed mk2 escorts were done? With the engine coming out at some point, the body will come off and I will fit dual M/C and bias - For now it can go up the barn whilst I focus on the Strato's - I will do little bits here and there but for now decision made. Edit All slung back together to get it out of the way up the barn.   |
| |
Last Edit: Apr 8, 2022 3:07:10 GMT by Darkspeed
|
|
Darkspeed
Club Retro Rides Member
Posts: 4,669
Club RR Member Number: 39
|
|
|
|
Before the thread goes dark for a bit - Capt' Itchy has been doing some work on his 3D printer for me creating some new centre caps based on the original Rocket Racing Wheels Design. 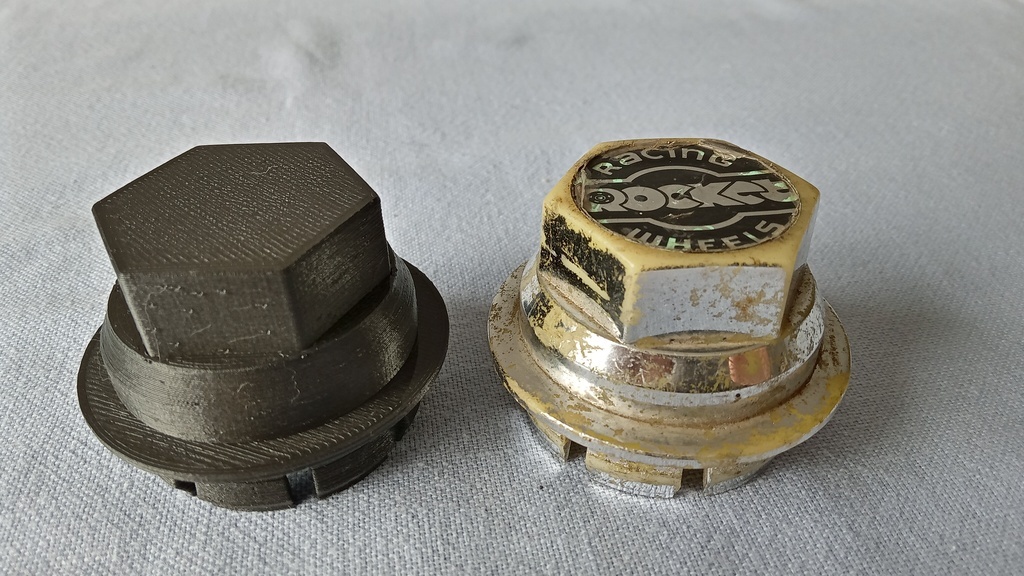 Just need to drop by with the spare wheel for a test fit. |
| |
|
|
|
|
|
|
|
|
There's a place in Basildon that uses a silver coating process to do a very good re-creation of Chrome on plastic.
|
| |
|
|
Darkspeed
Club Retro Rides Member
Posts: 4,669
Club RR Member Number: 39
|
|
|
|
There's a place in Basildon that uses a silver coating process to do a very good re-creation of Chrome on plastic. Cheers - this will get a light sand, rattle over with some aluminium paint and a sticker - I am compromising my add lightness principle by fitting it anyway  |
| |
|
|
rob
Part of things

Posts: 158
|
|
May 17, 2022 20:33:03 GMT
|
I noticed this and thought of your cars. Falcon for sale Really nice looking car.  |
| |
|
|
Darkspeed
Club Retro Rides Member
Posts: 4,669
Club RR Member Number: 39
|
|
|
|
I noticed this and thought of your cars. Really nice looking car. It will be interesting to watch and see what it reaches. |
| |
|
|
|
|
Darkspeed
Club Retro Rides Member
Posts: 4,669
Club RR Member Number: 39
|
|
Jun 30, 2022 15:05:20 GMT
|
Quite a lot.  |
| |
|
|
Darkspeed
Club Retro Rides Member
Posts: 4,669
Club RR Member Number: 39
|
|
Aug 21, 2022 22:16:00 GMT
|
Spent a bit of time looking at my G27 project over at my mates place and a lot of time welding on his Gemini V8 project. The chassis was a bit too snug for the exhaust manifolds and were just ugly with rails sort of "stuck on top" of the usual Gemini chassis. We also wanted extra clearance to provide for some bigger diameter manifolds in the future. So we took these cramped and rather sorry looking things out. 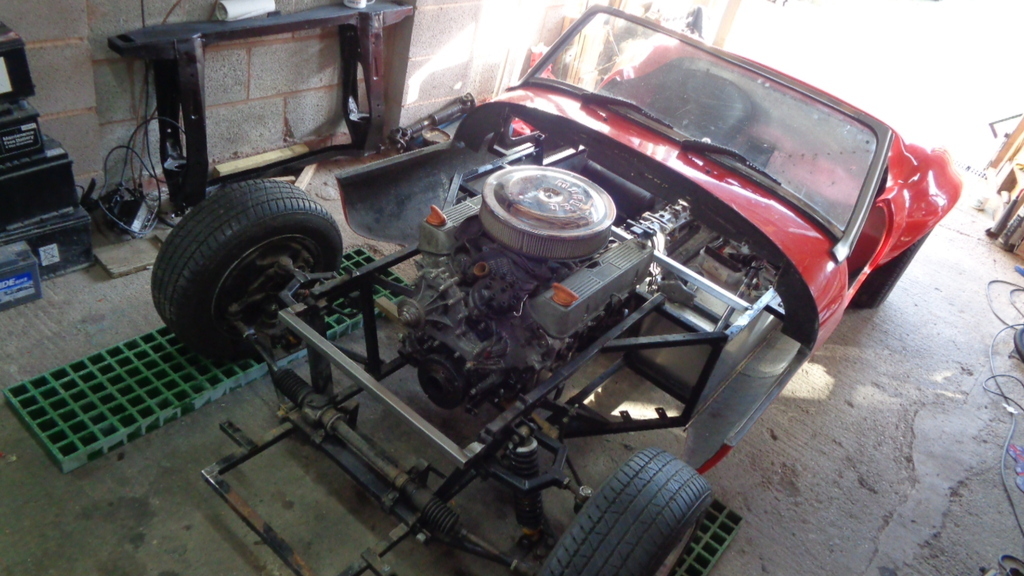 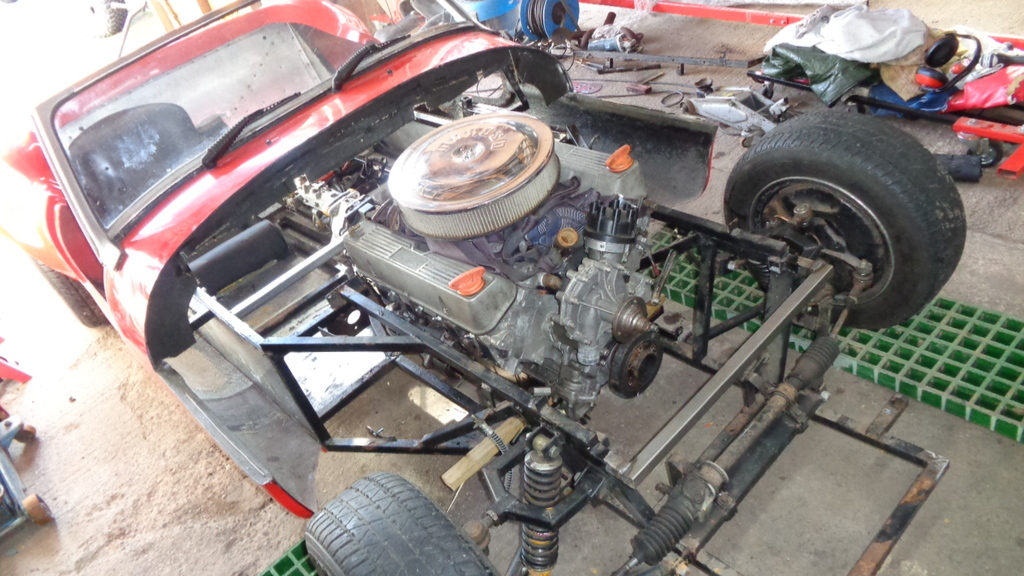 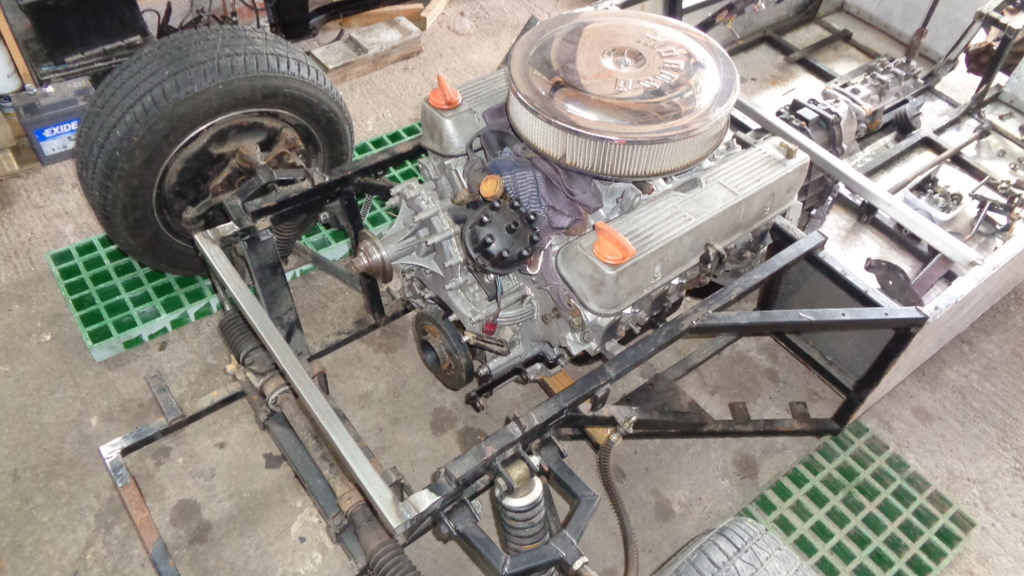 And replaced them with something like they should have had from the factory 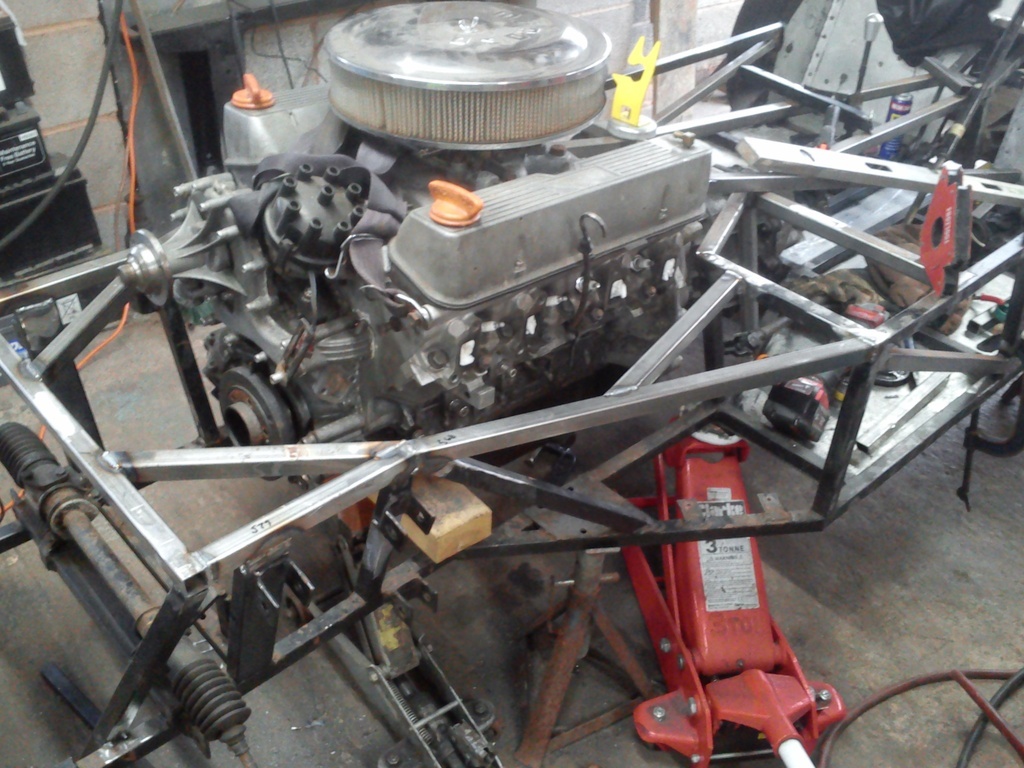 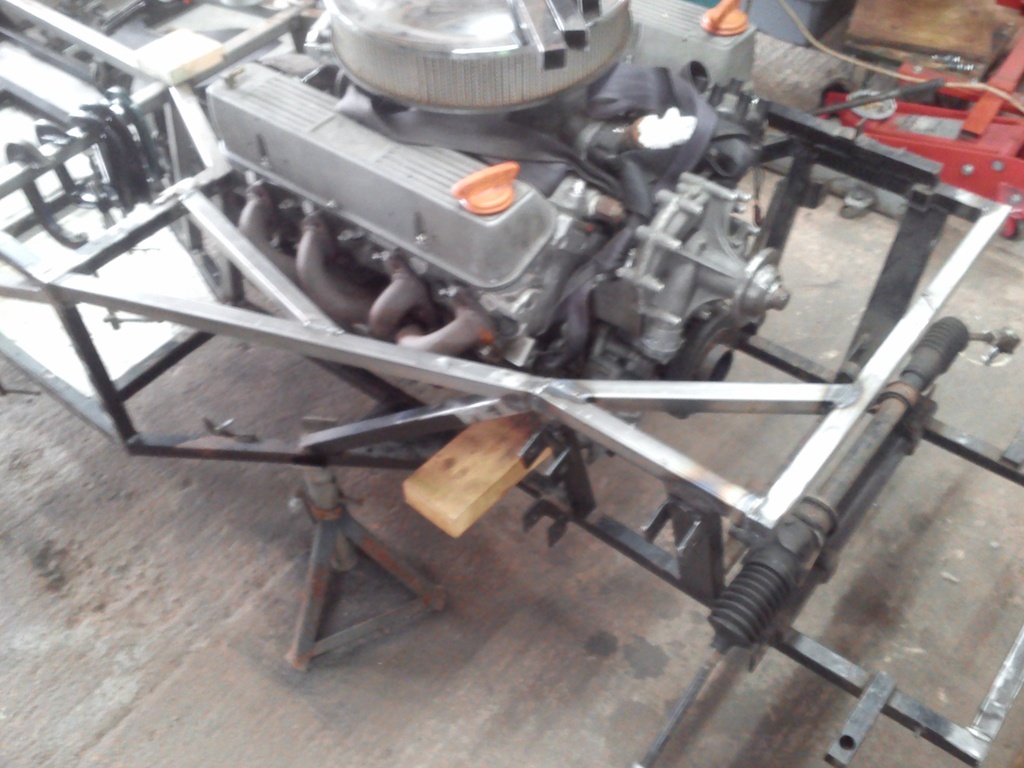 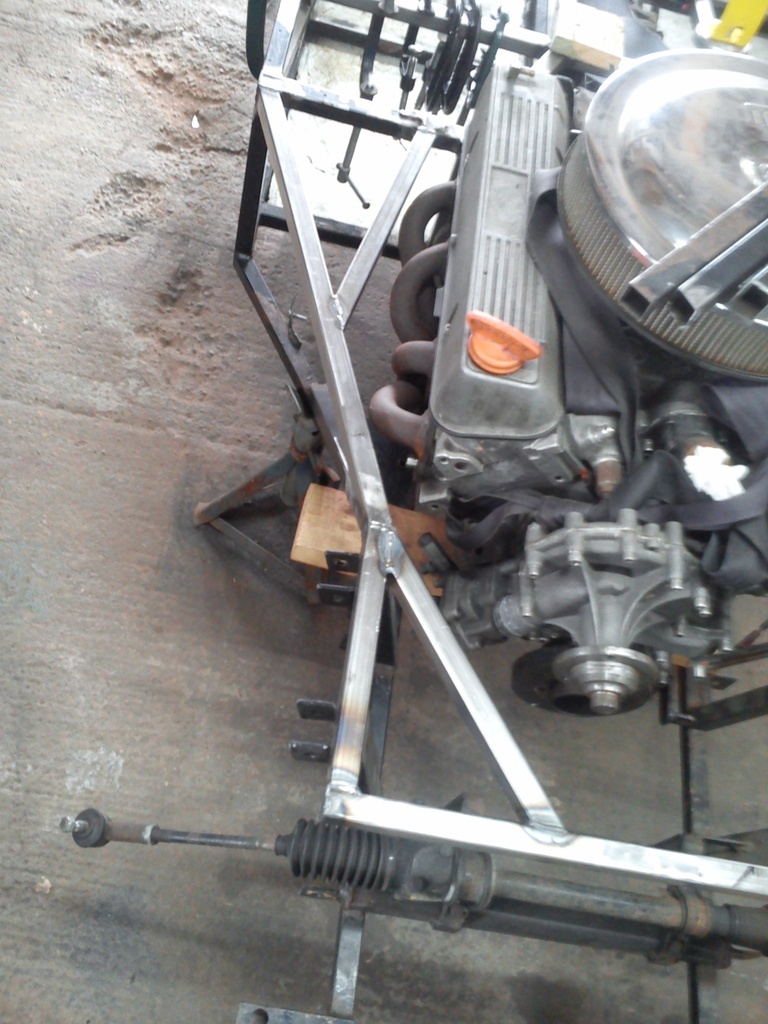 A few more braces and a couple more triangulations to go in yet but looking far better. |
| |
Last Edit: Aug 21, 2022 22:17:12 GMT by Darkspeed
|
|
Darkspeed
Club Retro Rides Member
Posts: 4,669
Club RR Member Number: 39
|
|
Dec 23, 2022 23:59:21 GMT
|
It does not seem as long as it has been since I dropped in at V8 kit car central for tea, talking rubbish and welding steel. But looking the last time I updated this thread it has been quite a while. Caught up on things chatted about work, life and cut and welded some more tubes into the V8 Gemini. No before or during - just after. 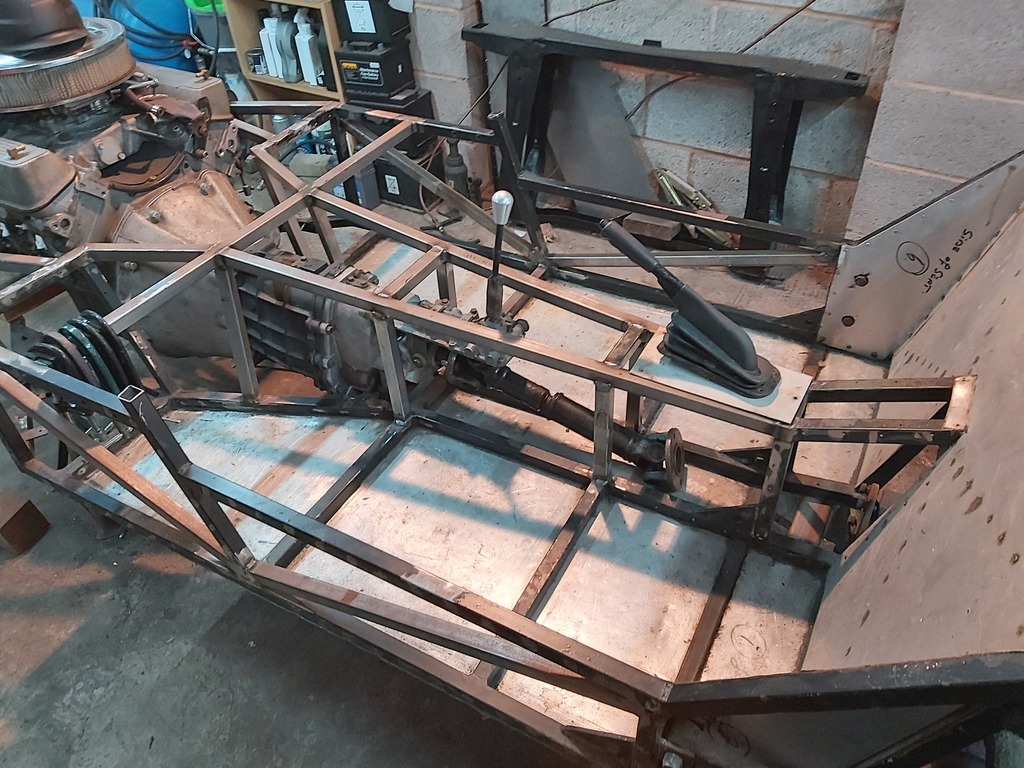 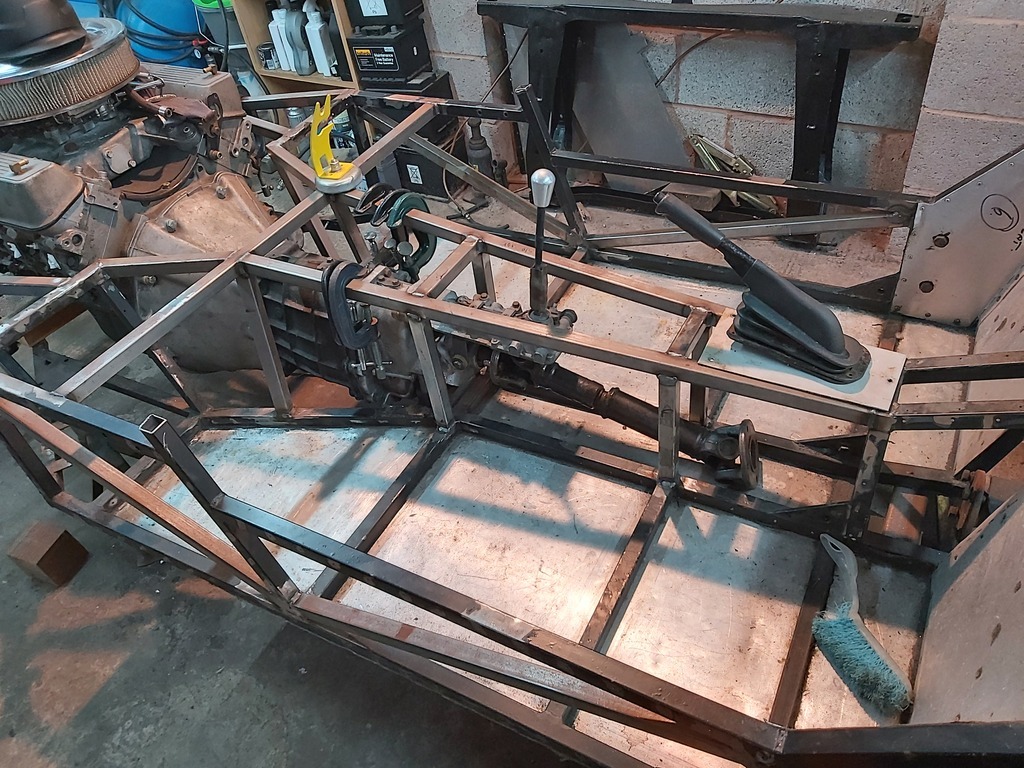  Have a soundtrack 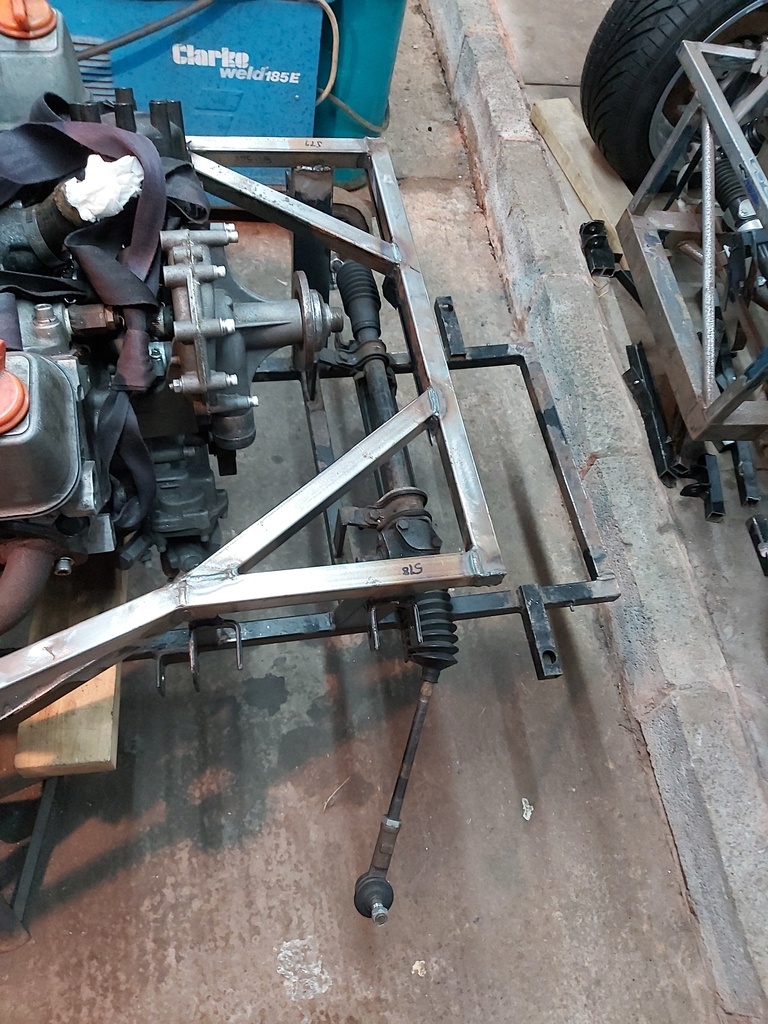 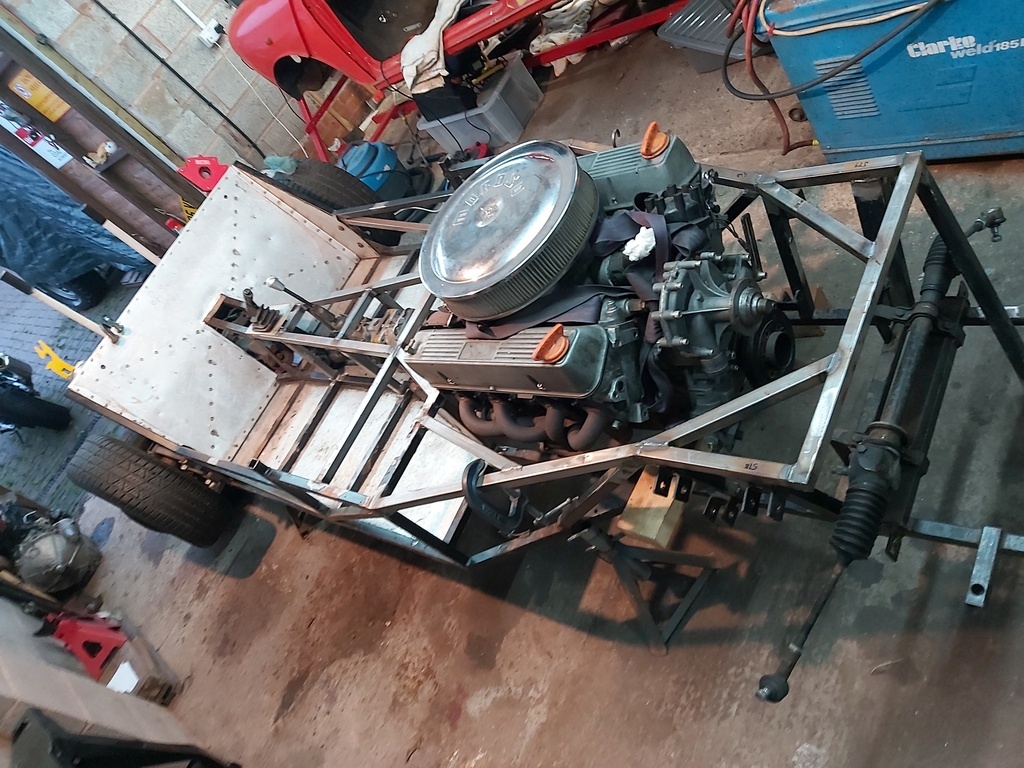 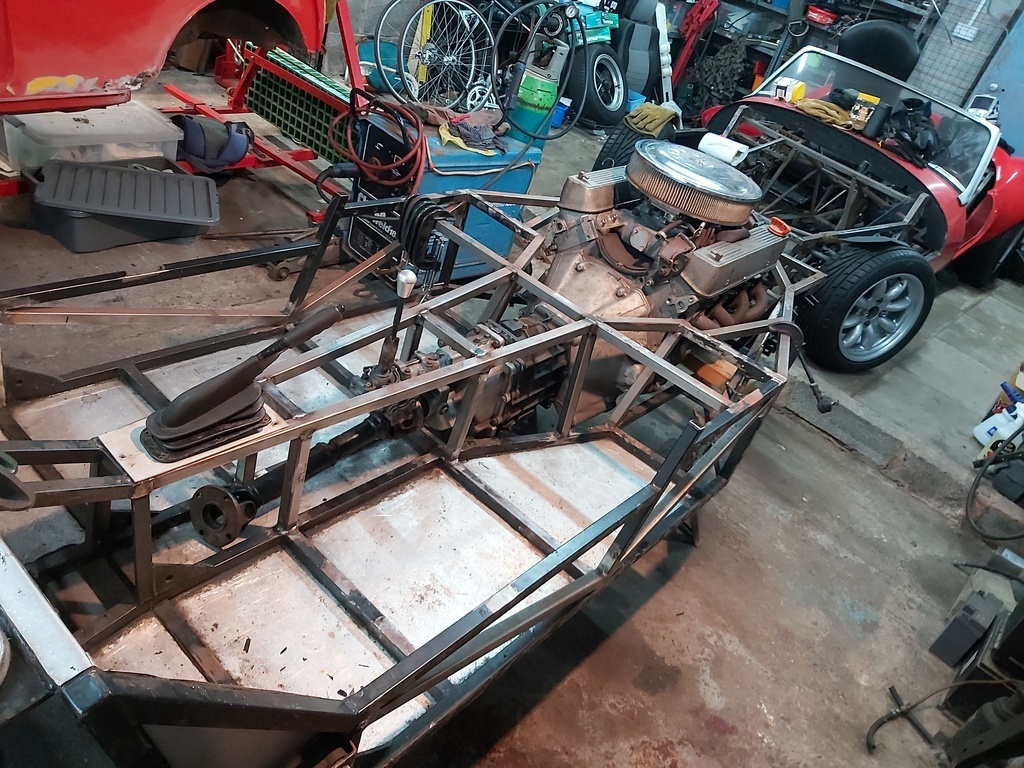 Then looked around the place for some steel and found that quite a few metres had been used up and more was needed - That's quite a bit of new metal work gone in there and a bit more yet to go. More 1" RHS and some 3/4 tube need to be ordered up although I may have a look up the barn for the 3/4. A couple more original tubes need to be relocated for improved comfort and operation Another tribute to Terry Hall. I did also check in on Gem 2 up the barn the other day to ponder what I am going to do with it. Still pondering and will carry on doing so. |
| |
|
|
Darkspeed
Club Retro Rides Member
Posts: 4,669
Club RR Member Number: 39
|
|
Jul 15, 2023 20:54:42 GMT
|
A couple of weekends back I nipped up the barn and collected the cylinder head off the Gemini for a bit of a closer examination. I put it on a stand and removed the valves to see what if any work had been done to it, I particularly wanted to check the exhaust unleaded seats. All I can say is that "I think" there are some seats in there, the seat is free from any damage as is the valve and I can just make out a colour difference in part of the seat/throat. I do not however think that its the full diameter of the GT valve seat width! Measured up the head has the GT exhaust and the stock inlet so I ordered up a set of GT valves from Burton - being polite, they are not the best valves in the world and are far heavier than the stock valves and I doubt very much that they would improve the flow. I tried a 25mm ball and it will not pass through either port 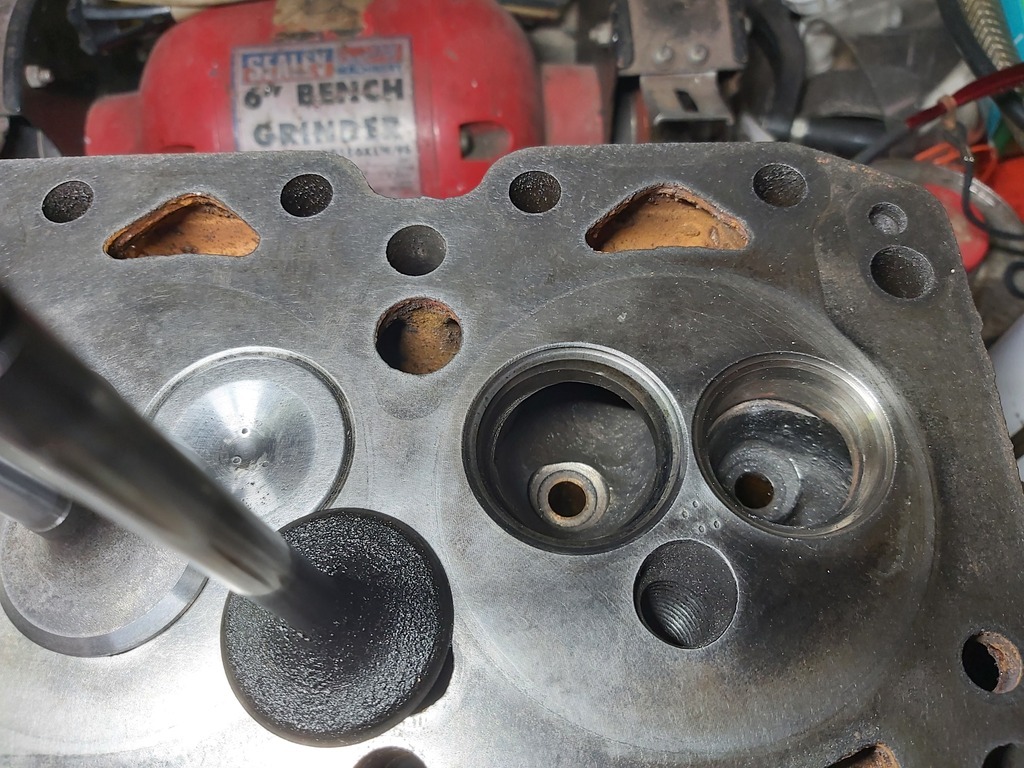 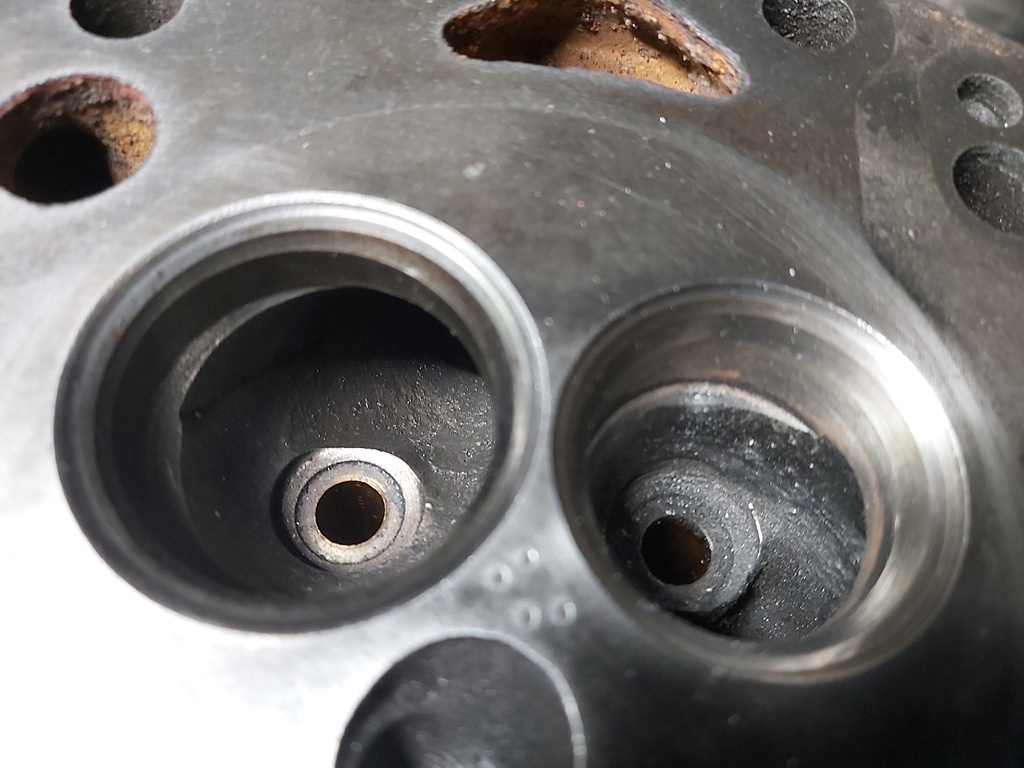 I need 32.4mm ball clearance on the inlet and 27mm on the exhaust which will be quite a lot of material removed. The GT valve got put in the late to knock some of the ugly off of it to reduce the margin which was 2mm and and the valve seat which was a huge 4.5mm - the margin got reduced to 0.7 and the seat 2mm - I may drag the valve grinder out of the shed set it up and increase the 30 degree back cut I did in the lathe to reduce the seat width to 1.5. 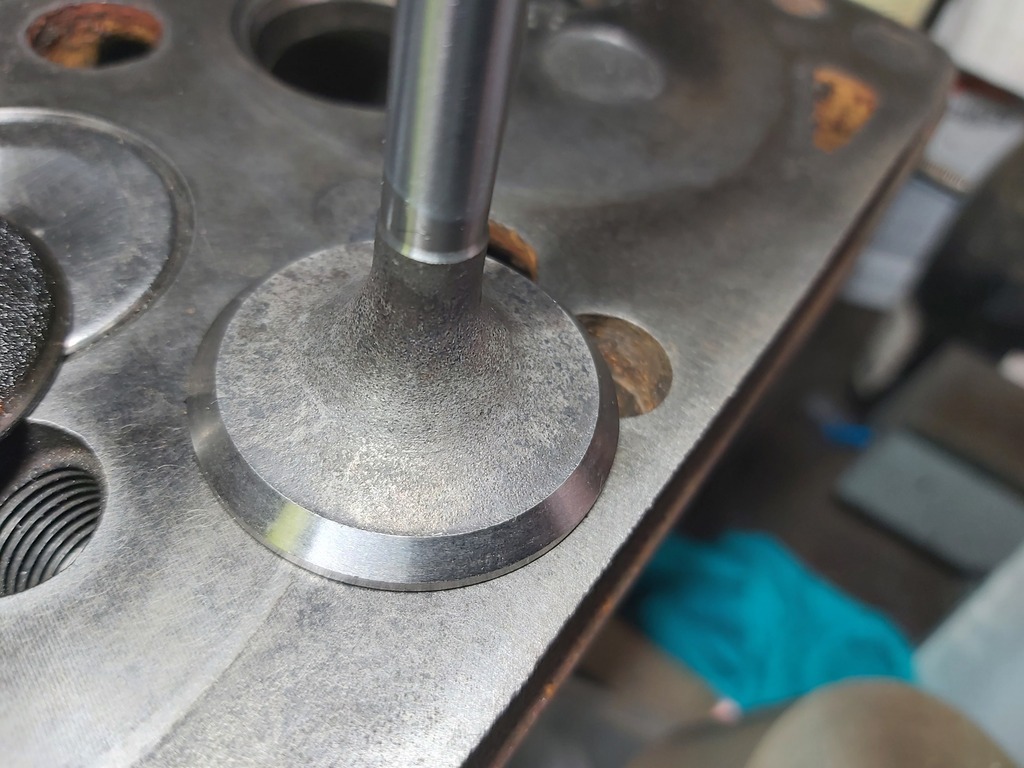 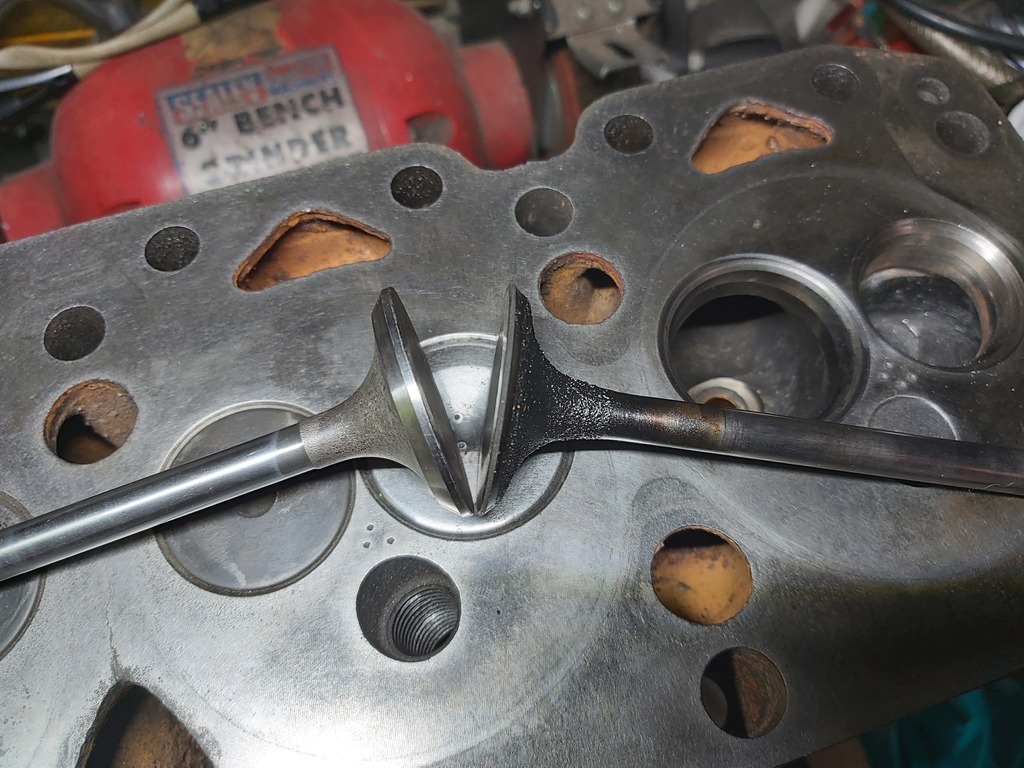 And the GT after a bit of work. 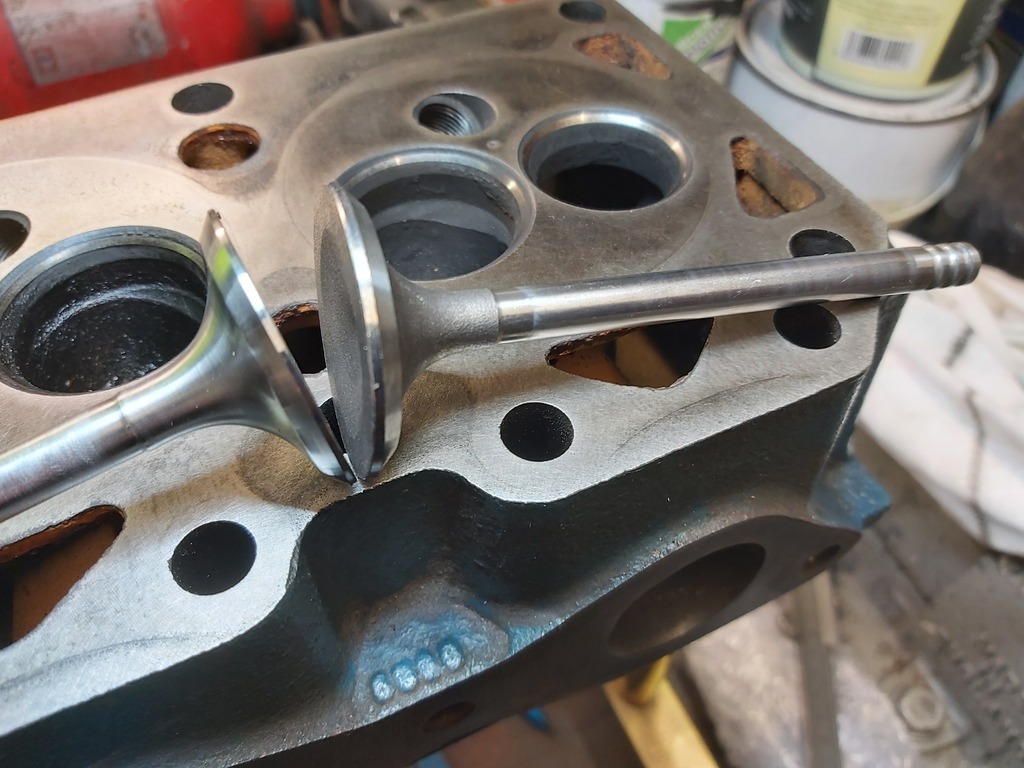 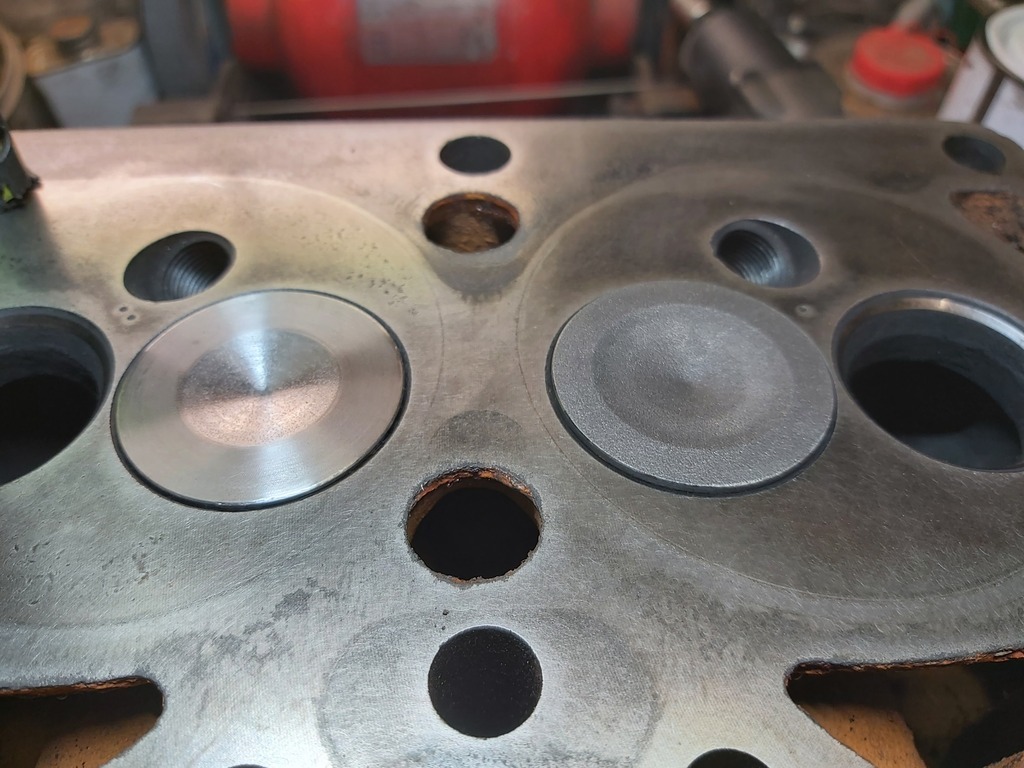  The porting work I was going to do myself but I have been told that's not happening as my old mate Mr B wants to do it for me. If I had room in the garage I would drag the flow bench out again and do a load of tests - oh for a decent size workshop. And the soundtrack was The Ruts And a bit of Dennis Brown |
| |
Last Edit: Jul 15, 2023 21:02:16 GMT by Darkspeed
|
|
Darkspeed
Club Retro Rides Member
Posts: 4,669
Club RR Member Number: 39
|
|
Jul 15, 2023 21:24:10 GMT
|
I also flashed the cash at a new front pulley 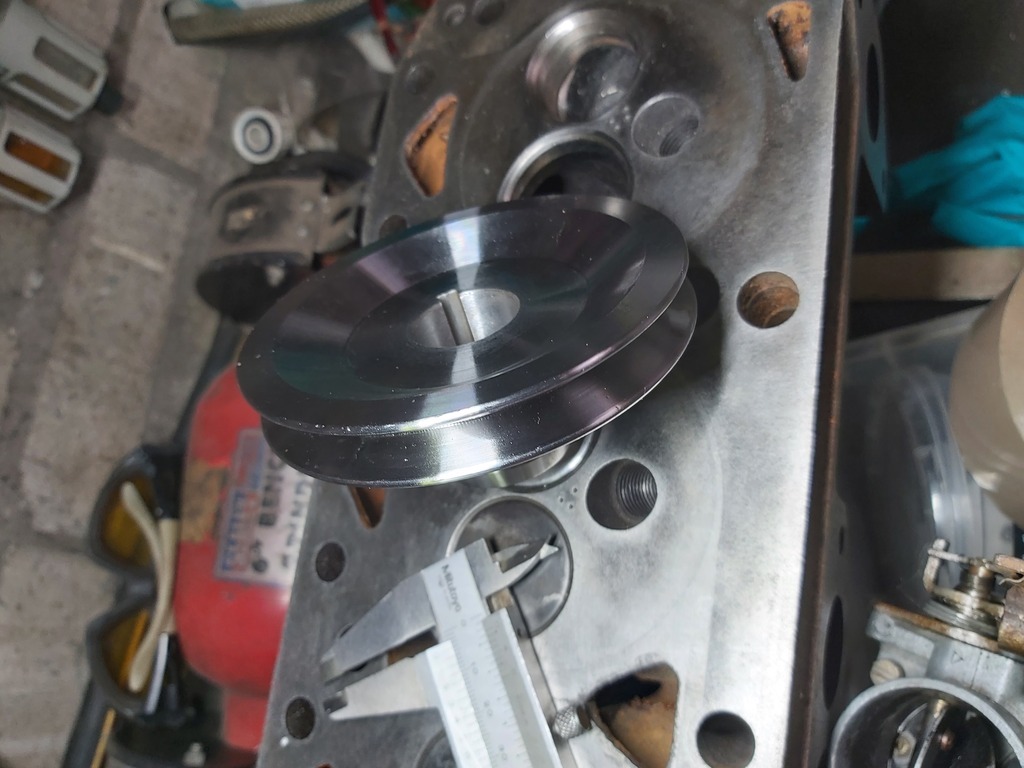 The state of the block is being pondered at the moment, +60 with some half decent pistons would be the thing to do really. Hmmm engine needs to come out anyway... |
| |
|
|
Darkspeed
Club Retro Rides Member
Posts: 4,669
Club RR Member Number: 39
|
|
|
|
|
Weighed the valves this morning
Standard valve 38.15mm - 80g
Unmodified GT valve 39.3mm - 84g
Modified GT valve 39.3mm - 80g
So a useful mod that gets us back to where we started.
|
| |
|
|
Darkspeed
Club Retro Rides Member
Posts: 4,669
Club RR Member Number: 39
|
|
Jul 27, 2023 18:12:10 GMT
|
Made all four look and weigh the same  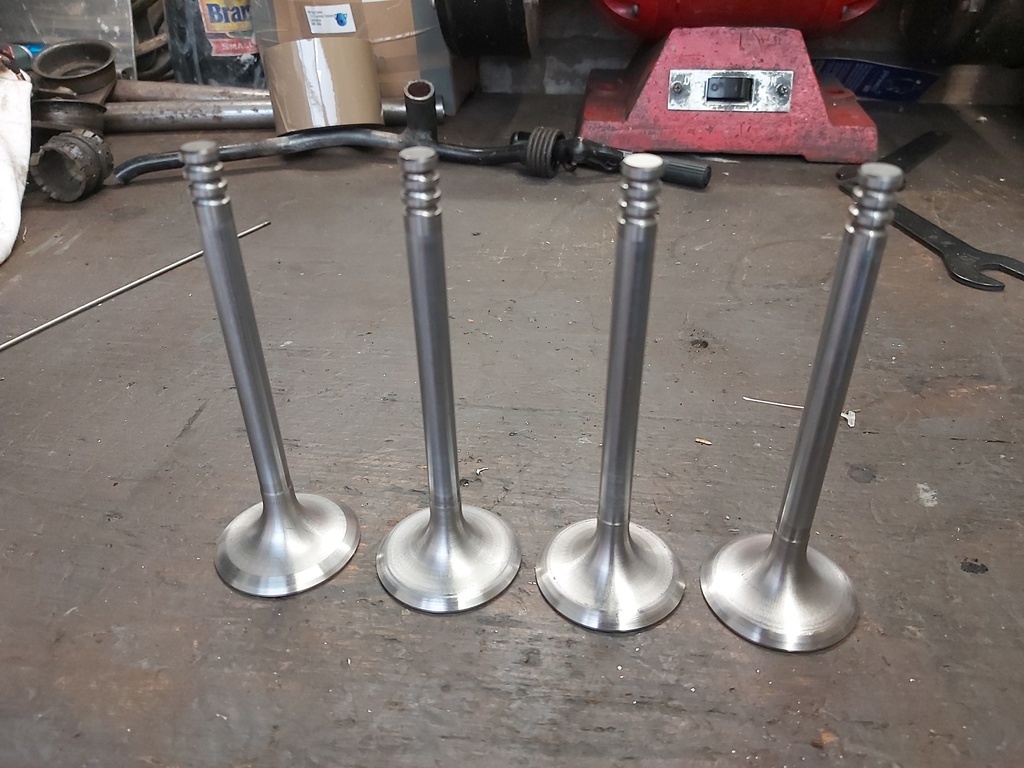 They may get a little more polishing when the time comes for assembling the head after it has had its flow capability increased a little.
|
| |
|
|
Darkspeed
Club Retro Rides Member
Posts: 4,669
Club RR Member Number: 39
|
|
Sept 11, 2023 21:54:02 GMT
|
|
The head went away and had its volumetric efficiency improved, but whilst cutting the seats the exhaust insert in No3 spun! - Not a good thing. I suspect that this is a consequence of the engine having been overheated quite extensively as some stage - This boiling to death probably accounts for the head gasket getting blown in multiple places and the pistons being reshaped. The head is now with a machine shop having the seats replaced and a skim to make sure its flat. Should be picking it up this week. Consideration is still being given as to what happens with the bottom end - I should go +90 and have it balanced etc. to give it a bit more to pull that 3.54, but that's never where it stops....
ETA
See its already happening! Only a few posts back it was +60 ......
|
| |
Last Edit: Sept 11, 2023 21:57:58 GMT by Darkspeed
|
|
mylittletony
Posted a lot
Posts: 2,337
Club RR Member Number: 84
|
|
Sept 12, 2023 8:25:30 GMT
|
|
I can't believe it was running and driving ok!
How deep down the rabbit hole are you going to go?
|
| |
|
|
Darkspeed
Club Retro Rides Member
Posts: 4,669
Club RR Member Number: 39
|
|
Sept 12, 2023 18:39:04 GMT
|
I can't believe it was running and driving ok! How deep down the rabbit hole are you going to go? Never went that far in it really - Probably a 20 mile round trip was about the furthest - Although it was always driven "spiritedly", but within limits as I never got to the bottom of the odd way the temp gauge read (I have now) and the cooling system was past best so never really trusted it - Never overheated on me though. I can see me doing a full rebuild and +90 overbore to 1700 using the 1300 pistons to up the compression - Deck skim, Duplex chain, steel posts and spacers, balanced assembly lightened fly etc. It should have a KC234 on low miles in there so will see what it looks like when it all gets pulled apart. Pair of 40's - job done. We'll see. |
| |
|
|
|
|


