Darkspeed
Club Retro Rides Member
Posts: 4,669
Club RR Member Number: 39
|
|
May 11, 2021 18:01:51 GMT
|
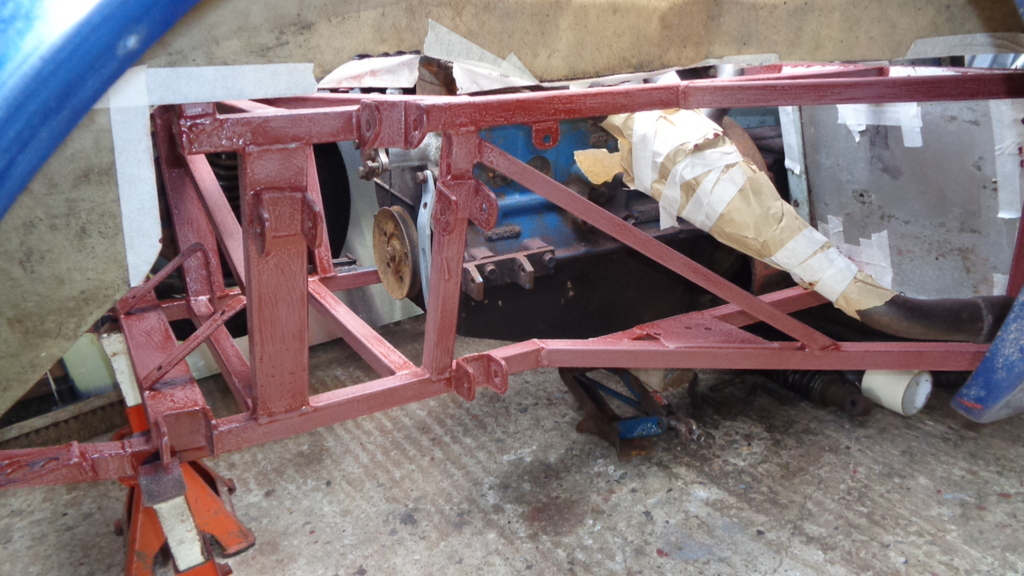
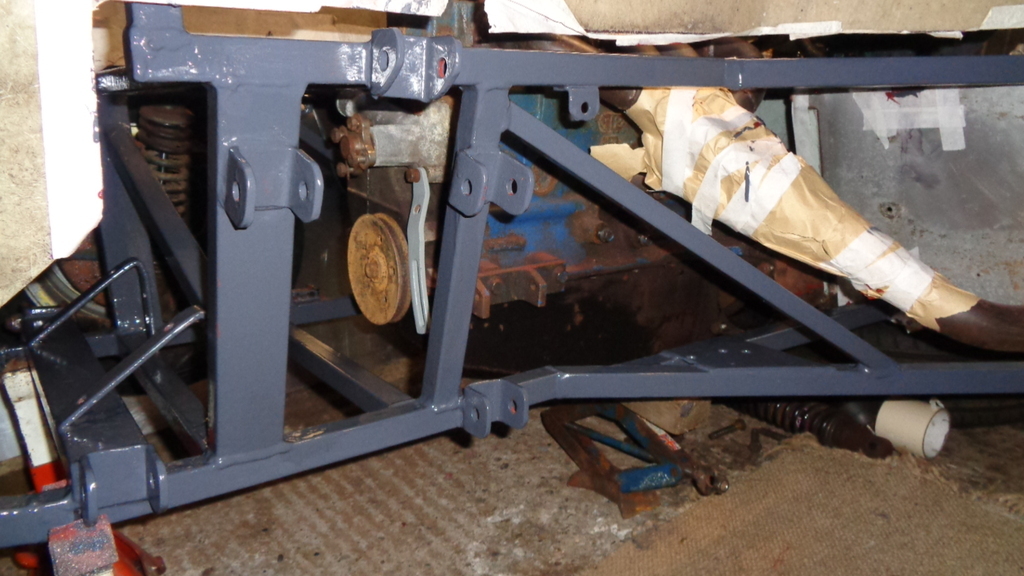
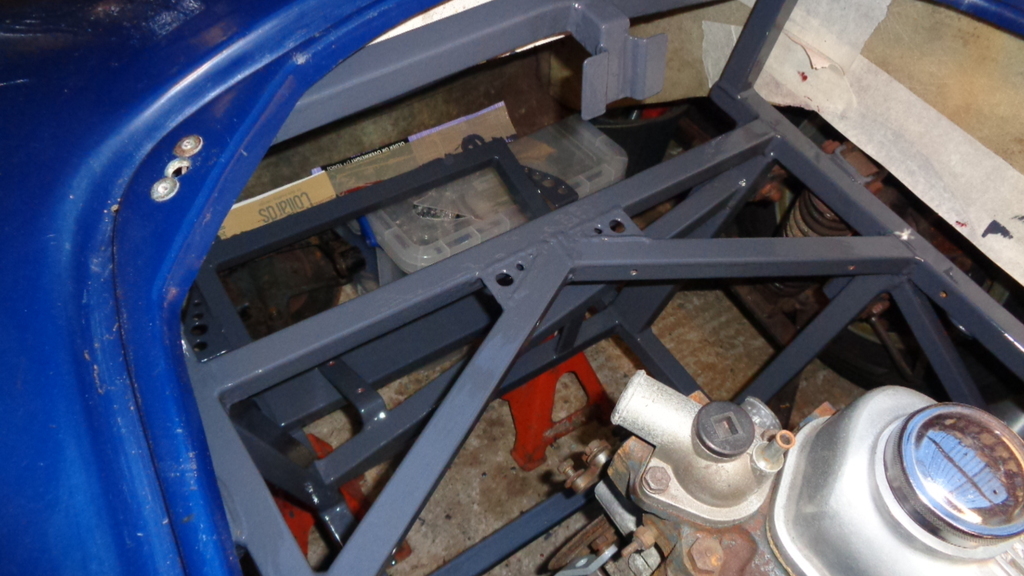
Parcel tape test 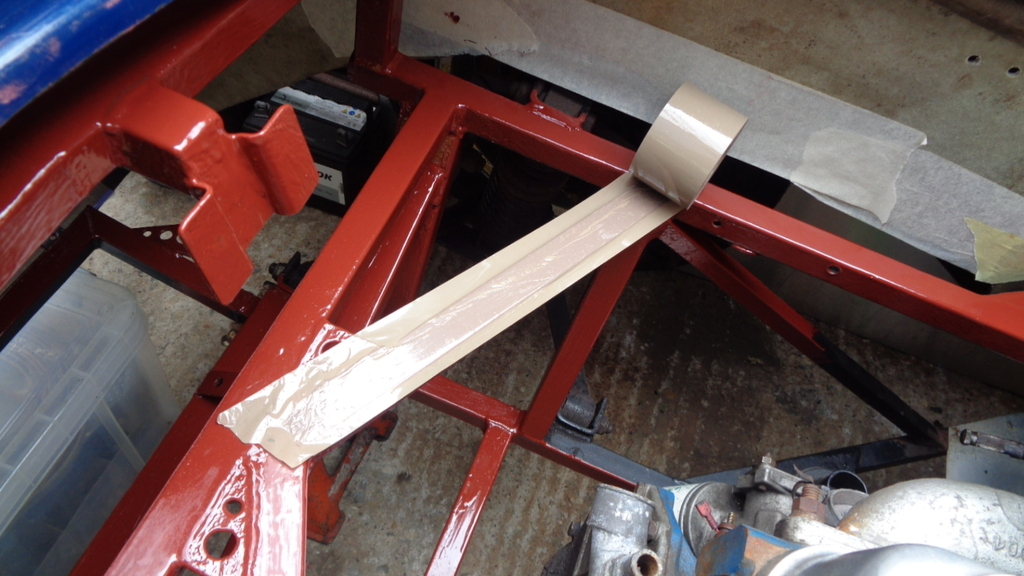 Result as expected - This was the second round as I did not have the camera for the 1st. 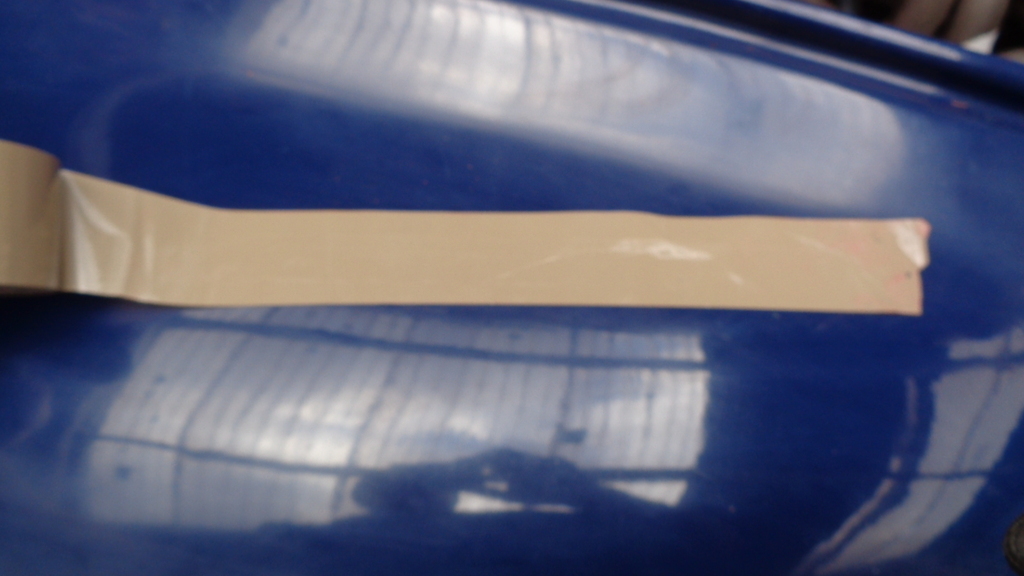 Funny how with a coat of paint the steel appear physically stronger ! Especially after looking so rusty. 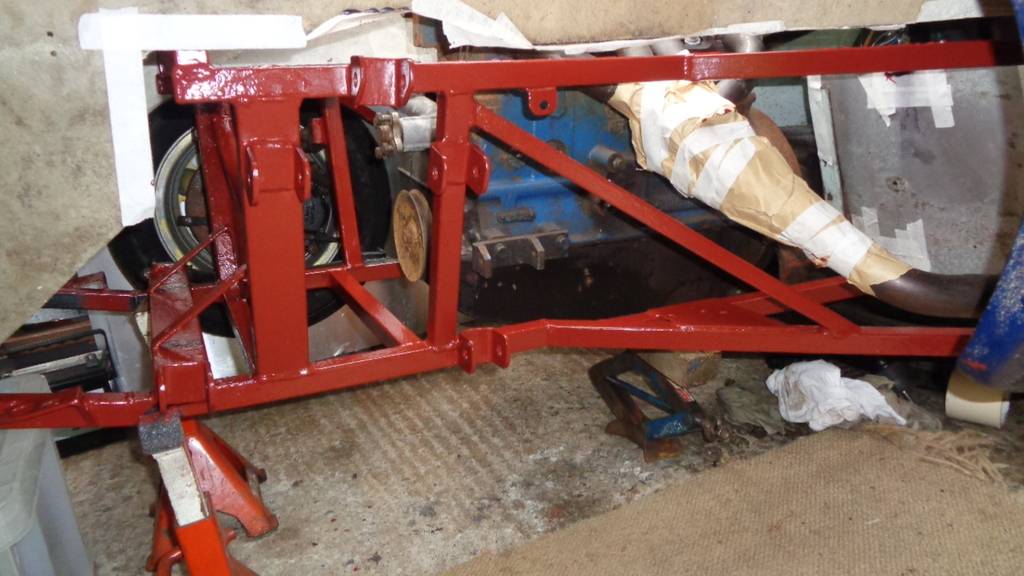 Starter motor off for a much needed coat of paint tart up - Suspension and steering rack will be getting a smarten up at the same time. Probably all just a get a coat of Black epoxy except the steering rack which will have a coat of the Mid Grey. Chassis if half sanded and should get its final coat over the weekend. |
| |
|
|
|
|
Darkspeed
Club Retro Rides Member
Posts: 4,669
Club RR Member Number: 39
|
|
May 16, 2021 17:49:15 GMT
|
A minimum of work completed today. Lower steering column - Steering rack - Starter motor all given a clean up ready for some paint. 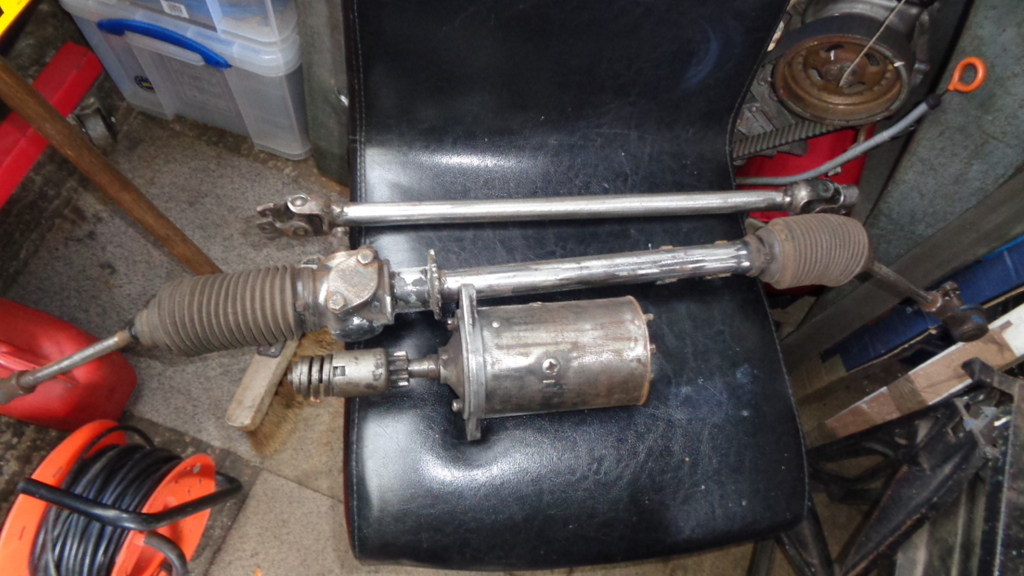 Work to do on the starter as the insulation spacer has disintegrated..... The wire brush in the angry grinder might have had some say in accelerating its demise... 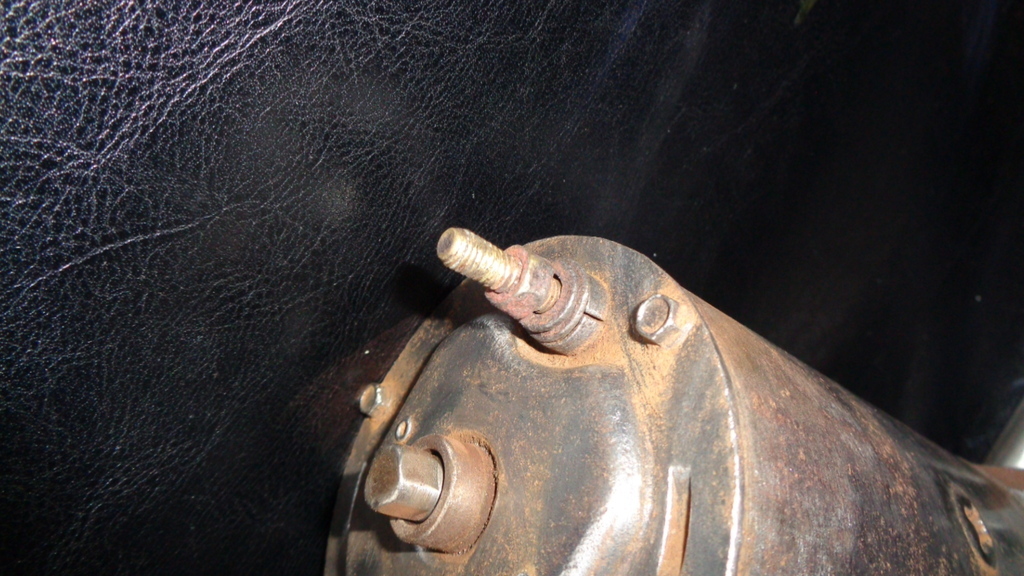 Tomorrow a day of sanding and painting. |
| |
Last Edit: May 16, 2021 17:50:05 GMT by Darkspeed
|
|
Darkspeed
Club Retro Rides Member
Posts: 4,669
Club RR Member Number: 39
|
|
May 31, 2021 22:00:59 GMT
|
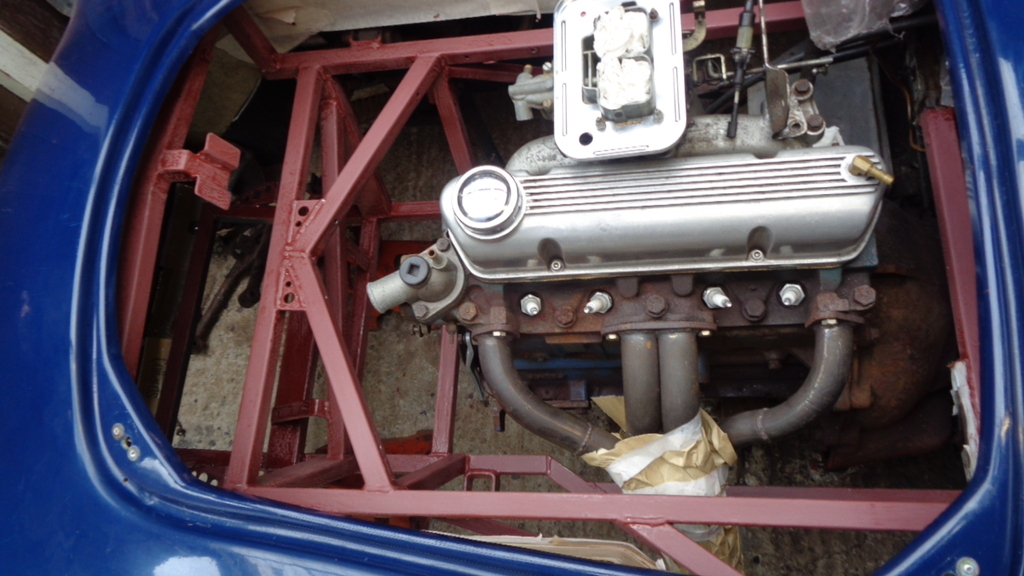
Well it was not a day of sanding and painting at all - Hopefully tomorrow will be that day but I have got a few parts painted. 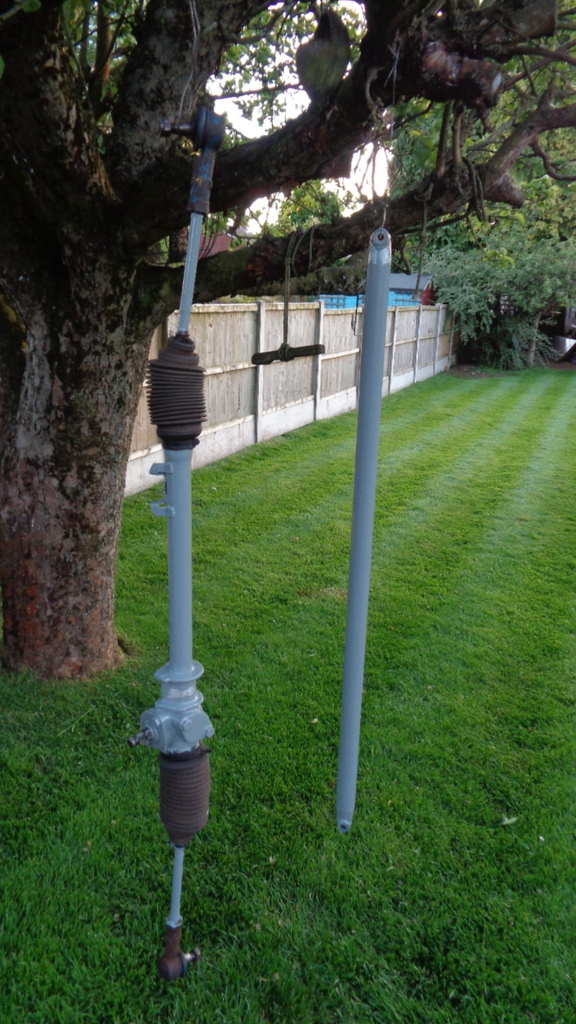 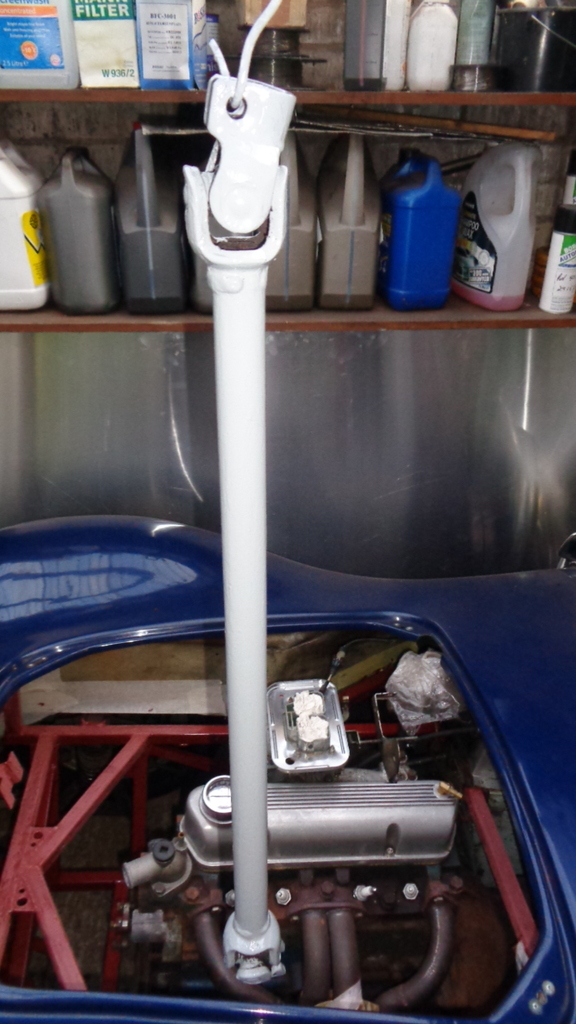 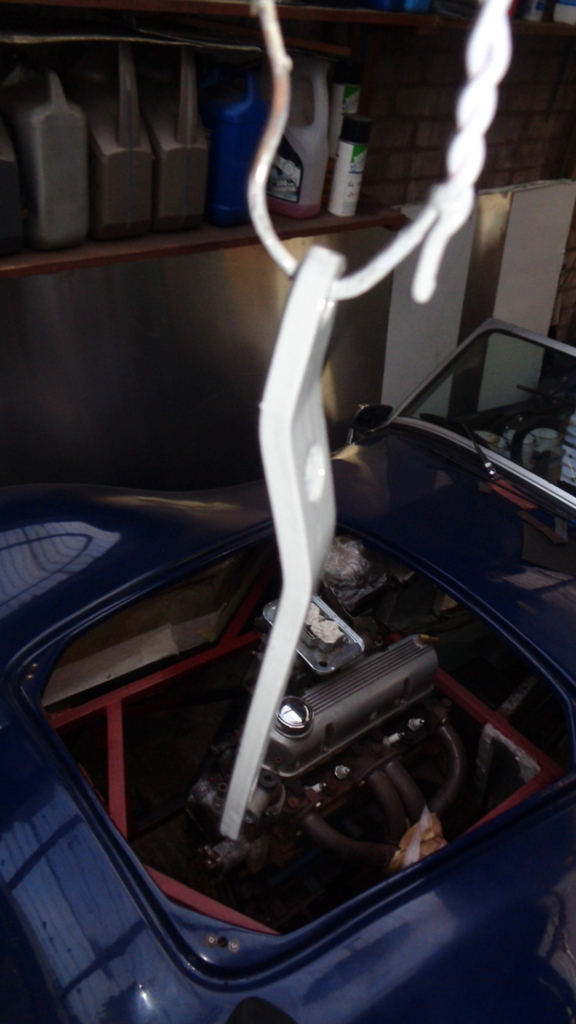 Yes, sorry about the great shots of the engine and not of the actual parts - Pah... Nice thing about the temperature coming up is the Epoxy paint is far more to flow and be a little easy to use. Had some spare left over so the vise got a new coat. 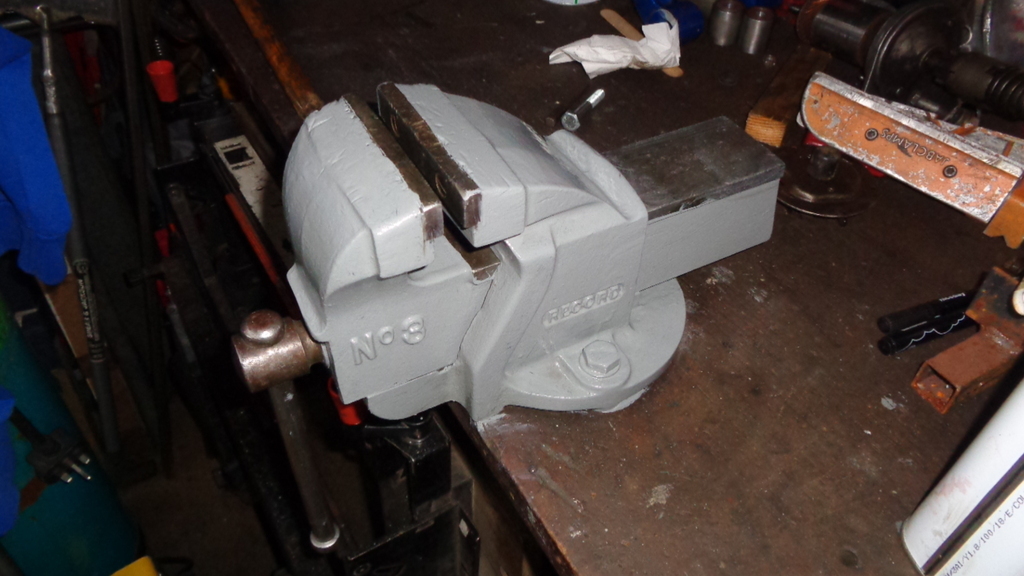 Let's have some Buddy Rich |
| |
|
|
logicaluk
Posted a lot
 Every days a school day round here
Posts: 1,301
|
|
|
|
|
A different version of that is one of my favourites
|
| |
|
|
Darkspeed
Club Retro Rides Member
Posts: 4,669
Club RR Member Number: 39
|
|
|
|
|
|
| |
Last Edit: Jun 5, 2021 20:55:58 GMT by Darkspeed
|
|
|
|
|
|
|
|
I did some research on the hydrate 80 with packing tape. Next day it does indeed come off in sheets, but leave it a few days and it's much better.
Leave it a bit longer and its virtually impervious to the tape with only tiny specks coming off if any comes off at all.
So it would appear that it does work fine as long as you leave it long enough to fully cure/bond with the metal.
|
| |
|
|
Darkspeed
Club Retro Rides Member
Posts: 4,669
Club RR Member Number: 39
|
|
|
|
- Brake line in 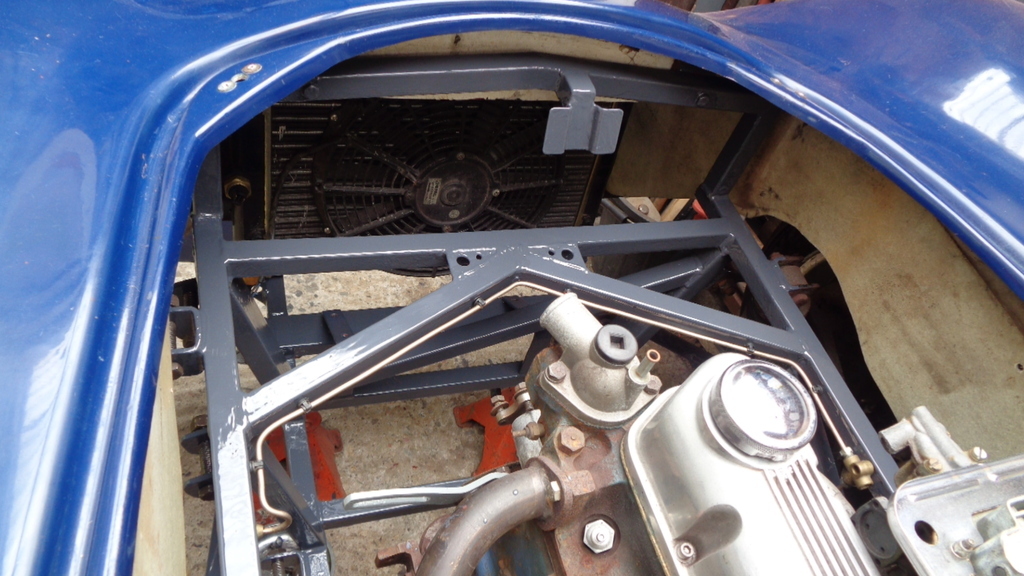 - Rad in and mounted - Steering column in - Steering rack in 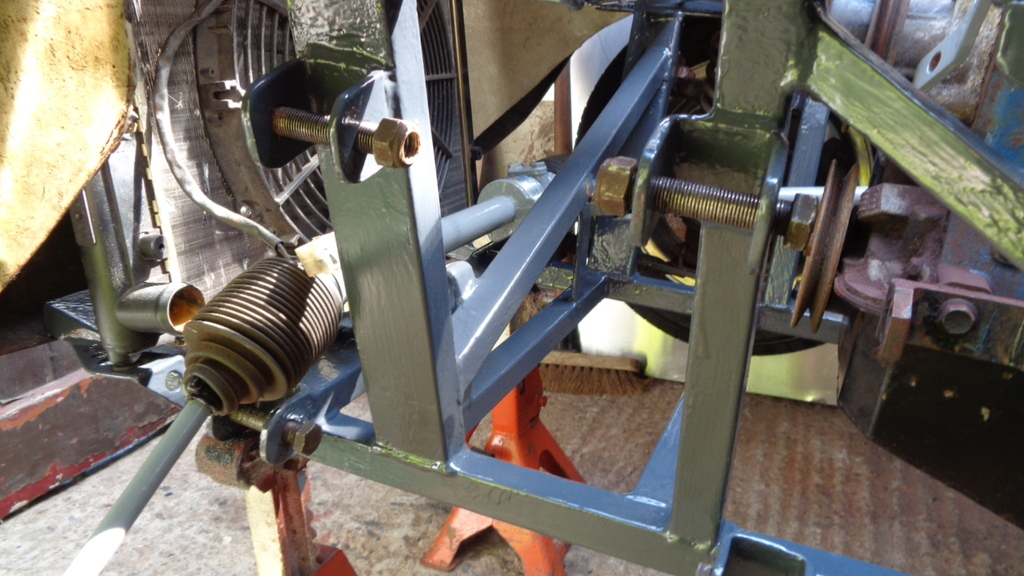 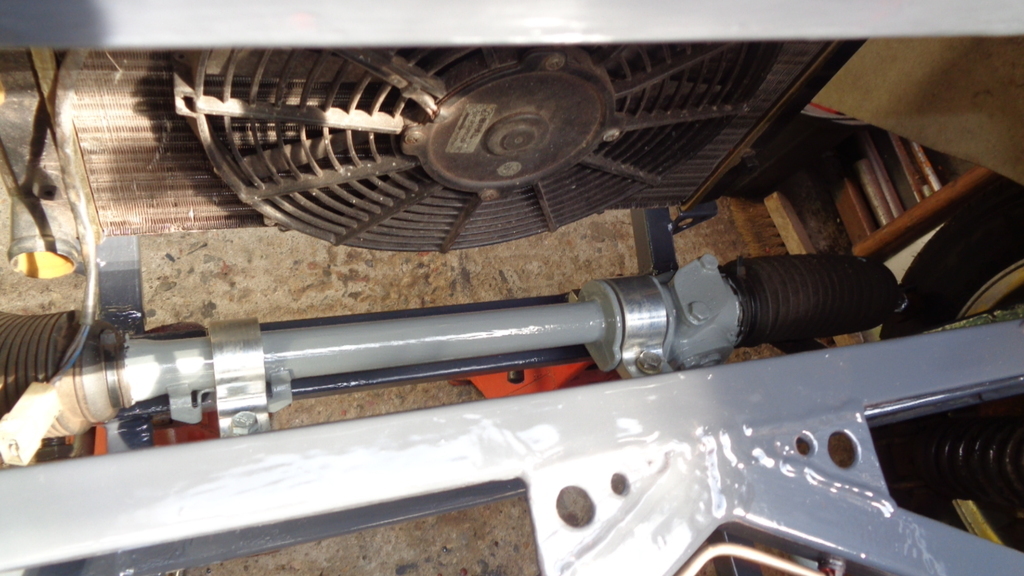 Another test fit of the new bulkhead panel 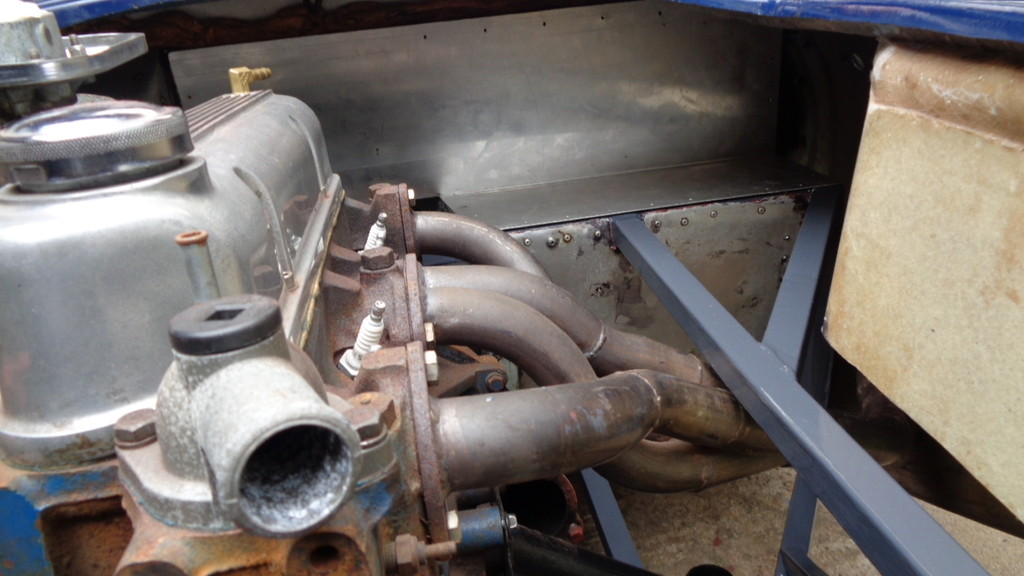 I am not a fan of set screws for suspension mounting fasteners - I would always go bolts - But as these are 1/2 grade S they are stupidly oversized for the application and the ultimate strength of the shank is not required. The redeeming feature of using these is that they did not seize into the bushes which was a concern for me when I went to undo the suspension. Due to the reduced surface area and the thread they screw themselves out of the bushes no problem. 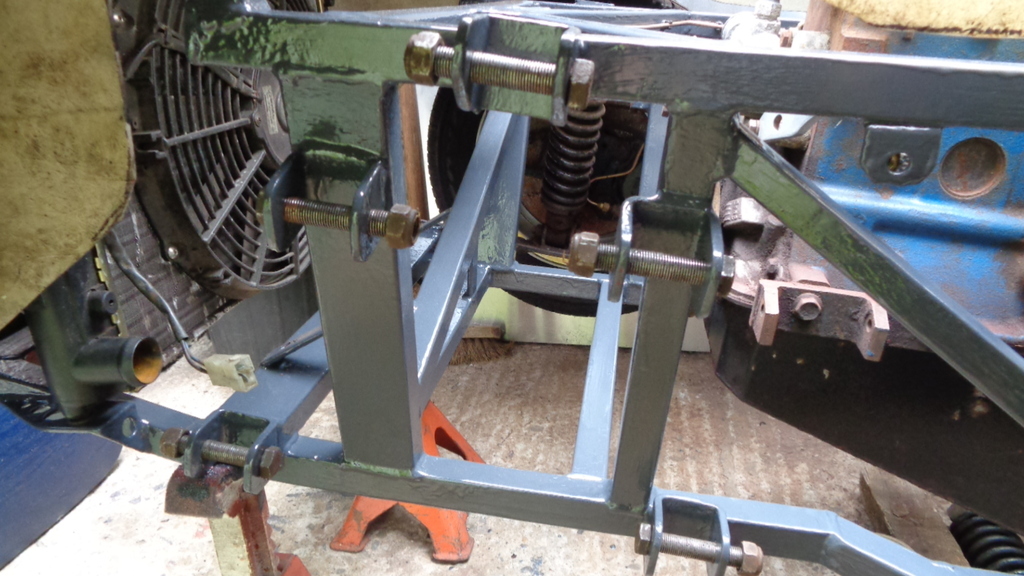 fair amount to do. |
| |
|
|
mk2cossie
Club Retro Rides Member
Posts: 2,946  Club RR Member Number: 77
|
|
|
|
Now that's brake pipe making that I'm pleased to see  |
| |
|
|
|
|
|
|
|
Just in case krissto drops in - 45 degree is what I think I need so will get a couple ordered 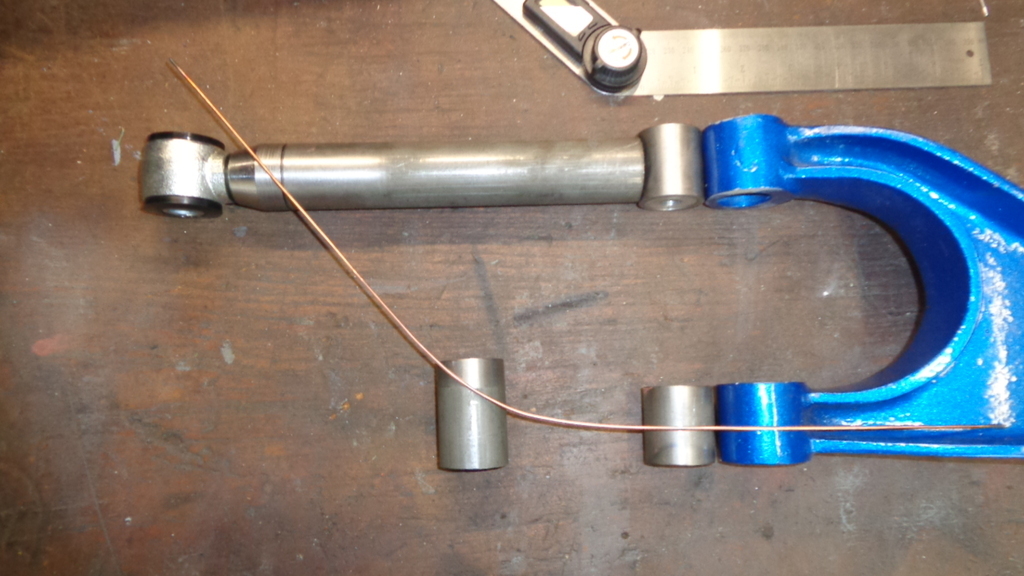 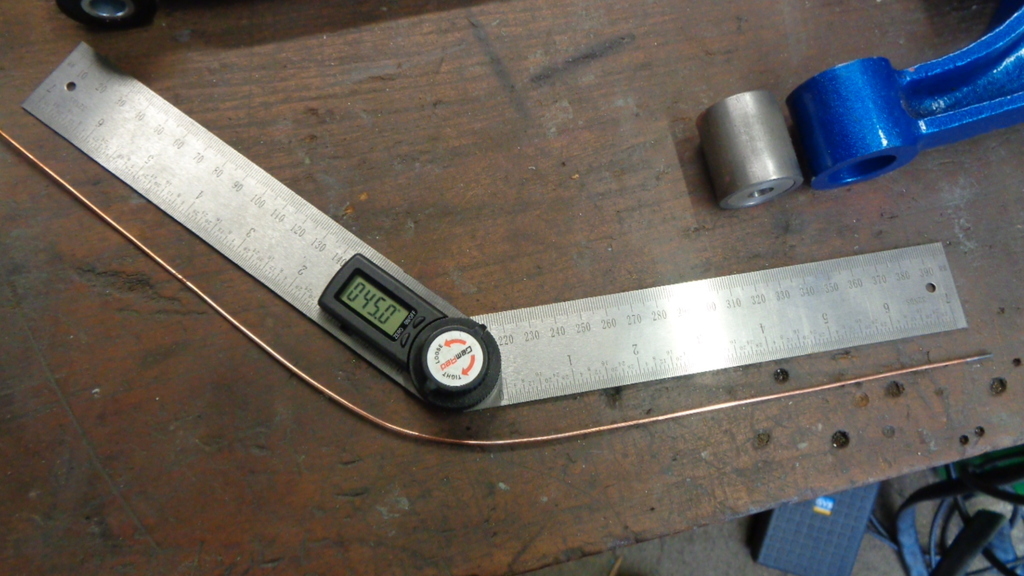 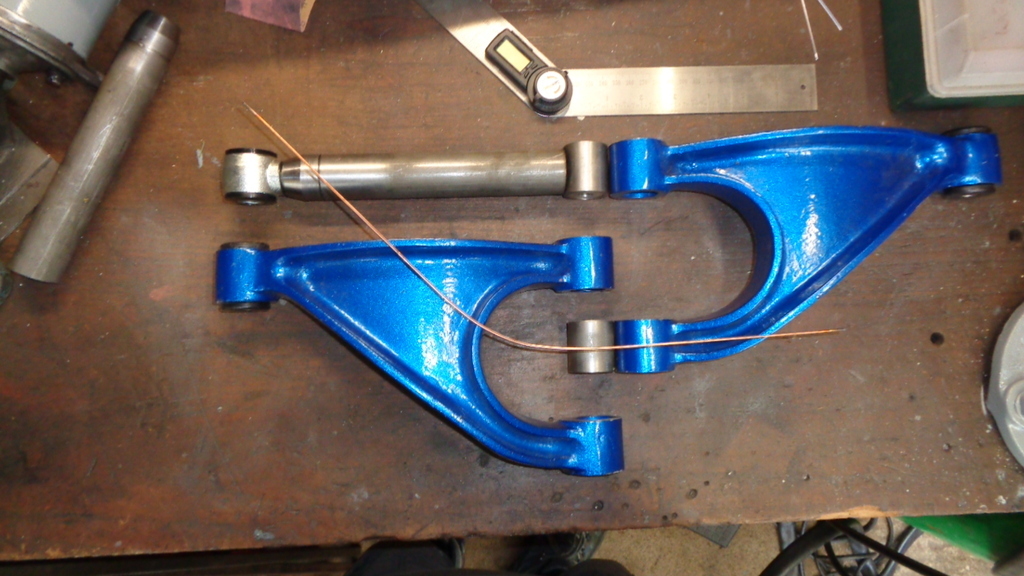 Looks good to me. Thanks Darkspeed. |
| |
|
|
Darkspeed
Club Retro Rides Member
Posts: 4,669
Club RR Member Number: 39
|
|
Jun 29, 2021 19:58:21 GMT
|
Picked up some parts today to make the Gemini a bit racier. 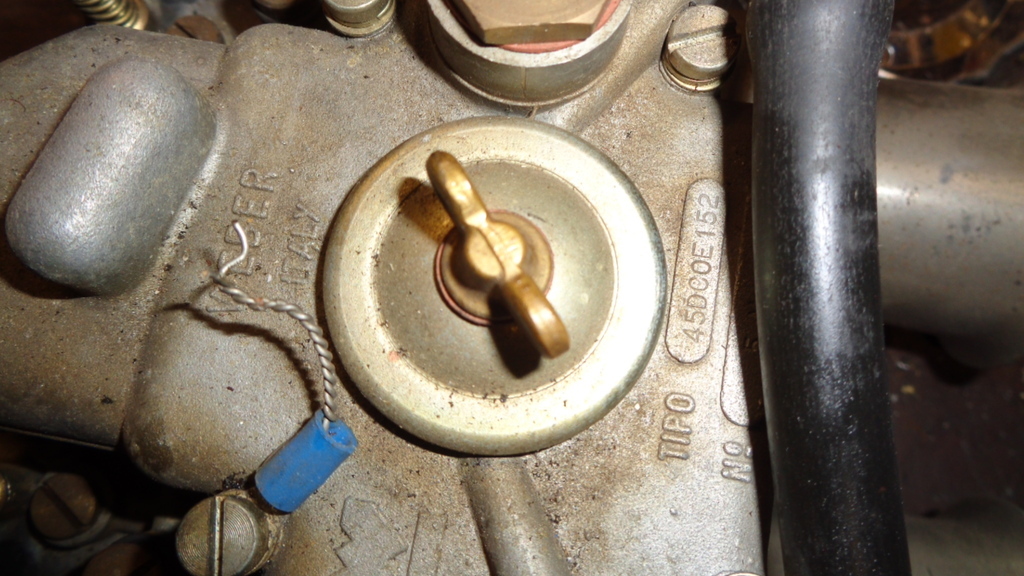 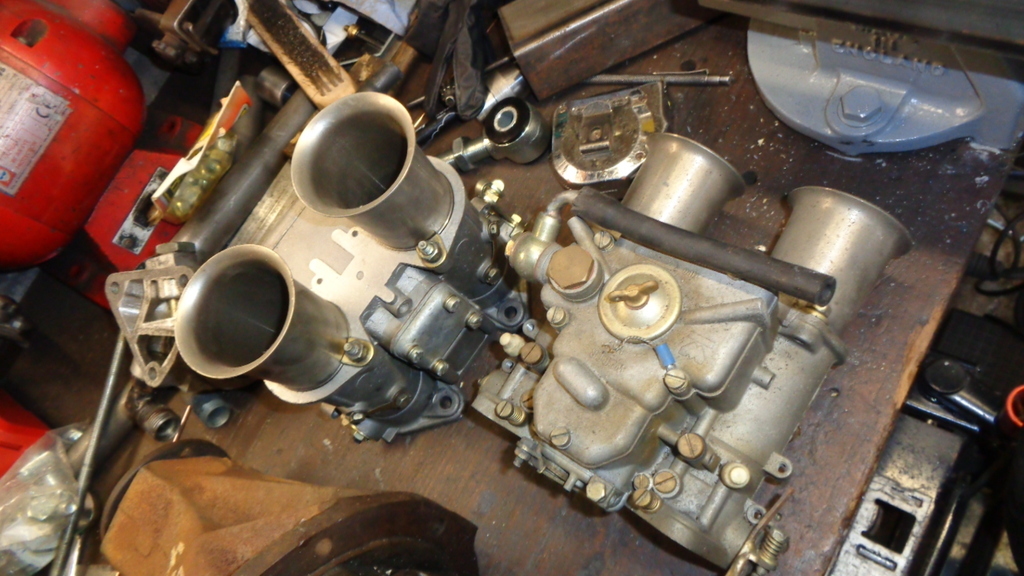 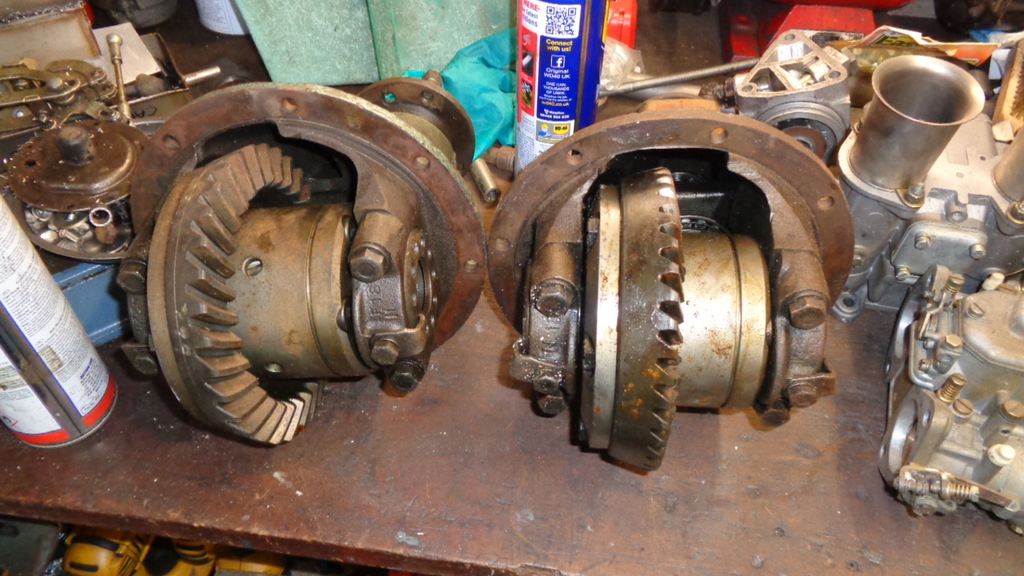 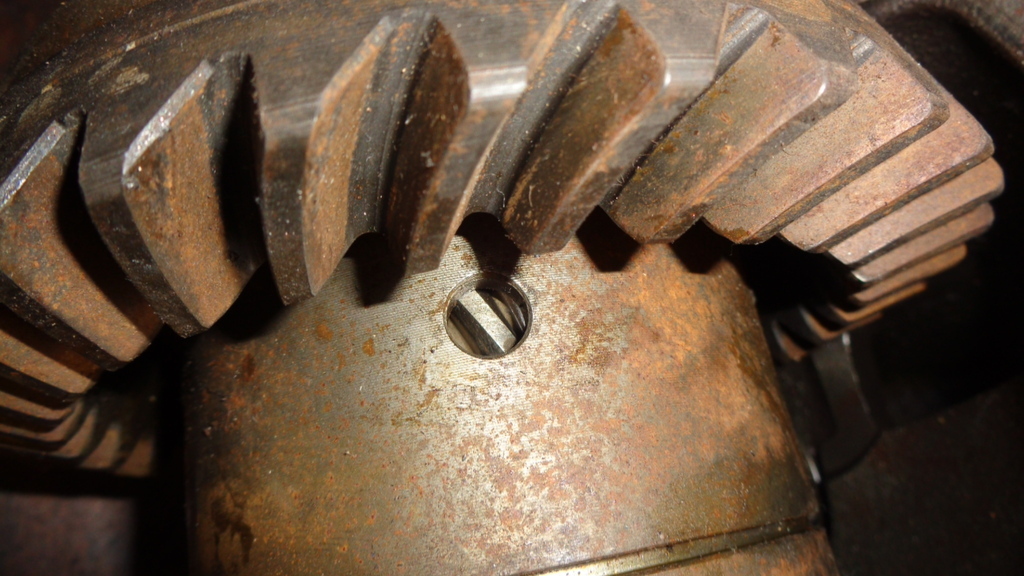 Lucky I picked up a 45DCOE cross flow manifold a short while back can make full use of it now. Lots to do. |
| |
|
|
|
|
Darkspeed
Club Retro Rides Member
Posts: 4,669
Club RR Member Number: 39
|
|
Jul 25, 2021 22:23:17 GMT
|
Did a bit of work on the Gemini. I stripped one of the ATB Diffs that I picked up with the G15's - This one was on a 4.125 that the pinion teeth were starting to look a bit second hand. The 4.4 which have still strip looks in pretty good order. I still have another diff to collect but that's just an open diff that I have not checked the ratio on. 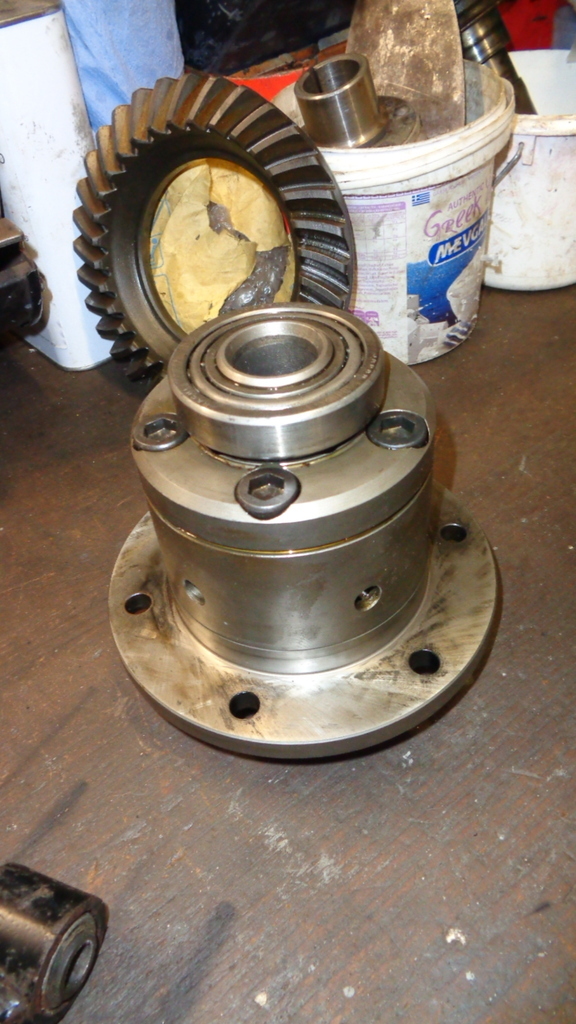 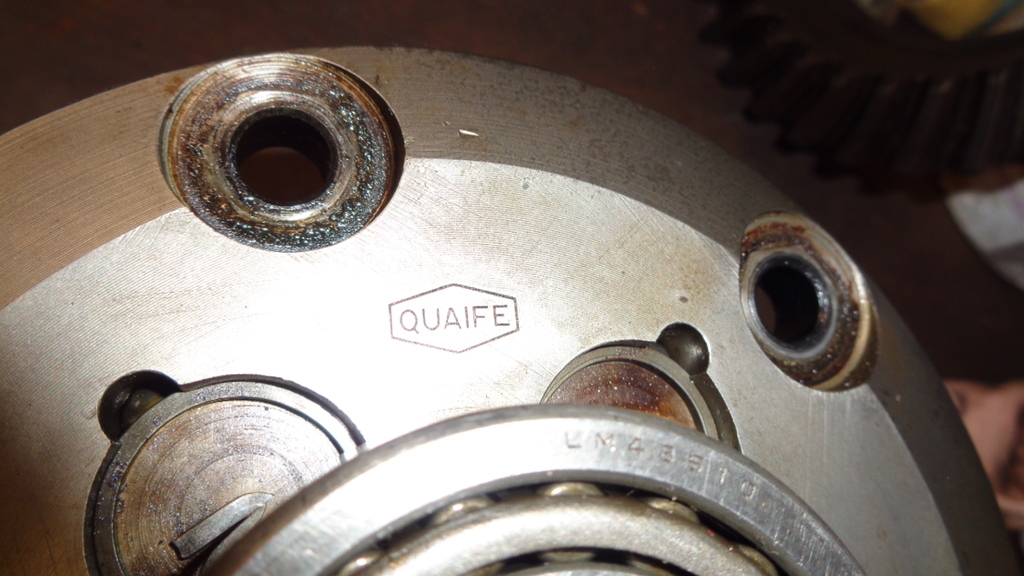 I then stripped the front suspension down - finally - to clean and paint the wishbones etc. Once done I will have everything in good order and lubed so that its an easy task to set the camber. 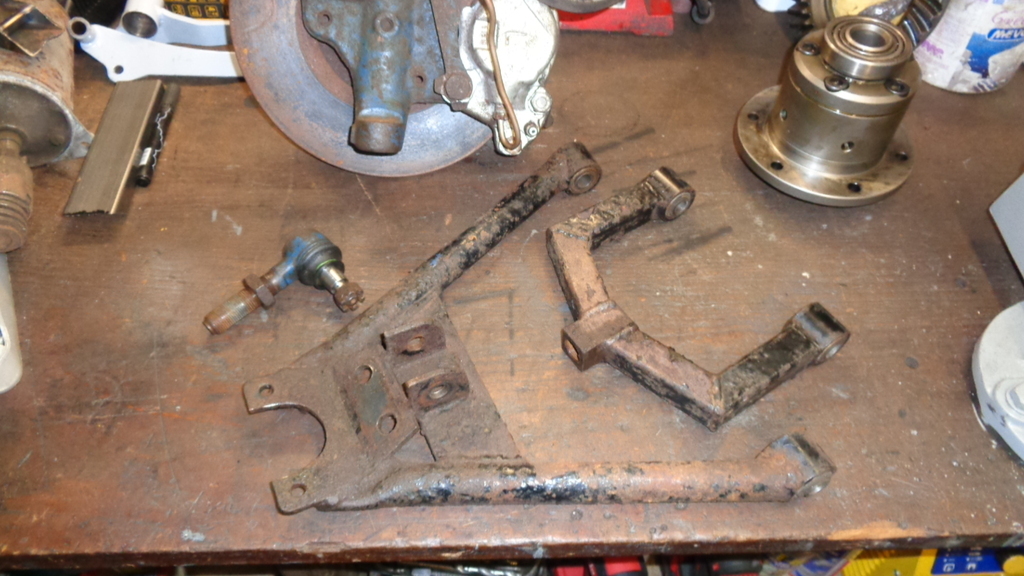 |
| |
|
|
Darkspeed
Club Retro Rides Member
Posts: 4,669
Club RR Member Number: 39
|
|
Jul 31, 2021 16:46:37 GMT
|
Clean and strip wheel made short work of the remaining powder coat on the wishbones - not that much of it was still adhering to the surface - and I rounded off the shocker mount as pointy corners are just offensive. Once cleaned up as much as I could, I fired up the Electro de-rust for the hard to reach rust. 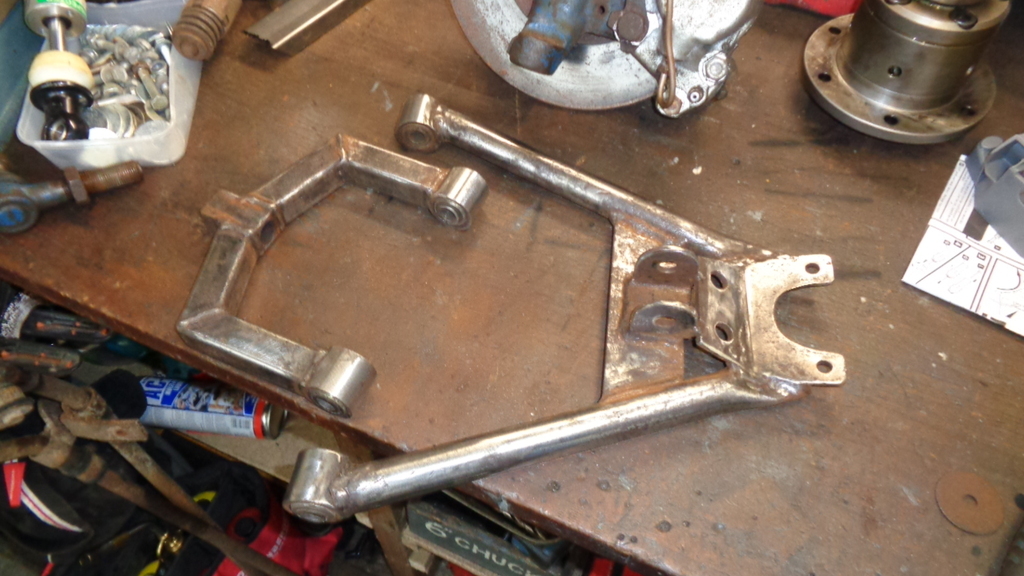 The bucket will stay in operation for a couple days making sure that both wishbones are as clean as they can be. 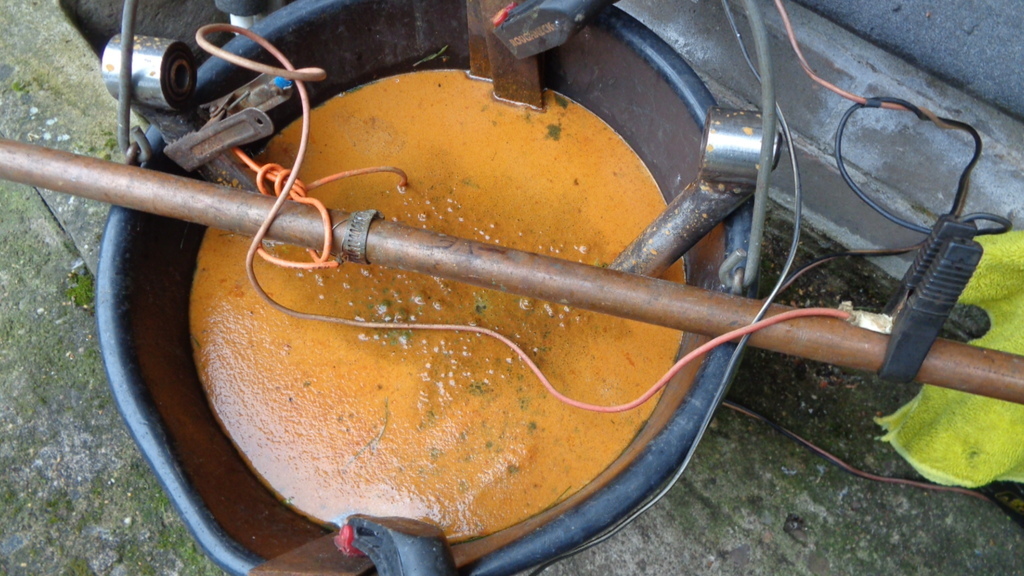 Four hours in - Gave the heavier rusted parts an agitate with a file 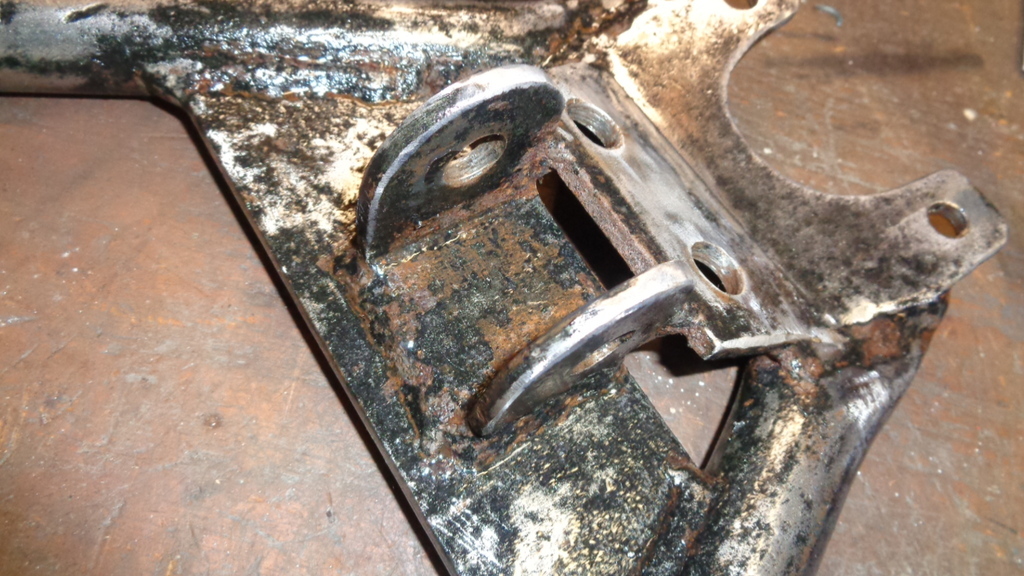 Another brush over in the morning |
| |
Last Edit: Jul 31, 2021 19:07:10 GMT by Darkspeed
|
|
Darkspeed
Club Retro Rides Member
Posts: 4,669
Club RR Member Number: 39
|
|
|
|
Clean up with the wire brush - It will be given a once over with a scotchbright pad and a coat of epoxy mastic and top coat of Satin black 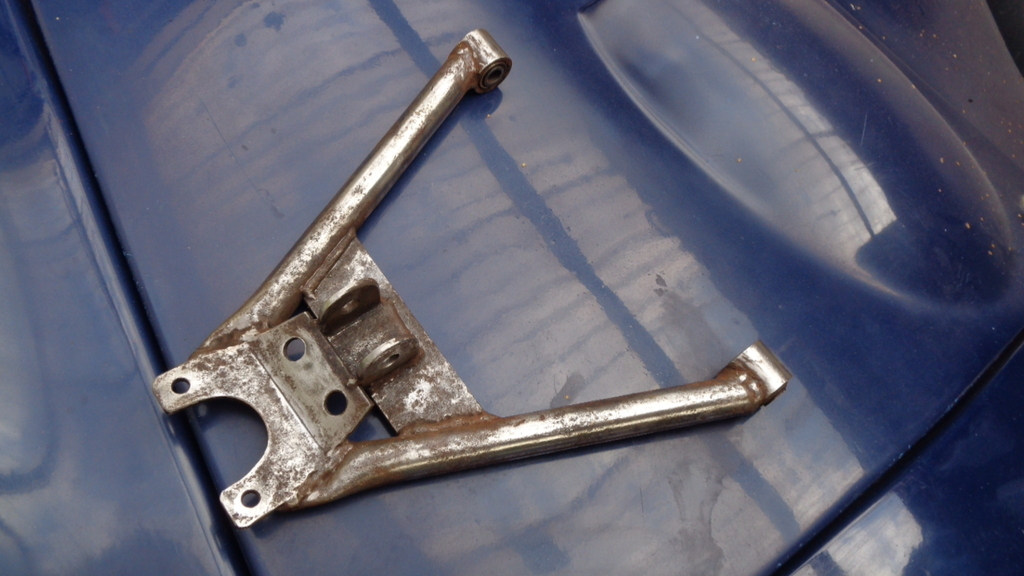 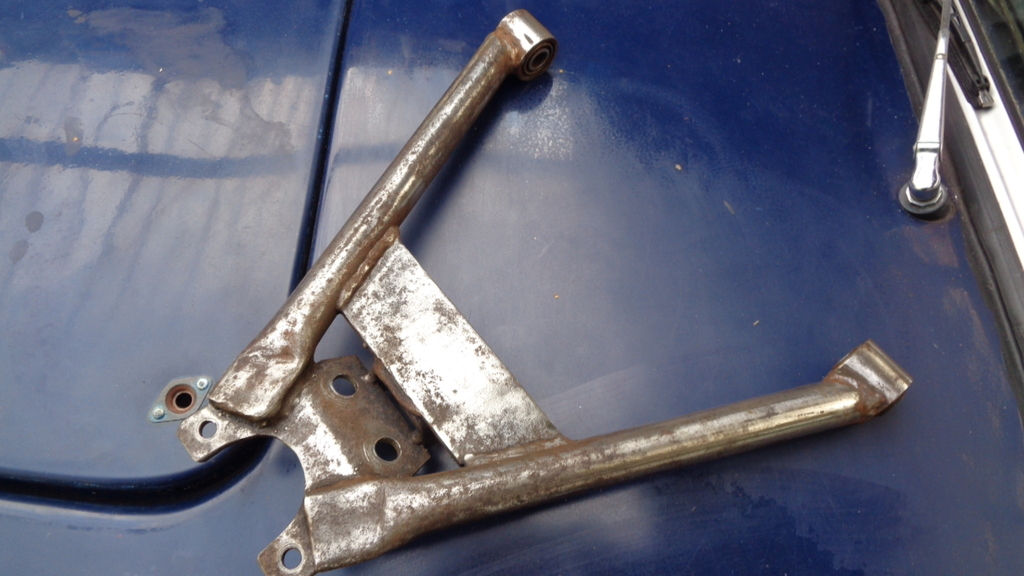 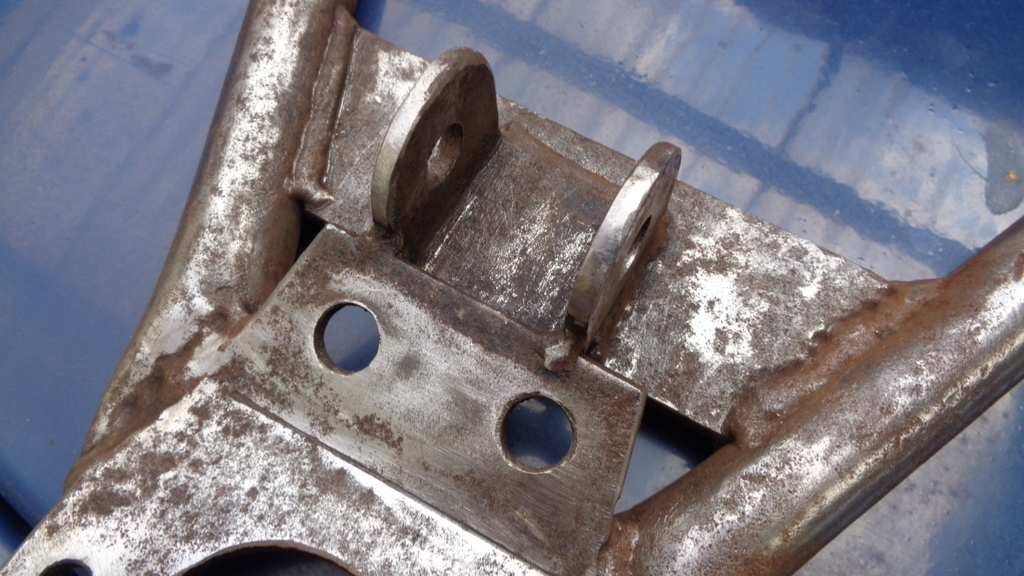 The Upper wishbone got dropped in the tank bucket 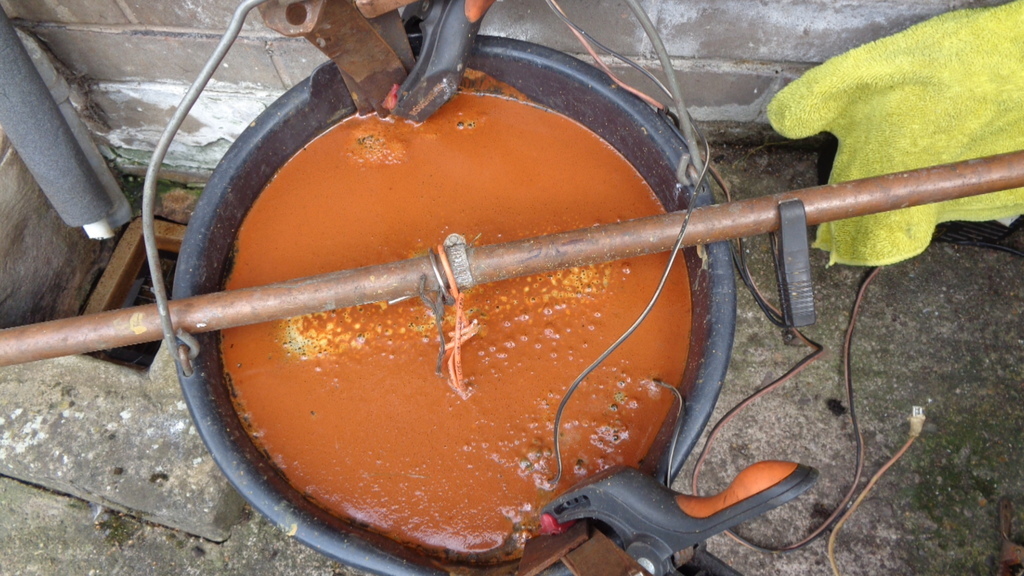 Also spotted today that the Fury I built has turned up on ebay www.ebay.co.uk/itm/203535199487?hash=item2f63a4acff:g:fkMAAOSwL6dg~CM7The changes made by the guy who bought it from us not doing anything at all for it whatsoever - Paint job, LED lights, Stickyback carbon dash, "door" mirrors, Y plate reg. Interesting that the one Mirror that was of use -the centre one - he has removed! It needed none of that useless TAT - all it needed was a lightweight flywheel. 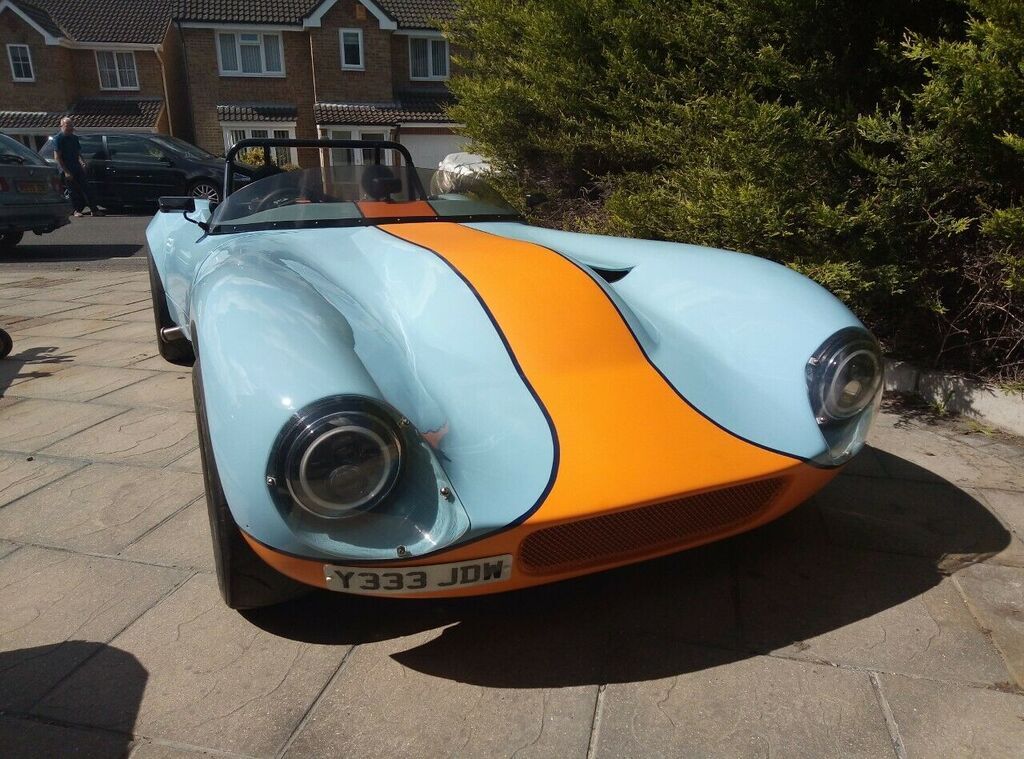 Yuk. Quick car mind. |
| |
Last Edit: Aug 1, 2021 16:58:49 GMT by Darkspeed
|
|
Darkspeed
Club Retro Rides Member
Posts: 4,669
Club RR Member Number: 39
|
|
|
|
Top bones after a good few hours in the bucket and a quick go over with a wire brush. - Could really do with running a tap through the thread for the upper ball joint but its an M18 fine and biggest I have is M16 x 1.0. 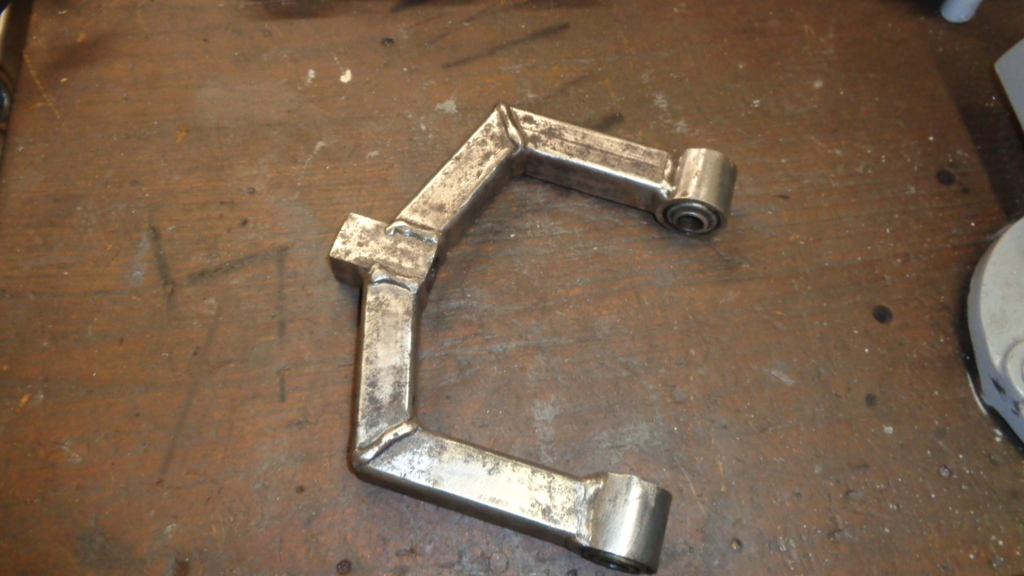 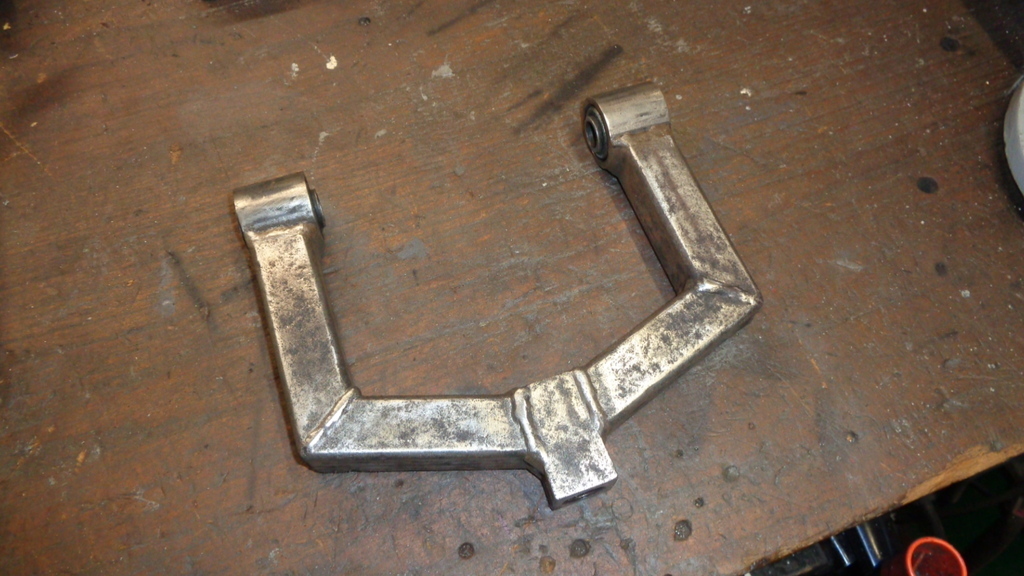 Looking good though and clean enough for the task. |
| |
|
|
Darkspeed
Club Retro Rides Member
Posts: 4,669
Club RR Member Number: 39
|
|
Sept 10, 2021 20:48:09 GMT
|
Whilst looking for a set of Revo's for the G15 Racer I came across a well priced set of wheels on Facebook market place not too far away - even better when the guy was passing within 5 miles of my front door today. Saving me an 80+ mile round trip. Even came with a full set of matched Falkens sean1965 - not because they look better than the Libre's 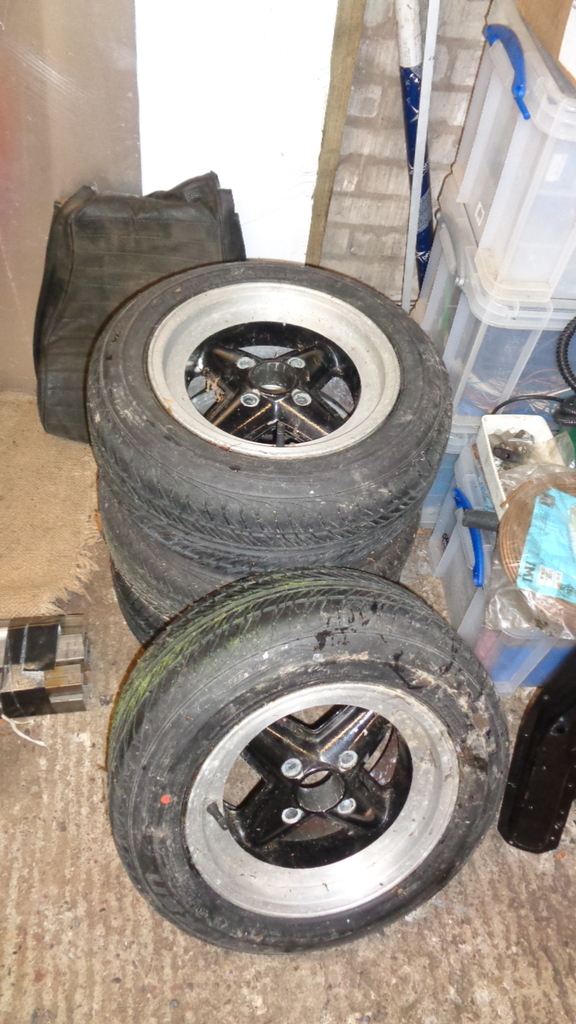 |
| |
|
|
Darkspeed
Club Retro Rides Member
Posts: 4,669
Club RR Member Number: 39
|
|
Sept 14, 2021 17:20:22 GMT
|
Did few more jobs on the Gemini with a view to getting it rolling again. Wishbones got a coat of epoxy and a spray over with some Satin Black - they will get another light sand and one more coat before going on the car. 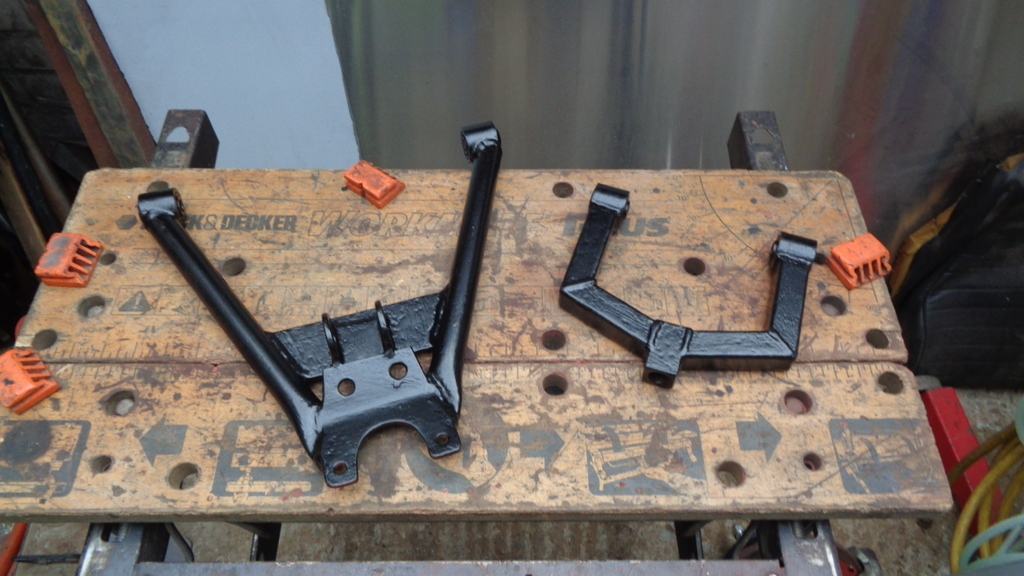 I also revisited the grill project that I started many many months ago.  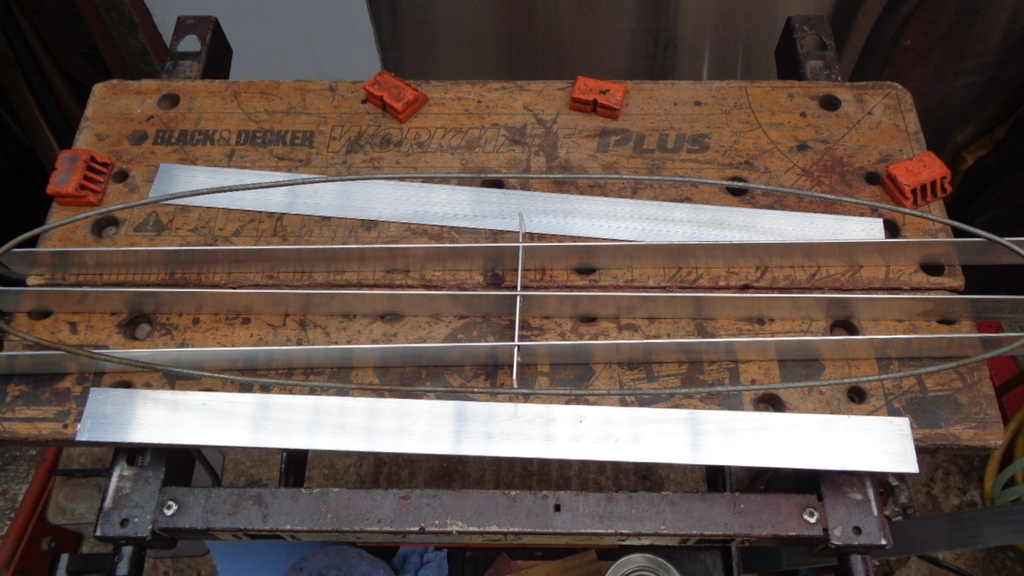 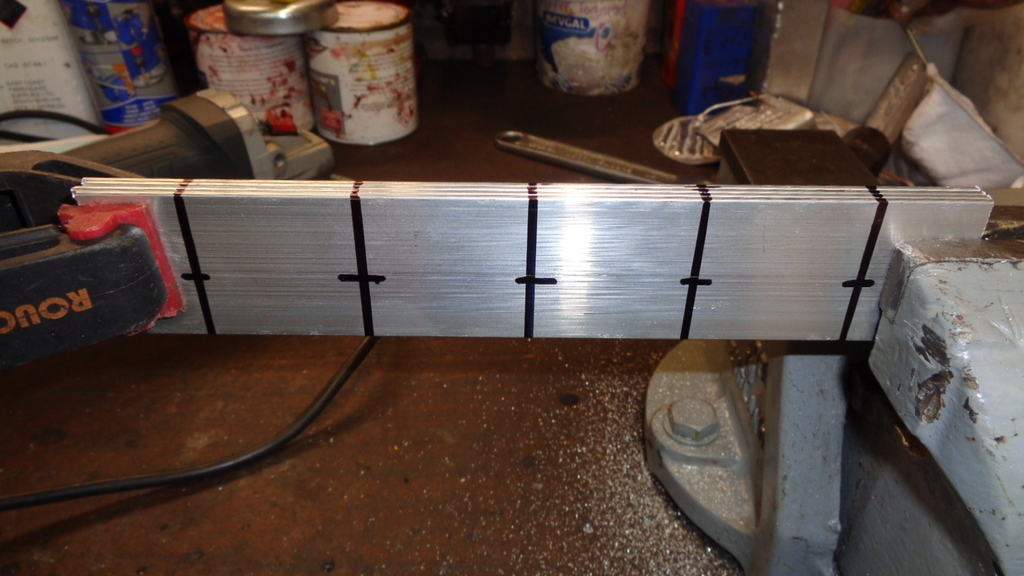 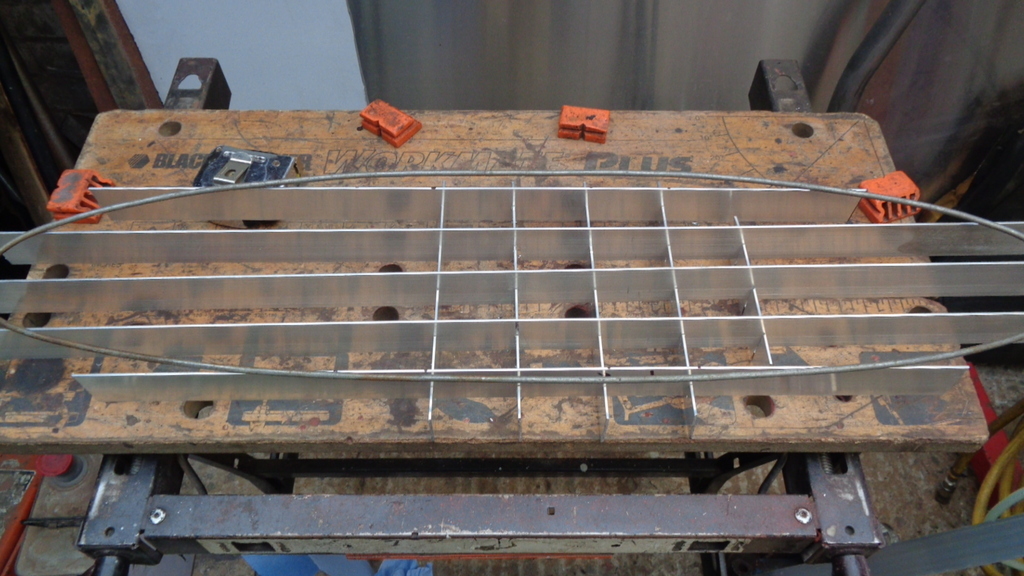 It will be a PITA to fit but lets get it assembled first. |
| |
|
|
Darkspeed
Club Retro Rides Member
Posts: 4,669
Club RR Member Number: 39
|
|
Sept 18, 2021 19:30:15 GMT
|
The Gemini is back rolling and now resides in the garage. 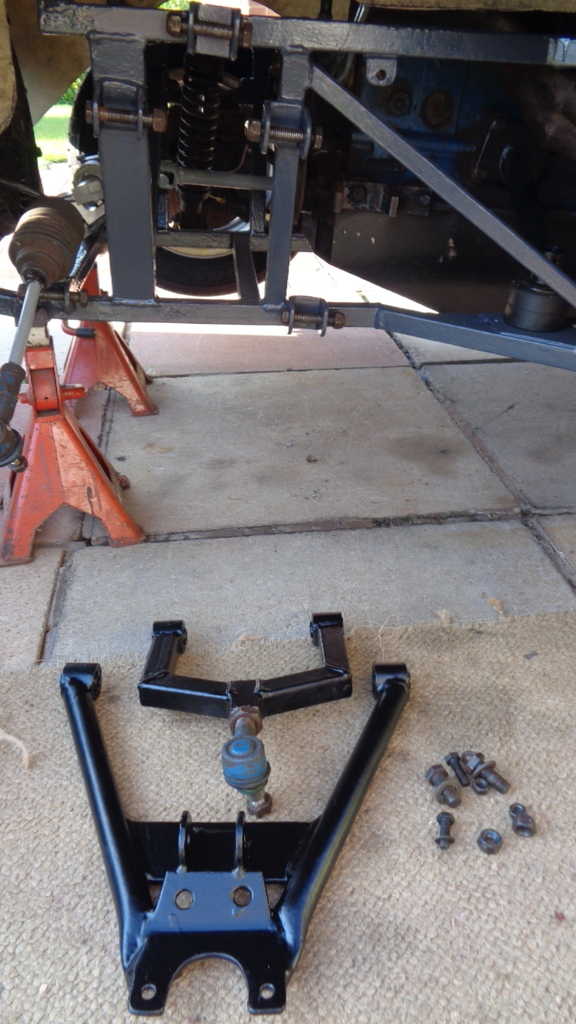 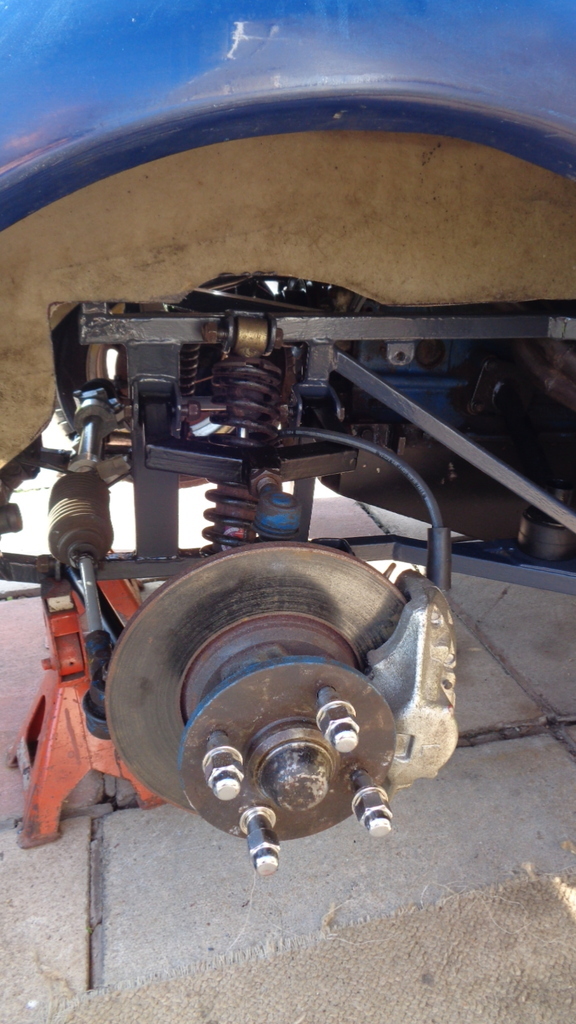 Looks rather better now - Just the other side to do now  Now its rolling and back in the garage I can progress the wiring and start the task of putting it all back together. |
| |
|
|
Darkspeed
Club Retro Rides Member
Posts: 4,669
Club RR Member Number: 39
|
|
Sept 28, 2021 18:07:37 GMT
|
Taking a break from the G15's and getting back to work on the Gemini - Pretty sure there was a post with a list on somewhere that I will need to try and find to see where I got to. So today the garage sounds were right back to my punk roots As the garage is rather cramped at the moment the first job was to get the car up in the air just enough to be able to create some under car storage - with that done I could actually move and empty the Gemini of an awful lot of accumulated "stuff" 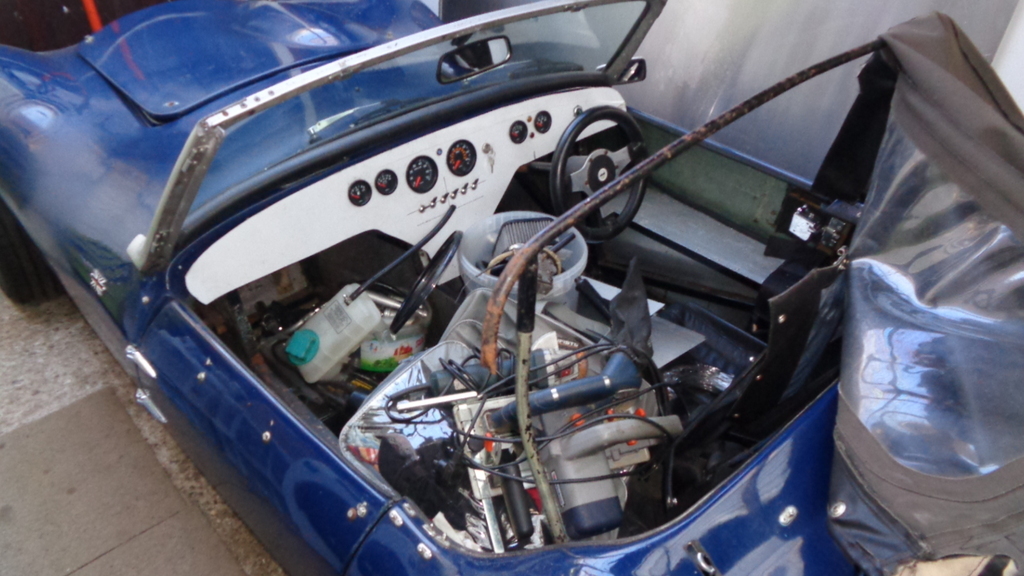 So with all that moved I decided to make the car a little lighter by chopping out bits that are not needed. 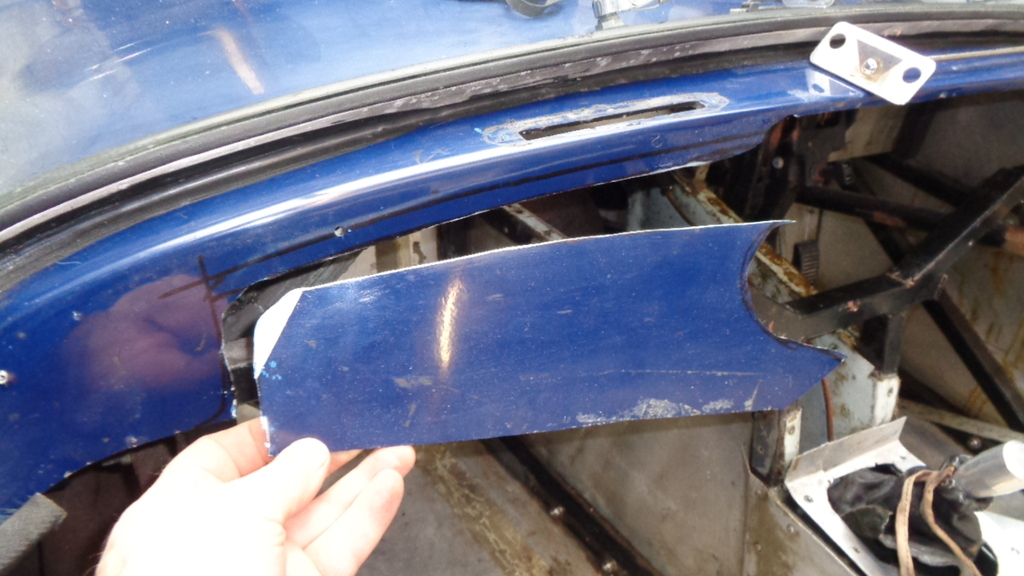   Which also provided better access to the clutch and the throttle cable connections - which is useful as I need to change the throttle cable. 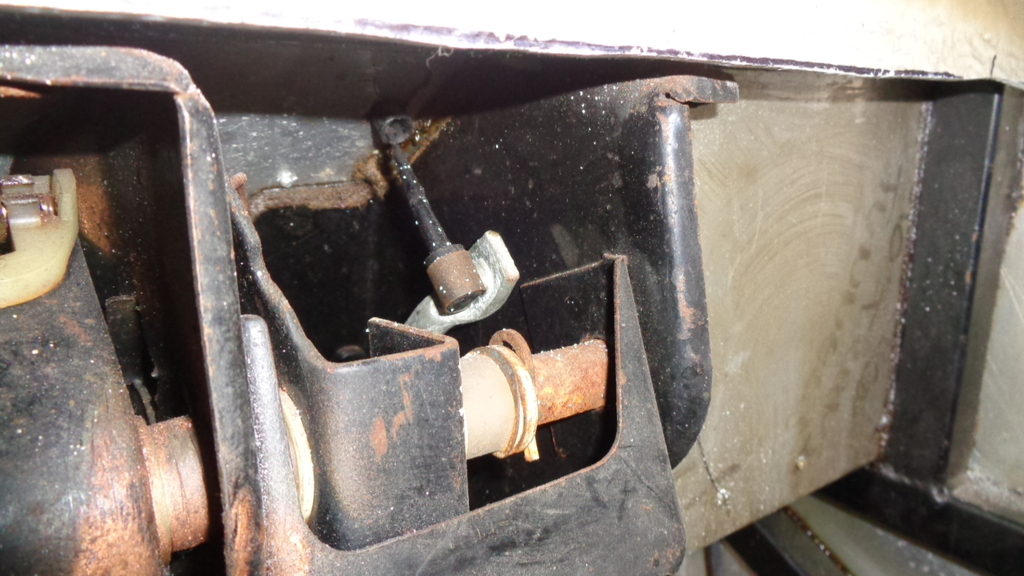 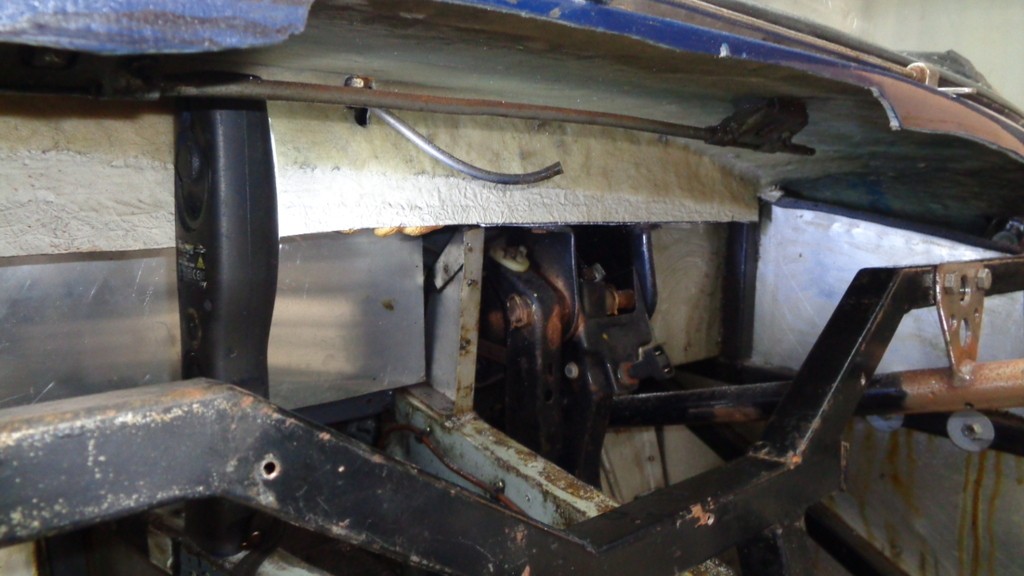 Need to change that ugly bracket and make it lighter. 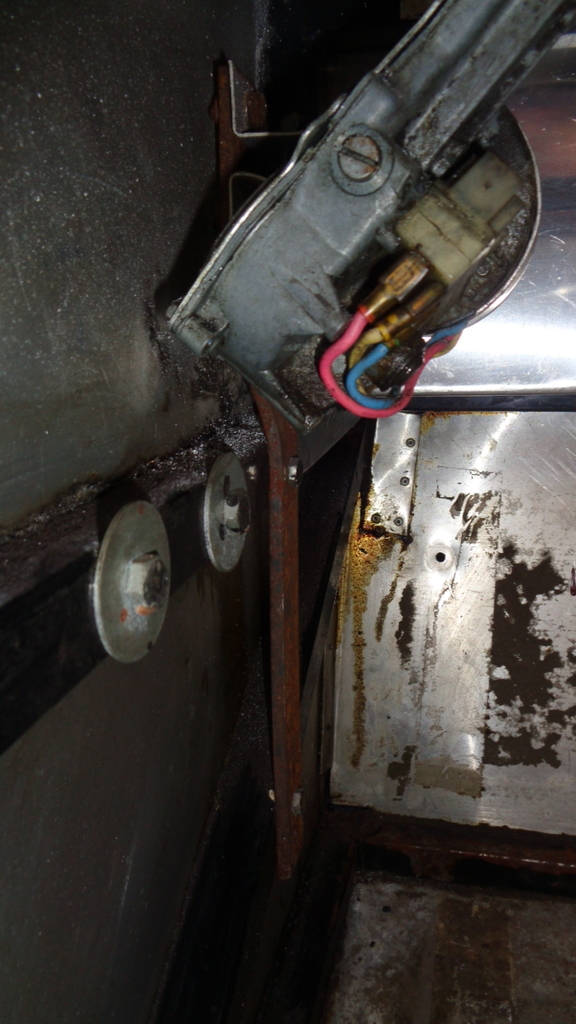 Being up in the air will also allow me access to remove my nice new fresh built 3.54 Diff so I can fit one of my Quaife ATB's 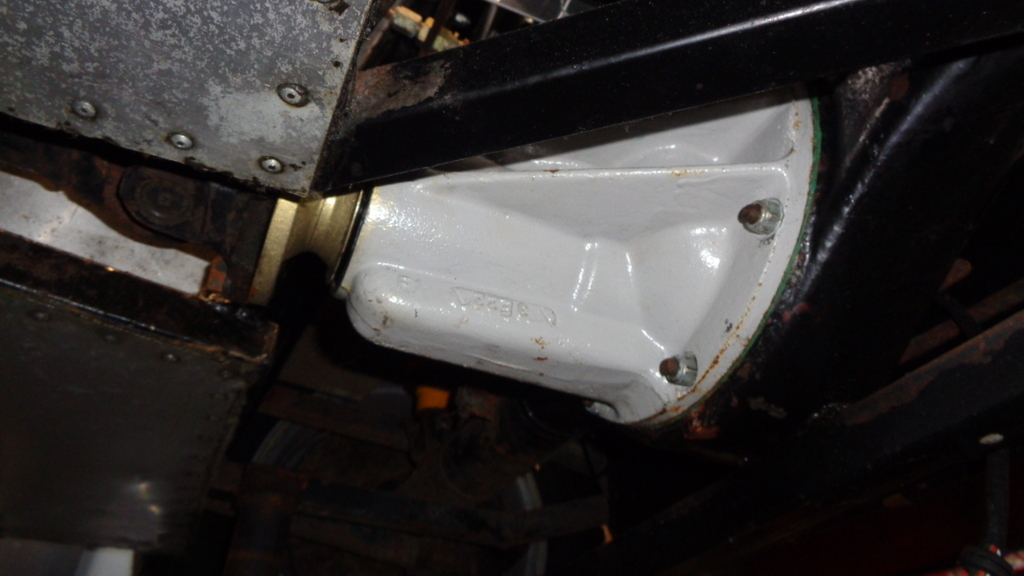 Cleared 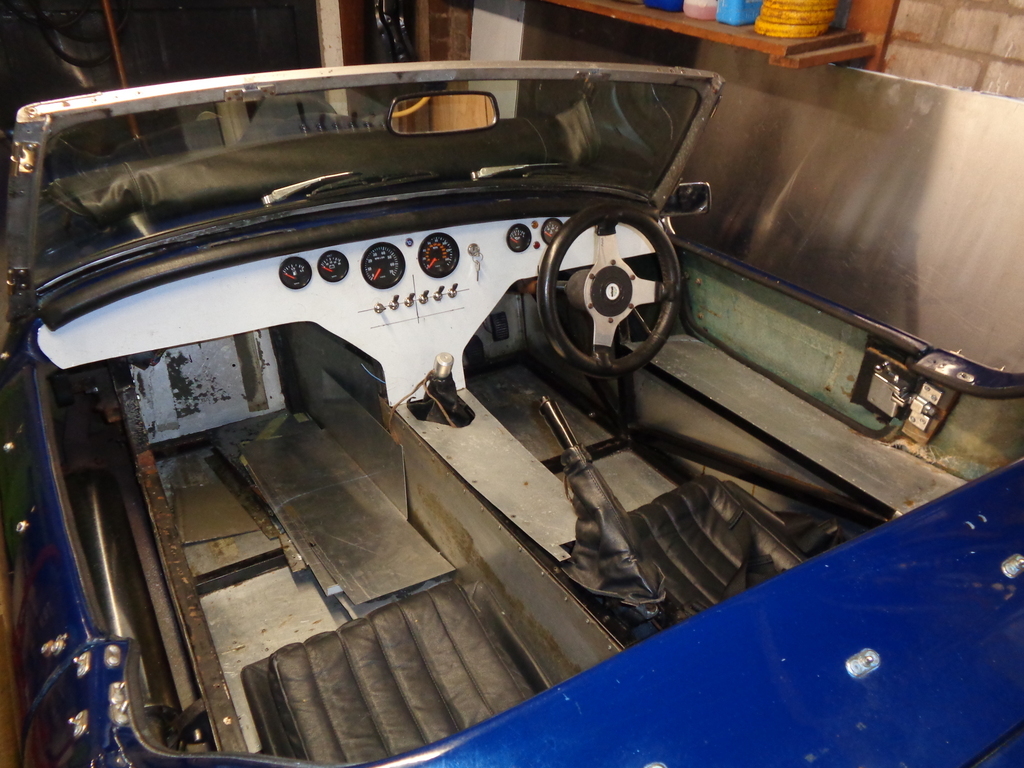 |
| |
Last Edit: Sept 28, 2021 20:48:34 GMT by Darkspeed
|
|
Darkspeed
Club Retro Rides Member
Posts: 4,669
Club RR Member Number: 39
|
|
Sept 29, 2021 8:00:11 GMT
|
This picture also told me that the scuttle/ body is not actually fixed to the chassis... That glassfibre web is a body mounting point and it should be bolted through to the chassis rail behind it. This shot of the other Gem I had shows the builder there used a wood packer to fill the gap between and then bolted through which is probably the way I will go with spacer piece made of ply once I have dug all of the gap fill foam out of the space. 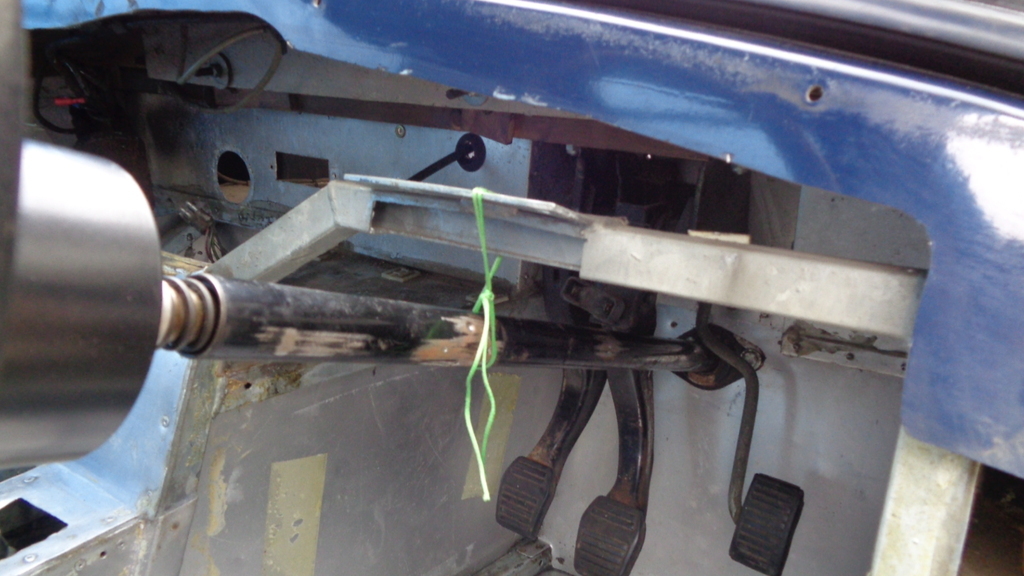 Better check the rear mount points as well |
| |
|
|
Darkspeed
Club Retro Rides Member
Posts: 4,669
Club RR Member Number: 39
|
|
Nov 15, 2021 22:08:10 GMT
|
Some progress was made on the Gem' - It involved sitting in the warm with a couple of books open and a good brew working out what wiring colours I need, and just how much of this that and the other colour of 1mm 2 2mm 2 etc. I should be purchasing. The list ended up as 21 different coloured cables and a total length of about 650 meters! Now that may seems quite a bit for a car that's 4m long and has just the absolute minimum of lights and accessories. But I figured as there are 6 project cars around the place that will require wiring I may as well order a reel of certain colours. So the wiring work is starting, a fair bit later than expected but I had not anticipated the number of project cars to increase the way that they have, especially when bearing in mind the effort I was making to reduce them. As the Gem' has been waiting so patiently for some attention I may well treat it to a few more dressy parts. There are also a couple of bodywork projects that I would like to do - one being adding some small plinths for the rear lights like on this original Comp. 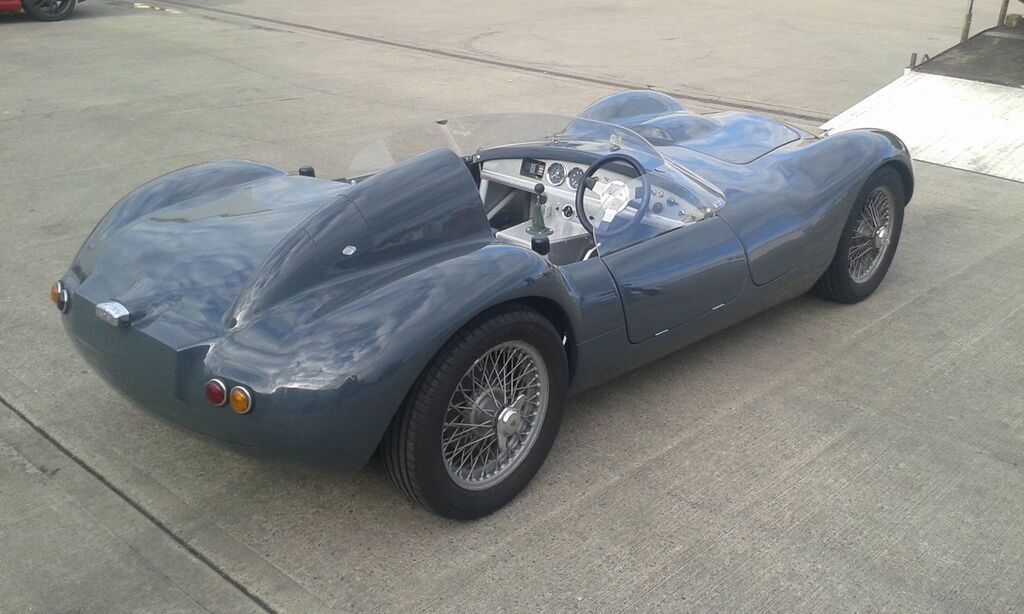 The screen is also rather nice but I am keeping the wet weather gear on this one. And RIP Bob Bondurant. www.motorsportmagazine.com/articles/us-racing/renowned-racing-instructor-bob-bondurant-dies |
| |
Last Edit: Nov 15, 2021 22:33:59 GMT by Darkspeed
|
|
|
|