|
|
|
|
|
The only aspect of the cylinder head removal that concerns me relates to the timing chain. I understand that it can be a pain to split and reassemble. Otherwise I’ve got the skill and tools to get the head off, get it skimmed and reassembled with a new gasket. You don't need to split the chain to take the head off. Time up the engine and zip-tie the chain to the cam sprocket, the cam sprocket can then be held in tension with a bungee cord from the bonnet. Remove the camshaft ect from the head, then lift the head up at the front enough so you can re-position the bungee cord outside the head to keep the chain in tension. Now lift the head up and off. Hope that makes sense. |
| |
1988 Mercedes w124 superturbo diesel 508hp
1996 Mercedes s124 e300 diesel wagon
1990 BMW E30 V8 M60 powered!
1999 BMW E46 323ci project car
|
|
|
|
|
|
|
|
|
You don't need to split the chain to take the head off. Time up the engine and zip-tie the chain to the cam sprocket, the cam sprocket can then be held in tension with a bungee cord from the bonnet. Remove the camshaft ect from the head, then lift the head up at the front enough so you can re-position the bungee cord outside the head to keep the chain in tension. Now lift the head up and off. Hope that makes sense. Makes perfect sense and very interesting. Thank you. |
| |
|
|
urbanaw
Part of things
 
Posts: 249
Club RR Member Number: 17
|
|
|
|
|
I have overcame this hurdle by changing the chain and the tensioner while I was at it. Considering all the additional work this came with it, I would advise against it. My chain was fine and so was the tensioner. Maybe not as good as new but absolutely useable at 215k.
|
| |
|
|
urbanaw
Part of things
 
Posts: 249
Club RR Member Number: 17
|
|
|
|
The repaired driver's seat bolster, renewed gear stick gaiter and floor mats all look great but the one thing that was letting the interior down was the sill kick plates. The plastic trim was in ok condition but the silver tin inserts were damaged and looked ugly. The driver's side was the worst. 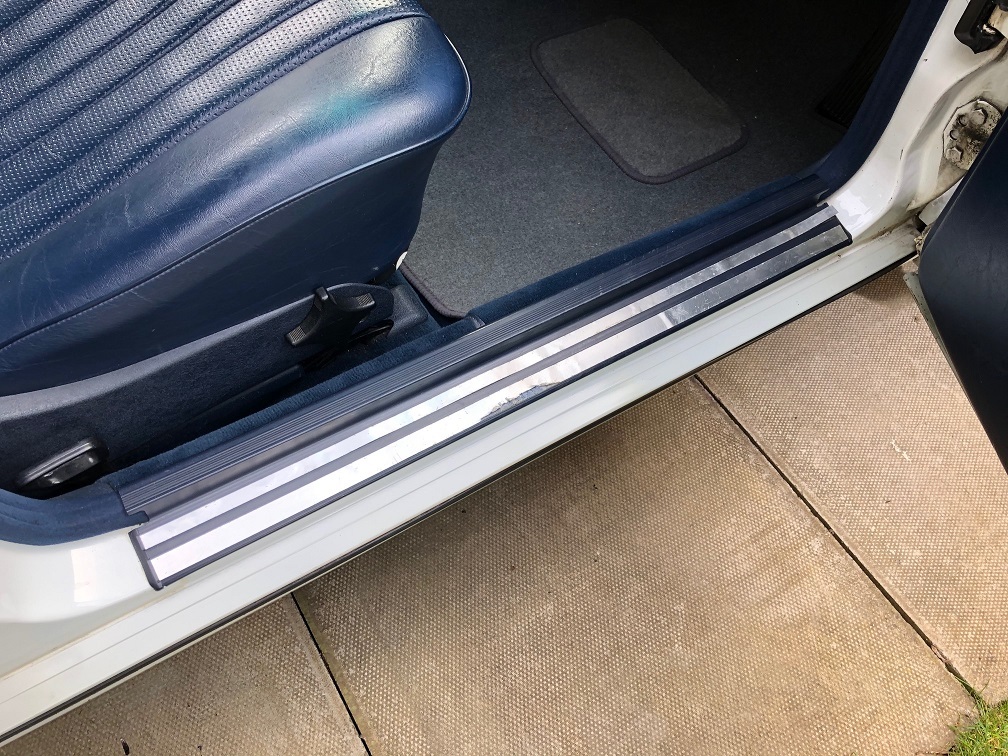 Apparently, you can get replacement tin strips on EBay but having recently reviewed how much I have spent on the 200E on various repairs and improvements, I have decided not to invest in a new set. Instead, I purchased a £2.50 roll of silver insulation tape and achieved a perfectly good result. I did the driver's and front passenger trims and left both rear trims as they are generally in good condition. 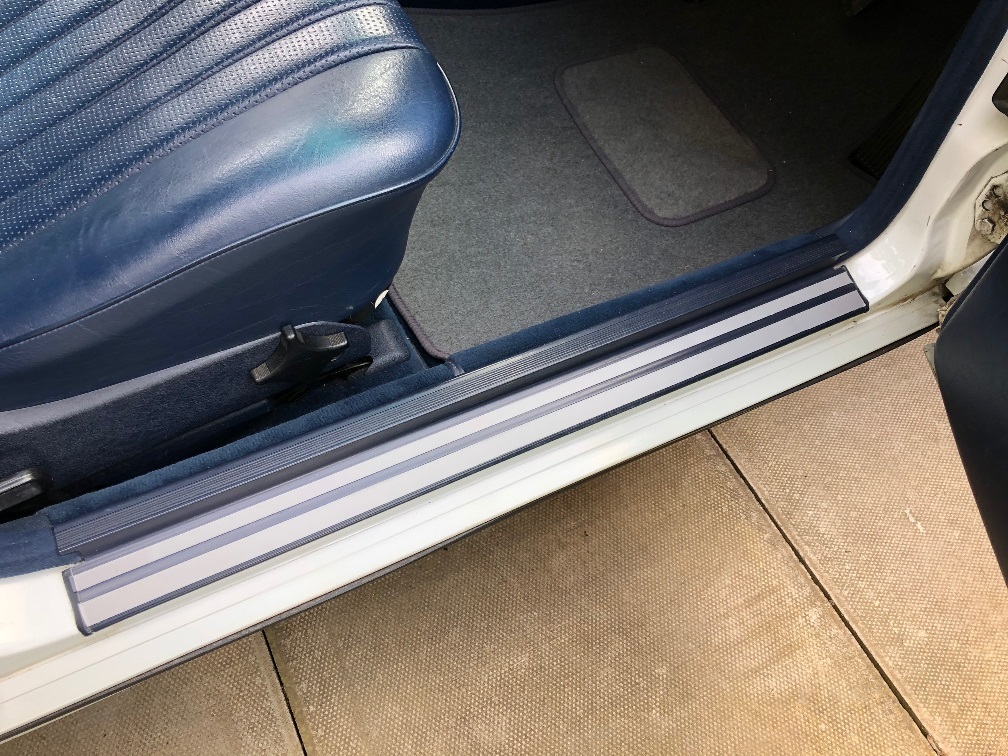 I had my kick plates "fixed" a few days ago. The "tin" strips I bought of eBay look a lot like your insulation tape. I am OKish with the outcome, not happy with the price I paid. I ended up replacing only the ones that needed it the most as the original ones look so much better.. G. |
| |
|
|
|
|
|
Apr 11, 2020 10:47:37 GMT
|
|
Bad news. How much did the tin strips cost you?
Do you have any before / after photos?
|
| |
Last Edit: Apr 11, 2020 10:48:54 GMT by Peter C
|
|
|
|
|
Apr 12, 2020 13:58:43 GMT
|
Due to the lockdown, I am not using any of my cars. For the foreseeable future I will be focusing my attention on my W123 230E. Approx 8-9 years ago, I had the rear arches replaced on the 230E. They were a little rusty rather than rotten and with hindsight, I should have had the original metal properly repaired. 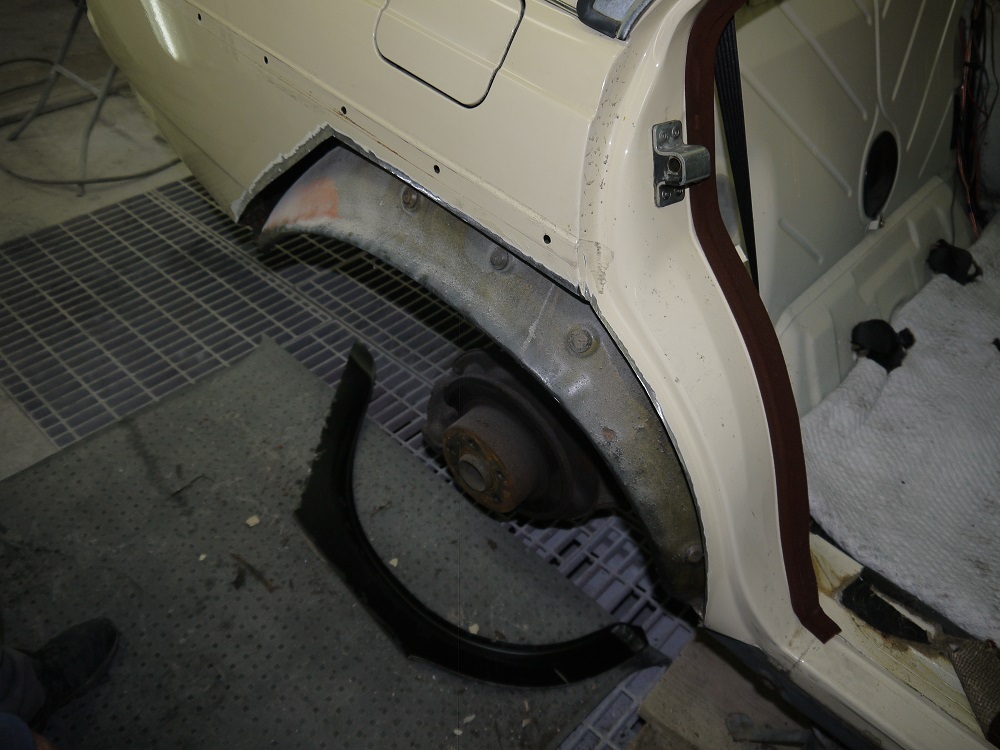 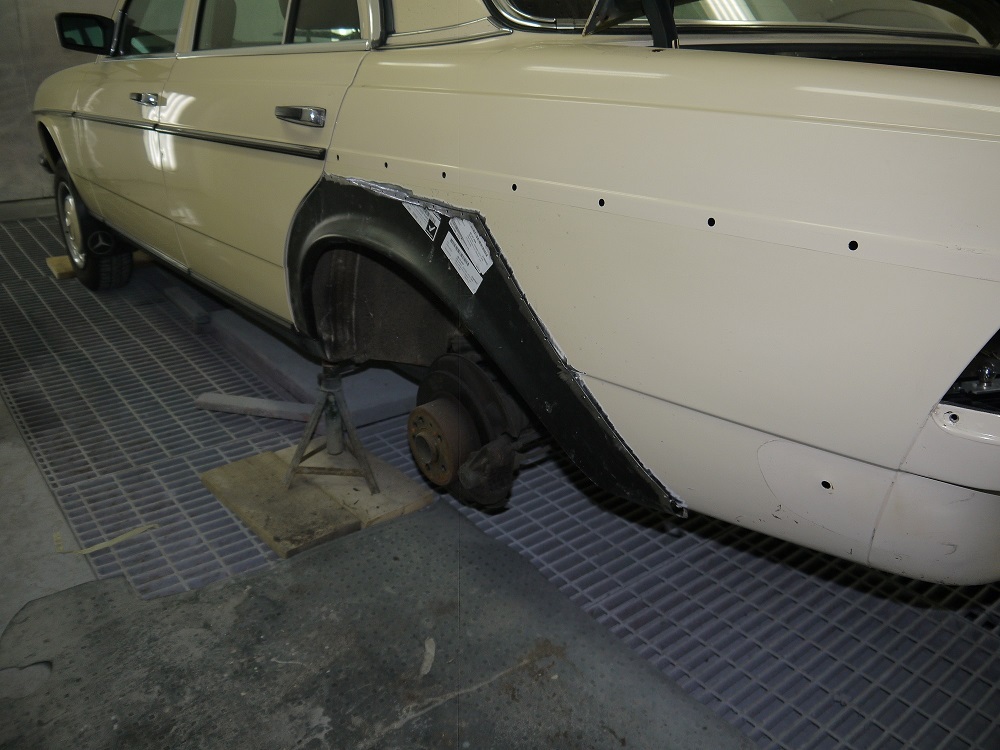 I paid surprisingly little for the labour, however I was not 100% happy with the result. There is evidence of excessive use of filler where the old and new metal abuts and the shell is no longer original. That said, all these years on, there is no evidence of any cracking or rust. I also had the metal around the rear window replaced. It was completely rotten and water was dripping into the boot. 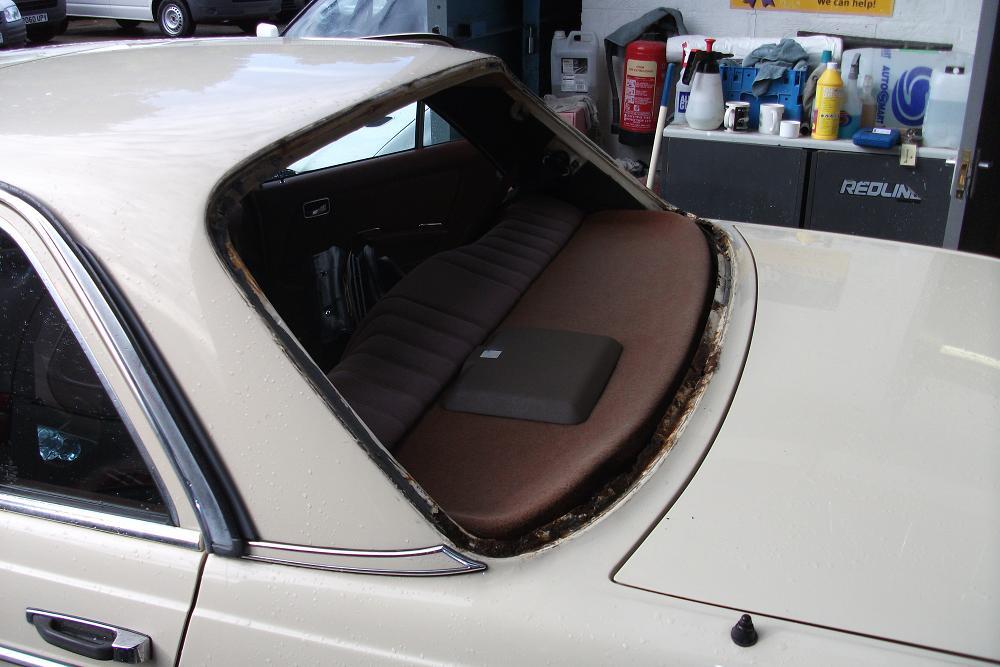 This repair has also lasted well, although the paint applied to the lower panel has lost some of its shine. I decided to stick the 230E into my workshop and give it a minor cosmetic makeover. Nothing major, just a clean up and refresh where needed. I started at the back of the car, inside the boot. With the boot carpet removed, the plywood spare wheel well liner is revealed. All good so far. 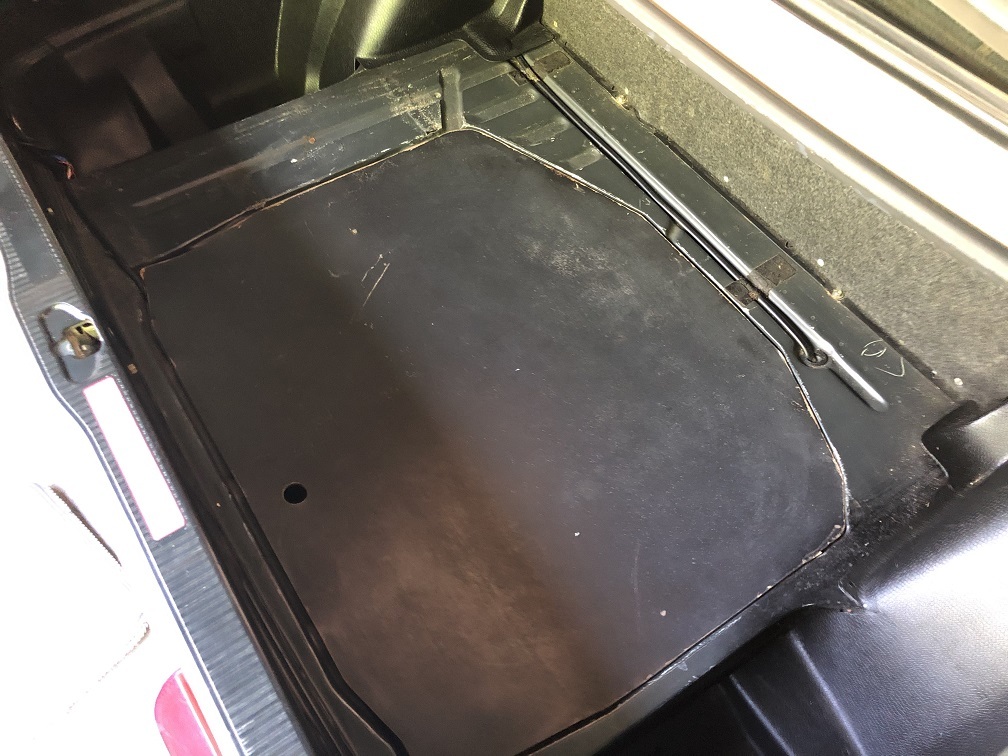 Aside from the spare wheel and original tools, I carry a tow rope, spare fan belt and a piece of wood that was there when I bought the car. 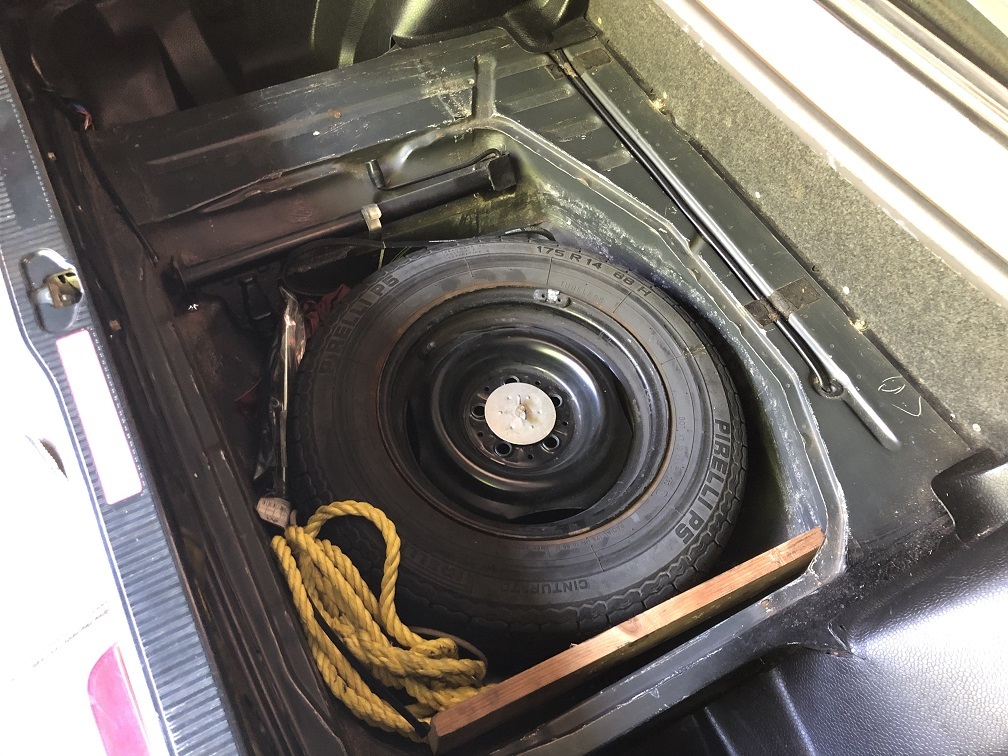 Keeping it old skool! The old P5 holds air, isn't cracked so I'm keeping it. 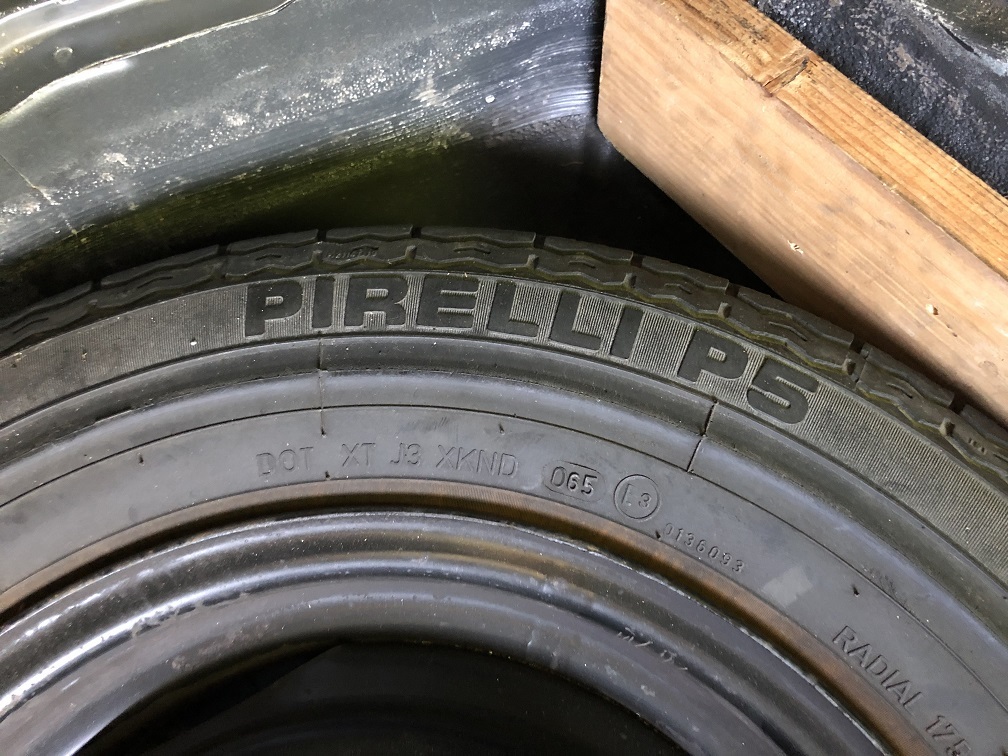 Original tools have seen better days. 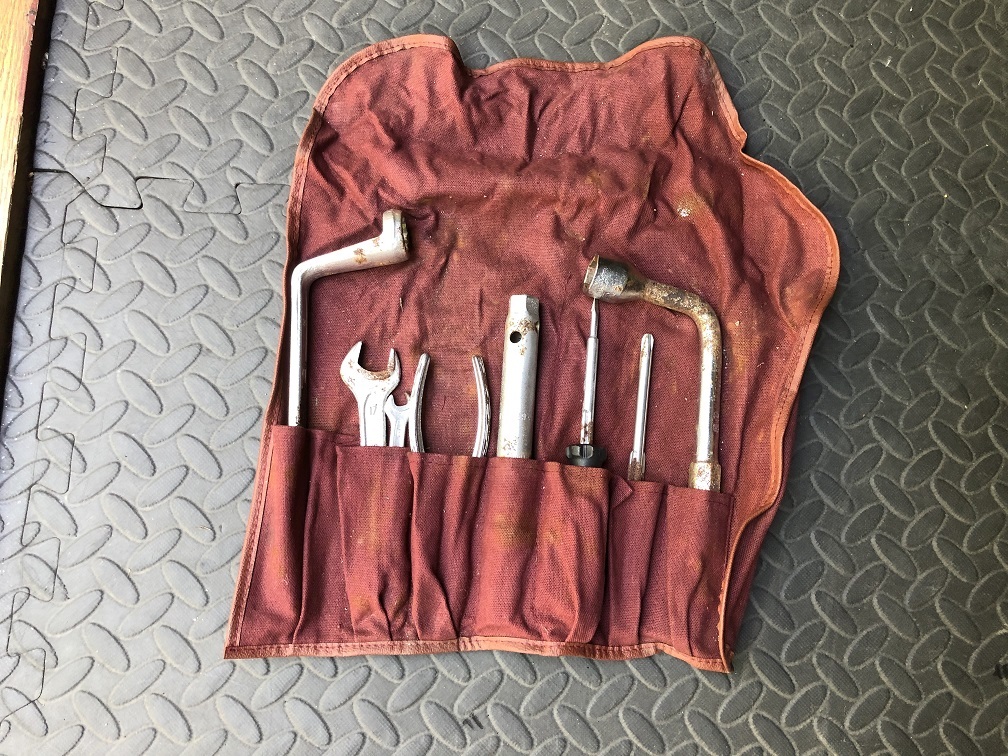 With the spare wheel well cleared, you can see non-standard holes in the floor. When I bought the car, the first job that I did was to remove a tow hook, which was bolted to the boot floor. Whilst it's not pretty, all the metal is 100% solid and just wanted a hoover and wipe over. I touched up the slight surface corrosion around the redundant holes with waxoil. 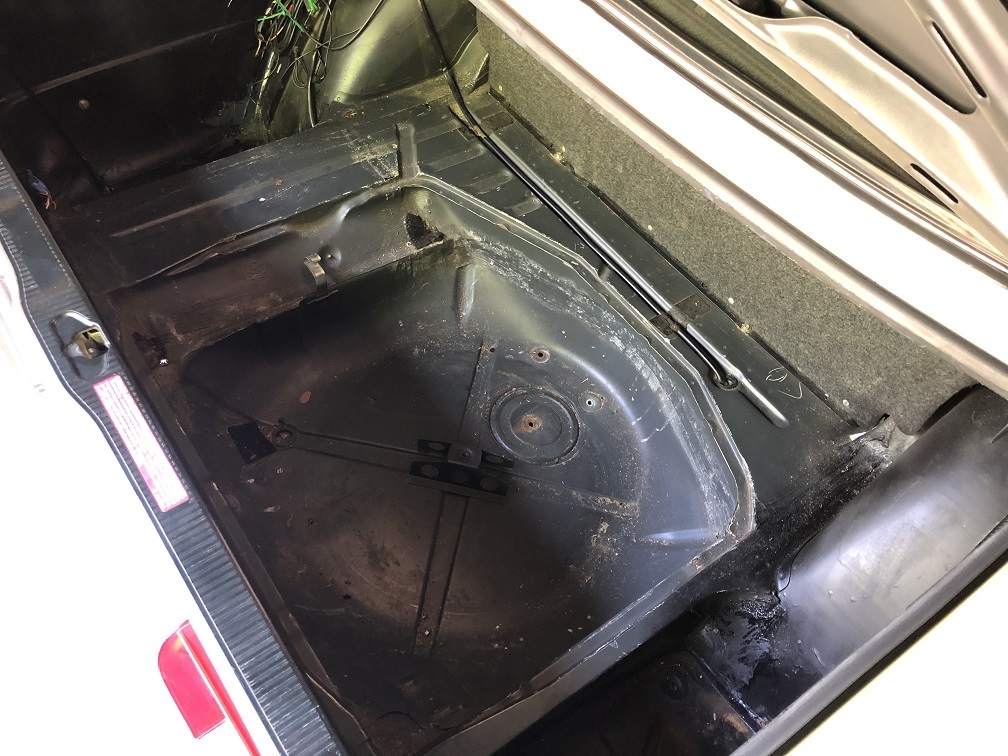 With the rear bumper removed, the rear valance looked great, just needed a spit and polish. 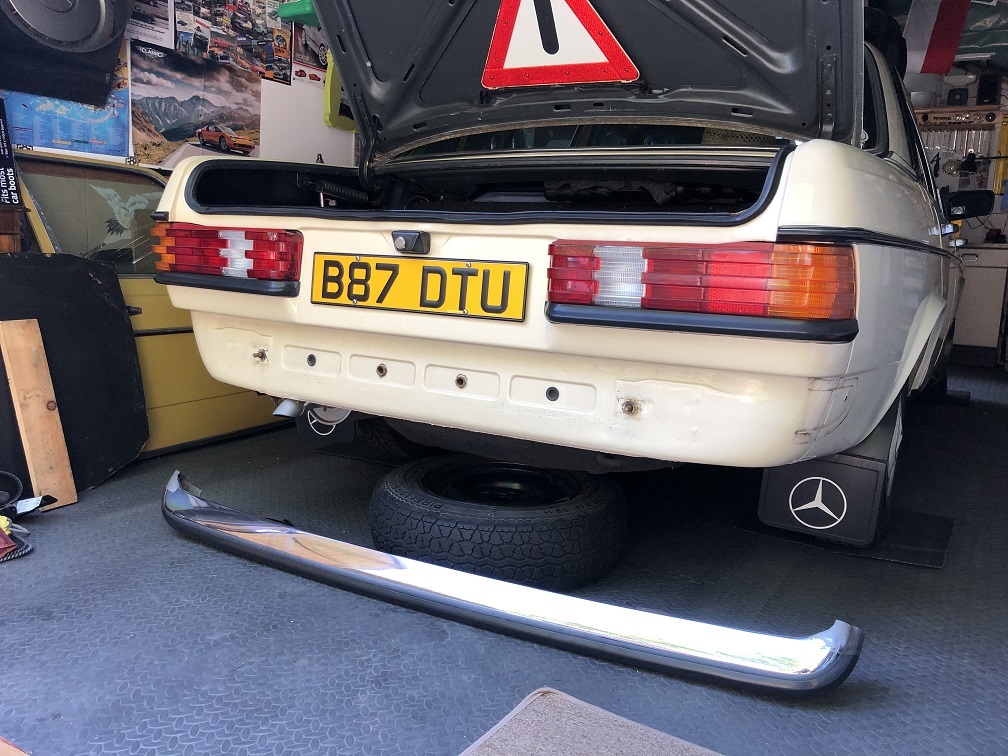 The bumper, on the other hand, had some surface corrosion. 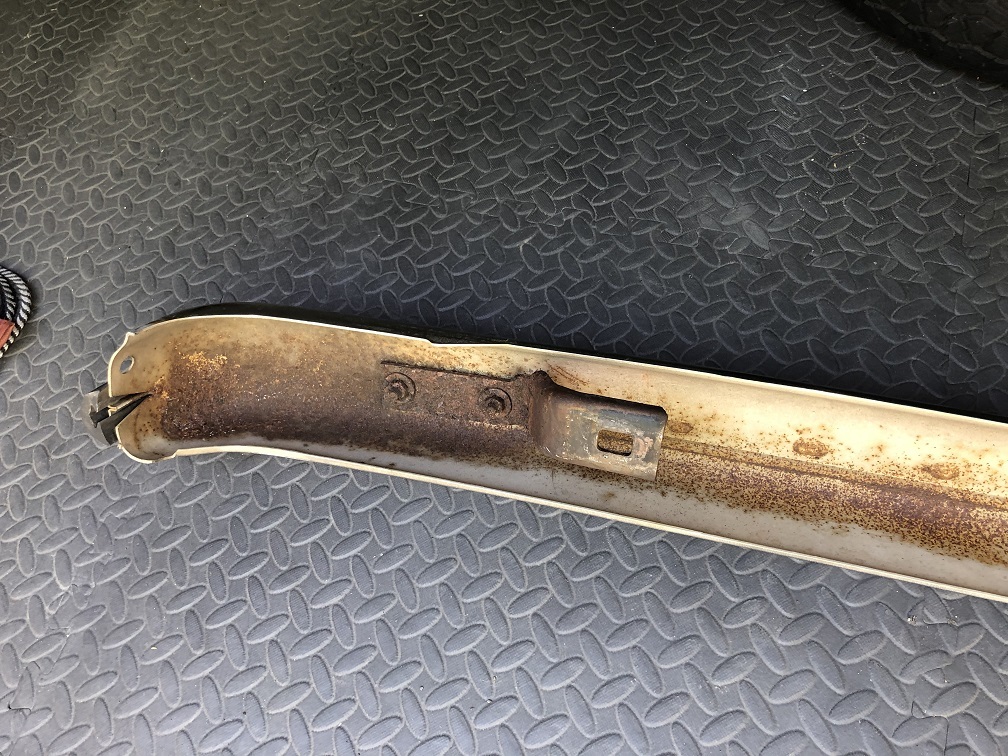 Which I wire brushed and coated with waxoil. 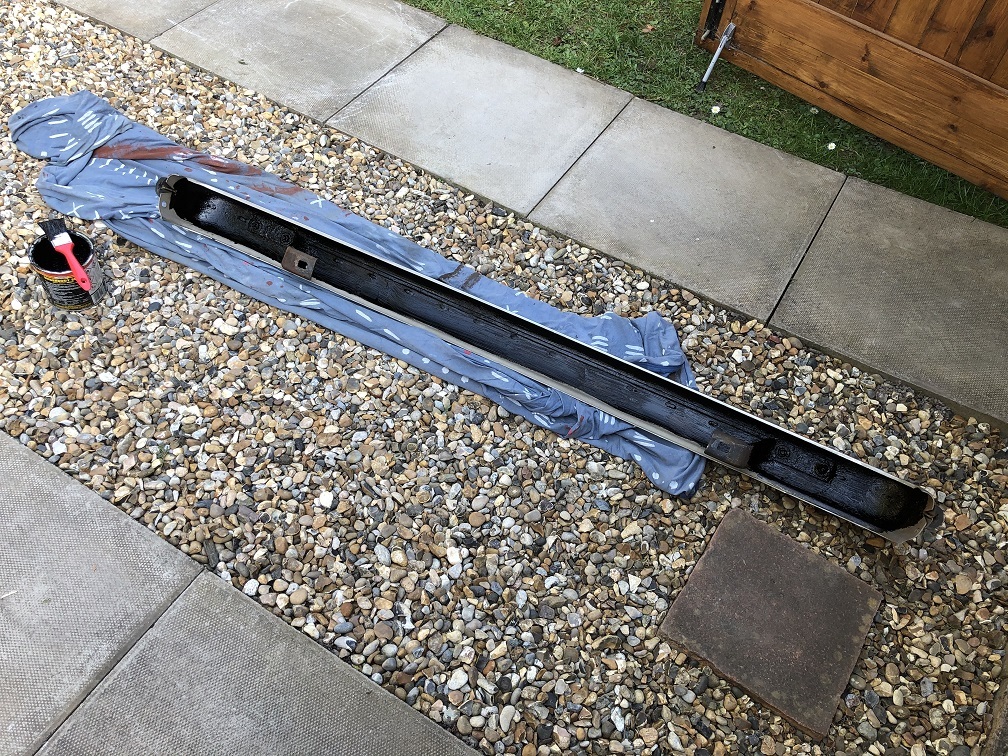 The side rubber mouldings that secure the edges of the rear bumper contain metal plates. Whilst the nearside plate was pretty much mint, the offside part did not look too clever. I ended up giving both plates a coat of waxoil. 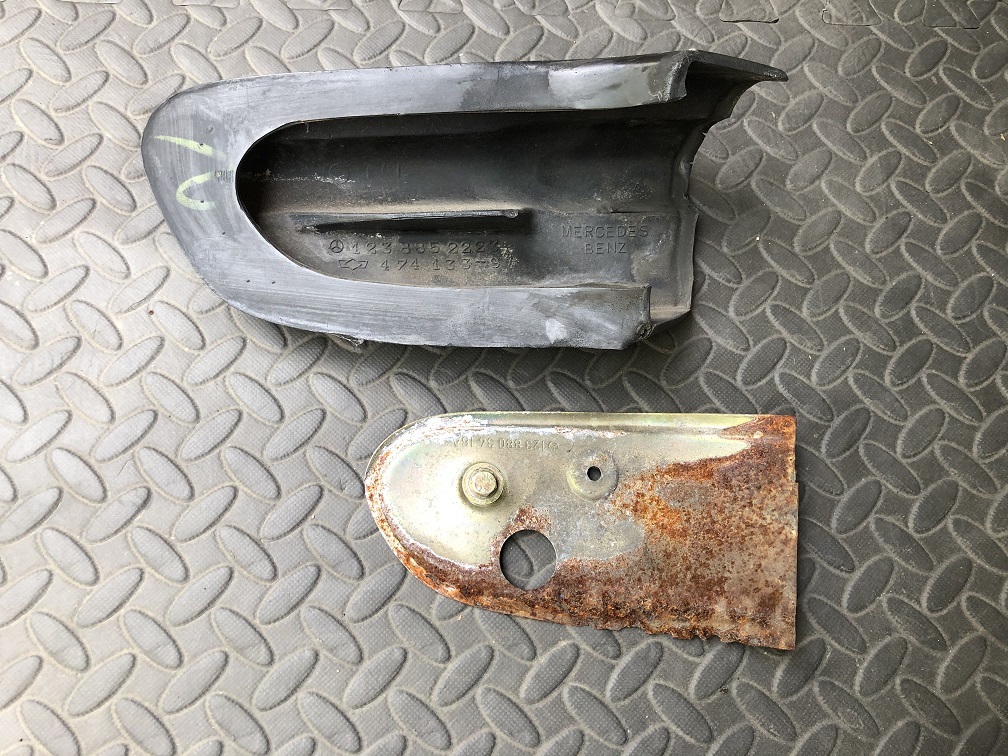 More soon. What other gems will I uncover? |
| |
|
|
|
|
|
Apr 24, 2020 15:58:52 GMT
|
've made more progress with the 230E. Firstly, I re-assembled the rear bumper and the contents of the boot. I gave the spare wheel a good polish - I must be mad! 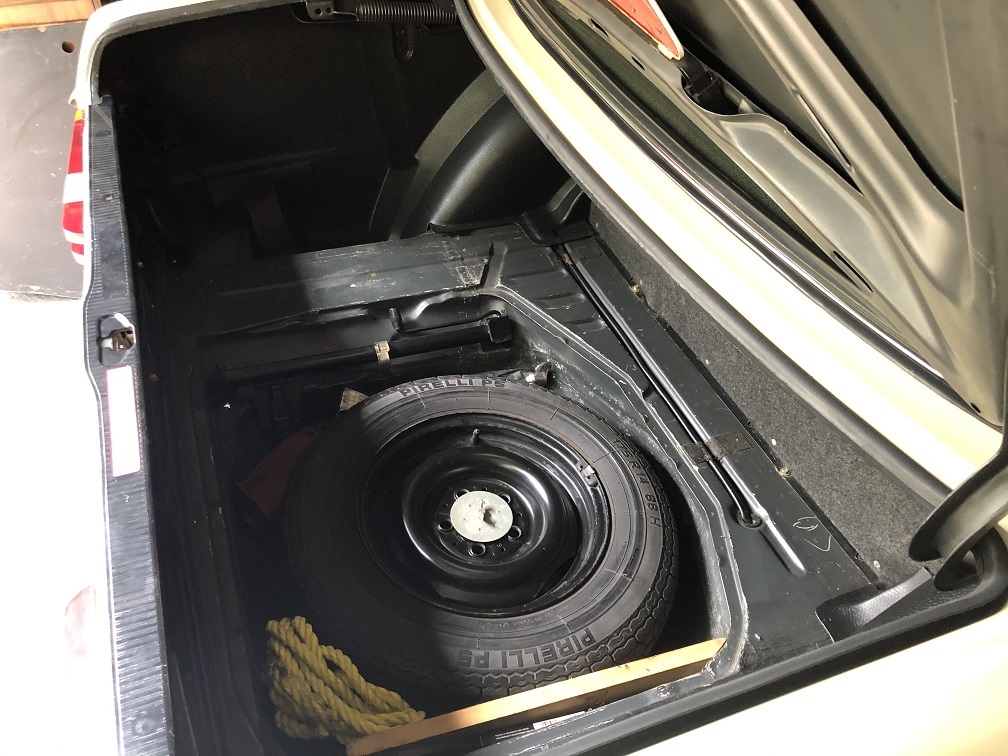 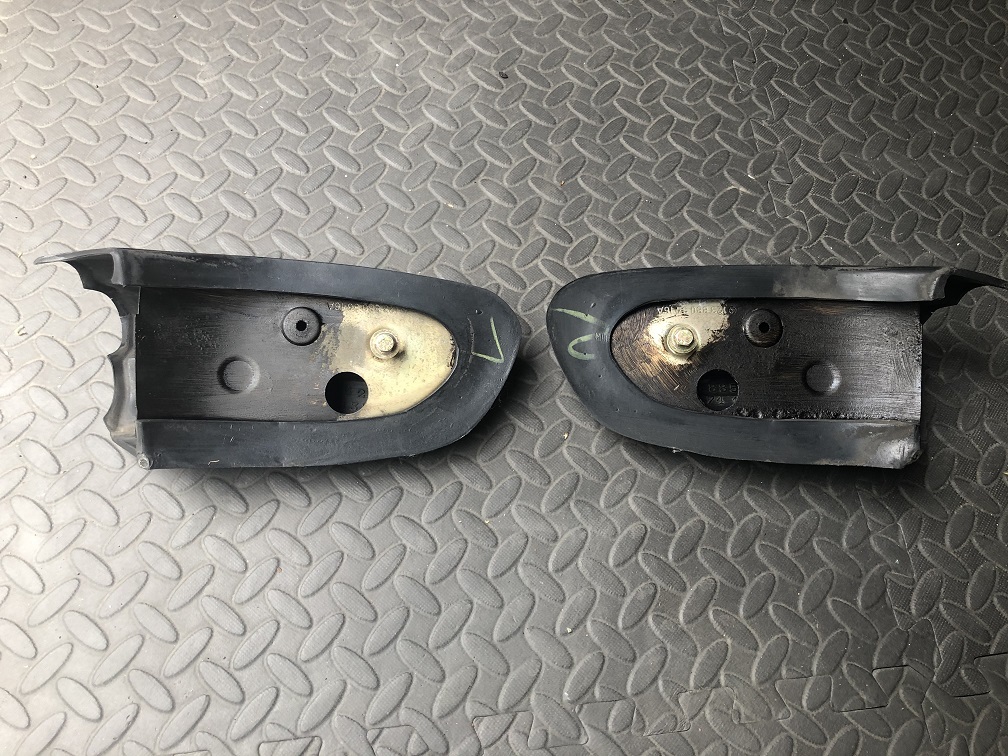 I then turned my attention to the front of the car. I stripped the bumper and associated fittings. 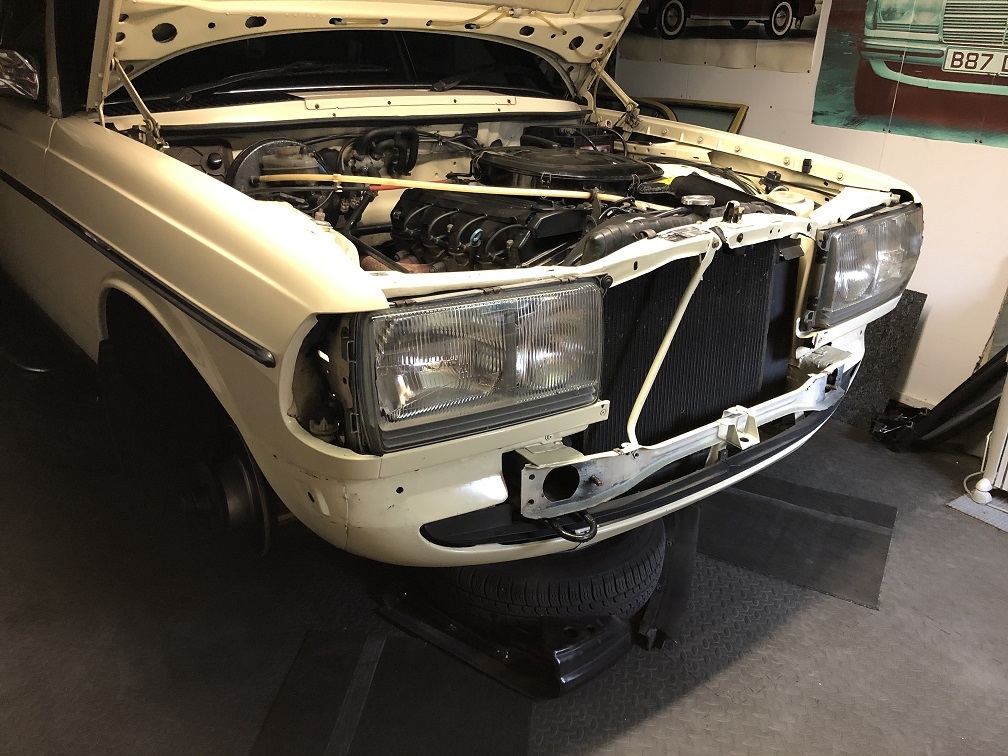 I didn't find anything particularly nasty but both front wheel arches looked grim compared with the re-painted rear arches. 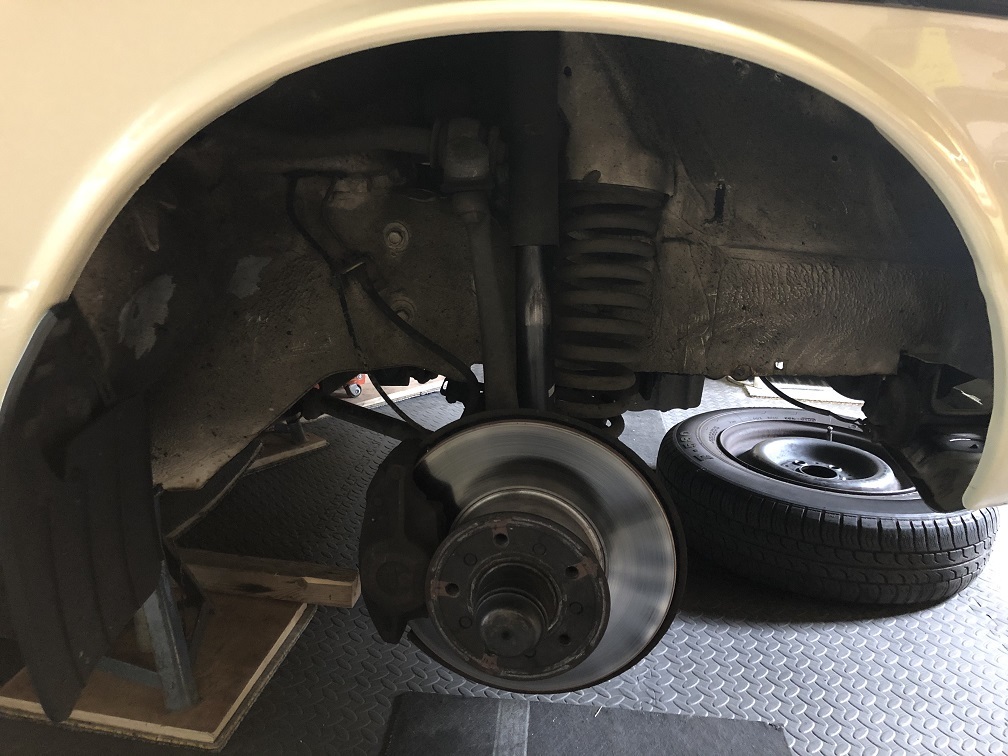 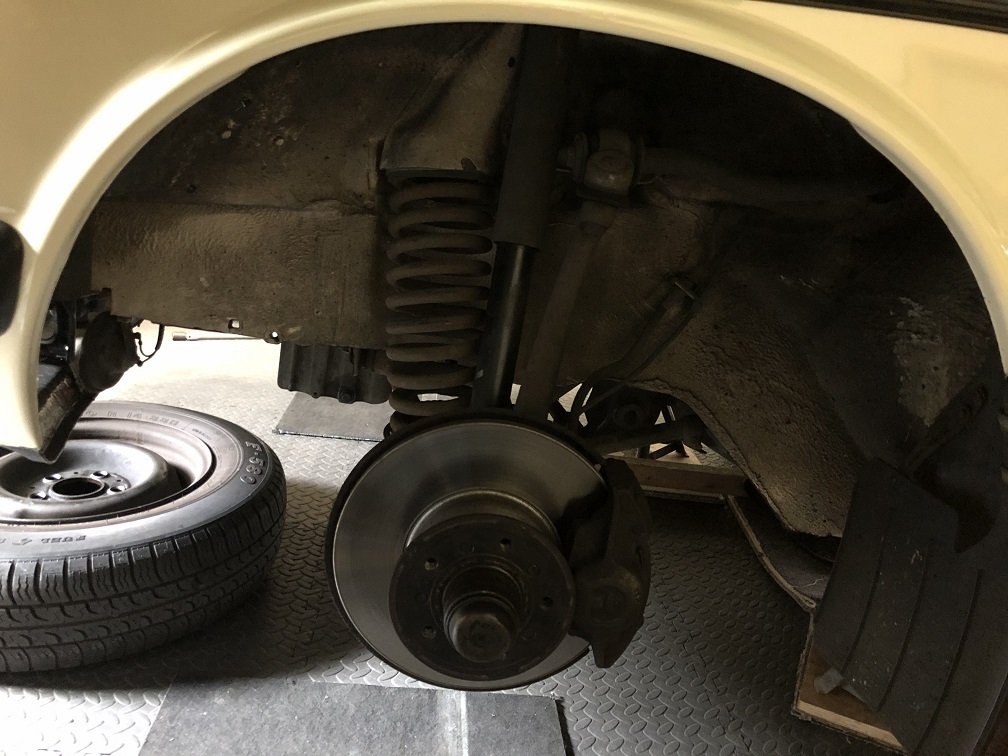 The amount of effort that went into cleaning and prepping the inner arches for paint was huge, a lot more work than I expected. 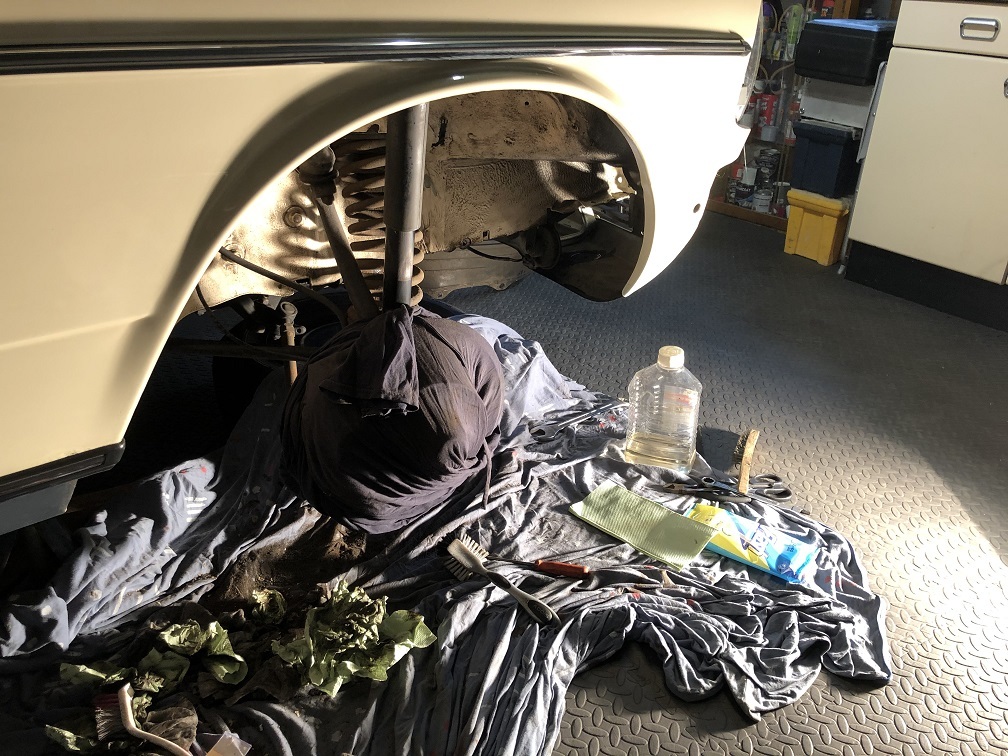 However, the re-painted inner arches look great. I say that but up close the arches don't look particularly attractive. For some reason, Mercedes Benz didn't think it was necessary to finish the metalwork and sealers to a high standard and left various redundant holes and runs and smears unfinished. 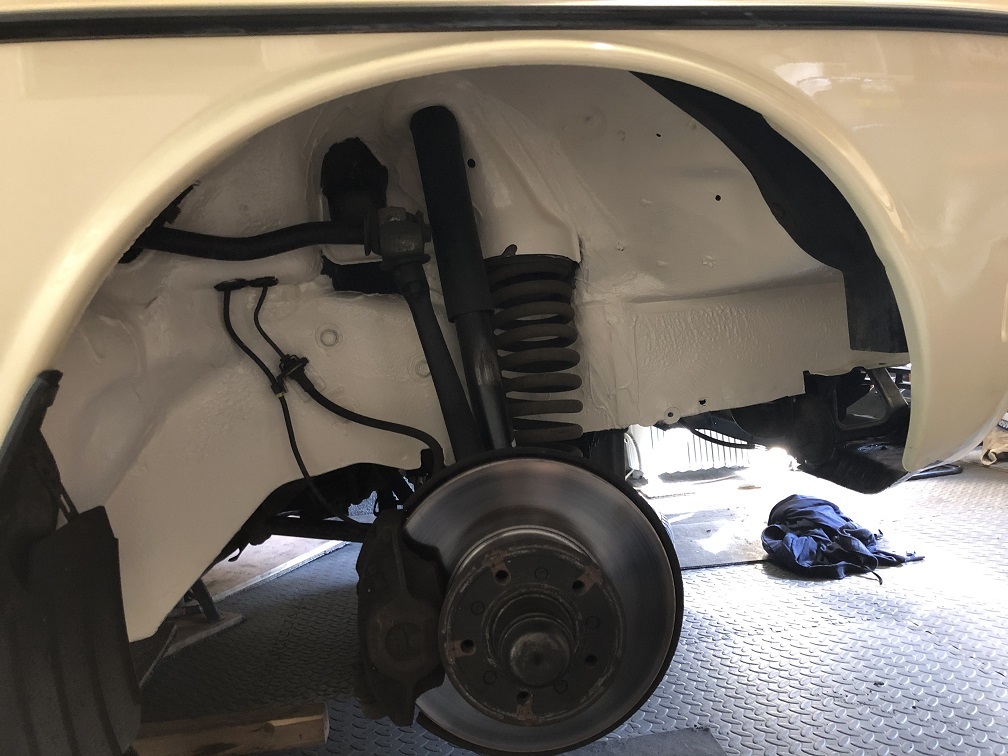 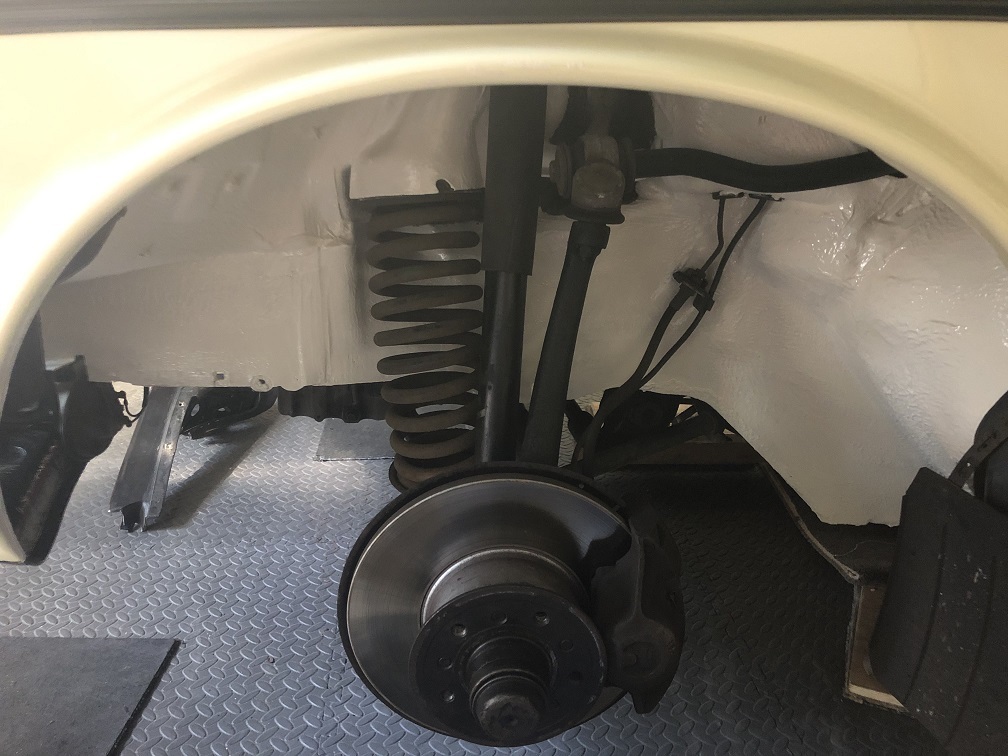 Next up to be treated was the rusting metal around the aerial. I've been touching up the blisters for years. It didn't look good. 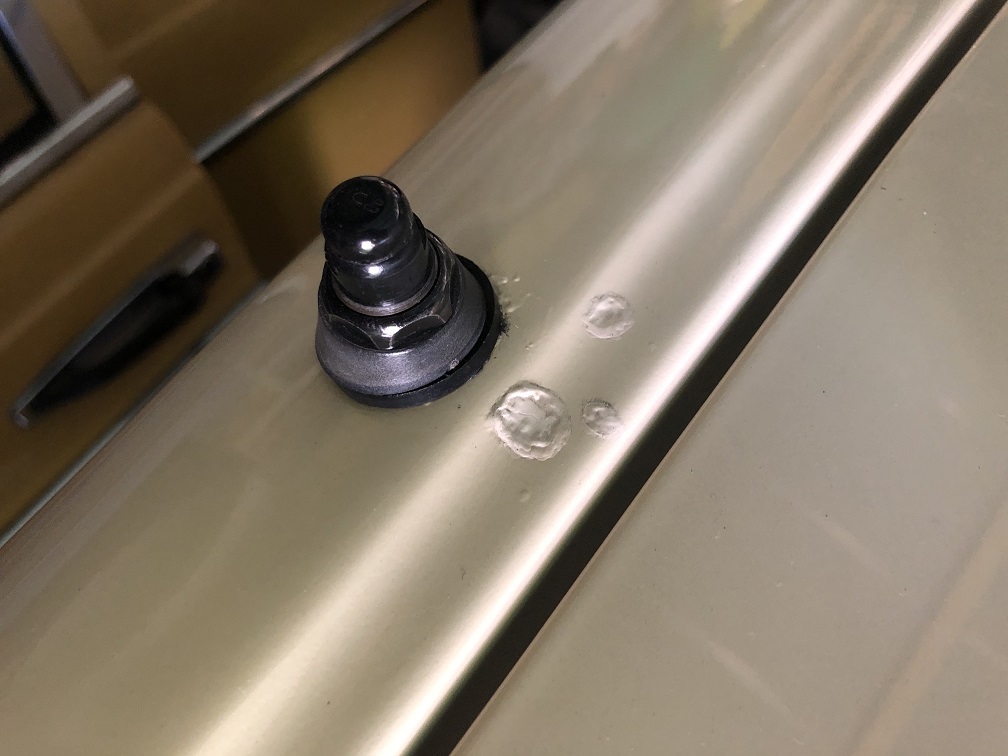 It looked worse with the aerial removed. 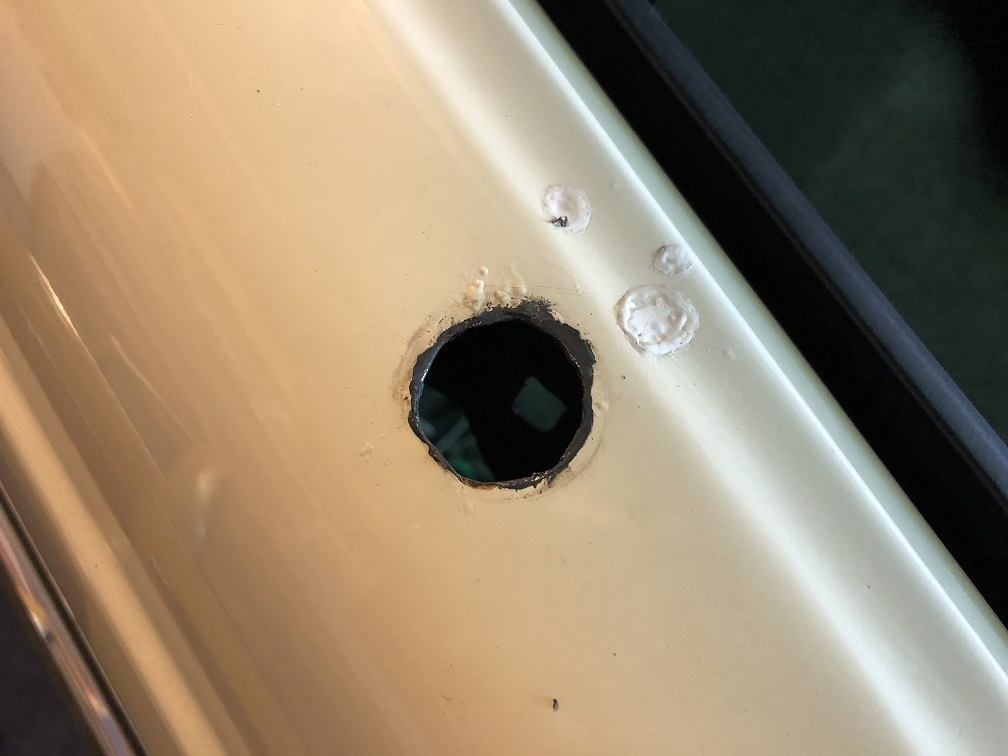 Not wishing to damage any good paint, I protected the surrounding panels with gaffer tape. 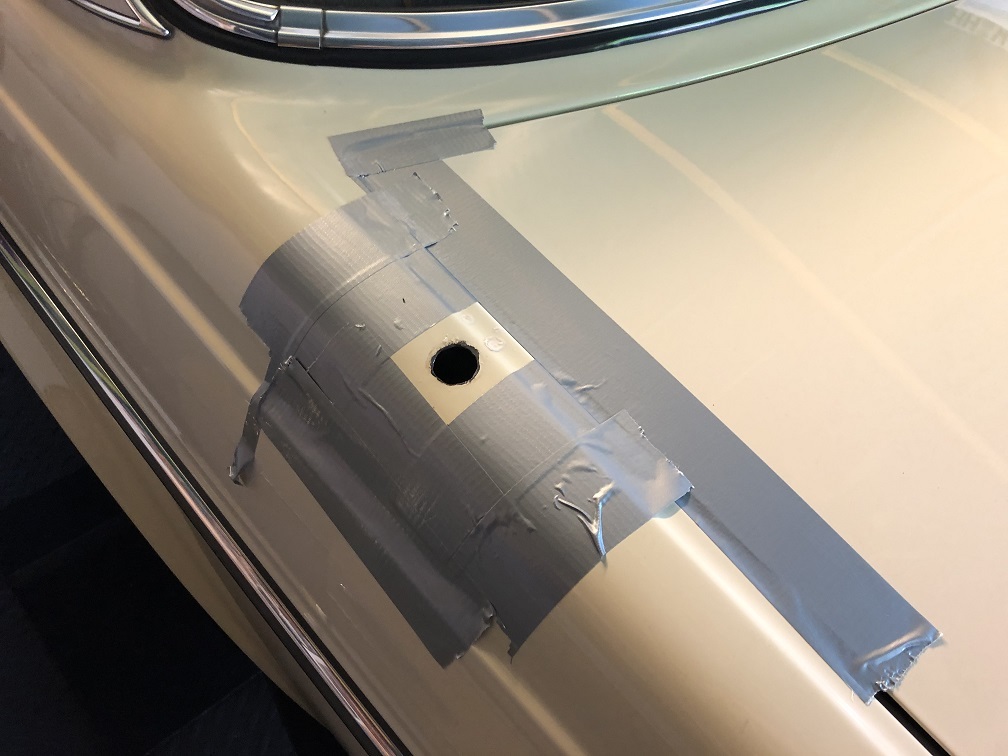 Wire brushing the metal revealed extensive rot and a small rust hole. Great! 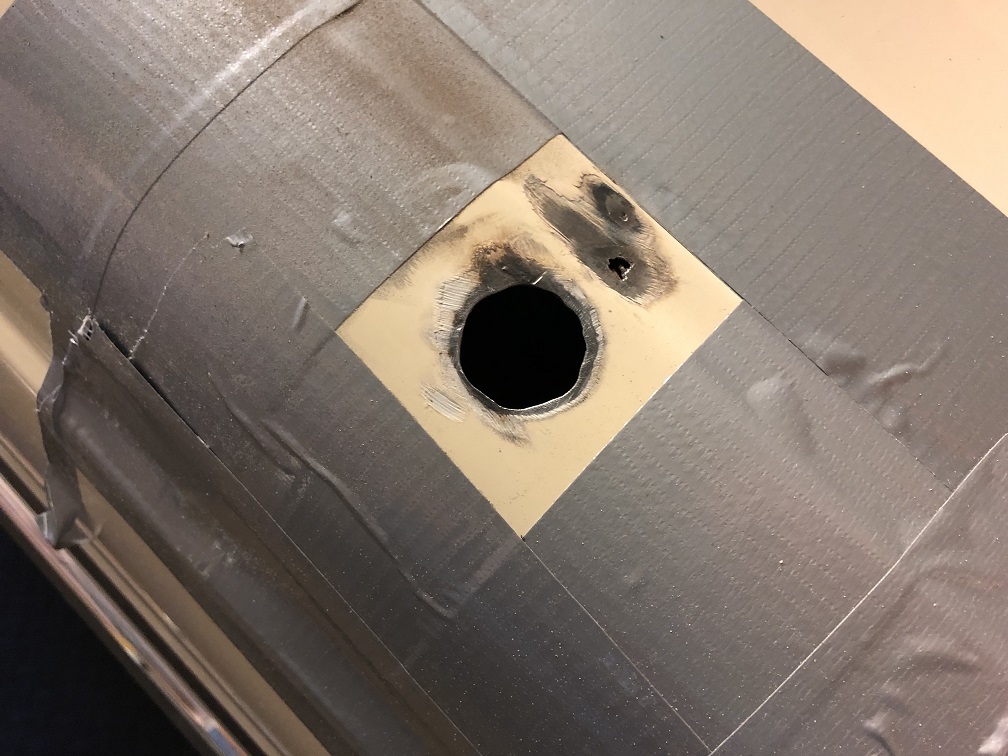 I applied generous quantities of Kurust and filled and prepped the panel for painting. 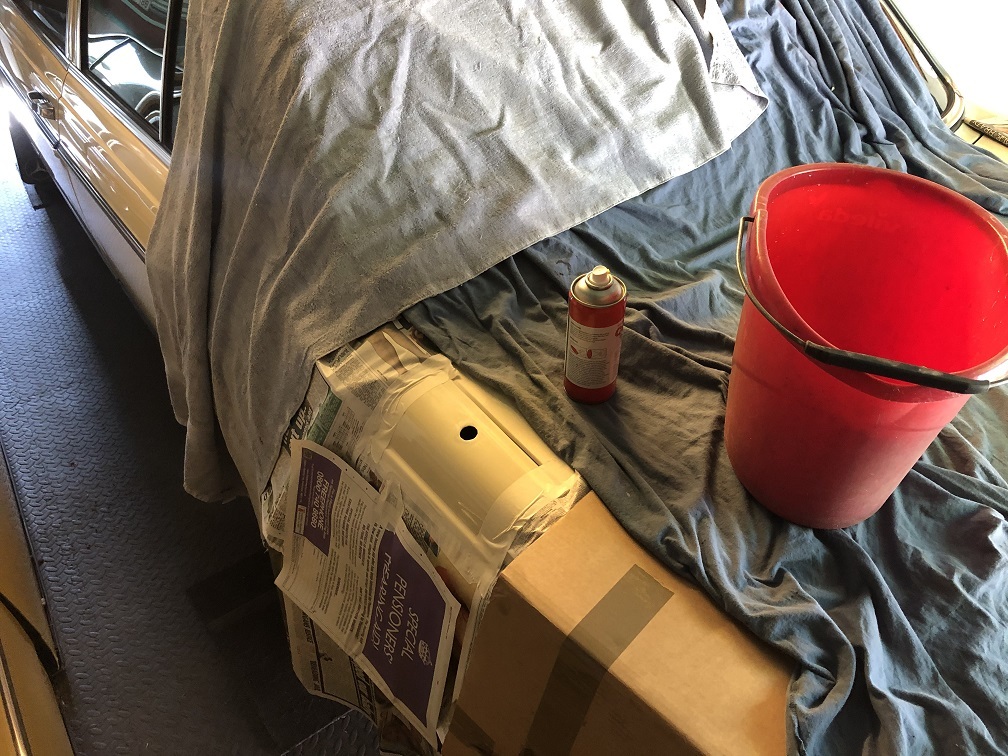 I used a specially mixed aerosol can, then smoothed the paint with 1500 wet and dry paper, then cut it back with T-Cut before polishing. I am pleased with the quality of the repair. The paint match is 99% perfect and the new paint blends in nicely with the old. 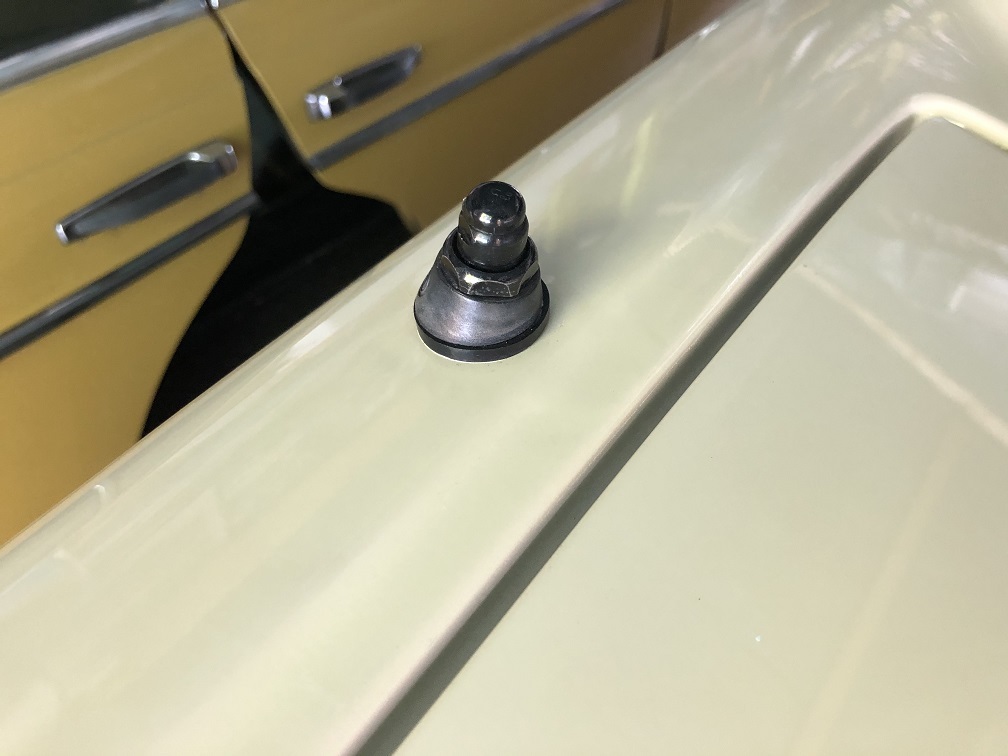 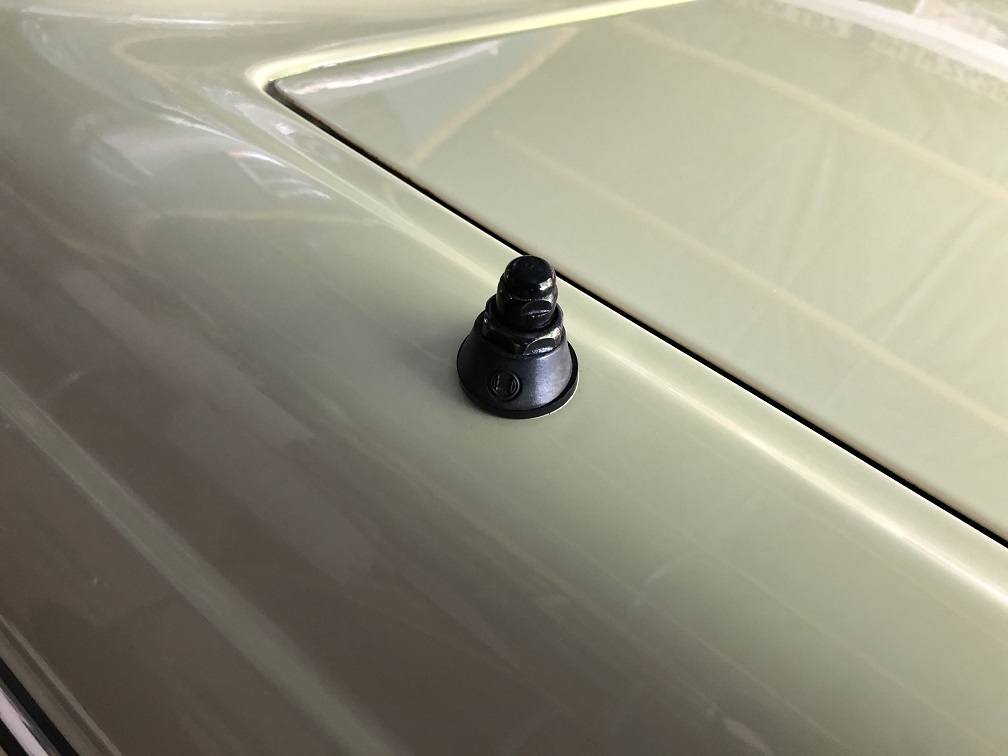 The nets fixed to the rear of the front seats were sagging horribly. 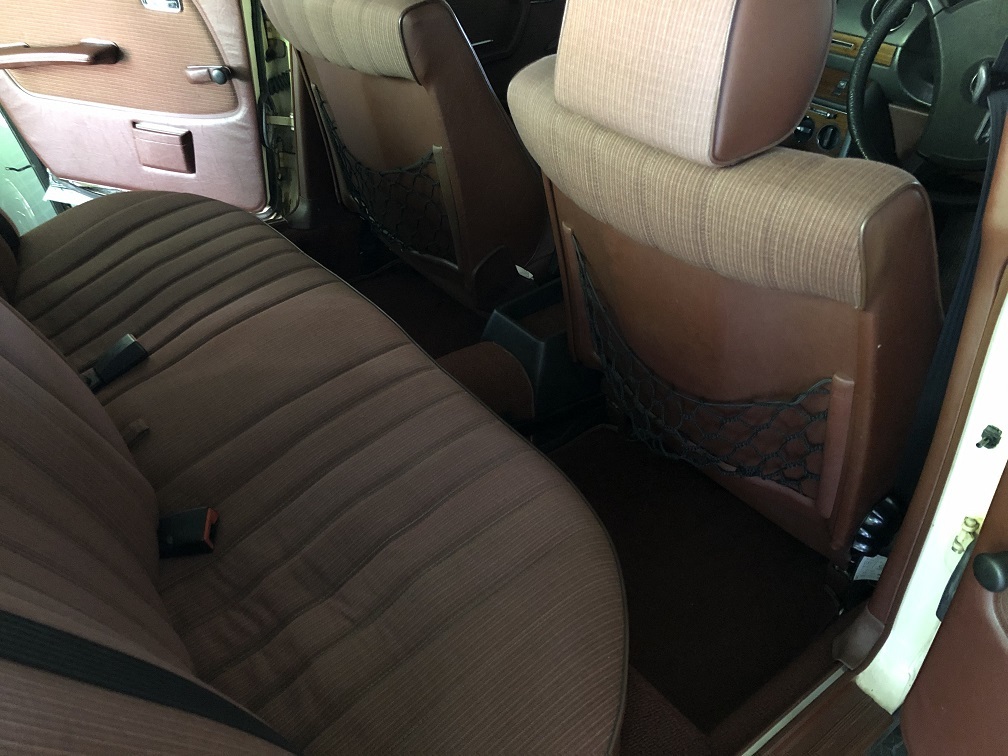 I tightened up the top string with a cable tie, resulting in less droopy nets. 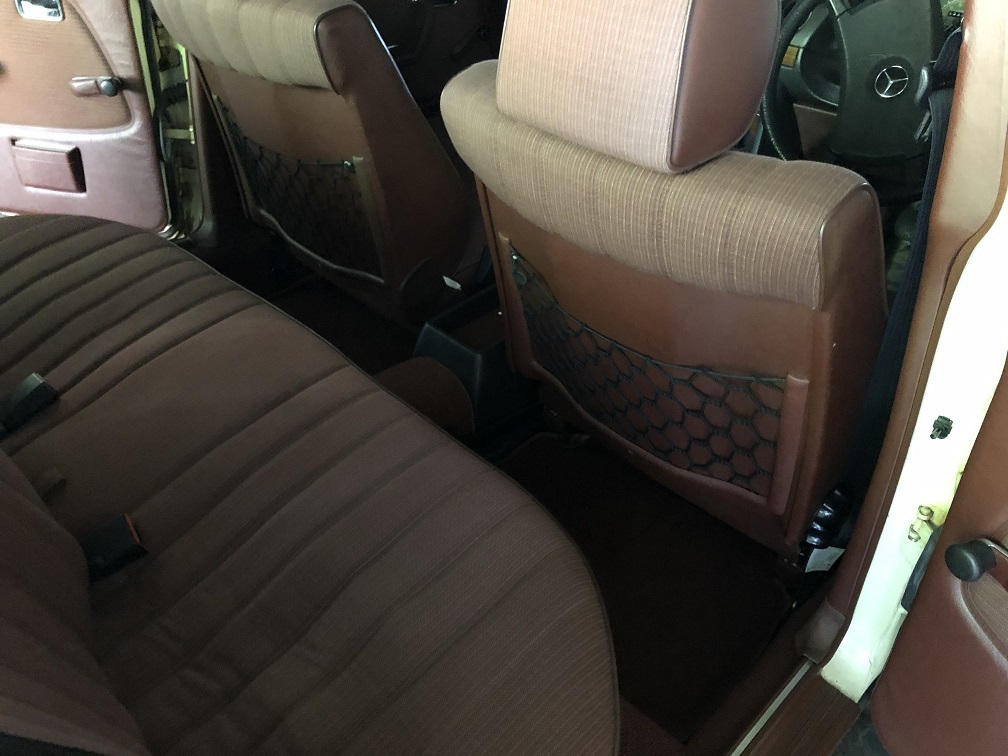 Post repairs, the 230E needed a deep wash. Dust got in just about everywhere. 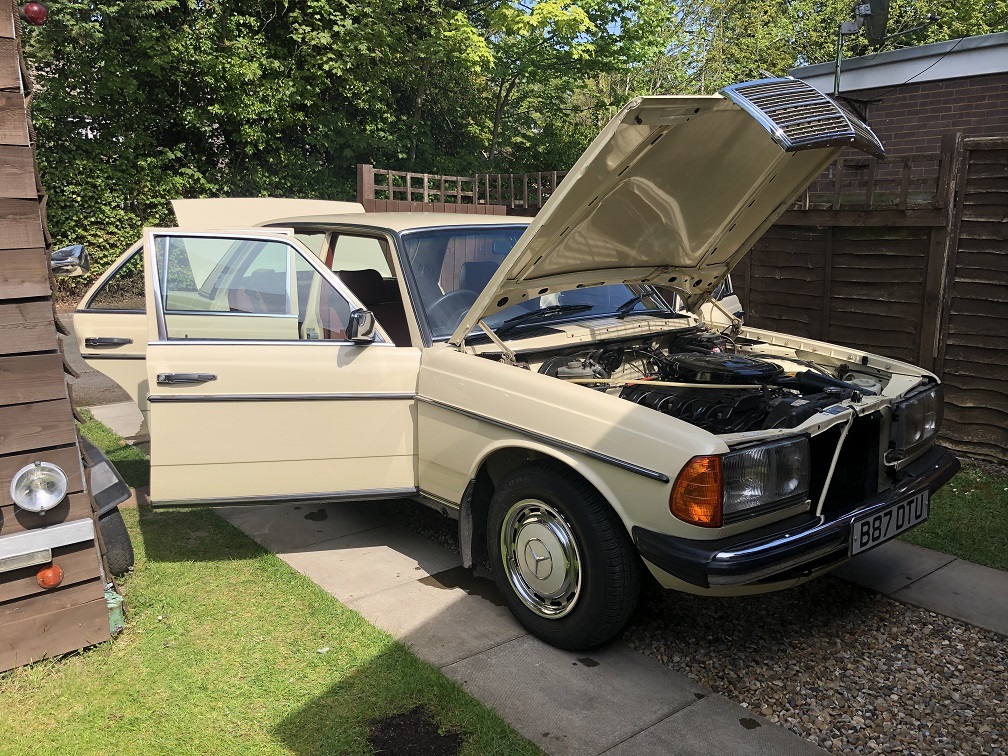 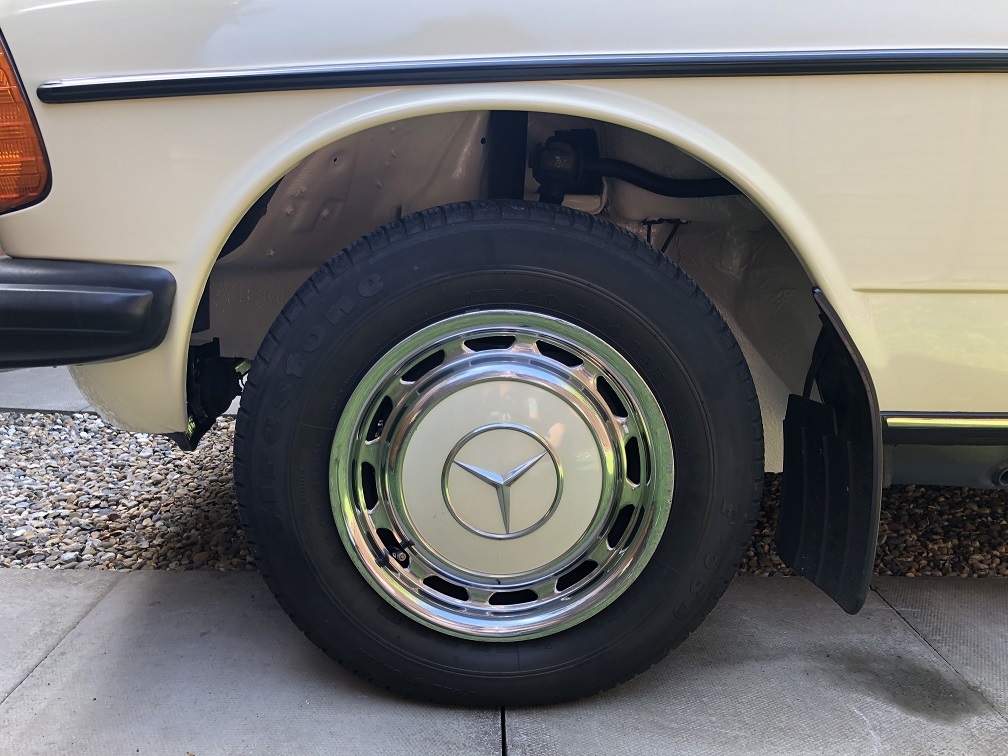 Unfortunately, having spent all this time tarting up the 230E, I ended up putting it back in the garage. I promise to take it for a good run once the lockdown is over. 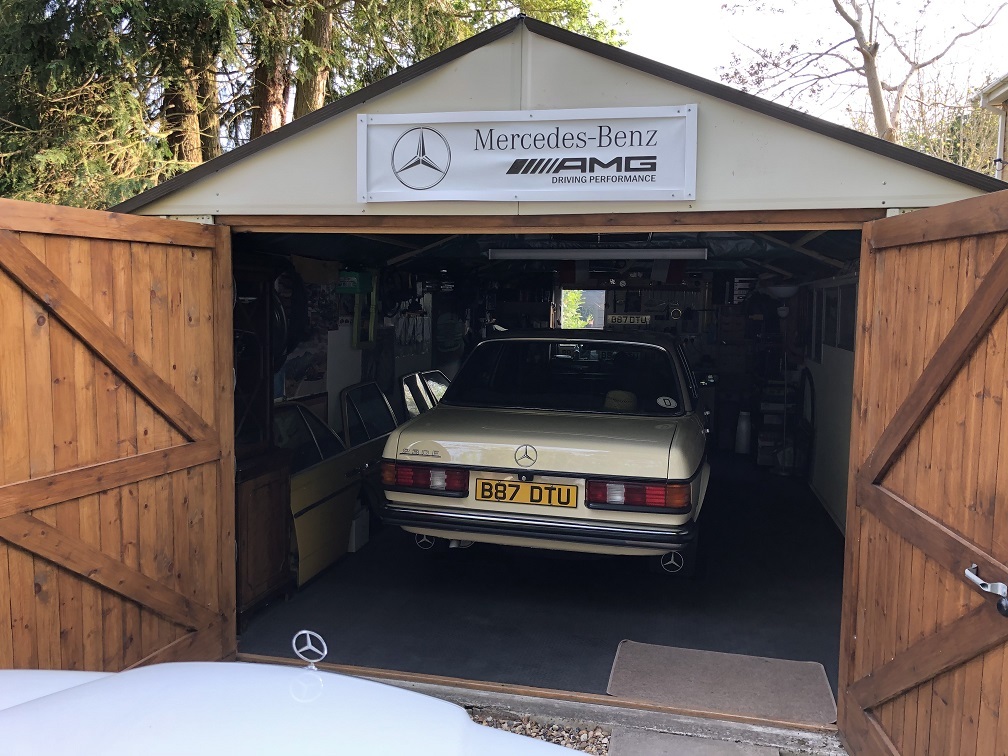 Whilst moving the 230E and 200E around between my garage and workshop, I took a few photos of my two favourite toys. 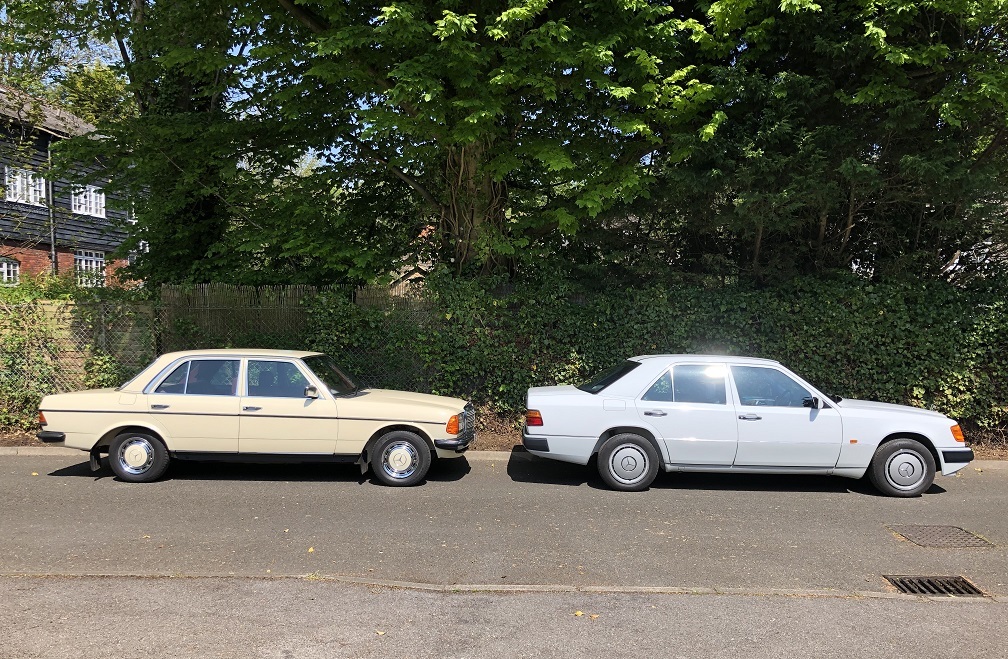 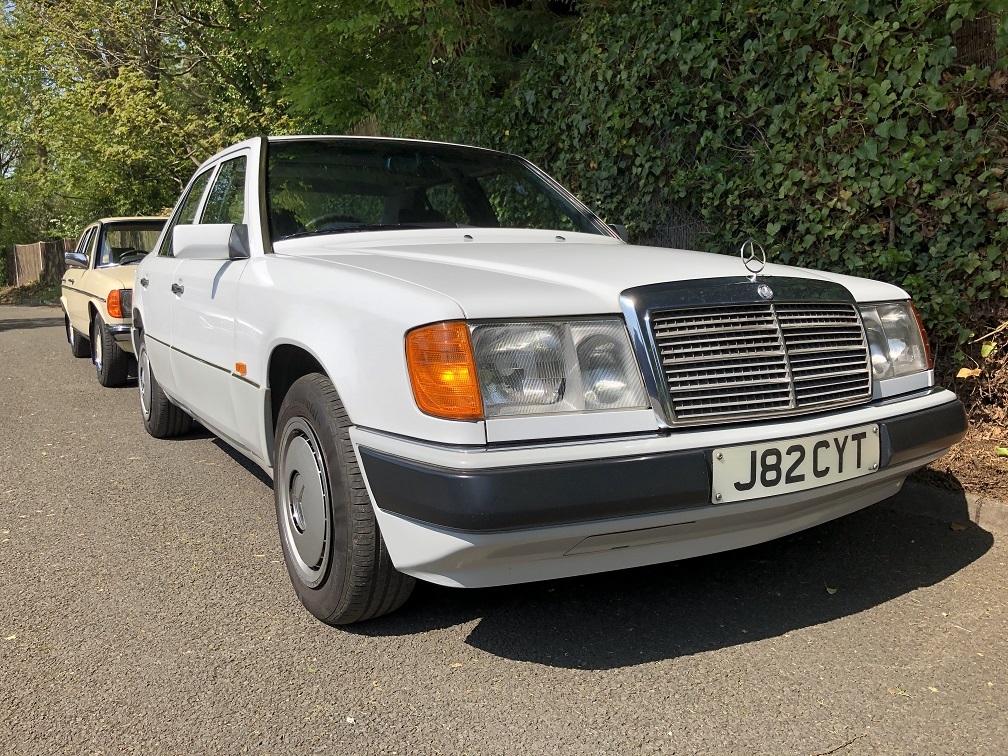 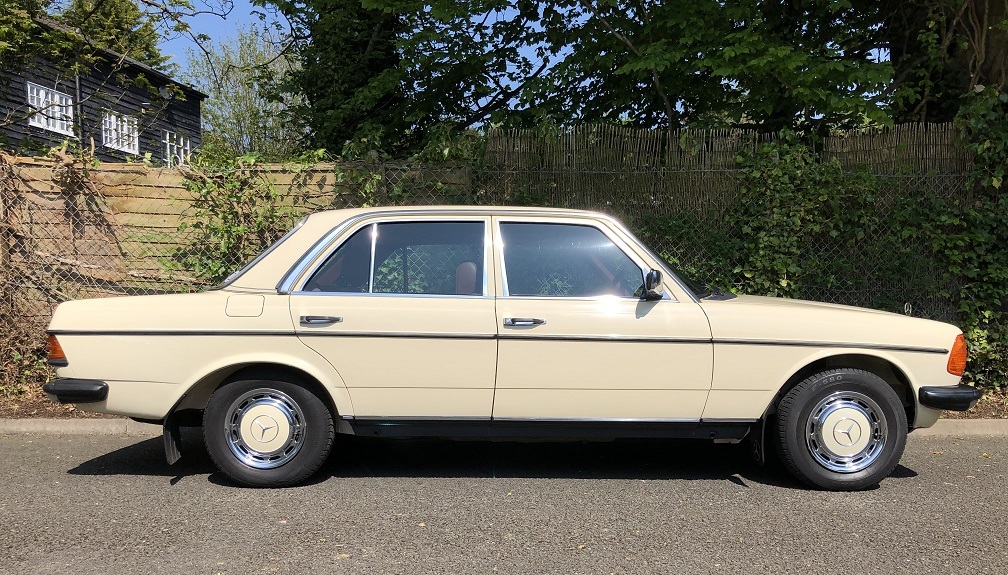 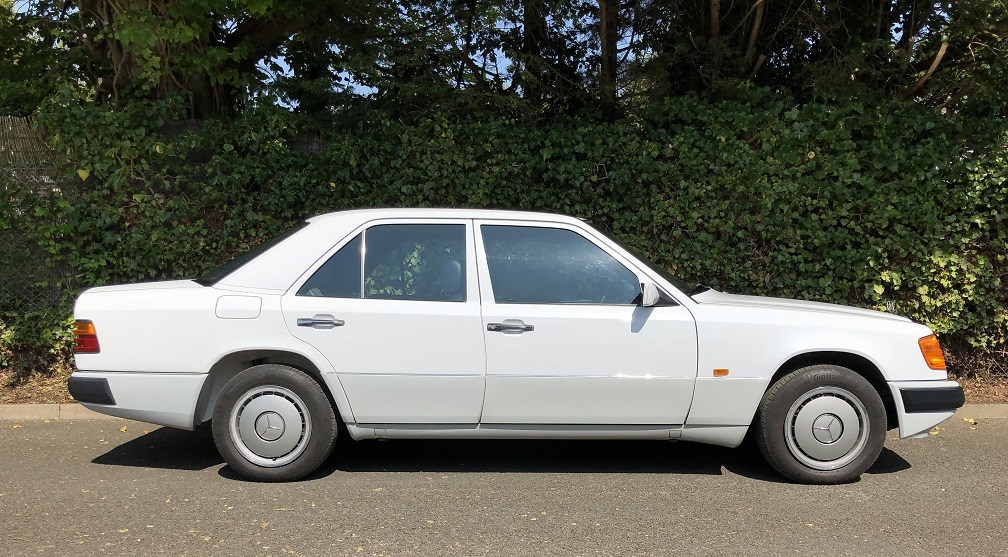 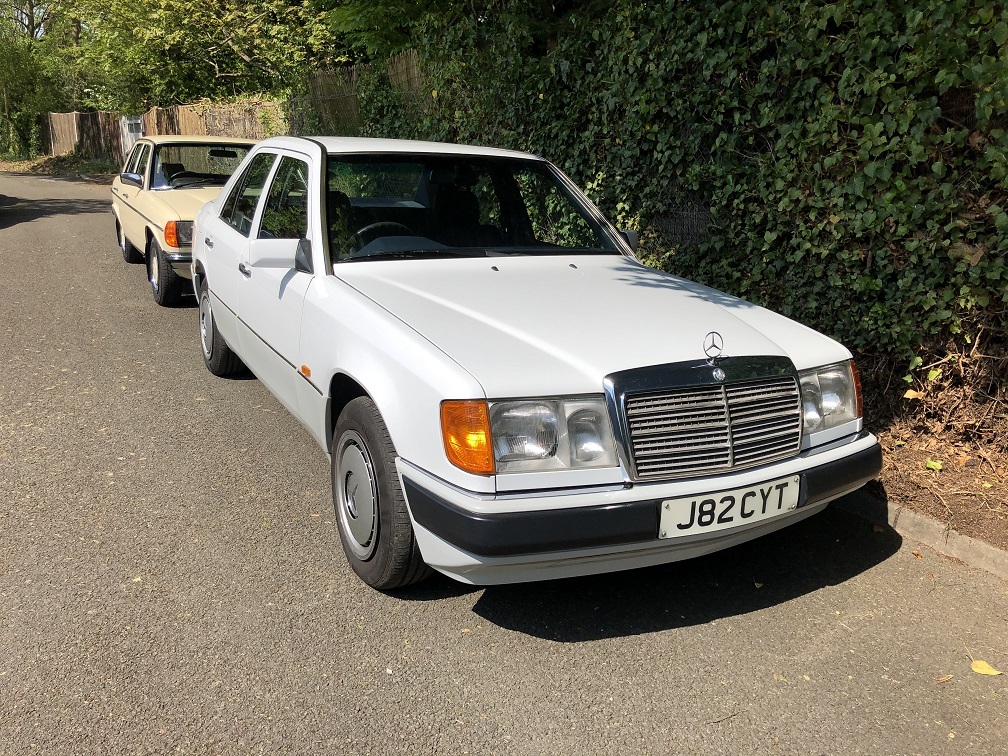 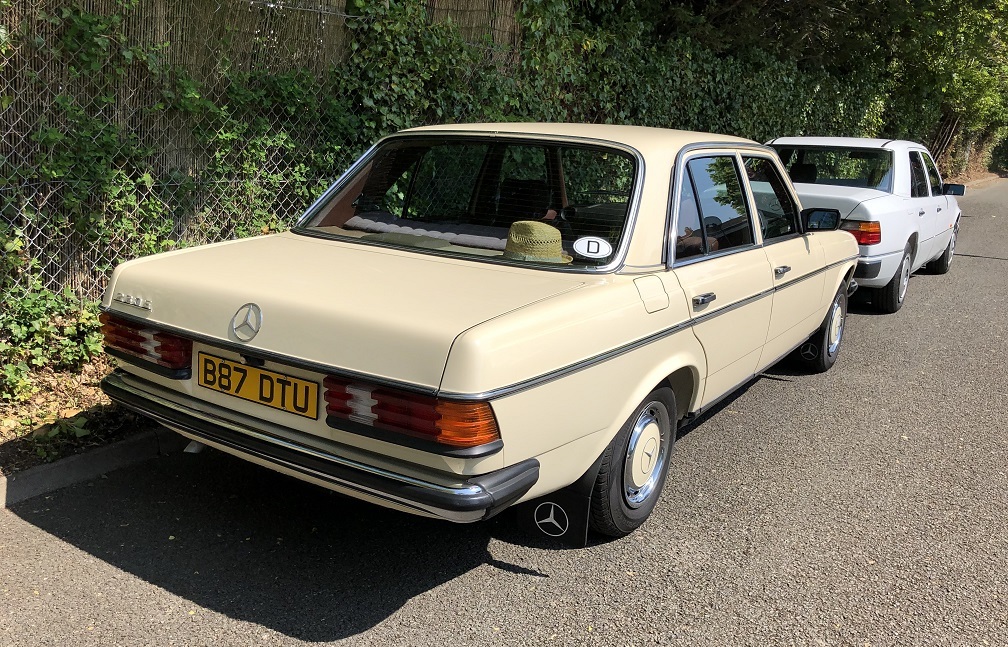 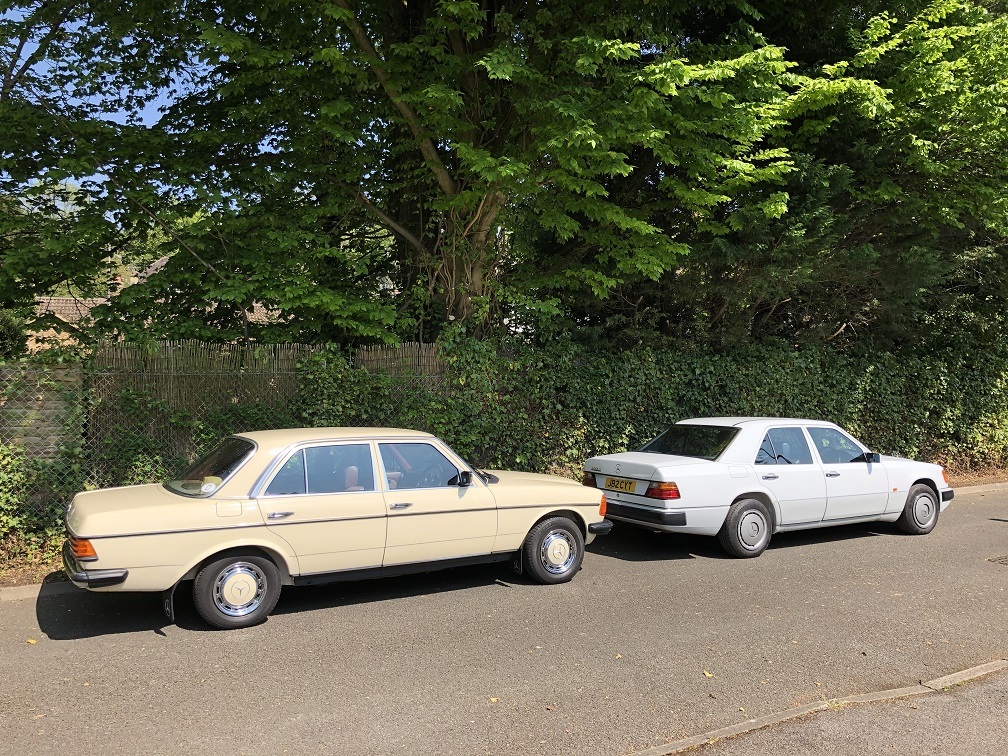 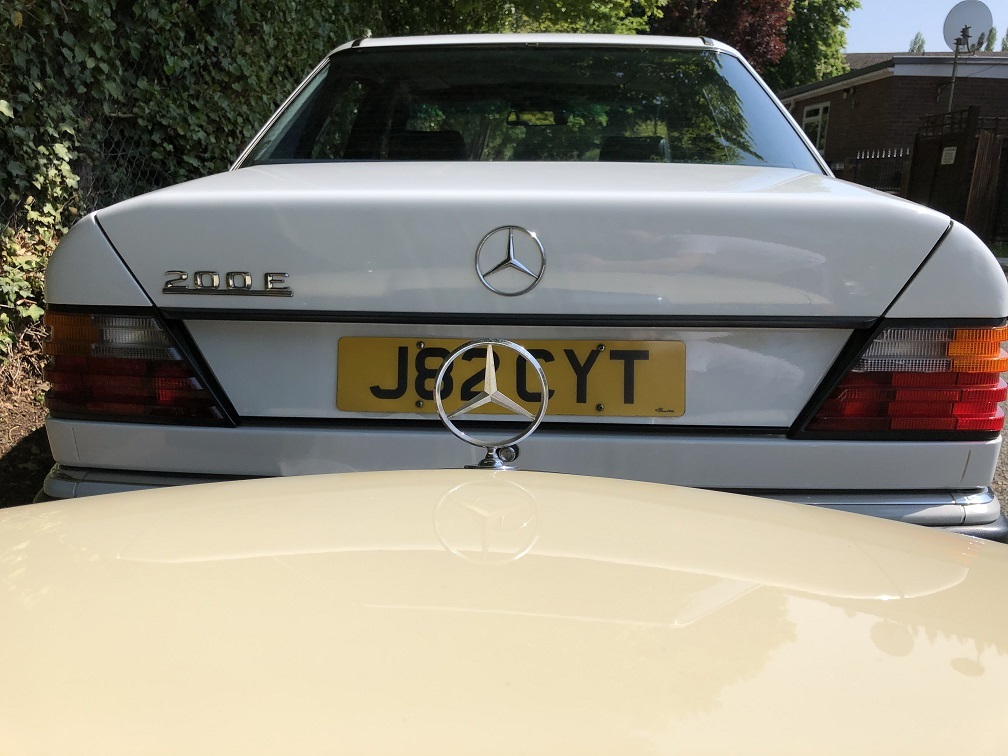 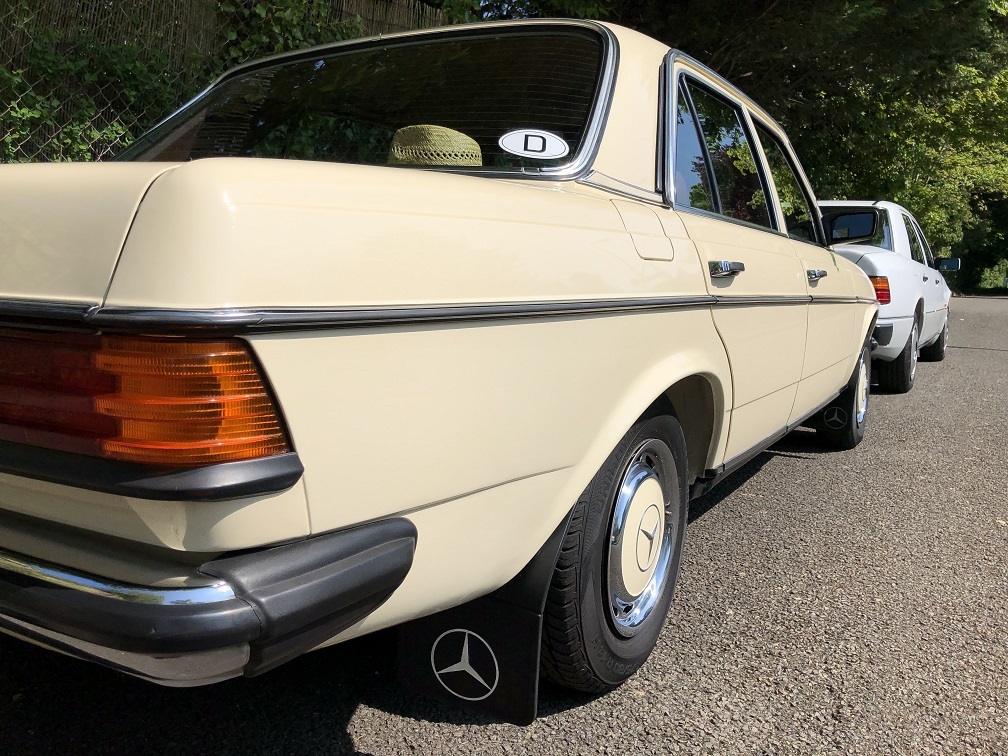 |
| |
Last Edit: Apr 24, 2020 16:02:13 GMT by Peter C
|
|
|
|
|
|
|
Last week I had a go at cleaning the 200E's power steering pump reservoir. I previously wiped it over with a Flash wipe and got the crud off it but it didn't come up particularly nice. I didn't bother taking a before photo as I was not expecting great results. With a little wire wool and Brasso action I achieved a bit of bling. I don't like the idea of chroming up parts of the engine bay that were not supposed to be shiny but I do like the look of a restored piece of metal. 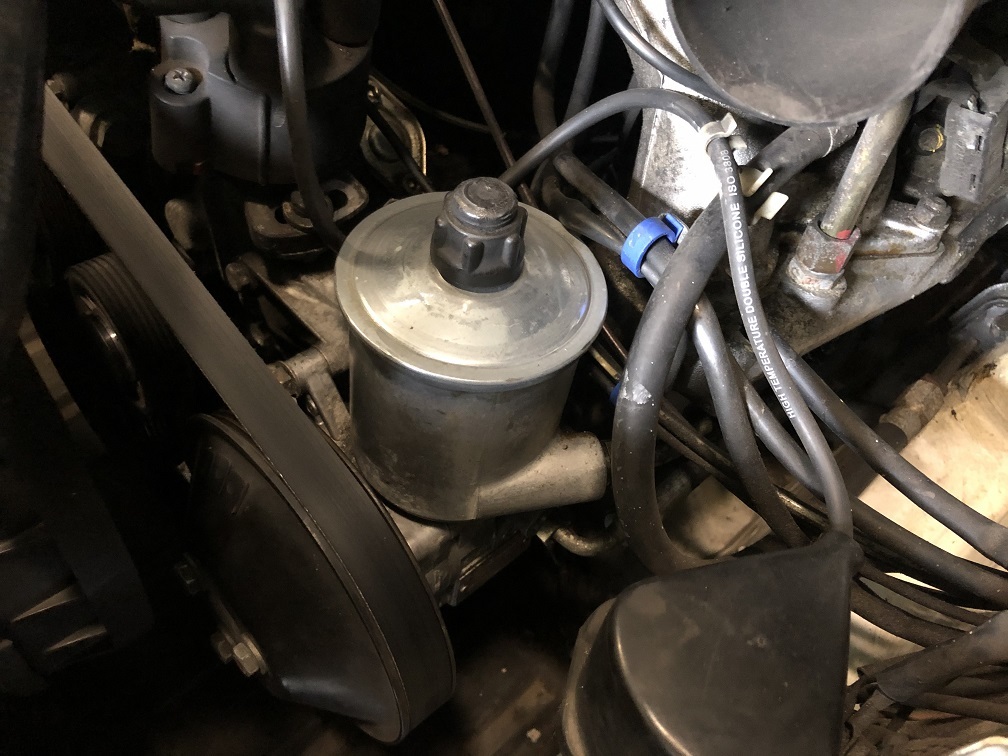 I did the same on the W123 230E. To be fair the pump wasn't that filthy to start of with. 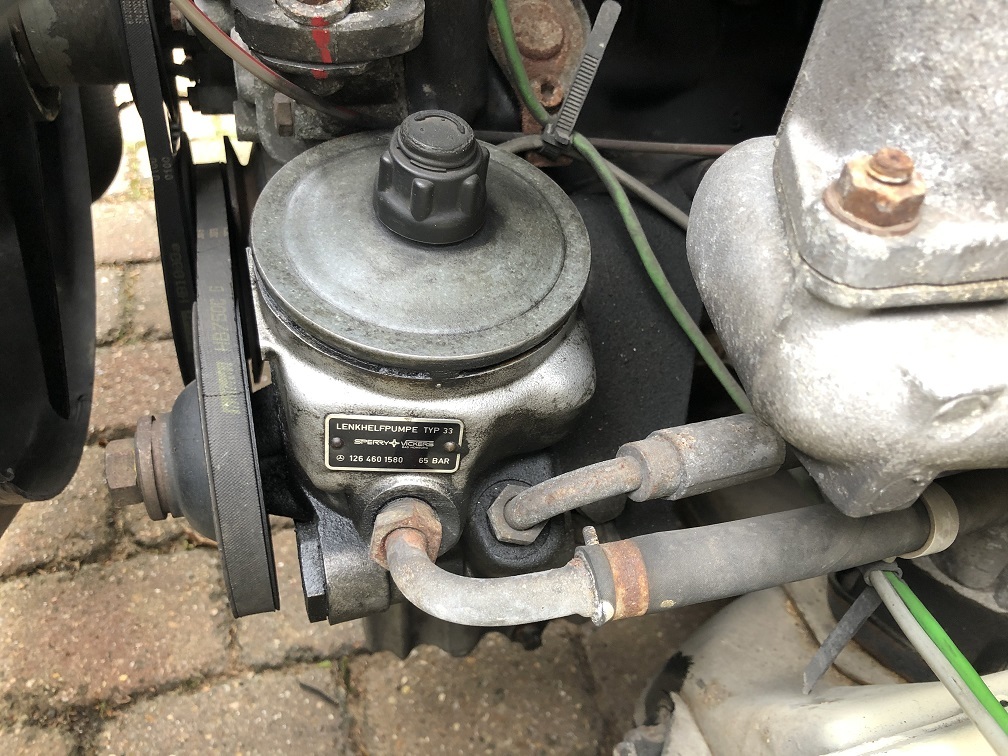 The same method was adopted. 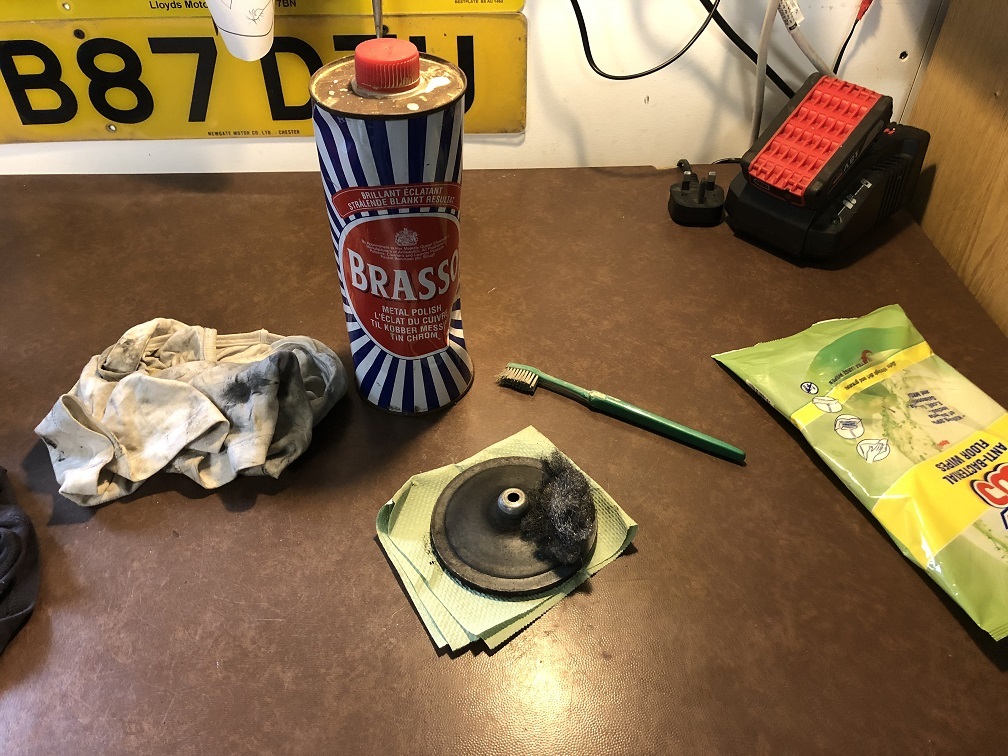 And voila, we have another clean pump. 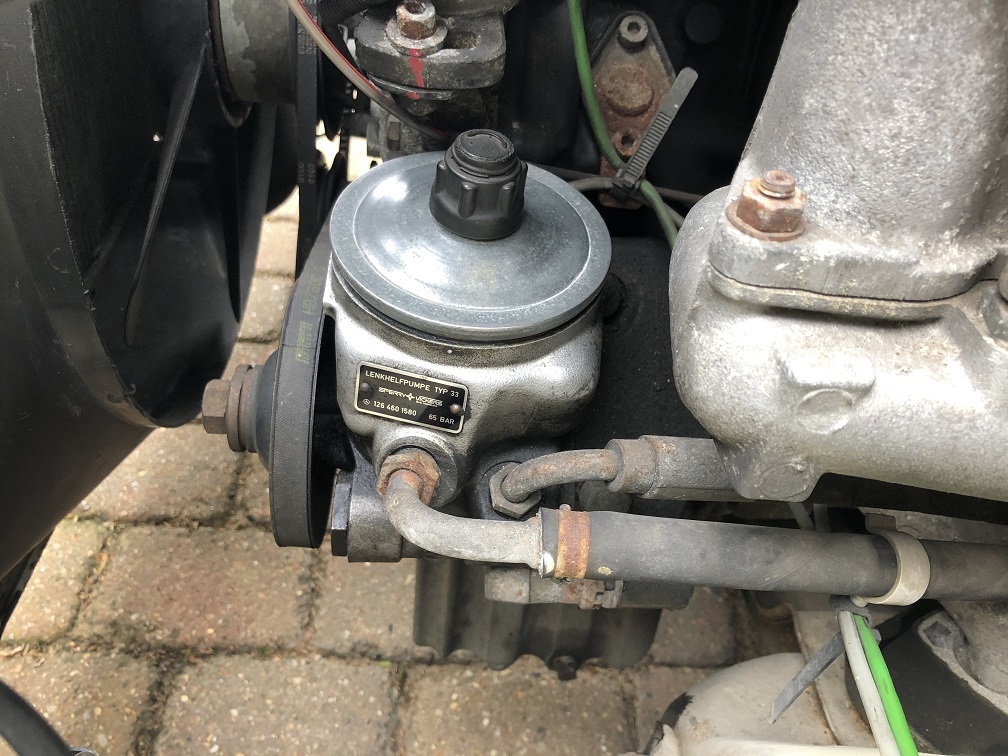 |
| |
|
|
|
|
|
May 12, 2020 16:58:29 GMT
|
Whilst my W123 is generally a tidy example, the sunroof panel let the side down. Admittedly the fluorescent tube light in my garage exaggerates the problem, however the sunroof panel didn't quite match the colour of the rest of the car. 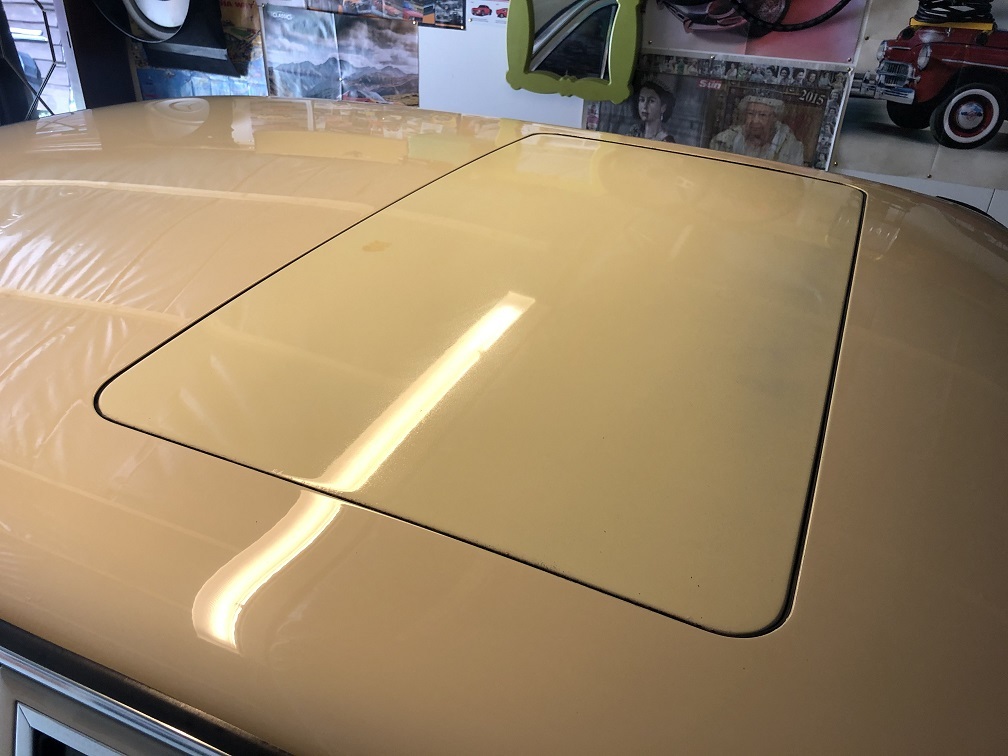 Viewed up close, paint finishes along the front section of the sunroof panel were very thin, to the point that grey primer was grinning through. The biggest issue was the presence of millions of micro blisters. Something had to be done! 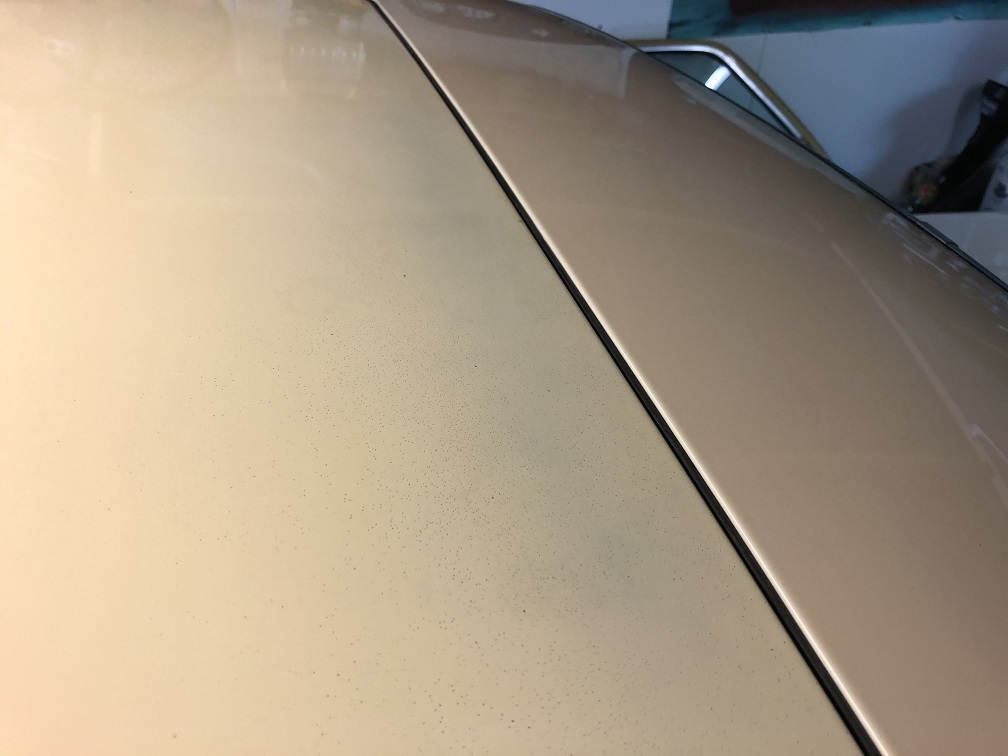 I started rubbing down the old paint with 600 grade wet and dry paper. I'm no expert when it comes to car paints, however I've never seen paint come off so quickly. 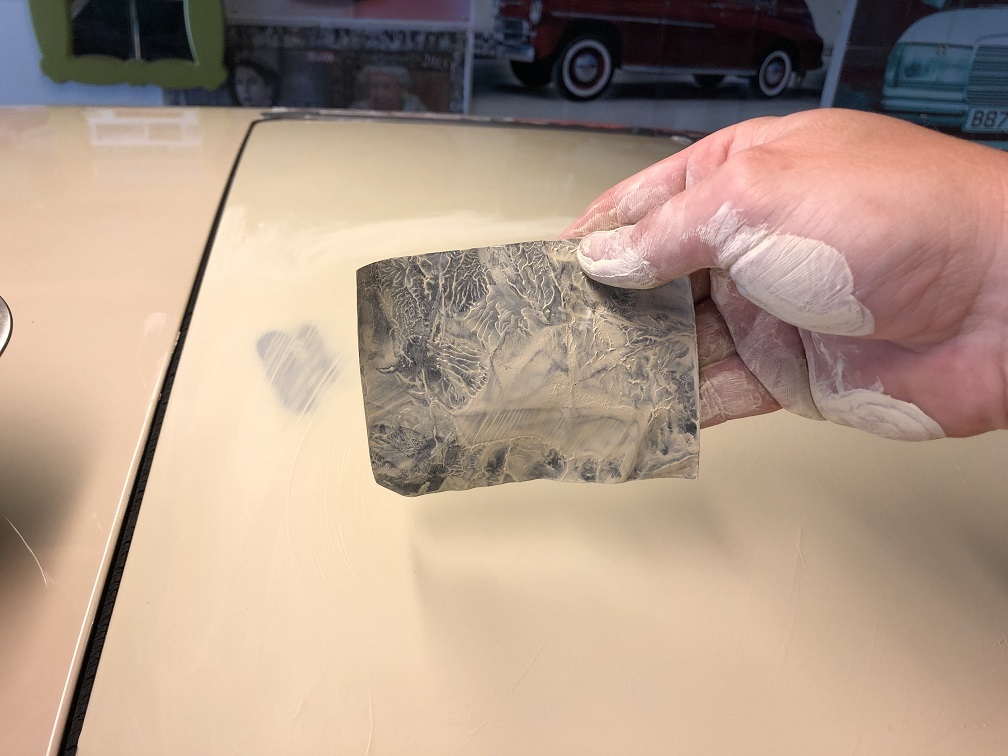 The paint was so bad and I really didn't fancy doing this job twice. I rubbed all the paint down to the primer, which was nice and smooth. 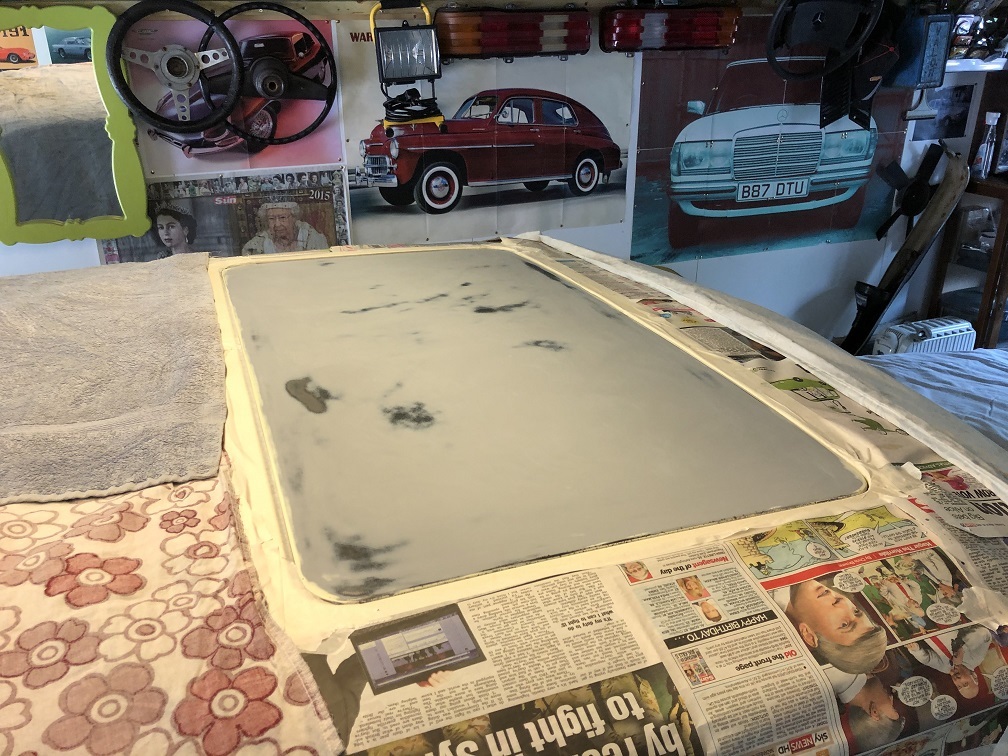 I was expecting a lot of dust from the aerosol can so I covered up the W123 to prevent it from getting caked. 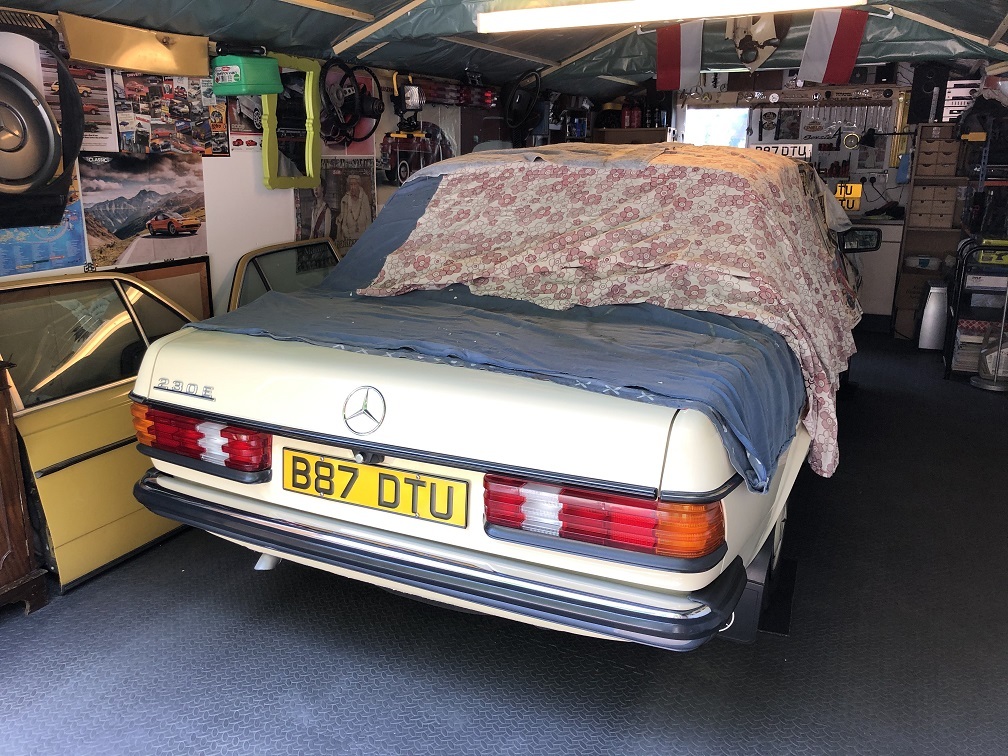 I don't have a compressor and I've never held a spray gun in my hand. All I had to work with was aerosol cans, however I know that with patience and perseverance, decent results can be achieved. Once sprayed, I let the paint harden for 24 hours. The next day, I had to flatten the paint with 1500 grade wet and dry paper, then use my polisher and plenty of T-Cut to cut the paint. 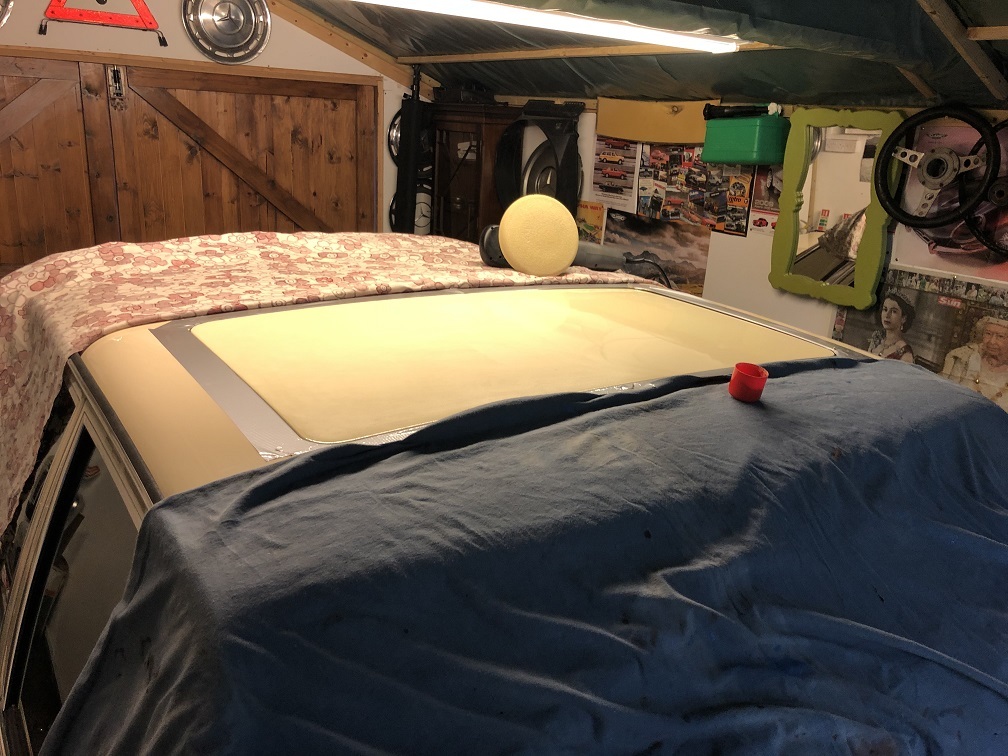 And voila, job done. Once cut back and treated with Autoglym High Resin Polish and Extra Gloss Polish, the sunroof panel looks a treat, nice and shiny and the colour match is good. The paint is very fresh at the moment and will need a little time to quieten down, however I am pleased with the results. 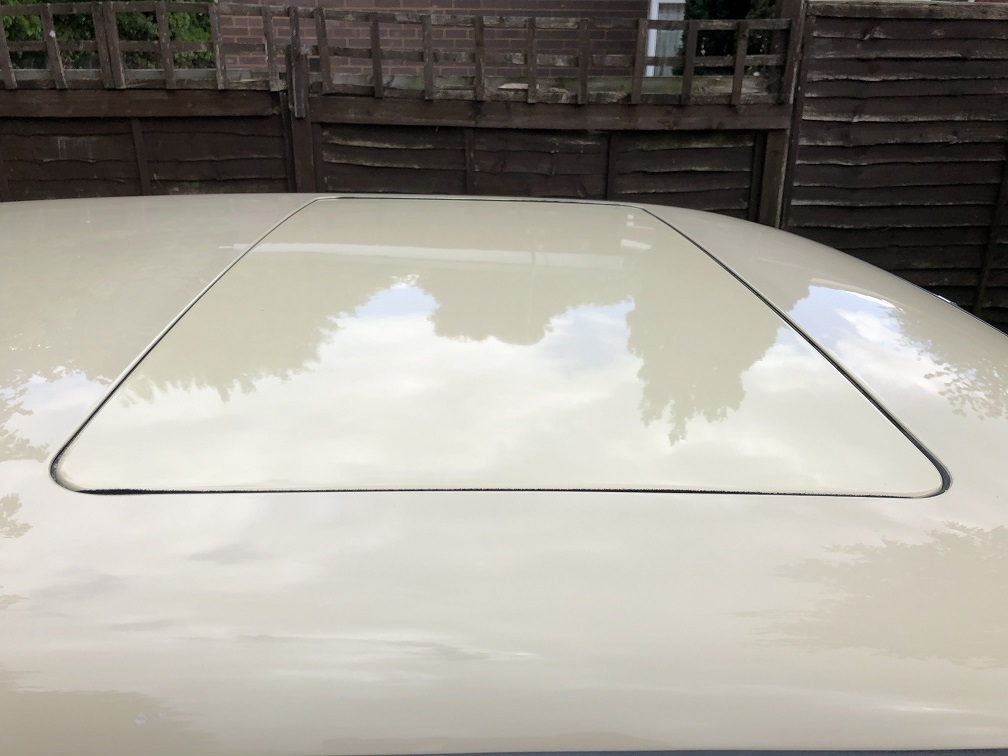 |
| |
|
|
urbanaw
Part of things
 
Posts: 249
Club RR Member Number: 17
|
|
May 12, 2020 18:07:28 GMT
|
|
I like the Warszawa's poster in the background.
Sunroof loos great, I really should treat my s124 to a lick of paint and polish too..
Greg
|
| |
|
|
|
|
|
|
|
May 12, 2020 18:26:59 GMT
|
I like the Warszawa's poster in the background. Greg Well spotted! |
| |
|
|
|
|
|
May 12, 2020 20:02:10 GMT
|
|
The sunroof and aerial paint repairs are excellent. Where did you get the aerosols from?
|
| |
|
|
|
|
|
May 13, 2020 12:14:14 GMT
|
The sunroof and aerial paint repairs are excellent. Where did you get the aerosols from? Thank you. I got the aerosols from Colorite, Boston Rd, West Ealing, London. |
| |
|
|
|
|
|
May 13, 2020 12:37:49 GMT
|
|
Love all of these tidying jobs and details you are giving the car, it really makes it look even better. Good work.
|
| |
|
|
|
|
|
May 18, 2020 17:52:46 GMT
|
Last Friday I took the 200E for an essential work related journey to Reading. I parked up in The Oracle multi-storey, which I’ve never seen so empty. The 200E was definitely social distancing! 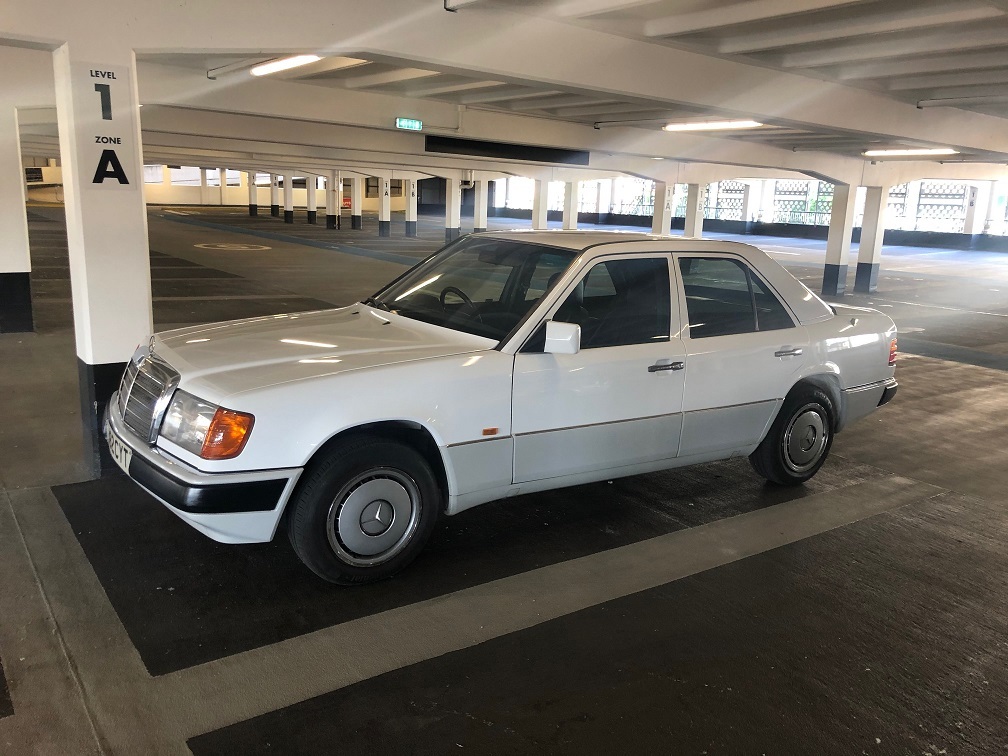 On route home, despite the light traffic conditions, a Corsa threw up a stone, which chipped the windscreen. The chip occurred in the field of vision and needs sorting out. Autoglass are coming out on Monday to hopefully repair it.  Yep, all done this morning, took all of 20 minutes. All that is left is a white spot the size of a gnat's cock where the chip once was. I'm happy with that. I spent a bit more time today looking into the 200E's coolant situation. Post longer journeys, despite performing perfectly fine, I've been finding very small amounts of mayo on the underside of the coolant reservoir cap. I carefully removed the bottom radiator hose only to find a gush of clean and blue coolant. I promptly replaced the hose. I removed the hoses from the coolant reservoir and all of them promptly discharged a brown sludge. By pumping the radiator hoses, the brown stuff drained out, leaving the remaining coolant clean and blue. It would seem that the contaminated coolant was only present in and around the coolant reservoir, whilst the rest of the cooling system was functioning happily with clean coolant. I removed the coolant reservoir. 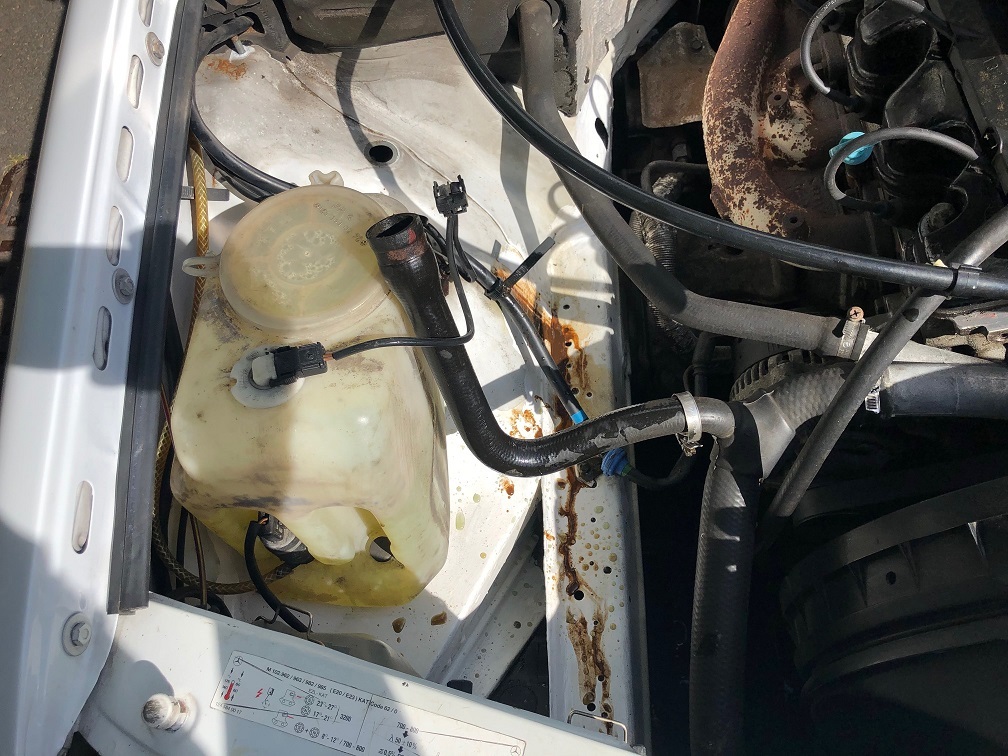 And to my wife's immense satisfaction I took it to the cleanest place I could find - our kitchen! 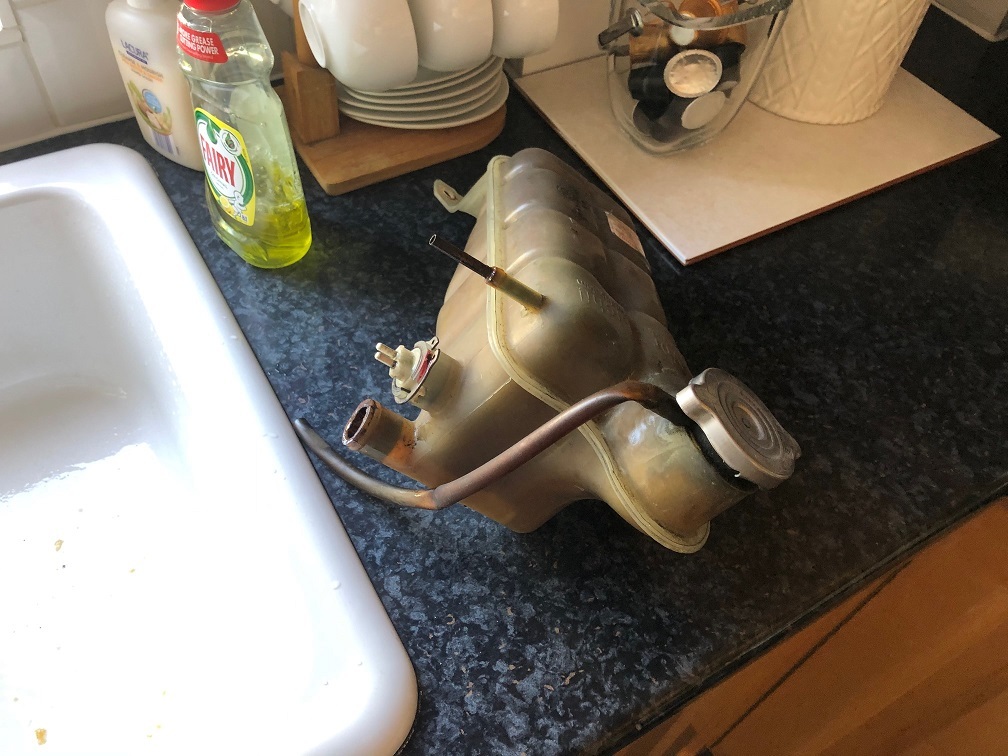 Where I begun to flush the contents of the coolant reservoir. This photo is of flush number fifty. Regardless how many times I flushed it through, more and more crud kept coming out. 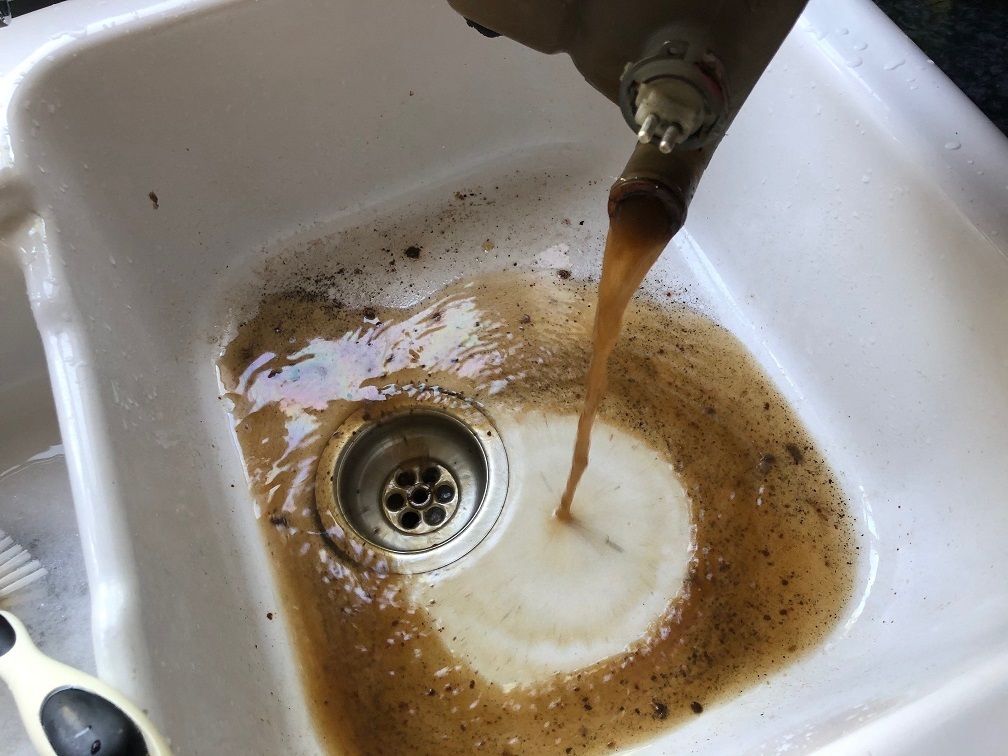 Eventually, after about half an hour of repeated flushing, I got the coolant reservoir relatively clean. I re-assembled the coolant reservoir and all the associated hoses, filled it with fresh anti-freeze, started up the engine with the pressure cap removed and let it reach full operating temperature before going for a drive. When I got back I let the engine cool a bit and had a look inside the coolant reservoir. A quick double finger test revealed that the coolant has remained clean. I need to keep an eye on this over the coming weeks. 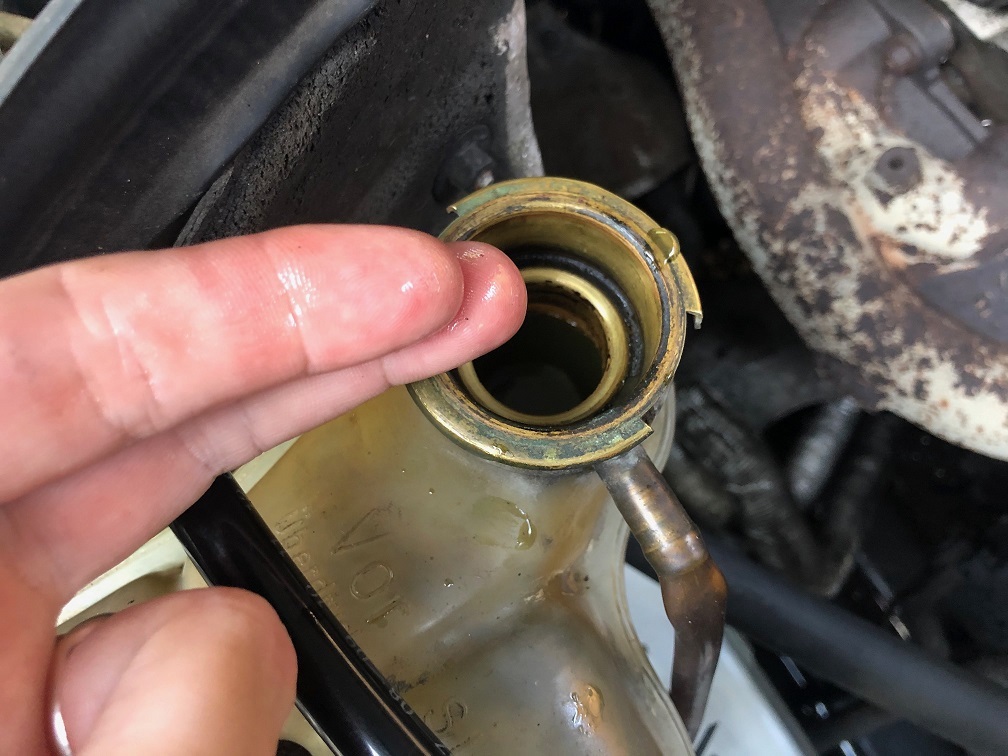 If the head gasket or cylinder head has somehow failed and oil is finding its way into the coolant, why are the symptoms only visible in and around the coolant reservoir, whilst the rest of the cooling system is clean as a whistle? I haven't touched the coolant reservoir since I bought the 200E over 2 years ago. Could the crud be historic? |
| |
|
|
|
|
|
May 18, 2020 20:47:03 GMT
|
|
A very good chance it's historic. The crud (rust) colour is due to lack of coolant changes in the past.
The car is looking great, you really notice the freshly painted wheel arches. Keep up the good work.
|
| |
Still learning...still spending...still breaking things!
|
|
dikkehemaworst
Club Retro Rides Member
Posts: 1,642
Club RR Member Number: 16
|
|
|
|
|
We had the same problem and i solved it with cleaning tablets for false teeth.
We use them in our restaurant to clean tablewater bottles and it works a treat on the coolant reservoir. Just leave overnight and flush and flush flush flush... .
|
| |
|
|
|
|
|
May 26, 2020 16:08:55 GMT
|
As I pulled out of the garage last Friday morning I heard an alarming rattle from underneath the car. The rattling turned into a vibration that could be heard and felt through the floorpan. A quick investigation under the car revealed a very rusty and mostly missing exhaust clamp. 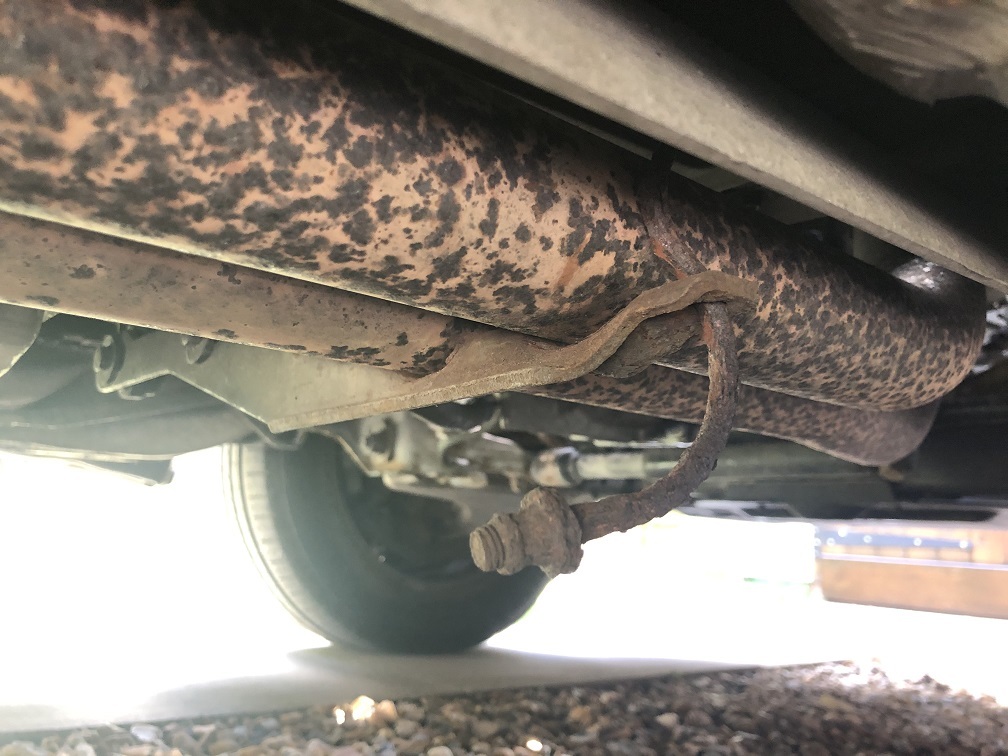 I fashioned a temporary repair, with the only old exhaust clamp I had in my collection of essential spare parts. Surprisingly, by clamping one of the two pipes I managed to completely silence the vibration. Whilst the clamp is visible and hangs very low beneath the car, I am yet to catch it on anything 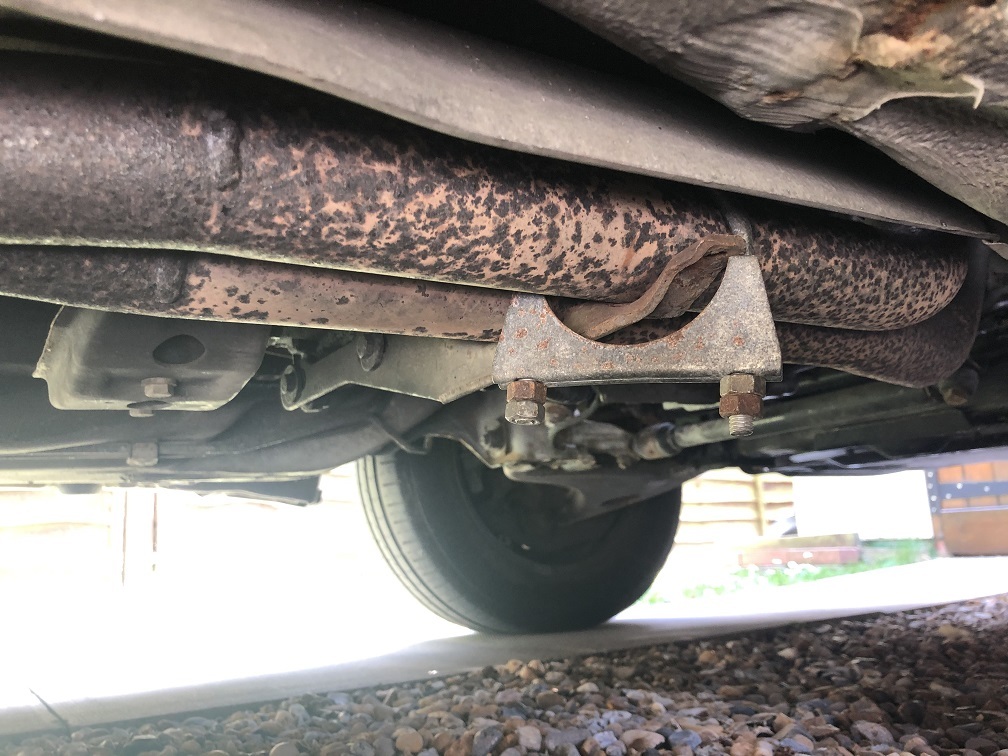 I called my local Mercedes Benz dealer, however, no surprise, they are shut due to the bug. A quick look on EBay revealed the right part, available for just over a fiver, inc p&p. 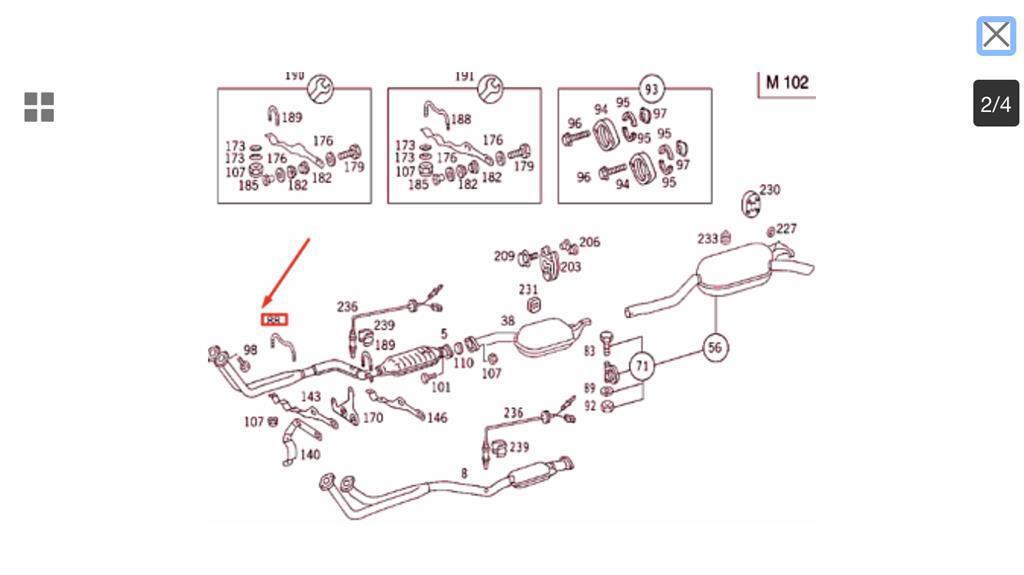 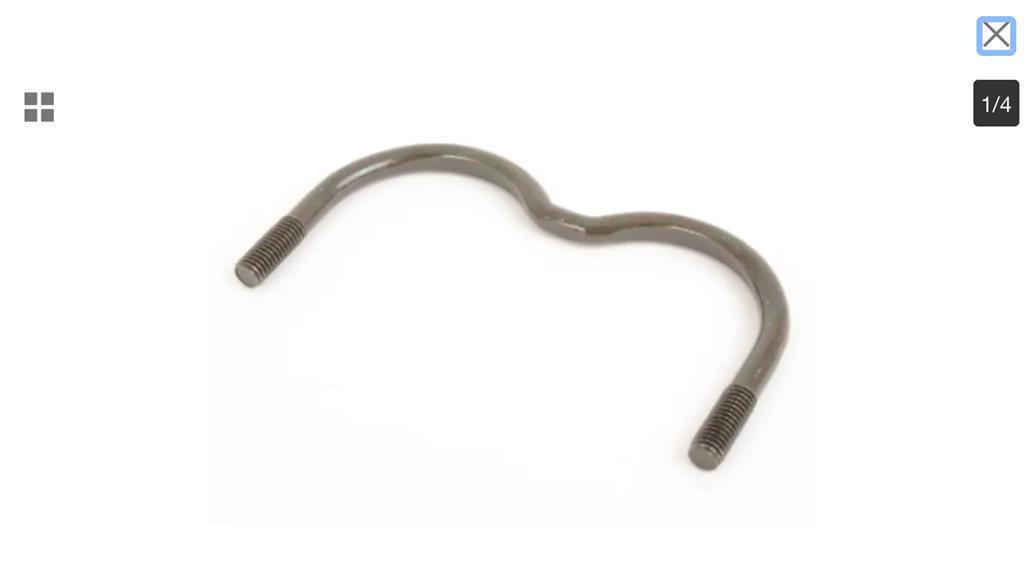 In other news, when I bought the 200E, the front bumper had a nasty scrape on the nearside, which for some reason I have hitherto done nothing about. 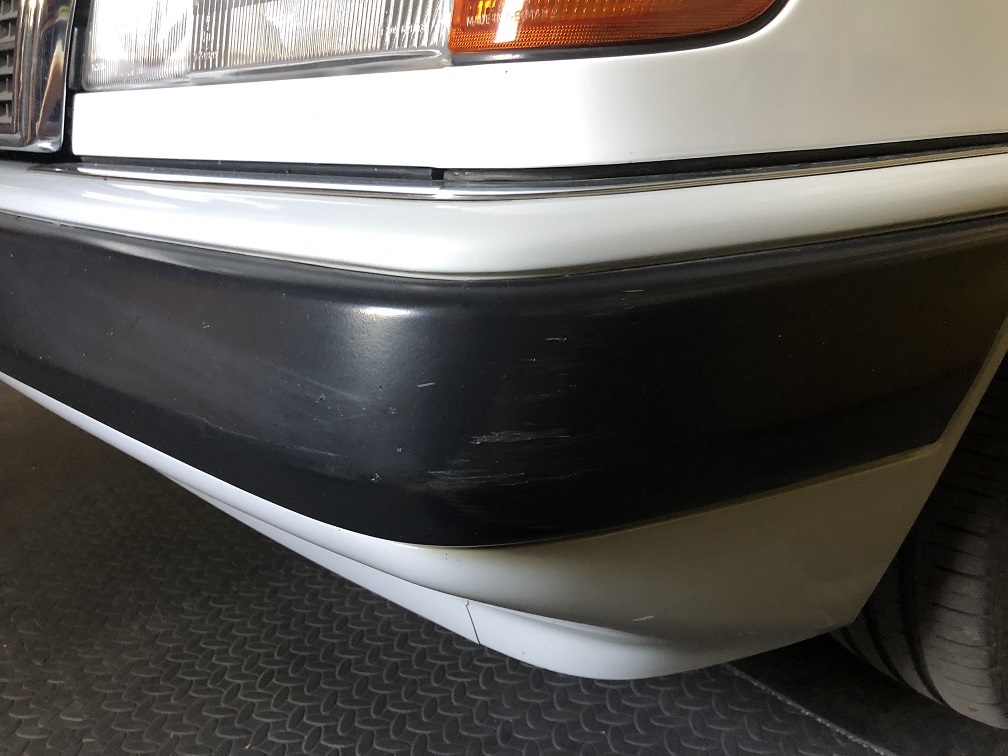 I rubbed down the disturbed plastic and got it as smooth as possible without overly reducing the depth of the plastic. 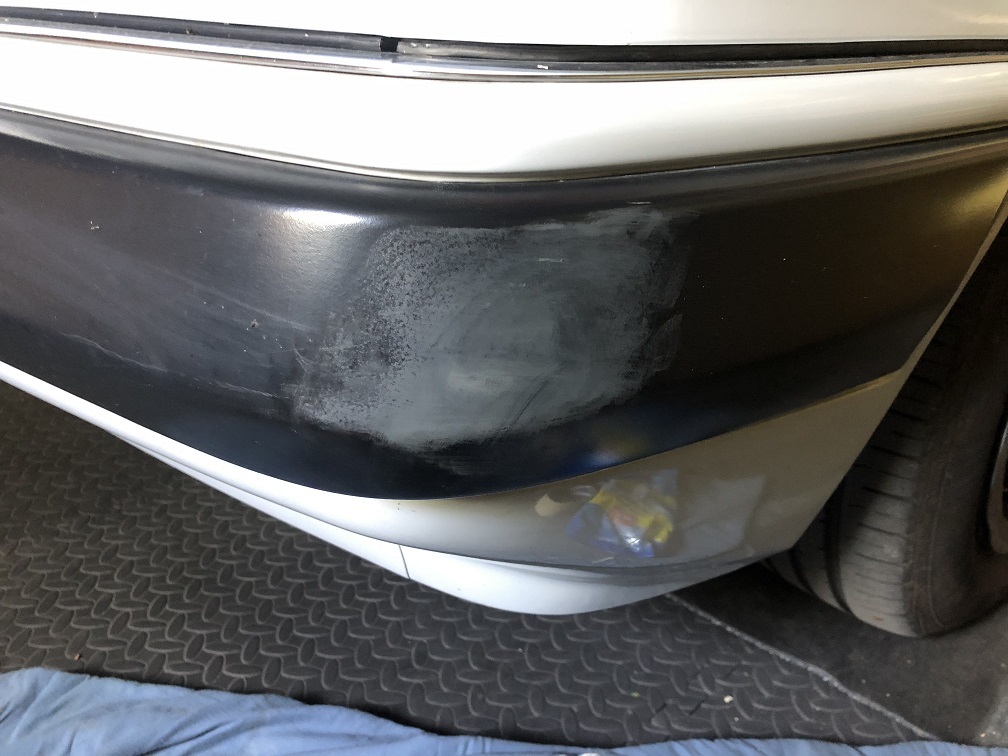 A squirt of black paint and job done. Whenever I've sprayed panels with aerosols, I've adopted a technique that provides a smooth finish, however here, I had to work against my brain's instructions to obtain a textured effect. I am pleased with the results. 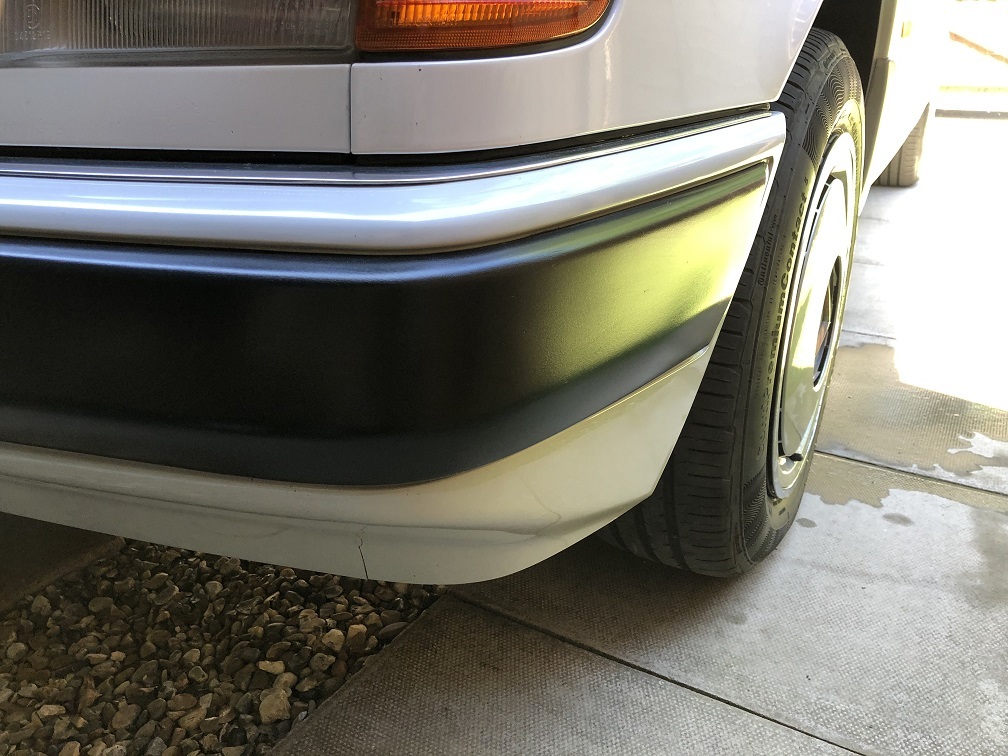 Next, I tidied up the front wheel arches. I was not proposing to achieve the level of finish that I achieved on my 230E, all I wanted was to ensure that there is no rust hiding anywhere. I started with the offside wheel arch, which was the subject of welding repairs and waxoil coating in the past. It was all solid but not pretty. 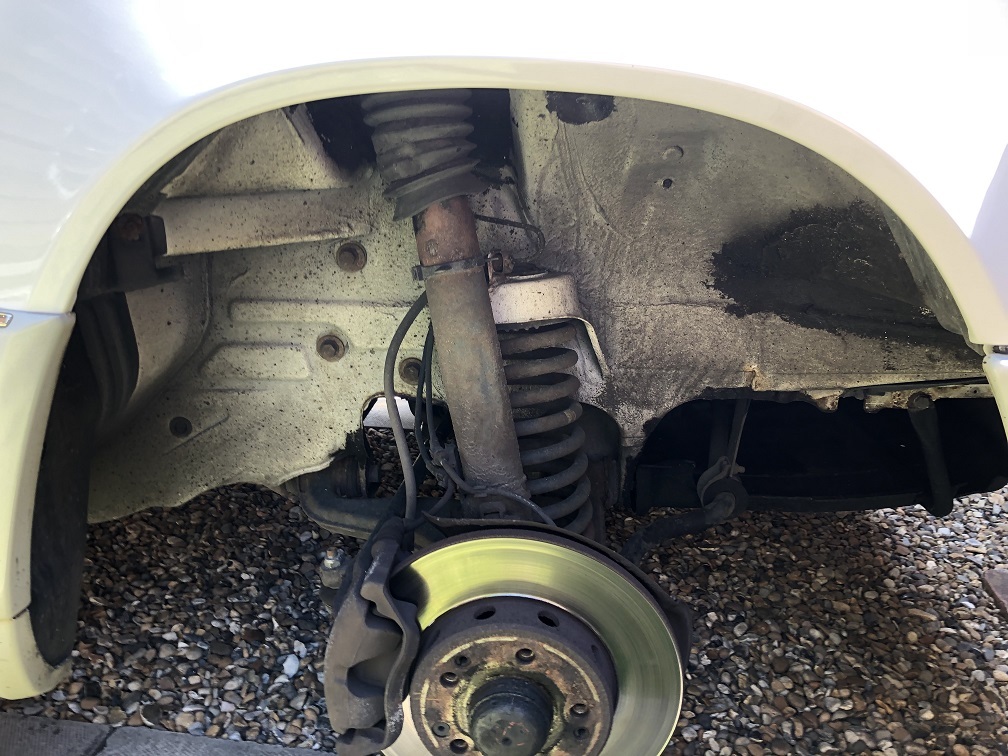 Painting over waxoil with white paint is never easy. The surface needs at least two coats of paint to hide the oily black mess. However, all is good here and whatever slight surface rust I found is now cleaned up and covered with Hammerite. 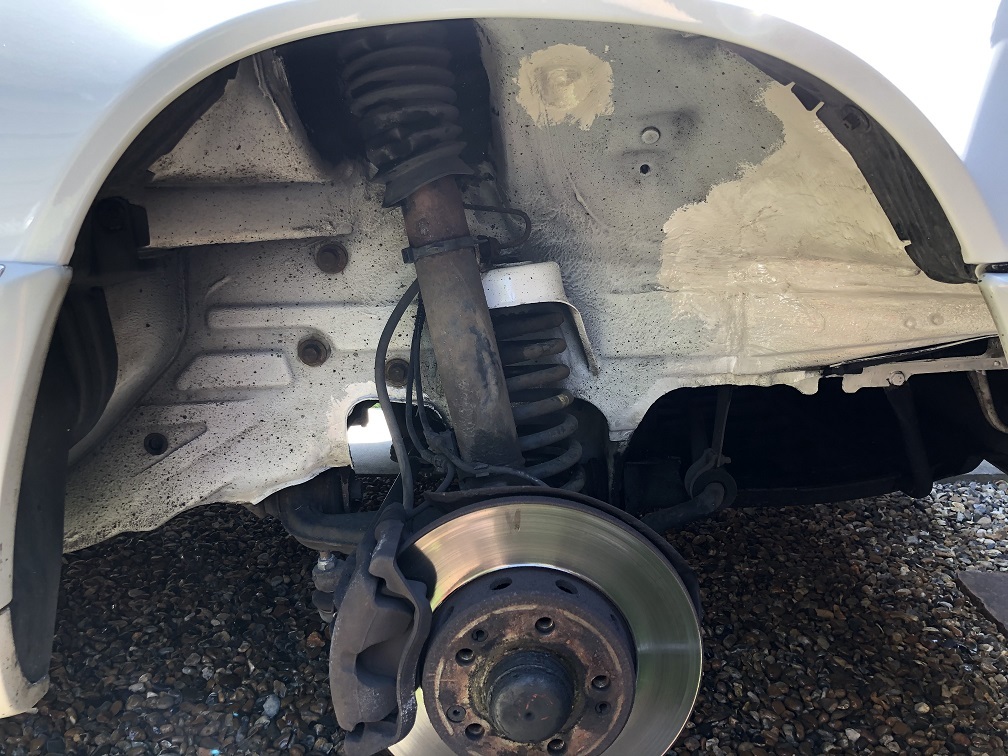 The nearside wheel arch was in much better condition. 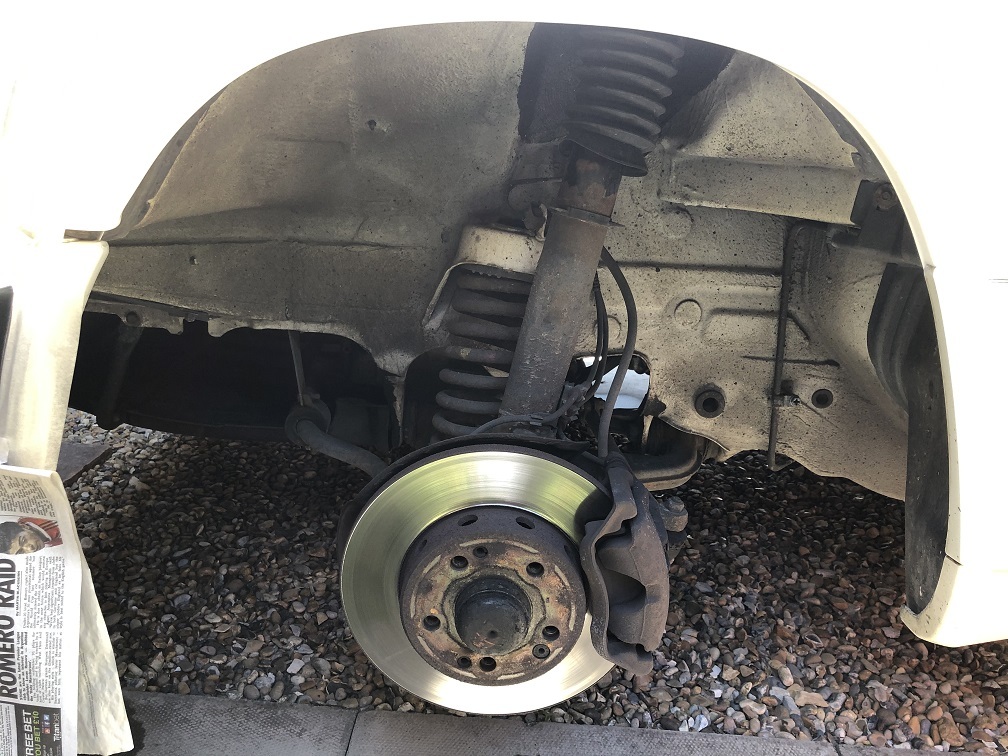 But I gave it a quick clean anyway. I was impressed with the condition of pretty much everything, considering that the 200E is approaching its 30th birthday. They don't make them like this anymore! I haven't bothered to paint the arches as the 200E can and will be driven in the rain and the arches will no doubt get dirty again before long. 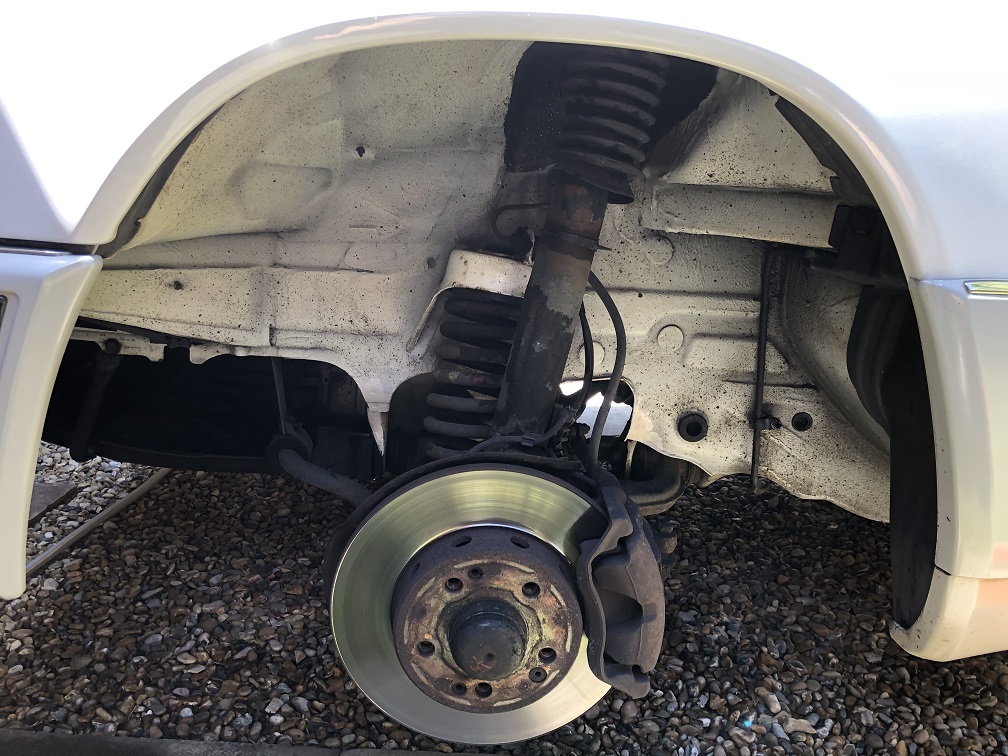 |
| |
Last Edit: May 26, 2020 16:13:56 GMT by Peter C
|
|
|
|
|
May 28, 2020 14:28:19 GMT
|
|
That's a nice piece of painting on the W123. There was a late model C124 parked around the corner from me on Monday. perfect metallic blue paint, mushroom leather interior and a Nardi woodrim steering wheel which really suited the interior. It had big AMG alloys and slightly lowered suspension which wouldn't have been my choice, but hey it wasn't my car. Stood and drooled over it for ages.
|
| |
|
|
|
|
|
May 28, 2020 15:06:09 GMT
|
That's a nice piece of painting on the W123. There was a late model C124 parked around the corner from me on Monday. perfect metallic blue paint, mushroom leather interior and a Nardi woodrim steering wheel which really suited the interior. It had big AMG alloys and slightly lowered suspension which wouldn't have been my choice, but hey it wasn't my car. Stood and drooled over it for ages. There's no denying that C124s are lovely cars but they're not for me. My love affair for old Mercs is dependent on the number of doors and four is the magic number. The simplicity and utilitarian nature of a basic Merc sedan is what does it for me every time. I love to see a million mile Merc taxi smoking around the streets of some foreign land, which is still a common sight in many places even nowadays. What a great photo: 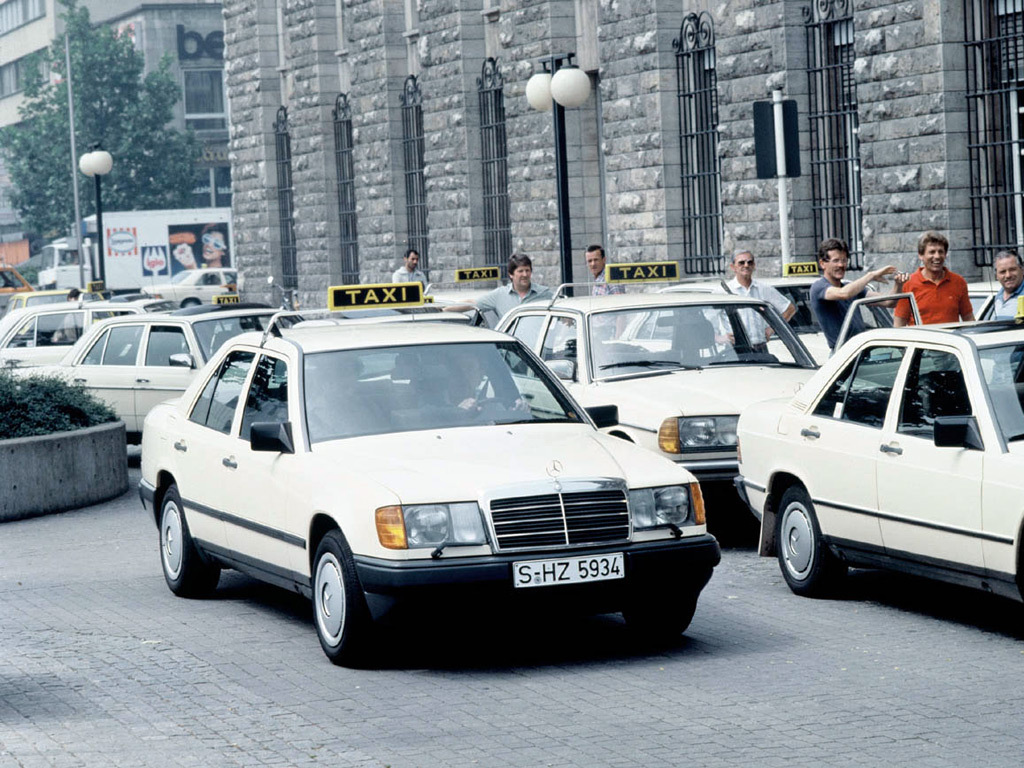 And imagine sitting here and earning an honest living: 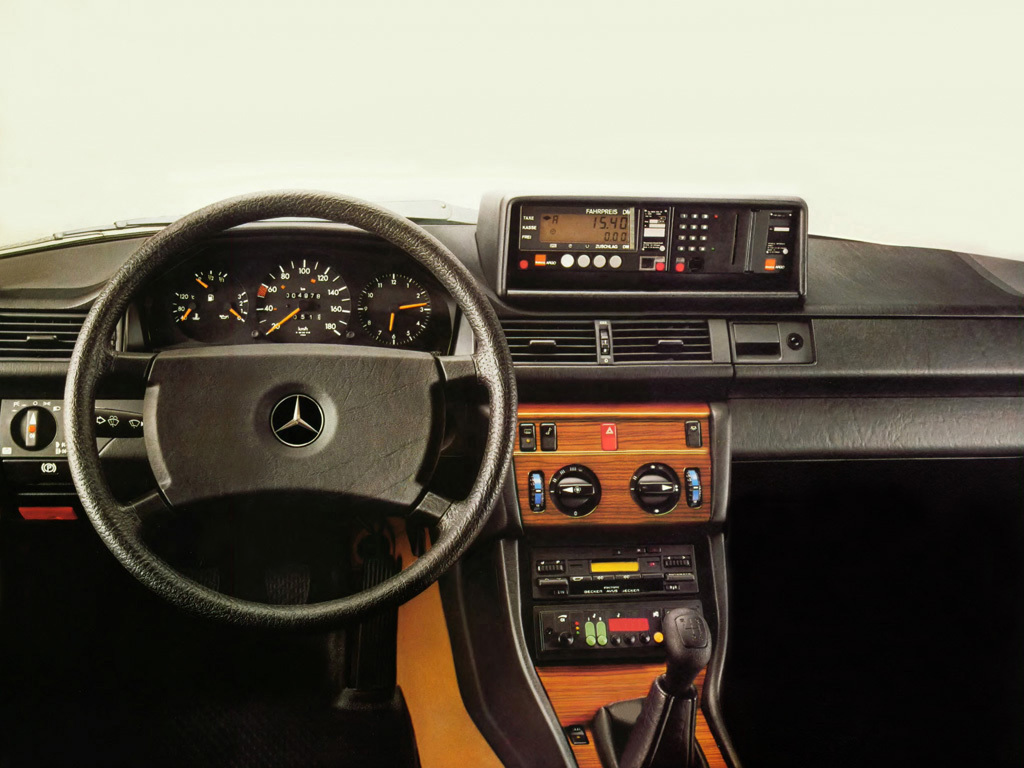 I am currently leasing a pair of Hyundai SUVs, one for me and the other for my wife. The lease on mine expires in January and rather than getting another new car, I am considering getting a six cylinder W210, a four door sedan, of course, as my new daily. Something like this: 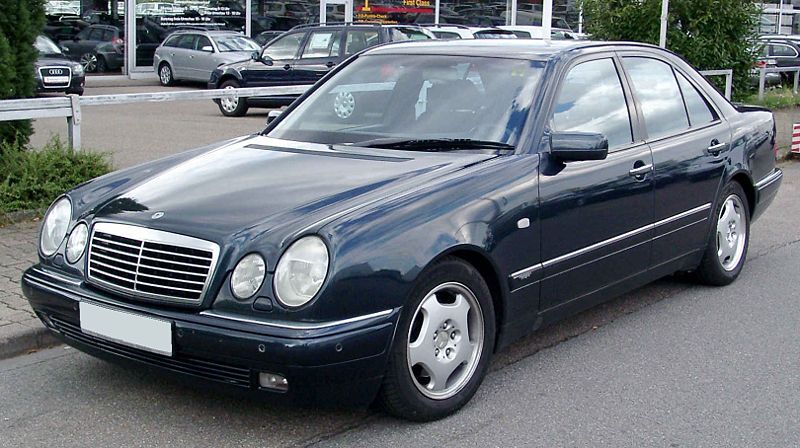 I've noticed that W211s are now very cheap but the pre-facelift cars have issues with the SBC braking system, which would cost more to replace than the car is worth. Something like this: 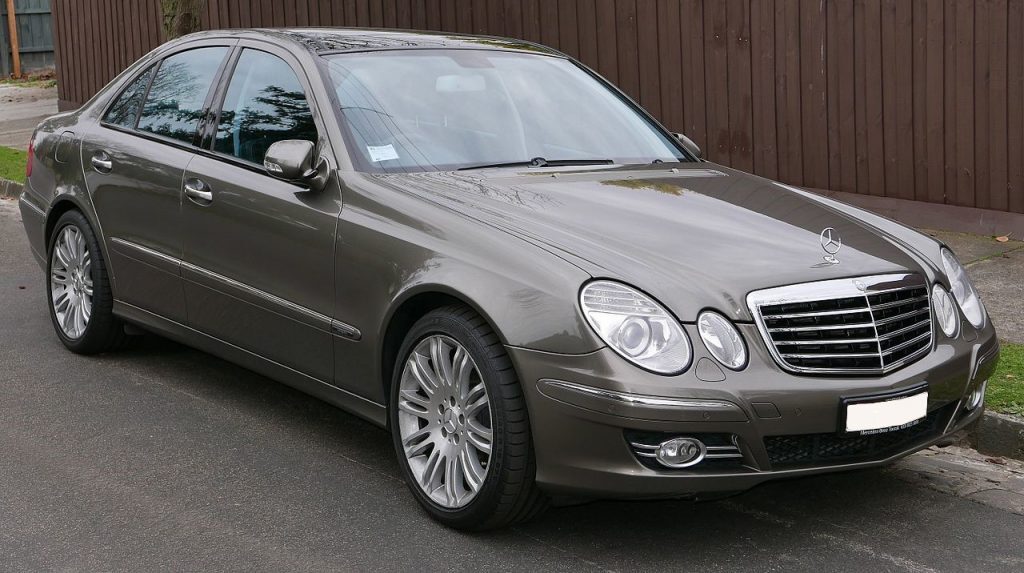 I still have a bit of time to make up my mind. |
| |
|
|
|
|


