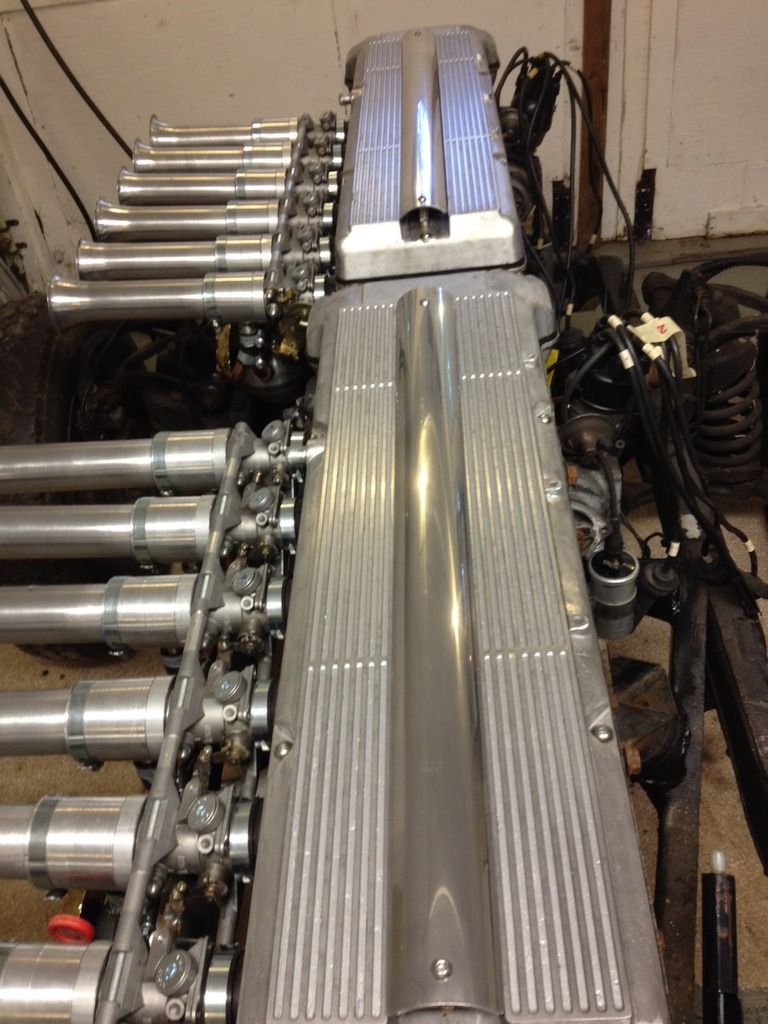
Back on the chain gang !
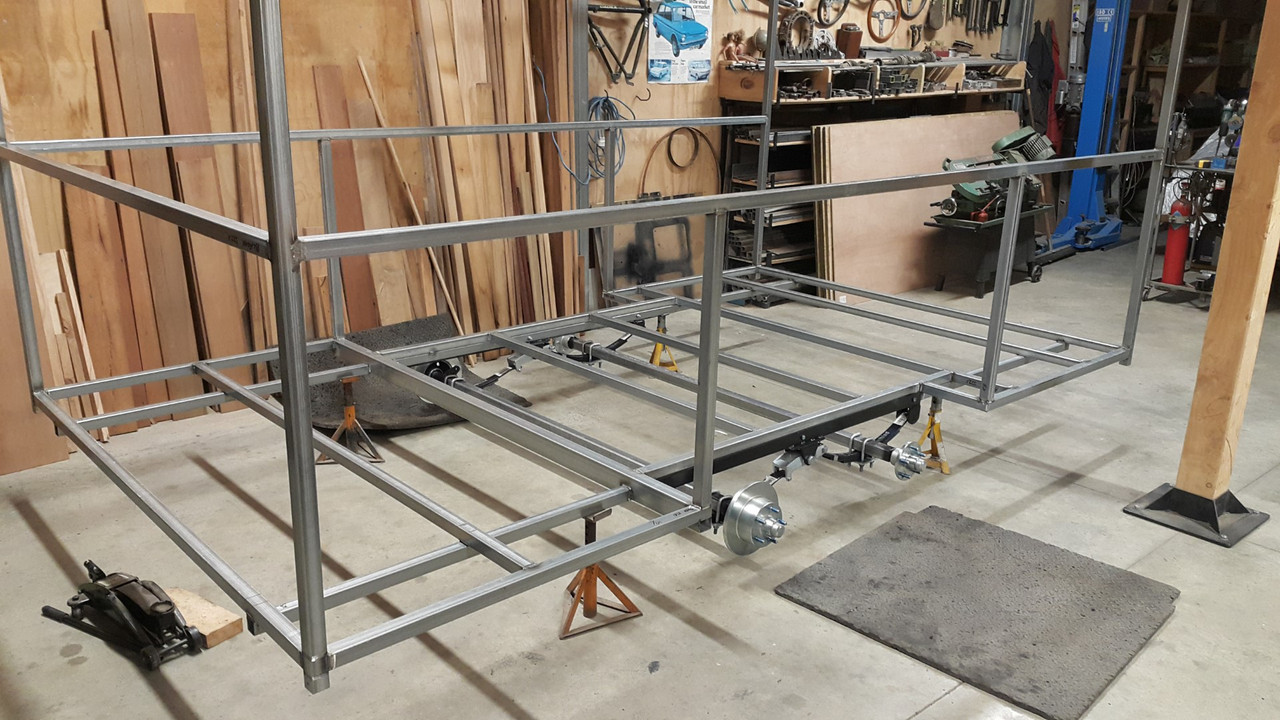
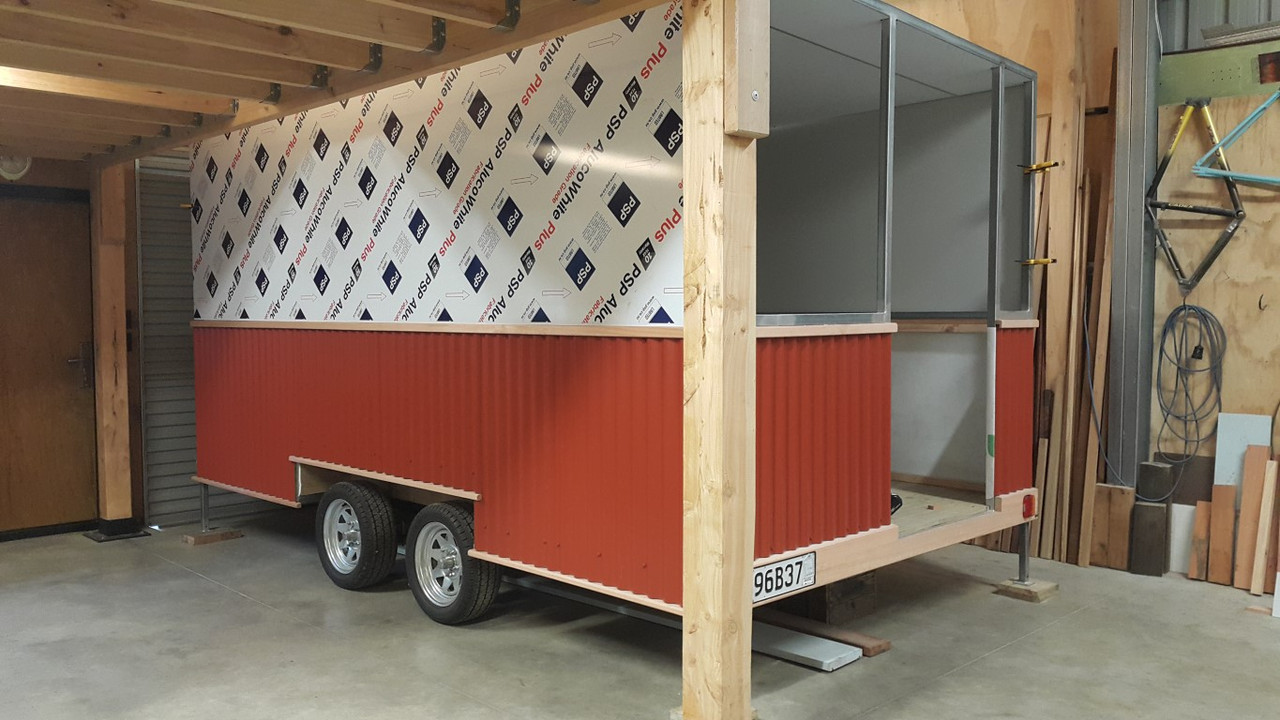
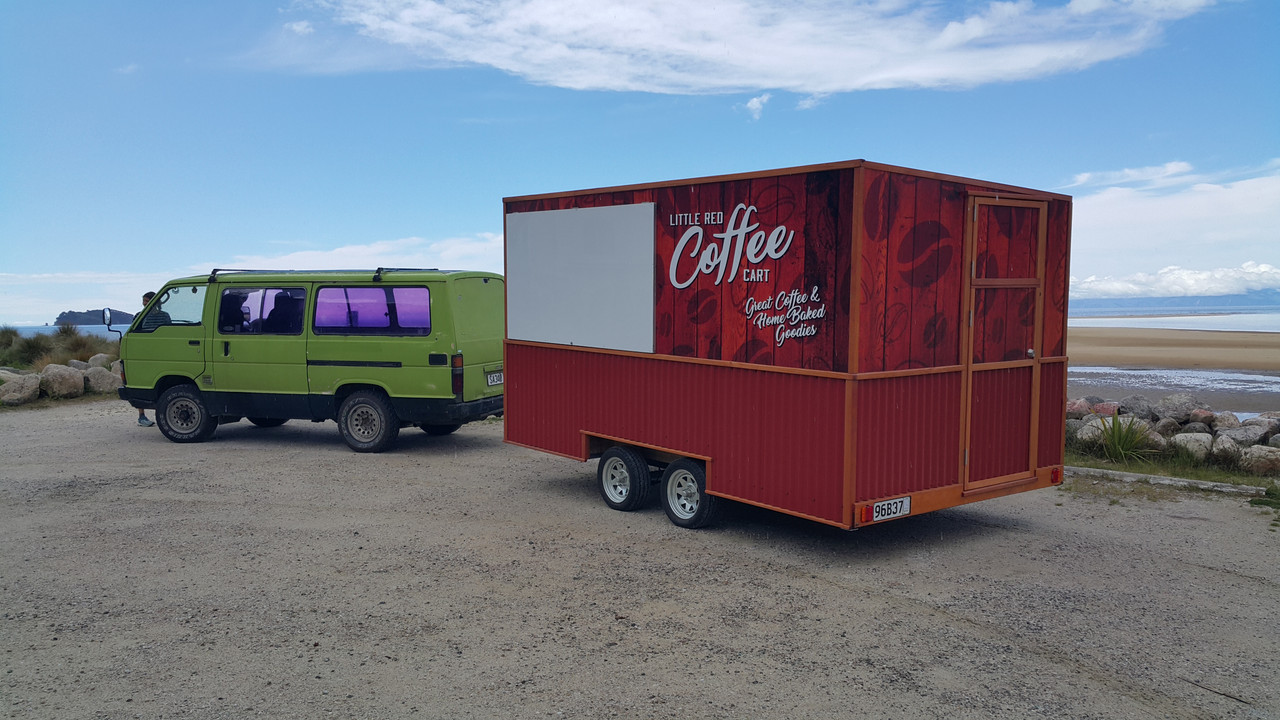
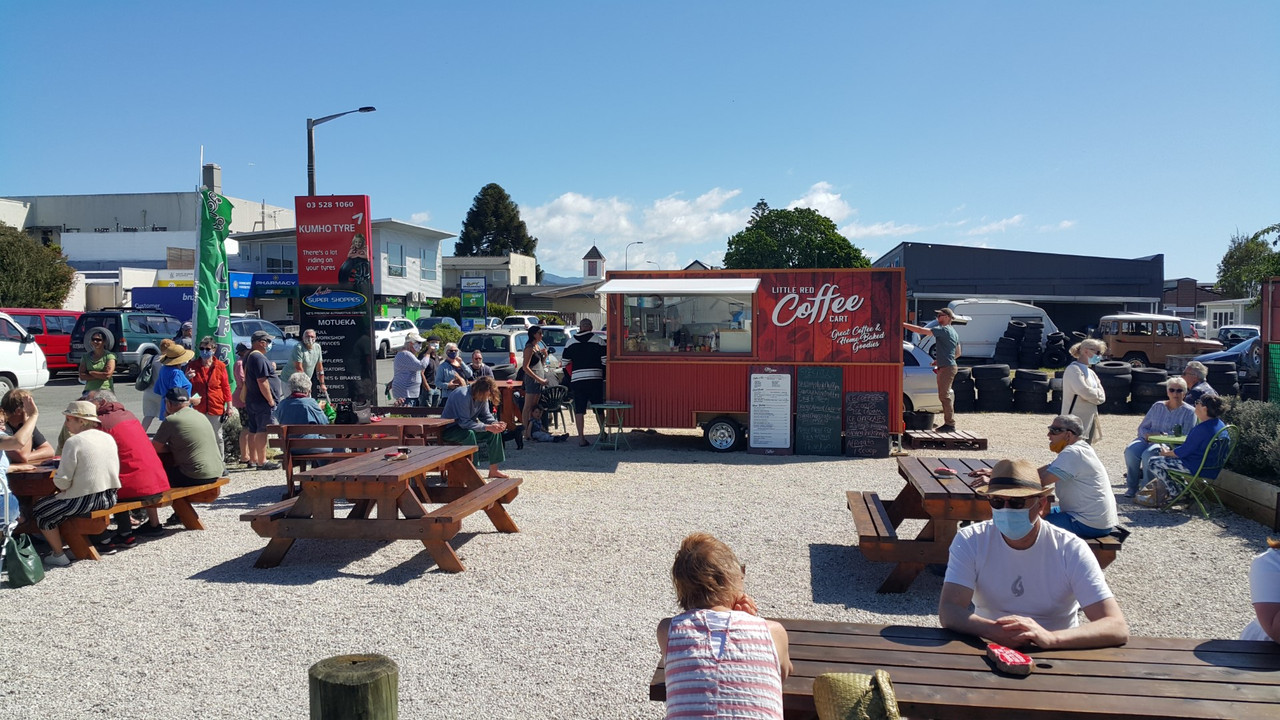
Yep. I'm back into this project. Its been a hectic busy last few months. Well for me, but others would probably laugh at my work levels. The last update was in September and both Hannah and I were pretty busy building a custom coffee cart for a customer. It was a fair old mission not helped by that pesky lockdown stalling a load of stuff ordered, including some double glazed window materials from Auckland. We put in some hard efforts to get the thing built and ready in time for the agreed date and managed it with a 2am finish on the last day before delivery. I was well chuffed with the cart we built and the customer is soooo happy with her new cafe ! All fully insulated, huge windows that roll away into the walls, loads of stainless benching and a lovely outside wood framing we made using Eucalyptus timber then oiled.
Here's some pics of the build...
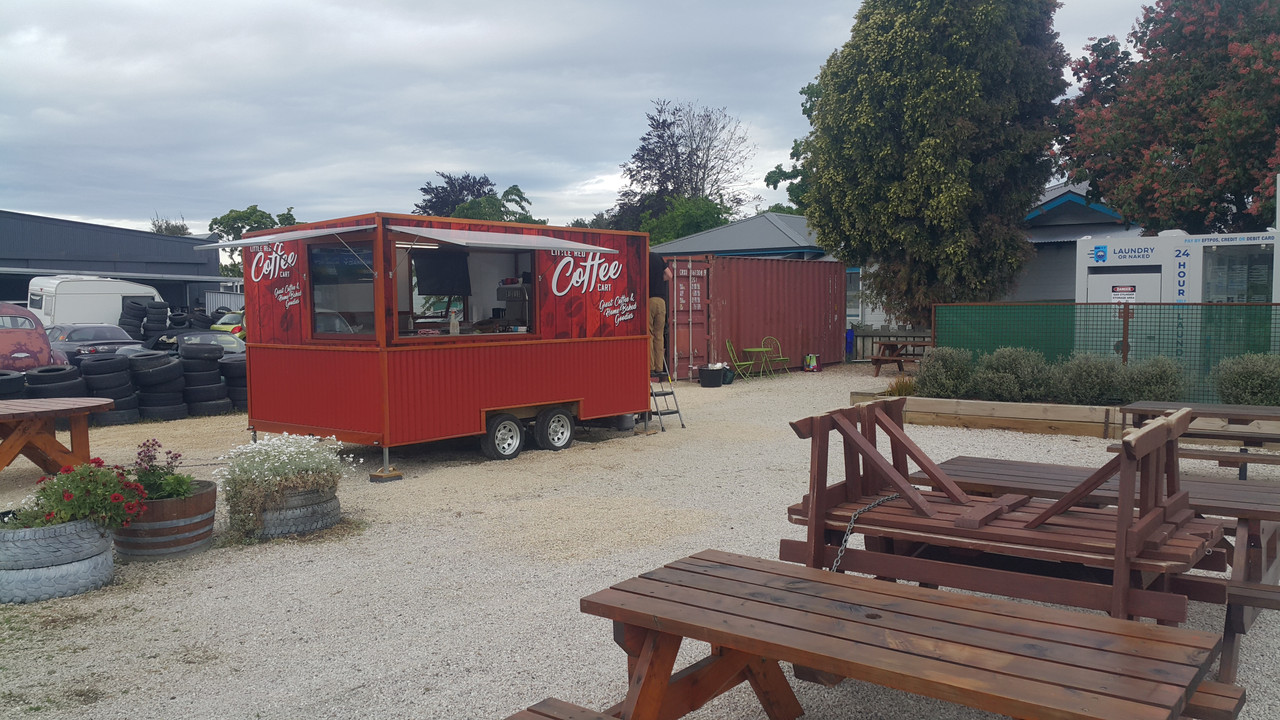
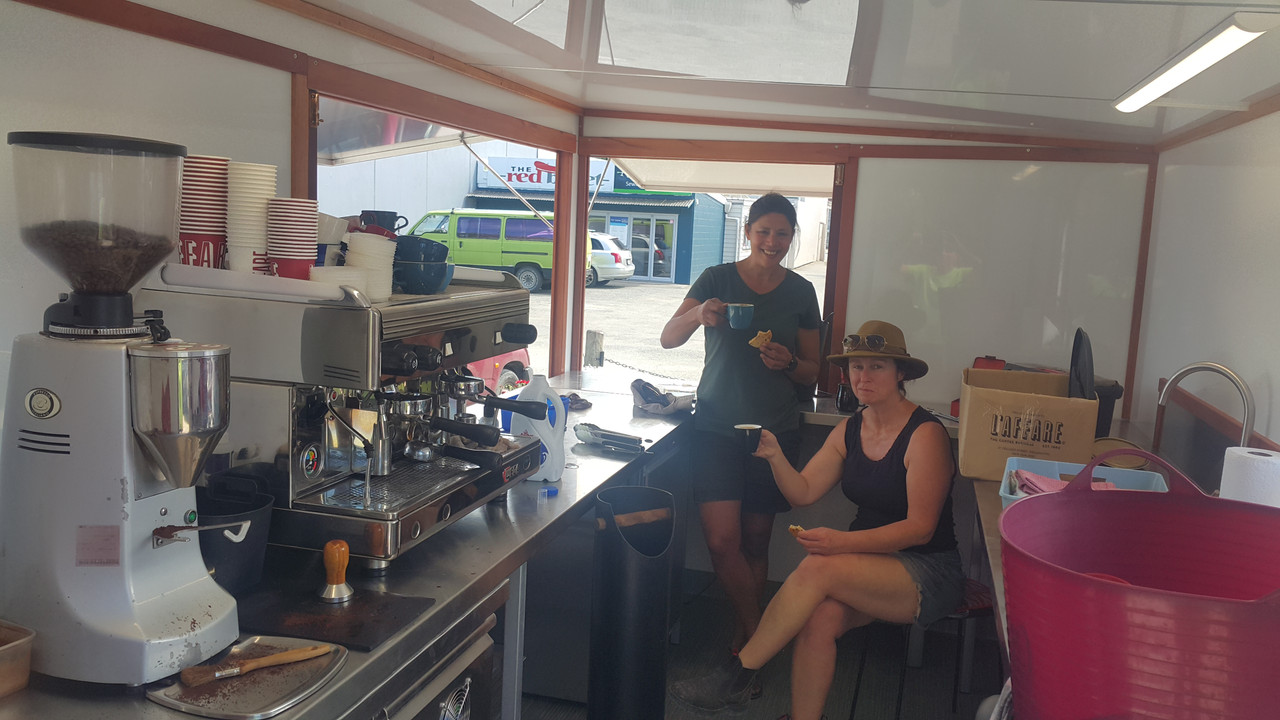
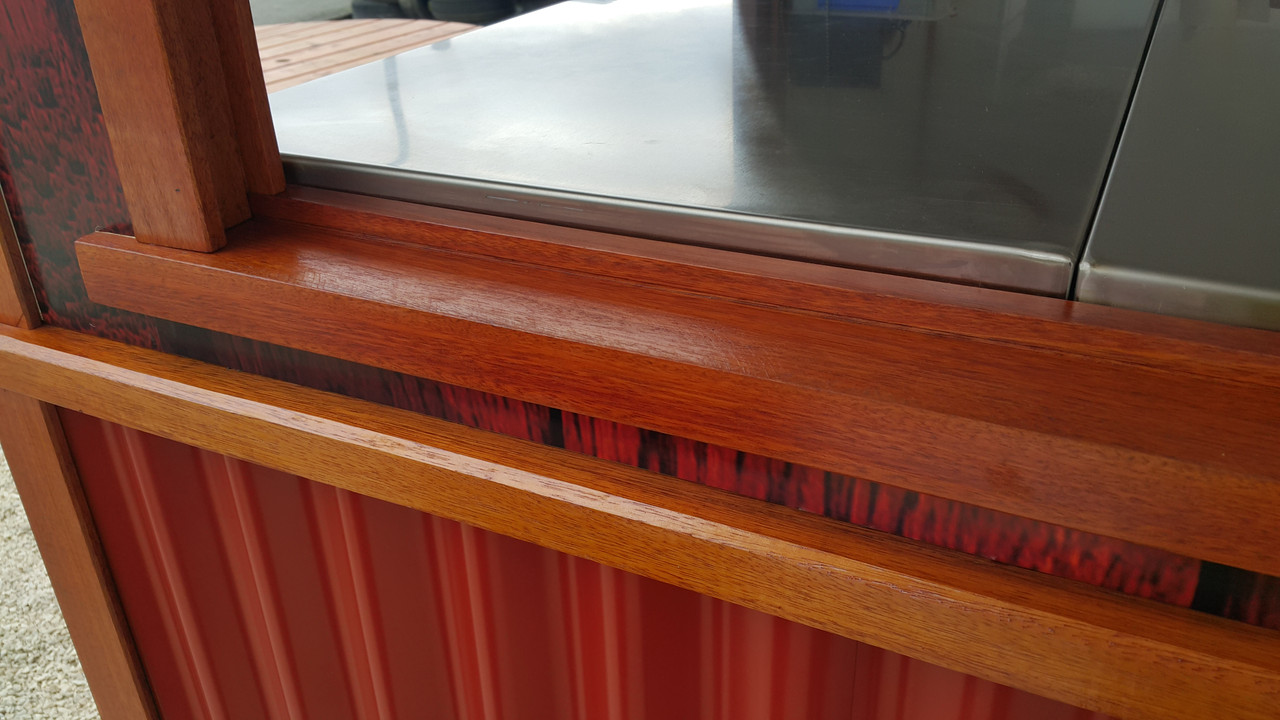
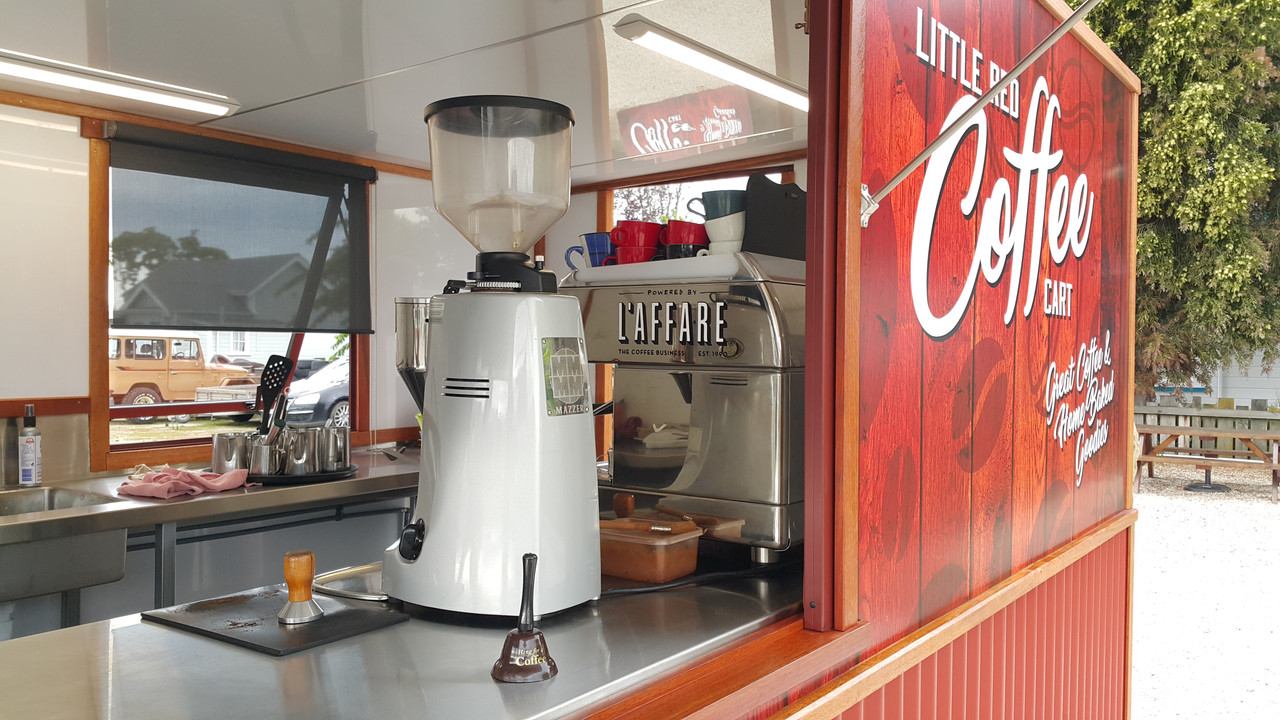
Phew. Check that one off the whiteboard of jobs. Loads more work to chip through and we are now onto the steel framework for a local ladies housetruck. So I am going to do my best to just put down the tools, lock my bicycles away so I cant be tempted to just go riding and instead do more on this engine swap.
Most recent bits I have done are as follows.
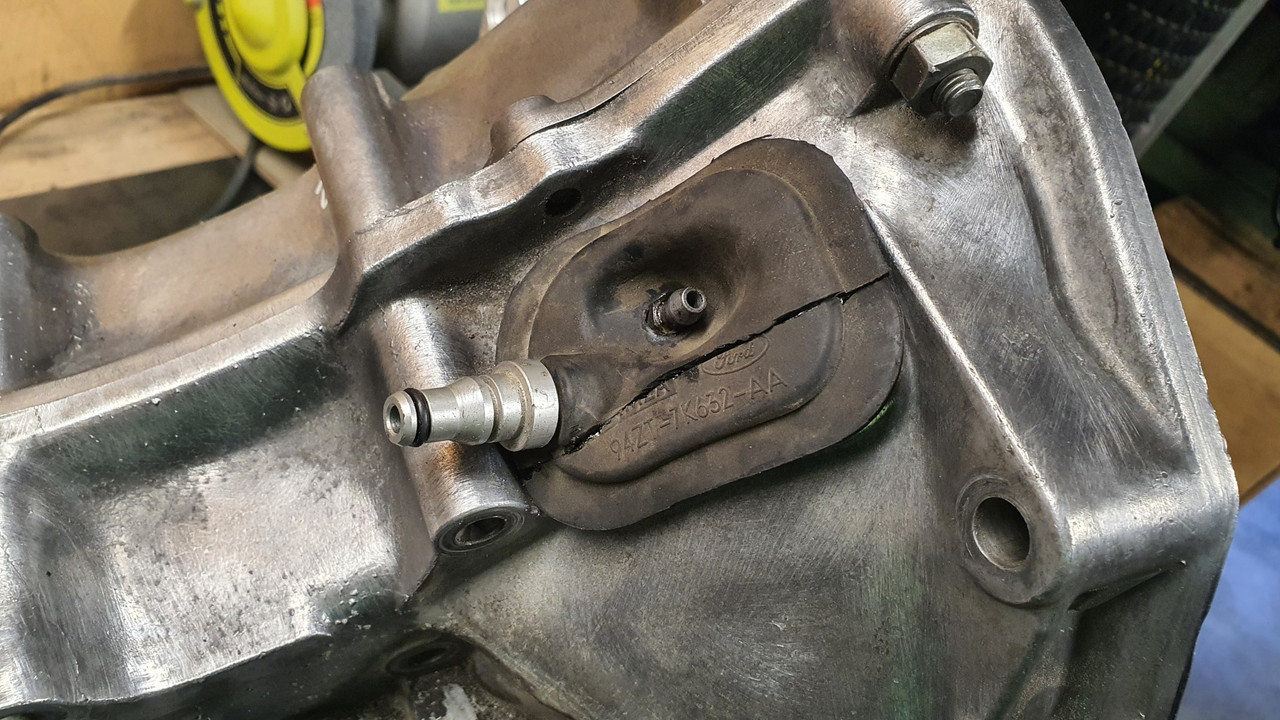
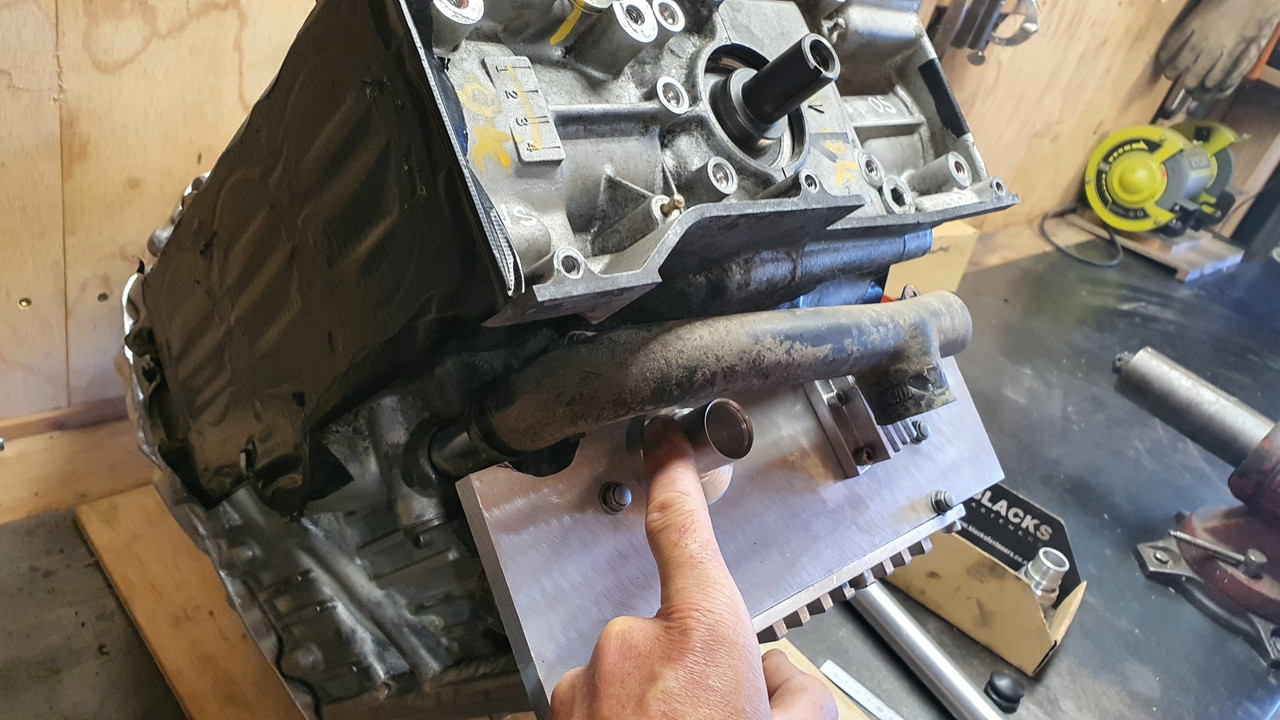
I wanted to finish off the oil system. The internal stuff from the pick up to the pump and filter was sorted. Now I needed to get the oil from the filter to the engine. Luckily, well I kind of planned around it, there is a hole left where gear selector shaft went. This was ideal to pass a pipe back from the filter block outlet towards the front/belt end of the engine. But it needed to be bigger with some clearance. One big drill bit later...
.jpg)
.jpg)
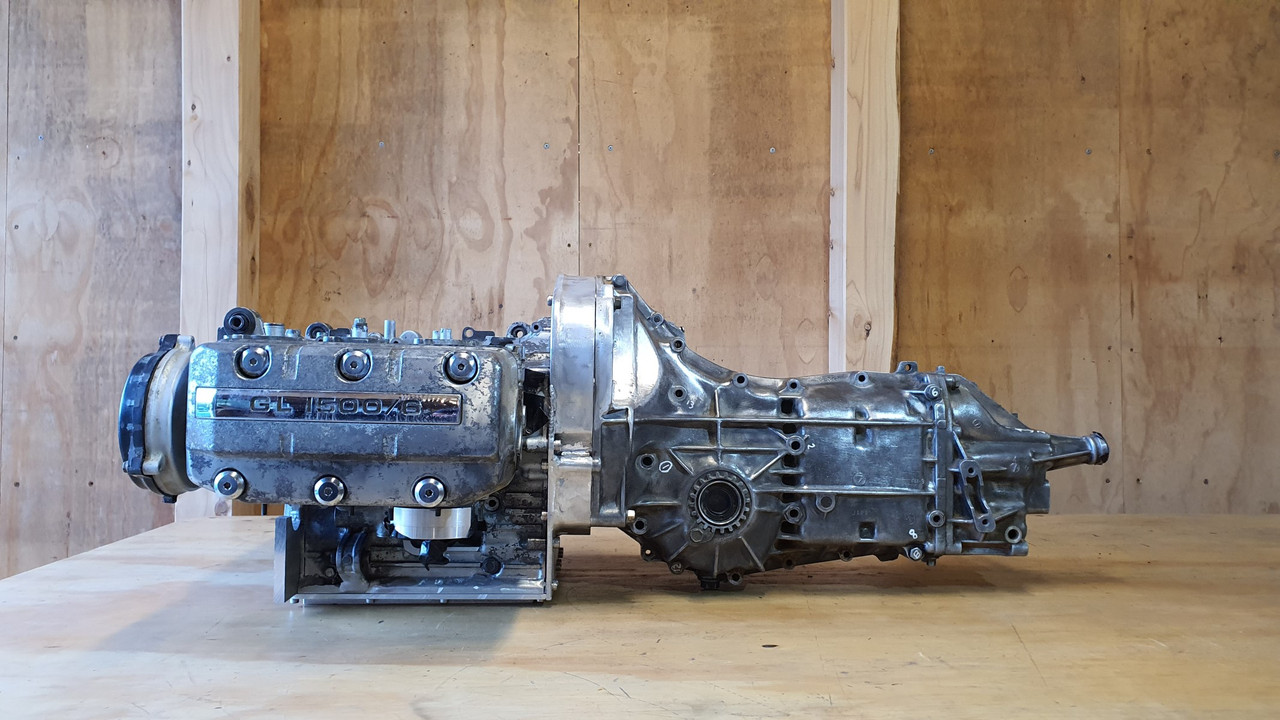
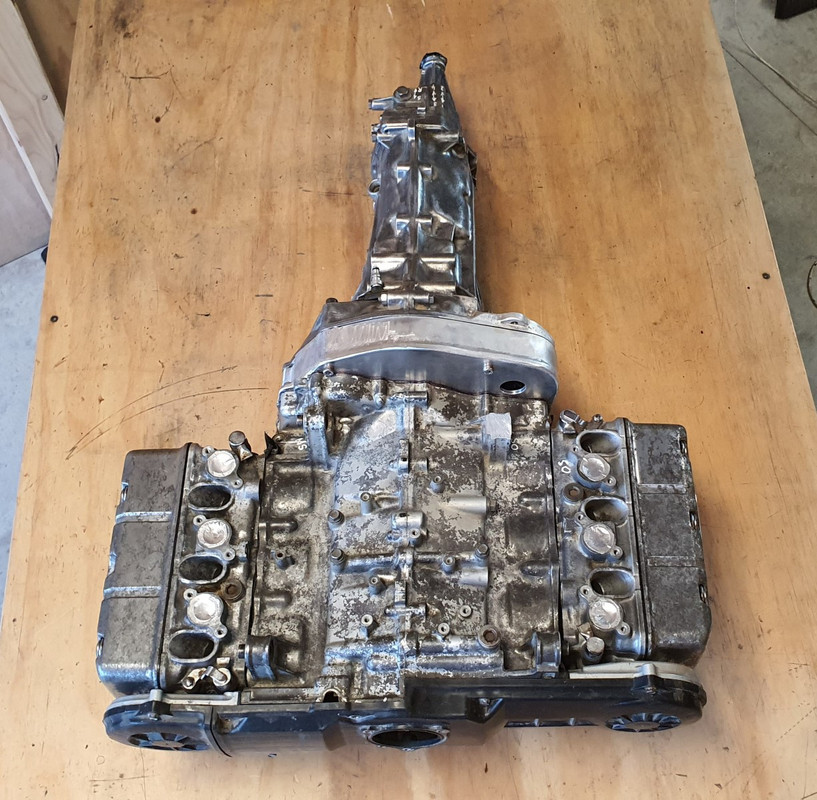
next up was a plate to cover the front. What used to be here was a cast front cover, much deeper obviously because I have lopped off a huge chunk of engine casing. It housed the oil filter, now moved to the side. Instead of that I now needed a flat plate of thick alloy that will serve several things. The engine mounts, most likely typical compression bobbins, will be mounted off it. There has to be a way to get the oil from the pipe coming from the filter block to head back into the main oil feed hole higher in the block. Finally I need somewhere to put oil into the engine and also to check the oil level.
I started with a plate of alloy I roughly cut to size. Drilled it to suit the holes in the block that the old front cover mounted to. I then drilled a hole in it to suit the oil feed pipe. This was a hole perfectly located to make sure the pipe would line up with the filter transfer block nice and square. Because I'm using the O rings that Honda used throughout the original system. There is a small tolerance for being out of square with these but I might as well get it as close as I can.
.jpg)
I then needed to make a bolt on block that would take the oil from this pipe end and direct it through another hole in the plate which locates right over another O ring sealed port into the engines main oil way, just as the original front cover did.
I started with some more chunks of alloy and made a thousands of teeny tiny chunks of alloy with the tablesaw...
.jpg)
.jpg)
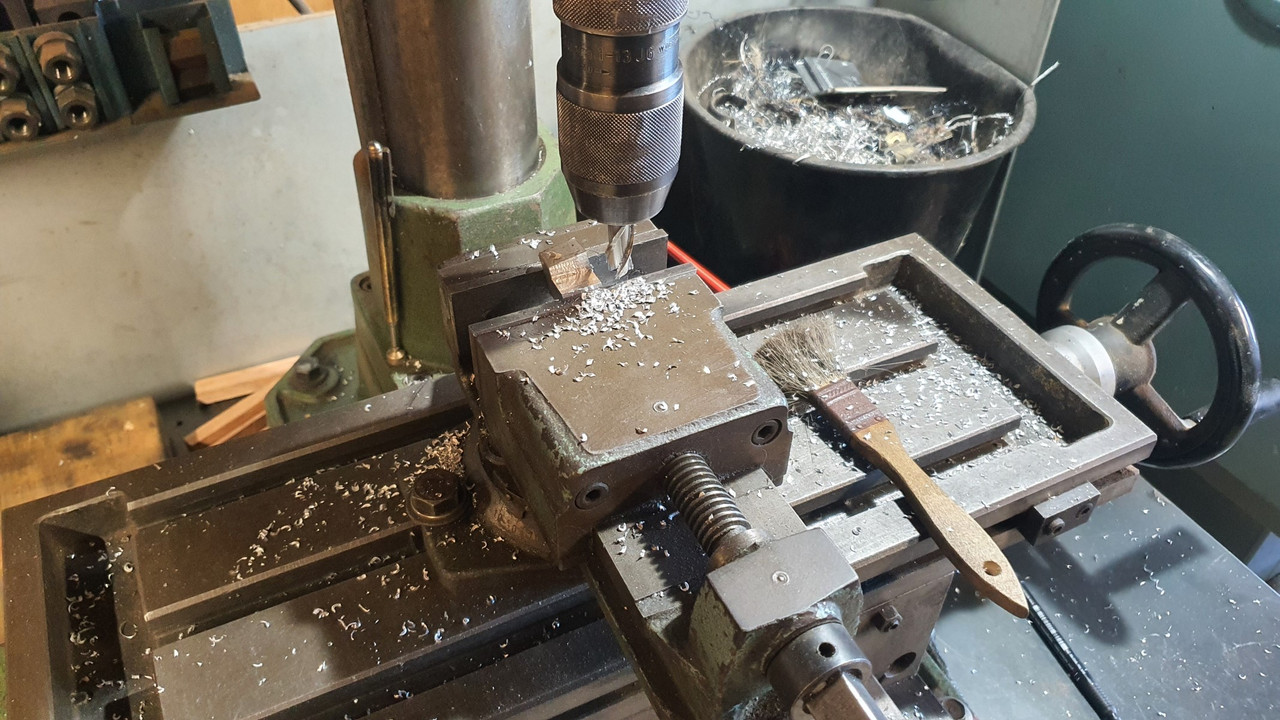
One of the blocks was then milled out to suit the pipe outlet and oilway inlet sizes. I also used a tiny little slot drill to add a groove to help keep the sealant in place..
.jpg)
.jpg)
.jpg)
Flipped it over and took more material away. Added some cooling grooves. But really.. come on. They were more just so it looked a bit nicer than just being a lump of alloy. Why not..
.jpg)
.jpg)
Clamped it down onto the front plate and drilled mounting holes...
.jpg)
There's a nice amount of room to still use the original honda cooling hose if I want but I may well do something else when I get to that bit- depends on my cross member design and engine mounts etc..
.jpg)
.jpg)
Next up was how to get oil in place! I needed a filler point. The original filler and dipstick are in the wrong spot and kind of chopped out. I could have made a dipstick to suit the now chopped down dipstick housing but that's at the rear/flywheel end of the engine. With the engine turned round 180 degrees that puts it under the parcel shelf and would mean reaching over what ever induction setup I use (cough*ITBS*cough) so that's not cricket.
A filler tube, right at the front, but actually now the back, of the engine with a combined dipstick under the cap made more sense.
I rummaged through my collection of alloy..
.jpg)
Playtime in the lathe...
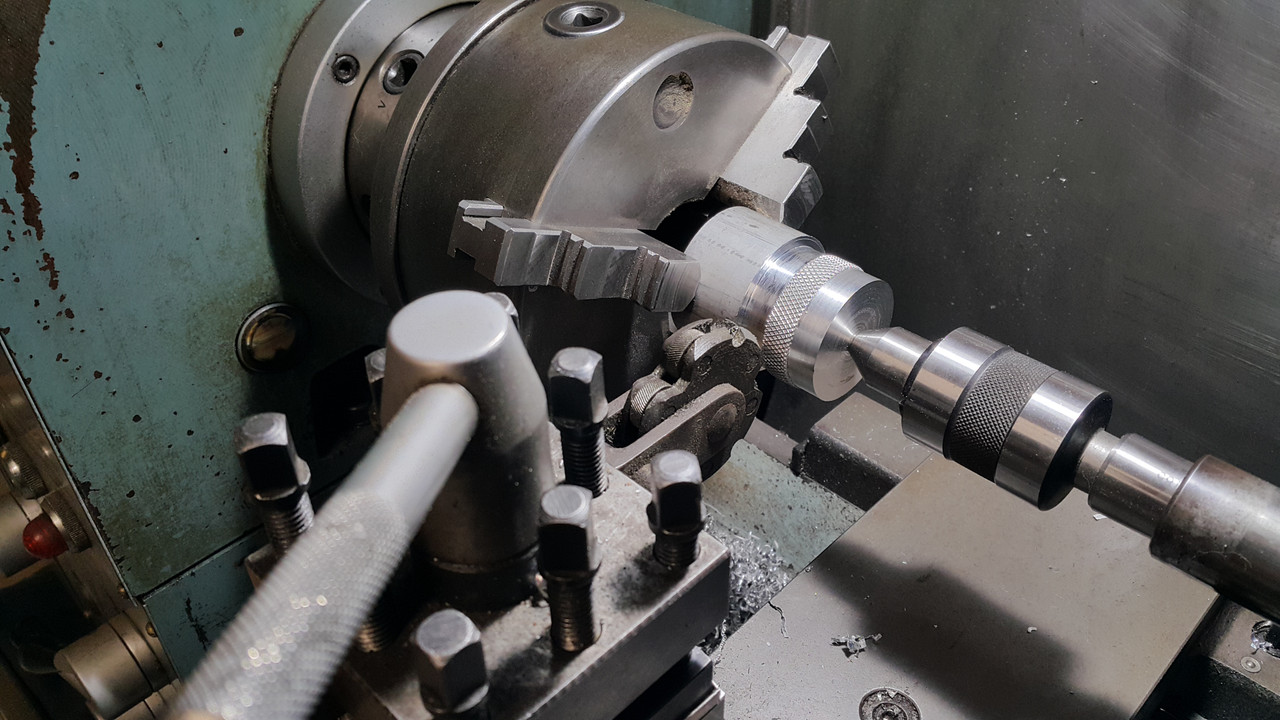
and out popped this...
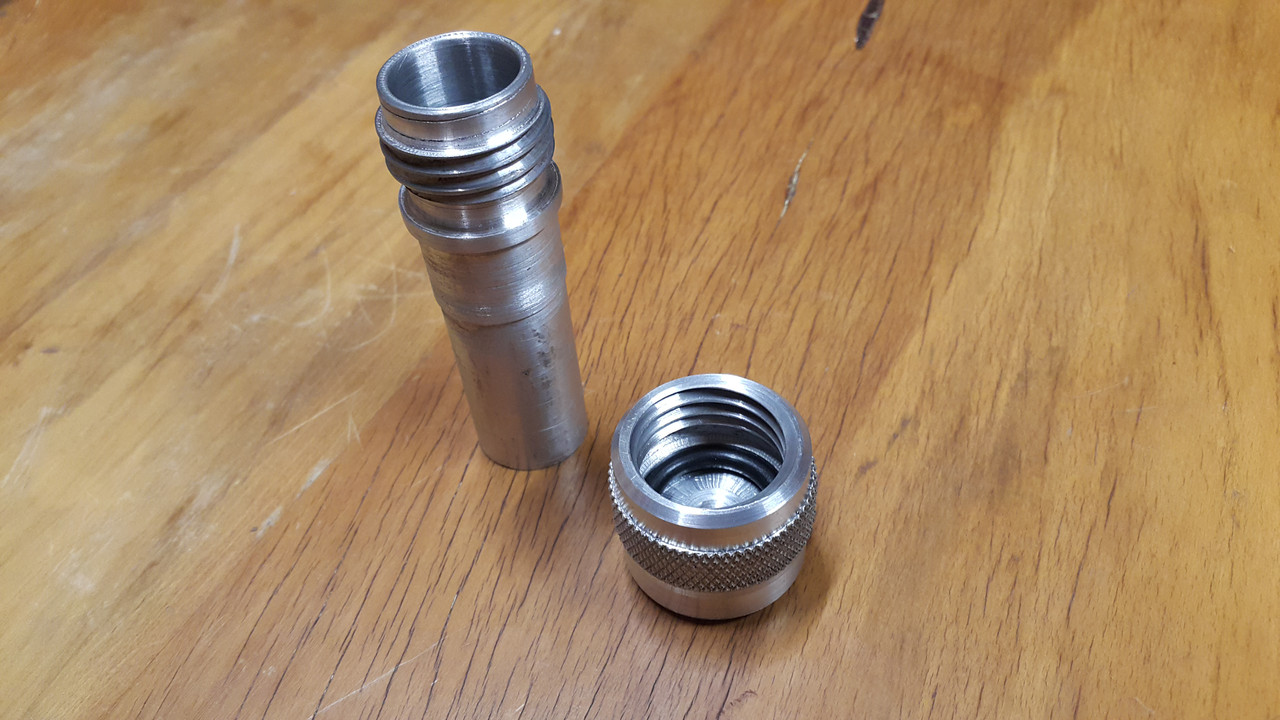
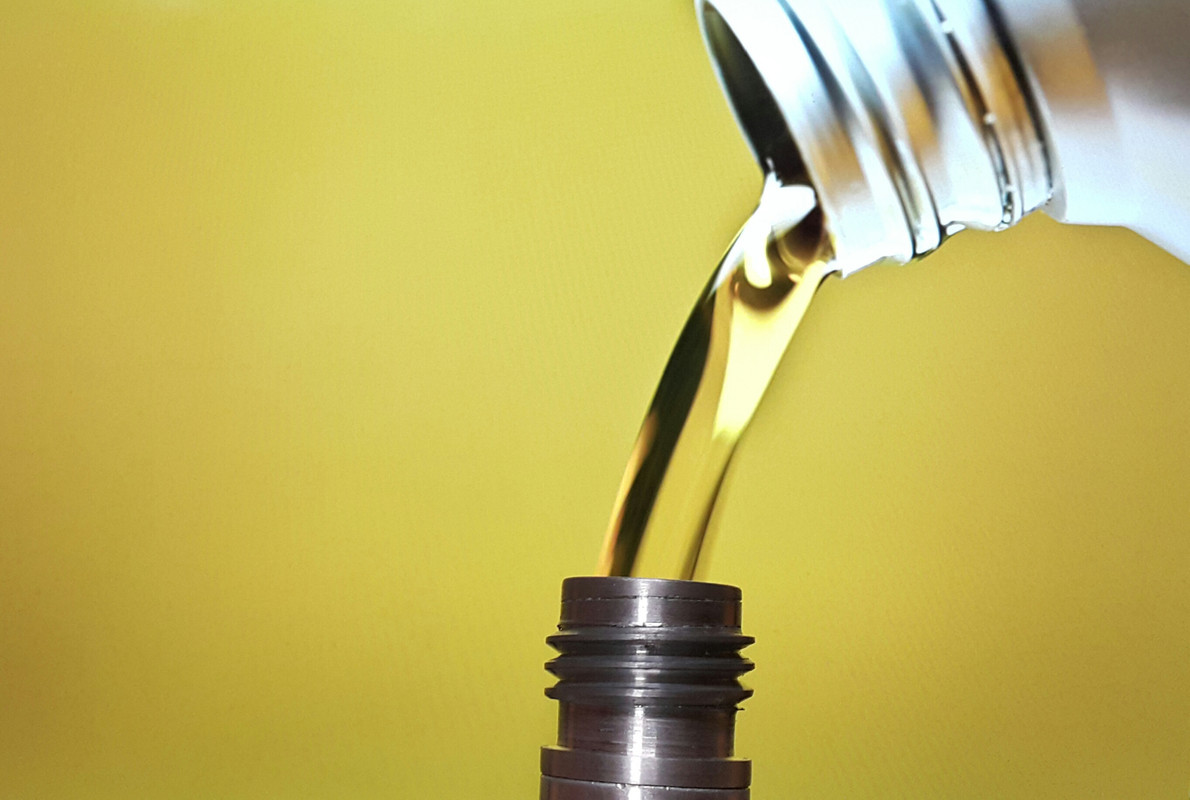
..into which oil will pour as such....
Now I needed some more bits to hold it in the right place so I made these flanges to suit more pipe.
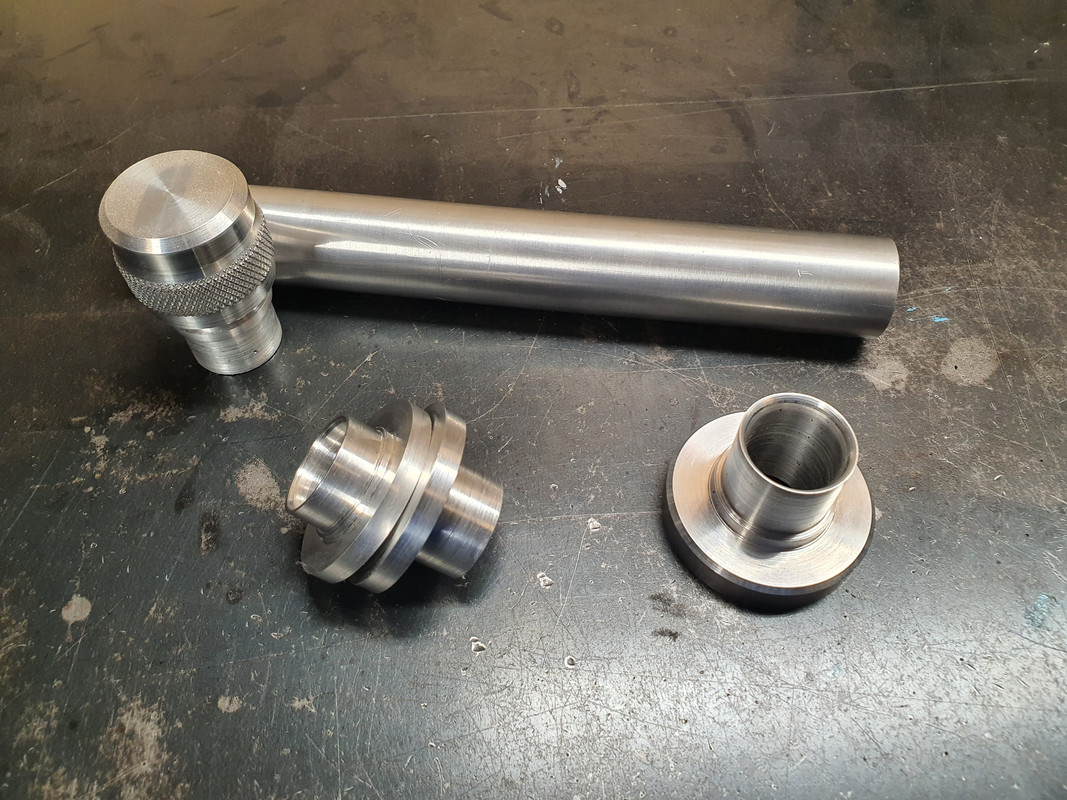
Once I know what I'm doing with the cooling pipes etc I'll cut the pipe to suit and epoxy it into the flanges. I ideally need the main large flange to bolt over a hole below the oil level height - which I have roughly worked out allowing for about 4.5 litres thereabouts. This pipe and cap will be right there, on view, easy to get to at the engine bay opening. The two smaller flanges are so I can remove the upright pipe to allow for the cambelt covers to be removed, or so its not there liable for getting damaged when removing and moving the engine about.
I did think about being super silly and adding a sight glass to the pipe. Or use some thin glass or plastic tube. I then even thought about being really silly and adding an led light into the pipe to light up the oil.
But oil does not stay honey clean does it. So a neat little dipstick under the cap will do.
Lastly I needed to bolt the sump cover in place. I had to think carefully about bolt placement for sealing purposes and get the bolts square. This sump plate is going to have to be sealed well because there is no usual high sided sump like most cars. Hence I built it rigid to help against flex. Good quality sealant will be the order of the day*
To get the bolt holes square I had to do this...
.jpg)
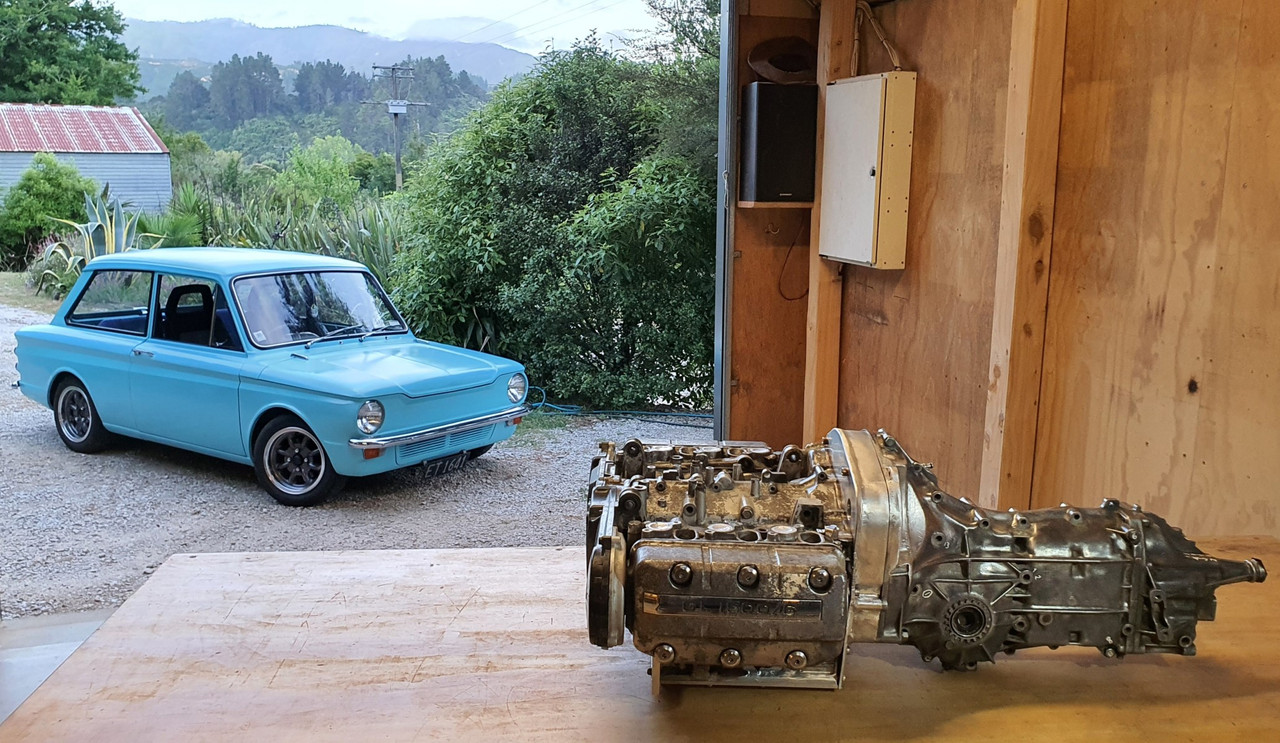
Impy sat outside looking in at his new heart being crafted (said like some car obsessed bloke who anthropomorphises his cars)...
.jpg)
Well then. That's it. Crikey. Another wall of text. I hope you enjoyed my ramblings. I promise I'll put more effort into working on this (but it is summer after all..)
*It will leak. Its a British car. Its destined to leak.
Yep. I'm back into this project. Its been a hectic busy last few months. Well for me, but others would probably laugh at my work levels. The last update was in September and both Hannah and I were pretty busy building a custom coffee cart for a customer. It was a fair old mission not helped by that pesky lockdown stalling a load of stuff ordered, including some double glazed window materials from Auckland. We put in some hard efforts to get the thing built and ready in time for the agreed date and managed it with a 2am finish on the last day before delivery. I was well chuffed with the cart we built and the customer is soooo happy with her new cafe ! All fully insulated, huge windows that roll away into the walls, loads of stainless benching and a lovely outside wood framing we made using Eucalyptus timber then oiled.
Here's some pics of the build...


Phew. Check that one off the whiteboard of jobs. Loads more work to chip through and we are now onto the steel framework for a local ladies housetruck. So I am going to do my best to just put down the tools, lock my bicycles away so I cant be tempted to just go riding and instead do more on this engine swap.
Most recent bits I have done are as follows.
I wanted to finish off the oil system. The internal stuff from the pick up to the pump and filter was sorted. Now I needed to get the oil from the filter to the engine. Luckily, well I kind of planned around it, there is a hole left where gear selector shaft went. This was ideal to pass a pipe back from the filter block outlet towards the front/belt end of the engine. But it needed to be bigger with some clearance. One big drill bit later...
.jpg)
.jpg)
next up was a plate to cover the front. What used to be here was a cast front cover, much deeper obviously because I have lopped off a huge chunk of engine casing. It housed the oil filter, now moved to the side. Instead of that I now needed a flat plate of thick alloy that will serve several things. The engine mounts, most likely typical compression bobbins, will be mounted off it. There has to be a way to get the oil from the pipe coming from the filter block to head back into the main oil feed hole higher in the block. Finally I need somewhere to put oil into the engine and also to check the oil level.
I started with a plate of alloy I roughly cut to size. Drilled it to suit the holes in the block that the old front cover mounted to. I then drilled a hole in it to suit the oil feed pipe. This was a hole perfectly located to make sure the pipe would line up with the filter transfer block nice and square. Because I'm using the O rings that Honda used throughout the original system. There is a small tolerance for being out of square with these but I might as well get it as close as I can.
.jpg)
I then needed to make a bolt on block that would take the oil from this pipe end and direct it through another hole in the plate which locates right over another O ring sealed port into the engines main oil way, just as the original front cover did.
I started with some more chunks of alloy and made a thousands of teeny tiny chunks of alloy with the tablesaw...
.jpg)
.jpg)
One of the blocks was then milled out to suit the pipe outlet and oilway inlet sizes. I also used a tiny little slot drill to add a groove to help keep the sealant in place..
.jpg)
.jpg)
.jpg)
Flipped it over and took more material away. Added some cooling grooves. But really.. come on. They were more just so it looked a bit nicer than just being a lump of alloy. Why not..
.jpg)
.jpg)
Clamped it down onto the front plate and drilled mounting holes...
.jpg)
There's a nice amount of room to still use the original honda cooling hose if I want but I may well do something else when I get to that bit- depends on my cross member design and engine mounts etc..
.jpg)
.jpg)
Next up was how to get oil in place! I needed a filler point. The original filler and dipstick are in the wrong spot and kind of chopped out. I could have made a dipstick to suit the now chopped down dipstick housing but that's at the rear/flywheel end of the engine. With the engine turned round 180 degrees that puts it under the parcel shelf and would mean reaching over what ever induction setup I use (cough*ITBS*cough) so that's not cricket.
A filler tube, right at the front, but actually now the back, of the engine with a combined dipstick under the cap made more sense.
I rummaged through my collection of alloy..
.jpg)
Playtime in the lathe...

and out popped this...

..into which oil will pour as such....

Now I needed some more bits to hold it in the right place so I made these flanges to suit more pipe.

Once I know what I'm doing with the cooling pipes etc I'll cut the pipe to suit and epoxy it into the flanges. I ideally need the main large flange to bolt over a hole below the oil level height - which I have roughly worked out allowing for about 4.5 litres thereabouts. This pipe and cap will be right there, on view, easy to get to at the engine bay opening. The two smaller flanges are so I can remove the upright pipe to allow for the cambelt covers to be removed, or so its not there liable for getting damaged when removing and moving the engine about.
I did think about being super silly and adding a sight glass to the pipe. Or use some thin glass or plastic tube. I then even thought about being really silly and adding an led light into the pipe to light up the oil.
But oil does not stay honey clean does it. So a neat little dipstick under the cap will do.
Lastly I needed to bolt the sump cover in place. I had to think carefully about bolt placement for sealing purposes and get the bolts square. This sump plate is going to have to be sealed well because there is no usual high sided sump like most cars. Hence I built it rigid to help against flex. Good quality sealant will be the order of the day*
To get the bolt holes square I had to do this...
.jpg)
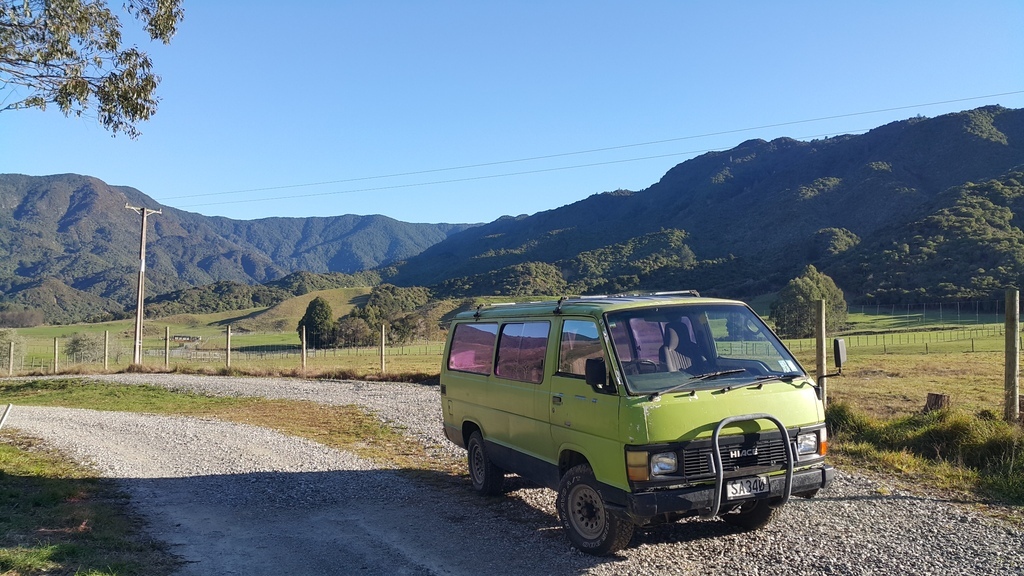
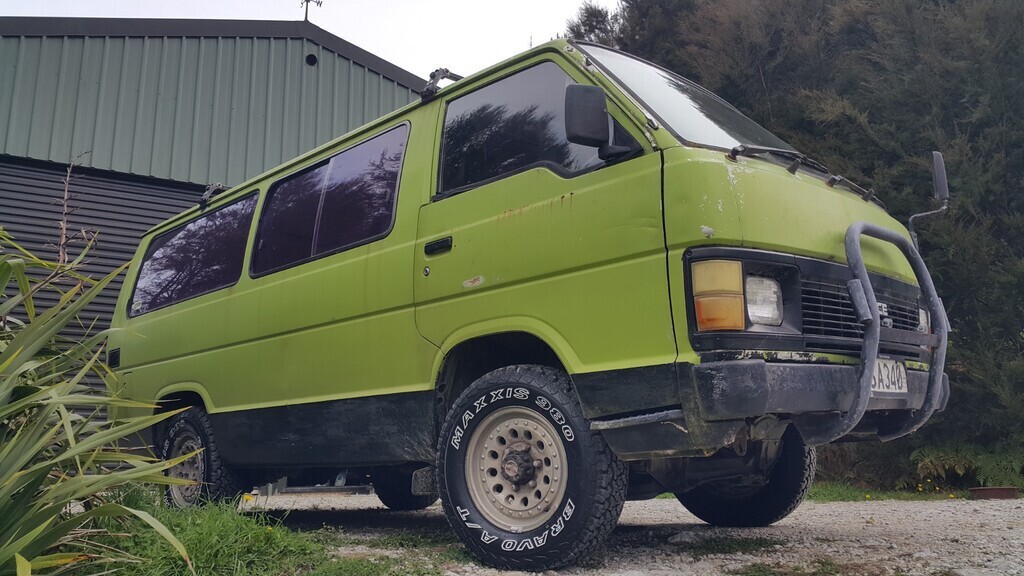
Impy sat outside looking in at his new heart being crafted (said like some car obsessed bloke who anthropomorphises his cars)...
.jpg)
Well then. That's it. Crikey. Another wall of text. I hope you enjoyed my ramblings. I promise I'll put more effort into working on this (but it is summer after all..)
*It will leak. Its a British car. Its destined to leak.




 Glad you're enjoying the read.