Sammo
Club Retro Rides Member
Posts: 1,461  Club RR Member Number: 103
|
|
|
|
Merry Christmas everyone  I provided the van with a little Christmas present. A new steering wheel to replace the awful original. I'm not sure if I'll keep this one permanently but I'll see how it goes. 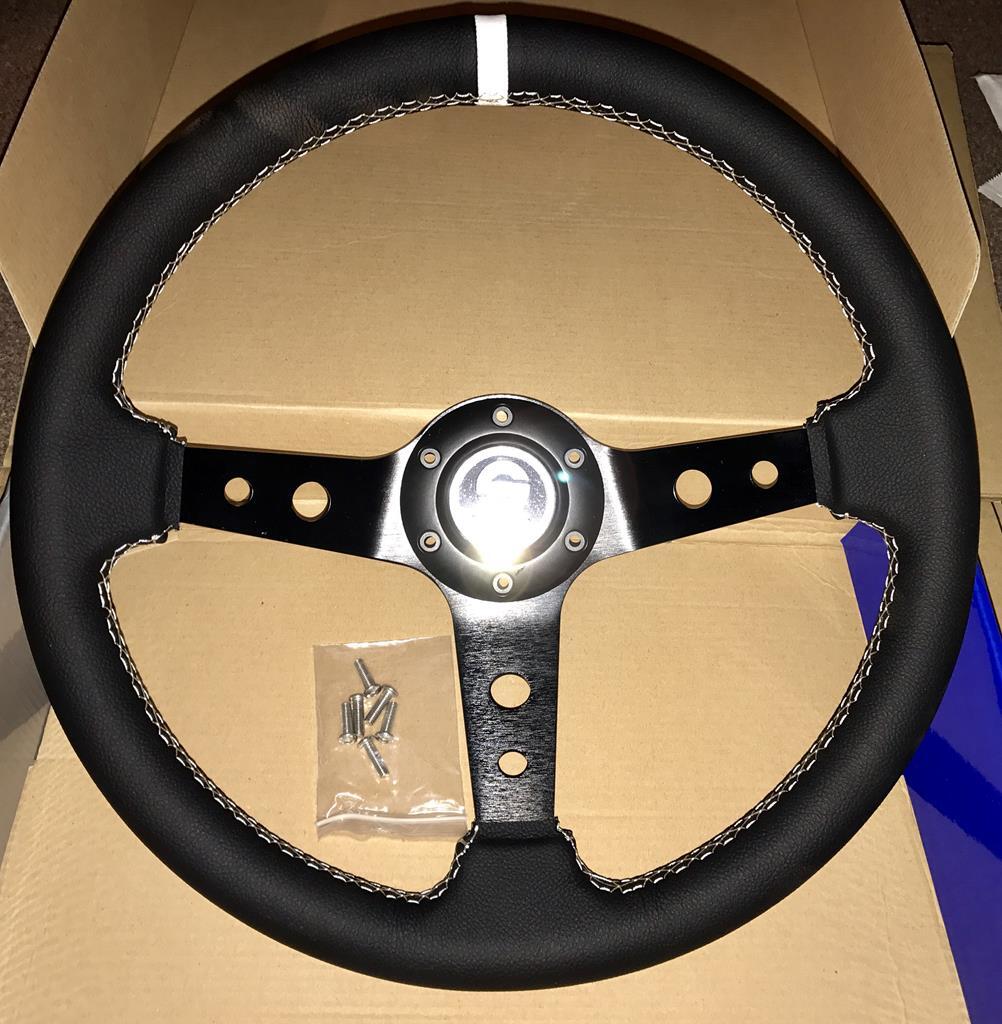 It's quite handy doing a van project in that it can be used to collect everything that's needed before starting the project properly. Once all the big, heavy stuff that won't fit in my 5 series has been rounded up then I can get going properly  |
| |
Follow Me On Instagram - @parttimecartinkerer
|
|
|
|
Sammo
Club Retro Rides Member
Posts: 1,461  Club RR Member Number: 103
|
|
Dec 26, 2017 15:29:09 GMT
|
I was bored this morning so I decided to change the steering wheel over on the van. The original wheel is disgusting and really badly worn, plus the airbag doesn't work and has been bypassed with resistors for some time. I picked up an unbranded steering boss a little while ago so I figured I might as well get on with it. Some progress is better than no progress. One steering wheel boss. Seems pretty well made. 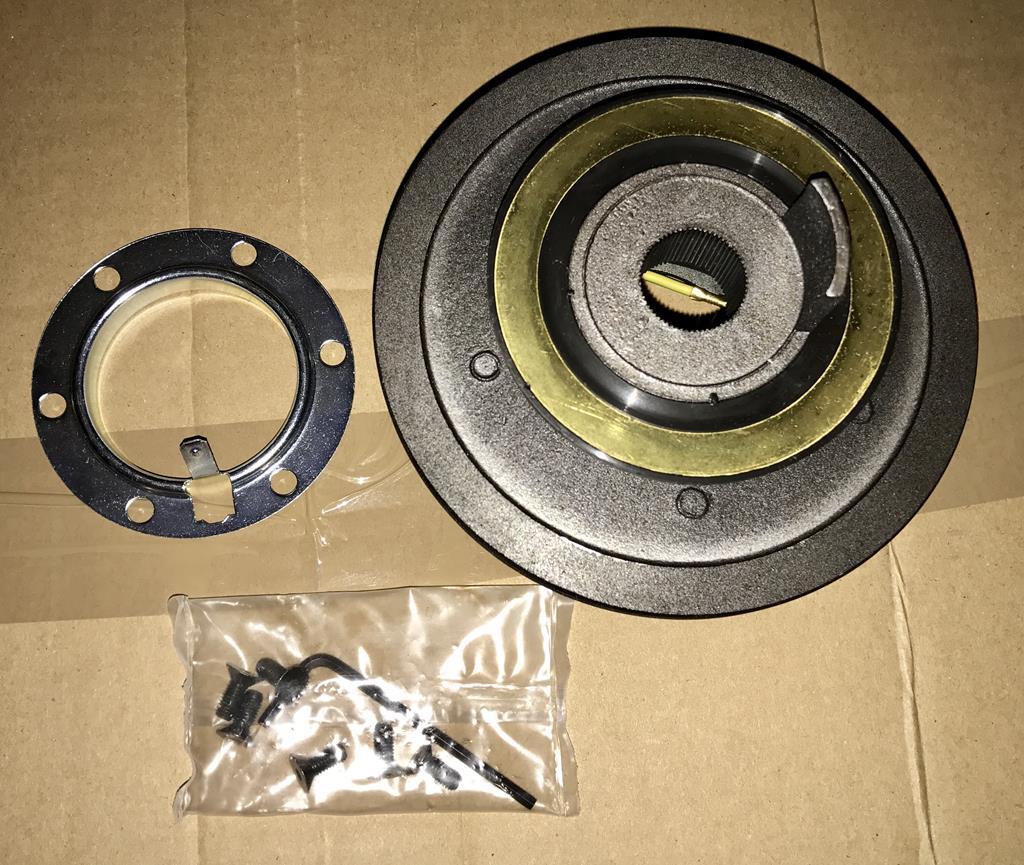 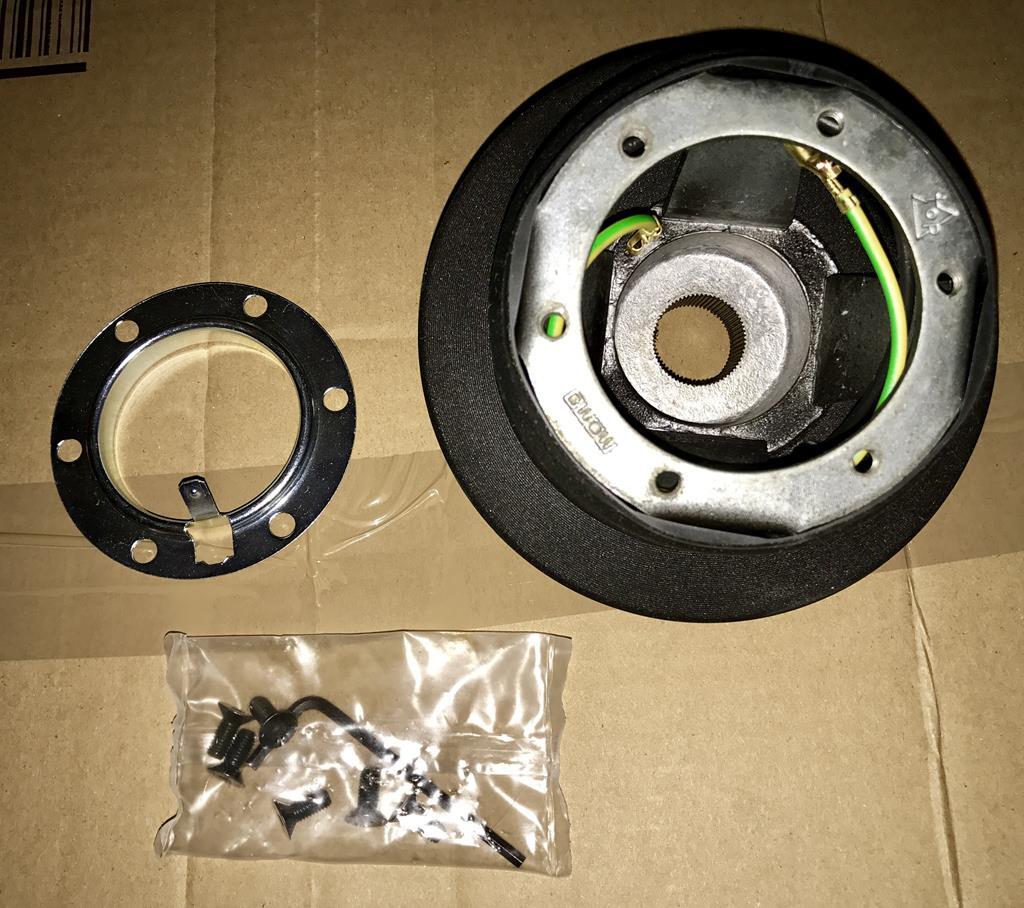 One steering wheel. 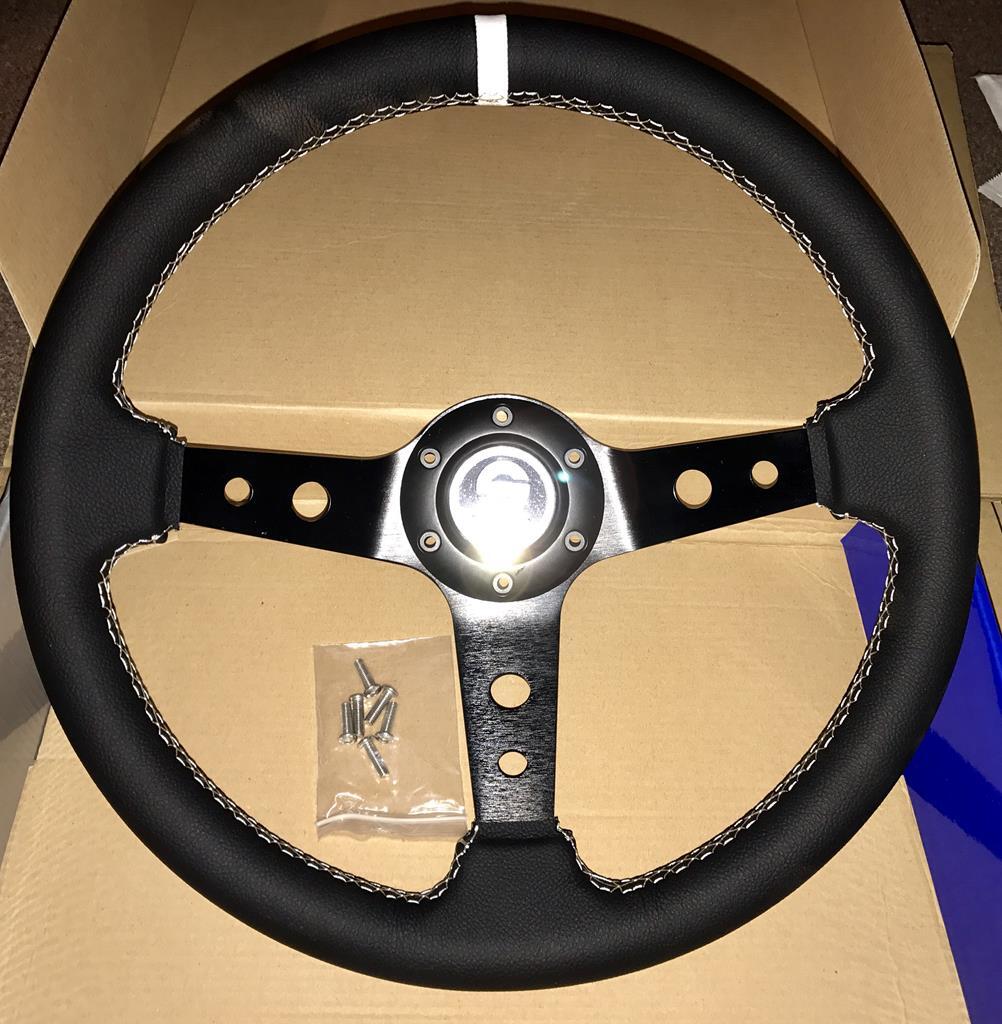 First things first was to get the airbag off. Battery disconnected and instructions given to my four year old who was sat next to me to "get Nanny if there's a loud bang and Daddy looks hurt!" 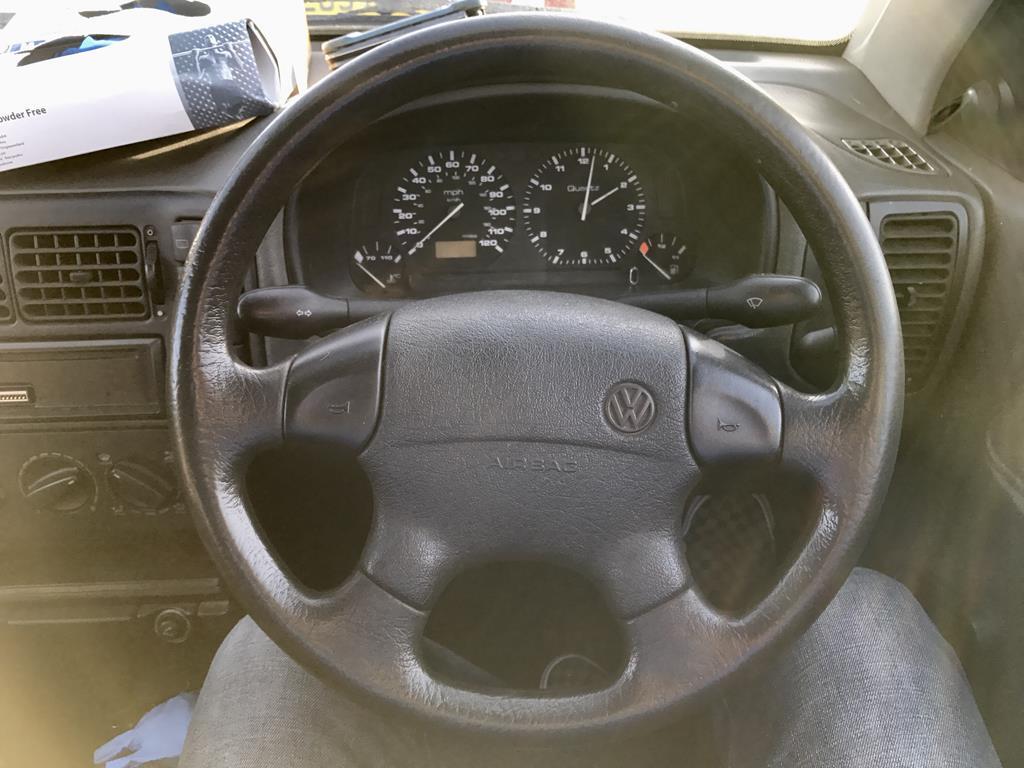 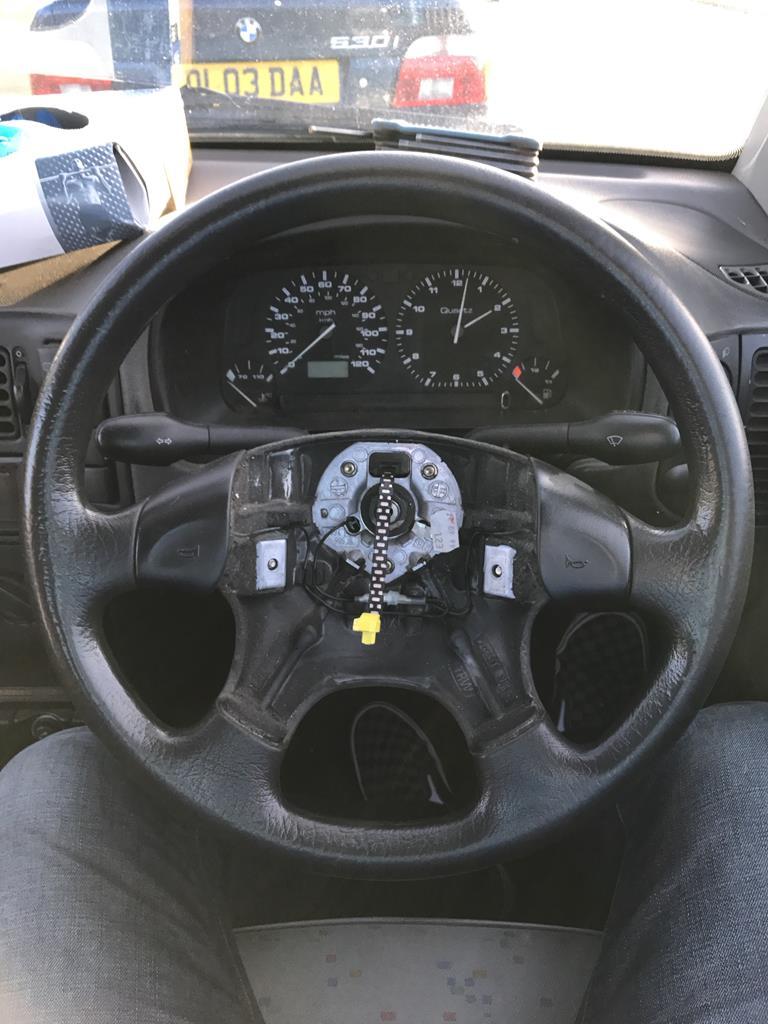 Once that was off I slid the boss onto the spline but it wouldn't push all the way home. It would seem that the cheap non branded boss hasn't had enough machines out of the back to allow it to slide all the way on. Looks like I'm going to have to find an engineer who can take a little off the back for me! Anyway, I figured I might as well carry on and at least get it mocked up today so it will just be a straight bolt on job once the boss is sorted. 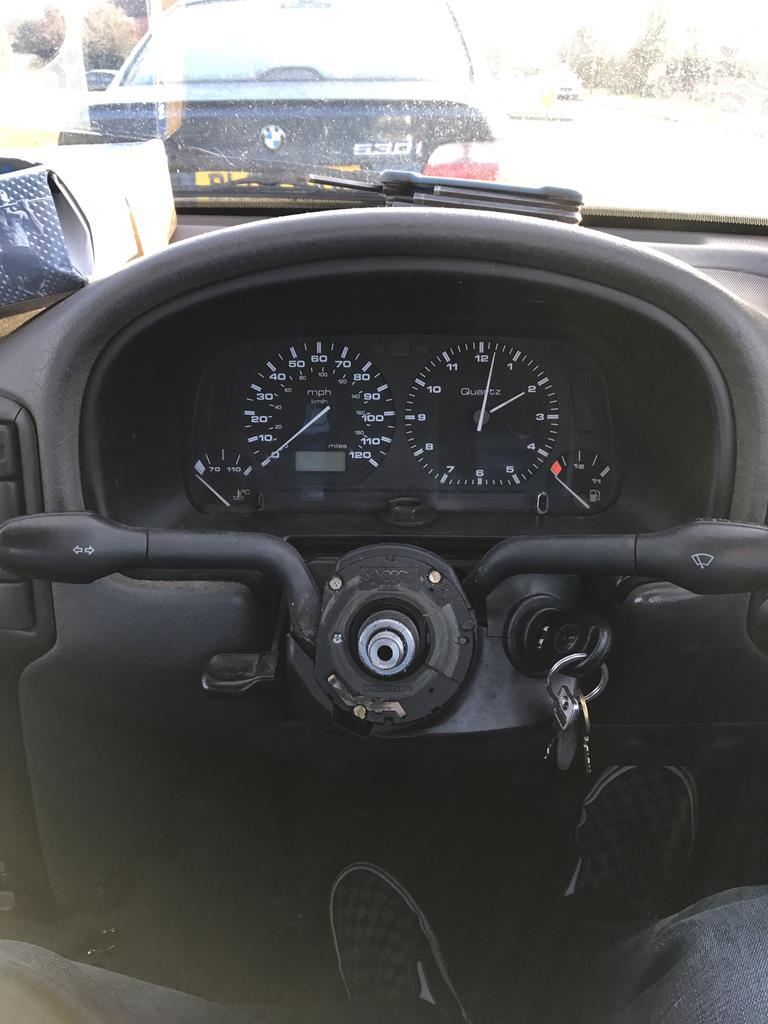 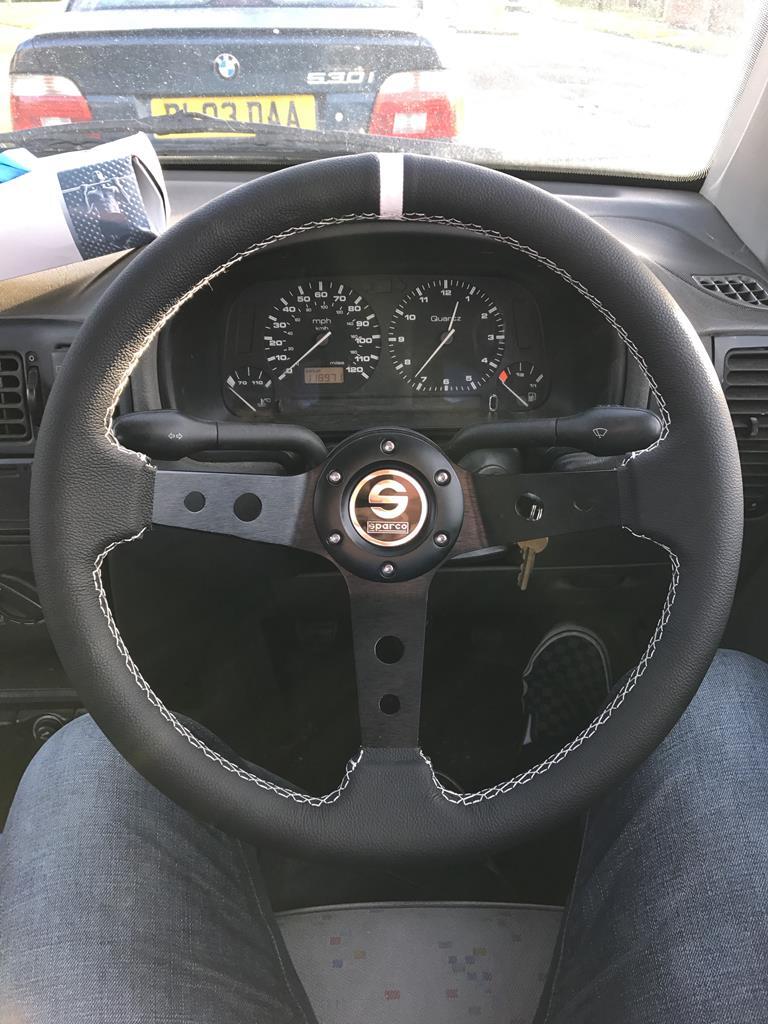 Once that was on I reconnected the battery and went to try the horn and....... Nothing! I wired it up  about face. So off it all came again, swapped the wiring around and bolted it back on. Voila! 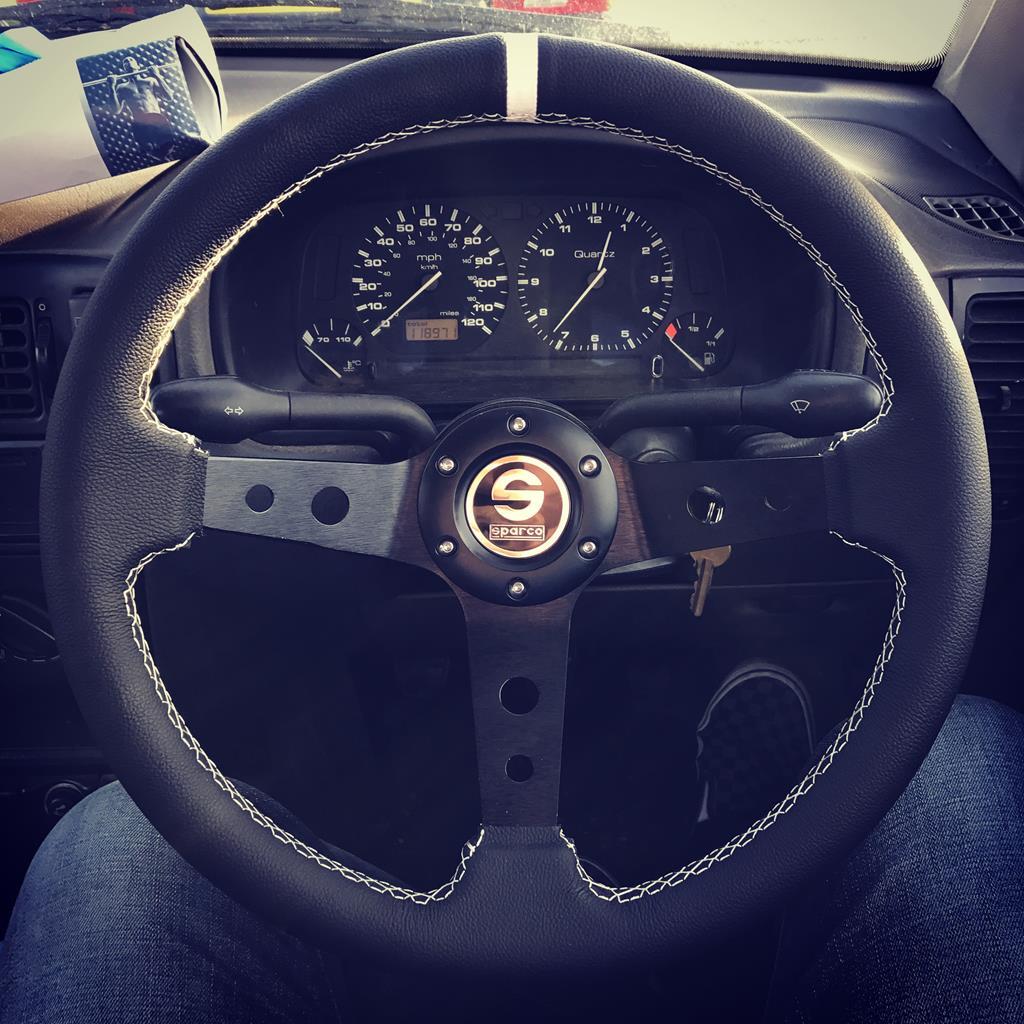 I don't think it looks too bad. Considering it's all cheap stuff it looks 1000 times better than the original. Annoyingly, where the boss won't slide far enough on the auto cancel won't work on the indicators. I'll get this sorted soon enough  |
| |
Follow Me On Instagram - @parttimecartinkerer
|
|
Sammo
Club Retro Rides Member
Posts: 1,461  Club RR Member Number: 103
|
|
Dec 28, 2017 17:42:35 GMT
|
In anticipation of the front end being stripped I have ordered poly bushes for the front wishbones, new balljoints, wheel bearings and top mounts  |
| |
Follow Me On Instagram - @parttimecartinkerer
|
|
Sammo
Club Retro Rides Member
Posts: 1,461  Club RR Member Number: 103
|
|
|
|
Finally some of the parts I ordered have arrived. I have so far received a full set of Powerflex bushes for the front wishbones and front engine mount, two new lower balljoints (I'll most likely destroy the old ones trying to get them out!), 1 new front wheel bearing (I replaced the other one a couple of years ago), a set of Mk3 Golf GTI clocks and a Golf VR6 gearbox. I'm picking up the engine this Saturday and then that's all the big stuff that requires the use of the van. Which means as soon as it stops curse word it down I can rip the engine out and start lining the V5 up to get the chassis mount made  I'm absolutely determined that this is delivering Mrs Sammo and I to the Weekender and ideally having a go at the sprint  Watch this space! (Sorry for the lack of pictures. I'll try and take some over the weekend. Promise!) |
| |
Follow Me On Instagram - @parttimecartinkerer
|
|
Sammo
Club Retro Rides Member
Posts: 1,461  Club RR Member Number: 103
|
|
|
|
Today was kind of a productive day. My Daughter and I drove down to Southampton and collected the engine (and gearbox, engine loom, car loom, ECU, key, throttle pedal and all engine mounts!). I couldn't believe it when the chap (Martyn) showed me all the stuff that was included! It's definitely going to make this easier having all of that. I even took a a couple of pictures. Plodding along the M3. 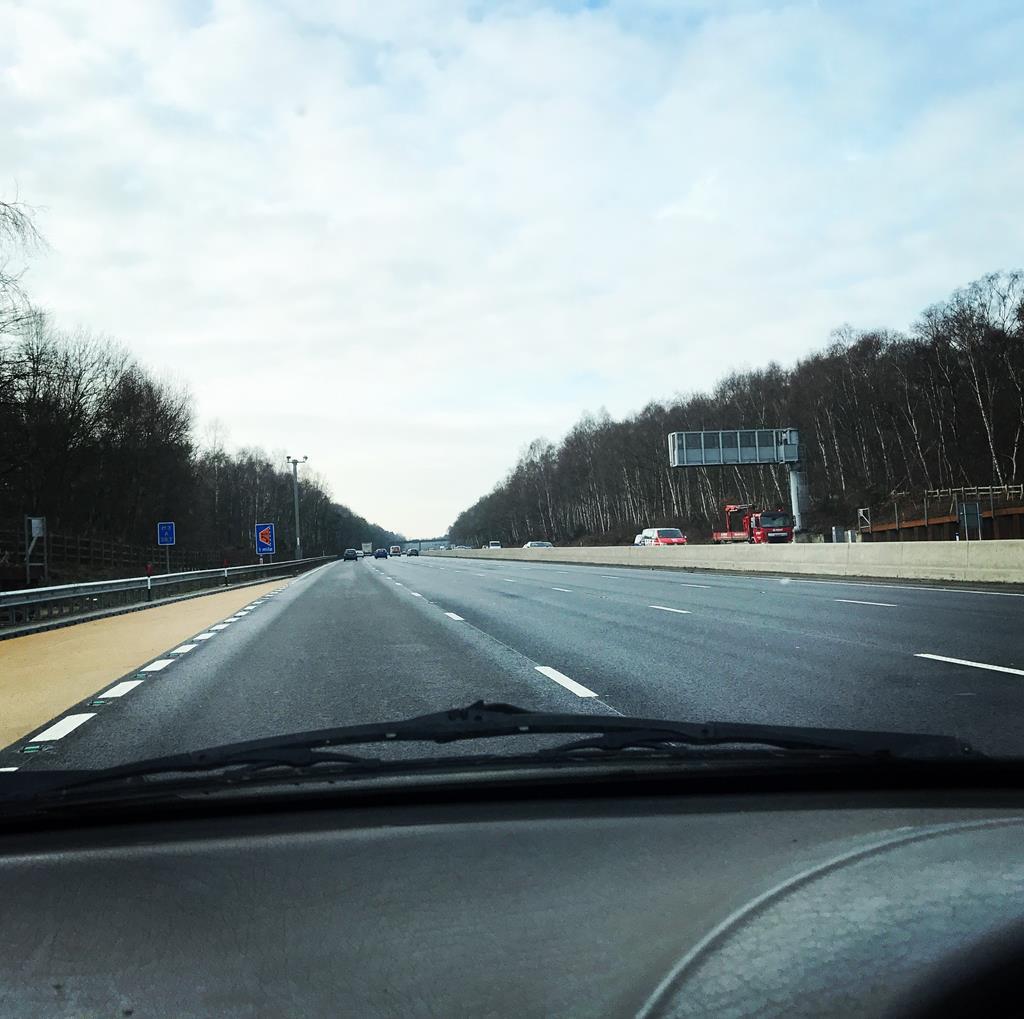 Using Martyns' very handy forklift to load the engine into the van  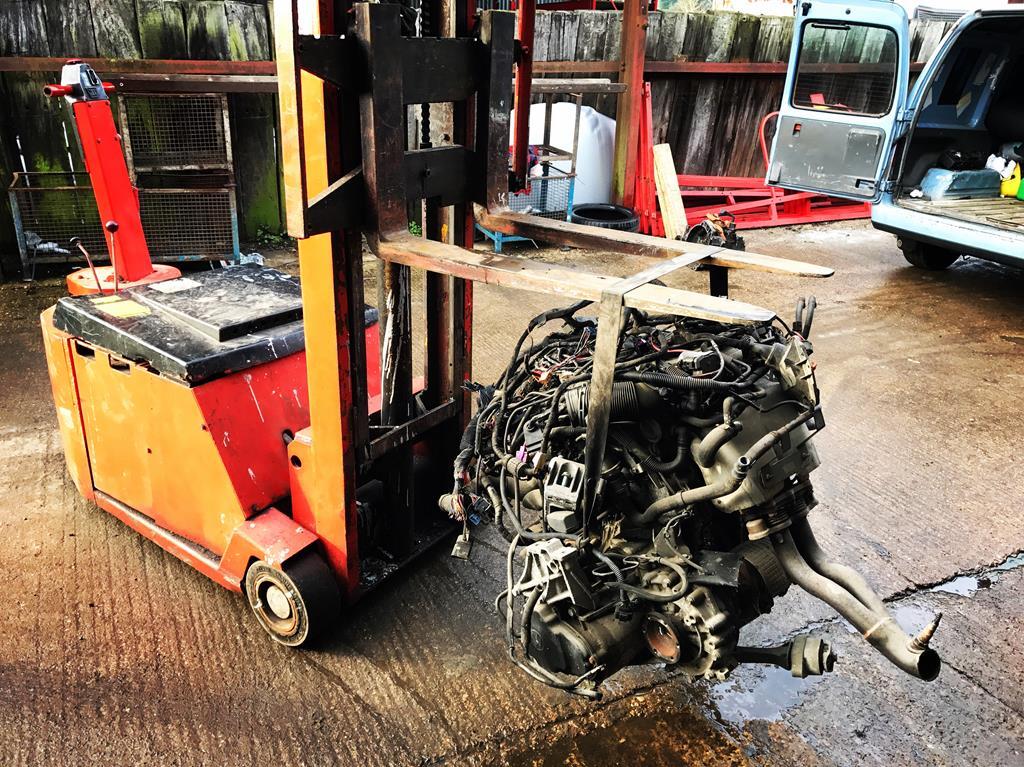 Finally loaded up and ready for the drive home. Rear engined Caddy anyone? 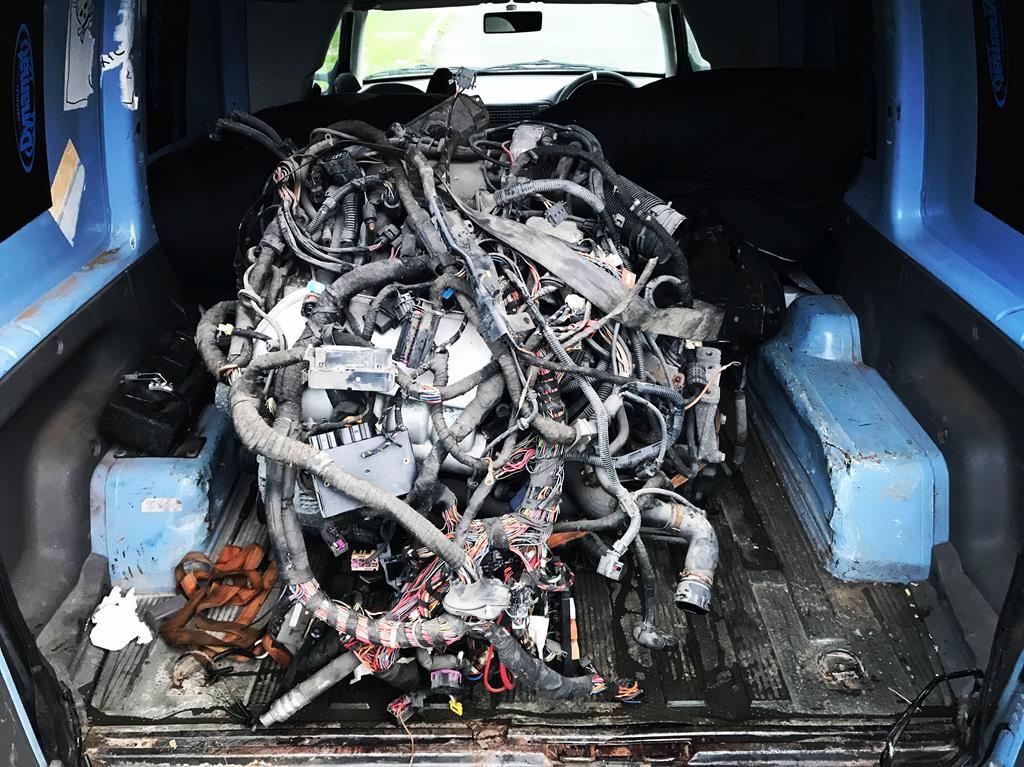 |
| |
Last Edit: Jan 6, 2018 16:08:40 GMT by Sammo
Follow Me On Instagram - @parttimecartinkerer
|
|
|
|
|
|
|
|
How did you get it out of the Van?
|
| |
|
|
Sammo
Club Retro Rides Member
Posts: 1,461  Club RR Member Number: 103
|
|
|
|
How did you get it out of the Van? I've got an engine crane at home. It's gonna stay in the back of the van until it's time to start the swap though as I don't have anywhere else to store it right now. My garage is full of XR2 🙈 |
| |
Follow Me On Instagram - @parttimecartinkerer
|
|
|
|
|
|
|
|
Ok well there is no better place.
|
| |
|
|
dazcapri
North East
Enter your message here...
Posts: 1,061
|
|
|
|
How did you get it out of the Van? I've got an engine crane at home. It's gonna stay in the back of the van until it's time to start the swap though as I don't have anywhere else to store it right now. My garage is full of XR2 🙈 I drove round with a pinto engine in the back of my old Bedford ha van for months cos I had nowhere else to put it |
| |
Mk3 Capri LS
|
|
misteralz
Posted a lot
   I may drive a Volkswagen, but I'm scene tax exempt!
Posts: 2,495
|
|
|
|
|
Cool. These are made with loads of bits of mk2/3 Golf/Ibiza/6N Polo/etc... You could build this with pretty much no fabrication involved at all. Somebody earlier in the thread said you'd need to modify a mk3 VR6 pedal box - you won't. There was a diesel Ibiza/Cordoba/possibly Caddy that had a 1.9TDI engine and also a hydraulic clutch. The pedal box from one of those will be a direct fit. Use the slave, master, fluid reservoir and hard line from the same. Ibizas had a black dash which looks better than the grey, and you'll probably have the dash out anyway for all the wiring. Better spec Ibizas had electric windows and mirrors and the wiring just plugs in - although if you go for the mirrors you'll need to extend the loom since the Caddy mirrors are on stalks. Be aware that you'll need the winder setup from a 5 door rather than three.
Changing relay 19 for 99 gives you a programmable wiper delay, and if you're fitting GTI clocks you might as well fit GTI stalks with the MFA. There are probably more tips for improvement, but I'm buggered if I can think of them just now!
|
| |
|
|
|
|
Sammo
Club Retro Rides Member
Posts: 1,461  Club RR Member Number: 103
|
|
|
|
Somebody earlier in the thread said you'd need to modify a mk3 VR6 pedal box - you won't. There was a diesel Caddy that had a 1.9TDI engine and also a hydraulic clutch. The pedal box from one of those will be a direct fit. Use the slave, master, fluid reservoir and hard line from the same. This is correct. The only annoying thing is having to drill a hole in the bulkhead and then weld in a strengthening plate for the master cylinder. I was thinking of buying a cable adaptor from Retrofication and just carrying on with the cable clutch for now. Seeing as I want to take this to the Weekender I'm on a bit of a short timeline (I know it's 5 months away but I don't actually get much tinkering time!) |
| |
Follow Me On Instagram - @parttimecartinkerer
|
|
misteralz
Posted a lot
   I may drive a Volkswagen, but I'm scene tax exempt!
Posts: 2,495
|
|
|
|
|
|
| |
|
|
Sammo
Club Retro Rides Member
Posts: 1,461  Club RR Member Number: 103
|
|
|
|
Today I managed to take a (tiny) step forward  My Daughter went out with my Mum and Sister so I wandered out to the van to swap the instrument cluster to the Mk3 GTI ones I recently bought on eBay. Started off with this. 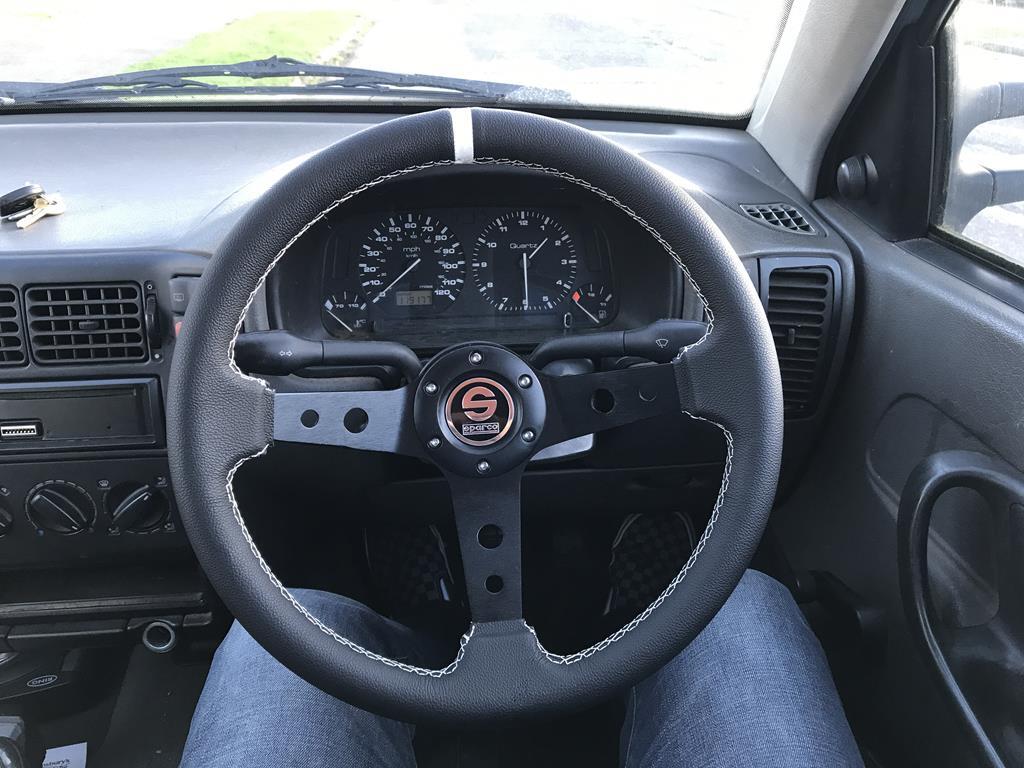 Buzzed the wheel off and then removed the plastic surround. 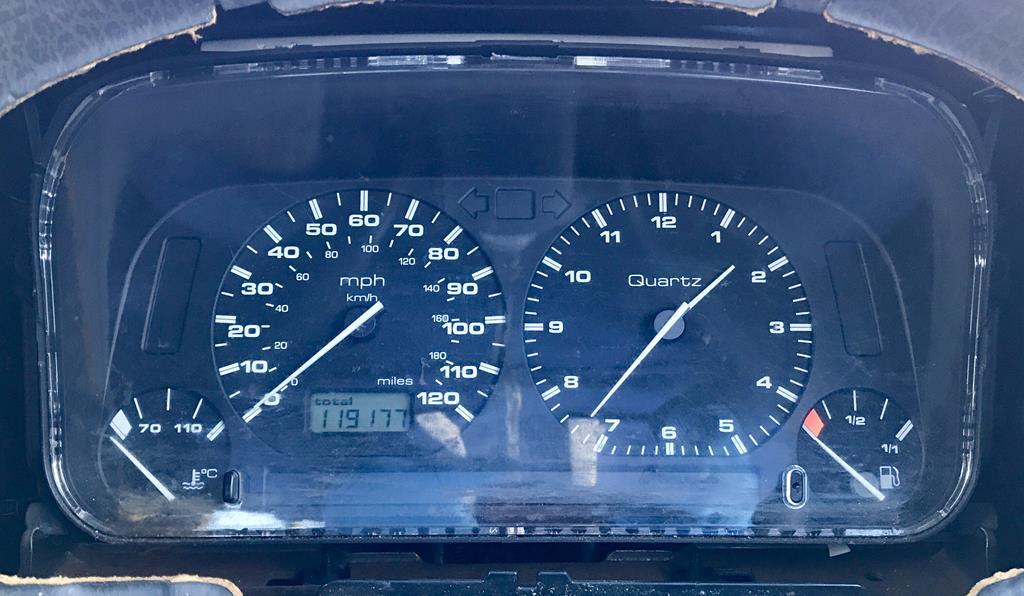 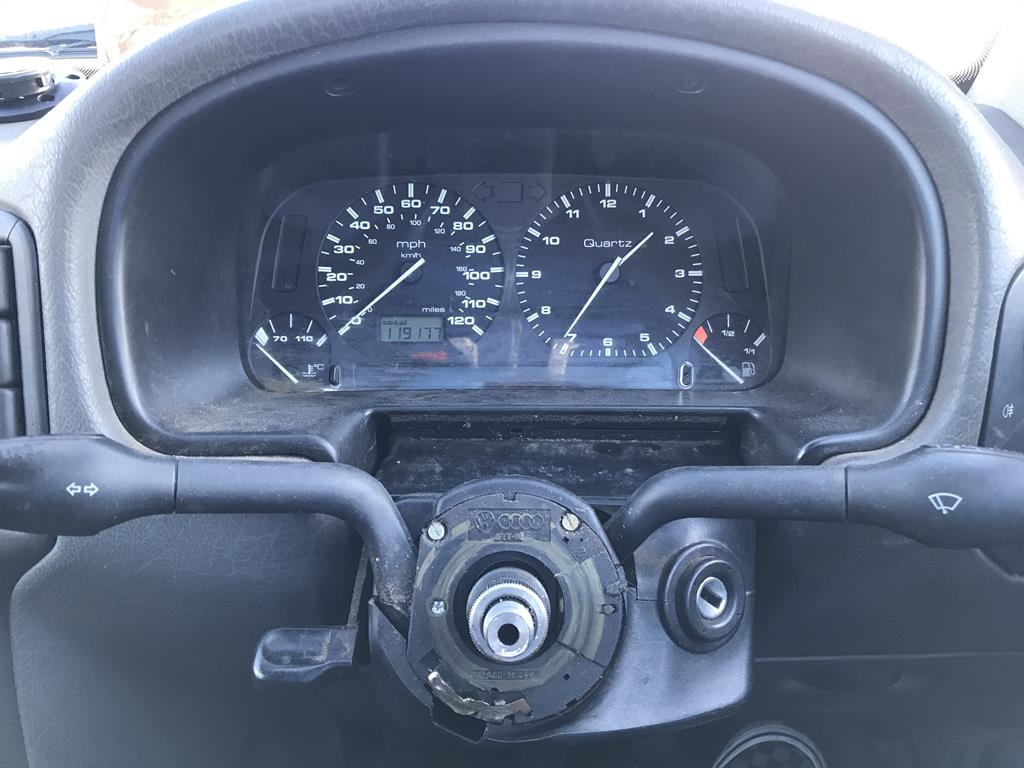 I was surprised how easily these come out. Two phillips screws, tilt the cluster forward and unplug it and out it comes  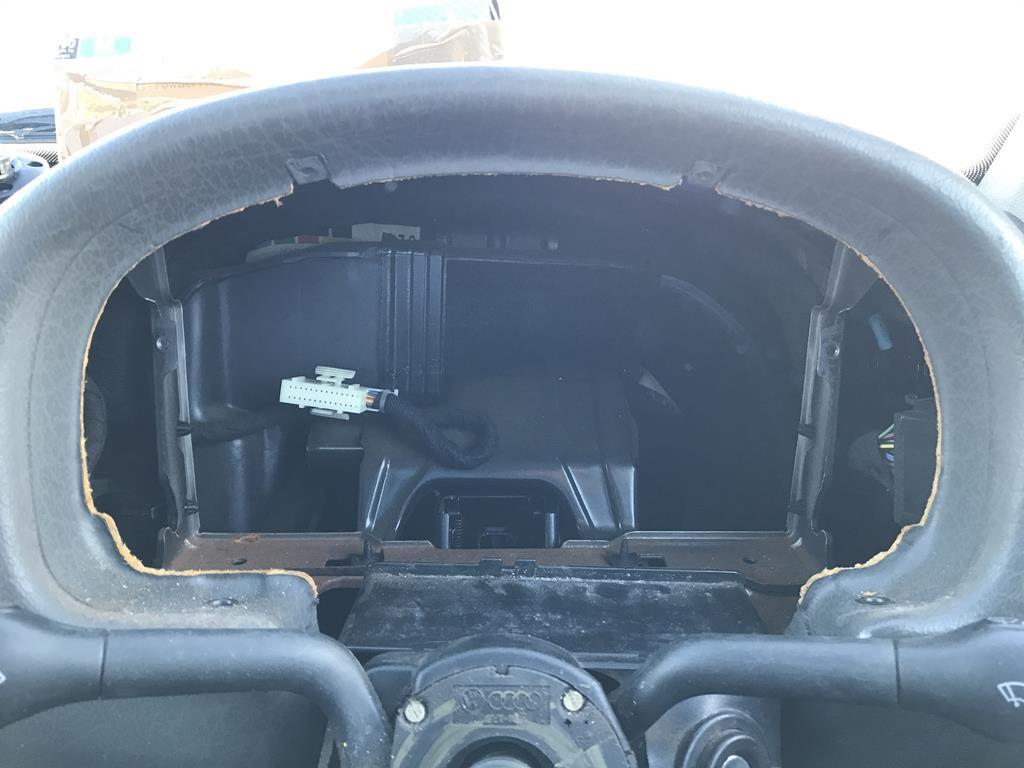 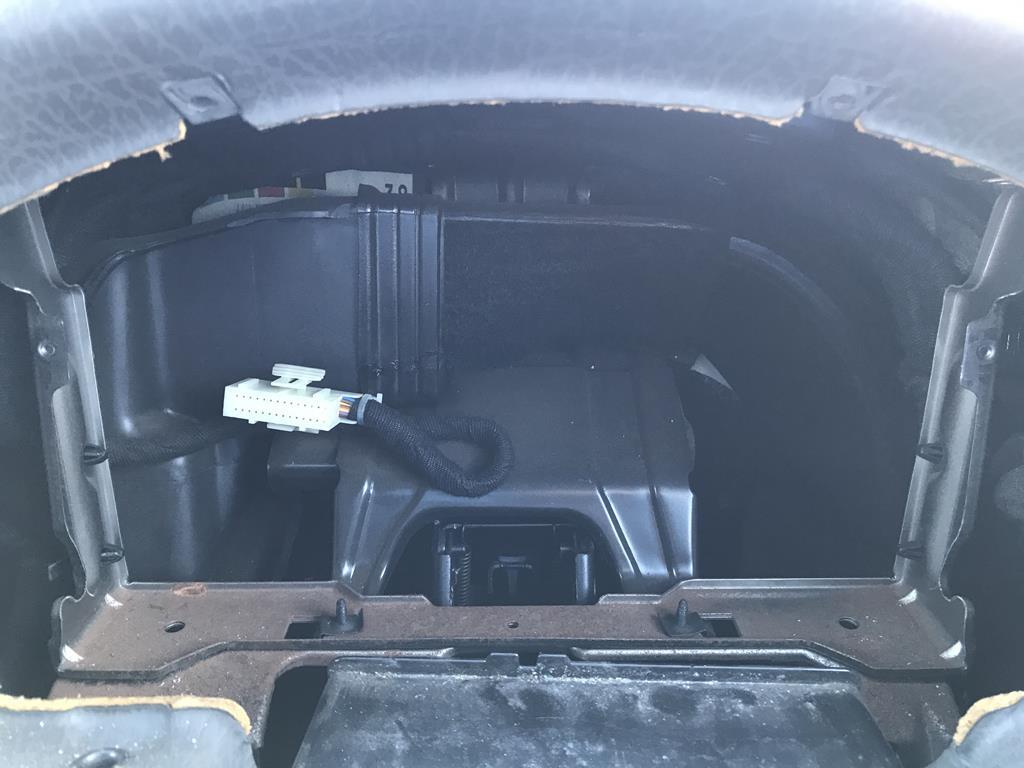 Refitting the new one was reverse of removal (I could of worked for Haynes 😋) 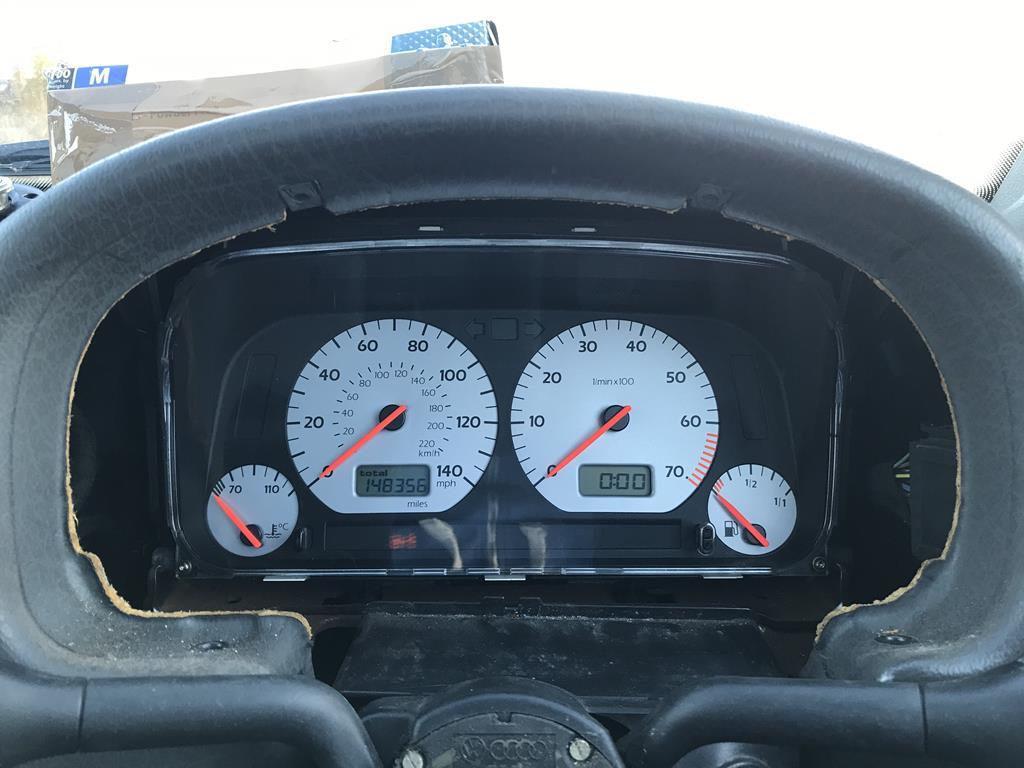 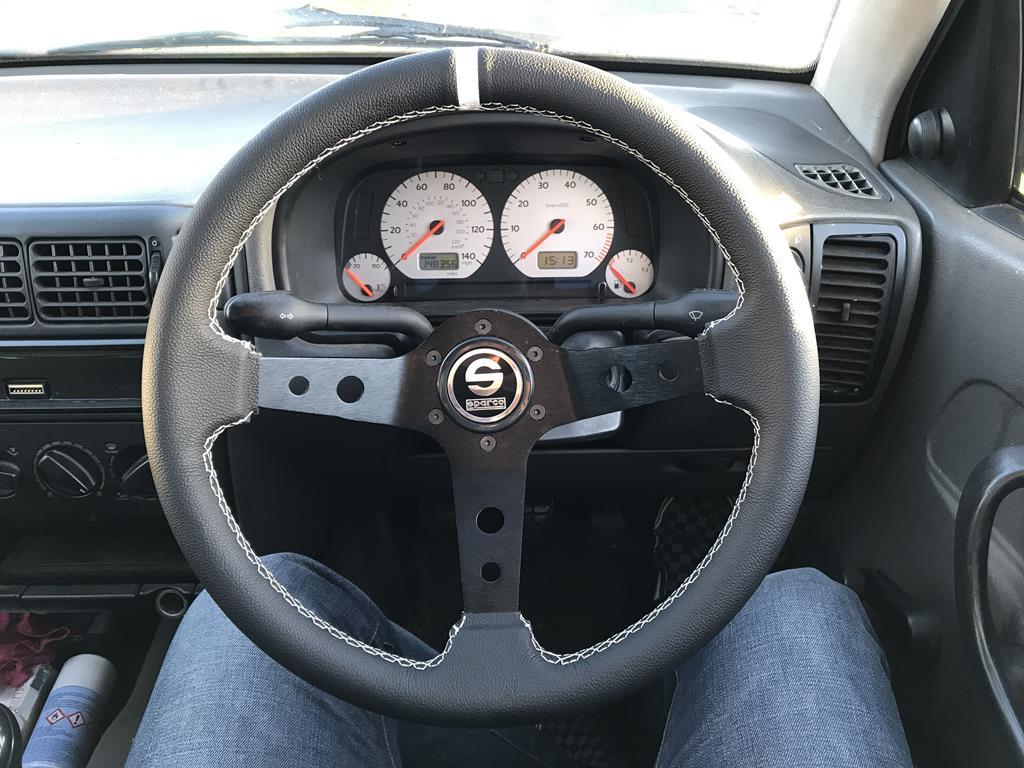 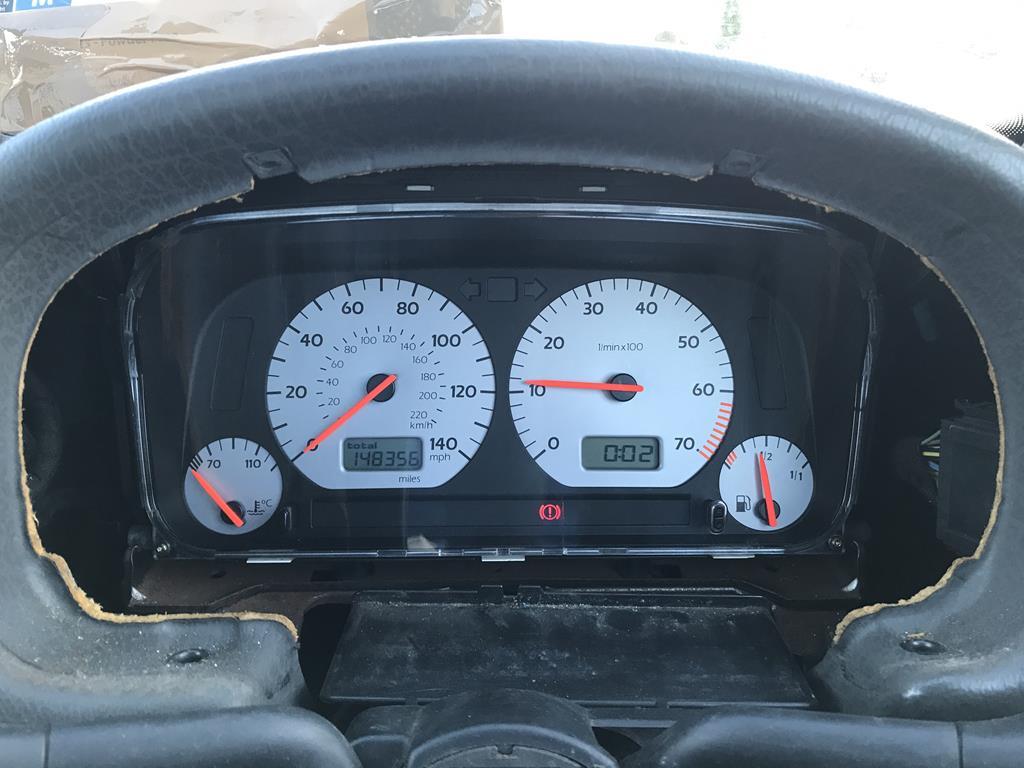 Not a massive step, but a step nonetheless. |
| |
Follow Me On Instagram - @parttimecartinkerer
|
|
Sammo
Club Retro Rides Member
Posts: 1,461  Club RR Member Number: 103
|
|
|
|
|
Oh and I've decided I don't like that steering wheel. I can't put my finger on the exact reason but it just isn't nice to drive with. I'm gonna order something different soon which hopefully will be a little nicer.
|
| |
Follow Me On Instagram - @parttimecartinkerer
|
|
Sammo
Club Retro Rides Member
Posts: 1,461  Club RR Member Number: 103
|
|
Jan 14, 2018 12:44:16 GMT
|
Yesterday I drove to Kent and collected a VR6 flywheel (and the guy chucked in a brand new clutch!), starter motor and very good condition front seats  This morning I decided to swap the seats over seeing as I didn't really have anywhere to store them. These were the originals. Not particularly comfy or supportive and when I bought the van they had enough hair embedded into them to make yourself a couple of fur coats! 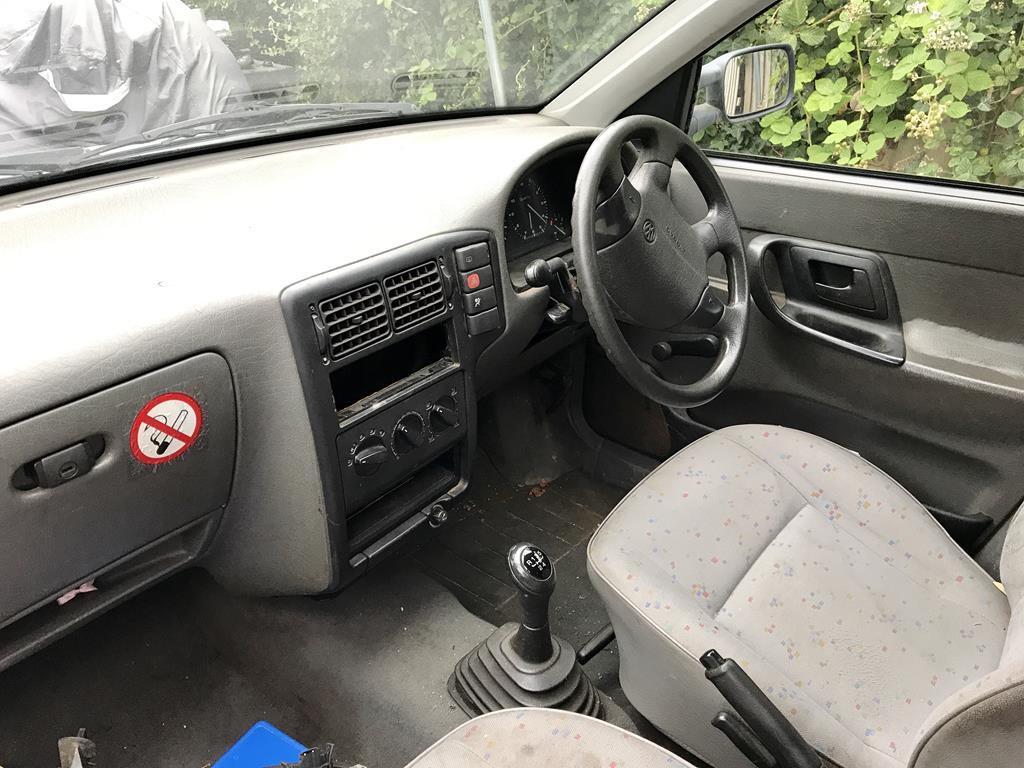 They took at least 2 minutes to extract! Look at the build up of van curse word underneath! I didn't have access to a vacuum but the seats will be coming back out again anyway so I can clean it all up. 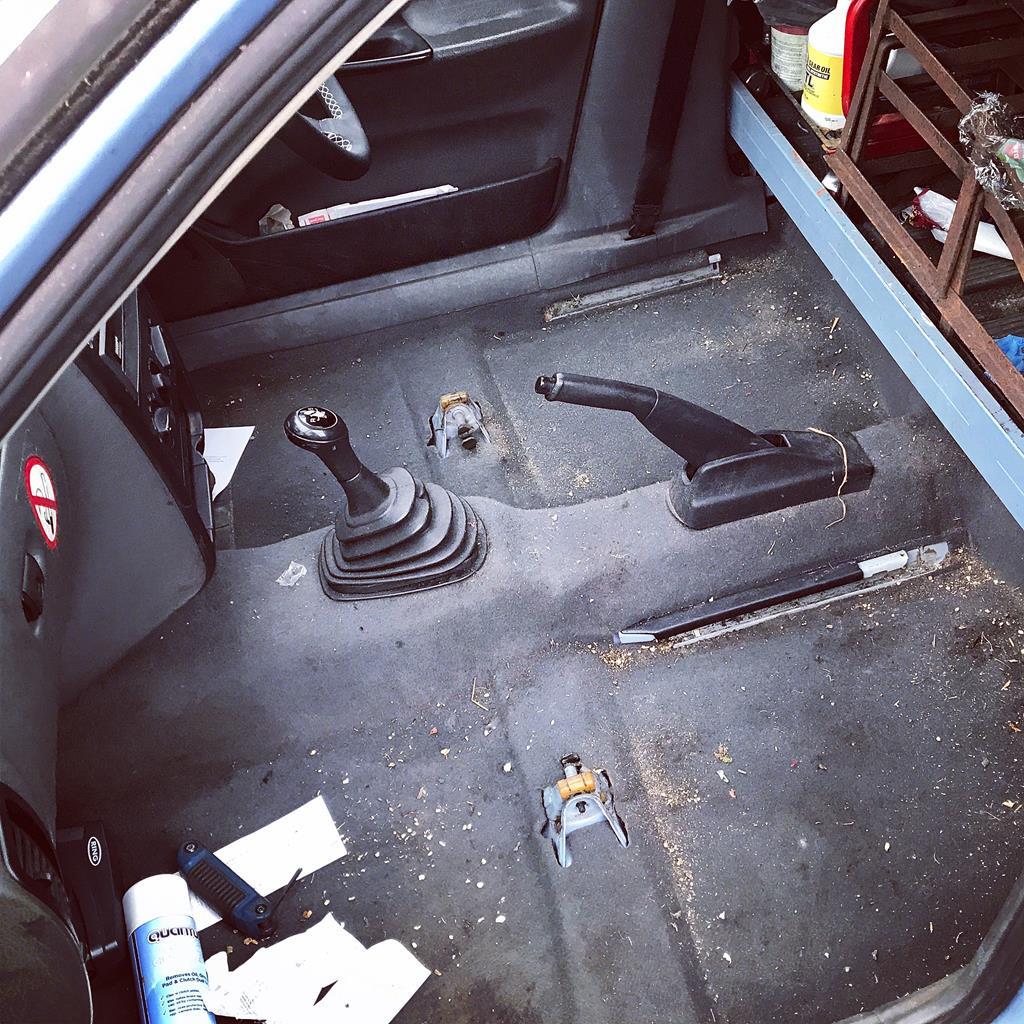 It was then a bit of a pain to get the new ones in. They're from a Mk3 Golf VR6 so they're wider and taller although they appear to be lighter than the ropey originals! I had to swap the tilt handles from the old seats to the new ones so the seats could fit. I think they look pretty good though and they're very comfy  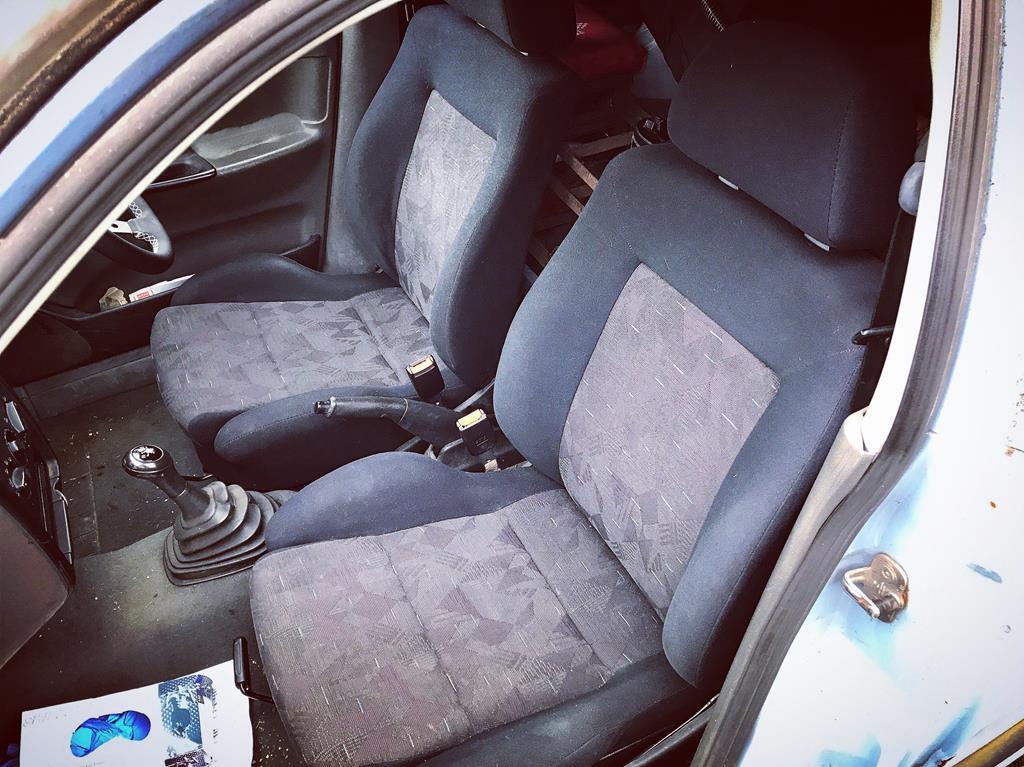 |
| |
Follow Me On Instagram - @parttimecartinkerer
|
|
|
|
|
Jan 14, 2018 13:58:30 GMT
|
|
I love the parts bin compatibility that the V.A.G. range provides. the VR5 is a lovely sounding lump. Isn't this the 4-valve 170bhp unit? It will make for a nice torquey van with a savage soundtrack. There are so many upgrades you can do from other vehicles under the umbrella, and if I can't find something that fits, I use another part and make it fit!
|
| |
|
|
Sammo
Club Retro Rides Member
Posts: 1,461  Club RR Member Number: 103
|
|
Jan 14, 2018 14:27:38 GMT
|
I love the parts bin compatibility that the V.A.G. range provides. the VR5 is a lovely sounding lump. Isn't this the 4-valve 170bhp unit? It will make for a nice torquey van with a savage soundtrack. There are so many upgrades you can do from other vehicles under the umbrella, and if I can't find something that fits, I use another part and make it fit! Yes it's the 4 valve 170bhp version  Vw's of this age are ripe for component swaps. Makes things much easier  |
| |
Follow Me On Instagram - @parttimecartinkerer
|
|
Sammo
Club Retro Rides Member
Posts: 1,461  Club RR Member Number: 103
|
|
Feb 18, 2018 14:25:45 GMT
|
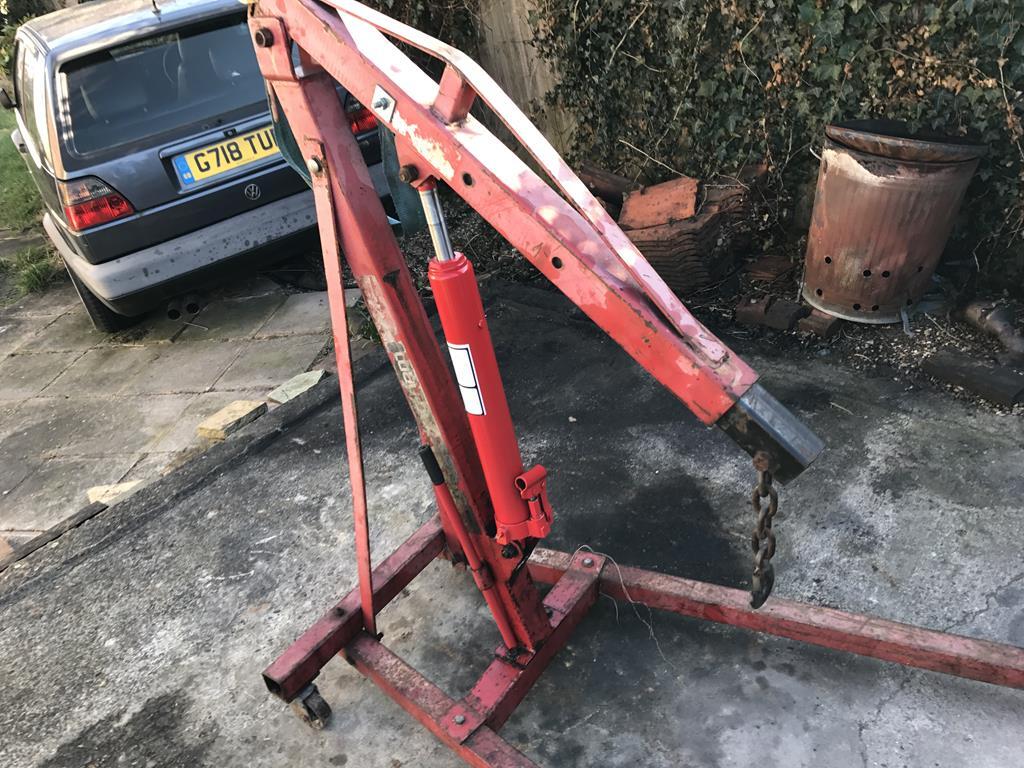
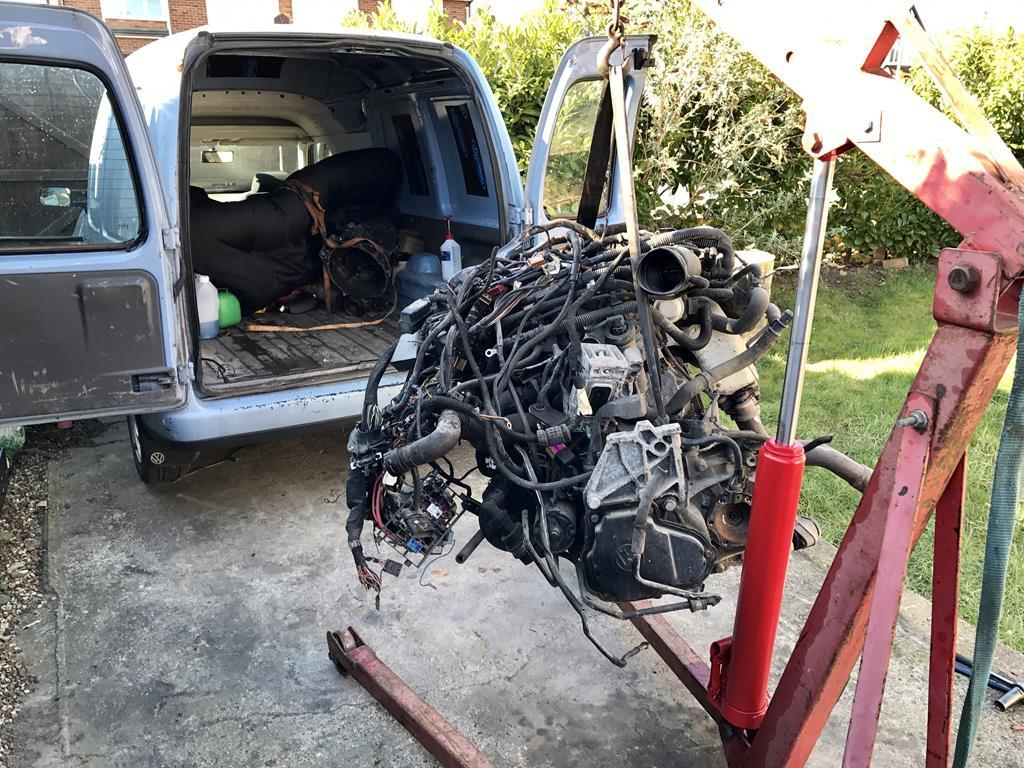
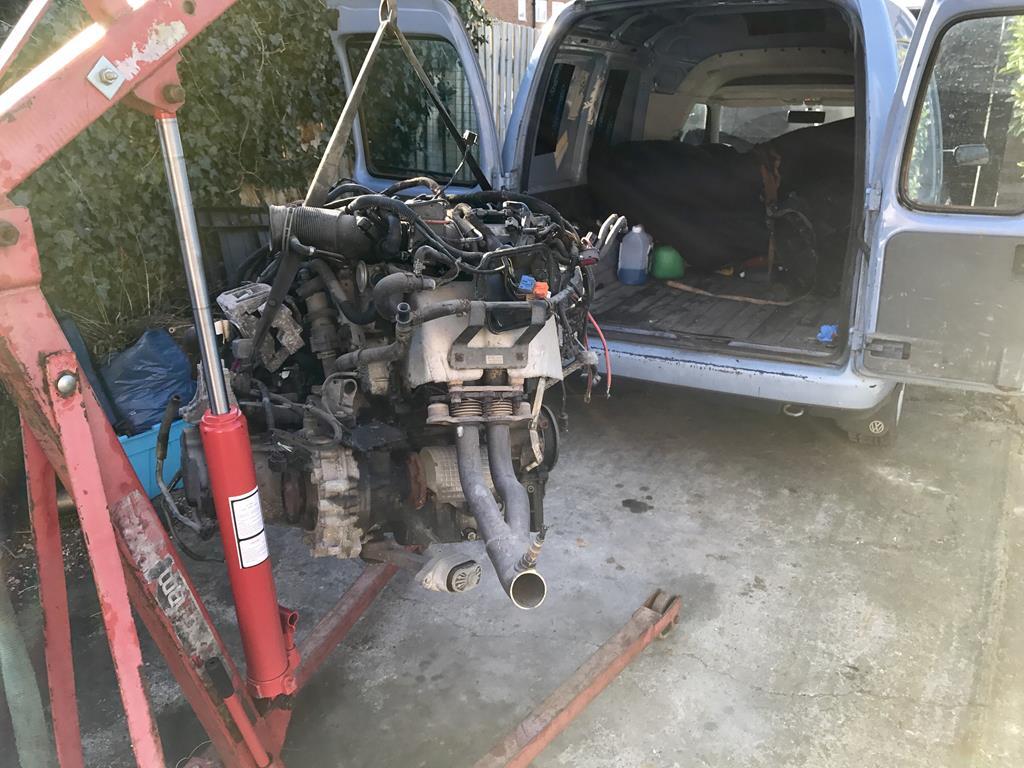
Over the last few days I've been clearing the driveway of all the curse word that's been blocking it ready to at least get the V5 engine out of the van and onto a stand. Today was to be that day  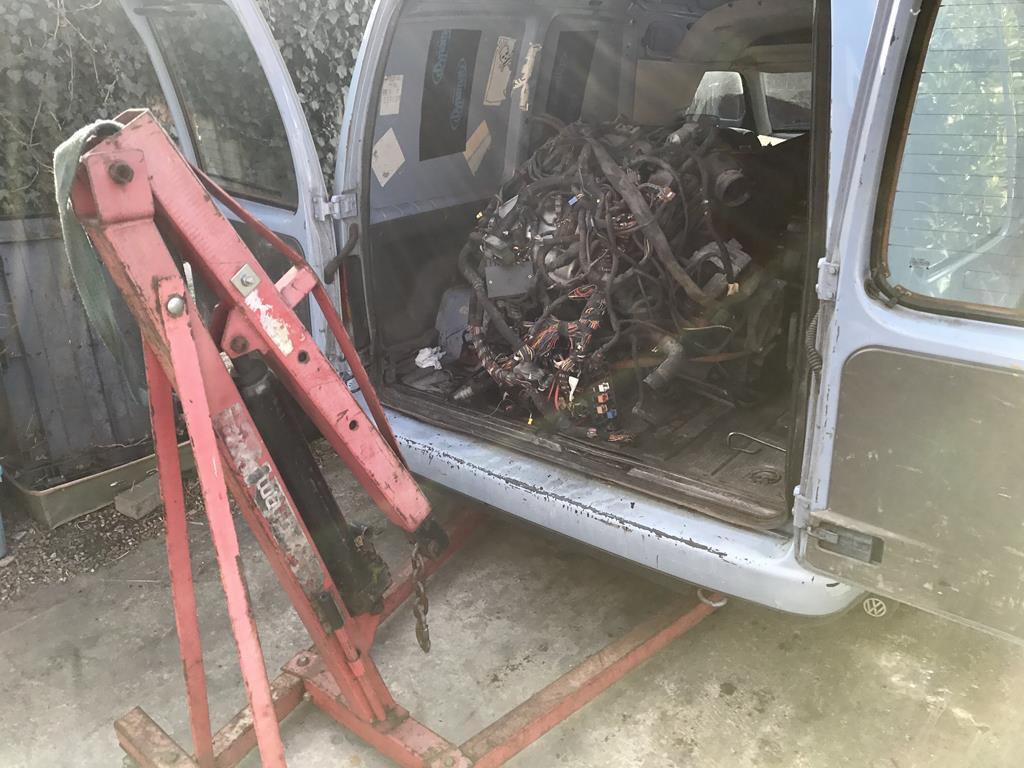 However, that's as far as I got. It turns out that the 18 months of sitting around has destroyed the seal in the hydraulic ram for the hoist! I've already ordered a replacement ram so as long as the weather is ok next weekend I can get back on it! Proper anticlimax aye!! |
| |
Follow Me On Instagram - @parttimecartinkerer
|
|
|
|
|
Feb 22, 2018 13:56:32 GMT
|
|
Interesting conversion. Will be following this for sure.
|
| |
|
|
Sammo
Club Retro Rides Member
Posts: 1,461  Club RR Member Number: 103
|
|
Feb 25, 2018 15:46:08 GMT
|
|
|
| |
Follow Me On Instagram - @parttimecartinkerer
|
|
|
|


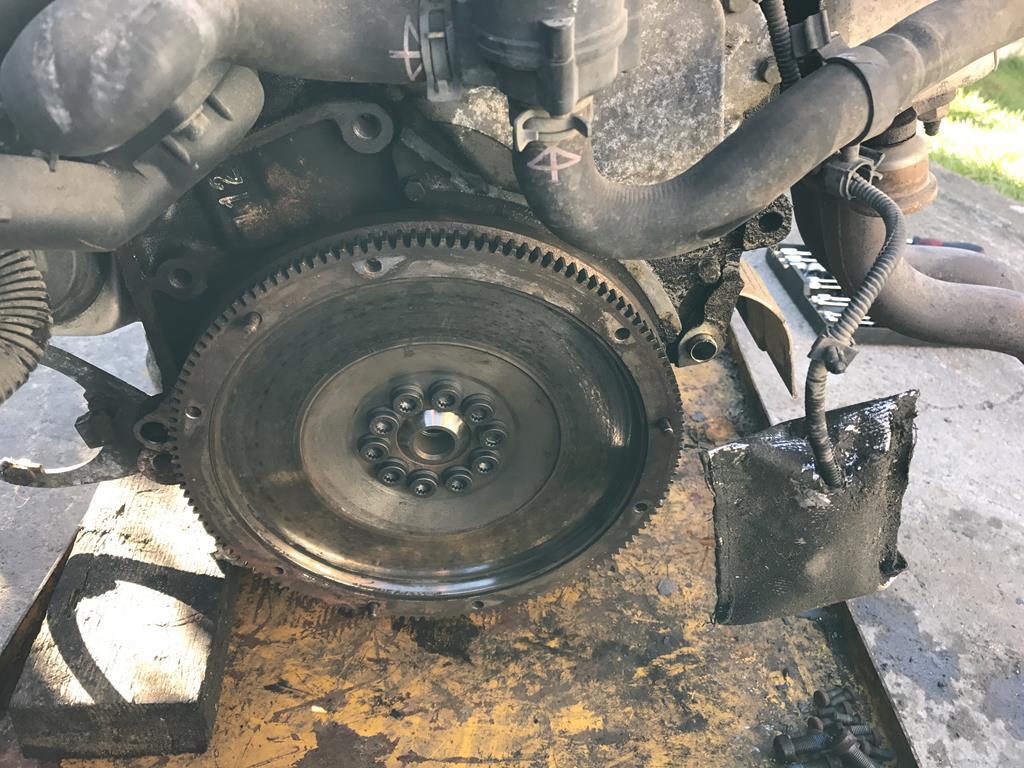
 about face. So off it all came again, swapped the wiring around and bolted it back on.




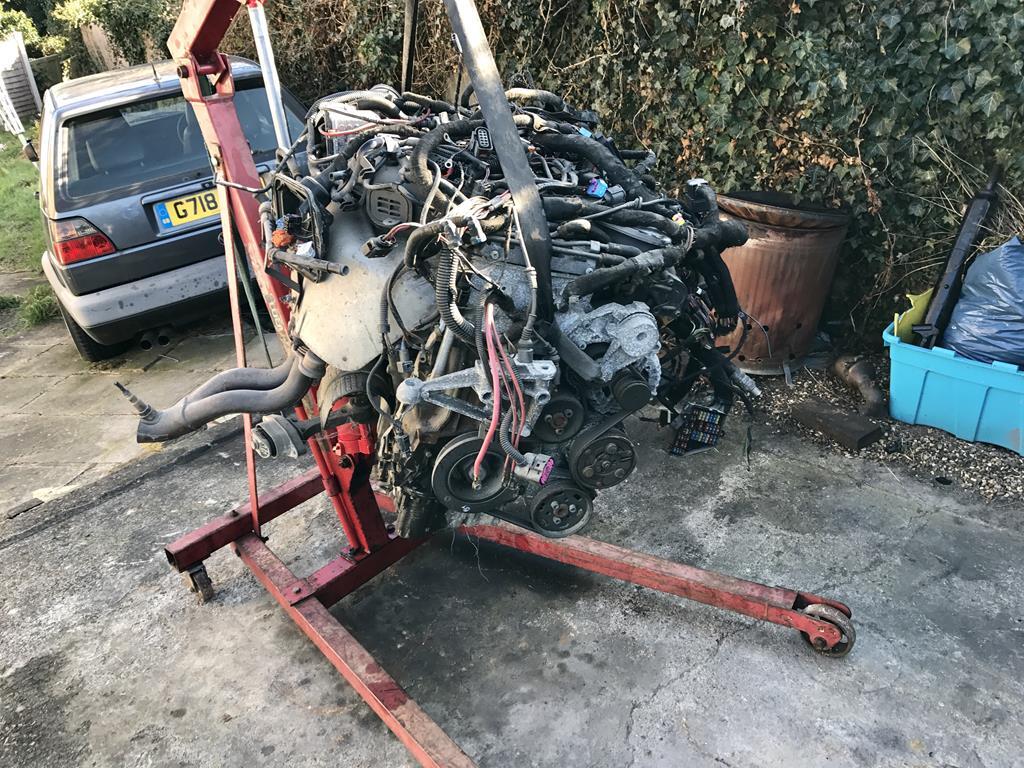
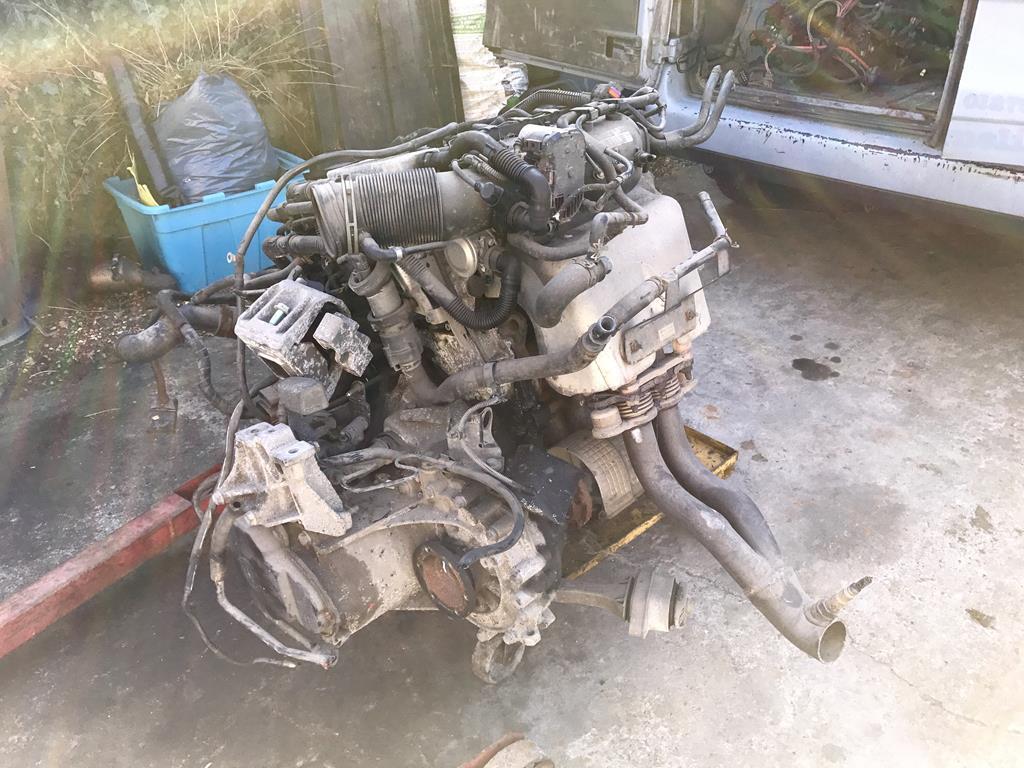
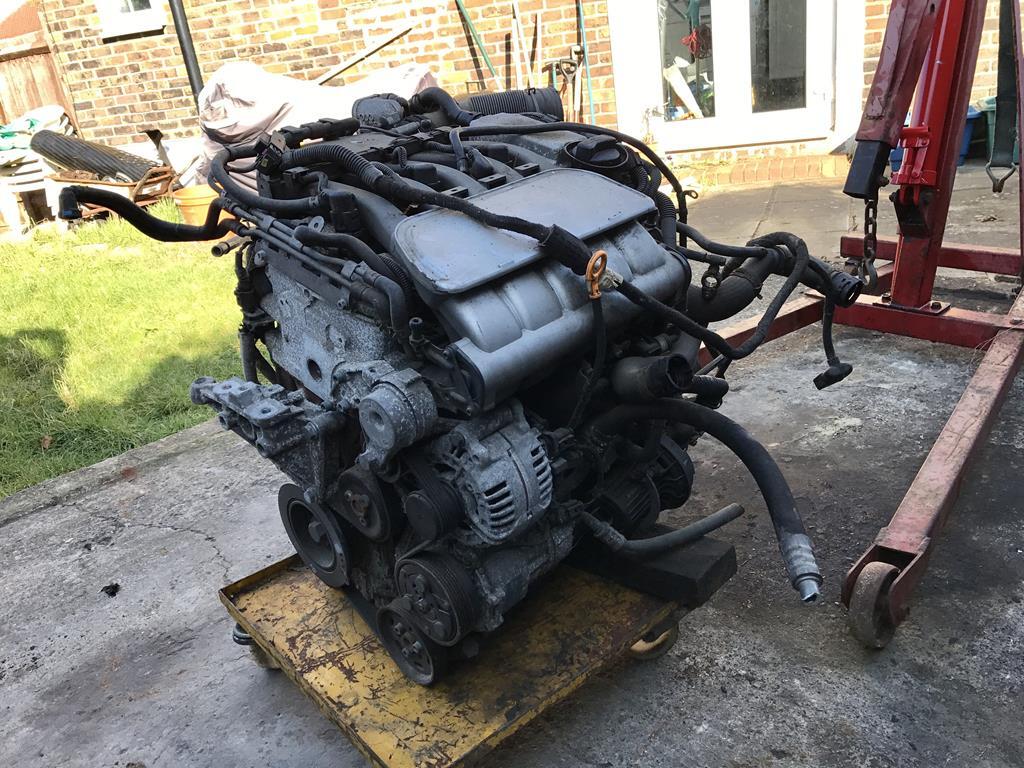
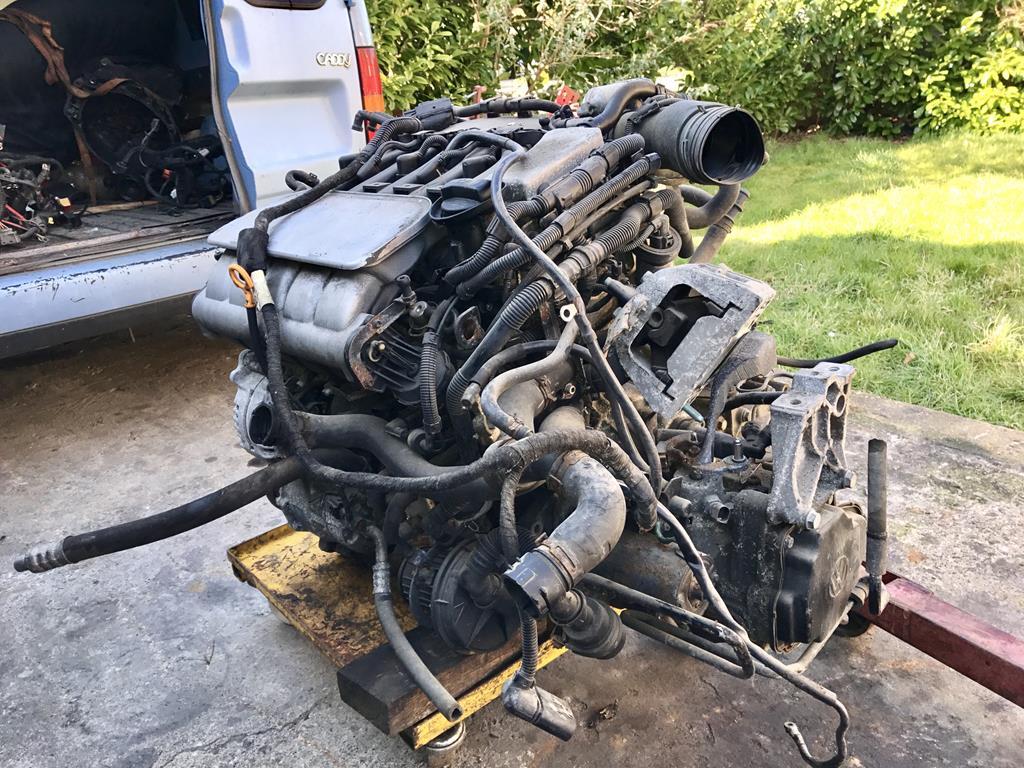
 I did remember to take one of the VR6 flywheel once it was fitted. I had a slight panic when fitting it when the bolt holes didn't line up! A quick Google later and some rotating of the flywheel and voila, the bolt holes lined up