|
|
|
|
|
****TOOL PORN ALERT**** that long sheet electric sander looks like a beast! It is and thankfully is variable speed has I have all on to hang on to it / control it when it's on full beans output - regardless of what speed its set out at - it always generates a huge static shock from the bed that always gets me even when I am wearing gloves - so it gets treated with the same contempt & trepidation has that of 'Arkwrights' till from 'Open all hours'  |
| |
|
|
|
|
|
|
|
|
|
|
i didn't laugh...honest! instantly reminded me of my dear old mum.. always used to get a static belt of an over sink water heater. a friend who was a sparky said he would come down and have a look. hooked her up to a meter , got her to touch the heater , then wet himself when she took a belt. he only came down for the laugh as he knew it was the old fashioned polyester carpet that was the issue. boy did my mum know a full range of anglo saxon!!
|
| |
'80 s1 924 turbo..hibernating
'80 golf gli cabriolet...doing impression of a skip
'97 pug 106 commuter...continuing cheapness making me smile!
firm believer in the k.i.s.s and f.i.s.h principles.
|
|
|
|
|
|
|
Chris, I know you really know your stuff, but to the untrained, the scratches still visible in your finished profiling work still look quite deep... 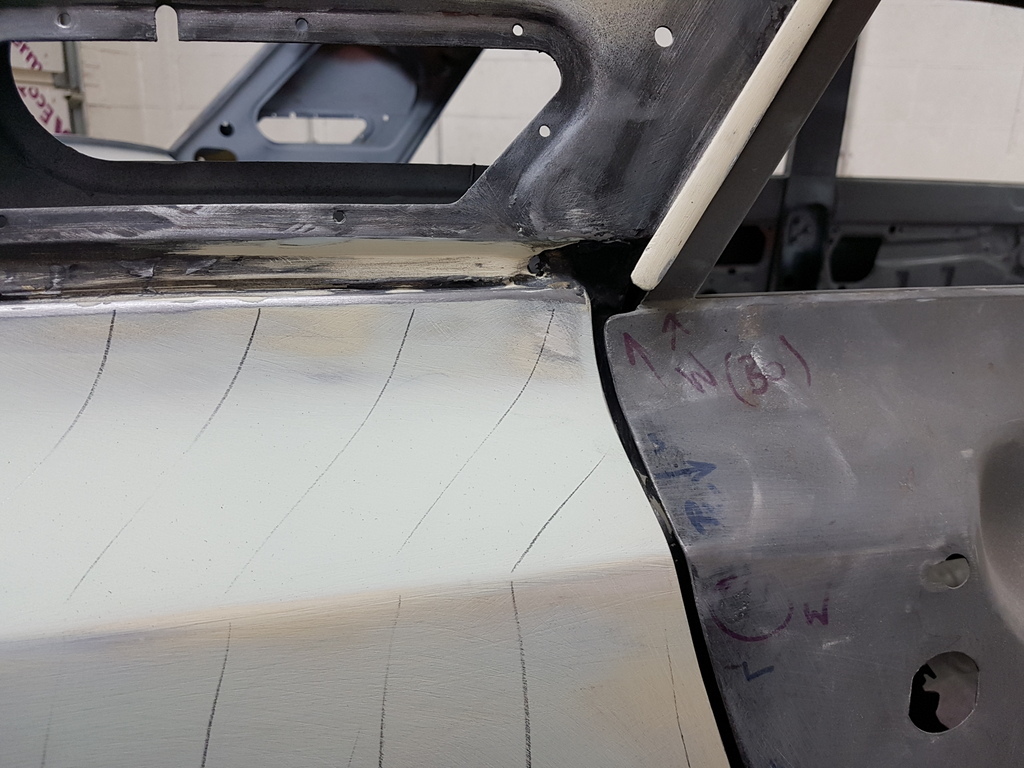 I suspect these will be smoothed by the subsequent paint product layers? Or am I just on the wrong page in the process and is this profiling not the final sanded result before paint? Alex - The marks you see in the profiles are from sanding / blocking back the profiles with 80's grade production paper - once all profiles are complete the car has a few coats of a polyester primer sprayed over it which when cured is sanded & blocked back with 320's grade - you could subject to what type of paint you are applying - spray the car with the final colour coat at this stage - but I choose to apply a further primer and then flat this back by hand prior to applying the colour coat - once this is flatted and polished the only thing that you will see is your own reflection Love that, not even slightly boastful, just a statement of fact.  |
| |
|
|
|
|
|
|
|
Is it finished yet? ......  |
| |
|
|
|
|
|
|
|
Is it finished yet? ......  I wish 'He states' has he relentlessly plugs away at the profiles - however if I stick my head over the horizon once the offside wing & bonnet are done - it JUST leaves the door aperture profiles on the offside along with both the bottoms of the offside doors to reskin - then profile and then we can look at applying some primer - 'JUST' he says who invented that bl88dy word anyway  |
| |
|
|
|
|
|
|
|
Is it finished yet? ......  I have nothing to add but absolute admiration |
| |
|
|
|
|
|
|
|
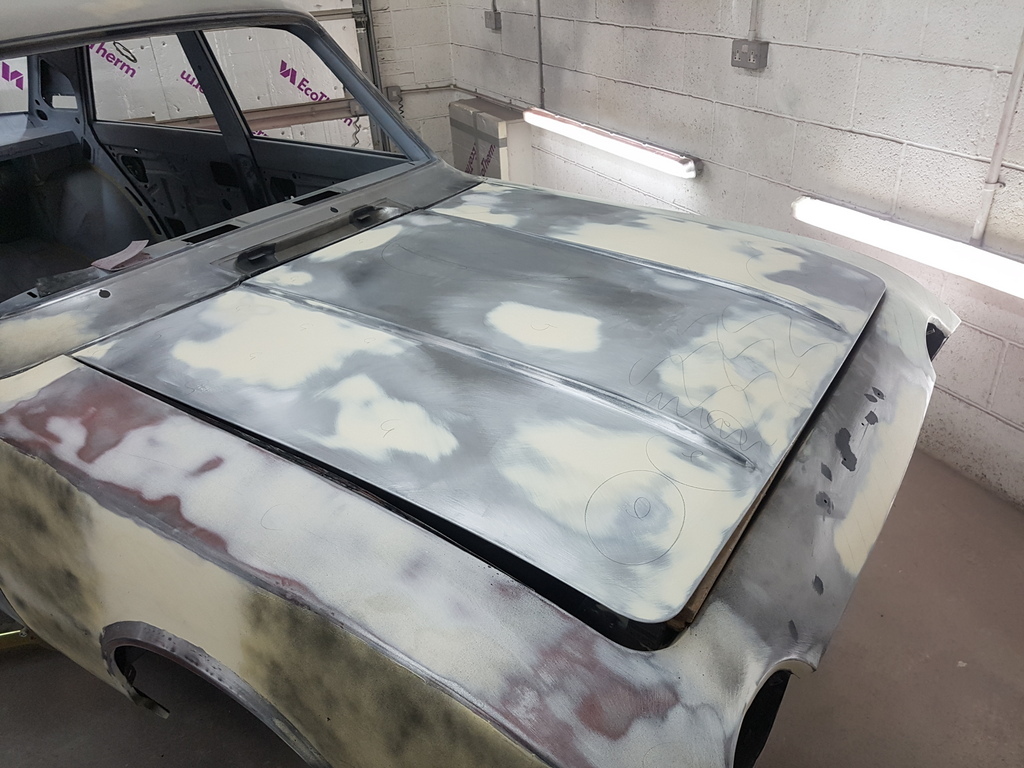 More sanding of the bonnet & offside front wing profiles 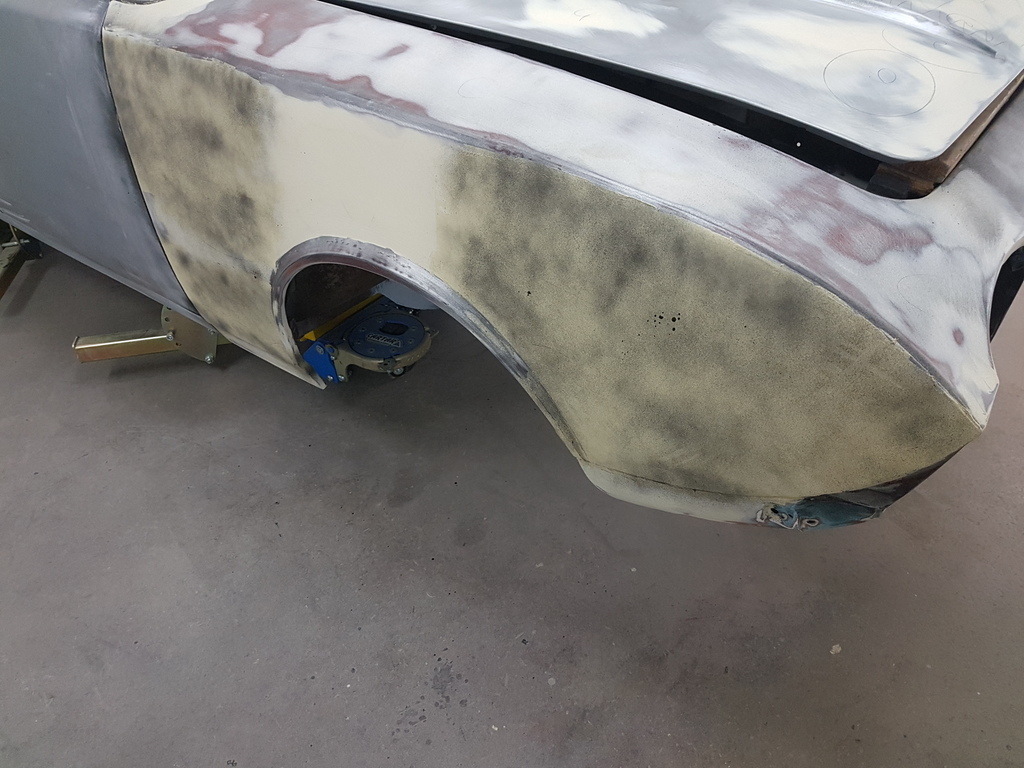 Although I am only concentrating on the side profile of the wing currently 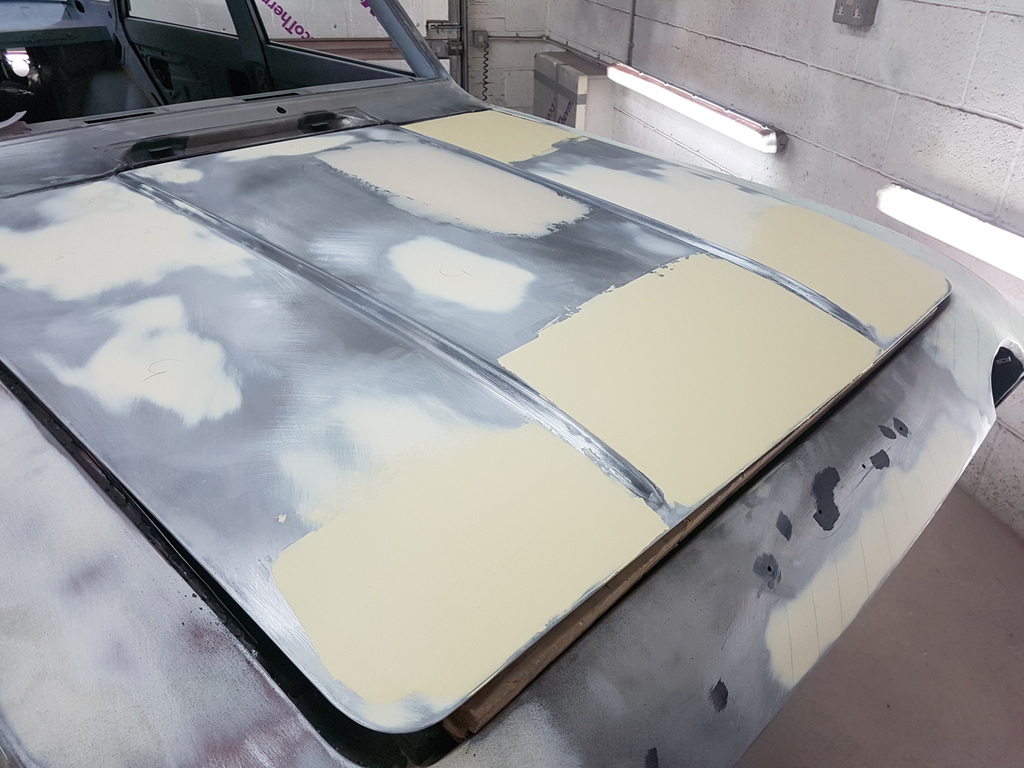 Next skim into the bonnet  And a few tips for applying filler along the way - first one is don't bother with cheap unbranded filler - its just not worth the saving vs the hassle that it is likely to give you - secondly always use a clean uncontaminated mixing surface - easy way of ensuring this is to purchase a filler mixing pad - sometimes referred to has onion boards - they contain 100 sheets of a clean sheet mixing base - just tear off once used / finished with and can be had for under a fiver 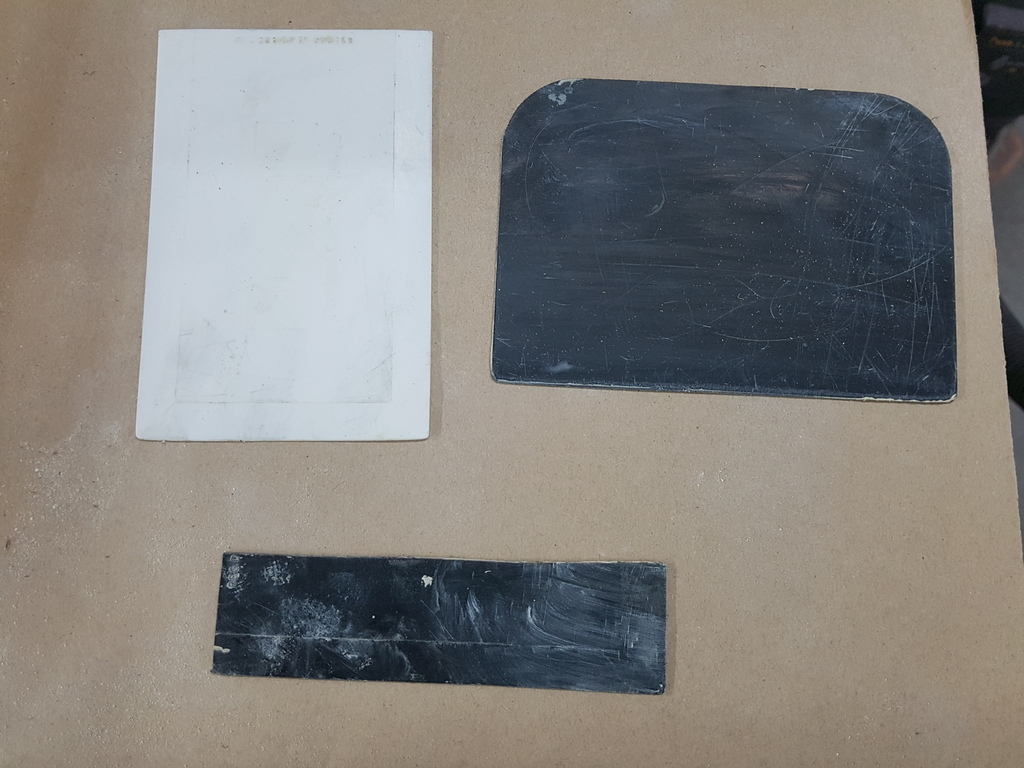 It's worth investing a few quid in a pack of wide filler spreaders rather than rely on the smaller size one that maybe supplied with the filler that you purchase - but its also worth purchasing a pack of the smaller sized ones too - the thin one that you see in the pic is one that I have cut down and is handy for getting the filler into areas where the larger spreaders are too big to use - of course you can also smear filler into radius edges with your finger but ensure that you are wearing gloves when you do has its a pain to get off your hands / nails (the thin nitrile gloves are no good for this task they just drag in the filler) 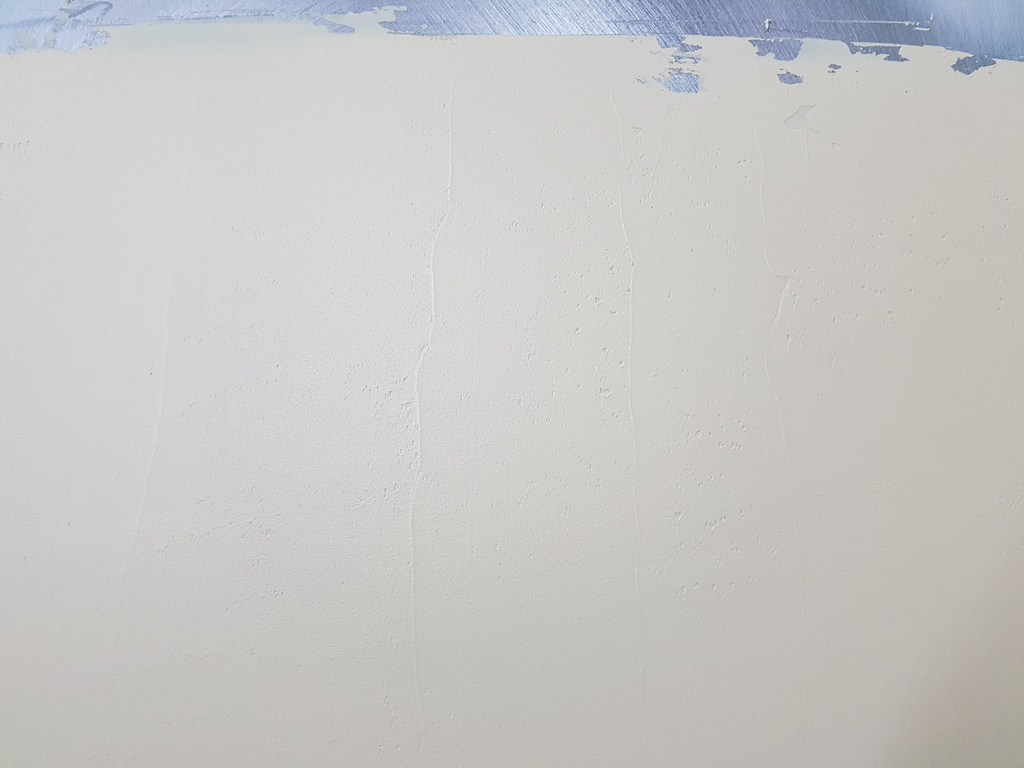 Needless to say the neater that you apply it - the easier it is to sand / block back 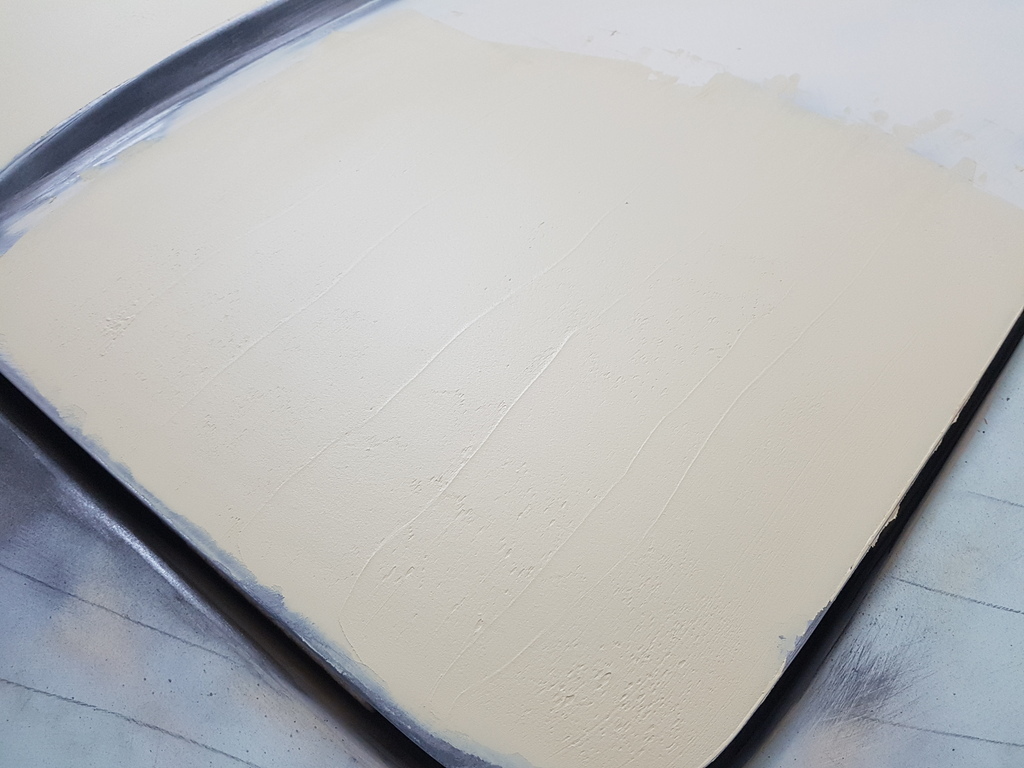 Trick here is not to rush - so don't attempt to mix too large a batch and fill all the required areas on a full panel in one go - so the bonnet that you see on the Corsair I did in three mixed batches - mix a large batch and attempt to skim / fill the areas in one go and you will be rushing with the filler starting to cure and the skimming being untidy - which in turn just gives you more work - uses more abrasive - more effort and the chances are that the large mixed batch will cure part way through the application and you end up throwing material that's cured away before you get the chance to apply it (witnessed this happen so many times it's untrue) 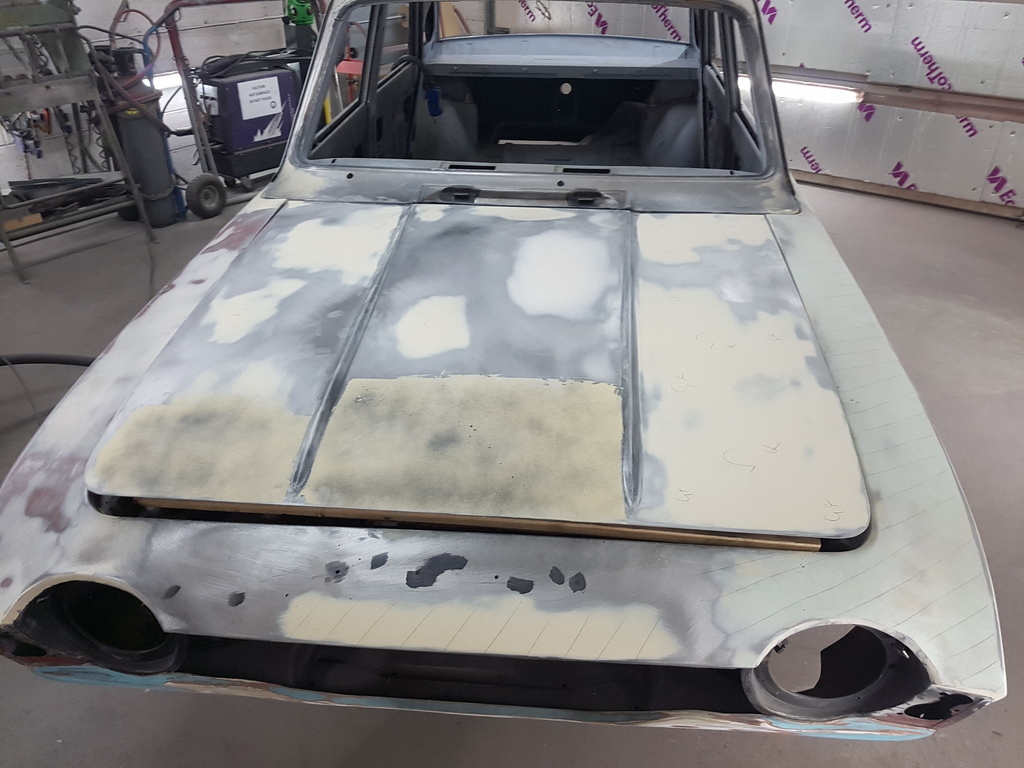 Bonnet now well progressed 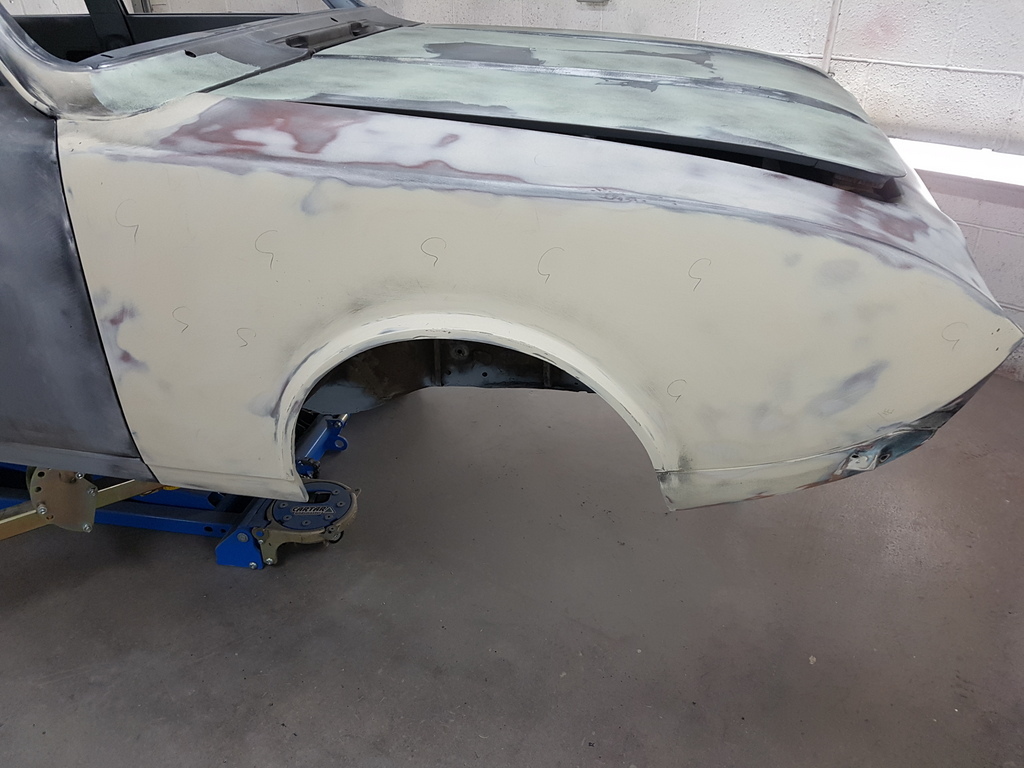 Side profile on the wing now ok with exception of a little work on the wheel arch in the morning 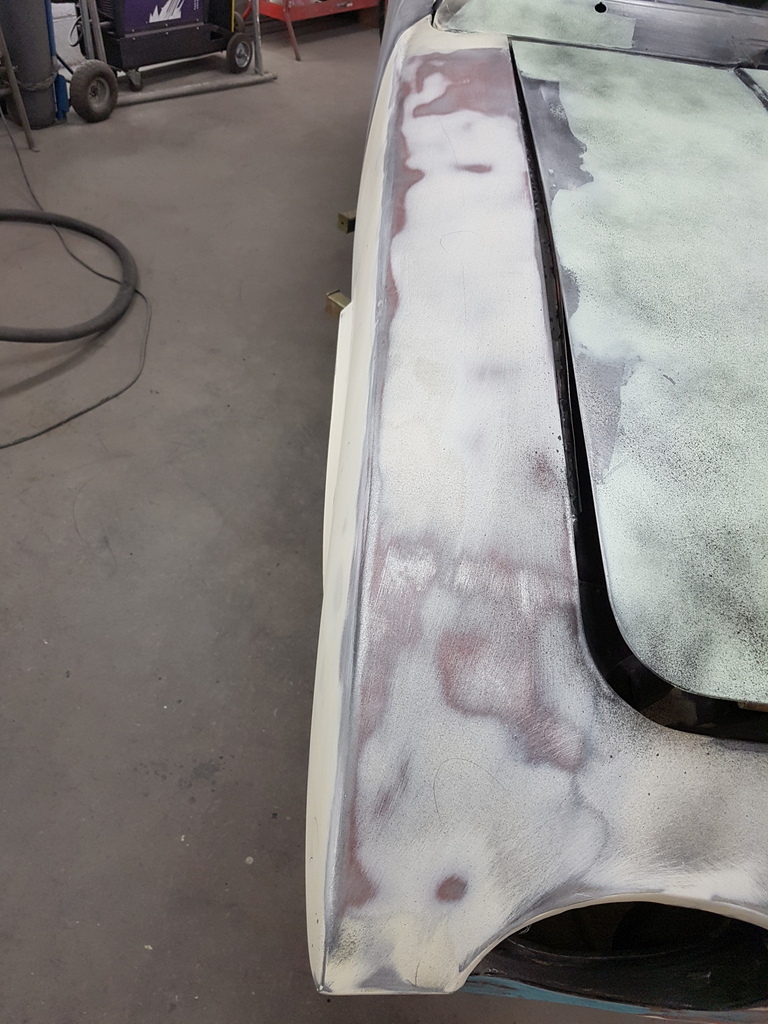 Still have the top of the wing to sort though 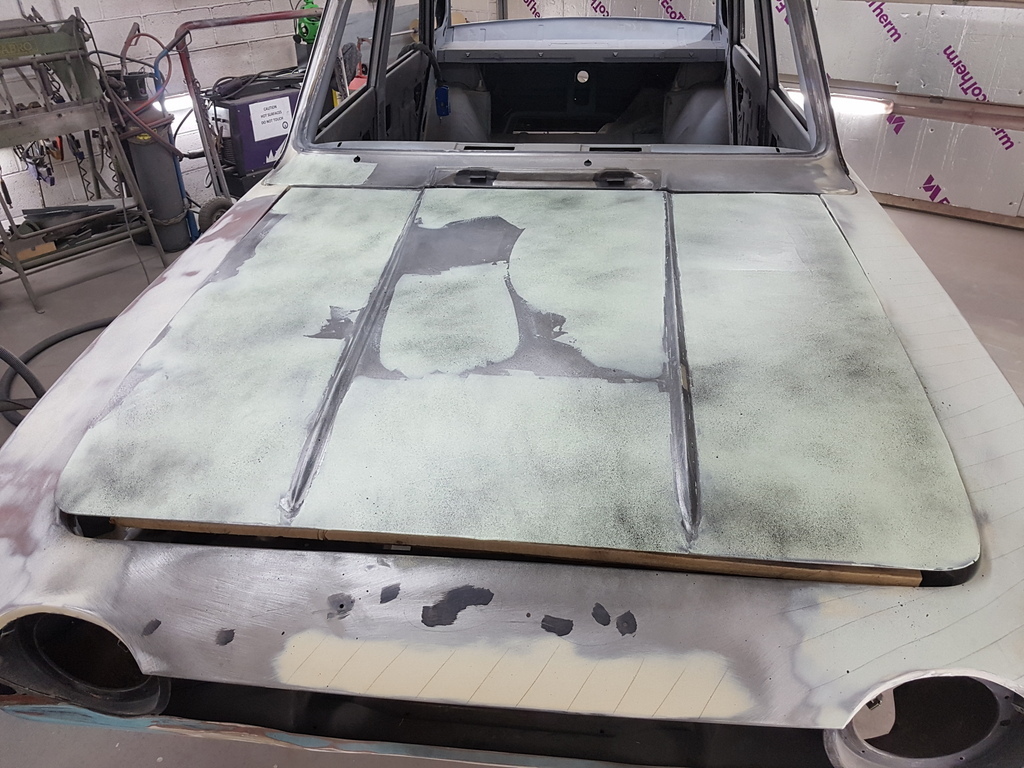 Bonnet now in glaze so that should see another panel ticked off the list tomorrow |
| |
Last Edit: Apr 10, 2019 7:22:59 GMT by Deleted
|
|
|
|
|
|
|
|
Chris - I assume that you are using Dolphin glaze. Do you apply by brush, spreader or somthing else?
Also, thank you for the quick tutorial on applying filler. So straight forward. You will make a great tutor when you eventually retire (you have no time to do it at the moment). A set of 'how to' videos would be unreal!!!
|
| |
|
|
|
|
|
|
|
|
As informative as your tutorial was, it still doesn't make me want to try this. It's great to watch and I appreciate your hard work and skill, but it frightens me that I'd just be paying good money and time to keep turning filler in to dust. I don't think paint and prep work is for me.
It's great to see this progressing and I bet Peter can't wait to see it finished.
|
| |
|
|
|
|
|
|
|
As informative as your tutorial was, it still doesn't make me want to try this. It's great to watch and I appreciate your hard work and skill, but it frightens me that I'd just be paying good money and time to keep turning filler in to dust. I don't think paint and prep work is for me. It's great to see this progressing and I bet Peter can't wait to see it finished. X2  Nice to watch though...... |
| |
|
|
|
|
|
|
|
|
beautiful work...your patience is awe inspiring!
JP
|
| |
I know its spelled Norman Luxury Yacht, but its pronounced Throat Wobbler Mangrove!
|
|
jpsmit
Posted a lot
  
Posts: 1,273
|
|
|
|
I feel like you aybe already have but could you please post a pic of your sanding tools? Thanks! 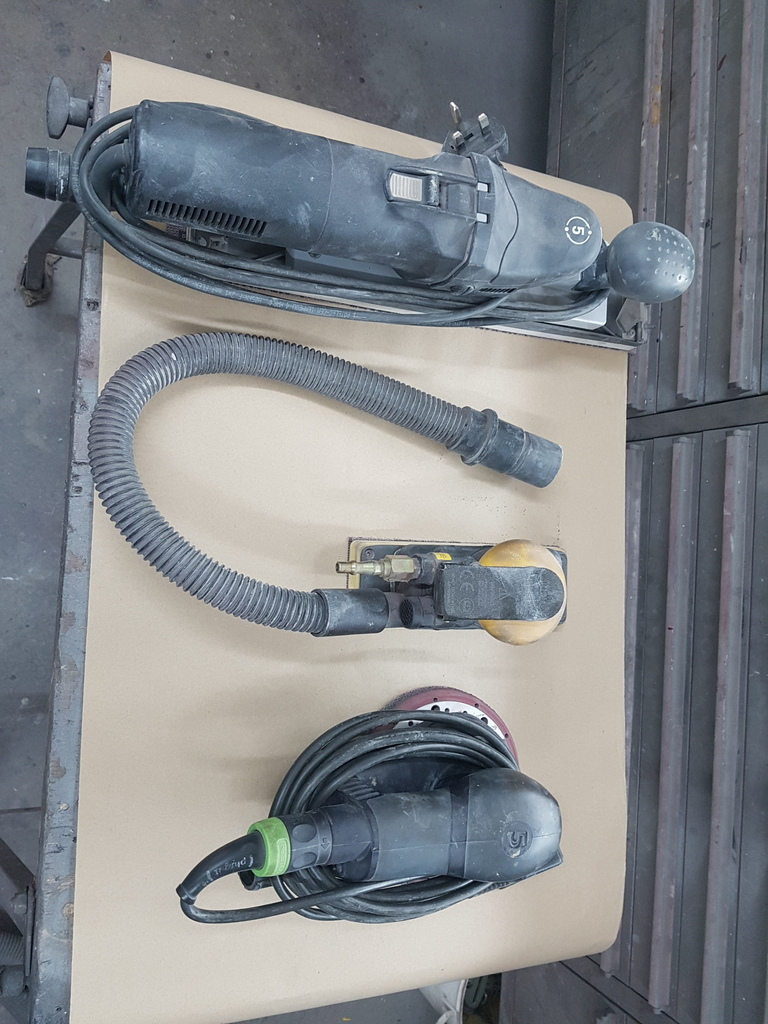 Mechanical - Top to Bottom 420mm long bed - electric 197mm short bed - air 150mm Dual action - electric All on vacuum dust extraction 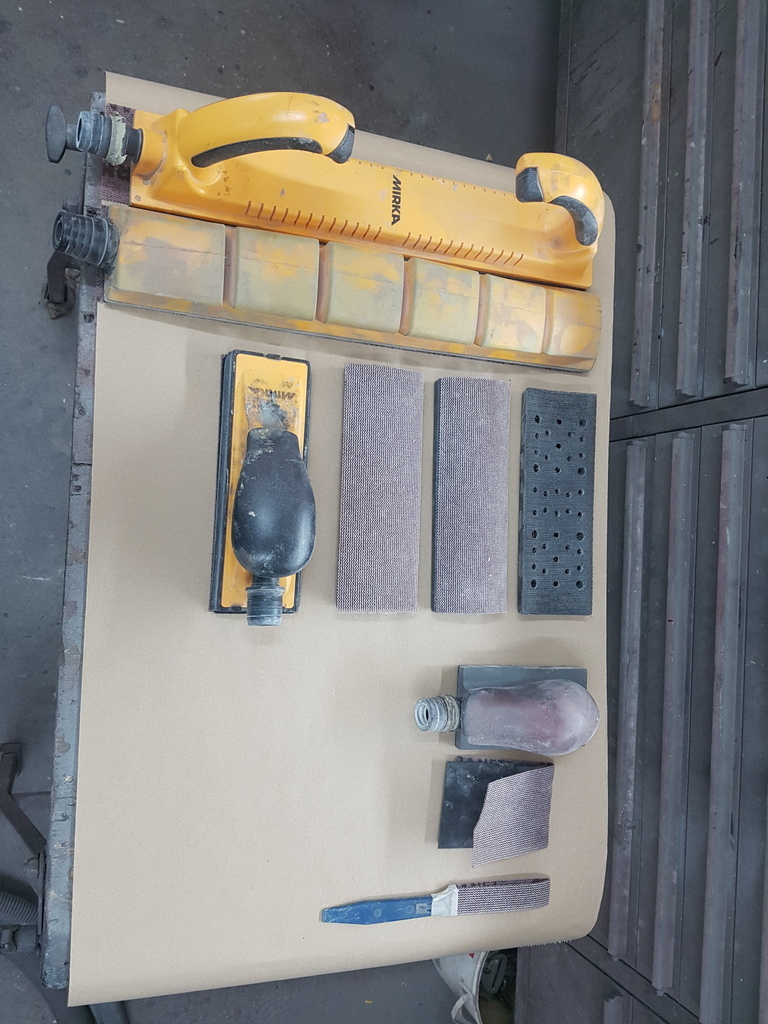 Manual - Top to Bottom 420mm long bed rigid 420mm long bed flexible 197mm short bed rigid Note the interchangeable bases for flat / convex / concave profiling 125mm short bed rigid All the above are on vacuum dust extraction Note the use of a plastic filler spreader for aperture profiles & a plastic push stick for hard to access areas thanks for this! so much to see, so much to learn - I appreciate it! |
| |
|
|
|
|
|
|
|
As informative as your tutorial was, it still doesn't make me want to try this. It's great to watch and I appreciate your hard work and skill, but it frightens me that I'd just be paying good money and time to keep turning filler in to dust. I don't think paint and prep work is for me. It's great to see this progressing and I bet Peter can't wait to see it finished. We all have our own skills where we are confident and just because I'm ok at panel & paintwork / general restoration work does not mean that I'm a brilliant engine & gearbox builder (I'm not) don't get me wrong I can get by but the length of time it would take me and the possible costly mistakes I could make along the way = is the very reason why I don't bother and outsource such things (much like the gearbox I've just outsourced and had rebuilt for the Javelin) |
| |
Last Edit: Apr 10, 2019 13:21:16 GMT by Deleted
|
|
|
|
|
|
|
Chris - I assume that you are using Dolphin glaze. Do you apply by brush, spreader or somthing else? Also, thank you for the quick tutorial on applying filler. So straight forward. You will make a great tutor when you eventually retire (you have no time to do it at the moment). A set of 'how to' videos would be unreal!!! Correct it is Dolphin Glaze and I just use a wide spreader for application apart from the odd swage line / tight radius where I just wipe it in with a gloved finger - cant see me ever retiring maybe semi retirement but I'm not the type to sit about watching time go by all day - I need to be doing something and have always had at least one classic / retro based project in the background throughout my life - I cant see that ever changing |
| |
|
|
63v8
Part of things
 
Posts: 232
|
|
|
|
|
Getting closer to primer each day and seeing the whole car in one shade of primer will show just how sharp the body work will look,
then the colour coat will really make it pop.
|
| |
|
|
|
|
|
Apr 10, 2019 10:58:15 GMT
|
We all have own skills where we are confident. D'you know, if more people realised this, and stuck with it, we'd all be in a happier place. |
| |
|
|
|
|
|
Apr 10, 2019 19:37:14 GMT
|
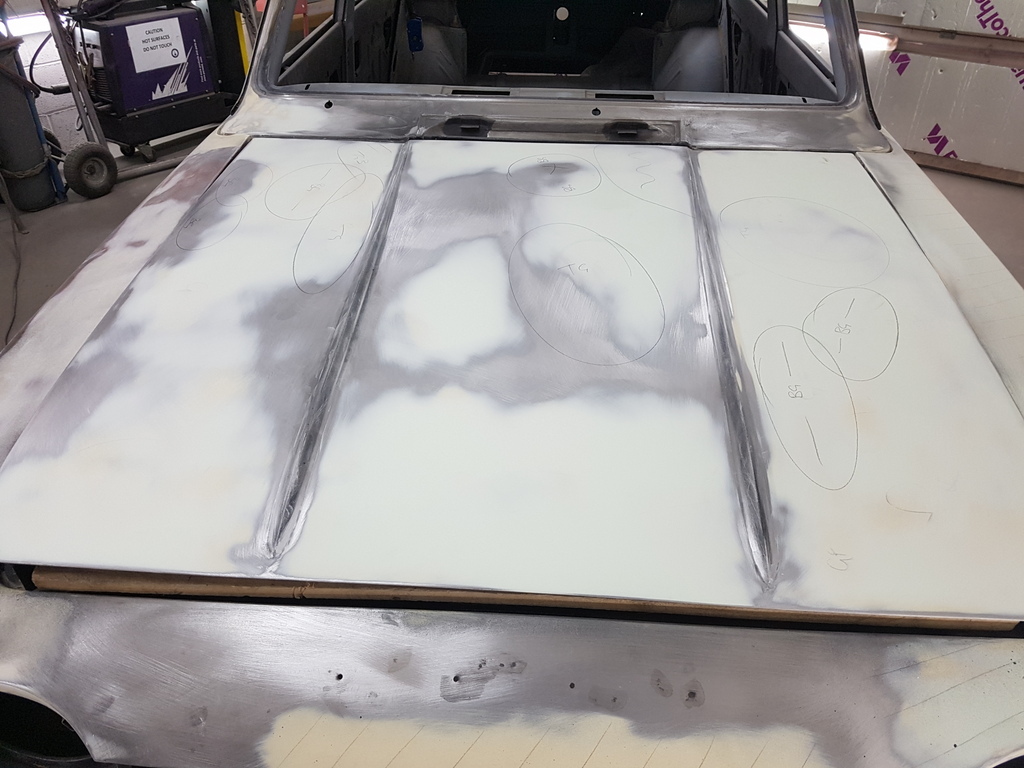 More blocking back on the bonnet 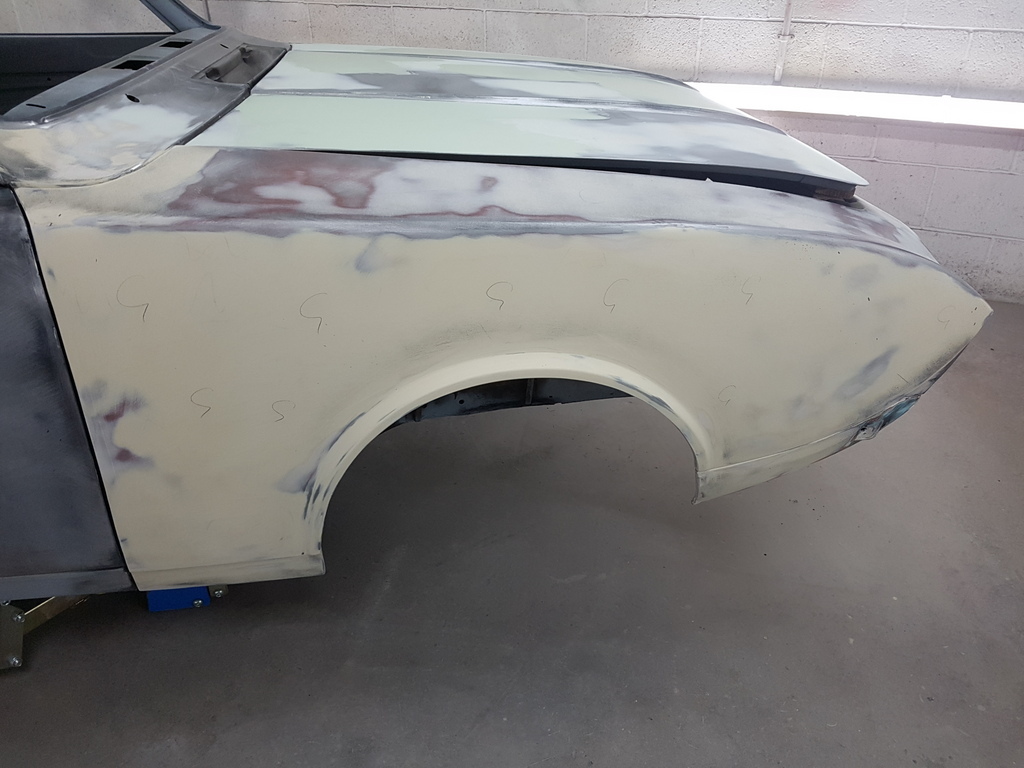 Wheelarch profile now sorted but will need a skim of glaze before I call it properly done 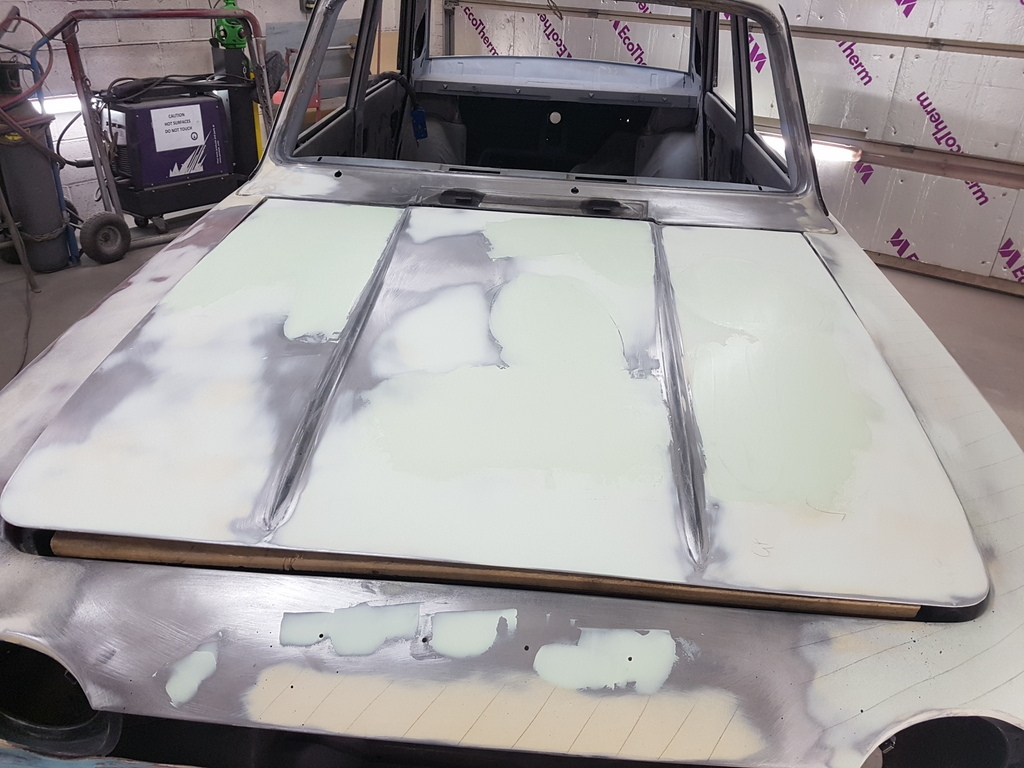 Alternating between the bonnet & wing on the profiles 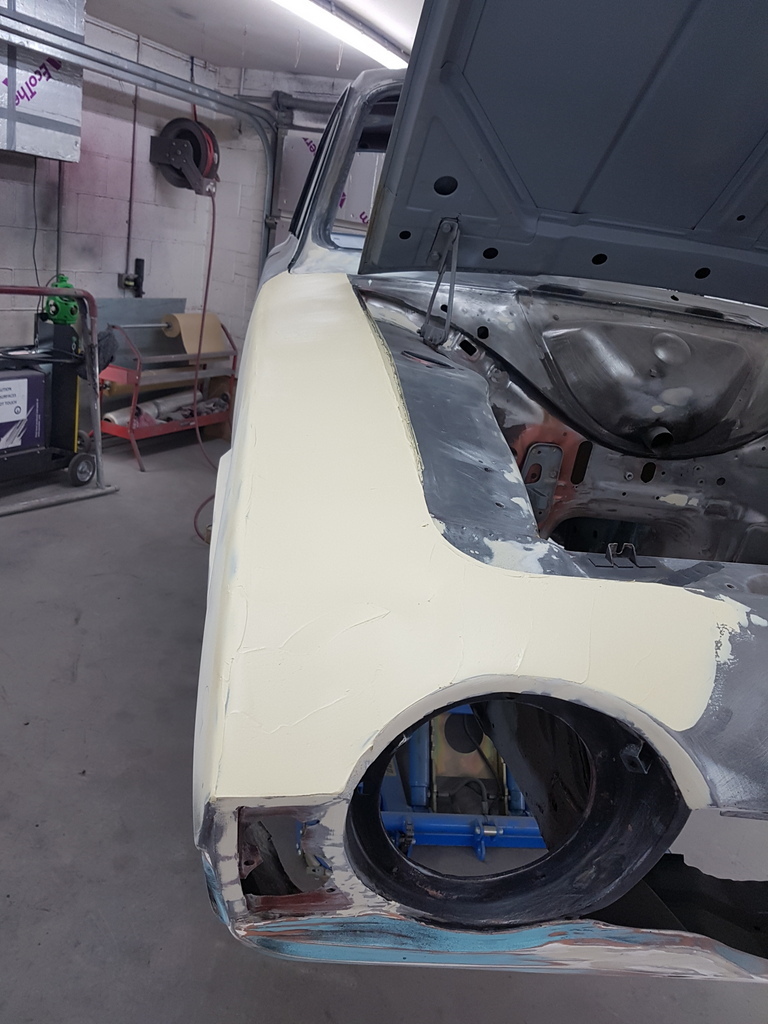 Second skim on the wing top 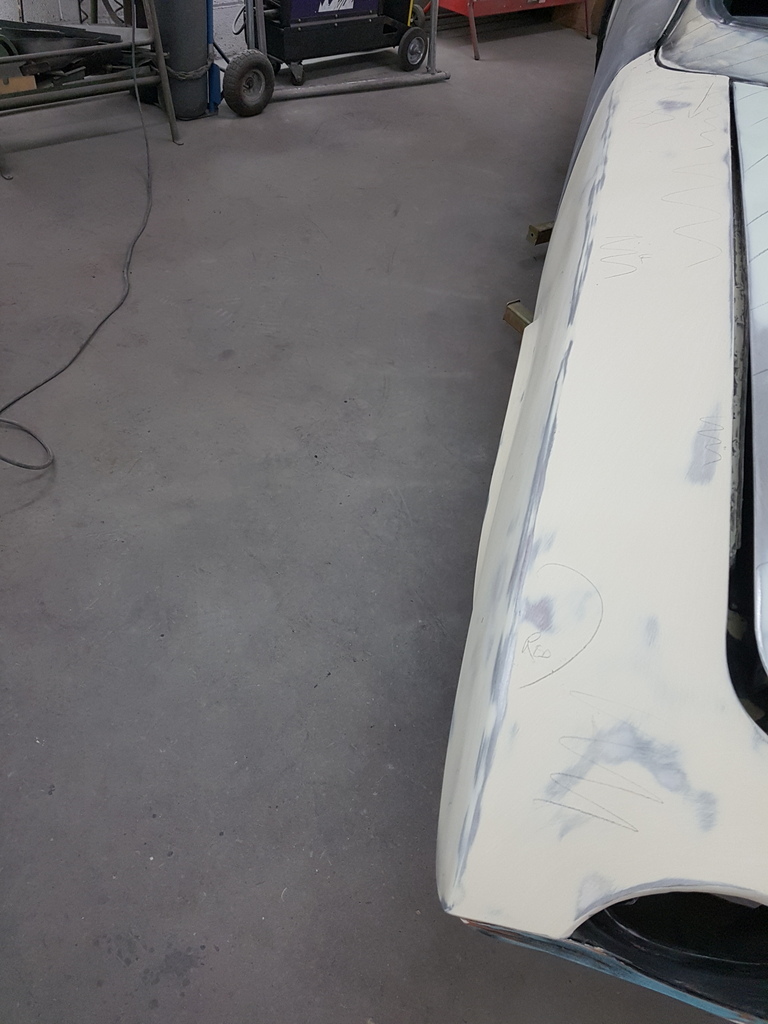 Blocked back - will need at least another 1 - 2 skims before its right 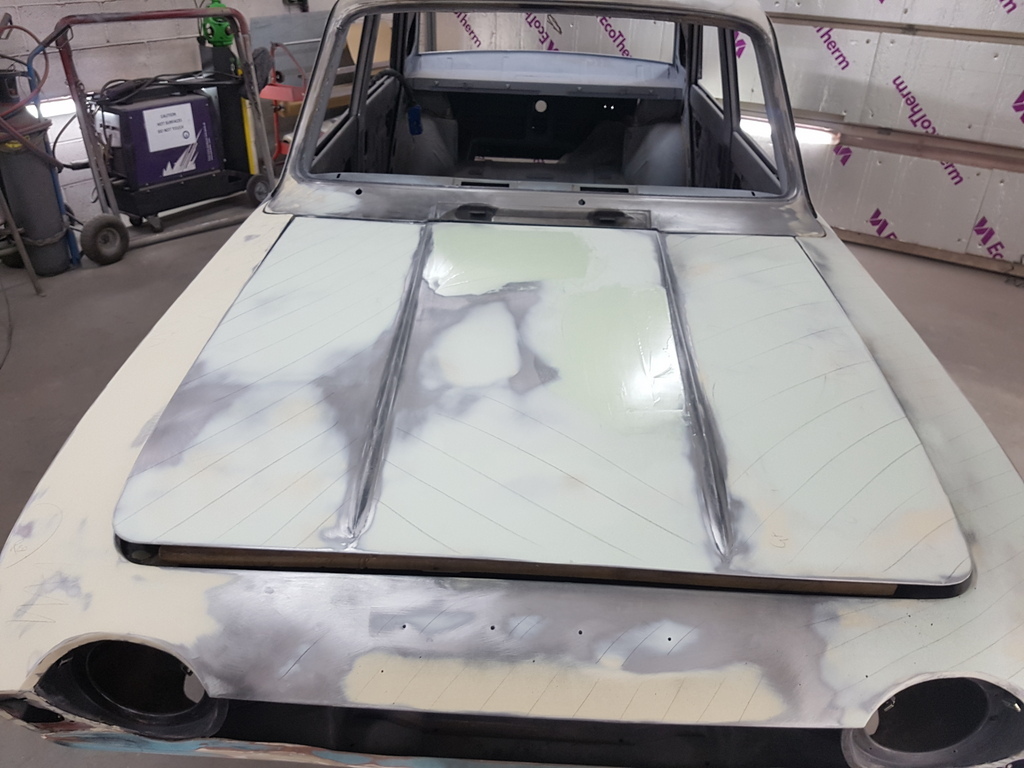 Very minor deflection on the bonnet centre panel that will need a quick rub back - but the rest of it is done Then I had a VIP visitor 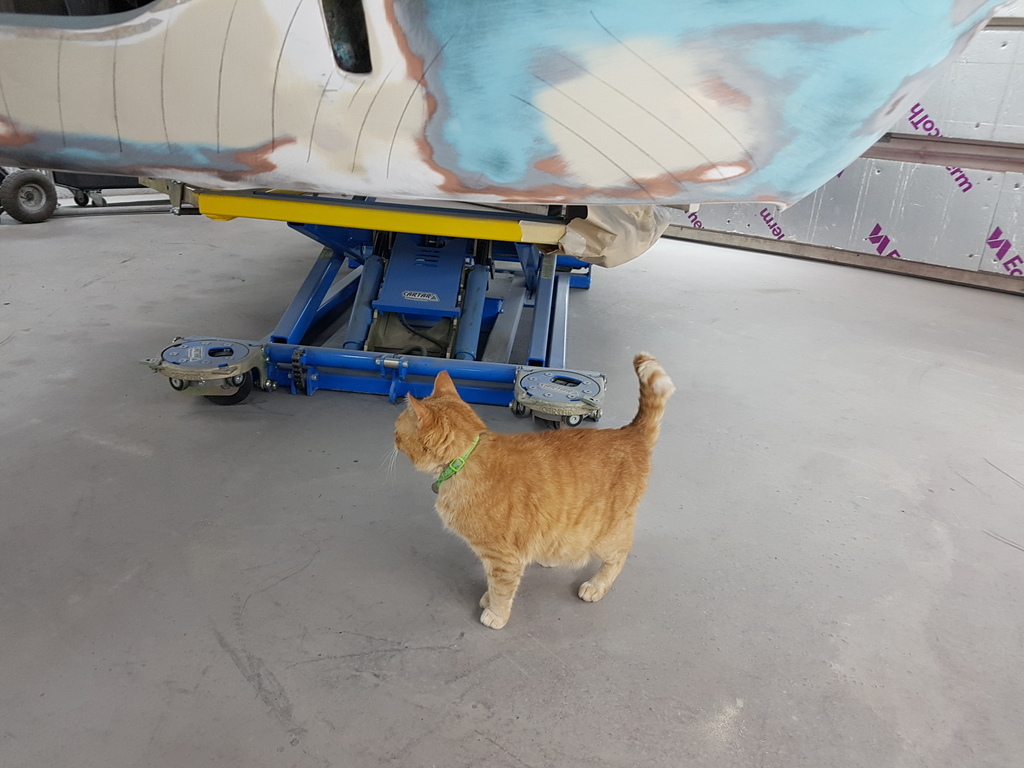 Sid my quality controller called in to see how things were 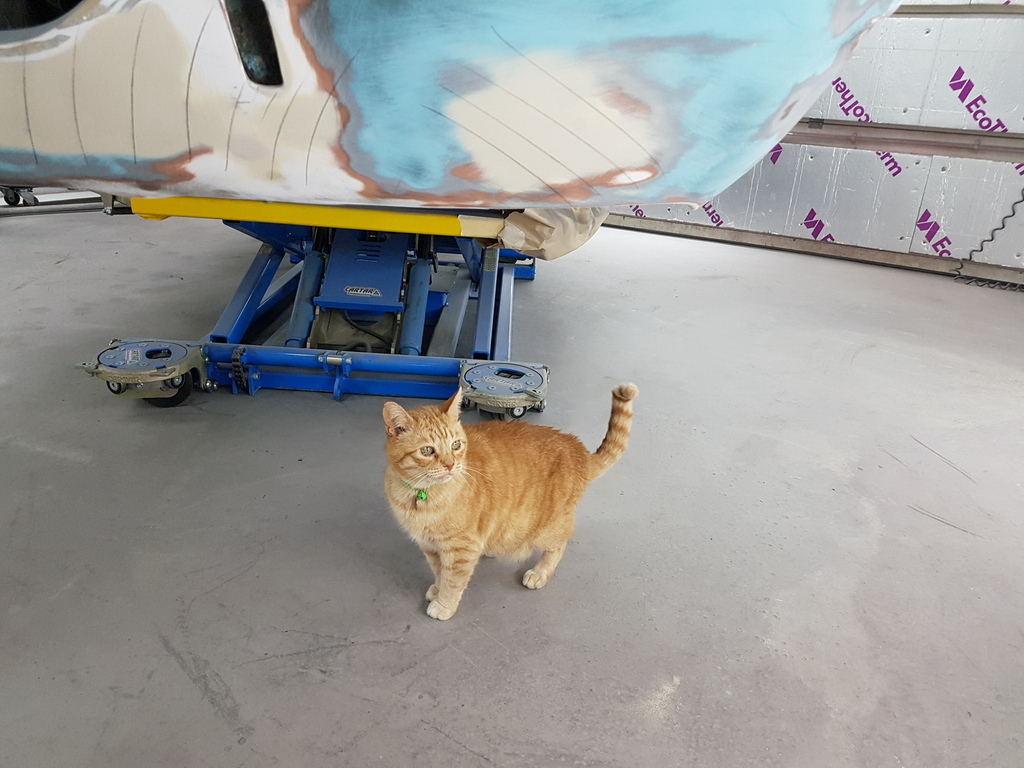 He was quite thorough with the inspection too - before he returned back to his sunbathing in the garden 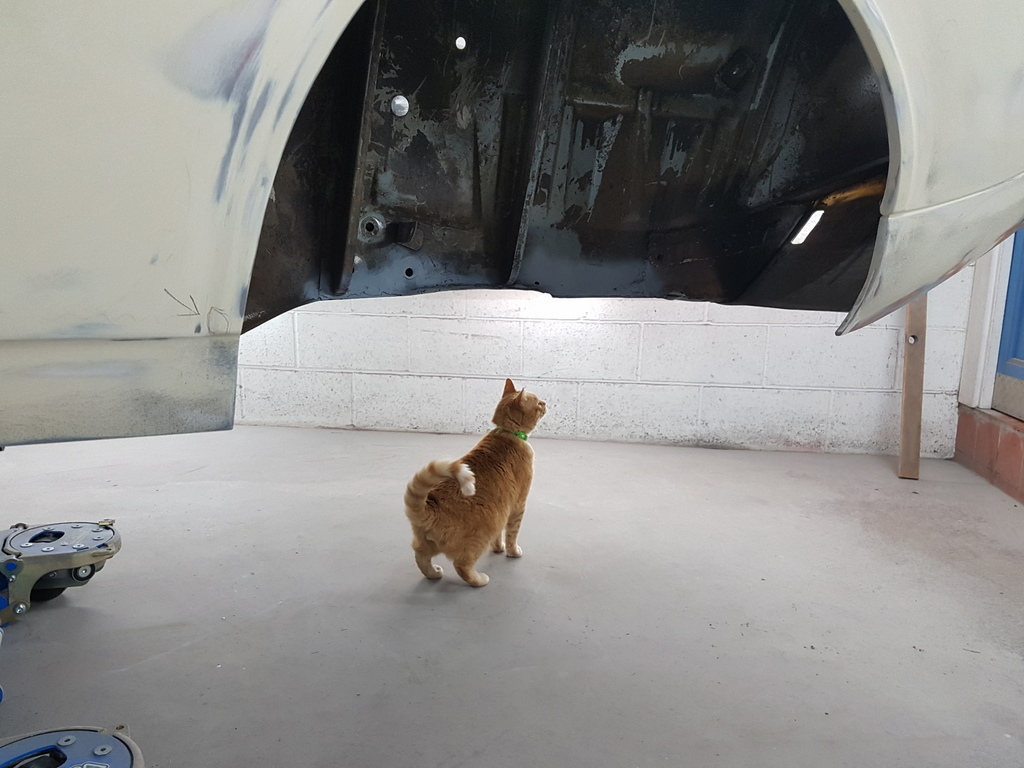 Meanwhile I took a look at the alignment & gapping on the offside doors before I removed them for repairs 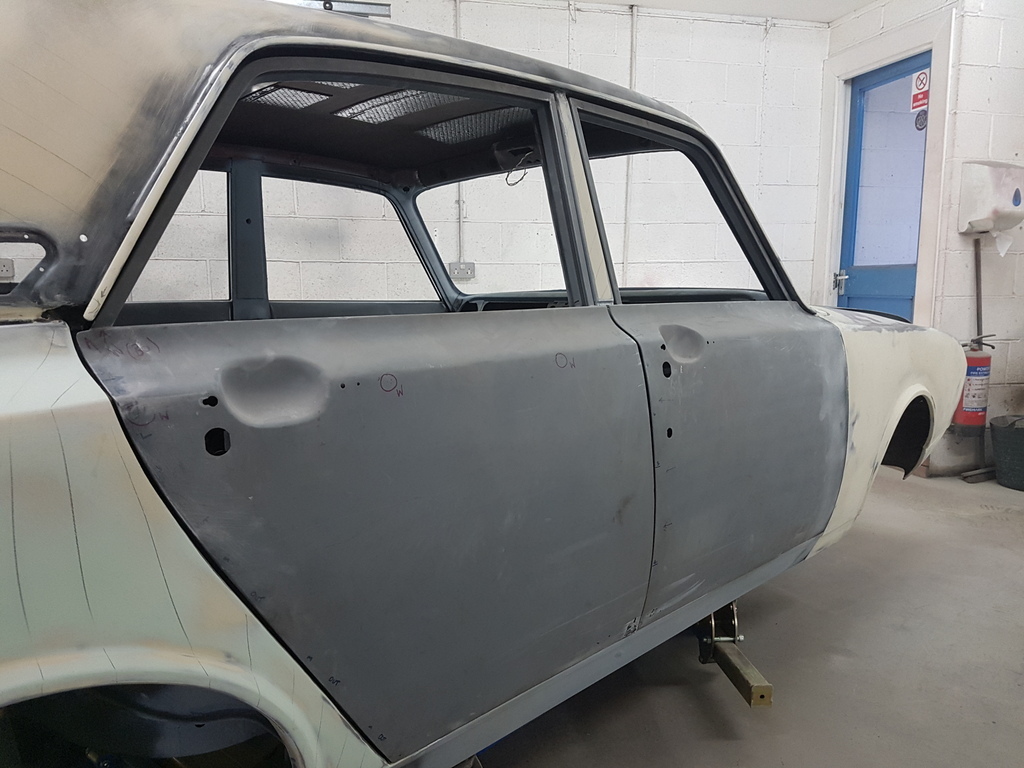 Critical point here is to ensure that the horizonal alignment is correct 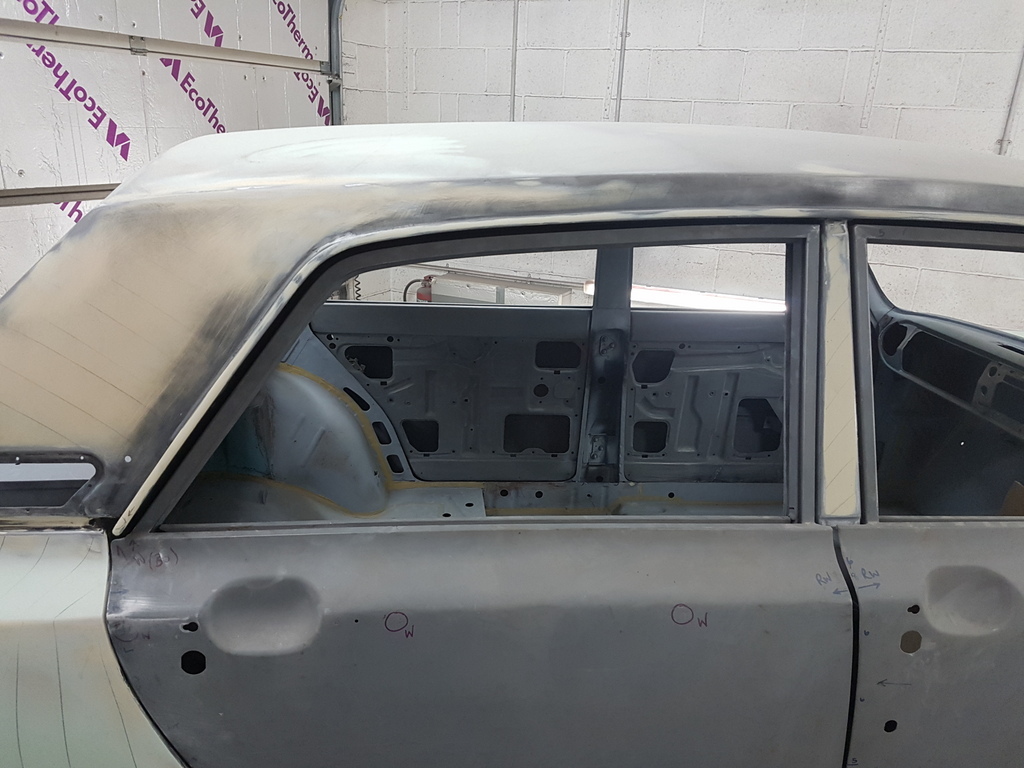 Upper frames are within tolerance 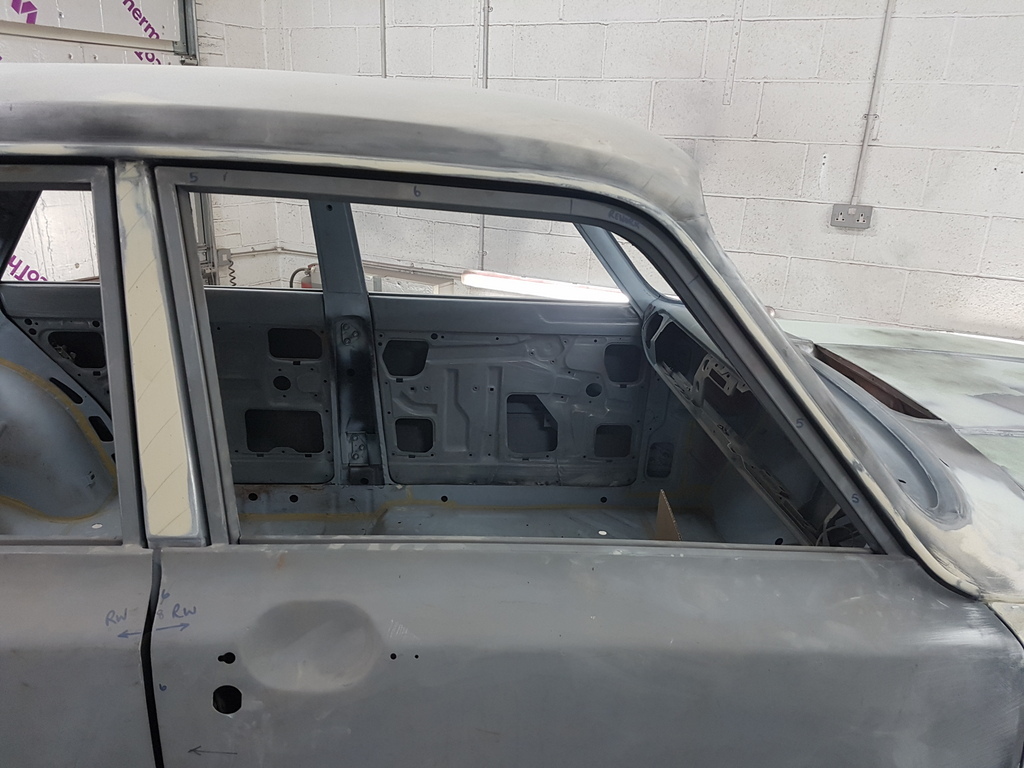 Gapping with the rear wing is not too far away and just requires closing up slightly 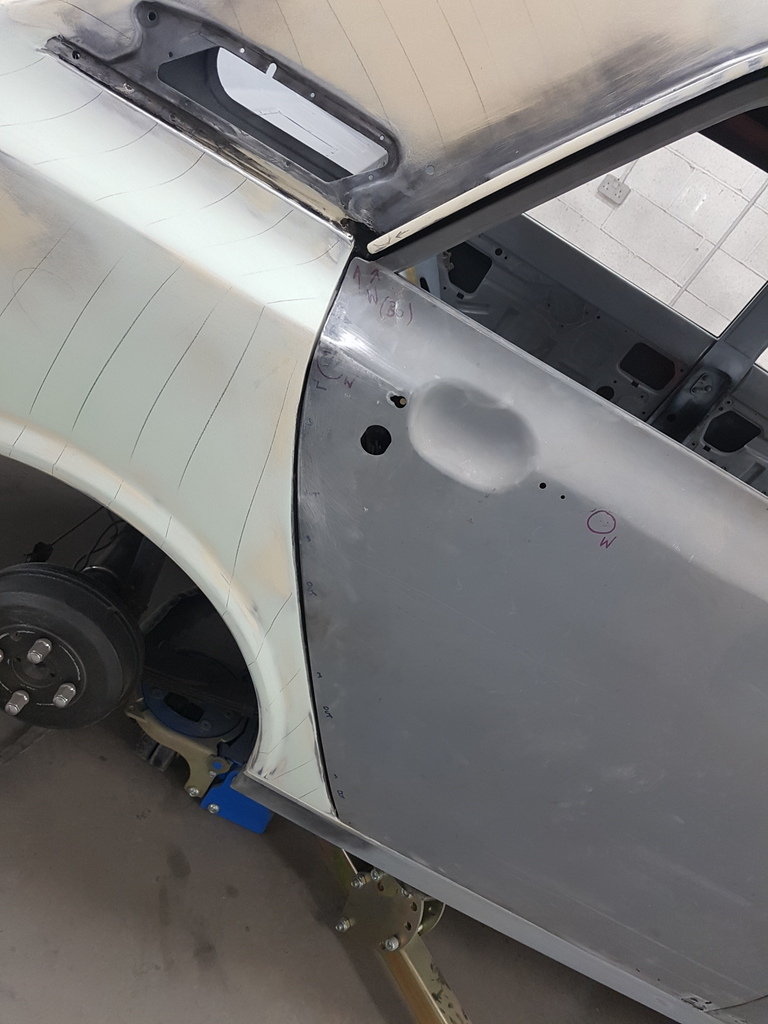 Gapping with the front wing is fine 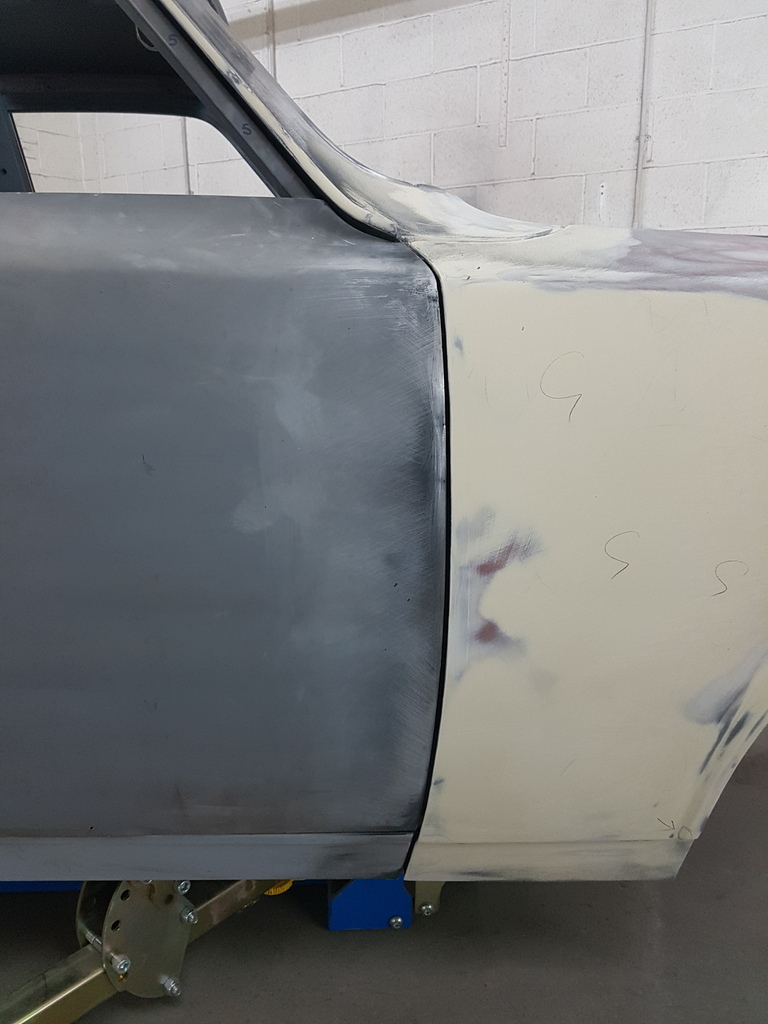 Gapping between the two doors is dreadful - 10mm at the top - 3mm at the bottom 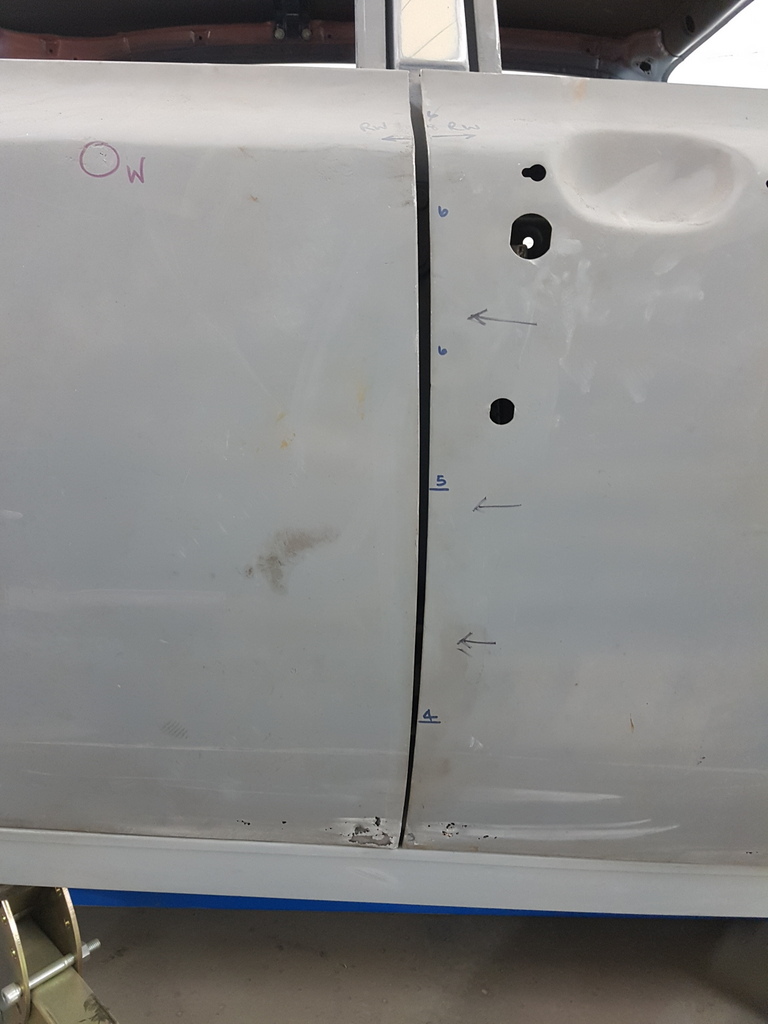 Gapping with the sills is irrelevant has this will be taken into account when I reskin the bottom of the doors 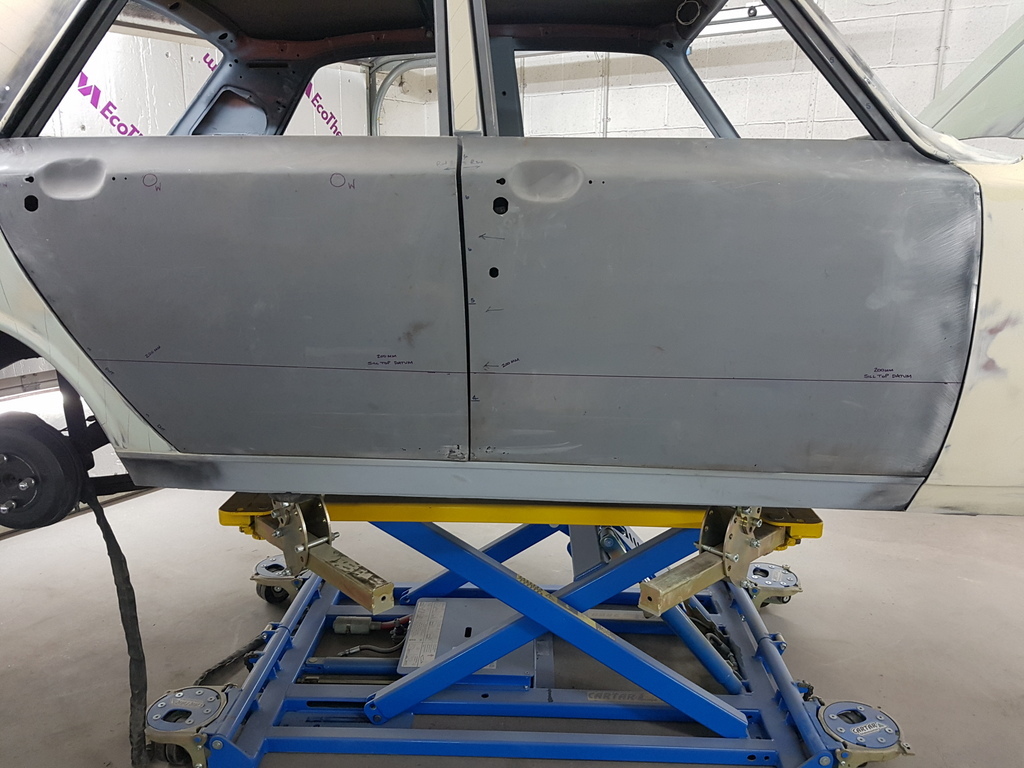 Top of sill datum added to the doors to aid the reskinning repairs once the doors are removed 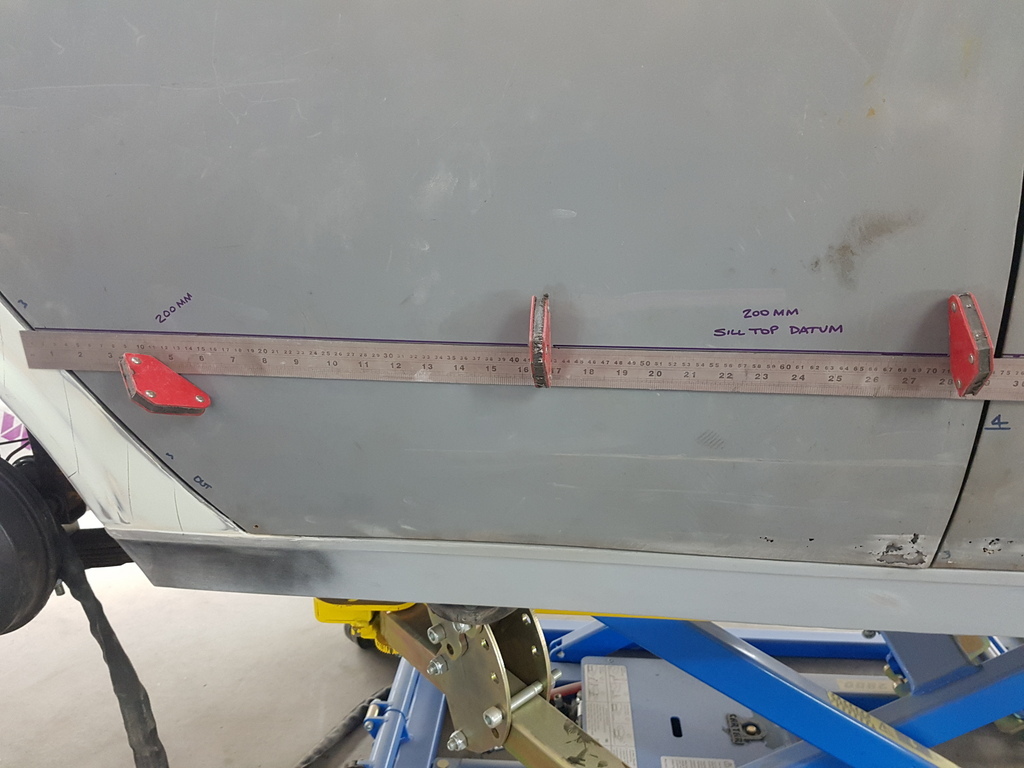 |
| |
Last Edit: Apr 10, 2019 19:45:56 GMT by Deleted
|
|
|
|
|
Apr 11, 2019 18:54:38 GMT
|
Another day of riveting excitement on the sanding back of the profiles to the point of utter boredom - its a good job the radio keeps chugging out the tunes - otherwise  well I cant hear the radio most of the time anyway has when the dust extractor is on you just catch the odd note or bit of a background rhythm and then I can play guess the song that you cant really hear in the first place above the noise of the dust extractor (see what I have to reduce myself to in order to get the job done)  Anyhow this happened today 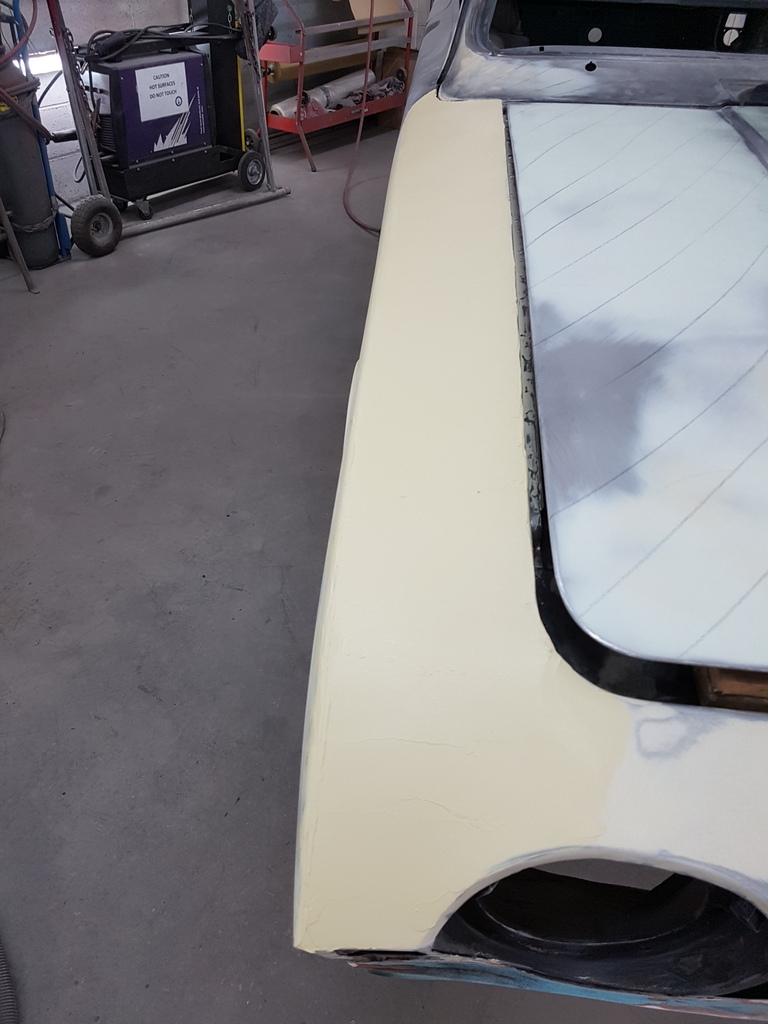 Top of the offside wing skimmed again 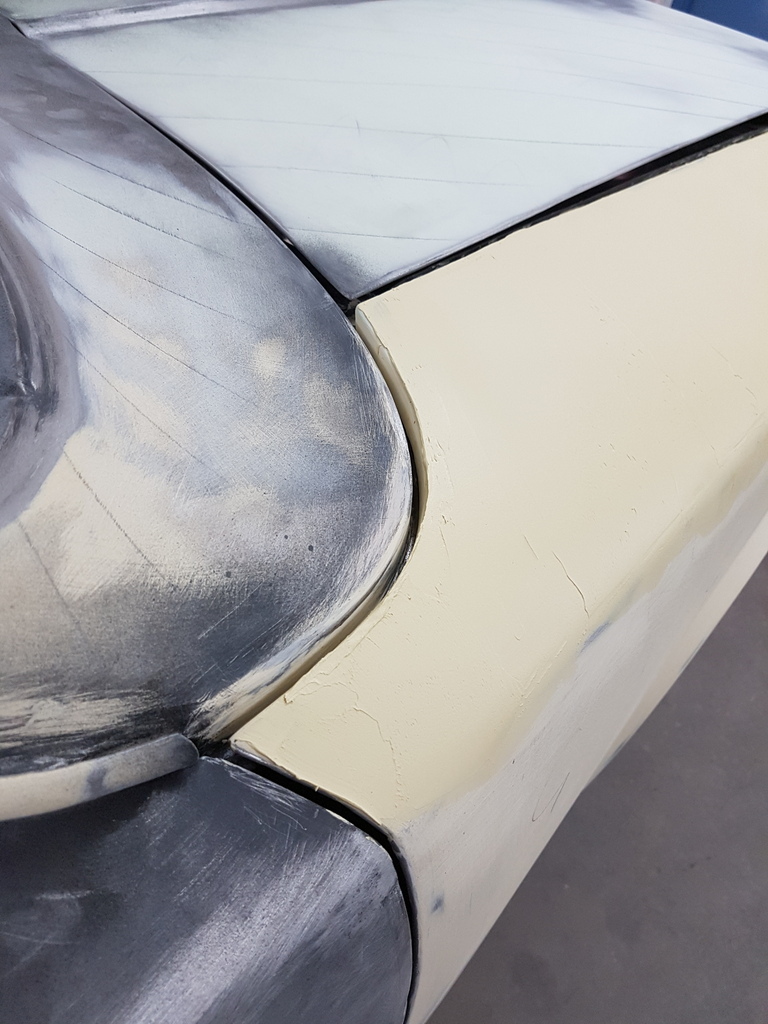 Detail work on getting the radius gapping between the bulkhead & the wing correct 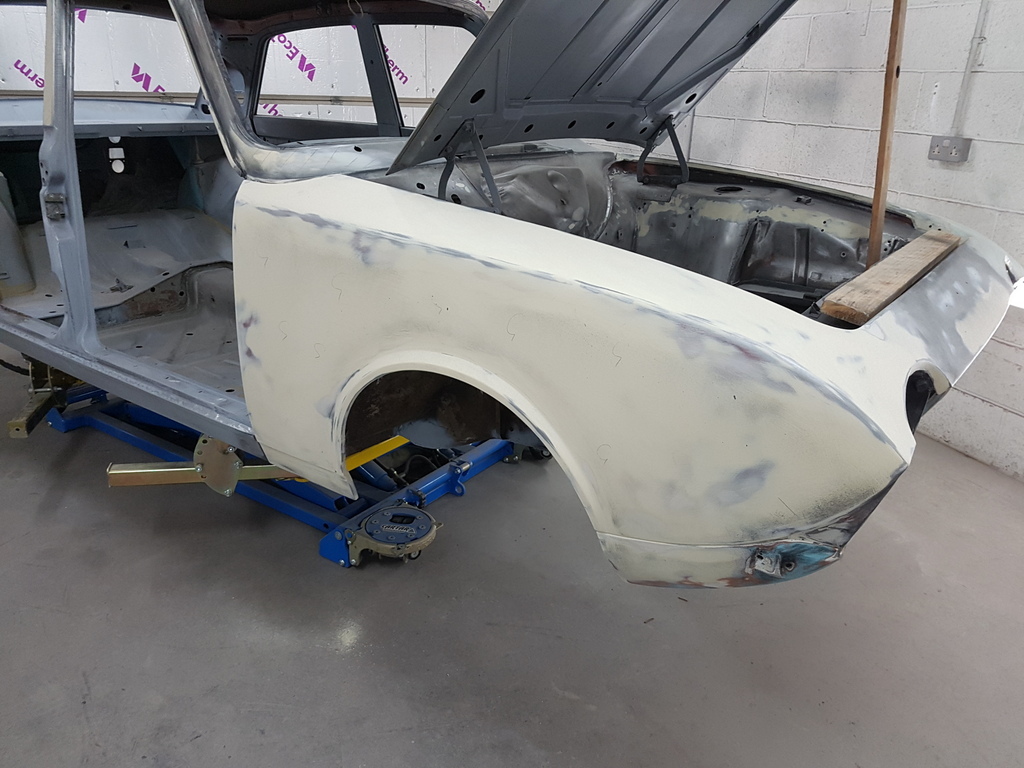 Profiles on the wing now sorted and ready for the glaze applying 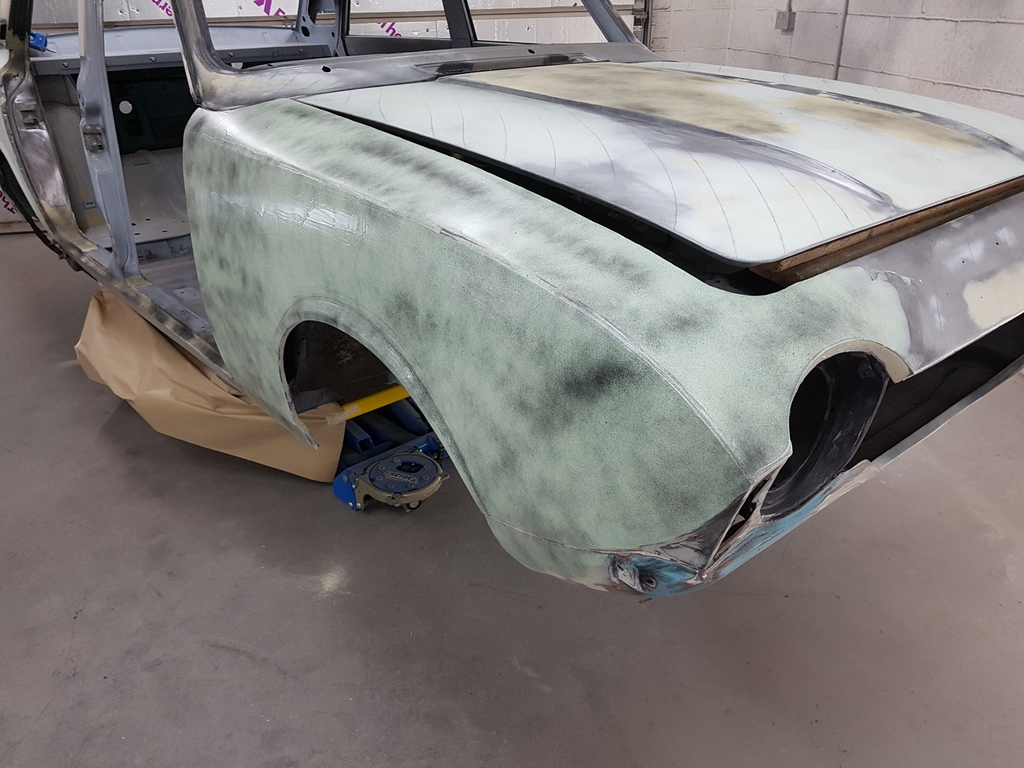 Done 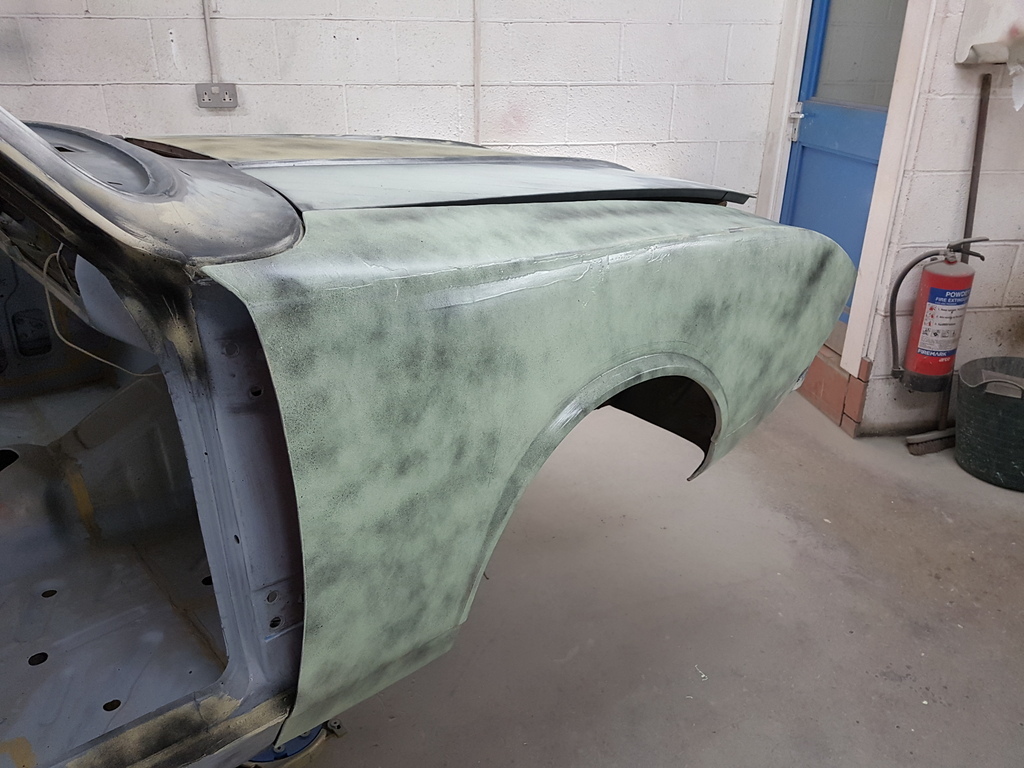 Bonnet - has been frustrating me slightly - just when I think it's nearly there - I decide it's not - pretty sure that the bonnet has been blasted and the centre panel is proving difficult to correct - so this remains work in progress 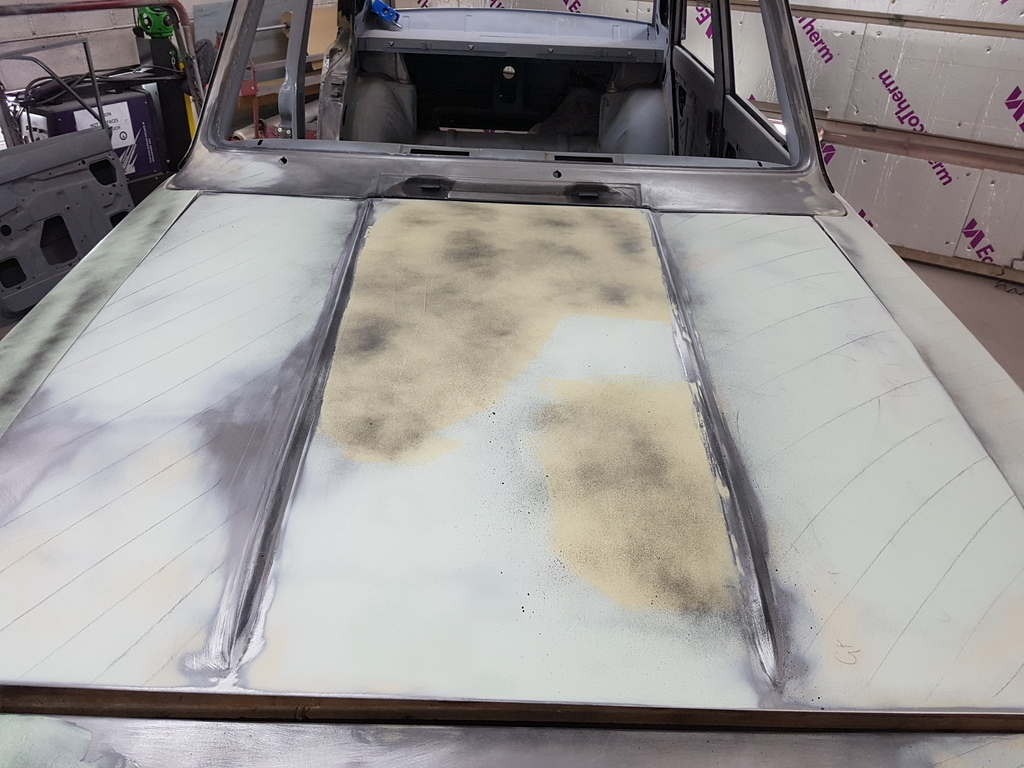 Meanwhile 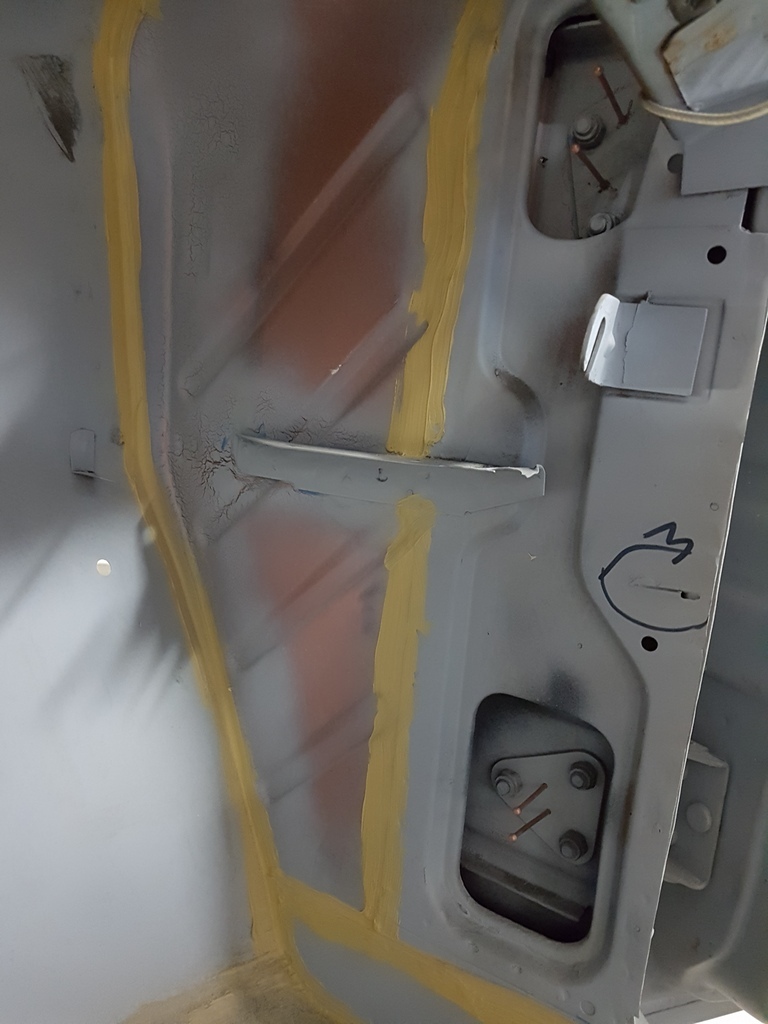 Door hinge location pins were drilled & installed to the front 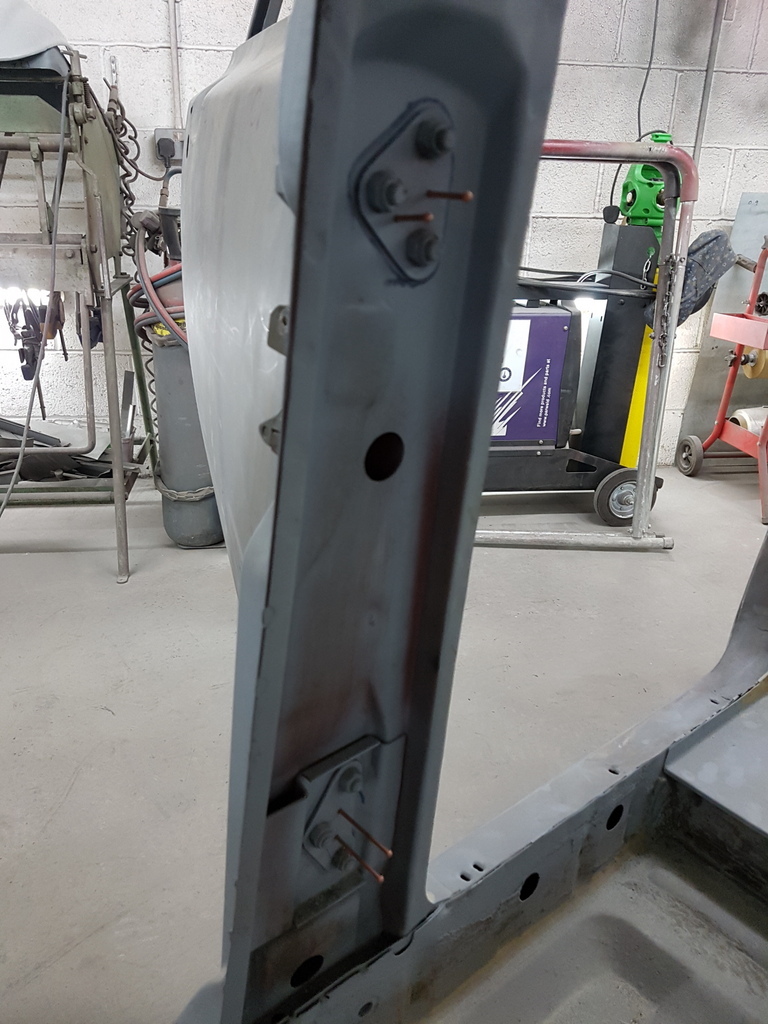 And the rear doors 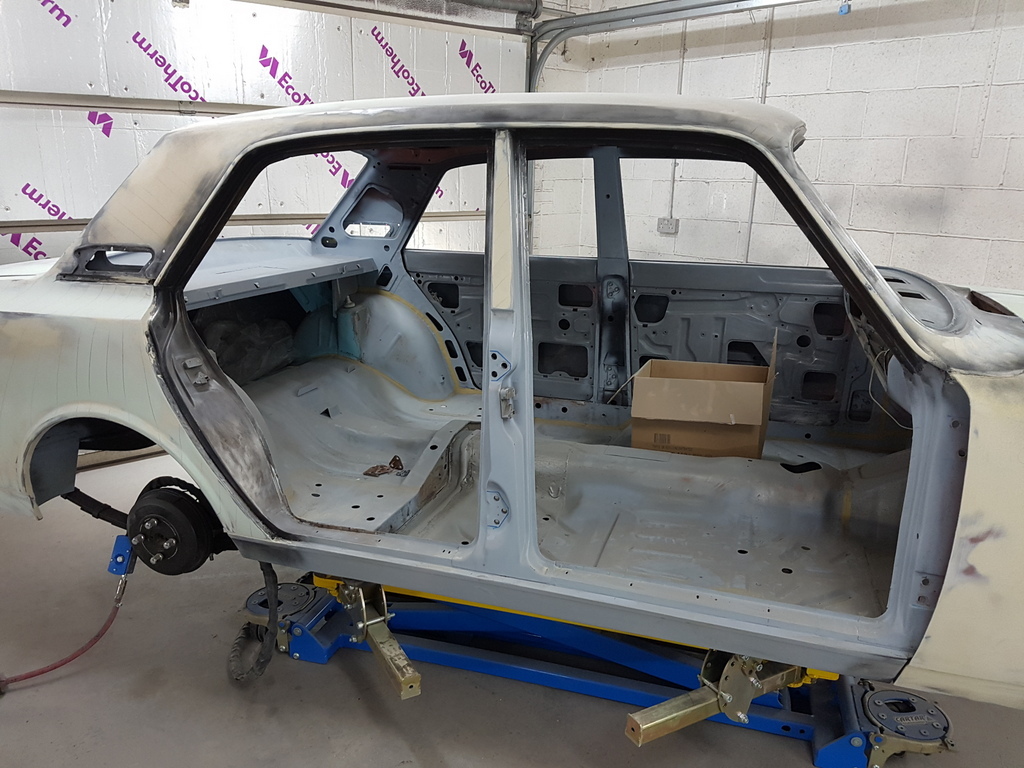 Said doors removed 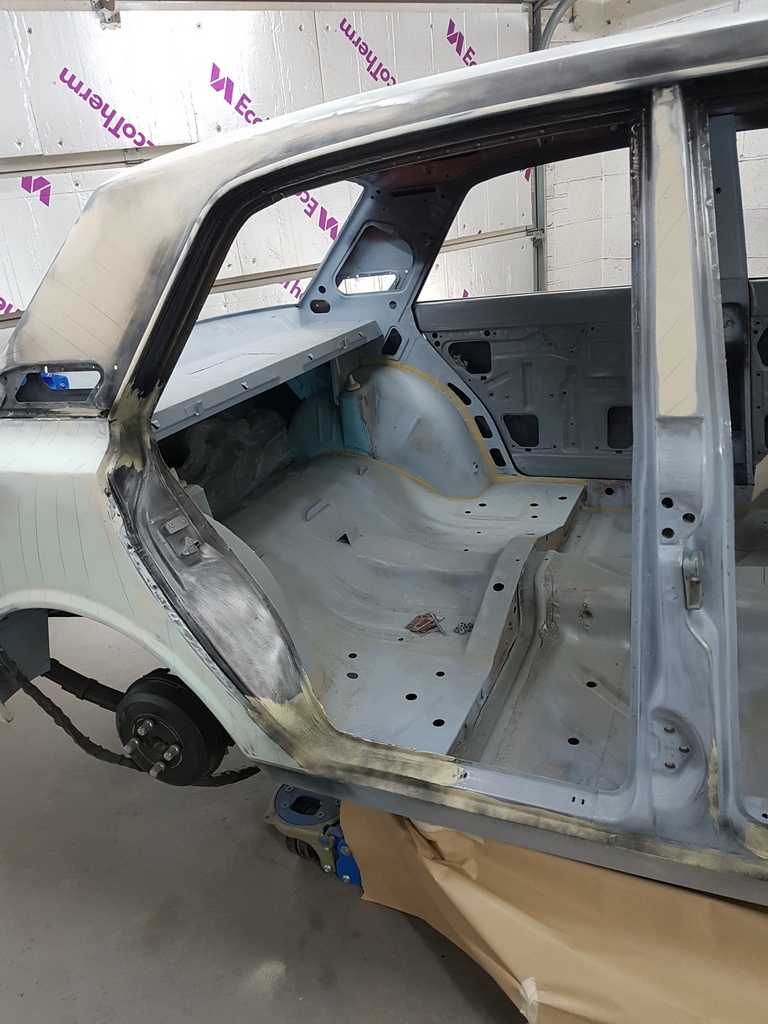 Apertures prepped and the profiles filled has required 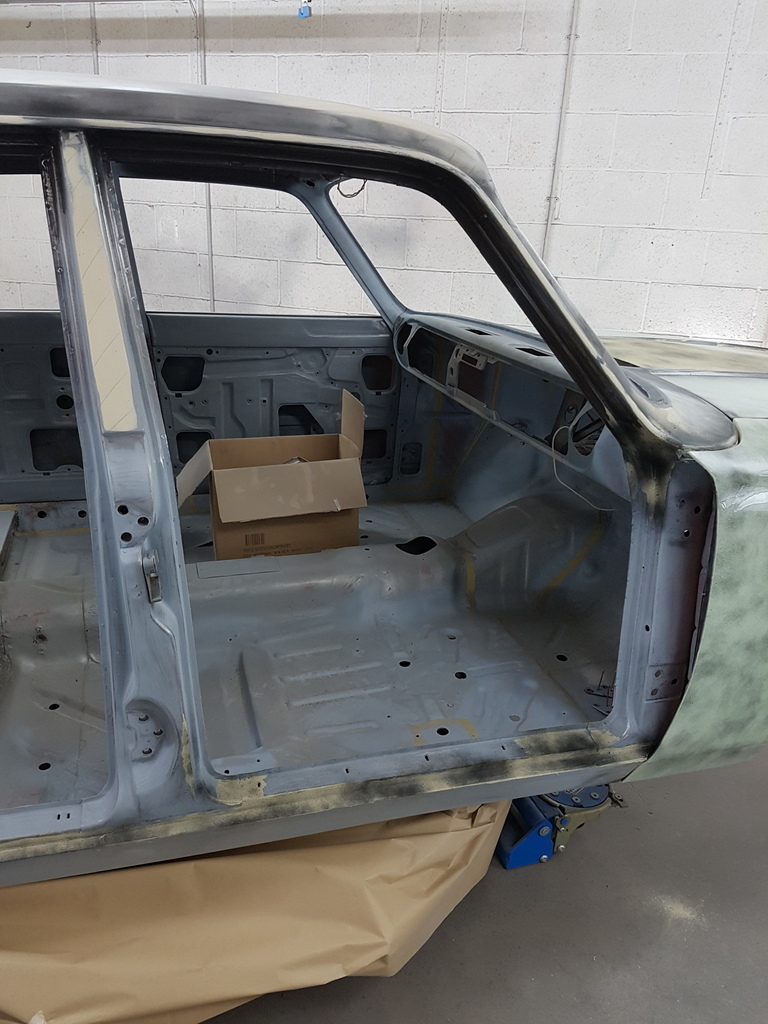 More tomorrow |
| |
Last Edit: Apr 11, 2019 18:55:14 GMT by Deleted
|
|
|
|
|
Apr 11, 2019 22:13:05 GMT
|
|
ive noticed that sid has a very pleasantly shaped head, kind of like a norman style nasal helmet. hes a very handsome cat.
|
| |
Last Edit: Apr 11, 2019 22:14:08 GMT by darrenh
|
|
|
|
|
|
|
ive noticed that sid has a very pleasantly shaped head, kind of like a norman style nasal helmet. hes a very handsome cat. Not something that I noticed - but for a rescue cat we could have not done better - hugely intelligent & there is not a day goes by that he doesn't bring a smile to my face with some of his antics - not that he misbehaves often either - certainty our idea of the perfect cat |
| |
|
|


 well I cant hear the radio most of the time anyway has when the dust extractor is on you just catch the odd note or bit of a background rhythm and then I can play guess the song that you cant really hear in the first place above the noise of the dust extractor (see what I have to reduce myself to in order to get the job done)


