jonomisfit
Club Retro Rides Member
Posts: 1,789
Club RR Member Number: 49
|
|
Jan 29, 2021 20:42:47 GMT
|
|
|
| |
|
|
|
|
jonomisfit
Club Retro Rides Member
Posts: 1,789
Club RR Member Number: 49
|
|
Jan 30, 2021 17:43:32 GMT
|
The paint had hardened up enough by this morning to mask it all back up again for flipping over 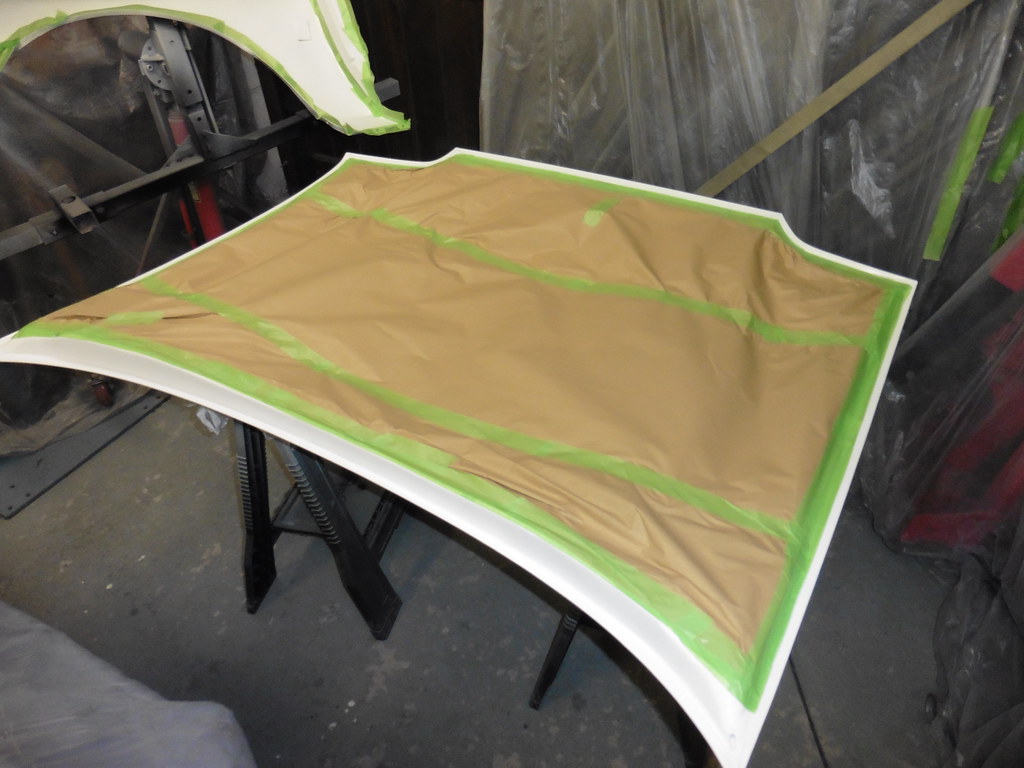 P1040753 P1040753 by jono_misfit, on Flickr and the wings as well  P1040754 P1040754 by jono_misfit, on Flickr  P1040755 P1040755 by jono_misfit, on Flickr then worked out a way to hang the wings using G-clamps and the jig  P1040756 P1040756 by jono_misfit, on Flickr then gave things a skim of filler  P1040757 P1040757 by jono_misfit, on Flickr  P1040758 P1040758 by jono_misfit, on Flickr  P1040759 P1040759 by jono_misfit, on Flickr And left it to cure then sanded it all back flat  P1040760 P1040760 by jono_misfit, on Flickr  P1040761 P1040761 by jono_misfit, on Flickr theres still some distortion in the bonnet. I'll see what its like after paint and weather I live with it or change bonnets. I suspect if I try to fill it flat it'll end up thick with filler, which I don't want. I also noticed yesterday it wasnt really drawing out the over spray. Which when i was thinking on it last night is probably as I havent changed the filter since I did the main body!, So swapped out the filter material.  P1040762 P1040762 by jono_misfit, on Flickr I also opened the doors and blew everythign down with the leaf blower. A LOT of dust came out. hung everything and panel wiped it  P1040763 P1040763 by jono_misfit, on Flickr  P1040764 P1040764 by jono_misfit, on Flickr dried it, then did it again  P1040765 P1040765 by jono_misfit, on Flickr  P1040766 P1040766 by jono_misfit, on Flickr Dried it all off and shot the first coat of epoxy  P1040767 P1040767 by jono_misfit, on Flickr it did not go well. as can be seen  P1040768 P1040768 by jono_misfit, on Flickr  P1040769 P1040769 by jono_misfit, on Flickr I spent the whole time adjusting the gun and not getting it any better. Next weekend will be filled with flatting down. The second coat I went curse word it, it cant get any worse so added about 20-25% thinners rather than the 10 - 15% in the data sheet. What a difference. Came out the gun like actual paint! smooth and shinny. If only it wasnt already orange peeled under neath.... Still, i'll know for the bumpers etc.  P1040770 P1040770 by jono_misfit, on Flickr  P1040771 P1040771 by jono_misfit, on Flickr  P1040772 P1040772 by jono_misfit, on Flickr 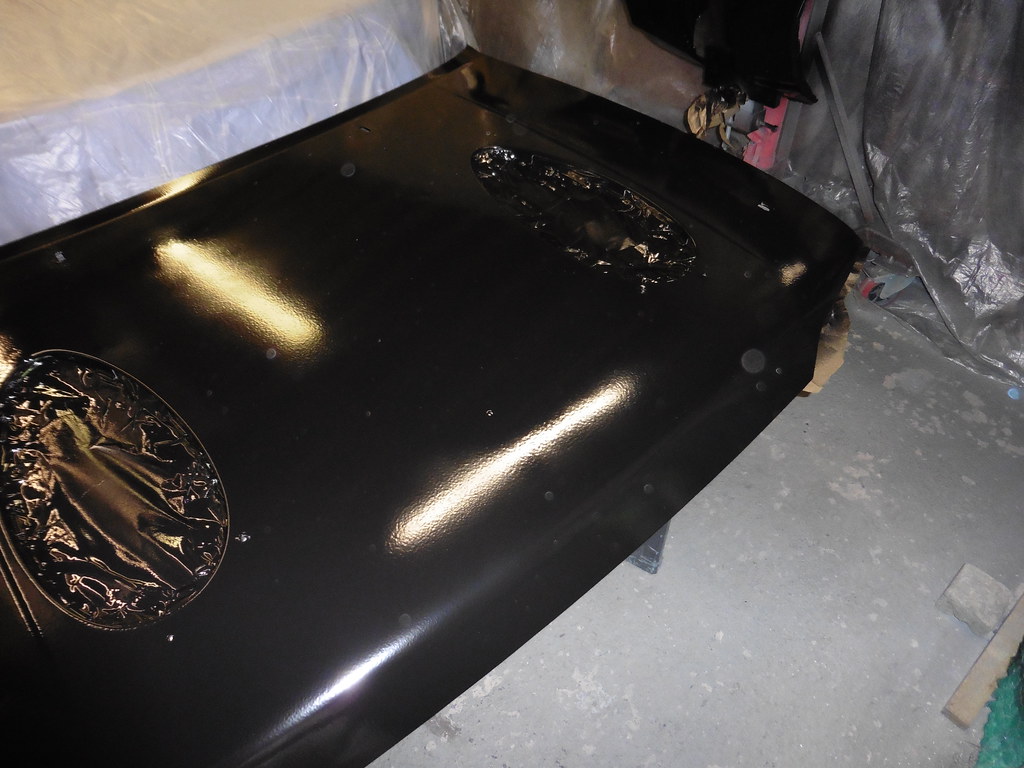 P1040773 P1040773 by jono_misfit, on Flickr If i'm feeling overly enthusiastic I may go out and start flatting it down one night in the week. |
| |
Last Edit: Jan 30, 2021 17:44:43 GMT by jonomisfit
|
|
|
|
|
Jan 30, 2021 21:32:39 GMT
|
|
Good progress. I am not a paint specialist but was told that temperature influences how the painted surface looks. I was told that preferabel it should be above 20 deg C but 15 was the lower limit
Keep up the good work!
Peter
|
| |
|
|
jonomisfit
Club Retro Rides Member
Posts: 1,789
Club RR Member Number: 49
|
|
Jan 30, 2021 22:47:54 GMT
|
|
Yep, pretty much everything says you shouldnt paint below 20 or so if you want a good quality finish.
Ideally i'd have done that, but i don't really have the time to wait until summer (or the desire / patience) and whilst i've tried to use the heaters to keep it all warm, I cant if the extractors are on. Its not nice painting with the extractors off.
I think the paint will be best described as "functional" when done.
If it bugs me too much I can always look into getting it re-done by someone who actually know how to paint.
There's a really good guy near me for paint, however he's also one of those guys that you drop the car off with the full expectation you get it done some point over the next 6 months...
I think my biggest issue is sticking to the manufacturers guidance. As the temp drop the viscocity goes up so I should use more thinner in it than is recomended, and I should do much thinner coats so it doesnt run.
By the time i've sprayed the last bit i'm sure i'll have worked out a technique for keeping in mind the years until i next paint anything. I'm averaging about 10 years between cars at the moment...
|
| |
Last Edit: Jan 30, 2021 22:48:15 GMT by jonomisfit
|
|
|
|
|
Jan 31, 2021 11:19:31 GMT
|
|
Your paint job is a lot better then just functional. Your prep work is good so it will not rust again Just the surface is not 100%. You can achieve a lot with sanding and polishing but it takes a lot of time.
In the end it is a bit sad as your fabrication work is top notch and the prep work is also good so i am pretty sure you will redo it or polish it.
I also did some spray painting with low temperatures but never had good results either.
Keep up the good work. It will be fabolous car when finished
Peter
|
| |
|
|
jonomisfit
Club Retro Rides Member
Posts: 1,789
Club RR Member Number: 49
|
|
|
|
My arms sore. Not much to see today as was working till late, then spent a couple of hours sanding down my bonnet and wings. started flatting back, took ages to get back to a fairly smooth surface  P1040774 P1040774 by jono_misfit, on Flickr  P1040776 P1040776 by jono_misfit, on Flickr this wing was the worst offender for finish.  P1040775 P1040775 by jono_misfit, on Flickr but got it flatted back eventually.  P1040778 P1040778 by jono_misfit, on Flickr couple of minor touch in on the primer 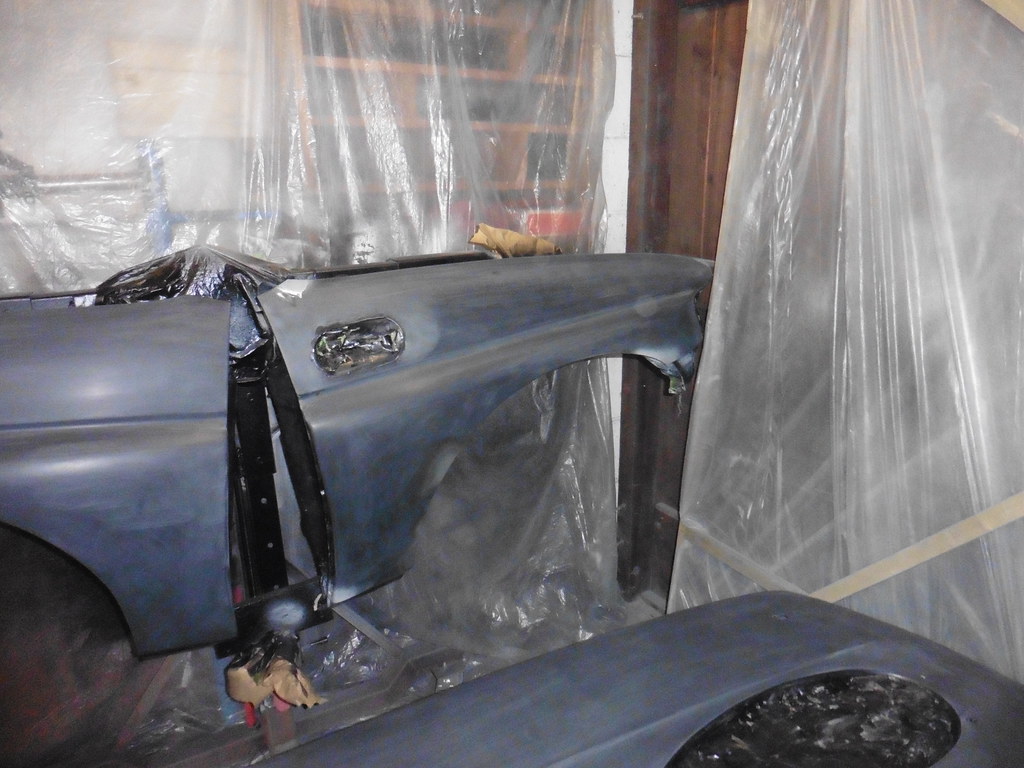 P1040779 P1040779 by jono_misfit, on Flickr Everything going well I should get the wings and bonnet into paint tomorrow. |
| |
|
|
jonomisfit
Club Retro Rides Member
Posts: 1,789
Club RR Member Number: 49
|
|
|
|
A little flat to a few more bits, then a wipe down again with panel wipe  P1040780 P1040780 by jono_misfit, on Flickr  P1040781 P1040781 by jono_misfit, on Flickr first coat out of the gun  P1040783 P1040783 by jono_misfit, on Flickr  P1040784 P1040784 by jono_misfit, on Flickr  P1040785 P1040785 by jono_misfit, on Flickr left it to flash off then coat 2  P1040786 P1040786 by jono_misfit, on Flickr  P1040787 P1040787 by jono_misfit, on Flickr  P1040788 P1040788 by jono_misfit, on Flickr and coat 3  P1040789 P1040789 by jono_misfit, on Flickr  P1040790 P1040790 by jono_misfit, on Flickr  P1040791 P1040791 by jono_misfit, on Flickr After the last coat, and the air had cleared I shut the doors and put on a heater to cook off the paint. whilst I was waiting I started cleaning up the wing vents  P1040792 P1040792 by jono_misfit, on Flickr  P1040793 P1040793 by jono_misfit, on Flickr Luckily the paint on this was as badly applied as else where. Colour straight onto the vent the other side was a lot more difficult as they had primed it first  P1040801 P1040801 by jono_misfit, on Flickr  P1040802 P1040802 by jono_misfit, on Flickr I'm unlikely to get them fully clean,so may have to paint them. |
| |
|
|
jonomisfit
Club Retro Rides Member
Posts: 1,789
Club RR Member Number: 49
|
|
|
|
This gave the bonnet and wings time to dry off  P1040794 P1040794 by jono_misfit, on Flickr  P1040795 P1040795 by jono_misfit, on Flickr unfortuantely this wing has a couple of runs in it and has bloomed a bit, despite the heater.  P1040796 P1040796 by jono_misfit, on Flickr When I flat back the car, hopefully it'll take it back to a good finish, otherwise i'll ed up re-painting. took off all the masking  P1040797 P1040797 by jono_misfit, on Flickr and hung the wings back on the car out the way  P1040798 P1040798 by jono_misfit, on Flickr 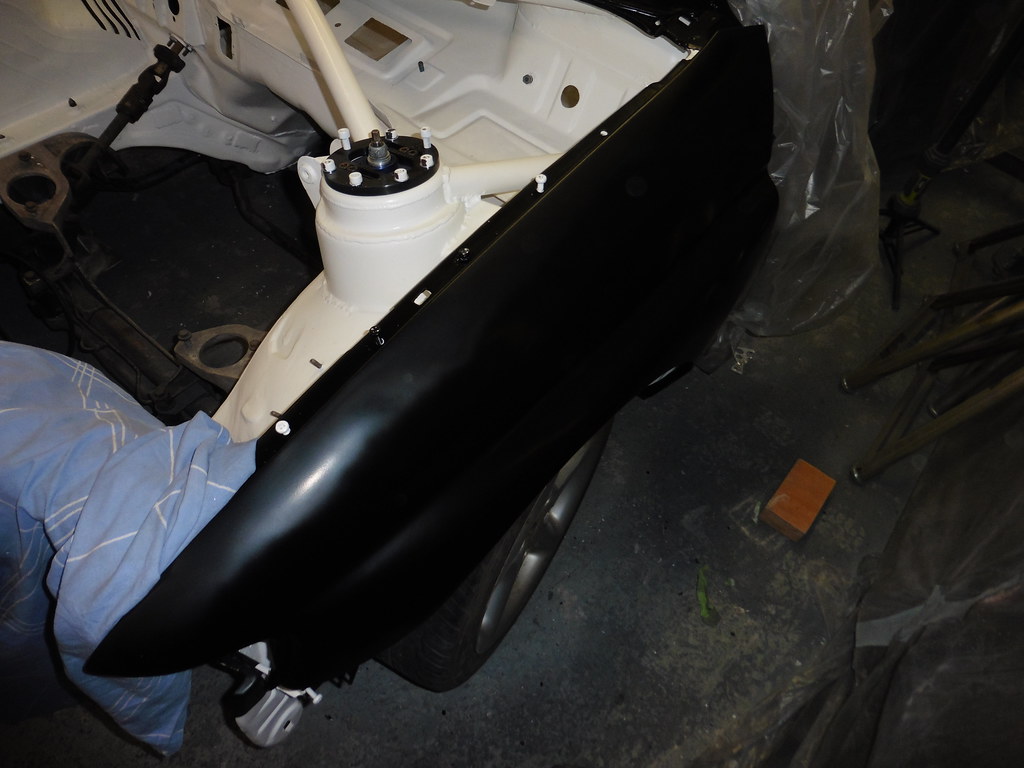 P1040799 P1040799 by jono_misfit, on Flickr and gingerly put the bonnet on out of the way  P1040800 P1040800 by jono_misfit, on Flickr If you look on the top left corner, you can see the dent in the bonnet. I'll see what its like when I push the car outside I then dug out the rear bumper and side skirts, keyed the surface and panel wiped. then gave a coat of high build primer.  P1040803 P1040803 by jono_misfit, on Flickr  P1040804 P1040804 by jono_misfit, on Flickr I can only do one sideskirt and one bumper at a time as I just don't have enough space to do more in one go :-) coat 2 of primer  P1040805 P1040805 by jono_misfit, on Flickr  P1040806 P1040806 by jono_misfit, on Flickr there are a few runs, but I need to flat them all over anyway before the colour goes on next weekend. 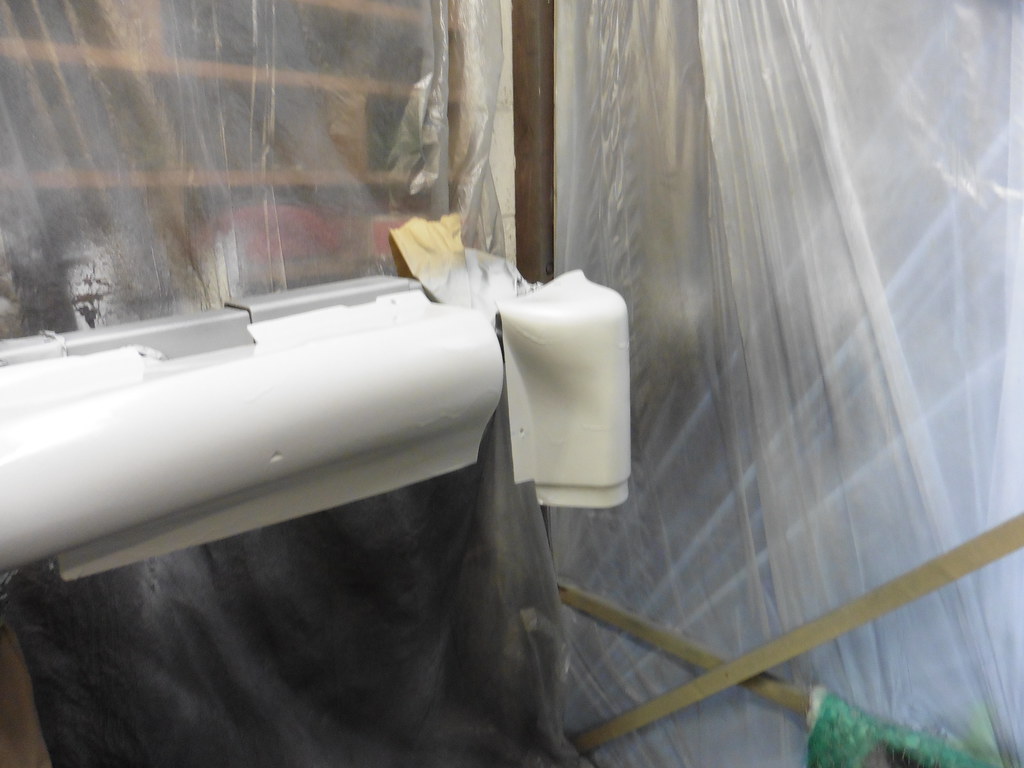 P1040807 P1040807 by jono_misfit, on Flickr  P1040808 P1040808 by jono_misfit, on Flickr  P1040809 P1040809 by jono_misfit, on Flickr worst run was in the first coat here.  P1040810 P1040810 by jono_misfit, on Flickr as I had a bit of primer left in the gun I also gave the bonnet vents a once over after a clean and flat  P1040811 P1040811 by jono_misfit, on Flickr  P1040812 P1040812 by jono_misfit, on Flickr Next week contains..... more paint. |
| |
|
|
|
|
|
|
|
|
What colour will it end up being?
|
| |
|
|
jonomisfit
Club Retro Rides Member
Posts: 1,789
Club RR Member Number: 49
|
|
|
|
What colour will it end up being? Satin black all round, then with graphics of some description applied over the top. |
| |
|
|
|
|
|
|
|
|
How does satin black work with flatting and polishing?
Won't it end up like matte black and turn in to mostly gloss black?
Or is that only a feature of crappy aerosol paints.
|
| |
|
|
jonomisfit
Club Retro Rides Member
Posts: 1,789
Club RR Member Number: 49
|
|
|
|
|
I've never tried it so have no idea!
Having just had a look online suggests you get problems flatting and cutting it and end up with a semi gloss finish.
I may just need to flat it and stick another coat on it at another point.
Or flat the whole car and spray with a matching single stage satin laqure.
|
| |
|
|
jonomisfit
Club Retro Rides Member
Posts: 1,789
Club RR Member Number: 49
|
|
Feb 12, 2021 20:35:56 GMT
|
I flatted out the runs in the primer.  P1040813 P1040813 by jono_misfit, on Flickr  P1040814 P1040814 by jono_misfit, on Flickr then cleaned cleaned cleaned and first coat of colour  P1040815 P1040815 by jono_misfit, on Flickr With how many runs I was getting last time i did a very light coat the first time to help it stick better. Hence the patchyness.  P1040816 P1040816 by jono_misfit, on Flickr 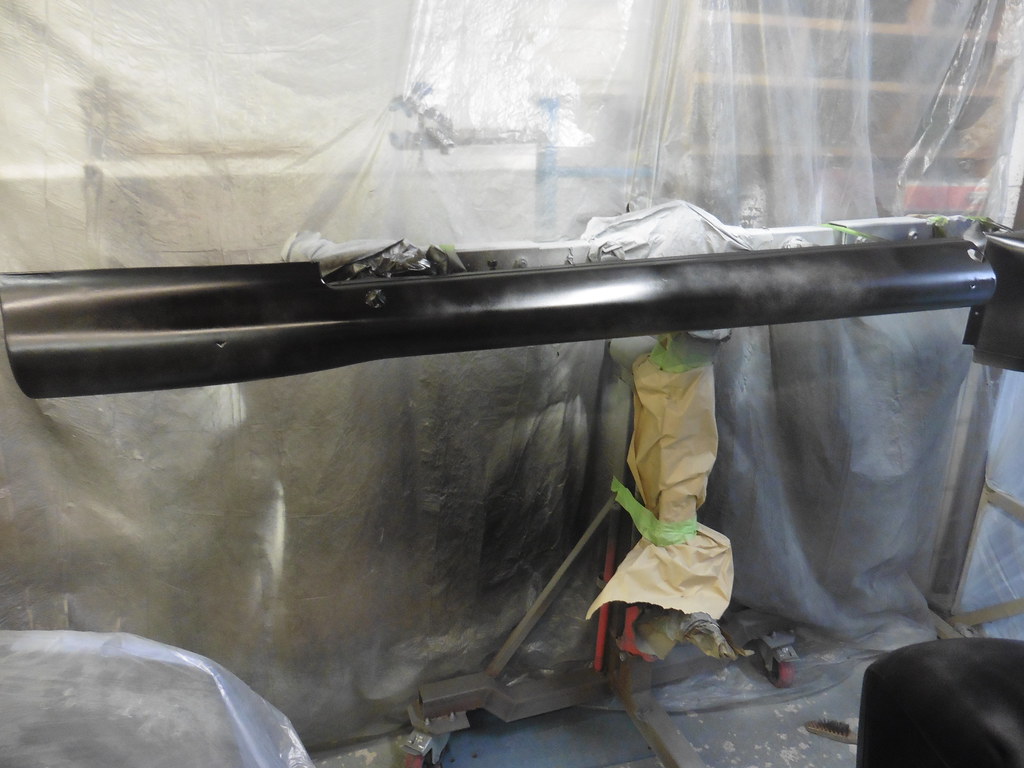 P1040817 P1040817 by jono_misfit, on Flickr second coat out of the gun 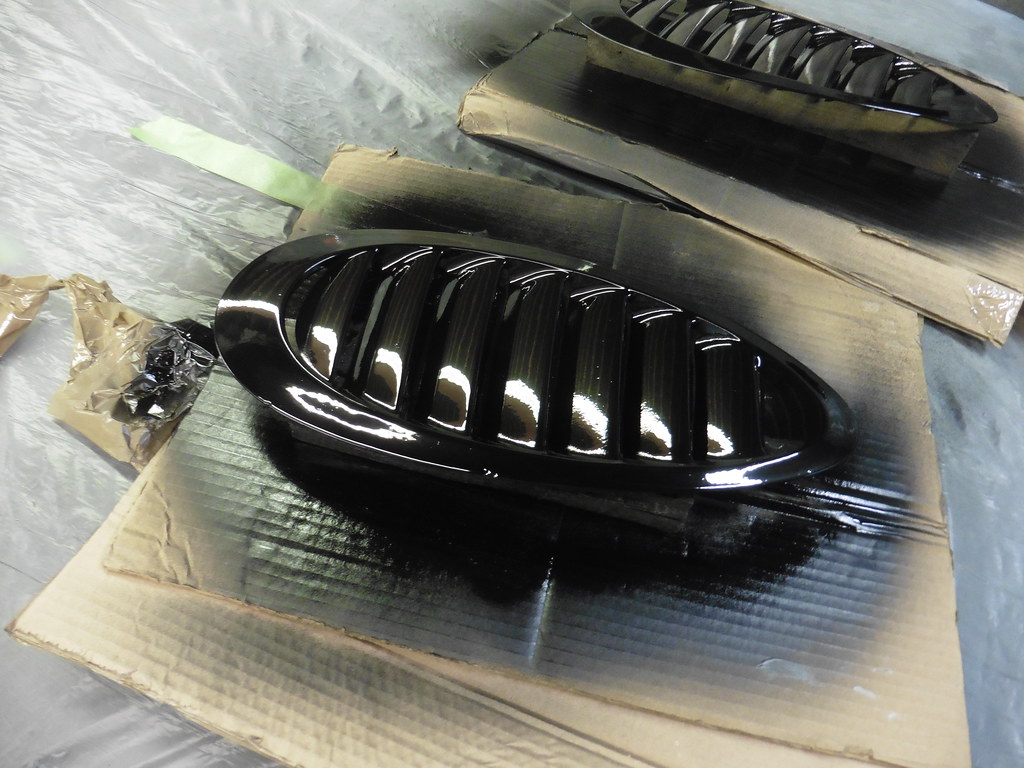 P1040818 P1040818 by jono_misfit, on Flickr  P1040819 P1040819 by jono_misfit, on Flickr  P1040820 P1040820 by jono_misfit, on Flickr  P1040821 P1040821 by jono_misfit, on Flickr  P1040822 P1040822 by jono_misfit, on Flickr and third coat  P1040823 P1040823 by jono_misfit, on Flickr  P1040824 P1040824 by jono_misfit, on Flickr  P1040825 P1040825 by jono_misfit, on Flickr  P1040826 P1040826 by jono_misfit, on Flickr and last coat  P1040827 P1040827 by jono_misfit, on Flickr  P1040828 P1040828 by jono_misfit, on Flickr  P1040829 P1040829 by jono_misfit, on Flickr  P1040830 P1040830 by jono_misfit, on Flickr What I found particulalry odd, was it was much colder in the workshop today, but the paint didnt bloom like last week. Go figure... Did anyone notice the intentional mistake? No? I painted the driver side skirt, and the passenger side sill closer. Doh. More tomorrow. |
| |
|
|
|
|
|
Feb 13, 2021 10:26:06 GMT
|
|
jono-misfit
can i ask a favour? are you able to let me know what the part numbers are for the escort cosworth bonnet vents, on mine they don't look right i think i have 2 off the same side, so when fitted they look out of alignment, i think they are left and right ones
thanks
Tony
|
| |
|
|
jonomisfit
Club Retro Rides Member
Posts: 1,789
Club RR Member Number: 49
|
|
Feb 13, 2021 12:37:33 GMT
|
|
Unfortunately I don't have them. Mine are just GRP replicas.
I keep an eye out for genuine vents but they go for a fortune.
|
| |
|
|
jonomisfit
Club Retro Rides Member
Posts: 1,789
Club RR Member Number: 49
|
|
Feb 13, 2021 18:21:43 GMT
|
I bunged the rear bumper on to get it out of the way 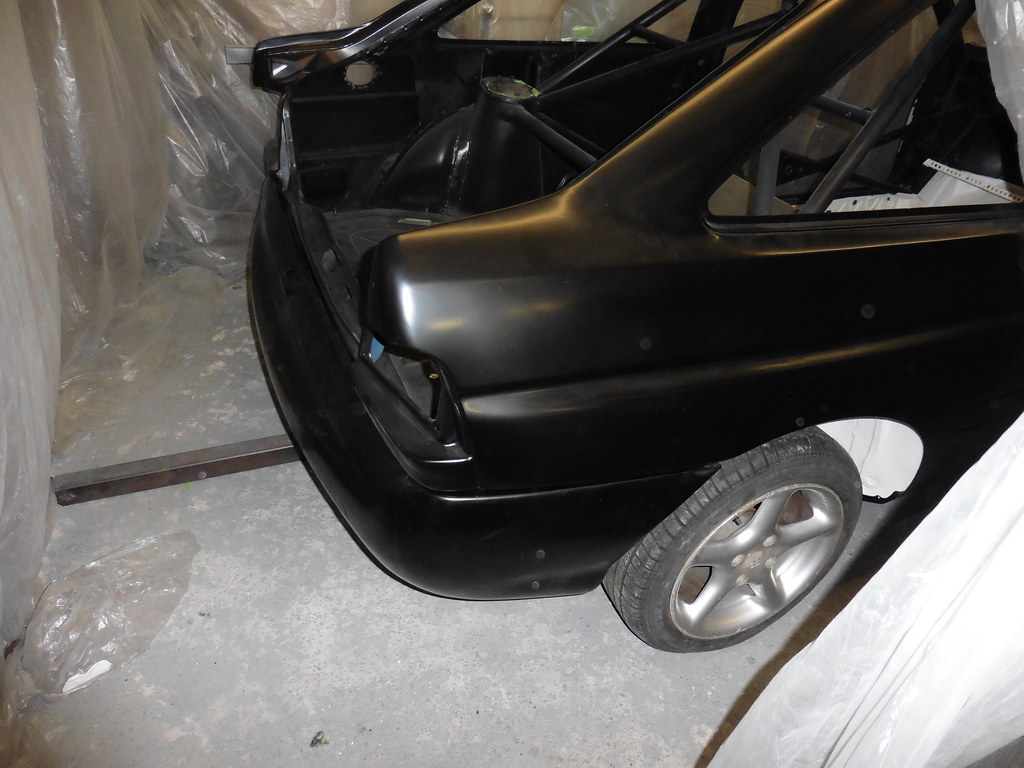 P1040831 P1040831 by jono_misfit, on Flickr 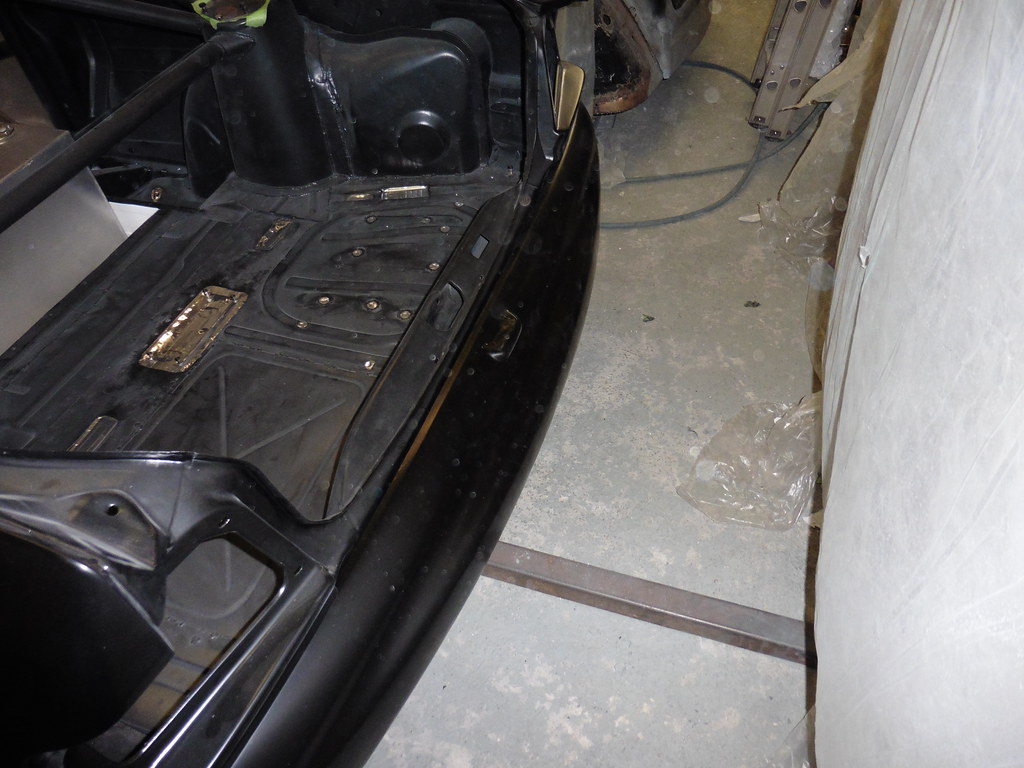 P1040832 P1040832 by jono_misfit, on Flickr the other bits I put on some clothes inside the car out the way I dug out the front grill  P1040835 P1040835 by jono_misfit, on Flickr And removed the badge and flatted it down .... and forgot to take any pics of it. I got the front bumper down.... it was a bit dusty  P1040833 P1040833 by jono_misfit, on Flickr I gave it a brush and an air dust  P1040834 P1040834 by jono_misfit, on Flickr I tried fitting up the indicators, but some of the mold / join lines are trully horrific, so had to clean them down a bit  P1040836 P1040836 by jono_misfit, on Flickr goes in the hole like so  P1040837 P1040837 by jono_misfit, on Flickr but needs some mods to allow this tang to sit in properly  P1040838 P1040838 by jono_misfit, on Flickr the red bits are cut out on genuine bumpers  P1040839 P1040839 by jono_misfit, on Flickr cut out the first one  P1040841 P1040841 by jono_misfit, on Flickr light sits in much better  P1040840 P1040840 by jono_misfit, on Flickr passenger side took a lot more work hole cut out 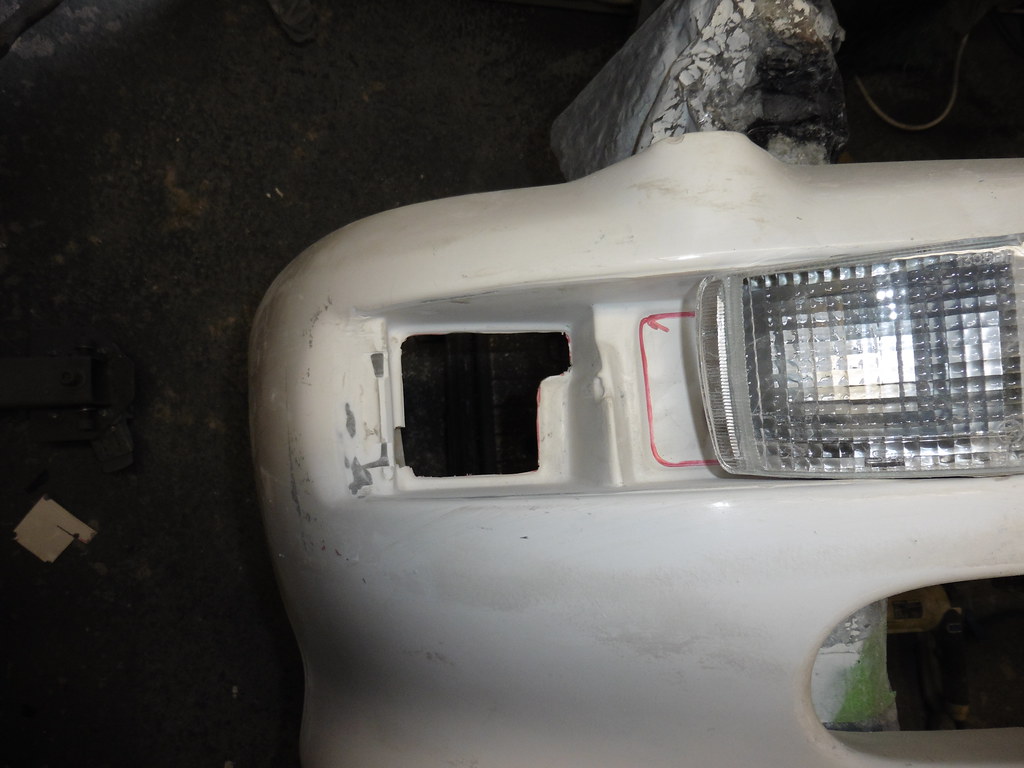 P1040843 P1040843 by jono_misfit, on Flickr then had to grind / adjust a fair few bits to get it to sit in better. Its still not great, but its the best i'm going to get on it.  P1040842 P1040842 by jono_misfit, on Flickr  P1040844 P1040844 by jono_misfit, on Flickr onto the other holes  P1040845 P1040845 by jono_misfit, on Flickr  P1040846 P1040846 by jono_misfit, on Flickr  P1040847 P1040847 by jono_misfit, on Flickr |
| |
|
|
jonomisfit
Club Retro Rides Member
Posts: 1,789
Club RR Member Number: 49
|
|
Feb 13, 2021 18:26:05 GMT
|
Then onto fixing some cracks in the front bumper most notably this one  P1040848 P1040848 by jono_misfit, on Flickr  P1040849 P1040849 by jono_misfit, on Flickr Polyester resin  P1040850 P1040850 by jono_misfit, on Flickr mixed it up  P1040851 P1040851 by jono_misfit, on Flickr and bonded in 5 layers of matting in progressively larger pieces so it tapers at the edges 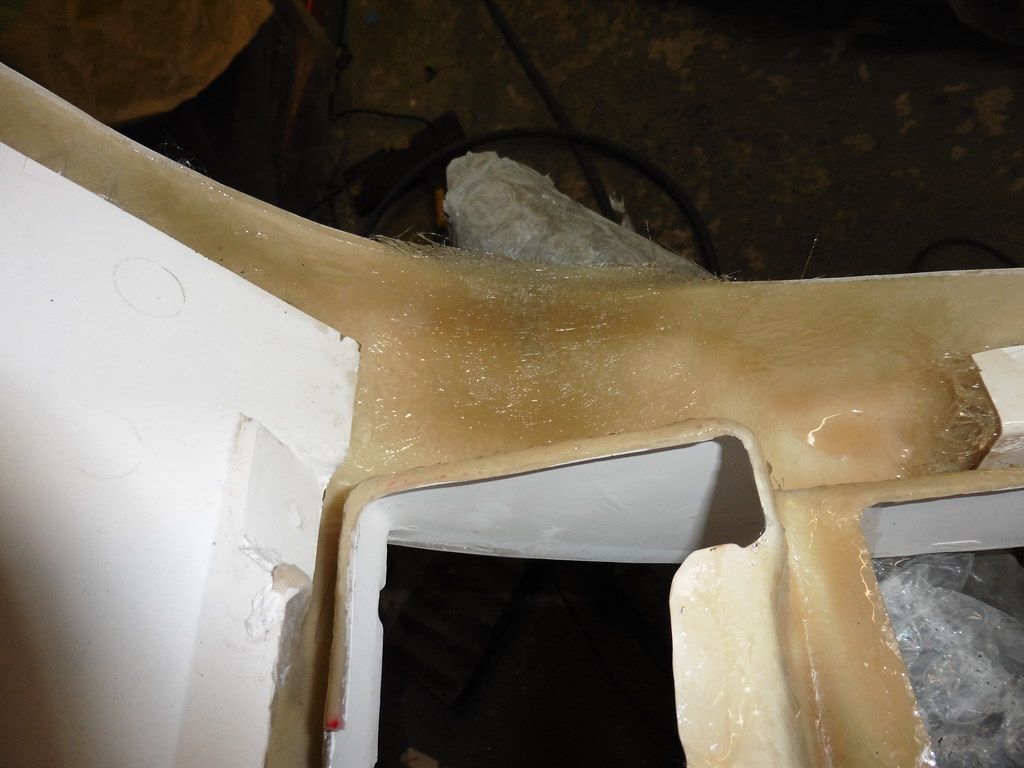 P1040852 P1040852 by jono_misfit, on Flickr  P1040854 P1040854 by jono_misfit, on Flickr and there was a light crack on this radiator opening as well  P1040853 P1040853 by jono_misfit, on Flickr i put in extra hardener as it was cold, but after 2hrs it was still only just startig to go off, so called it a day  P1040855 P1040855 by jono_misfit, on Flickr  P1040856 P1040856 by jono_misfit, on Flickr Should be cured ready for trimming back, then filling and painting next weekend. I also flatted back the other side skirt, but forgot to photo that as well. |
| |
|
|
jonomisfit
Club Retro Rides Member
Posts: 1,789
Club RR Member Number: 49
|
|
Feb 19, 2021 21:00:25 GMT
|
fiberglass was solid as a rock (unsurprisingly) so trimmed it back and sanded off the edges. The went round and filled all the chipped gel coat, notes, and damage. Let it cure, then flatted off.  P1040857 P1040857 by jono_misfit, on Flickr and on the skirts  P1040858 P1040858 by jono_misfit, on Flickr  P1040859 P1040859 by jono_misfit, on Flickr dusted, wiped, cleaned, dusted, wiped  P1040860 P1040860 by jono_misfit, on Flickr  P1040861 P1040861 by jono_misfit, on Flickr  P1040862 P1040862 by jono_misfit, on Flickr first dust coat of primer  P1040863 P1040863 by jono_misfit, on Flickr  P1040864 P1040864 by jono_misfit, on Flickr  P1040865 P1040865 by jono_misfit, on Flickr  P1040866 P1040866 by jono_misfit, on Flickr its about 8 - 9 deg with me today, and what a diference a bit of temperature makes! The paint went on very well, gripped, and set nicely. I think the finish out the gun on the primer is better than i've managed with top coat so far! first main coat on  P1040867 P1040867 by jono_misfit, on Flickr  P1040868 P1040868 by jono_misfit, on Flickr  P1040869 P1040869 by jono_misfit, on Flickr  P1040870 P1040870 by jono_misfit, on Flickr  P1040871 P1040871 by jono_misfit, on Flickr then two more coats 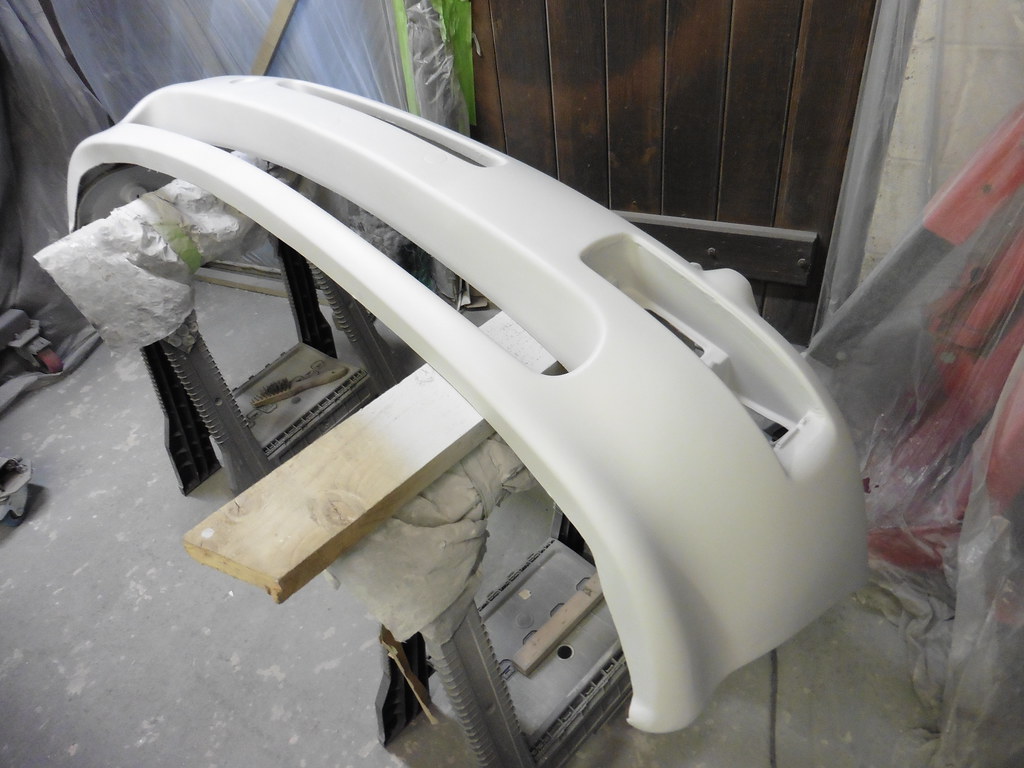 P1040872 P1040872 by jono_misfit, on Flickr  P1040873 P1040873 by jono_misfit, on Flickr  P1040874 P1040874 by jono_misfit, on Flickr  P1040875 P1040875 by jono_misfit, on Flickr and a final coat.  P1040876 P1040876 by jono_misfit, on Flickr 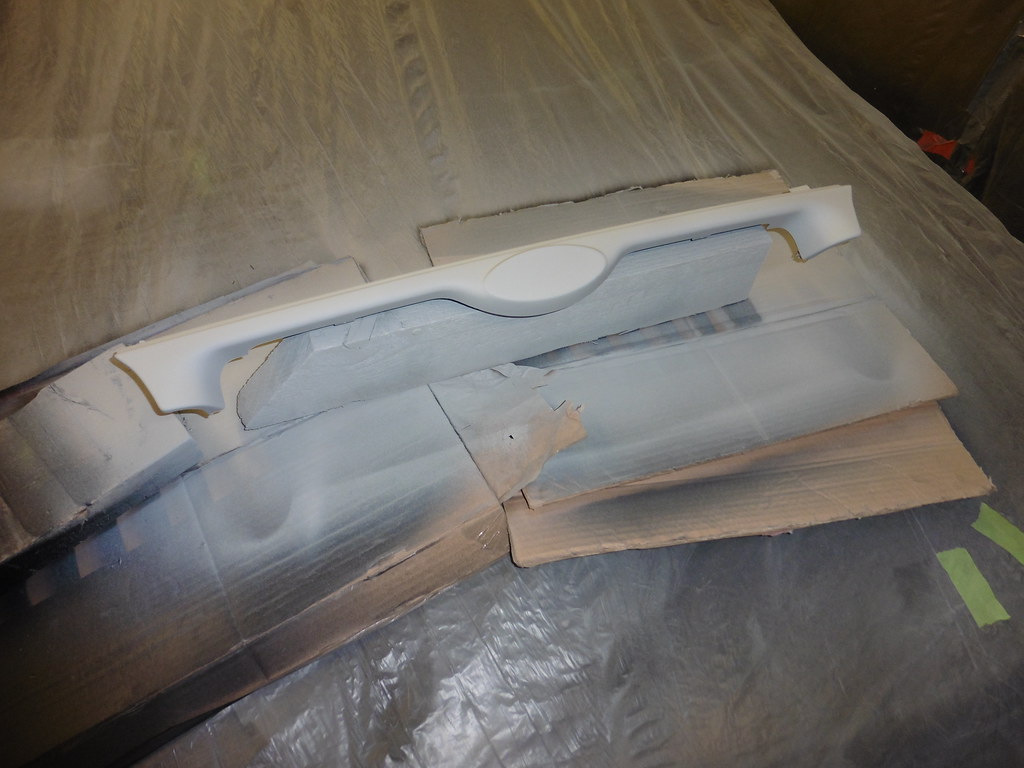 P1040877 P1040877 by jono_misfit, on Flickr  P1040878 P1040878 by jono_misfit, on Flickr Its a pretty smooth finish, so a light run over with 320 grit tomorrow then i'll shoot the top coat. Slowly knocking down the panel list... |
| |
|
|
jonomisfit
Club Retro Rides Member
Posts: 1,789
Club RR Member Number: 49
|
|
Feb 20, 2021 18:27:38 GMT
|
I flatted everythign over with 800 paper  P1040879 P1040879 by jono_misfit, on Flickr  P1040880 P1040880 by jono_misfit, on Flickr  P1040881 P1040881 by jono_misfit, on Flickr then dusted, dusted some more, wiped, dusted, wiped  P1040882 P1040882 by jono_misfit, on Flickr  P1040883 P1040883 by jono_misfit, on Flickr once this was done I put down a light first coat of paint  P1040884 P1040884 by jono_misfit, on Flickr  P1040885 P1040885 by jono_misfit, on Flickr  P1040886 P1040886 by jono_misfit, on Flickr  P1040887 P1040887 by jono_misfit, on Flickr then on to a second coat  P1040888 P1040888 by jono_misfit, on Flickr  P1040889 P1040889 by jono_misfit, on Flickr  P1040890 P1040890 by jono_misfit, on Flickr  P1040891 P1040891 by jono_misfit, on Flickr and a third  P1040892 P1040892 by jono_misfit, on Flickr  P1040893 P1040893 by jono_misfit, on Flickr 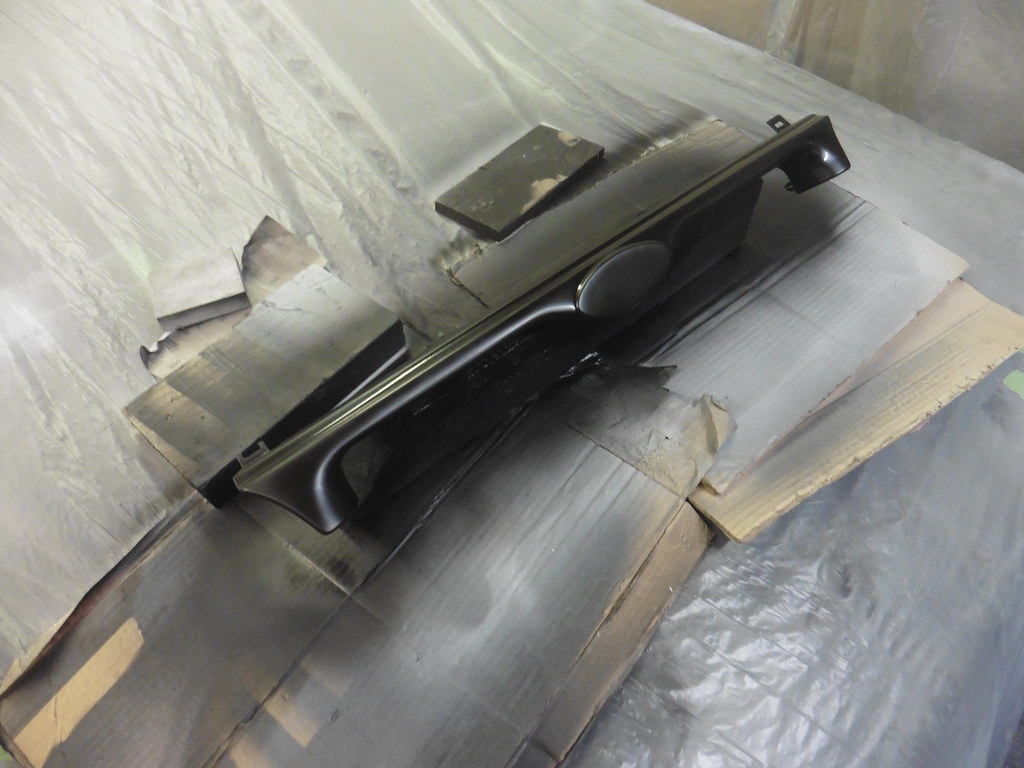 P1040894 P1040894 by jono_misfit, on Flickr 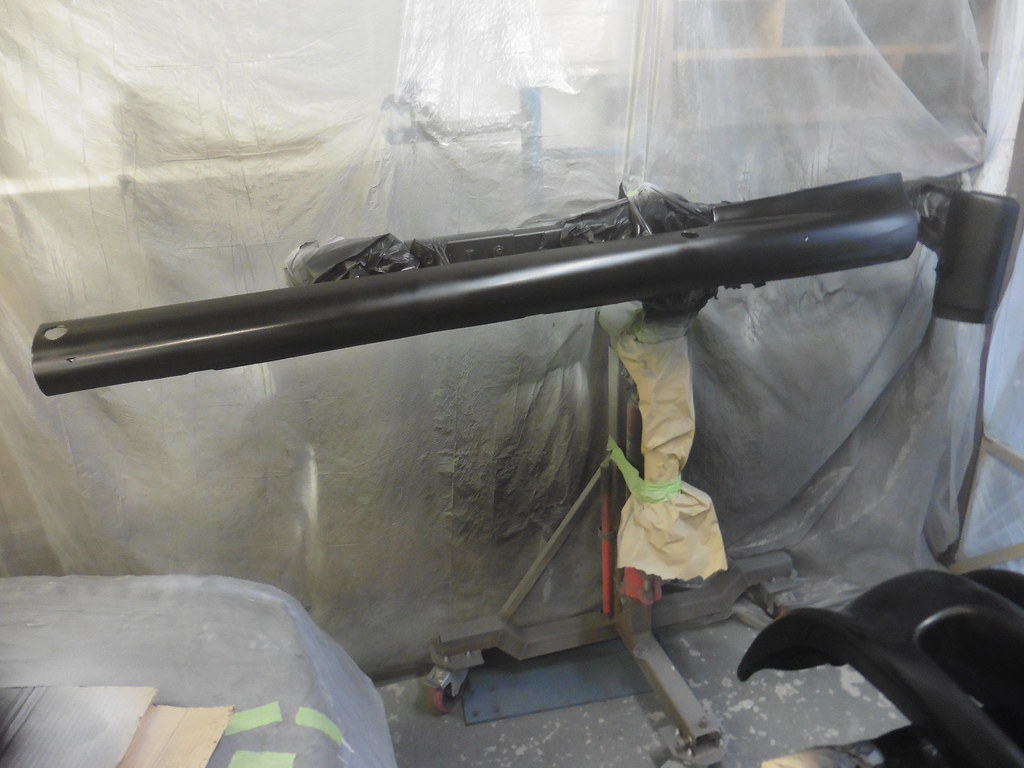 P1040895 P1040895 by jono_misfit, on Flickr I let it all flash off for 10 mins and was looking good at this point. I had a bit of paint left for the final coat and this is where it went to $hit. it went on fine, but as soon as it started flashing off I could see it was getting dull  P1040896 P1040896 by jono_misfit, on Flickr  P1040897 P1040897 by jono_misfit, on Flickr  P1040898 P1040898 by jono_misfit, on Flickr  P1040899 P1040899 by jono_misfit, on Flickr I cut the extractor and put on the heaters but no good. Massive blooming on the paint  P1040900 P1040900 by jono_misfit, on Flickr  P1040901 P1040901 by jono_misfit, on Flickr  P1040902 P1040902 by jono_misfit, on Flickr  P1040903 P1040903 by jono_misfit, on Flickr I'm very annoyed. The first 3 coats went on great and no issues with drying, and the last bloomed worse then I've ever had. I had litterally reached the bottom of the paint can, so I'm not sure if there was somethign settled out at it, but anyways I'll have to take the bumper / skirts back off and re-paint them at some point when its warmer. |
| |
Last Edit: Feb 20, 2021 18:33:04 GMT by jonomisfit
|
|
jonomisfit
Club Retro Rides Member
Posts: 1,789
Club RR Member Number: 49
|
|
Feb 20, 2021 18:31:48 GMT
|
I needed some space to start doing other things, so had to put the bumper on out the way put the bonnet on first  P1040904 P1040904 by jono_misfit, on Flickr the hinges will come back out at some point so I can drill them, and paint them. 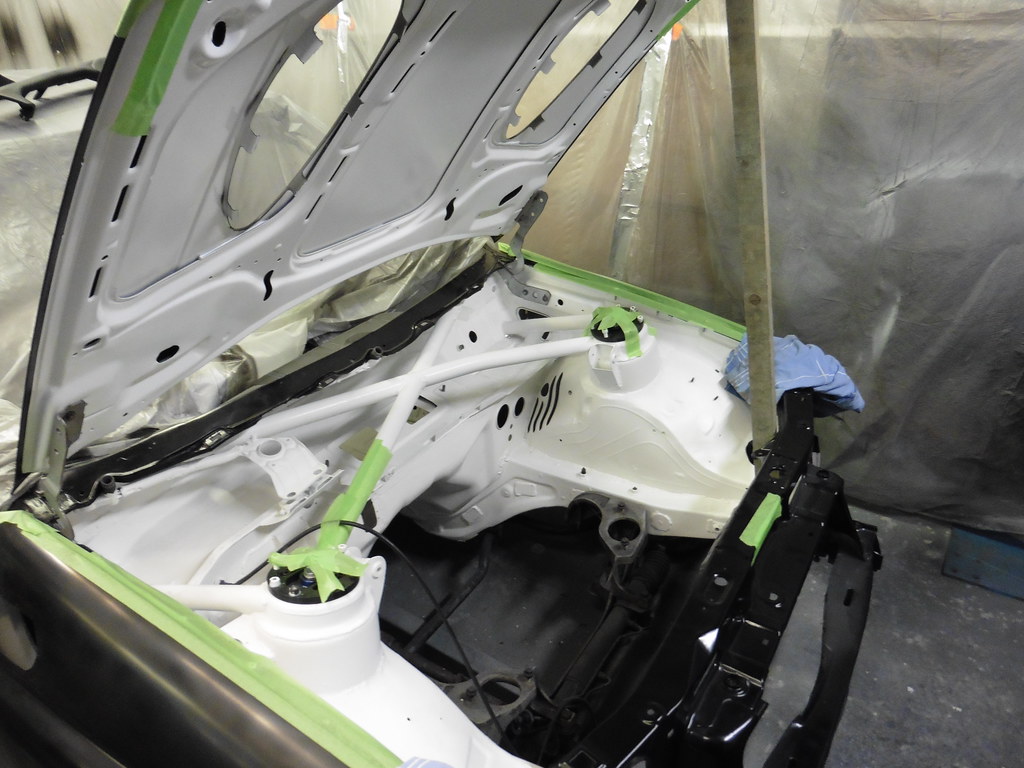 P1040905 P1040905 by jono_misfit, on Flickr  P1040906 P1040906 by jono_misfit, on Flickr you can see here just how bad the bloom is  P1040907 P1040907 by jono_misfit, on Flickr  P1040910 P1040910 by jono_misfit, on Flickr put the side skirts on out the way as well  P1040908 P1040908 by jono_misfit, on Flickr  P1040909 P1040909 by jono_misfit, on Flickr then back to my favourite job of foil taping all the holes  P1040911 P1040911 by jono_misfit, on Flickr  P1040912 P1040912 by jono_misfit, on Flickr once they're all done I can can go round with the cavity wax and give everything a good spray. |
| |
|
|
 P1040746 by jono_misfit, on Flickr
 P1040747 by jono_misfit, on Flickr
 P1040748 by jono_misfit, on Flickr
 P1040749 by jono_misfit, on Flickr
 P1040750 by jono_misfit, on Flickr
 P1040751 by jono_misfit, on Flickr
 P1040752 by jono_misfit, on Flickr
 P1040746 by jono_misfit, on Flickr
 P1040747 by jono_misfit, on Flickr
 P1040748 by jono_misfit, on Flickr
 P1040749 by jono_misfit, on Flickr
 P1040750 by jono_misfit, on Flickr
 P1040751 by jono_misfit, on Flickr
 P1040752 by jono_misfit, on Flickr


