jonomisfit
Club Retro Rides Member
Posts: 1,788
Club RR Member Number: 49
|
|
Aug 20, 2019 16:50:51 GMT
|
|
What I mainly find is they warp into interesting shapes, they pull a bit at the edges but not as much as doing a swaged hole near the edge.
There seems to be a lot more local stretching rather than pulling from elsewhere.
|
| |
|
|
|
|
jonomisfit
Club Retro Rides Member
Posts: 1,788
Club RR Member Number: 49
|
|
Aug 26, 2019 19:30:29 GMT
|
was particularly poor at taking pics whilst doing things today. roof piece ready for welding  P1020645 P1020645 by jono_misfit, on Flickr welded and cleaned up in a few areas  P1020646 P1020646 by jono_misfit, on Flickr  P1020647 P1020647 by jono_misfit, on Flickr mid making the patch piece for the other half of the repair.  P1020648 P1020648 by jono_misfit, on Flickr there's a fair curve to the bottom of it  P1020649 P1020649 by jono_misfit, on Flickr welded in  P1020650 P1020650 by jono_misfit, on Flickr and the lip repaired as well  P1020651 P1020651 by jono_misfit, on Flickr a bit of a clean up and a light dust of primer. There's more clean up to do, but I need to get the trim off first. Somehow... its very well stuck on.  P1020652 P1020652 by jono_misfit, on Flickr there were a load of pin holes appearing under the rubber, so i cleaned back, welded, the ground flush  P1020653 P1020653 by jono_misfit, on Flickr some pin holing on the roof to side panel join, so spot repairs and clean up. A few more to do.  P1020654 P1020654 by jono_misfit, on Flickr and some on the window surround  P1020655 P1020655 by jono_misfit, on Flickr a pillar under the hinge 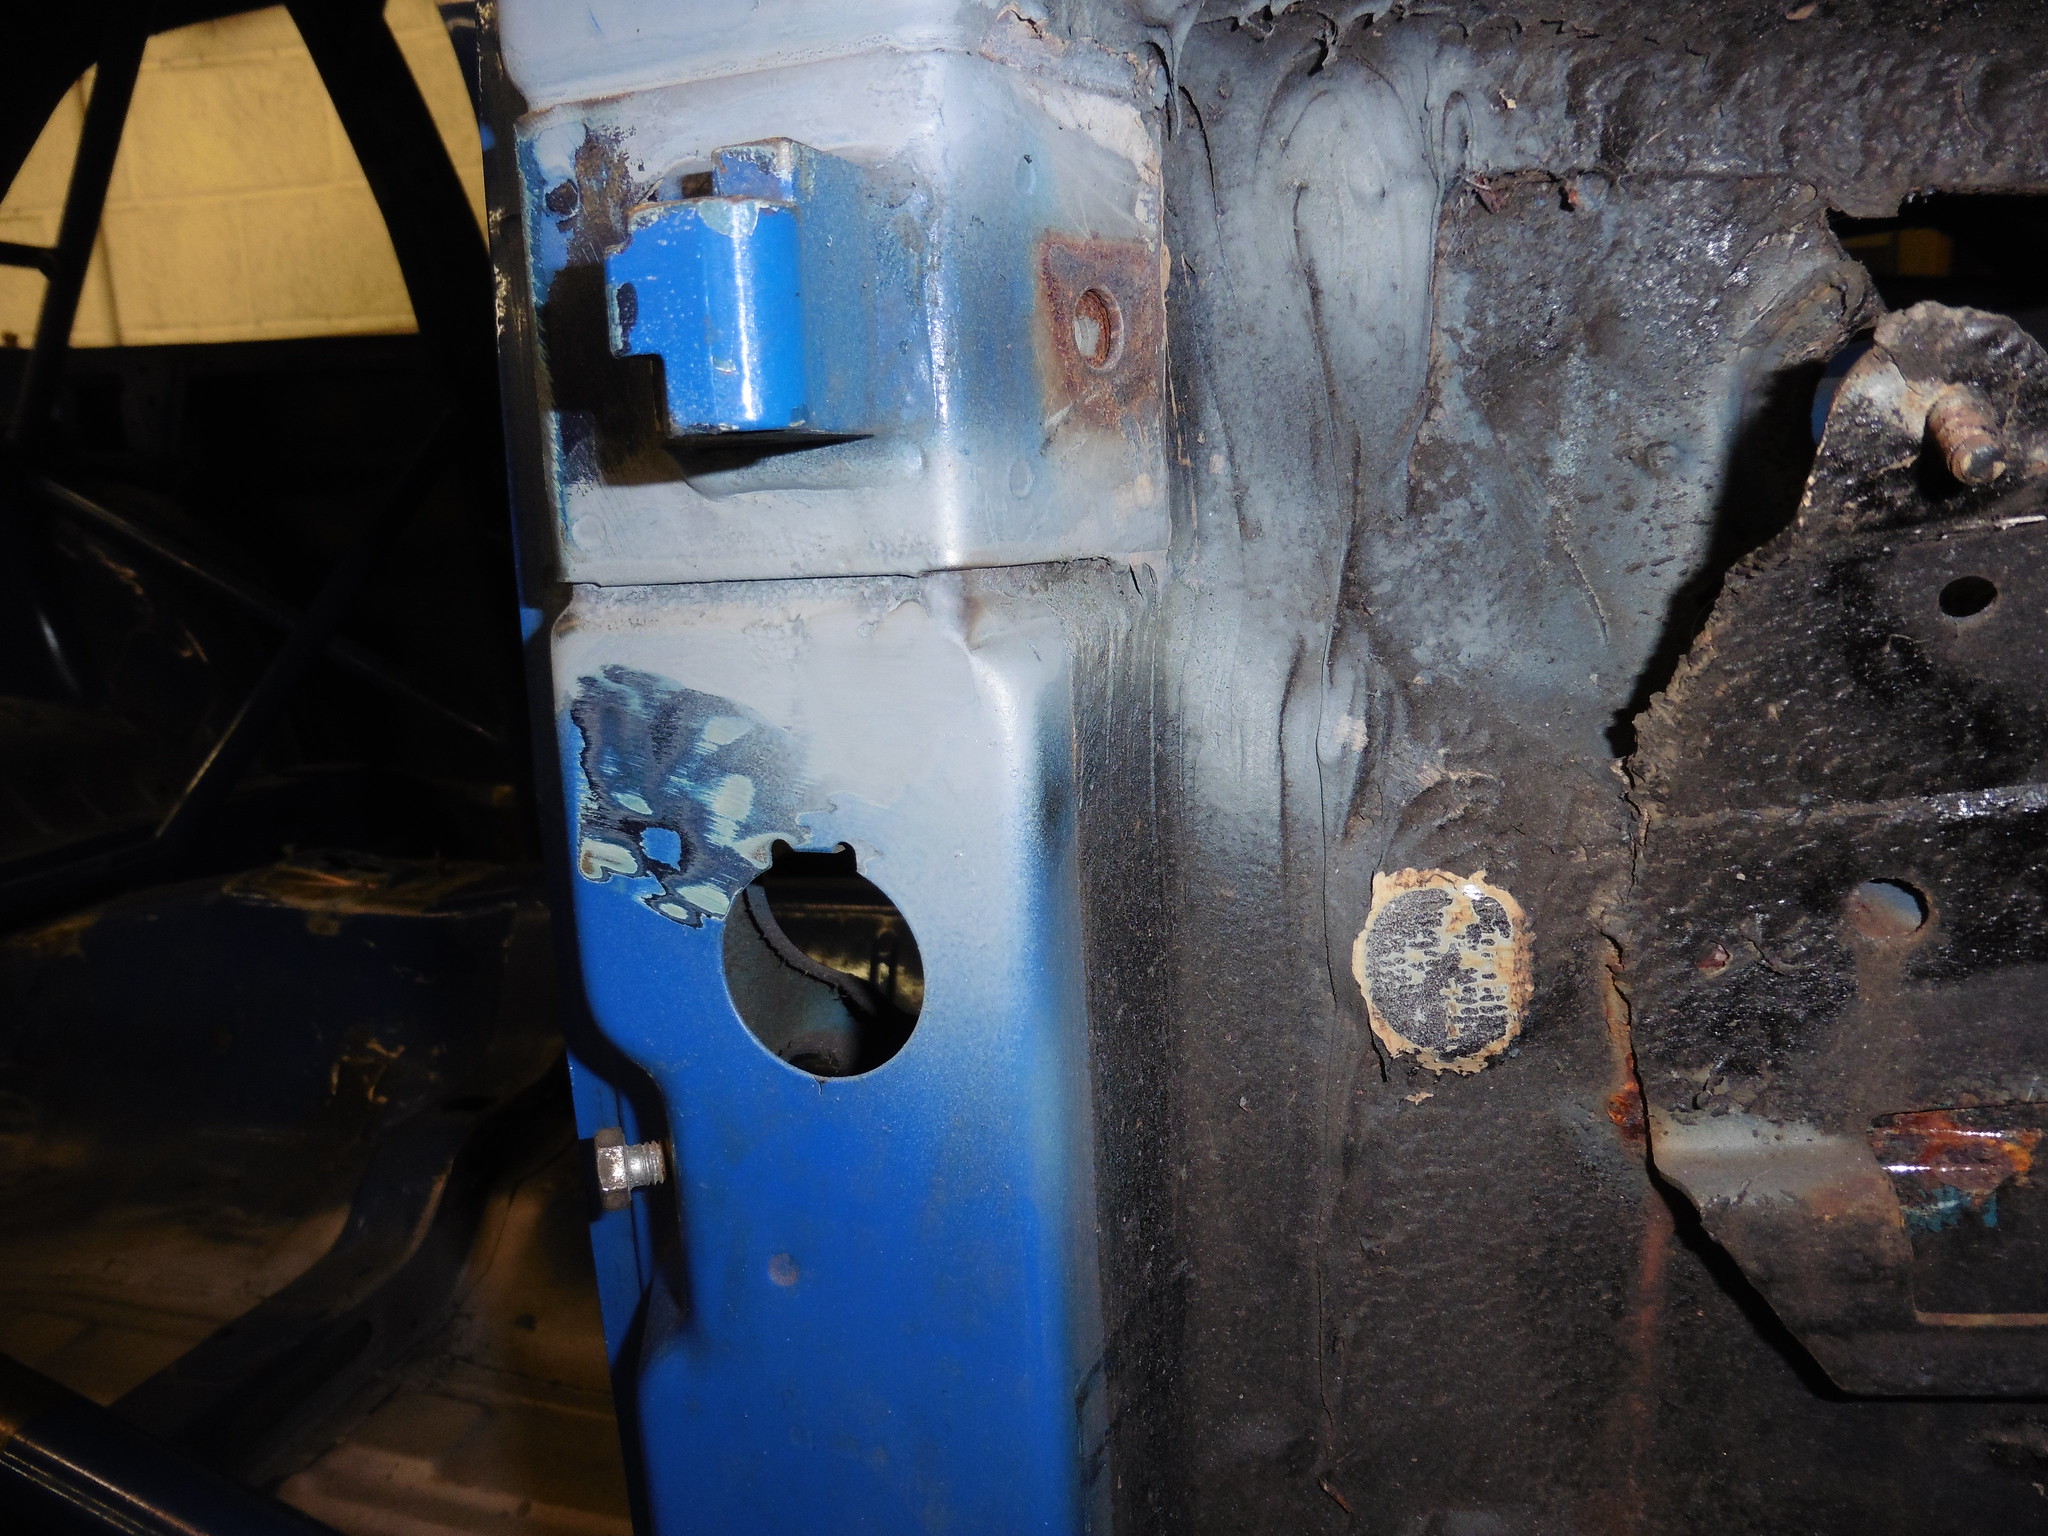 P1020656 P1020656 by jono_misfit, on Flickr and a couple of spots on the scuttle panel, under the window.  P1020658 P1020658 by jono_misfit, on Flickr then i had a shuffle round and started sorting some of the crash damage on the light surround / mount  P1020659 P1020659 by jono_misfit, on Flickr I'm no panel beater, but the previous attempt to straighten was very very poor. Its still not super straight, but is a lot better than it was. Previously the headlight bezel had a step in it...  P1020660 P1020660 by jono_misfit, on Flickr The last bit I did today was cut out this bit and patch in. Its where three panels meet for the bumper mount, and is a water trap. It had rotted through all three panels. It was difficult to get all the between panel sealant out, so the welding is not my best. needs cleaned up and painted still  P1020661 P1020661 by jono_misfit, on Flickr there are a few more holes and spots to tidy up, but in the general that "should" be the main rust repairs done. other than one rear bumper mount but I need the car off the spit to do that, so its getting left till the last job. Its onto some cage work, seat rails, and a few other odds and sods next. |
| |
|
|
jonomisfit
Club Retro Rides Member
Posts: 1,788
Club RR Member Number: 49
|
|
Sept 1, 2019 20:55:31 GMT
|
Today was a short day as I needed to go and collect some things. It was also a day of little visible progress as it took a lot of thinking. First things, I needed the car level. Trying to find a flat and level panel in the car that I trust was not easy. Eventually I found a few points that correlated readings. the handiest is the steering column mount 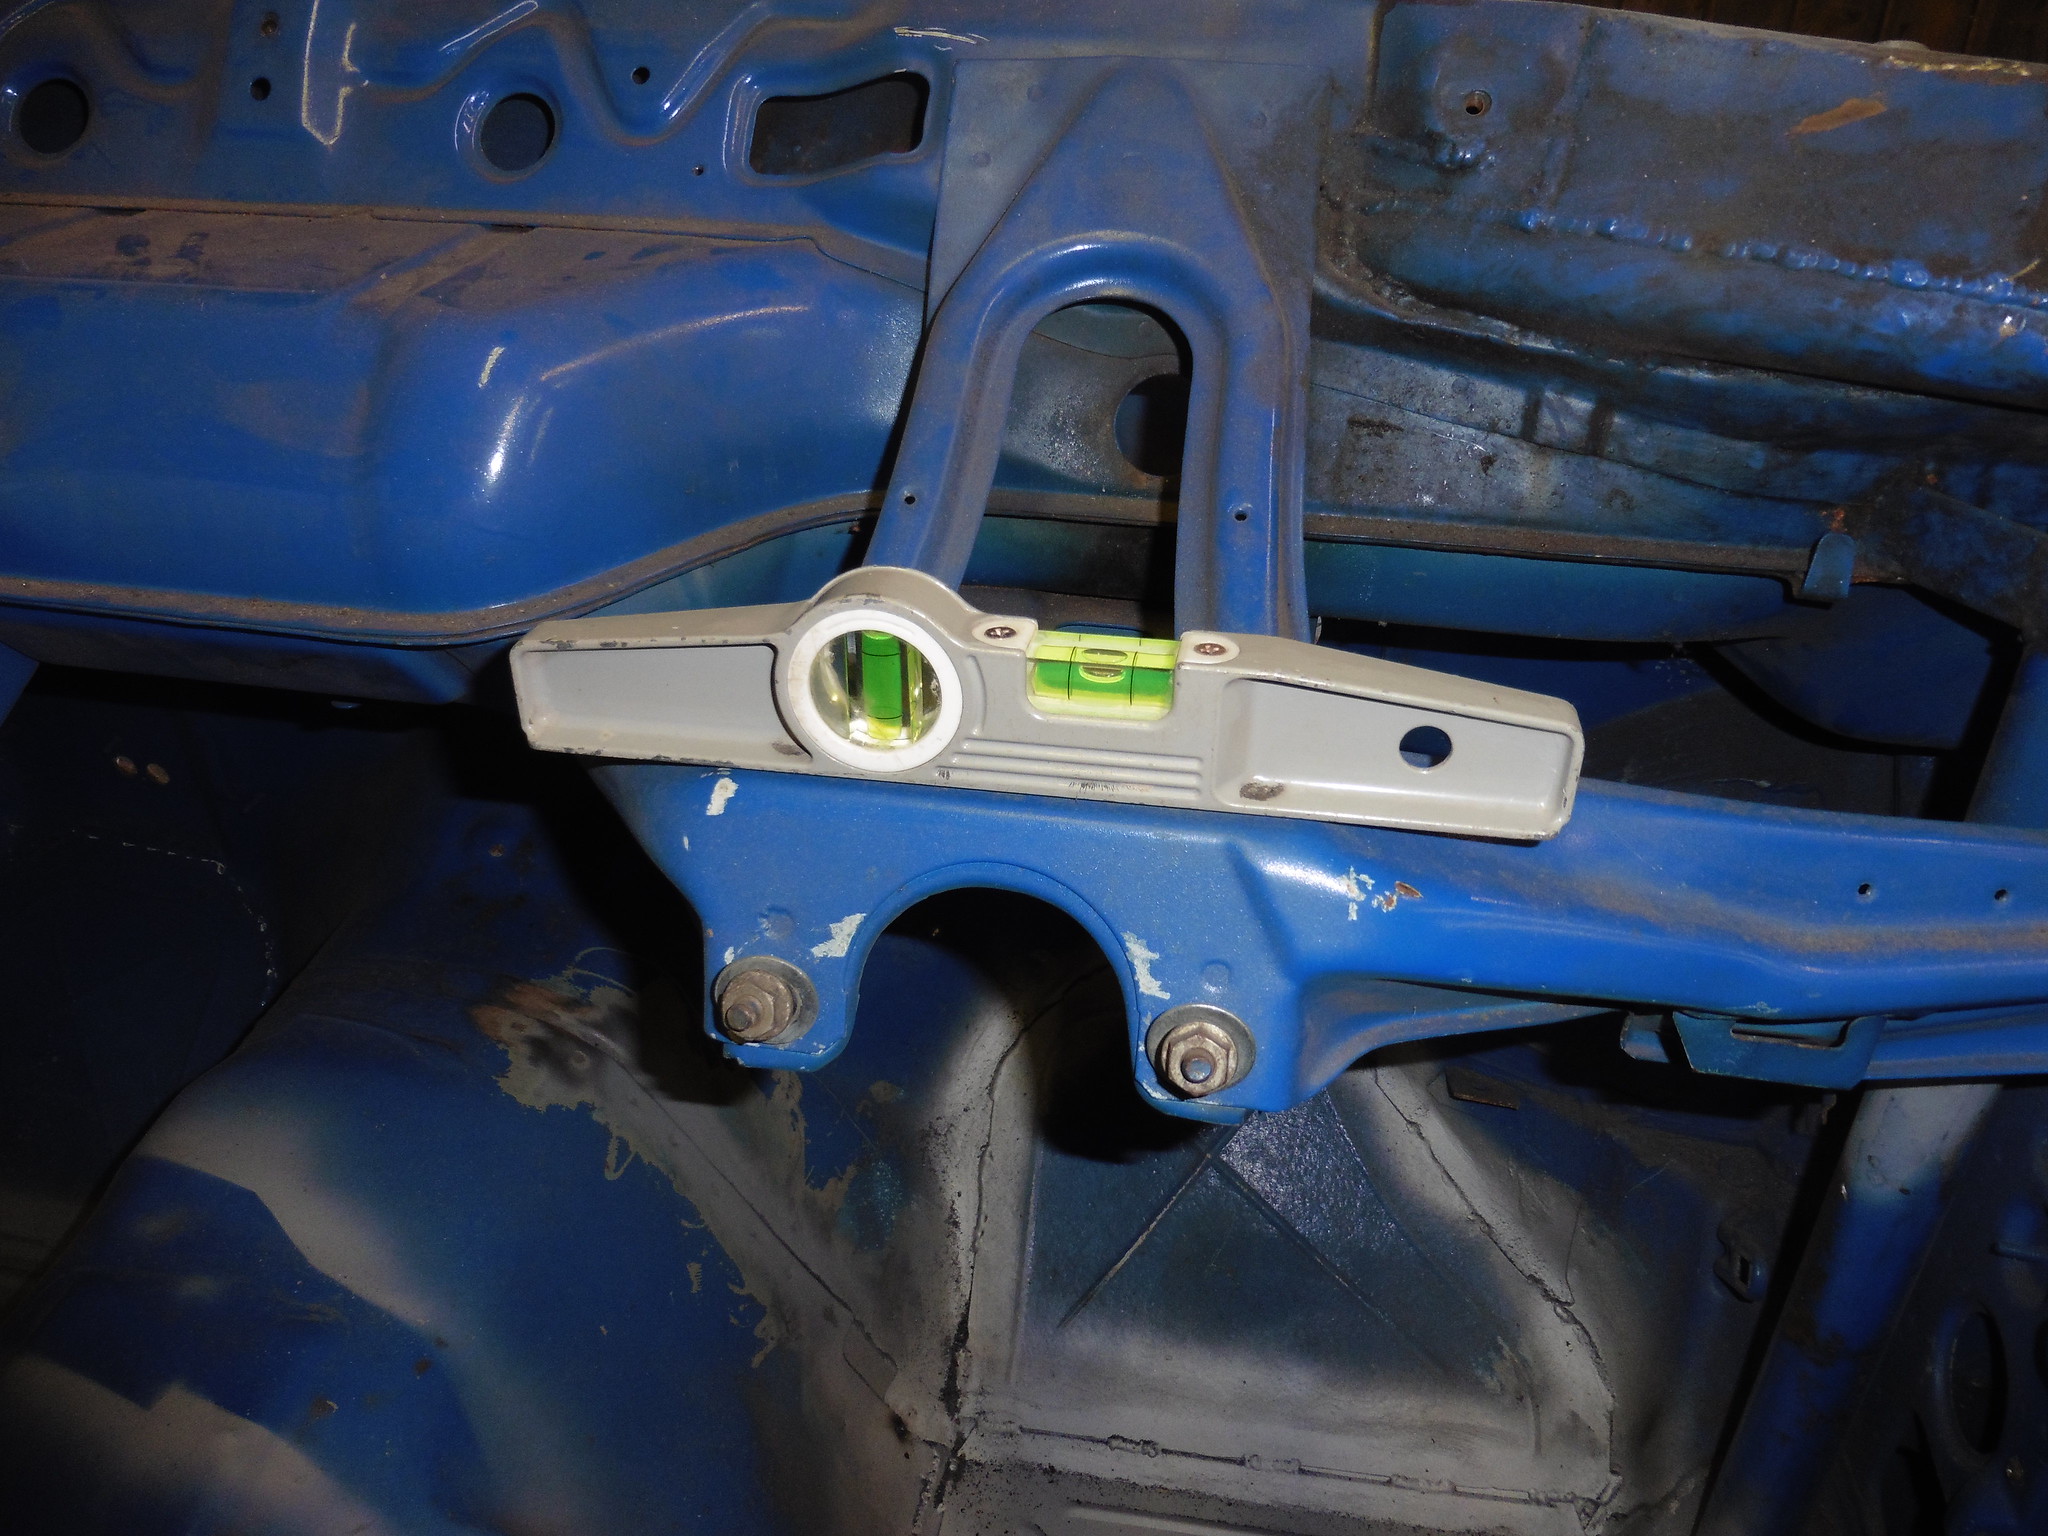 P1020662 P1020662 by jono_misfit, on Flickr then checked with the digital  P1020663 P1020663 by jono_misfit, on Flickr then added a tension rod to ensure it cant budge (also known as threaded rod)  P1020664 P1020664 by jono_misfit, on Flickr  P1020665 P1020665 by jono_misfit, on Flickr I welded this hole up a bit further as it still isnt a good fit for the insert  P1020666 P1020666 by jono_misfit, on Flickr re-fitted steering column and pedals  P1020667 P1020667 by jono_misfit, on Flickr and applied a load of bits of wood to an old seat I now have  P1020668 P1020668 by jono_misfit, on Flickr there was then much shuffling of the seat to get it to feel right.  P1020669 P1020669 by jono_misfit, on Flickr and angled it so it all lines up  P1020670 P1020670 by jono_misfit, on Flickr No matter what I did I couldnt get a position that was right for me height wise and fwd/aft wise that didnt involve the seat mount needing to be in the middle of the floor reinforcing bar / seat mount. I contemplated plating the top of it with a welded in bobbin but in the end decided that i want proper seat rails in. I contemplated putting it in front or behind, however that really affects the ability to move the seat frame back / forward for further adjustment / other drivers. only one thing for it. Reduce its size....  P1020671 P1020671 by jono_misfit, on Flickr I've taken a slightly over sized cut so its easier to piece things back in when I'm done. much footering later. tube cut to shape and in position  P1020673 P1020673 by jono_misfit, on Flickr the seat mounts will sit like so  P1020674 P1020674 by jono_misfit, on Flickr check its level still  P1020672 P1020672 by jono_misfit, on Flickr I ran out of time today, so it'll get welded in next session. My intension is to patch the reinforcing member back onto the seat rail when done. Will hopefully look quite need and return any removed strength. I'm not convinced most of the member is needed still with the seat rails going in, but its original so i'll replace it. |
| |
|
|
sonus
Europe
Posts: 1,392
|
|
Sept 2, 2019 19:07:49 GMT
|
|
‘Make the noise’ 😁
|
| |
Current
1968 TVR VIXEN S1 V8 Prototype
2004 TVR T350C
2017 BMW 340i
Previous
BMW 325d E91LCI - sold
Alfa Romeo GTV - sold
Citroen AX GT - at the breakers
Ford Puma 1.7 - sold
Volvo V50 2.0d - sold
MGB GT - wrecked by fire
MG ZT 1.8T - sold
VW E-golf Electric - sold
Mini Countryman 1.6D -sold
Land Rover Discovery TD5 - sold
|
|
|
|
|
|
|
Hah. I was waiting until I got to the end of the post before I quoted the pic of the level and said that. ^  |
| |
|
|
jonomisfit
Club Retro Rides Member
Posts: 1,788
Club RR Member Number: 49
|
|
Sept 7, 2019 20:31:02 GMT
|
Back on with the seat rails and another day of only a few pics for what was quite a lot of effort measuring and checking. getting the seat rail ready to fit  P1020674 P1020674 by jono_misfit, on Flickr first half tacked in and starting prep for the rear rail  P1020675 P1020675 by jono_misfit, on Flickr  P1020676 P1020676 by jono_misfit, on Flickr theres a fair amount of re-build required on the floor brace. I can see what a number of people just cut them out! Drivers side is set for comfortable pedal pushing, leave a decent gap behind for a battery or fire extinguisher mount.  P1020677 P1020677 by jono_misfit, on Flickr rear rail cut and tacked in  P1020678 P1020678 by jono_misfit, on Flickr after much jiggery pokery I go the seat to line up with the column. The pedals however feel offset over slightly, so may revisit it. The mounts have a fair adjustment to them.  P1020679 P1020679 by jono_misfit, on Flickr  P1020680 P1020680 by jono_misfit, on Flickr welded the rails in fully  P1020681 P1020681 by jono_misfit, on Flickr  P1020682 P1020682 by jono_misfit, on Flickr  P1020683 P1020683 by jono_misfit, on Flickr  P1020684 P1020684 by jono_misfit, on Flickr then onto the passenger side.  P1020685 P1020685 by jono_misfit, on Flickr Passenger side rails are set about 50mm lower than the drivers side. I'd have gone lower but i'd have needed to mod the transmission tunnel as there's a hump right under the front tunnel side area which limits how low you can get it. With the seat on the lowest mount setting, it should be about a 75mm overall heigh drop v's the driver, plus I canted the rails back at a slight angle. Seat is also set back about 200mm v's the drivers side. I'm not sure how much the passenger will see. They'll definitely need a foot brace fitted mid footwell as its a stretch to get to the bulkhead.  P1020686 P1020686 by jono_misfit, on Flickr  P1020687 P1020687 by jono_misfit, on Flickr I also need to order up a new bottle of gas as mine is almost out. Still got to final weld the passenger side but ran out of time. |
| |
|
|
ian911
Part of things
 
Posts: 13
|
|
Sept 13, 2019 5:33:57 GMT
|
|
Keep at it mate your doing a great job.
|
| |
|
|
jonomisfit
Club Retro Rides Member
Posts: 1,788
Club RR Member Number: 49
|
|
Sept 15, 2019 16:28:30 GMT
|
Today i was suffering with not a huge amount of motivation, but pushed on. I finished welding in the seat rails in  P1020688 P1020688 by jono_misfit, on Flickr then started looking at how to finish this bit off.  P1020689 P1020689 by jono_misfit, on Flickr I did some more trimming, then started a cardboard template.  P1020690 P1020690 by jono_misfit, on Flickr converted that into a piece of steel  P1020691 P1020691 by jono_misfit, on Flickr primed it, and welded it in  P1020692 P1020692 by jono_misfit, on Flickr  P1020693 P1020693 by jono_misfit, on Flickr A right pain in the backside, and whilst it doesnt look factory it'll close out the box. then got busy with the multi tool followed by the knot wheel in the grinder.  P1020694 P1020694 by jono_misfit, on Flickr  P1020695 P1020695 by jono_misfit, on Flickr still more cleaning up required, however the main thing is I could take a good look for rust, thankfully though this side looks pretty clean. then on to more bodgery repair, the door bar on the cage that was badly removed. I bought a length of 38mm roll cage tubing.  P1020696 P1020696 by jono_misfit, on Flickr then trimmed a piece to shape  P1020697 P1020697 by jono_misfit, on Flickr and started tacking in to weld, but ran out of gas  P1020698 P1020698 by jono_misfit, on Flickr I'll get some more gas then weld it in fully next session. |
| |
|
|
jonomisfit
Club Retro Rides Member
Posts: 1,788
Club RR Member Number: 49
|
|
Sept 28, 2019 12:03:02 GMT
|
I got a couple of hours yesterday, door bar welded in  P1020699 P1020699 by jono_misfit, on Flickr  P1020700 P1020700 by jono_misfit, on Flickr 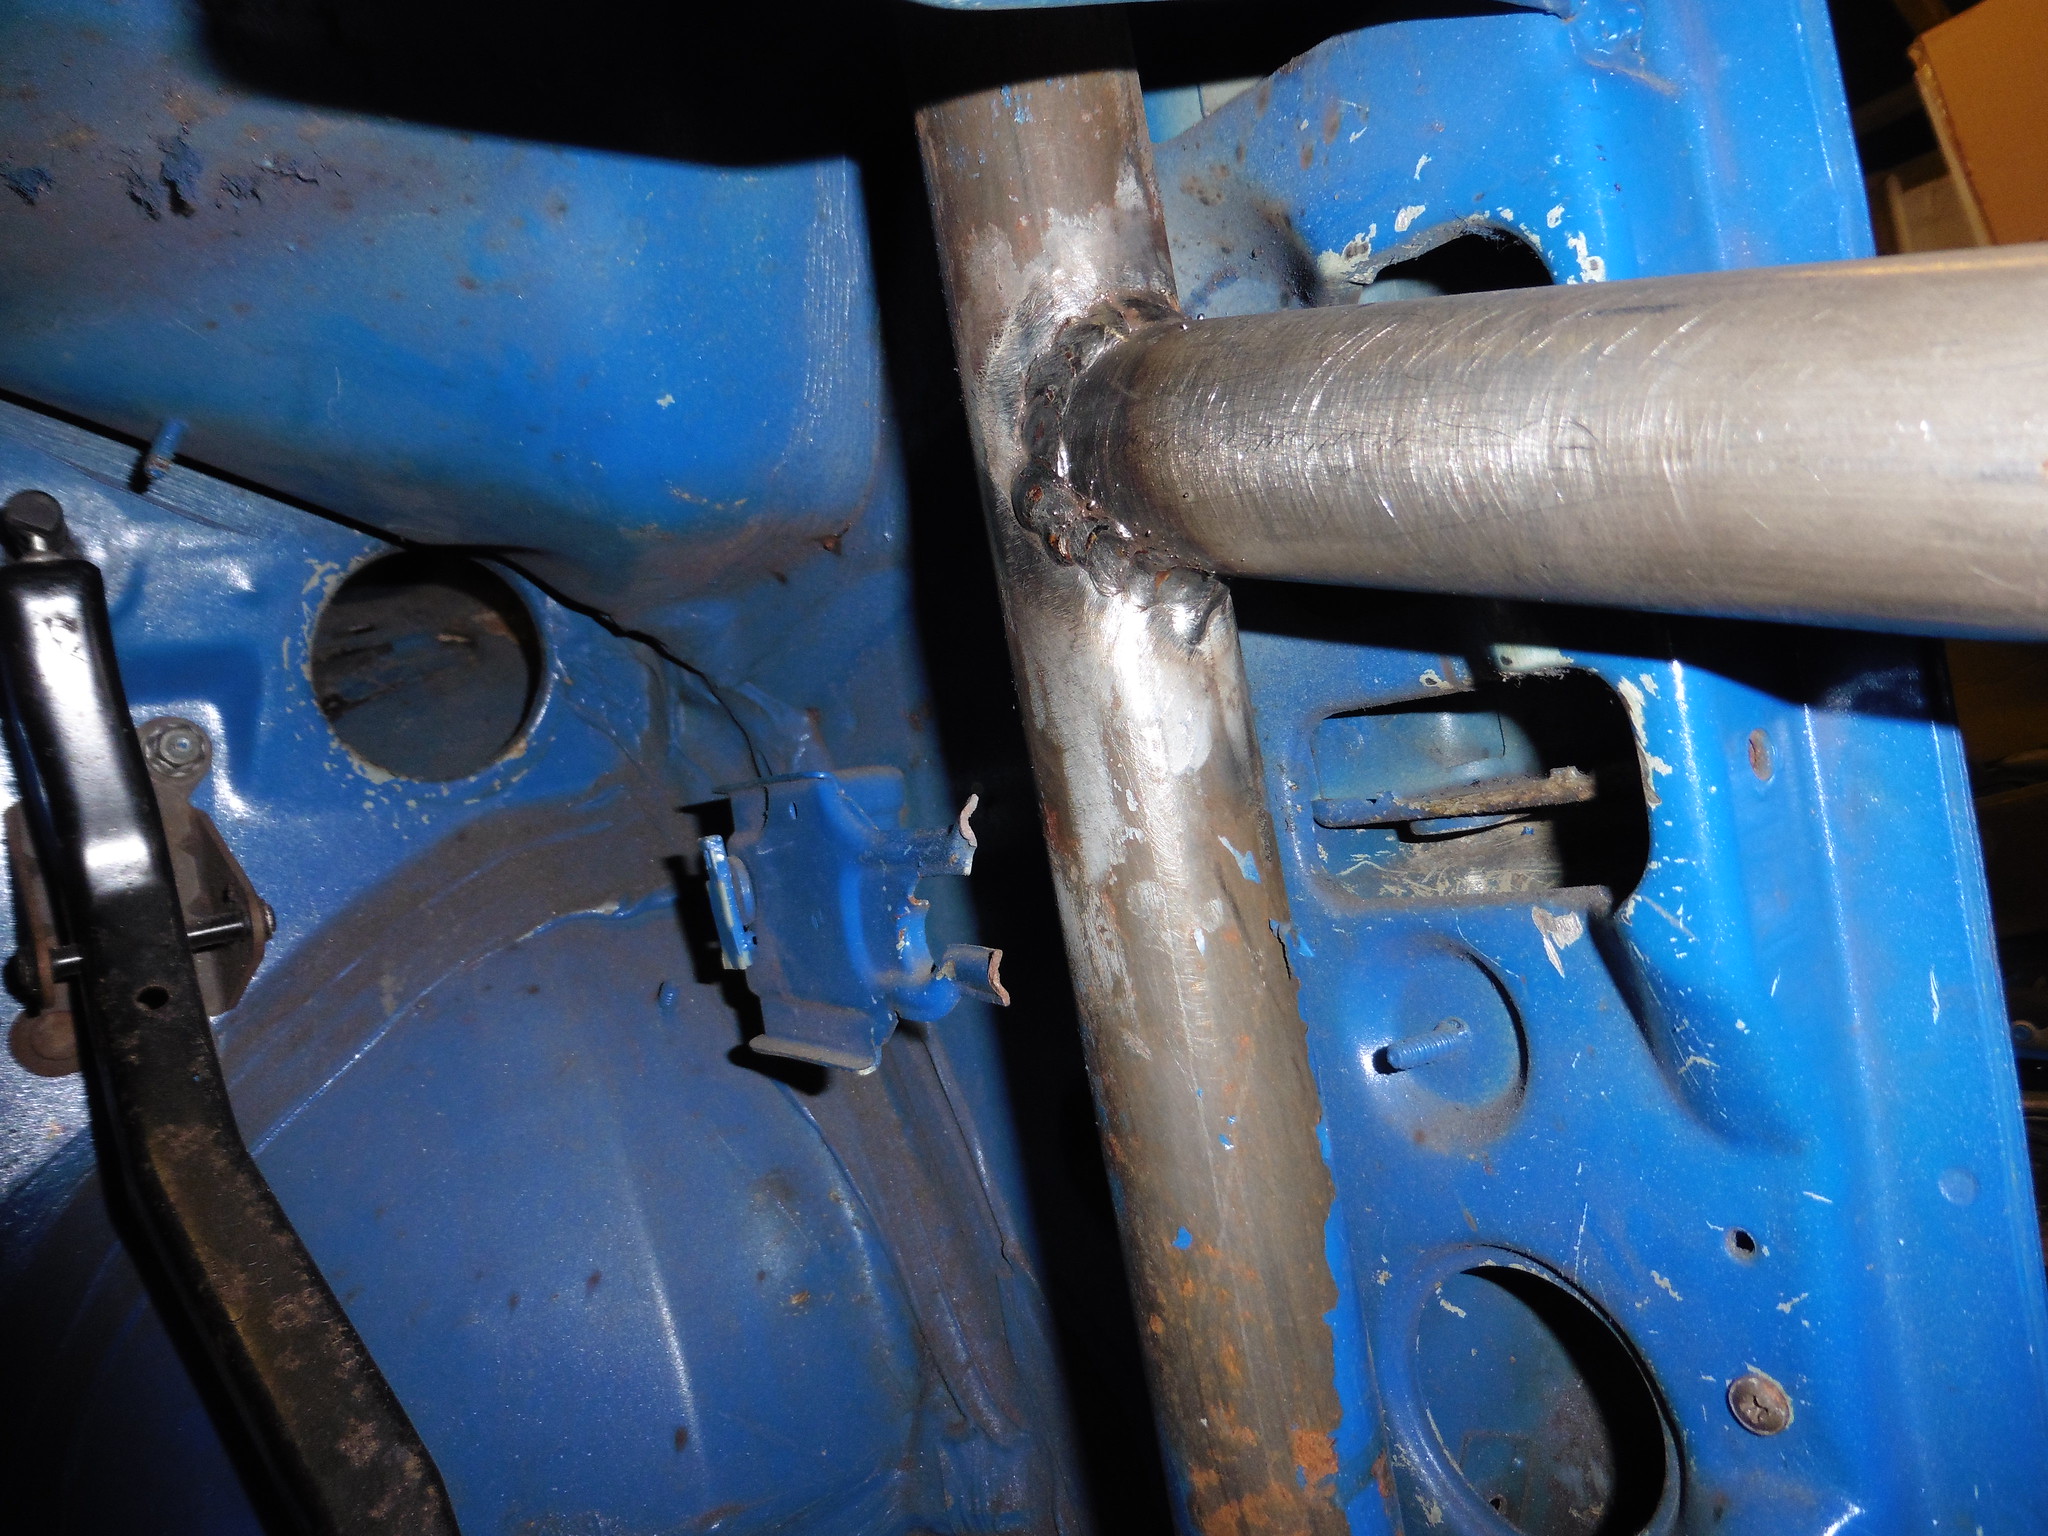 P1020701 P1020701 by jono_misfit, on Flickr the outer edge (shell side) of the front leg weld was a pain to do, but it lined up with the door wiring hole, so I could get the torch through the gap to weld it. I spent some time contemplating if I'm going to do any mods to the cage. I think i'll tie it to the front turrets and do a roof bar. My steering wheel boss turned up (and I found the right size nut eventually (M14 x 2mm)) so bolted it in with the morris's wheel and set the seat.  P1020702 P1020702 by jono_misfit, on Flickr  P1020703 P1020703 by jono_misfit, on Flickr  P1020704 P1020704 by jono_misfit, on Flickr After a far bit of adjusting I've come to the conclusion I need a non-dished wheel. Looking on-line, most pics I can find of the inside of escort cosworth rally cars have flat wheels too. Including group N etc. that are all on standard columns. Looks like i'll need to get one. I'll also likely need to make up a heel bar for the pedals as otherwise your feet can slip forward. On the plus side, there is lots of room to put a batter or fire extinguisher mount in behind the drivers seat. More work tomorrow on either the escort or the morris. |
| |
|
|
jonomisfit
Club Retro Rides Member
Posts: 1,788
Club RR Member Number: 49
|
|
Sept 29, 2019 20:02:57 GMT
|
Added a roof bar. This was a pain to do. I don't really have the right dies in my bender, so have to be careful not to crush the tube too much when bending. After a lot of gingerly bending in the bender, I managed to make the bends to the angles I needed without ovalising the tube beyond 0.9 major to minor.  P1020707 P1020707 by jono_misfit, on Flickr There was then much fitting of bar, then seat, then bar, then seat, to make sure it was all clear then came the real fun part, trying to weld the thing in properly. Normally the top welds would be done with the cage dropped (or roof off), however that wasnt an option for me, que and hour of trying to find a position to get the torch in. I got there in the end.  P1020708 P1020708 by jono_misfit, on Flickr The two picture belay how many hours were spent on that... I then turned my attention to the front. Cleaned up this area, and discovered some rust that needs replaced.  P1020710 P1020710 by jono_misfit, on Flickr and gave the turret a quick waft over with the knot brush  P1020711 P1020711 by jono_misfit, on Flickr  P1020712 P1020712 by jono_misfit, on Flickr A hole will be cut to allow the tube through here  P1020713 P1020713 by jono_misfit, on Flickr there's a few brackets to remove  P1020714 P1020714 by jono_misfit, on Flickr whilst trying to find the internal brackets spot welds I looked outside at the water tank mount and though. That doesnt look too pretty. Drilled out its spot welds and.... rust  P1020715 P1020715 by jono_misfit, on Flickr that'll need cut and replaced. Brackets removed  P1020716 P1020716 by jono_misfit, on Flickr  P1020717 P1020717 by jono_misfit, on Flickr then back to working out where the hole needs to be  P1020718 P1020718 by jono_misfit, on Flickr A used the hole saw  P1020719 P1020719 by jono_misfit, on Flickr and on the other side 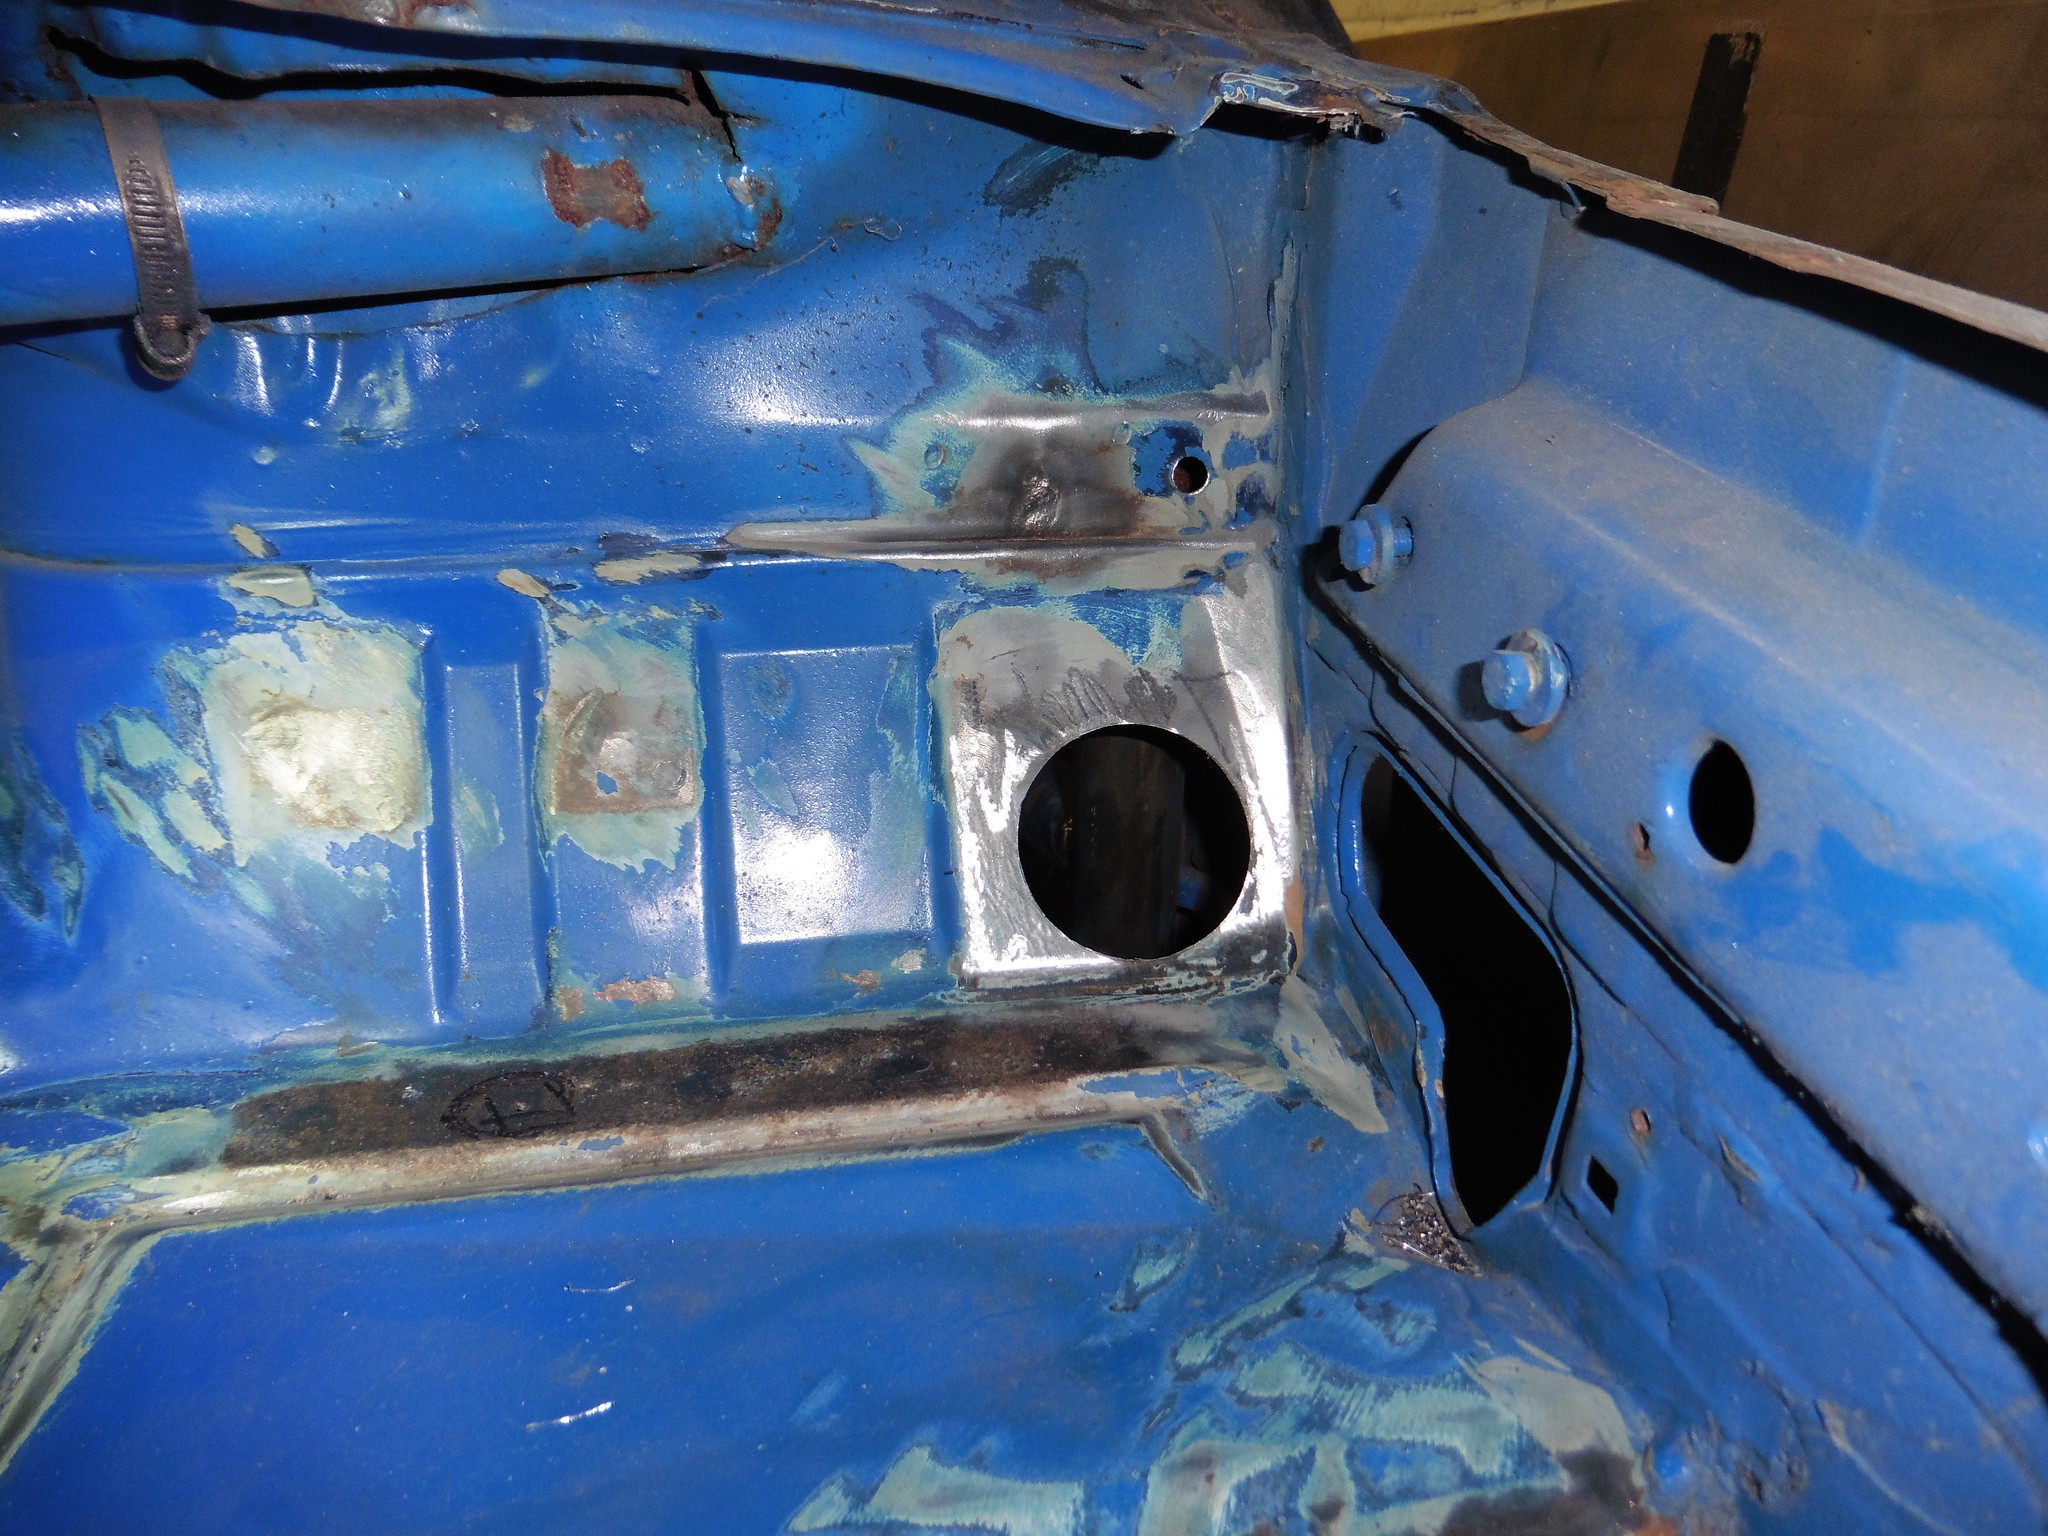 P1020720 P1020720 by jono_misfit, on Flickr My measurements were good and it all lines up nicely. The bar will run straight from the end of the upper door bar, over to the turret. |
| |
|
|
jonomisfit
Club Retro Rides Member
Posts: 1,788
Club RR Member Number: 49
|
|
|
|
Today was my birthday so rather than go to work, i've worked on something I wanted to work on. set up the hole saw, inserted the tube I cut last time  P1020721 P1020721 by jono_misfit, on Flickr fits like so  P1020722 P1020722 by jono_misfit, on Flickr  P1020723 P1020723 by jono_misfit, on Flickr in order to fit the brace I need to relieve the bulkhead a bit  P1020724 P1020724 by jono_misfit, on Flickr trimmed and other tube cut to size 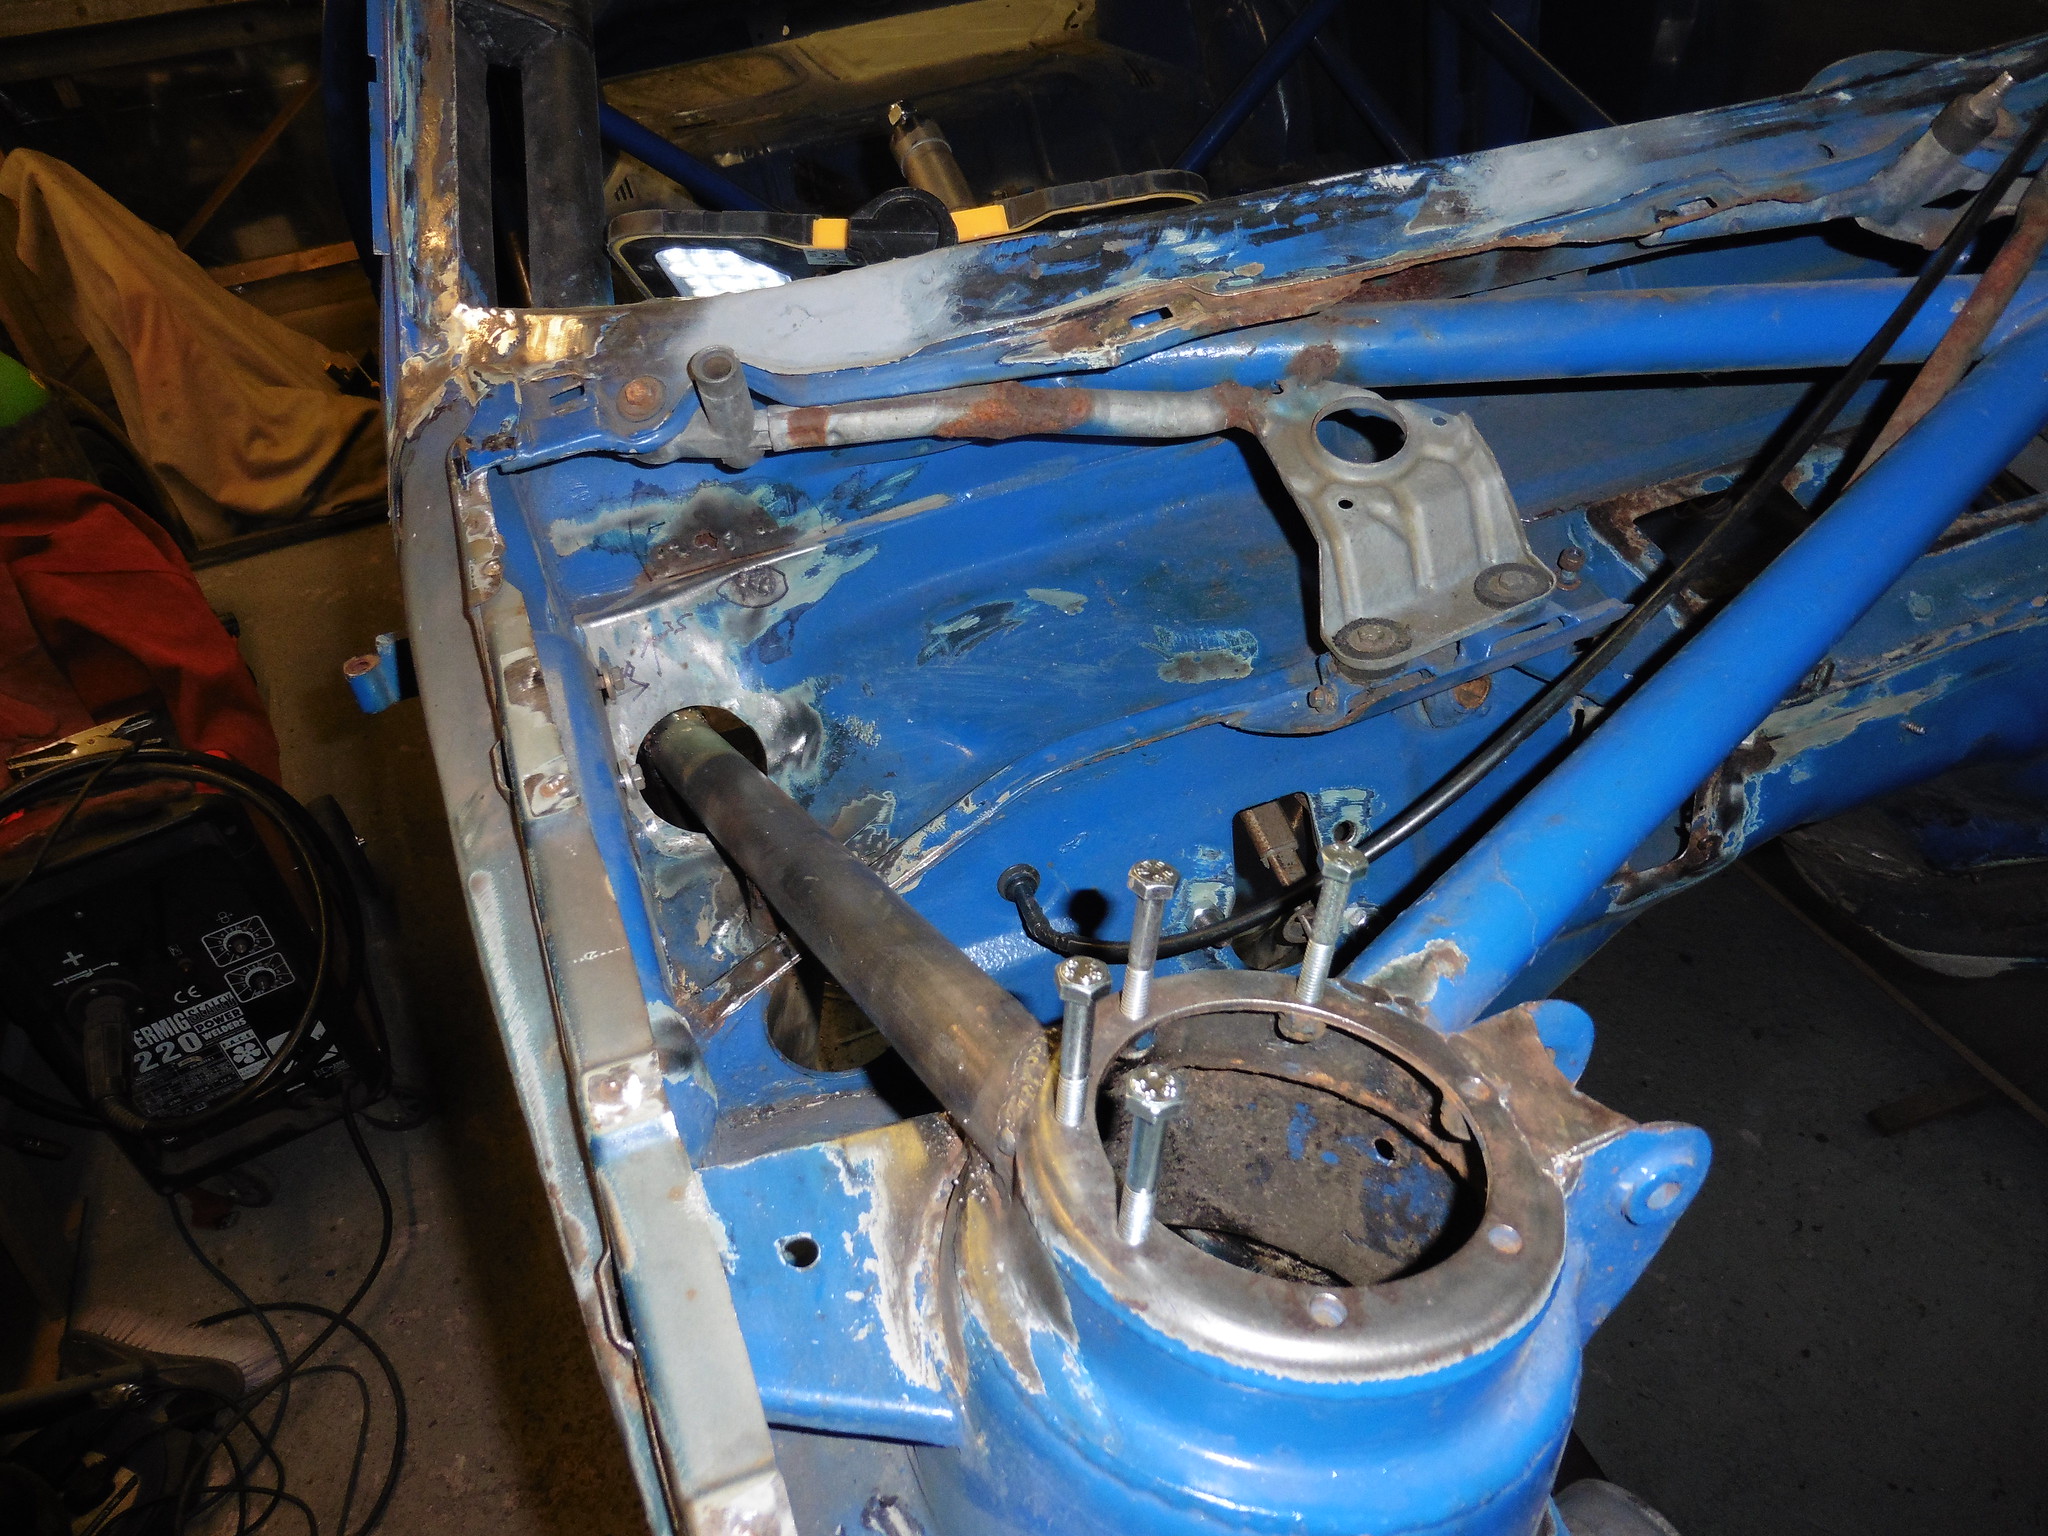 P1020725 P1020725 by jono_misfit, on Flickr welded tubes  P1020726 P1020726 by jono_misfit, on Flickr  P1020727 P1020727 by jono_misfit, on Flickr then started the other side  P1020728 P1020728 by jono_misfit, on Flickr 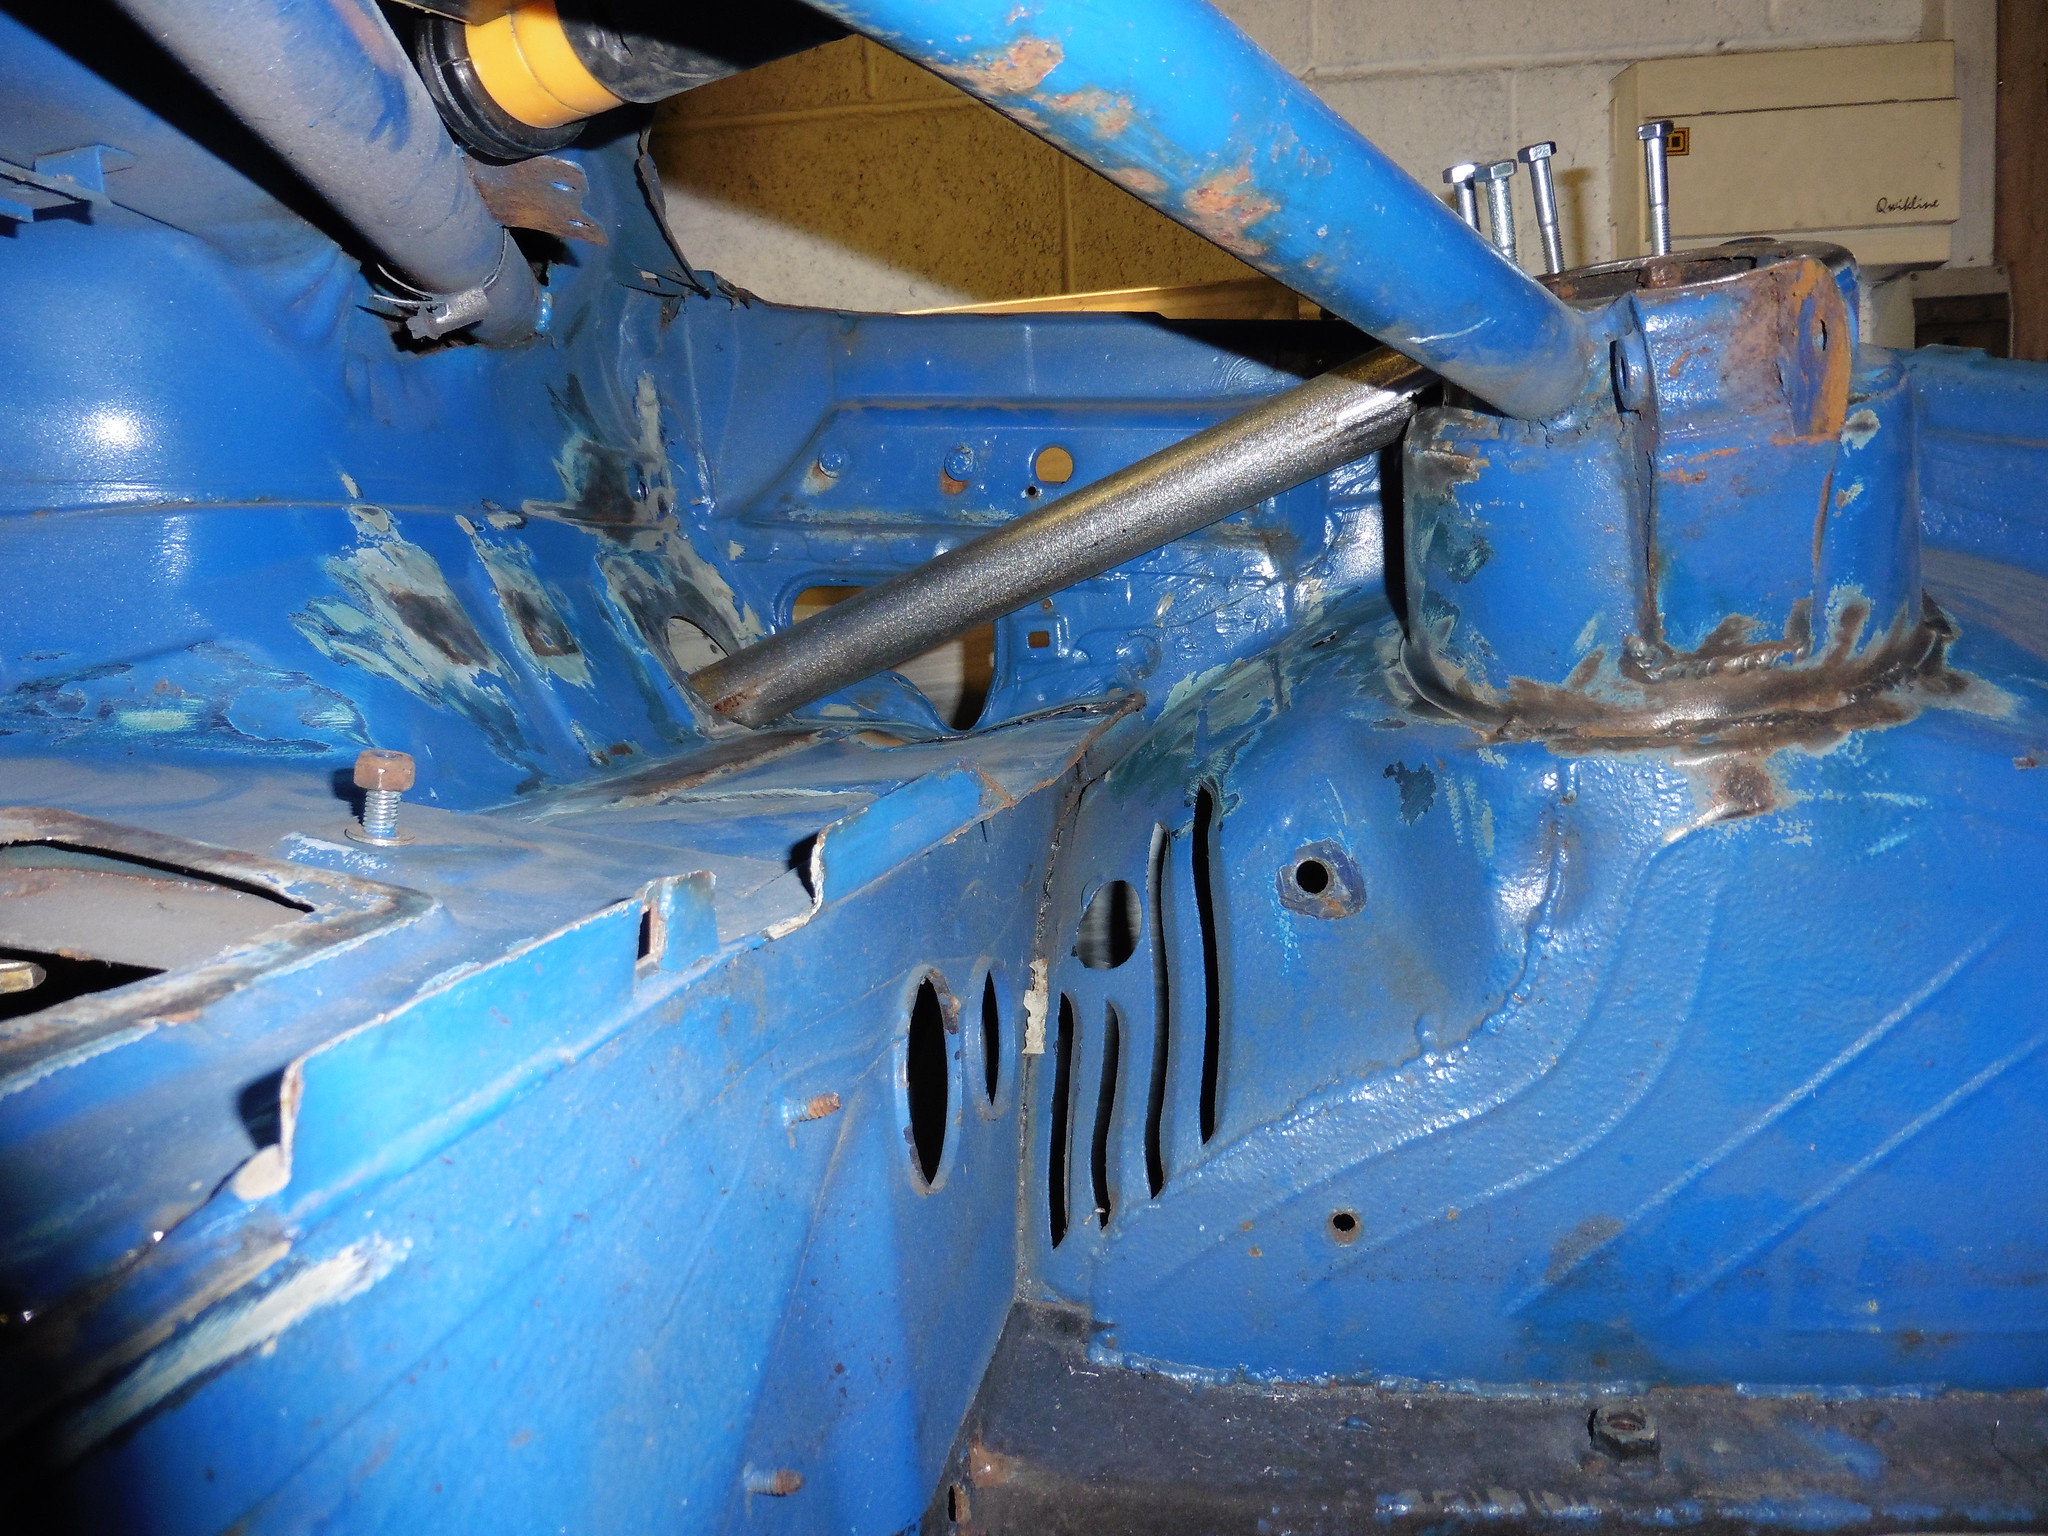 P1020729 P1020729 by jono_misfit, on Flickr  P1020730 P1020730 by jono_misfit, on Flickr welded in  P1020731 P1020731 by jono_misfit, on Flickr  P1020732 P1020732 by jono_misfit, on Flickr  P1020733 P1020733 by jono_misfit, on Flickr ford also put a nice little hole here  P1020734 P1020734 by jono_misfit, on Flickr so you can do this.  P1020735 P1020735 by jono_misfit, on Flickr cant not have swagey holes :-) hole punched  P1020736 P1020736 by jono_misfit, on Flickr  P1020737 P1020737 by jono_misfit, on Flickr swaged  P1020738 P1020738 by jono_misfit, on Flickr may be a few weeks until theres more progress on either car |
| |
|
|
mk2cossie
Club Retro Rides Member
Posts: 3,061  Club RR Member Number: 77
|
|
|
|
Lovely progress as always  And a belated happy birthday to you as well! Must be nice to have a day doing what you want on your own terms  |
| |
|
|
jamesd1972
Club Retro Rides Member
Posts: 2,921  Club RR Member Number: 40
|
|
|
|
|
Stiff as a stiff thing !
Nice.
James
p.s Happy Birthday !
|
| |
|
|
820
South East
Posts: 793
|
|
|
|
|
Great work, it amazes me how welders at your level can weld all the way round those tubes in situ, there must be some swearing involved
|
| |
|
|
jonomisfit
Club Retro Rides Member
Posts: 1,788
Club RR Member Number: 49
|
|
|
|
|
There was much much swearing.
Much of it.
|
| |
|
|
|
|
|
|
|
|
Spent half the day before preparing swears in advance, even.
|
| |
|
|
|
|
|
|
|
Good work, funny to see even the mega expensive Ex-Pressed panels line up poorly  |
| |
|
|
|
|
|
|
|
Good work, funny to see even the mega expensive Ex-Pressed panels line up poorly  All of there panels are mega expensive and 95% of them always line up poorly if they ever do line up.  |
| |
|
|
jonomisfit
Club Retro Rides Member
Posts: 1,788
Club RR Member Number: 49
|
|
|
|
|
Whilst that is undoubtedly true, I do have to give them the credit of it's a 3dr sierra floorpan I've adjusted to fit the escort.
They are quite a different floor pressing.
|
| |
|
|
|
|
|
|
|
|
love a good swagey hole buttress
question for the ford nerds, are the front mac strut turrets lengthened, tallerised, compared to the shopping version of 5th/6th gen escorts ?
|
| |
Last Edit: Oct 4, 2019 10:16:43 GMT by darrenh
|
|


