


So, as i've said on my morris thread, i've got to clear the floor for something coming which means getting all the steel up on the racks and using what needs to be used.
This has forced the start of the project substantially earlier than planned, but hey ho.
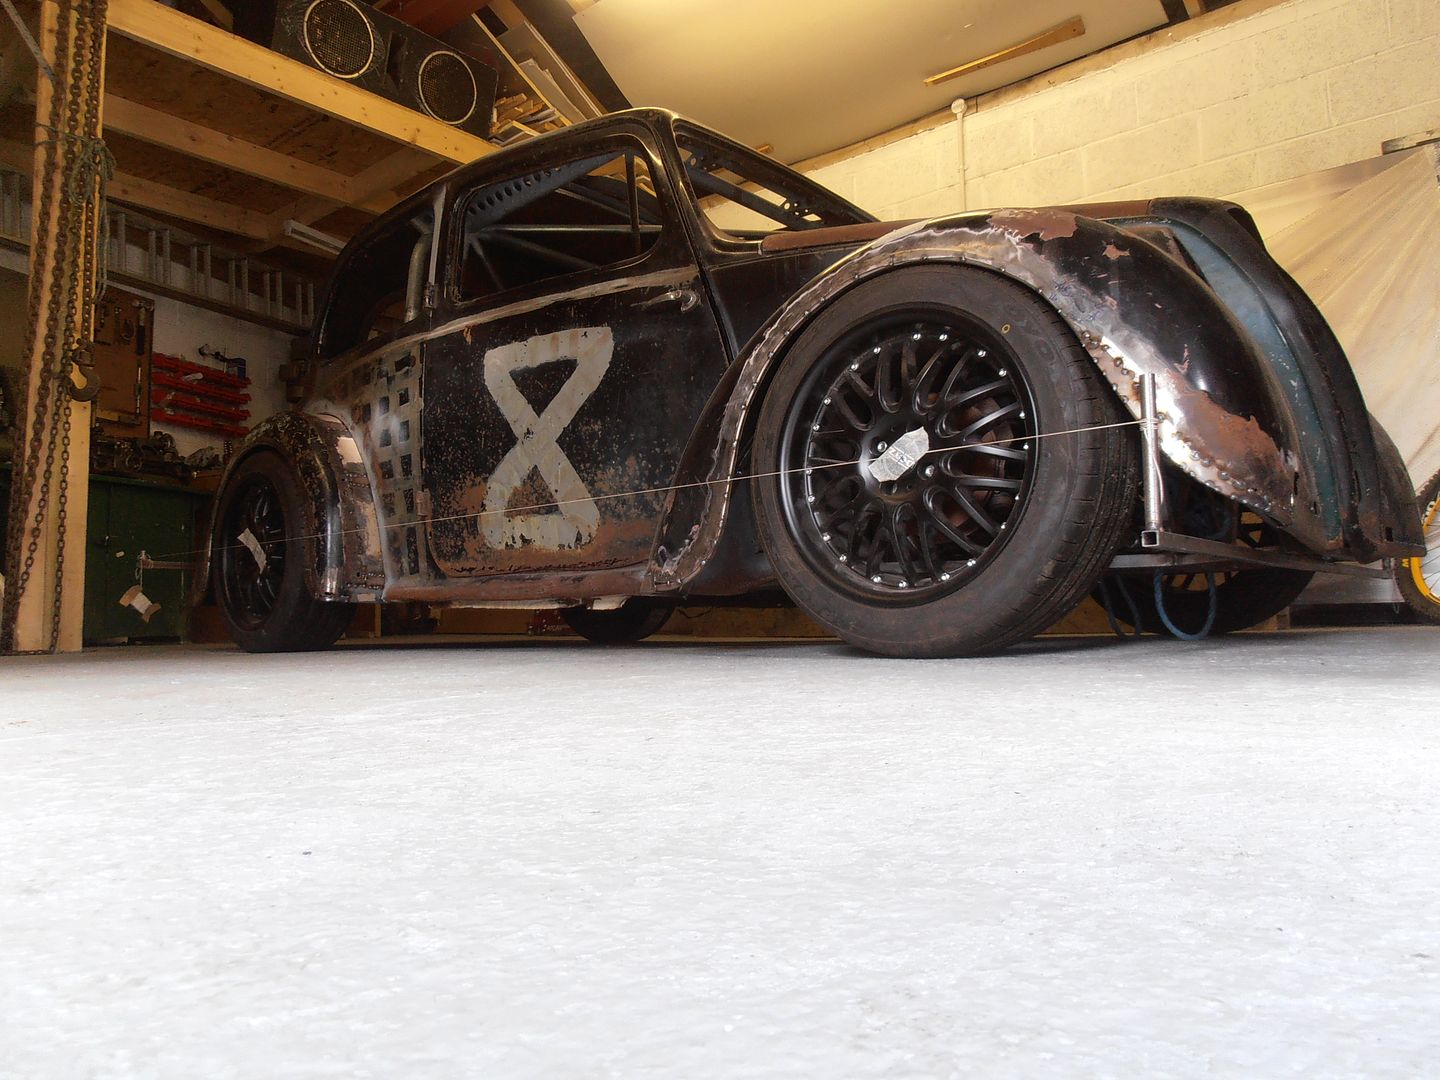
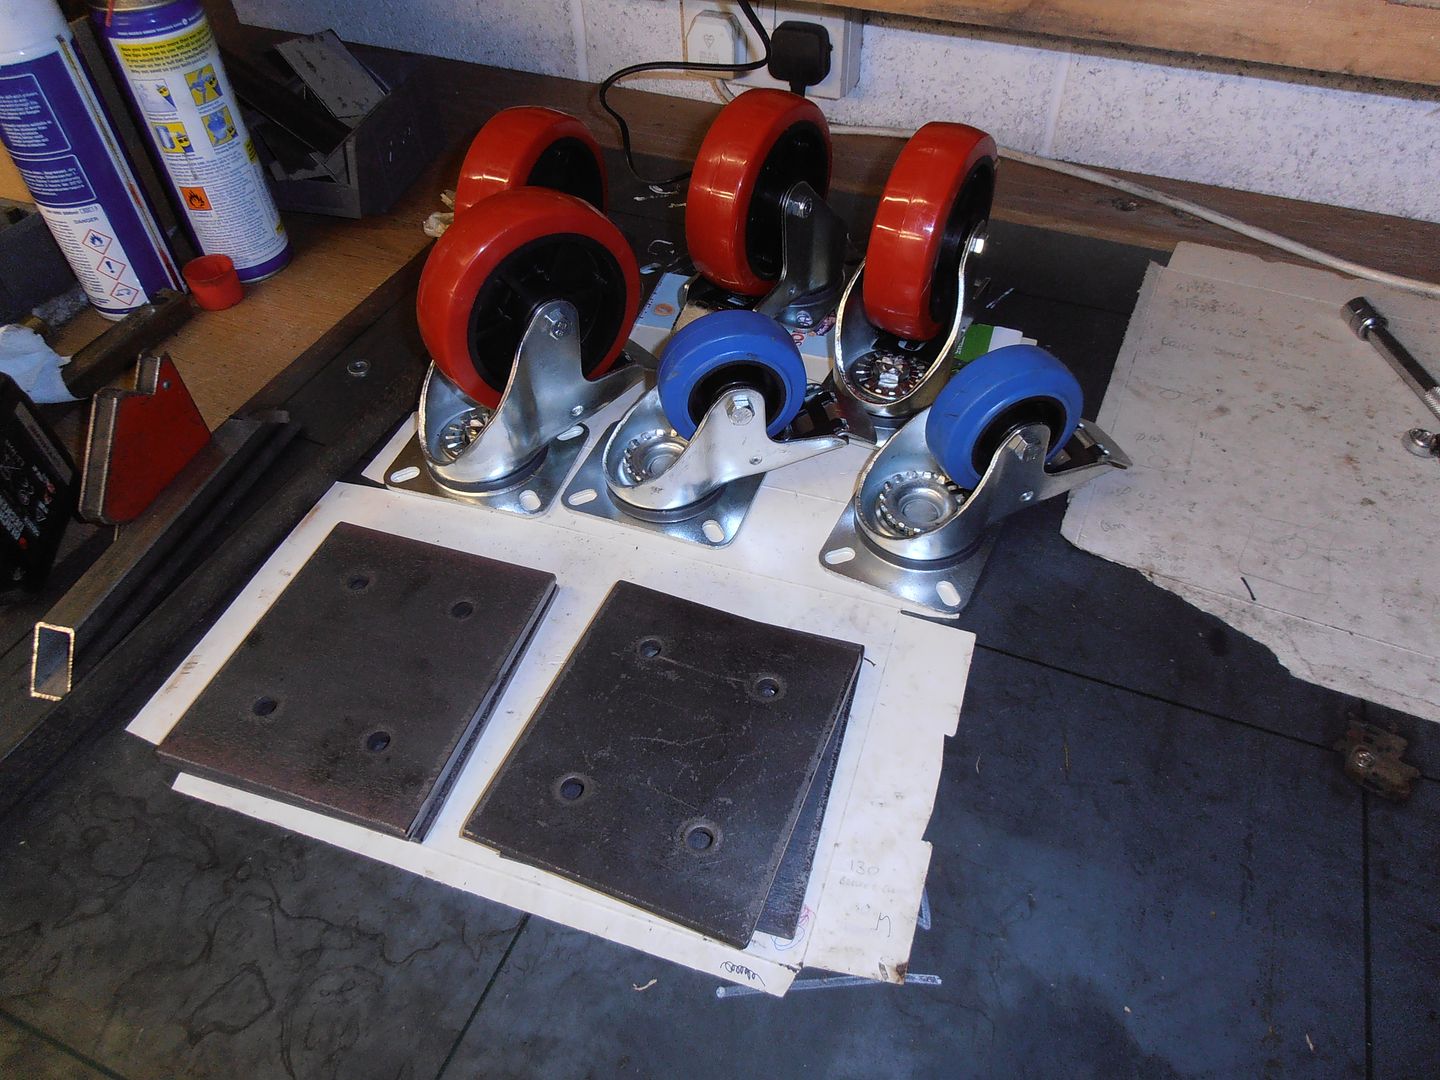
So, the escort needs a number of repairs to the underside, so it needs to go on a body spit.
 P1063386 by jono_misfit, on Flickr
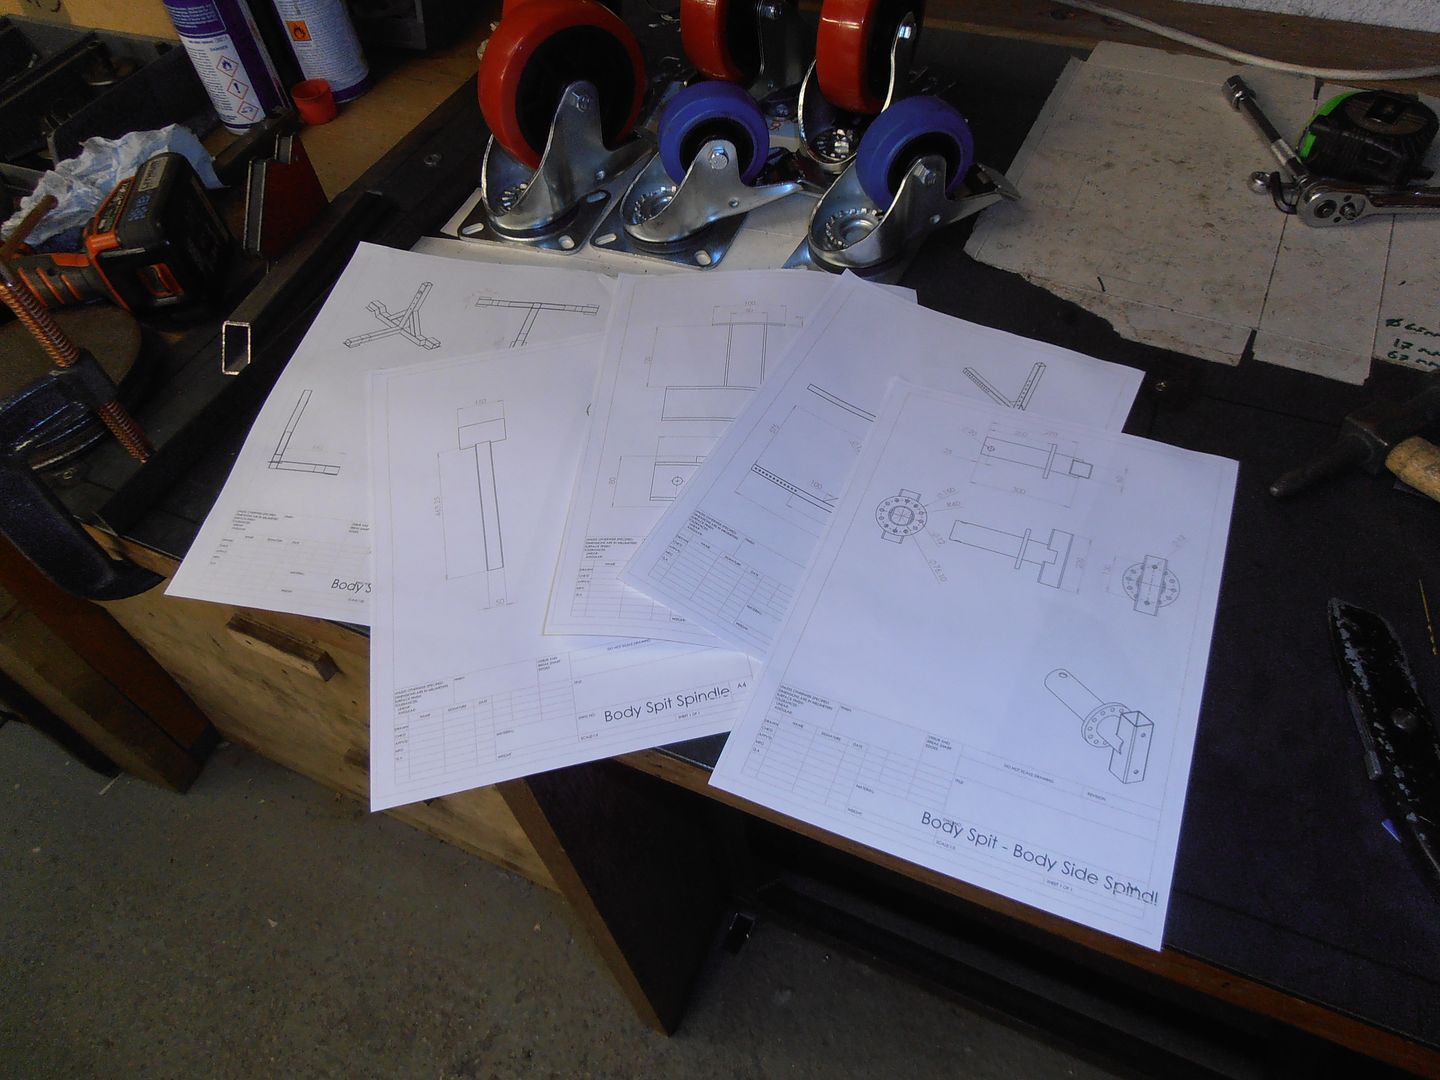
My present body spit needs an upgrade, and will also be needed concurrently for the morris. Only thing for it. Make a new one.
CAD time first.
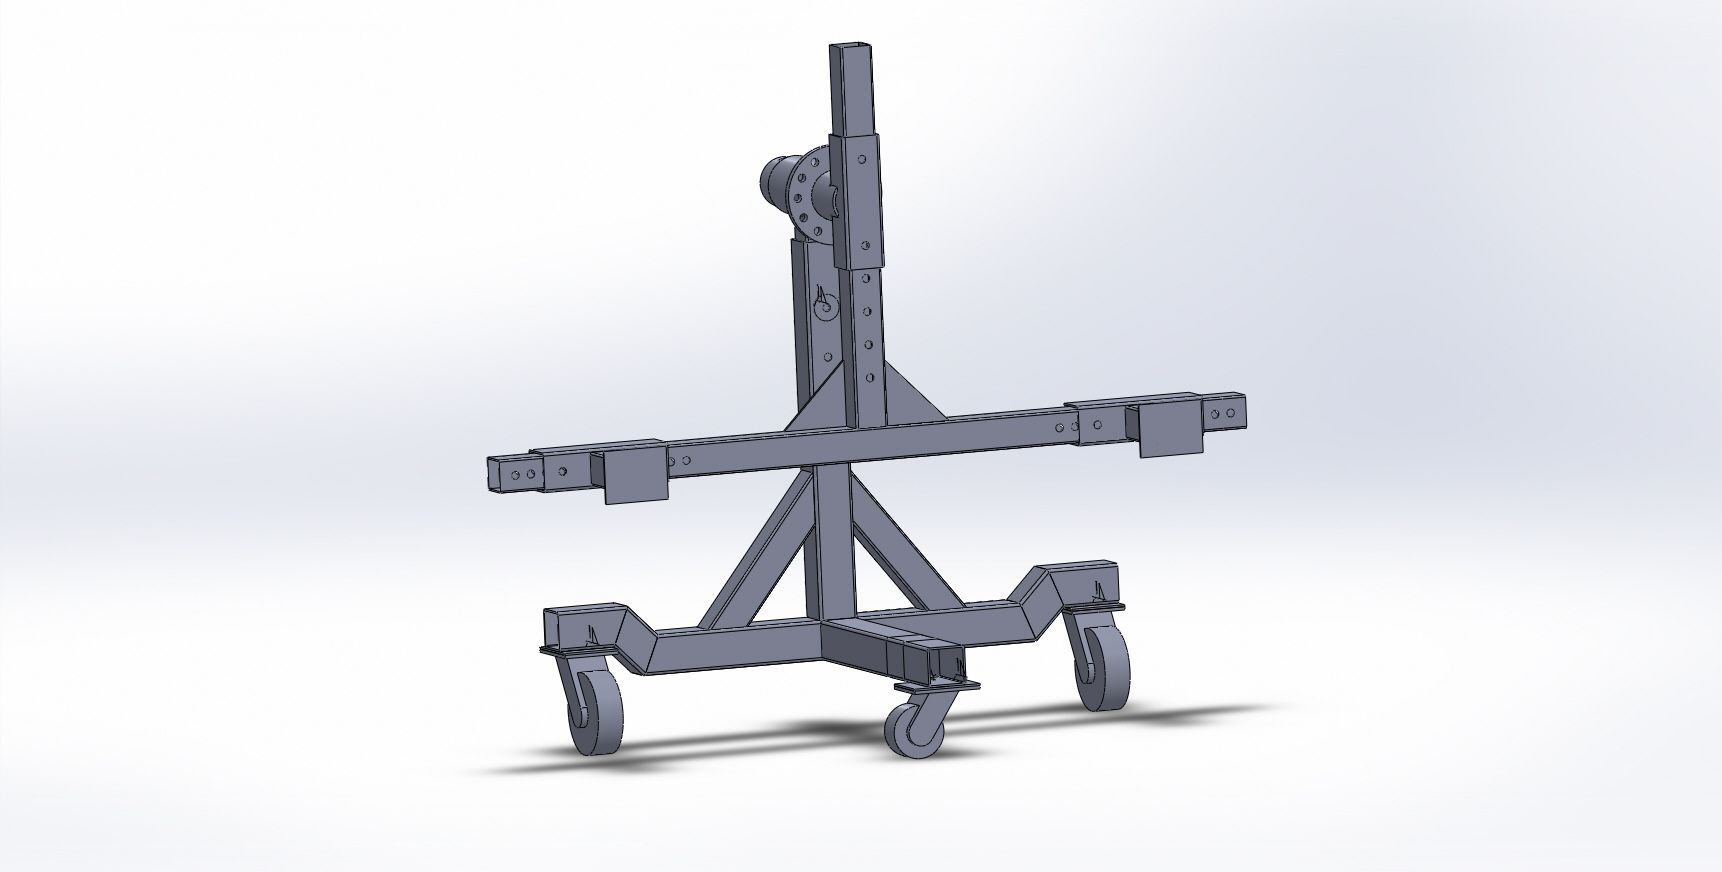
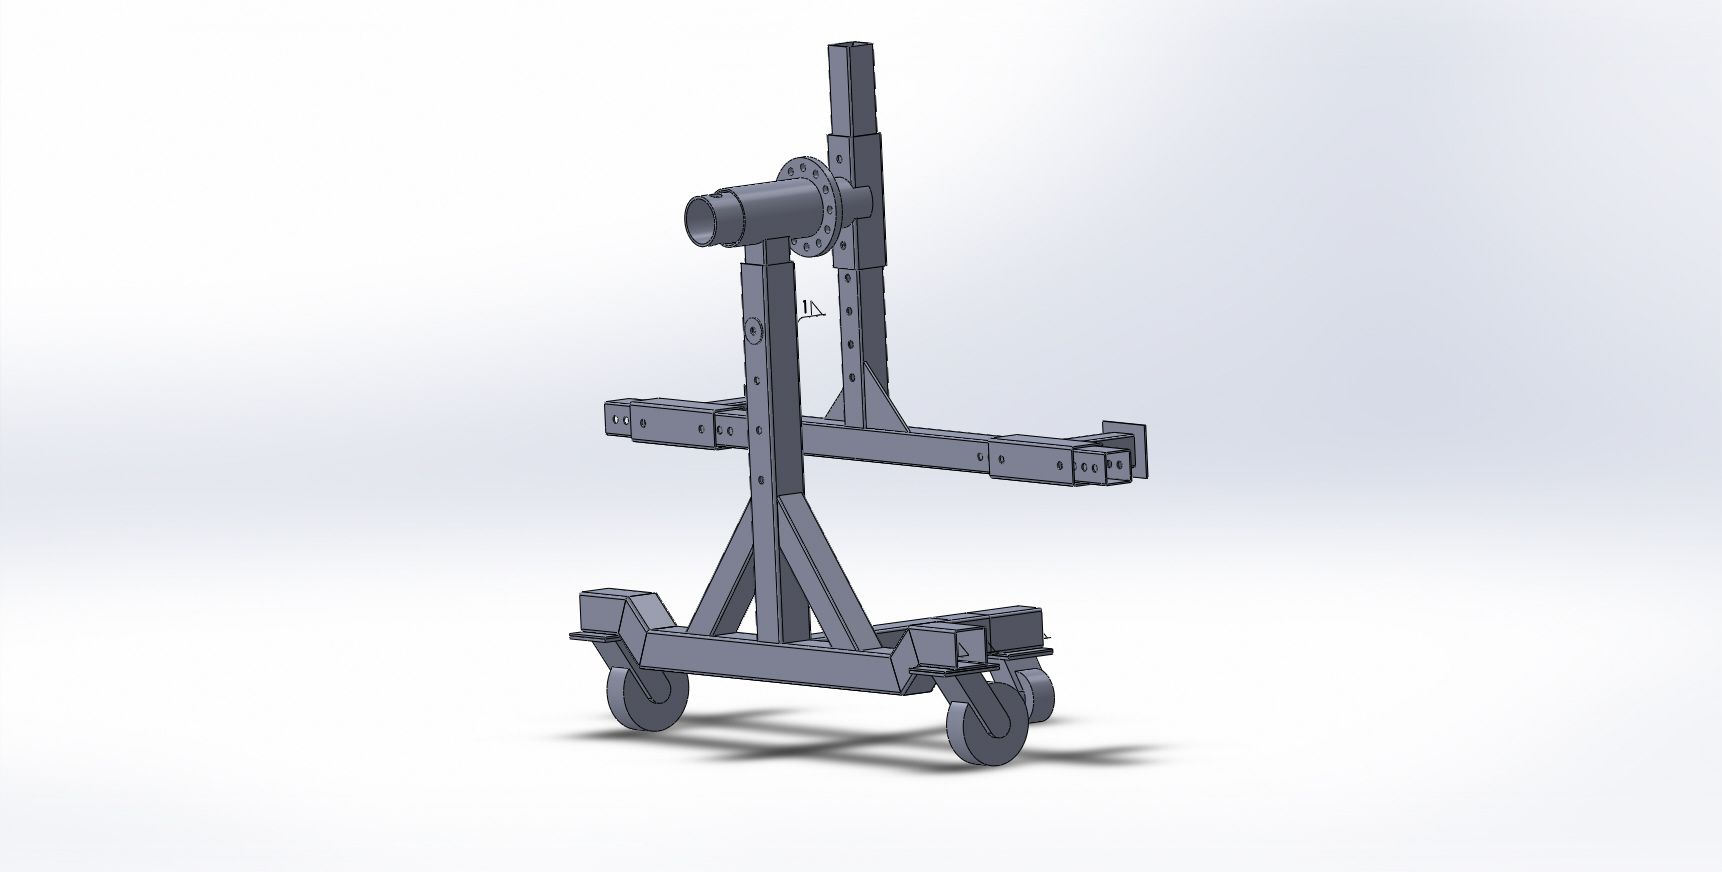
Inspired by page 13 of the CJ auto's catalogue.
unpacked some bits
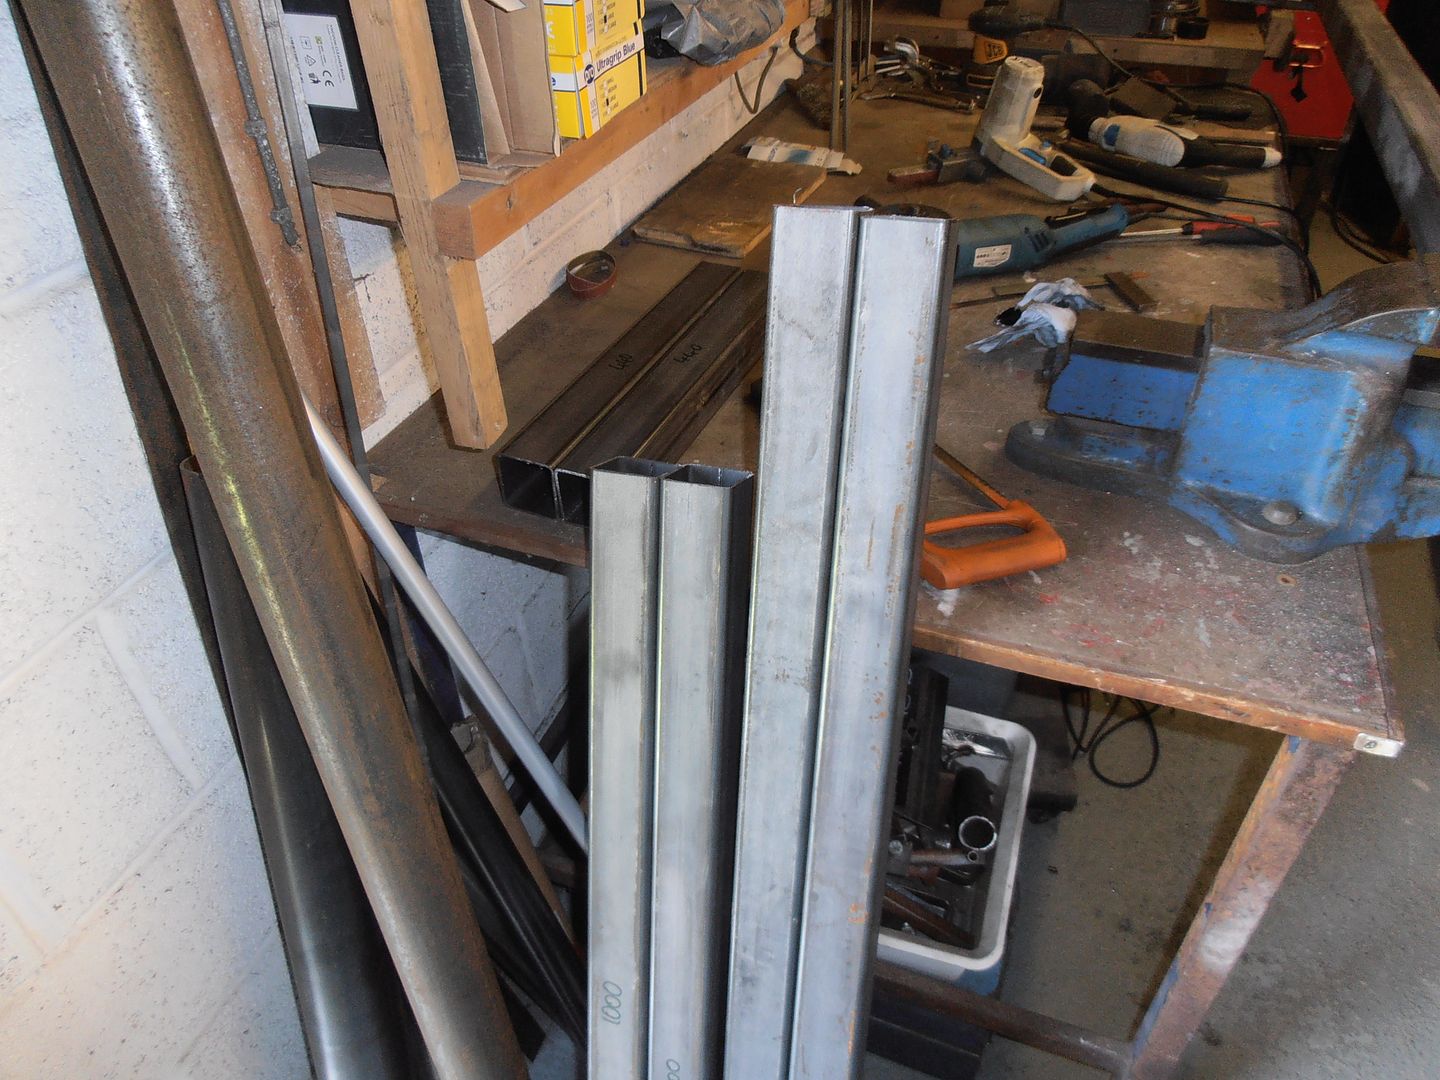
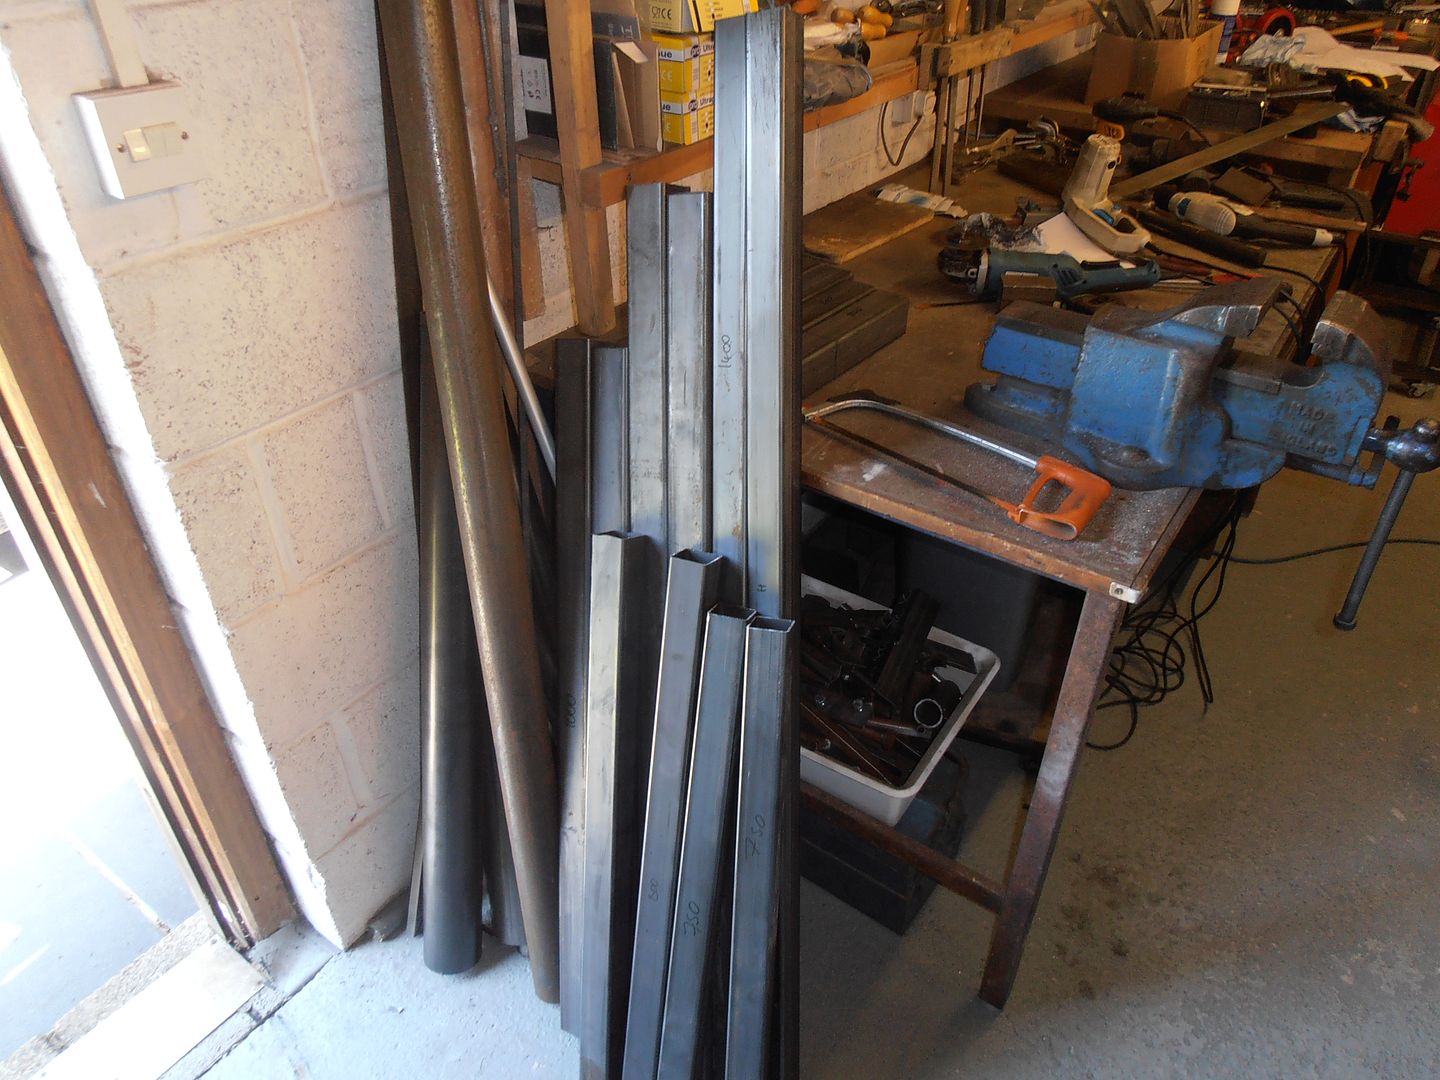
steel that needs to get out the way
and some more of it
drawings to help turn it into something else
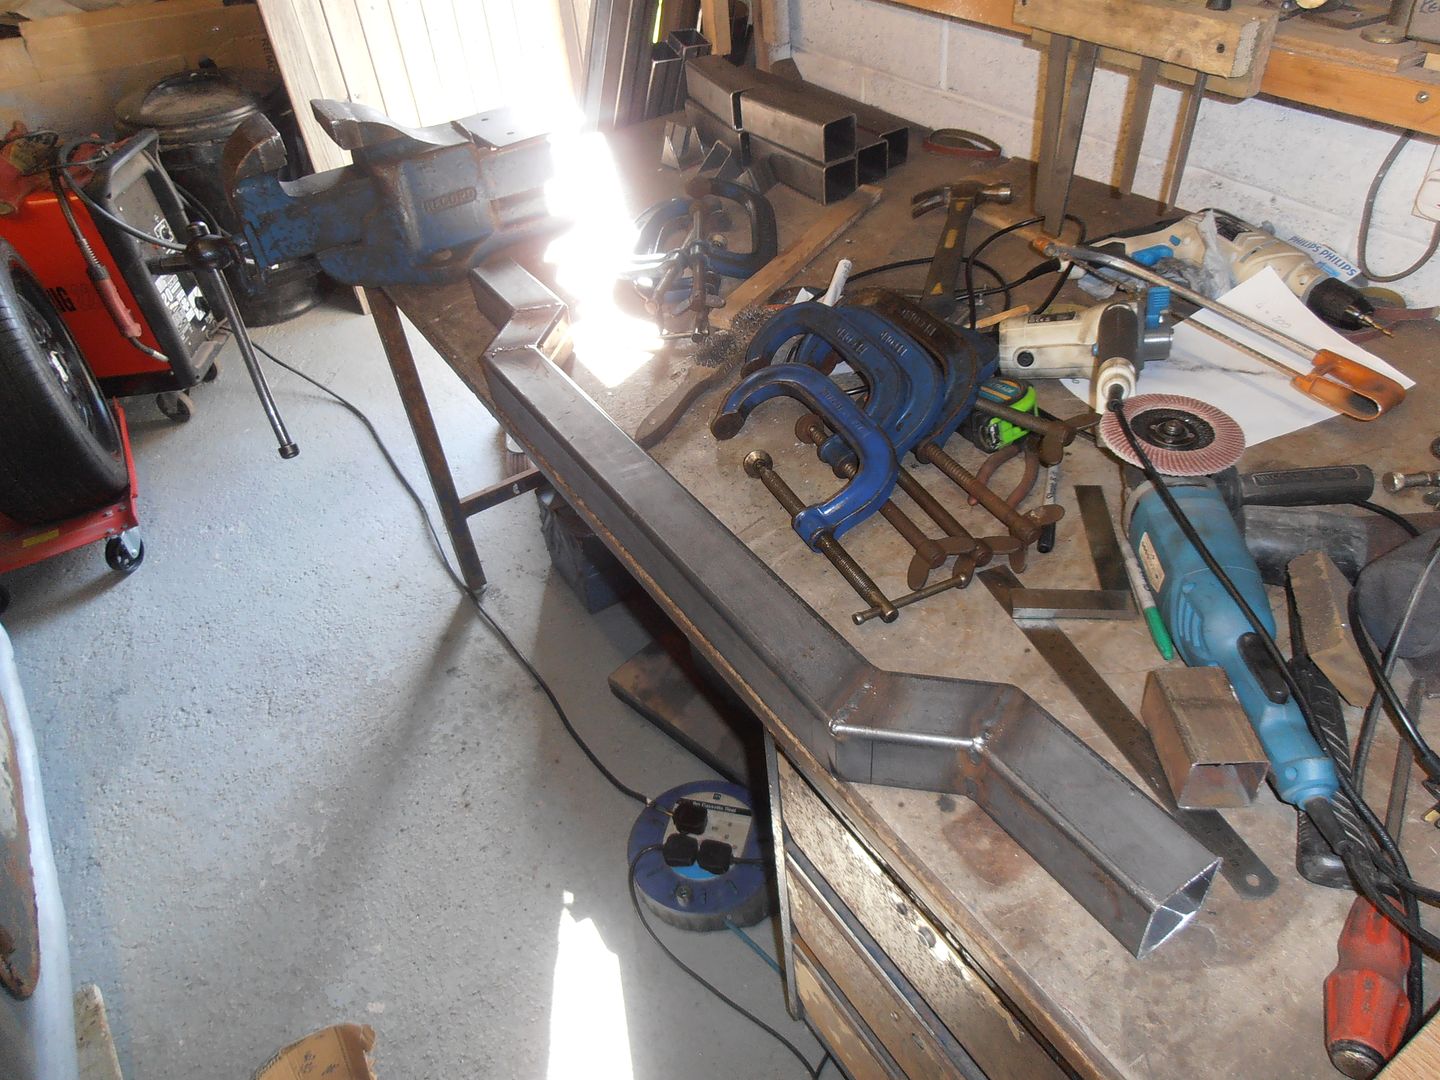
cut
cut some more
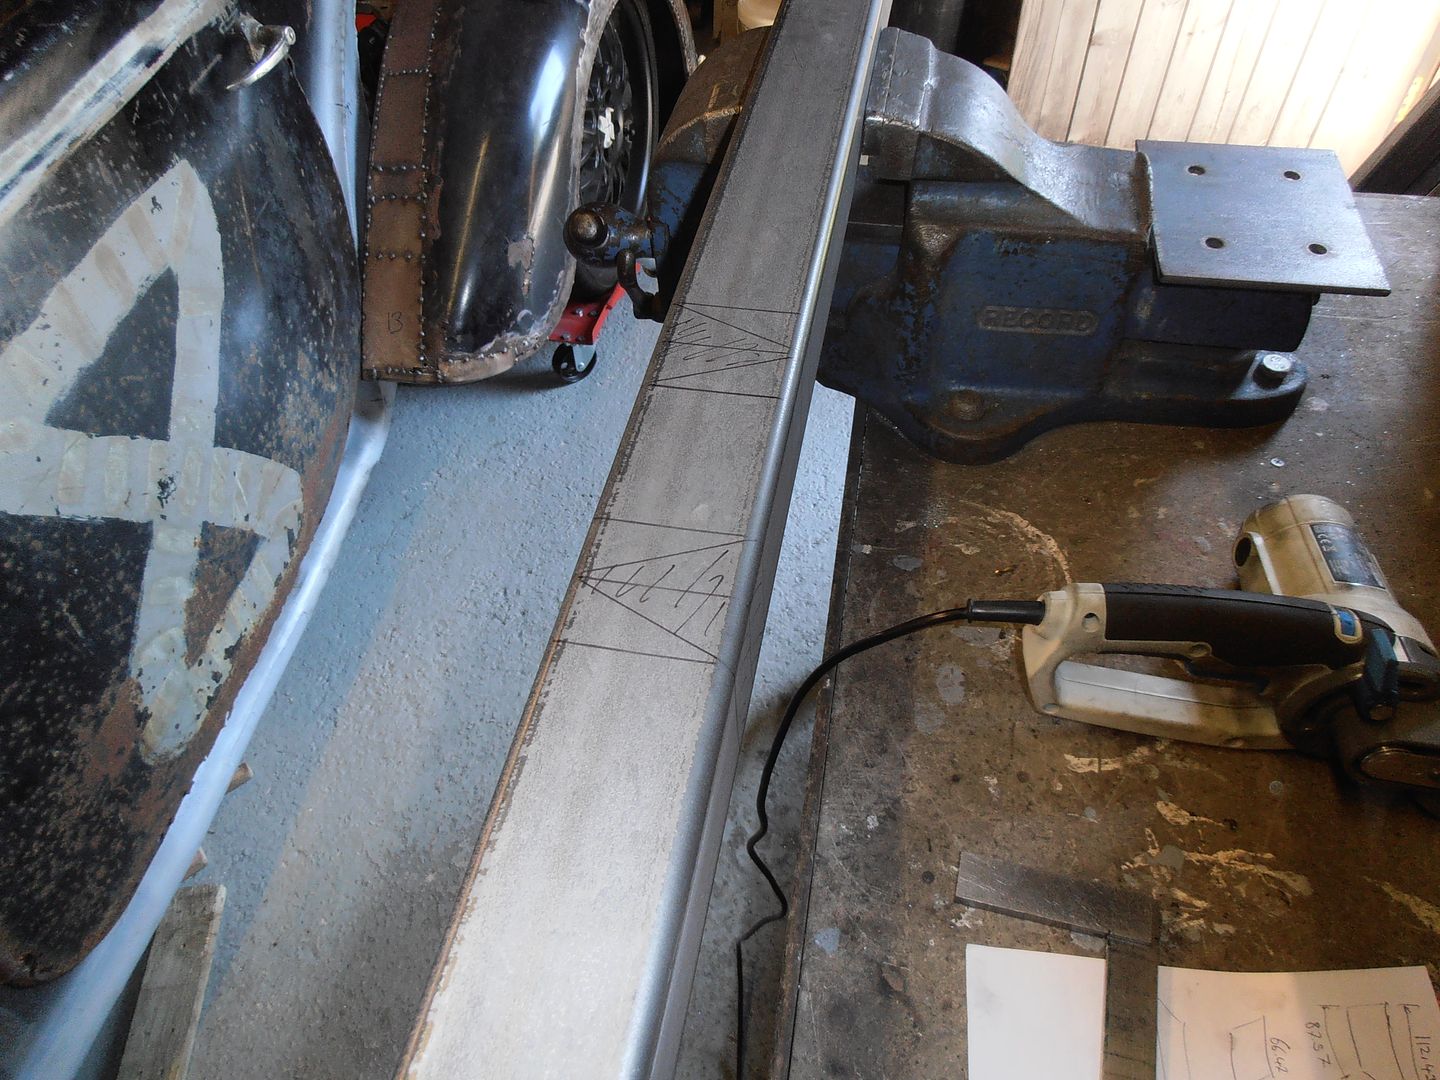
mark out (this is where the problems started.....)
cut
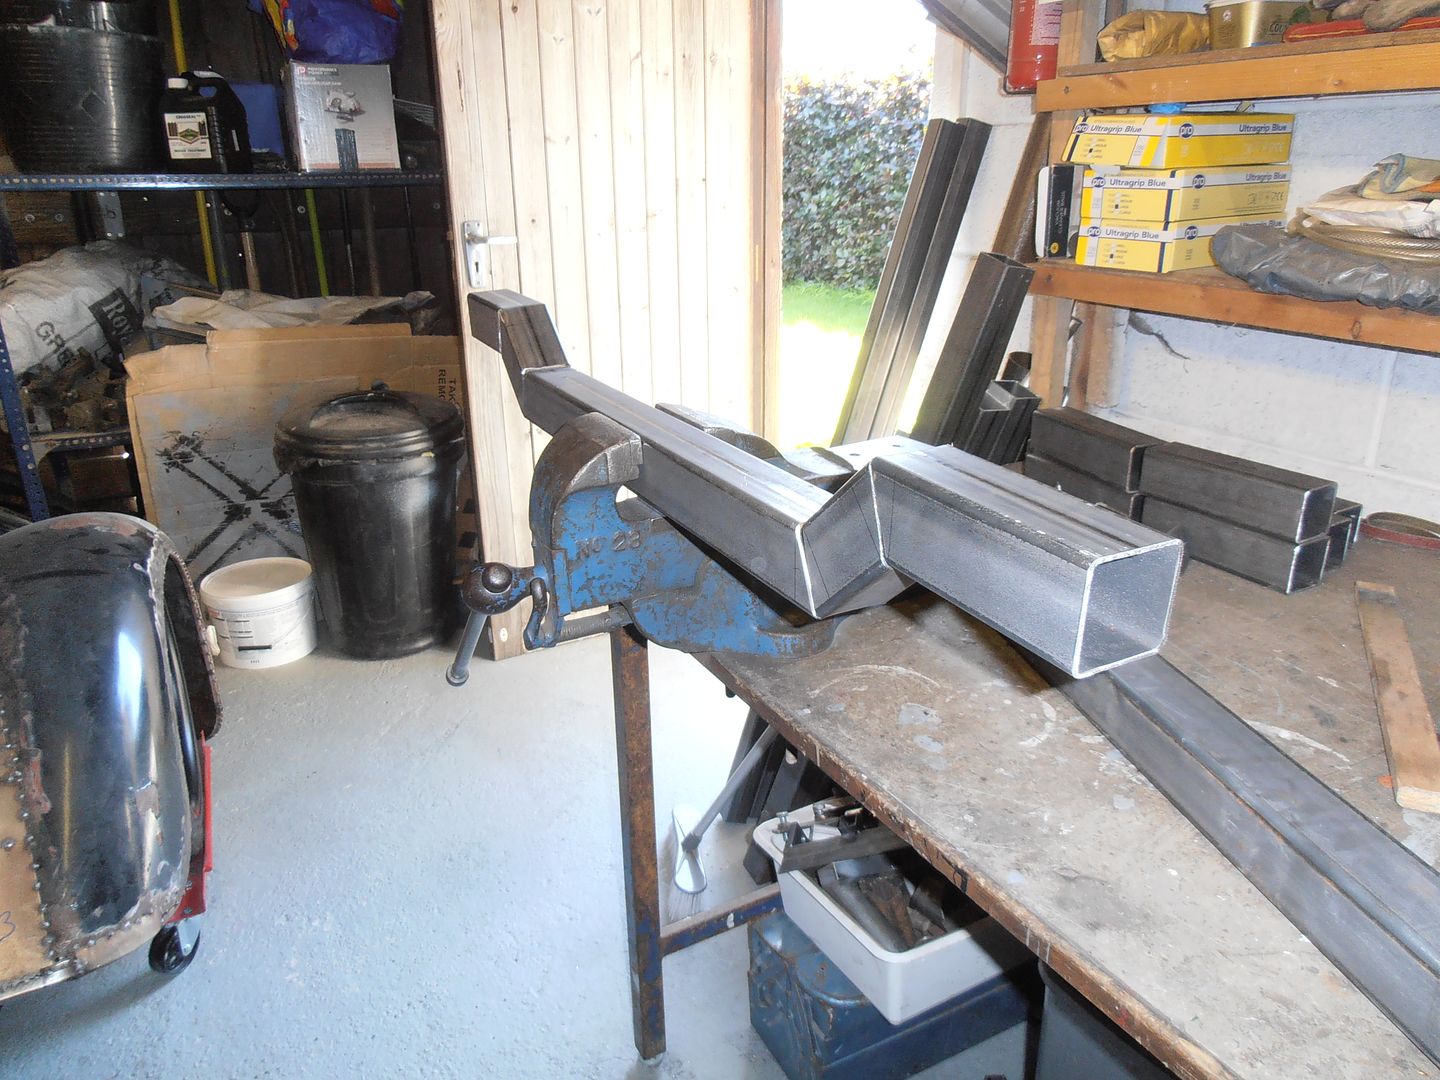
brace for welding
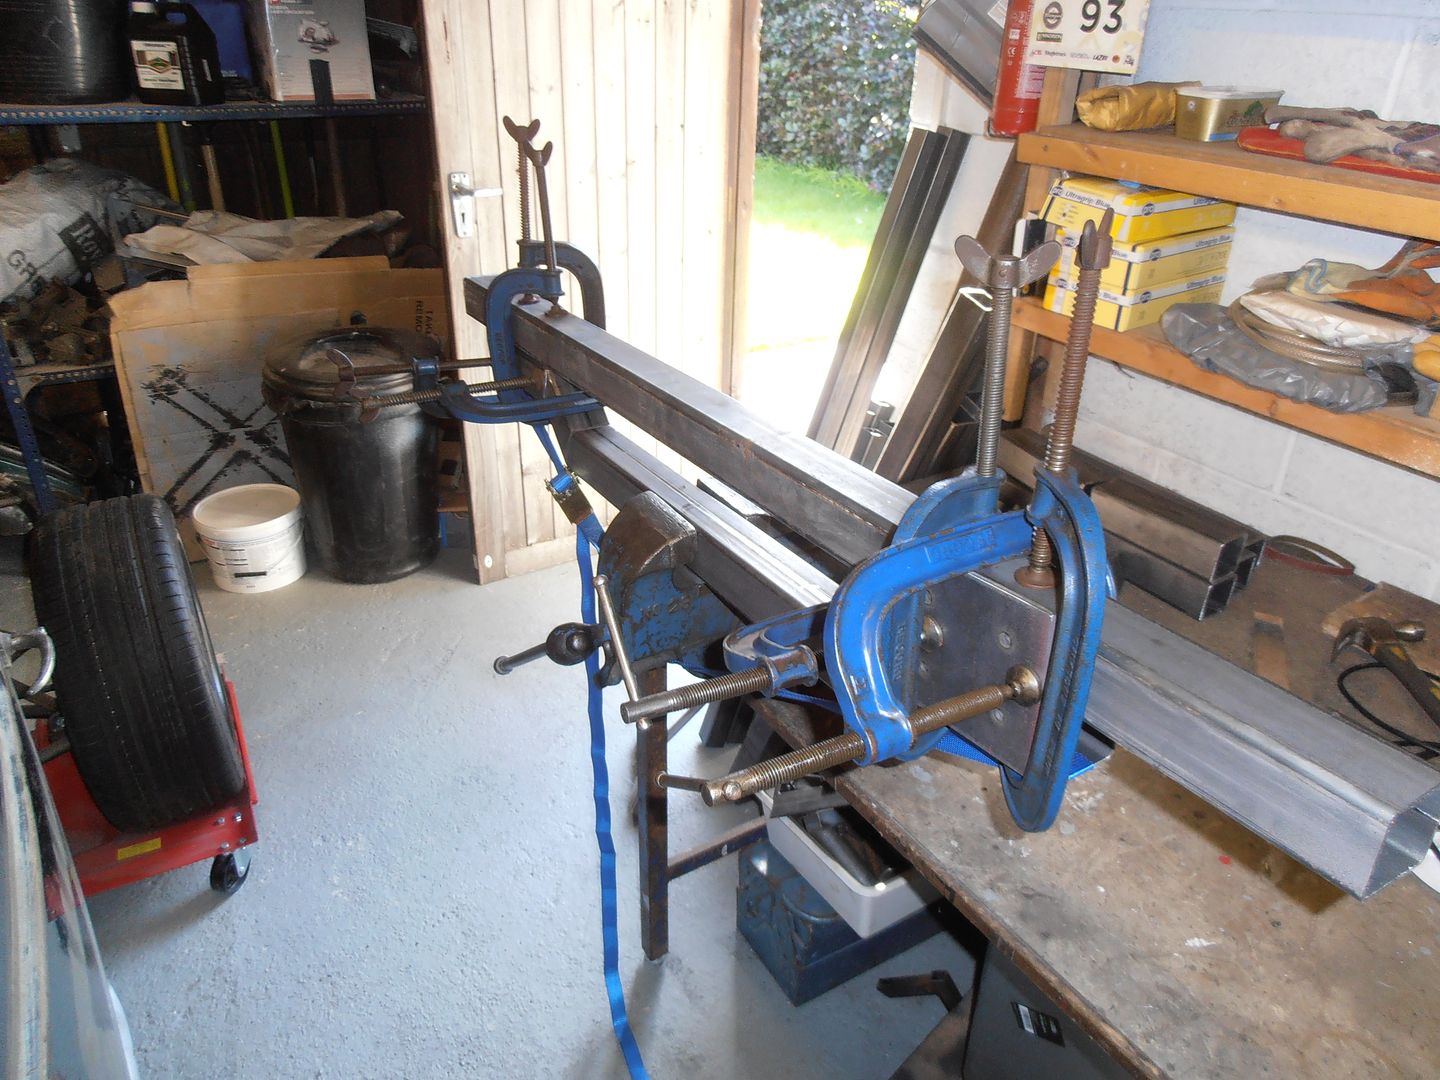
welded
tack on the front piece
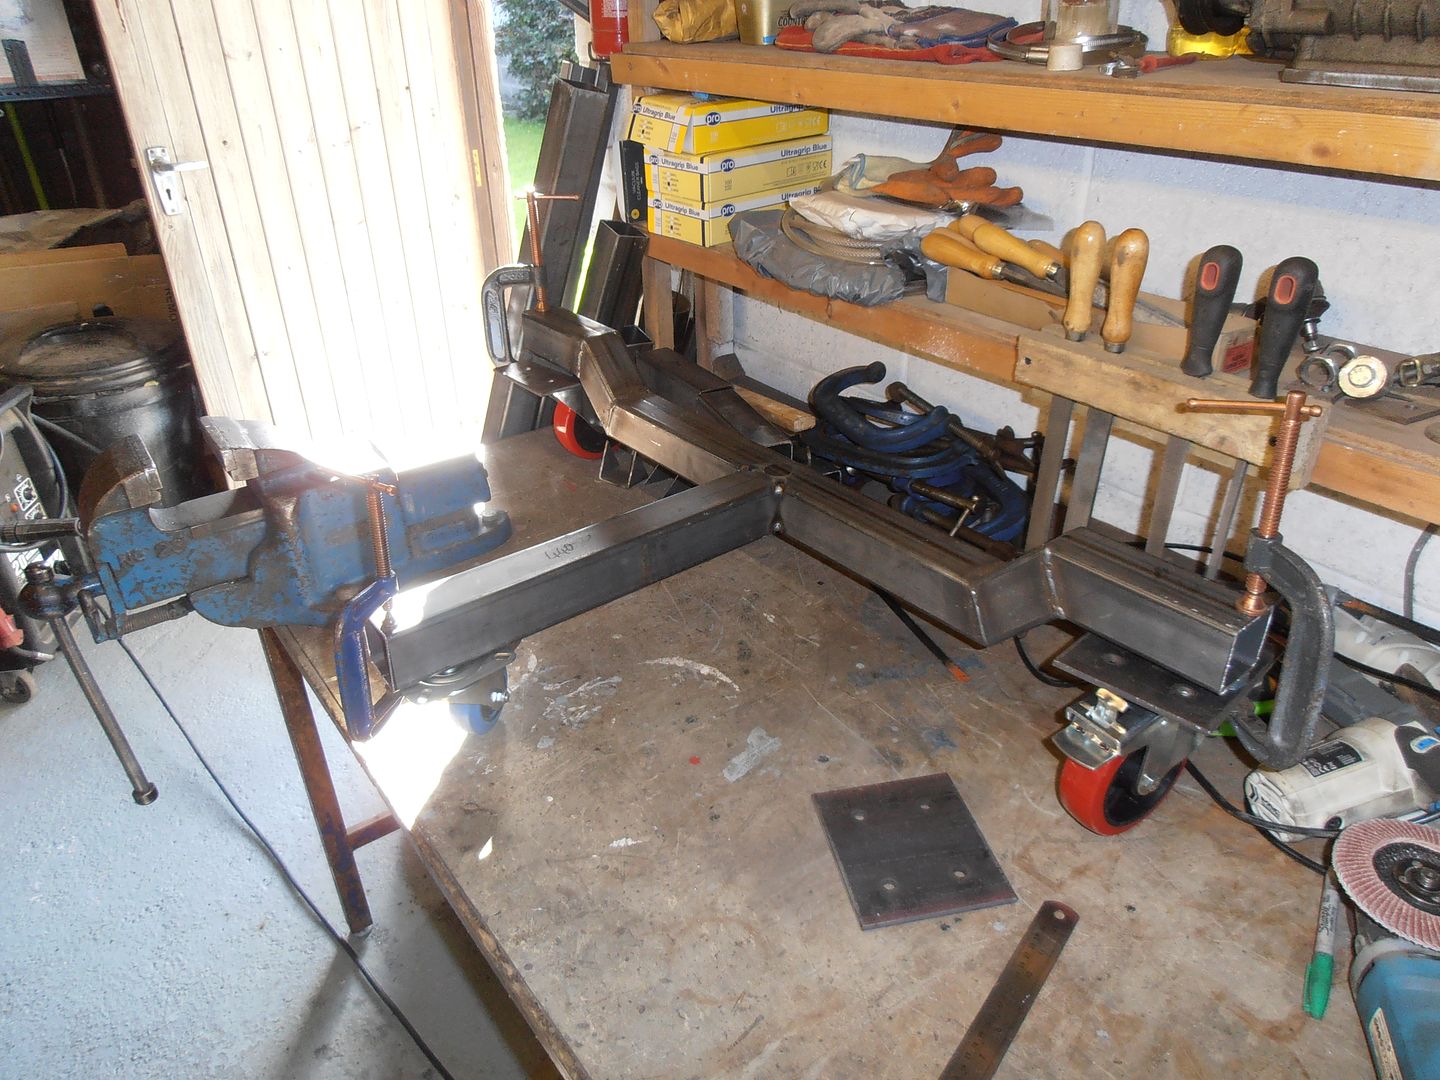
it was at this point i realised i'd messed up a dimension somewhere.
It was sloping downhill from the front wheel to the rears. The step ups were intended to prevent the reverse of this issue so thats where the problem lies.
The offset is 20mm too much
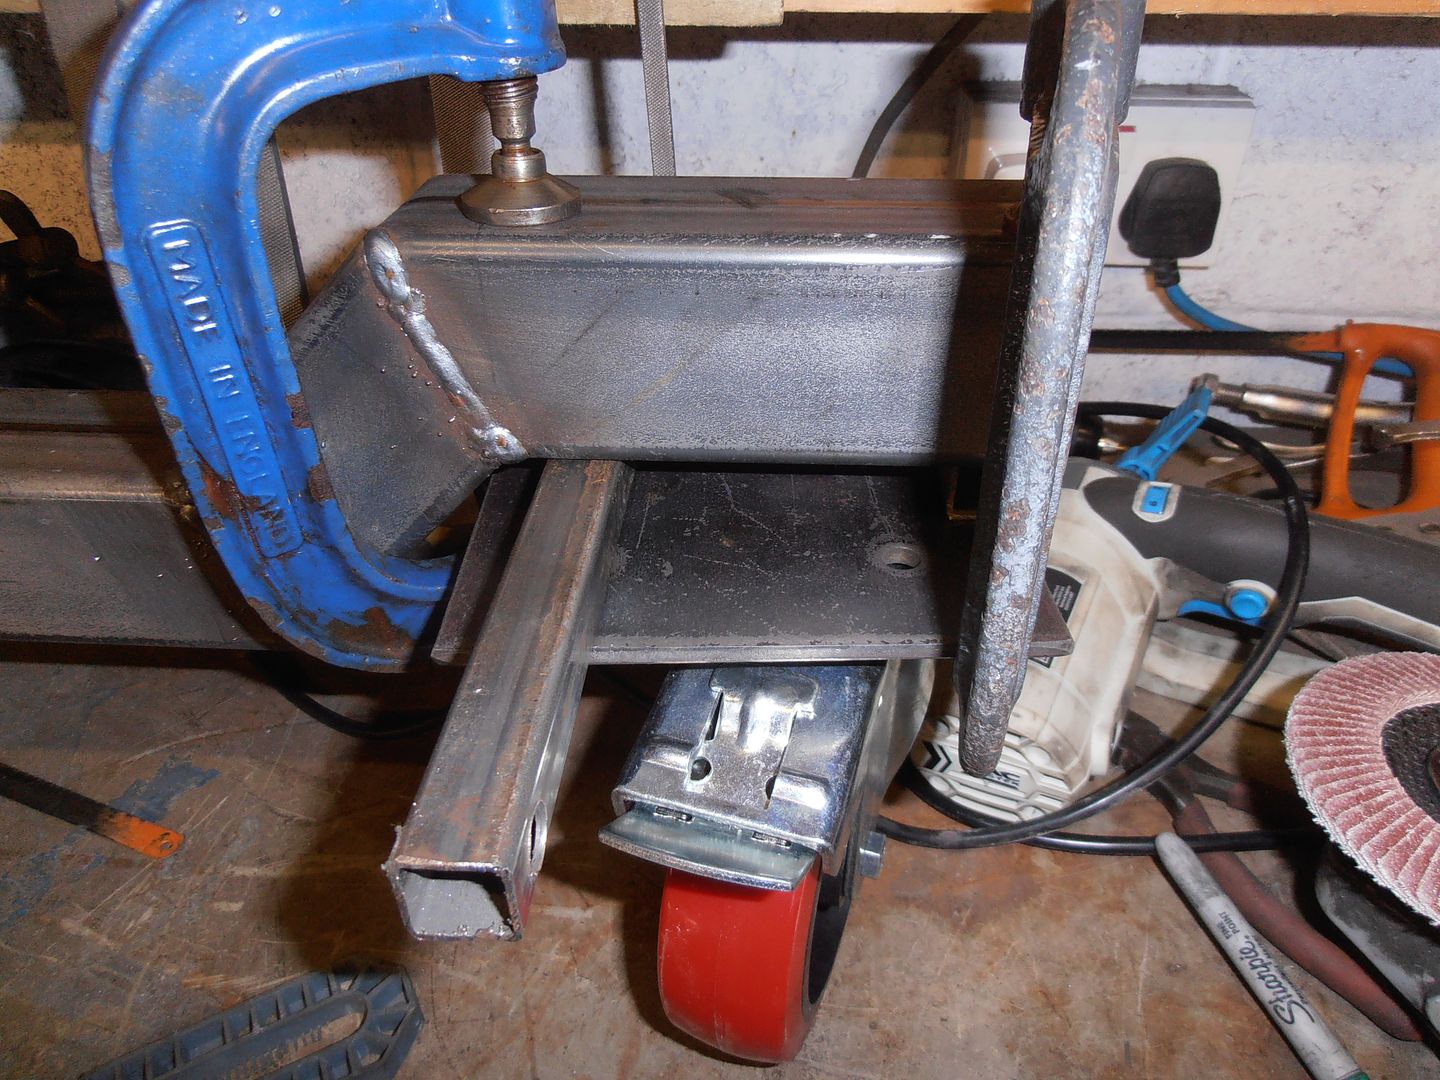
as checked by 19mm box bringing it back to level
I eventually worked out i'd offset one of the line by 25mm extra, meaning the diagonal rising piece is slightly too long bumping up the heigh.
I was not happy. In fact i'm sulking now.
The correct fix is to re-make it (joys) so i'm now sulking and it can wait for a bit.
So, cant have a car thread and no pics of a car.
Some of the escort
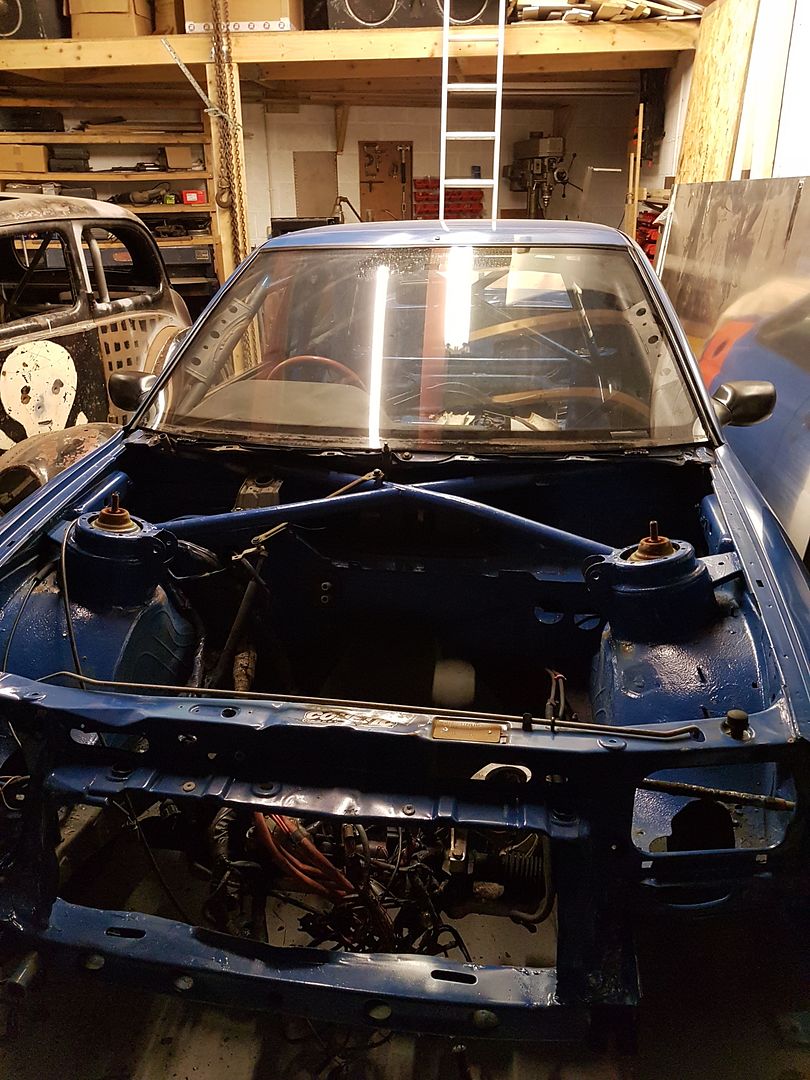
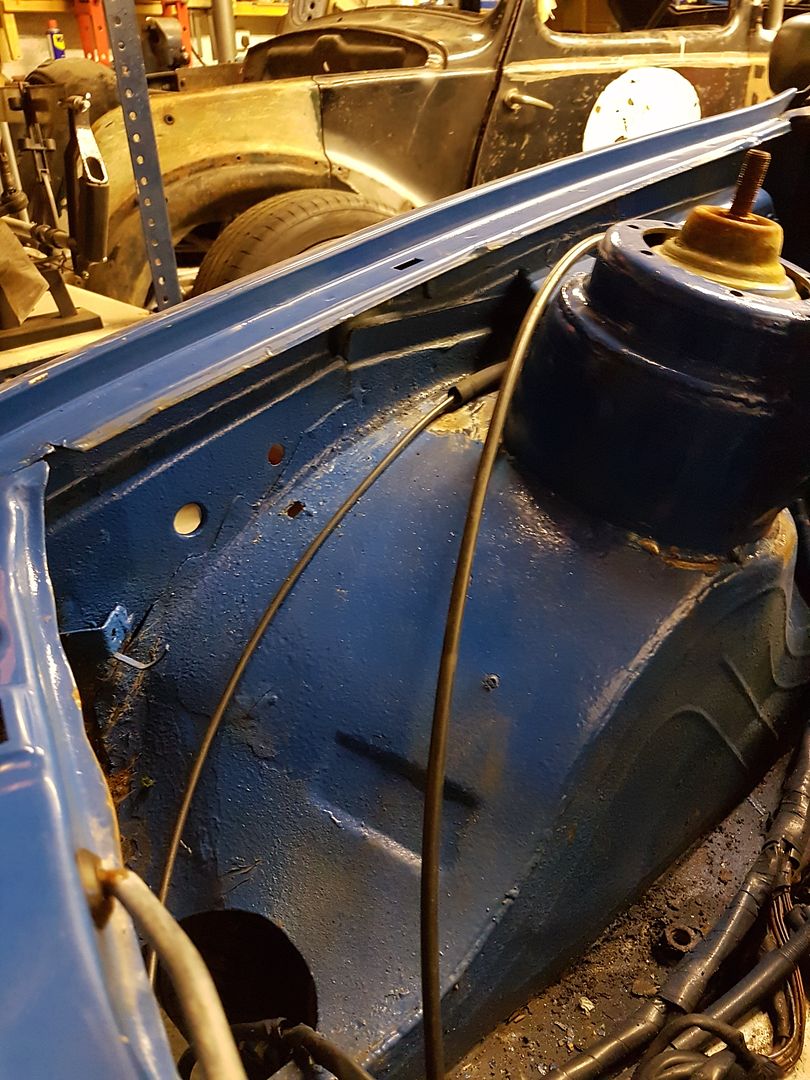
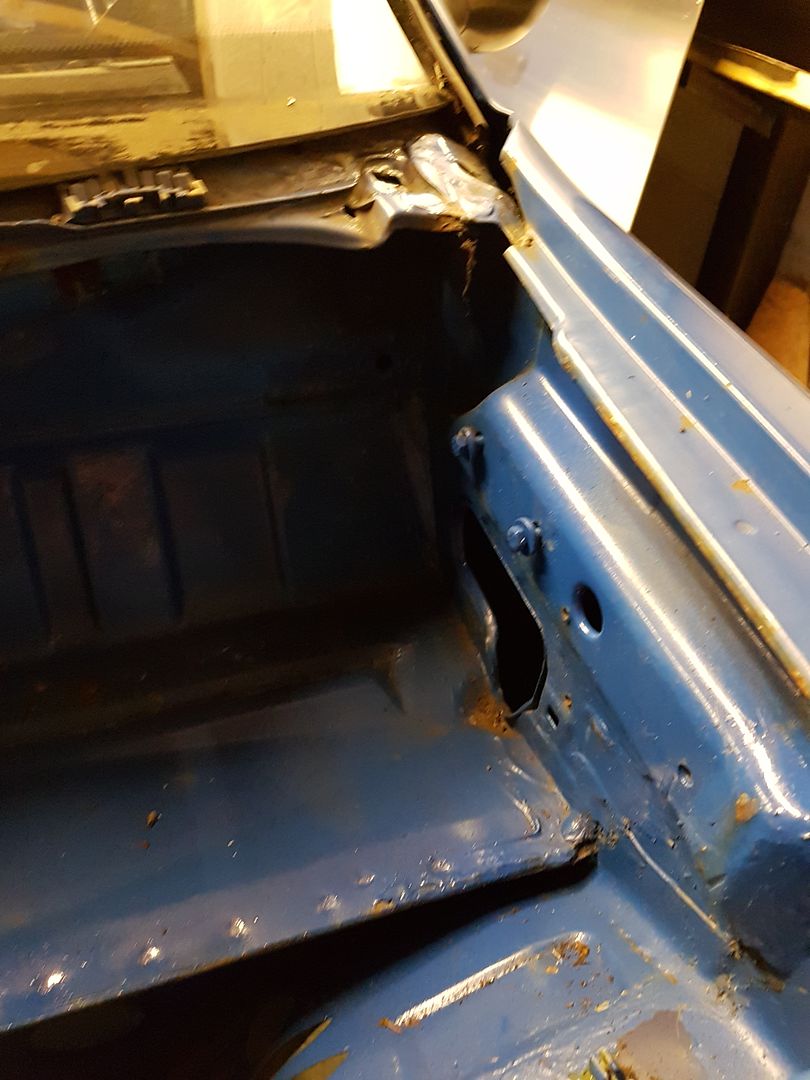
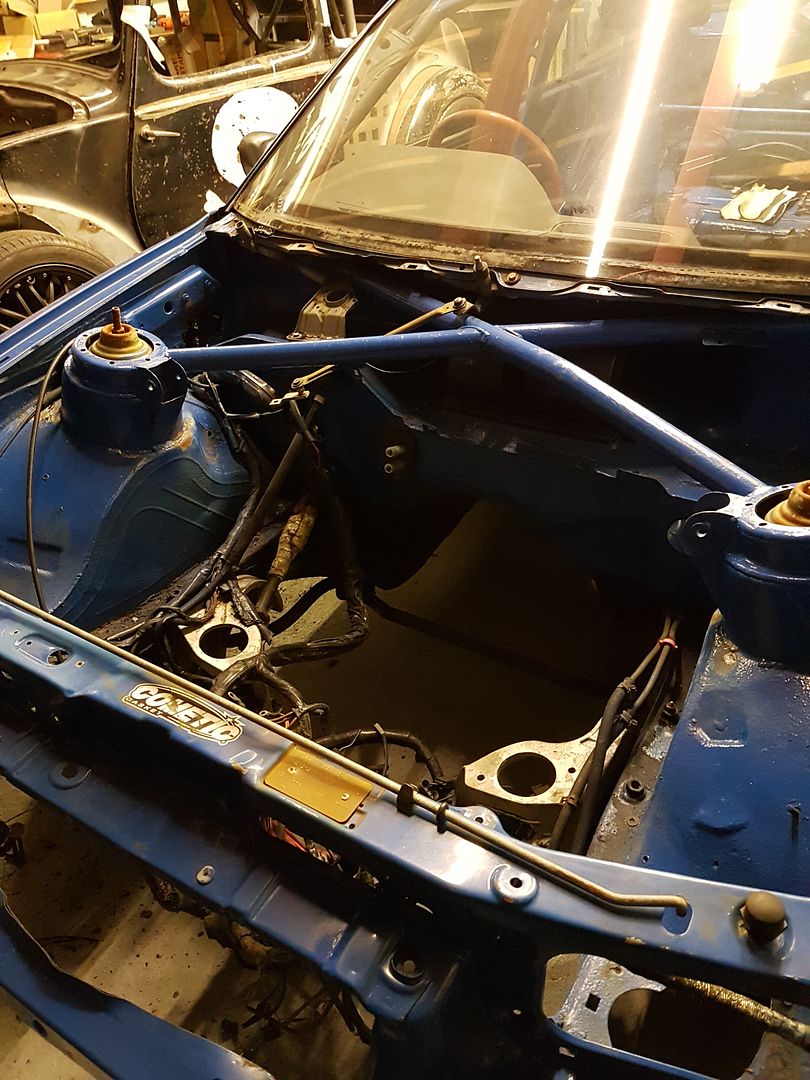
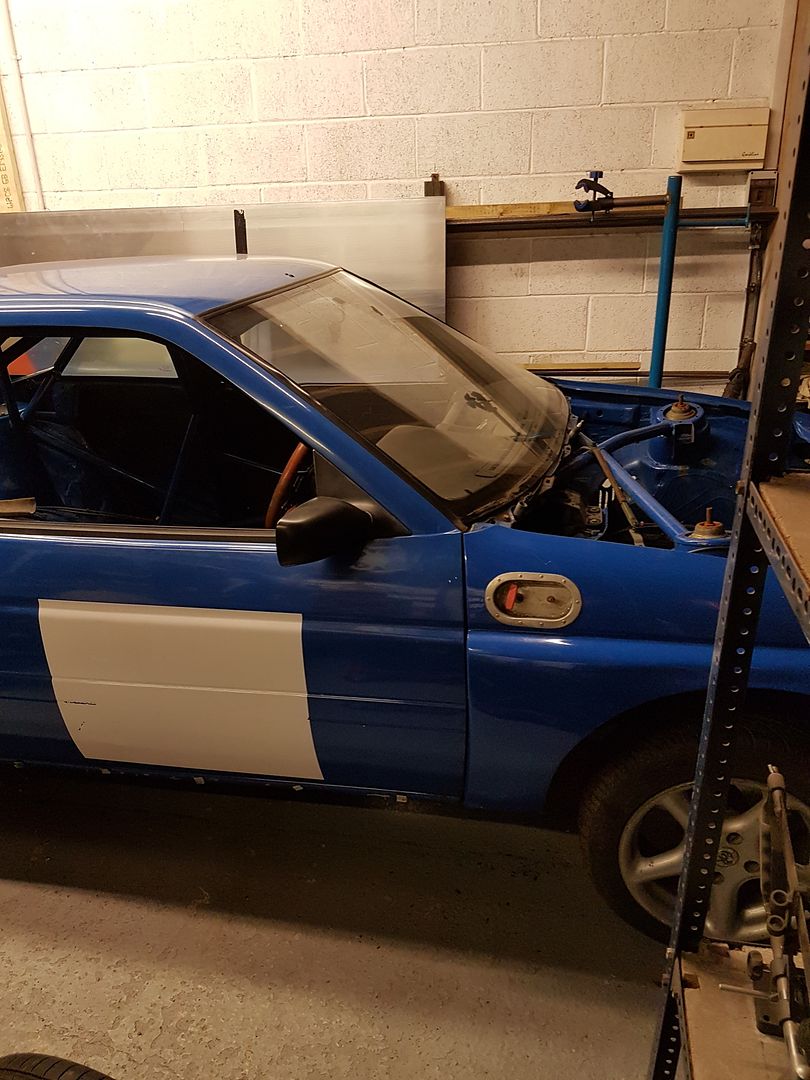
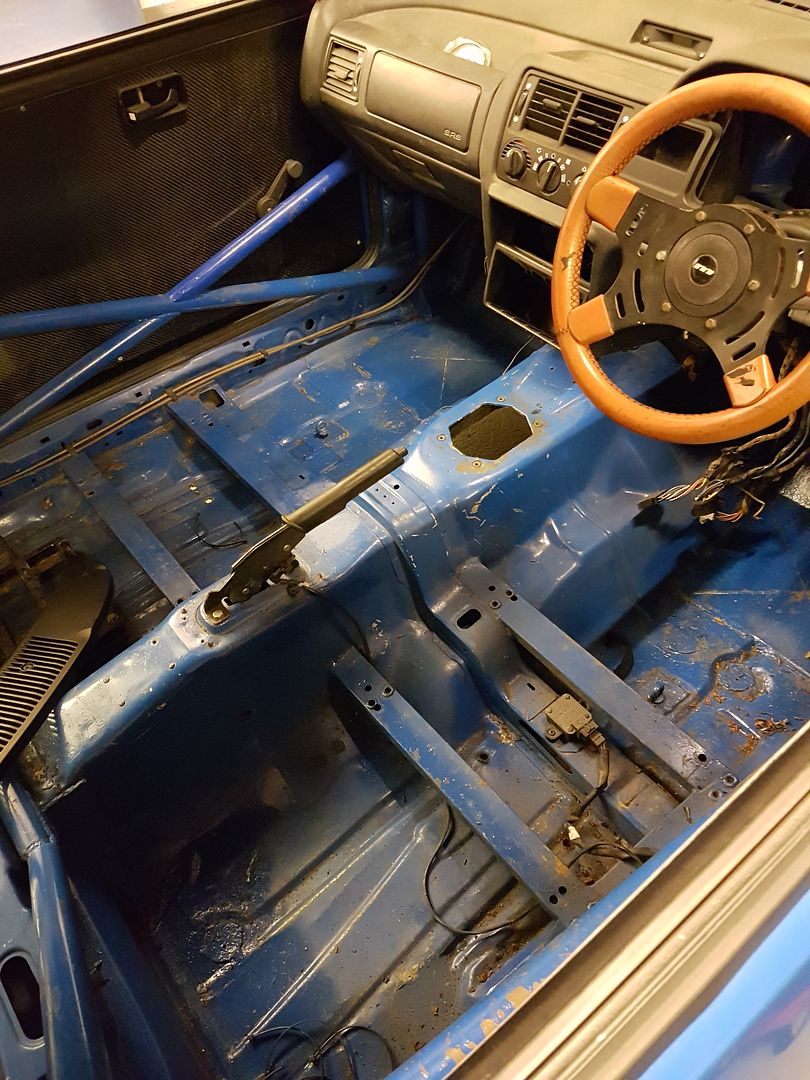
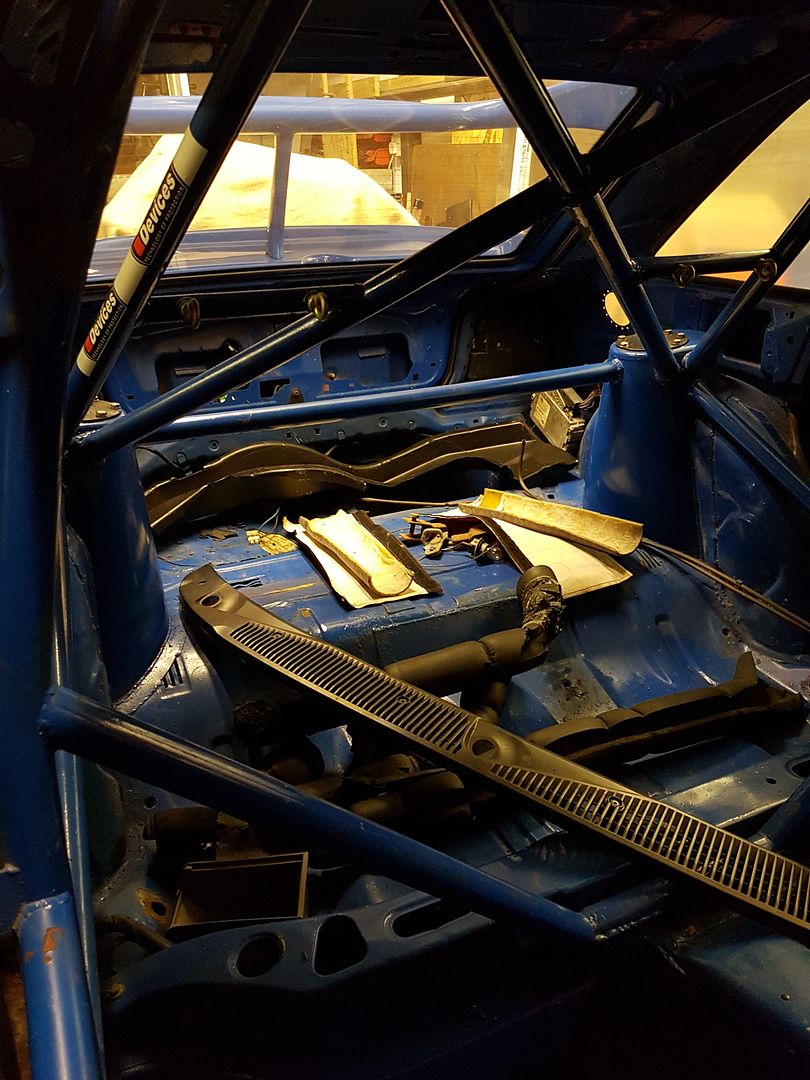
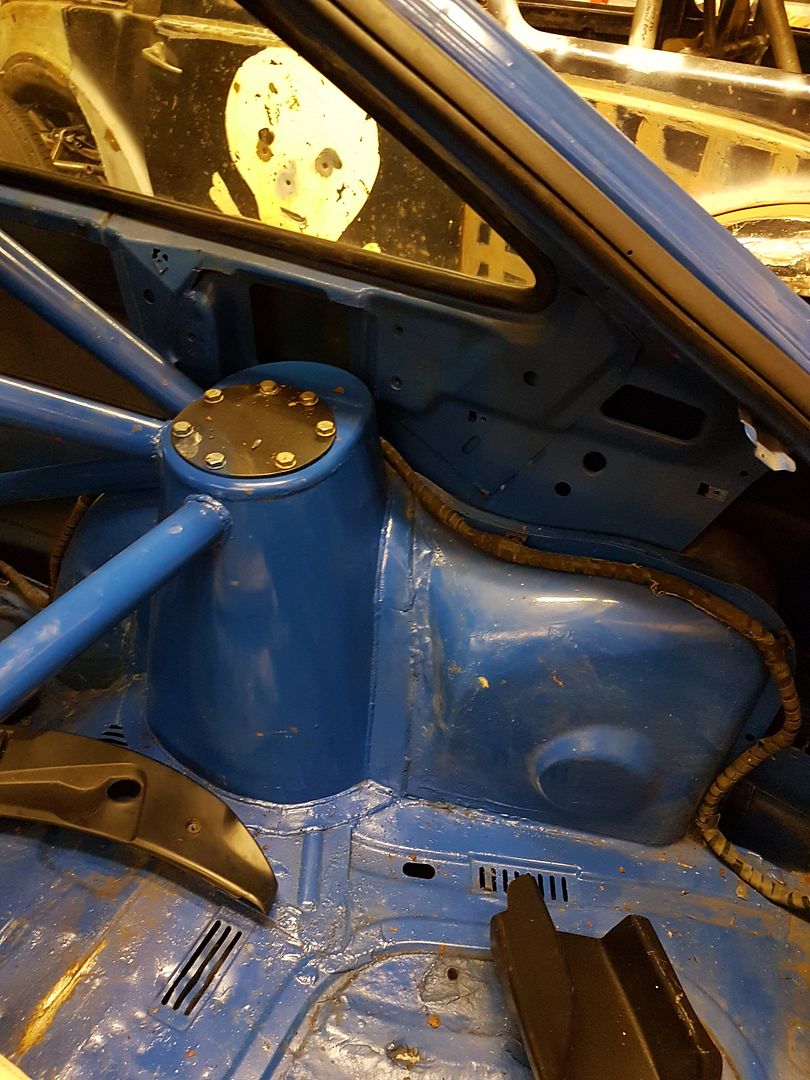
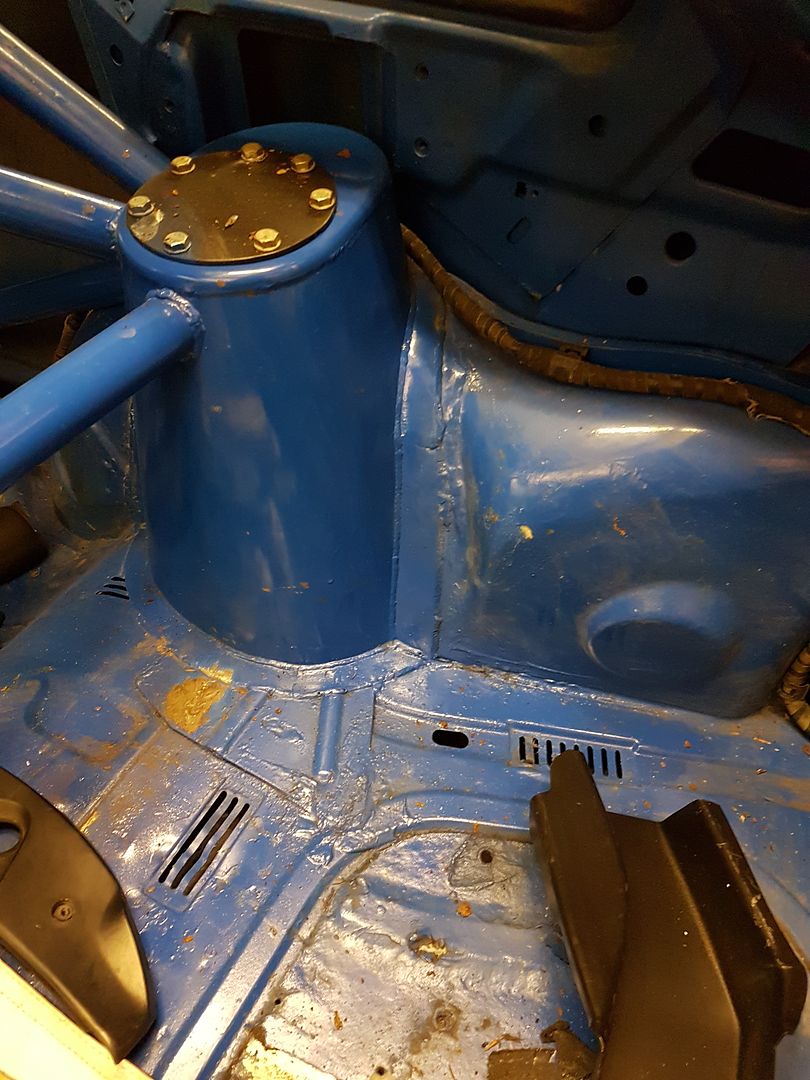
Its in surprisingly OK condition, it has some rust repair needed but not too much.
Having gotten access to the escort cosworth forum and looked at some of the resto threads, there are a number suffering from some pretty horrific rot (mostly inner sills, outer sills at the mid sills joins, bulkheads, battery trays, spring mount points, seat and seatbelt mounts, and A pillars. Mine is better than a number of them despite blatantly having been left outside for a long while.
The rust on them shouldn't be surprising though as they are a a 90s ford ..... i'm surprised with how few other threads there are on them (a few on passion ford) on the general web. I guess with the prices owners have a vested interest not showing just how rotten they can get despite looking ok.
The shells had a little bit of a light tap around the front corners, probably during its life as a race car, and the floor is bumped up in a few places. Nothing major a hammer, some wood, and (if worst comes to the worst) a light jacking.
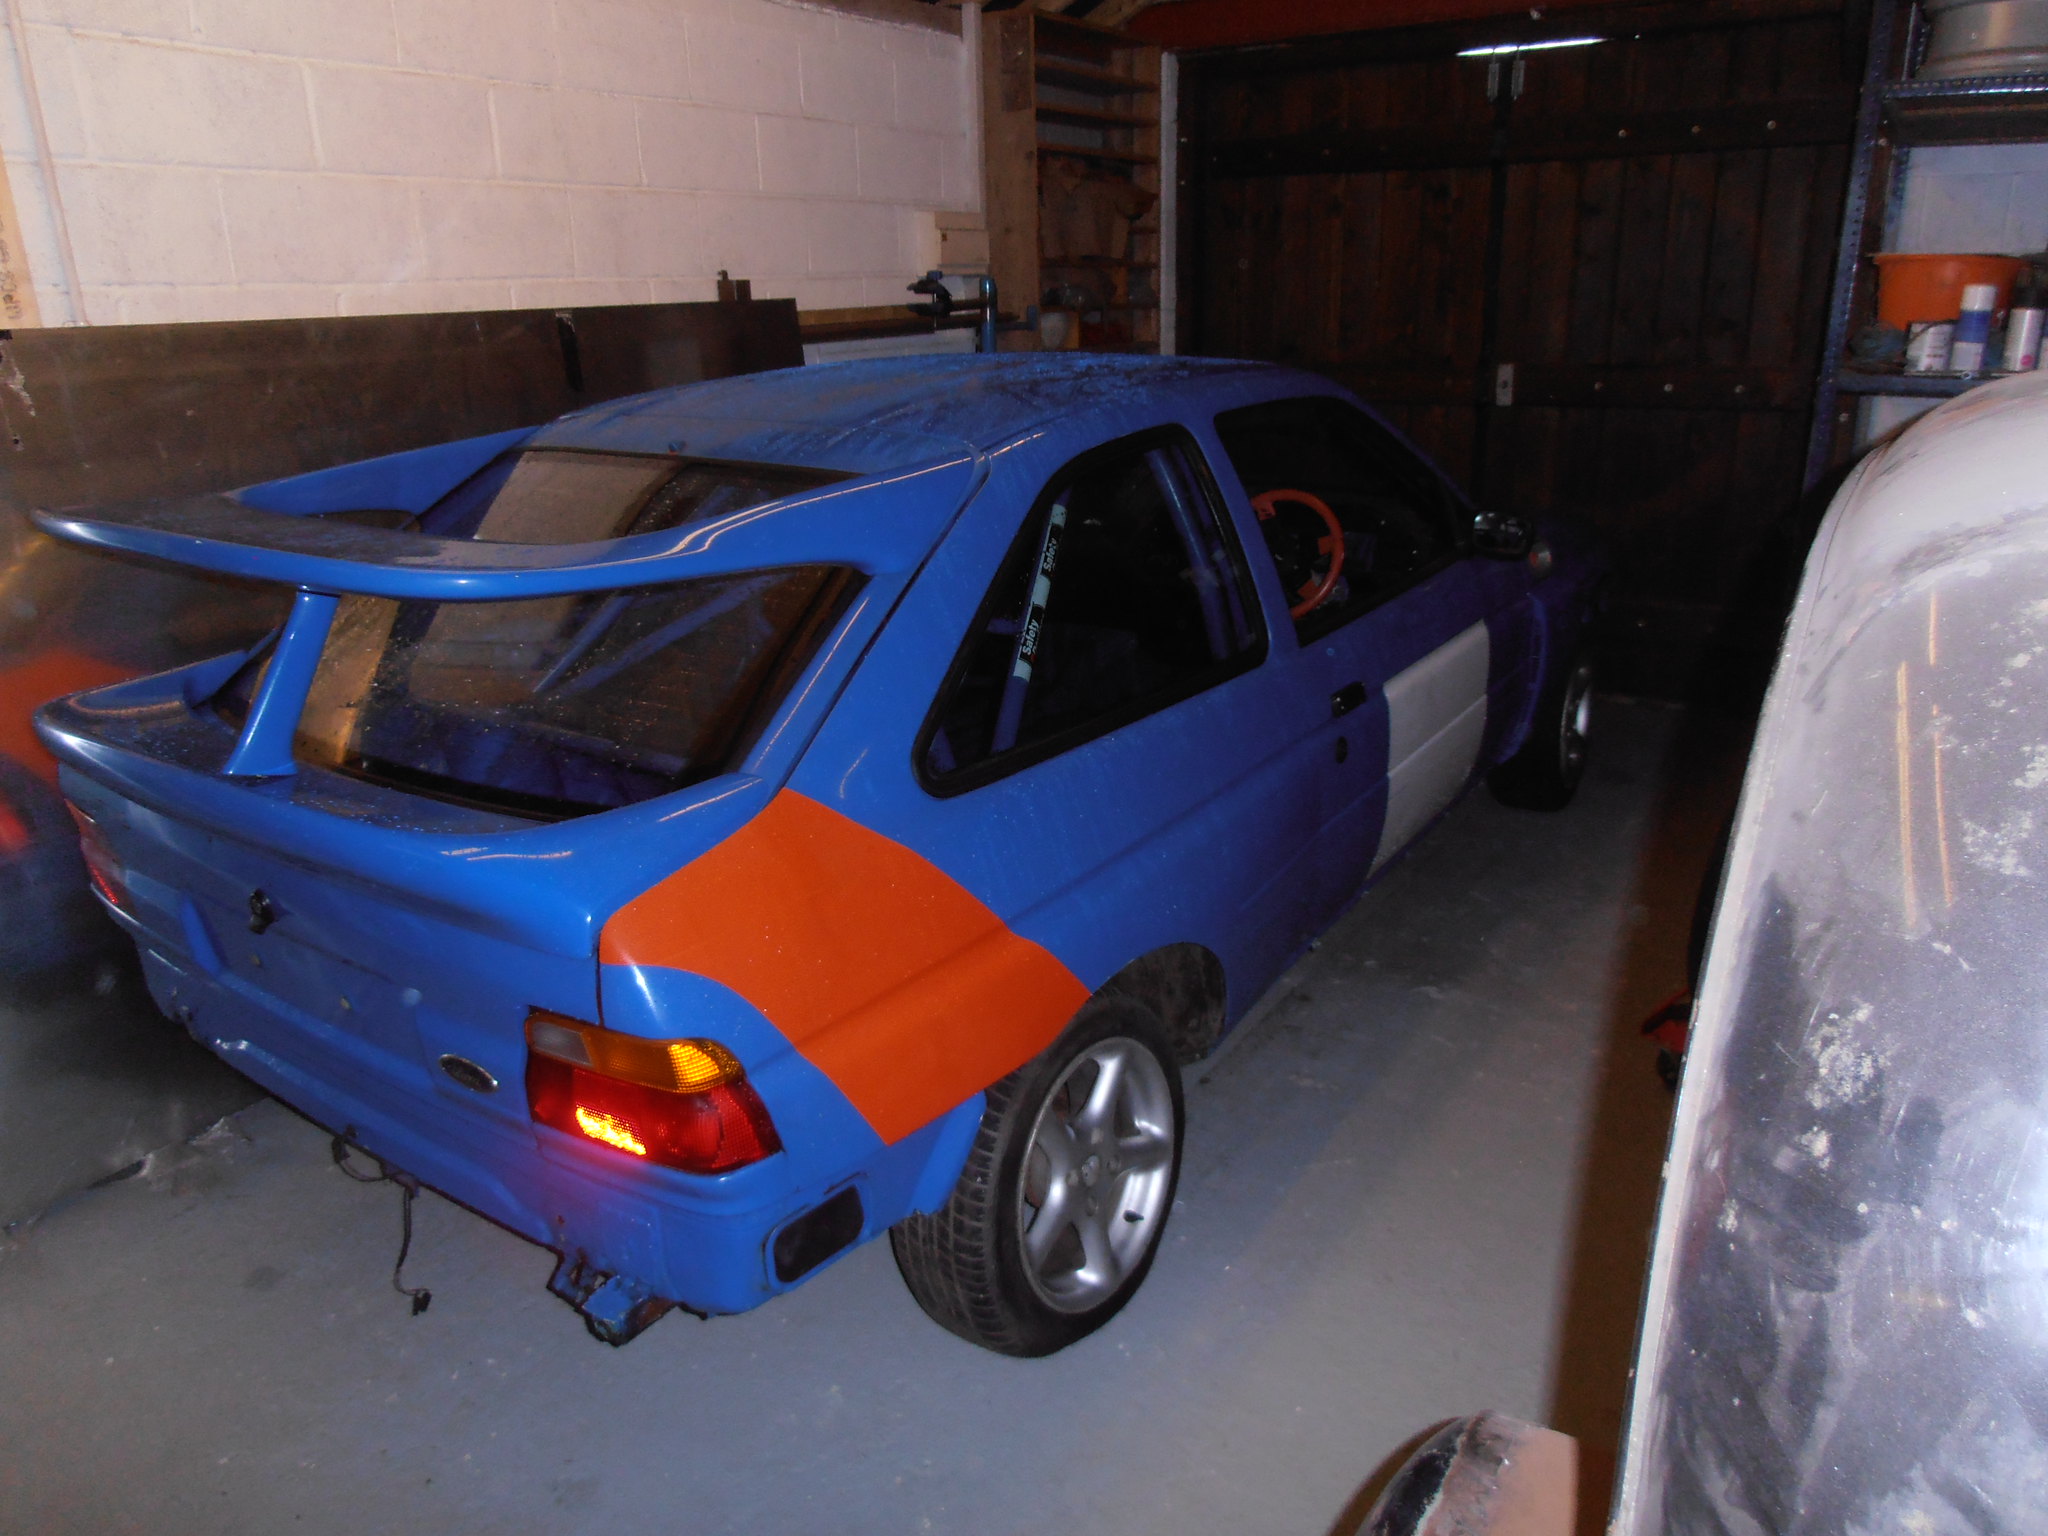
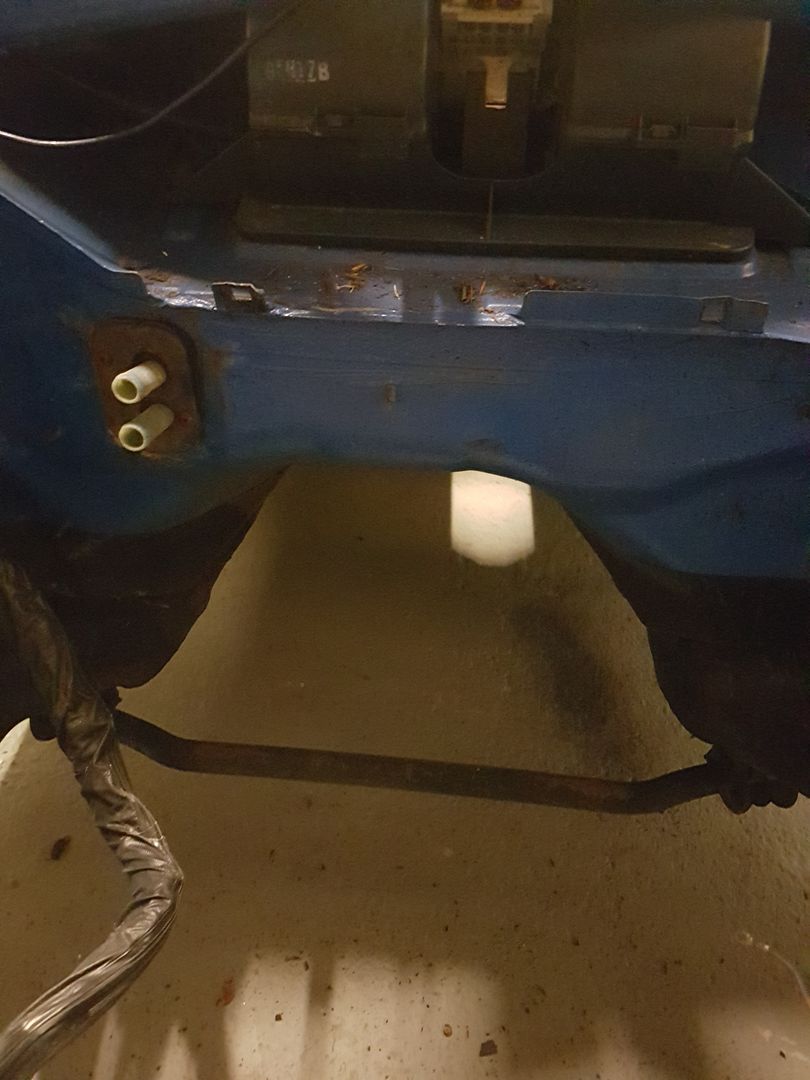
My escort is fitted with WRC rear turrets, although no mounting points for the subframes exist so they didnt get that far.
This prompted my thinking, i wonder how hard it is to design something to fit it.
Someone has posted dimensions online for the rear subframe which was useful (or rather some of the dimensions, the rest have been engineering judgement) and allowed me to mock up this.
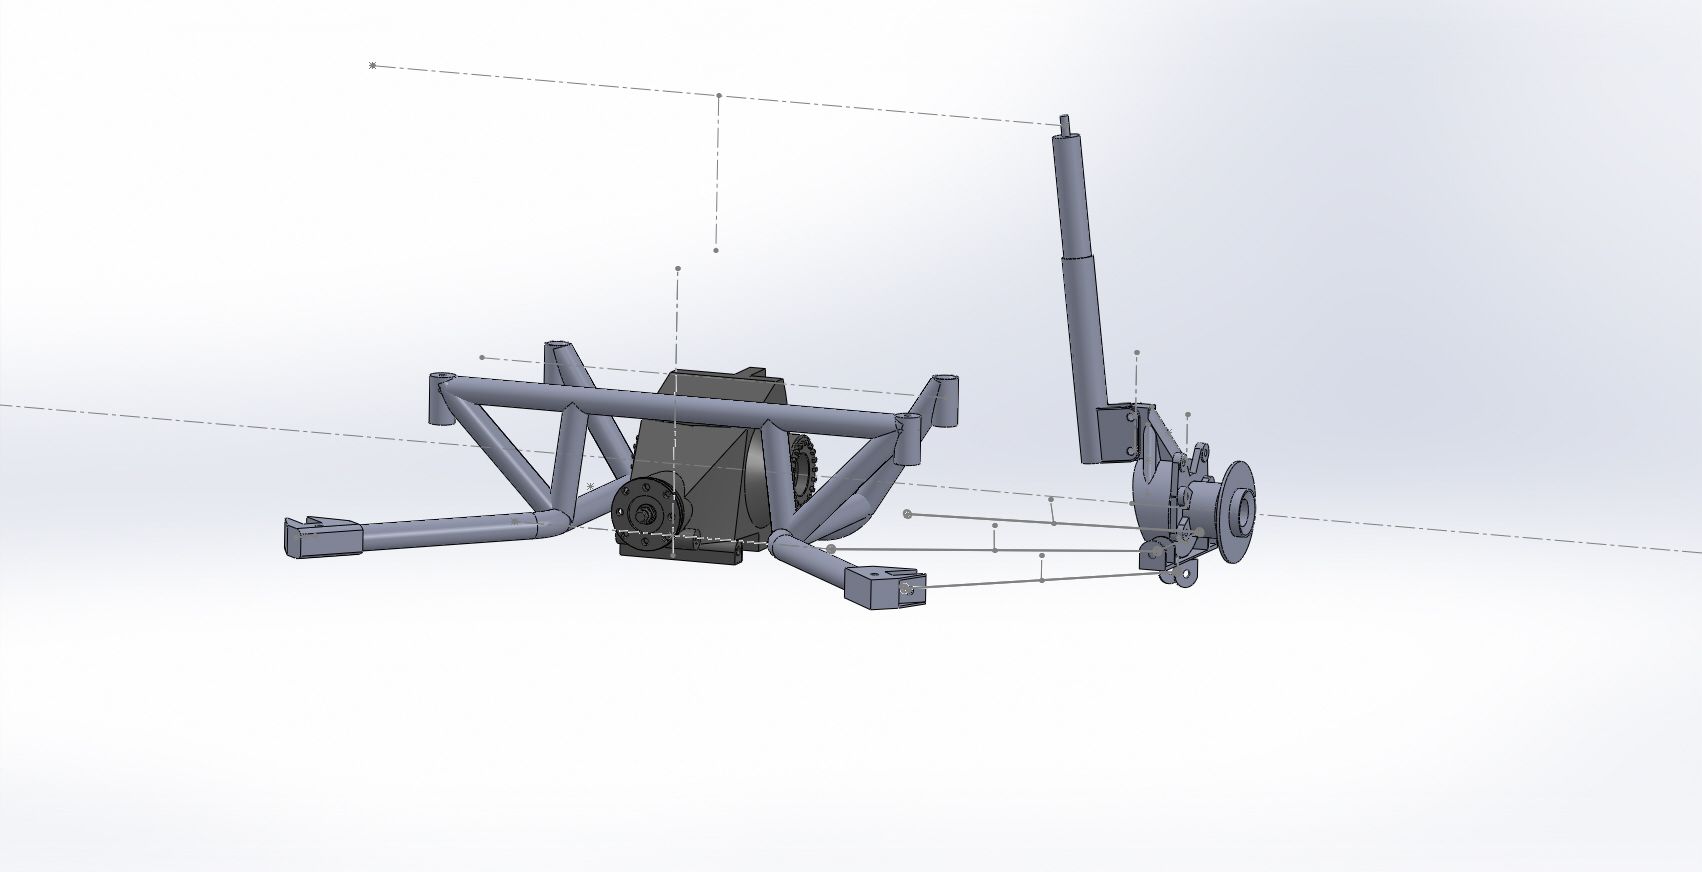
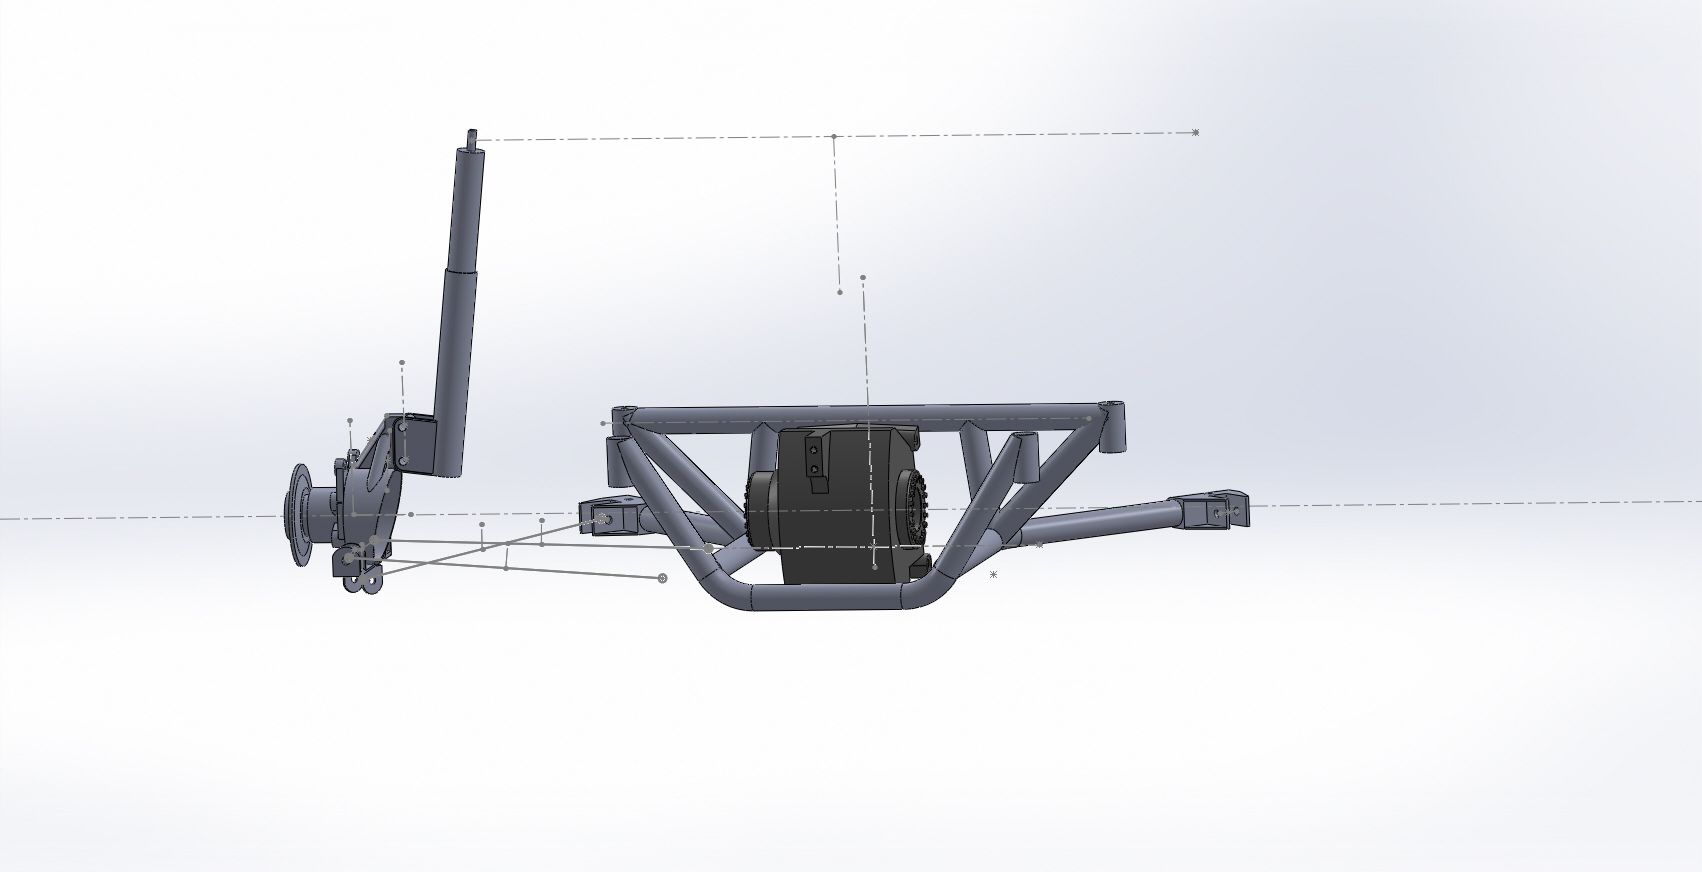
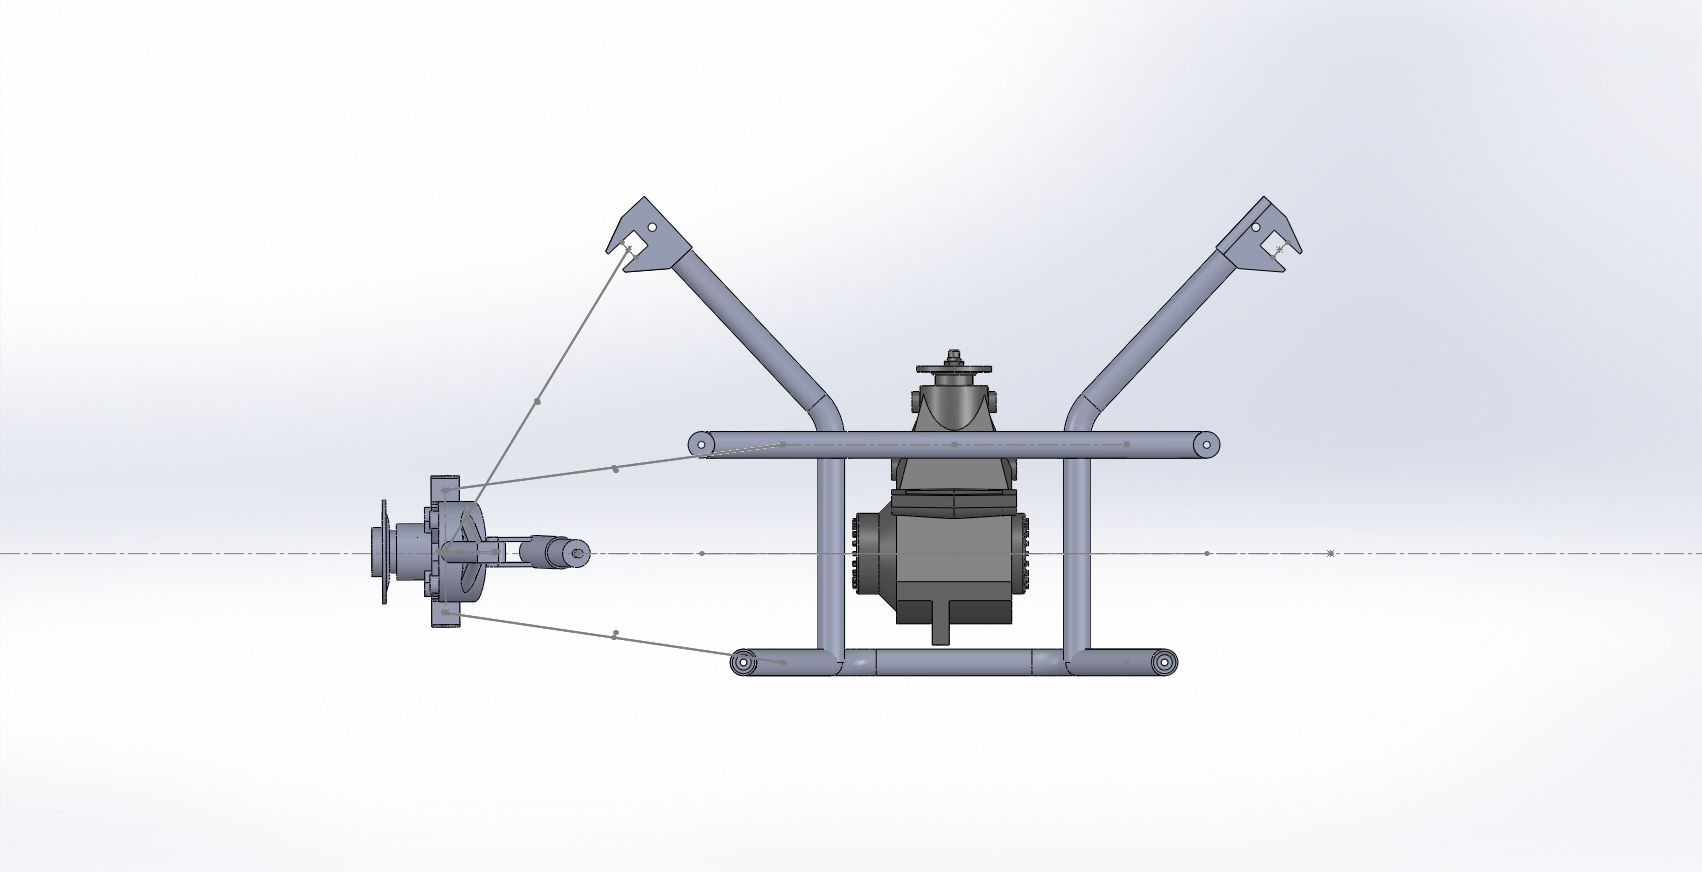
Still a work in progress.
I'm not convinced i like the suspension system though as you always get bump steer (toe out) in full droop. I need to look at it a bit more and think if a wishbone arrangement suits me better.
Plans wise, i fancy making it a fun car for road / track use. I did think about using it for rallying, but the price of parts is ridiculous compared to an equivalent impreza or evo, so i think road it is.
I like black and white, so at the moment i'm thinking Satin Black with white wheels.
I don't think there will be much progress on this for a while once the spits done, but the threads started so i'll update it if there is.
This has forced the start of the project substantially earlier than planned, but hey ho.
So, the escort needs a number of repairs to the underside, so it needs to go on a body spit.
P1063386 by jono_misfit, on FlickrMy present body spit needs an upgrade, and will also be needed concurrently for the morris. Only thing for it. Make a new one.
CAD time first.


Inspired by page 13 of the CJ auto's catalogue.
unpacked some bits

steel that needs to get out the way

and some more of it

drawings to help turn it into something else

cut

cut some more

mark out (this is where the problems started.....)

cut

brace for welding

welded

tack on the front piece

it was at this point i realised i'd messed up a dimension somewhere.
It was sloping downhill from the front wheel to the rears. The step ups were intended to prevent the reverse of this issue so thats where the problem lies.
The offset is 20mm too much

as checked by 19mm box bringing it back to level
I eventually worked out i'd offset one of the line by 25mm extra, meaning the diagonal rising piece is slightly too long bumping up the heigh.
I was not happy. In fact i'm sulking now.
The correct fix is to re-make it (joys) so i'm now sulking and it can wait for a bit.
So, cant have a car thread and no pics of a car.
Some of the escort


Its in surprisingly OK condition, it has some rust repair needed but not too much.
Having gotten access to the escort cosworth forum and looked at some of the resto threads, there are a number suffering from some pretty horrific rot (mostly inner sills, outer sills at the mid sills joins, bulkheads, battery trays, spring mount points, seat and seatbelt mounts, and A pillars. Mine is better than a number of them despite blatantly having been left outside for a long while.
The rust on them shouldn't be surprising though as they are a a 90s ford ..... i'm surprised with how few other threads there are on them (a few on passion ford) on the general web. I guess with the prices owners have a vested interest not showing just how rotten they can get despite looking ok.
The shells had a little bit of a light tap around the front corners, probably during its life as a race car, and the floor is bumped up in a few places. Nothing major a hammer, some wood, and (if worst comes to the worst) a light jacking.
My escort is fitted with WRC rear turrets, although no mounting points for the subframes exist so they didnt get that far.
This prompted my thinking, i wonder how hard it is to design something to fit it.
Someone has posted dimensions online for the rear subframe which was useful (or rather some of the dimensions, the rest have been engineering judgement) and allowed me to mock up this.


Still a work in progress.
I'm not convinced i like the suspension system though as you always get bump steer (toe out) in full droop. I need to look at it a bit more and think if a wishbone arrangement suits me better.
Plans wise, i fancy making it a fun car for road / track use. I did think about using it for rallying, but the price of parts is ridiculous compared to an equivalent impreza or evo, so i think road it is.
I like black and white, so at the moment i'm thinking Satin Black with white wheels.
I don't think there will be much progress on this for a while once the spits done, but the threads started so i'll update it if there is.


