|
|
|
Feb 18, 2020 23:13:02 GMT
|
If you can when you take your pictures weather it be with a phone or a camera set the picture size in the settings to 1024 x 768 pixels this will set the pictures to the best size and resolution for use on web pages and they will load quicker but be saved at a smaller file size. All of mine are set to a max width of 1024 and they are all ok 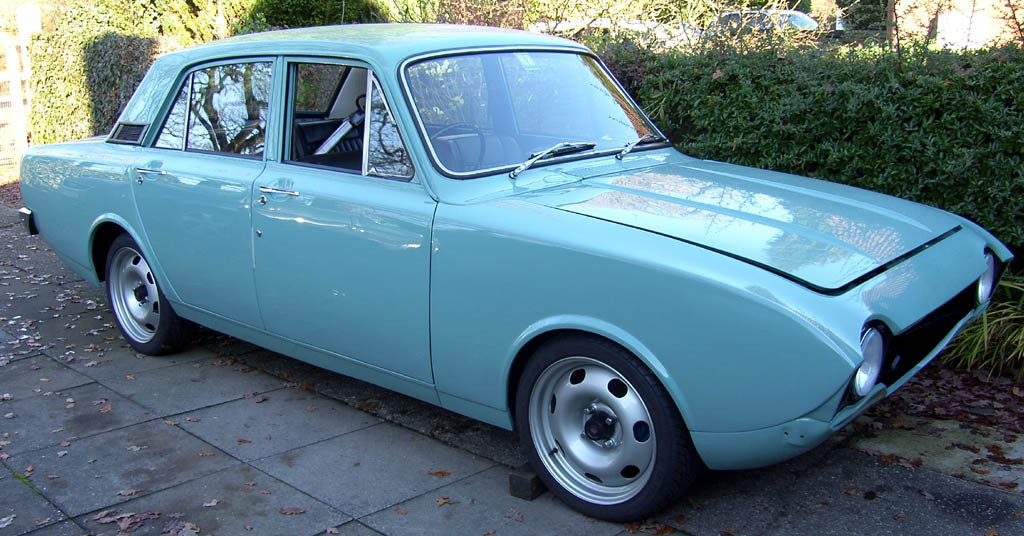 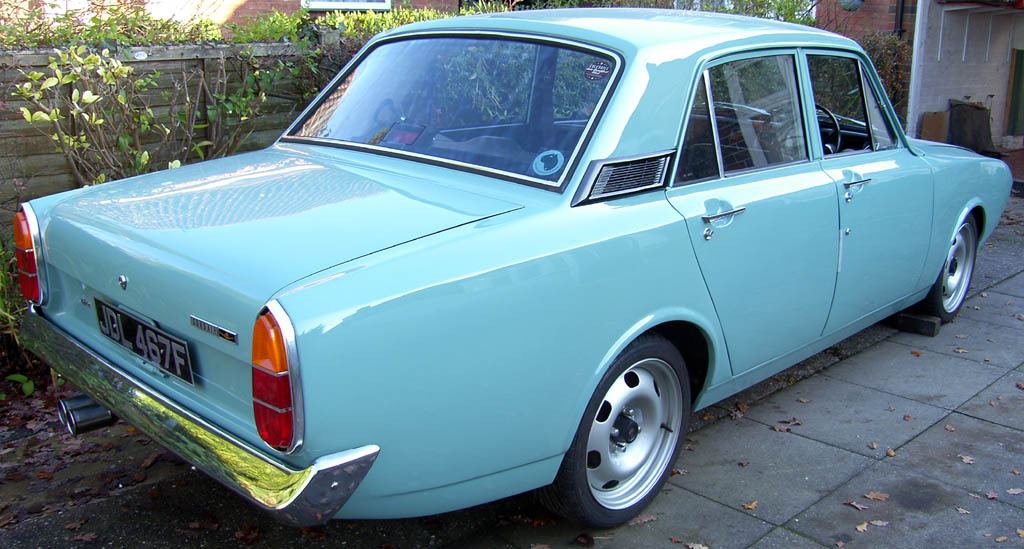 |
| |
|
|
|
|
jonomisfit
Club Retro Rides Member
Posts: 1,787
Club RR Member Number: 49
|
|
|
|
|
Thanks.
I may check if flicker can do a size dither on upload rather than reduce the image size on the camera.
|
| |
|
|
|
|
|
Feb 19, 2020 22:25:24 GMT
|
|
Flickr sort of does. Upload as normal and then when you choose the download size option in bottom right (desktop mode), select more options. Then you can choose which size you want. Then copy image URL as normal.
I don't think they do it as part of the upload.
|
| |
|
|
jonomisfit
Club Retro Rides Member
Posts: 1,787
Club RR Member Number: 49
|
|
Feb 23, 2020 19:49:06 GMT
|
not a huge amount of progress this week. After a 3hr round trip (with 2 hrs of driving across moorland roads :-) ) I ended up with this in exchange for not a great deal of readies.  P1030077 P1030077 by jono_misfit, on Flickr A proper Edwards box pan folder. It does 600mm width and weighs a metric shed load. Bench is just a resting place until I make a moveable stand for it. Gave it a rough clean up to get the layers of dirt off it. Then back to the escort fuel tank mount. I need an up-stand. may as well use the new toy.  P1030078 P1030078 by jono_misfit, on Flickr bends very nicely  P1030079 P1030079 by jono_misfit, on Flickr and does a much better neater job than my home made special. It still needs some adjustment tweaks though.  P1030080 P1030080 by jono_misfit, on Flickr added an additional piece of up-stand to the floor  P1030082 P1030082 by jono_misfit, on Flickr looking at the tank mount it needs something  P1030081 P1030081 by jono_misfit, on Flickr hmm.... that isnt supposed to happen.  P1030083 P1030083 by jono_misfit, on Flickr Saying that, it has done a lot of holes, a looooot of holes. A socket and the vice came to the rescue.  P1030084 P1030084 by jono_misfit, on Flickr checking back in position again  P1030085 P1030085 by jono_misfit, on Flickr  P1030086 P1030086 by jono_misfit, on Flickr Some of it still needs tidying up a bit more, but its not far off ready to get welded in. Will see how next weekend goes. |
| |
|
|
Darkspeed
Club Retro Rides Member
Posts: 4,873
Club RR Member Number: 39
|
|
Feb 23, 2020 19:59:29 GMT
|
Folder envy  - That's a very handy bit of kit. |
| |
|
|
|
|
|
Feb 23, 2020 20:19:29 GMT
|
You will make @grumpynorthener gelouse of that press break.
A great piece of kit should be very useful to you.
|
| |
|
|
jonomisfit
Club Retro Rides Member
Posts: 1,787
Club RR Member Number: 49
|
|
Feb 23, 2020 20:41:45 GMT
|
|
A lucky find. Was for sale near Knobagob (aka Cockermouth) which is a fair way from me into the hinterlands, and I'm a fair way from civilisation so it was pretty much local interest only.
|
| |
|
|
|
|
|
Feb 23, 2020 20:48:01 GMT
|
You will make @grumpynorthener gelouse of that press break. A great piece of kit should be very useful to you.
Nope he won't I have a larger one enroute  - I just need to find the time to go & fetch it - the Gabro that I currently have will do 600mm width but I need something longer for door bottoms etc |
| |
|
|
|
|
|
Feb 23, 2020 22:10:38 GMT
|
|
I have the same Edwards folder. Well I lent it to my brother about 3 years ago and now have to fold bits in a vice, but I did only pay £50 for it so my brother had a right bargain!
|
| |
|
|
mk2cossie
Club Retro Rides Member
Posts: 3,058  Club RR Member Number: 77
|
|
Feb 23, 2020 22:37:51 GMT
|
not a huge amount of progress this week. After a 3hr round trip (with 2 hrs of driving across moorland roads :-) ) I ended up with this in exchange for not a great deal of readies.  P1030077 P1030077 by jono_misfit, on Flickr A proper Edwards box pan folder. It does 600mm width and weighs a metric shed load. Bench is just a resting place until I make a moveable stand for it. Gave it a rough clean up to get the layers of dirt off it. Then back to the escort fuel tank mount. I need an up-stand. may as well use the new toy.  P1030078 P1030078 by jono_misfit, on Flickr bends very nicely  P1030079 P1030079 by jono_misfit, on Flickr and does a much better neater job than my home made special. It still needs some adjustment tweaks though.  P1030080 P1030080 by jono_misfit, on Flickr added an additional piece of up-stand to the floor  P1030082 P1030082 by jono_misfit, on Flickr looking at the tank mount it needs something  P1030081 P1030081 by jono_misfit, on Flickr hmm.... that isnt supposed to happen.  P1030083 P1030083 by jono_misfit, on Flickr Saying that, it has done a lot of holes, a looooot of holes. A socket and the vice came to the rescue.  P1030084 P1030084 by jono_misfit, on Flickr checking back in position again  P1030085 P1030085 by jono_misfit, on Flickr  P1030086 P1030086 by jono_misfit, on Flickr Some of it still needs tidying up a bit more, but its not far off ready to get welded in. Will see how next weekend goes. All very nice indeed! But is it an optical illusion or is the tank mounting plate not level with the cross member just in front of it?  |
| |
|
|
jonomisfit
Club Retro Rides Member
Posts: 1,787
Club RR Member Number: 49
|
|
Feb 23, 2020 22:49:56 GMT
|
|
It's not final fitted yet, but its 5mm down on that side, and 5mm down on the side towards the rear so its slightly down to the fuel pickup location.
Not that I expect to run the tank at full empty
|
| |
|
|
|
|
|
Feb 25, 2020 11:35:12 GMT
|
|
Nothing like a good box pan brake to fold your thoughts in half trying to work out how best to get all the folds you need!
Be careful you give your moveable stand enough ballast or it'll topple when you swing off it with the thicker stuff!
My mates workshop has a 1.2m or so one with fancy counterweights on it.
Not sure what it cost, I think he took it as payment for some work he did!
|
| |
|
|
jonomisfit
Club Retro Rides Member
Posts: 1,787
Club RR Member Number: 49
|
|
|
|
Right, I looked at the hole I'd made for a sump in the fuel tank, and it was going to have to be a small sump.  P1030087 P1030087 by jono_misfit, on Flickr bigger hole needed  P1030088 P1030088 by jono_misfit, on Flickr bigger hole made  P1030089 P1030089 by jono_misfit, on Flickr but that has now lost all the stiffness around the opening. replace stiffness cut a strip of steel  P1030090 P1030090 by jono_misfit, on Flickr put the new folder to work  P1030091 P1030091 by jono_misfit, on Flickr and attacked it with the shrinker/stretcher  P1030092 P1030092 by jono_misfit, on Flickr after a bit of adjustment a bit rounder  P1030093 P1030093 by jono_misfit, on Flickr weld up and clean back 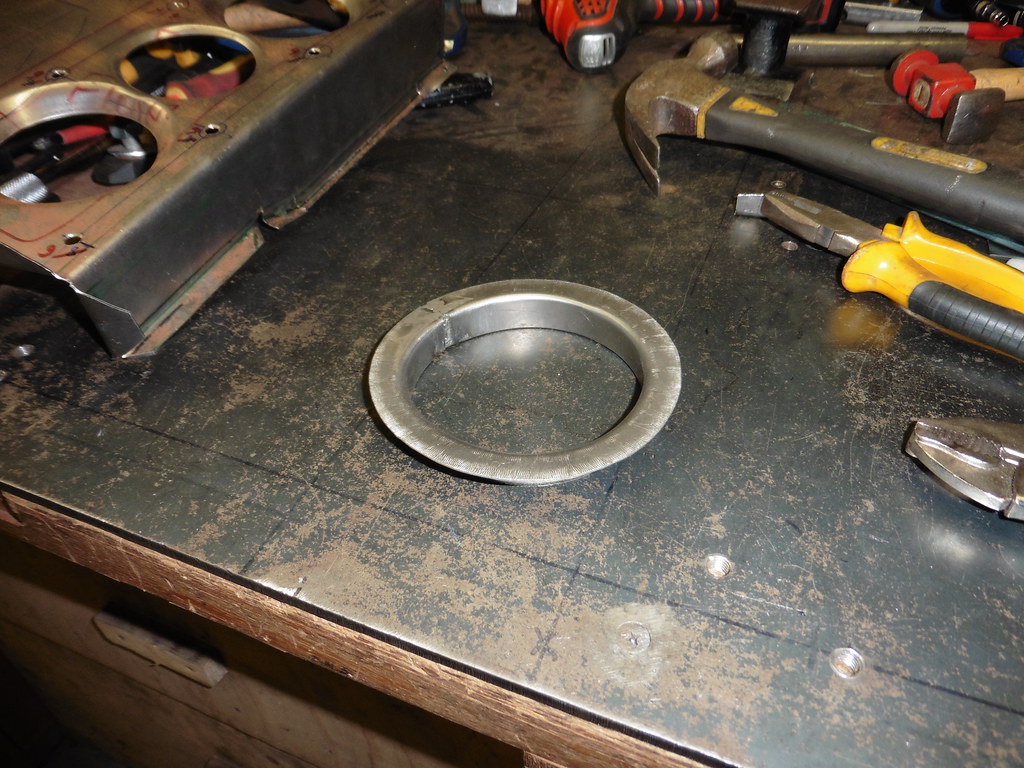 P1030094 P1030094 by jono_misfit, on Flickr get it centred, clamp it all flat, and tack in  P1030095 P1030095 by jono_misfit, on Flickr I also added a strengthening rib  P1030096 P1030096 by jono_misfit, on Flickr then it was onto the fuel tank strap mounts. I want a bit of length to them to spread the load  P1030097 P1030097 by jono_misfit, on Flickr piece of 25mm box 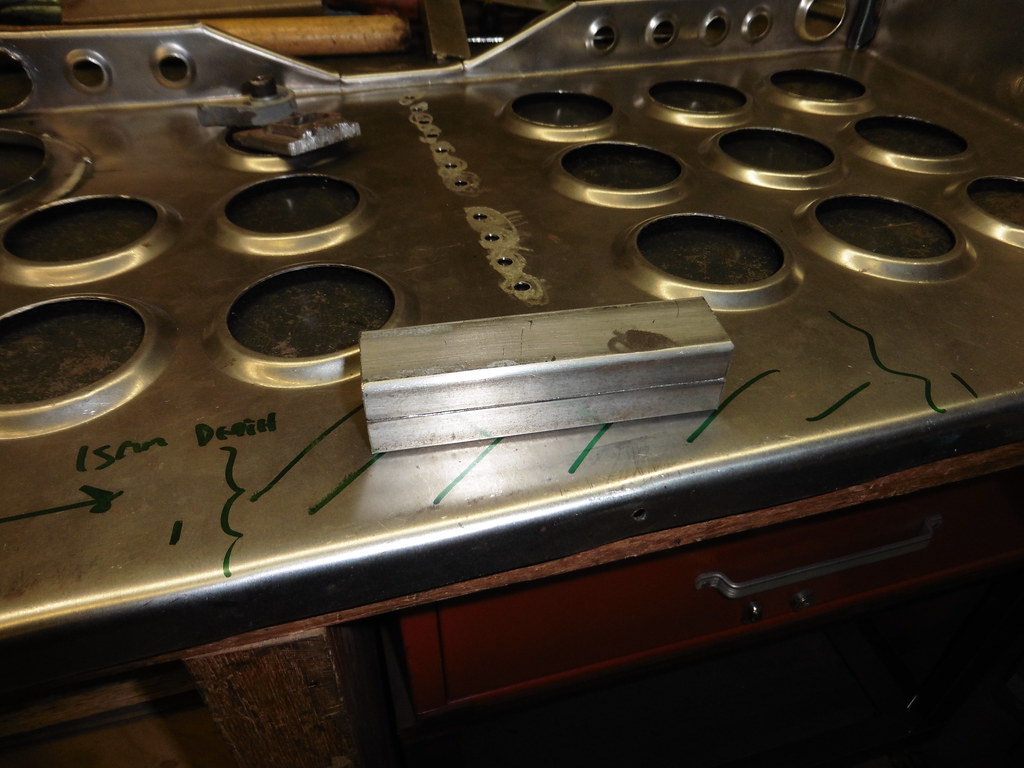 P1030098 P1030098 by jono_misfit, on Flickr split in two  P1030099 P1030099 by jono_misfit, on Flickr fit a captive nut, align, weld in  P1030100 P1030100 by jono_misfit, on Flickr I offset the captive nuts to push the stiffener as par out as possible. The side next that gets welded on to the car will be plenty stiff enough from that 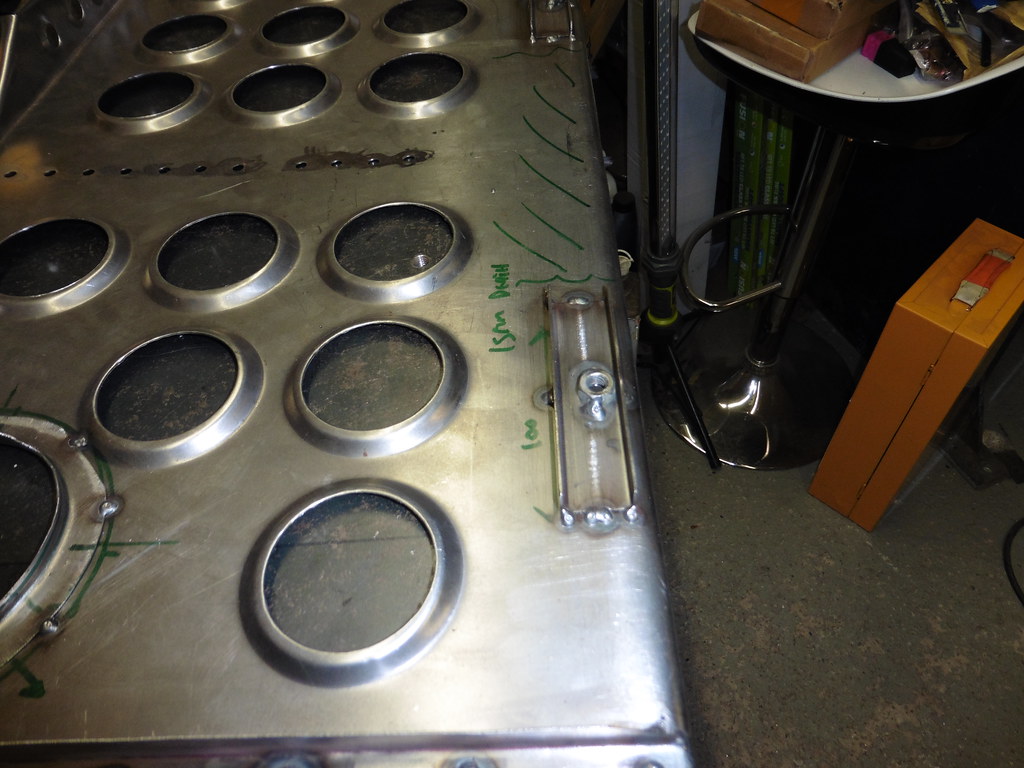 P1030101 P1030101 by jono_misfit, on Flickr then onto the other side. They sit on top of this swaged hole, which I put in to stiffen the mounting area.  P1030102 P1030102 by jono_misfit, on Flickr cut up some 25mm box section  P1030103 P1030103 by jono_misfit, on Flickr then made a cap with a captive nut and tigged on  P1030104 P1030104 by jono_misfit, on Flickr a rough jig to keep them square to the tank mount face  P1030105 P1030105 by jono_misfit, on Flickr and weld on  P1030106 P1030106 by jono_misfit, on Flickr 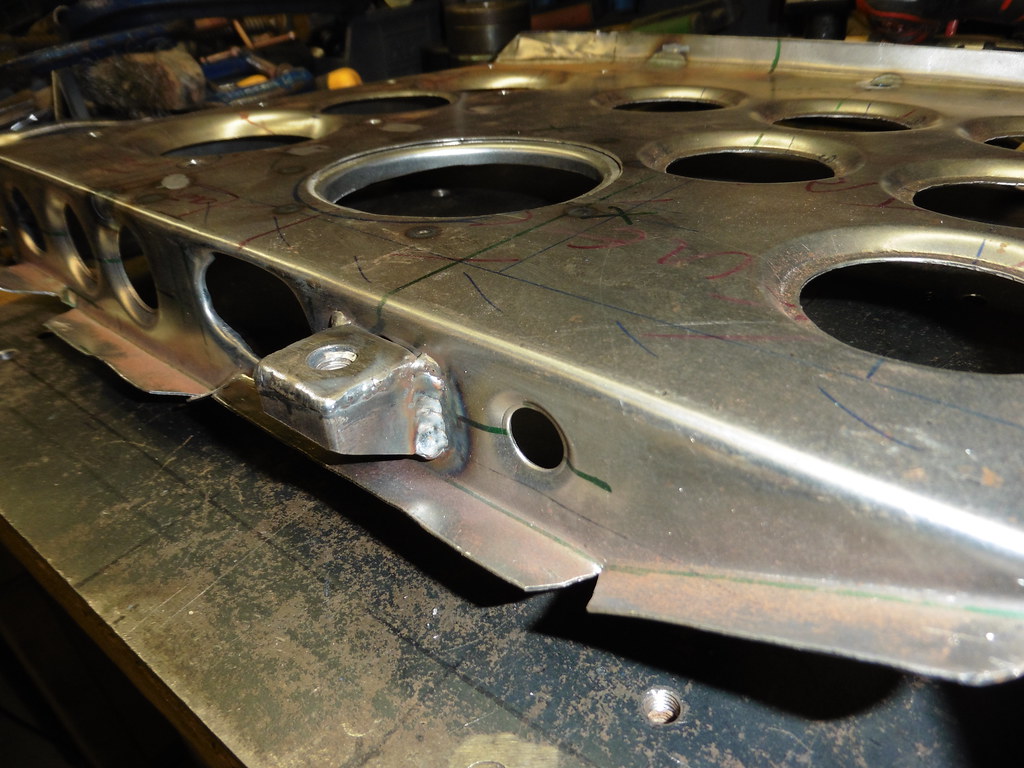 P1030107 P1030107 by jono_misfit, on Flickr i then set some riv nuts for the fuel pump / filter mount area.  P1030108 P1030108 by jono_misfit, on Flickr Why riv nuts? 1) there's no load and they are a good way of not distorting the steel further as welding would 2) I got a new toy and wanted to try it out. I then used the tig to tack each one... just in case as it wont be easy to get at them again. Then as I had the tig out and need the practice, I tigged in the new hole stiffener ring. Not the best welding in the world, but its a big step forward with my Tig work 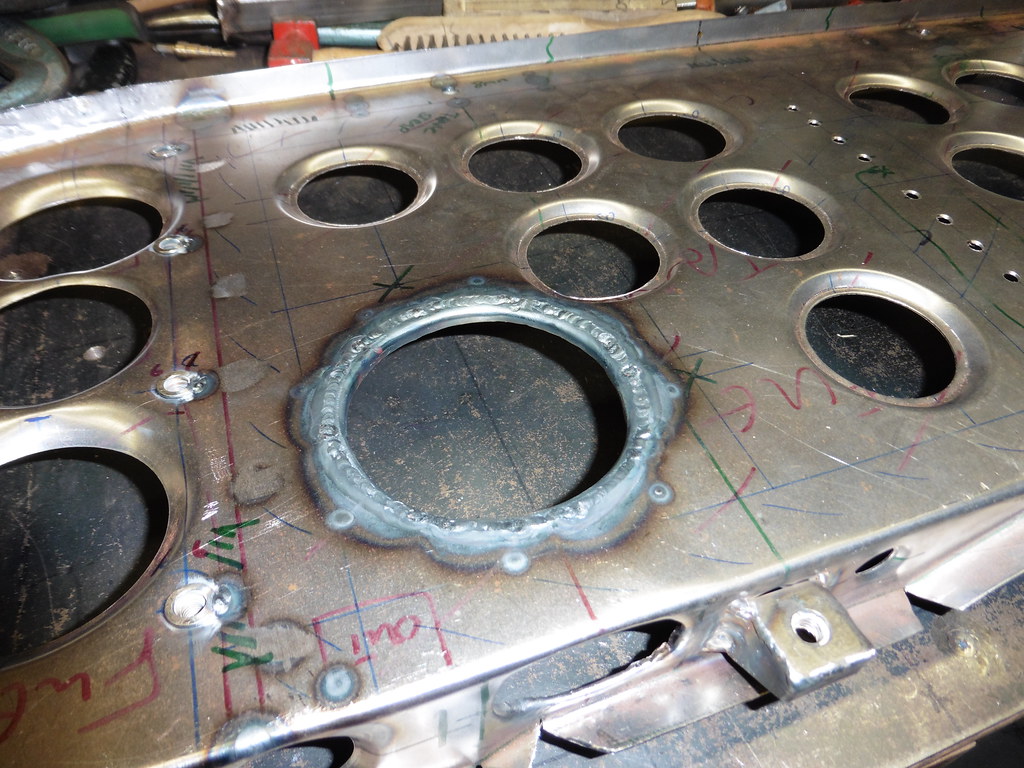 P1030109 P1030109 by jono_misfit, on Flickr The distortion was nicely controlled and as its soft tig welds I could dress any bits that did wander easily. I then chopped up some box to make these  P1030110 P1030110 by jono_misfit, on Flickr trimmed further and ready for welding on  P1030111 P1030111 by jono_misfit, on Flickr they are little fences to make sure the tank goes in, in the right position, and prevents any lateral movement should the straps fail to keep it secure. Rather than guess, I put the tank in as the jig for the last tabs Set with a gap to allow plastic spacers to be glued in to isolate the aluminium  P1030112 P1030112 by jono_misfit, on Flickr  P1030113 P1030113 by jono_misfit, on Flickr  P1030114 P1030114 by jono_misfit, on Flickr Tank mount base is starting to get there. It doesn't weigh very much.  P1030115 P1030115 by jono_misfit, on Flickr Shouldn't be too far off from being able to weld it in. The I need to make the box up stands, and the aluminium lid. |
| |
|
|
|
|
|
|
|
Over engineering at its finest!  |
| |
|
|
jonomisfit
Club Retro Rides Member
Posts: 1,787
Club RR Member Number: 49
|
|
|
|
|
😁 a few strips of angle bar would have achieved the same result.... but it wouldn't have been the same ....
|
| |
|
|
jonomisfit
Club Retro Rides Member
Posts: 1,787
Club RR Member Number: 49
|
|
|
|
Filled in the holes in the central reinforcing member  P1030116 P1030116 by jono_misfit, on Flickr then started stripping back the paint with the angry grinder mounted scouring pad. It removes paint very very quickly with no impact on material beneath. It does create a lot of dust. I looked like a smurf.  P1030117 P1030117 by jono_misfit, on Flickr  P1030118 P1030118 by jono_misfit, on Flickr after ages getting the nooks and crannies done I gave it a spray of prime.  P1030119 P1030119 by jono_misfit, on Flickr trimmed up the tank mount, drilled a few holes, and gave it a prime  P1030121 P1030121 by jono_misfit, on Flickr  P1030122 P1030122 by jono_misfit, on Flickr tack tap tack tap tack  P1030123 P1030123 by jono_misfit, on Flickr weld in and check the tank sits ok 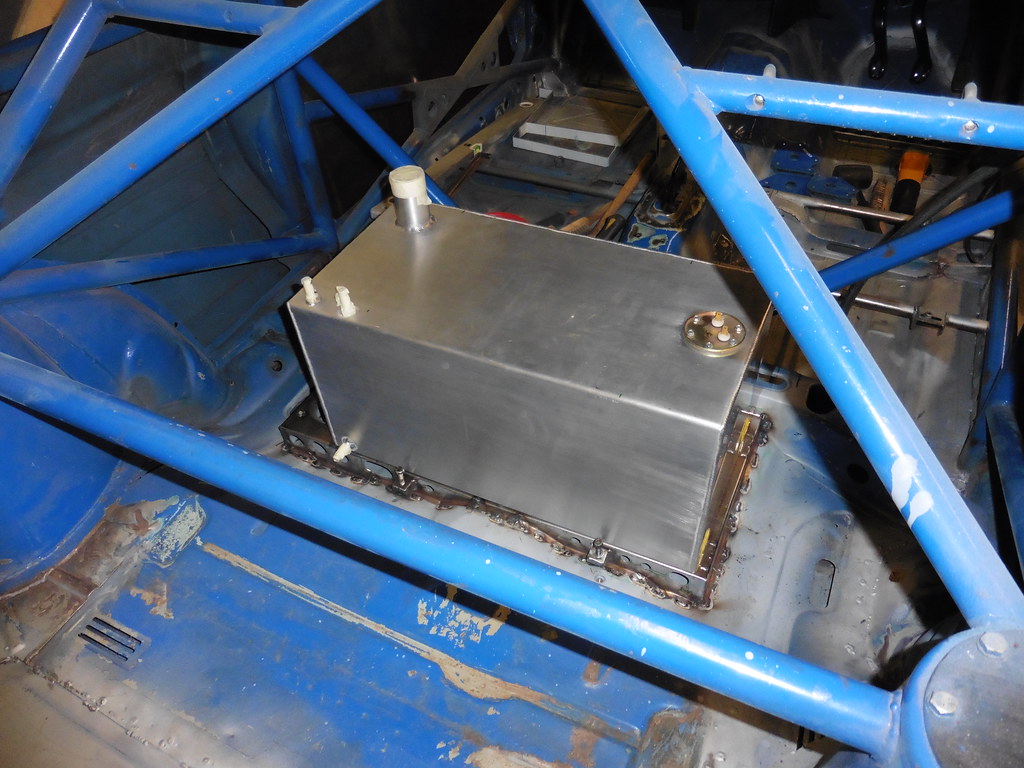 P1030124 P1030124 by jono_misfit, on Flickr 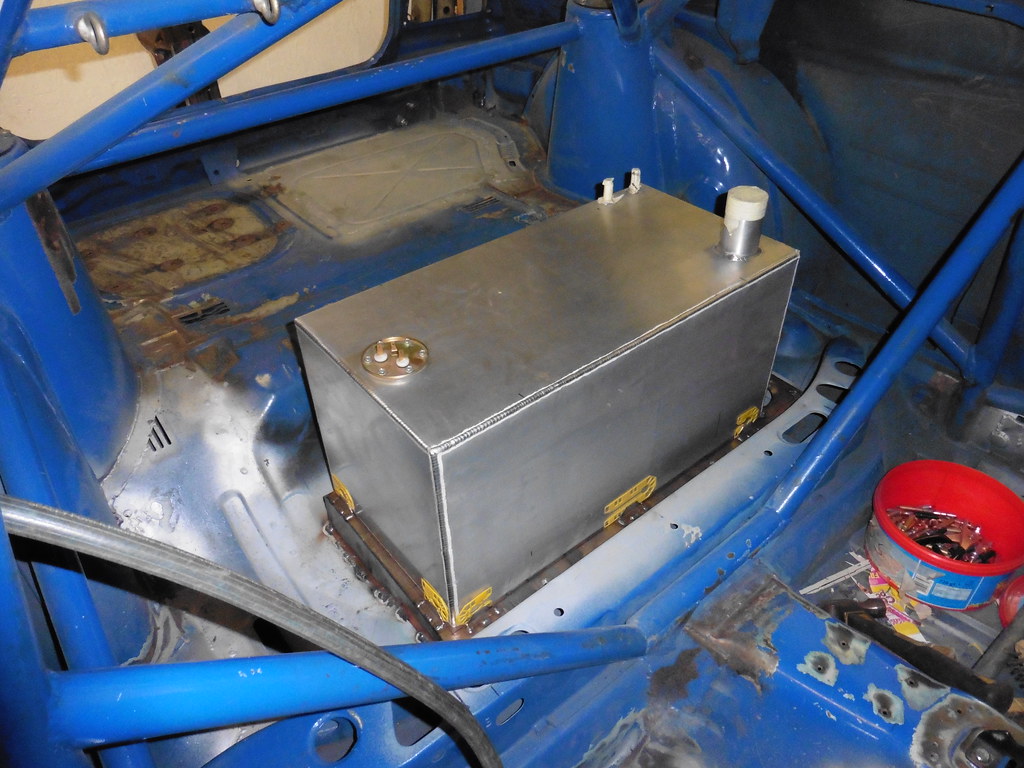 P1030125 P1030125 by jono_misfit, on Flickr I'm pleased, no rock across the tank and feels nice and solid  P1030126 P1030126 by jono_misfit, on Flickr |
| |
|
|
jonomisfit
Club Retro Rides Member
Posts: 1,787
Club RR Member Number: 49
|
|
|
|
|
|
| |
|
|
jonomisfit
Club Retro Rides Member
Posts: 1,787
Club RR Member Number: 49
|
|
|
|
so cut some 3mm ali sheet.  P1030136 P1030136 by jono_misfit, on Flickr trimmed  P1030137 P1030137 by jono_misfit, on Flickr and bend round a swage tool, ad folded in the folder  P1030138 P1030138 by jono_misfit, on Flickr then set the tig to AC/DC and give ali welding a try.  P1030139 P1030139 by jono_misfit, on Flickr not easy. Made a cap and welded that on got there in the end  P1030140 P1030140 by jono_misfit, on Flickr drilled a hole and welded in a AN10 fitting  P1030141 P1030141 by jono_misfit, on Flickr welded round interior face as well  P1030143 P1030143 by jono_misfit, on Flickr screwed a cap on 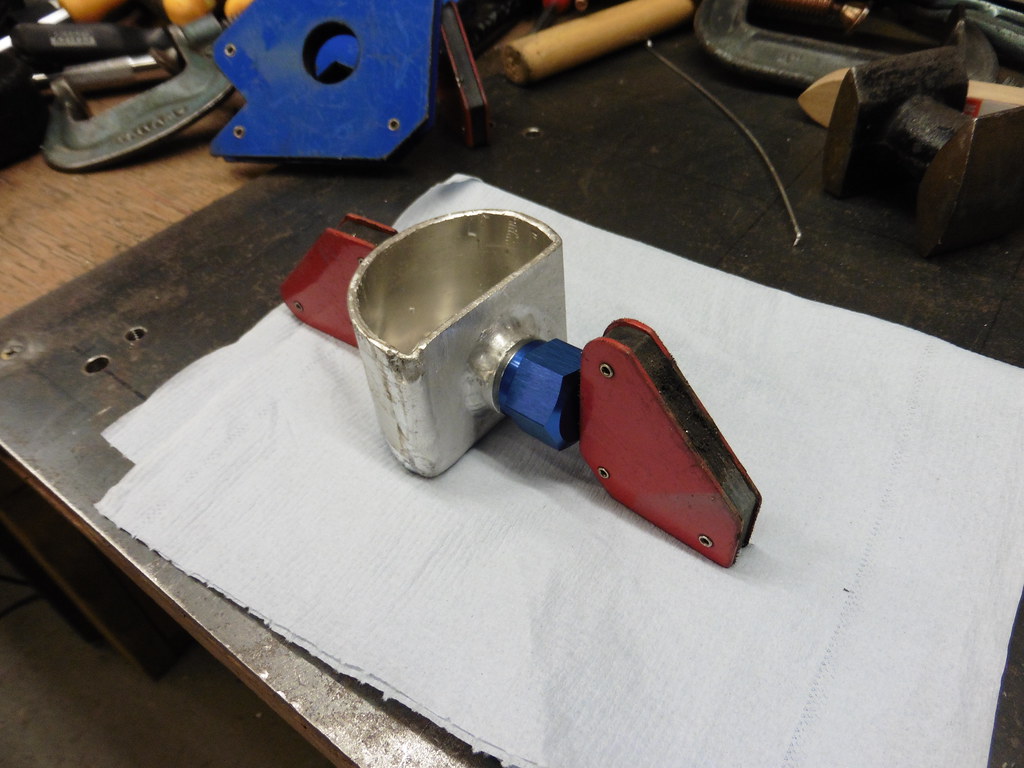 P1030145 P1030145 by jono_misfit, on Flickr and filled with what looks to be tea, but is in fact old thinners and I think the can is on its way out. Underneath is ipe roll. If there's any leaks it should show up as a wet spot.  P1030146 P1030146 by jono_misfit, on Flickr after 20 mins it looked like this.  P1030147 P1030147 by jono_misfit, on Flickr So looks like there's not a leak, at least when not under pressure. Ali welding was difficult, so went and looked on line about it. It looks like I didnt prep the tungsten the right way and didnt ball the end. I'll give that a go next time and see how I get on. |
| |
|
|
|
|
|
|
|
|
Awesome work. Have a look here on Ali welding and balling the tungsten:
|
| |
|
|
jonomisfit
Club Retro Rides Member
Posts: 1,787
Club RR Member Number: 49
|
|
|
|
|
Thanks, I'll give that a watch.
I went and checked tonight and no leaks, which is good enough for me to weld on next workshop session.
|
| |
|
|


 - That's a very handy bit of kit.
 - I just need to find the time to go & fetch it - the Gabro that I currently have will do 600mm width but I need something longer for door bottoms etc


