|
|
|
|
|
|
Fully agree with "hopeso"
In relation to your mantra, you're obviously excellent because :
1) I've never seen you turn out anything less than perfect, and
2) You always explain the processes involved and answer any resulting questions
|
| |
BMW E39 525i Sport
BMW E46 320d Sport Touring (now sold on.)
BMW E30 325 Touring (now sold on.)
BMW E30 320 Cabriolet (Project car - currently for sale.)
|
|
|
|
vulgalour
Club Retro Rides Member
Posts: 7,285
Club RR Member Number: 146
|
|
|
|
|
Quite shocking how suddenly this looks like a complete vehicle in these recent updates. It's impossible to imagine it from the first pages.
|
| |
|
|
|
|
|
|
|
Machined two pieces of seasoned hardwood down for the side steps - these are only fitted to the utility van and not the standard vans - the originals were thinish sheet steel but they just form rust traps 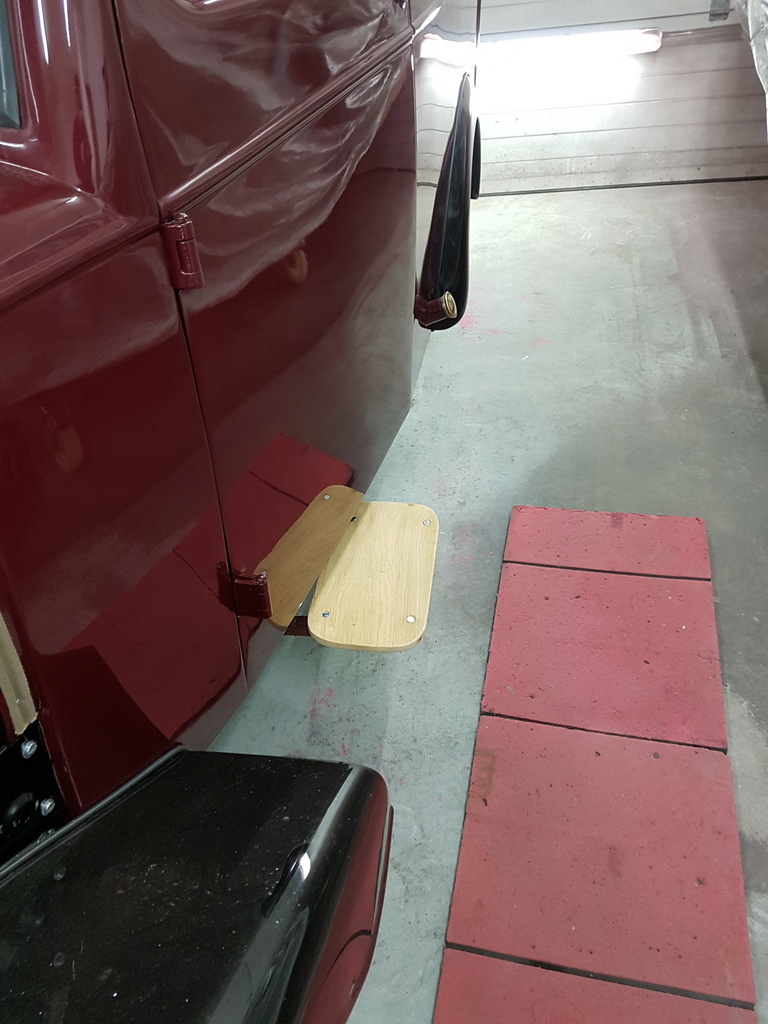 Drilled and rebated bolts to retain the hardwood then bonded a fine ribbed rubber sheet to the upper face has per the original step and then formed a J section alloy trim around the edge of the step again has per the factory original 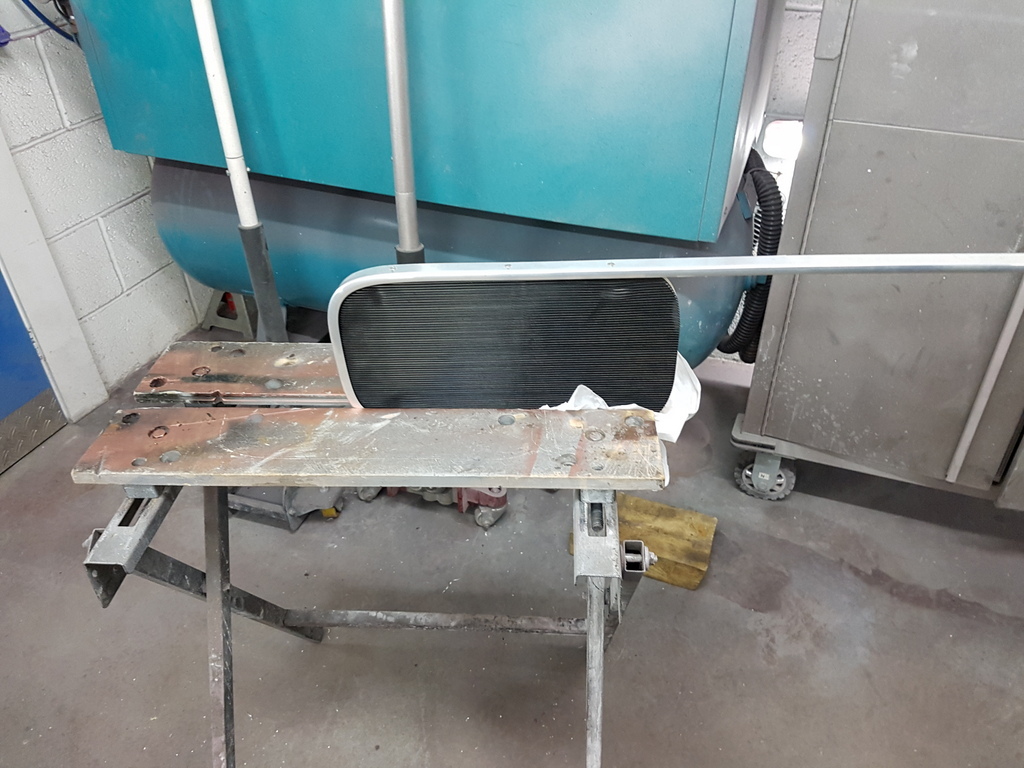 Tip for driving screws into hardwood with pre drilled holes is to scrape the thread of the screw with a hard wax - like a candle etc - the screw will drive home much easier 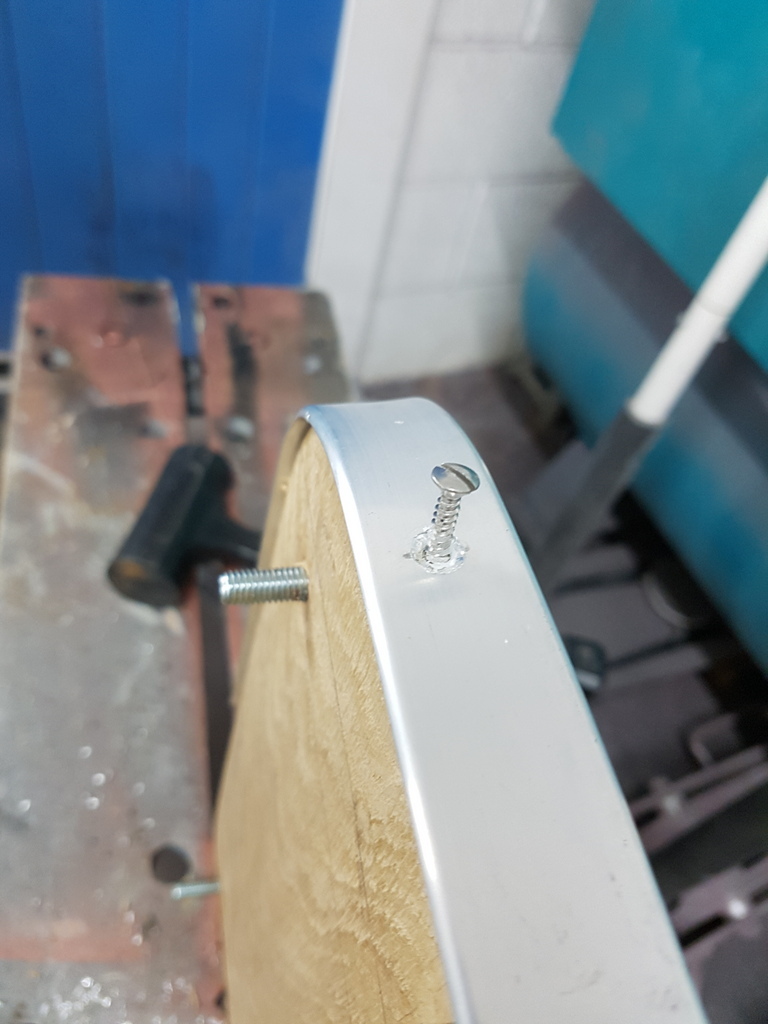 Fitted to the original mounting brackets - with the old step plates on the floor which I had retained for pattern 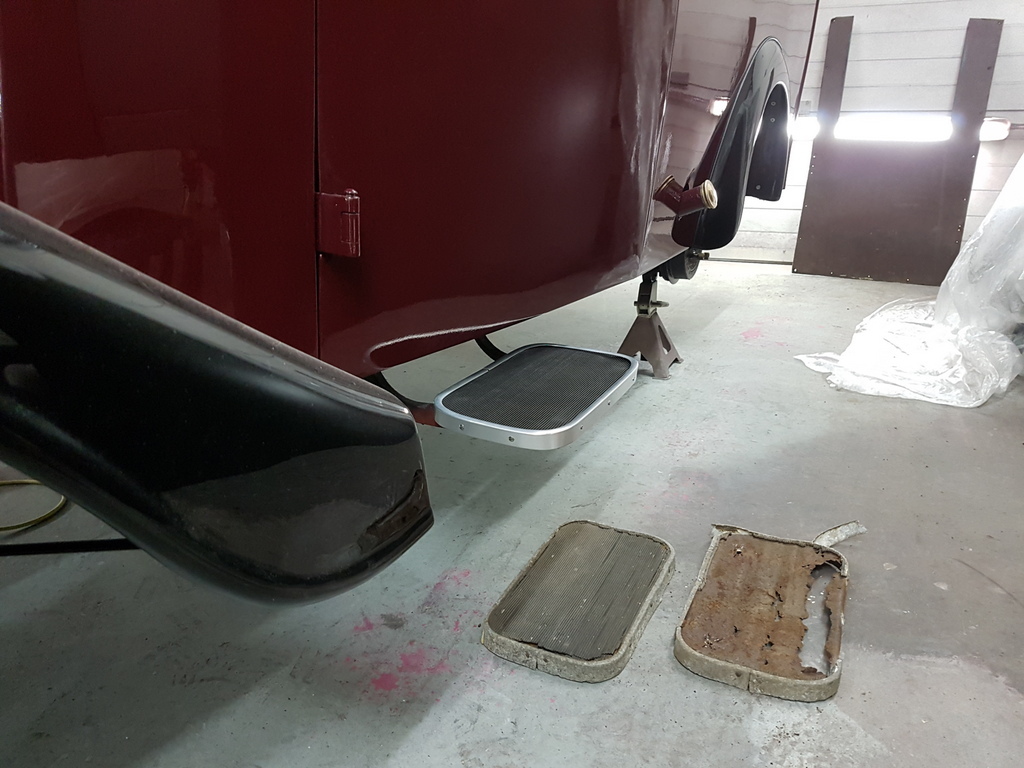 Nearside done 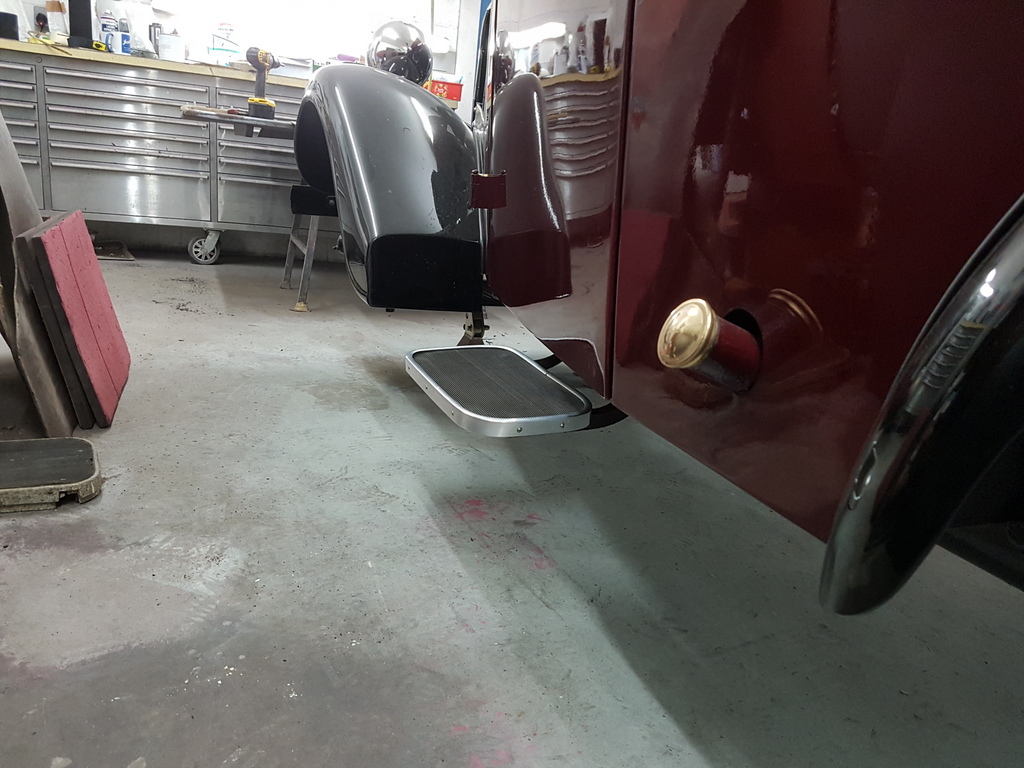 Then the offside 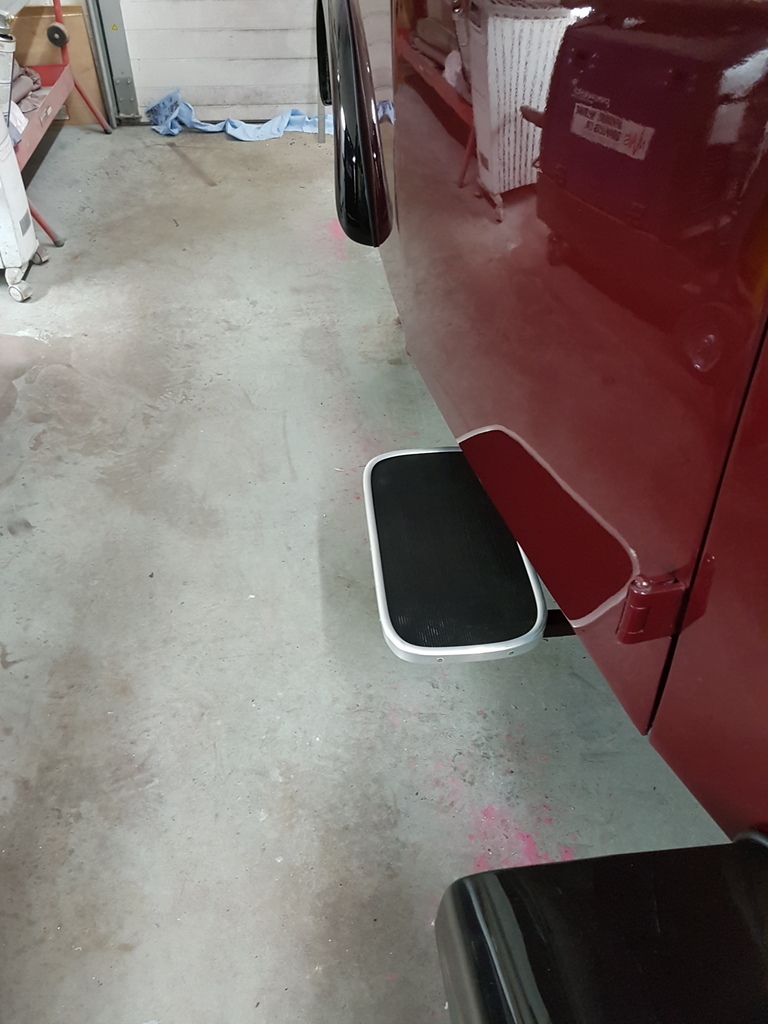 Also on todays list was to make a start on the millboard lining for the interior - this is a compressed cardboard / hardboard type product - normally comes in black with a lightly grained surface on the outer face - can be painted though with the correct products - millboard was found commonplace in vehicles of all types from the 1930's through into the 1980's 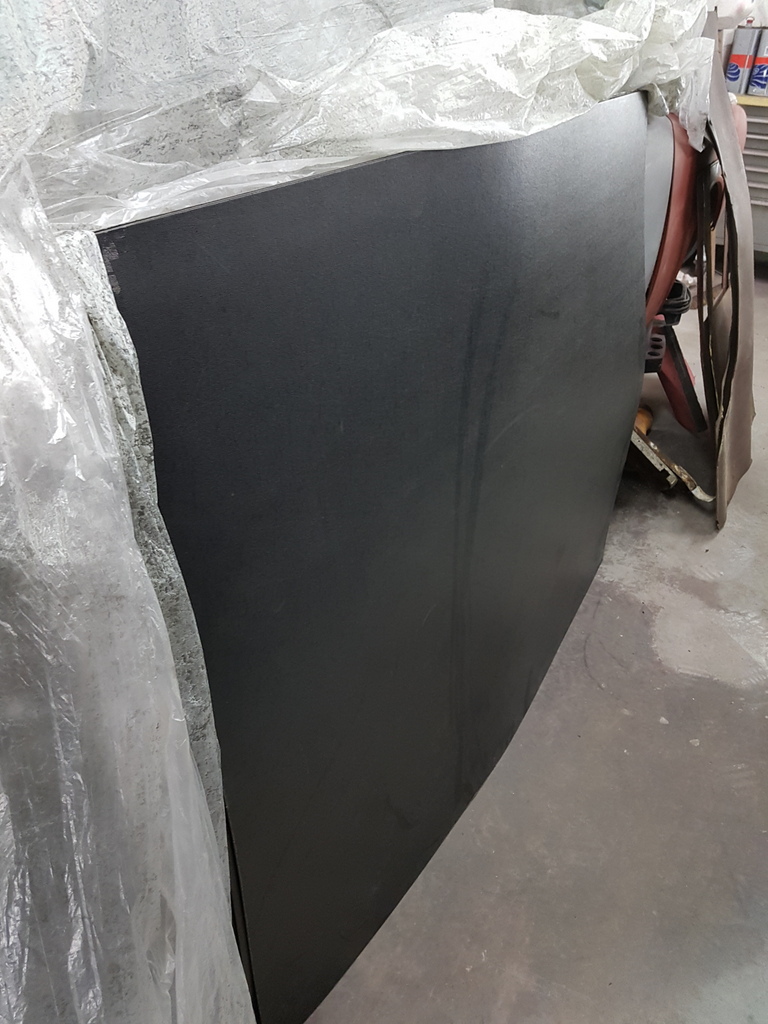 Comes in full size sheets or half sheets and is relatively inexpensive - circa £16 for a full sheet - normally available from automotive trim suppliers  Can be cut easily, quickly & neatly with a sharp pair of industrial shears of in my case a well adjusted & sharp pair of tinsnips 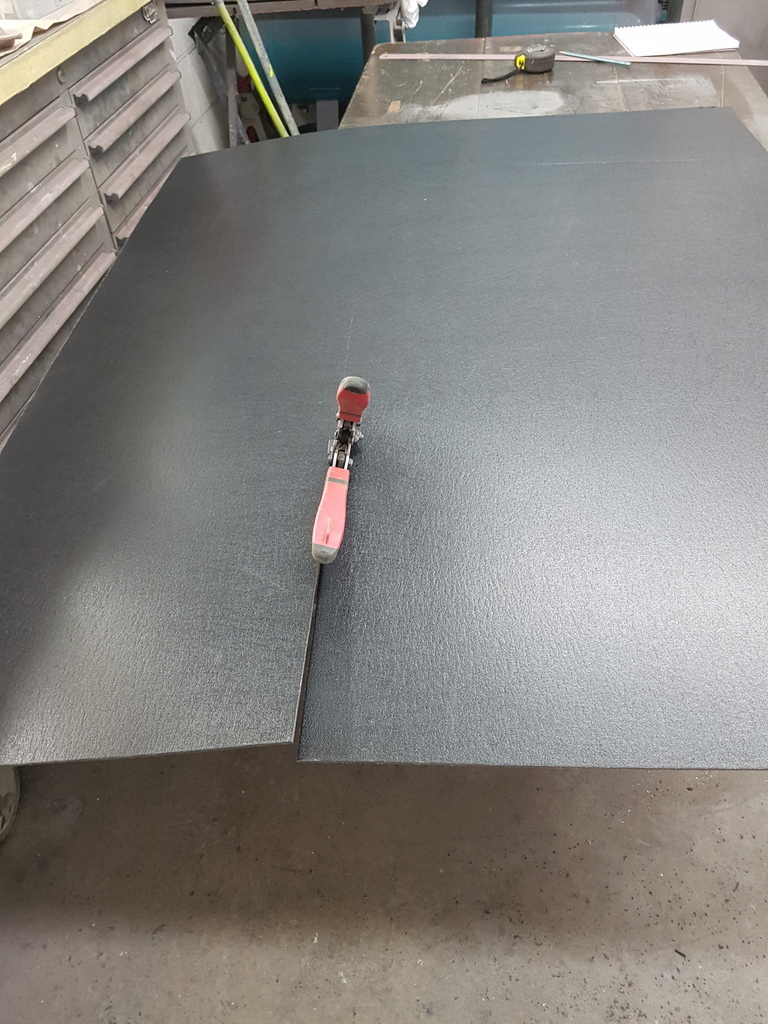 Edges can be sanded back carefully if required with a block & 240's production paper Before closing off any of the door cavities I needed to cavity wax the inner skins - especially in the repaired areas - my product of choice which is a clear cavity wax 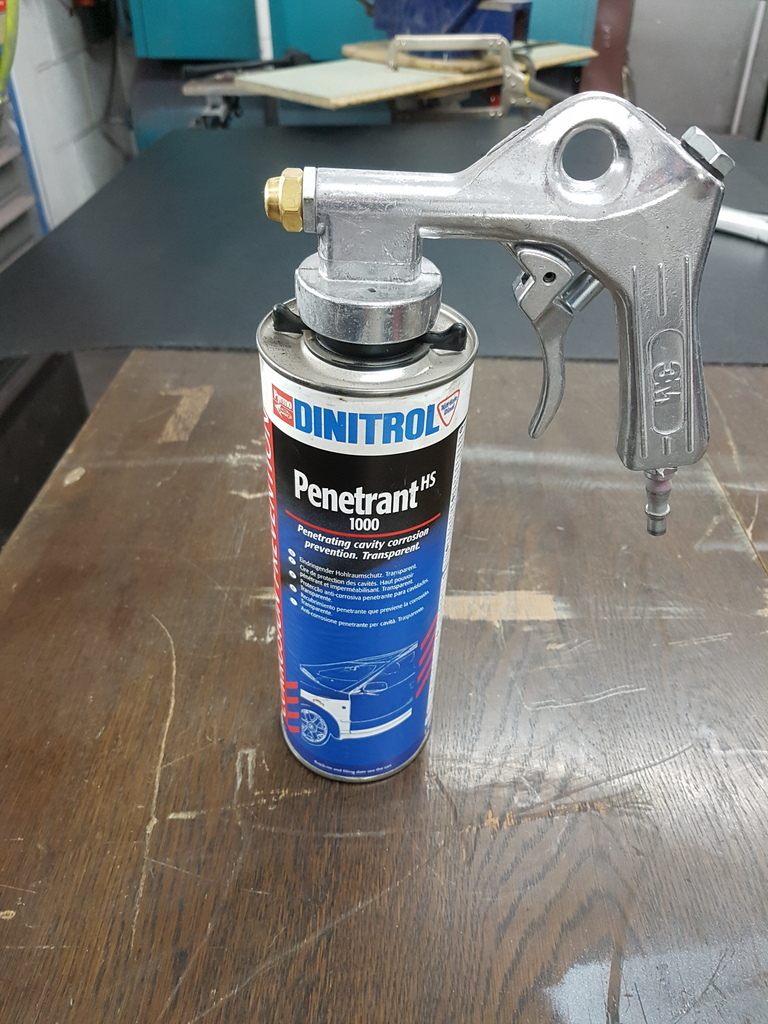 Shows up has slightly milky white product on the inside of the door - lots applied - especially between the ash frames and the steel door skin 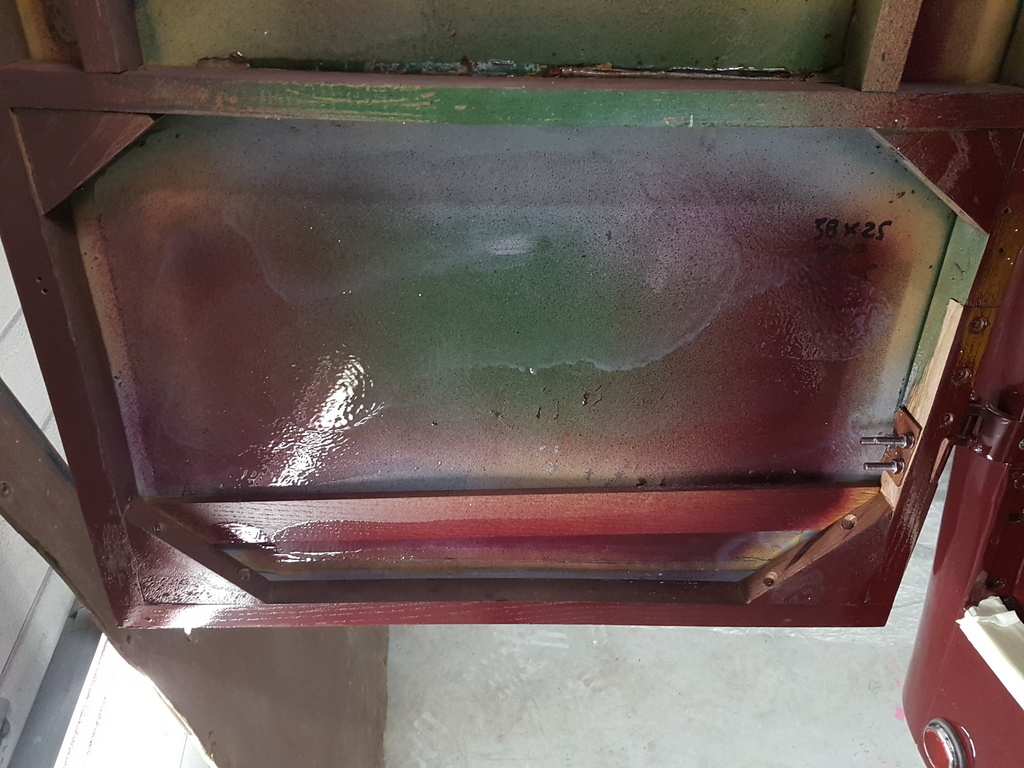 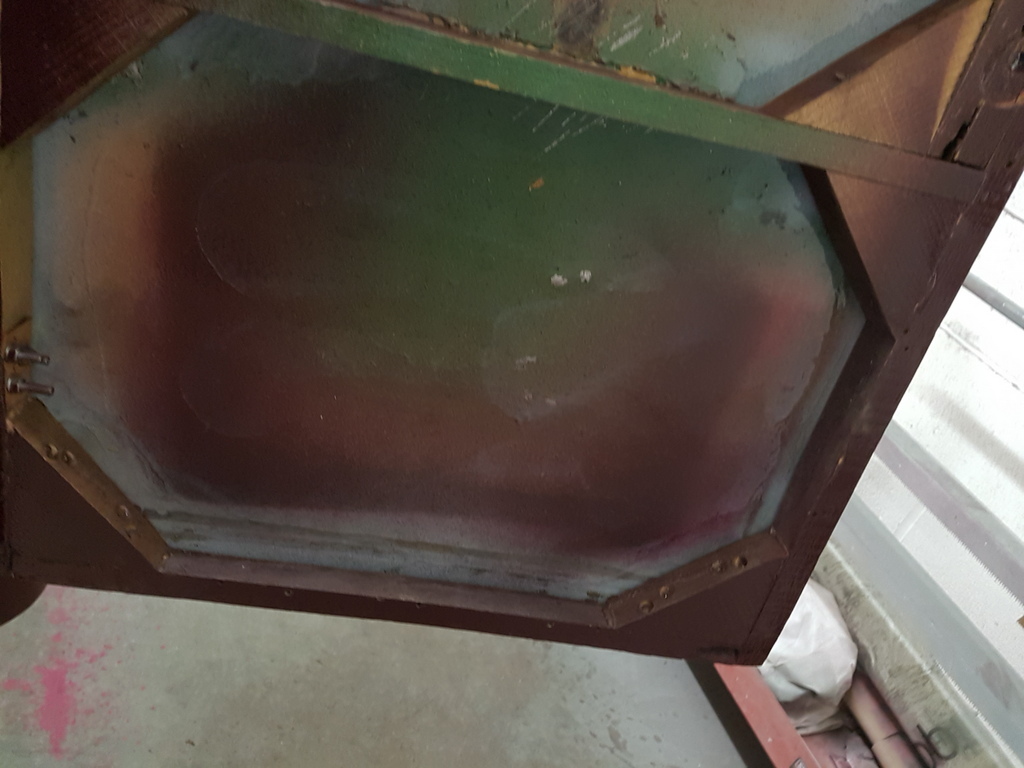 Also did the front doors whilst I was at it 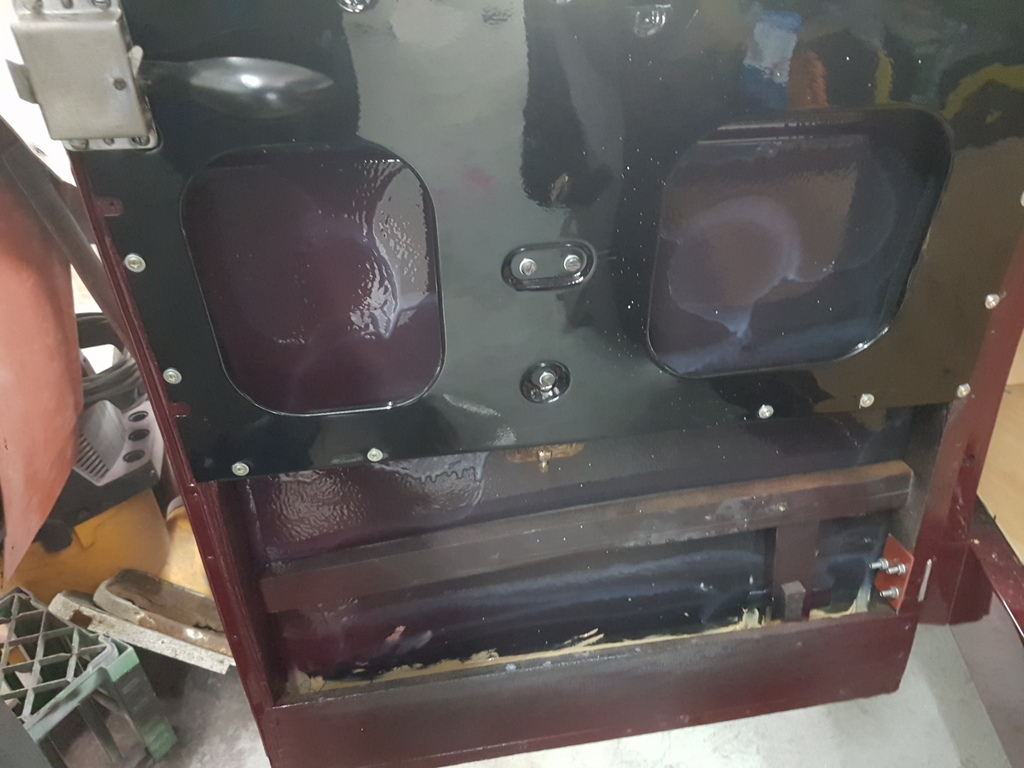 With the Millboard cut to pattern I then commenced fitting it - it just screws to the frame with countersunk screws and cup washers - the painted window trim surround was also fitted at the same time 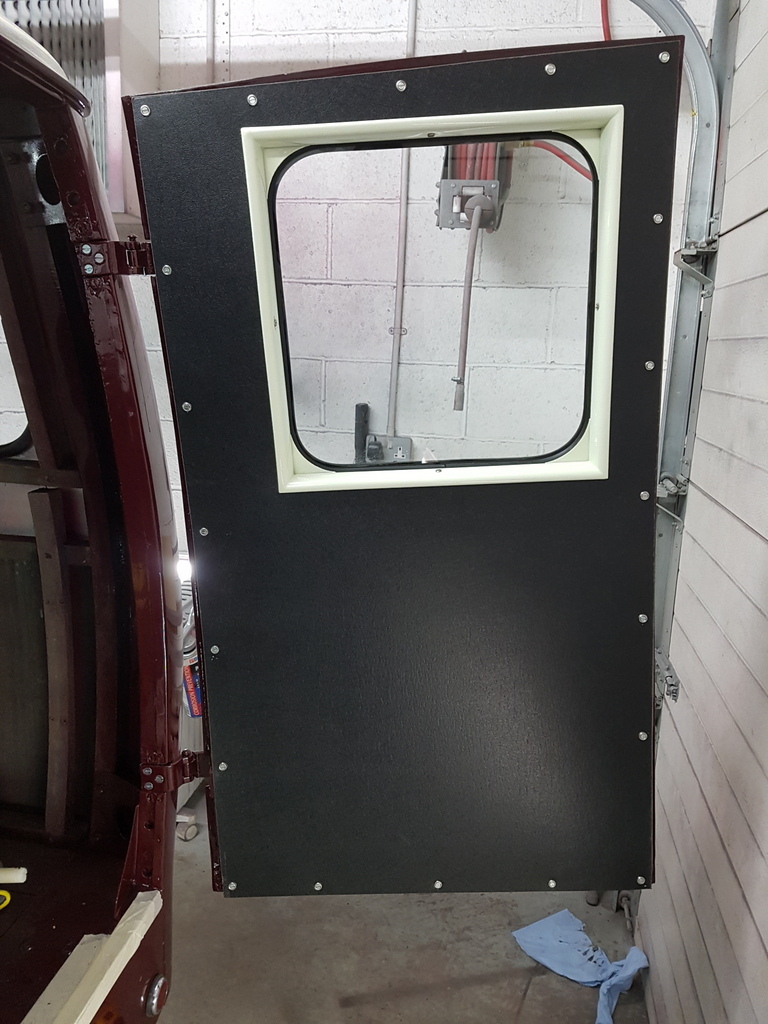 This in turn then allowed for the fitting of the catch & locking rods to the offside door 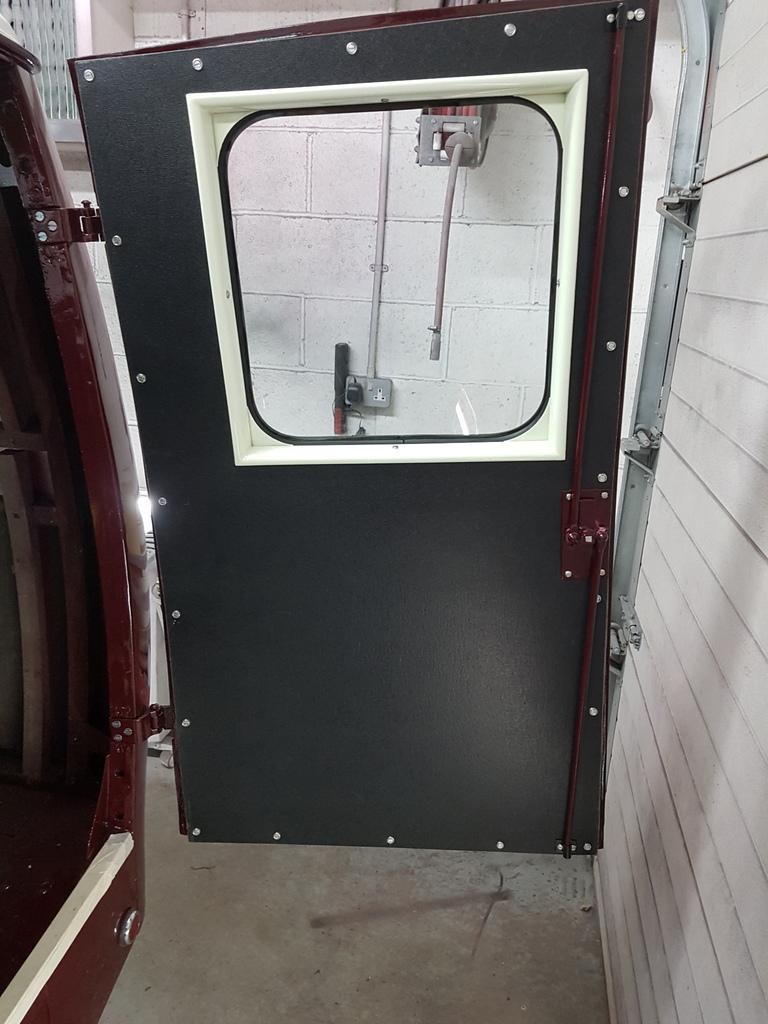 Along with the rear door external handle 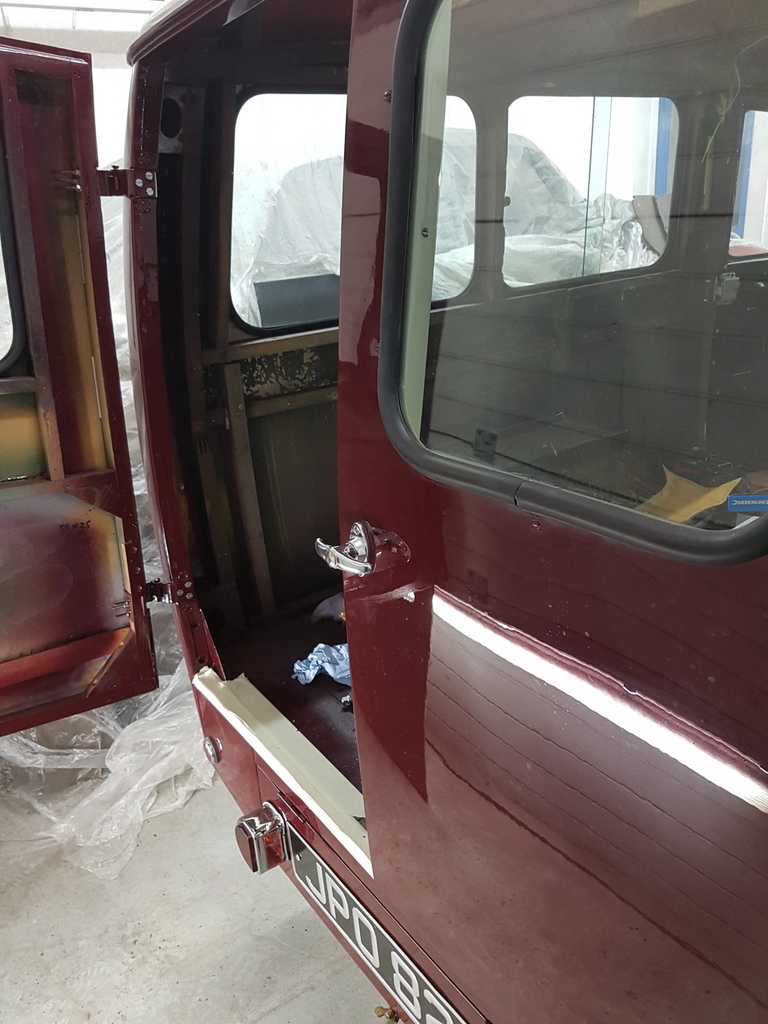 Then repeated the process of templating the millboard, cutting & fitting on the nearside rear door 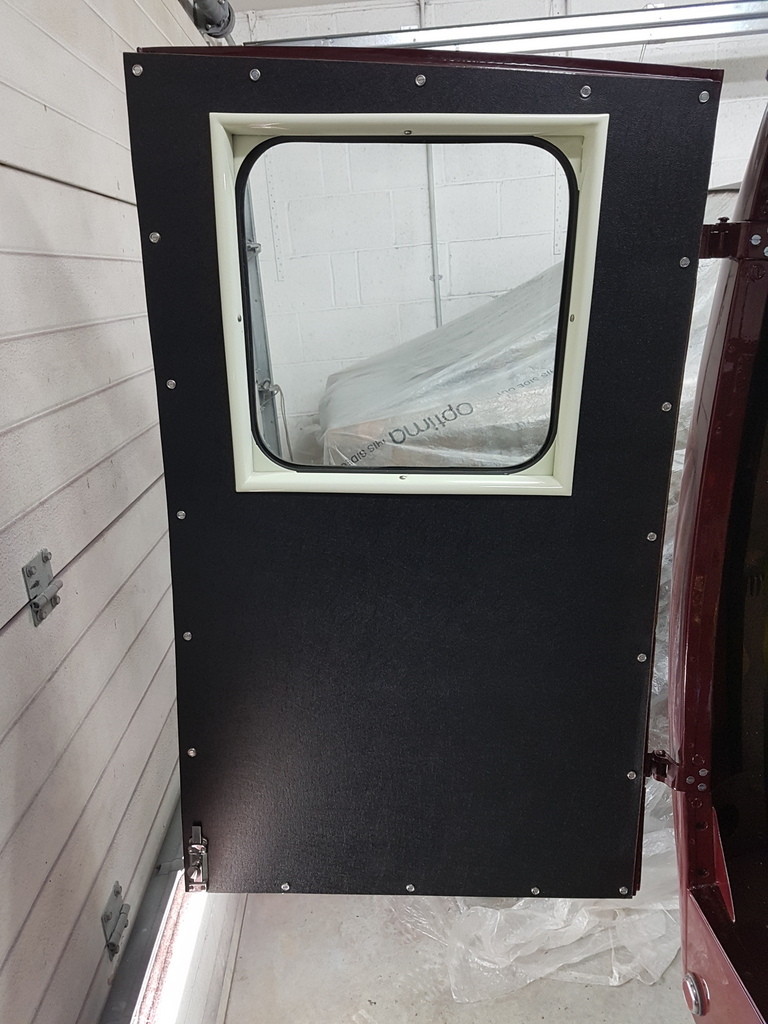 So the rear doors are now coming to completion with exception of the weather seals 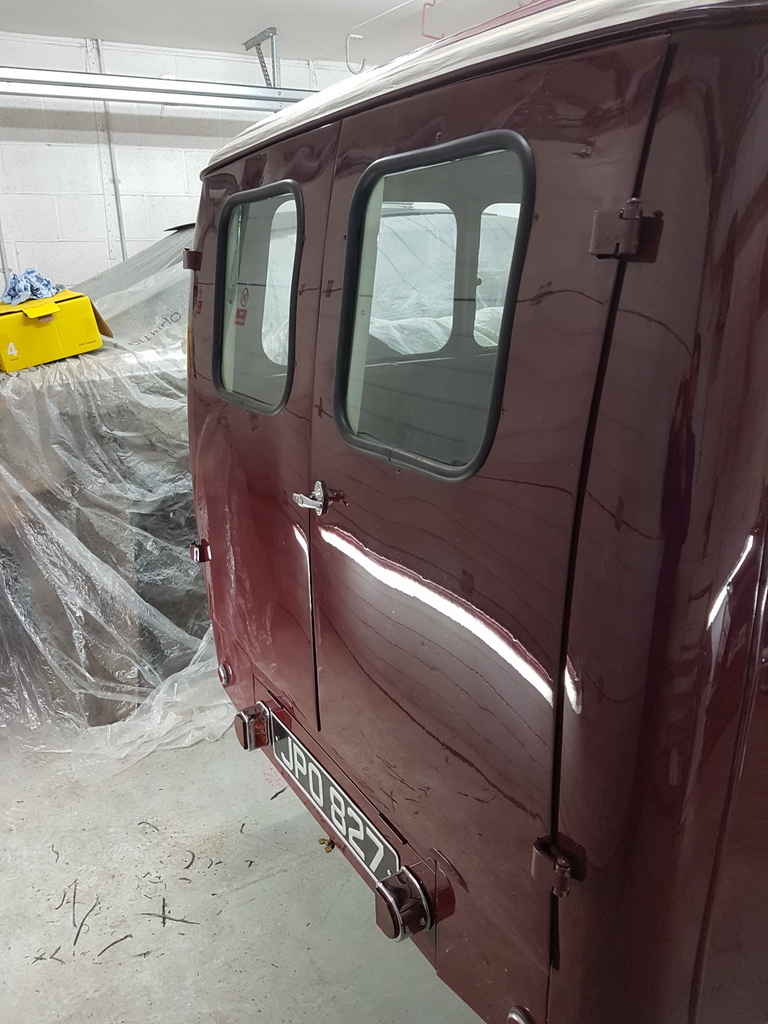 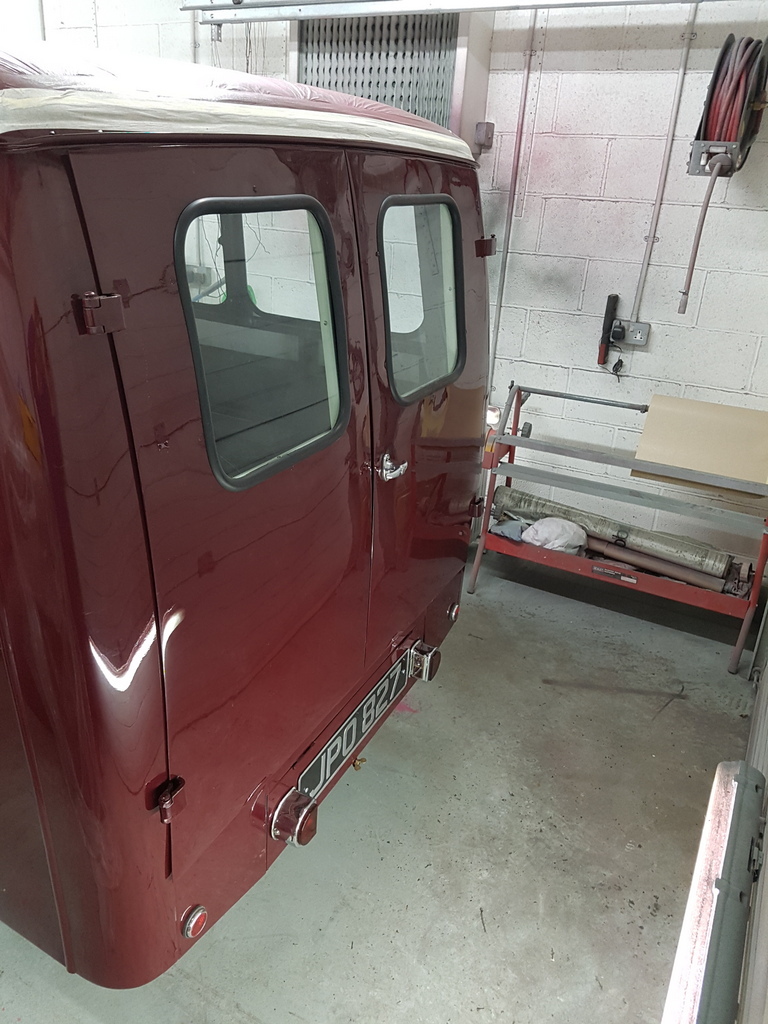 I need to make some minor adjustments to the upper door keep for the locking rod tomorrow 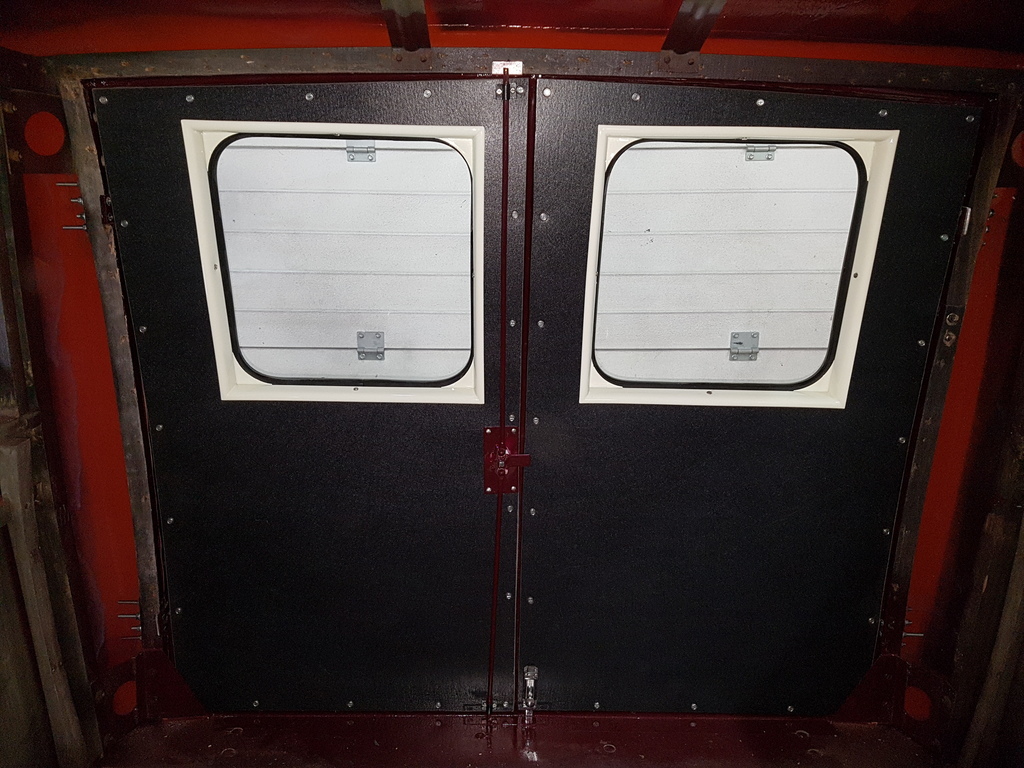 |
| |
|
|
|
|
|
|
|
|
Chris,
When are you ever going to show a photo of the entire, top notch crew who accomplishes so much per day on this beauty? And...., How many shifts are they working....?
Great work,
Lance
|
| |
|
|
|
|
|
|
|
Quite shocking how suddenly this looks like a complete vehicle in these recent updates. It's impossible to imagine it from the first pages. This can only happen if you are both methodical & organised with the restoration process - trying / trial fitting all trims & fittings long before the paint gets applied / labelling items / photographing everything has it comes apart etc - needless to say I have seen many a restoration held up by the lack of planning / forward thinking and the application of a little effort - it just makes the process so much easier when it comes to putting things back together but for some reason there is a blind vision - by some owners / restorers where they get to a point where the paint has to go on the vehicle regardless and it's normally 2 or 3 days too early which then creates about another 3 weeks additional work - fresh paint gets damaged by ill fitting trim & parts and the project becomes compromised or the owner looses interest at this point and it becomes a unfinished project - end of lecture (well not a lecture if you know what I mean - just a insight of a trend that I have witnessed more times than enough) - apologies if this sounds a little smug but experience can only come with time |
| |
Last Edit: Apr 8, 2018 10:52:46 GMT by Deleted
|
|
|
|
|
|
|
Chris, When are you ever going to show a photo of the entire, top notch crew who accomplishes so much per day on this beauty? And...., How many shifts are they working....? Great work, Lance Lance - Thanks - I sure that you know that it's a one man team at my end - with apologies for the cheesy grin  Although I do have Sid in quality control when he can bothered to check in on progress 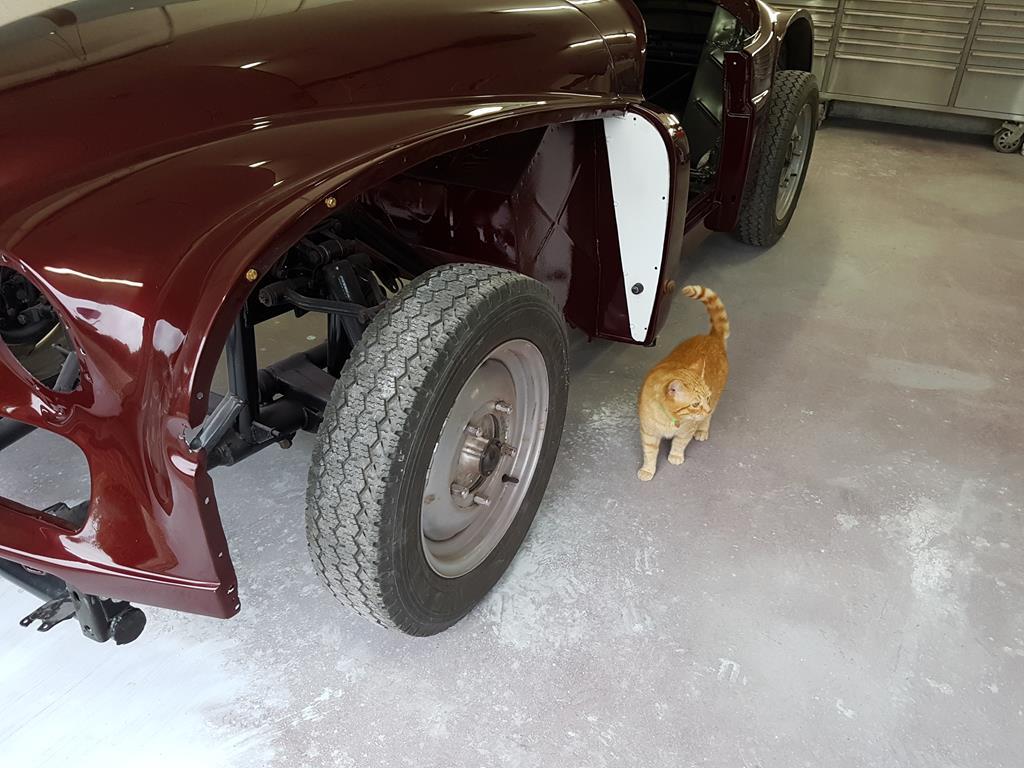 I am very lucky that I work from home and just put the hours in has I need to - if the wife is on a late shift I will more than likely work on until she gets home then we can eat together and catch up on our day |
| |
Last Edit: Apr 8, 2018 7:51:51 GMT by Deleted
|
|
|
|
|
|
|
Chris, When are you ever going to show a photo of the entire, top notch crew who accomplishes so much per day on this beauty? And...., How many shifts are they working....? Great work, Lance  |
| |
|
|
|
|
|
|
|
Chris, When are you ever going to show a photo of the entire, top notch crew who accomplishes so much per day on this beauty? And...., How many shifts are they working....? Great work, Lance     |
| |
|
|
Phil H
Posted a lot
  
Posts: 1,448
Club RR Member Number: 133
|
|
|
|
|
Thanks to the wonderful background information in this (and your other threads) I spotted a dark blue Bradford this morning and knew it wasn’t a Deluxe as it had a body colour grille!
|
| |
|
|
|
|
|
|
|
Thanks to the wonderful background information in this (and your other threads) I spotted a dark blue Bradford this morning and knew it wasn’t a Deluxe as it had a body colour grille! Phil - Thanks- I enjoy doing it (both the restoration & the forum updates) - good spotting though - they are a rare little van - only around 200 of them survive from the 40,000 + that were manufactured |
| |
Last Edit: Apr 8, 2018 22:53:53 GMT by Deleted
|
|
|
|
|
|
|
|
|
Caught up with some minor paint items - grab handles for the front doors in cream and the bonnet catch knobs in black 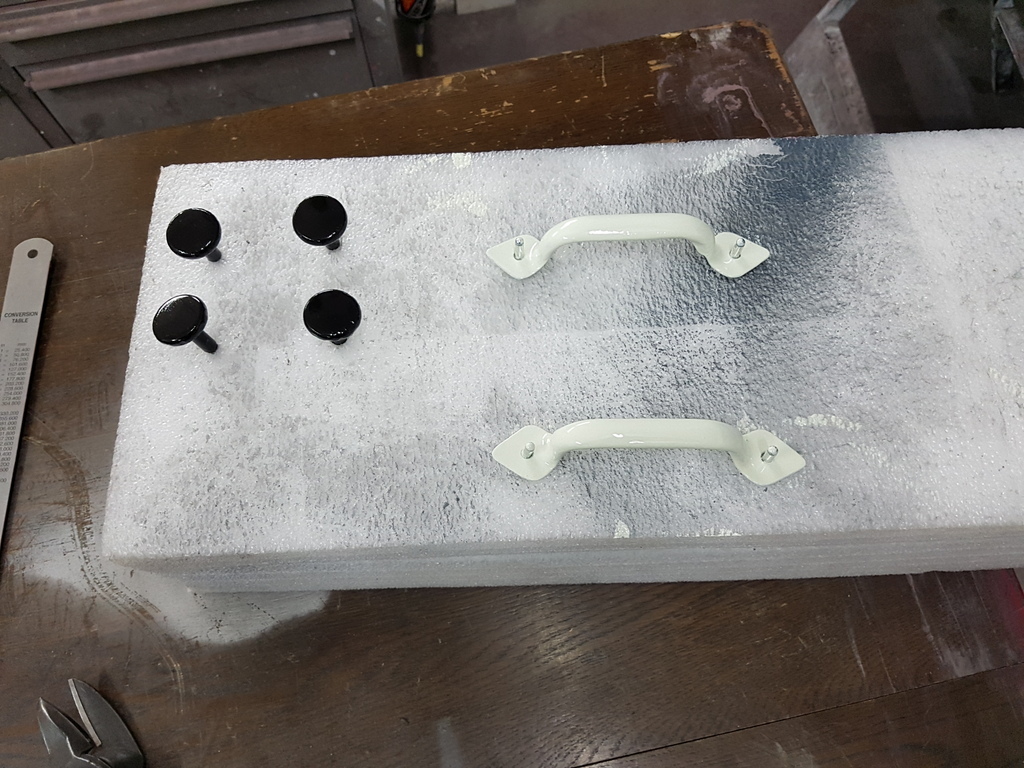 Then on with the making up & fitting of the front interior trim - NS door card first - loosely fitted the original one to check if it would surfice has a pattern 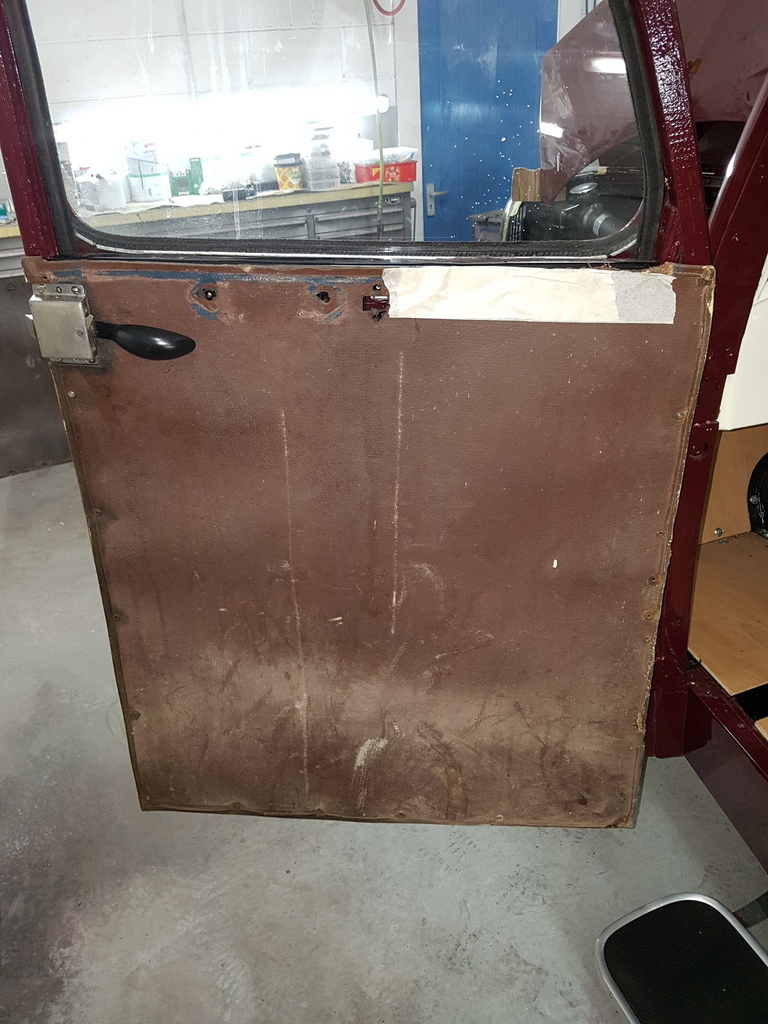 Patten transferred to the millboard & cut to size 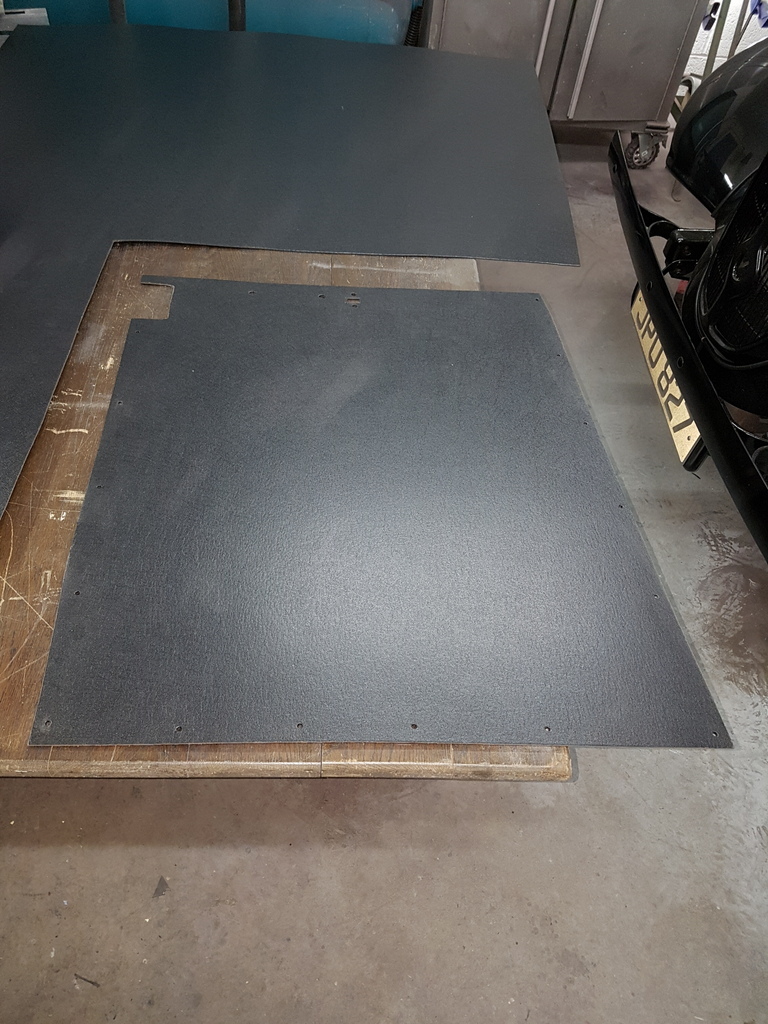 Some of the original panels are not worth bothering with for patterns though - note the bound & stitched edge - not something that we will be replicating in this restoration 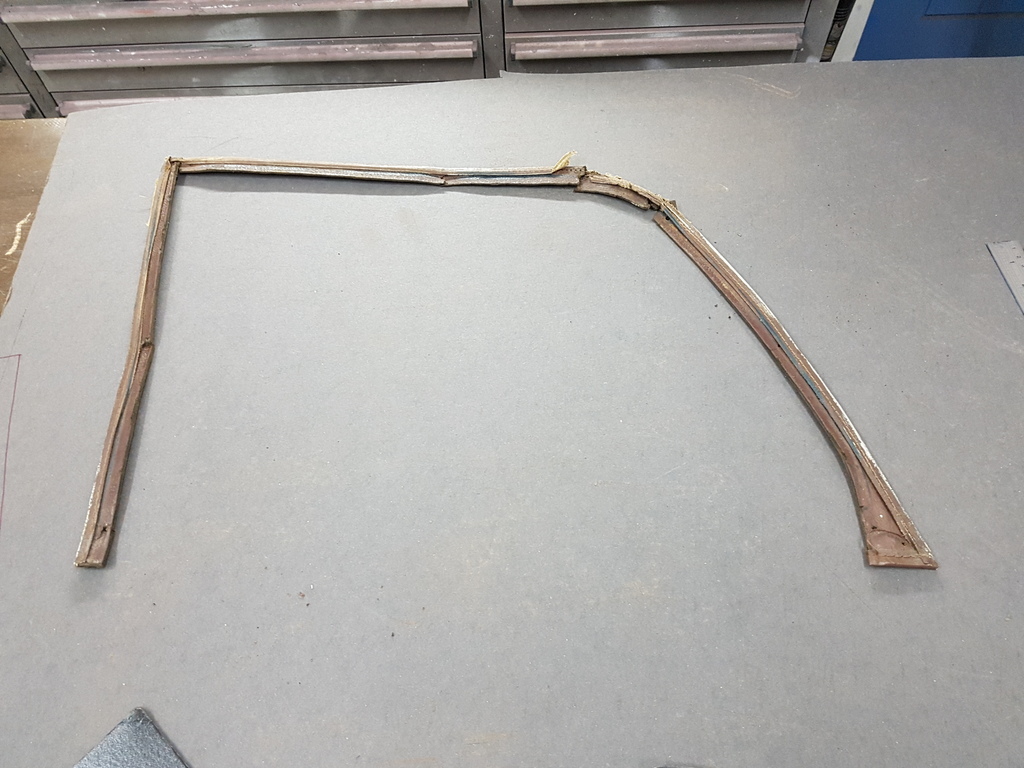 Door card fitted and the upper section around the window frame patterned, cut & fitted 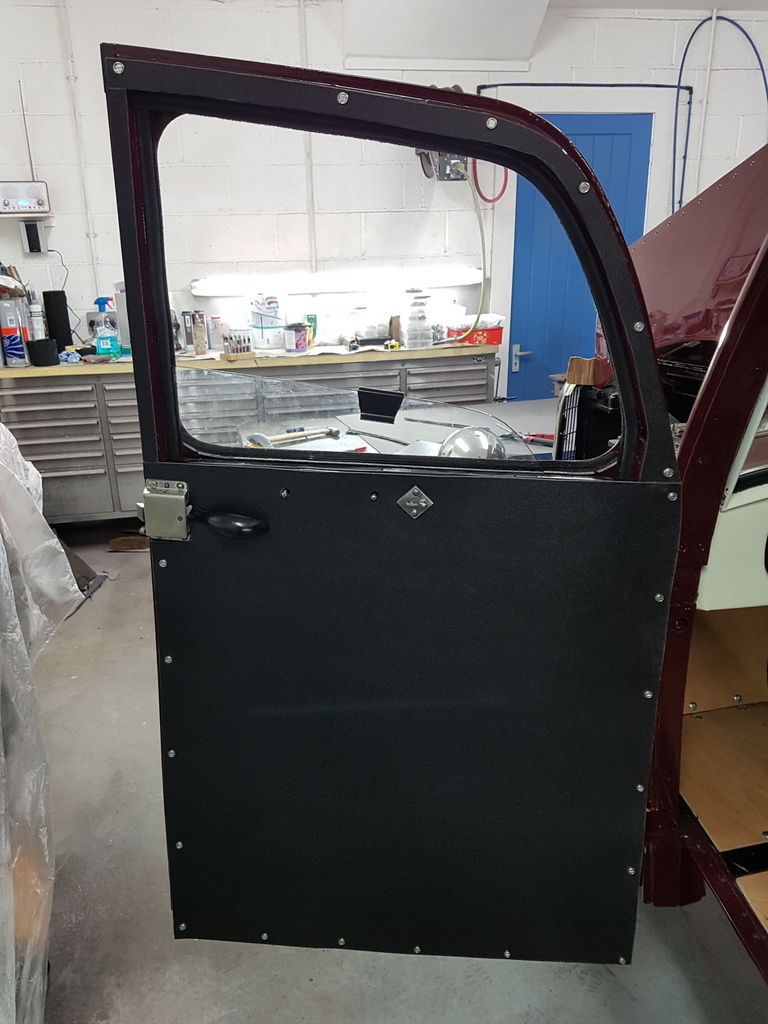 Window trim fitted - the diamond shaped piece towards the top centre of the door is the window lock to prevent the window being slid down from the outside when the van is left unattended - still waiting on the paint drying on the grab handle so I shall fit that later 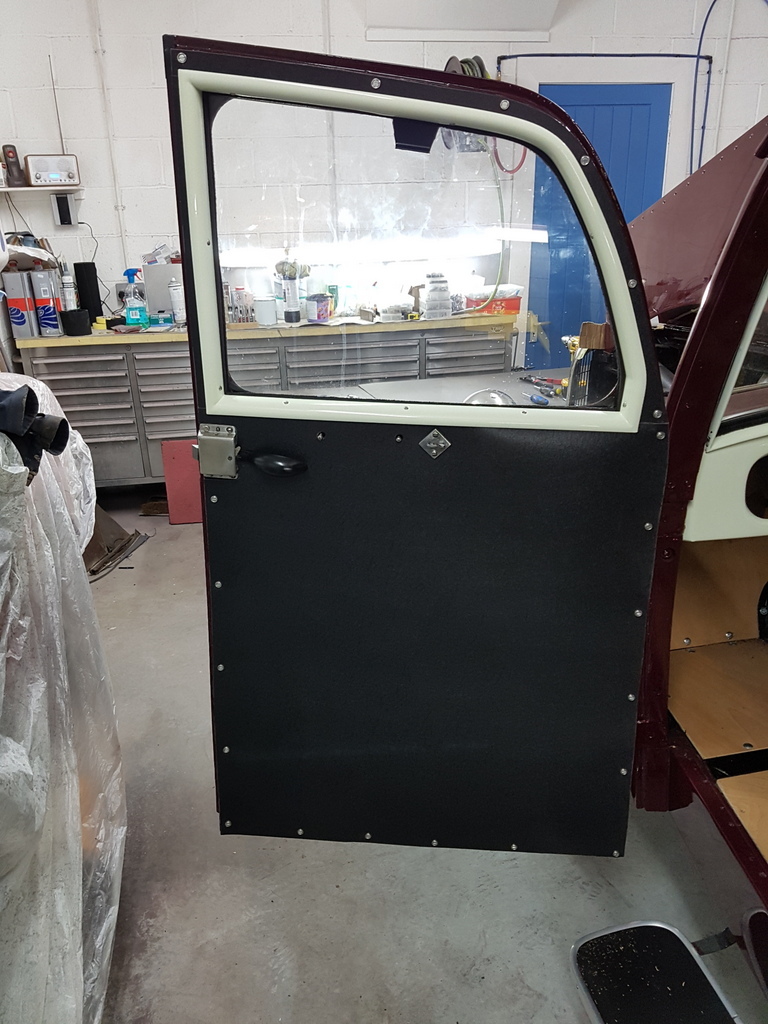 Next was the NS footwell board that fits to the side of the bulkhead - again adjusted the old panel and utilised that for the pattern 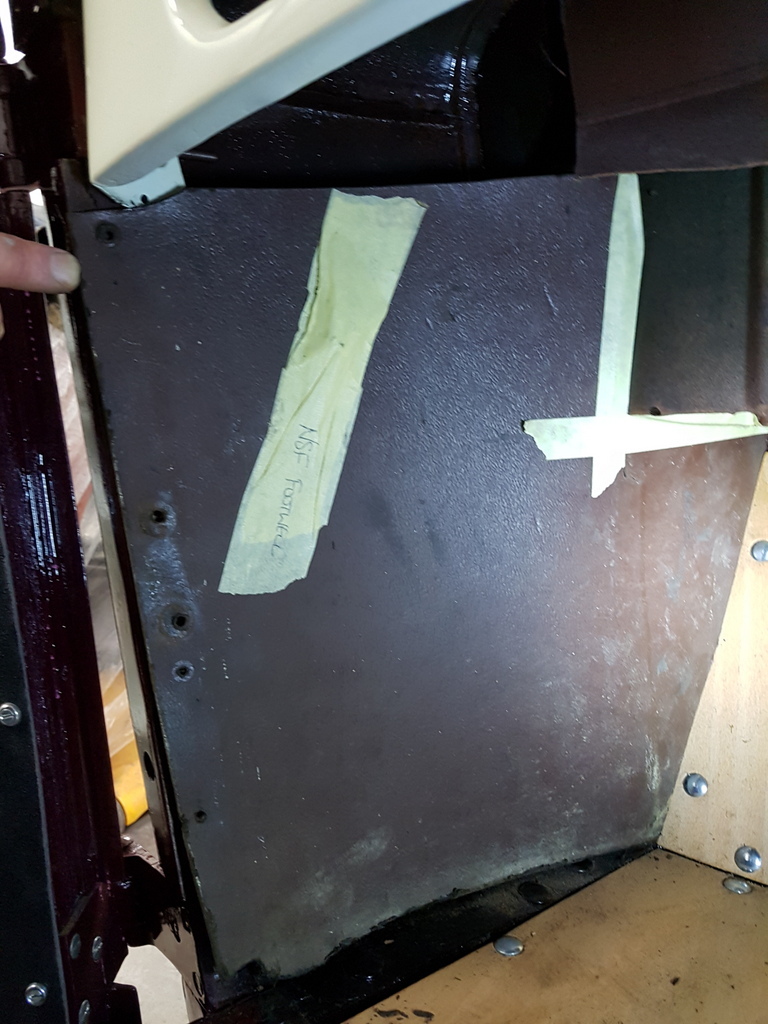 Cut & ready for fitting 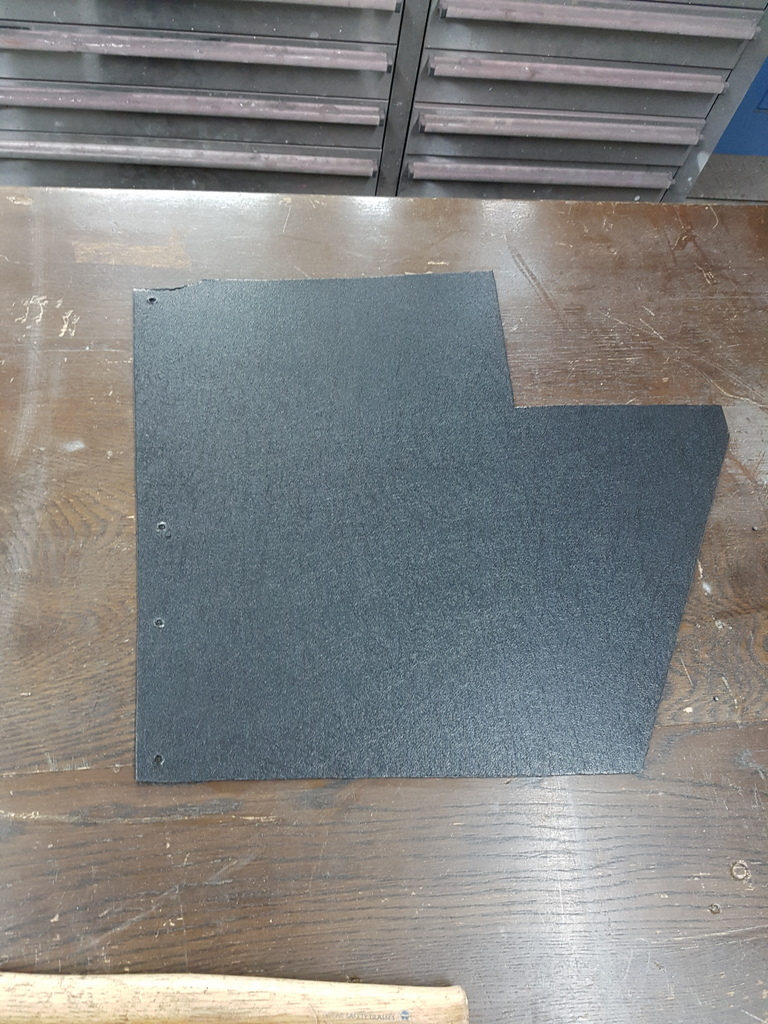 Before its fitted I need to fit the draught excluder to the door frame - originally it was fitted with rexene / vinyl covered rubber tube that was tacked to the internal face of the frame 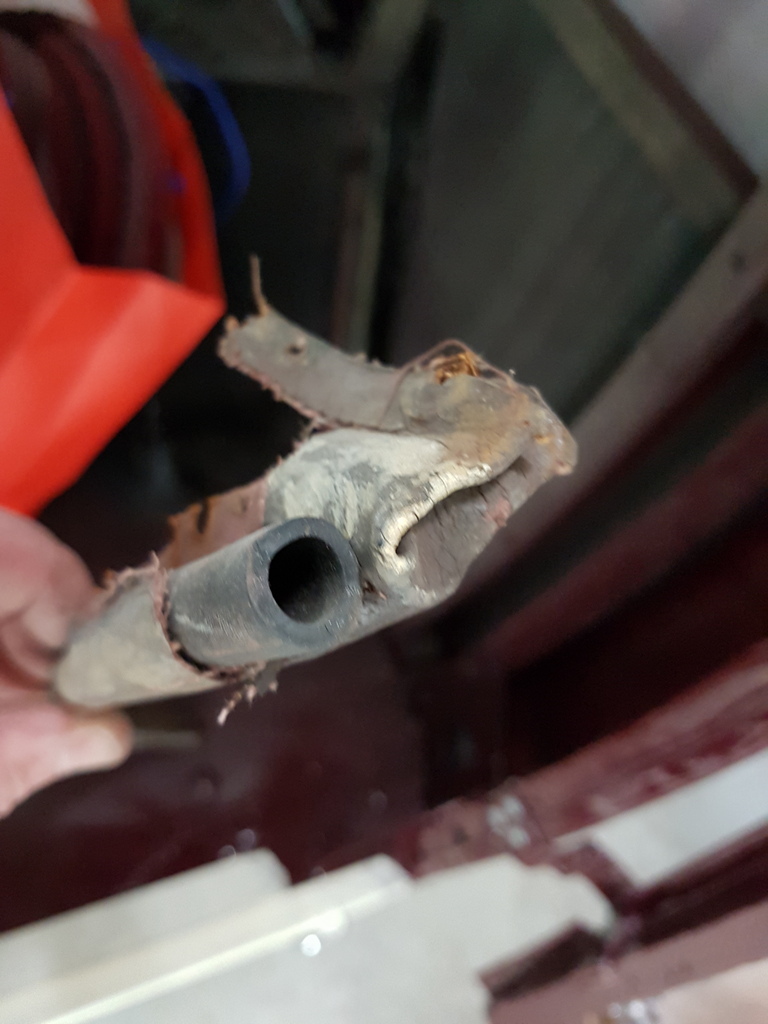 Fits like this 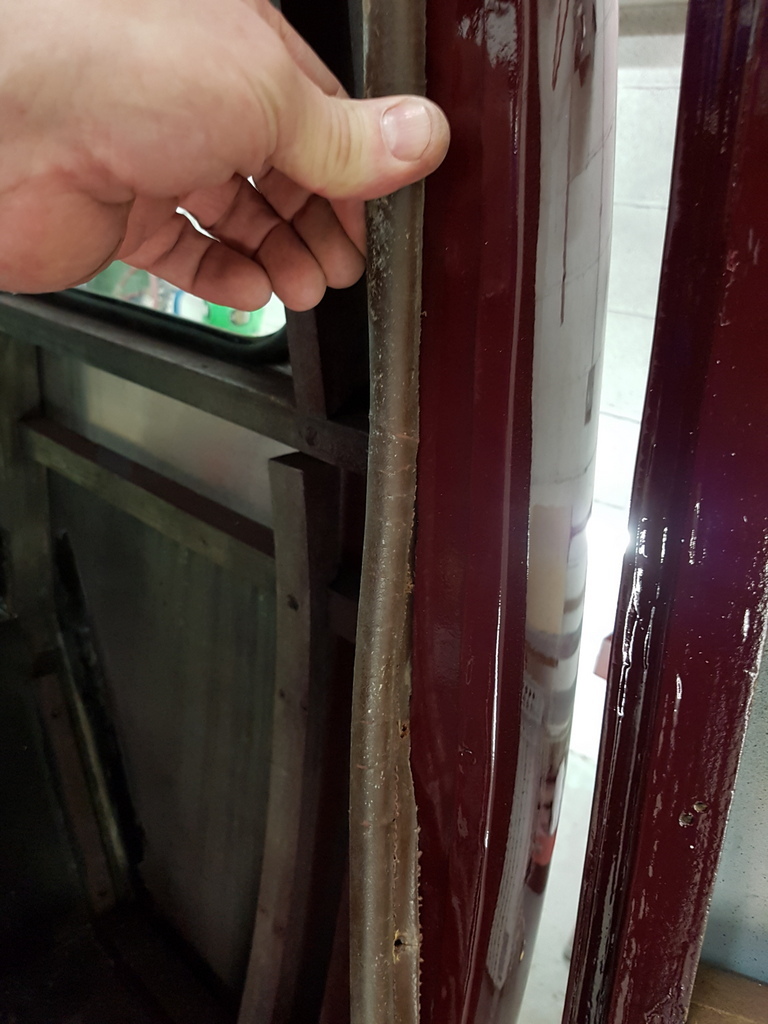 Times have moved on and a better product became available - called furflex - a plush type material again formed over a tube 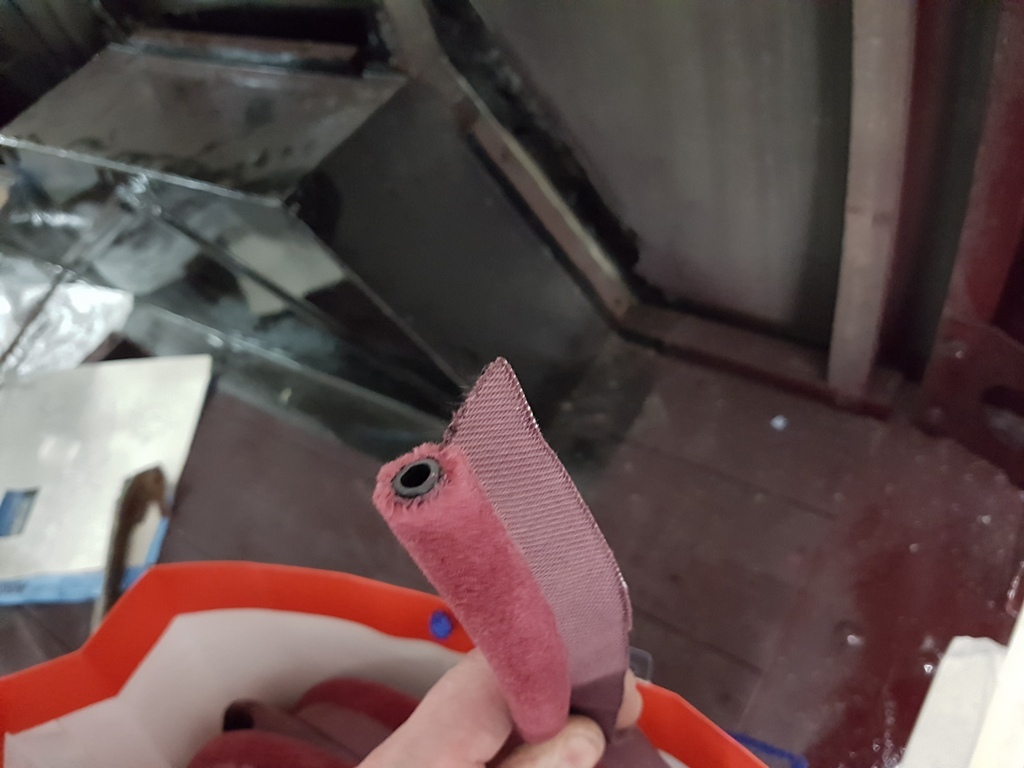 Two types of fitting are available - 'push on' which is fitted to later style vehicles with a steel upstand to the door apertures where both panels are spot welded or in the case of ash framed vehicles like the Bradford 'tack on' - it comes in a wide range of colours and is available from most classic / vintage vehicle trimming supplier and fits like this 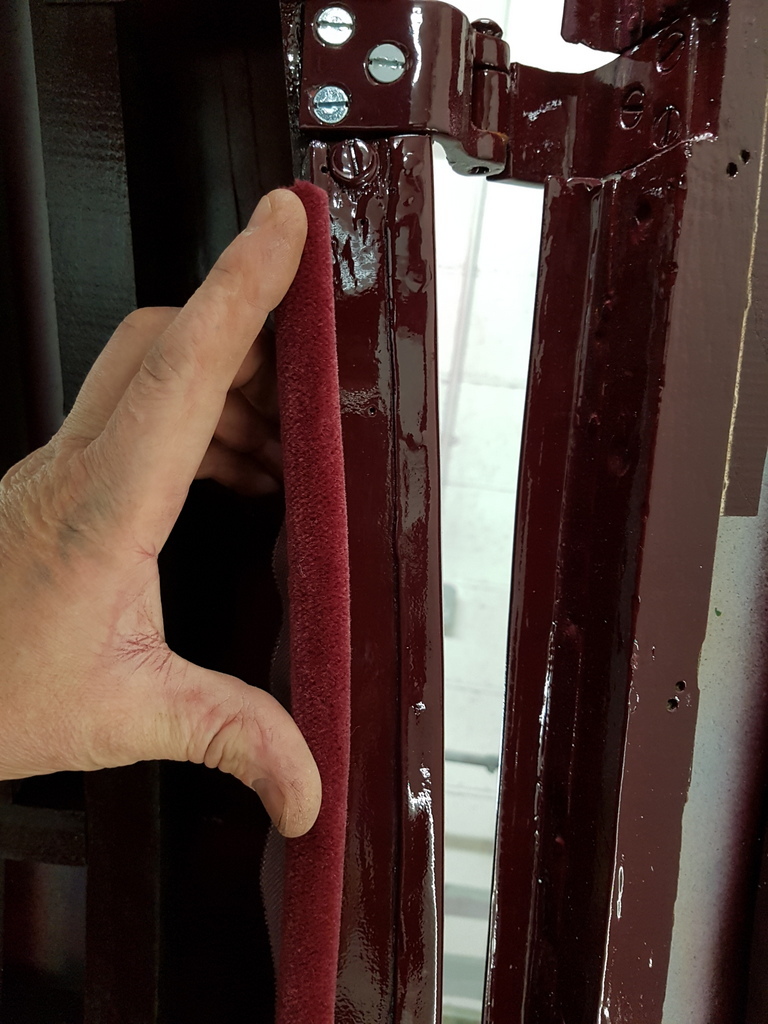 Can be stapled or tacked in 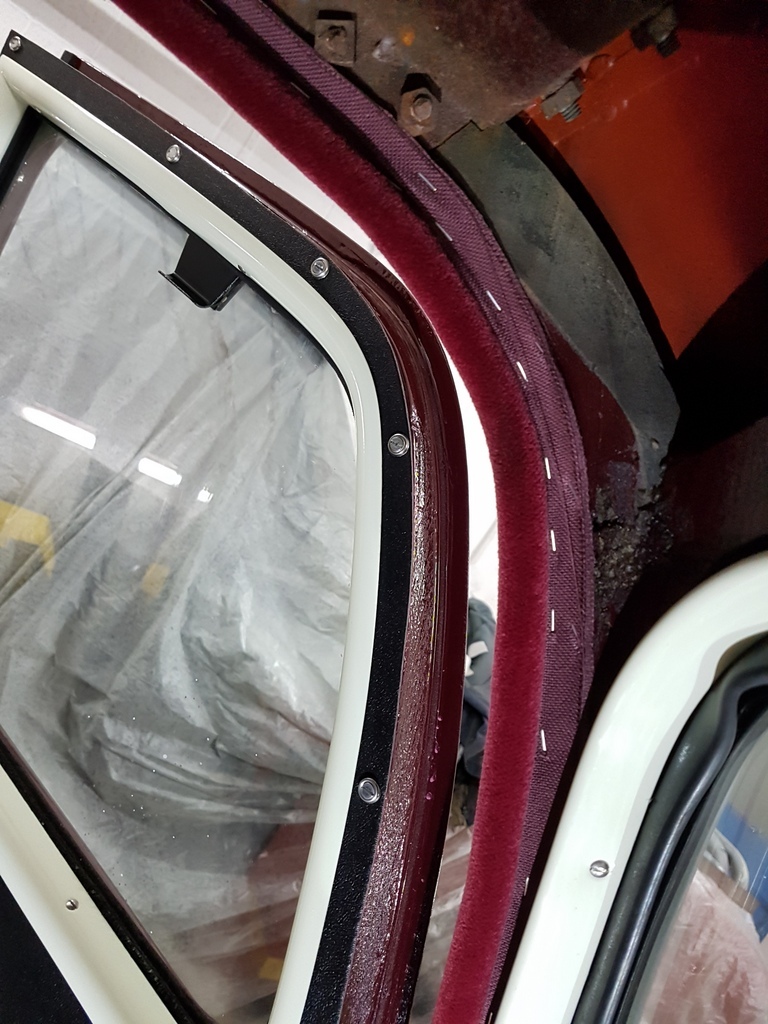 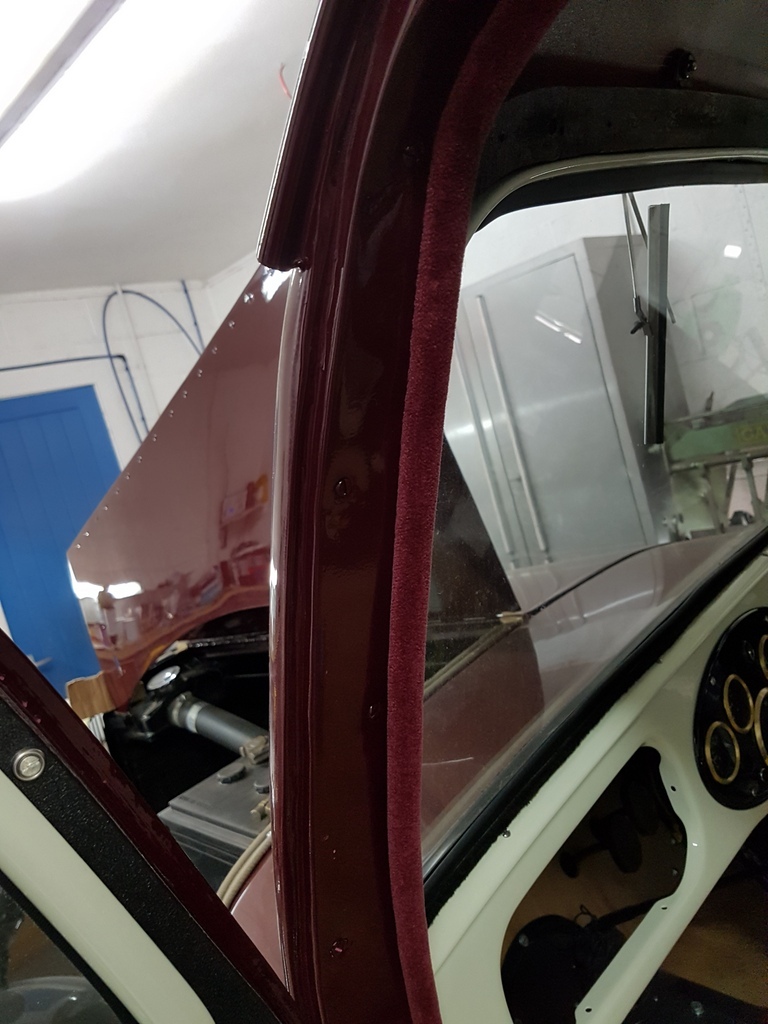 Sound proofing / insulation fitted to the bulkhead side prior to the fitting of the footwell panel 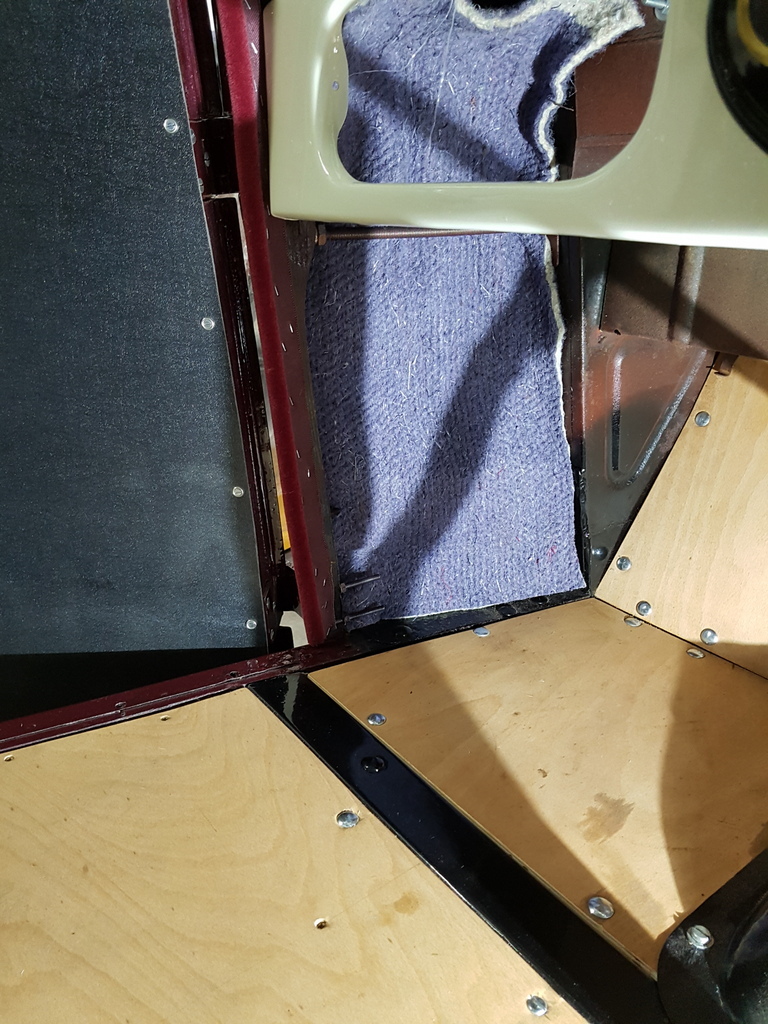 Old check straps for the doors were rotten & split so new ones were sourced 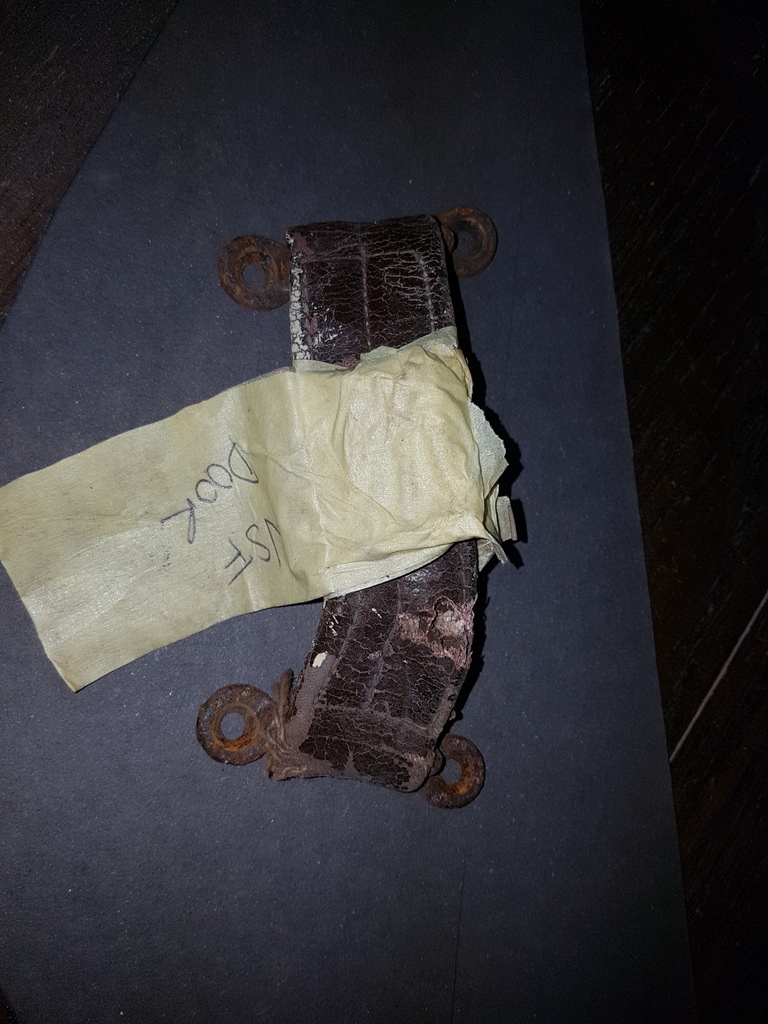 Door completed by the fitment of the grab handle & check strap 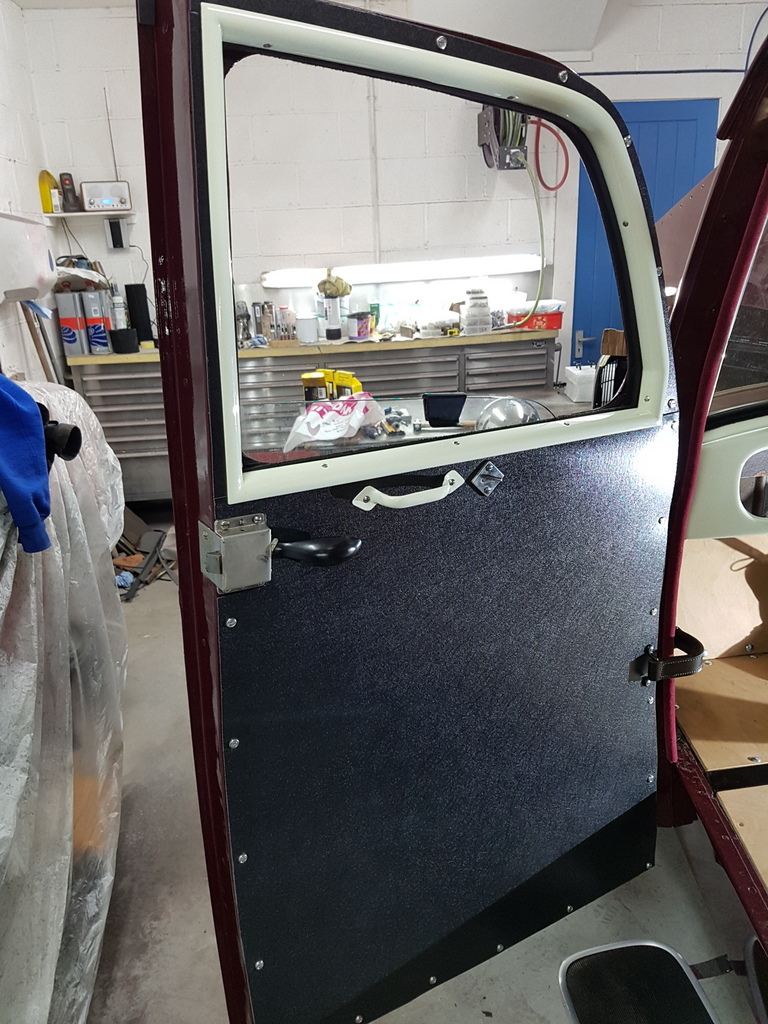 Footwell panel fitted and the furflex fitted up to the B post 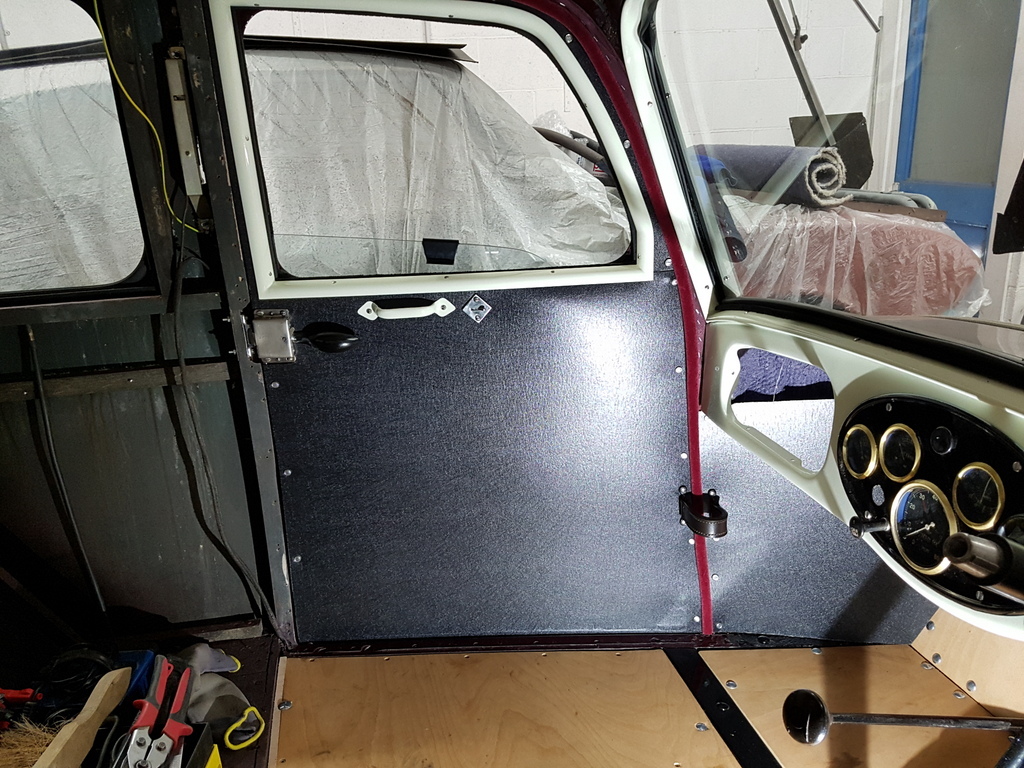 Repeat of the process for the offside 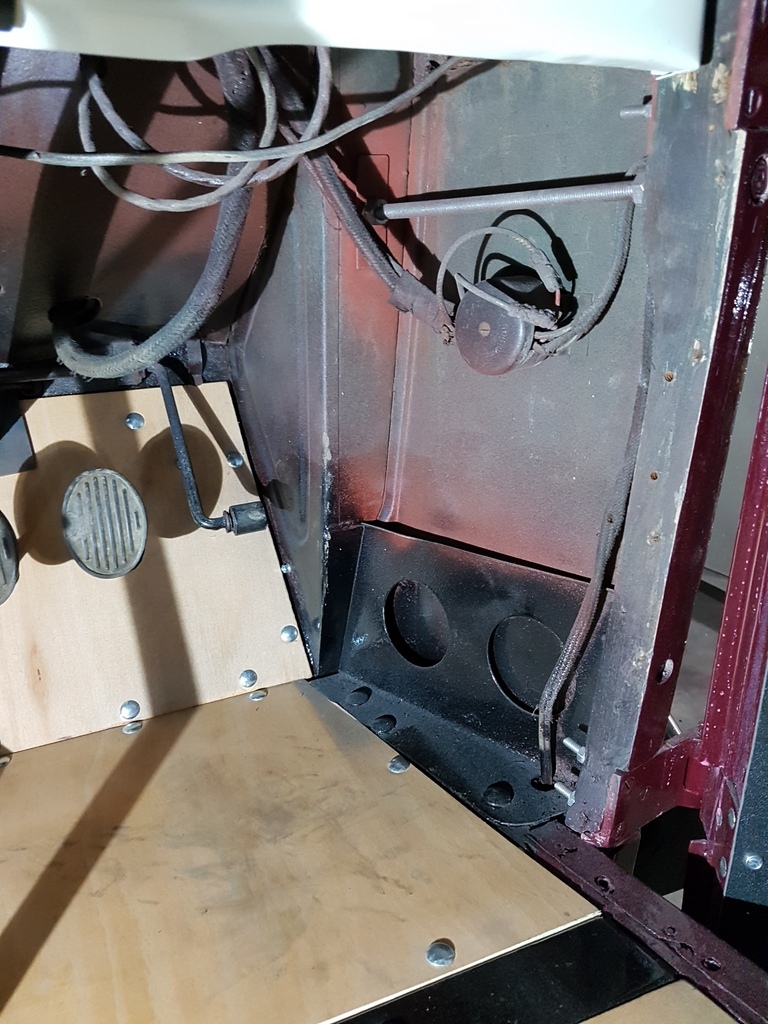 But need to renew these perished connectors first 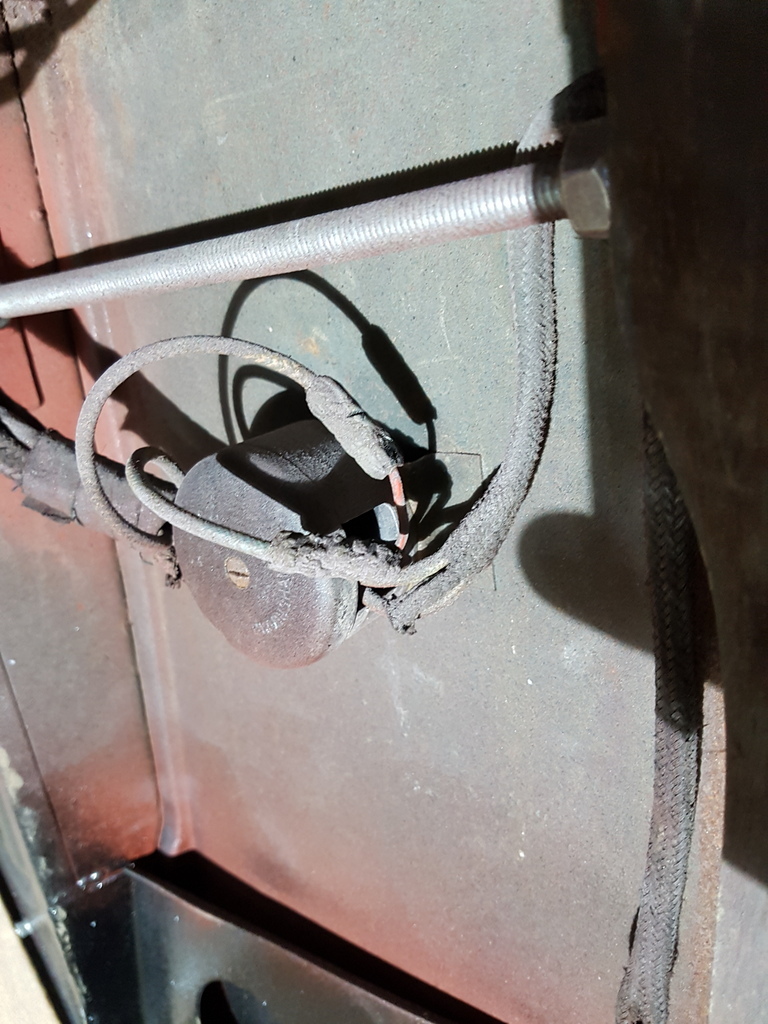 Replaced and the bulkhead panel treated with the cavity wax - lots of it 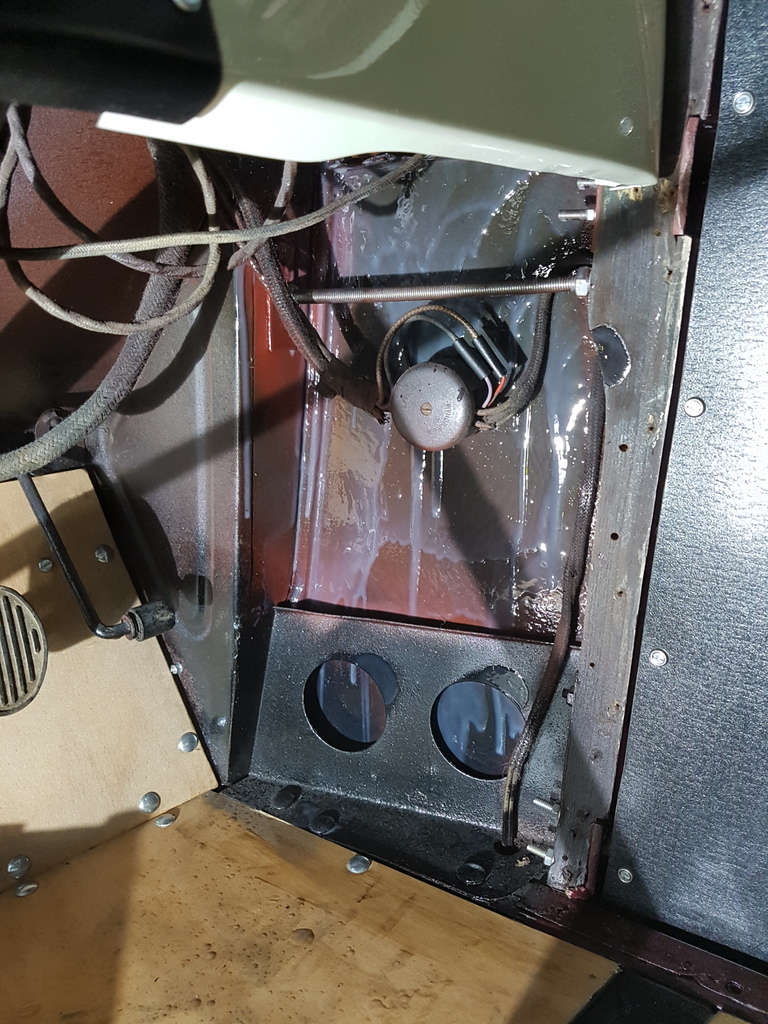 Then just a matter of fitting the soundproofing, cutting & fitting the millboard panels then fitting the furflex & internal door furniture 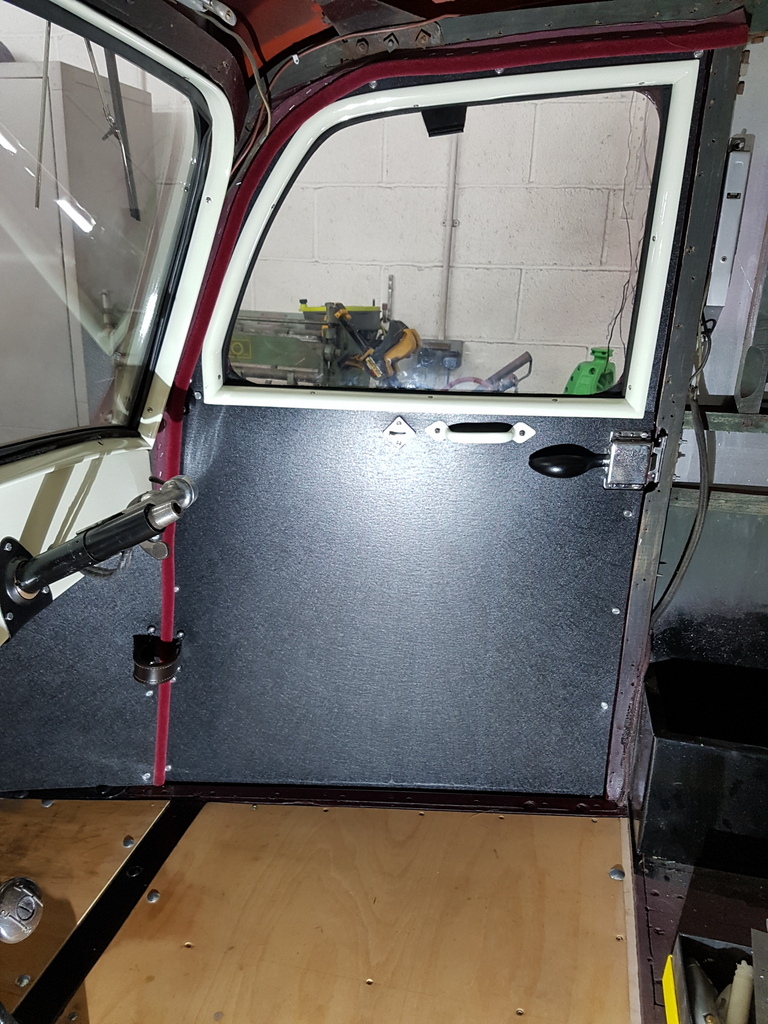 One last job for the day - managed to dechrome the bezel on the speedo so that it matches the rest of the gauges 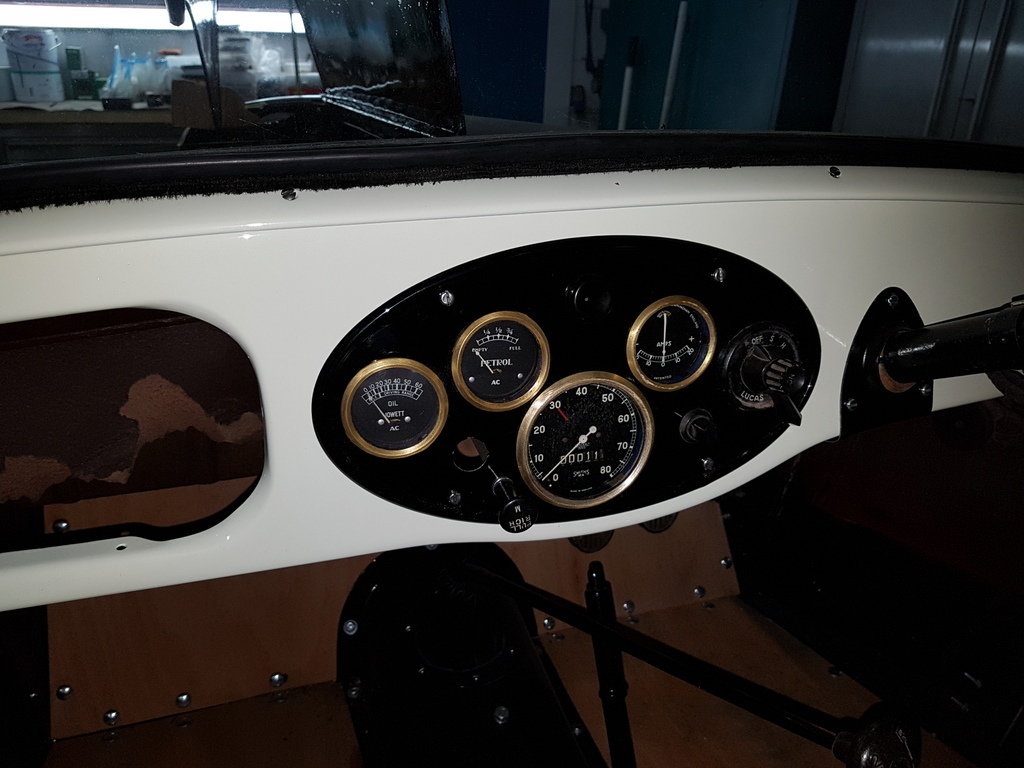 The story continues tomorrow |
| |
Last Edit: Apr 9, 2018 6:23:20 GMT by Deleted
|
|
|
|
|
|
|
|
How did you dechrome the bezel?
|
| |
|
|
|
|
|
|
|
How did you dechrome the bezel? Removed the bezel from it's mounting - careful rub back with some P180 thro to 320 onto 600 and left has a brushed brass finish to match the other bezels - you need to check what the base metal is though - it could have been steel |
| |
|
|
Frankenhealey
Club Retro Rides Member
And I looked, and behold, a pale horse! And its rider's name was Death
Posts: 3,885
Club RR Member Number: 15
|
|
|
|
Do you think you could let me have all the photos in hi-res as I'm thinking of publishing a definitive guide to restoring early post-war vans   |
| |
Tales of the Volcano Lair hereFrankenBug - Vulcan Power hereThe Frankenhealey here |
|
|
|
|
|
|
|
quality nice to see a face to match the name looking good
|
| |
|
|
jpsmit
Posted a lot
  
Posts: 1,274
|
|
|
|
Not a bad idea at all Lance - but its very tight has to where I would have to put that - just at the joint of where the two pieces of ash frame join and I would have to rebate quite a large hole in both pieces of the frame hence weakening the joint - I would have had to do the same for mirrors that I currently have which are more suited to wing mounting than door mounting - I have done a bit more research since and it looks like the vast majority of owners have opted to mount the mirrors either to the door or windscreen pillar - wing mirrors are too much of a compromise with both vibration from the engine bay & restricted vison from the small windscreen & windscreen pillar - so I have ordered a more period oblong style that will mount either on the pillar or the door and will make a decision once they arrive and have tried them in either position - Chris Just out of curiousity where are you ordering from? |
| |
|
|
|
|
|
|
|
|
Hey, Grumpy....wonderful detail work in all that trim...simple and very functional with a touch of elegance in it all....
do you anticipate having to reapply the cavity wax at any regular interval? (or is it a one time and worry free product?)
JP
|
| |
I know its spelled Norman Luxury Yacht, but its pronounced Throat Wobbler Mangrove!
|
|
|
|
|
|
|
Thanks to the wonderful background information in this (and your other threads) I spotted a dark blue Bradford this morning and knew it wasn’t a Deluxe as it had a body colour grille! Coincidentally, I saw a black one yesterday close to home (Stoke on Trent). If it wasn't for this thread I wouldn't have had a clue what it was. You (Grumpy) have previously mentioned the performance (lack thereof) and it was noticeable yesterday, due to the long queue of traffic behind it. I'm sure they wouldn't have minded though, I know I certainly wouldn't. Keep up the excellent work Chris, I'm another long time admirer with nothing to contribute. Other than to say that I am very grateful to you and the others on this forum who take the time to document their labours for us mere mortals to drool over. |
| |
|
|
eurogranada
Europe
To tinker or not to tinker, that is the question...
Posts: 2,556
|
|
|
|
|
So you're a magician of great proportions then?
Edited to reflect that this would have been better suited with the original quote about being only as good as your last job... That's what I get for reading back after a weekend..
|
| |
|
|
Phil H
Posted a lot
  
Posts: 1,448
Club RR Member Number: 133
|
|
|
|
Thanks to the wonderful background information in this (and your other threads) I spotted a dark blue Bradford this morning and knew it wasn’t a Deluxe as it had a body colour grille! Coincidentally, I saw a black one yesterday close to home (Stoke on Trent). If it wasn't for this thread I wouldn't have had a clue what it was. You (Grumpy) have previously mentioned the performance (lack thereof) and it was noticeable yesterday, due to the long queue of traffic behind it. I'm sure they wouldn't have minded though, I know I certainly wouldn't. Keep up the excellent work Chris, I'm another long time admirer with nothing to contribute. Other than to say that I am very grateful to you and the others on this forum who take the time to document their labours for us mere mortals to drool over. Even spookier - this was heading north on the A520 out of Weston Coyney (I live in Cheddleton and was heading south) in the morning.. |
| |
|
|
|
|


