|
|
|
Mar 17, 2018 22:26:18 GMT
|
Thumbs up from the wife as well. She loves this car. I like it too by the way. Love the quality of your work. Thanks for the comments - There were many Jowett Bradford vans exported to both Aus & NZ has knockdown kits that were assembled by the dealers when landed - there is a very active Jowett Club over there too. |
| |
Last Edit: Mar 18, 2018 22:00:53 GMT by Deleted
|
|
|
|
|
|
|
Mar 18, 2018 21:56:06 GMT
|
Plugged on today and sorted more of the glazing out 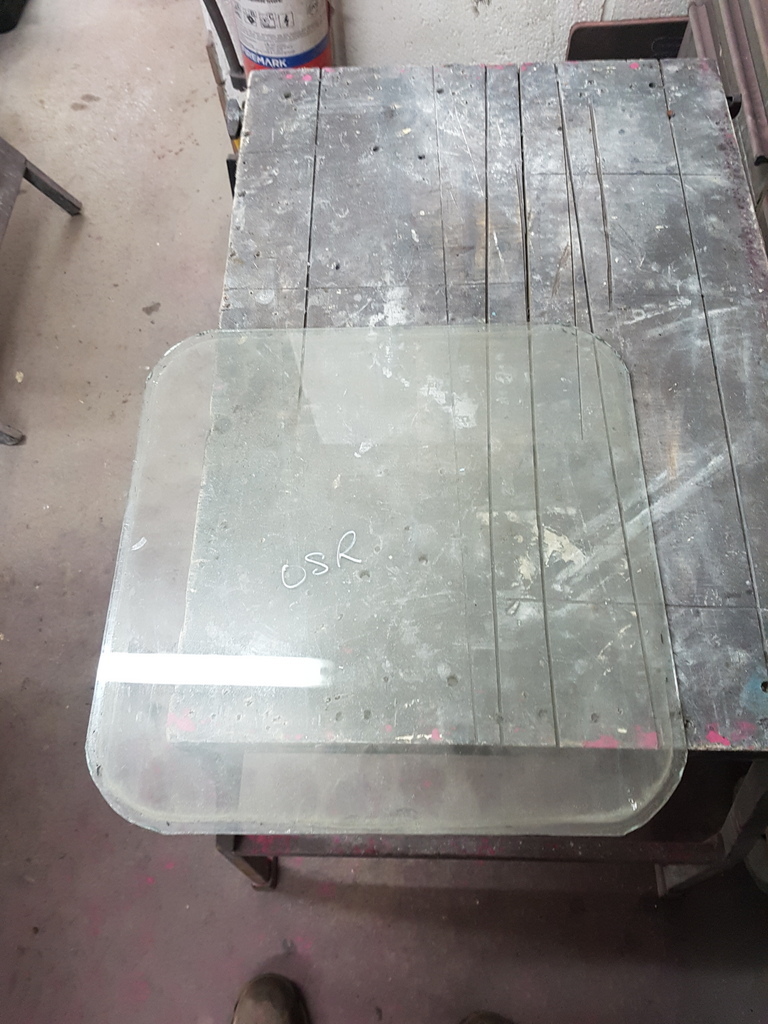 One of the rear door windows turned out to be a piece of household plate glass which consistently was deposited in the bin 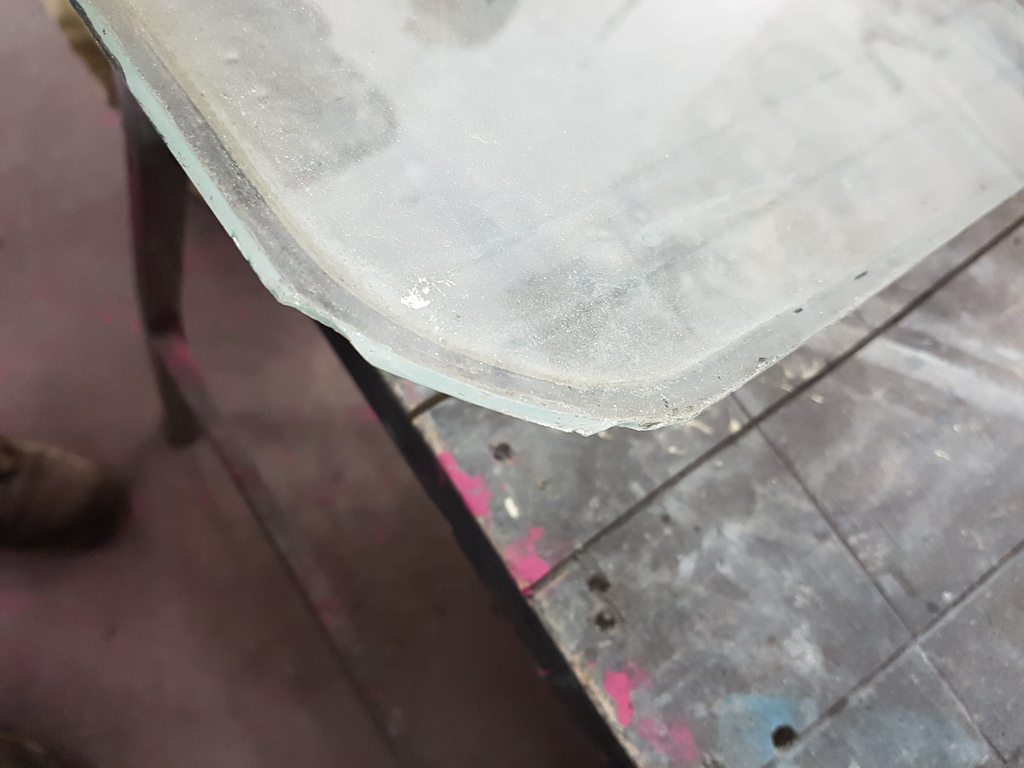 Fortunately we had a factory toughened glass spare which was filthy 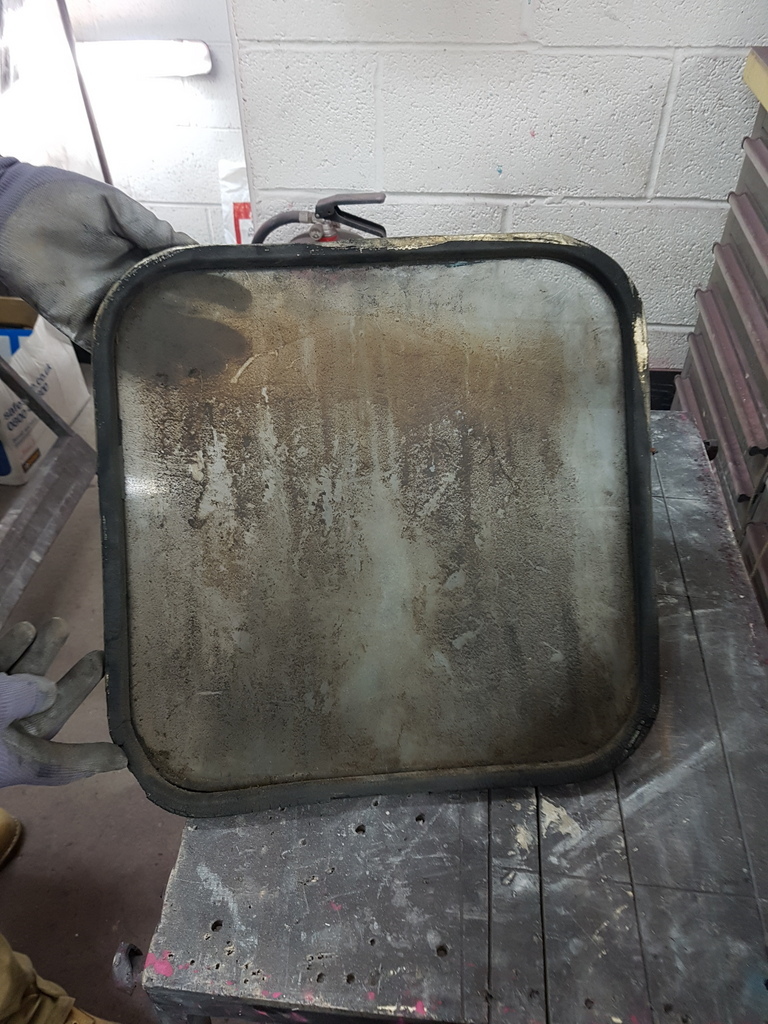 But cleaned up well - I managed to machine polish a couple of light scratches out of it 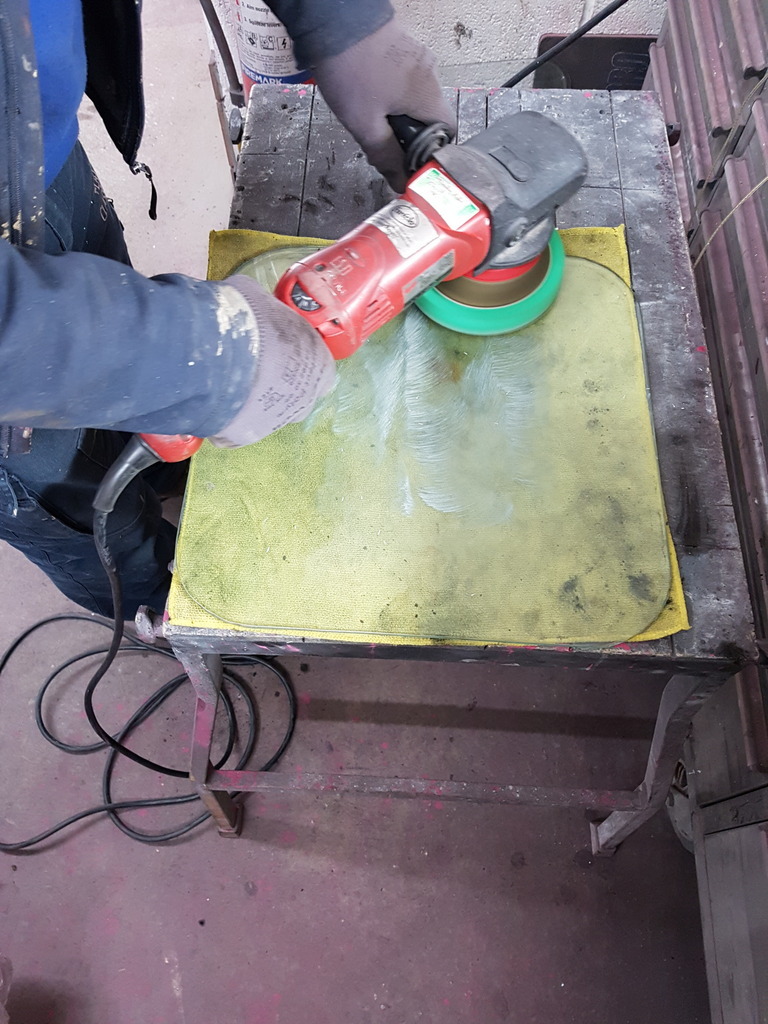 Then fitted both of the windows to the rear doors 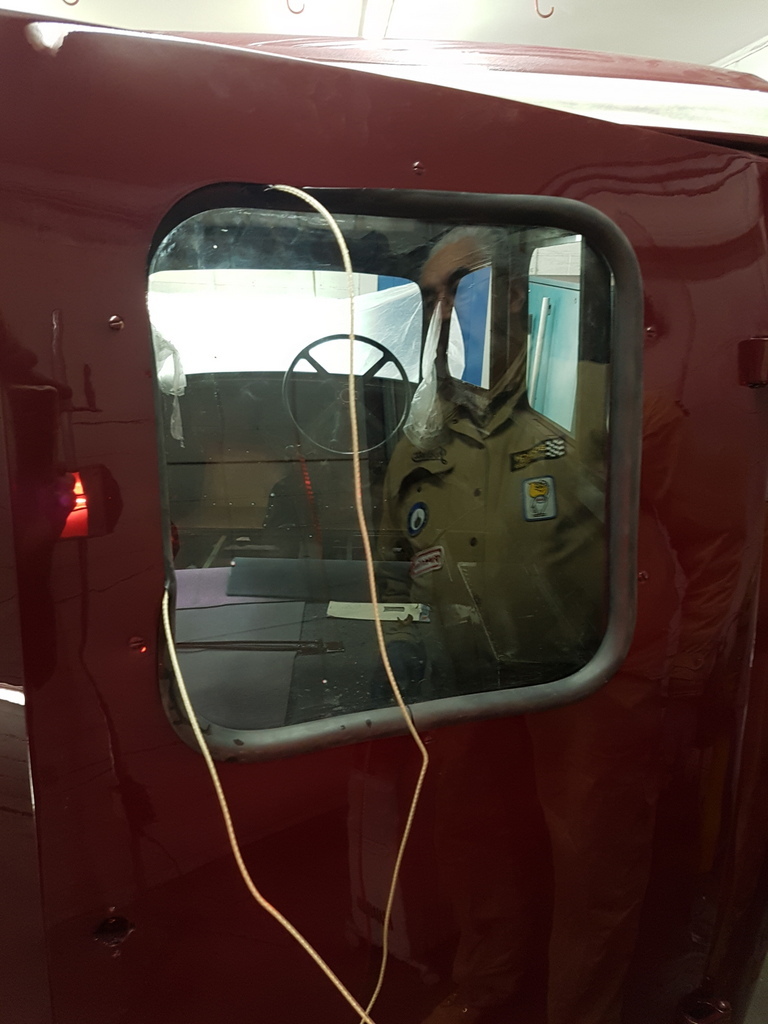 Again has like the rest of the glazing on the van the windows are fitted from the inside out 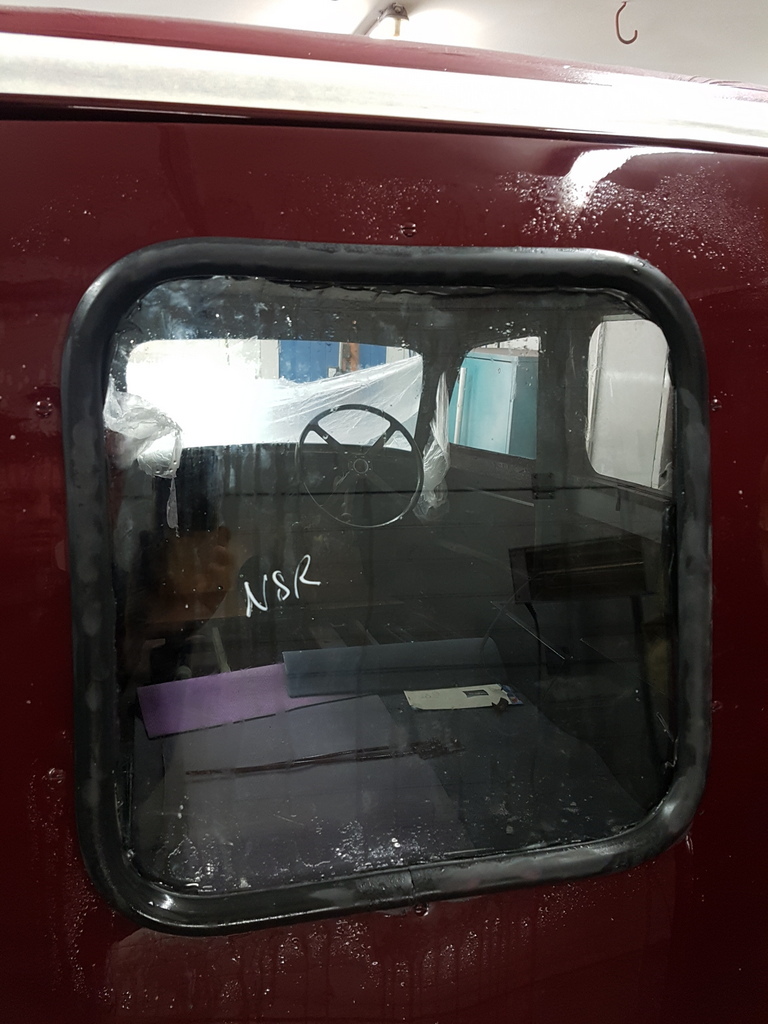 I then sealed both the glass to the new rubber along with the bodyside 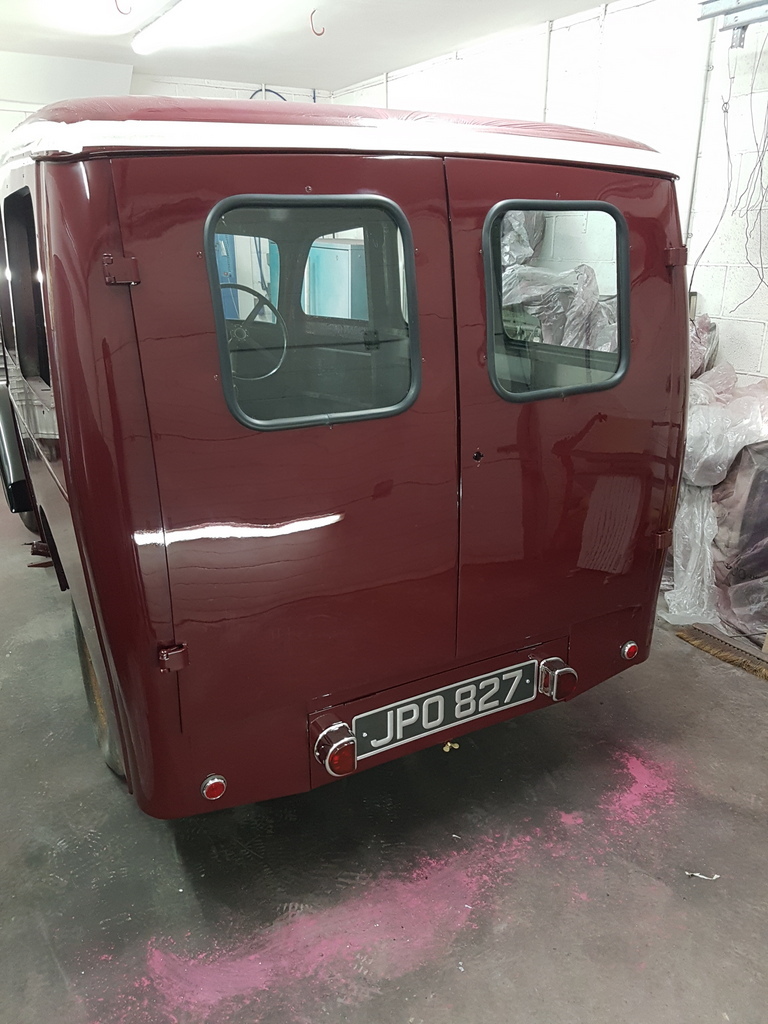 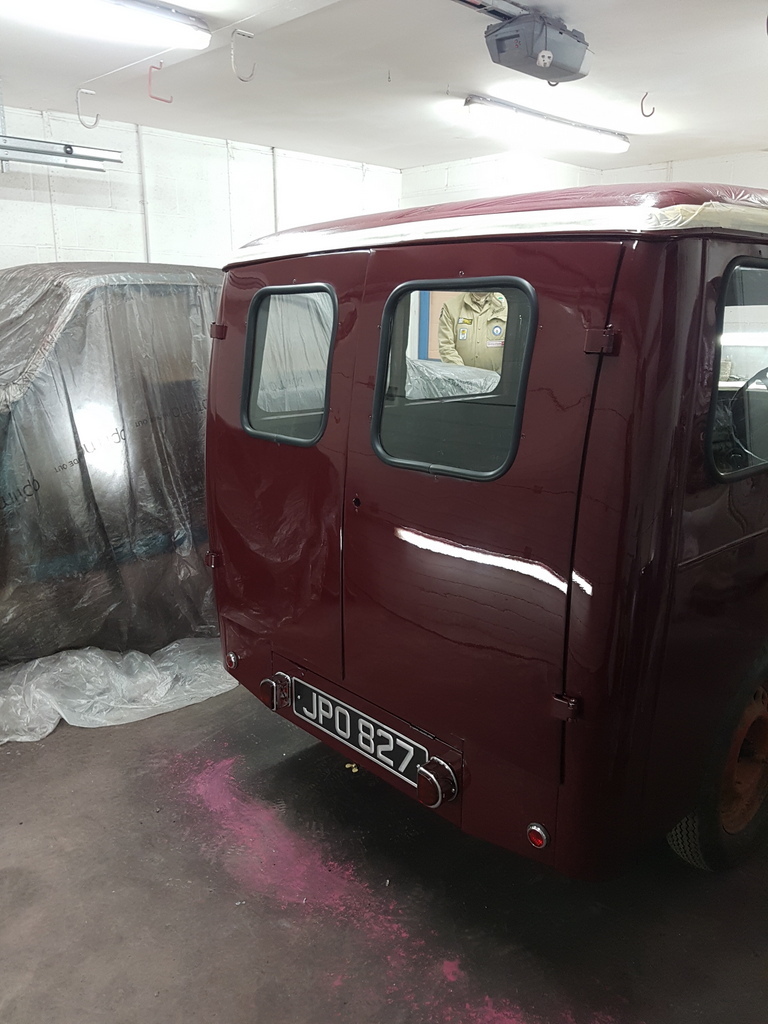 Next was the rear offside glass 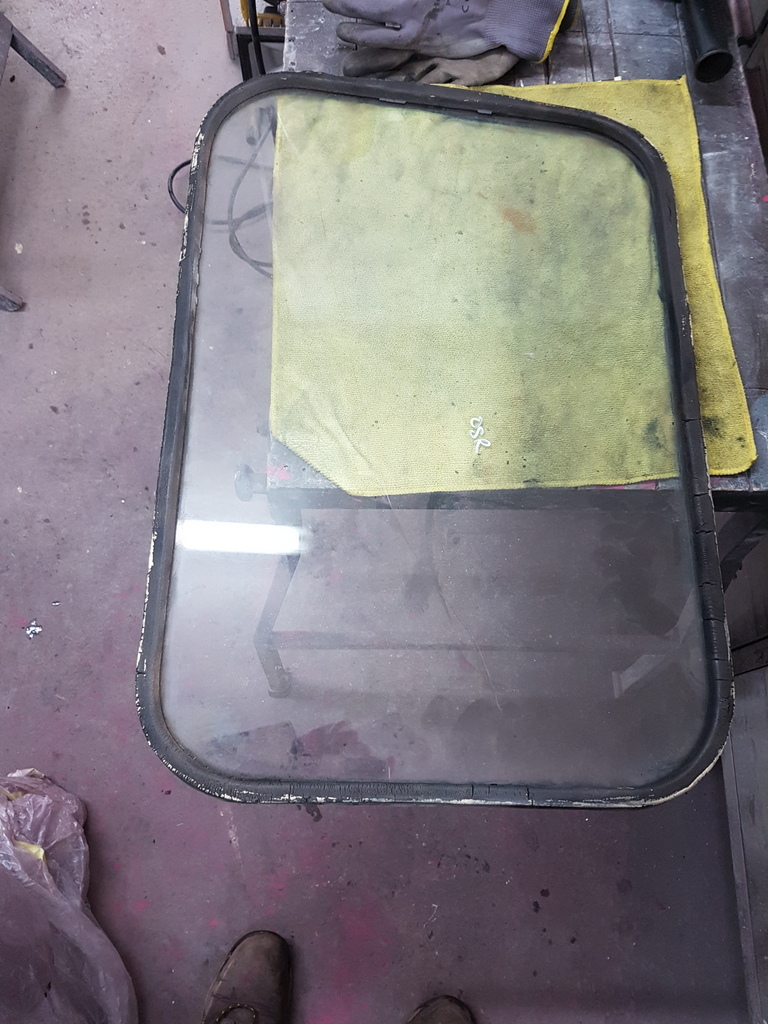 All the glazing rubbers are badly perished so new ones area being fitted - this is a endless type rubber that just requires cutting to length 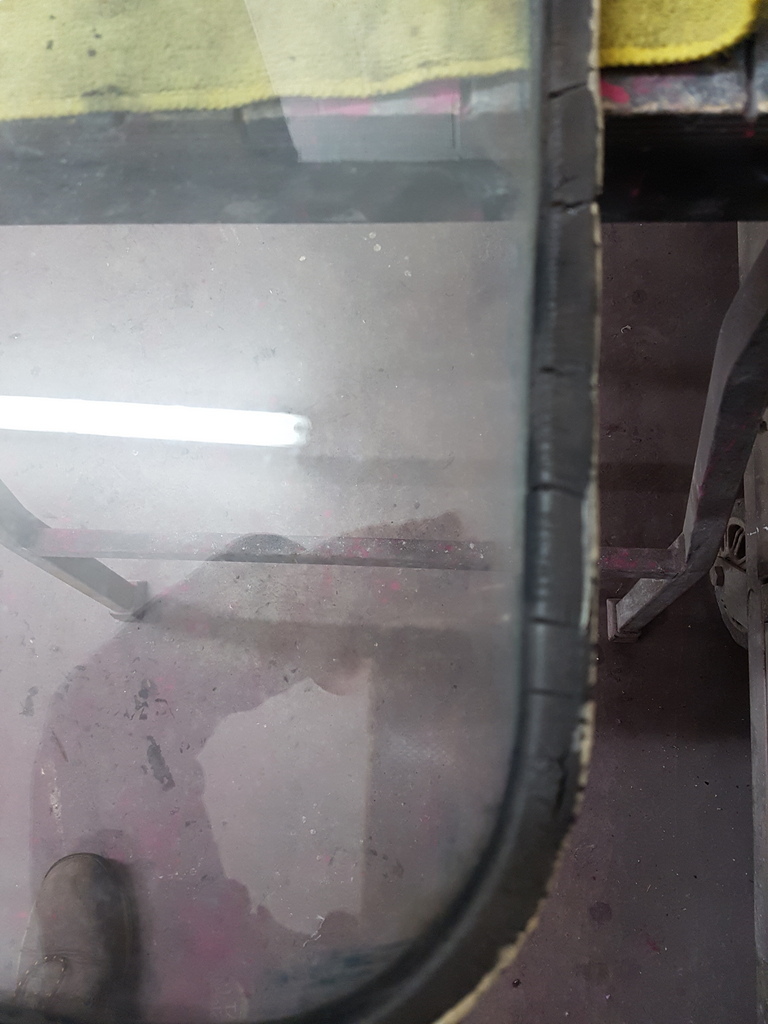 Peter - one of my fellow Jowett members / friends is staying with us for the week - hence he was put to work 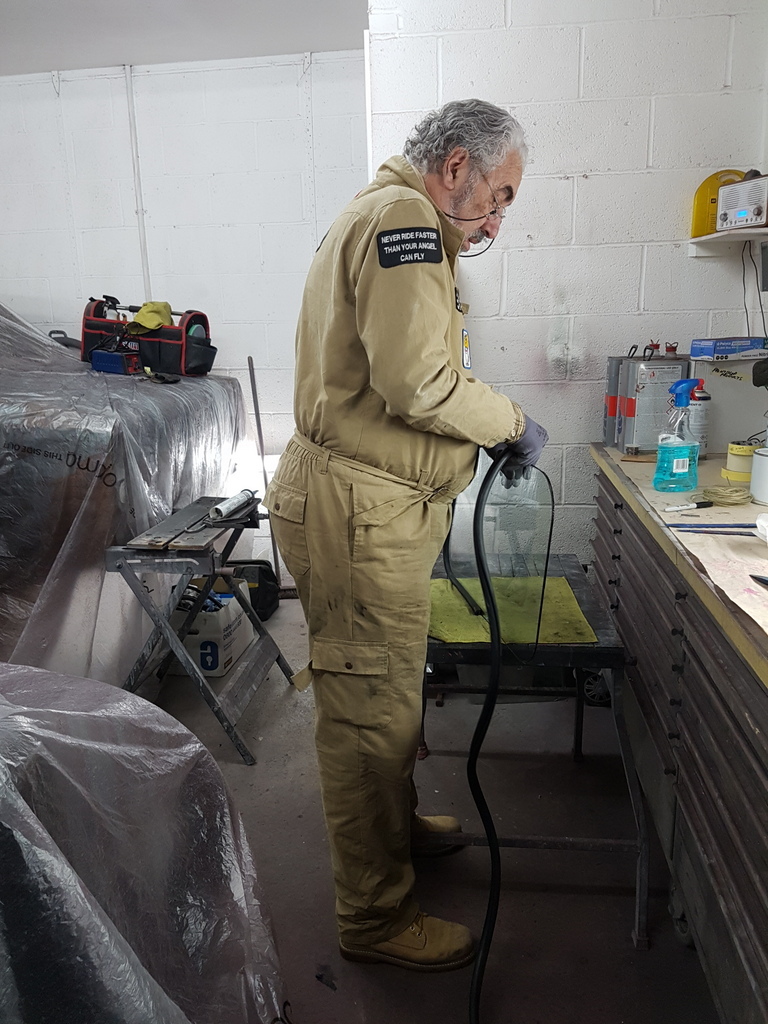 Meanwhile I flatted & polished the upper section of the offside rear panel prior to fitting the windows 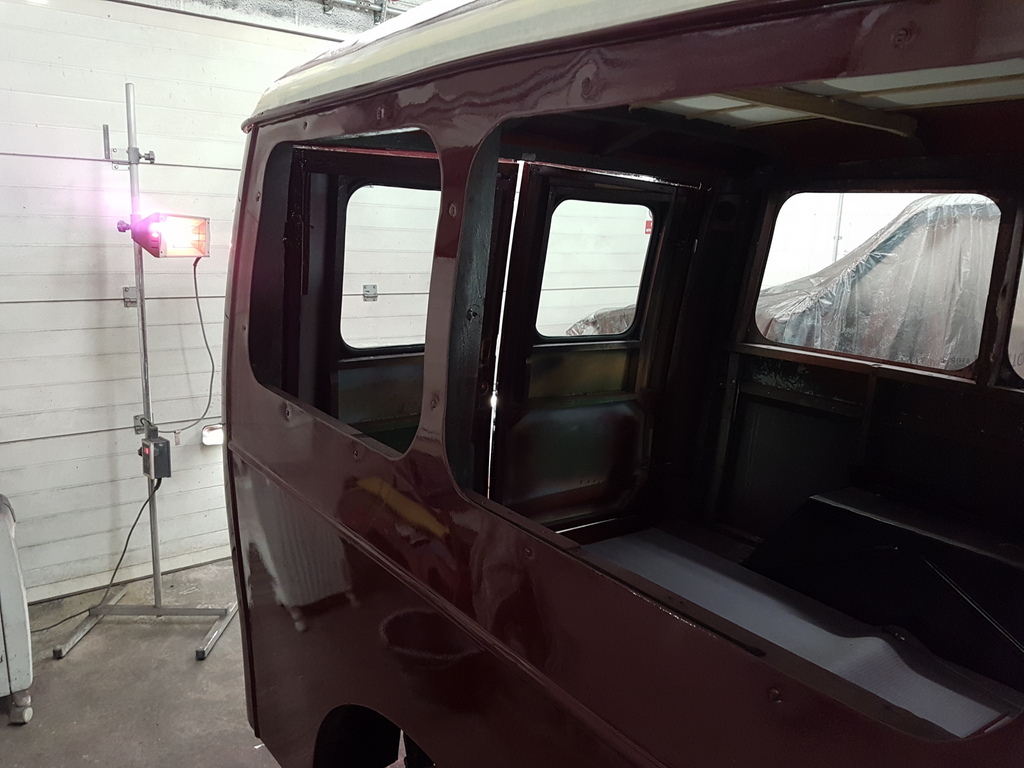 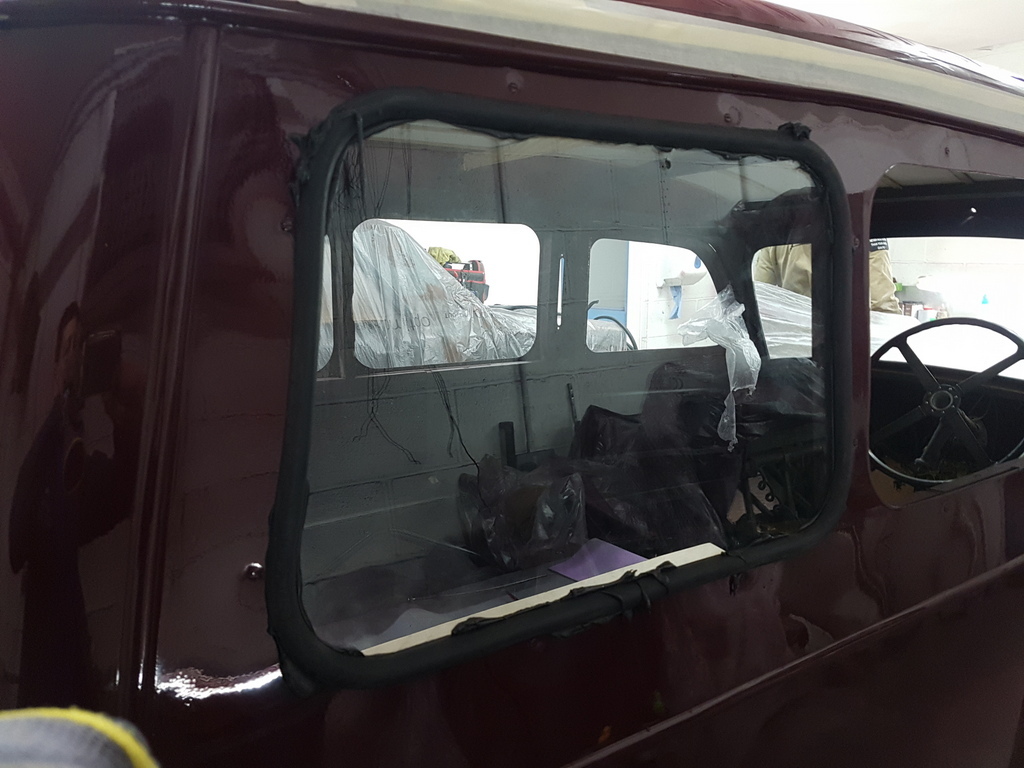 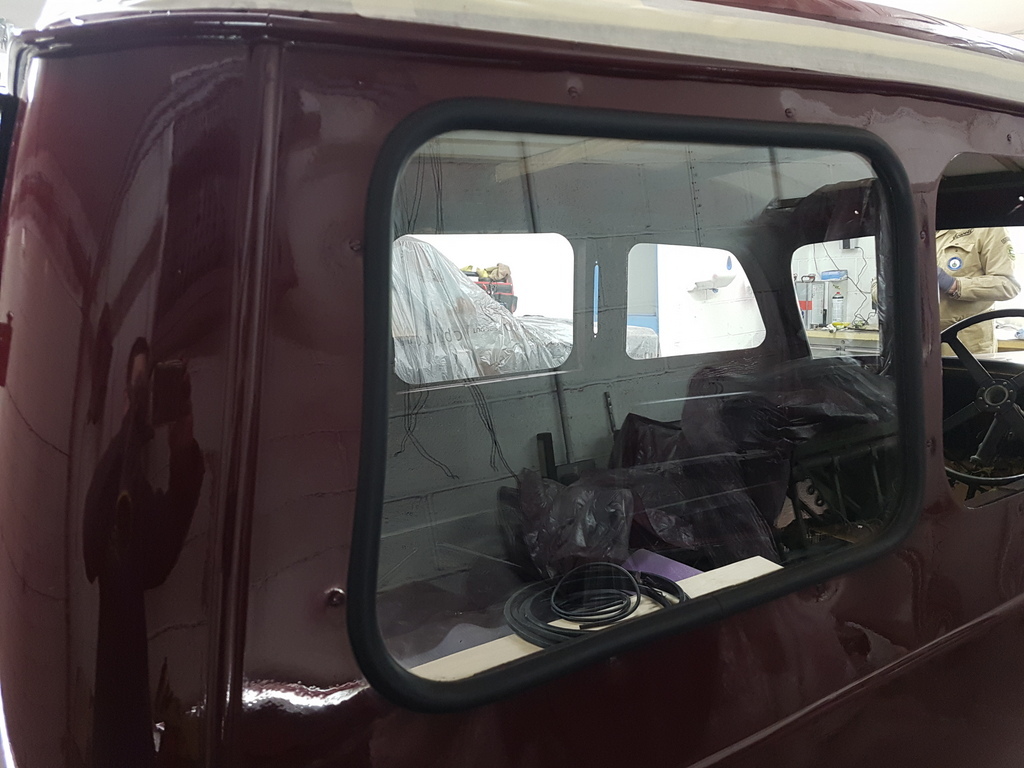 Then fitted the fixed section of the forward rear panel window - this is a part fixed / part sliding window - I need to source the U shaped sliding channel before I can fit the sliding window on each side 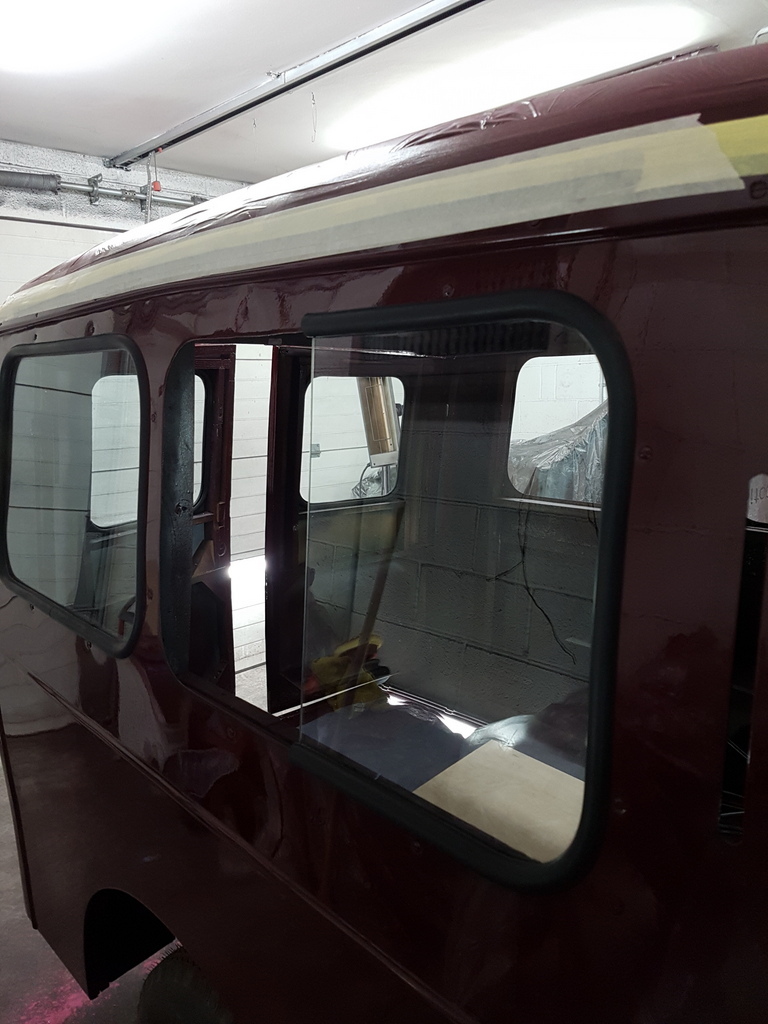 |
| |
Last Edit: Mar 18, 2018 22:02:16 GMT by Deleted
|
|
|
|
|
Mar 18, 2018 22:16:44 GMT
|
|
Both excellent and educational as always Chris,
Thank you
|
| |
BMW E39 525i Sport
BMW E46 320d Sport Touring (now sold on.)
BMW E30 325 Touring (now sold on.)
BMW E30 320 Cabriolet (Project car - currently for sale.)
|
|
vulgalour
Club Retro Rides Member
Posts: 7,285
Club RR Member Number: 146
|
|
Mar 19, 2018 16:35:01 GMT
|
|
Plate glass? Eek! Understandable why you would, back in the day, but still scary. How does the join on the sliding side windows seal?
|
| |
|
|
|
|
|
Mar 19, 2018 19:17:41 GMT
|
|
Nice work.
(PS despite proceeding like a man moving in treacle while on a high ledge,I still cracked that screen. Never mind, I have another to practise on now)
You must be nearing the end of this job now?
|
| |
|
|
|
|
|
Mar 19, 2018 21:14:58 GMT
|
Nice work. (PS despite proceeding like a man moving in treacle while on a high ledge,I still cracked that screen. Never mind, I have another to practise on now) You must be nearing the end of this job now? Yes it's well on it's way now - a minor pause whilst I am off to organise & manage the Jowett Car Club stand for the NEC Restoration Show this weekend then get the Bradford completed and on it's way |
| |
|
|
|
|
|
Mar 27, 2018 21:22:45 GMT
|
Right then - back to it: 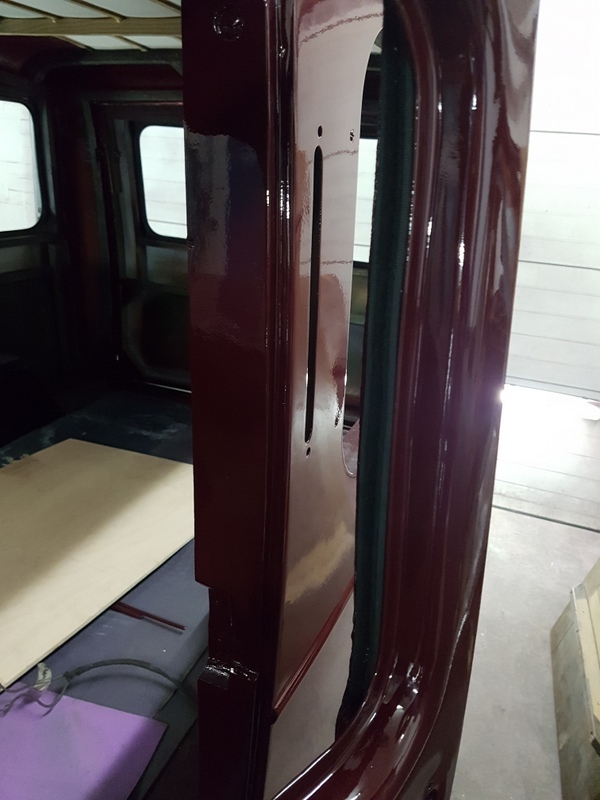 Fitted new glass channel to both the front doors 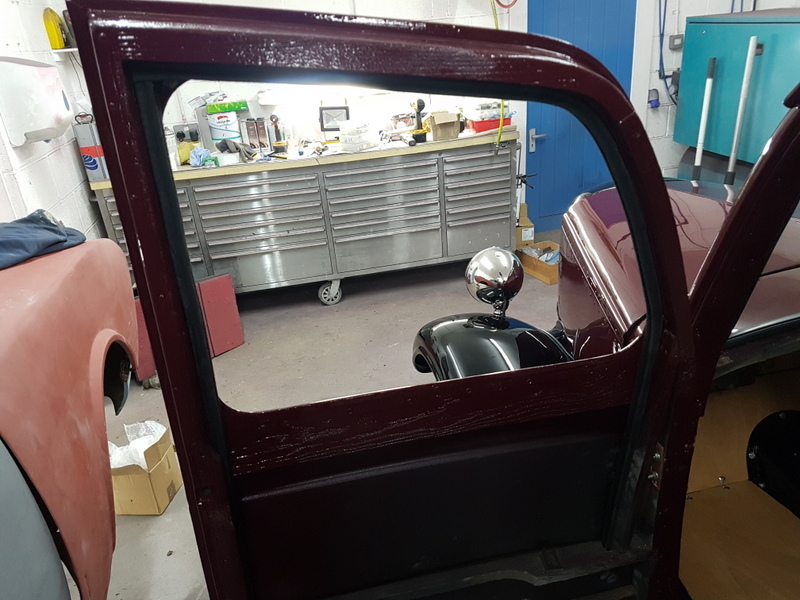 Then sorted the drain tubes for the side sliding windows 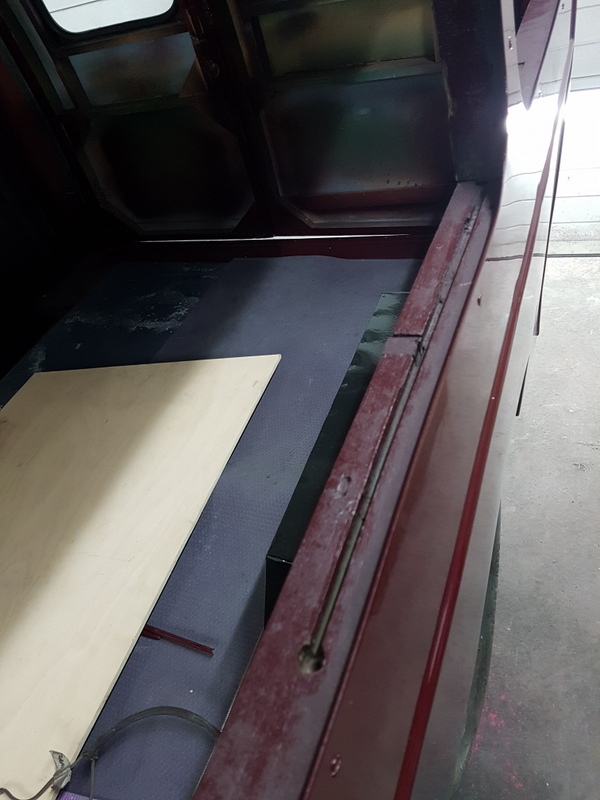 Excess water drains via these rebates via a brass sleeve 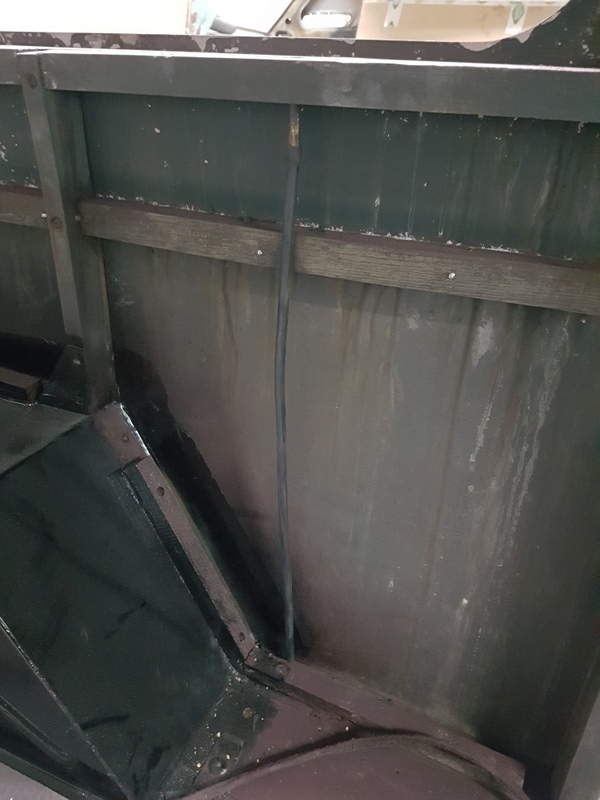 The old rubber tubes had rotted so these were replaced - they simply drain through the floor of the van Spent much of the day altering the headlamp brackets to get the headlamps to sit at the correct angle to the wings 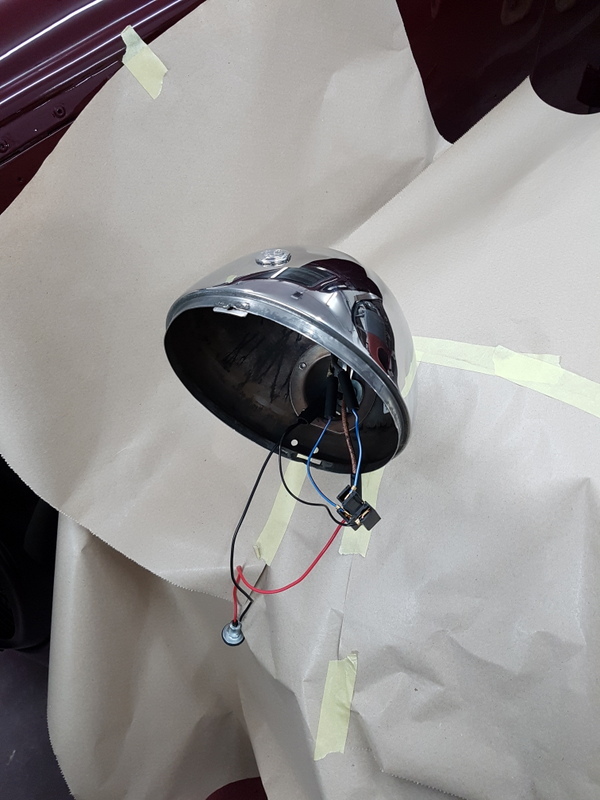 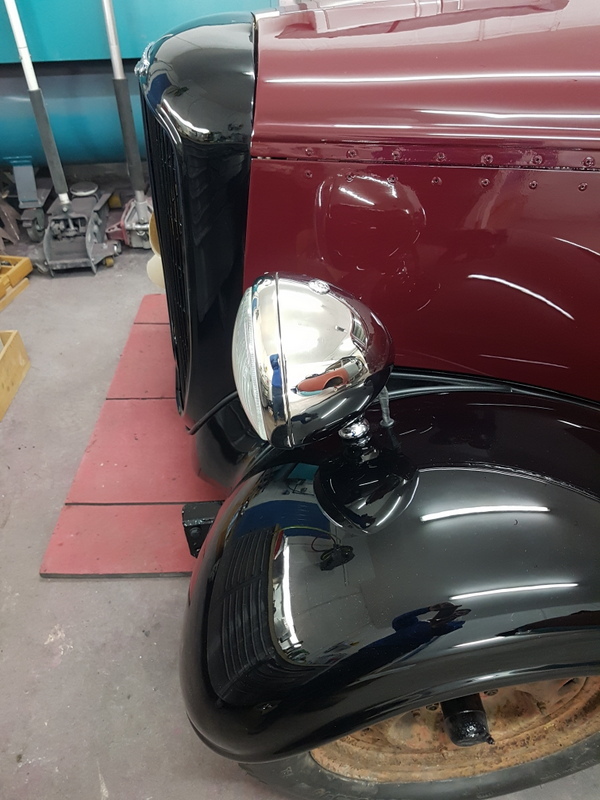 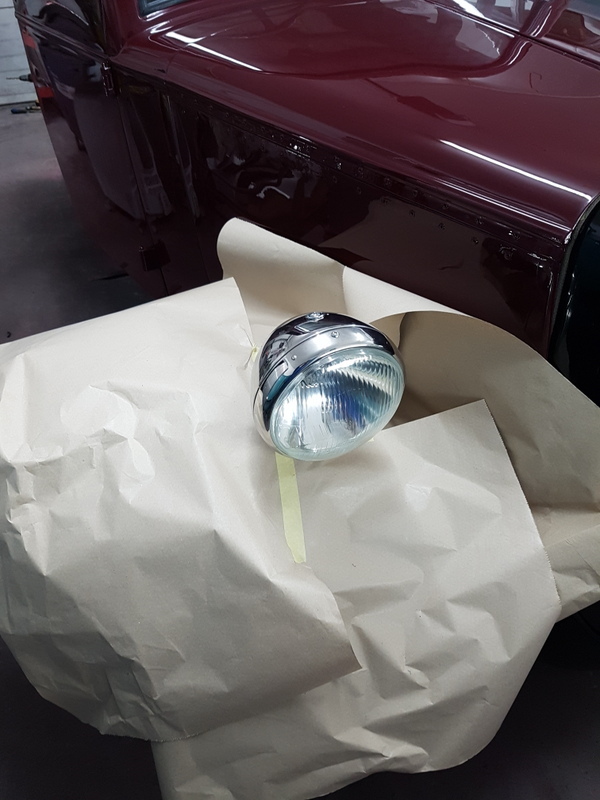 Completed the wiring harness for the offside headlamp and got everything connected up - cannot test anything at present has all the switchgear is disconnected on the dashboard 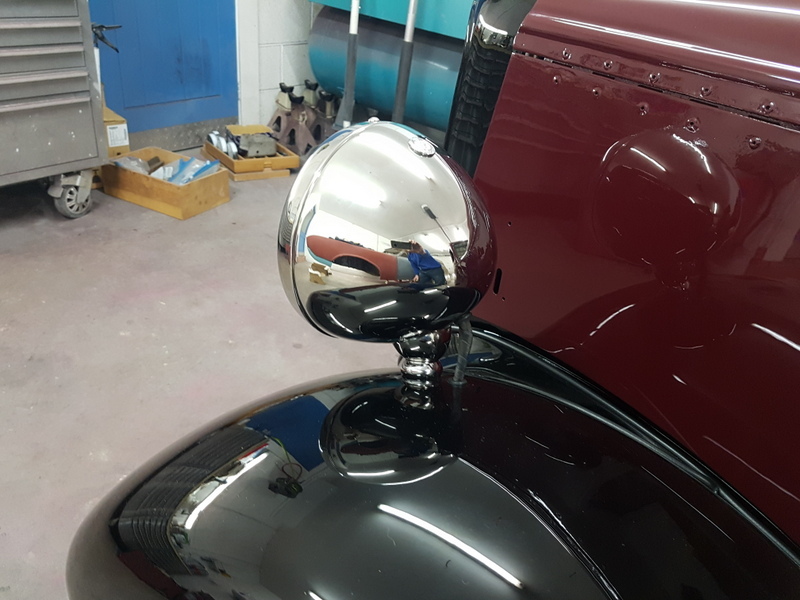 The harness travels through the wing and into the headlamp bowl which is original and pretty standard for the era 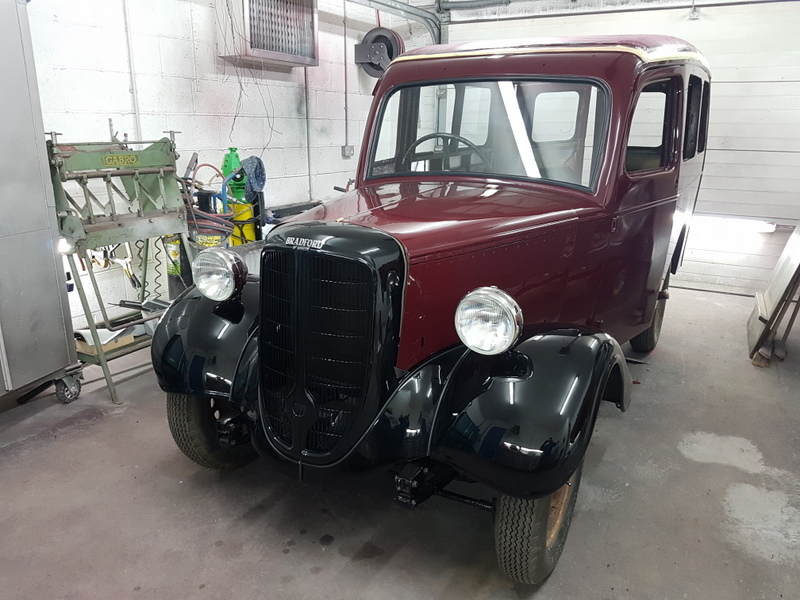 The lamp beams will require aligning once I have the switchgear back together but the front end of the van is now starting to look the part - I have made what I hope is a final list of trim bits and ordered them this evening - I had hoped to source much of this at the NEC Restoration Show but it would appear that most of what I was looking for is all slow moving stuff that the exhibitors / stall holders left at home |
| |
Last Edit: Mar 27, 2018 21:25:07 GMT by Deleted
|
|
|
|
|
Mar 27, 2018 21:58:38 GMT
|
|
ye wouldn t think it was the same van ye started with
|
| |
|
|
|
|
|
|
|
|
Just amazing. I love flicking from page 1 to to these shots to experience the massive transformation.
|
| |
|
|
|
|
|
|
|
|
Just been watching for a while.
Fitting the head
Ights prompted me to reply.
“Dad. Why is restoration so expensive?”
This is the sort of invisible time drain that most people miss completely when they look at a car on a stand at a show, or see a price tag.
Continue to love this van and all you do to it.
|
| |
|
|
|
|
|
|
|
Mar 28, 2018 20:33:10 GMT
|
Started to sort the wiper motor & spindles out 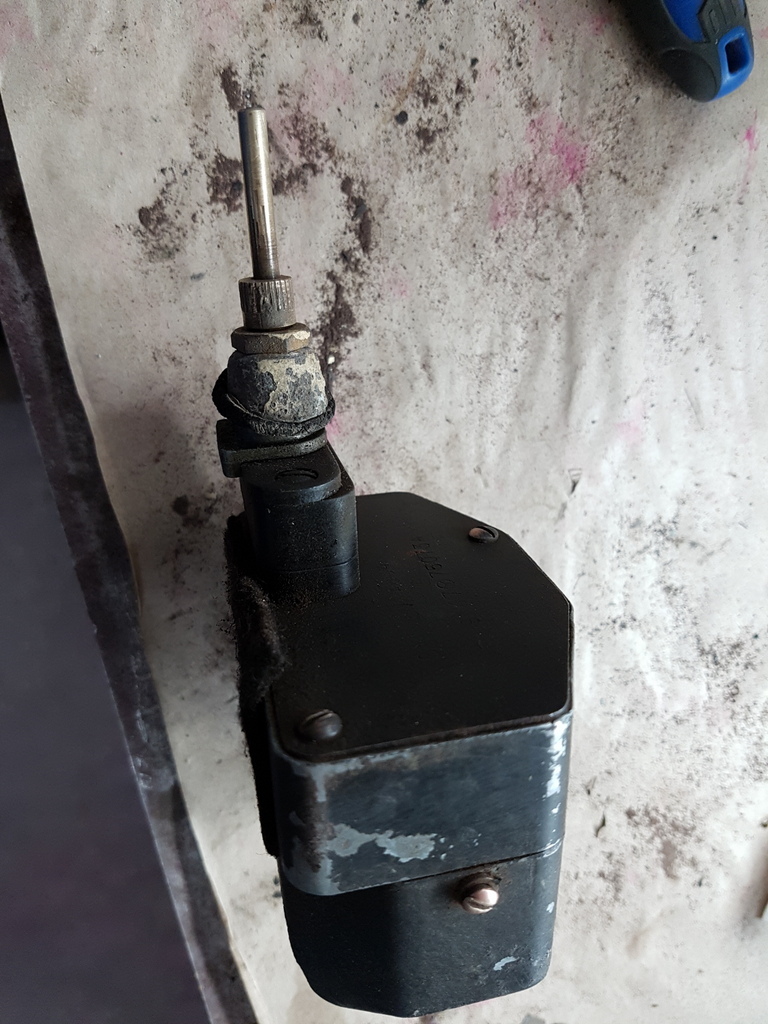 They cleaned up ok 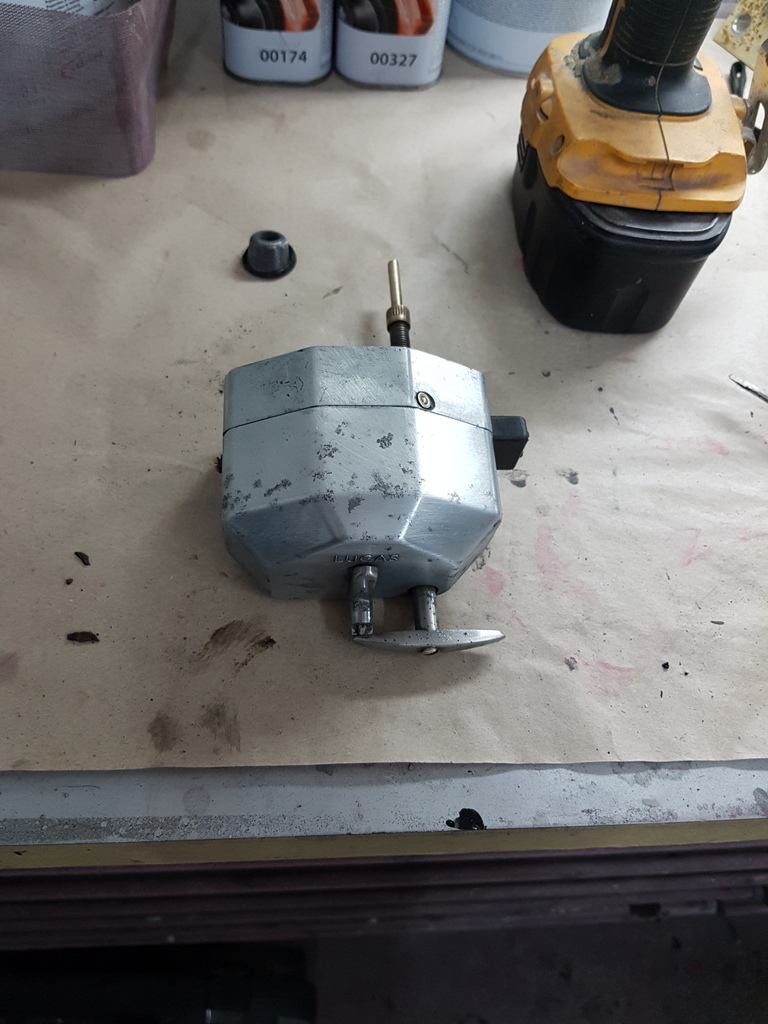 It's a tandem wiper system so the drive is only on the motor spindle 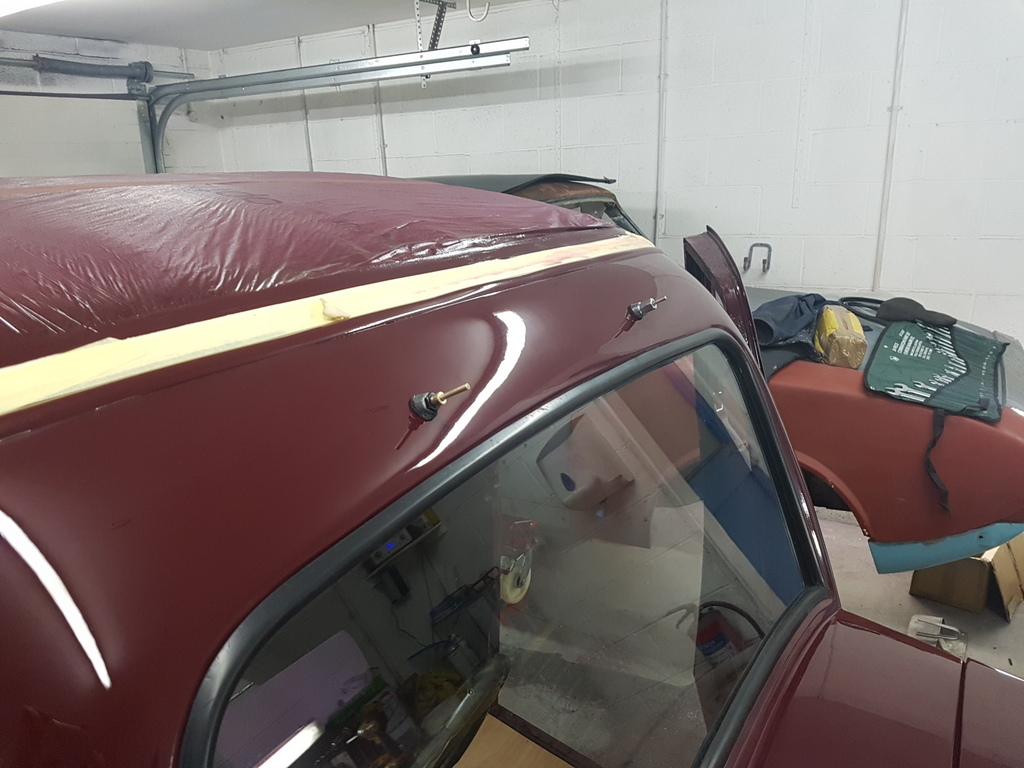 The nearside wiper arm is motioned by a drag link from the motorised offside wiper arm 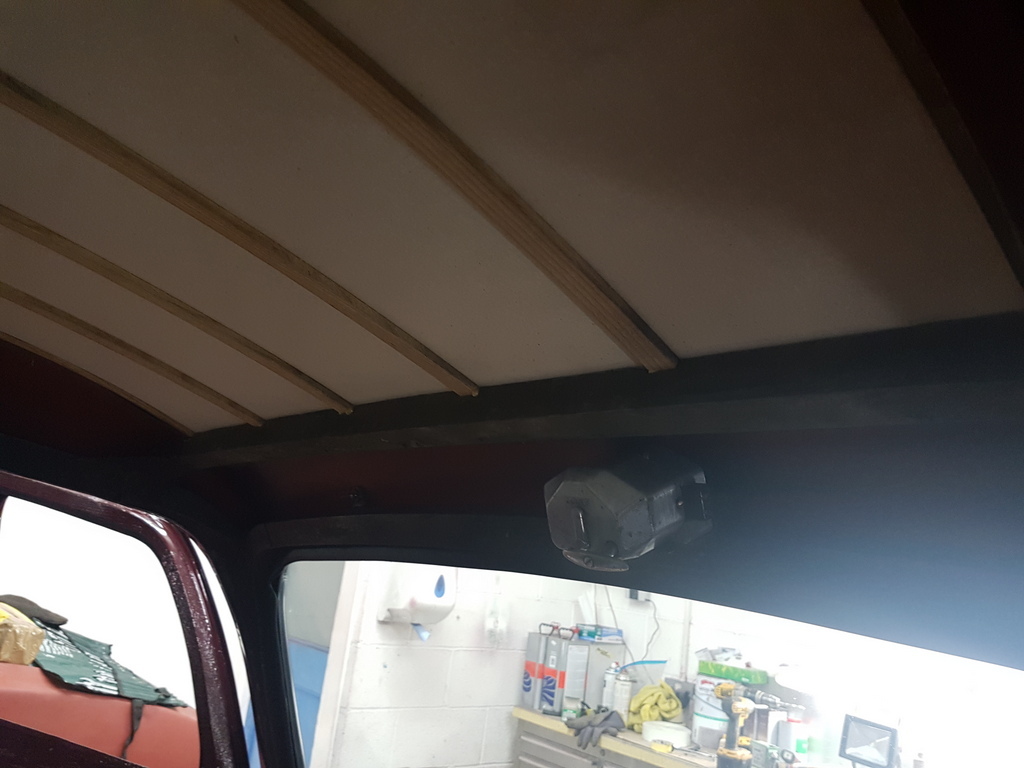 However the wiper arms supplied by the van's owner are too short to provide a suitable sweep & clearance from the windscreen rubber so this is something I shall have to sort 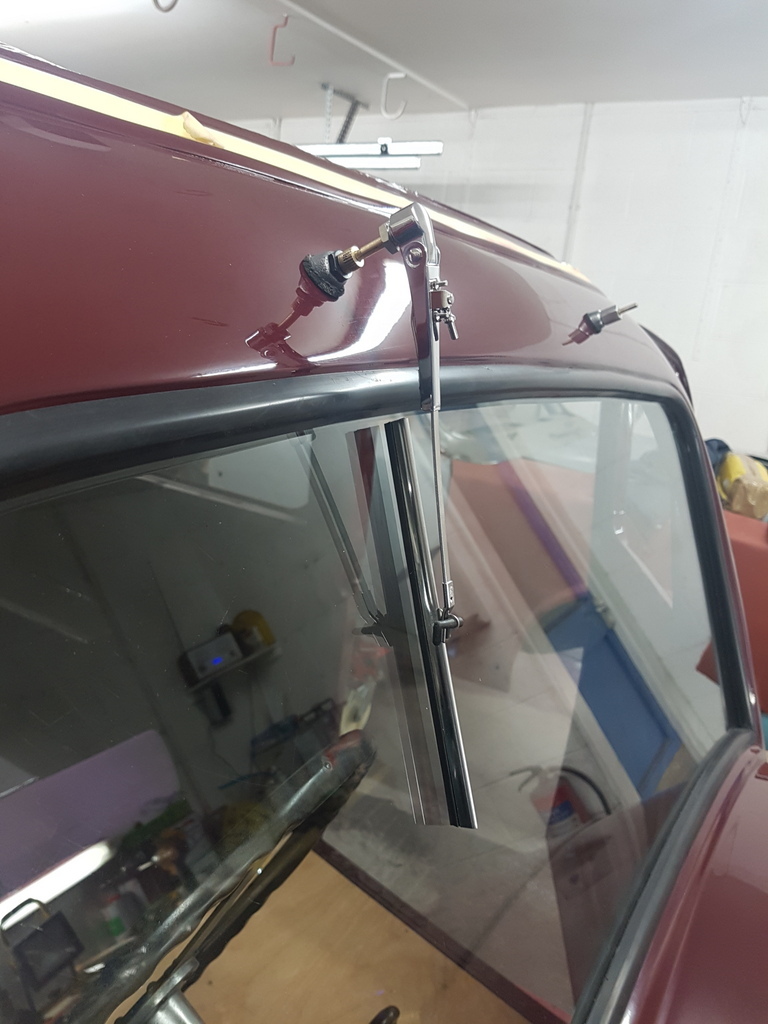 Next was to fit the main floor to the van which I had previously cut to pattern - I gave it a light coat of finishing oil first 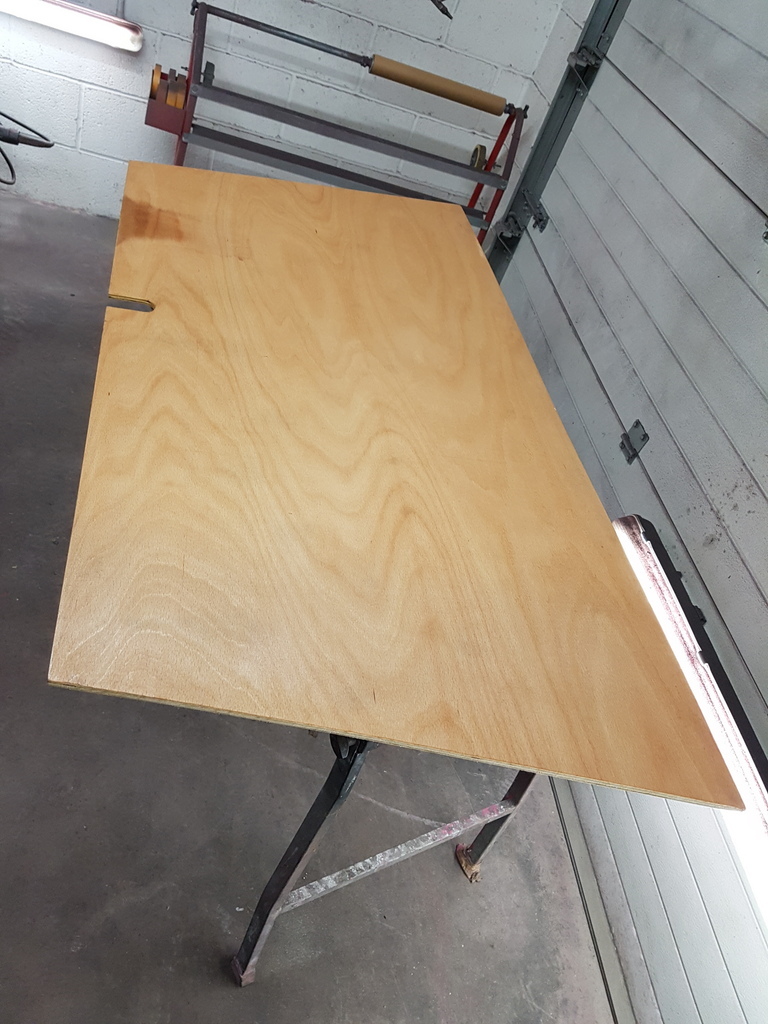 Once dry I cracked on with the fitting of it 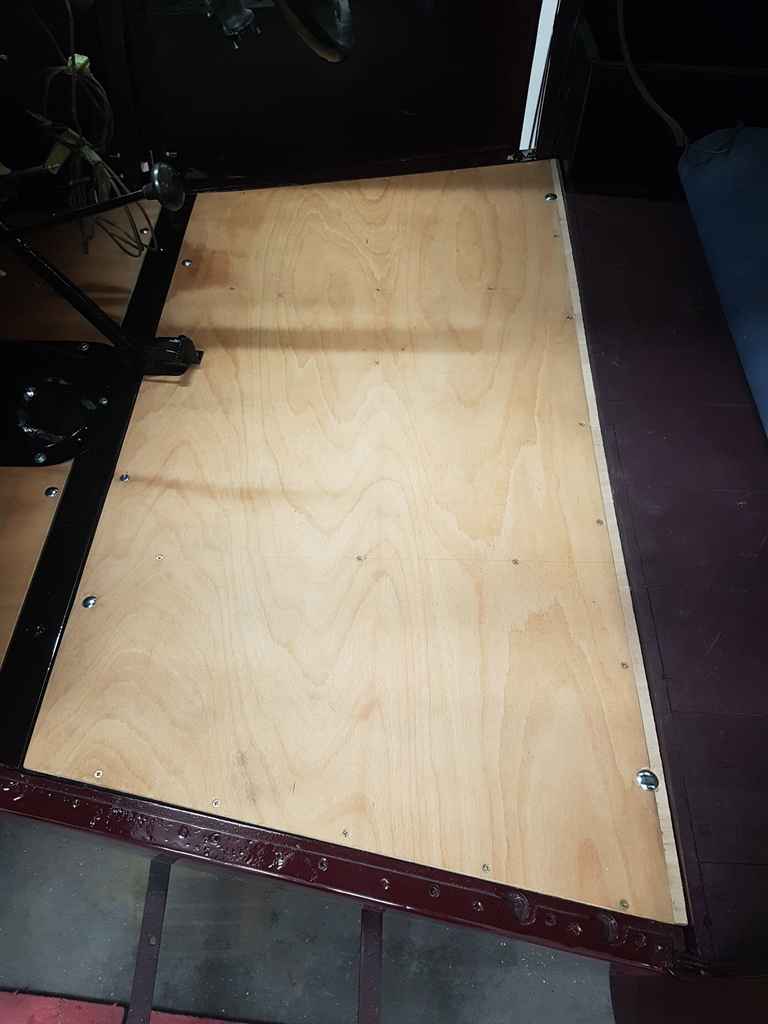 The rear two coach bolts being critical has these bolt the body to the chassis at this point 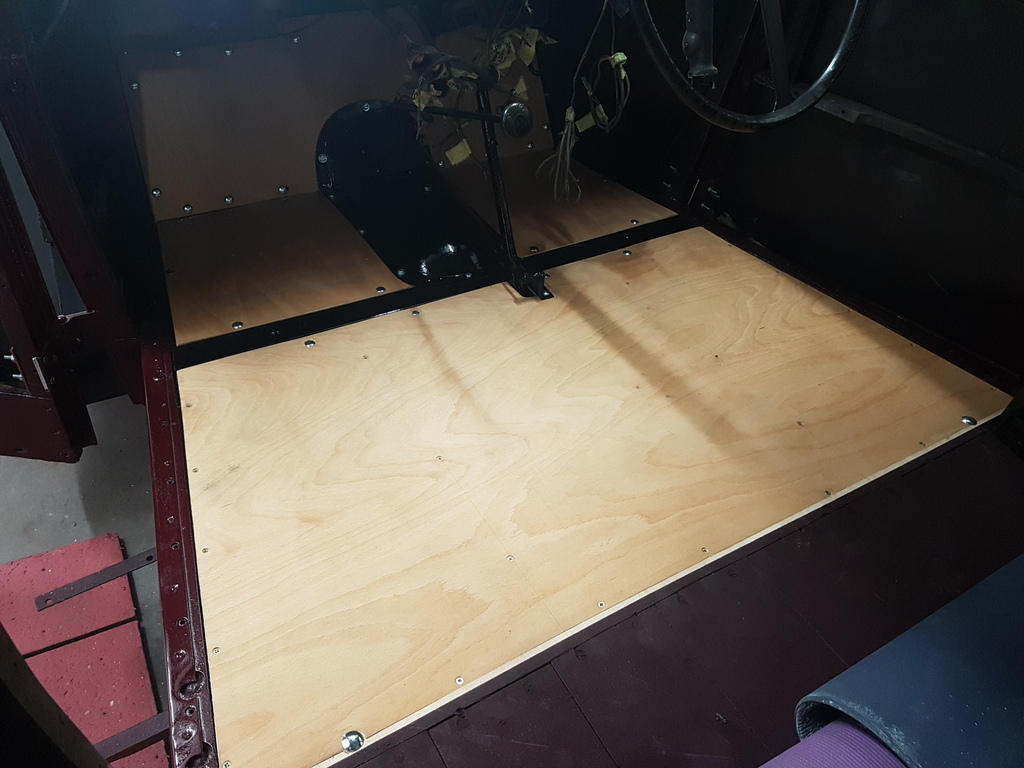 Opened another package to find a whiskey box 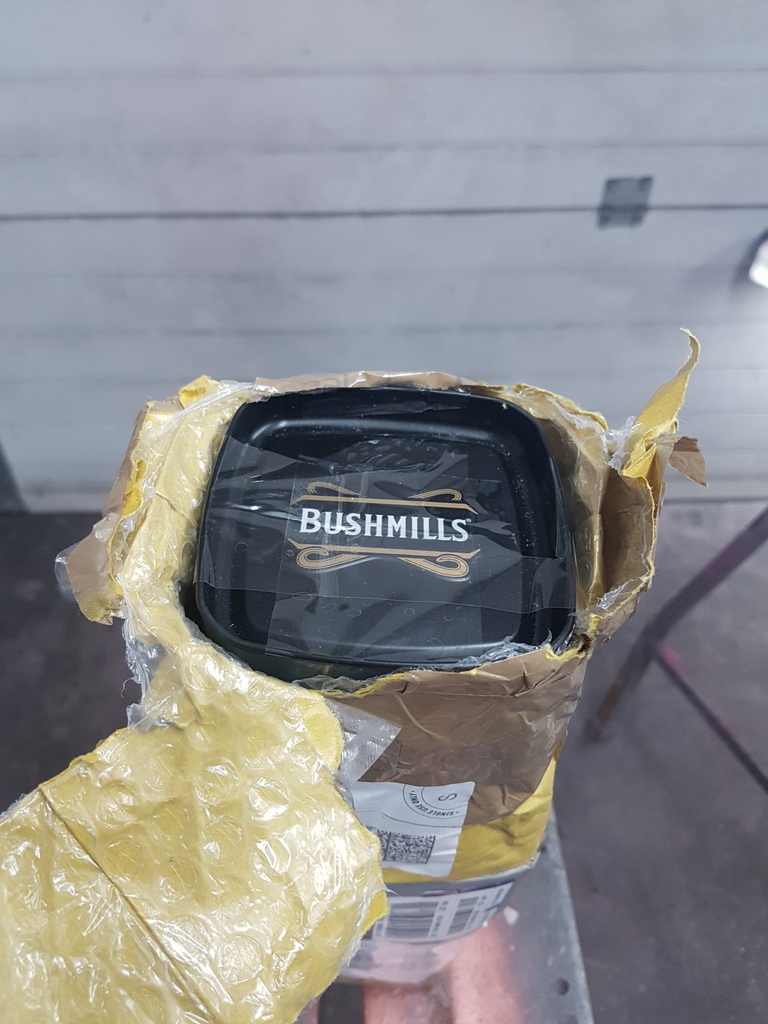 However no bottle but a pair of rebuilt 6 volt trafficators 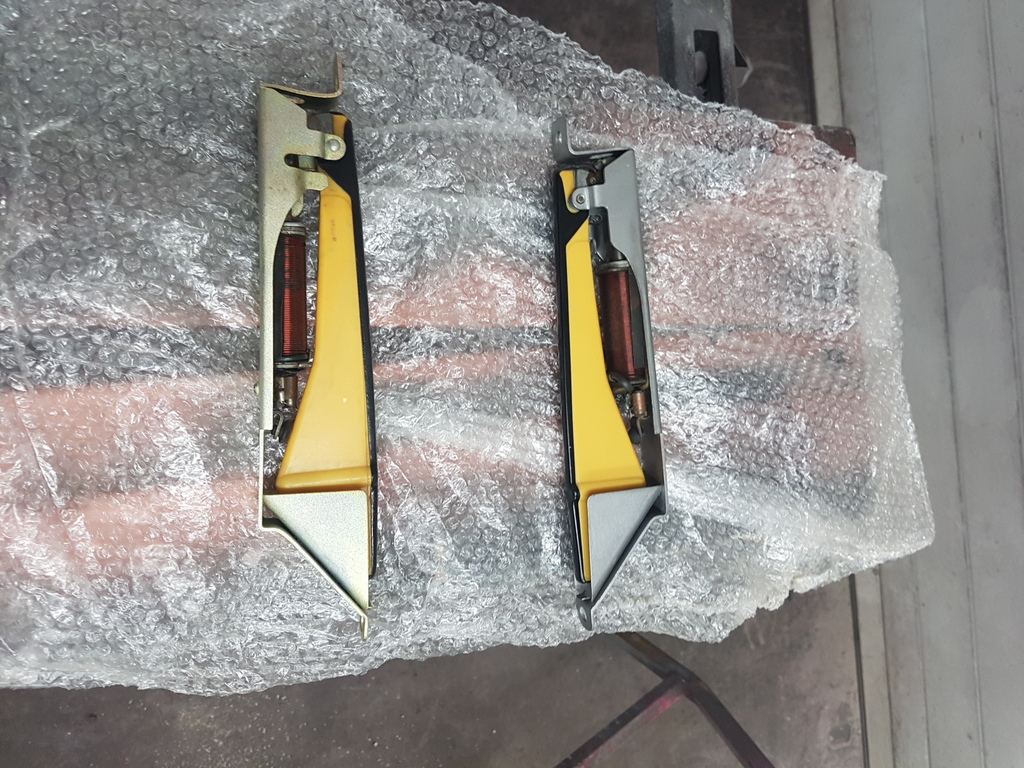 The offside panel is new and required drilling for the trafficator fastenings 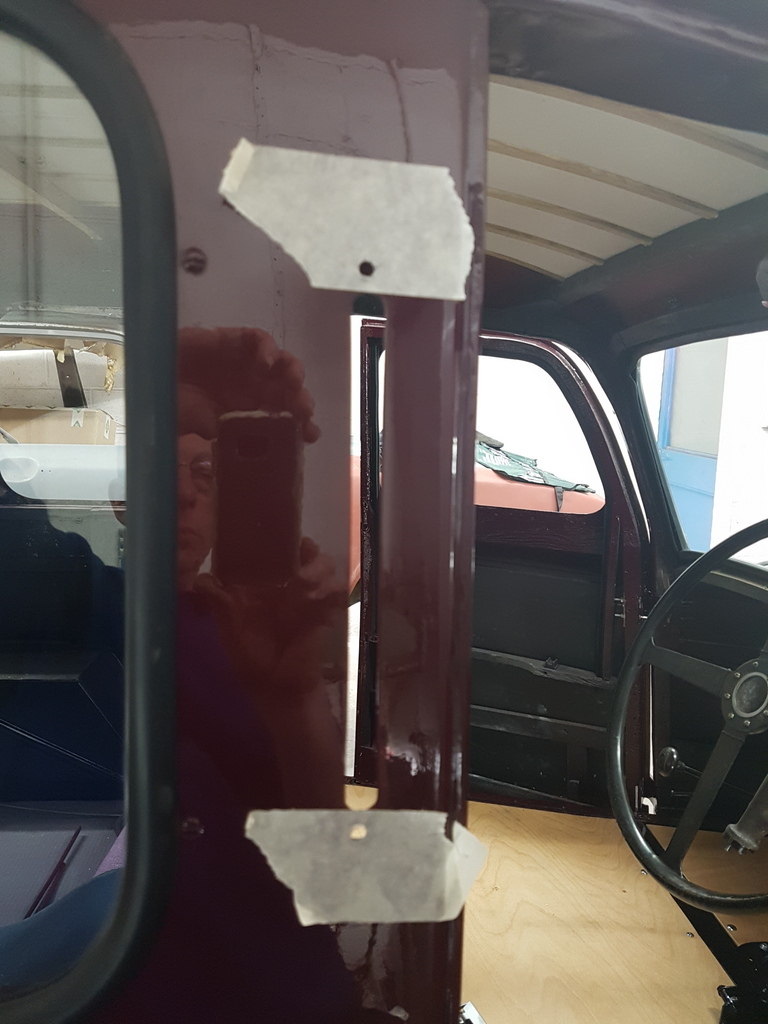 Tip for drilling through a painted panel is to always apply masking tape over the area to be drilled - it prevents the drill from slipping across the paint 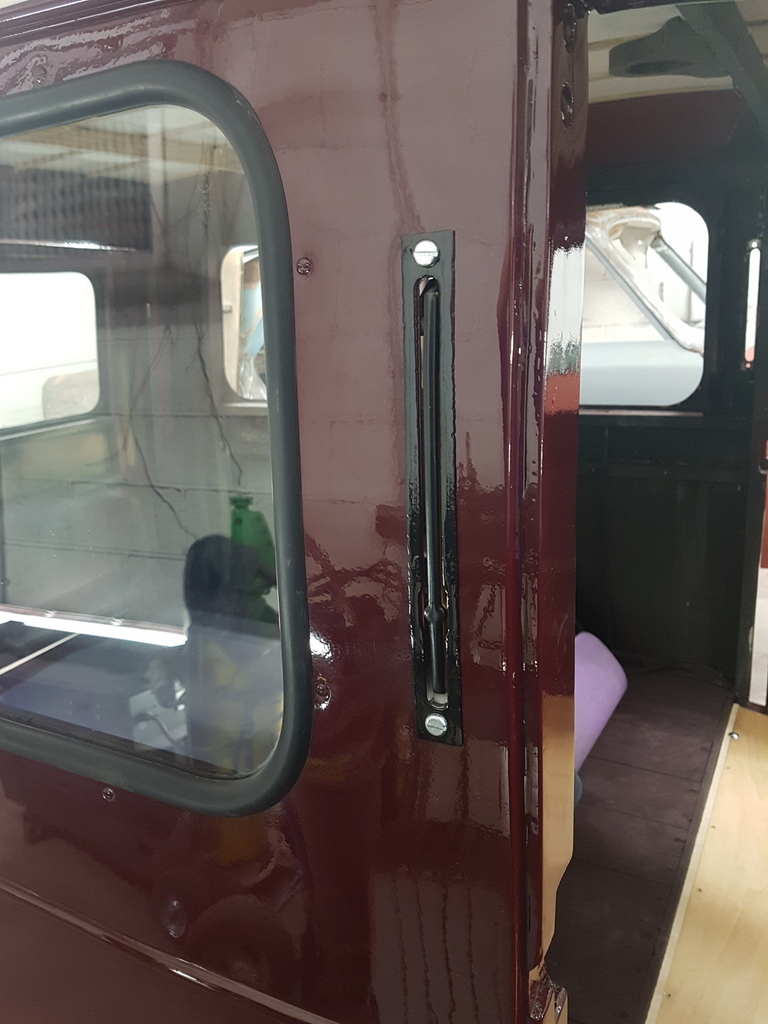 The plated machine screws look a bit bright so I will paint these in black 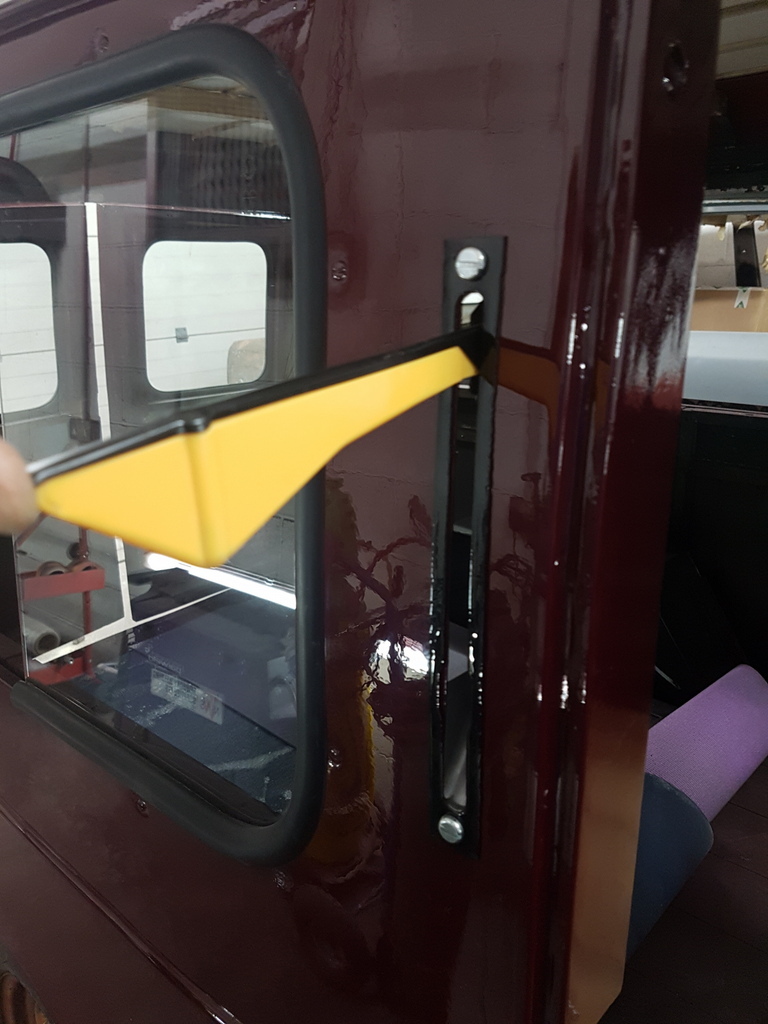 There is a box cover that goes over the internals of the trafficator but I will leave these off until tested 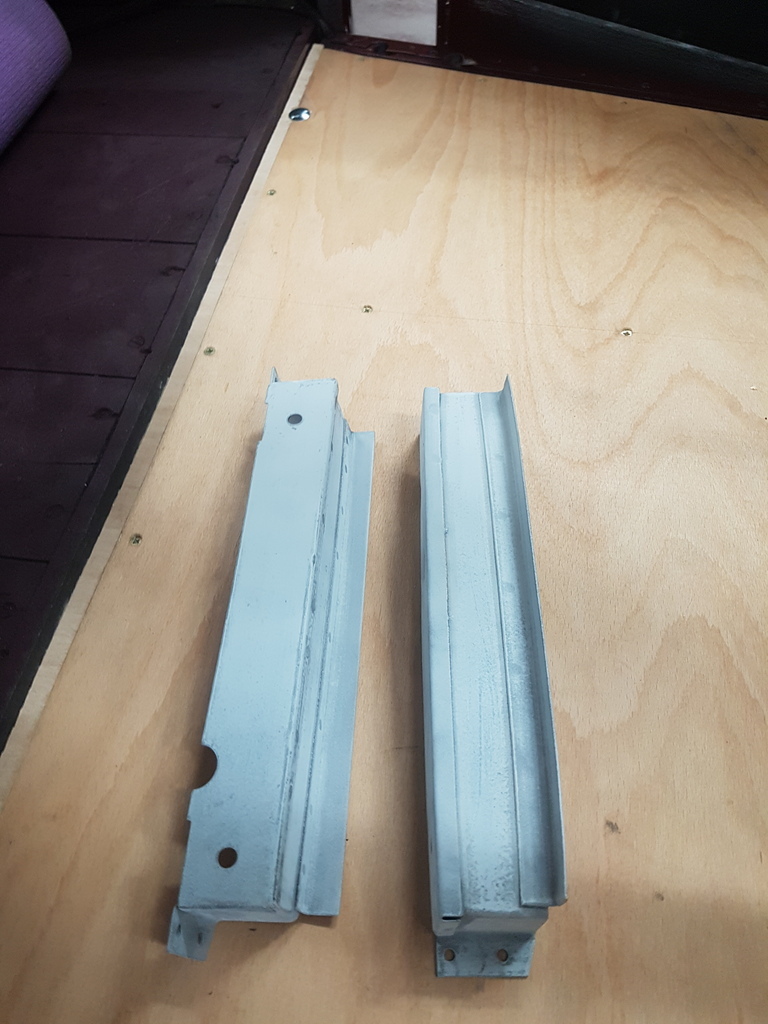 I need to polish the paint on the panel before fitting the nearside trafficator 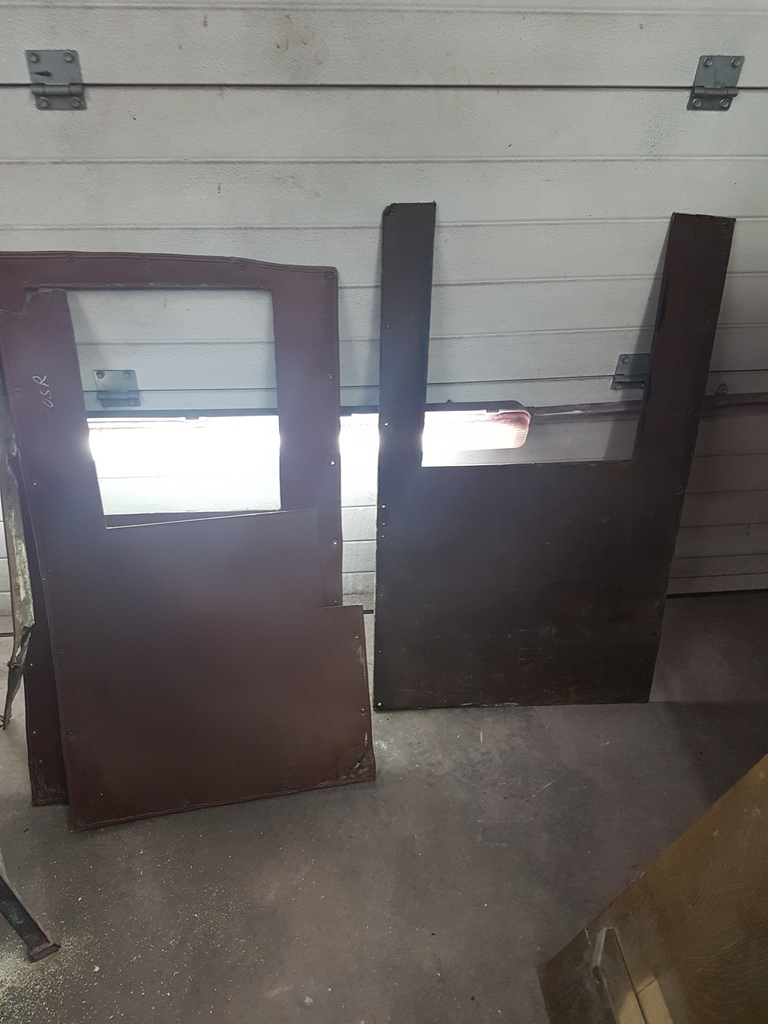 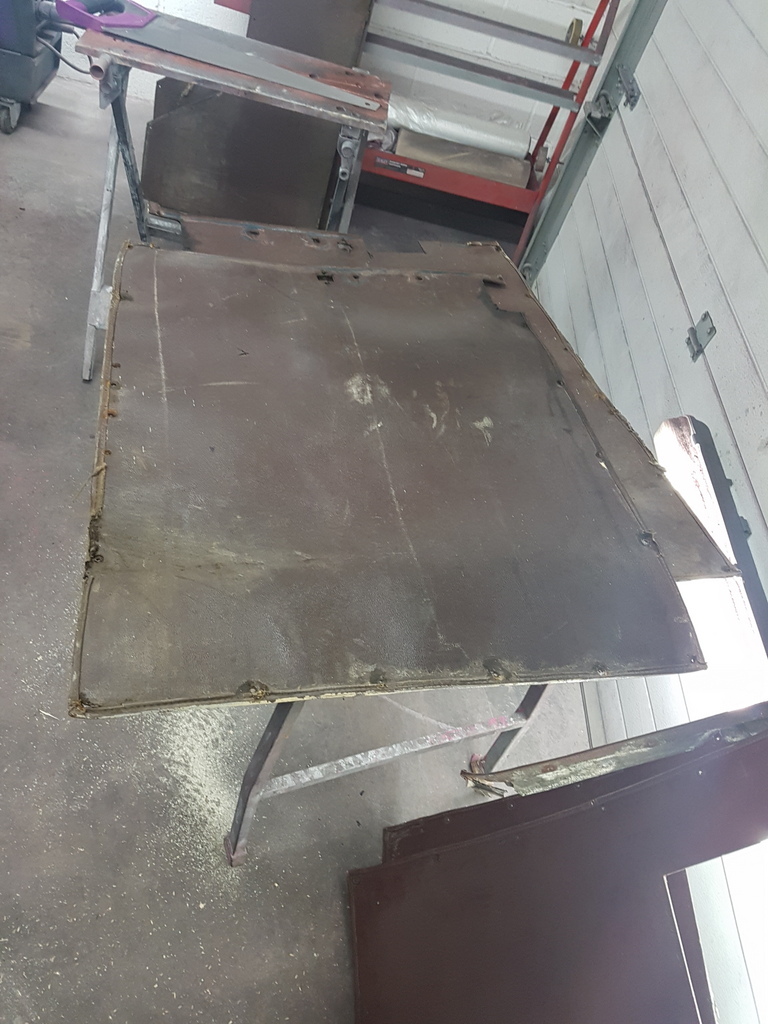 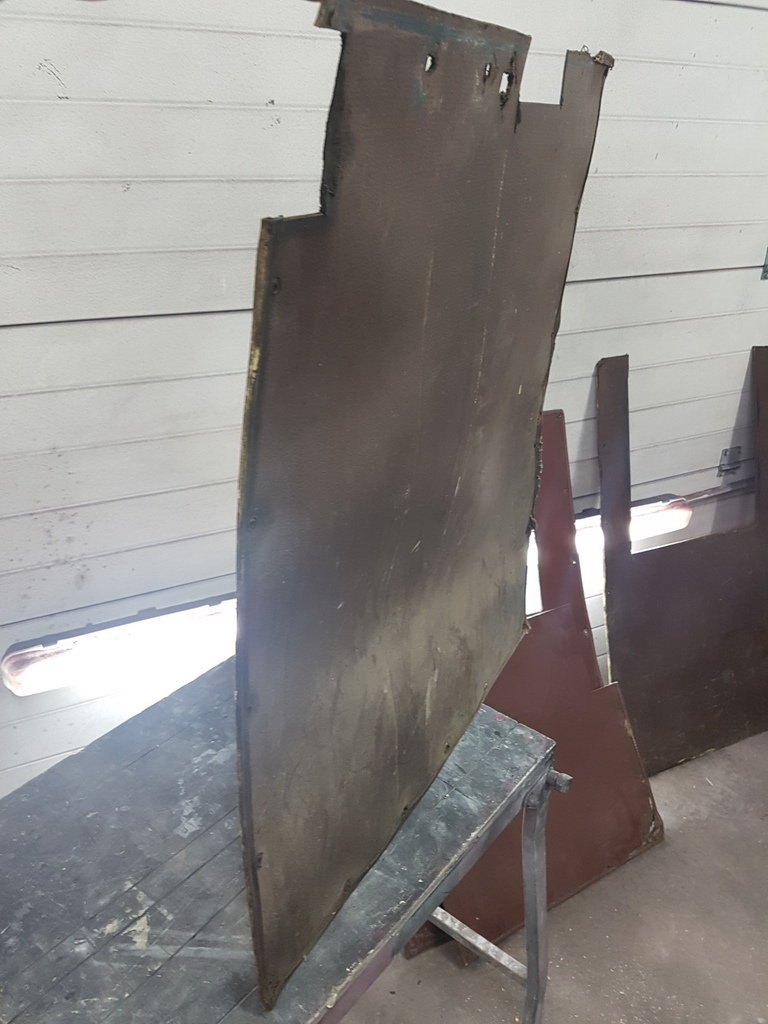 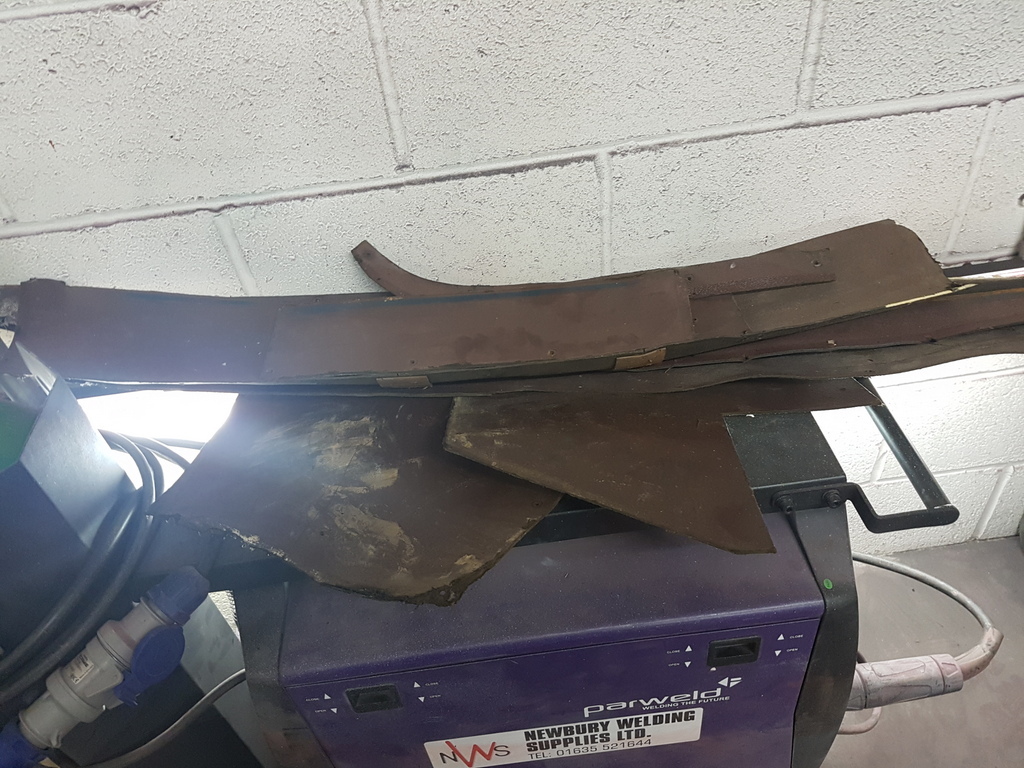 Dug all the interior coverings out of the loft - this is 'millboard' a cross between a hardboard and a compressed cardboard - one side has a slightly grained finish to it - the original has all been warped by damp at some stage - I kept them for patterns so one of the next tasks is checking the coverings for fit prior to cutting the new ones from the millboard sheet that I collected at the restoration show |
| |
|
|
|
|
|
Mar 28, 2018 23:48:31 GMT
|
|
always educational and inspiring, Grumpy!
JP
|
| |
I know its spelled Norman Luxury Yacht, but its pronounced Throat Wobbler Mangrove!
|
|
vulgalour
Club Retro Rides Member
Posts: 7,285
Club RR Member Number: 146
|
|
|
|
|
I learned something new about wipers in this update. I did wonder why the vans that had two wipers had a link and why some vans only had one wiper. I imagine twin wipers was something of a luxury on commercials of the period and the link was a cost effective way of updating an old van. A neighbour way back when had a Series 2a Landrover that had two wiper motors, one for each wiper, so they always had a unique wiping pattern between the two of them. I don't know if it was an owner upgrade or factory, but the linked wiper solution certainly makes more sense.
|
| |
|
|
glenanderson
Club Retro Rides Member
Posts: 4,356
Club RR Member Number: 64
|
|
|
|
I learned something new about wipers in this update. I did wonder why the vans that had two wipers had a link and why some vans only had one wiper. I imagine twin wipers was something of a luxury on commercials of the period and the link was a cost effective way of updating an old van. A neighbour way back when had a Series 2a Landrover that had two wiper motors, one for each wiper, so they always had a unique wiping pattern between the two of them. I don't know if it was an owner upgrade or factory, but the linked wiper solution certainly makes more sense. Passenger side wiper was a cost option when new on pre-67 Land-Rovers. You do still, occasionally, see vehicles with just one fitted on the driver’s side, but most of them these days have had a second one now. Pretty much everything beyond the bare minimum needed to make it move was a cost option on early Land-Rovers, the basic price didn’t even buy you a roof. The “Optional Equipment” catalogue is massive. You could have easily doubled the starting price of the motor. I imagine that the Bradford was the same. |
| |
My worst worry about dying is my wife selling my stuff for what I told her it cost...
|
|
|
|
|
|
|
I learned something new about wipers in this update. I did wonder why the vans that had two wipers had a link and why some vans only had one wiper. I imagine twin wipers was something of a luxury on commercials of the period and the link was a cost effective way of updating an old van. A neighbour way back when had a Series 2a Landrover that had two wiper motors, one for each wiper, so they always had a unique wiping pattern between the two of them. I don't know if it was an owner upgrade or factory, but the linked wiper solution certainly makes more sense. Passenger side wiper was a cost option when new on pre-67 Land-Rovers. You do still, occasionally, see vehicles with just one fitted on the driver’s side, but most of them these days have had a second one now. Pretty much everything beyond the bare minimum needed to make it move was a cost option on early Land-Rovers, the basic price didn’t even buy you a roof. The “Optional Equipment” catalogue is massive. You could have easily doubled the starting price of the motor. I imagine that the Bradford was the same. My immediate neighbour purchased a new Land Rover Discovery a few months ago and likewise everything is an option - so 50 years on and nothing has changed when it comes to purchasing a new Land Rover - well maybe slightly it came with 3 wipers and not the one has standard |
| |
Last Edit: Mar 29, 2018 8:31:48 GMT by Deleted
|
|
|
|
|
|
|
I learned something new about wipers in this update. I did wonder why the vans that had two wipers had a link and why some vans only had one wiper. I imagine twin wipers was something of a luxury on commercials of the period and the link was a cost effective way of updating an old van. A neighbour way back when had a Series 2a Landrover that had two wiper motors, one for each wiper, so they always had a unique wiping pattern between the two of them. I don't know if it was an owner upgrade or factory, but the linked wiper solution certainly makes more sense. Passenger side wiper was a cost option when new on pre-67 Land-Rovers. You do still, occasionally, see vehicles with just one fitted on the driver’s side, but most of them these days have had a second one now. Pretty much everything beyond the bare minimum needed to make it move was a cost option on early Land-Rovers, the basic price didn’t even buy you a roof. The “Optional Equipment” catalogue is massive. You could have easily doubled the starting price of the motor. I imagine that the Bradford was the same. Seat cushions were an option the very first models ..... Top work Mr Northerner Very in awe of your patience and skills ..... |
| |
|
|
|
|
|
Mar 29, 2018 21:43:09 GMT
|
Load of stuff turned up pretty early via UPS so that meant I could keep going with the glazing 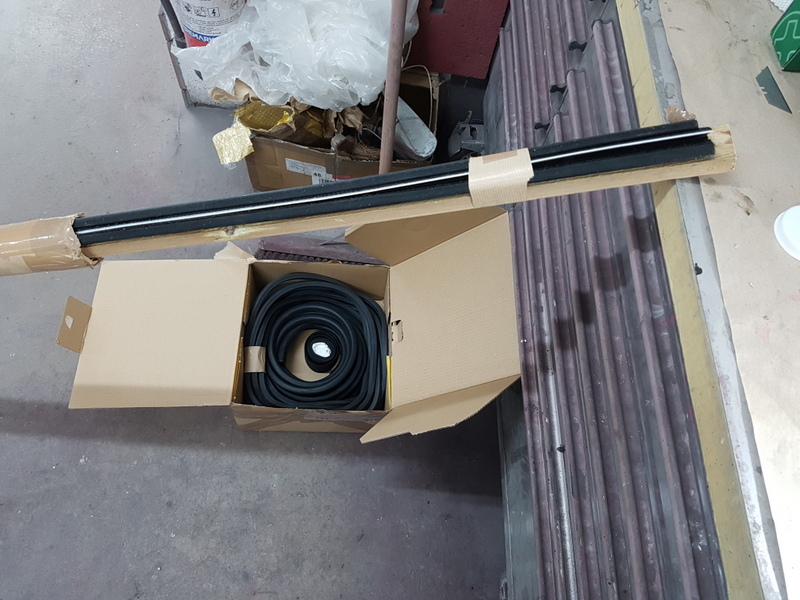 Needed to get the nearside rear panel polished first before fitting the glass 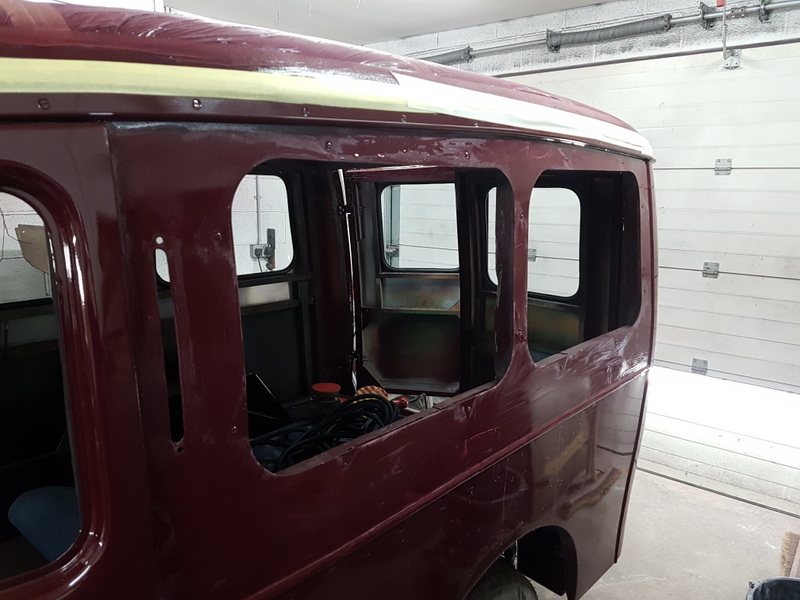 Cleaned the glass up with the machine polisher and a fine compound after I had scraped the paint and other debris off it 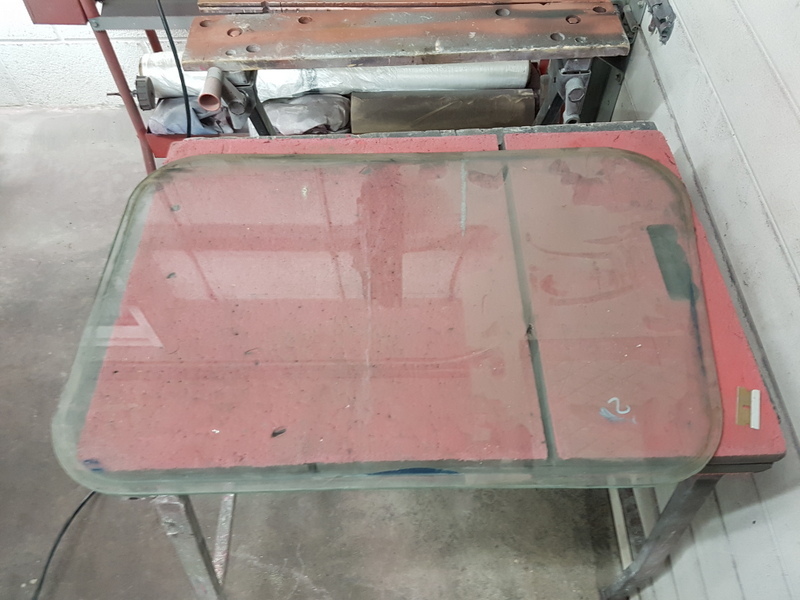 Then fitted the rubber and inserted the string for lipping the rubber over the window aperture 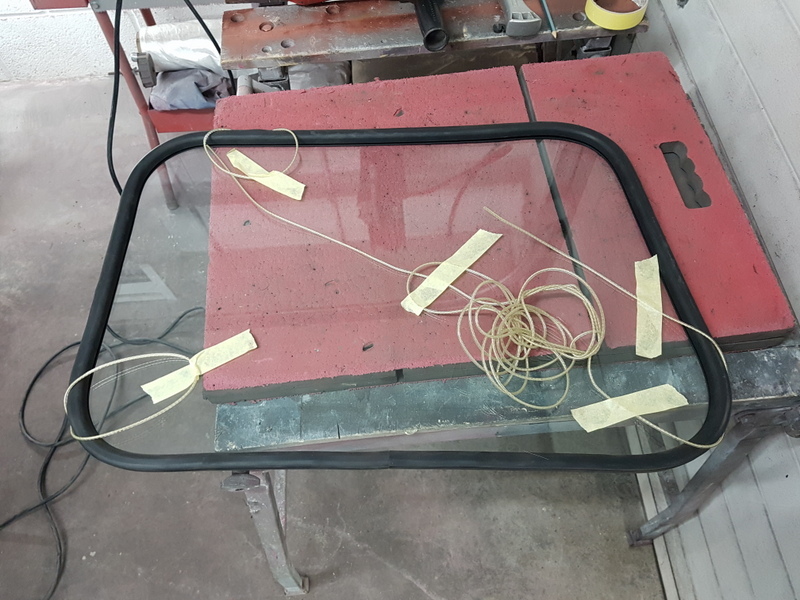 Fitted 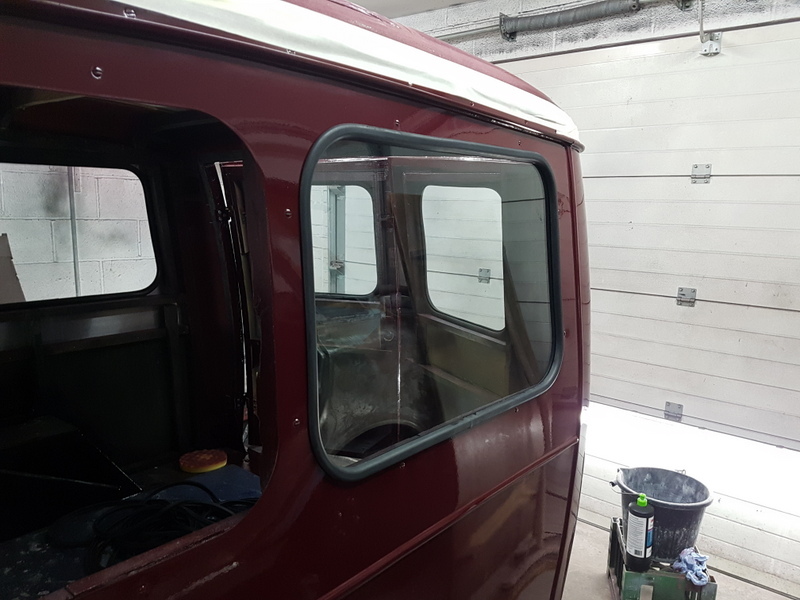 Then fitted the fixed pane of the side sliding glass - I had sourced a rubber of a thinner profile that would look ok all the way around the aperture - the original factory fitting utilised two mismatched rubber sections that were joined in the centres - this new rubber section makes for a better appearance 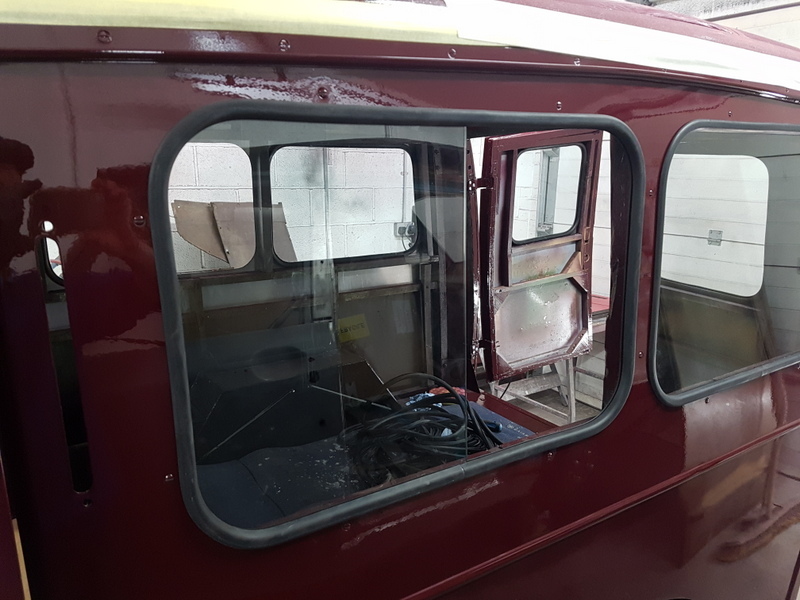 I had sourced a new window channel for the sliding window section 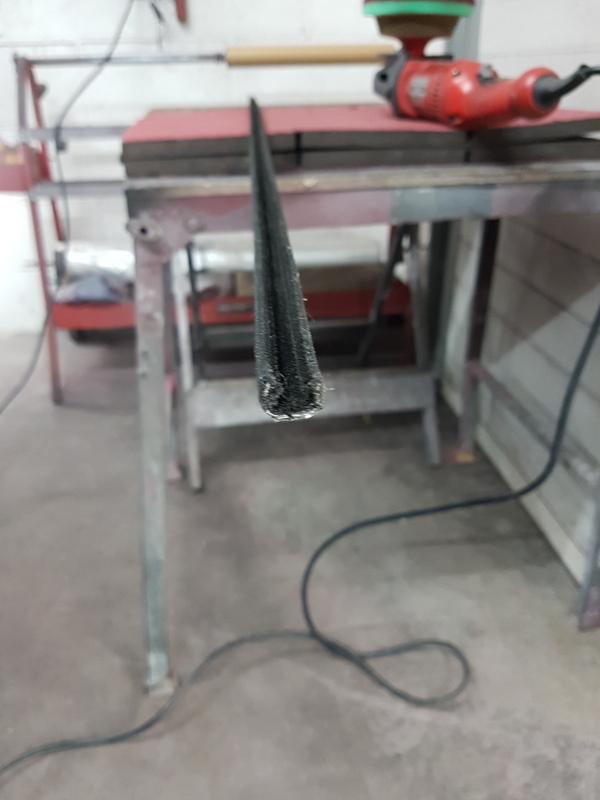 Which was duly cut to length then several drain holes drilled on the bottom channel to allow it to drain rainwater into the rebate and then down the drain tube 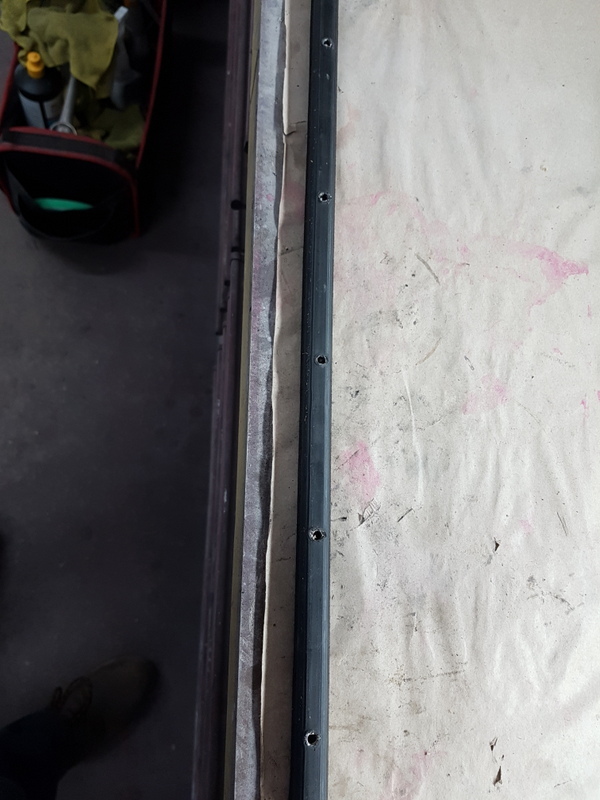 With window channels installed - the sliding window could be fitted 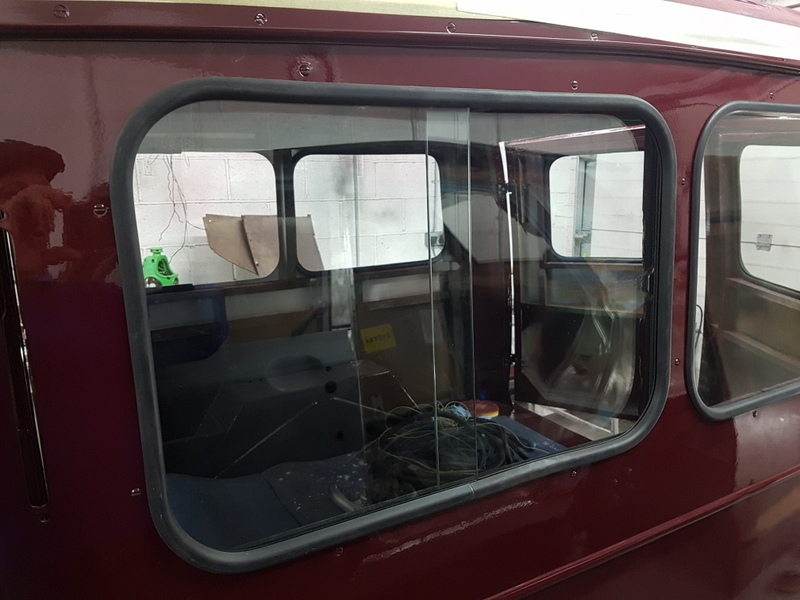 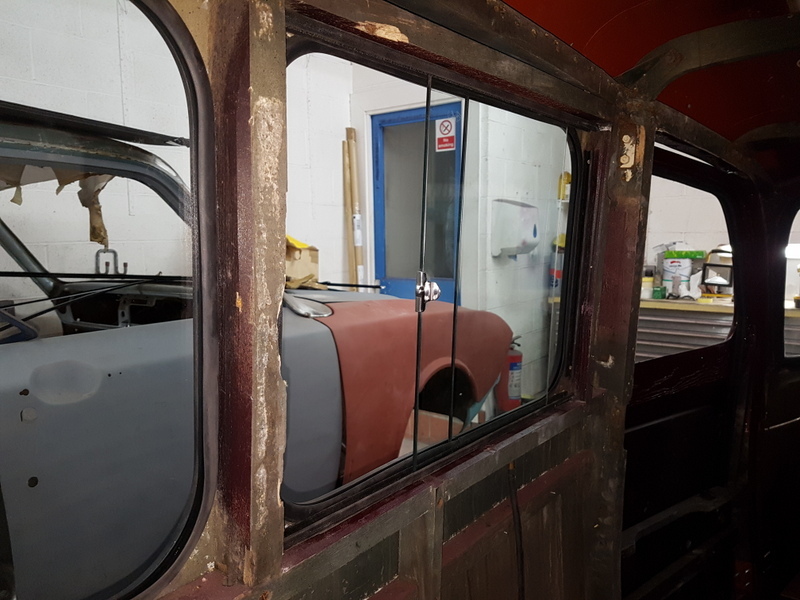 Then a check made on the fit of the interior metal trim (yet to be painted) 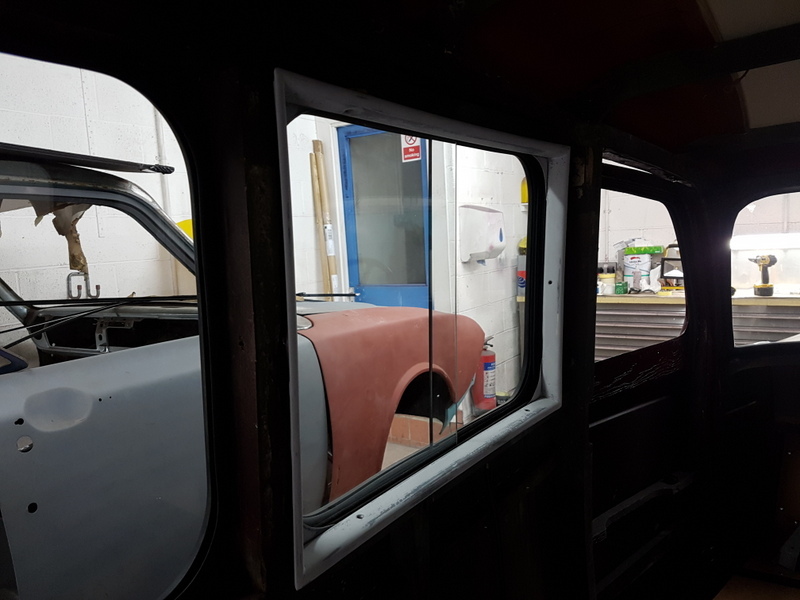 Then repeated the process for the offside sliding window 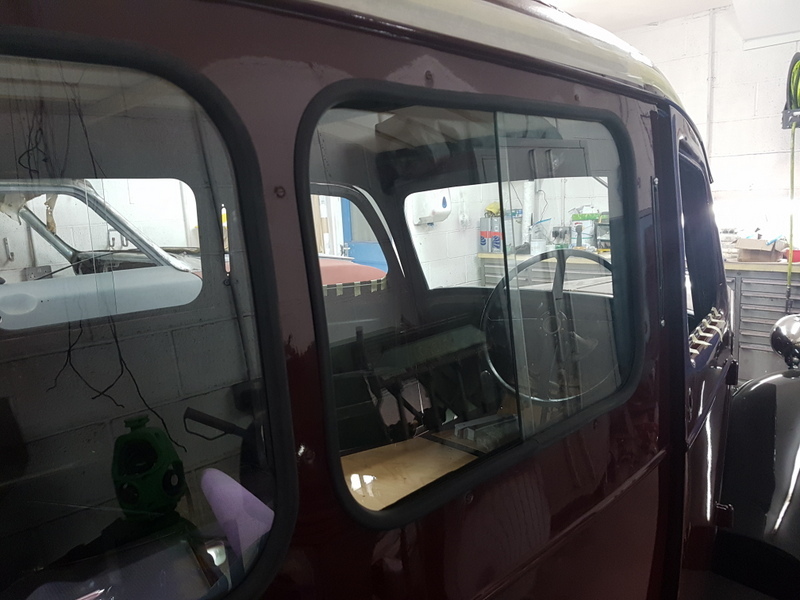 The windows are little stiff in the channels at present but will free up with a little use Next was to cut, shape and fit the window weather strips to the front doors 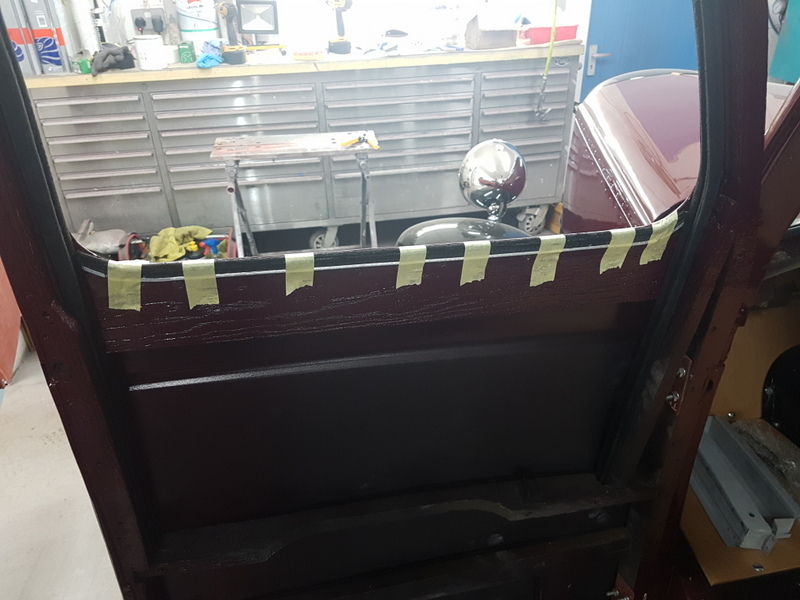 These were originally held on with bifurcated rivets but these just lead to rust forming around the apertures that the rivets travel through - I took the option to bond the weather strips to the door skin 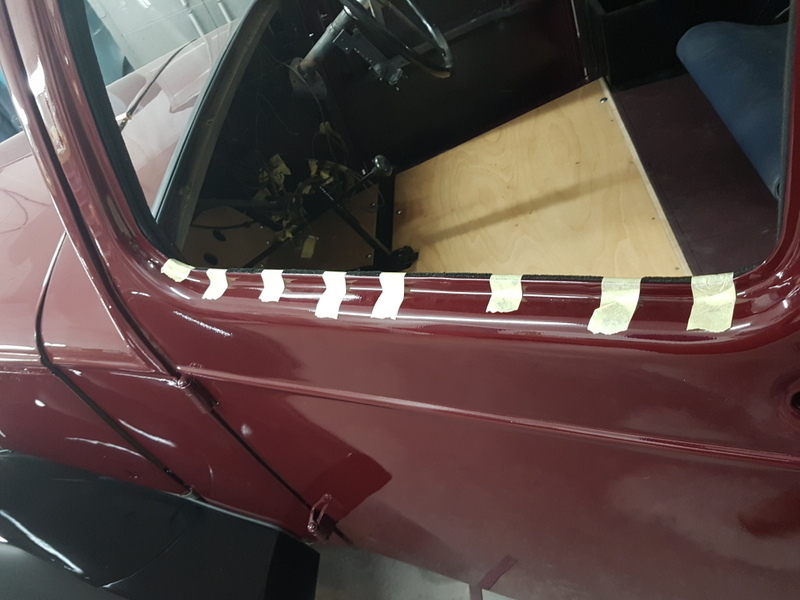 Don't know where the day goes when fitting things like this back together - turn around and it's 19:00 before I know it 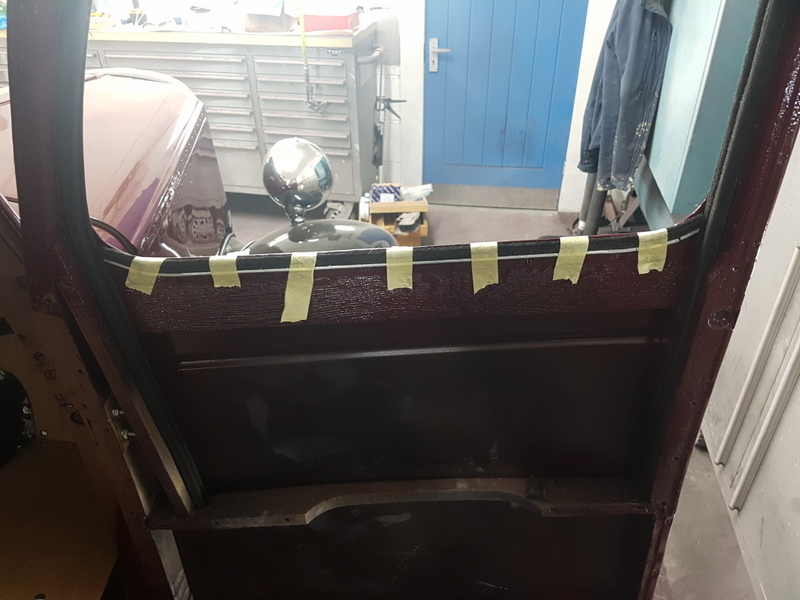 Offside weather strip also completed - I went & collected the cream paint for the interior trims so I should now get all the remaining painted parts completed over the next few days with the exception of the wheels which need to go for sandblasting |
| |
Last Edit: Mar 29, 2018 21:48:22 GMT by Deleted
|
|
eurogranada
Europe
To tinker or not to tinker, that is the question...
Posts: 2,556
|
|
|
|
|
I wonder how you keep the windows from falling out while pulling them in, as you need to set them in place from the inside, but pull the cord from the outside... If I understood correctly. Do you tape them in place temporarily? Or is the wife happy to help at such times?
|
| |
|
|
|
|
|
Mar 30, 2018 19:40:59 GMT
|
I wonder how you keep the windows from falling out while pulling them in, as you need to set them in place from the inside, but pull the cord from the outside... If I understood correctly. Do you tape them in place temporarily? Or is the wife happy to help at such times? Alex - They are tightish fit between the ash frame aperture on the inside so they stay where they are put - I tend to work around the van and always leave the next window adjacent out until the one that you are fitting is completed - that way you can use the adjacent window aperture to reach through and apply pressure to the window being fitted when required - then you can utilise the door aperture on the next window to be fitted |
| |
|
|
|
|
|
Mar 30, 2018 19:56:09 GMT
|
Few odd bits done today - replaced the very defective live feed wiring for the interior roof lamp 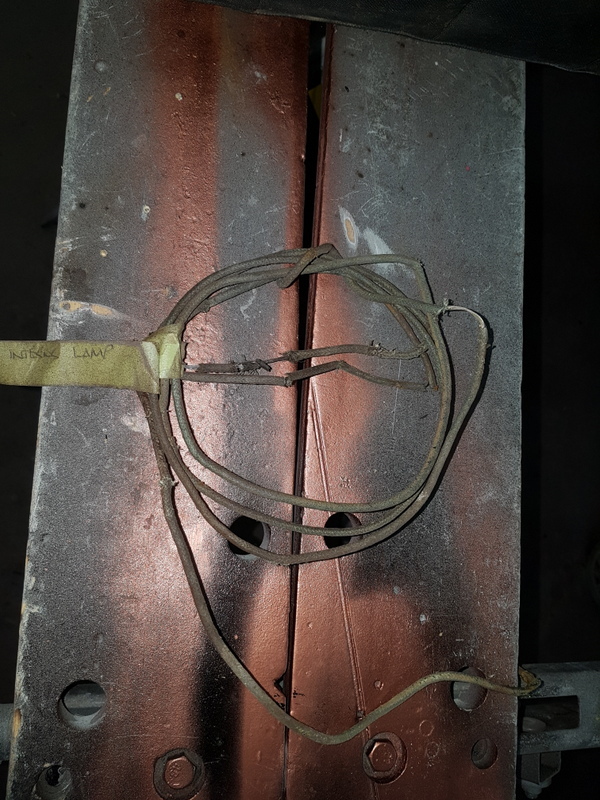 Along with running a new earth in 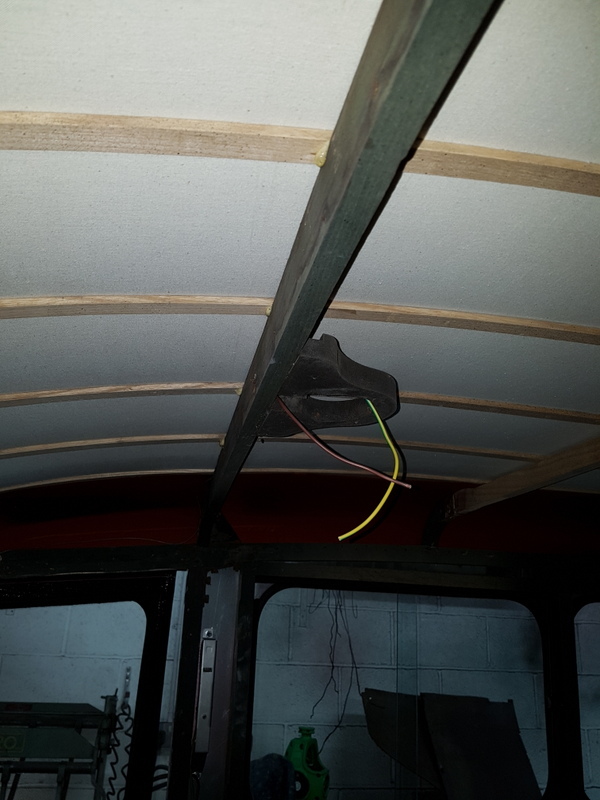 Wired up the wiper motor 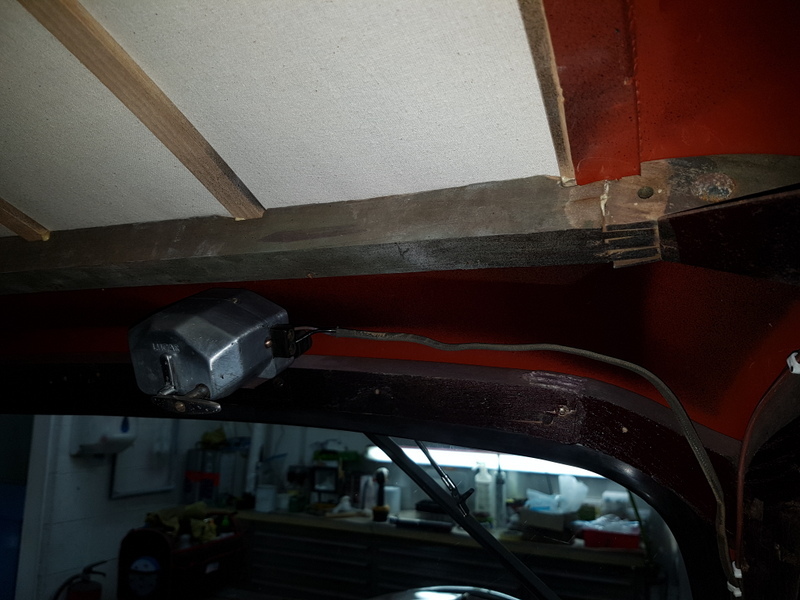 Tried to trace the brake & tail lamp wiring but none of it makes much sense so I will wait until the battery & switchgear is back on the van then I can run some voltage tests Fitted the nearside trafficator once I added a correct ring terminal to the earth rather than rely on the previous twisted wire connection 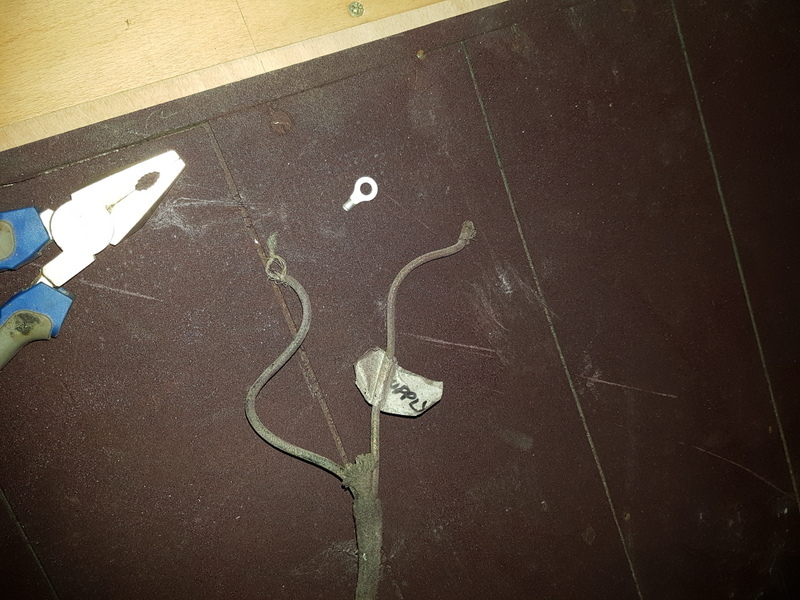 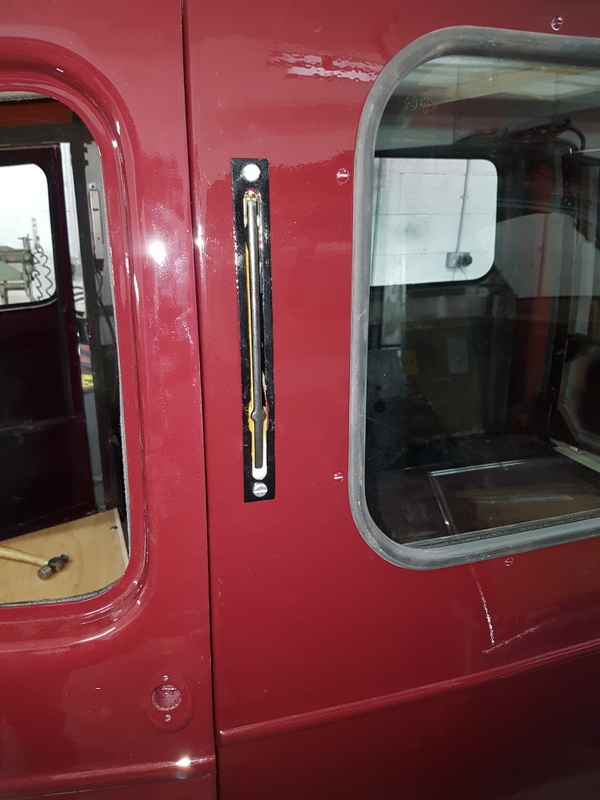 New door catches of the same pattern are no longer available - these work ok but are just scruffy 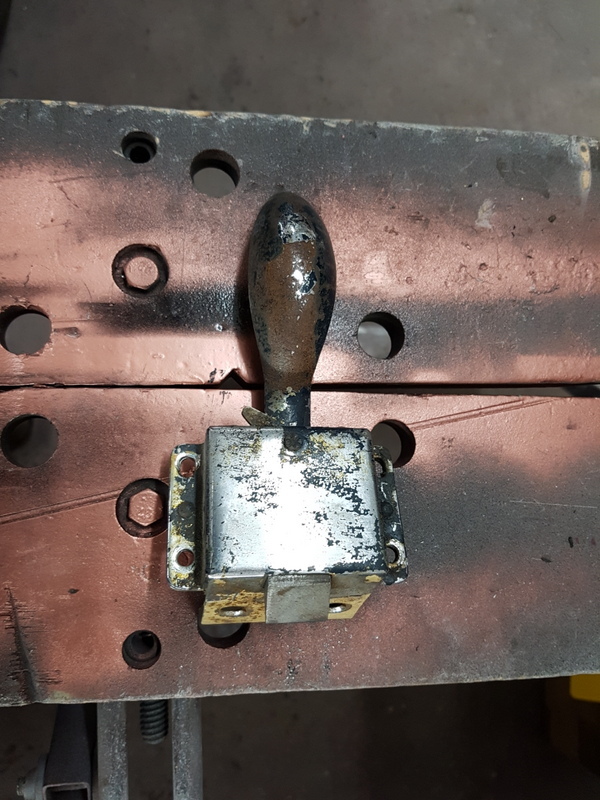 I removed the paint and gave the main body of the catch a clean up so it will be reused - its a plated surface so should be ok - I will have to paint the handle - this would have been chrome plated but the chrome has long gone 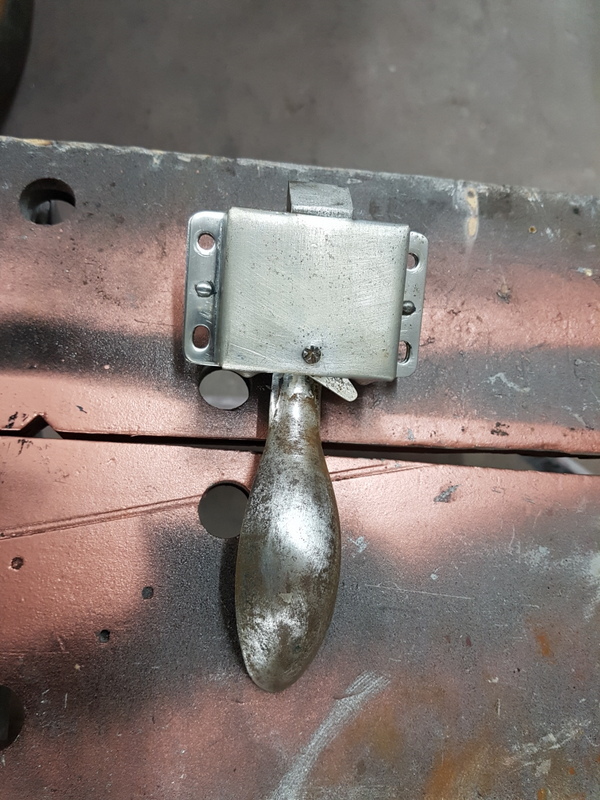 Retrieved the front door windows from storage - they should clean up ok but the slide handles at the top will require a bit of treatment & some paint along with the regulator guide channel at the bottom of the window 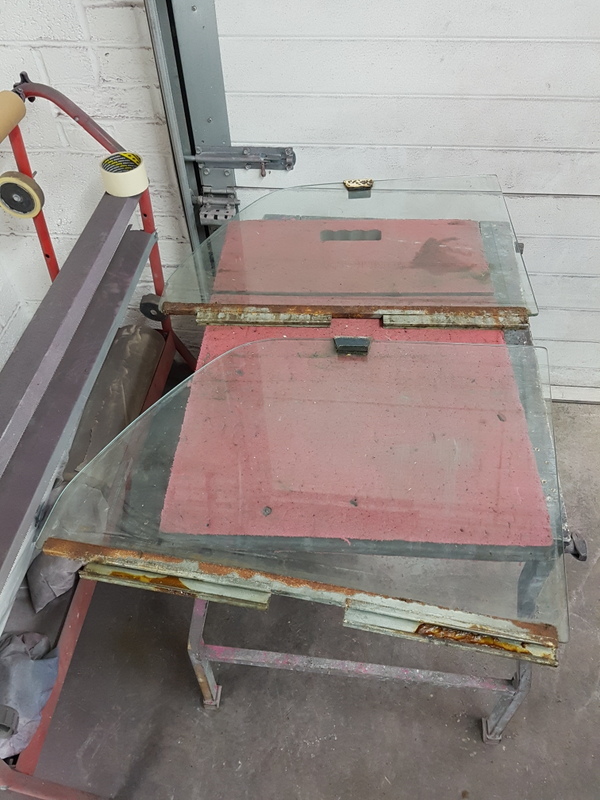 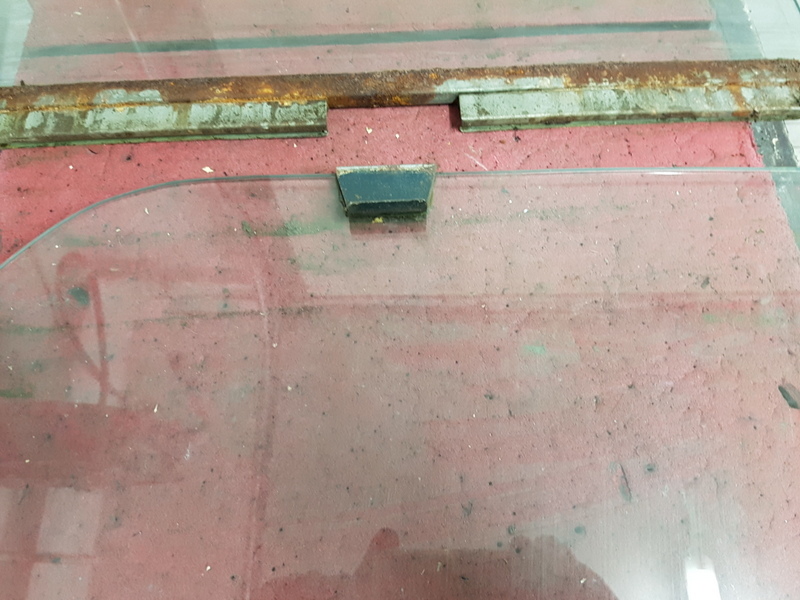 The regulators are just to add spring assistance to the window - the windows are slid up & down manually so no winding handle - these will also require a little de-rusting before being reused 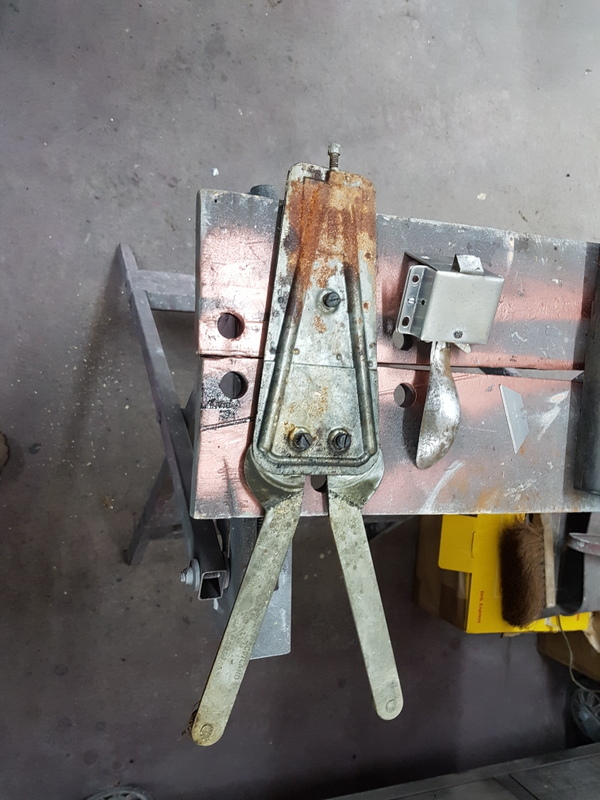 |
| |
Last Edit: Mar 30, 2018 20:00:30 GMT by Deleted
|
|
|
|


