|
|
|
|
|
Yep, screwed up...  ( on the sleep hours ) Which is probably why it didnt bother me to keep going through the night. I had the radio on, softly, and it felt relaxing somehow ( eventhough there is a sense of urgency as soon as the catalyst goes into the resin ) And it was a lot cooler than during the day. I saw the sun come up, at about the time I was done. But I was wrecked the next day...  |
| |
|
|
|
|
|
|
|
|
|
Yep, screwed up...  ( on the sleep hours ) I feel your pain. I currently get 6 hrs max, in 3,4 parts per night. Dream of a 8 hour crash, would be lovely. |
| |
|
|
|
|
|
|
|
Mold came out pretty nice. It needs some bondo on the inside to get it smooth enough, but I'm pretty happy with it... 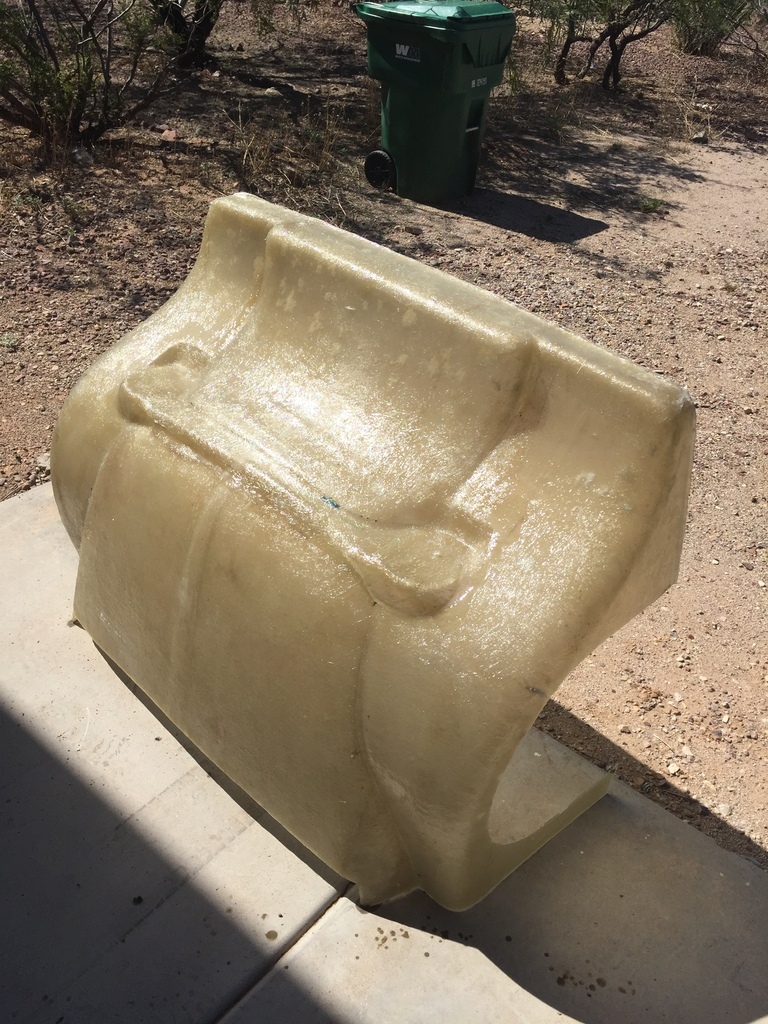 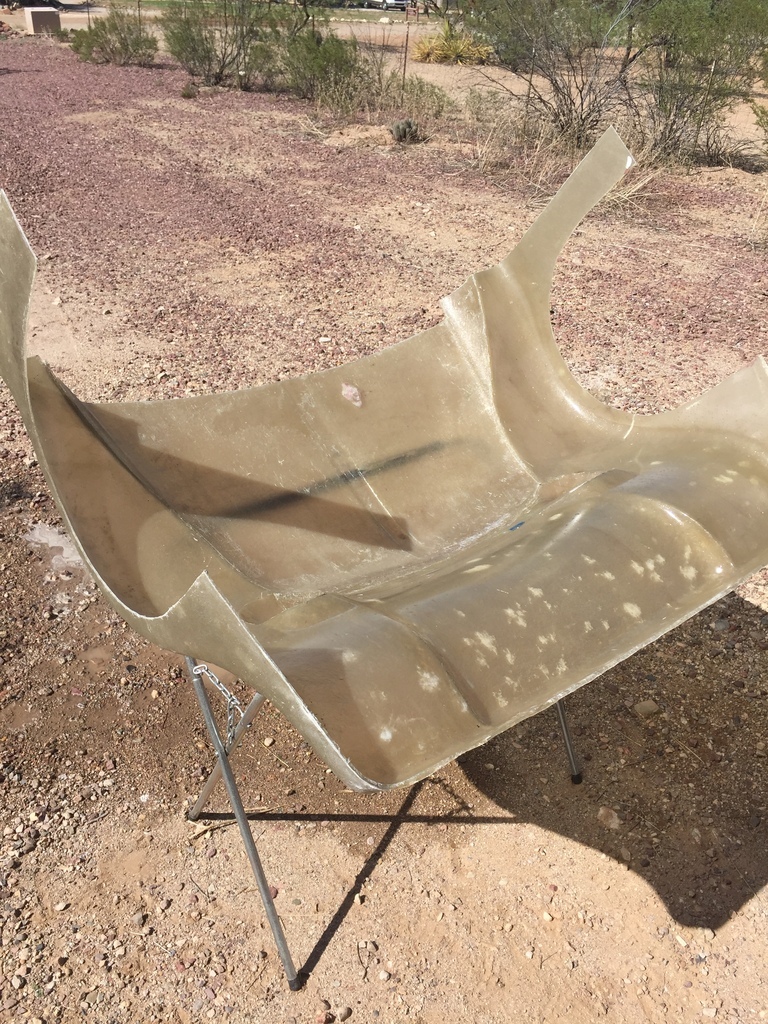 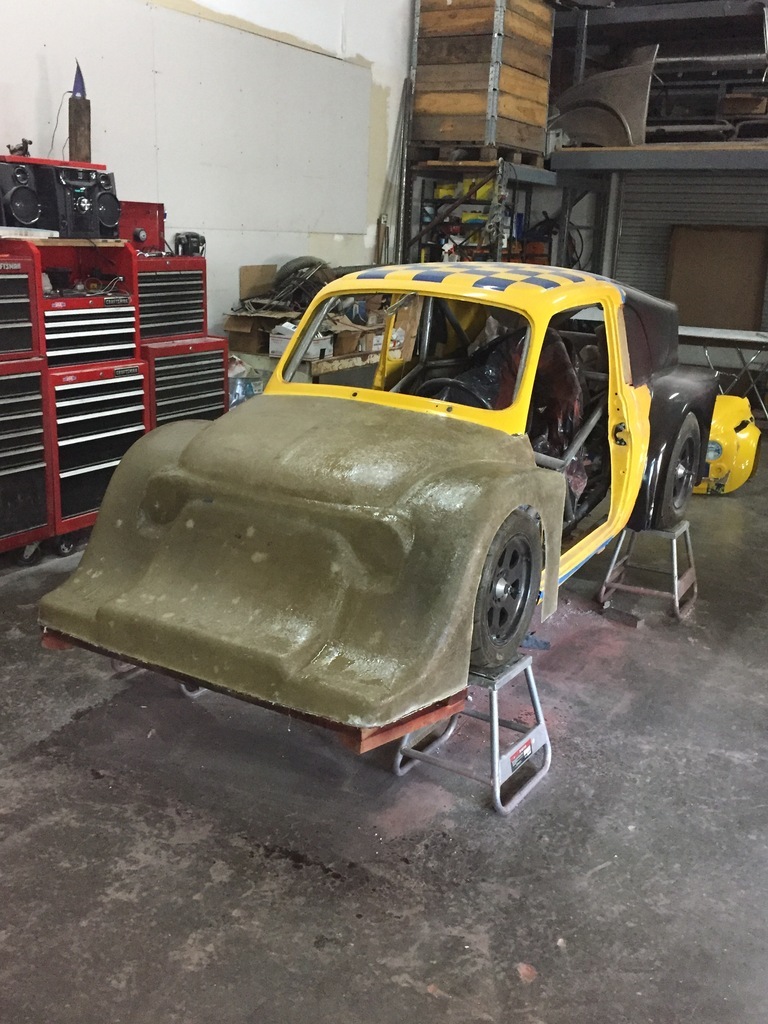 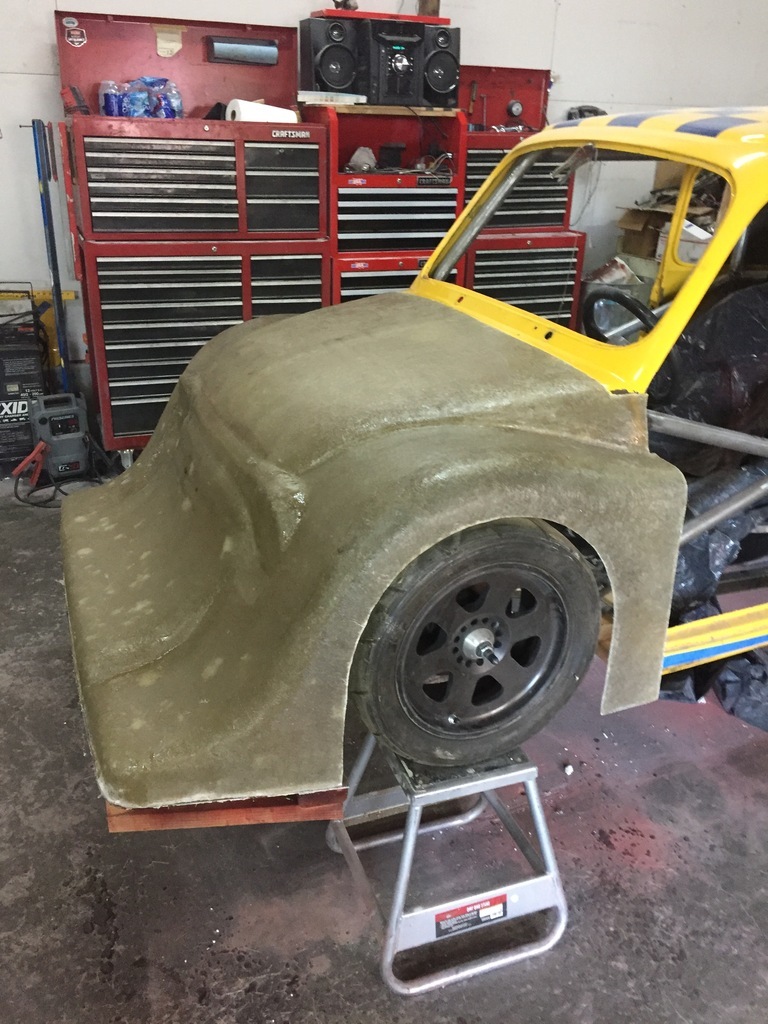 Although this was part of the plan all along, it still feels a bit weird. I put a lot of hours in the styrofoam buck, but its job is done... 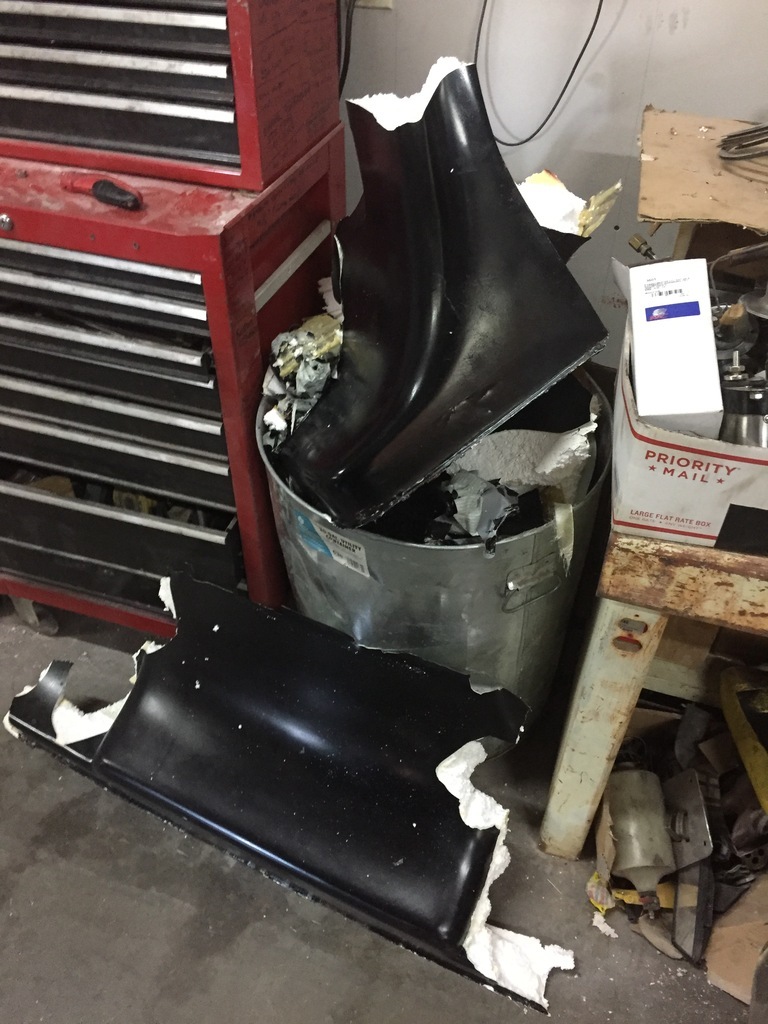 Yep, screwed up...  ( on the sleep hours ) Well, at least you get to go do stuff you enjoy. And of course we sit and wait for every new episode. |
| |
|
|
|
|
|
|
|
|
|
|
Well Done ! ... now what's next ? (settles in chair with tea 'n biccies)
|
| |
|
|
|
|
|
|
|
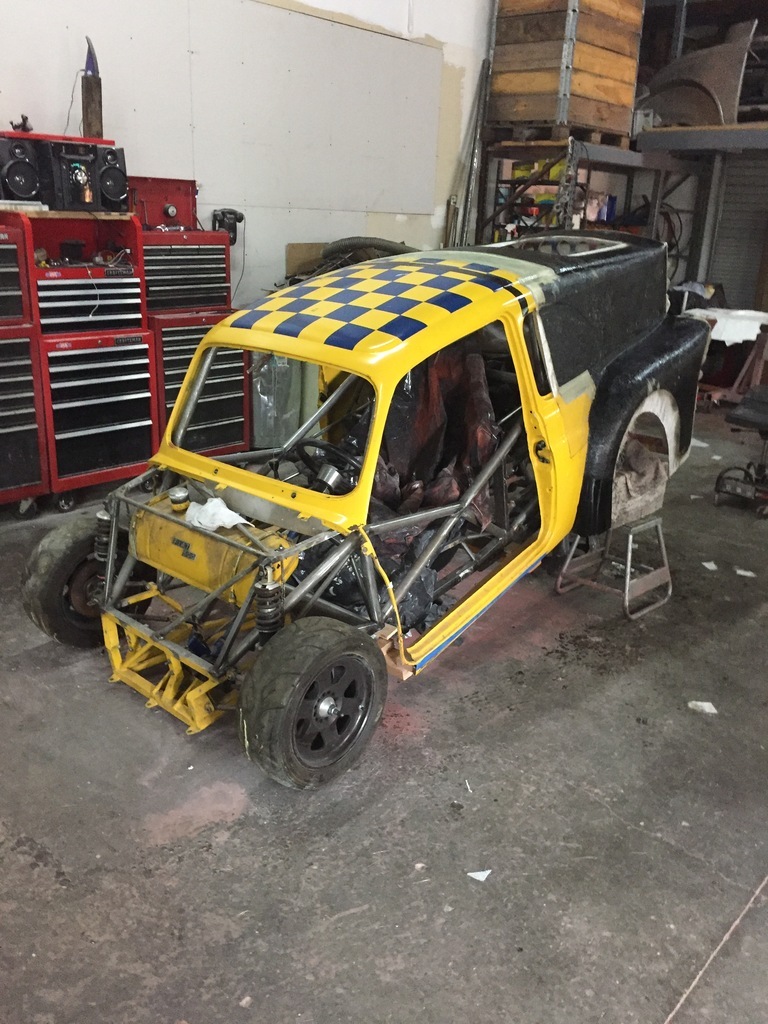
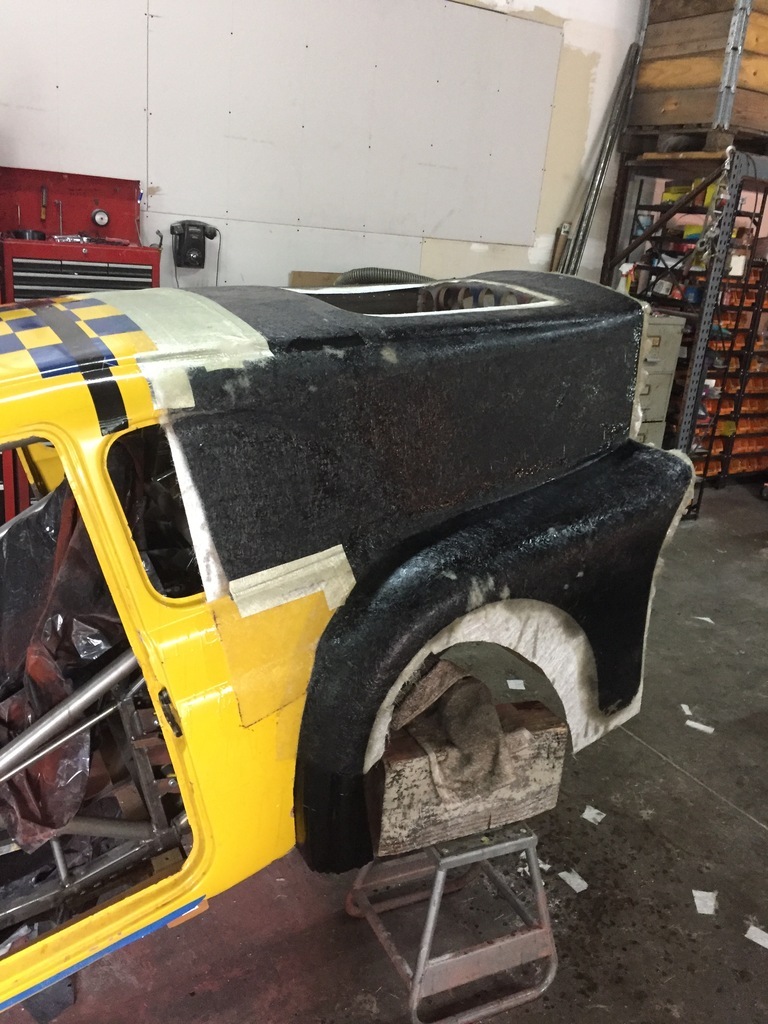
Thanks westbay . Next is the mold for the back. Which will be a 2 part deal. First I'll pull the mold off the breadvan rear including the rear fenders and widened arches. And a little filler piece that will go between the door and the rear fender ( where the back will open up ) When the mold is taken off ( hopefully without too much damage ) I'll remove the breadvan roof, but keep the widened arches. Which will leave a gap, and that will have to be bodyworked. Then I'll pull molds of just the widened arches ( so I can later use those on the steel body, with the original Fiat shaped roof ) Hopefully...  |
| |
|
|
|
|
|
|
|
|
One thing that may complicate things is that I want each mold to be 1 piece.
So the nose is one piece, the rear is, and the roof too, etc.
No seams.
Because I want to leave the body in gelcoat ( to save the expense, time, and weight of a paint job)
There are probably rules about how many degrees the sides need to be out of parallel to release right, but I don't know these rules.
So I'll just try it.
And if it messes up, I'll fix it...
|
| |
|
|
|
|
|
|
|
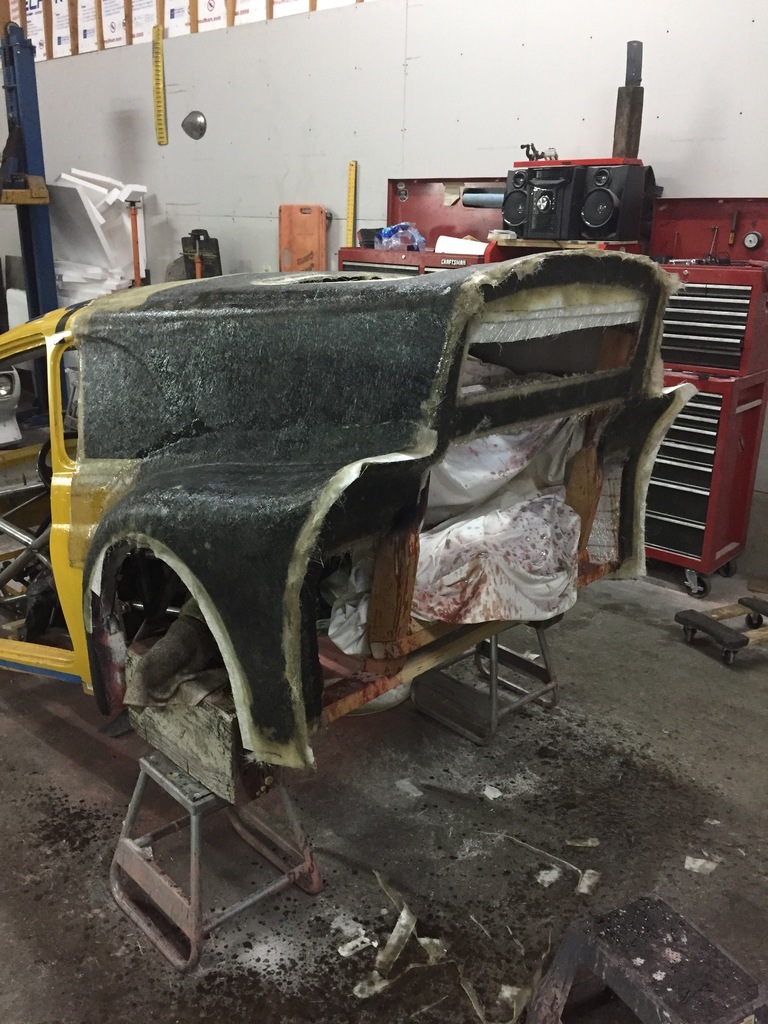
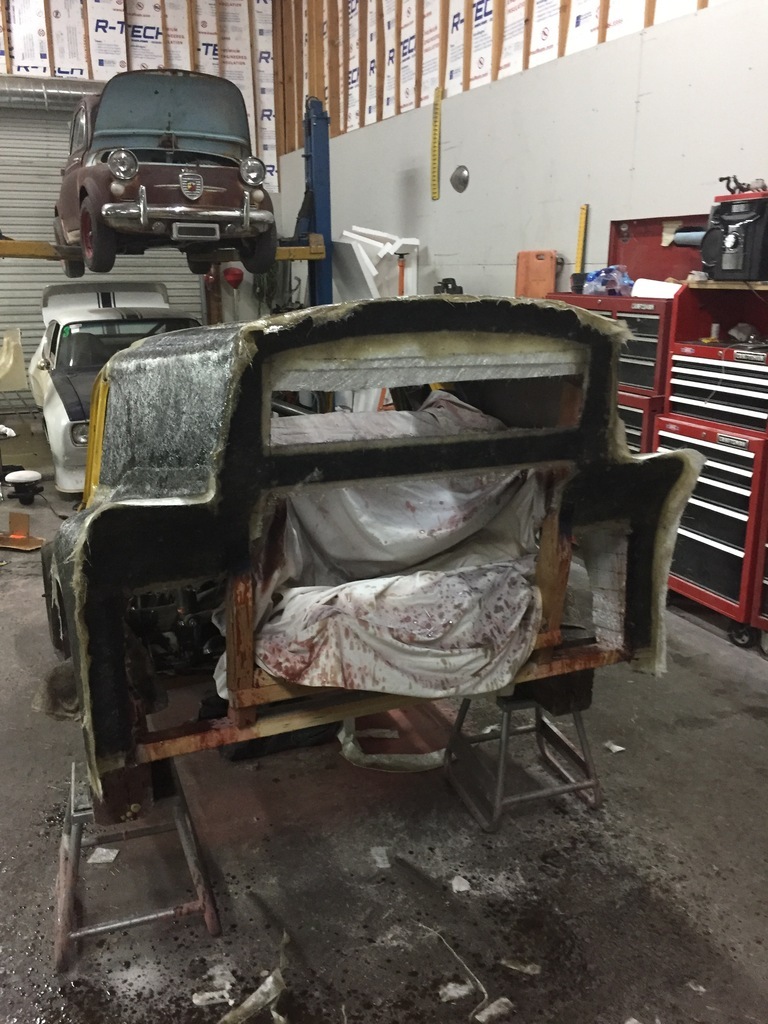
With the nose off, I could put the front wheels on the ground and the rear up as high as possible. This is because of the cove for the taillights. They angle in, so I'd have to put mat & resin up against gravity which was not going to work ( it would just fall off before it would harden ) Getting those surfaces as close to vertical as I could get then made that problem more manageable ( still a problem, but close enough to vertical that I got away with it). 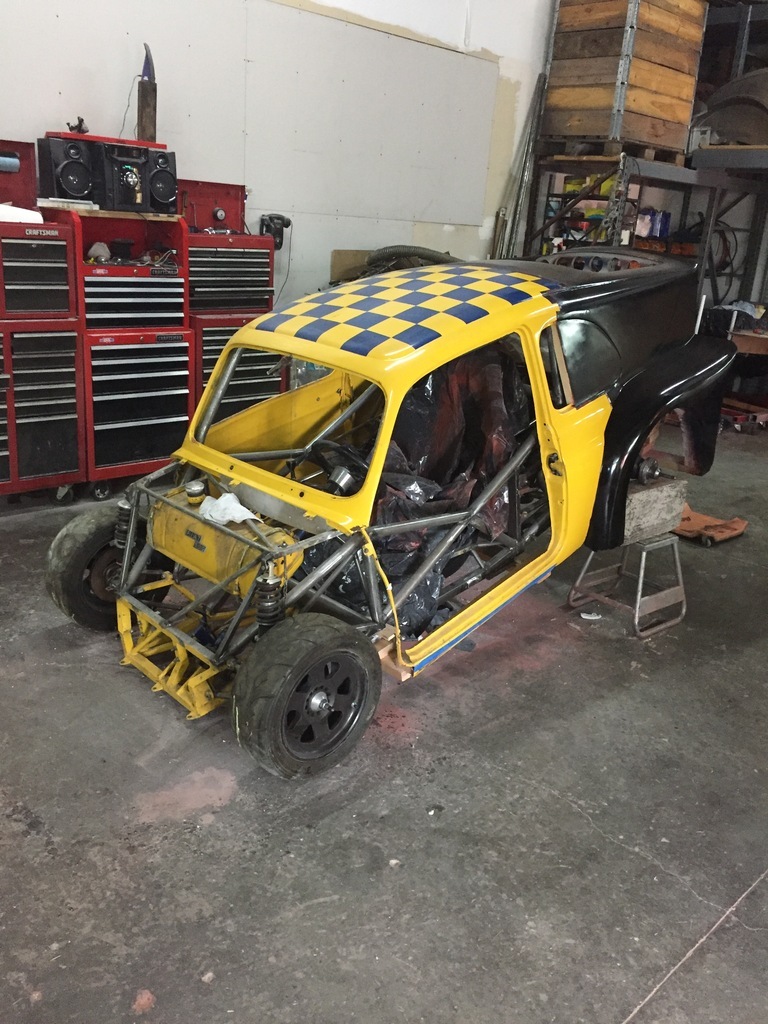 With the nose, I pretty much cut the mat as I went. Which is one of the reasons it took so long. For the Breadvan rear I cut all the mat for all 3 layers in advance. 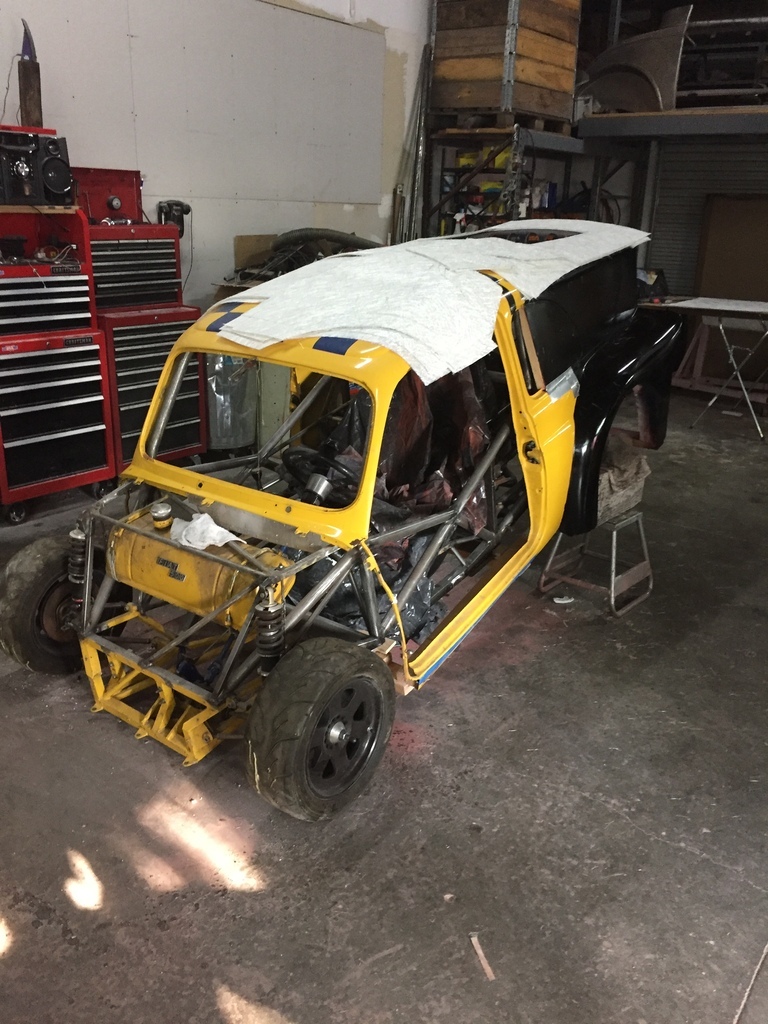 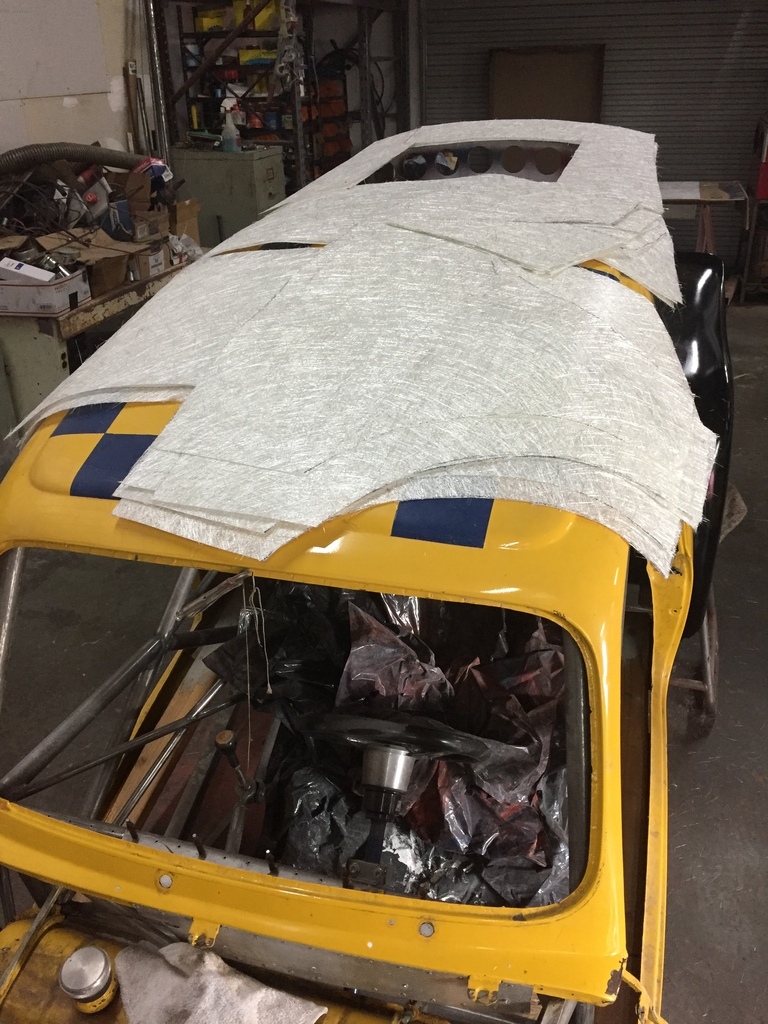 |
| |
|
|
|
|
|
|
|
|
|
I was hoping that the shape I came up with was a releasing shape. I thought it would be, but the area around the taillight coves & trailing edge of the rear fenders was too complicated to be absolutely sure. Turned out I guessed right. It took a couple of chunks of styrofoam out of the buck, but that was because those pieces stuck to the mold more than the strength of the styrofoam ( not a problem, I can repair those and I'll have to do bodywork in that area anyway ) All in all, I'm really happy with how this came out. I'll have to clean up the inside and do some bodywork, which I knew I'd have to, so that's OK. 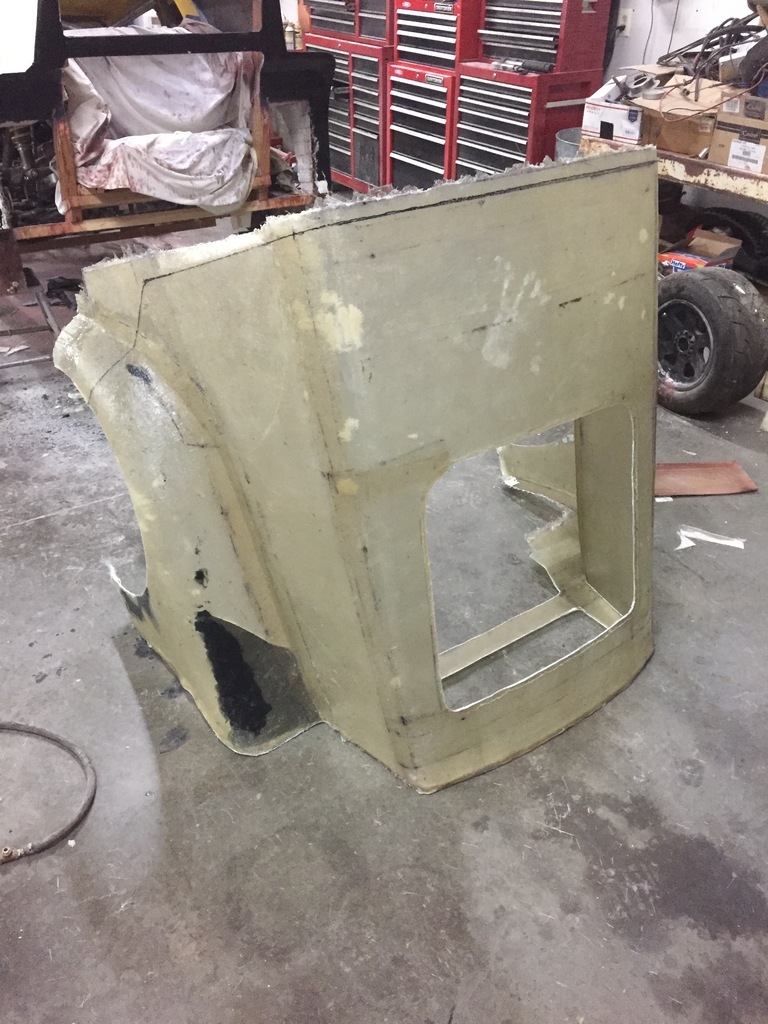 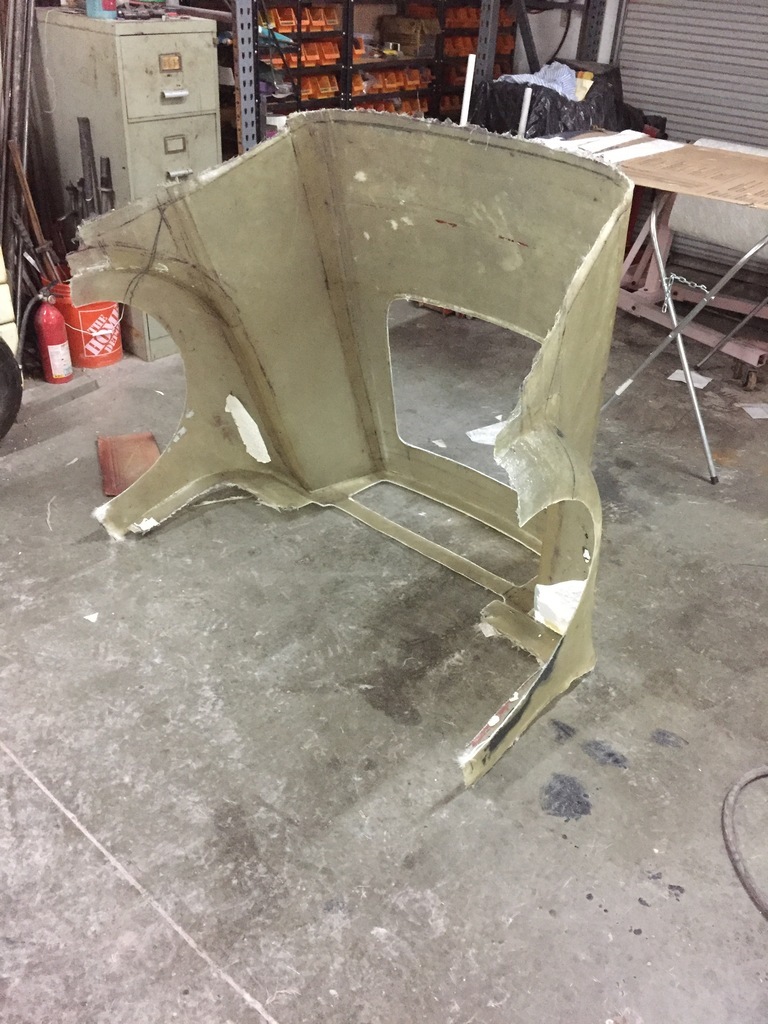 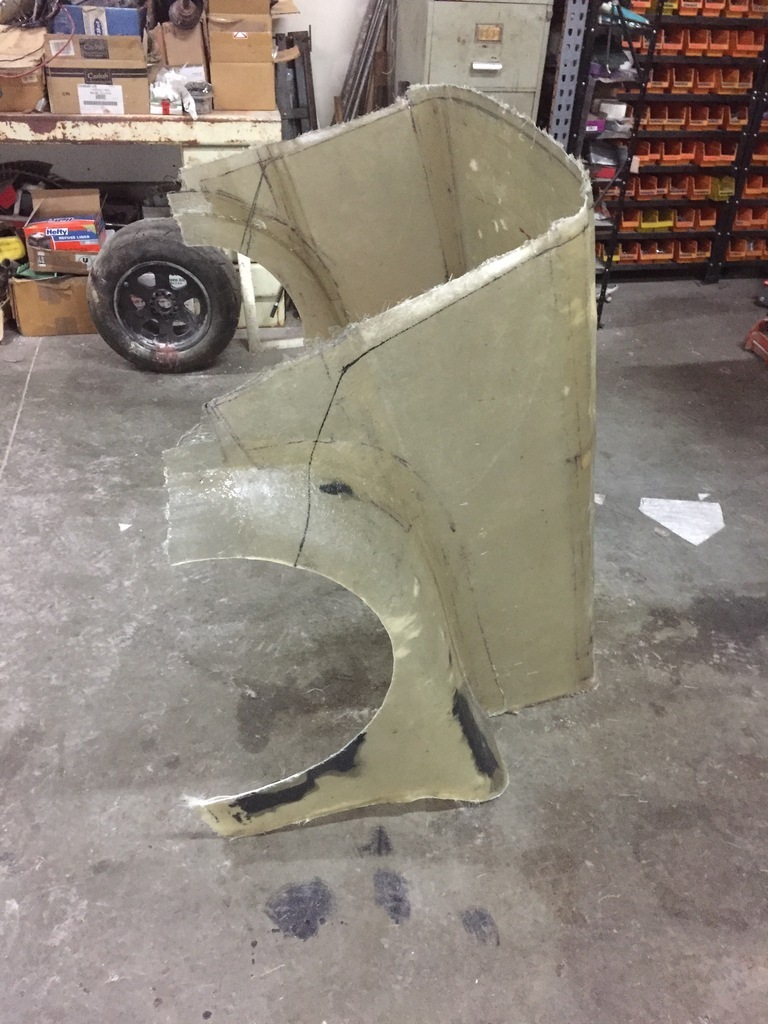 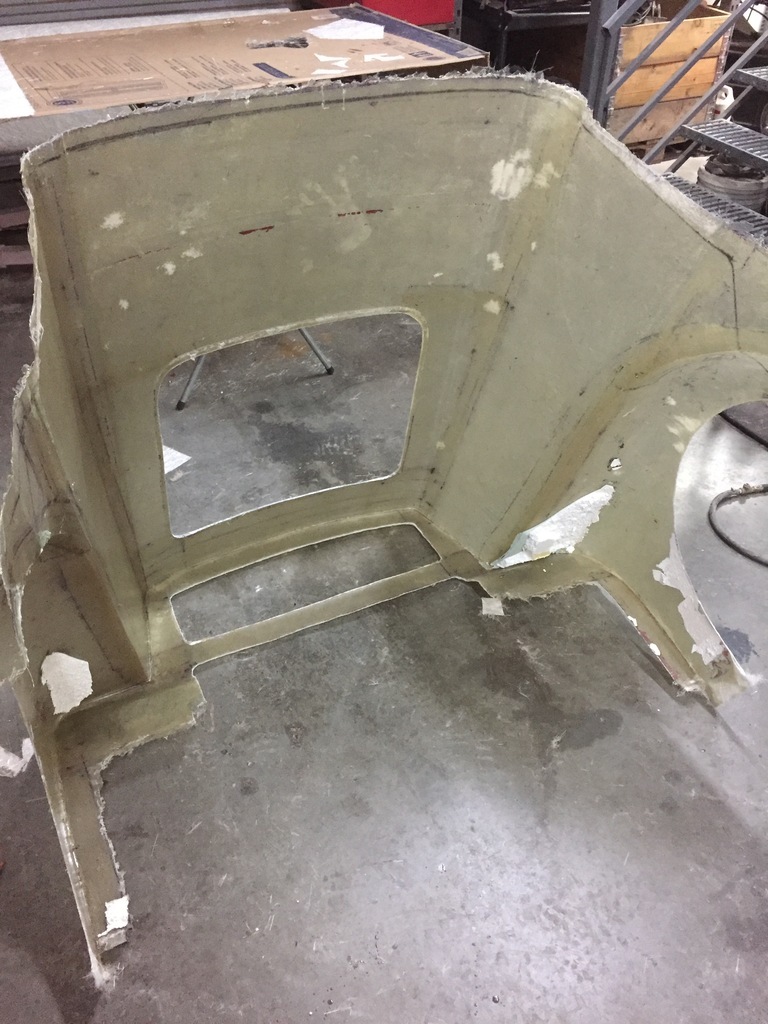 |
| |
|
|
|
|
|
|
|
|
|
I cleaned the garage a bit ( fiberglass work makes a horrible mess ), and got the Breadvan rear mold outside to hose out the release agent. And then I just had to do a quick mockup to see the proportions outside, stand back, and look at it from lots of angles. 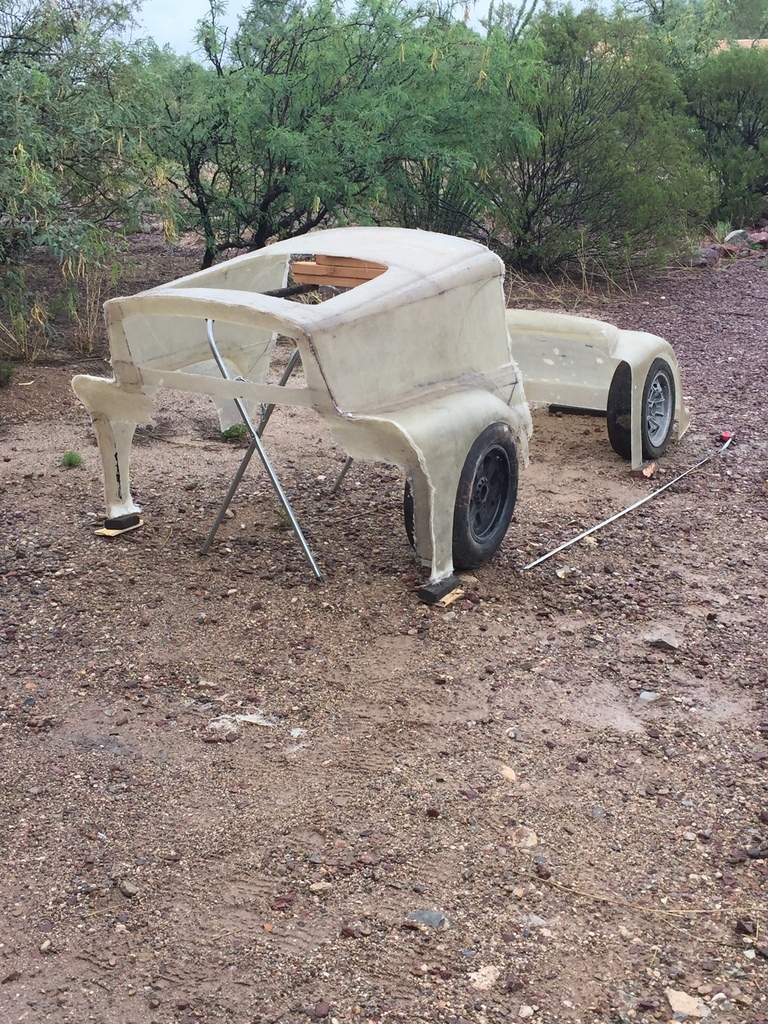 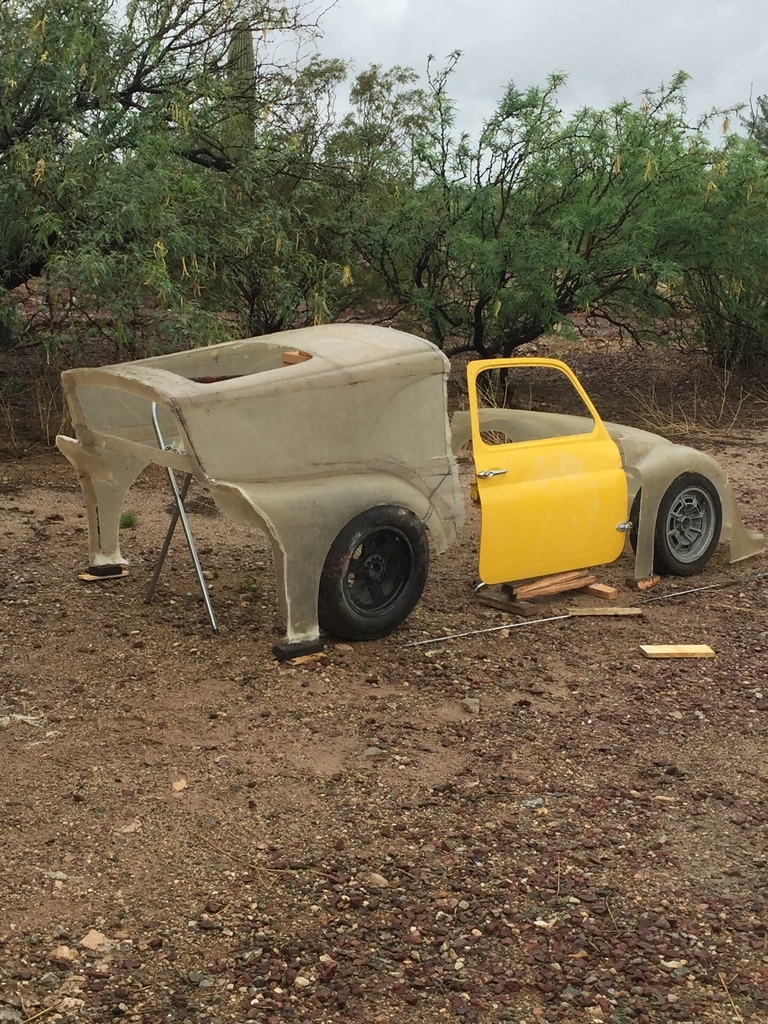 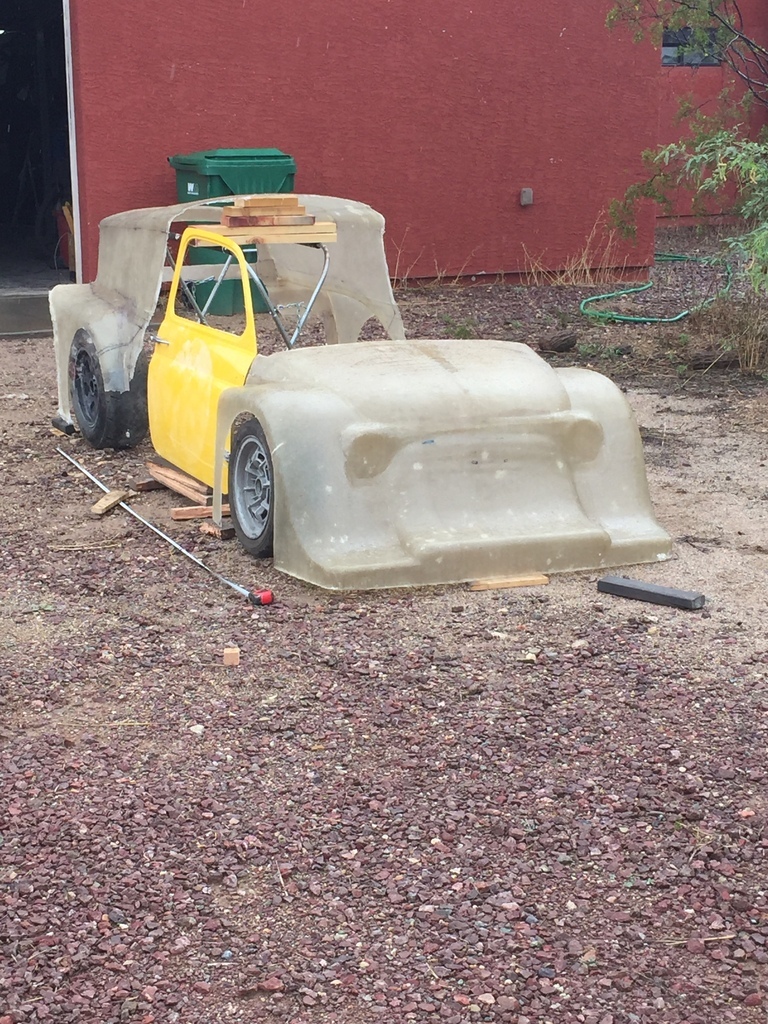 |
| |
|
|
|
|
|
|
|
Then I took the breadvan part of the buck, and stood back and looked at that for a while.  This is what the steel bodied/Abarth powered version will look like. ( but with a slightly shorter wheelbase, and different size front wheels ) 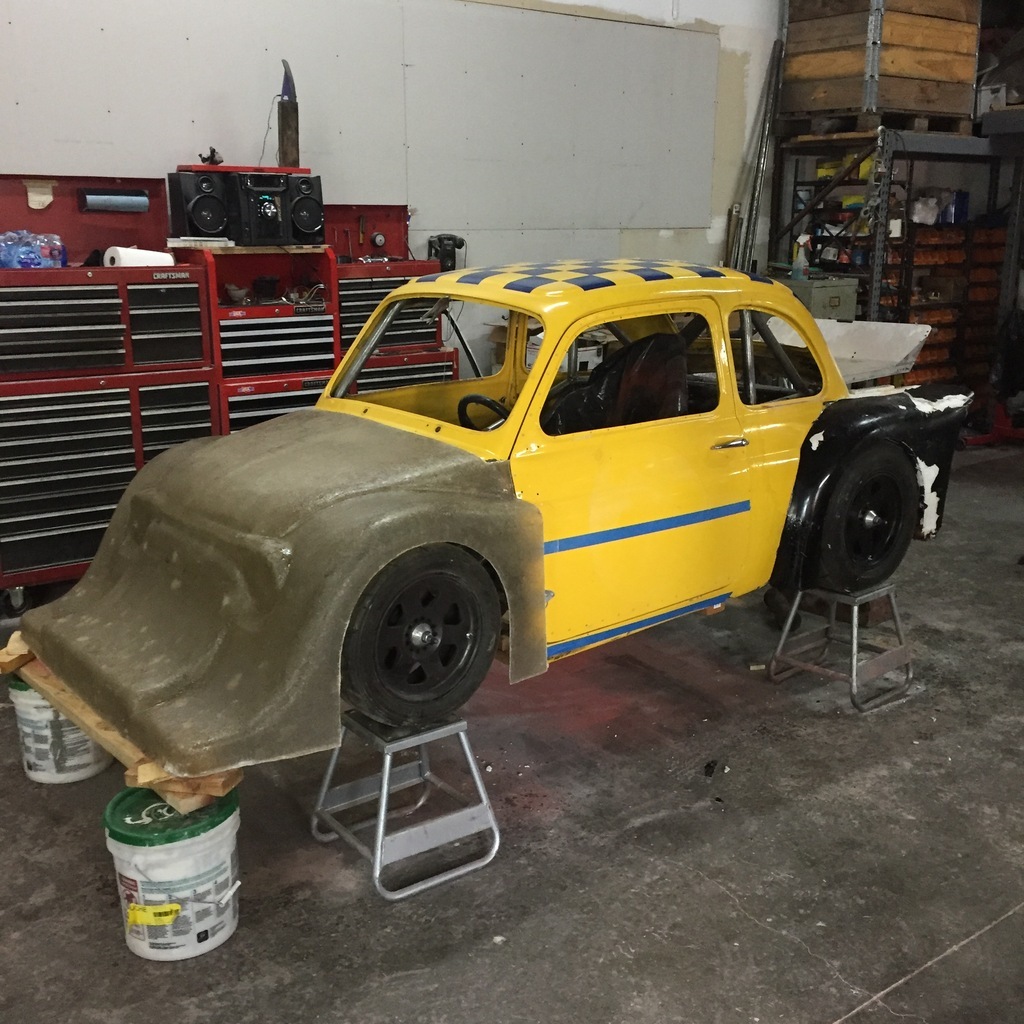 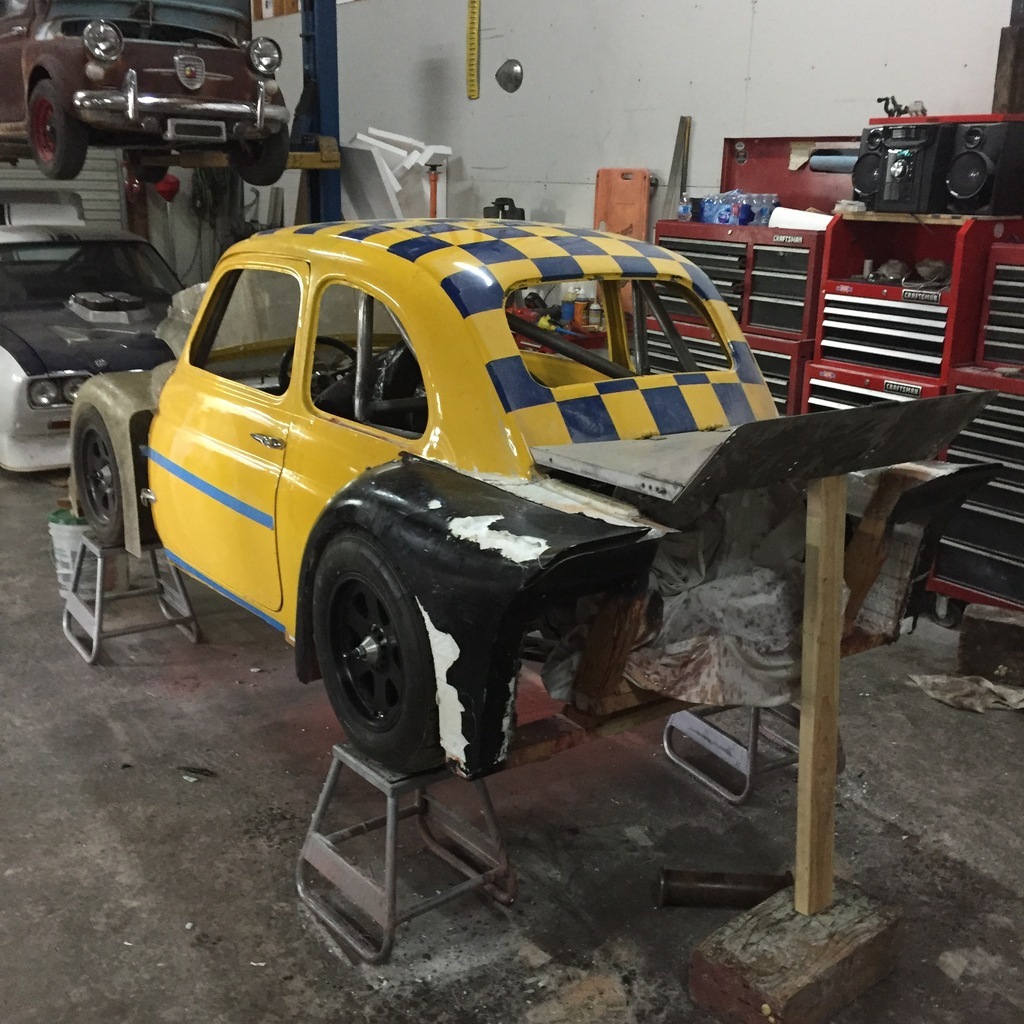 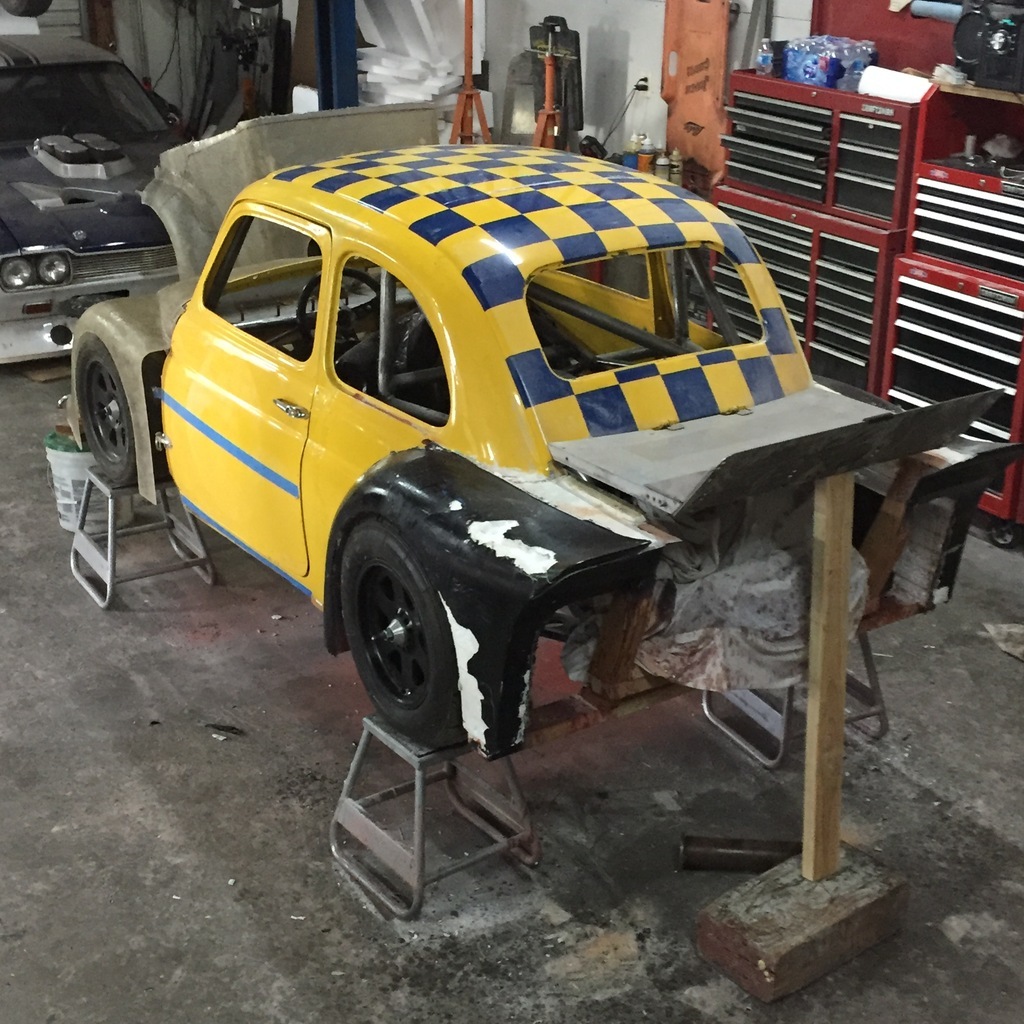 |
| |
|
|
|
|
|
|
|
The breadvan rear will be a lot better, aerodynamically, but I really like the look of the notchback rear too... I may have to make a 2nd mold so I can run it both ways.  ( if nothing else, it would be educational to be able to measure the difference in laptimes...) Storing all these molds is going to be a problem. |
| |
|
|
|
|
|
|
|
|
Clever stuff, looks great.
|
| |
|
|
|
|
|
|
|
|
I absolutely love everything you're doing.
Please keep posting this great work on the Internet to inspire us all to do more.
|
| |
|
|
|
|
|
|
|
Thanks guys.  |
| |
|
|
braaap
Posted a lot
  
Posts: 2,744
|
|
|
|
|
Impressive work!
btw has that Capri in the background ever been mentioned elsewhere here at RR?
|
| |
|
|
|
|
stealthstylz
Club Retro Rides Member
Posts: 14,960
Club RR Member Number: 174
|
|
|
|
|
I don't comment on this thread enough, as "man that's awesome" or similar gets quite repetitive lol.
|
| |
|
|
braaap
Posted a lot
  
Posts: 2,744
|
|
|
|
Thanks for the link. Another impressive build, completely missed it. |
| |
|
|
|
|


